Hybrid Tips: Pre-Planning Your Hybrid Layout with a Digital Template!
When you have so many vacation photos sometimes the easiest thing for me to do is to start with the template and plan out my hybrid page on my computer. I know that Traci has been posting lots of helpful tips & tricks on creating hybrid pages and this is another way to put together a hybrid page if you need some inspiration. Traci releases templates on her blog regularly and there are many options at The Sweet Shoppe as well!
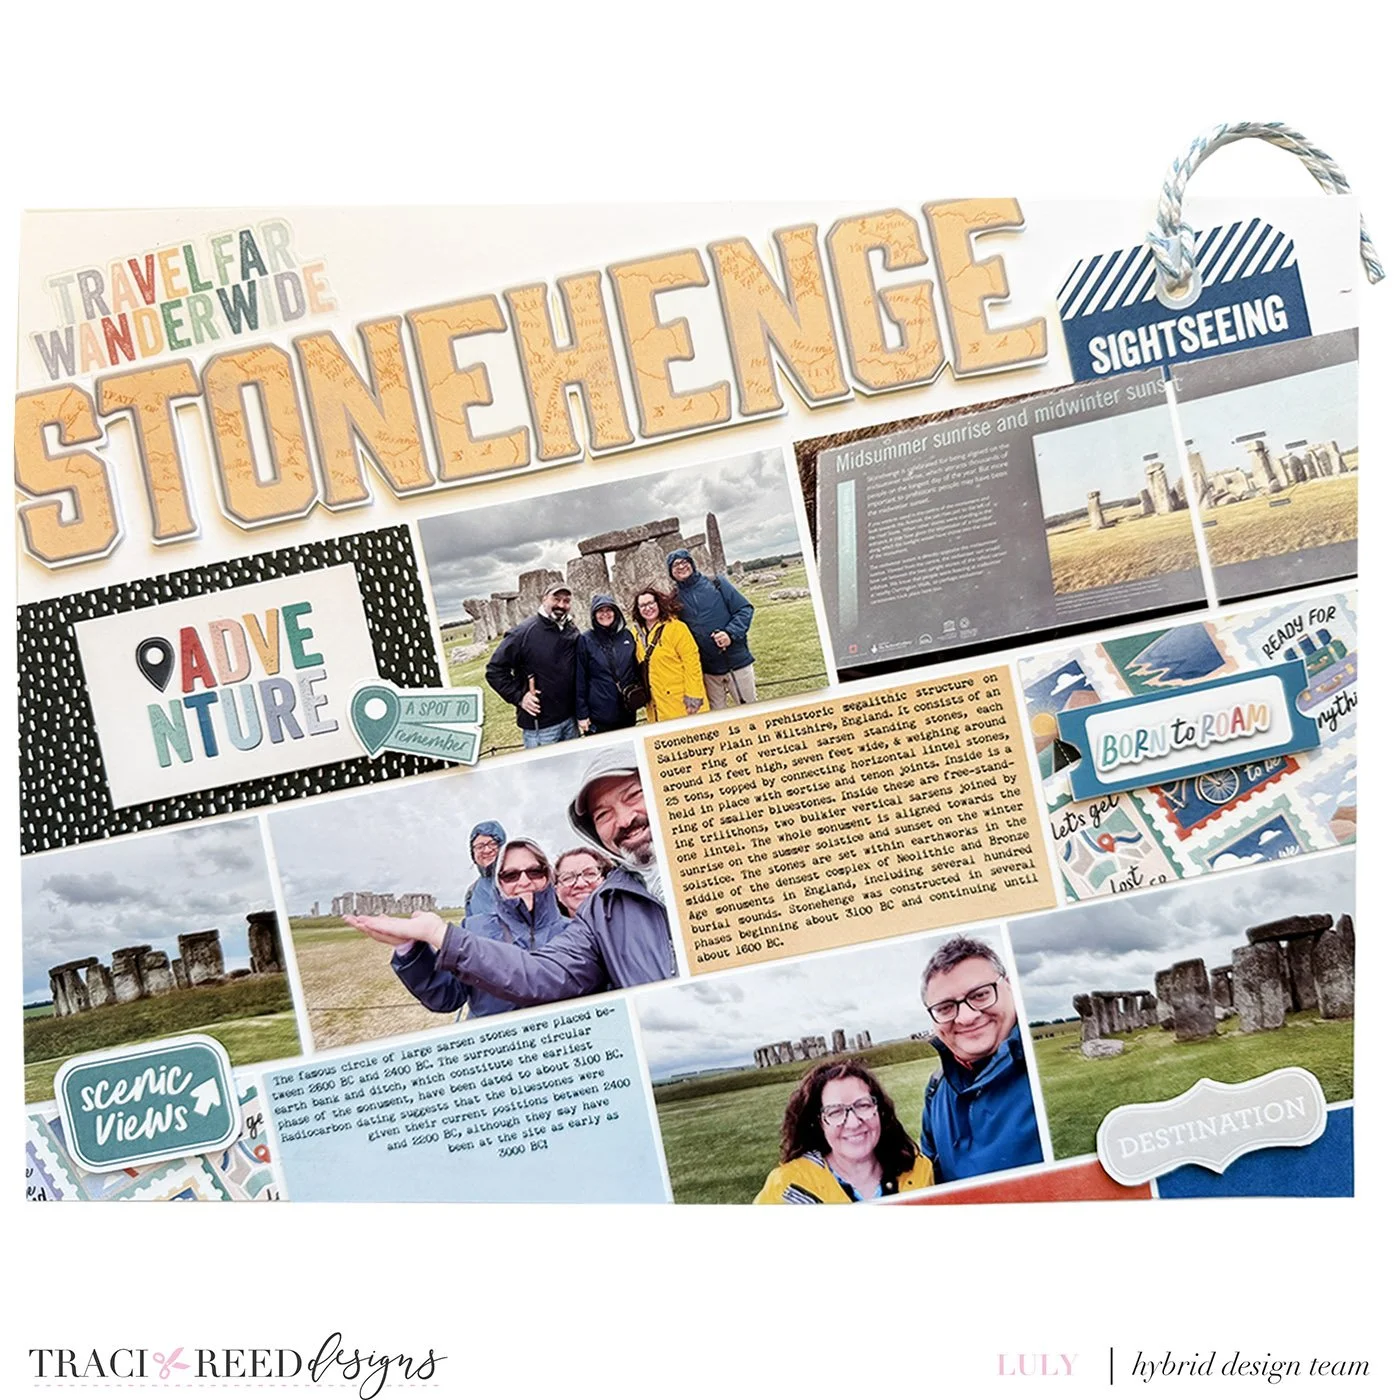
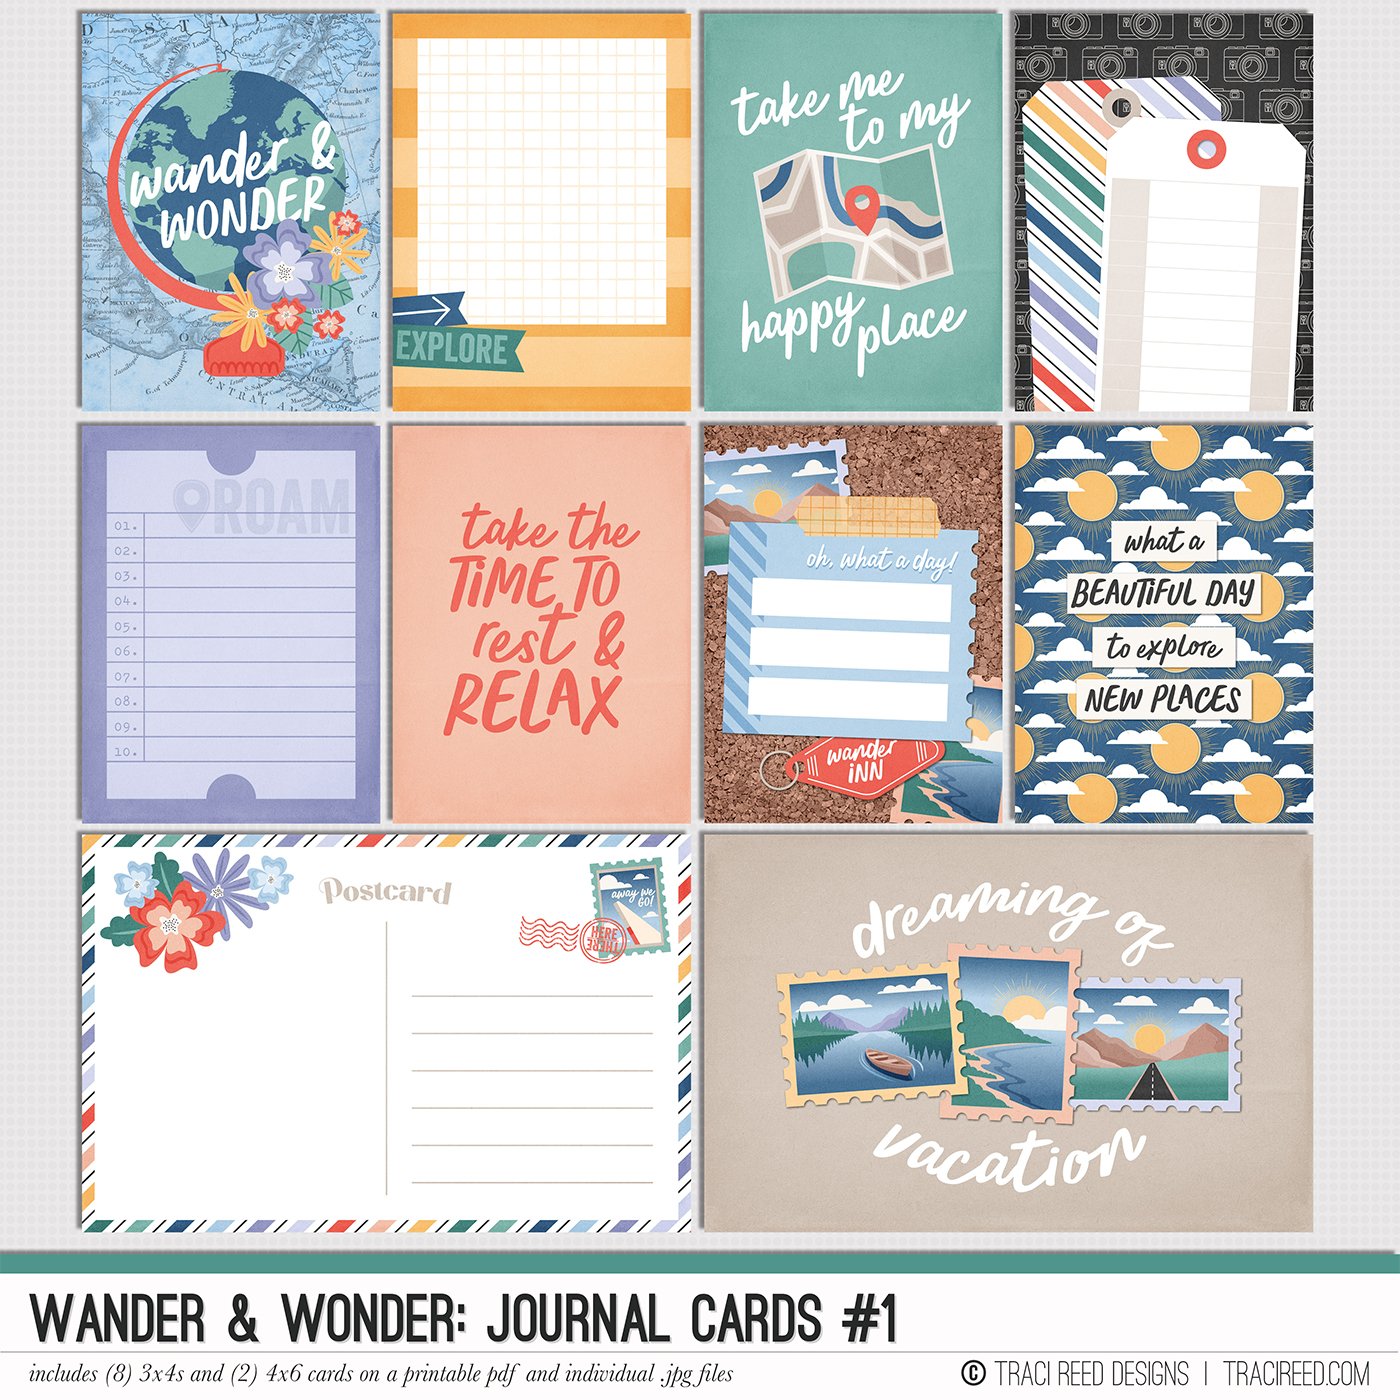
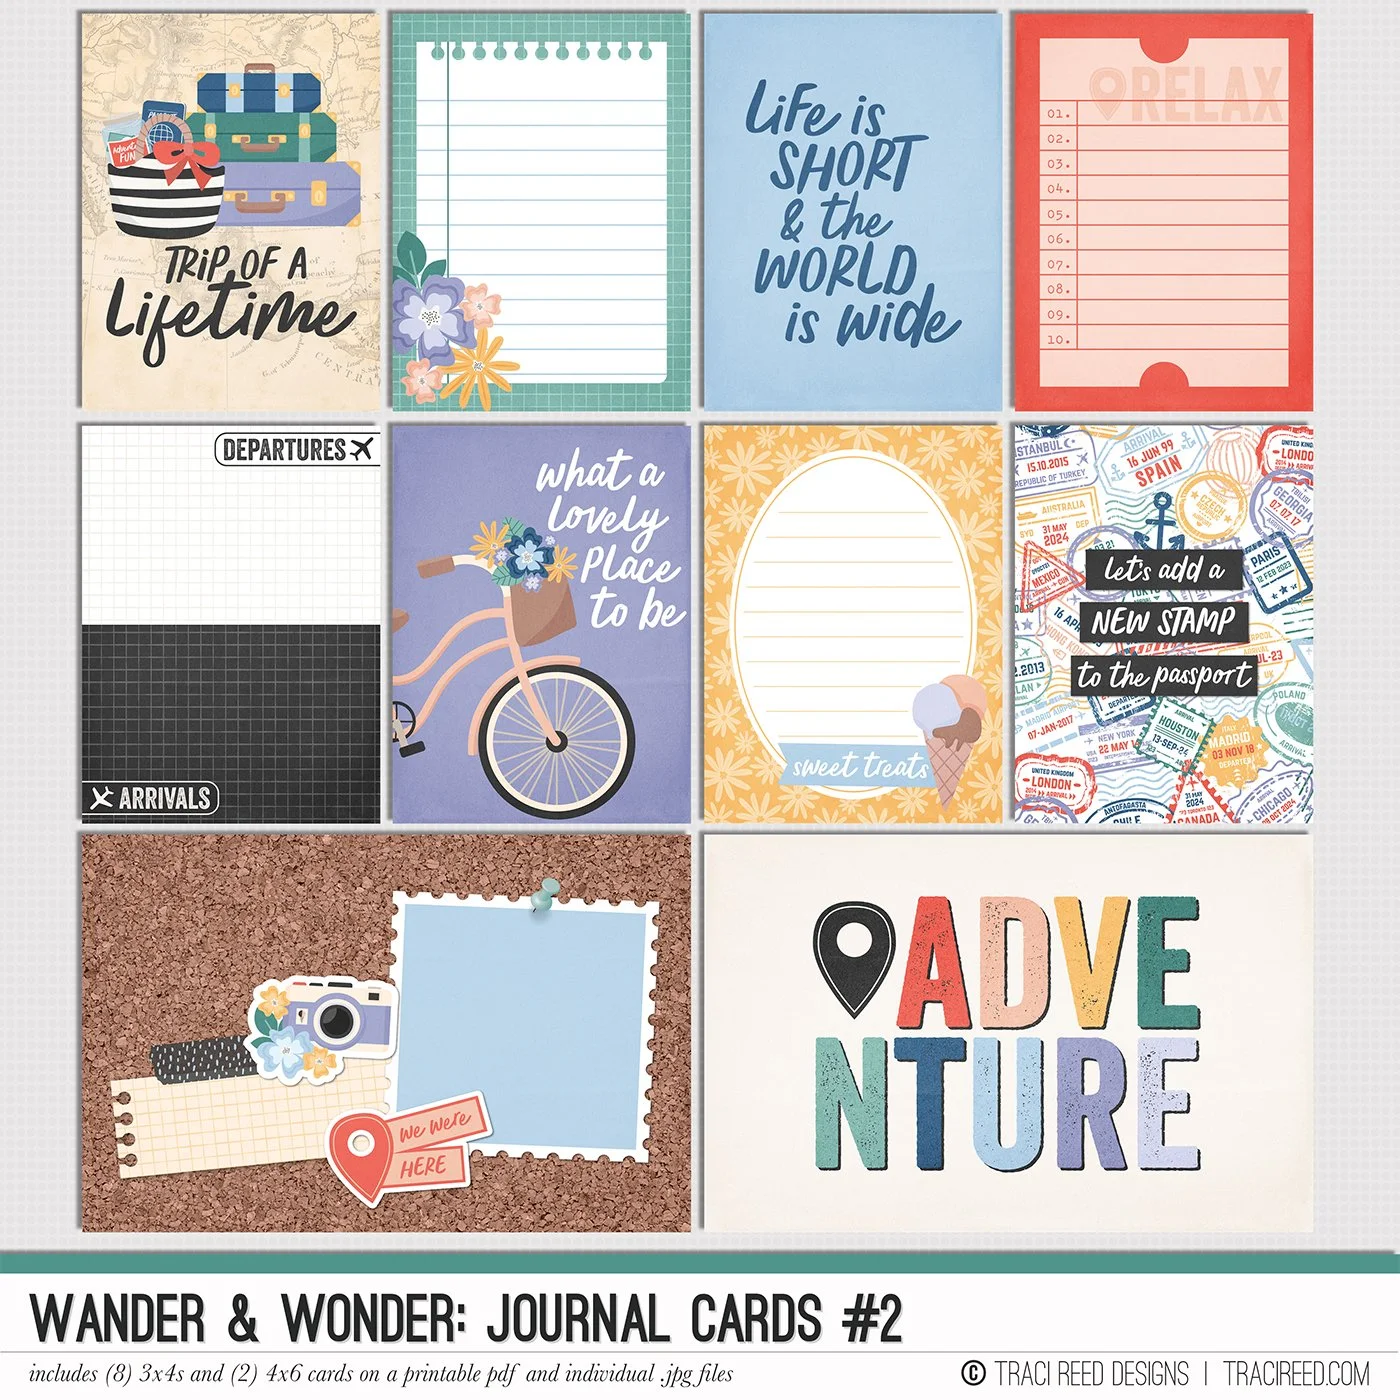
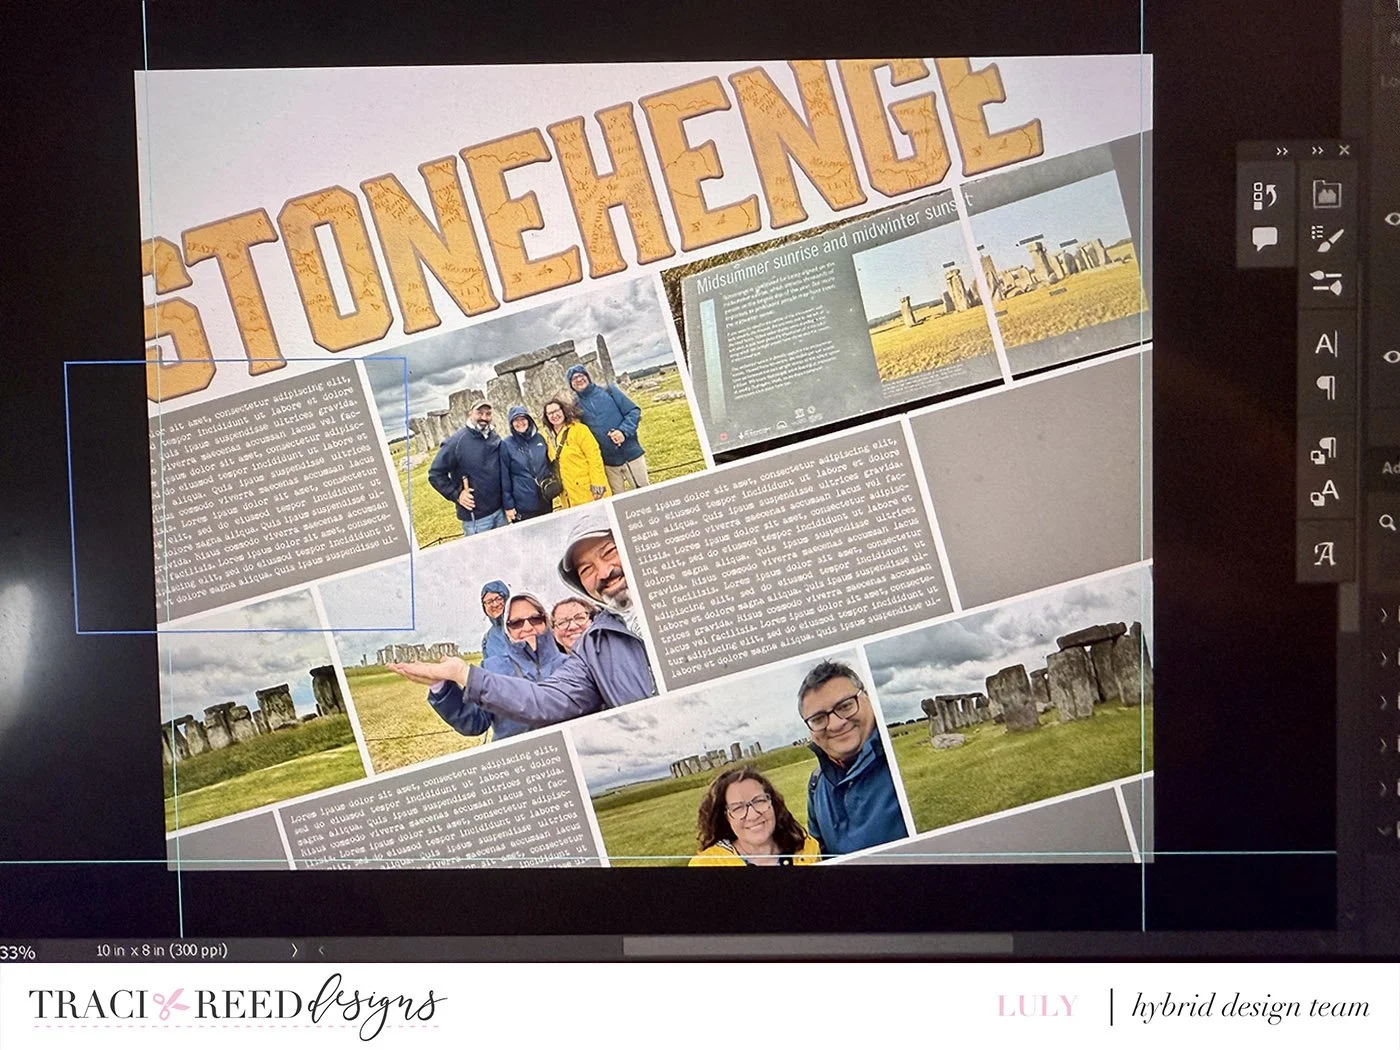
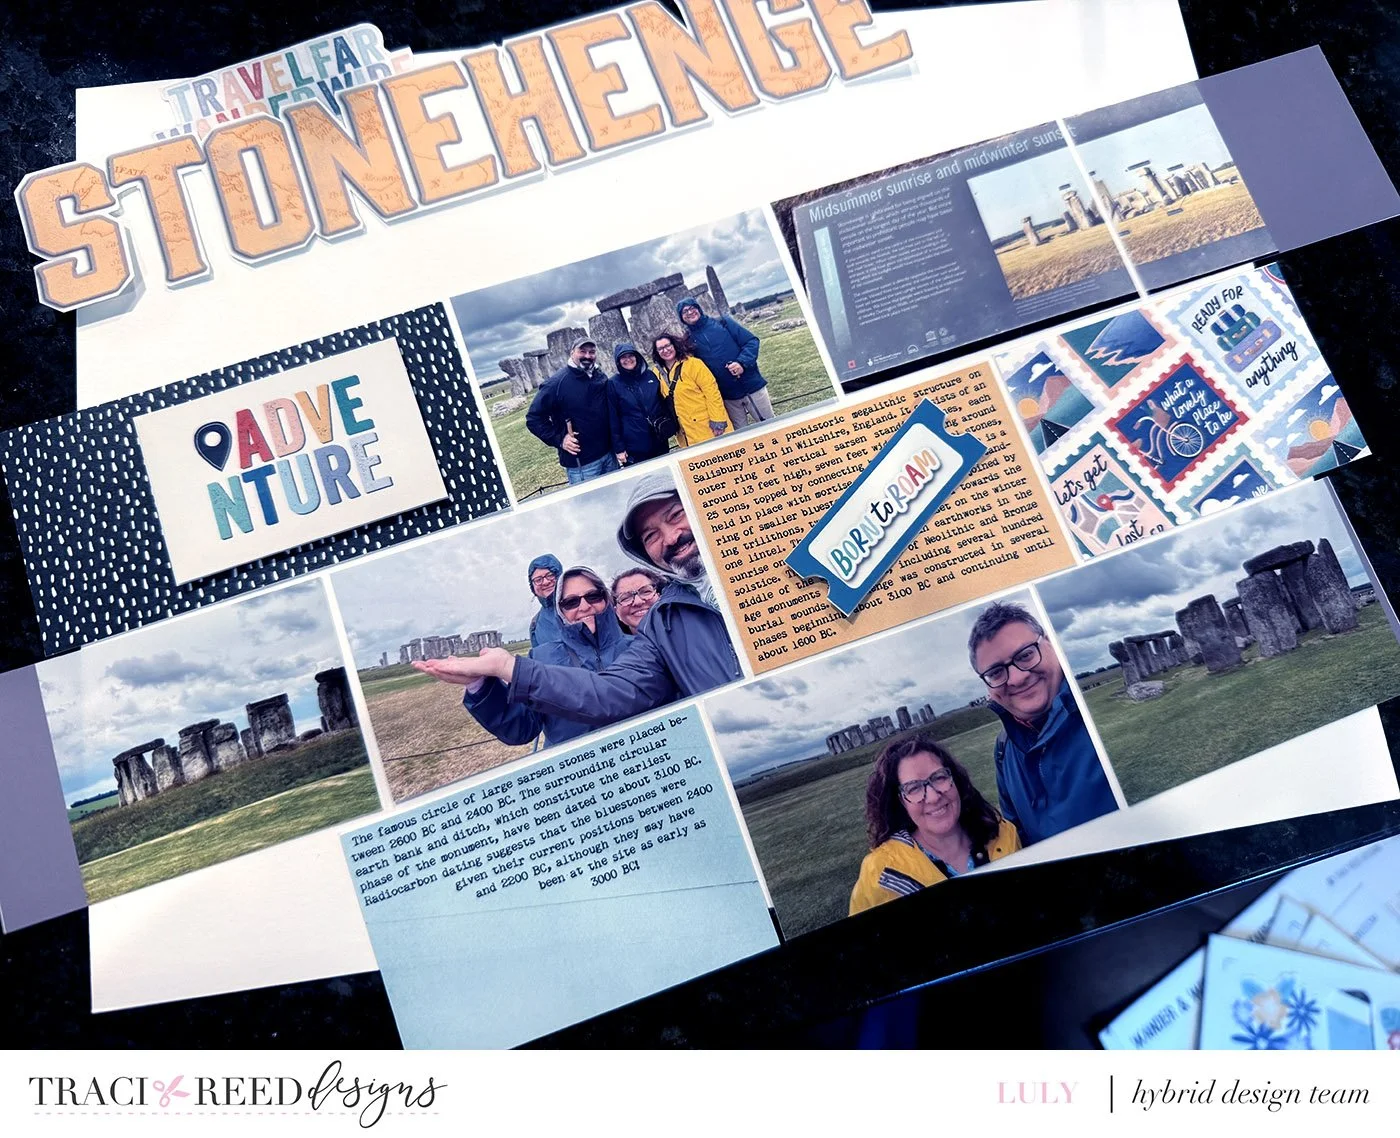
In this case, I started with a template that had lots of horizontal slots for photos and journaling like this for our photos of Stonehenge from our trip in 2024 I was loving the colors and images from the newest collection Wander & Wonder and how they match my bright yellow raincoat.
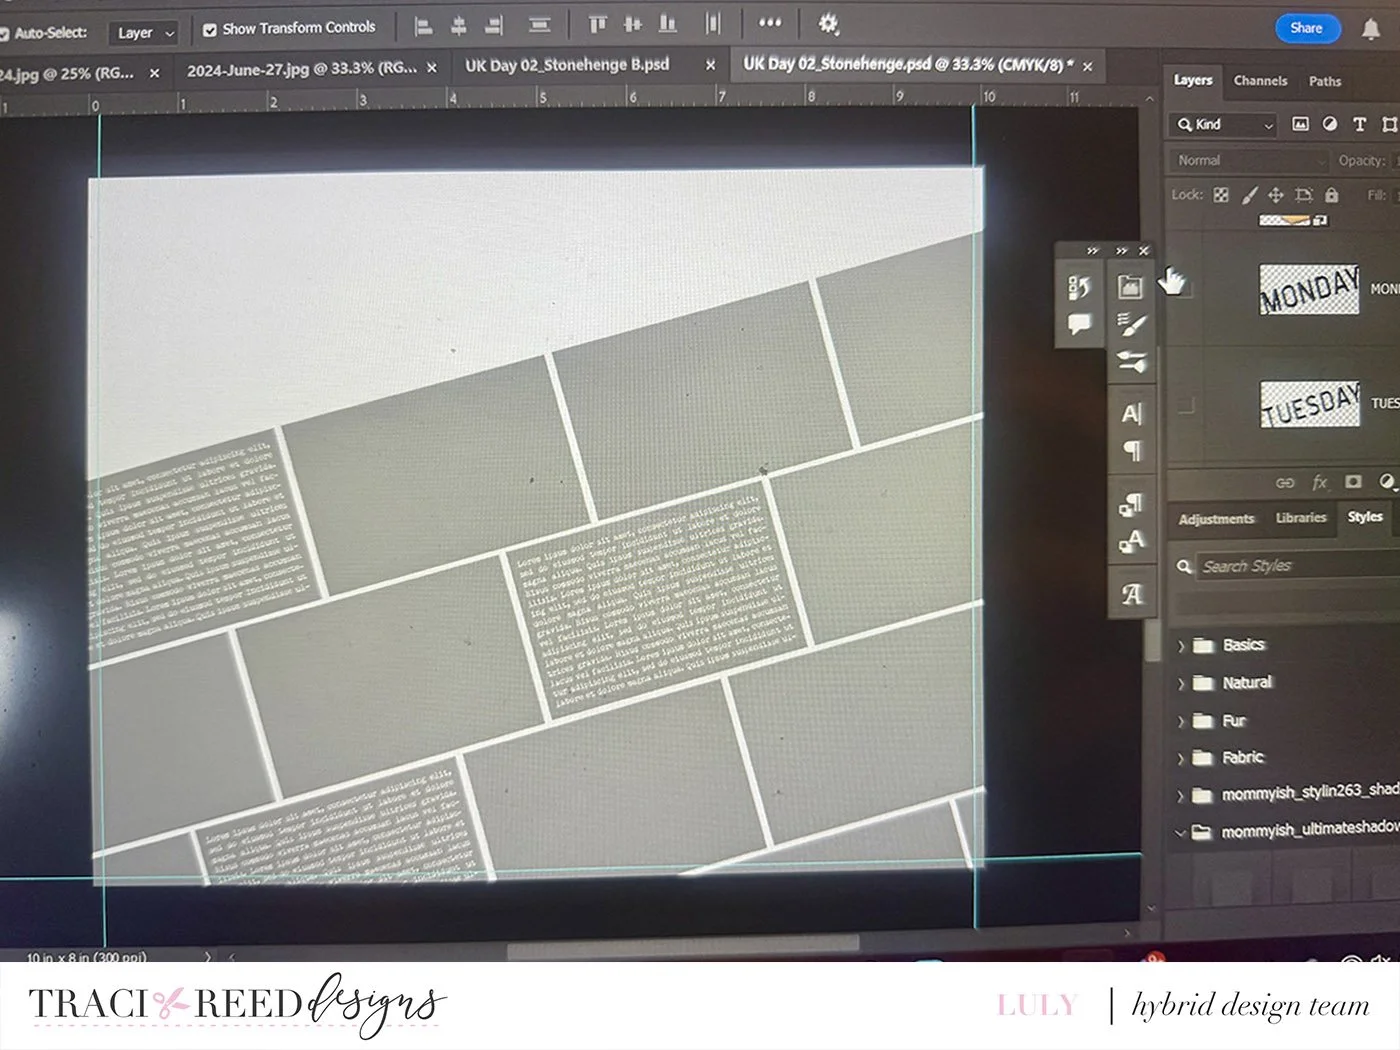
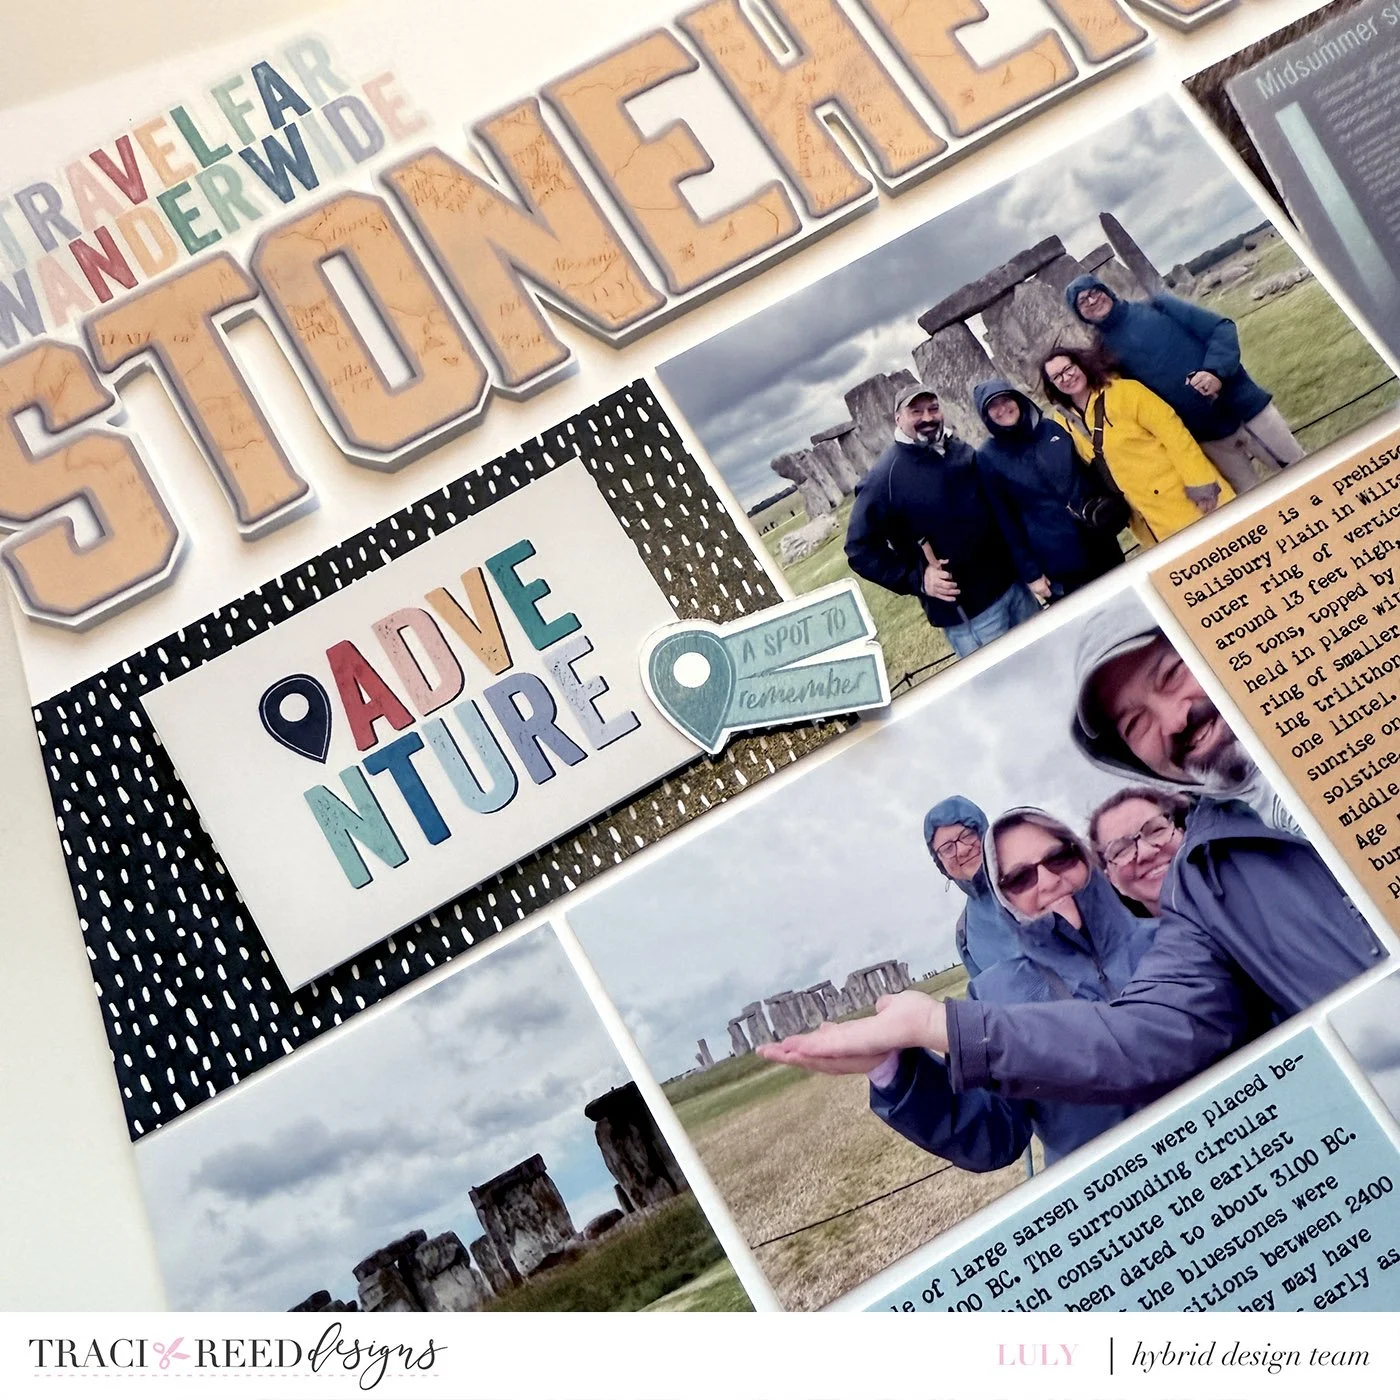
First I selected several of my photos. I know that I won’t be able to scrap every single photo, but I wanna make sure I get my favorites in the album. I added those in the template as if it would be just a digital page and I also created a title on the same diagonal with the alpha set. Traci has a tutorial for printing and cutting your titles as one piece here.
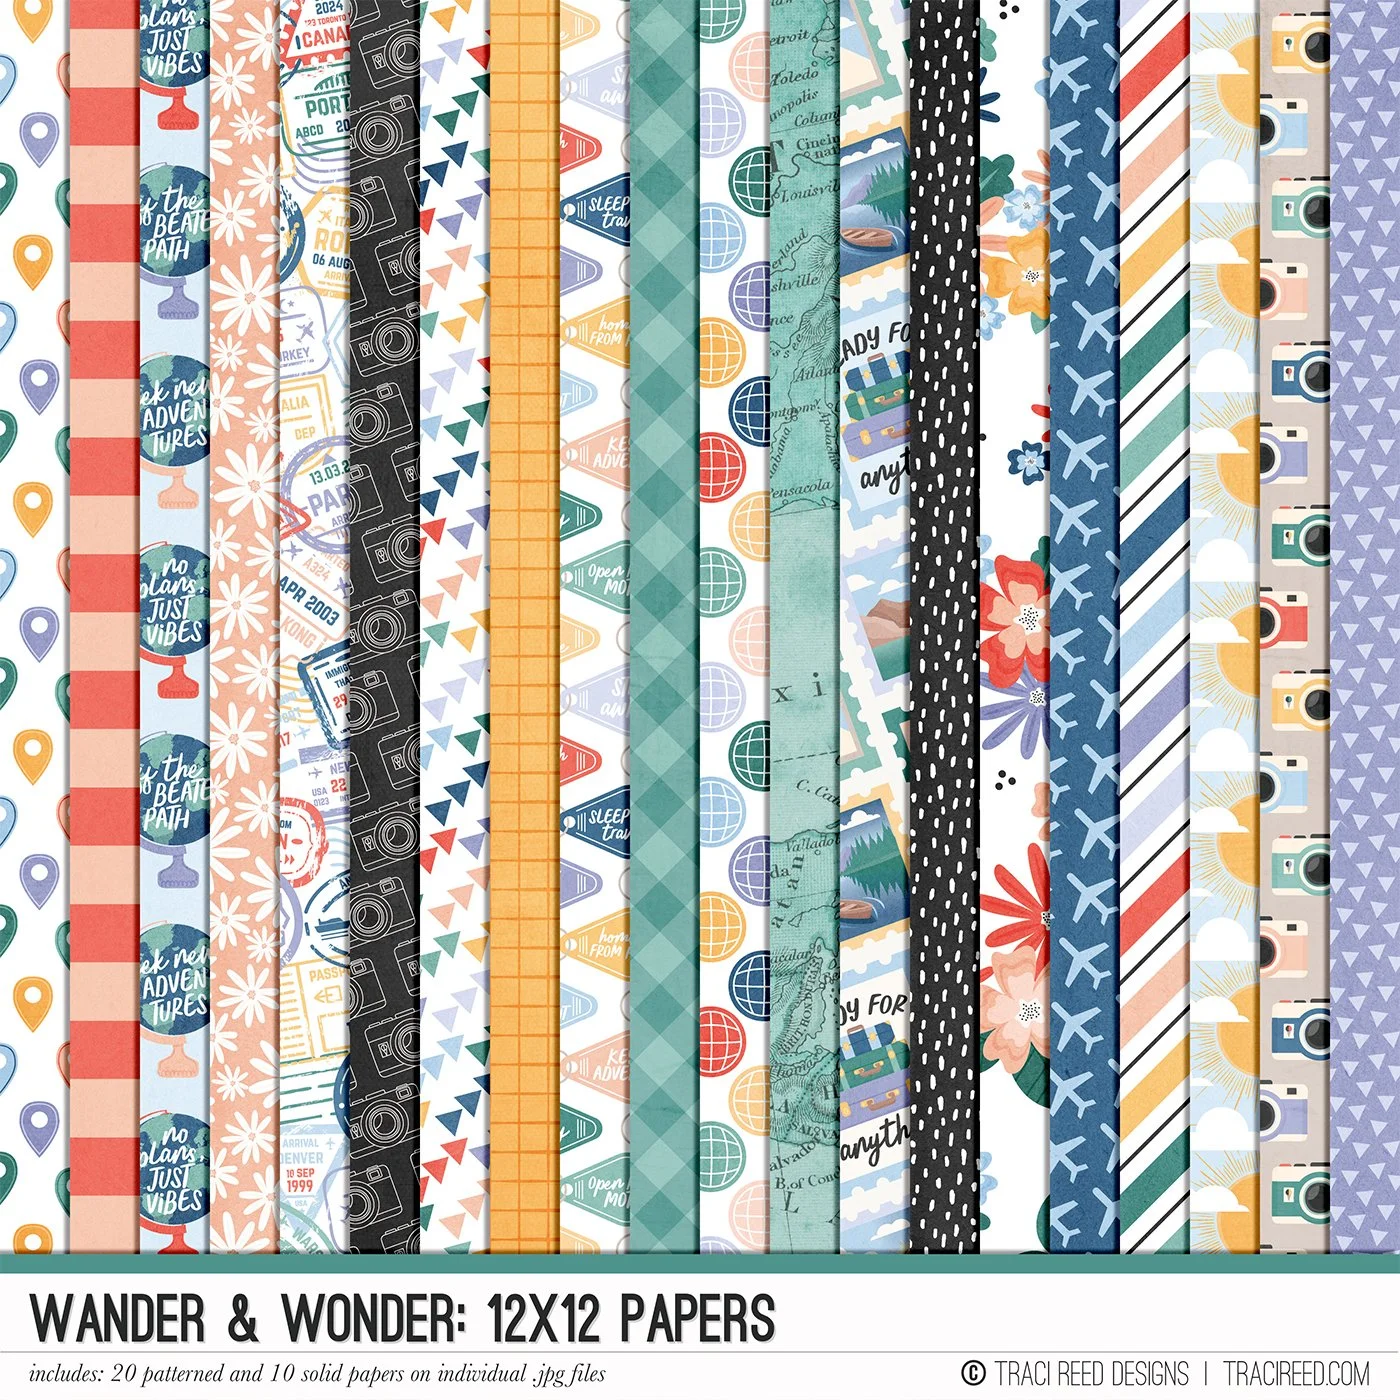
I picked a few of the pattern papers to fill in some of the slots and then also added journal cards resized to create a nice border. On the digital layout I just added a few elements and I’ll add additional items after I put the pages together.
Step two in the process is to create 8 1/2 x 11 pages for printing whether it’s on photo paper, Matte presentation paper ( I use Epson Premium Matte Presentation paper) and I even used washi paper at this time. For the Photos I add them all to a seperate file in the right size and then I straightened them to make it easier to cut.

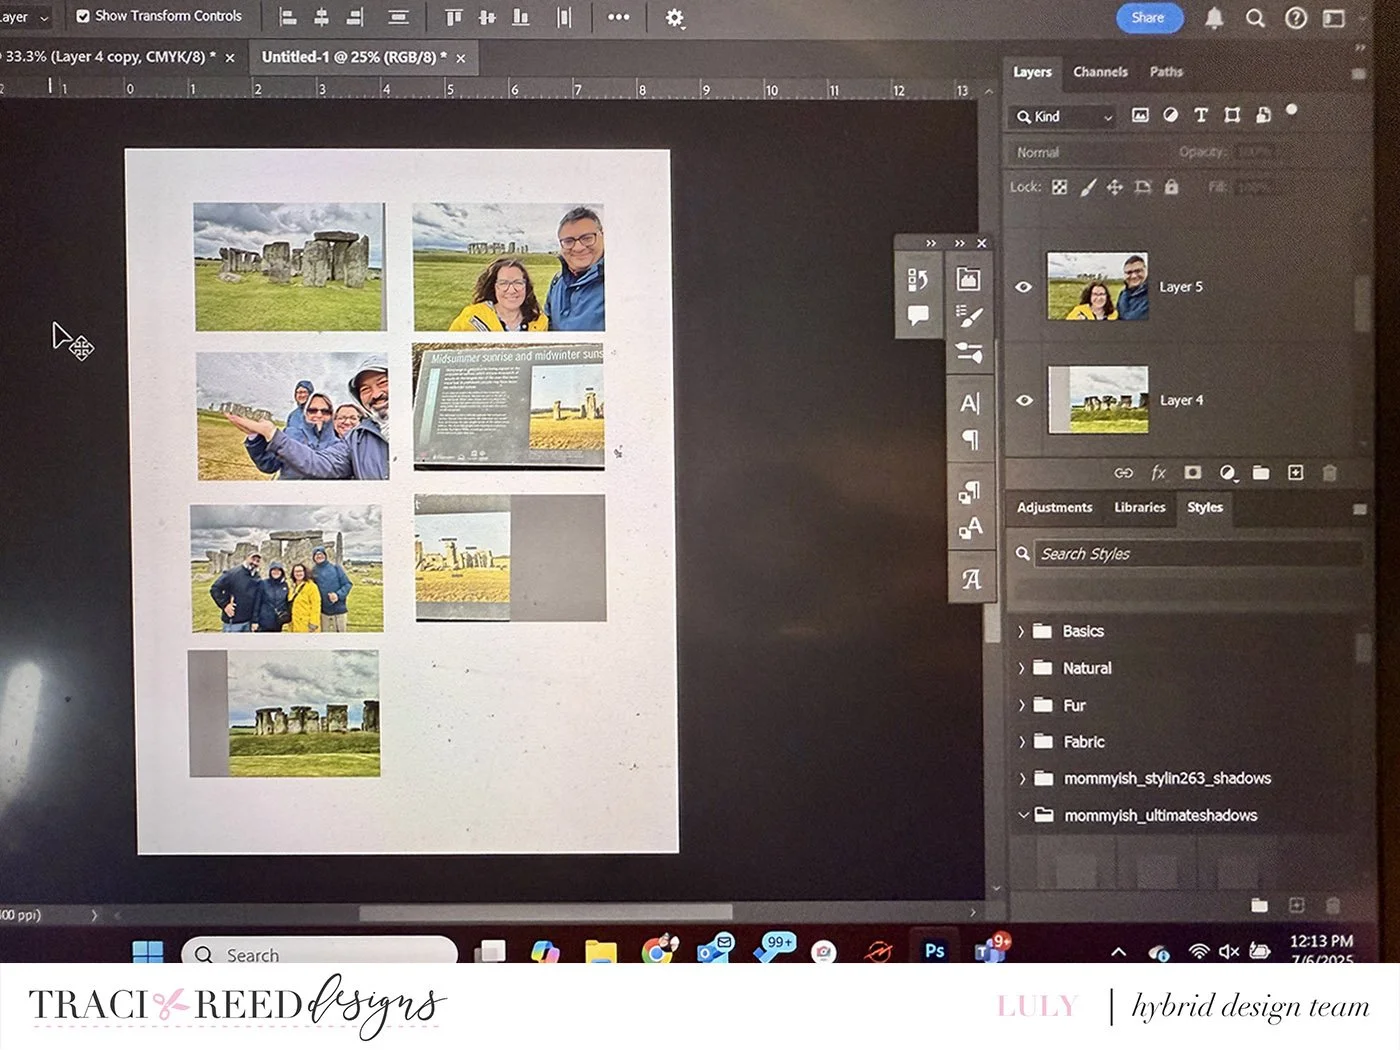
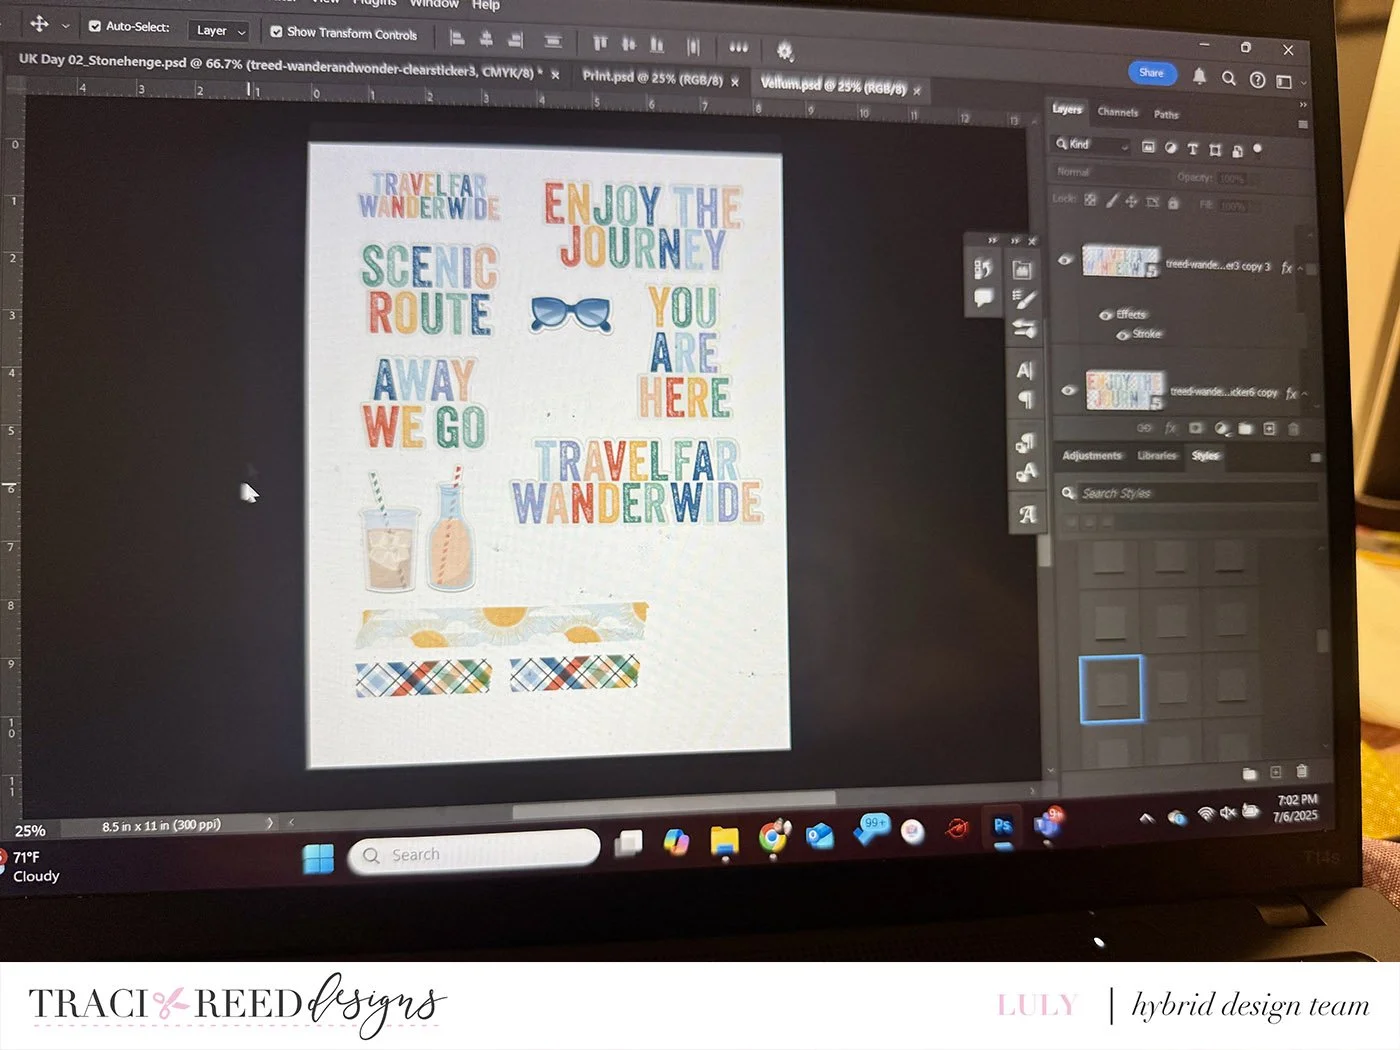
I love having the different textures on my page to really add extra depth and interest to my layout. I also maximize my printing dollar and added extra digital elements on the sheets to be printed on the washi paper. I did the same for the printed cards as I did for the photos to print them on a seperate sheet.

I shared how I save my extra elements in this blog post. I did layout all my elements without ANY adhesive so I could make sure I had everything laid out properly before I started gluing.
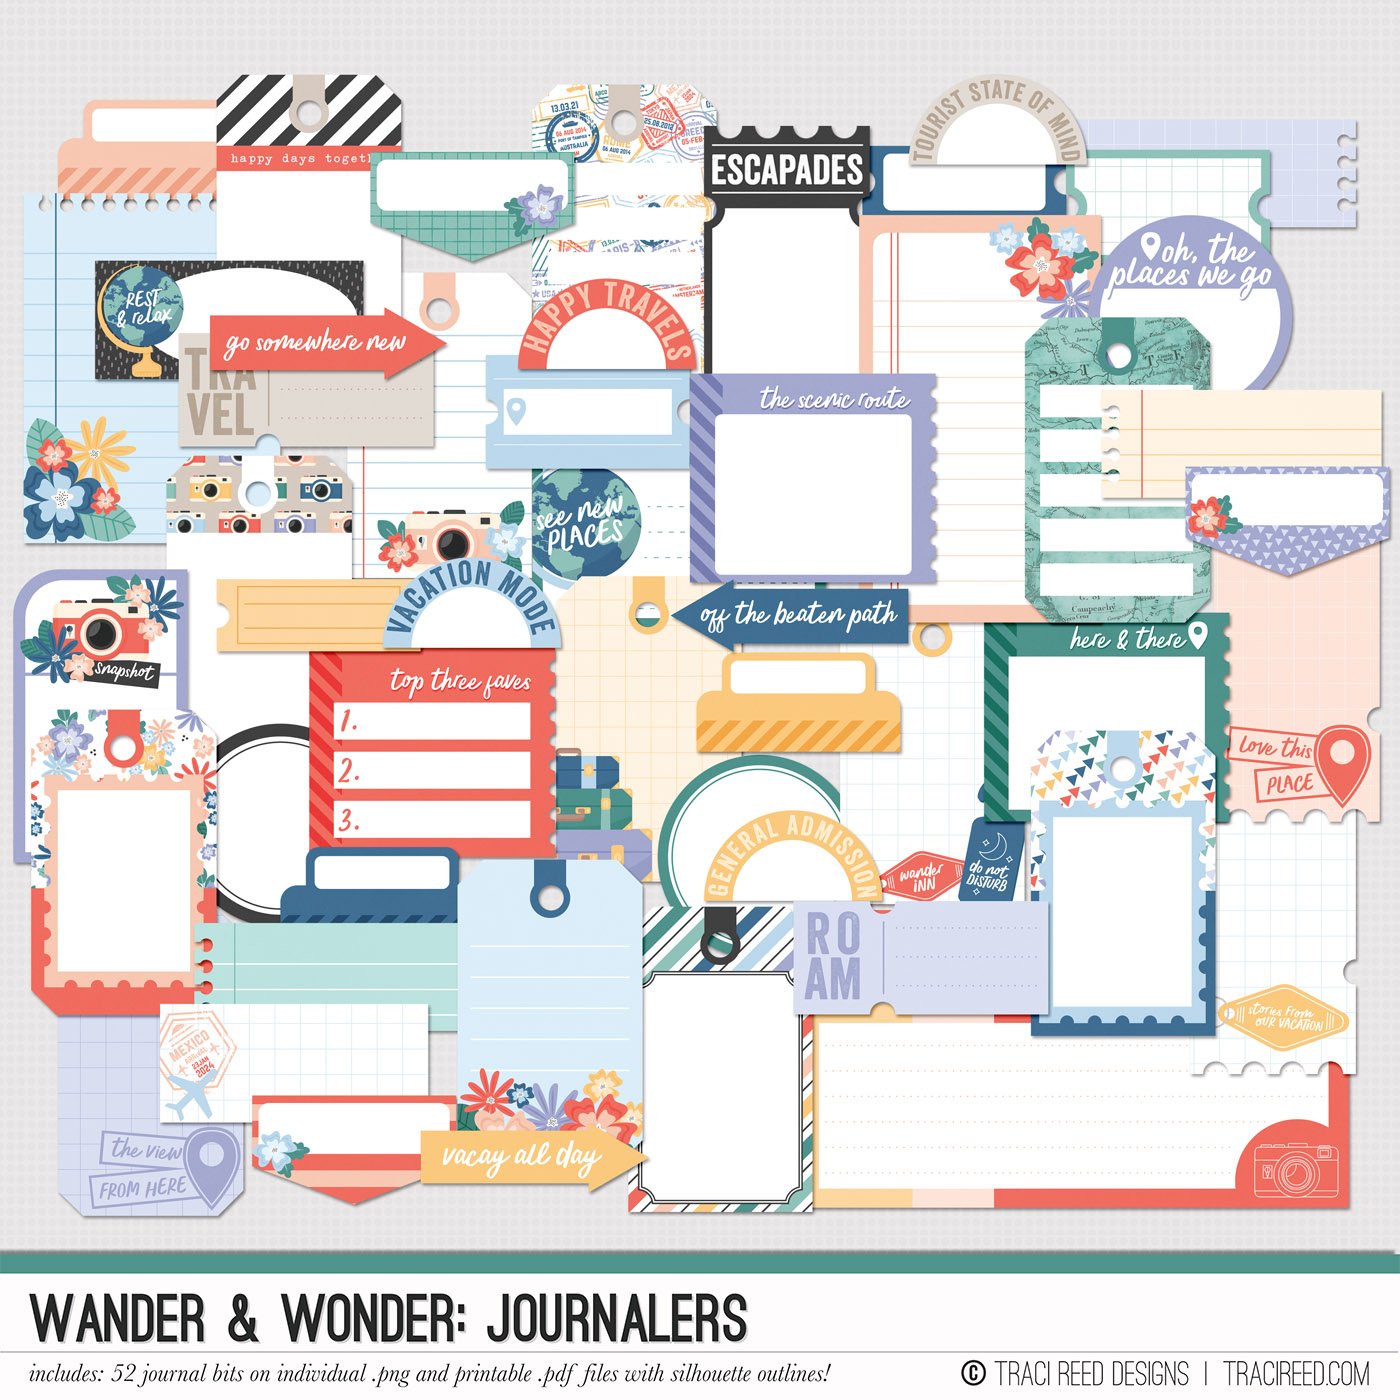
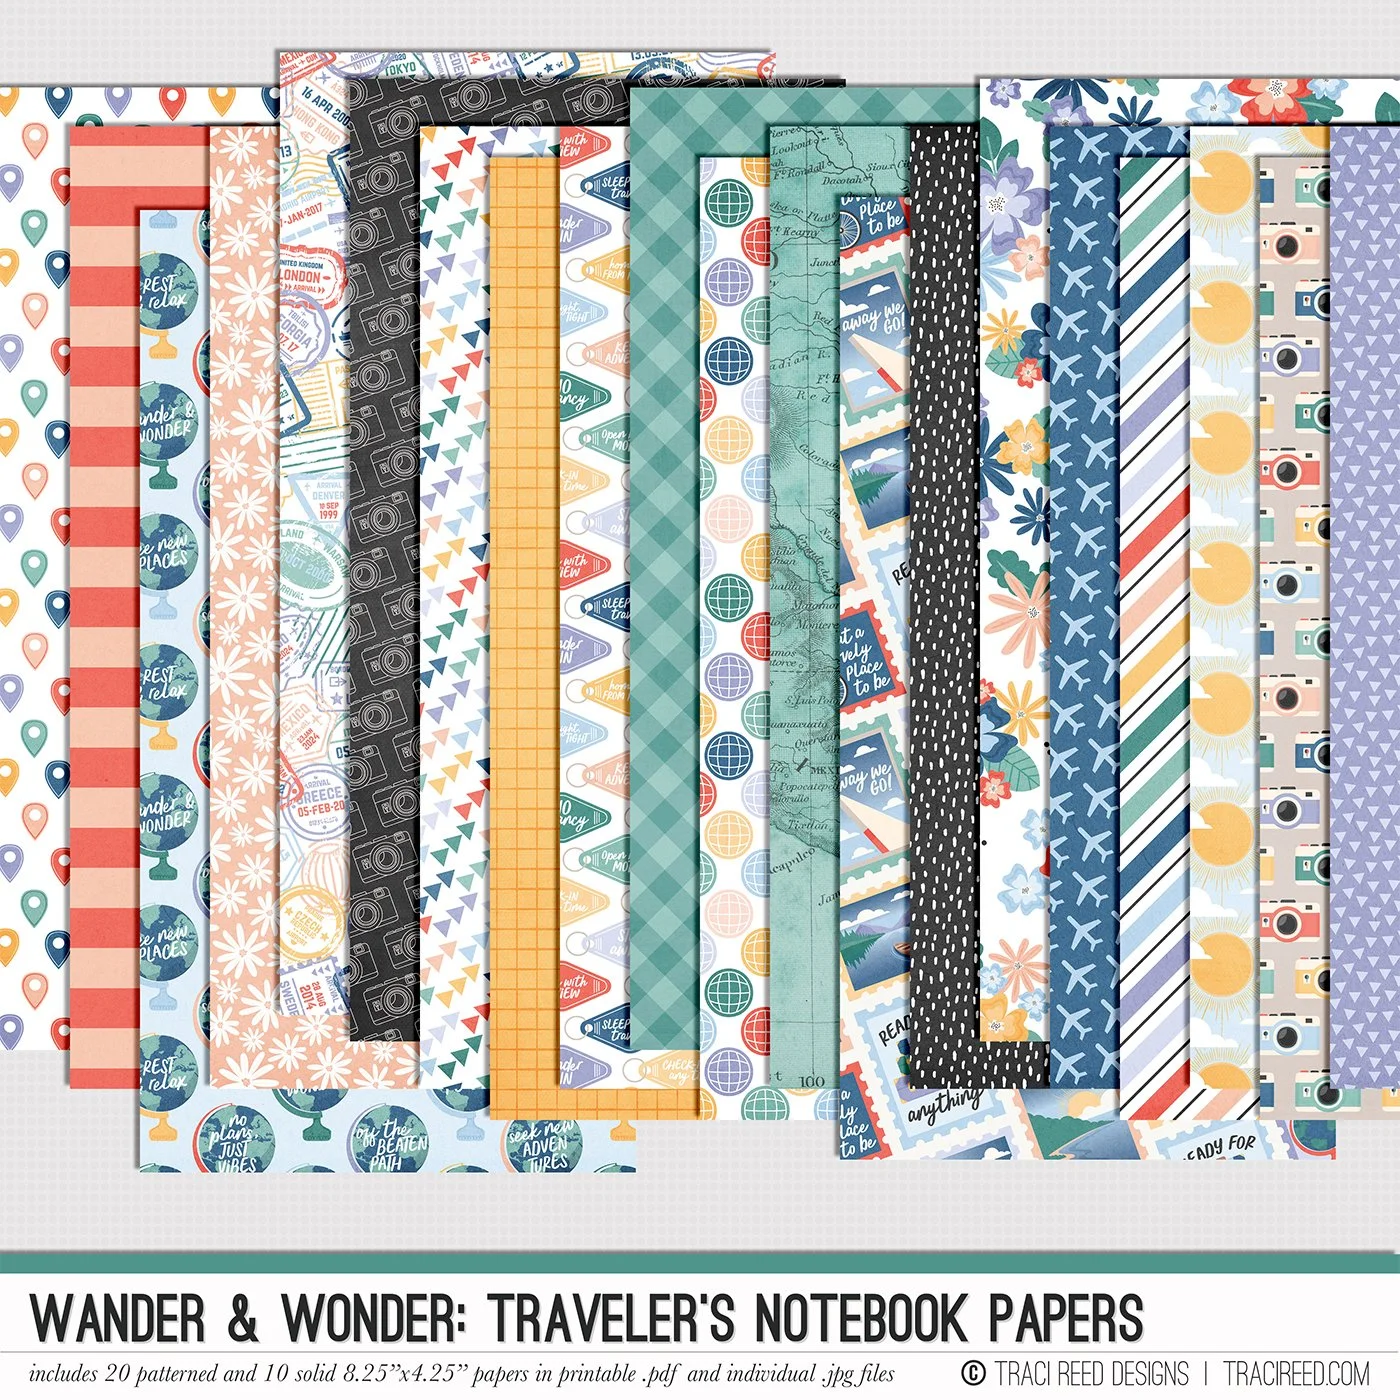
I did not use a ruler, so its not perfect but I was most concerned about the text on the bottom part of the layout so that was the one I started with. I used little scraps for the bottom piece. I printed all the TN sized papers from the printable PDF as my step to work with the collection. I find for my travel pages, the TN sized pattern work great! I also keep my large sized scraps for future pages in my travel album. I added extra elements from the Sticker elements and Journalers from the pdf pages that Traci includes in every set. I cut all of those at the start of my project to have them handy.