Planning Large Projects for Success with Luly
What do you do when you have a big project ahead of you? For me the most important thing to do is to plan. Actually sometimes the planning is the most fun for me… I do love to make a plan for my scrappy projects! In this case I have a really big trip from 2024 that I would like to work on before summer really gets rolling here in the Midwest.
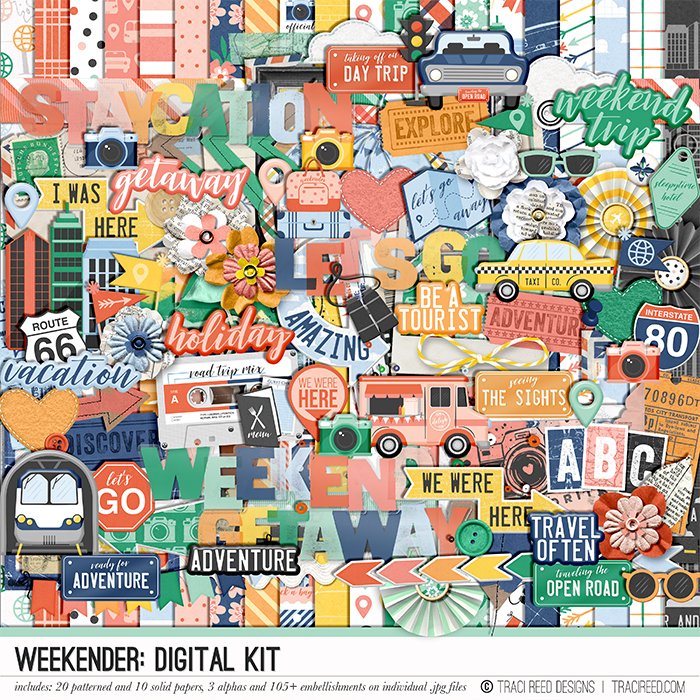
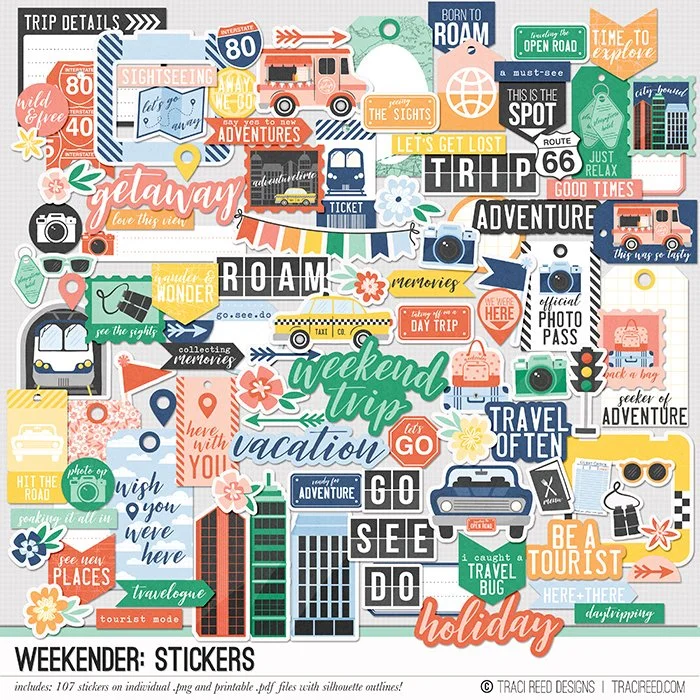
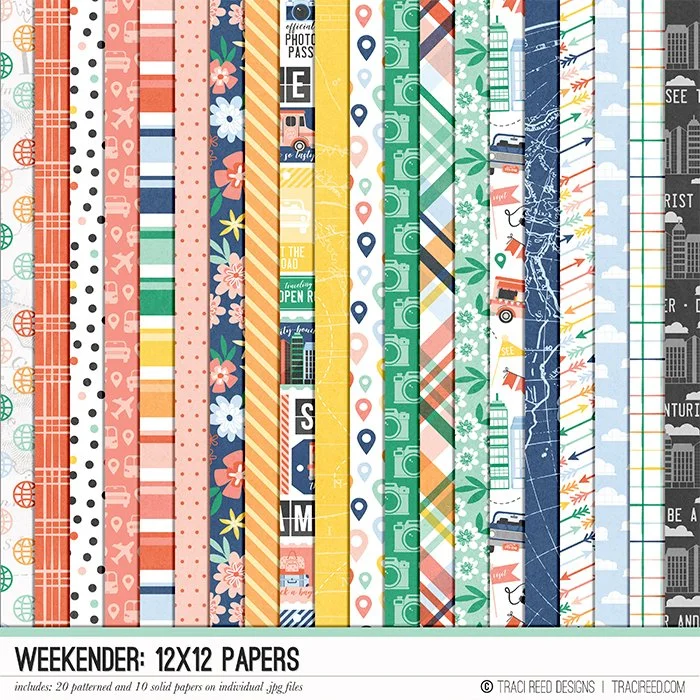
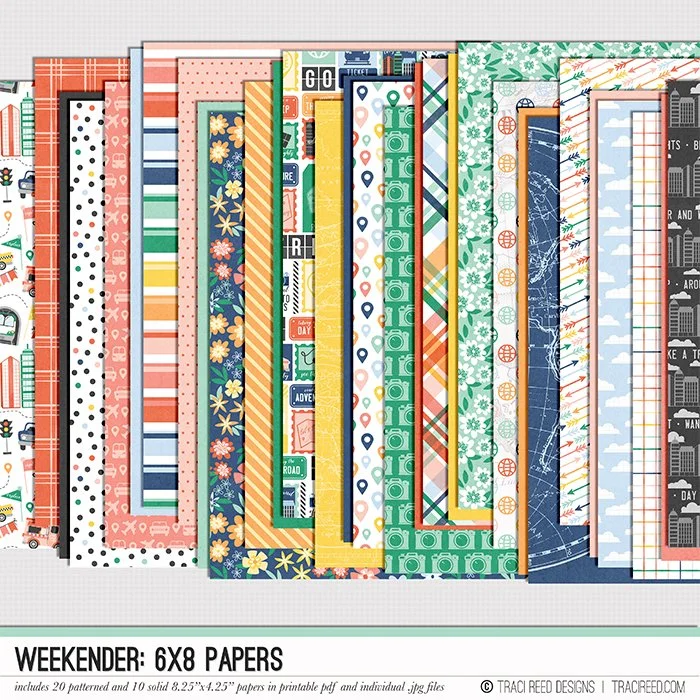
You have seen a few random pages from my UK trip in 2024 so far on the blog – but I have over 6,000 photos to choose from for a 14 day trip. And don’t worry I will not be scrapping all of them – I know that up front! I love travel theme products so I have collected many of Traci’s over the years – today I will be work with Weekender which has lots of “city” related products for some of my London photos. There were even several “add-ons” specifically related to road trips and food which I will also be using.
For this album I am planning all of my pages in Photoshop first. This serves two purposes – first because I also want to make a digital book for my sister who was on the trip with us, and second it helps print my pictures and elements in the right sizes.


I also print my pictures on photo paper

And my background paper with the digital mixed media elements

Since this such a large album – I also went ahead and used my Silhouette to cut all the tags, words strips etc (more on that in one minute) for the kit and the add-ons.

Traci has a very easy tutorial on YouTube which can help you cut these easily. Trust I am new to this skill and I don’t know what took me so long….
The problem is once you have all these great elements, I want to have them easily accessible to use on future pages so I can minimize unnecessary printing. I came up with a easy to implement solution which might help you too if you are trying to tackle a big project.

Look at all the different small pieces. They would be way to difficult to manage this way. I also don’t want them to get bent or lost since I spent time printing and cutting already. I decided to use an unused 6” x 8” album with divided page protectors to help corral these items for future use (this is a hint for Traci’s newest collection coming this Friday!).
Starting with the TN sized papers, they were easy to add into a full 6” x 8” pocket. You could also add small elements like enamel dots etc in the same pocket to have them all in one spot

I then divided the smaller elements into different categories
Strip sentiments or sub-sentiments
Shaped Tags
Journaling Bits

I added cardstock in some of the pockets which had more elements so that you could see them easier

I also separated all the circle elements, die cut words and “filler tags”. Use whatever category works best for you to sort them. As I add more collections I will add a divider page with the name of the collection as well.
Now that I have all the items ready to go assembly is fairly easy!

Now I can just add the final touches using the elements I had already planned (and a few extra that caught my eye as I was putting the 2 spreads together!)

Here is the finished pages ready to add to my album


I have all the extras ready to go for my next pages in the album – saving my time and allowing my to spend more time on my layout and not spending time printing! Hope this helps you plan for an upcoming trip or catch up on one like me

Weekender