Tutorial: Printing and Cutting Titles as One Piece in Silhouette Studio!
Have you ever met a lazy perfectionist? Well 👋 Hi! Nice to meet you, I’m Traci, the laziest perfectionist you’ve ever met. I like to do things digitally BEFORE I assemble my layout so that it’s easier for me to get it perfect when it’s time to put it together.
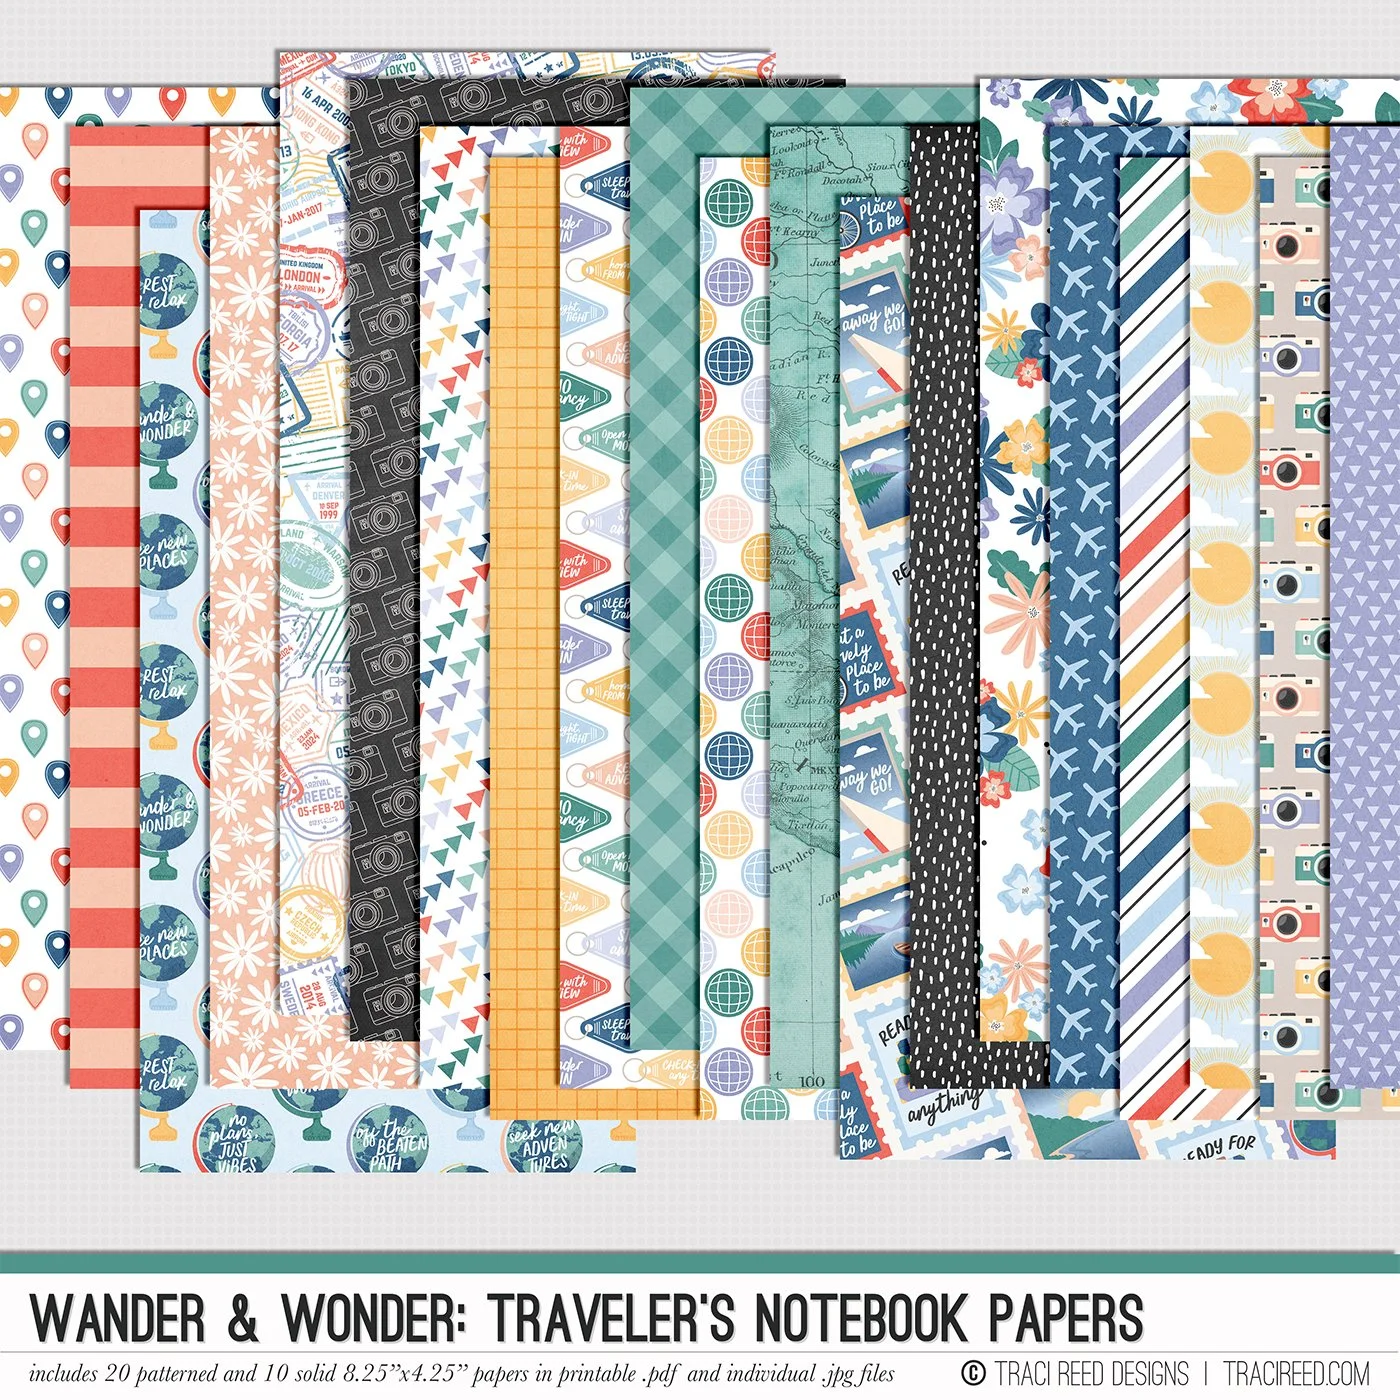
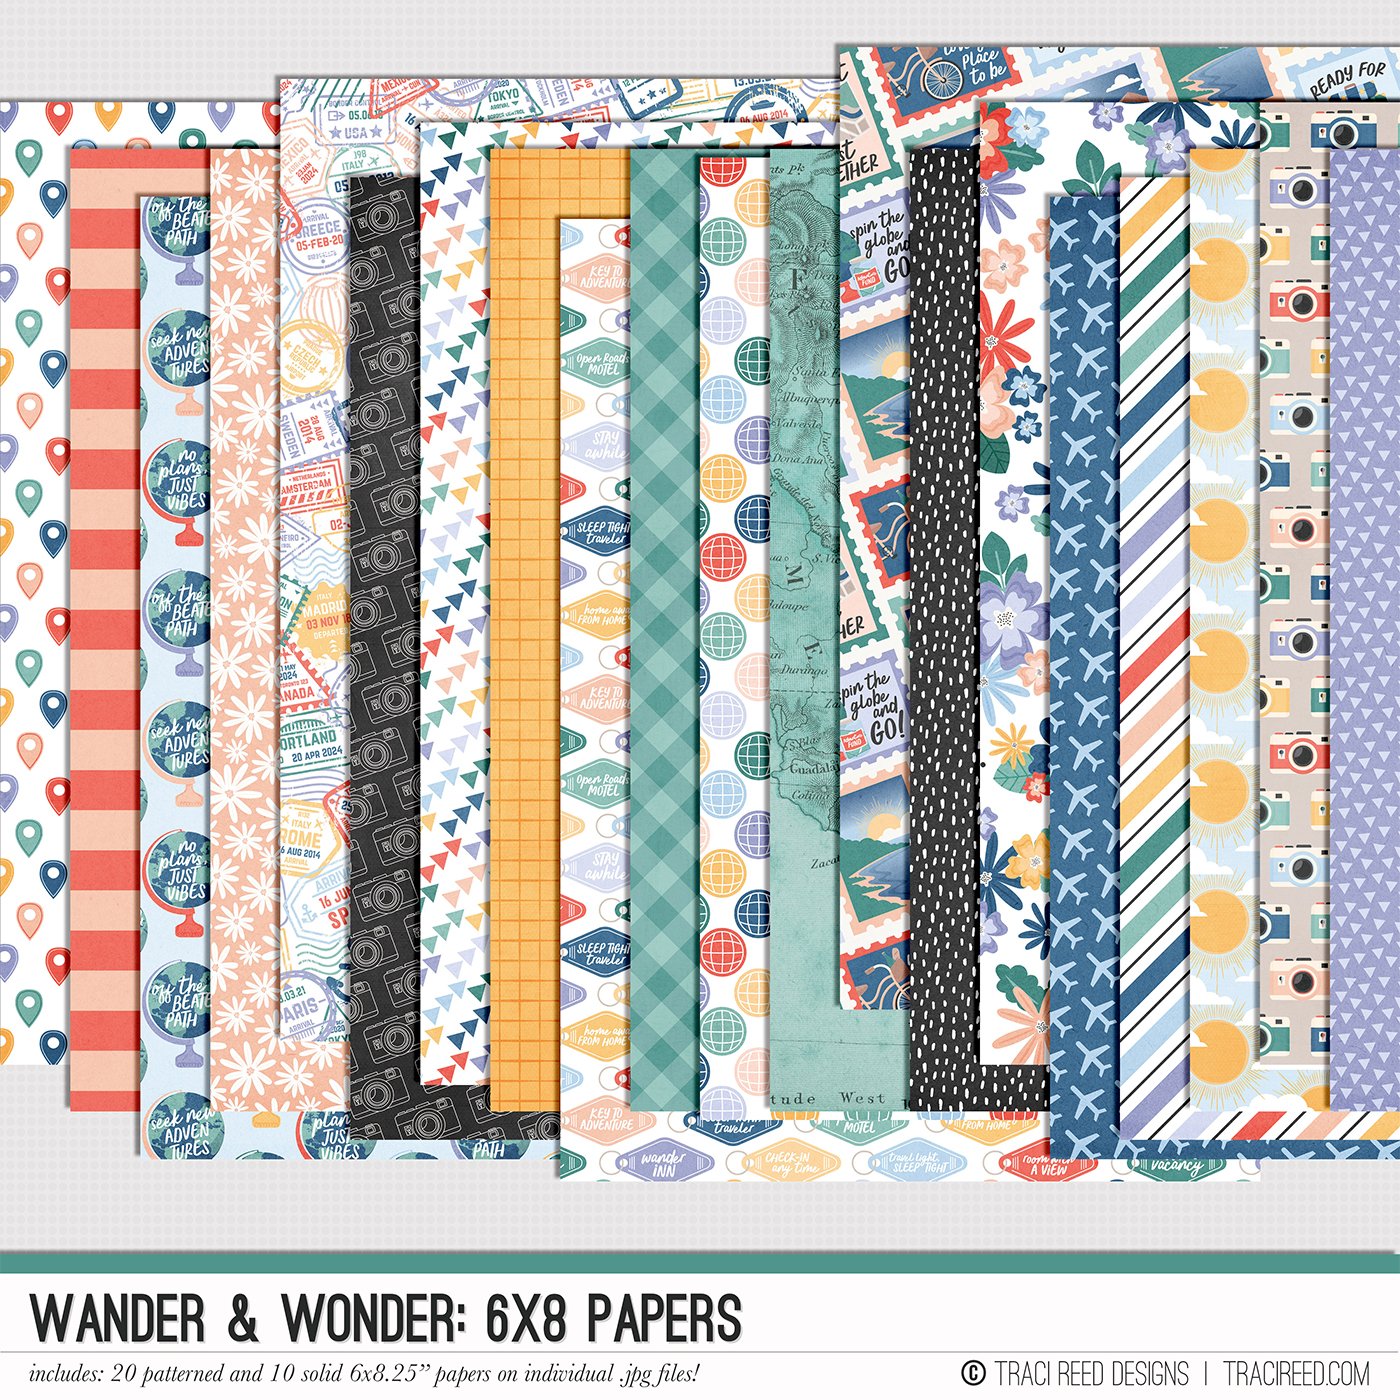
Take, for example, this layout I created recently with the Wander & Wonder collection:

That perfect line of alphas creating my “House Mountain” title? Yeah, you aren’t going to catch me piecing that alpha together by hand if I don’t have to! That’s why I printed and cut them as all one piece via my Silhouette Software and I’m going to show you how to do that today too!

Step 1:
Open a new 8.5x11 Canvas in Silhouette Studio and turn on your registration marks to the smallest settings:

Step 2:
Drag and drop all the individual letters you will need for your title onto your canvas from your finder/explorer window
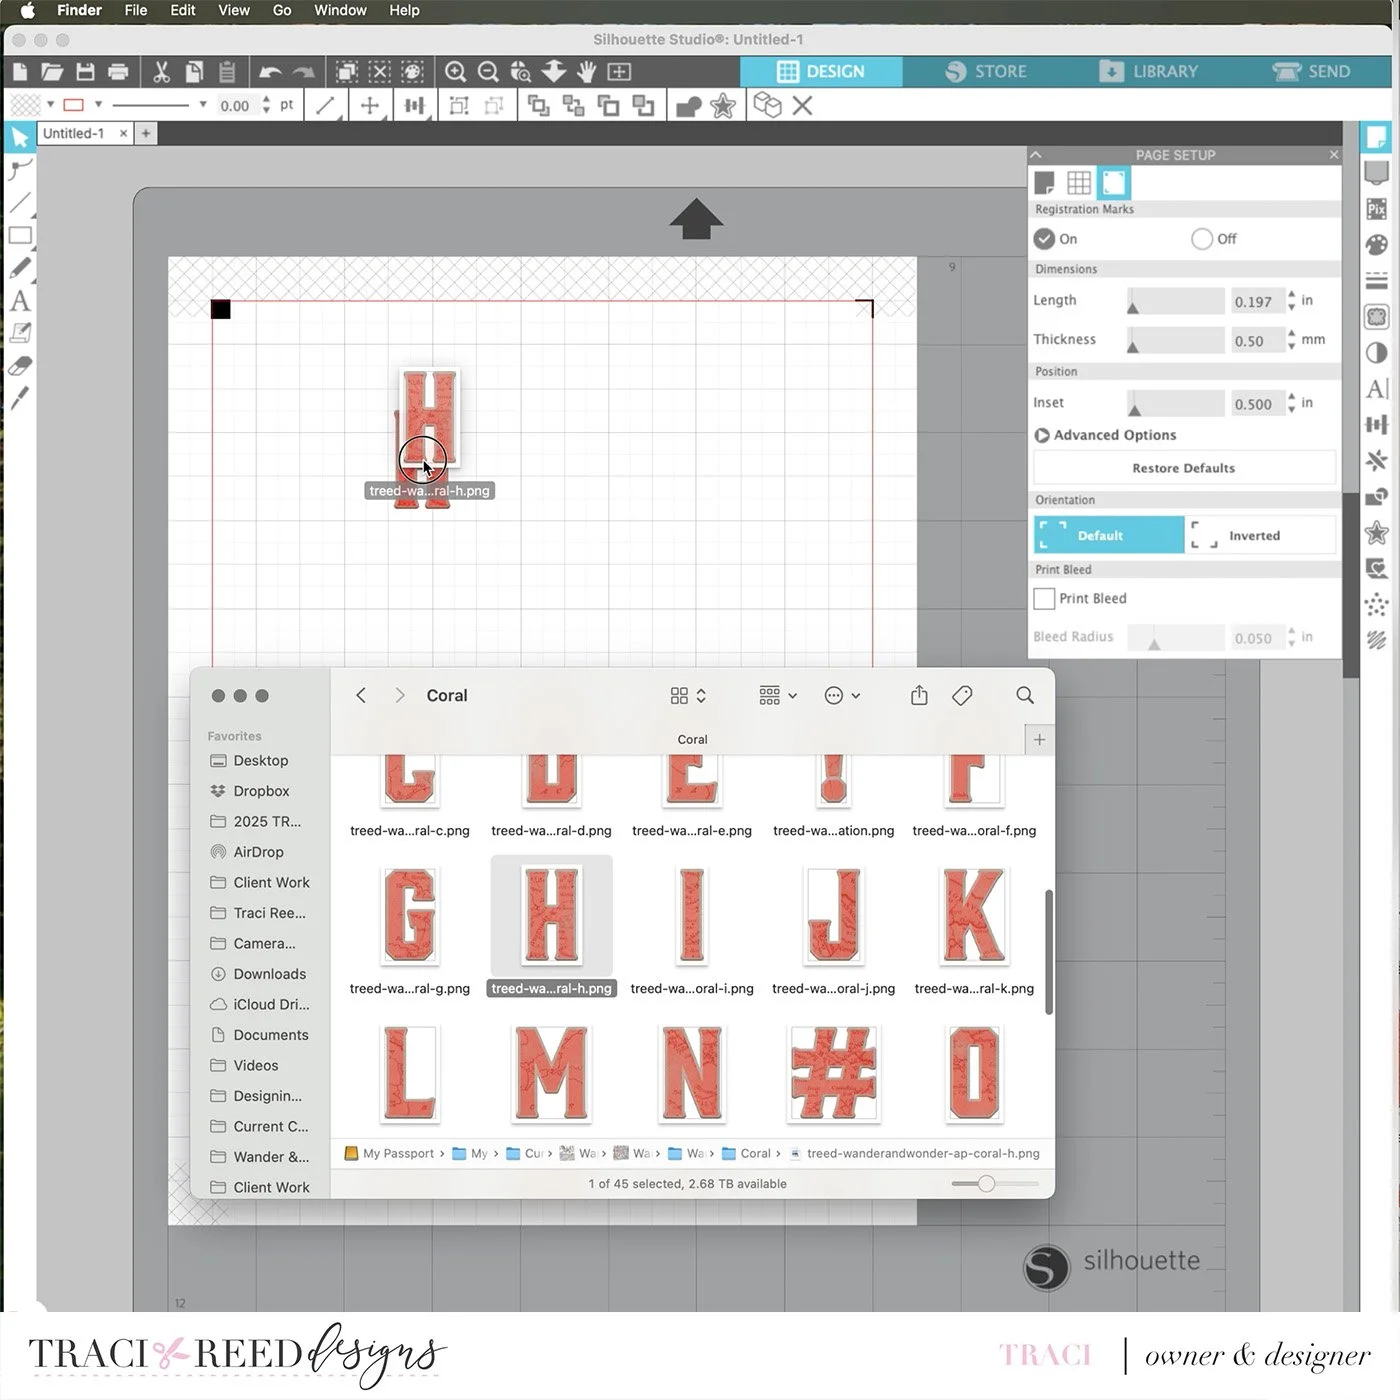
It should look something like this when you’re done:

Step 3:
Align all your letters into your individual words, making sure each letter is touching or overlapping slightly. I wanted a straight line of letters for this particular layout, but you can always get crazy and rotate them, bounce them along the baseline, and overlap them even more. The more points at which they’re touching, the easier it will be to get your title off the silhouette mat in once piece.

Step 4:
Optional: if you’re wanting a straight line like my title, you can use the alignment tools in the top toolbar to align your letters vertically:

Step 5:
For ease of movement, select all your letters in one word, and then right click>Group so they’re locked together and move together.

Step 6:
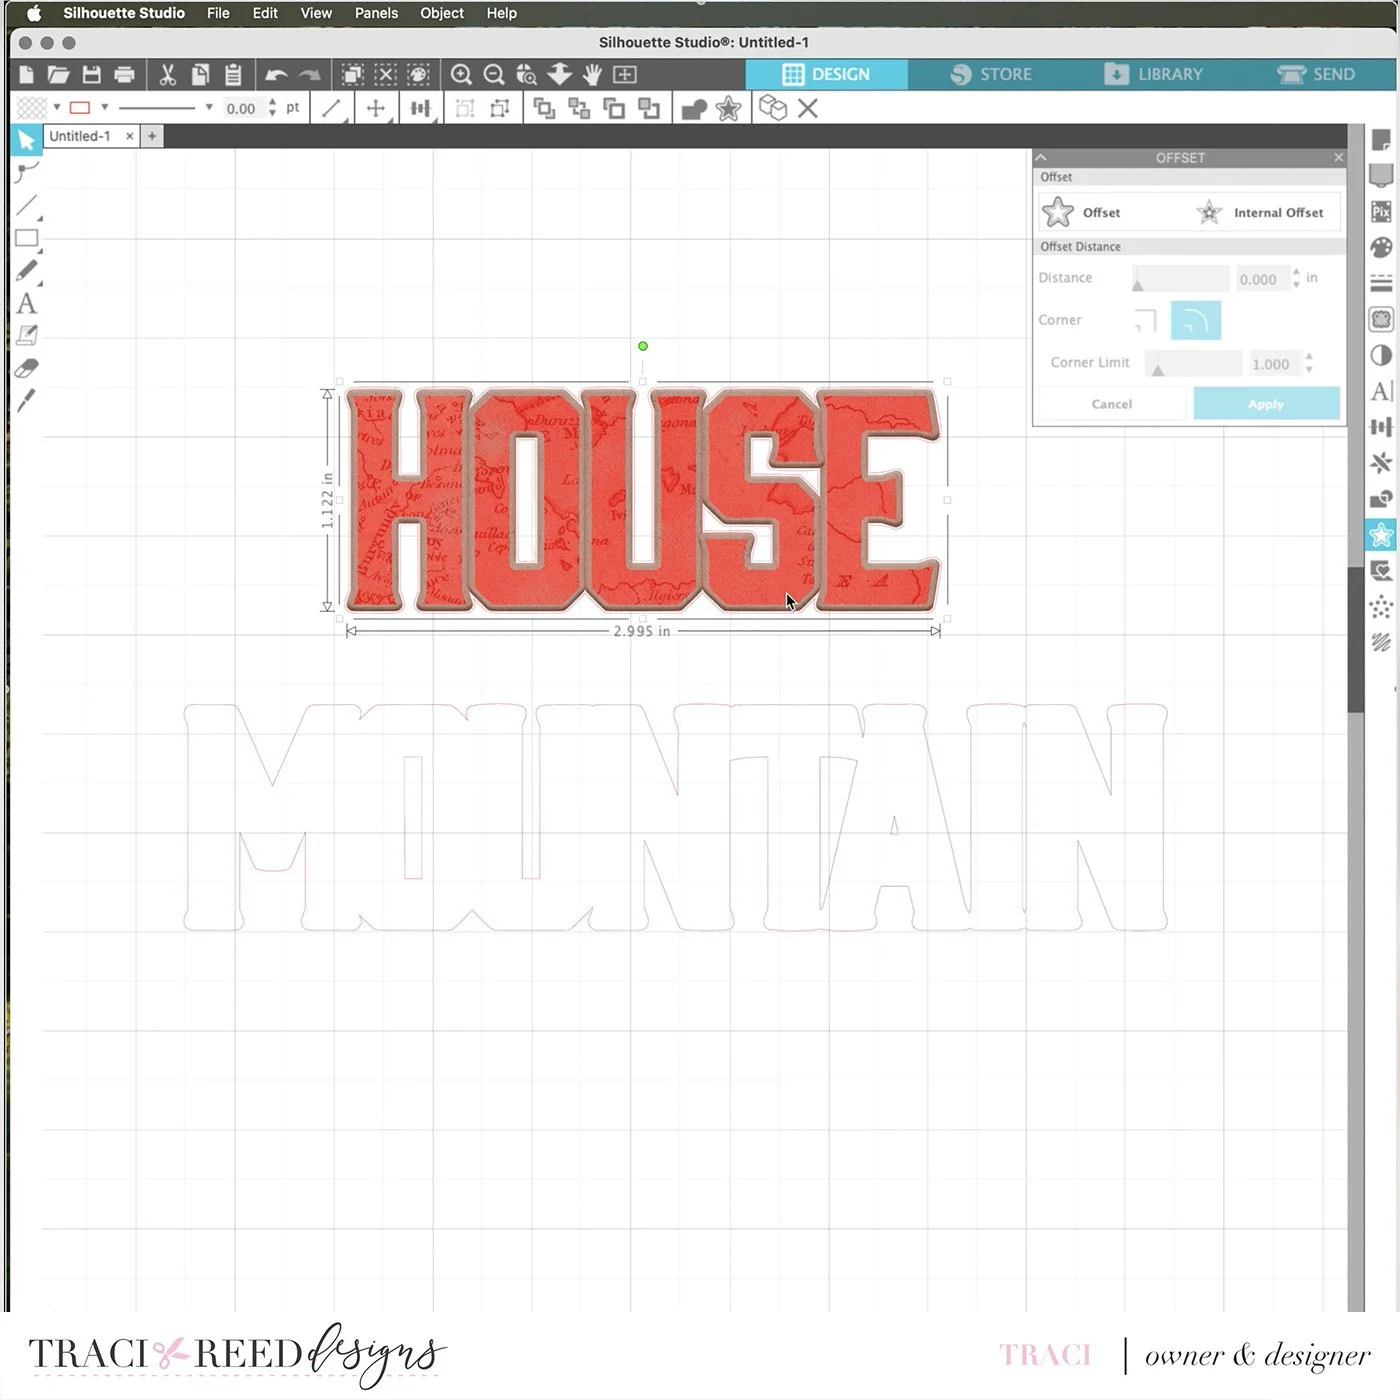
With one word selected, create an offset in the Offset Panel at your preferred outline size. If you want it to have as little white border as possible, choose .01 like I did below.

This will create a merged outline like below:

Step 7:
Use the Edit Point tool to get rid of any portions of the cut lines that are too close, like the vertical line below. Just select a point and hit “delete” until all the points are gone.

Step 8:
You’re now ready to send your print and cut file to the printer. Make sure you print at the highest quality settings!
(Sub-tip: If you want a thicker or chipboard-like appearance, duplicate your title at least 3 times before printing)

Step 9:
After printing, delete just the letters - not the offset outline! - from your document. There’s a convoluted way to choose which cut lines to print in the send panel, but again, I’m lazy and find it easier to just delete what I don’t want cut.
If you don’t delete these, the auto-generated cut lines that Silhouette creates when you open .png files will cut TOO, cutting out each individual letter AND your offset outline - so this is an important step!
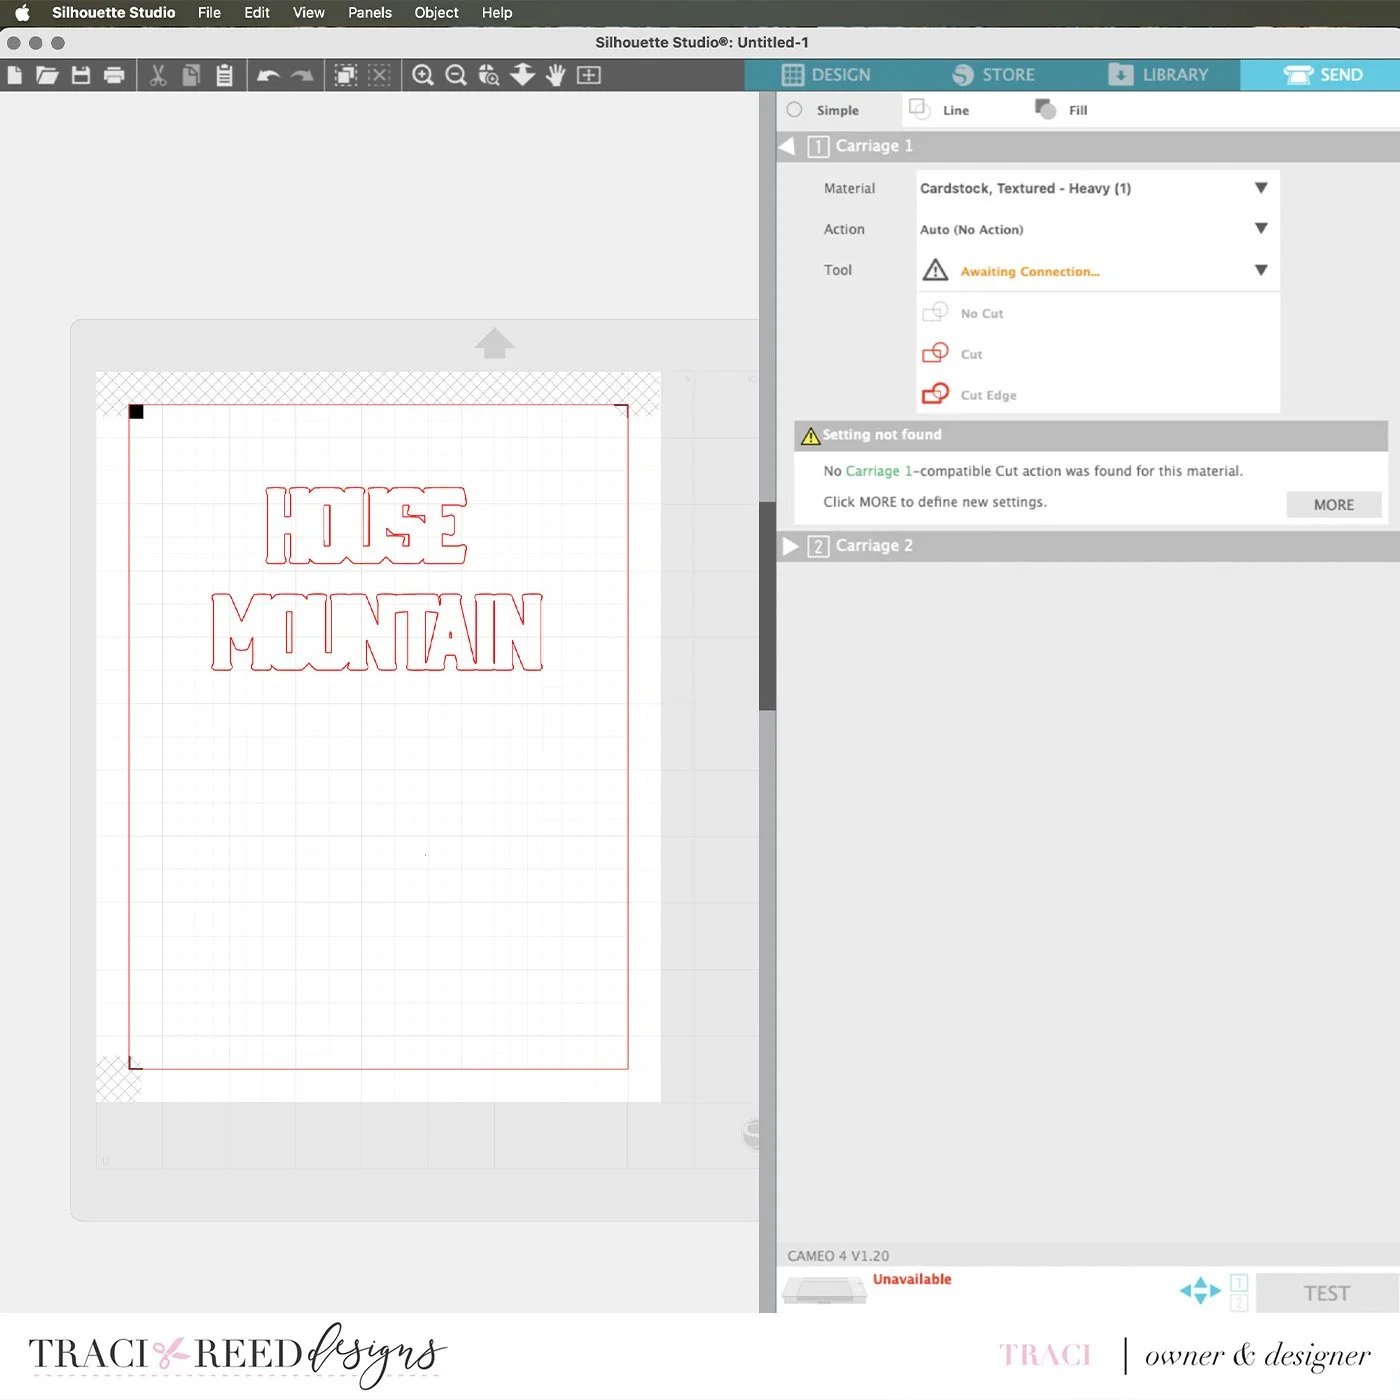
Step 10:
Send to silhouette and cut on your preferred settings!
And there you have it! A title using individual letters from the alpha pack print and cut as a whole word so you can be lazy (and smart) like me! I printed 3 copies of each word for this layout to make my title have that chipboard depth:

I hope you found this tutorial helpful!
xoxo,
Traci