Create a Traveler's Notebook Folder using the Trailblazer Collection - Free Download Inside!
Hi Friends!
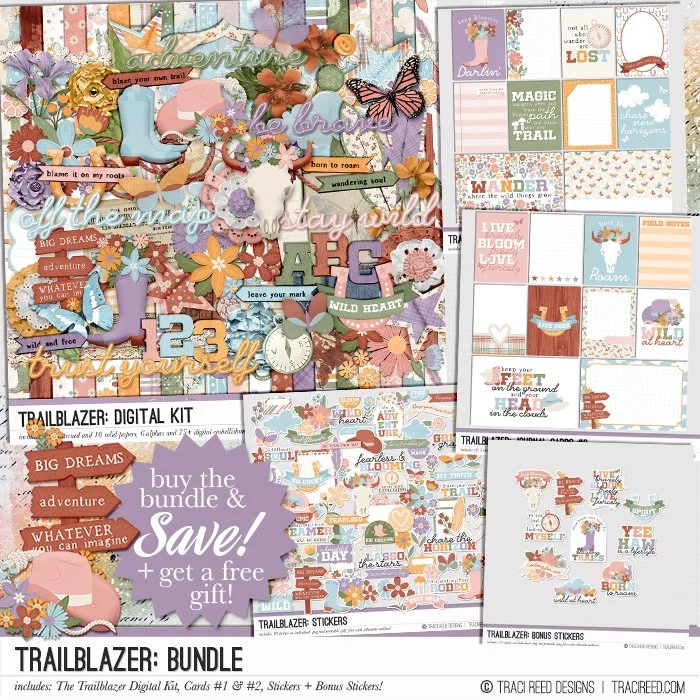
Today I wanted to share how I used the Trailblazer collection to create a folder to put in my Traveler’s Notebook system. Making this folder with printable papers is a great way to really personalize your systems!
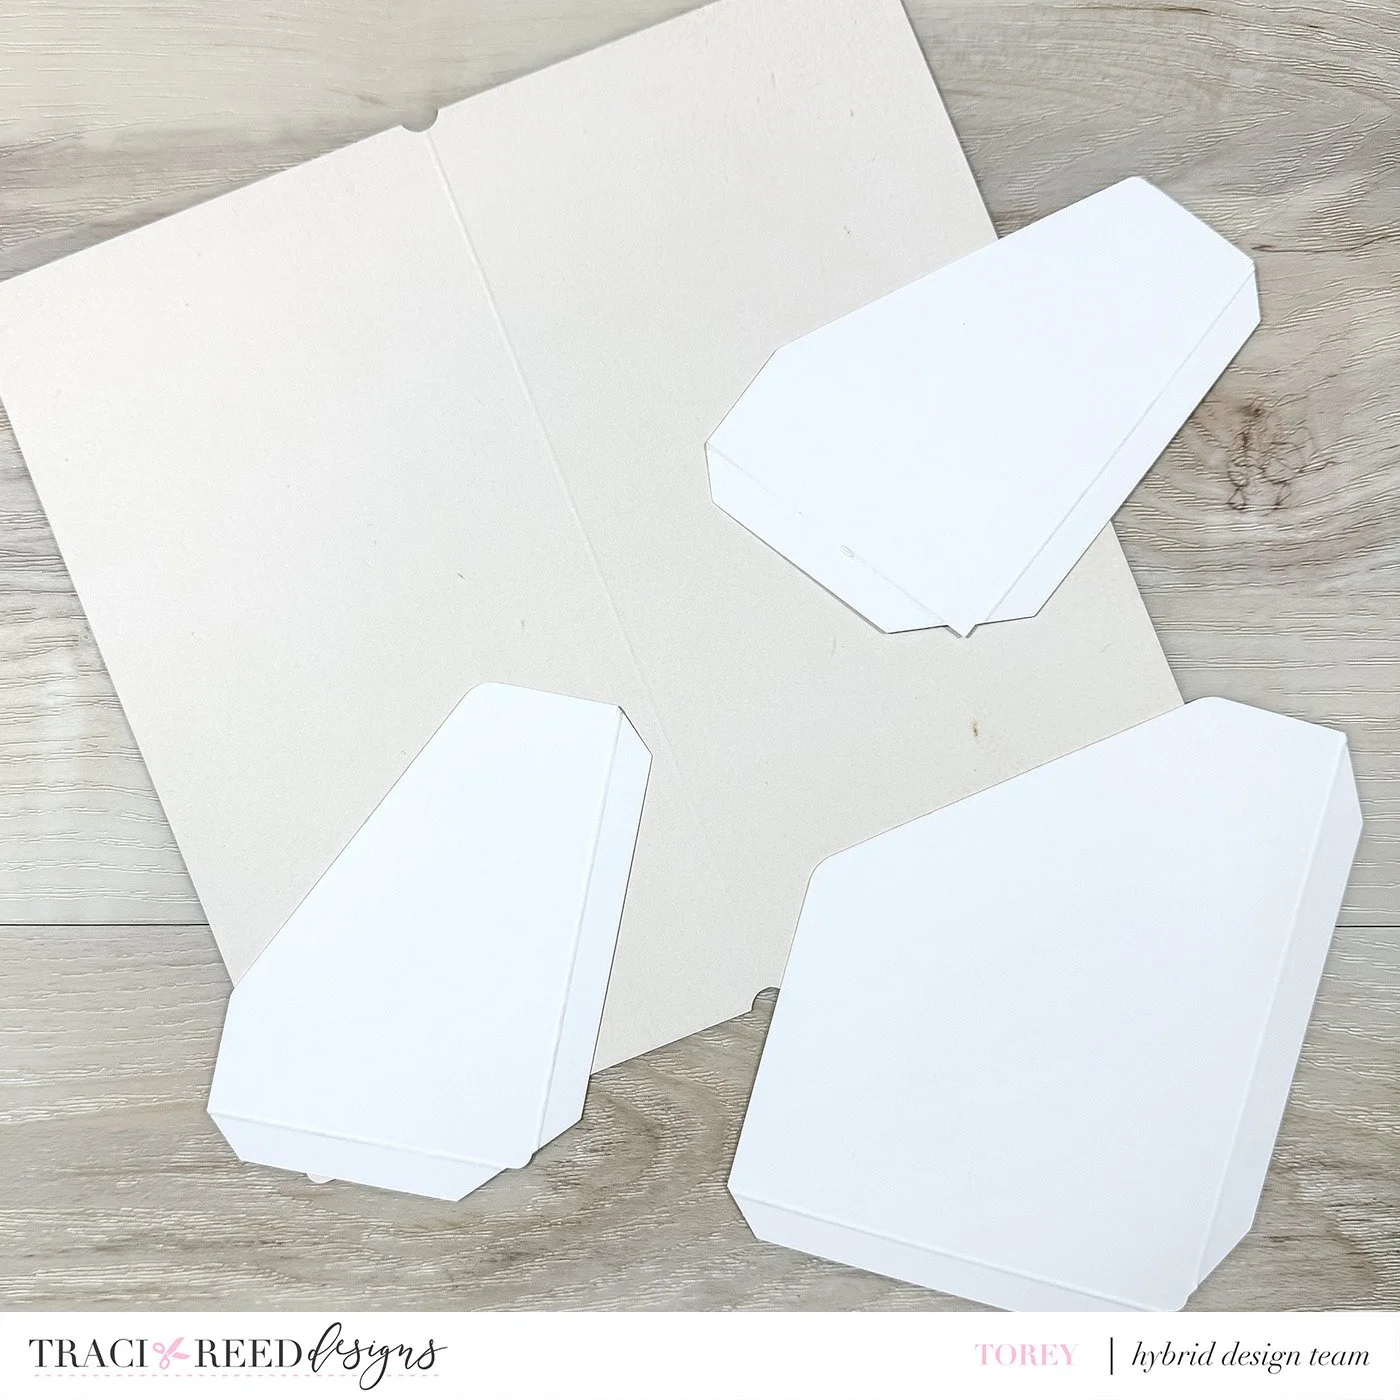
I started this process by creating some cut files from .png images. Though, if you don’t have a cutting machine, this kind of folder can be altered and easily cut out by hand.
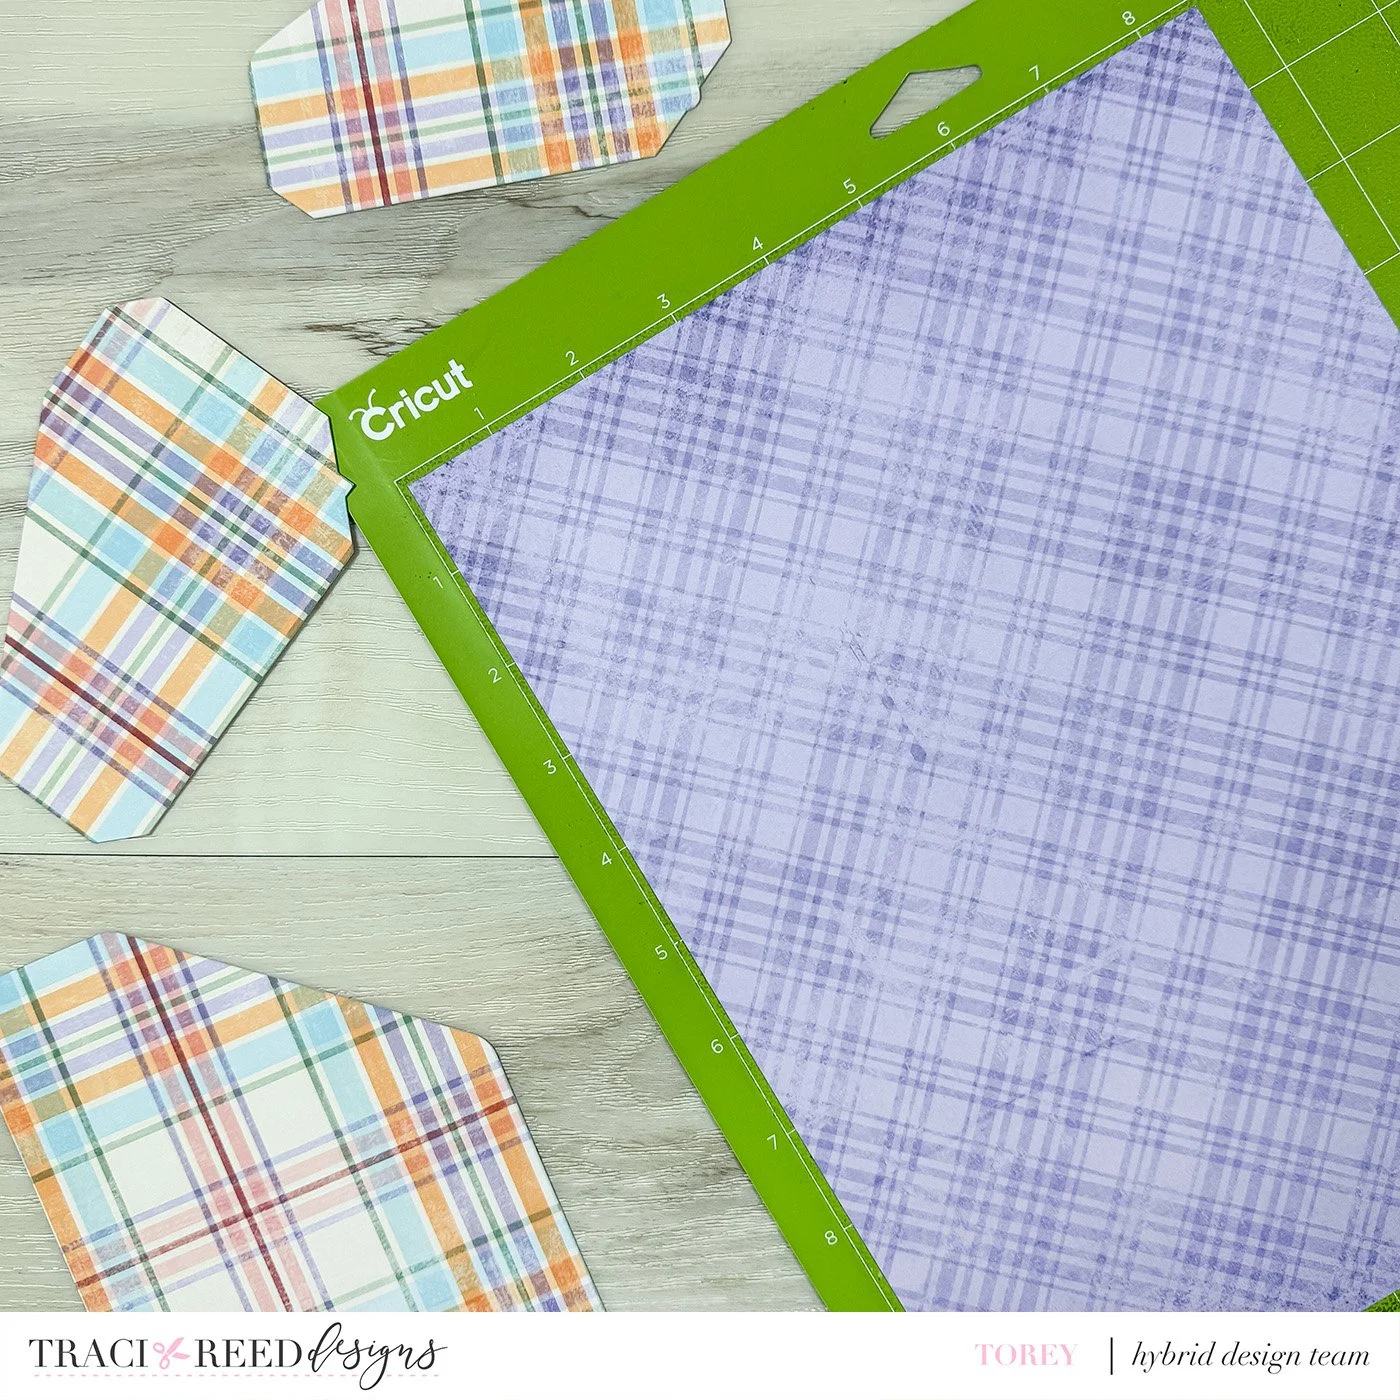
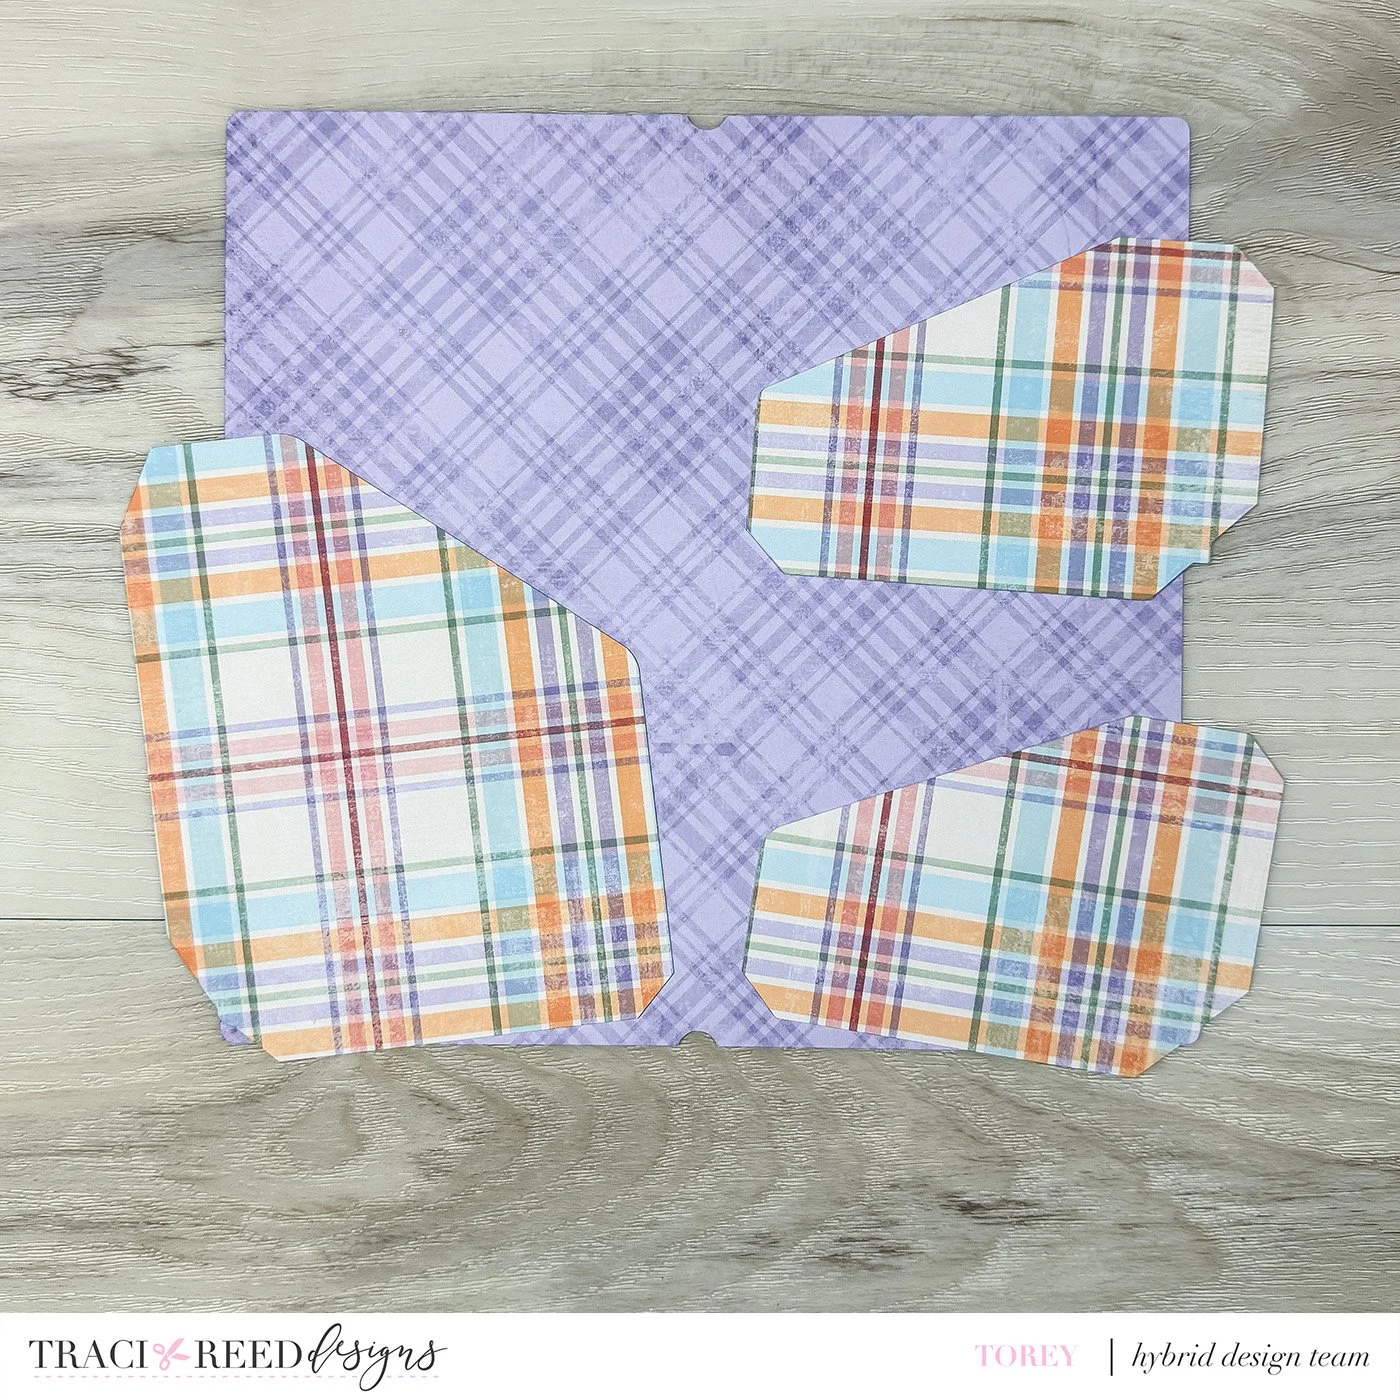
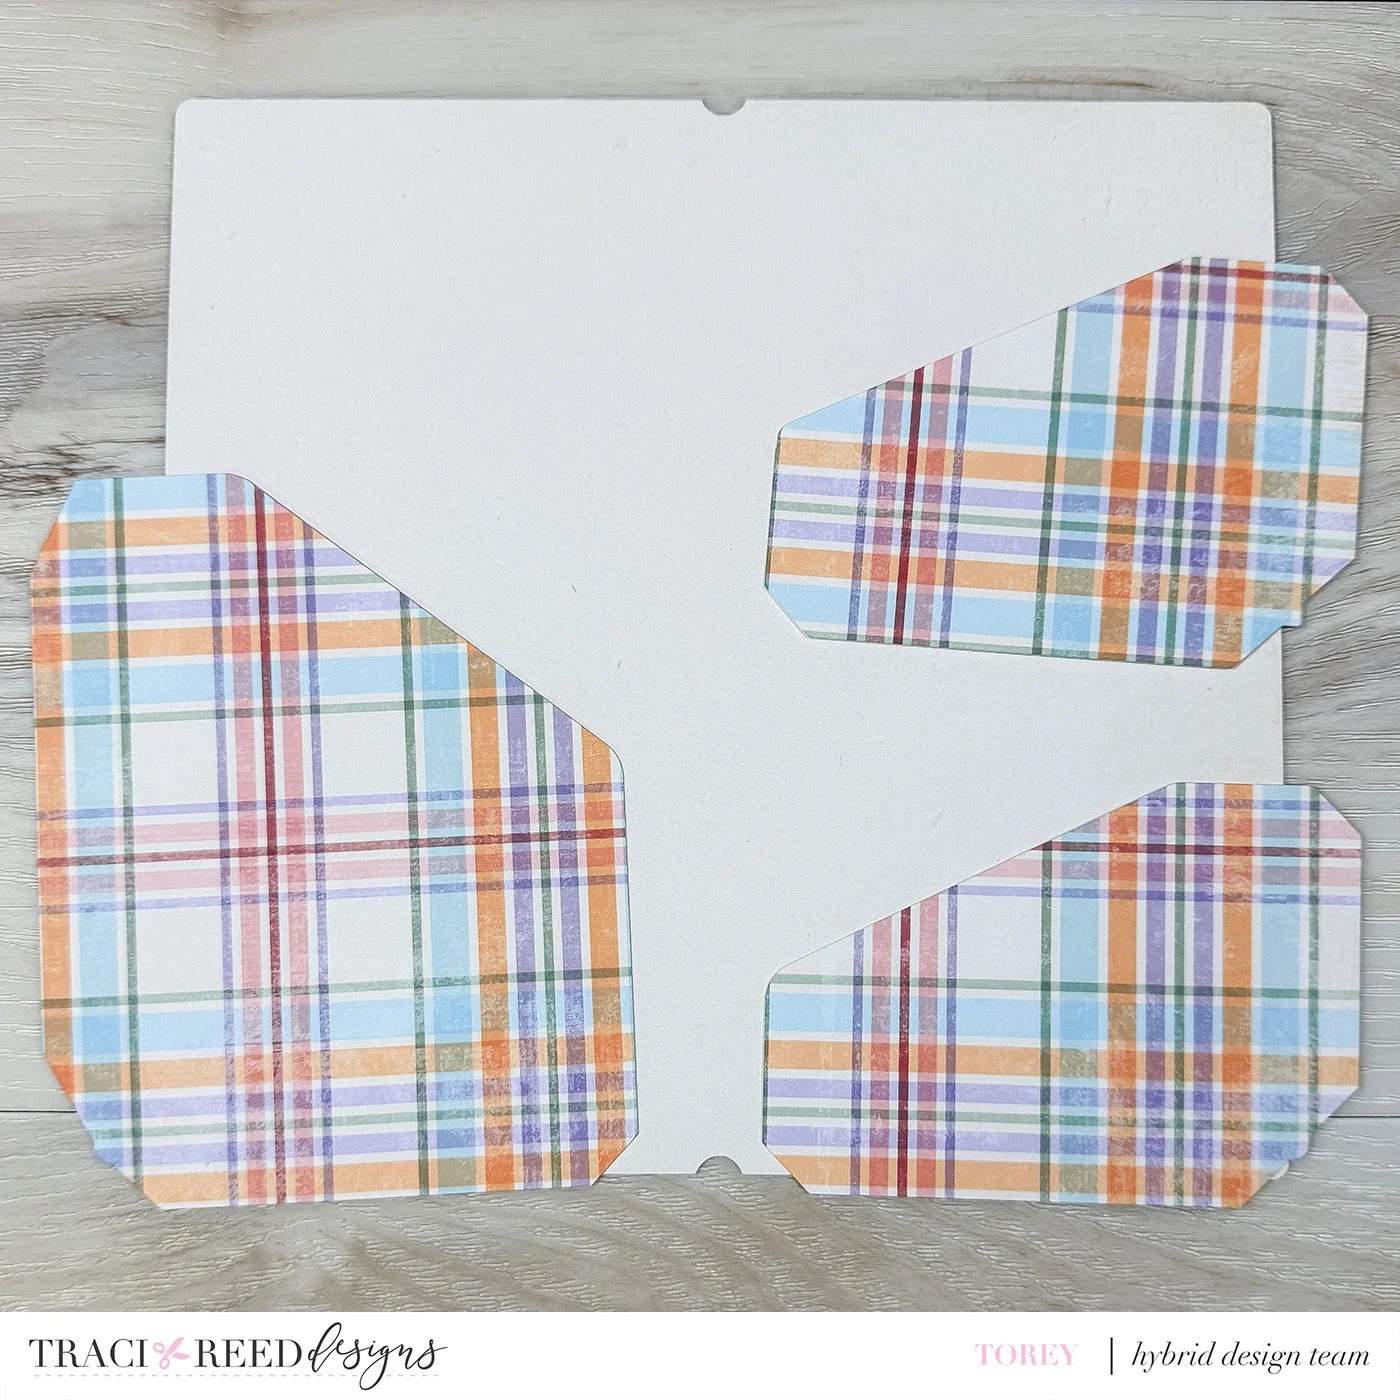
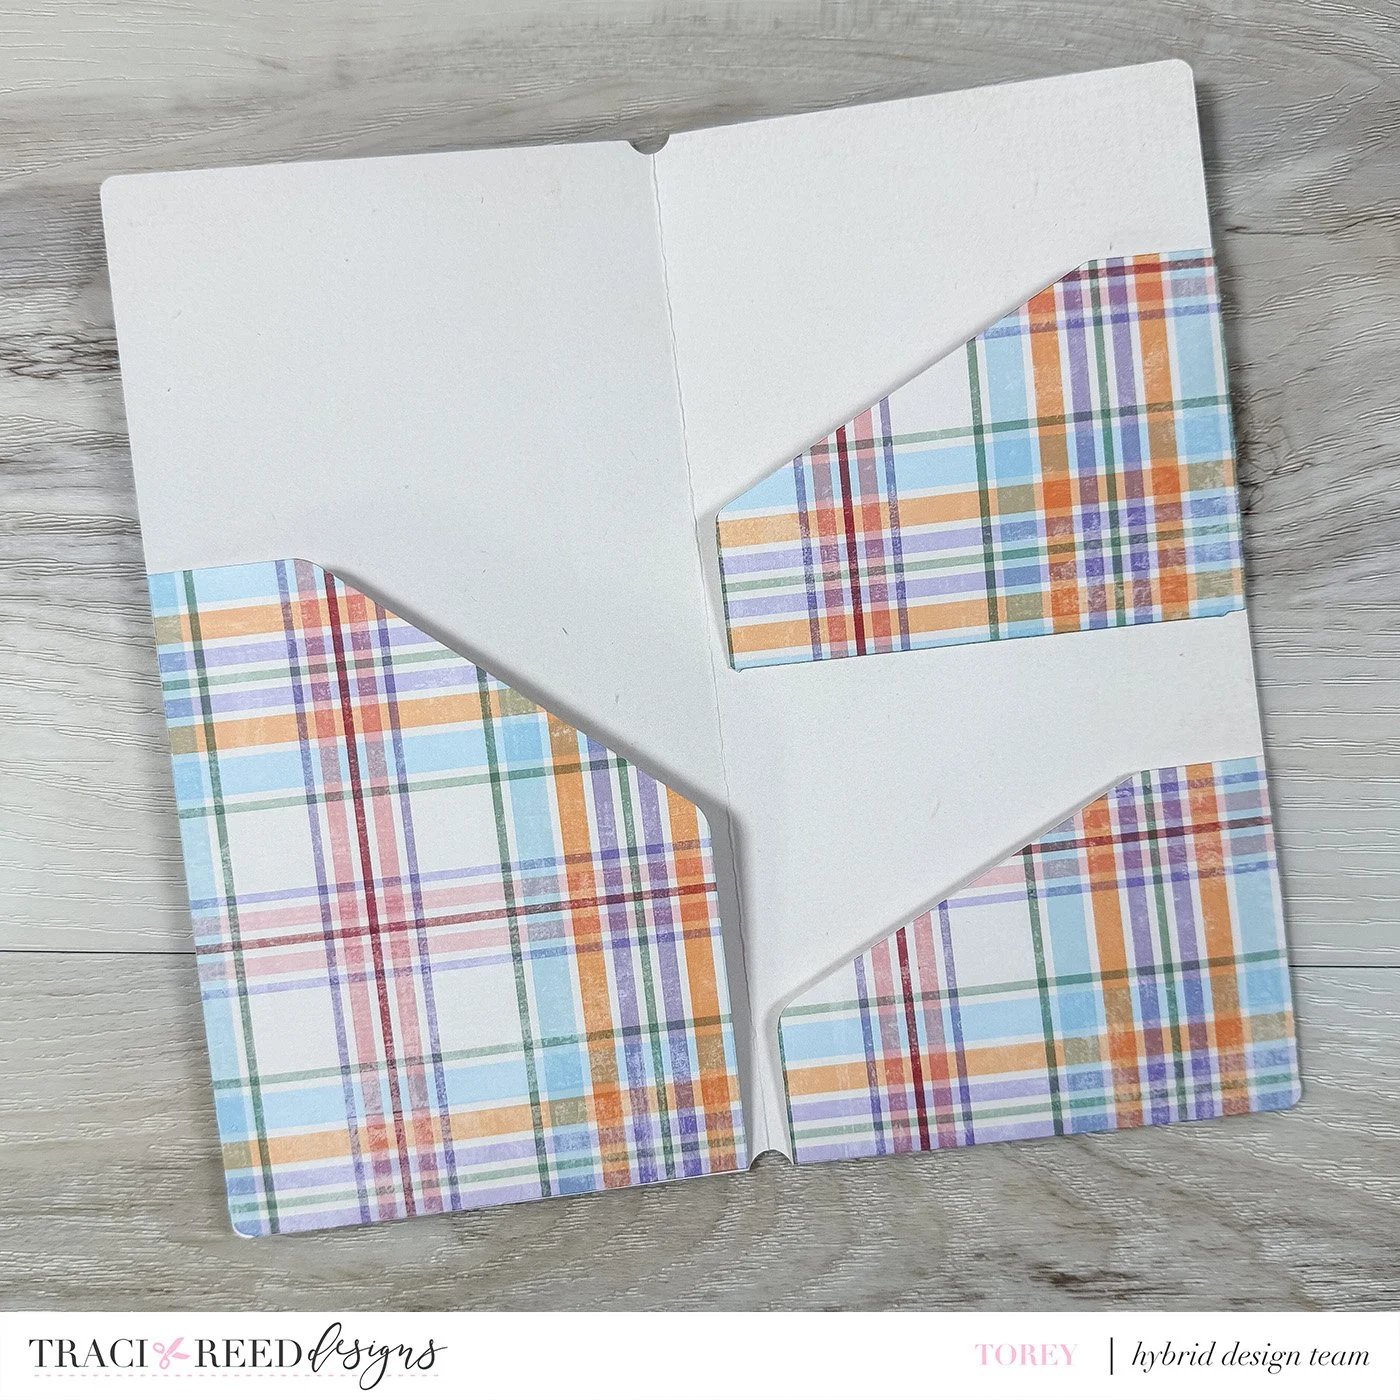
I cut out four main pieces. The folder body, and 3 pockets to place inside the folder. For the main body of this folder, I recommend using some fairly thick cardstock. 110lb cardstock will give you the best results!
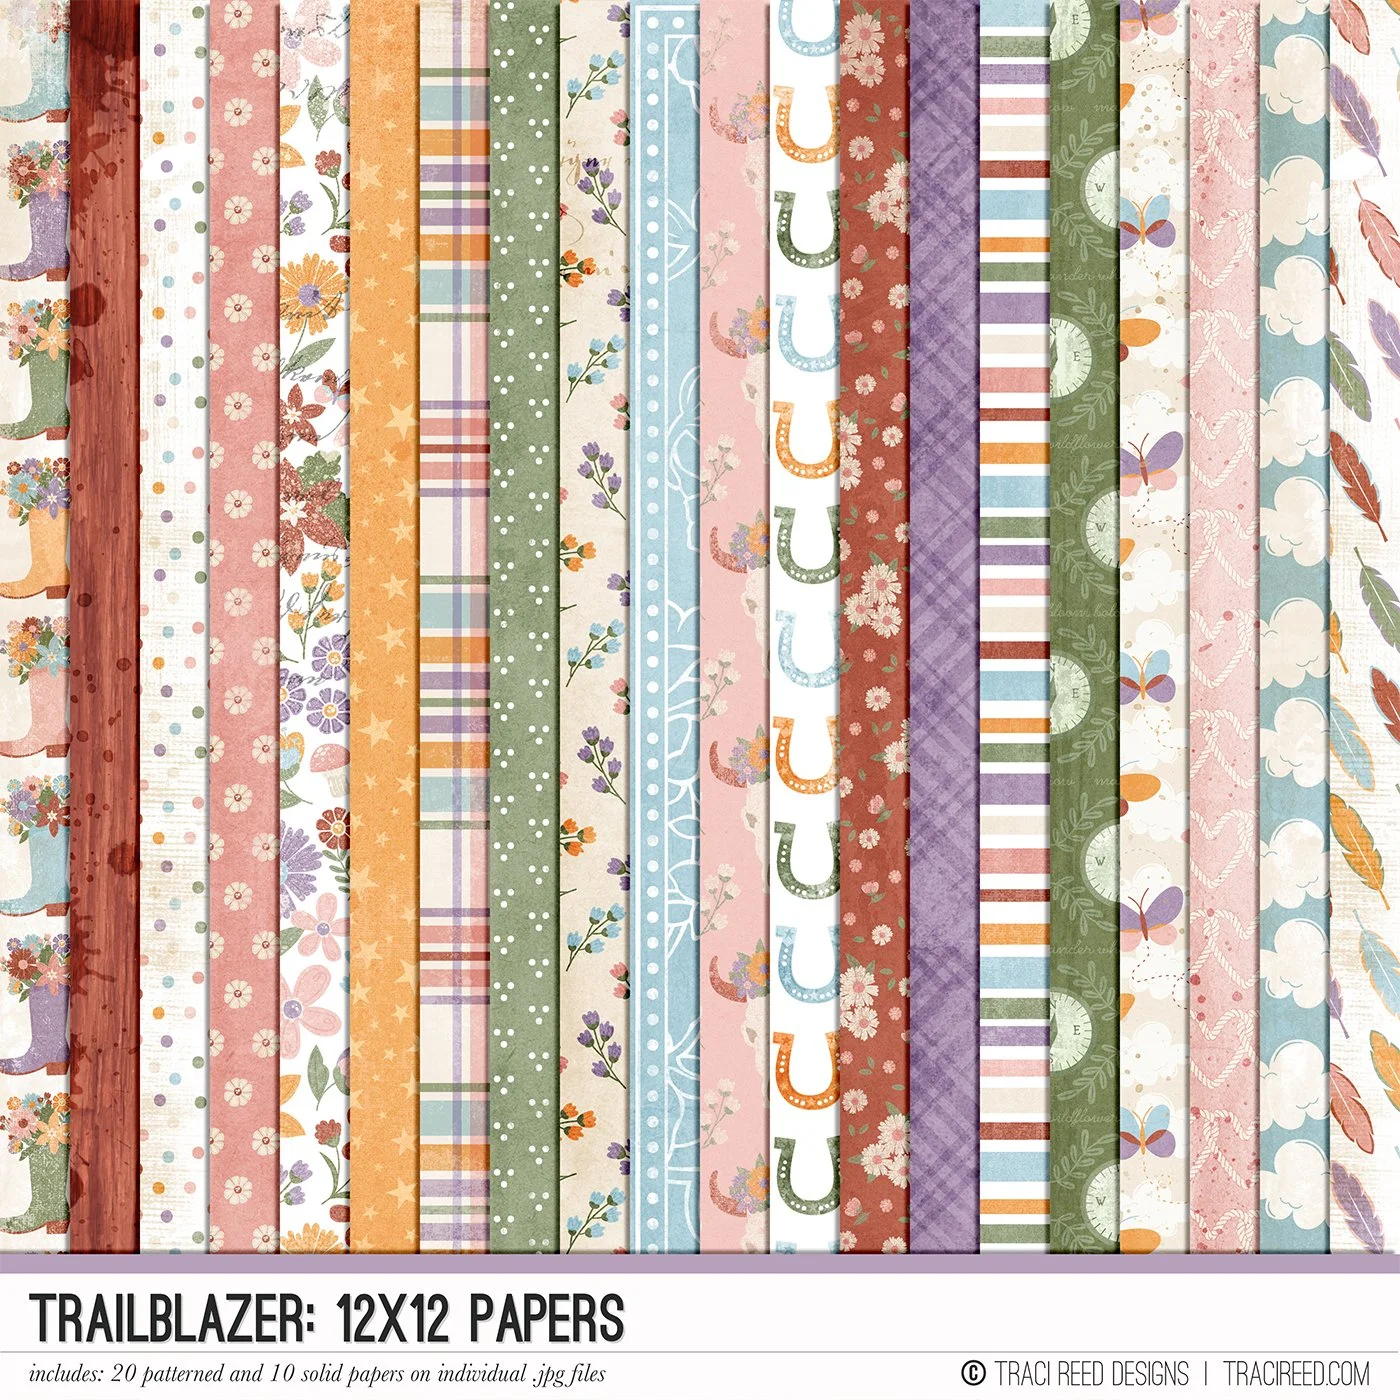
I chose one of the patterned papers for the main part of my folder, but I decided to printed on both sides of this paper. One side had plaid, and the other had a textured solid color from the collection. I did this so that the inside of my folder wouldn’t be stark white.
Download the templates I created for this project HERE and HERE!
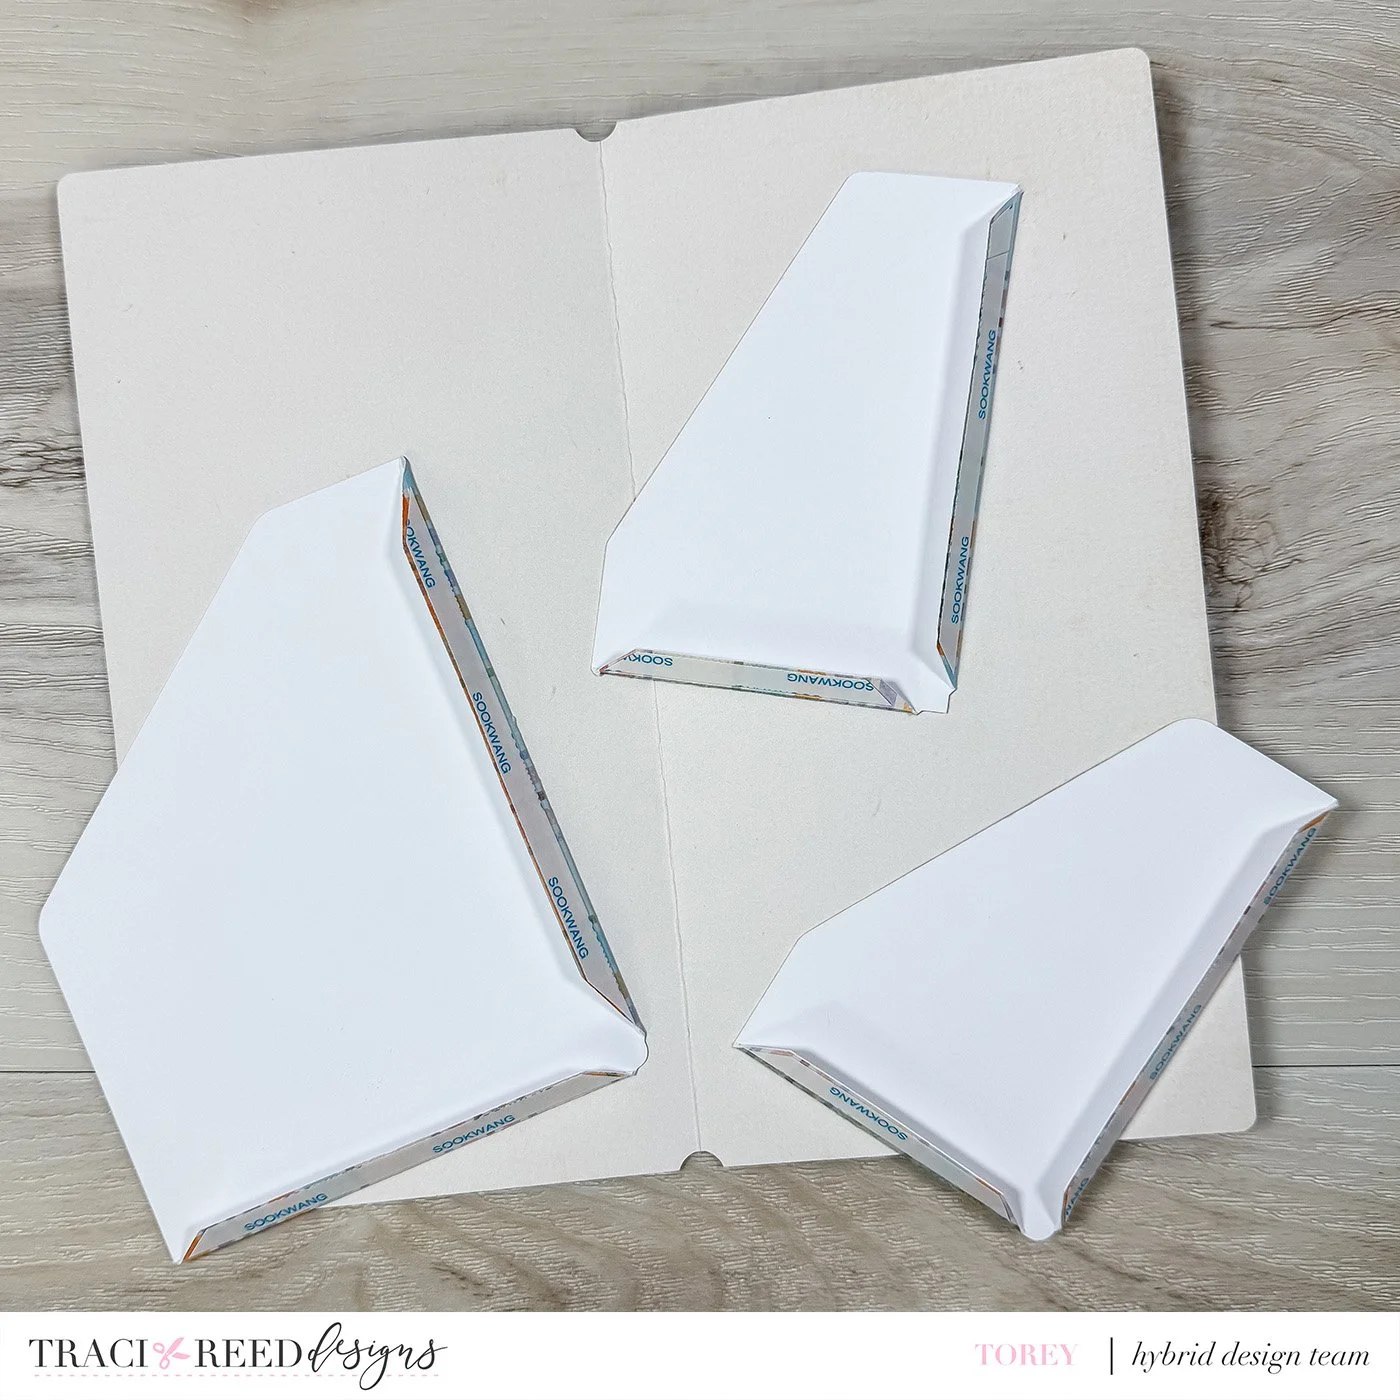
Once everything was cut out, I used a scor-board to create creases along the edges of my pocket pieces and folded them. These folded pieced will be how I connect the pockets to my folder.
I applied double sided tape to each of the folded pieces of my pockets.
I then adhered everything together!
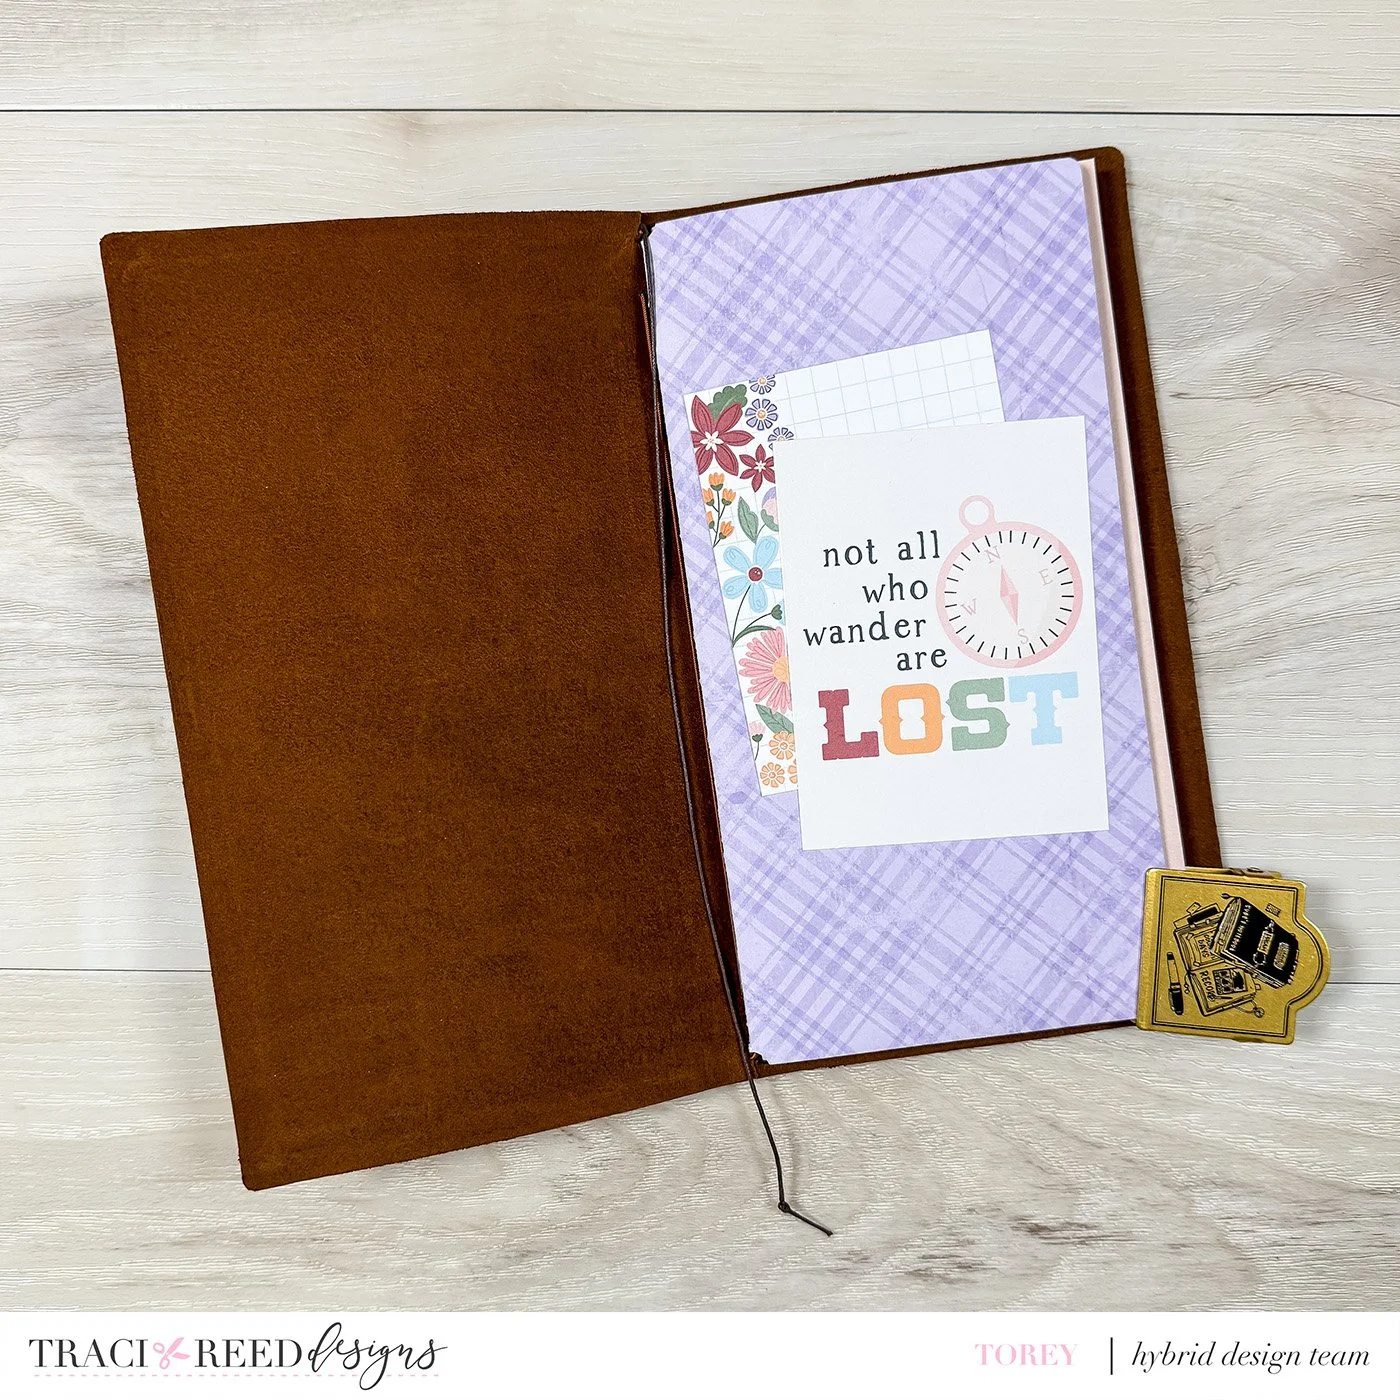
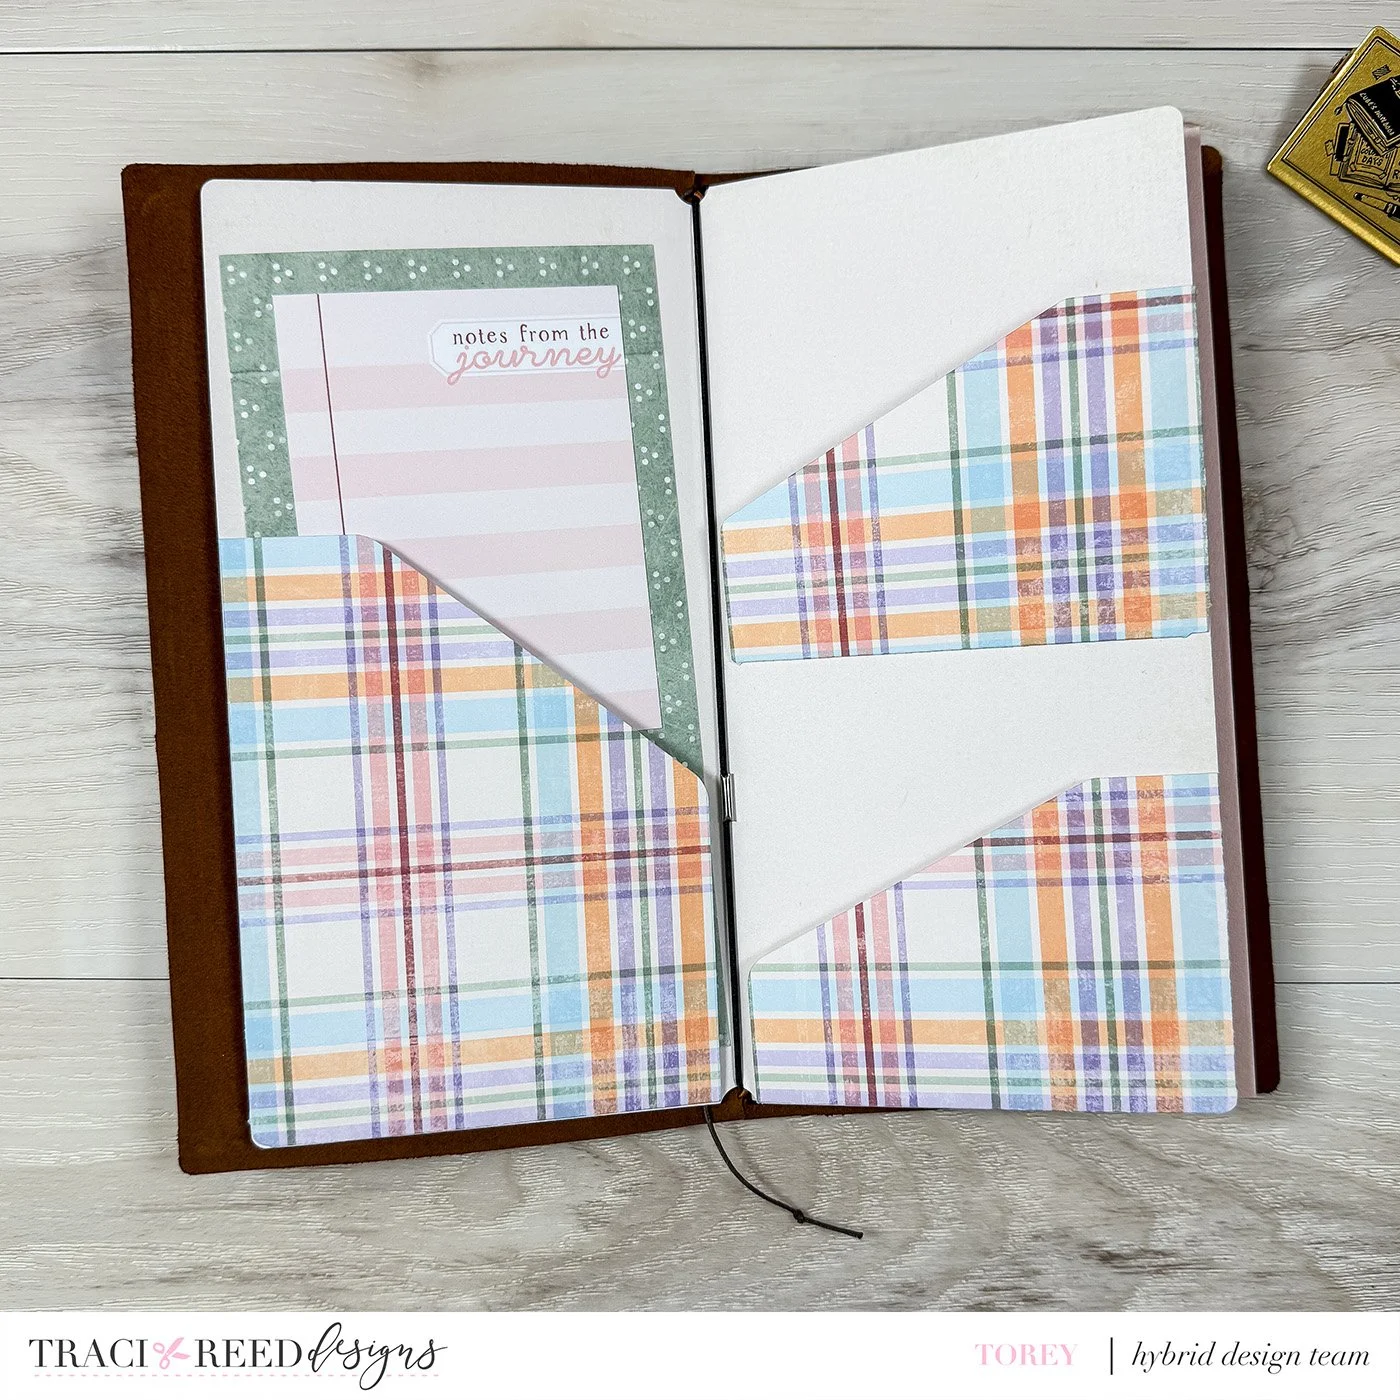
The last thing I did for this project was to add some of the journaling cards from the collection to the front, and create a small insert to add into one of the pockets (I had to make sure they worked of course, hehe). Below is the final product and how it looks in my Traveler’s Notebook cover.

Thank you for joining me today!