Create Your Own Fabric-Covered album with Printable Fabric!
When I saw the inkjet printable fabric I just knew that I wanted to use it with a paper or two from Trailblazer to make a TN size album. I've made a few in the past and find that using fabric on the outside makes the album really strong and flexible.
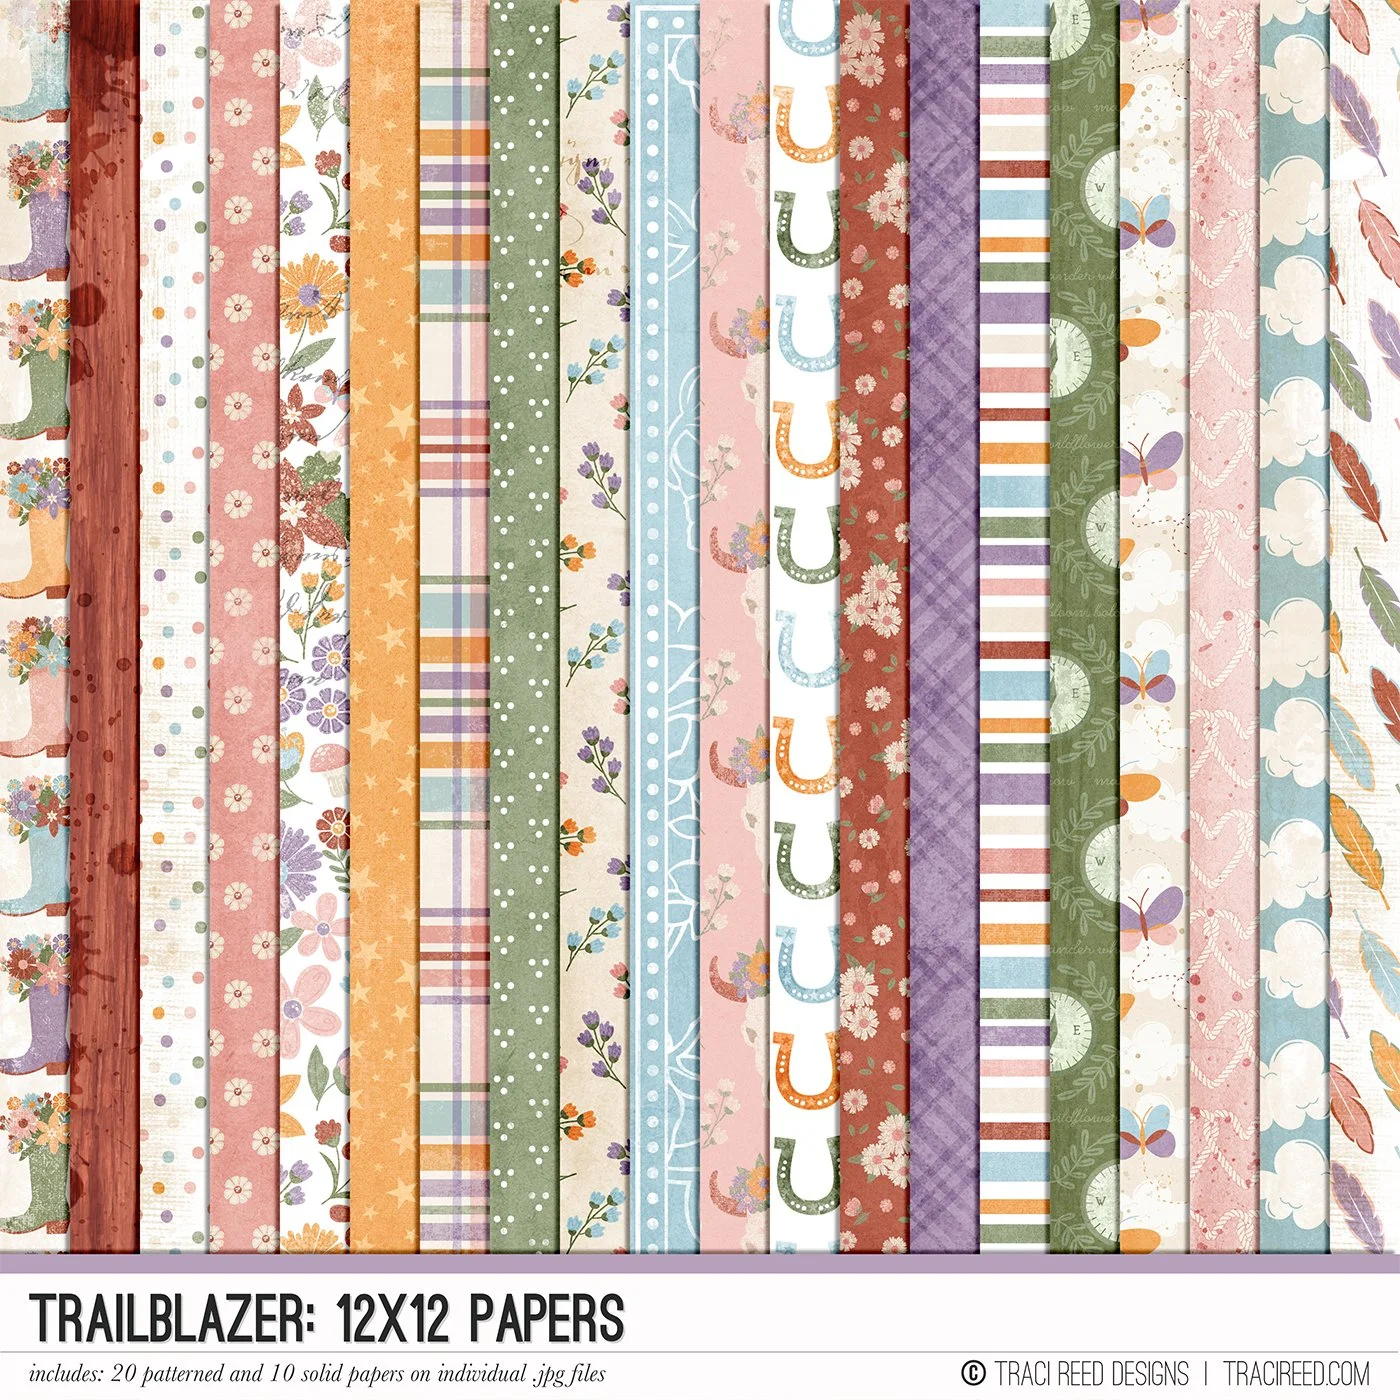
To print the fabric I first chose a paper from Trailblazer where I could easily match the pattern as I needed to fill an A3 sheet. I opened Silhouette Studio with an A3 canvas, imported the butterfly paper and duplicated it. I then moved the paper to match the pattern and then printed it onto the fabric . Once I had removed the backing paper I was ready to play with the fabric!
I cut three pieces of firm chipboard, 2 at 16.5cm x 23.5cm and one at 4cm x 23.5cm. I then sprayed one side of the chipboard with photo mount adhesive (you can use wet glue but I found the spray mount does not show through the fabric) and placed the sticky side down onto the fabric. I then mitred each corner and folded the edges onto the inside of the chipboard using the spray mount to hold them down.
I chose another patterned paper for covering the inside of the album and again matched the pattern on an A3 canvas and this time printed it onto card. This I cut down to 37cm x 22.5cm, sprayed with photo mount and placed on the fabric and chipboard. You then need to bend the front and back covers gently to get the card to crease without tearing.
It was then just a case of affixing the ring binder mechanism which I did using a silent setter and chicago screws. I get most of my binder mechanisms by taking apart old folders.
And there you have it, a TN sized ring binder with a gorgeous cover! I have made so many of these and now I have found this printable fabric I am going to love making them to coordinate with a collection!
And I’m not stopping with just making albums! I loved that butterfly print so much I printed another sheet of fabric and used it to make a case for my sunglasses! It stitches beautifully!


