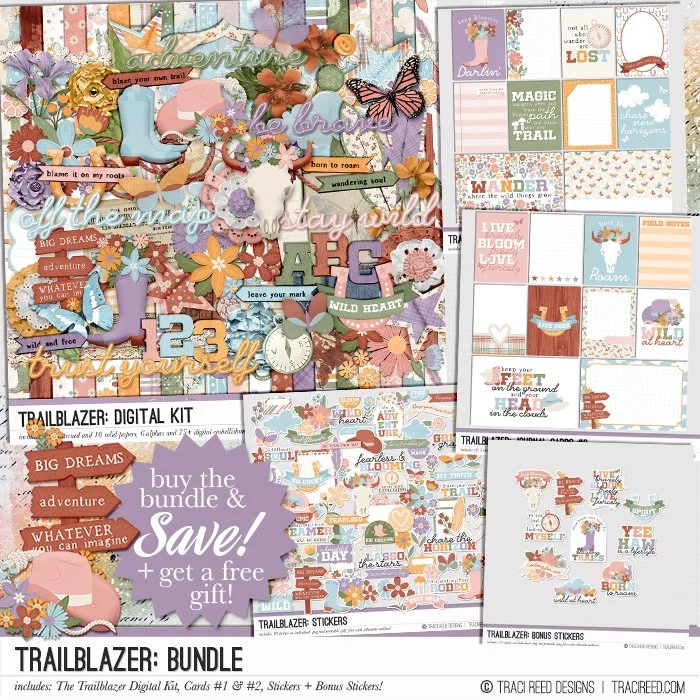
Creating Faux Quilted Backgrounds with the Trailblazer Digital 4x6 Cards
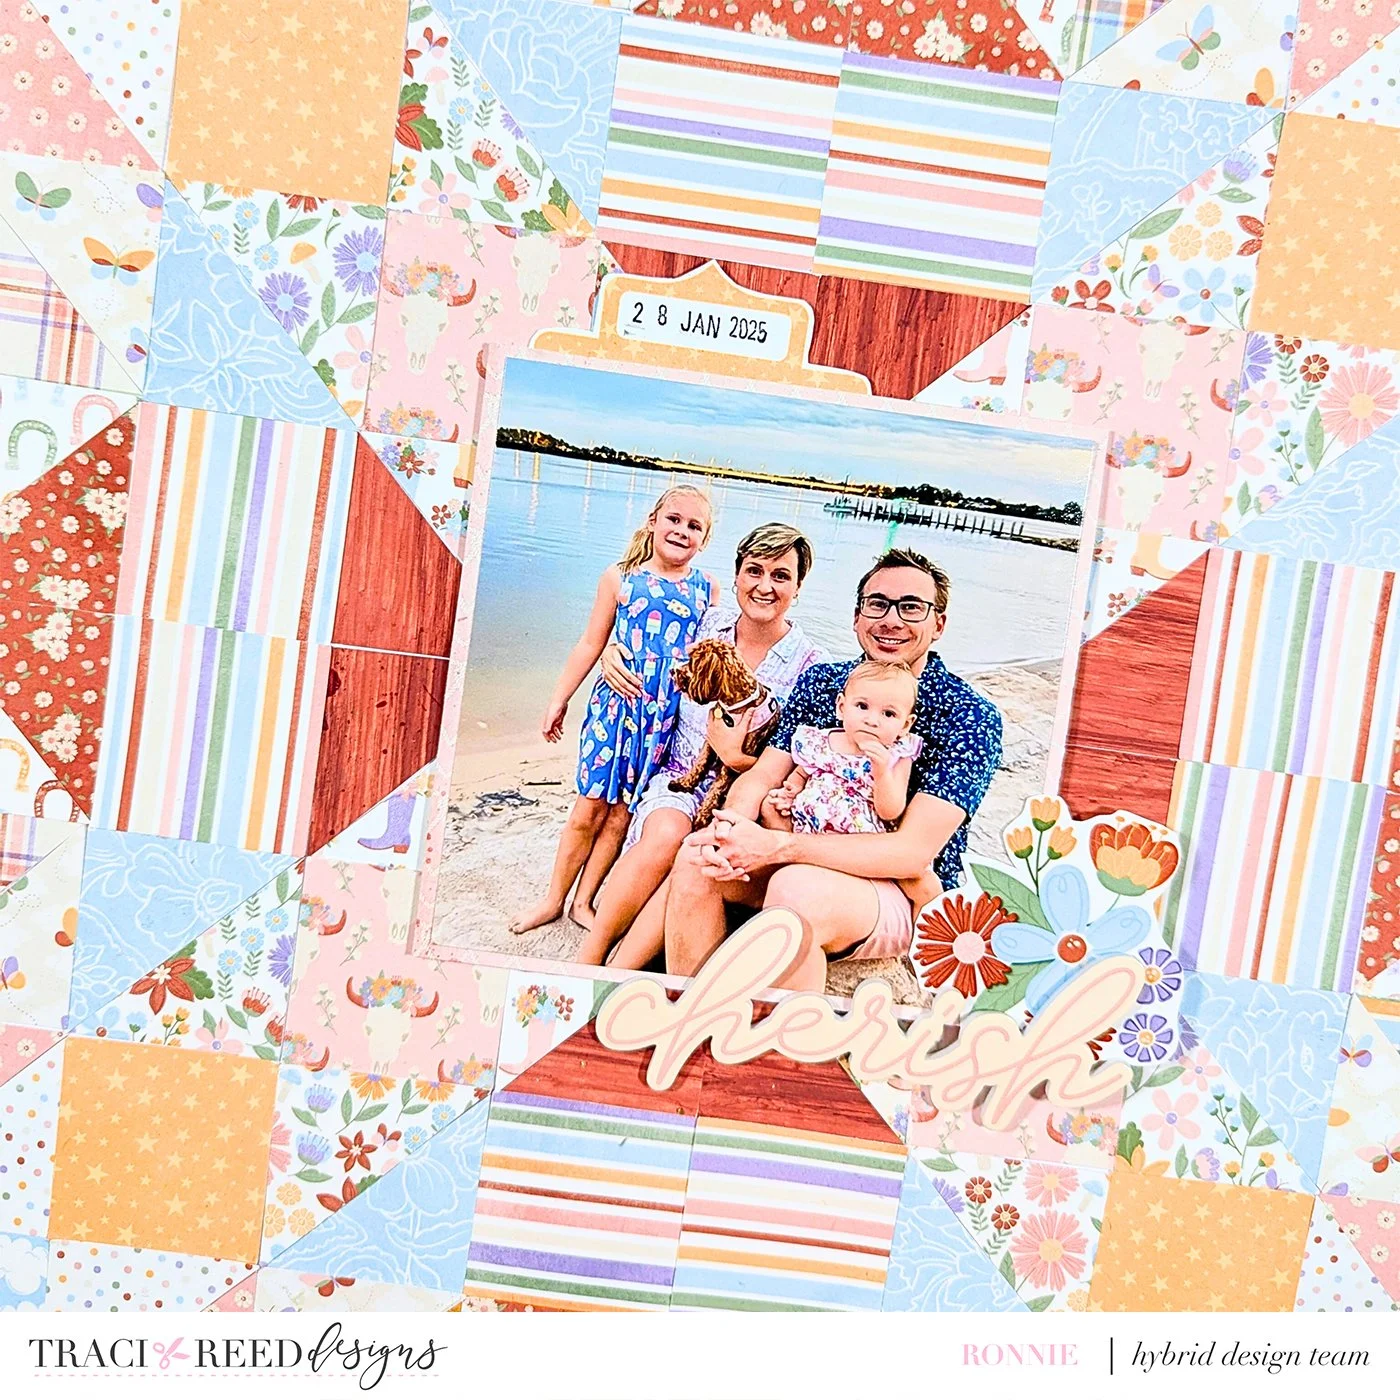
There’s something so comforting about a quilt—the texture, the symmetry, the nostalgia. So when I was working with Trailblazer, which is full of gorgeous patterned papers and embellishments, I decided to lean into that cozy vibe and recreate a quilted patchwork look on a hybrid 12x12 layout.
And the best part? I didn’t use any fancy machines or software to design it—just a bit of Googling, some scissors, and a 1.5 inch square punch.

Finding Inspiration
I knew I wanted to try something geometric and quilt-inspired, but I wasn’t exactly sure where to begin. So I googled “square quilted pattern” and immediately found dozens of traditional quilt block layouts that sparked ideas.
I settled on a simple grid style layout using squares and triangles. It felt balanced, easy to scale up or down, and a perfect match for the soft patterns in the collection.
Using Digital Patterned Cards
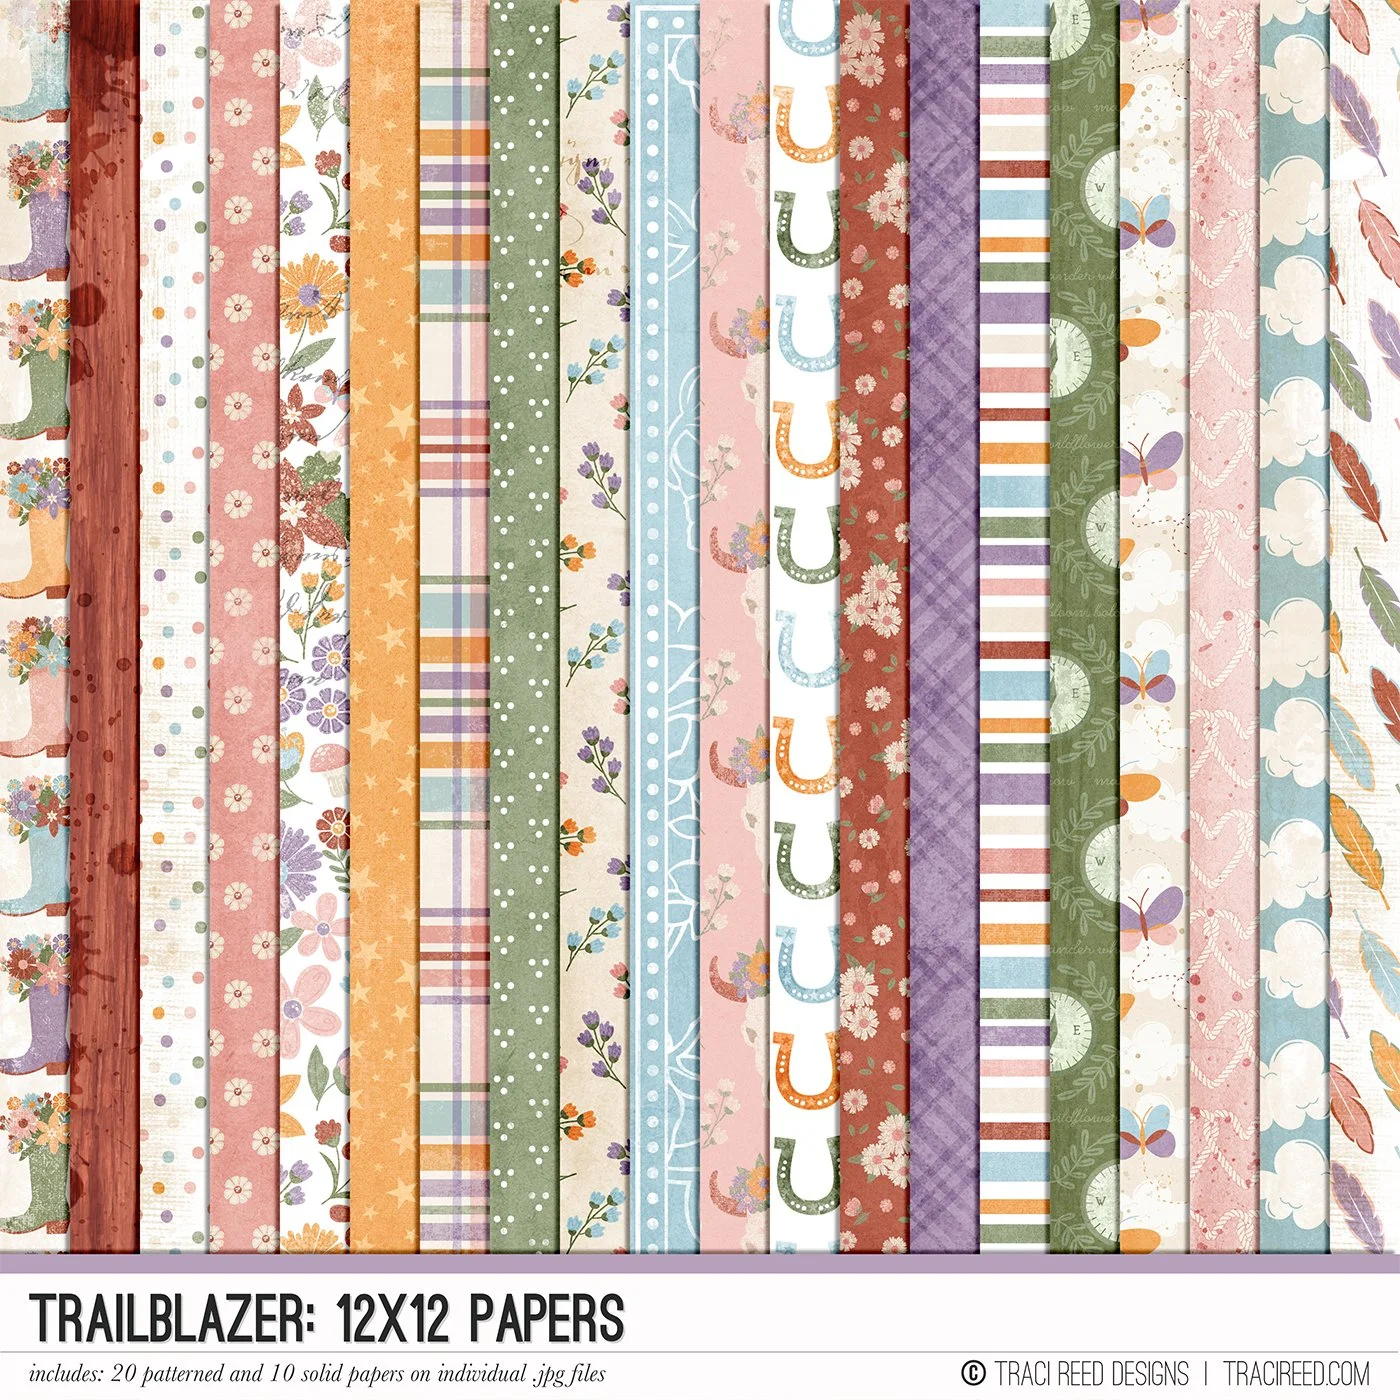
Instead of printing full 12x12 patterned papers (which can become very costly and time consuming), I printed all the 4x6 patterned cards in the collection, on matte Epson paper. These are such a great size for hybrid work—easy to handle, minimal waste, and quick to cut. As a bonus the scale of the icons fit just right – had I used 12x12 the icons would certainly have been cut in half using my punch.
To build my quilt design:
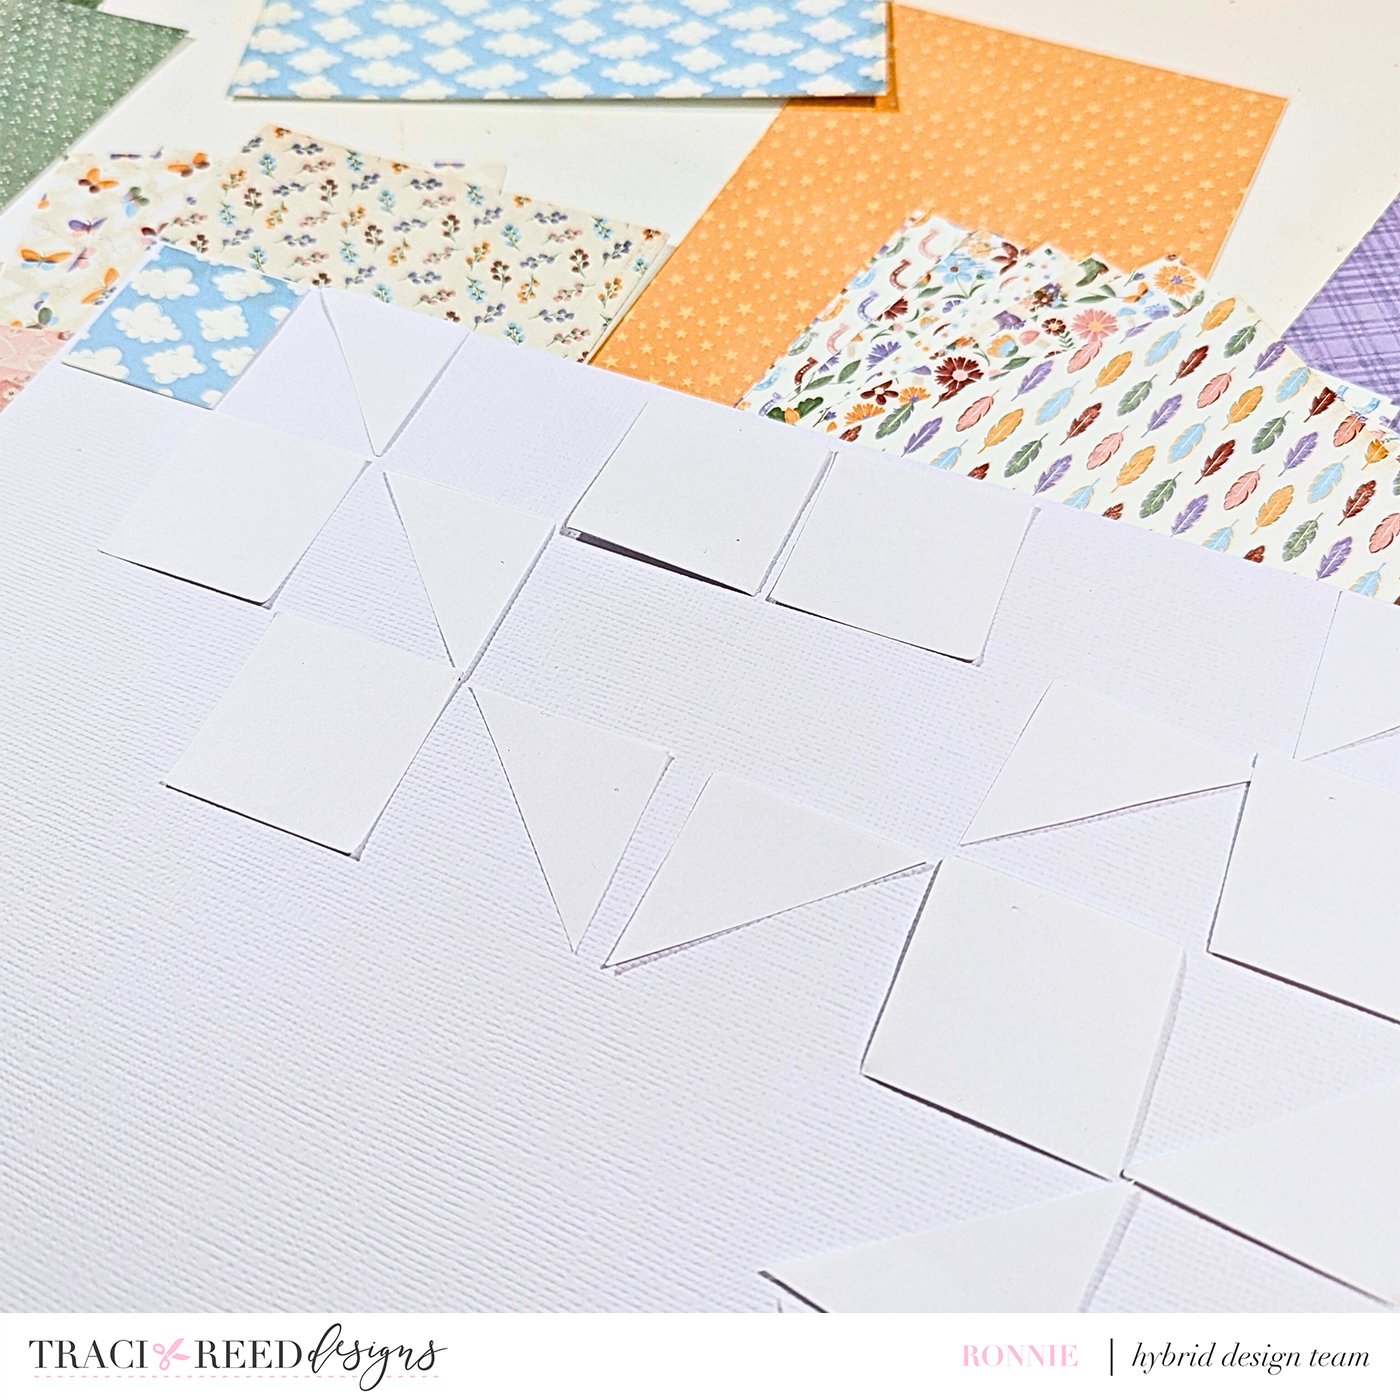
I cut out the cards and grouped them by matching colour.
I punched some squares on printer paper just to get an idea for how big the layout should be which happened to be slightly less than a full 12x12.
I used a square punch to quickly punch out the shapes I needed.
Then I cut some of those squares diagonally in half to make triangles.
I laid everything out in a quilt block pattern on a 12x12 cardstock background, moving pieces around until I liked the flow of colours and prints. You might notice that my colours become more vibrant and solid as your eye moves to the centre of the layout – this was done on purpose.
This part was seriously satisfying—almost like piecing a real quilt!

The Stitching Debate: Real or Faux?
No quilt is complete without some stitching, right?
I debated doing actual hand stitching around the paper “blocks,” and you absolutely can if you want to. A simple running stitch with embroidery floss or even a few lines on the sewing machine would look amazing.
You could also used a faux stitching stamp and a black ink pad to give the look of hand sewing without the time commitment.
But in the end, I, being the lazy scrapper that I am, just let it be – I really liked how it looked and it was already quite intricate so I didn’t want to ruin my layout.

Finishing Touches
I popped a photo right in the centre of the layout to anchor everything and then used some printed digital embellishments—a label, and a flower for a bit of dimension. I also grabbed a thicker from my stash for the title. I kept embellishing quite simple because the background is so busy.
To make the digital pieces feel more “real,” I:
Printed them on matte cardstock
Fussy cut them out
Layered them with foam dots for depth

Why I Love This Layout
This quilt-inspired page ticks so many boxes for me:
It uses up scraps and smaller printed pieces.
It showcases a ton of patterns without feeling too busy.
It’s tactile and dimensional—without needing bulky embellishments.

Your Turn!
If you’ve never tried a quilt-inspired layout, this is your sign! Grab your Trailblazer patterned cards, a square punch or scissors, and play around. Whether you hand stitch, faux stitch, or skip stitching altogether, it’s a beautiful way to stretch your digital supplies and create something fun.