Tutorial: Create Your Own Golden Days Bound Journal
Hi crafty friends!
Today I’m sharing this Golden Days Journal, a project I designed in such a way that I can keep adding more pages as more memories are made. One of my favorite things about this journal is that the inserts are removable, which means I can continue filling it up this autumn, or even next year’s autumn!
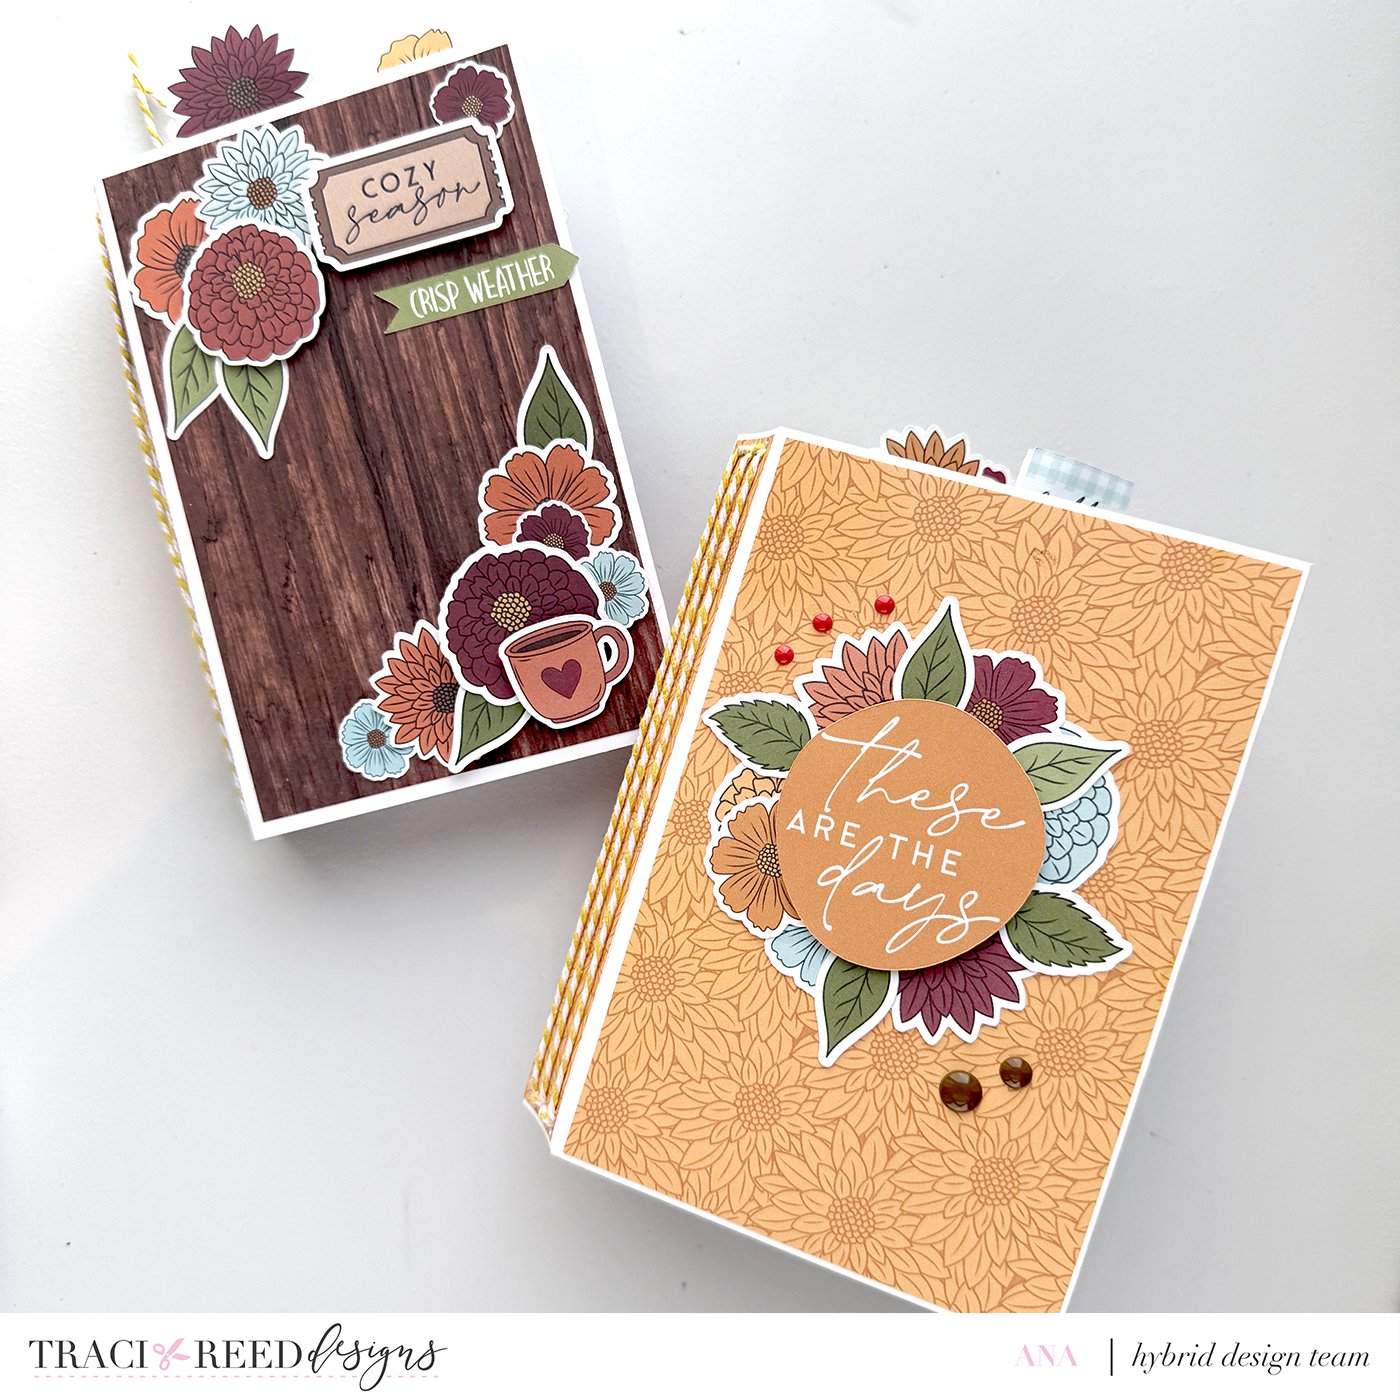
Of course, don’t let the cozy fall colors limit your imagination. This journal design can easily be adapted for any season or theme. Imagine making one for recipes, books you’ve read, travel memories, family photos, Christmas, gardening, or even everyday life. The possibilities are endless! I actually think I’ll start making these regularly alongside my usual 5 x 6.5 mini albums because they’re just so fun and easy to create and so practical to use.
For this journal, I used the Story Foundations: Golden Days collection.
Materials
White cardstock (271 gsm) - for the journal cover and the outer page of each insert
White cardstock (216 gsm) - for the inside pages of the inserts
Pattern papers, ephemera, journaling cards, and stickers from Traci Reed’s Golden Days collection
Bearly Art Precision Craft Glue
Tim Holtz Guillotine Trimmer
CutterPillar Crease Score Board
Baker’s Twine
We R Memory Keepers Crop-A-Dile
Enamel Dots
Foam Tape (optional, for dimension)
Instructions
Create the Cover
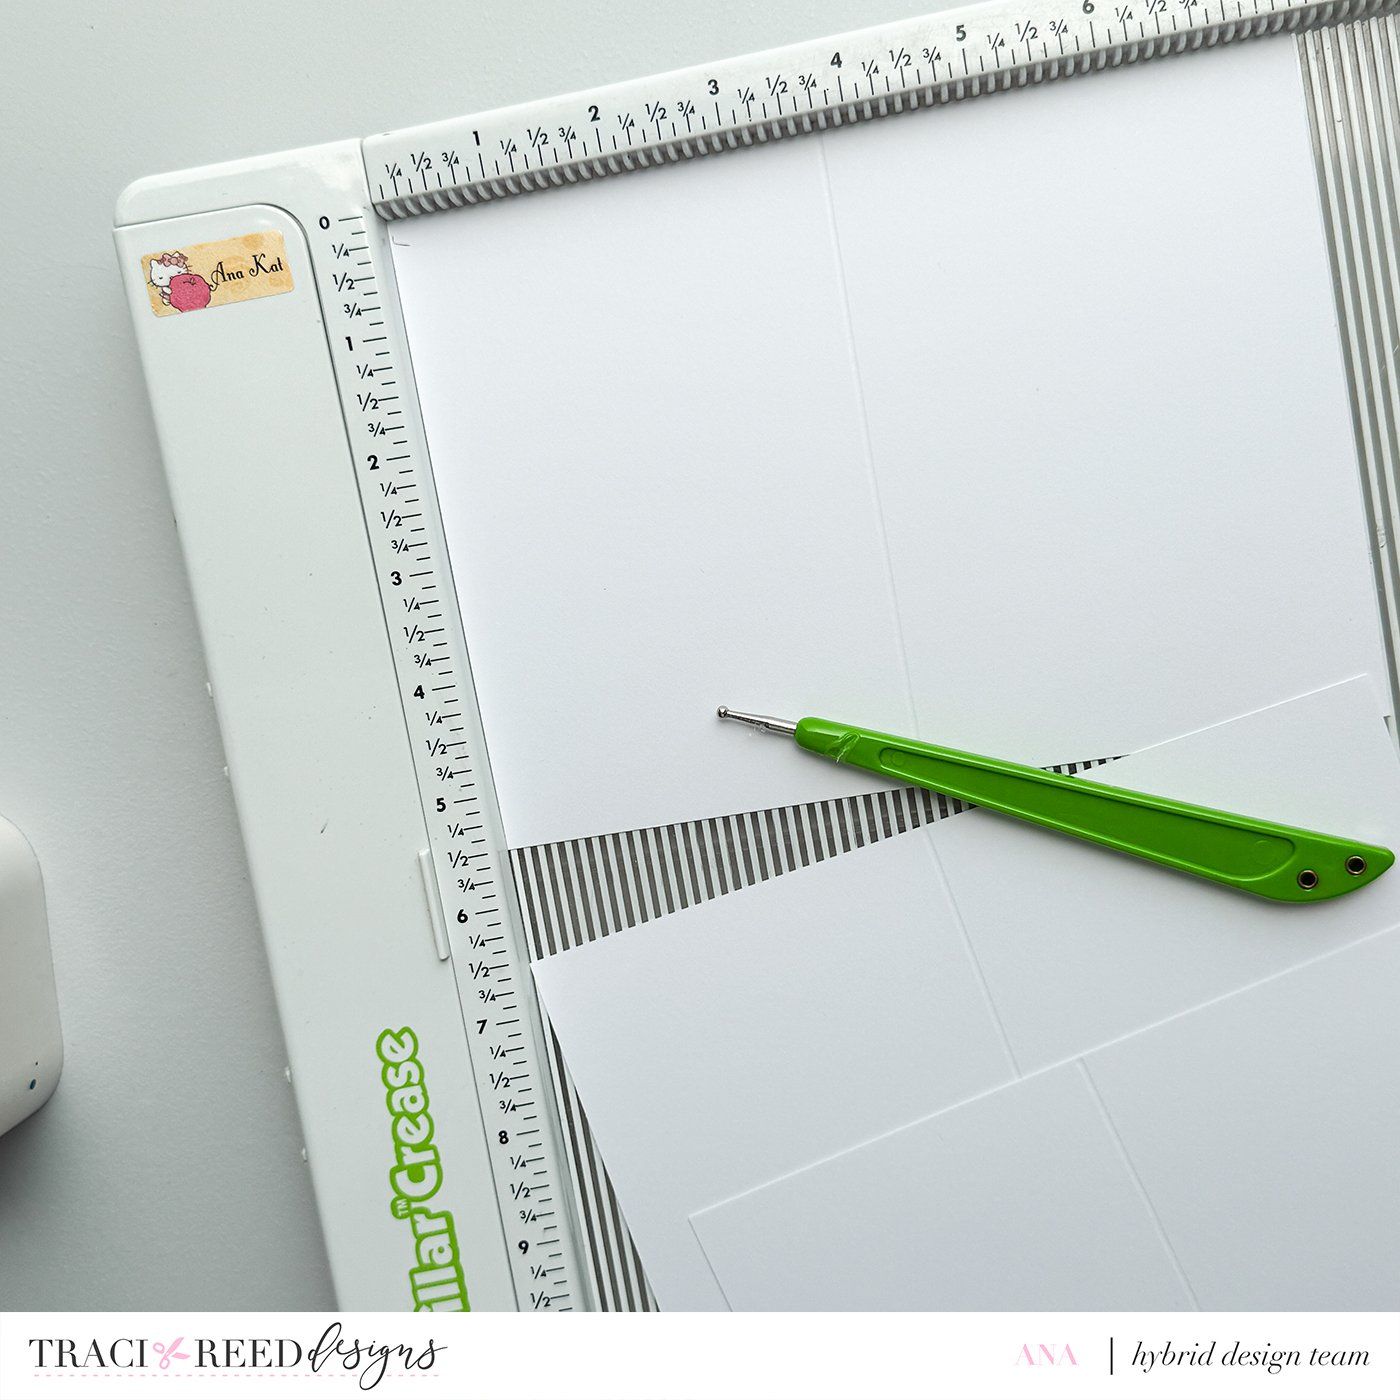
Trim one piece of 271 gsm white cardstock to 6” x 11”.
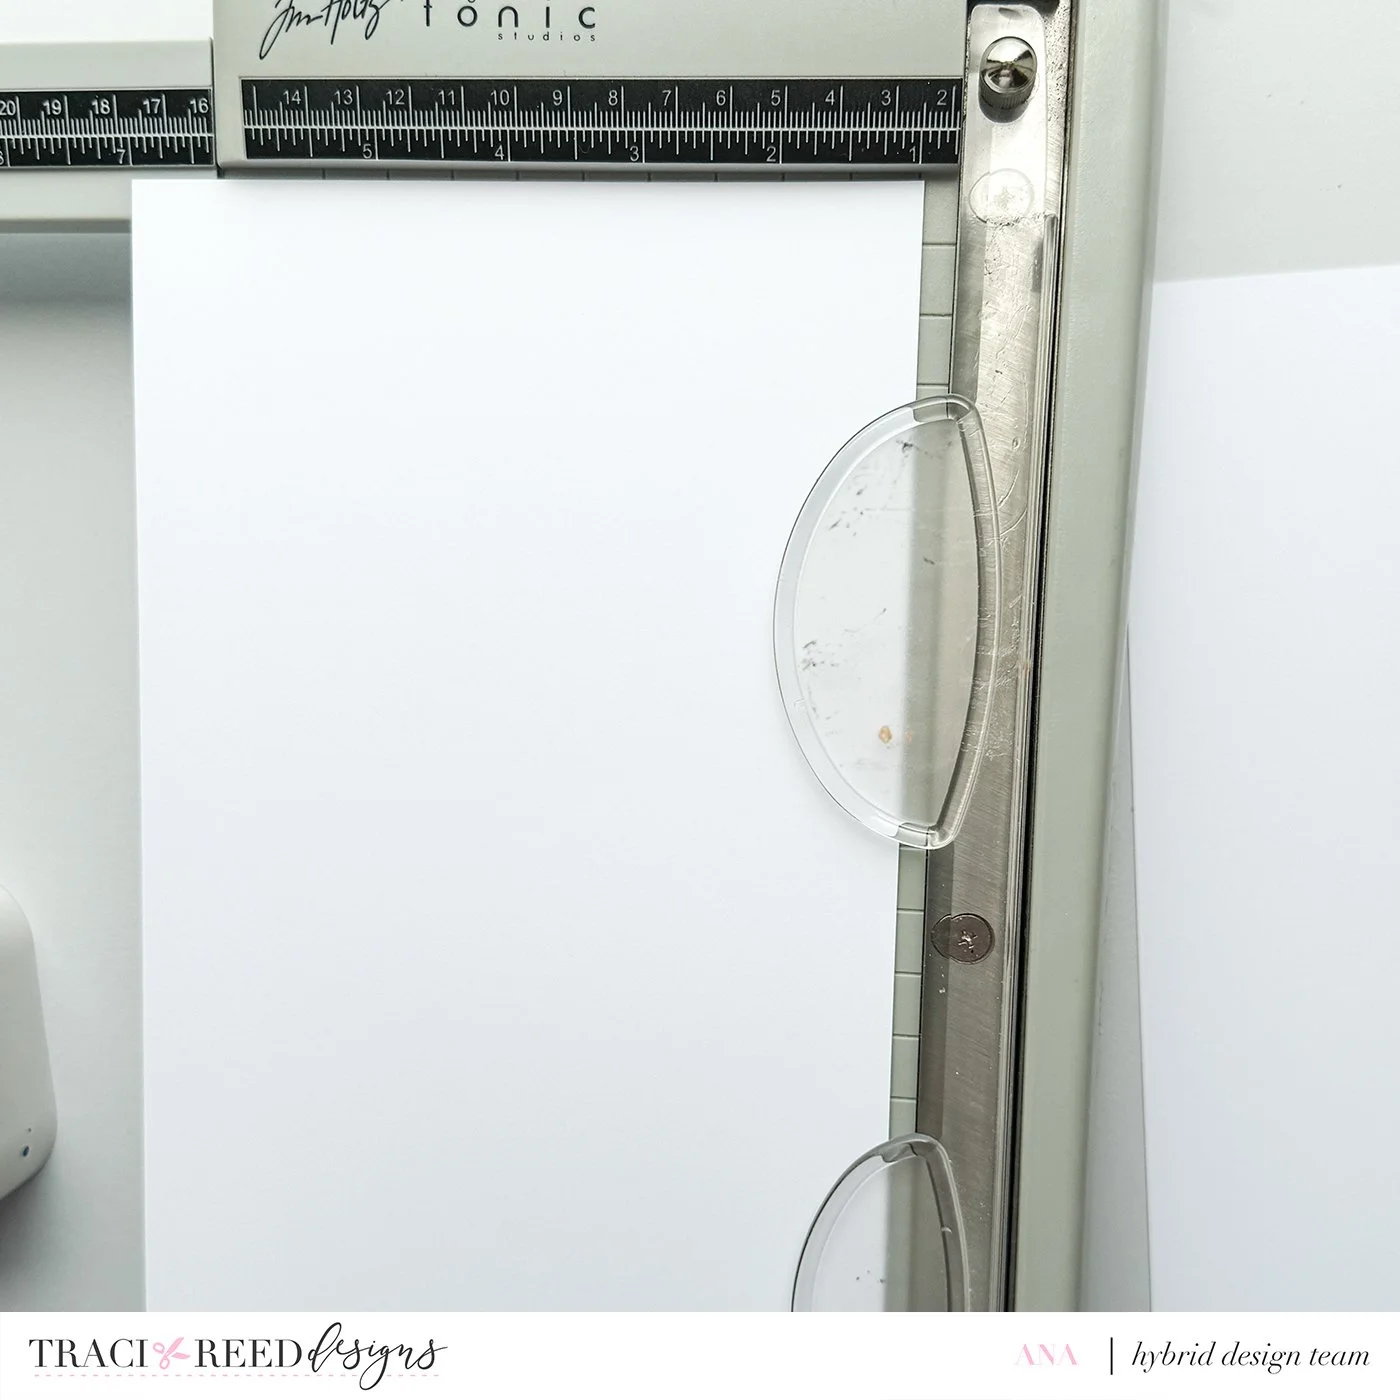
Score at 1”, 5”, 6”, and 10”.
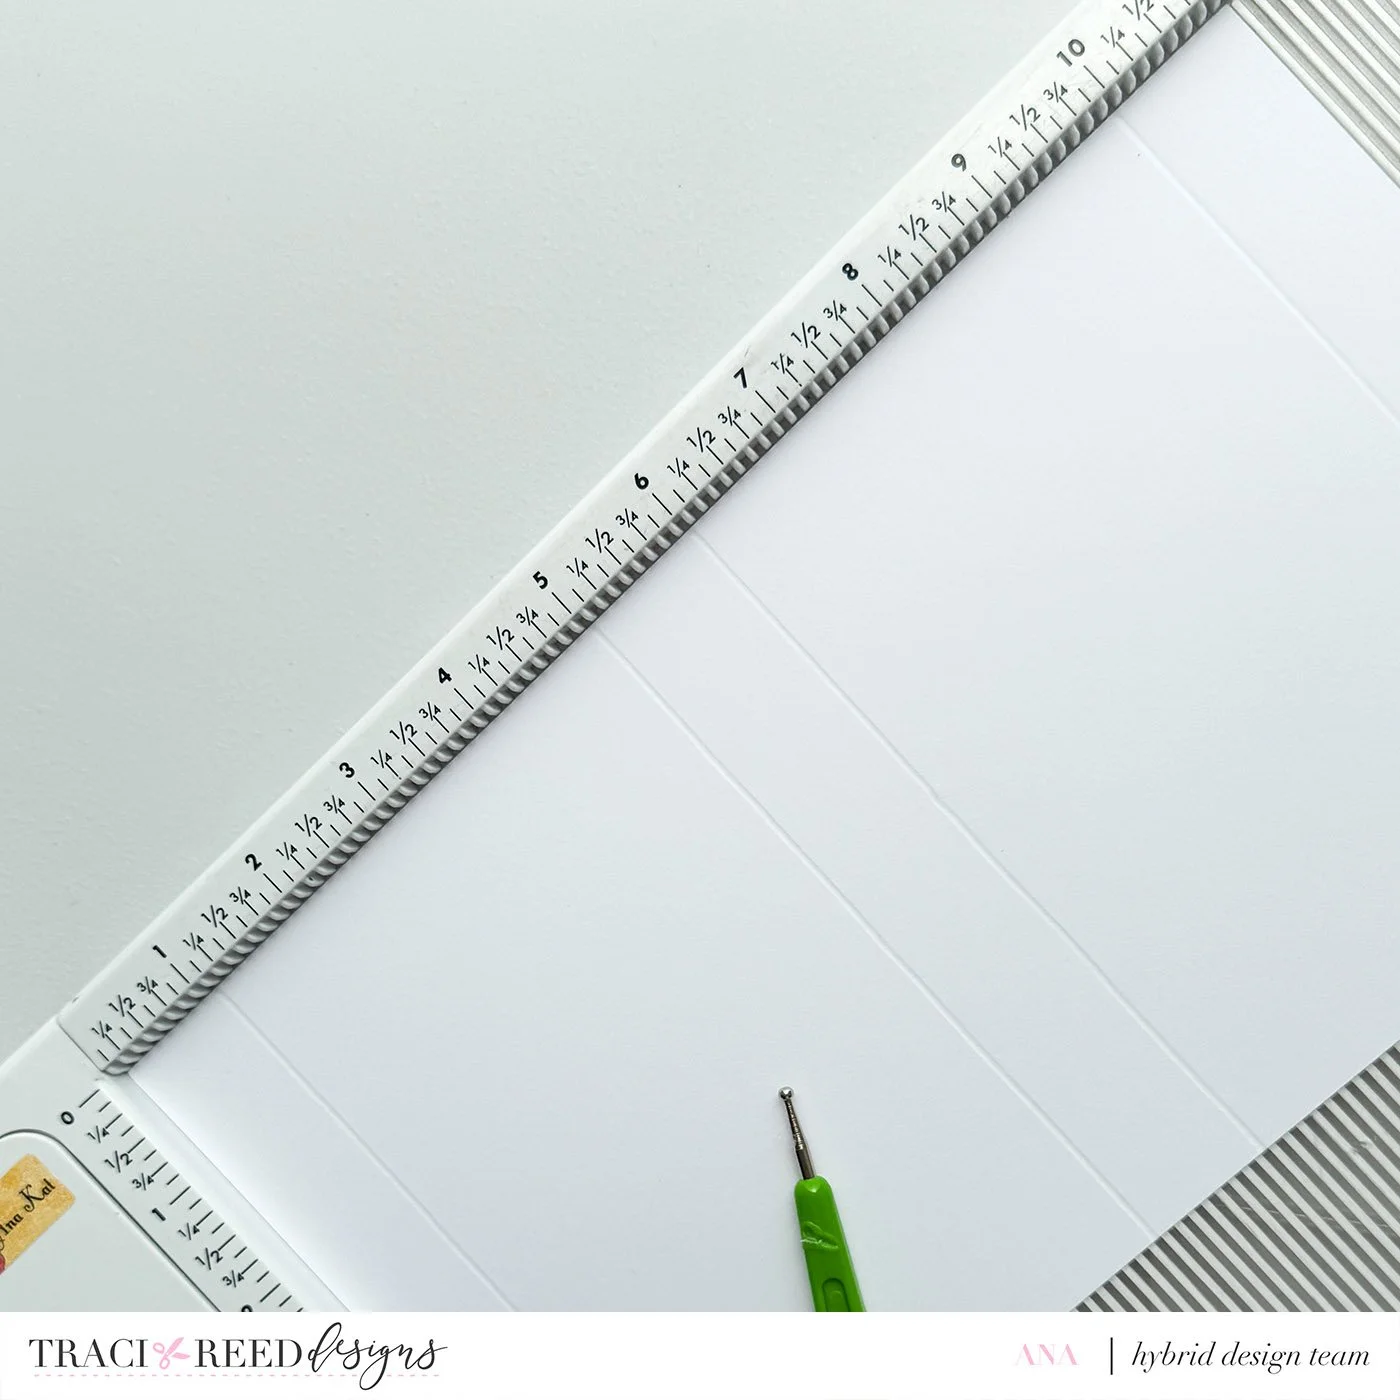
Fold along all score lines and burnish well.
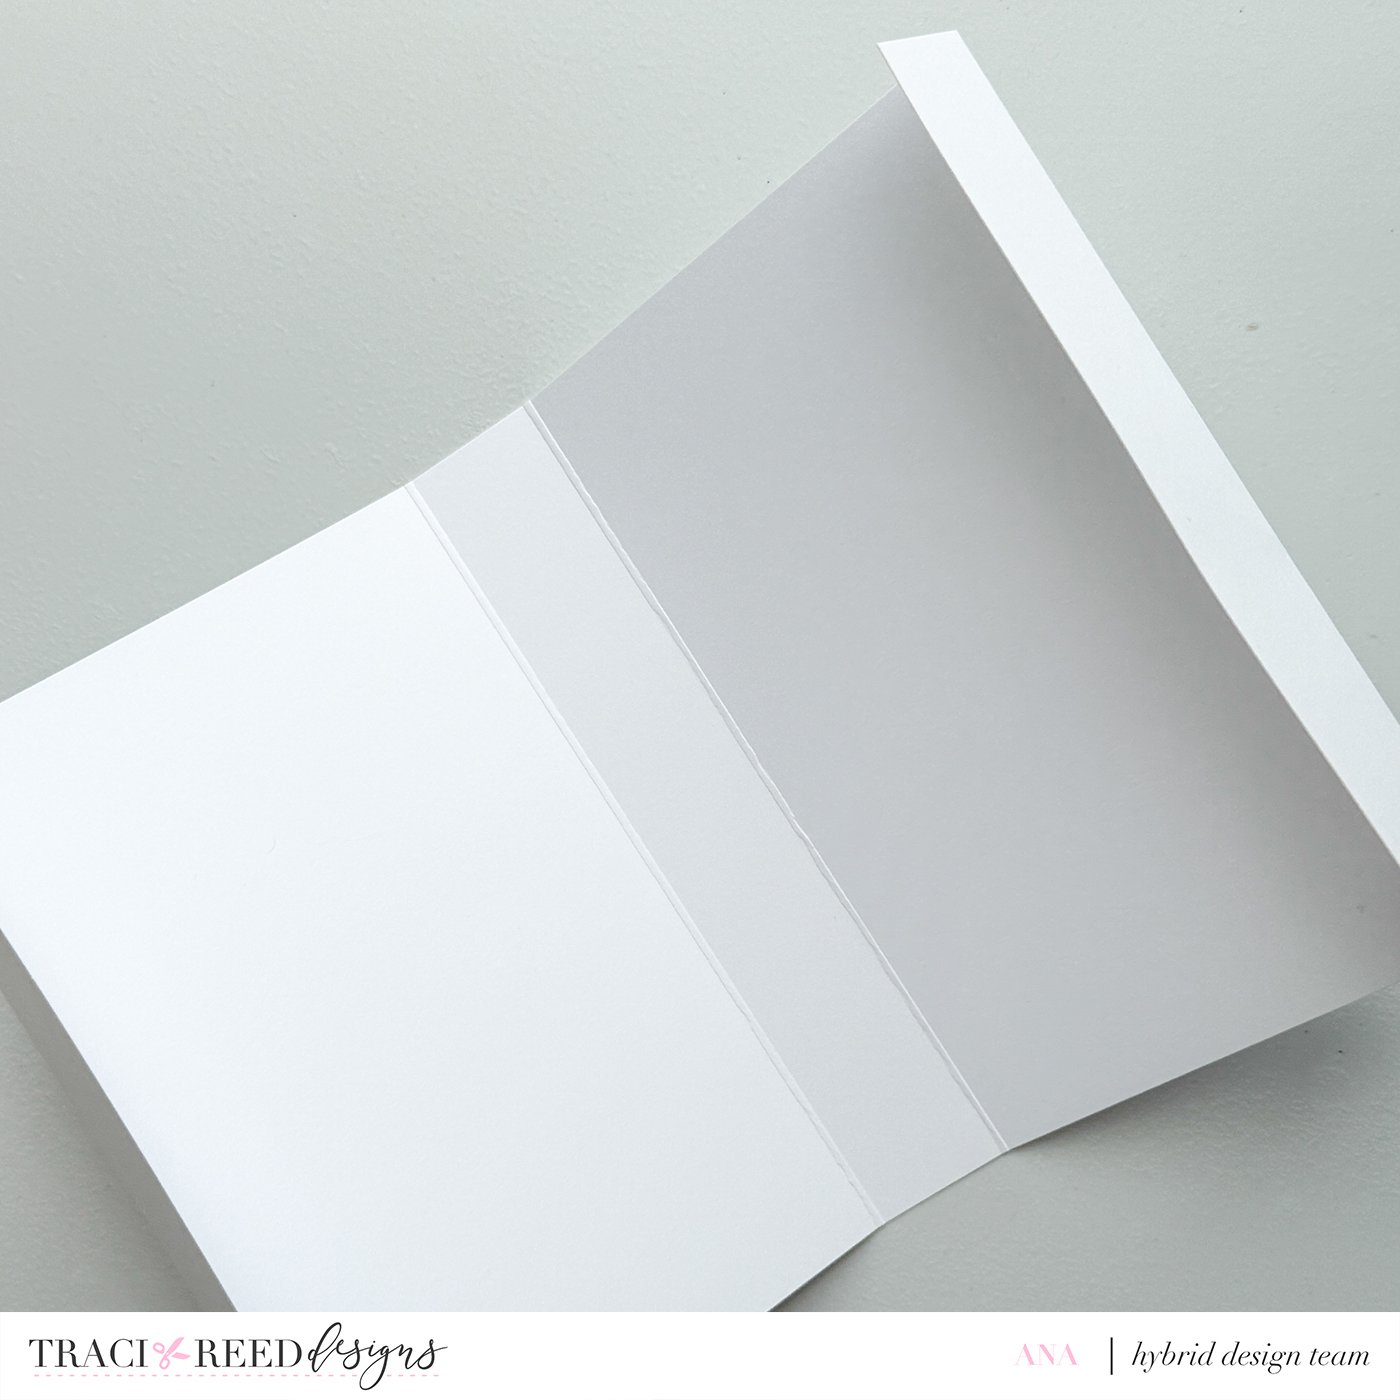
Decorate the Cover
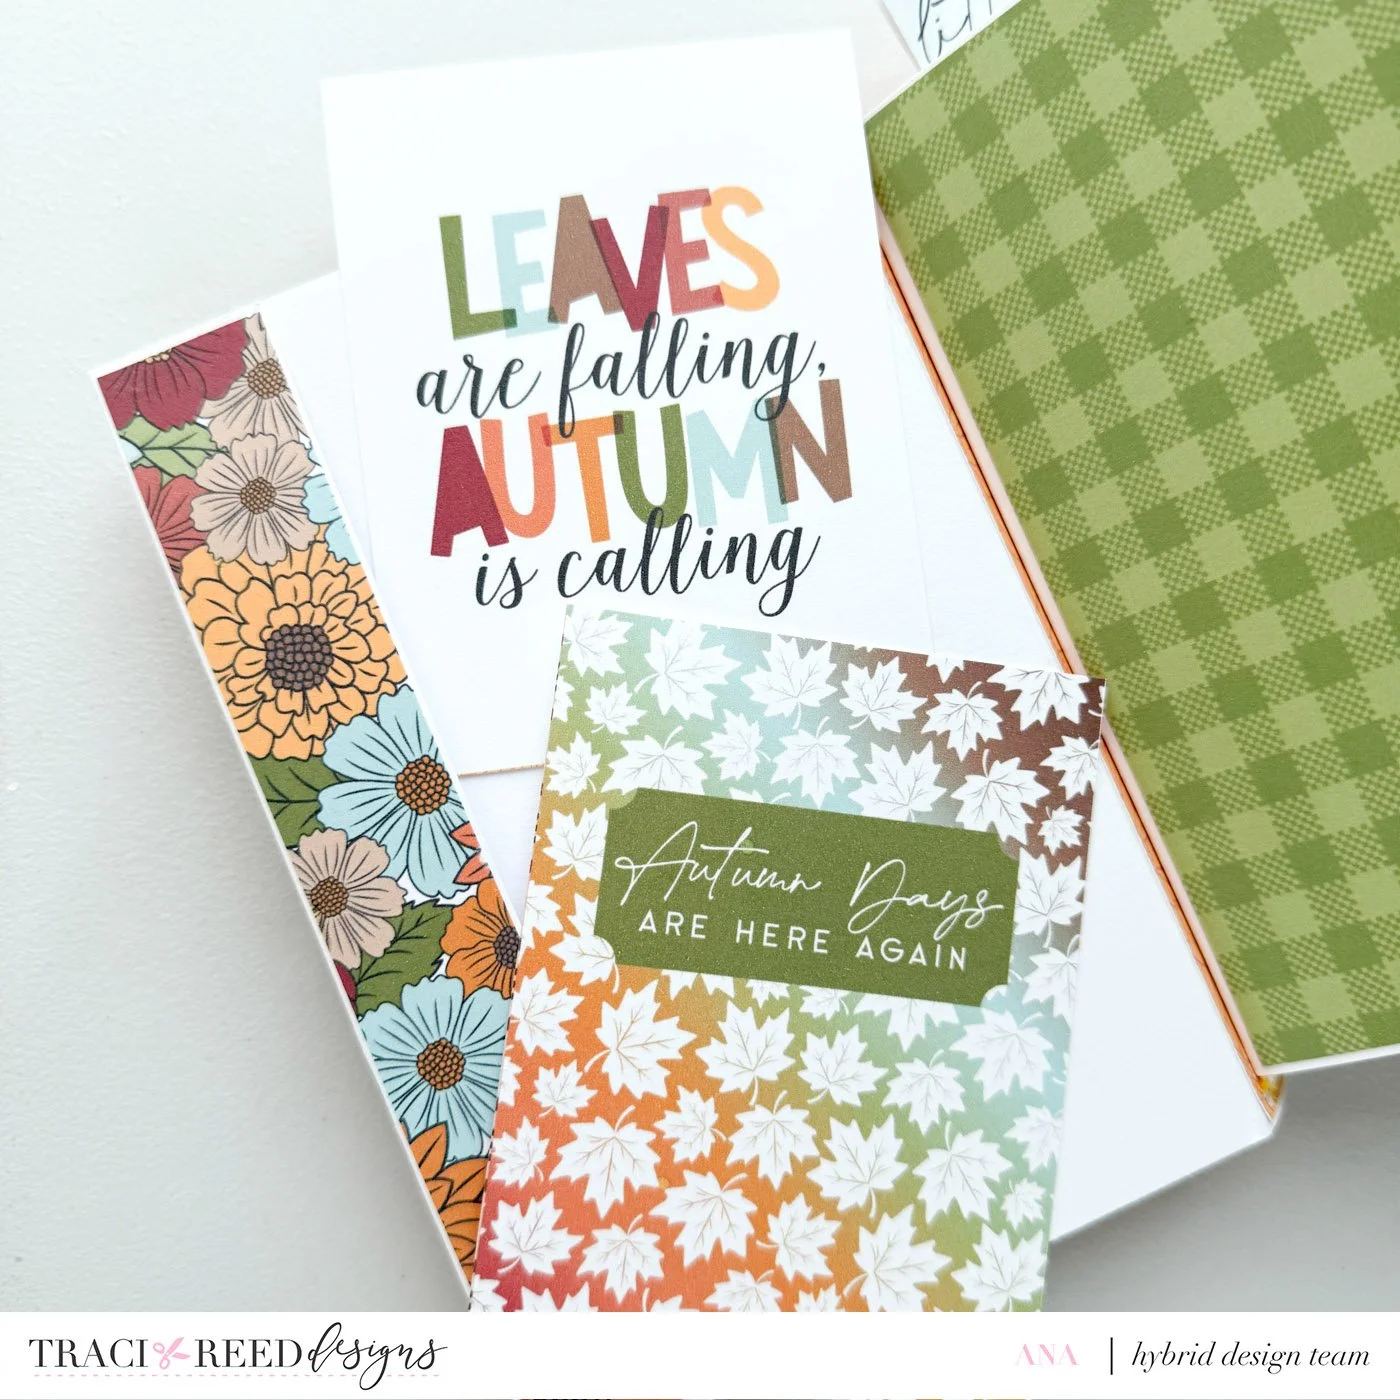
Trim two pieces of patterned paper to 3¾” x 5¾” for the front and back covers.
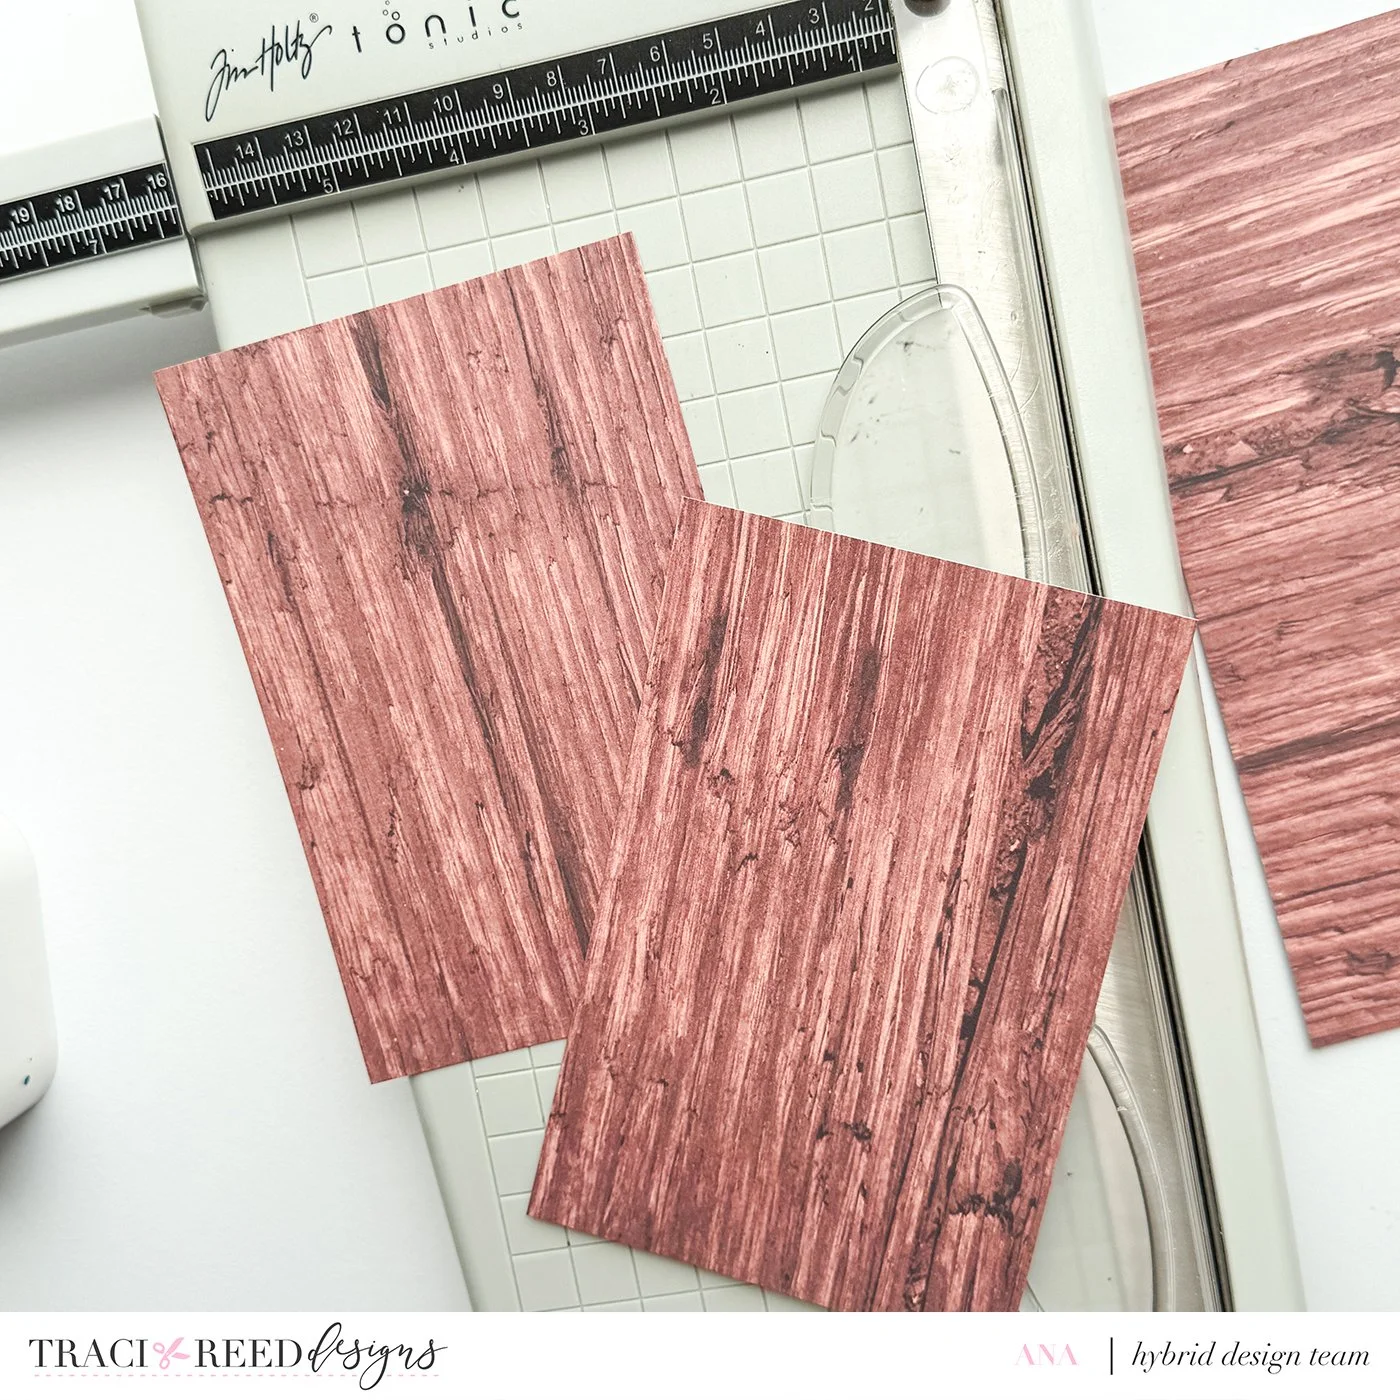
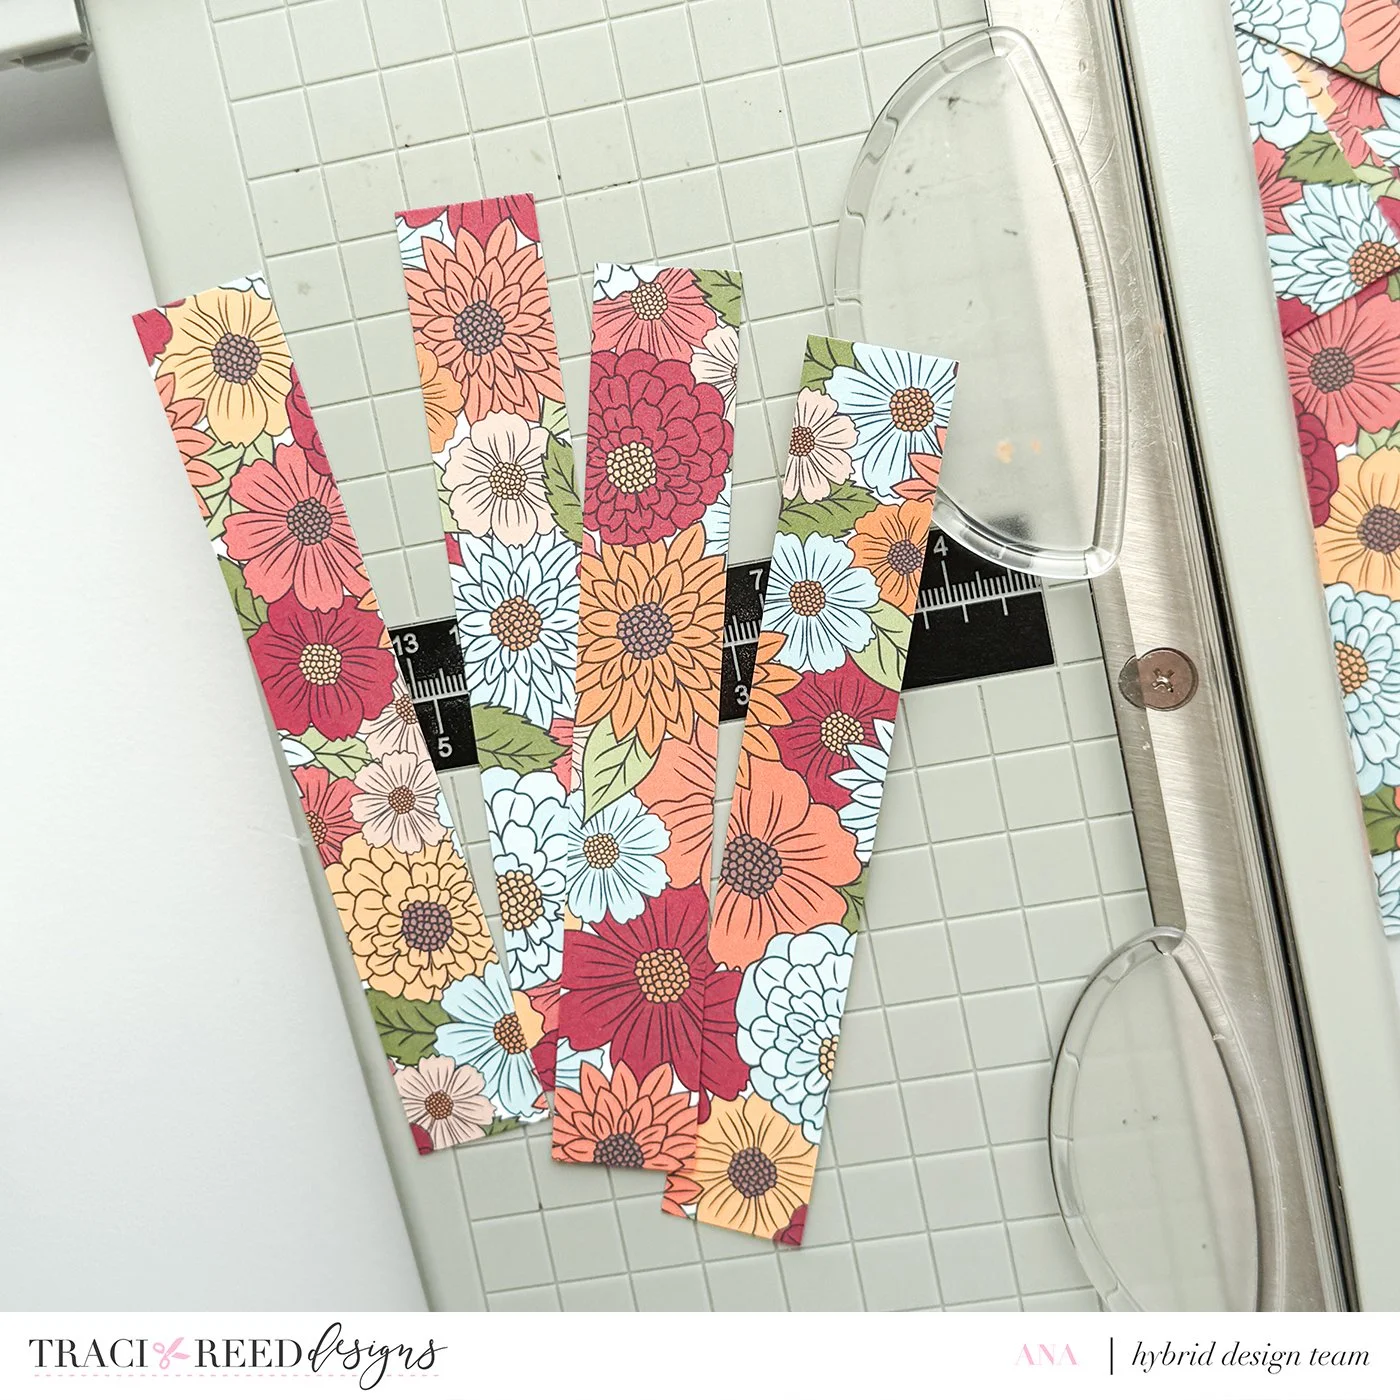
Trim four strips measuring ⅞” x 5⅞” for the outside spine, inside spine, and inside pockets.
Adhere these strips and the cover pages to the appropriate panels.
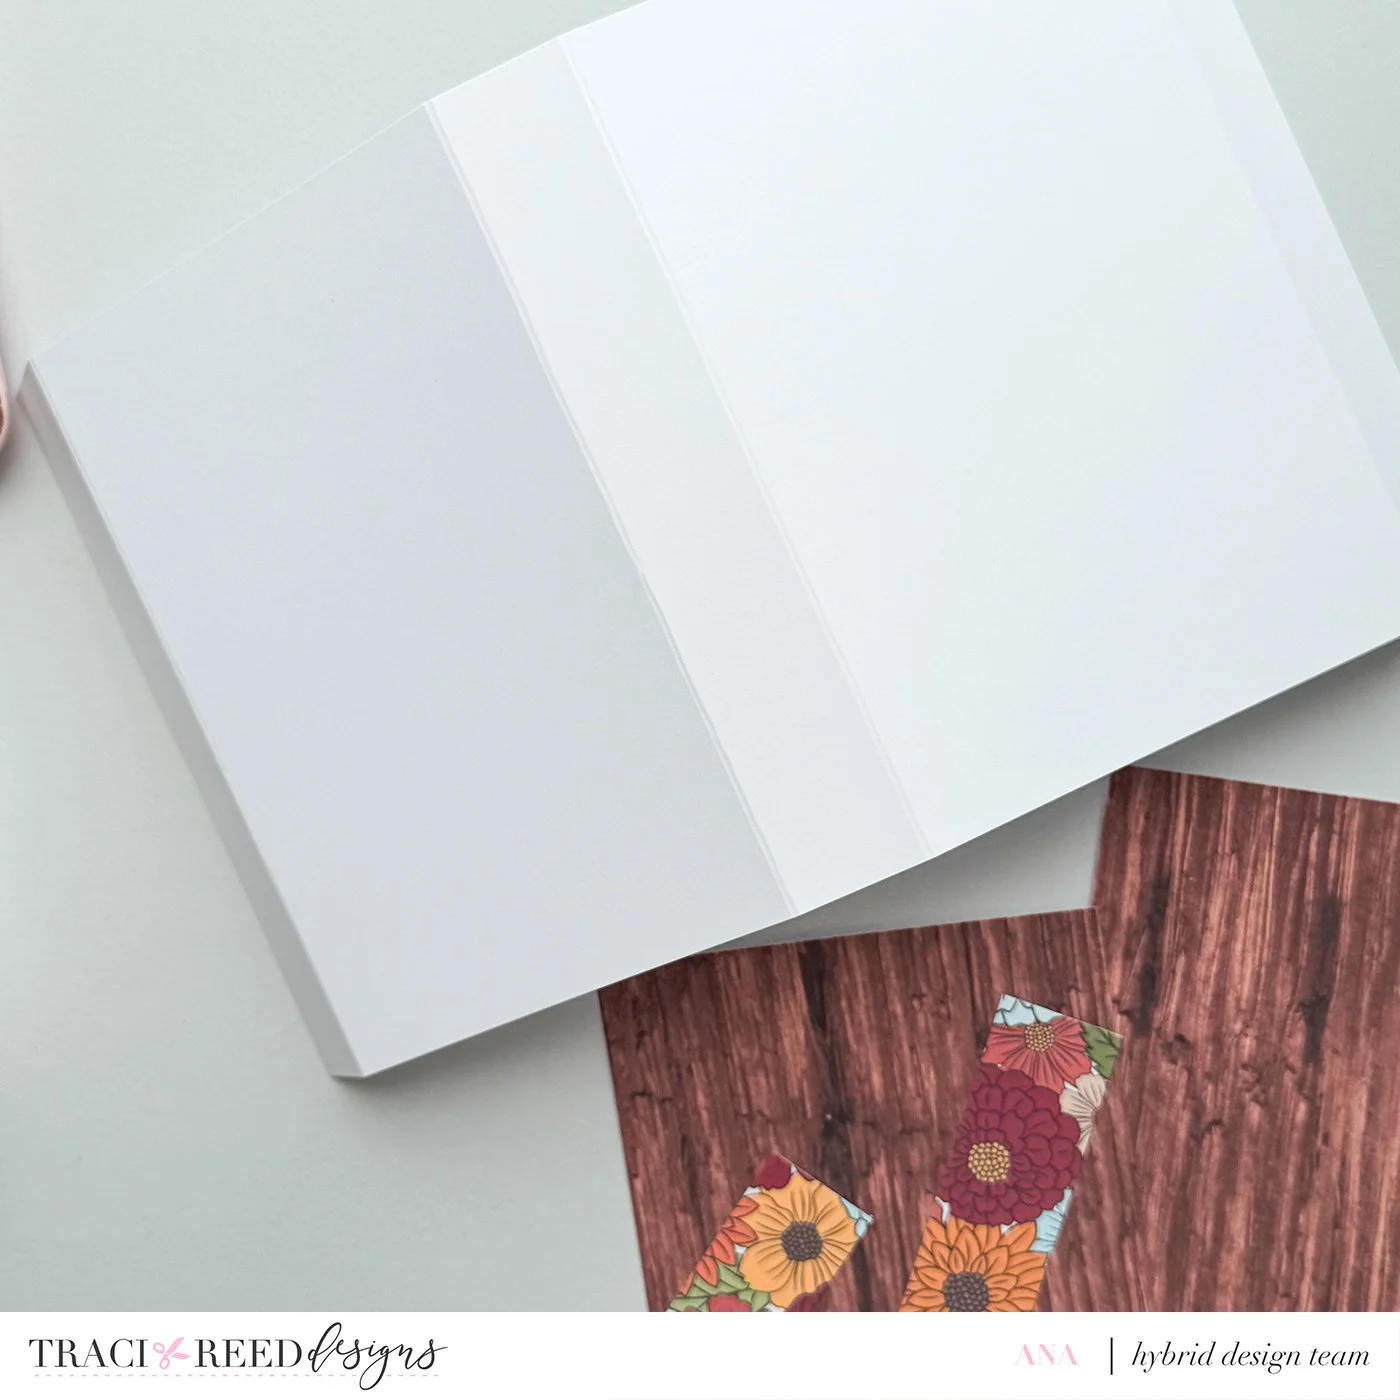
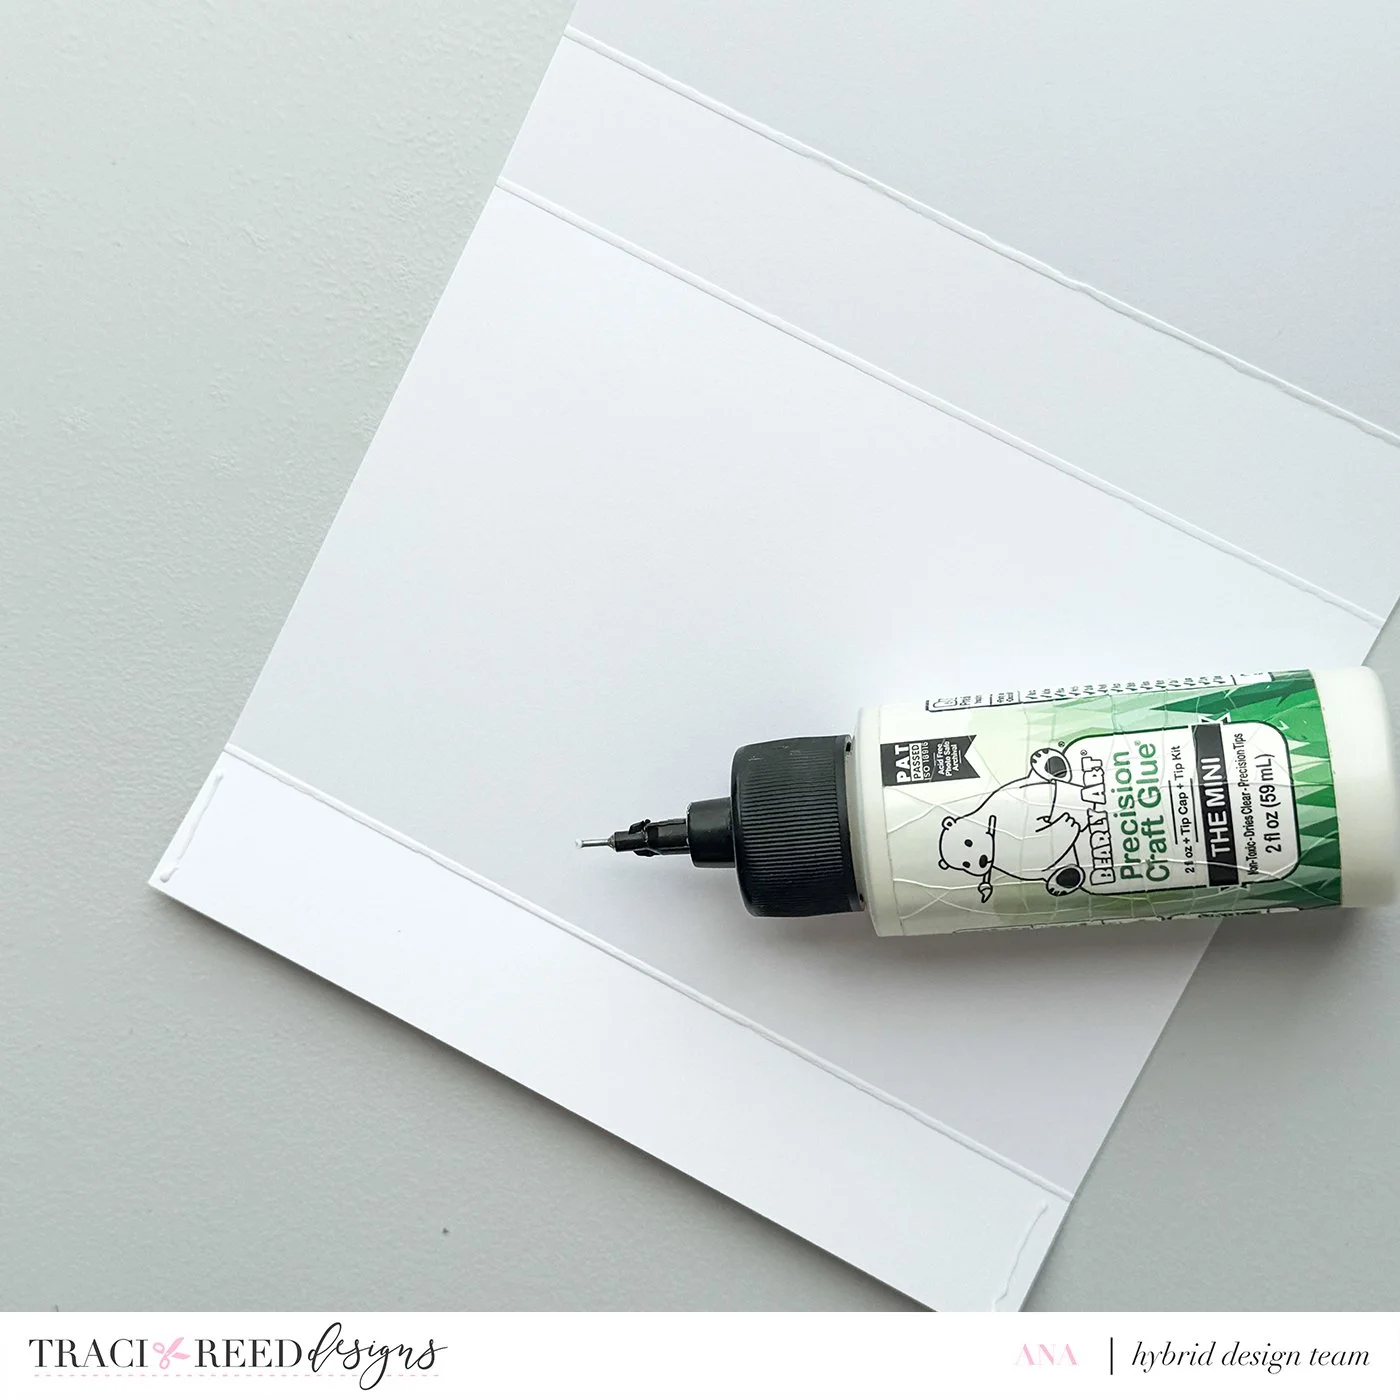
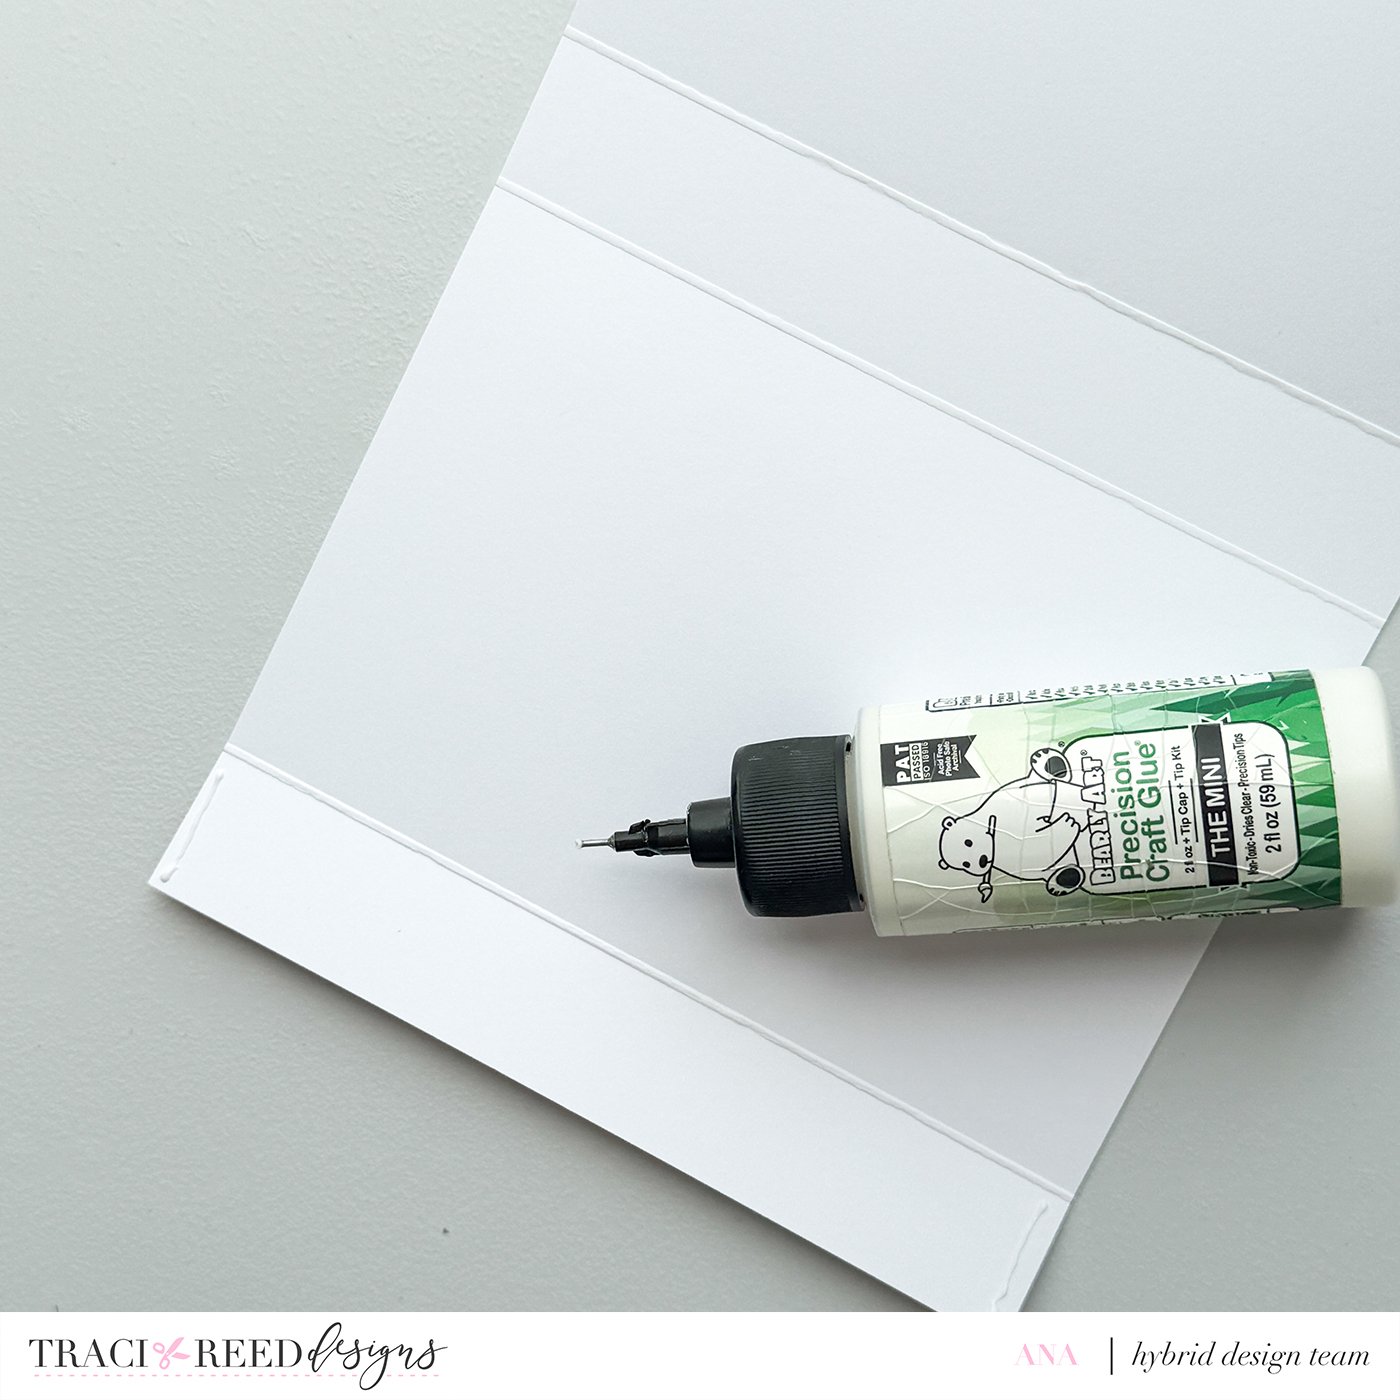
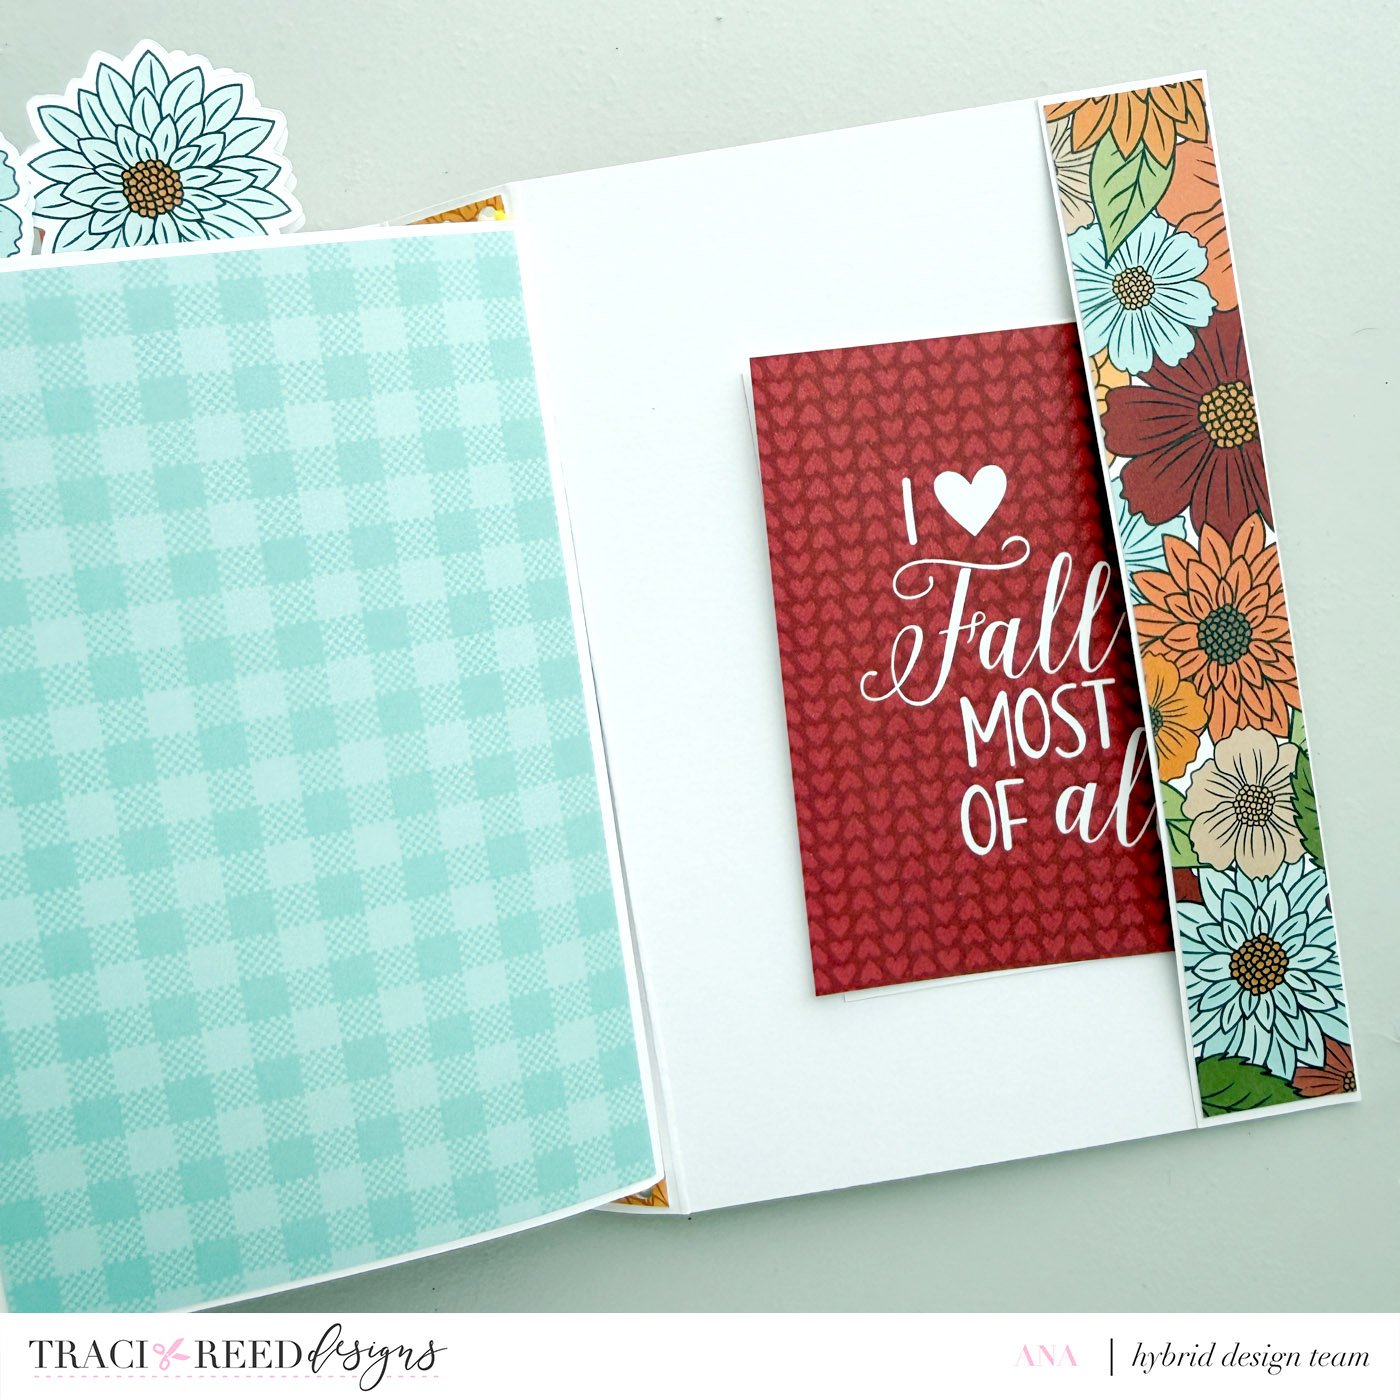
Fold the first and last 1 inch panels to the inside of the cover to make inside pockets. Glue only the top and bottom sides of each panel.
Prepare the Binding
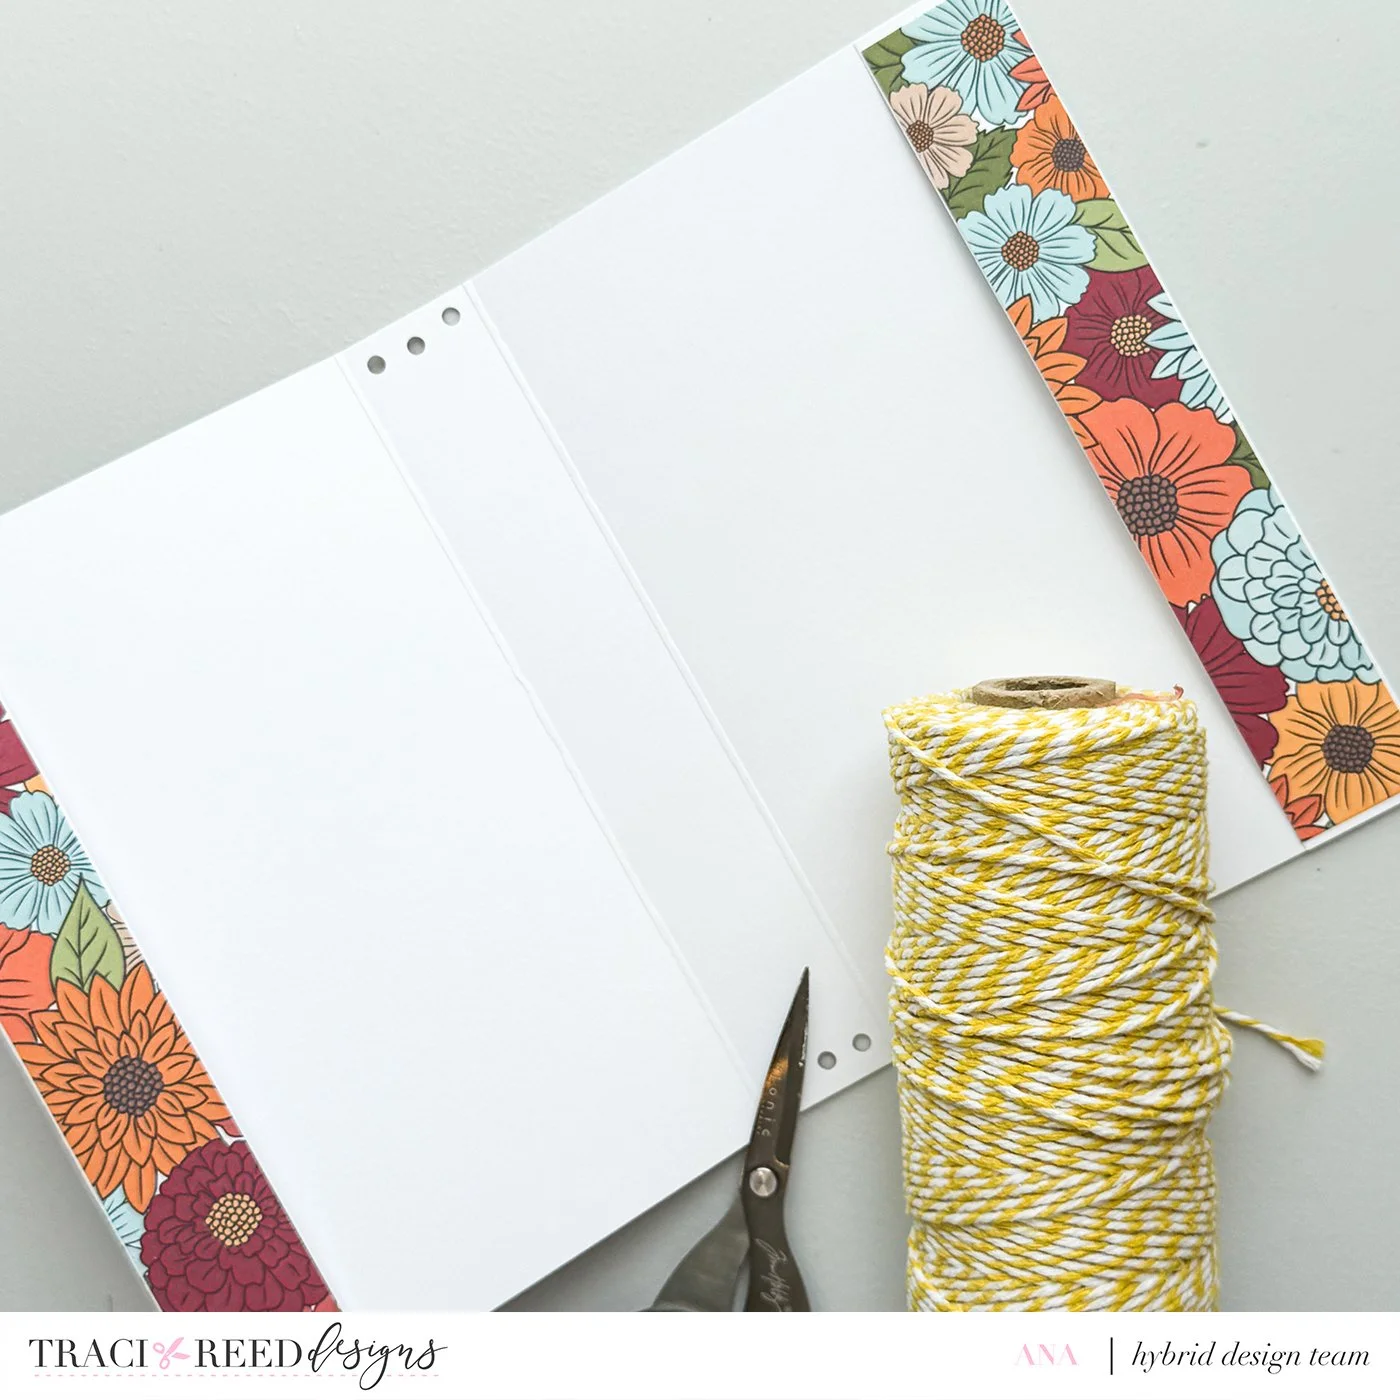
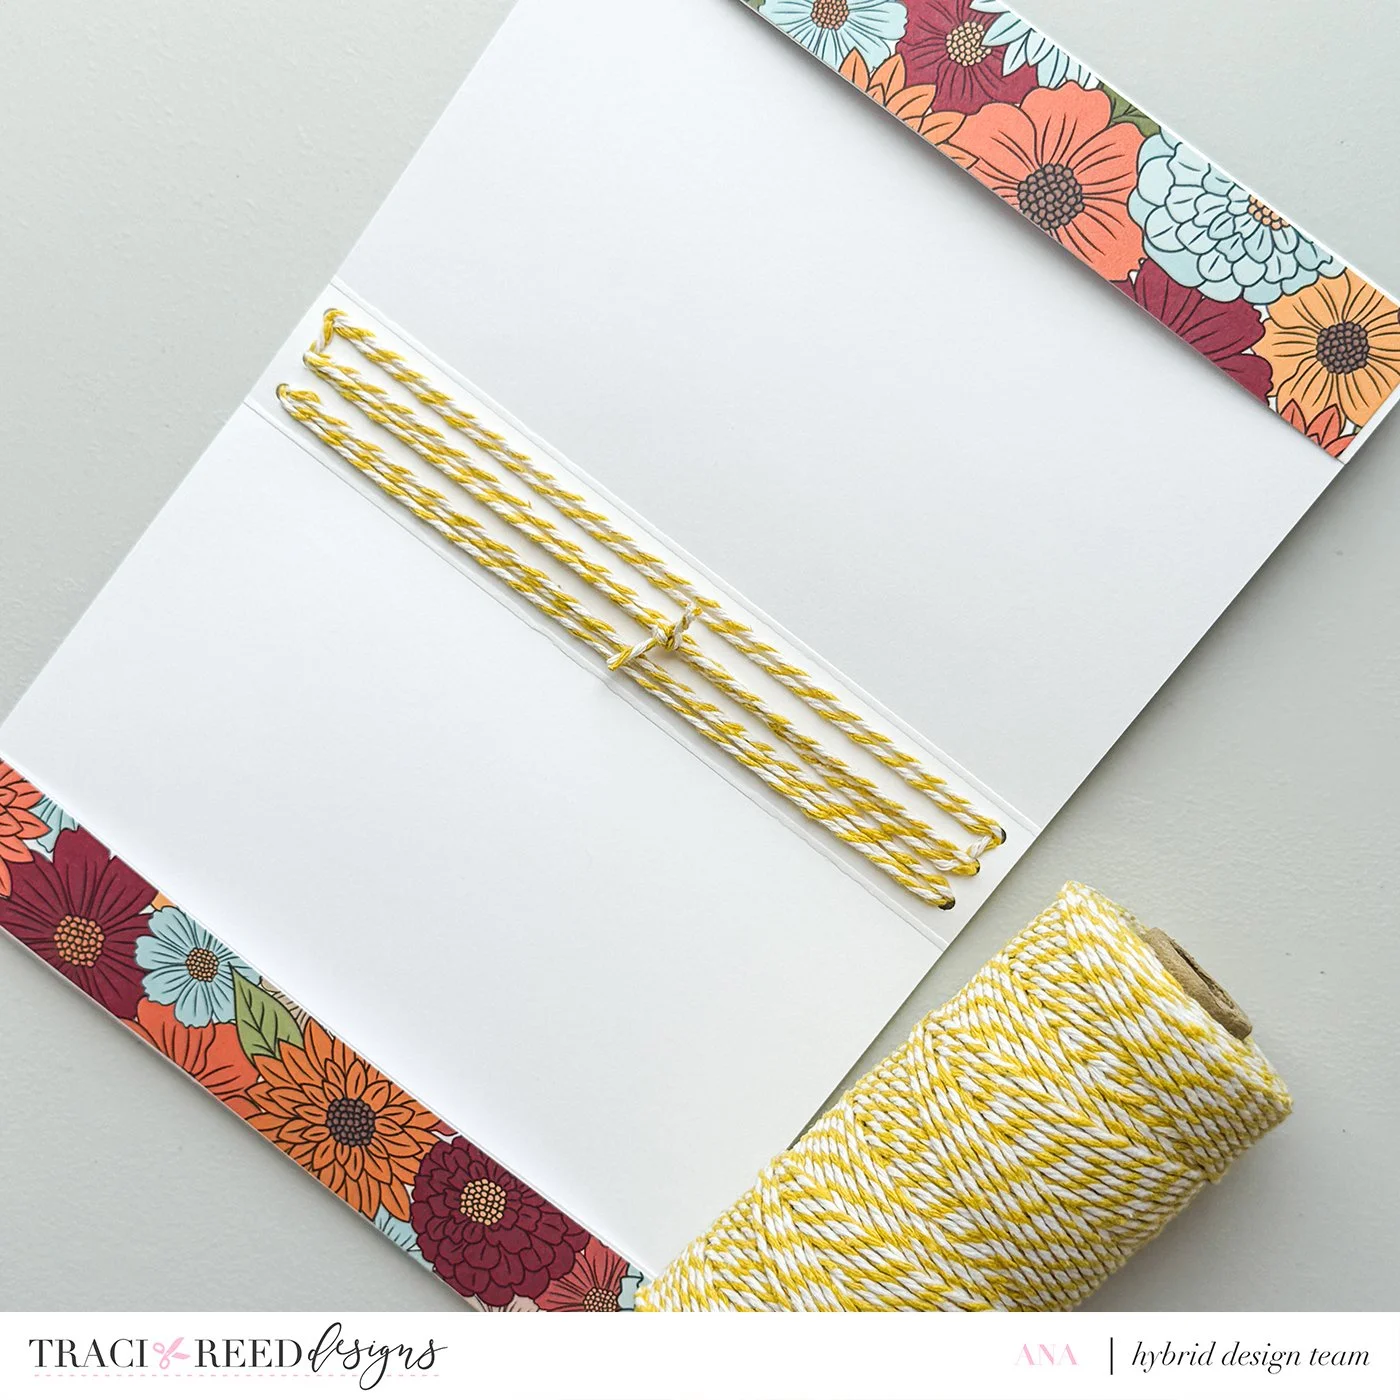
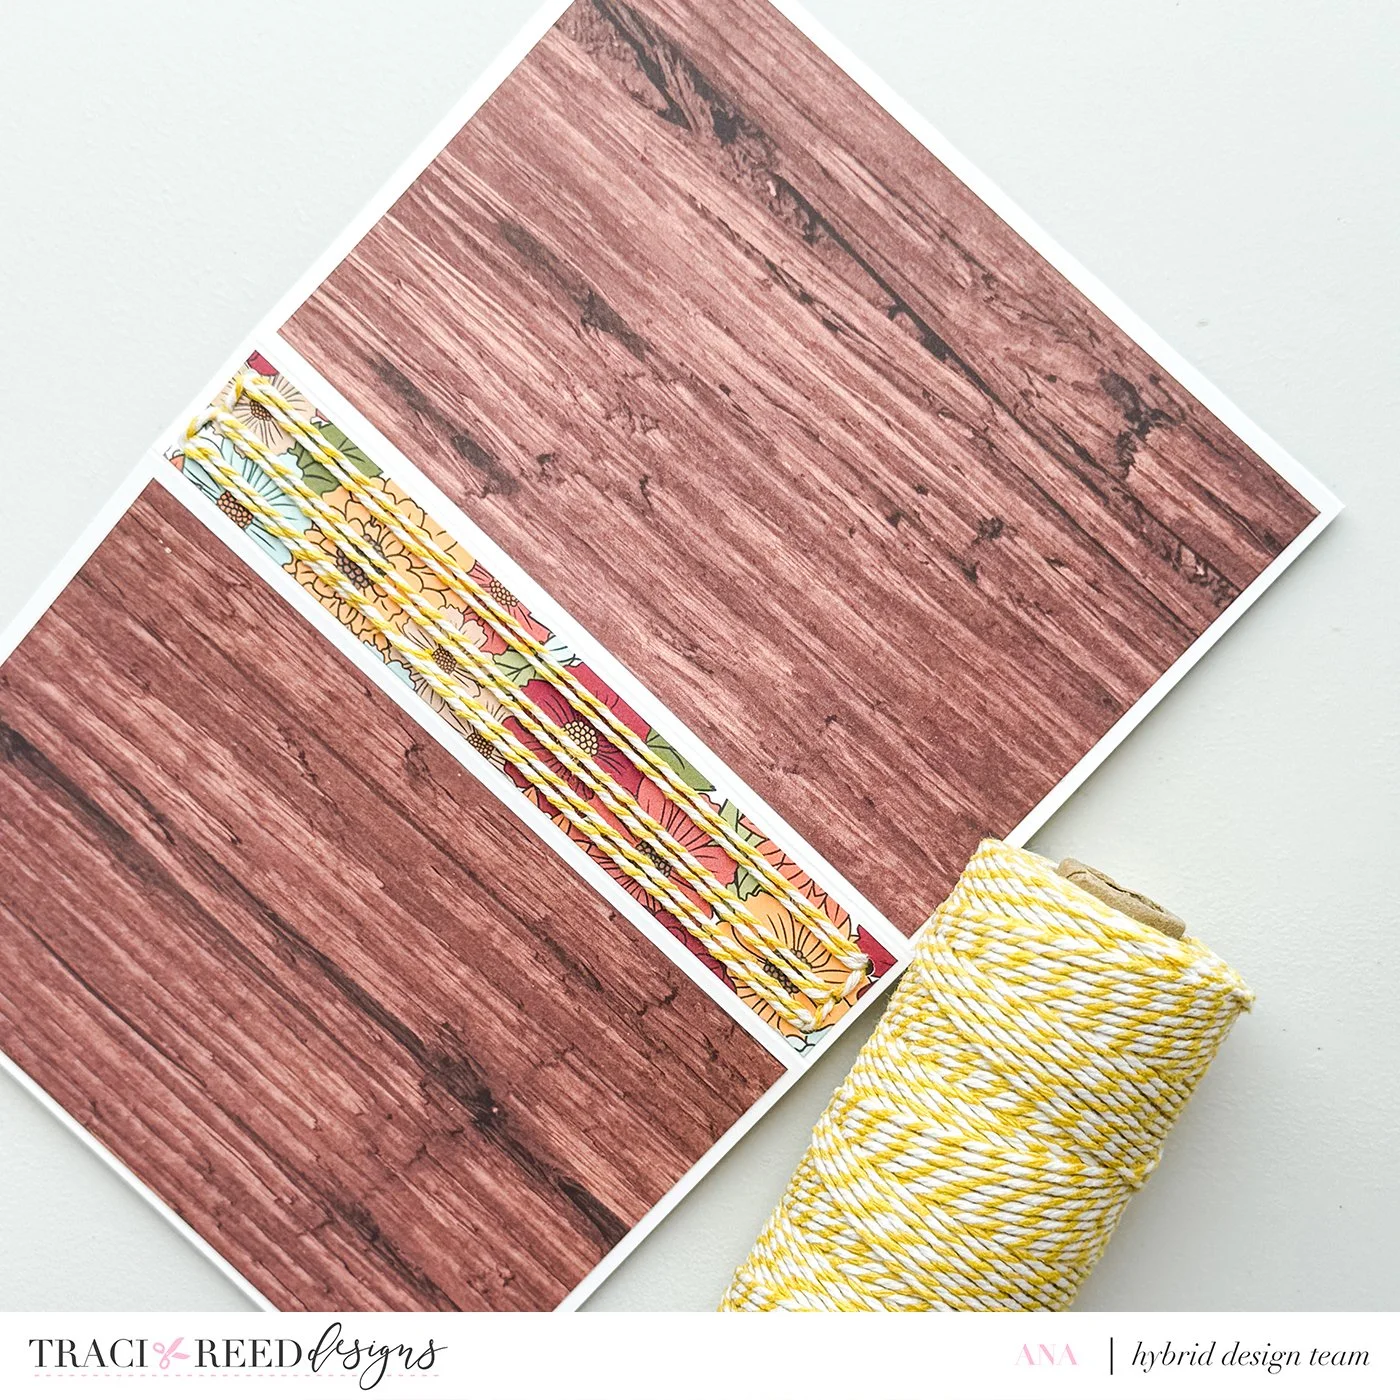
Punch three evenly spaced holes along the center spine, approximately ¼ inch from the top and bottom edges. Thread the baker’s twine from the top hole to its corresponding bottom hole, creating three vertical binding lines (one for each pair of holes). You can keep a single strand for a simple look, or make two passes through each line for extra strength, a fuller appearance, or to hold more inserts in the future.
Make the Inserts
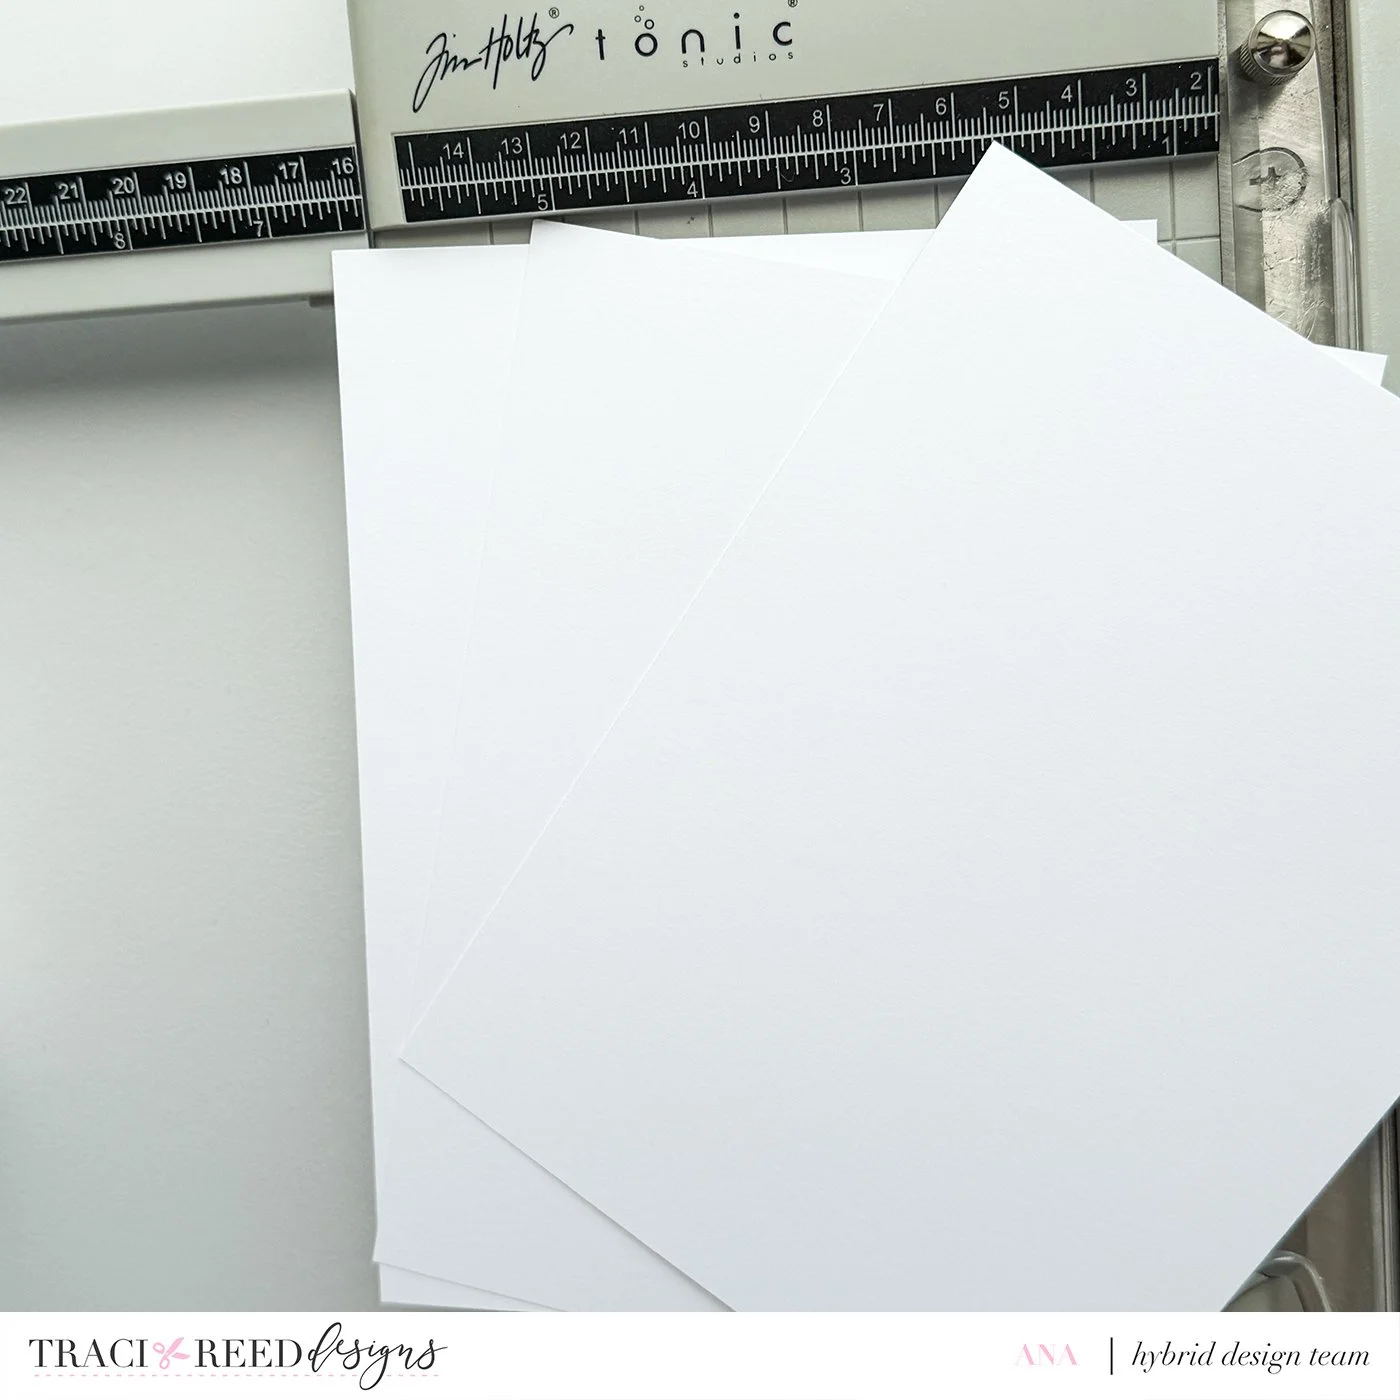
Trim three pieces of 271 gsm cardstock to 5½” x 7½”.
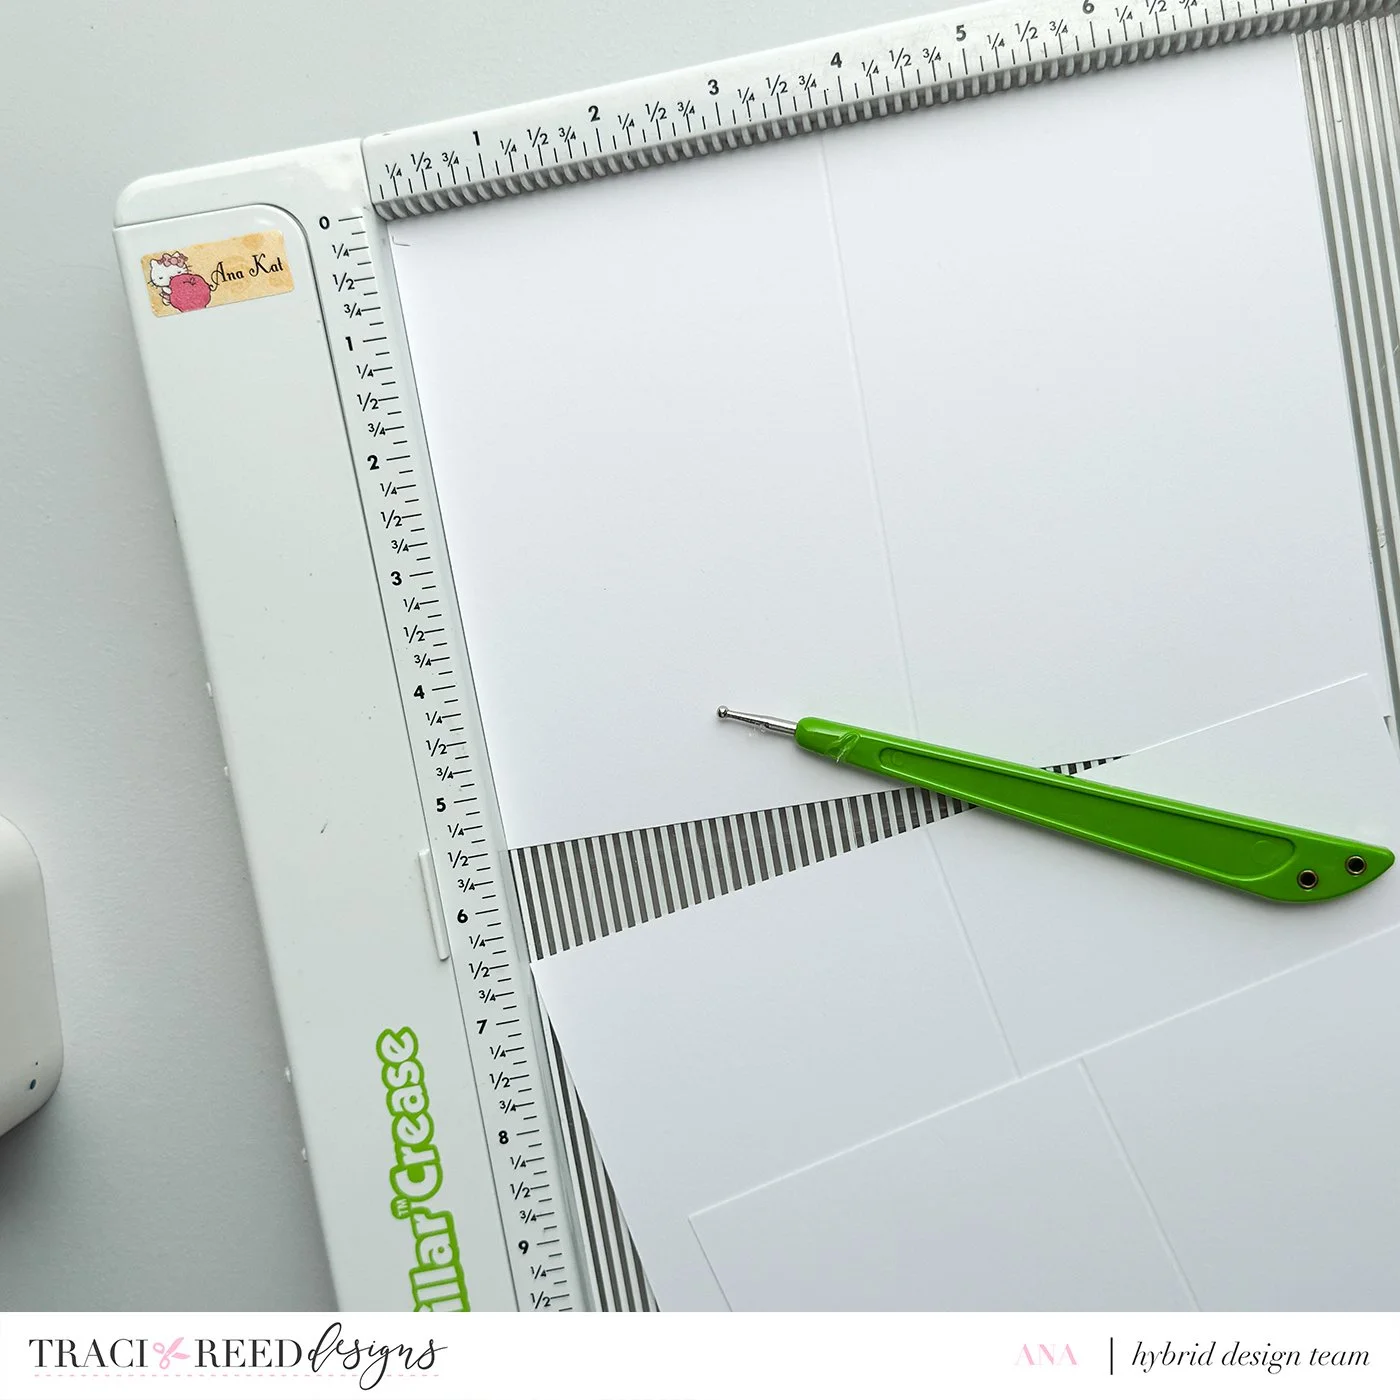
Score each piece in half at 3¾”.
Trim several sheets of 216 gsm cardstock to 7¼” x 5¼”. These will become the inside pages. I used two folded sheets inside each insert.
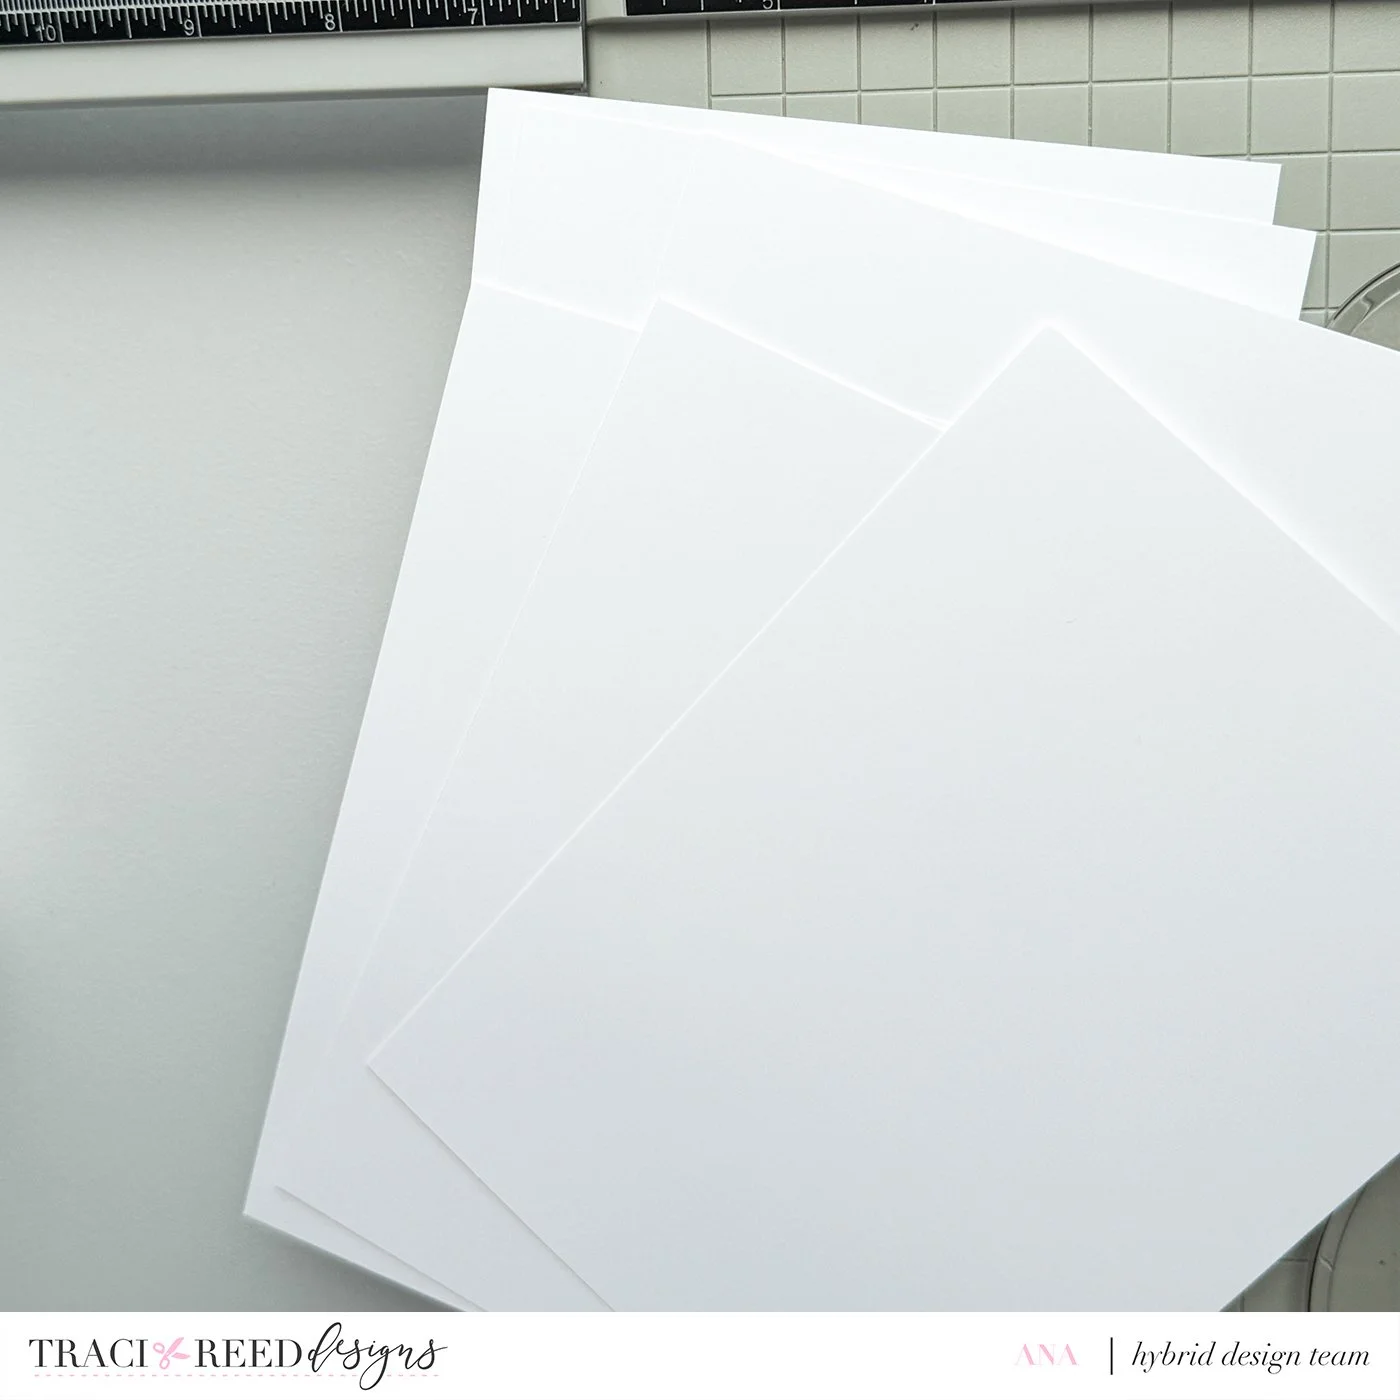
Score each sheet in half along the long side.
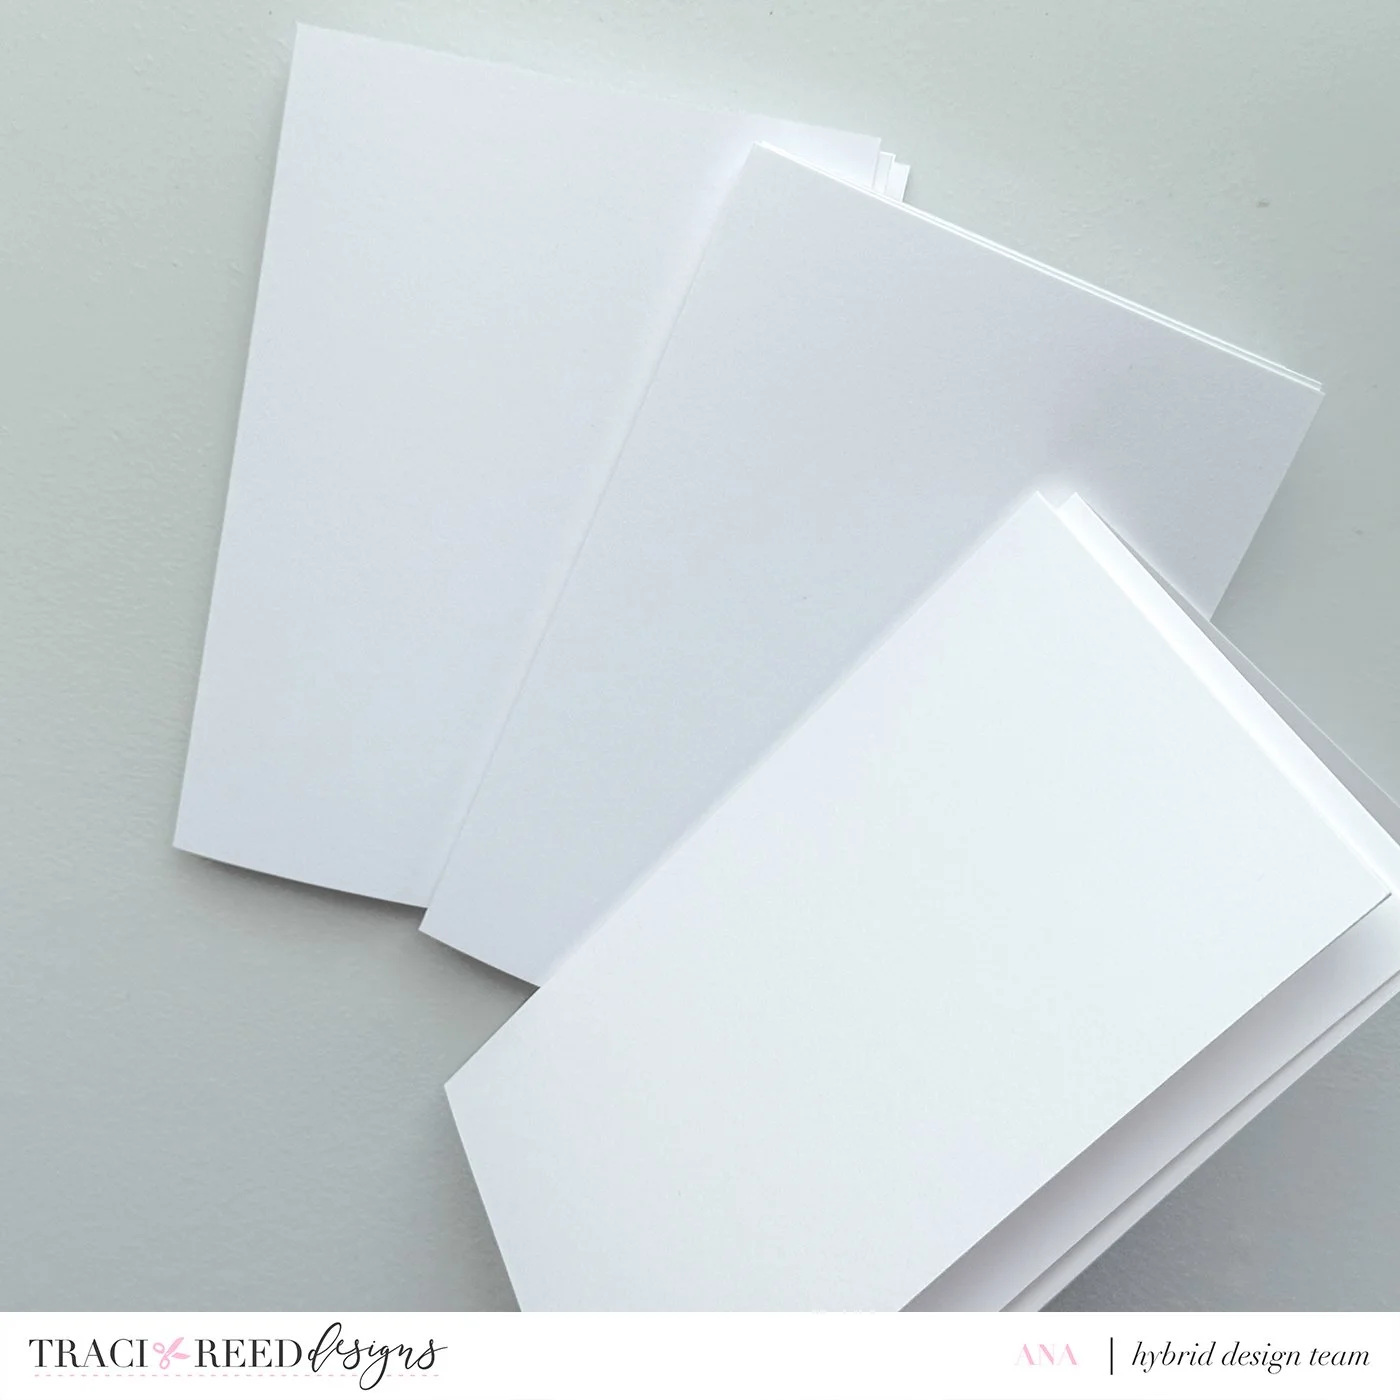
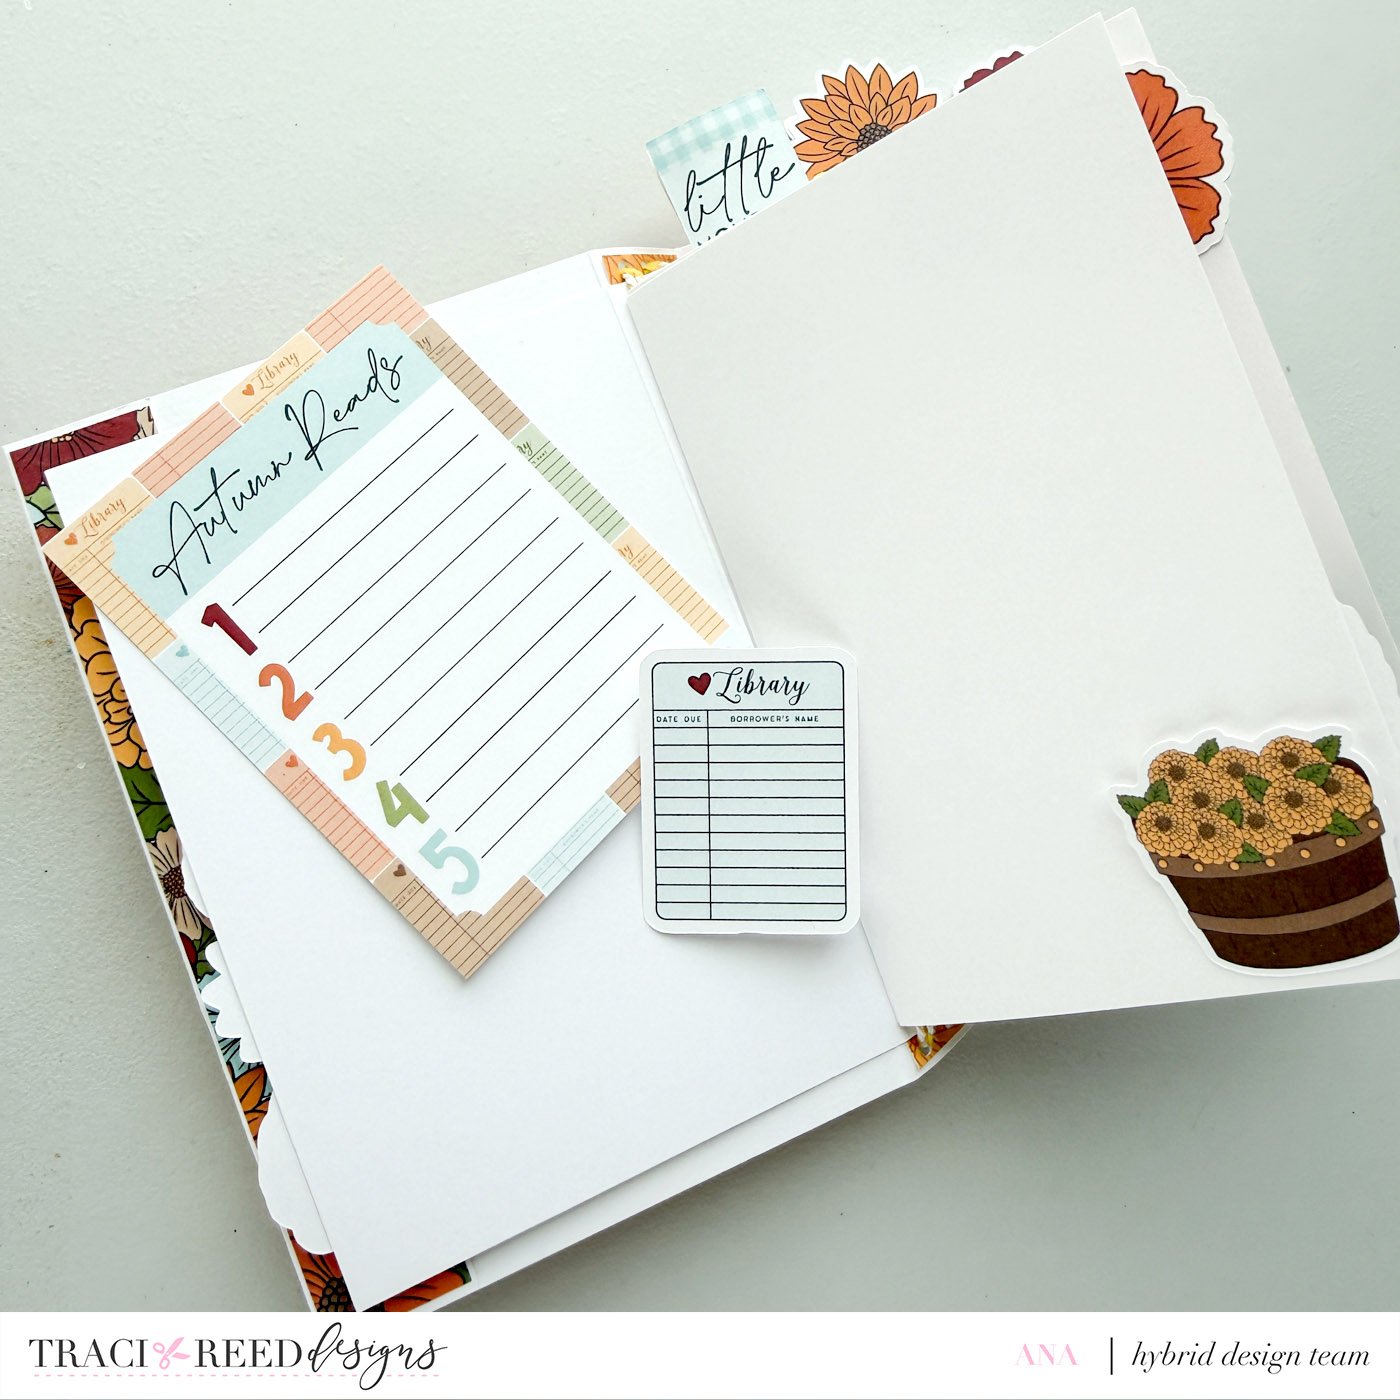
Assemble each insert by nesting:
One folded 271 gsm cover
Two folded 216 gsm page sets inside
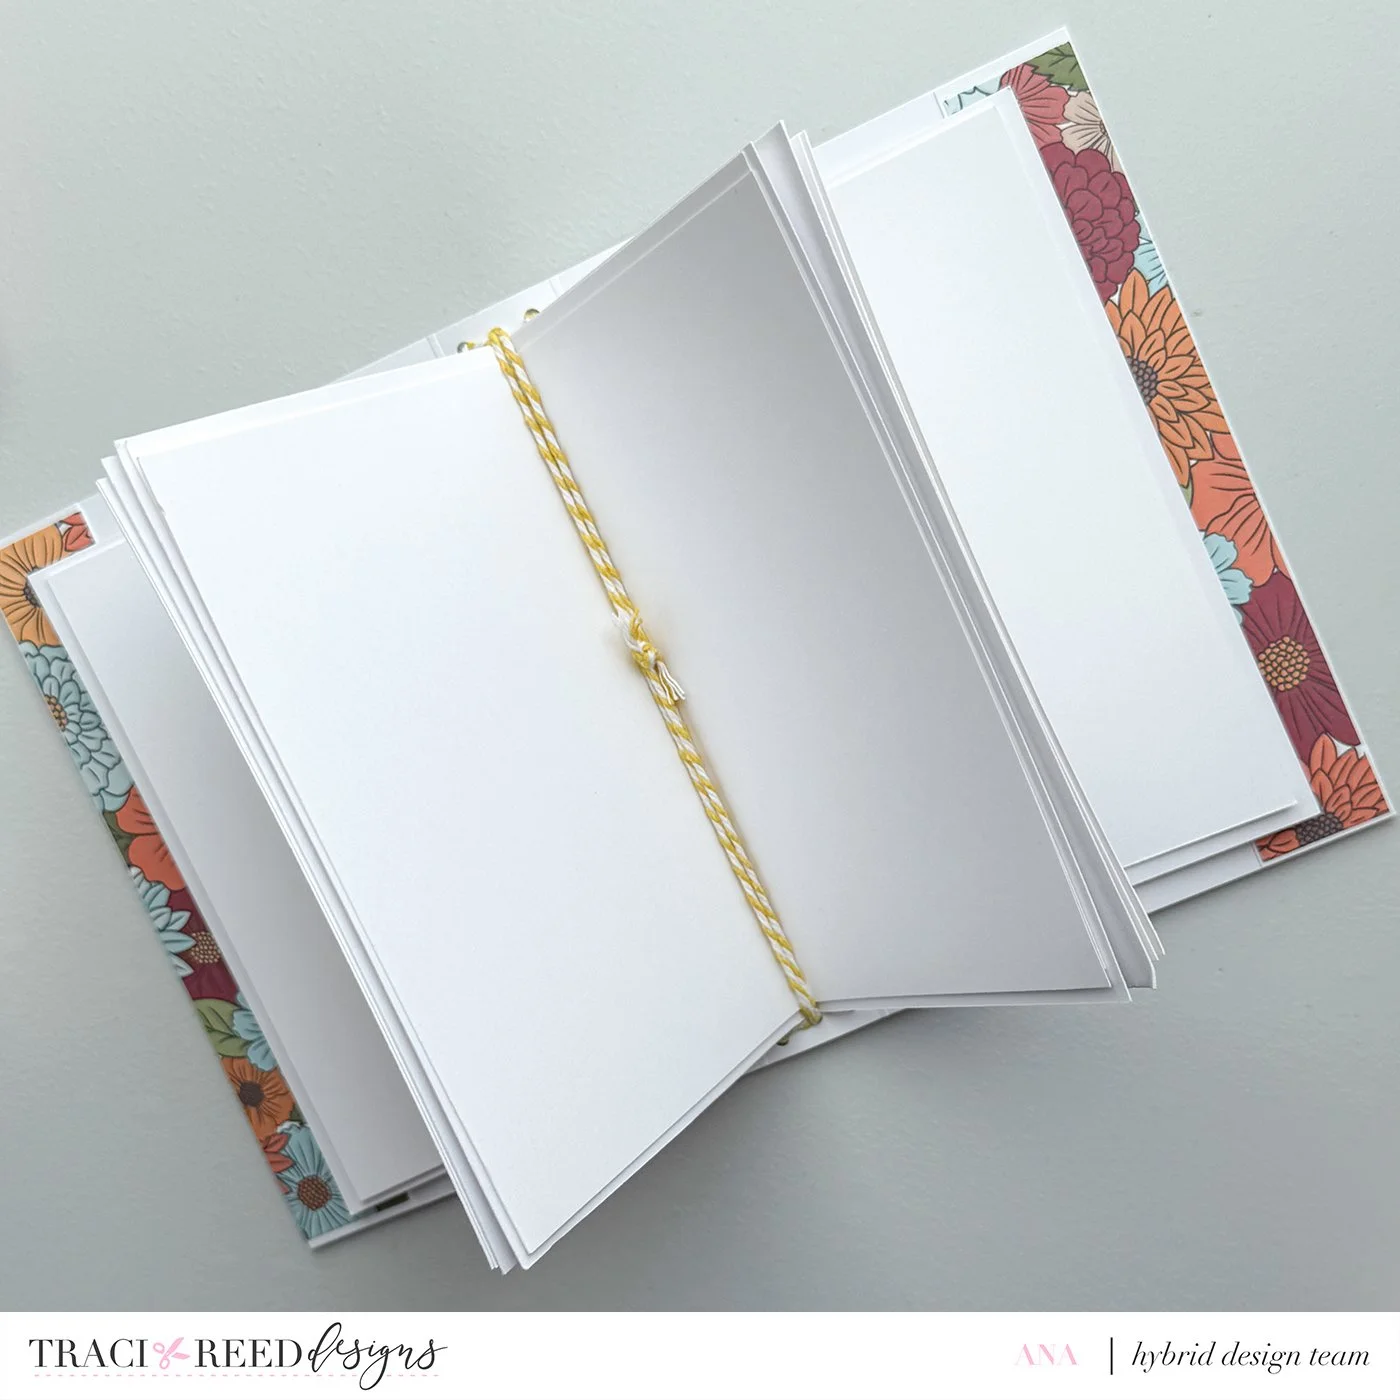
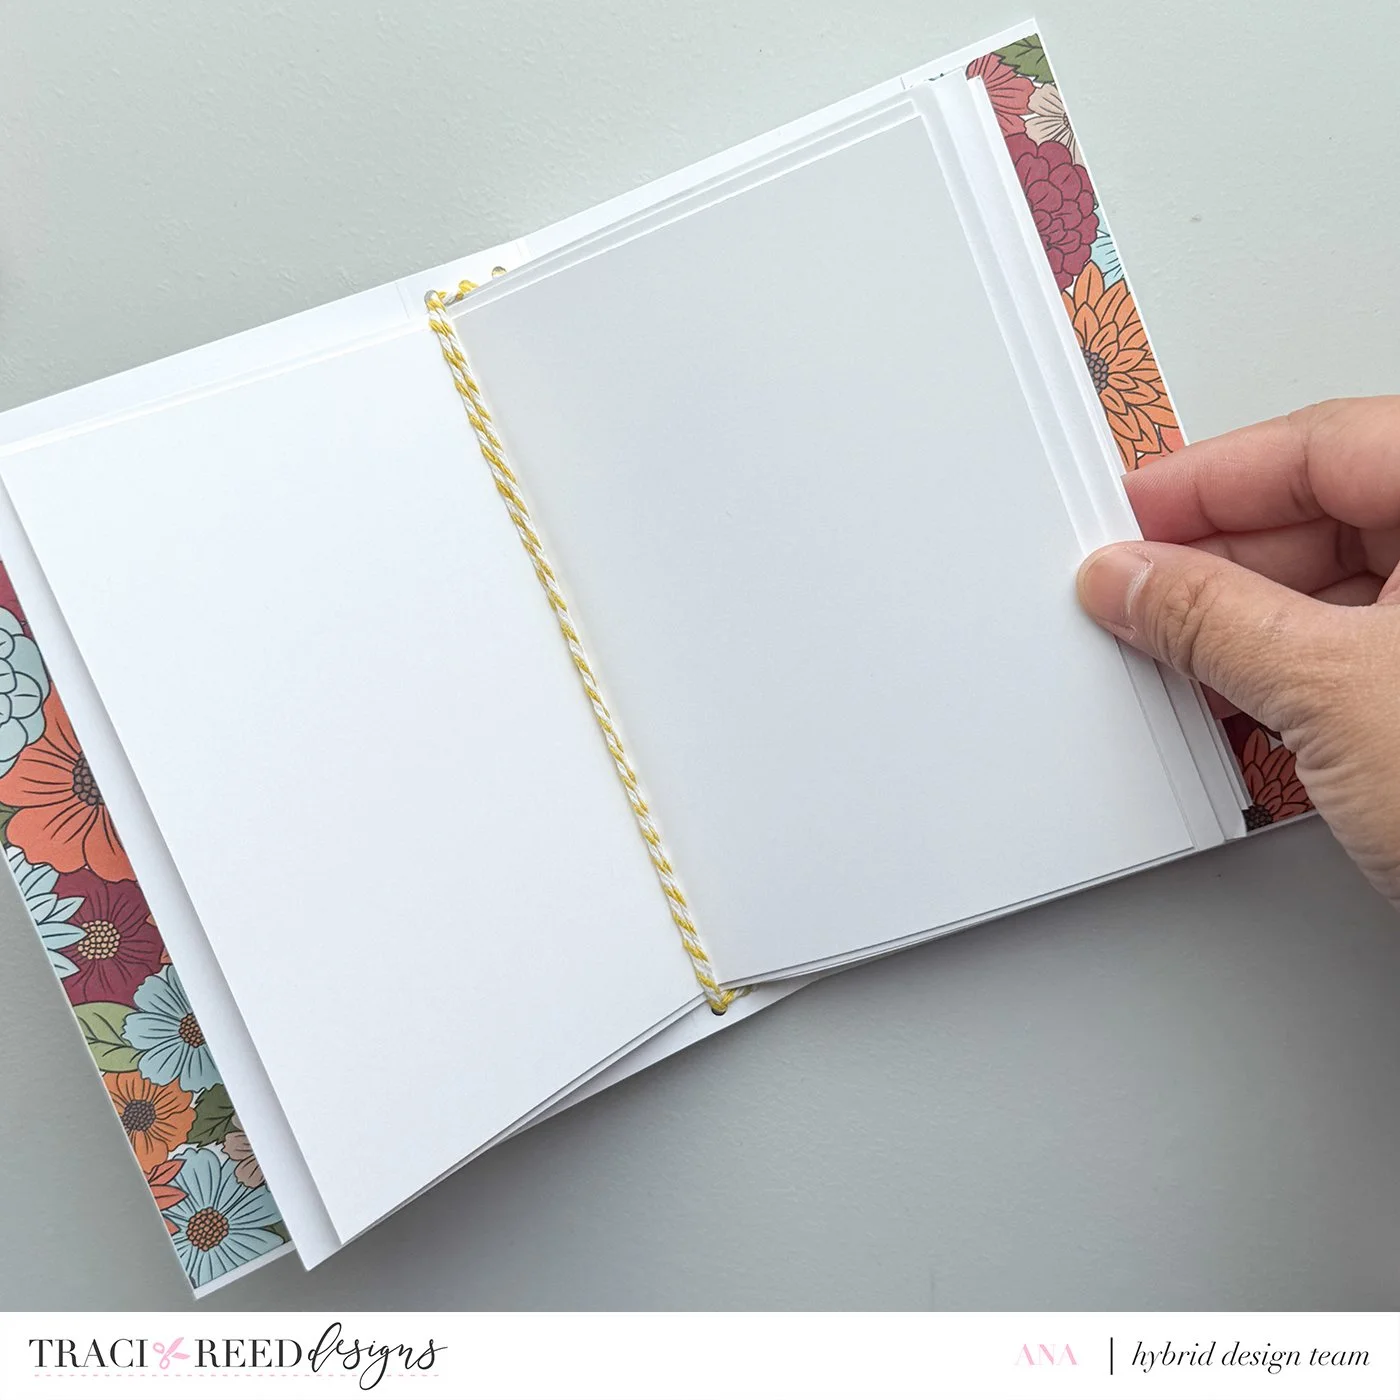
Assemble the Journal
Thread the baker’s twine through the spine and tie in the three inserts.
The Fun Part - Decorating!
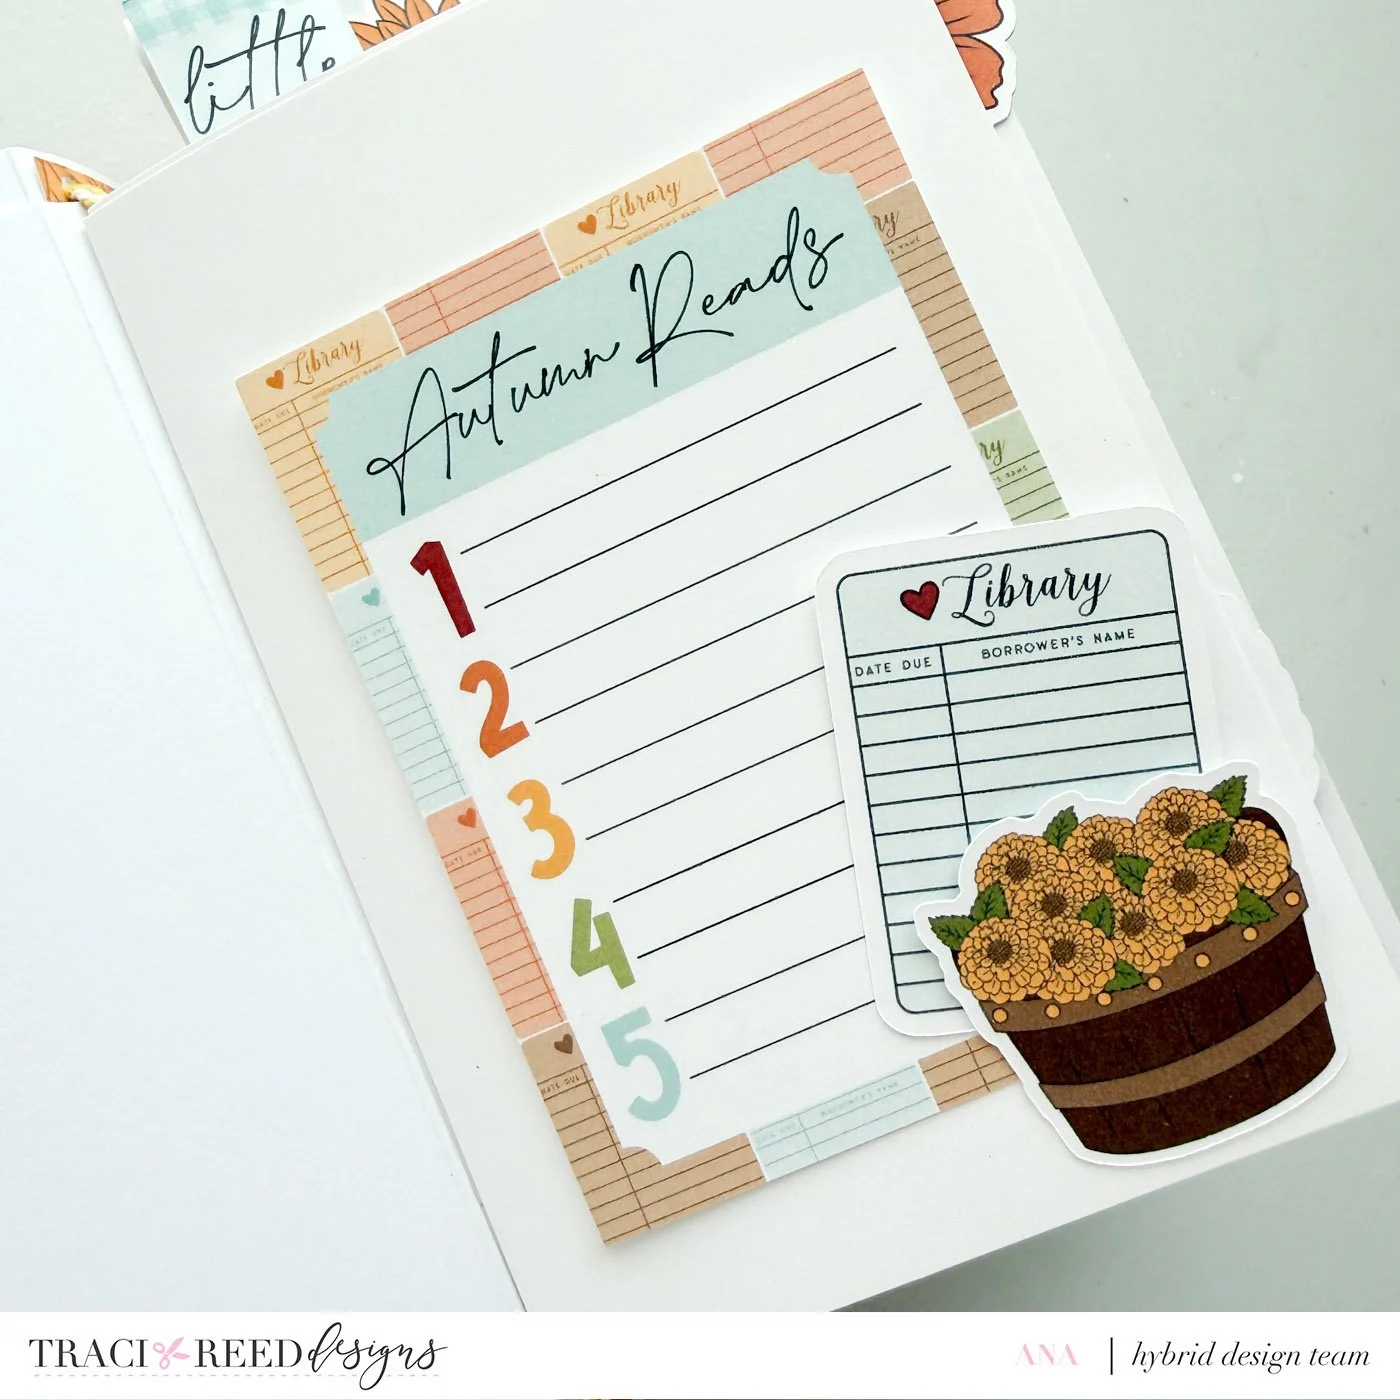
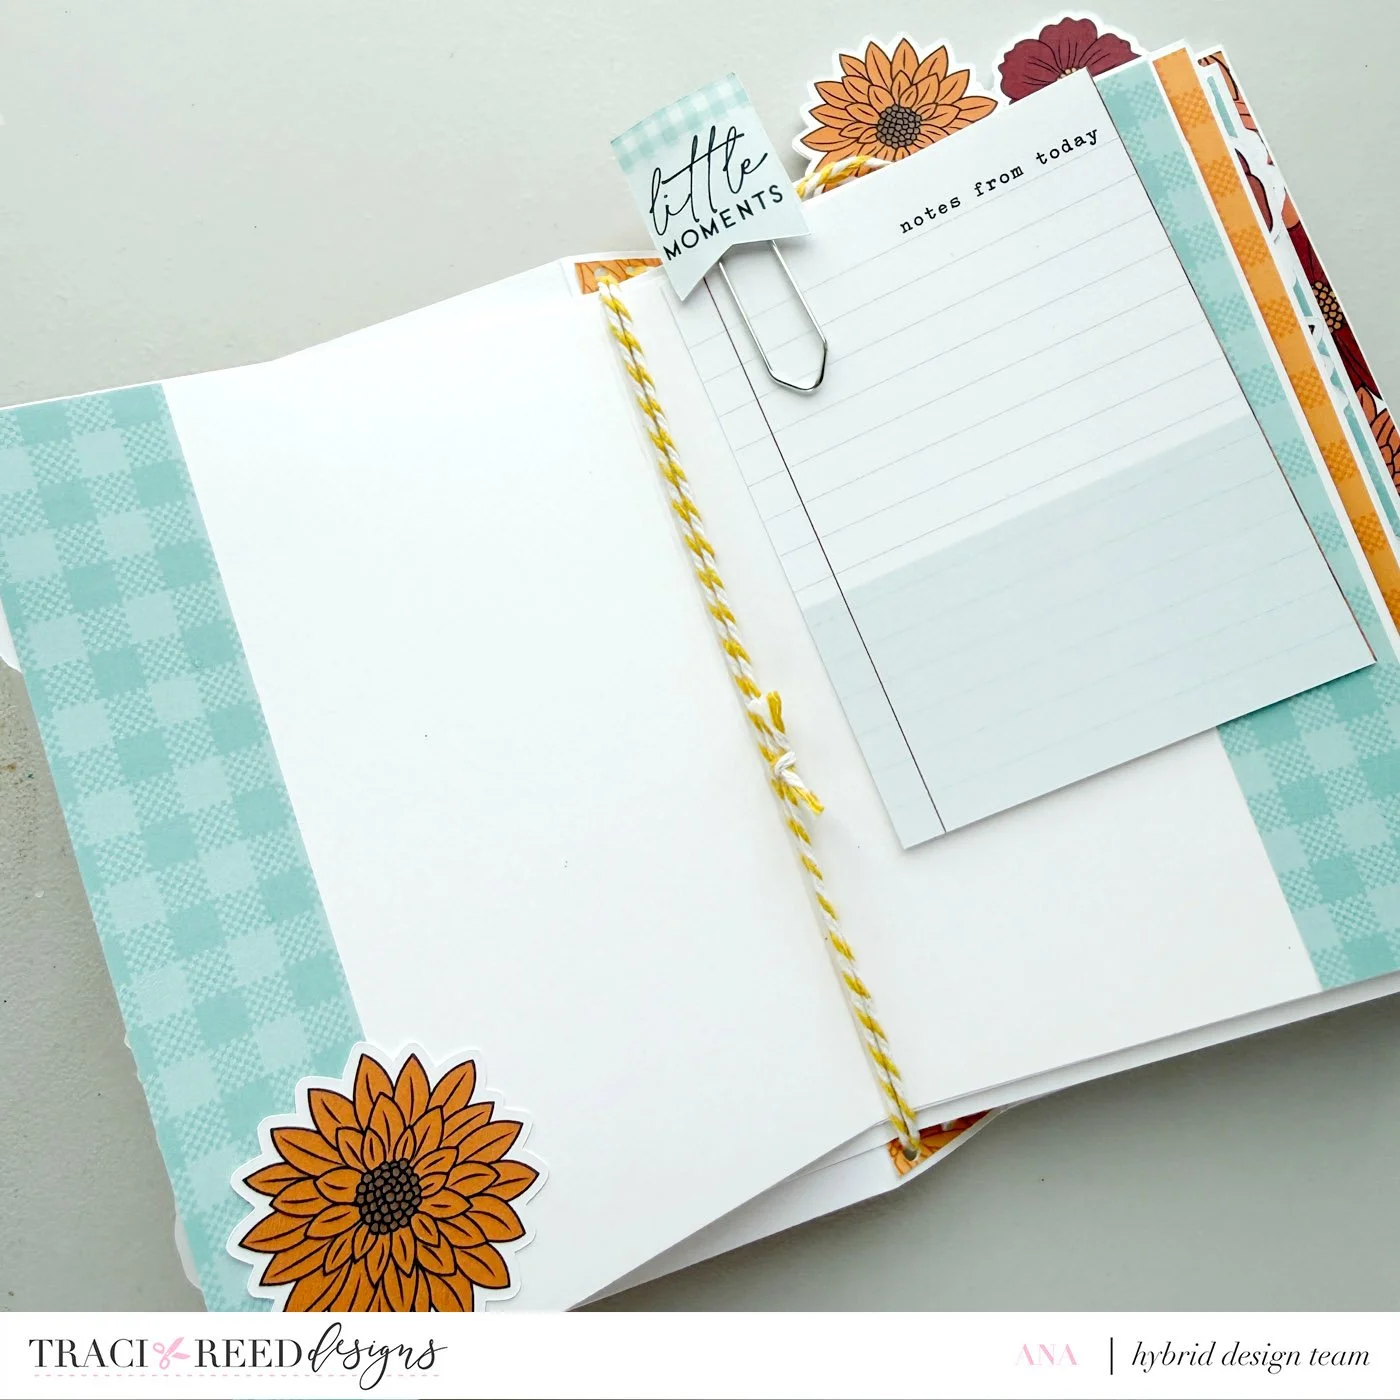
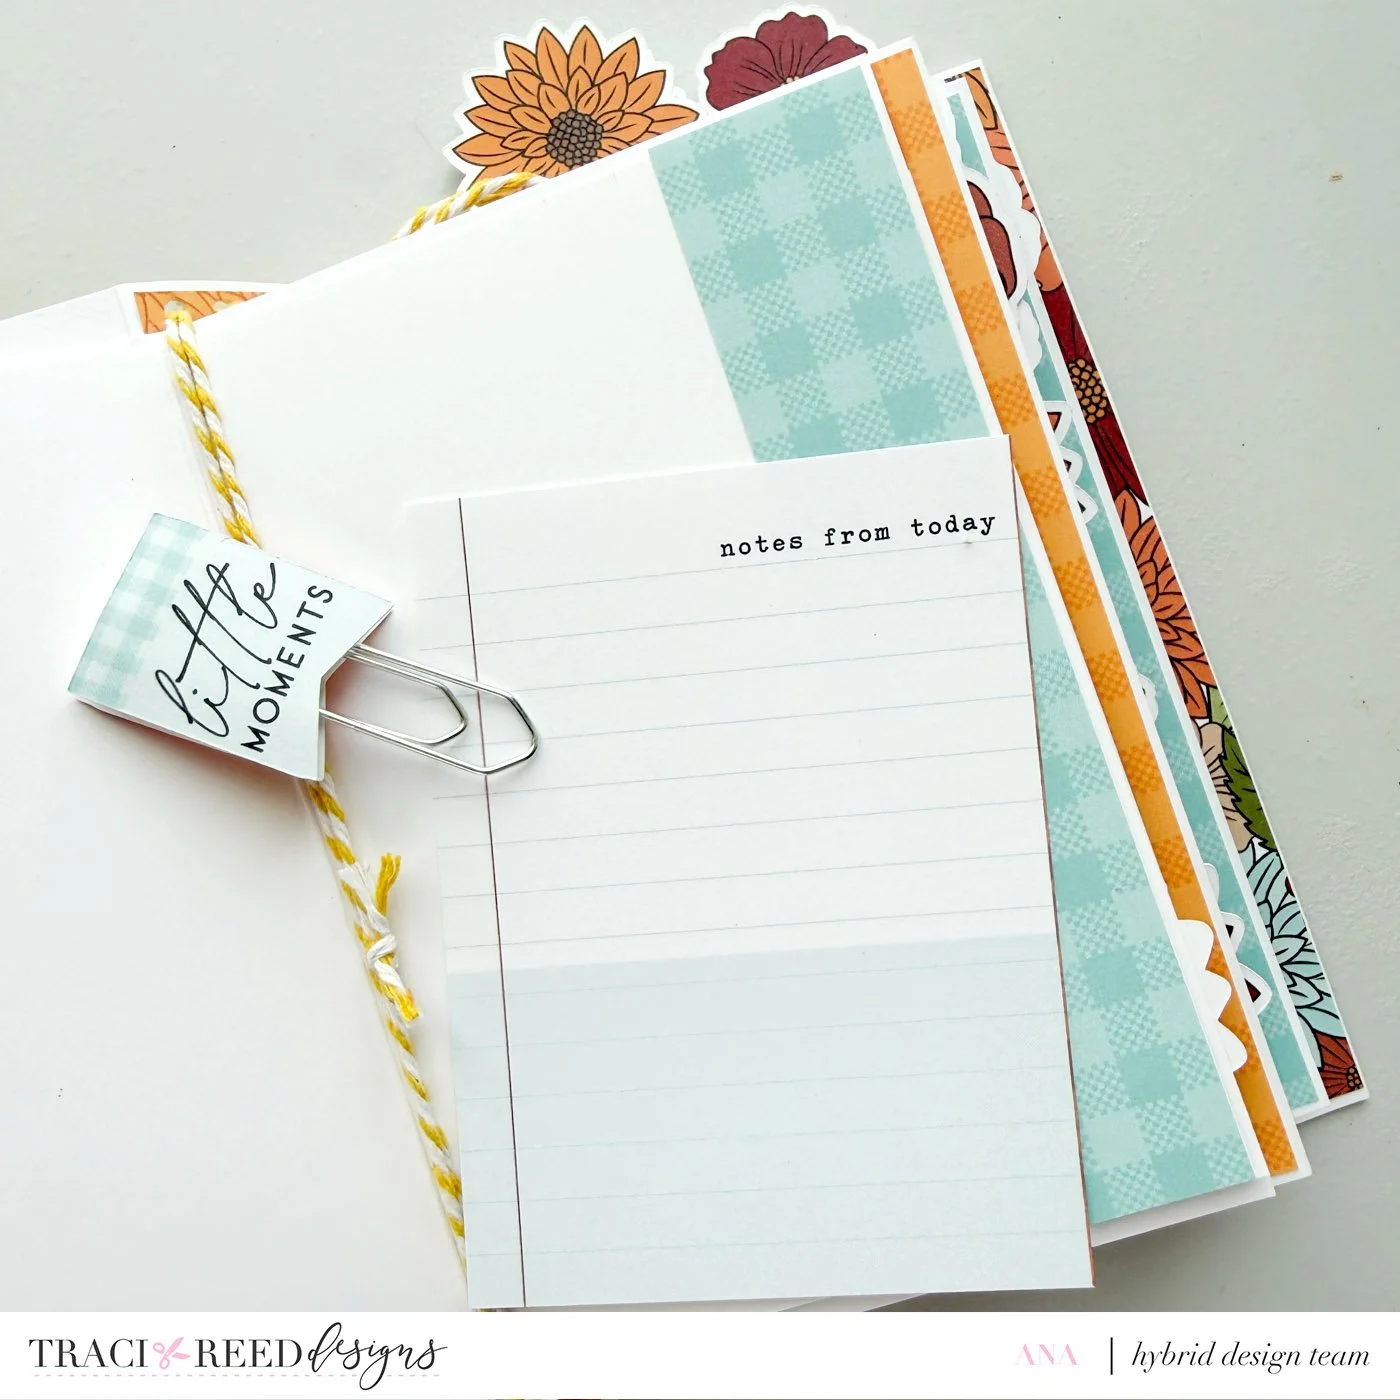
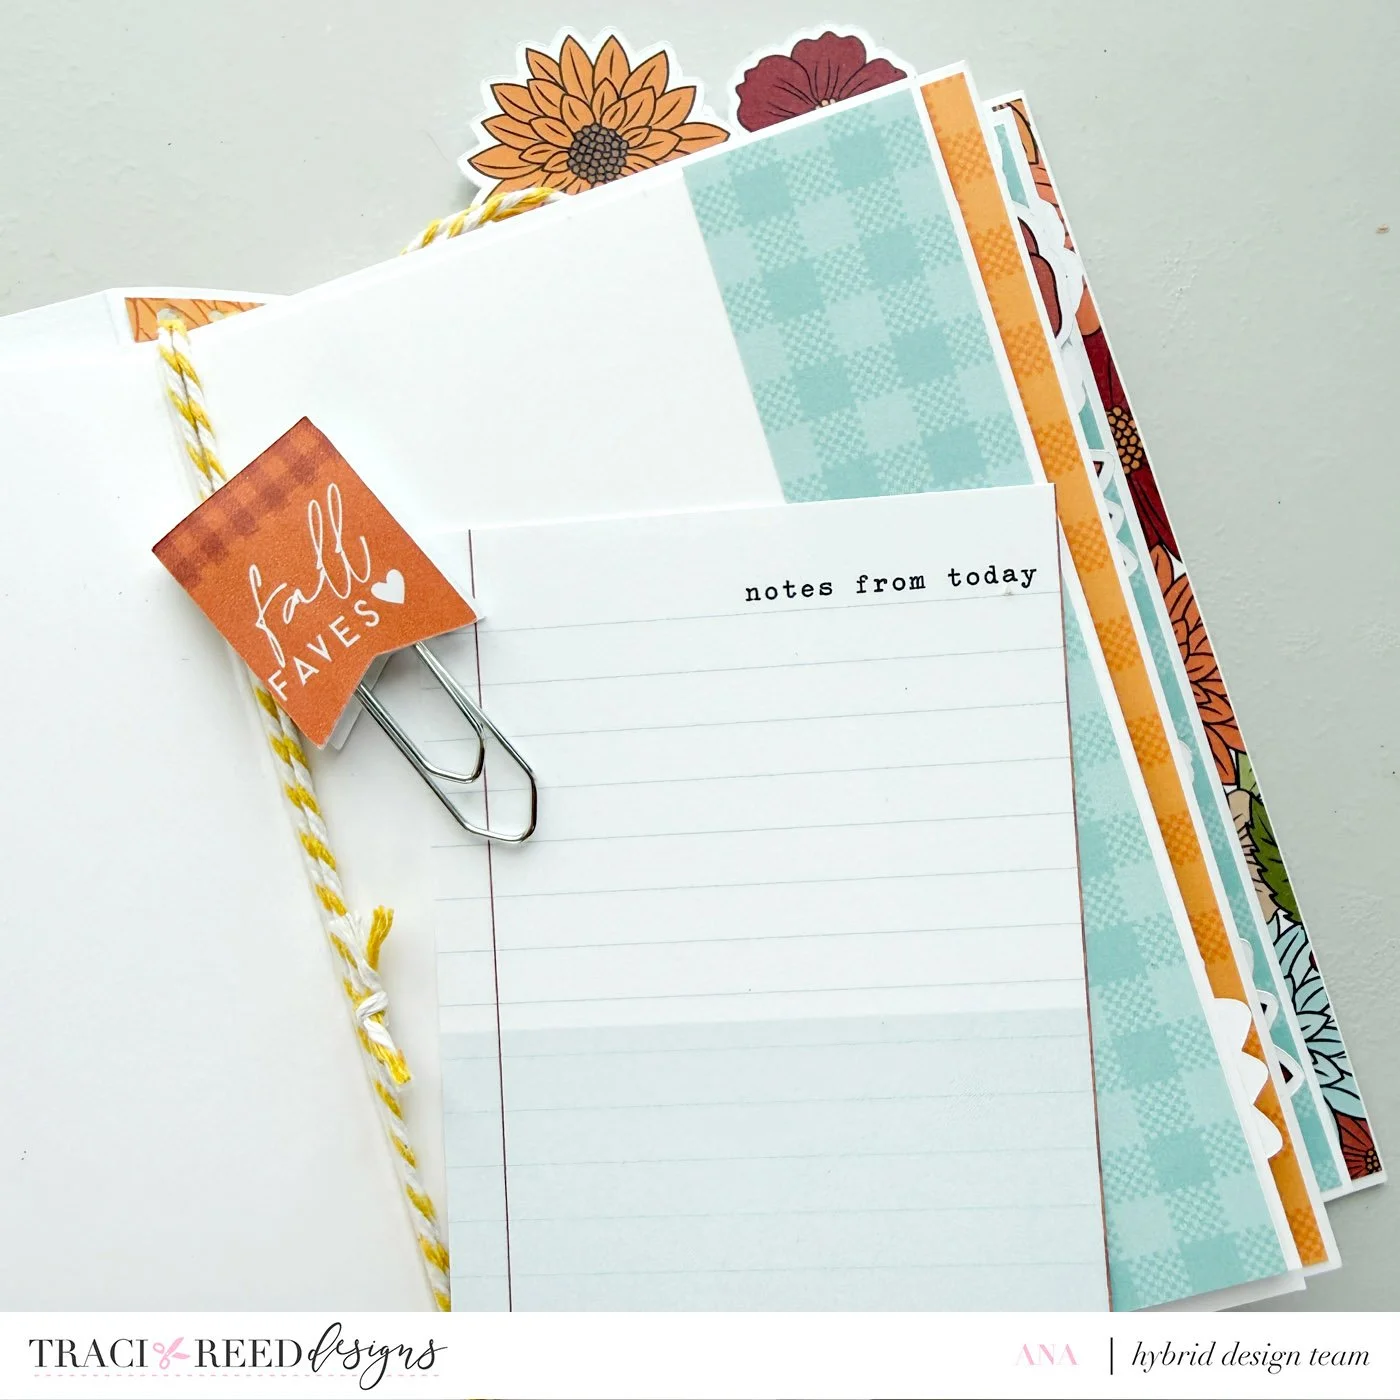
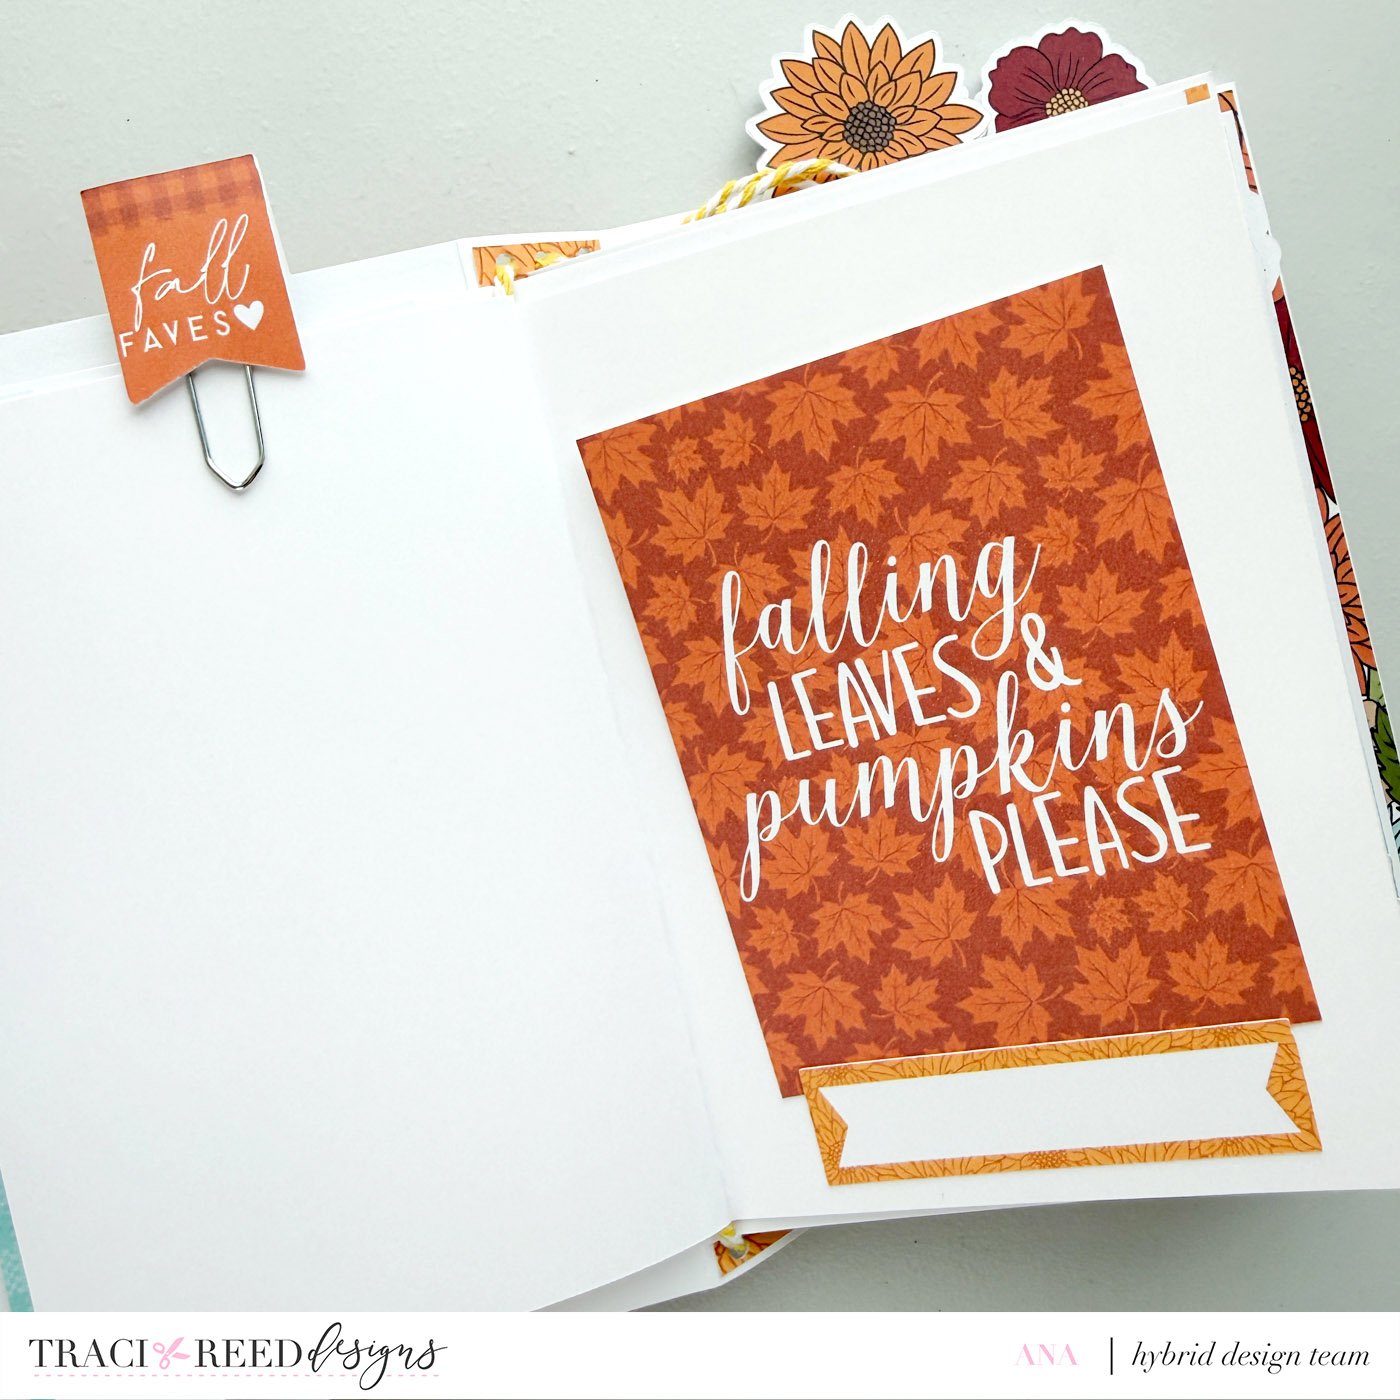
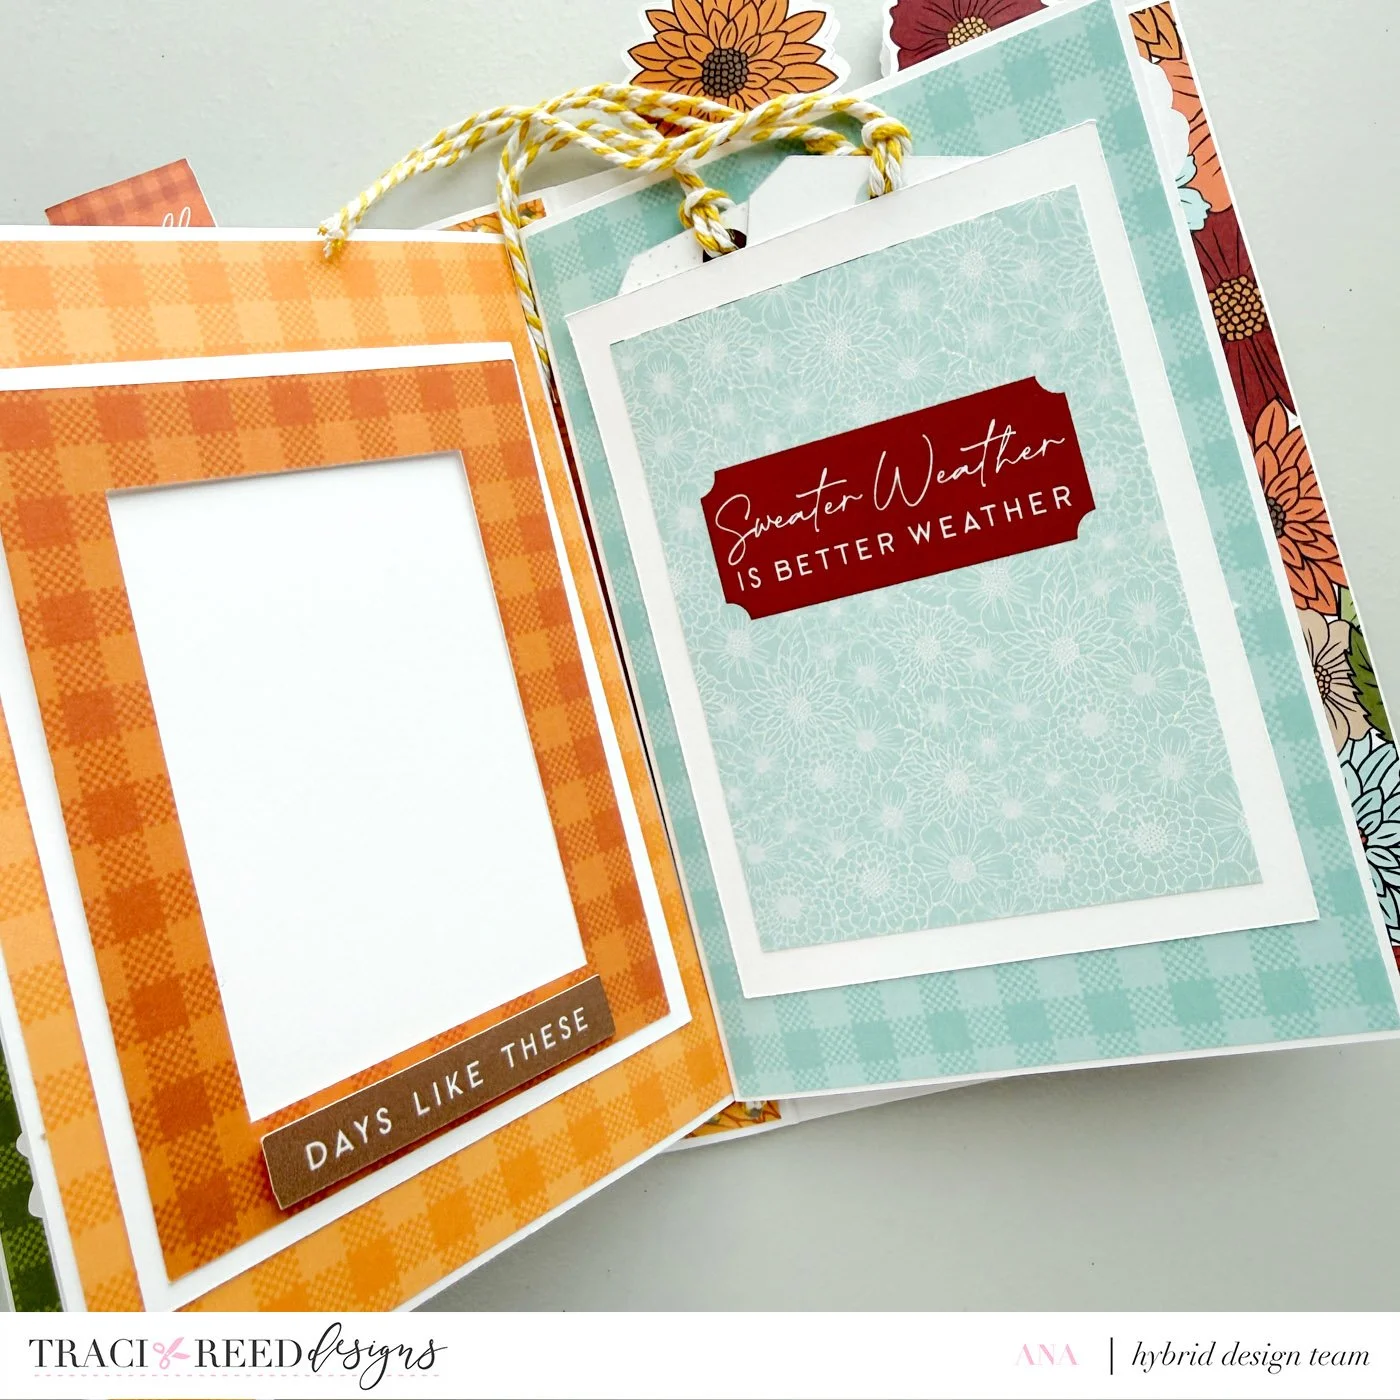
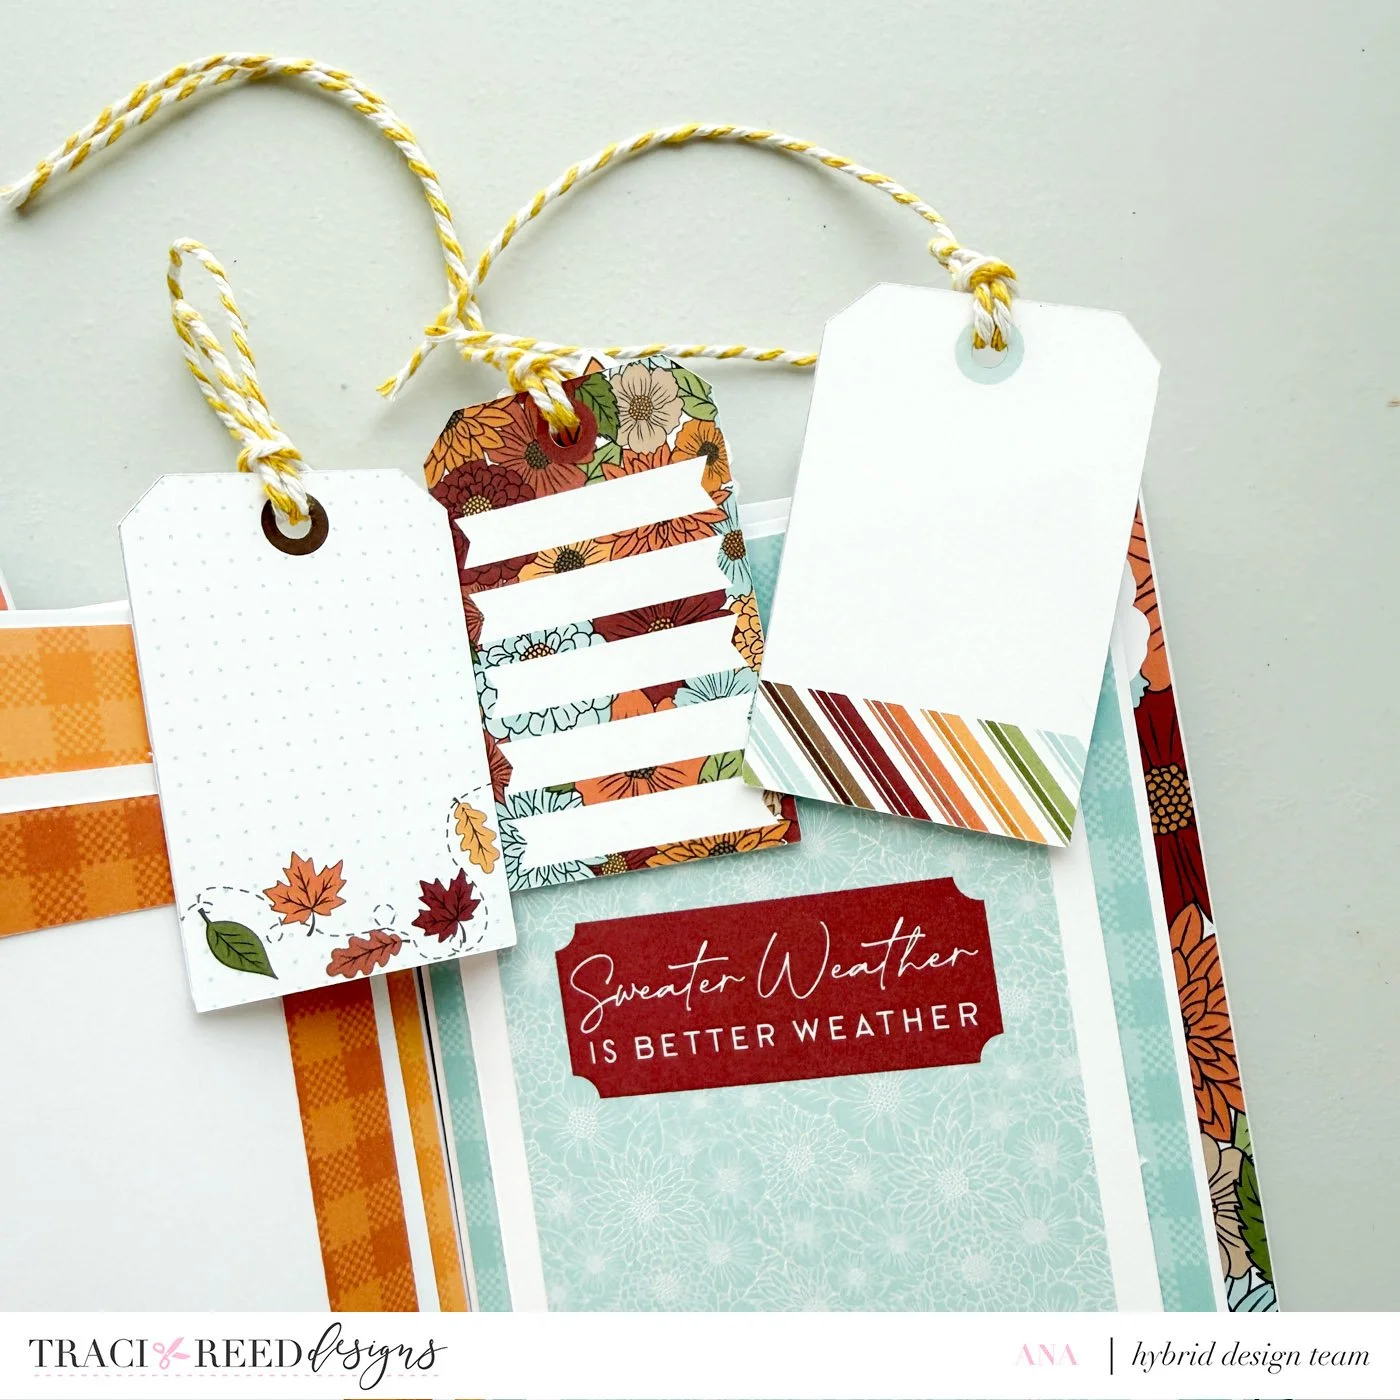
Gather your favorite embellishments. I used stickers, ephemera, journaling cards, and die cuts from the Golden Days collection.
Choose your favorite patterned papers, or use a little bit of everything!
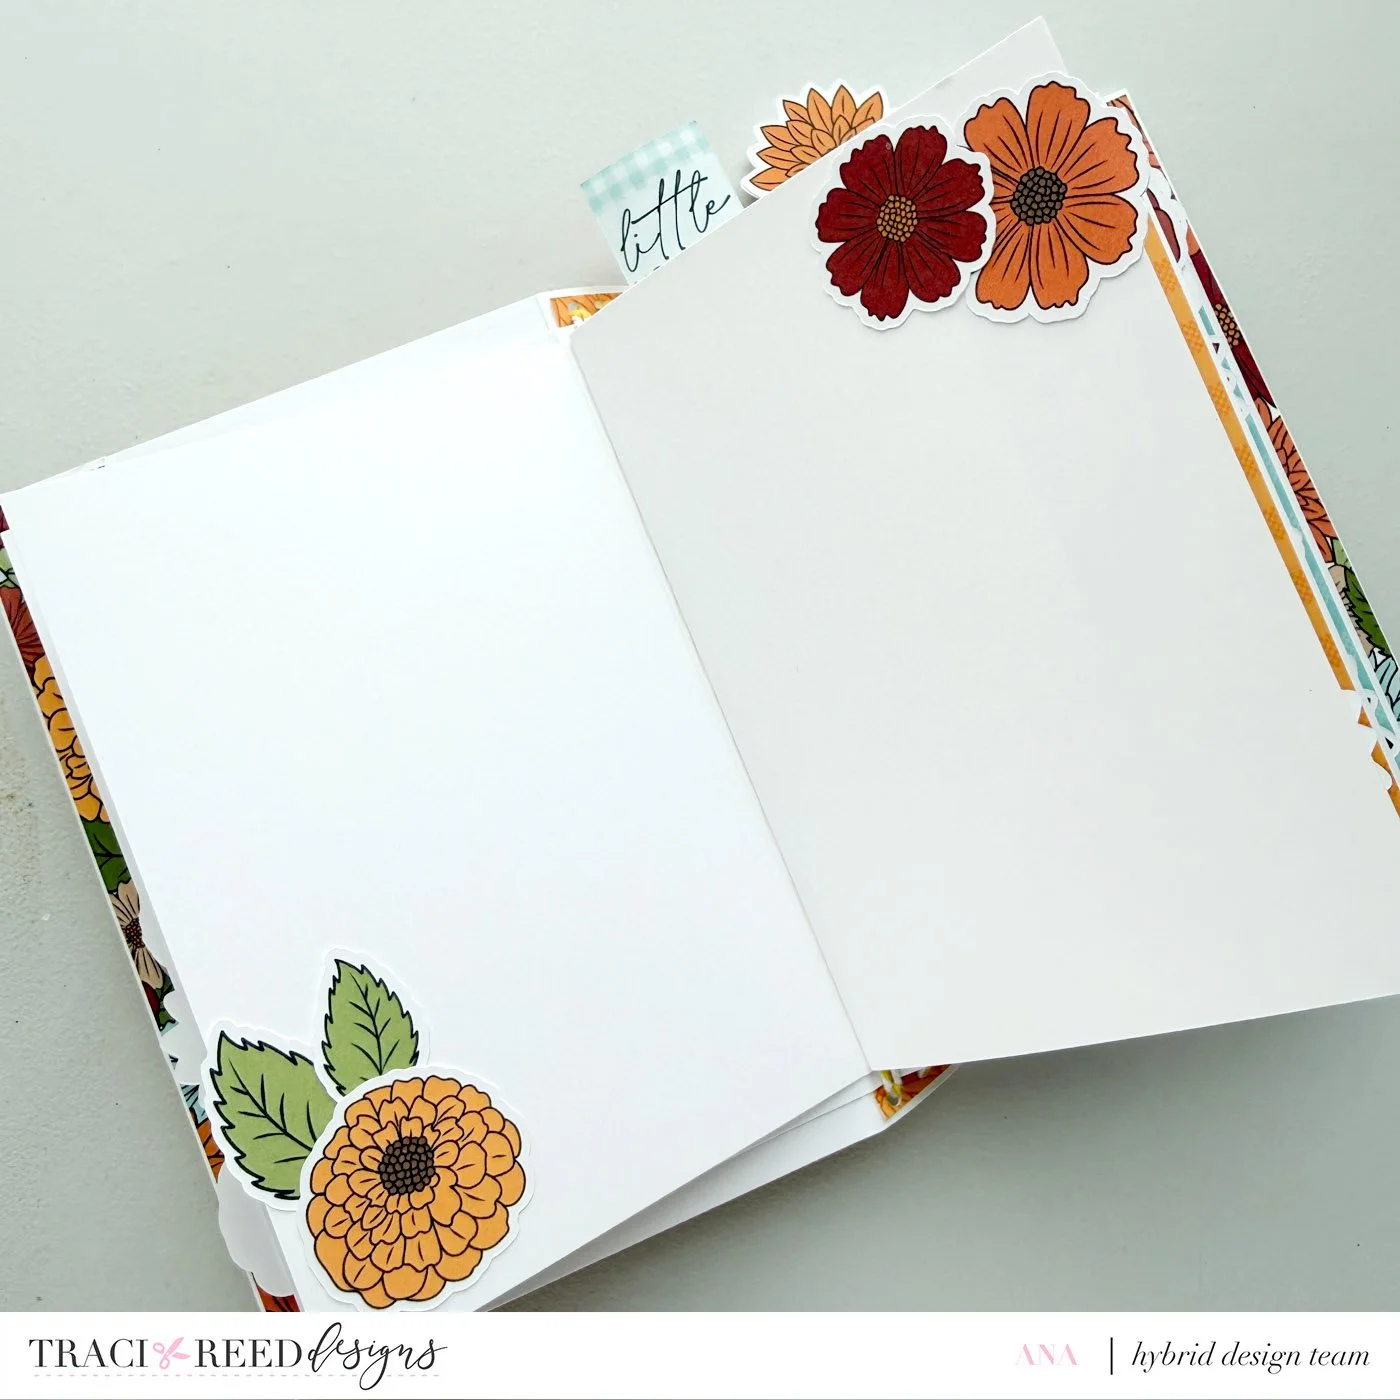
Decorate the pages however you like by layering papers and embellishments throughout the journal.
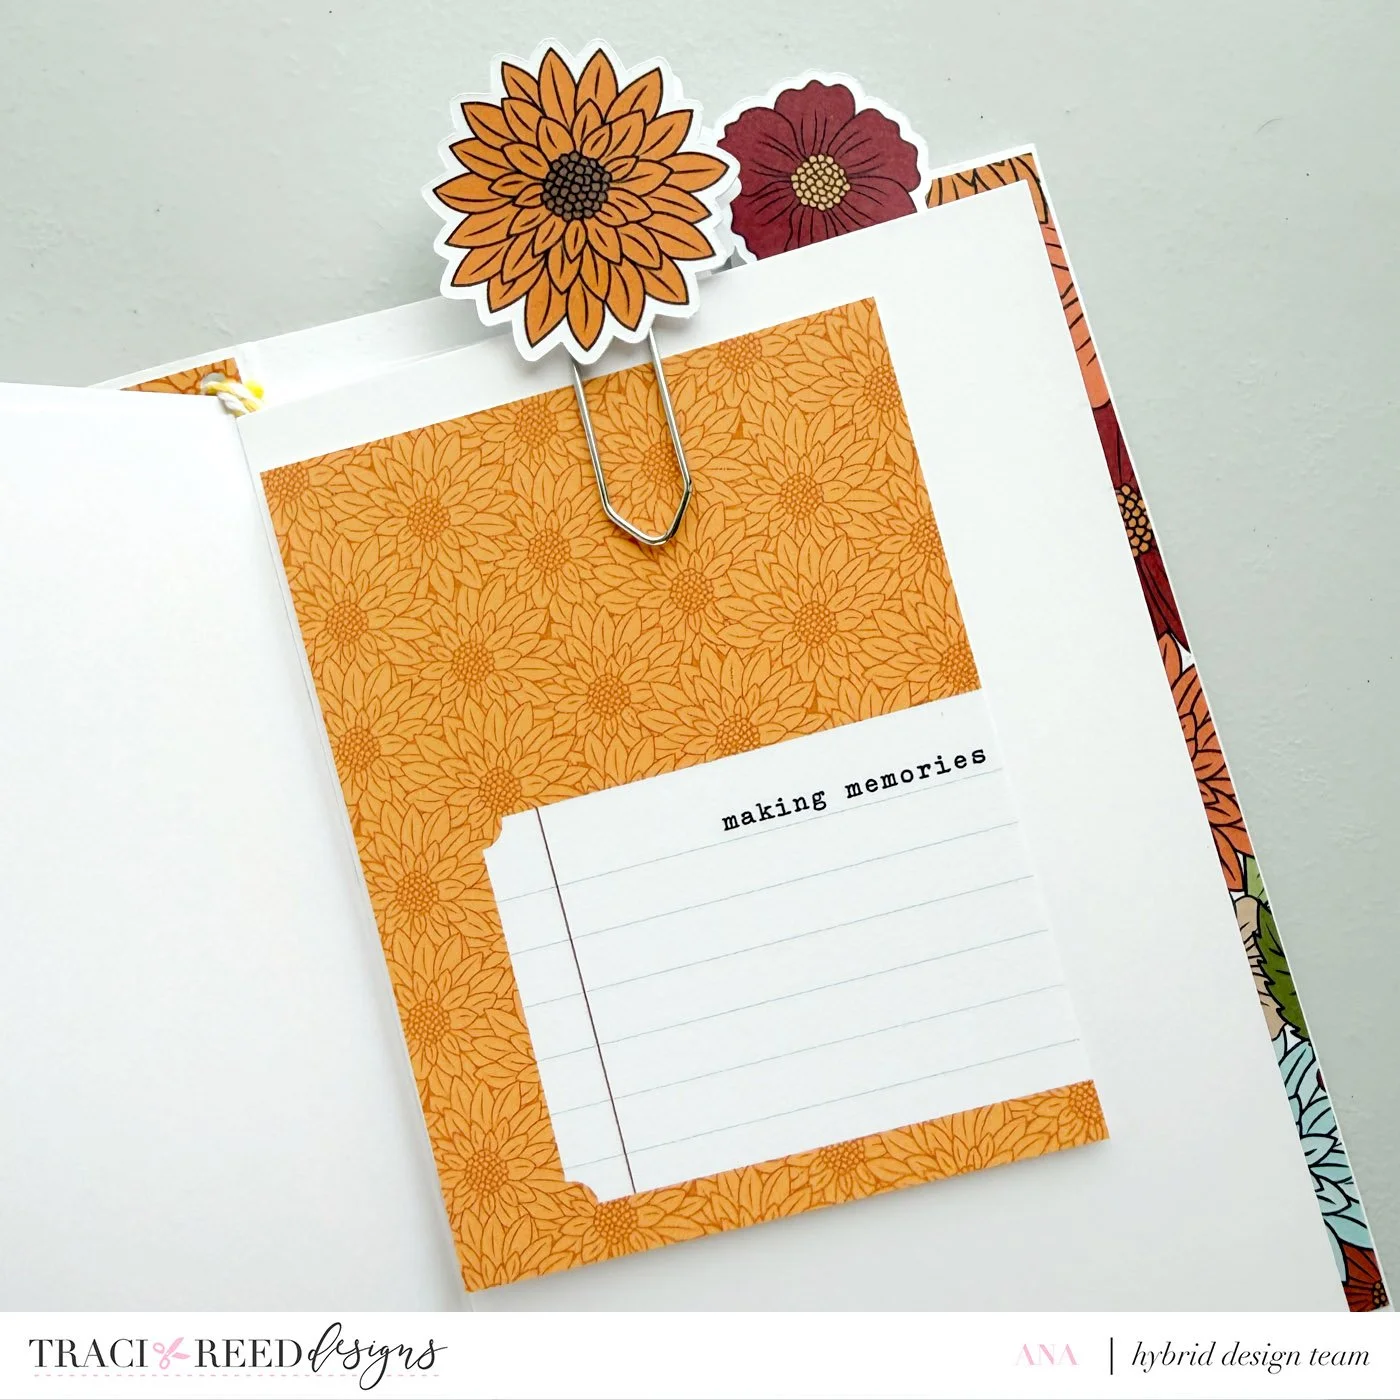
Want decorative paper clips? Simply adhere two matching flowers back-to-back with foam tape, sandwiching a paper clip between them. I like adding glue between the foam tapes for a stronger hold.
Add foam tape behind embellishments whenever you’d like extra depth and dimension.
Finally, decorate your cover. This journal is completely yours, so have fun and make it reflect your own style!
There really isn’t a right or wrong way to decorate this project, that’s what makes it so enjoyable. Every journal will tell a different story, and I love that no two will ever look exactly alike.
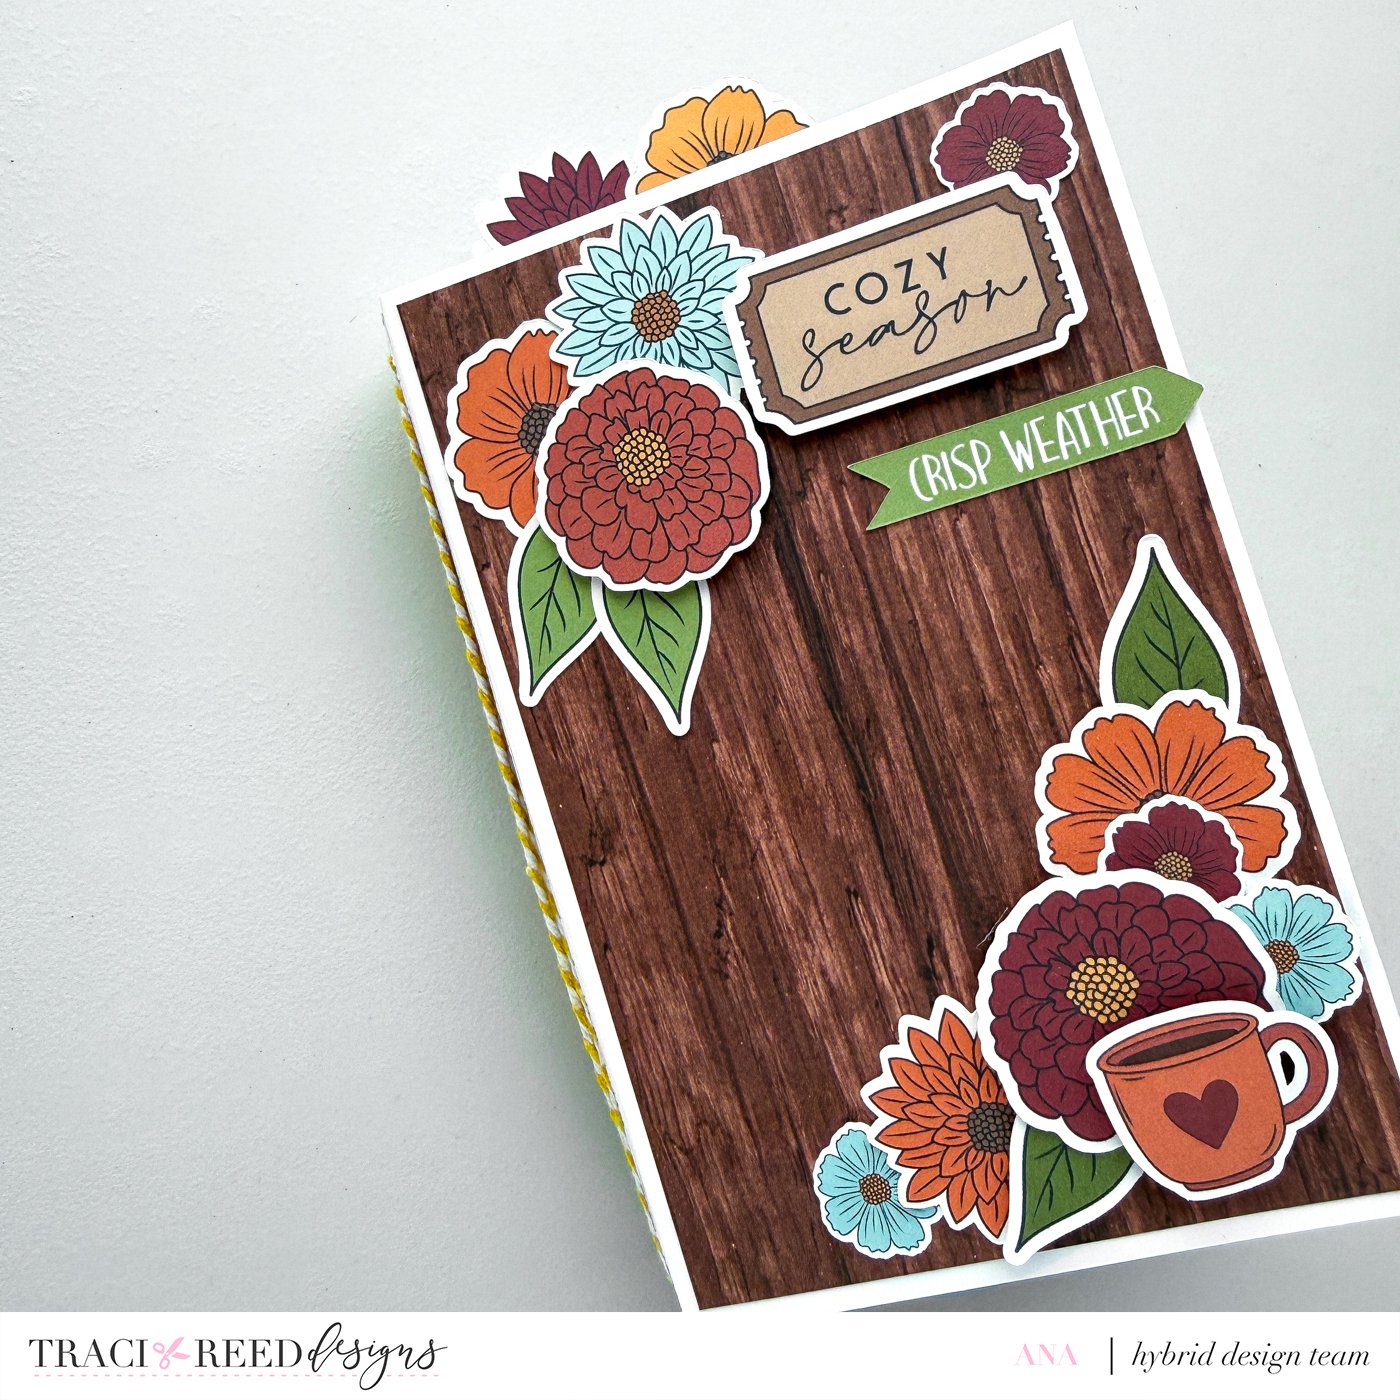
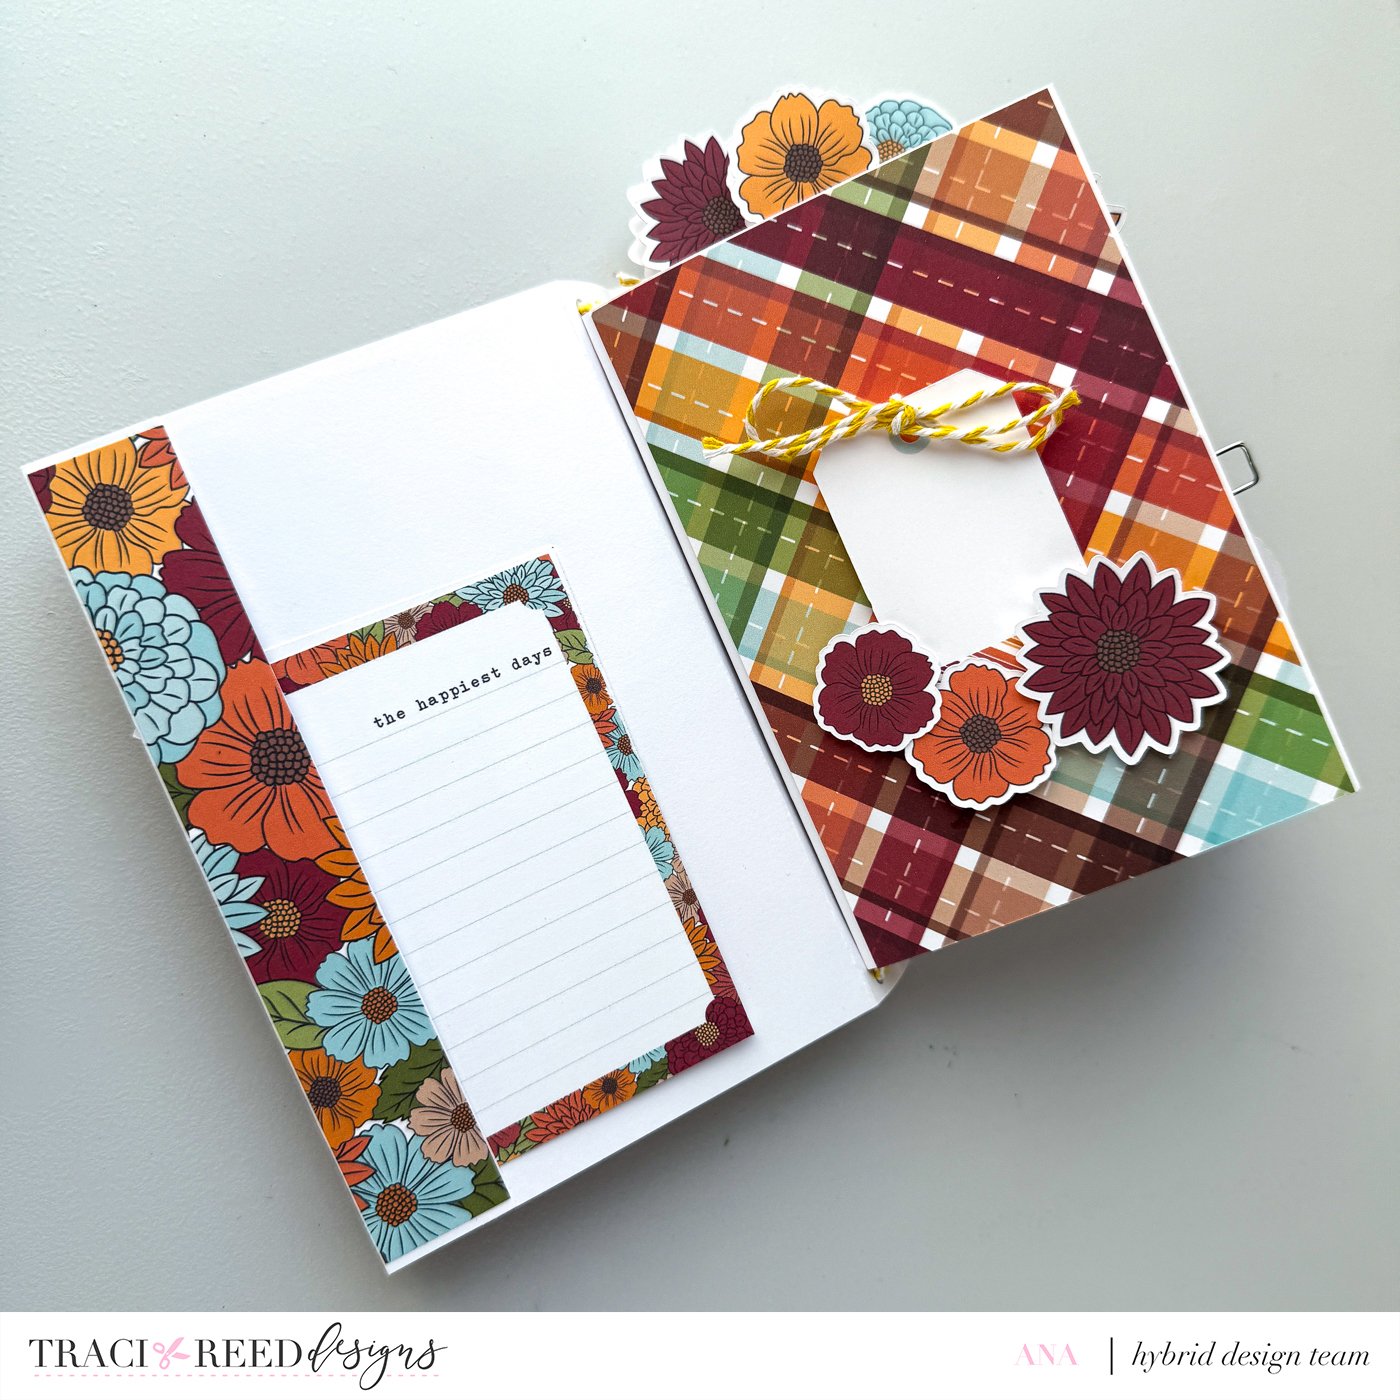
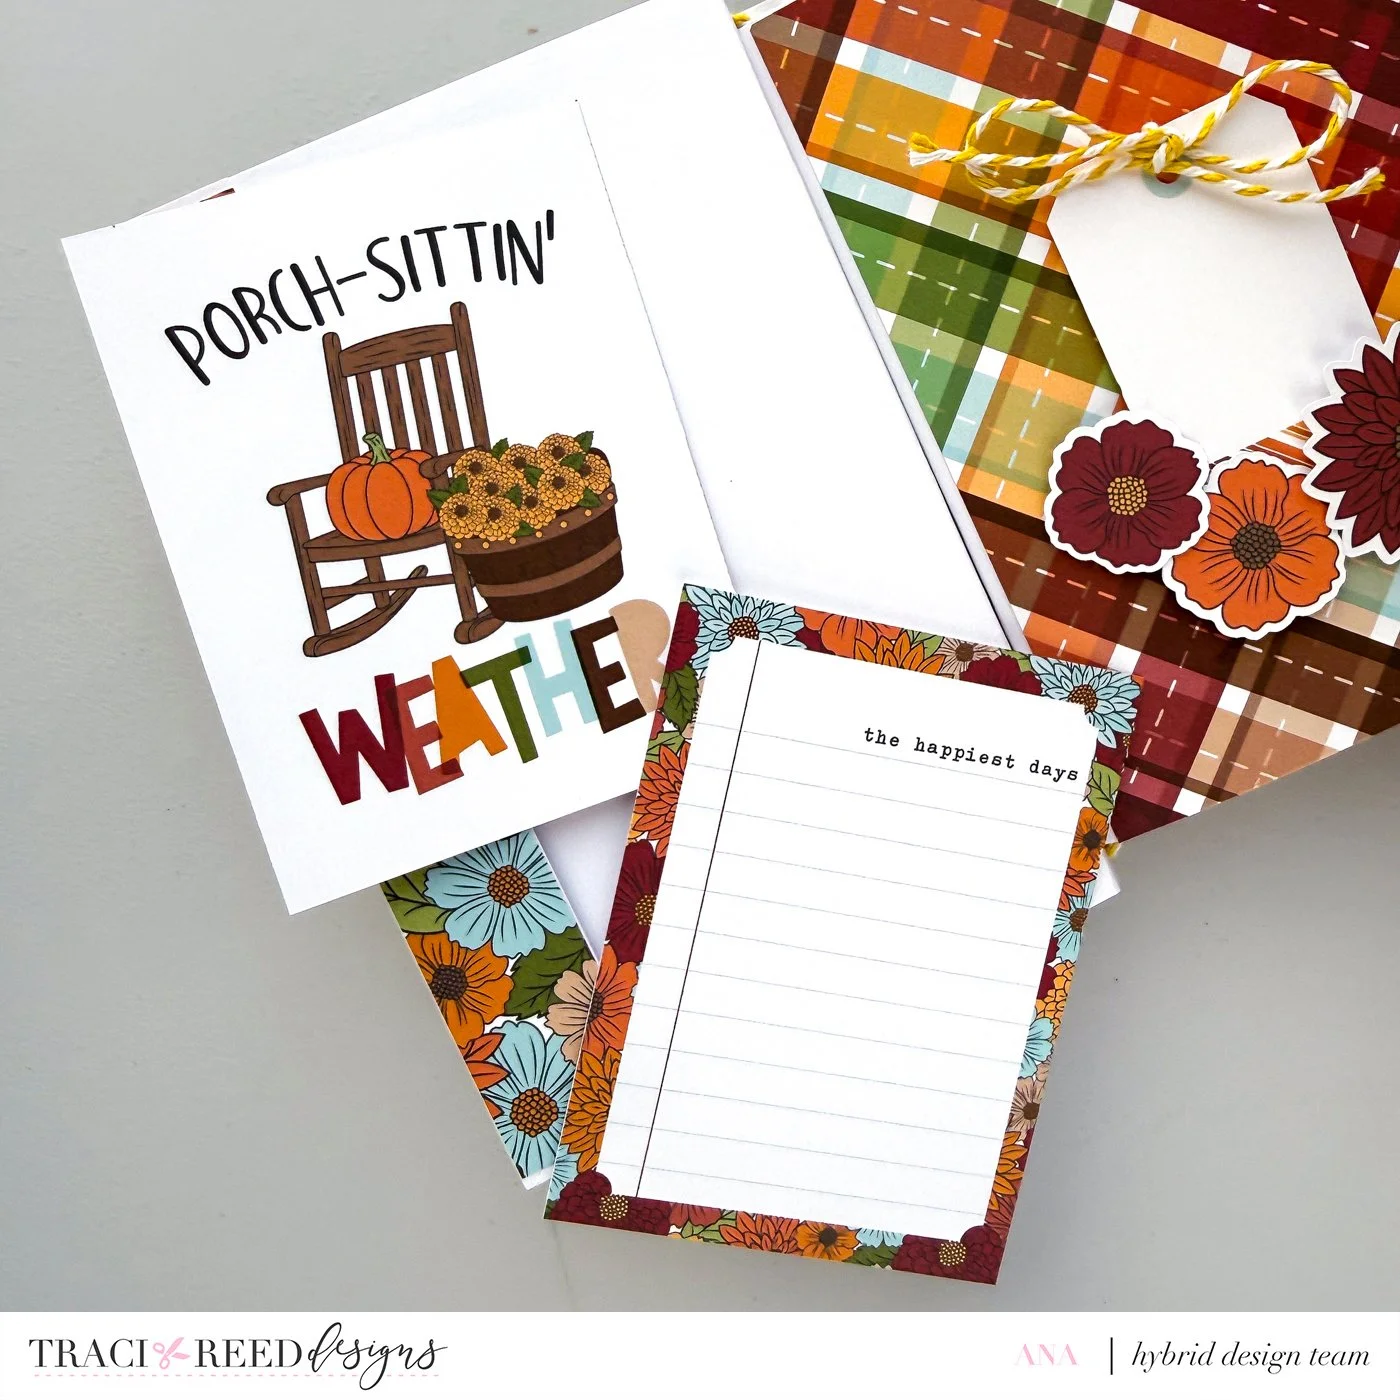
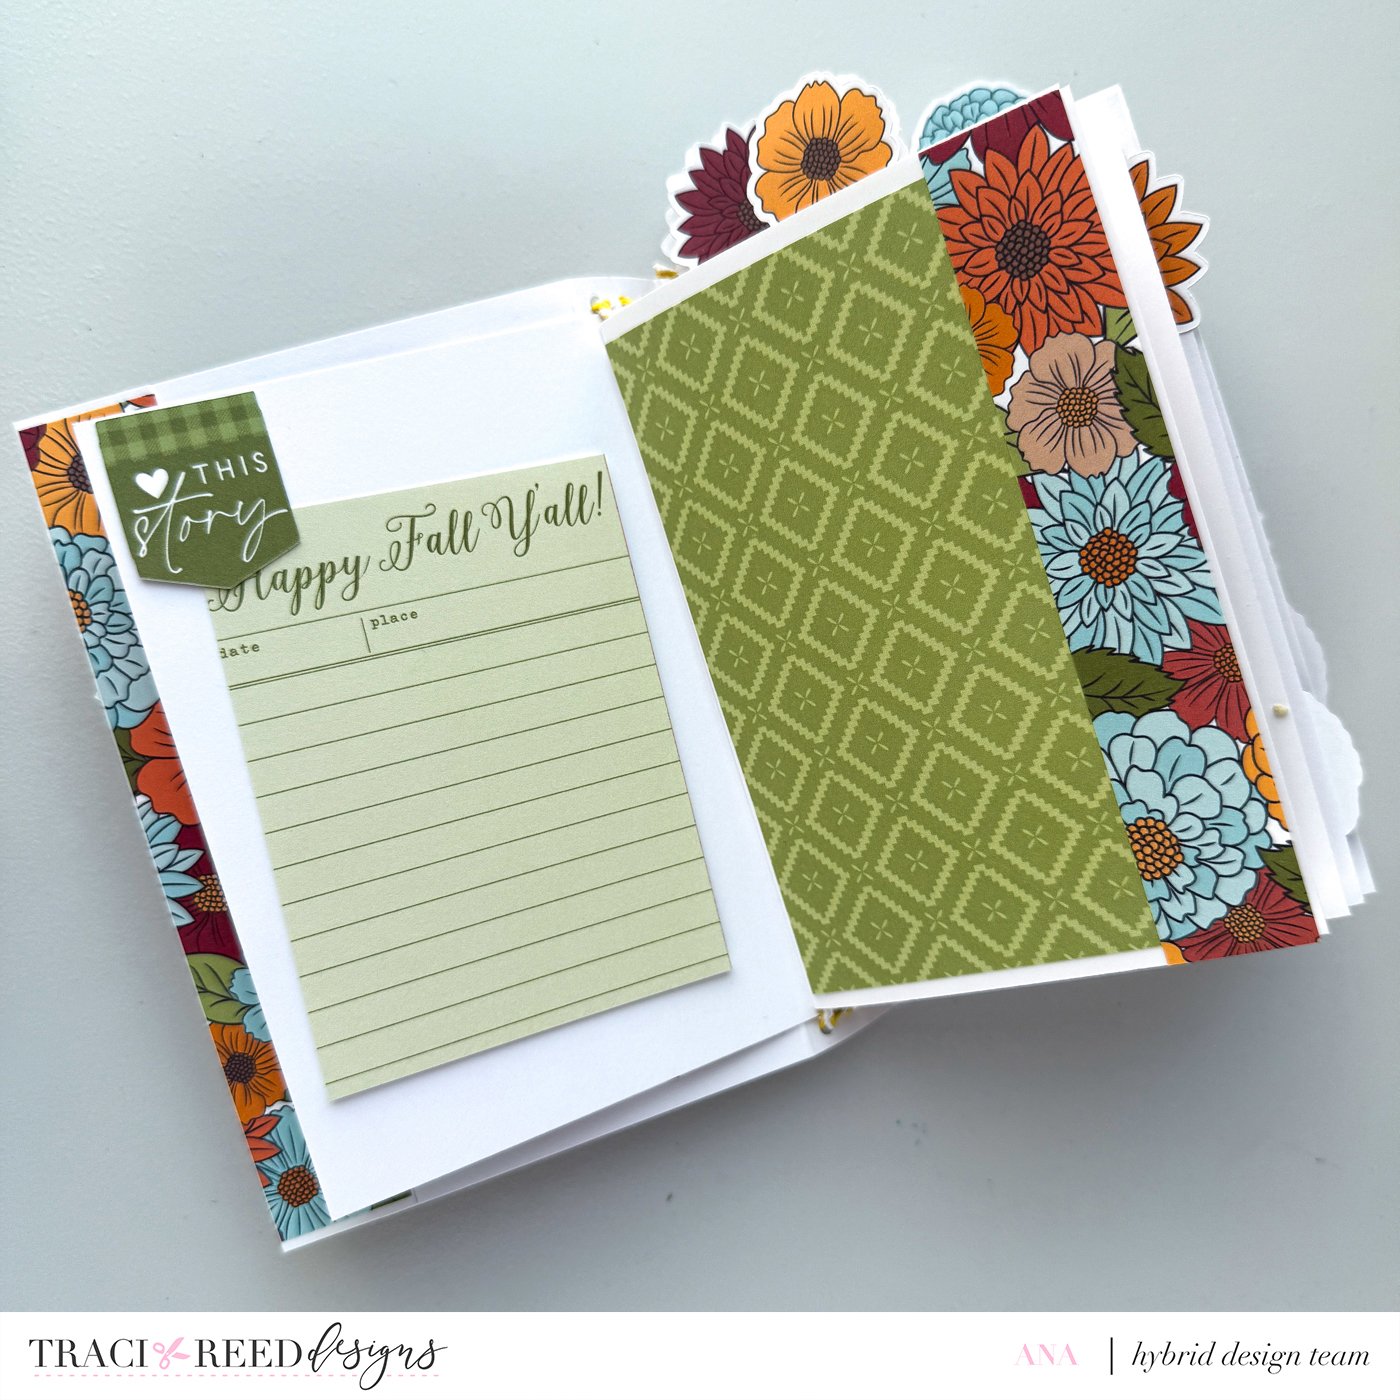
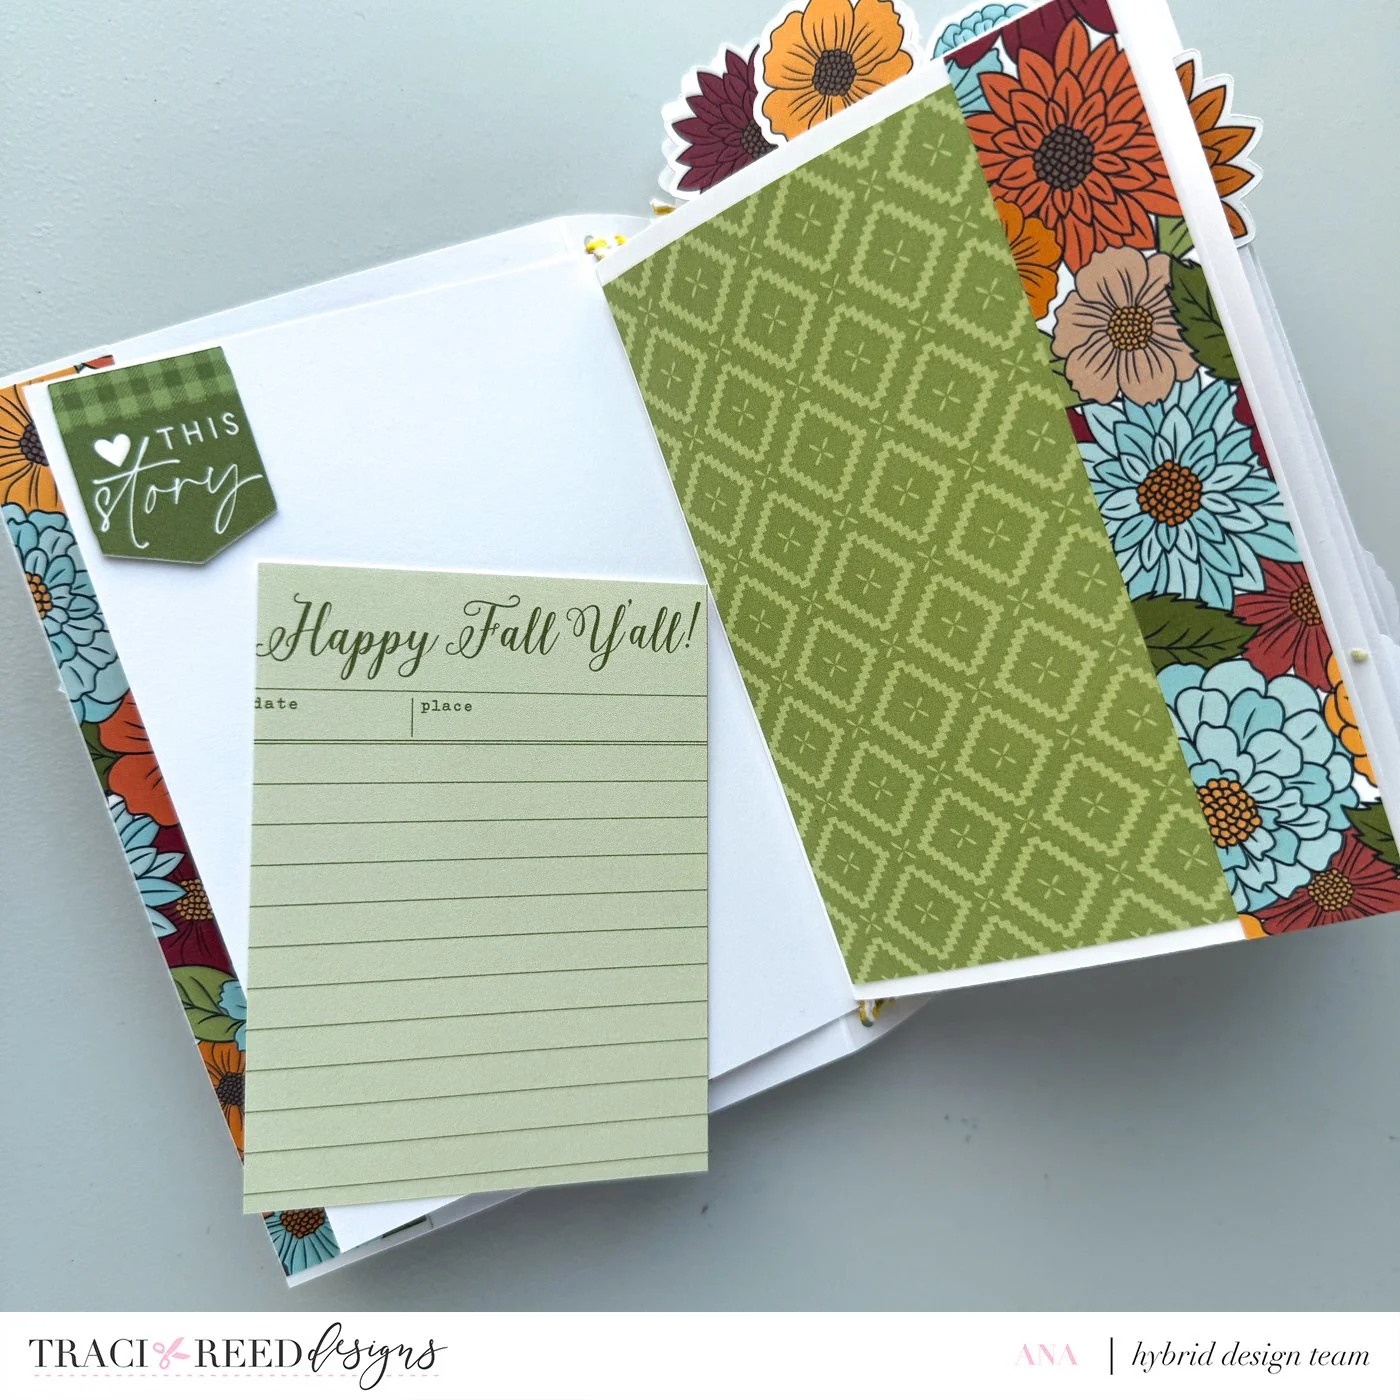
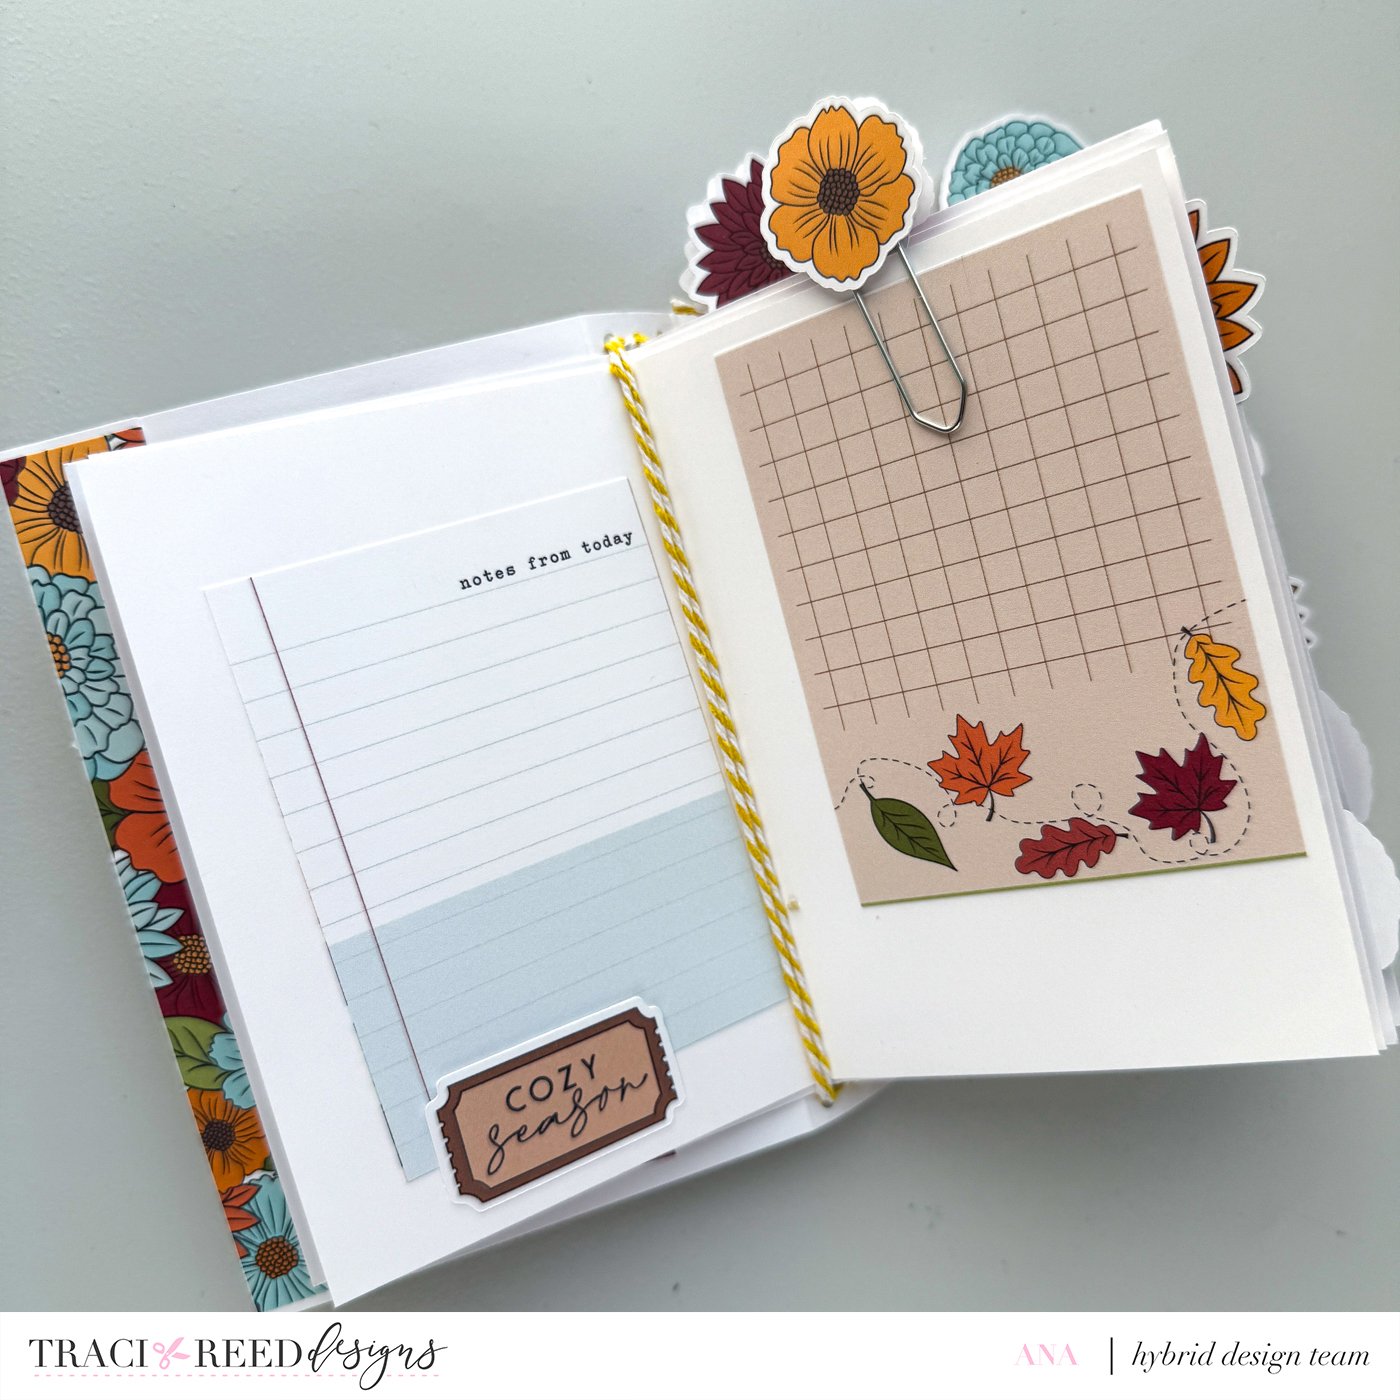
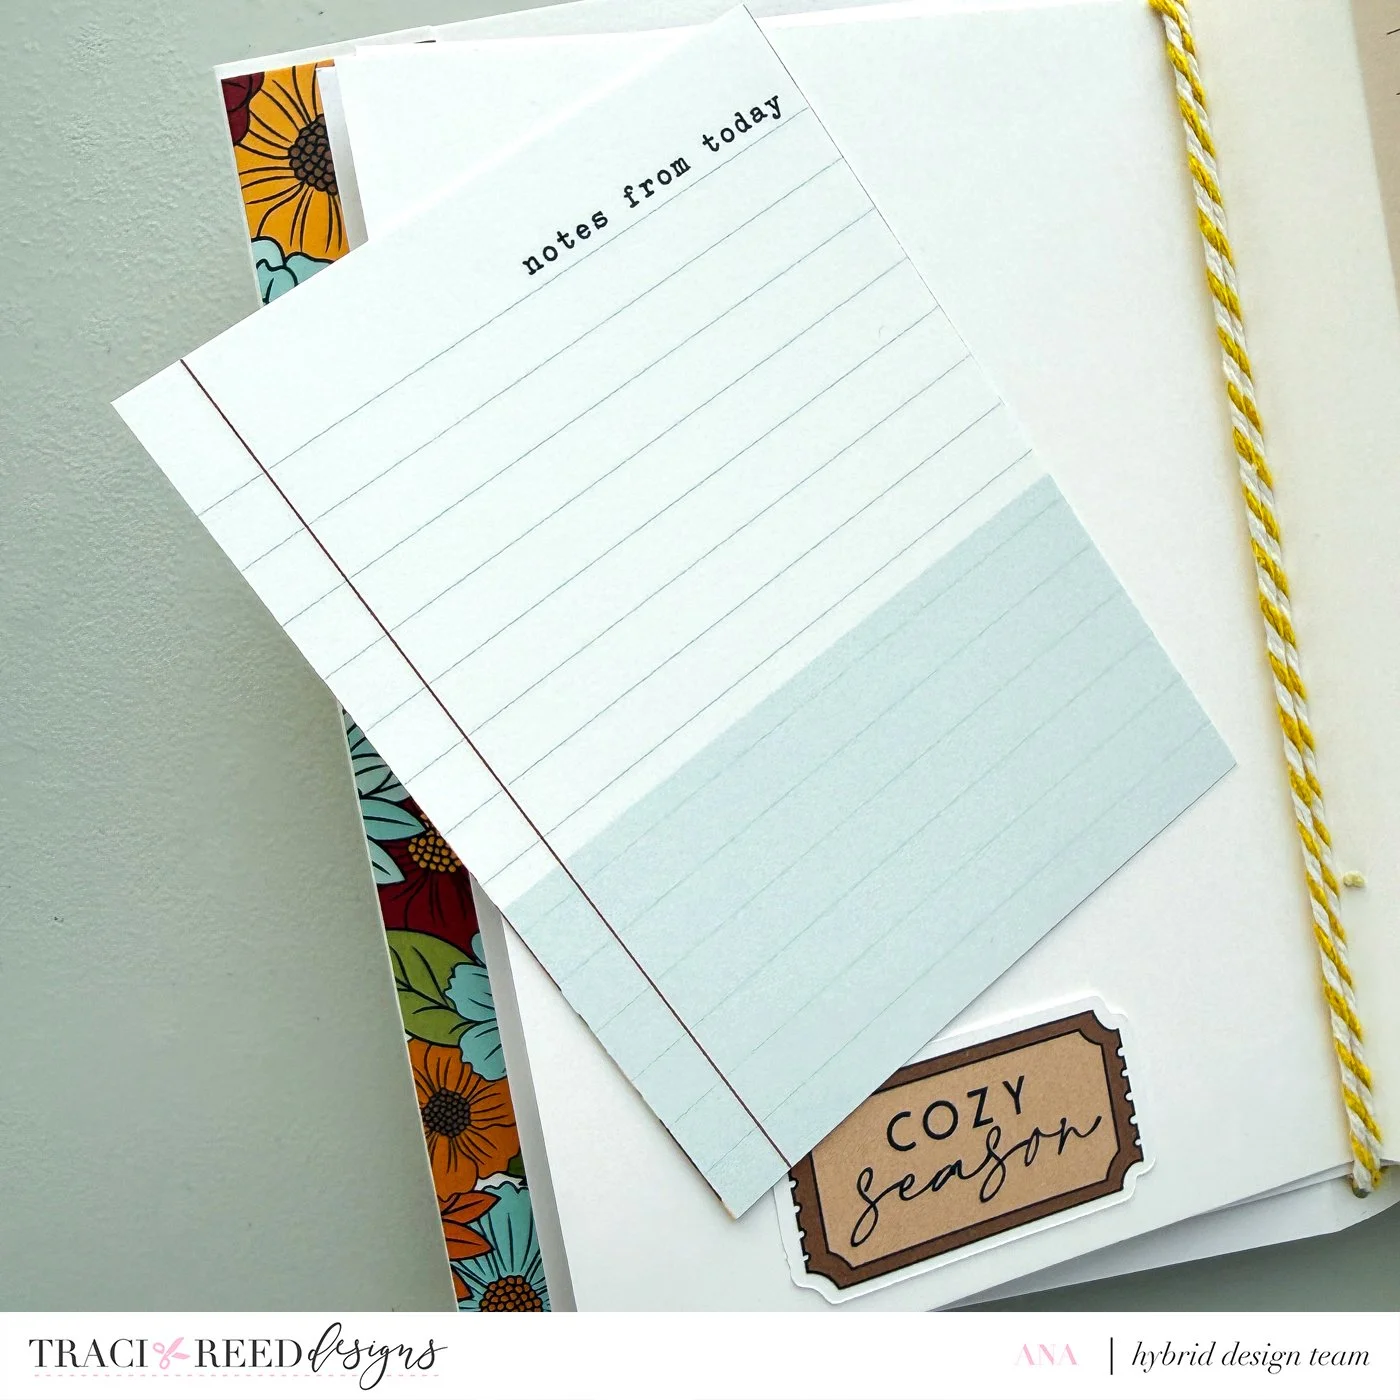
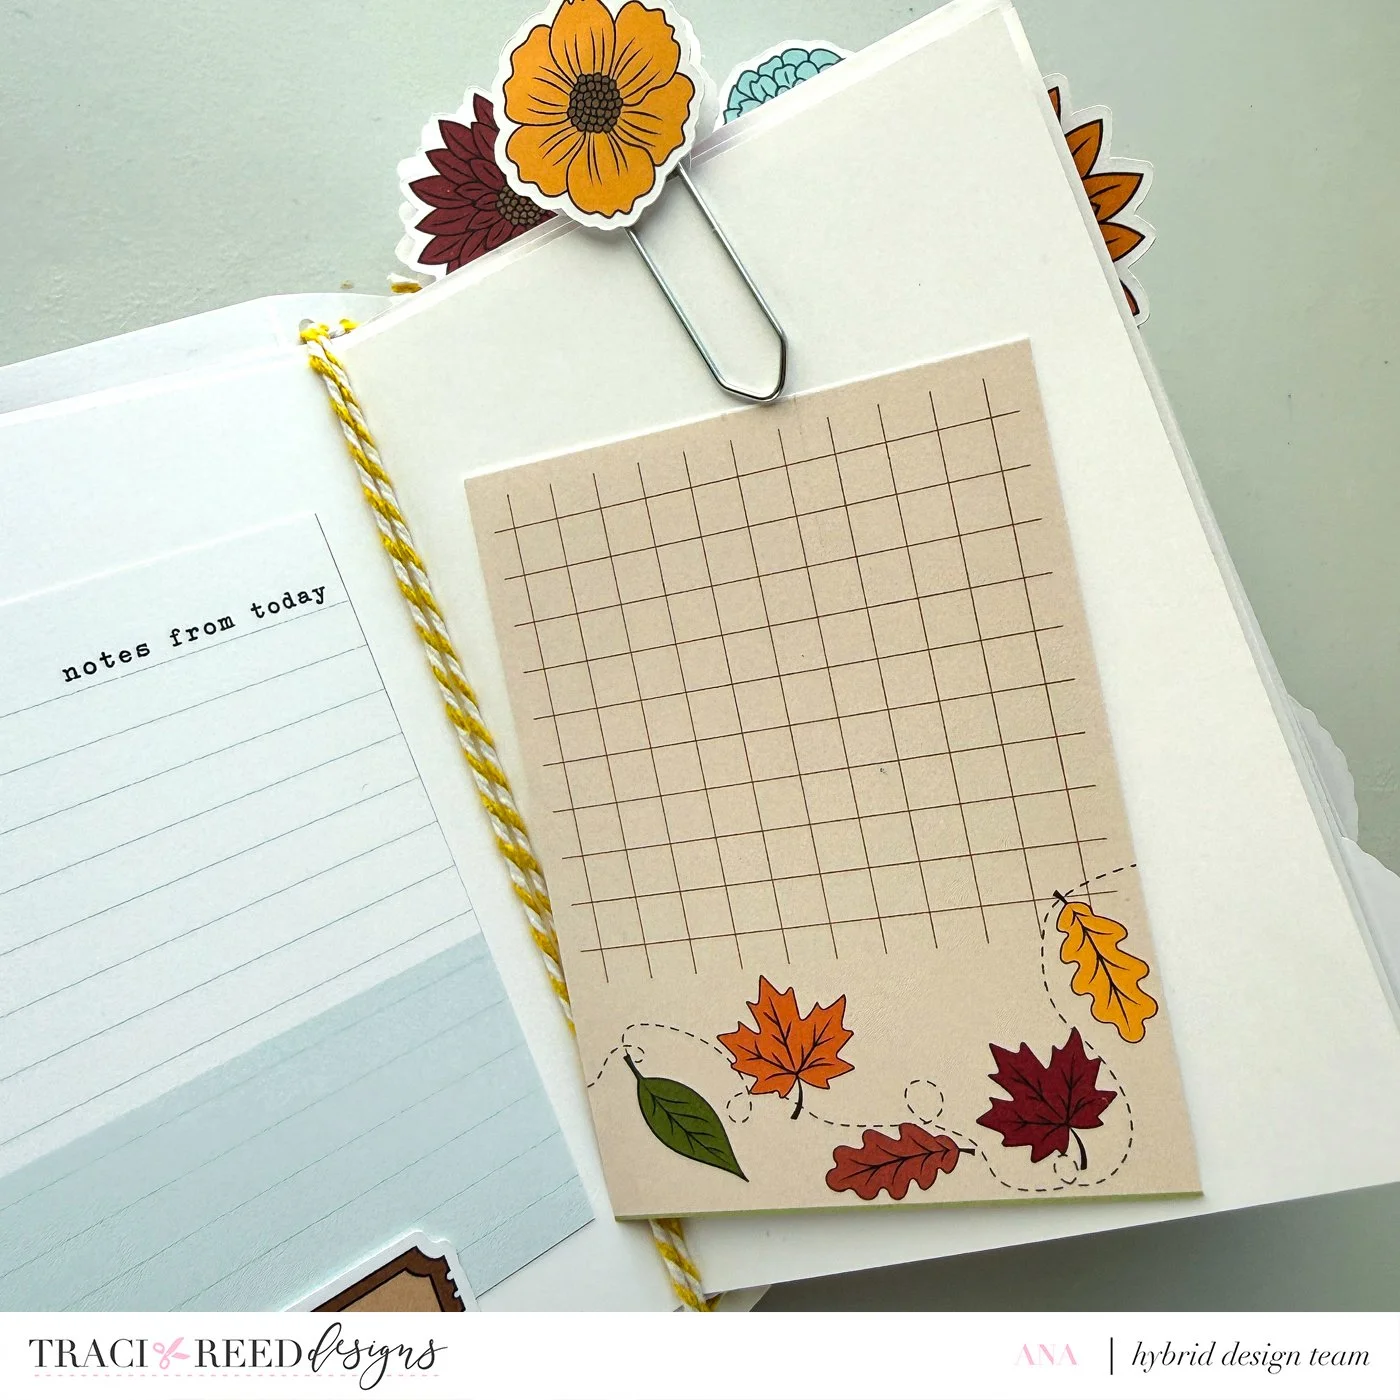
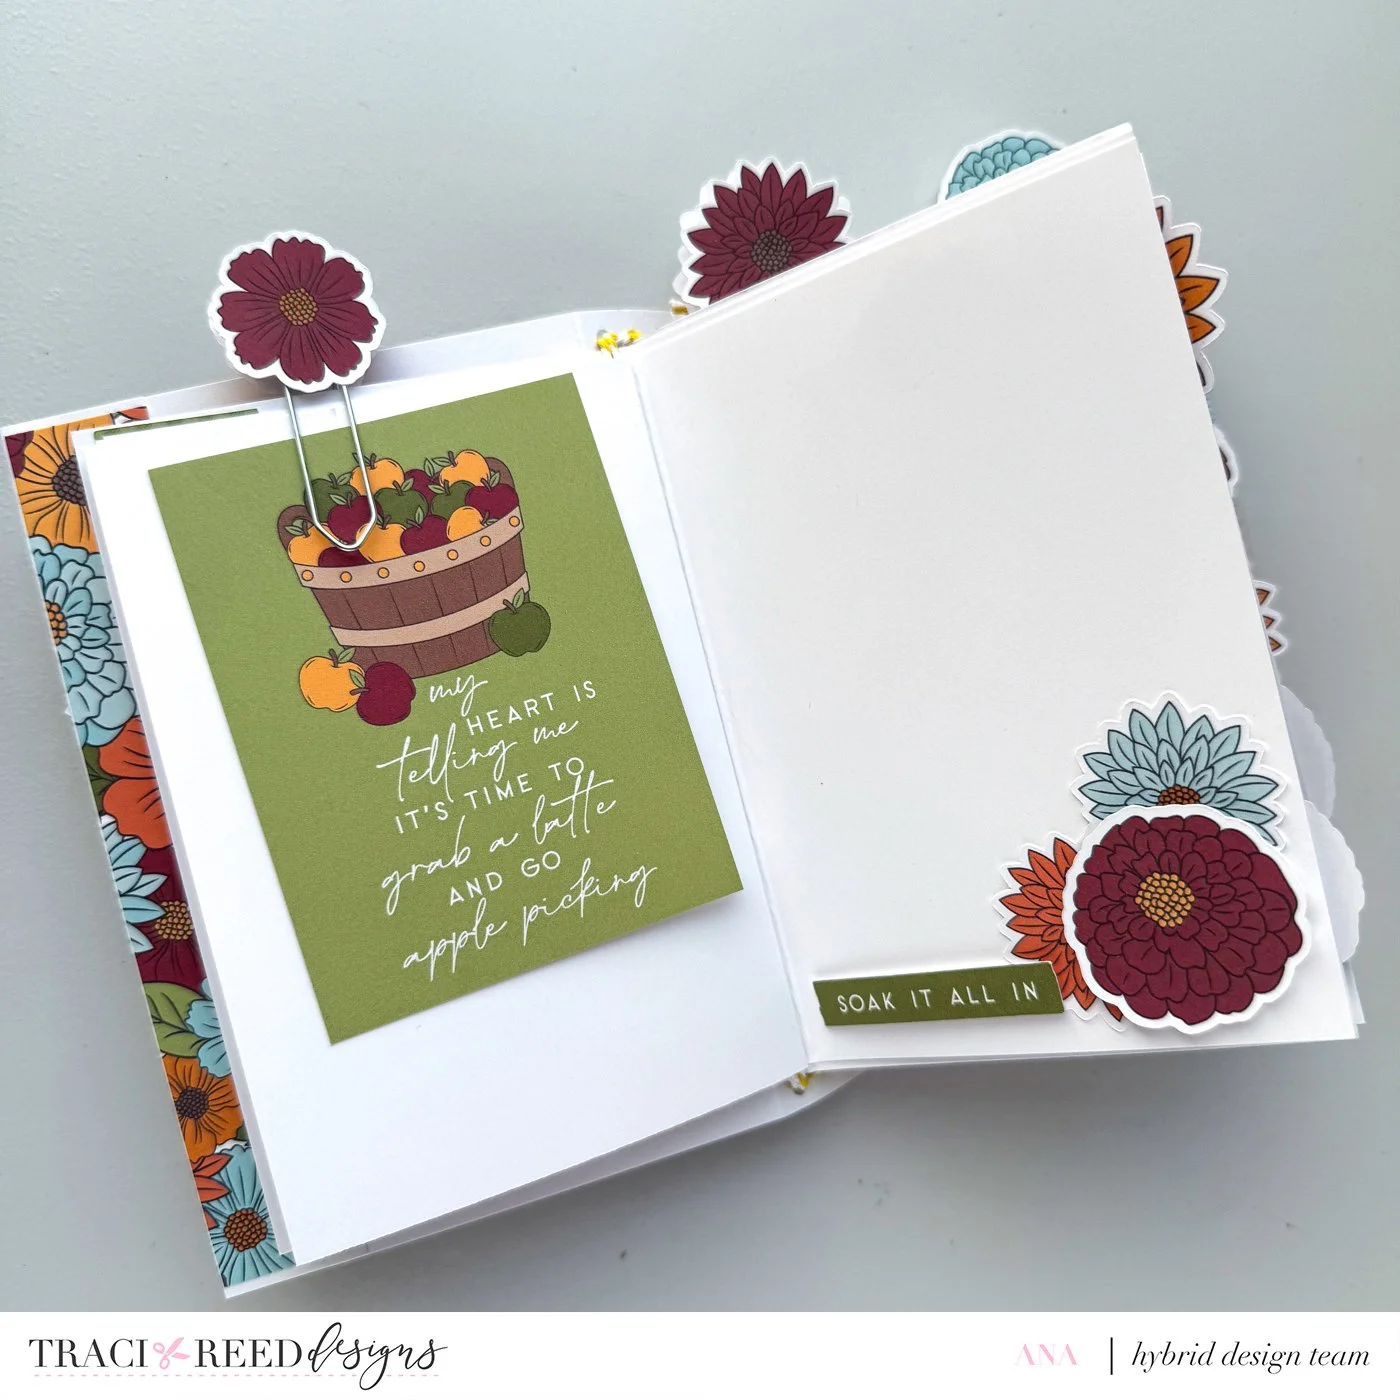
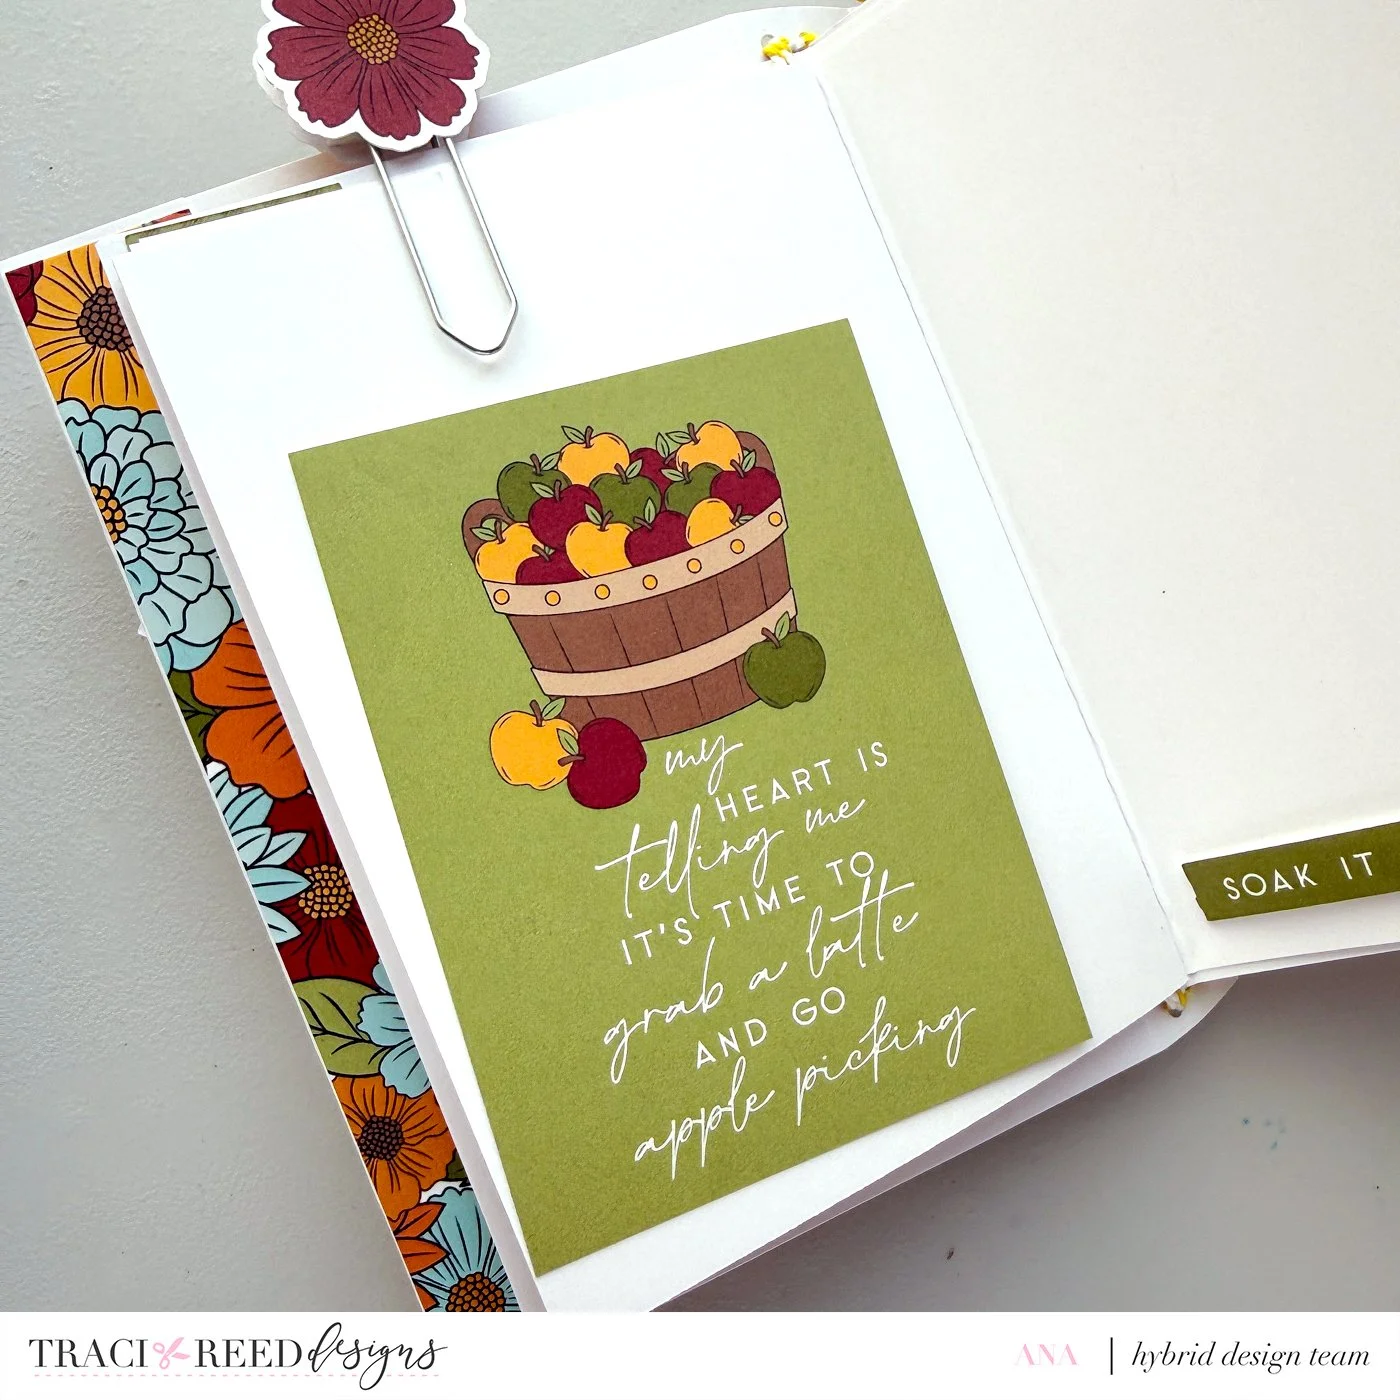
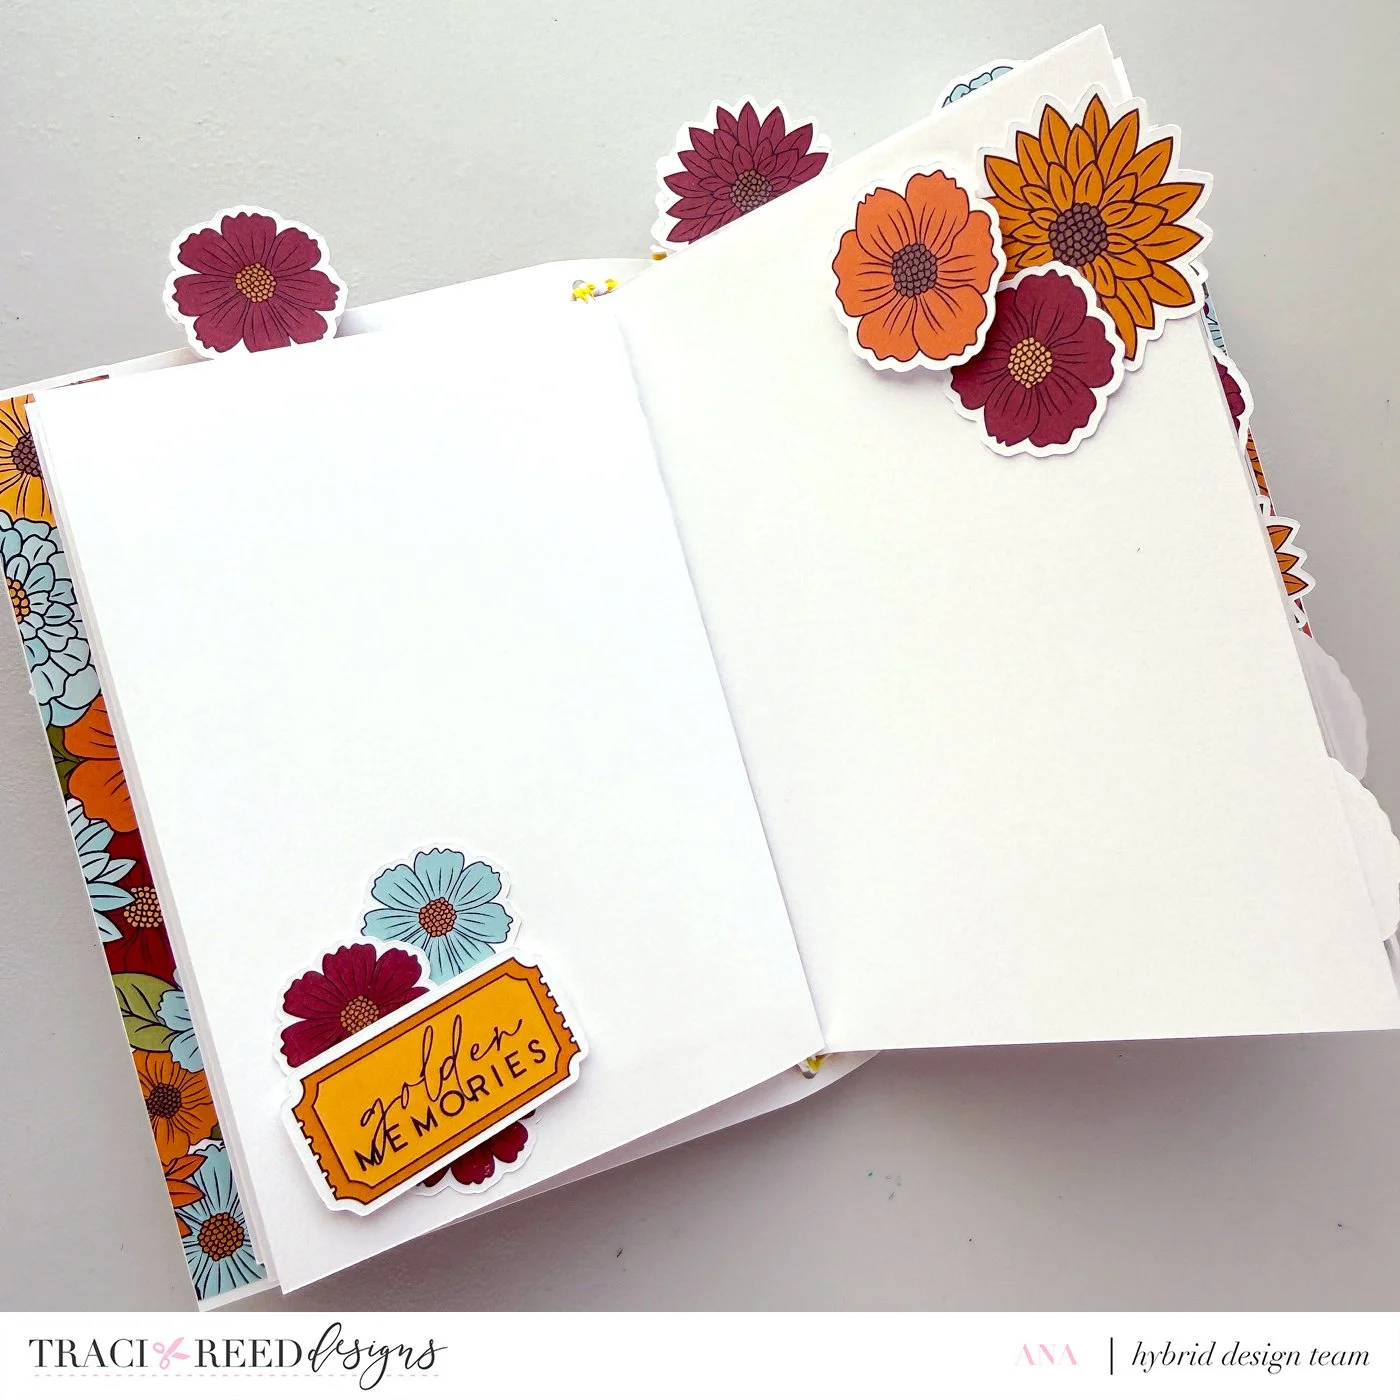
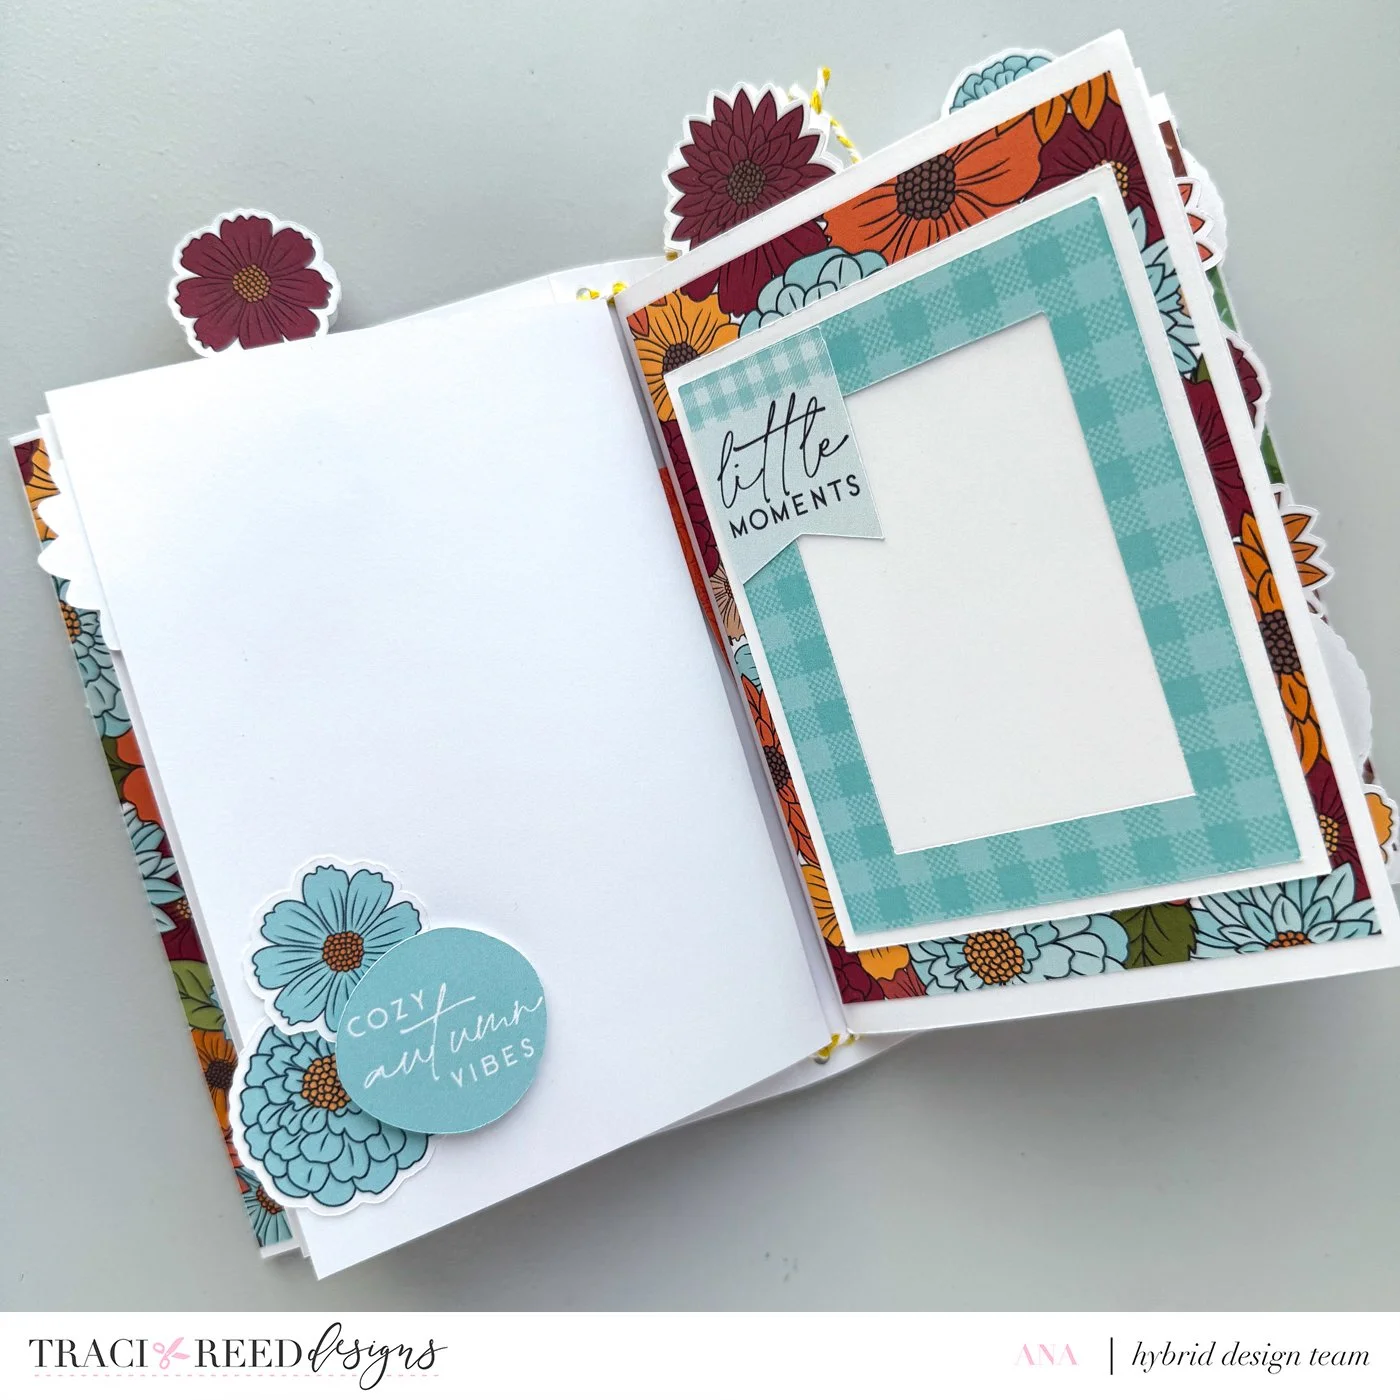
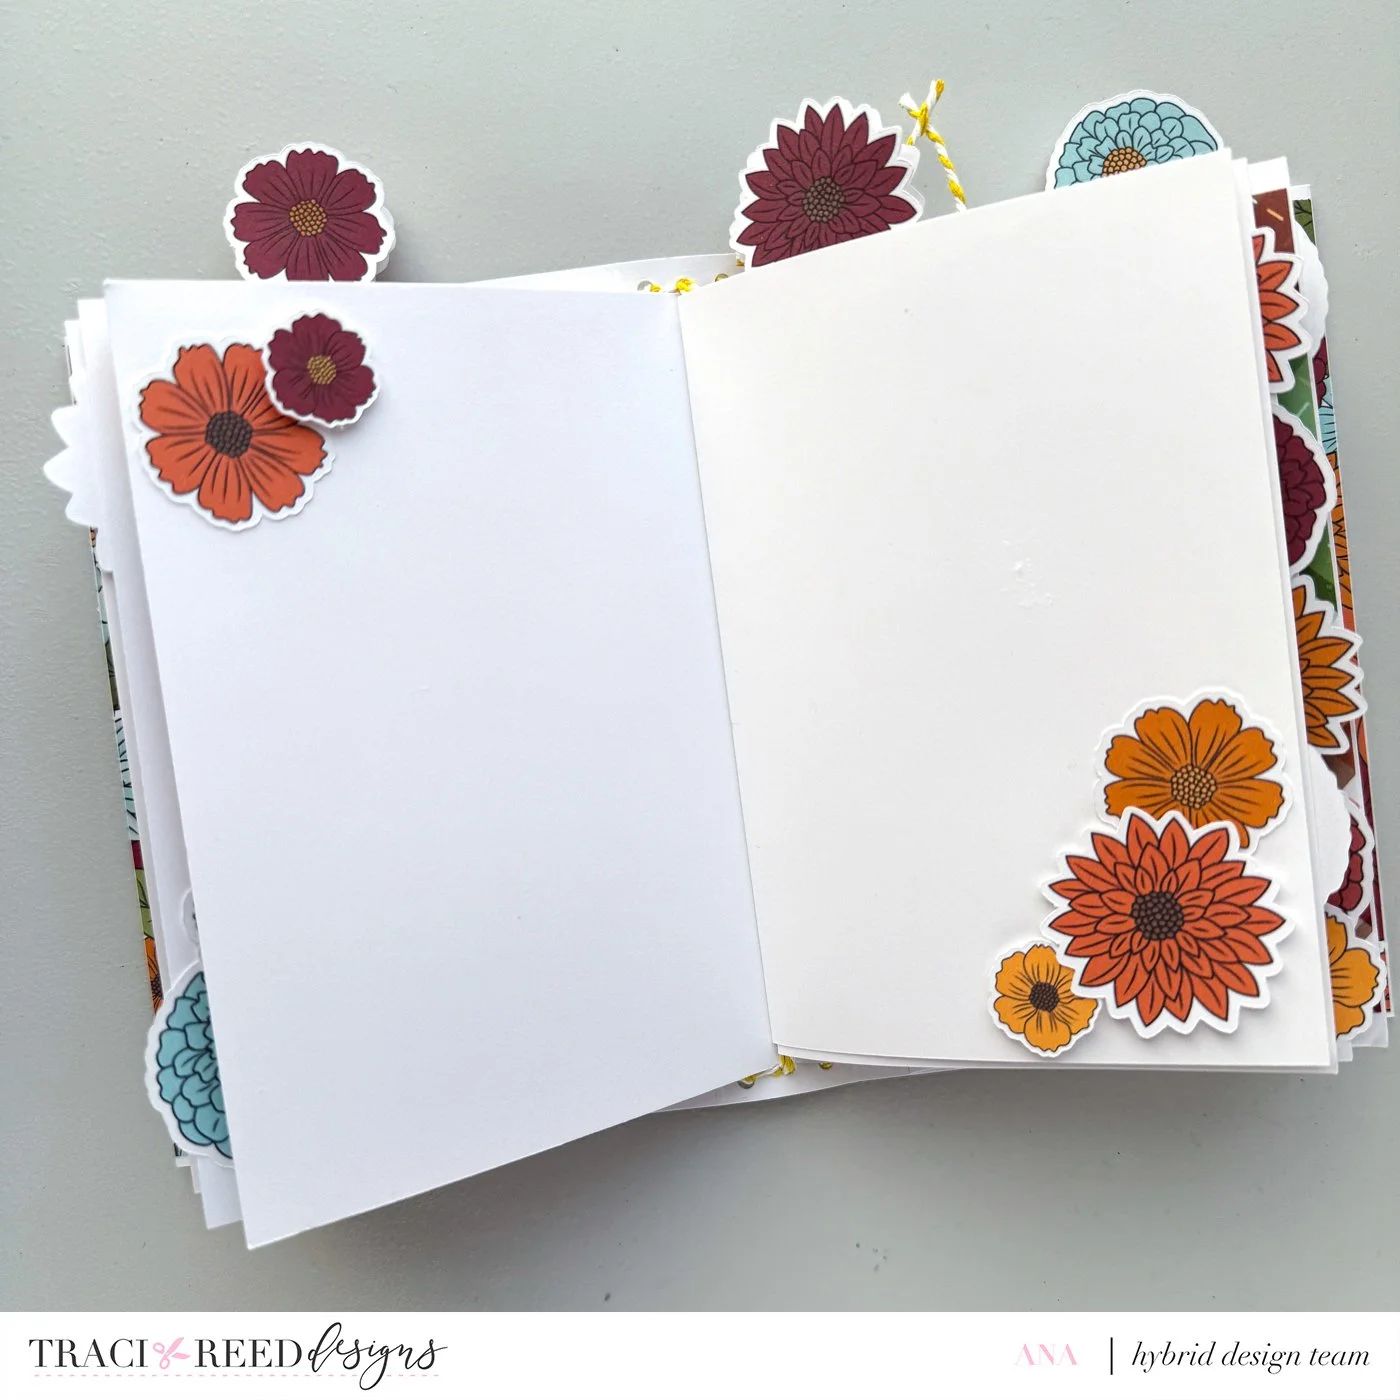
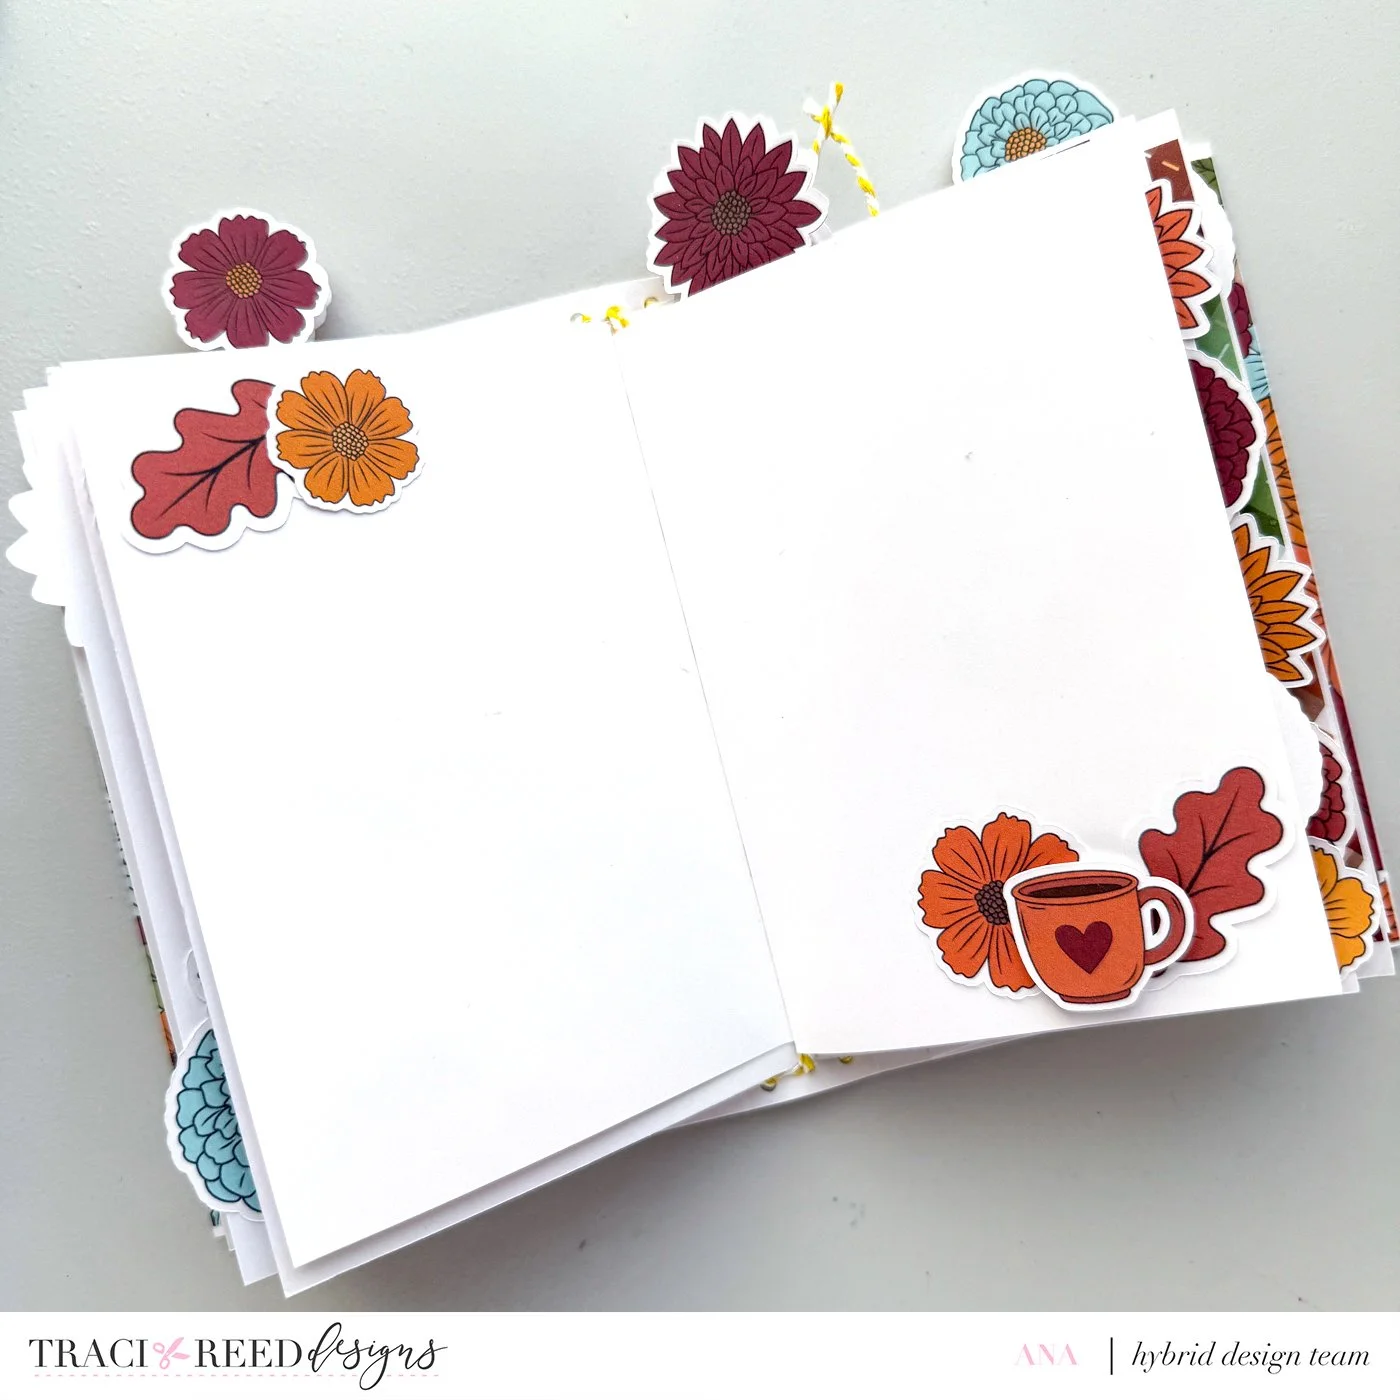
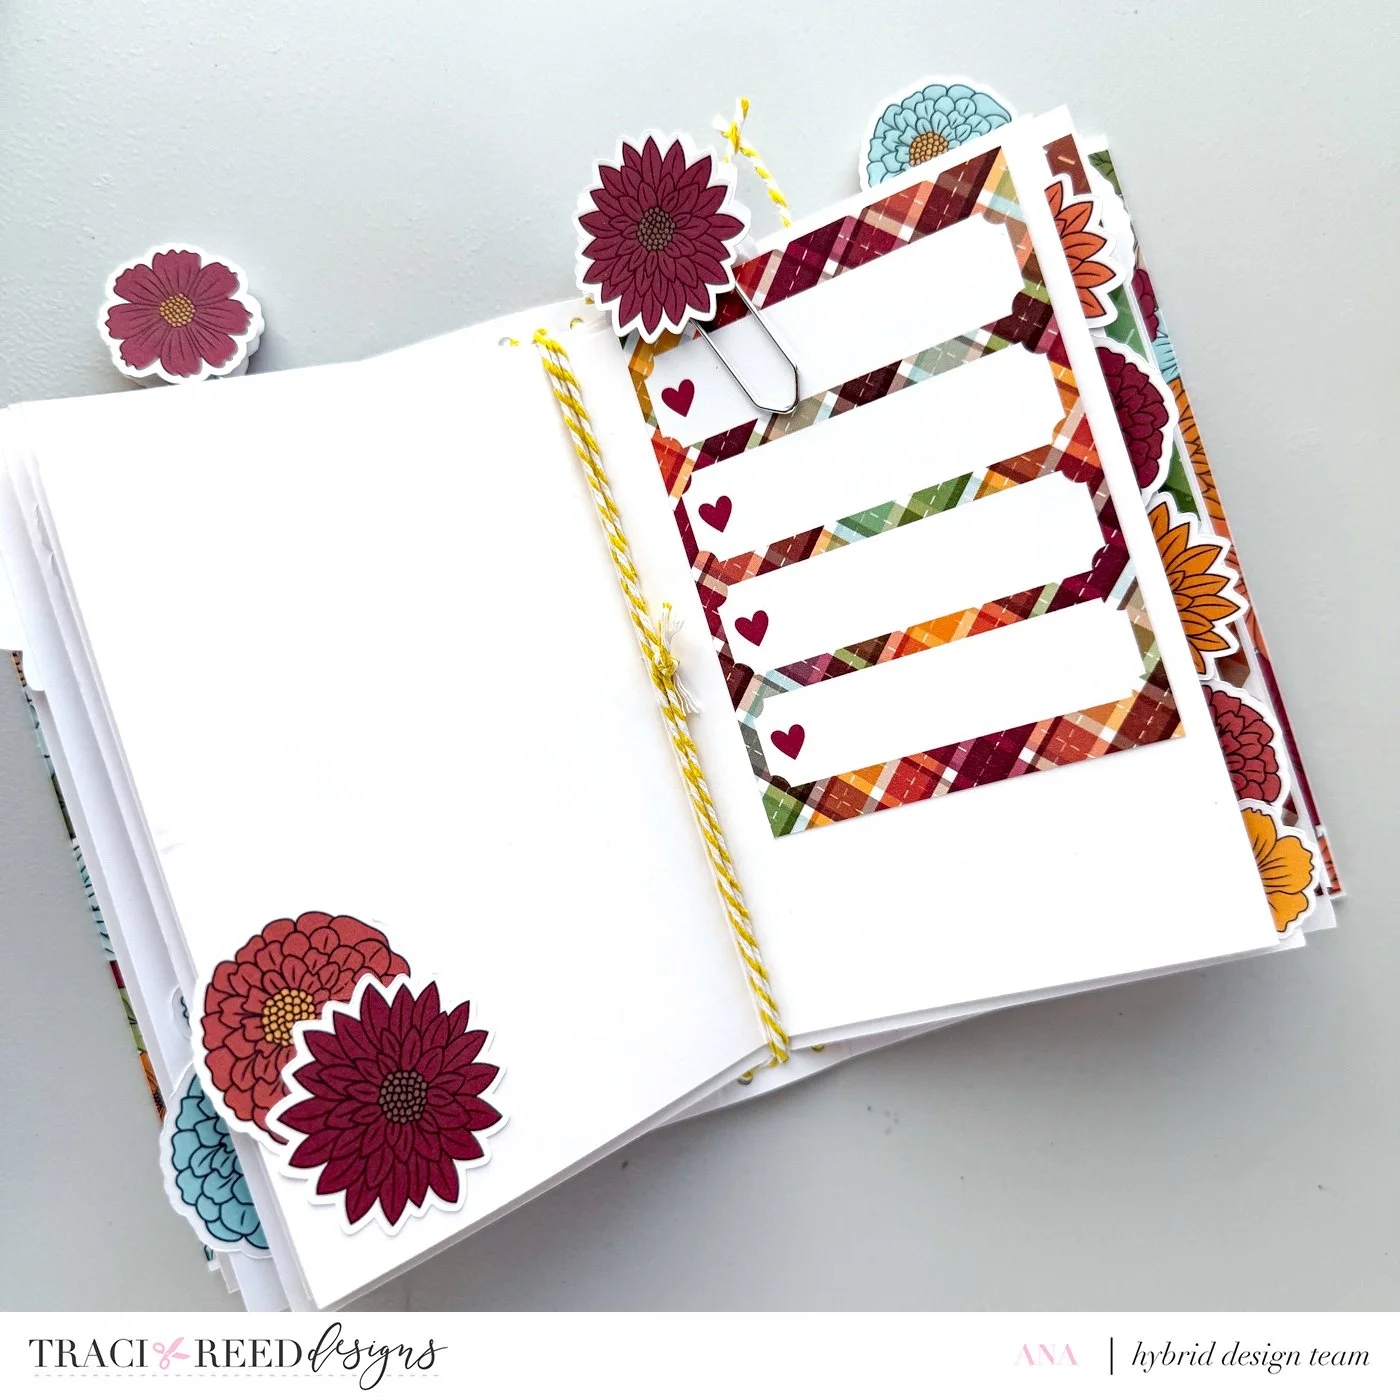
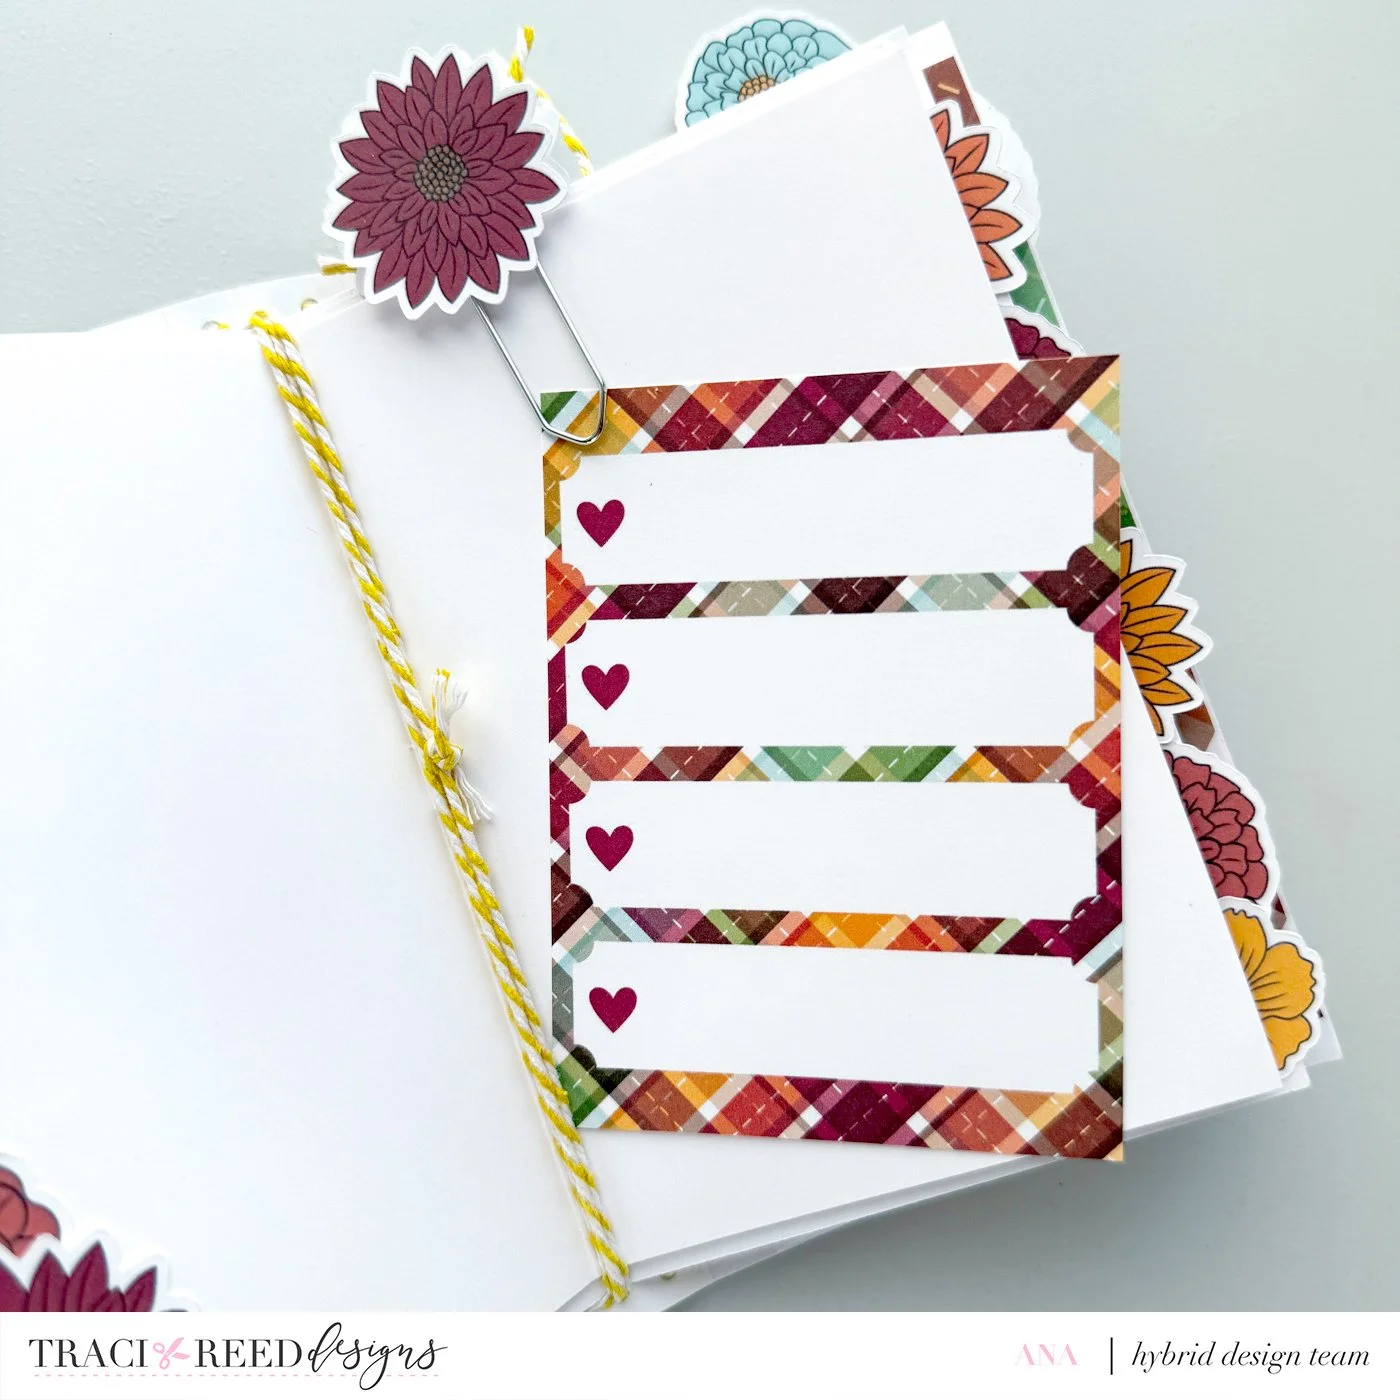
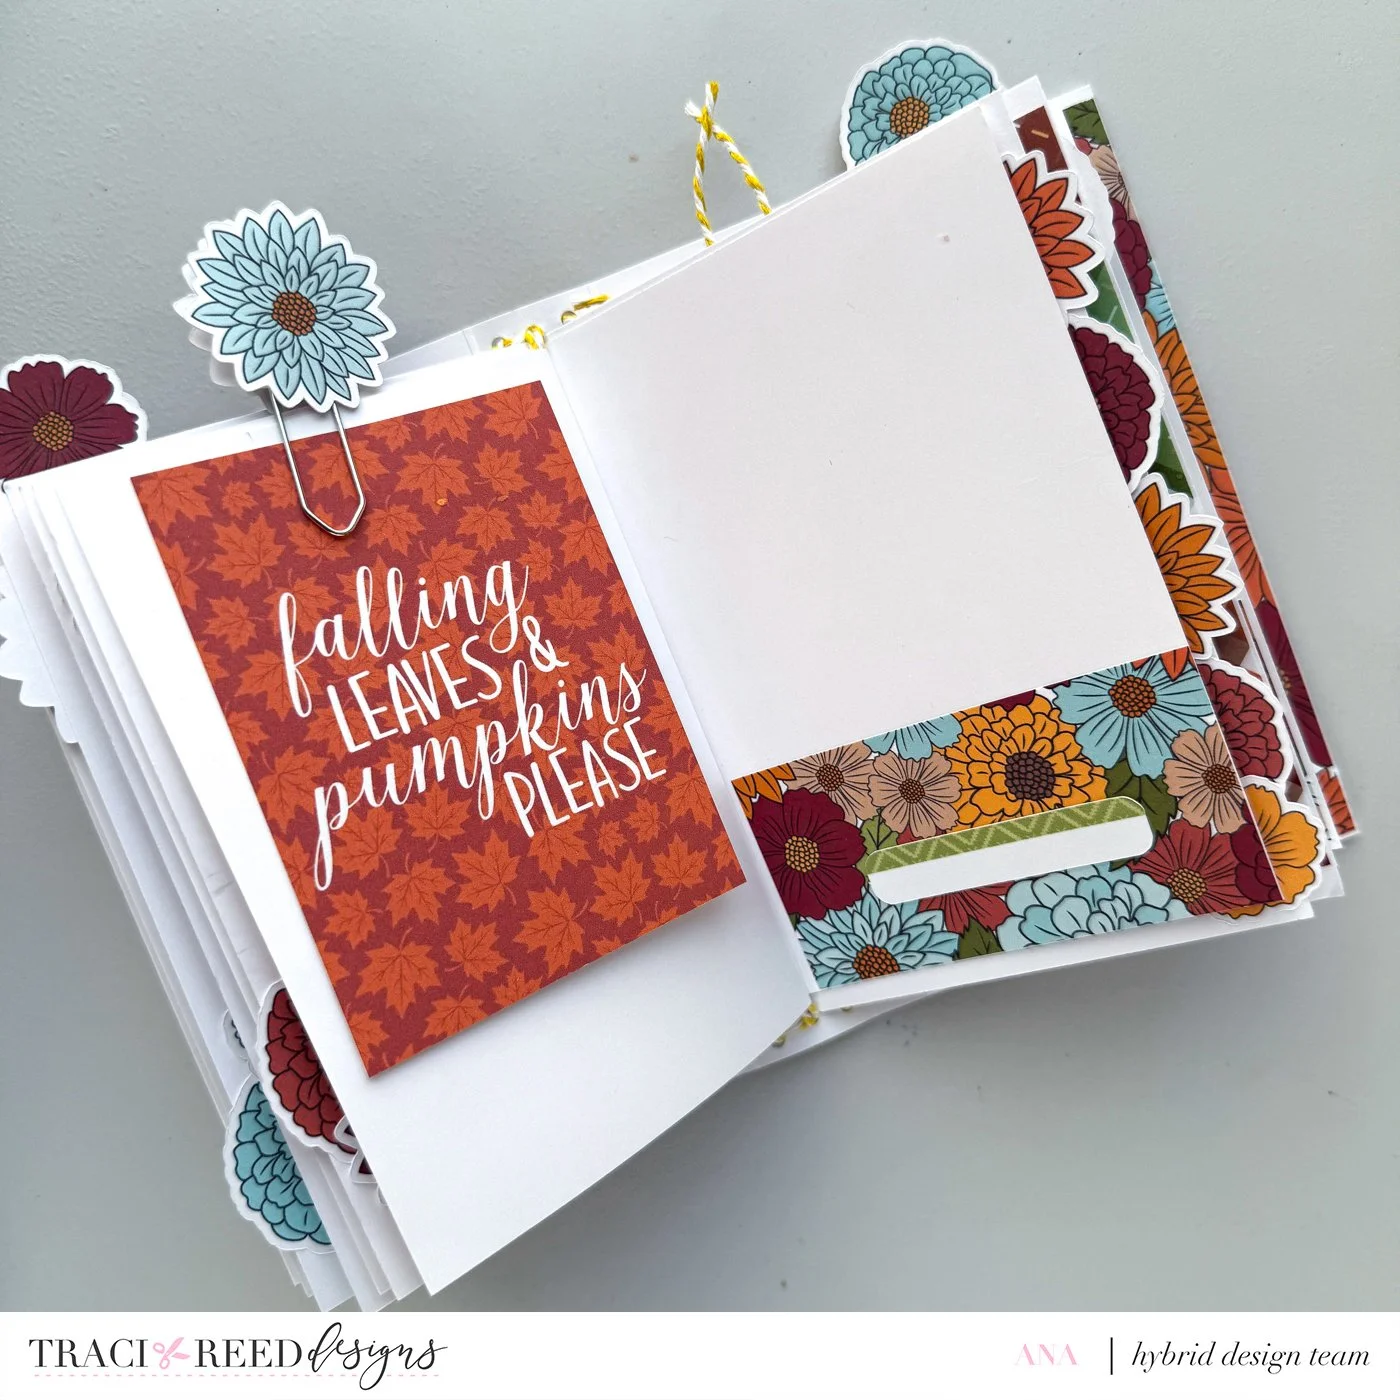
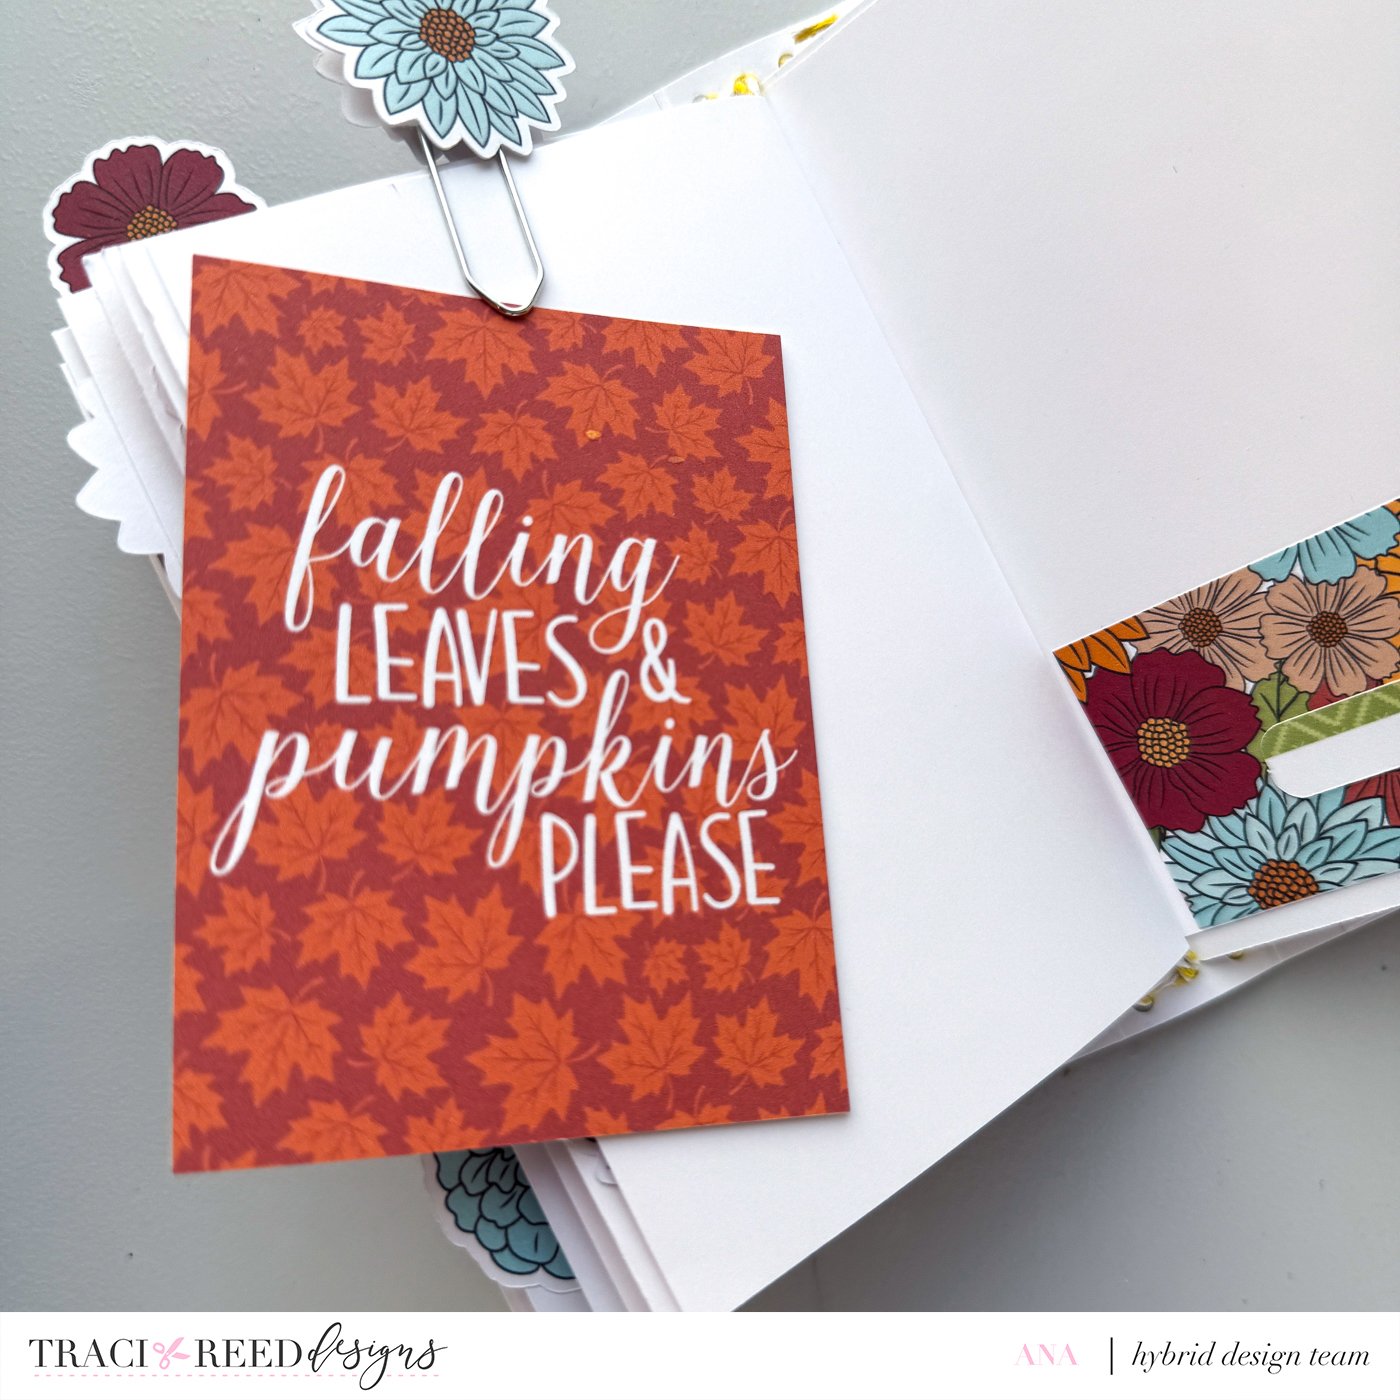
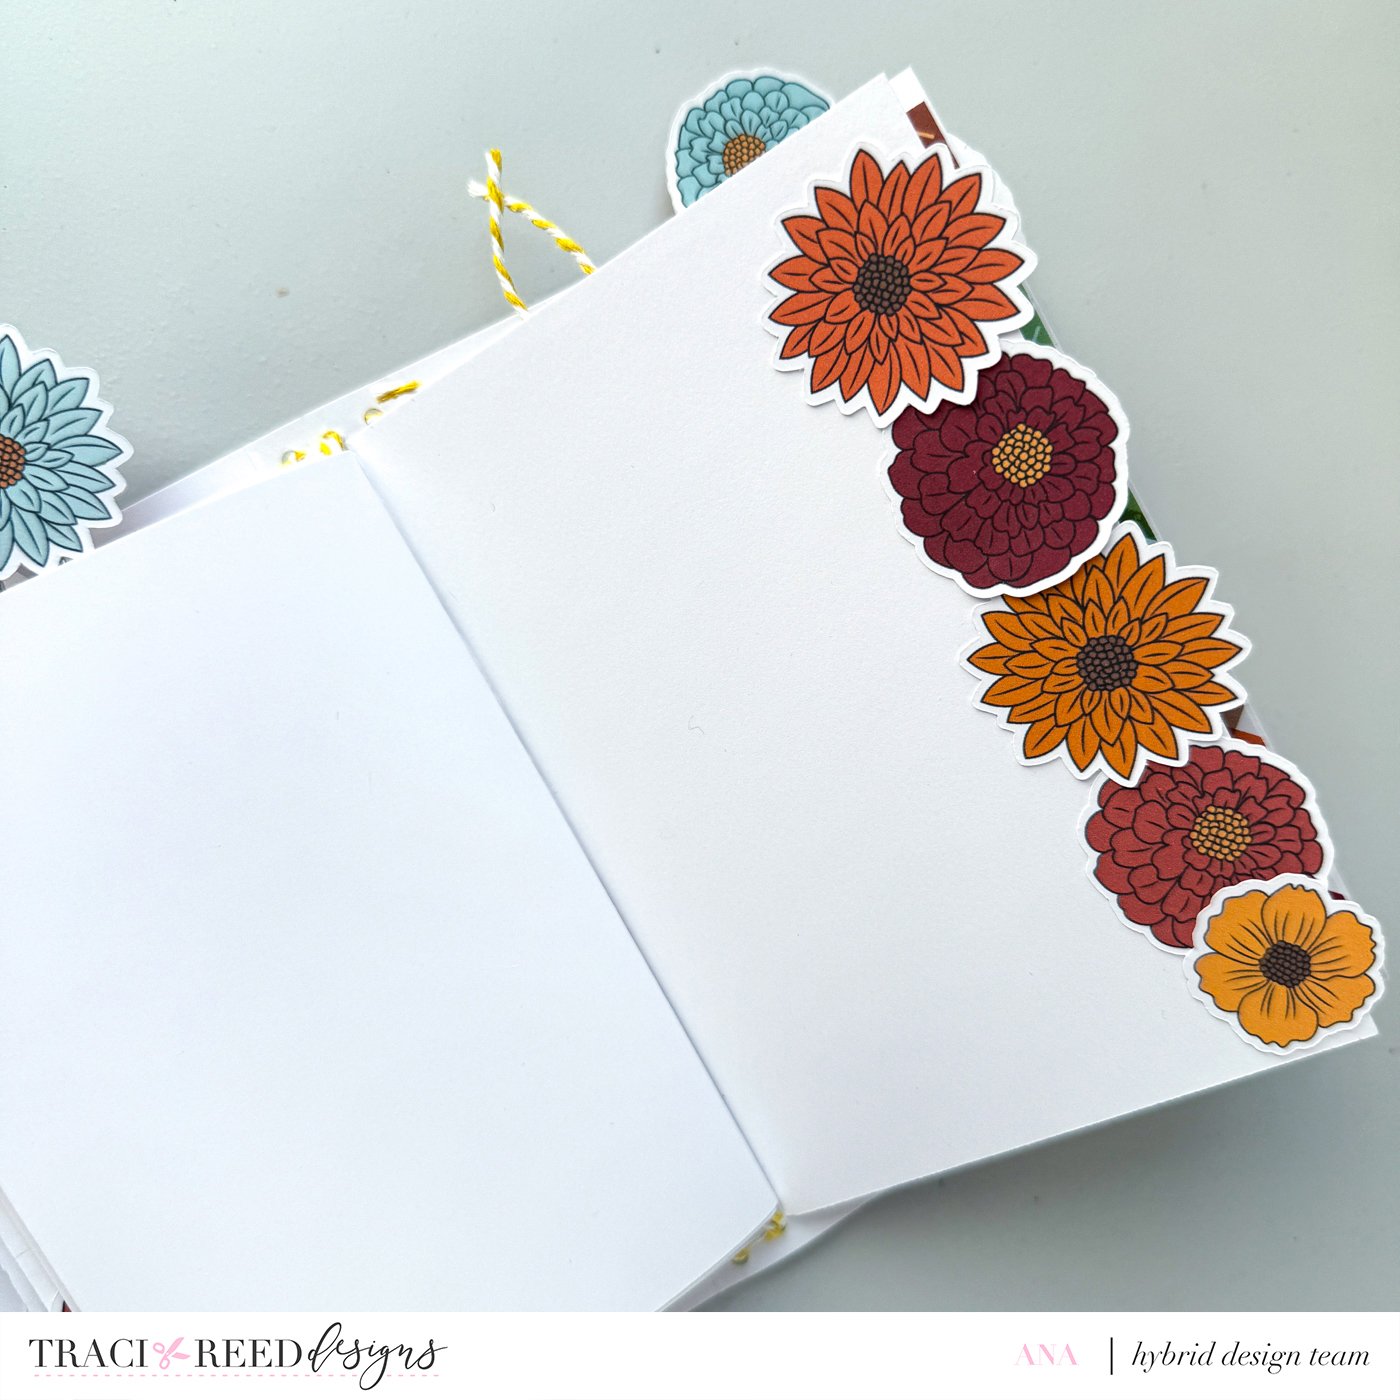
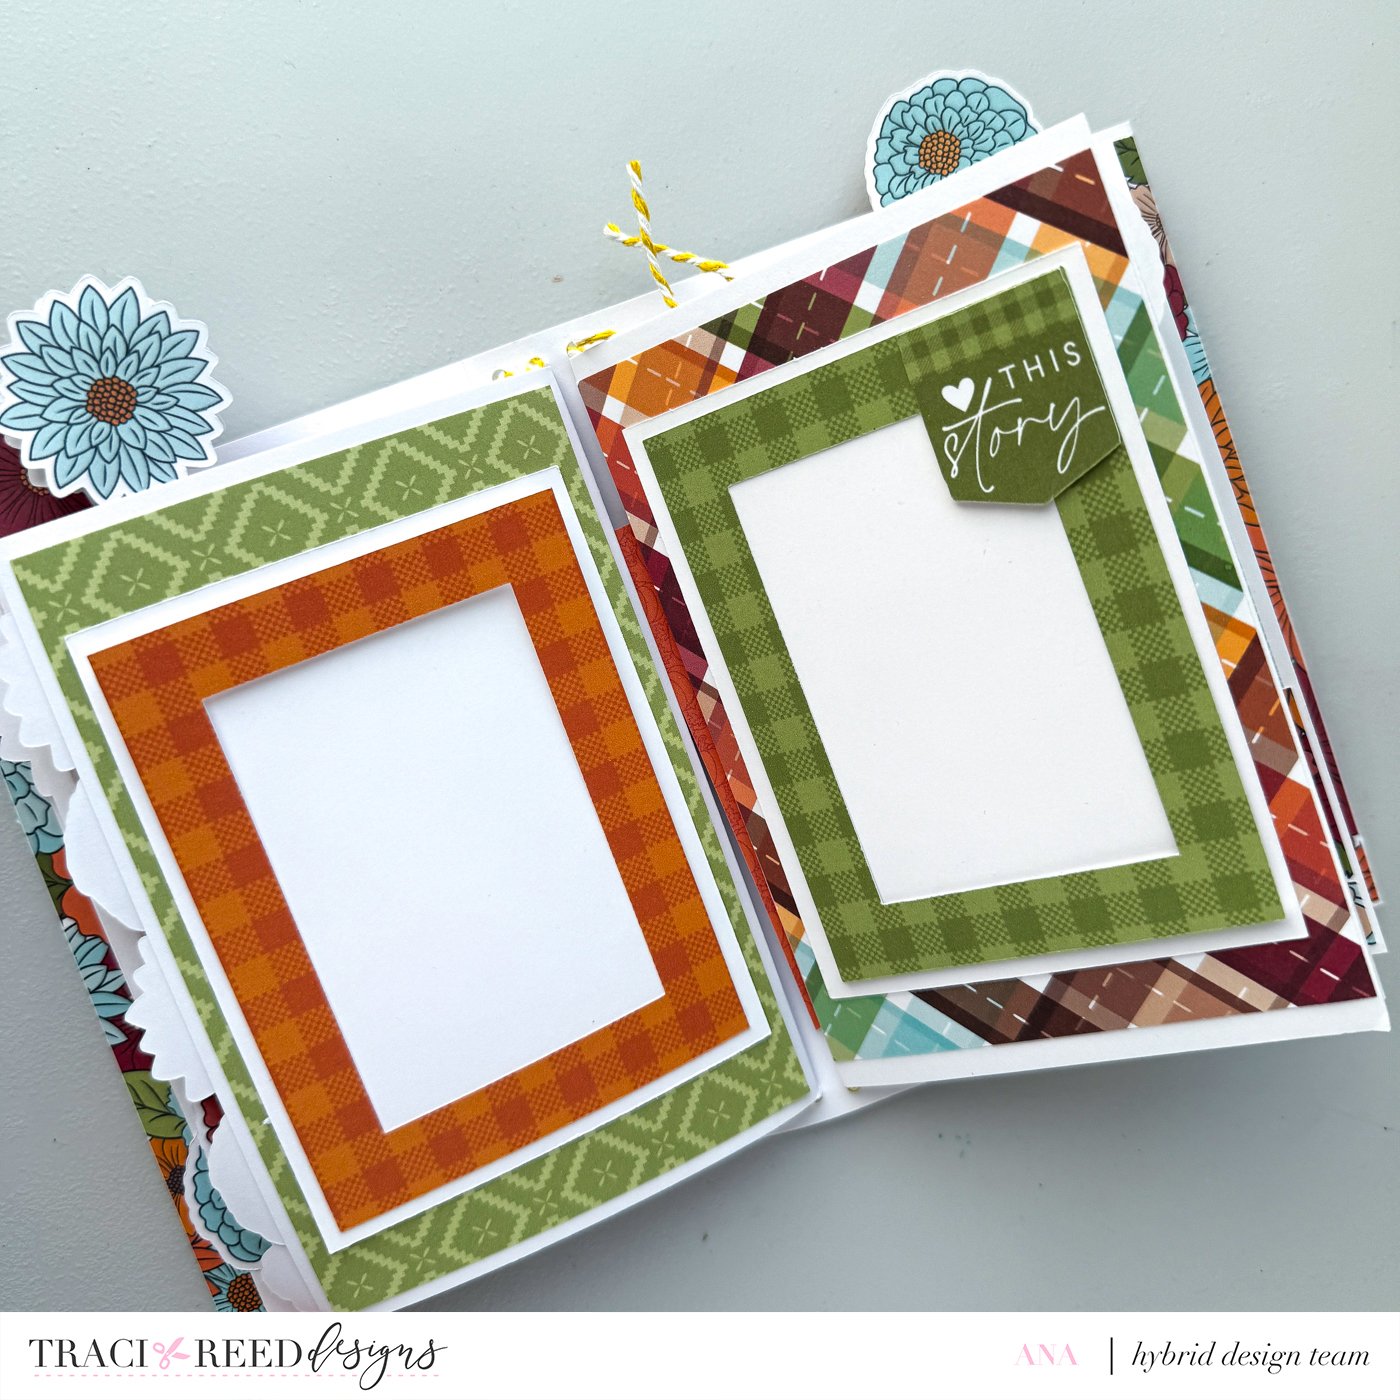
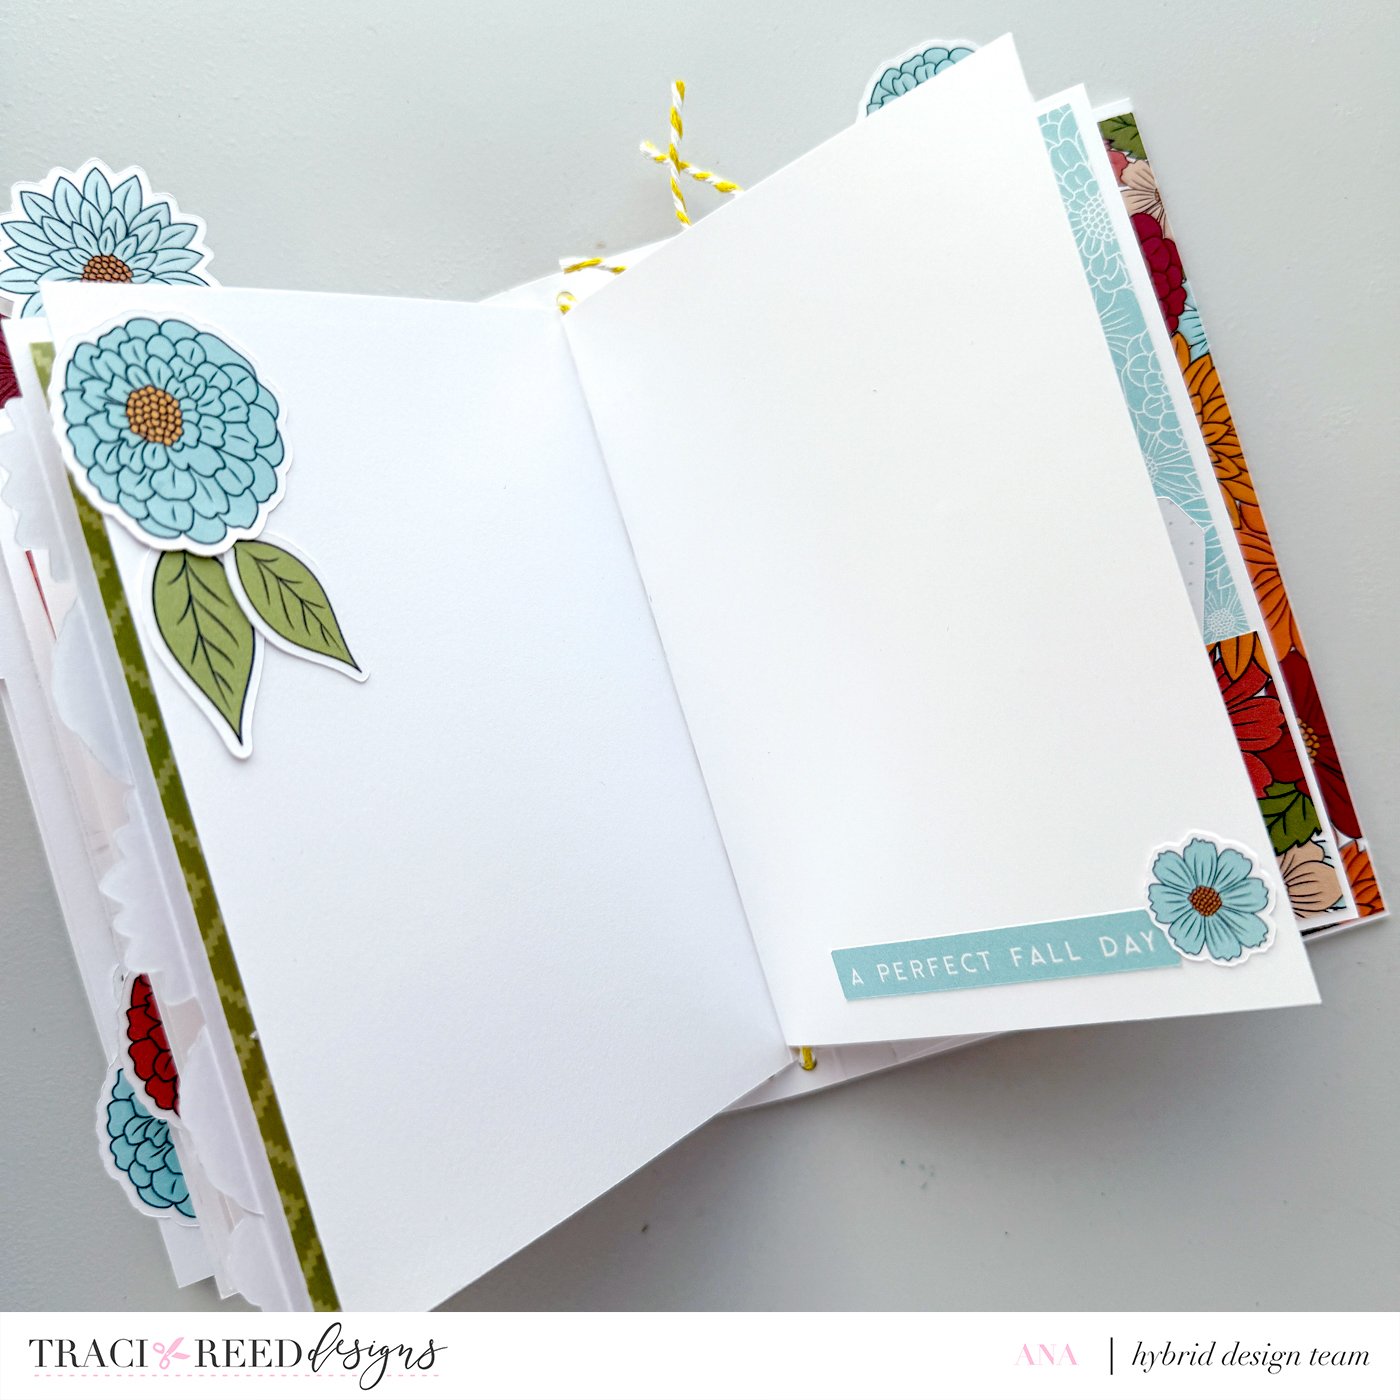
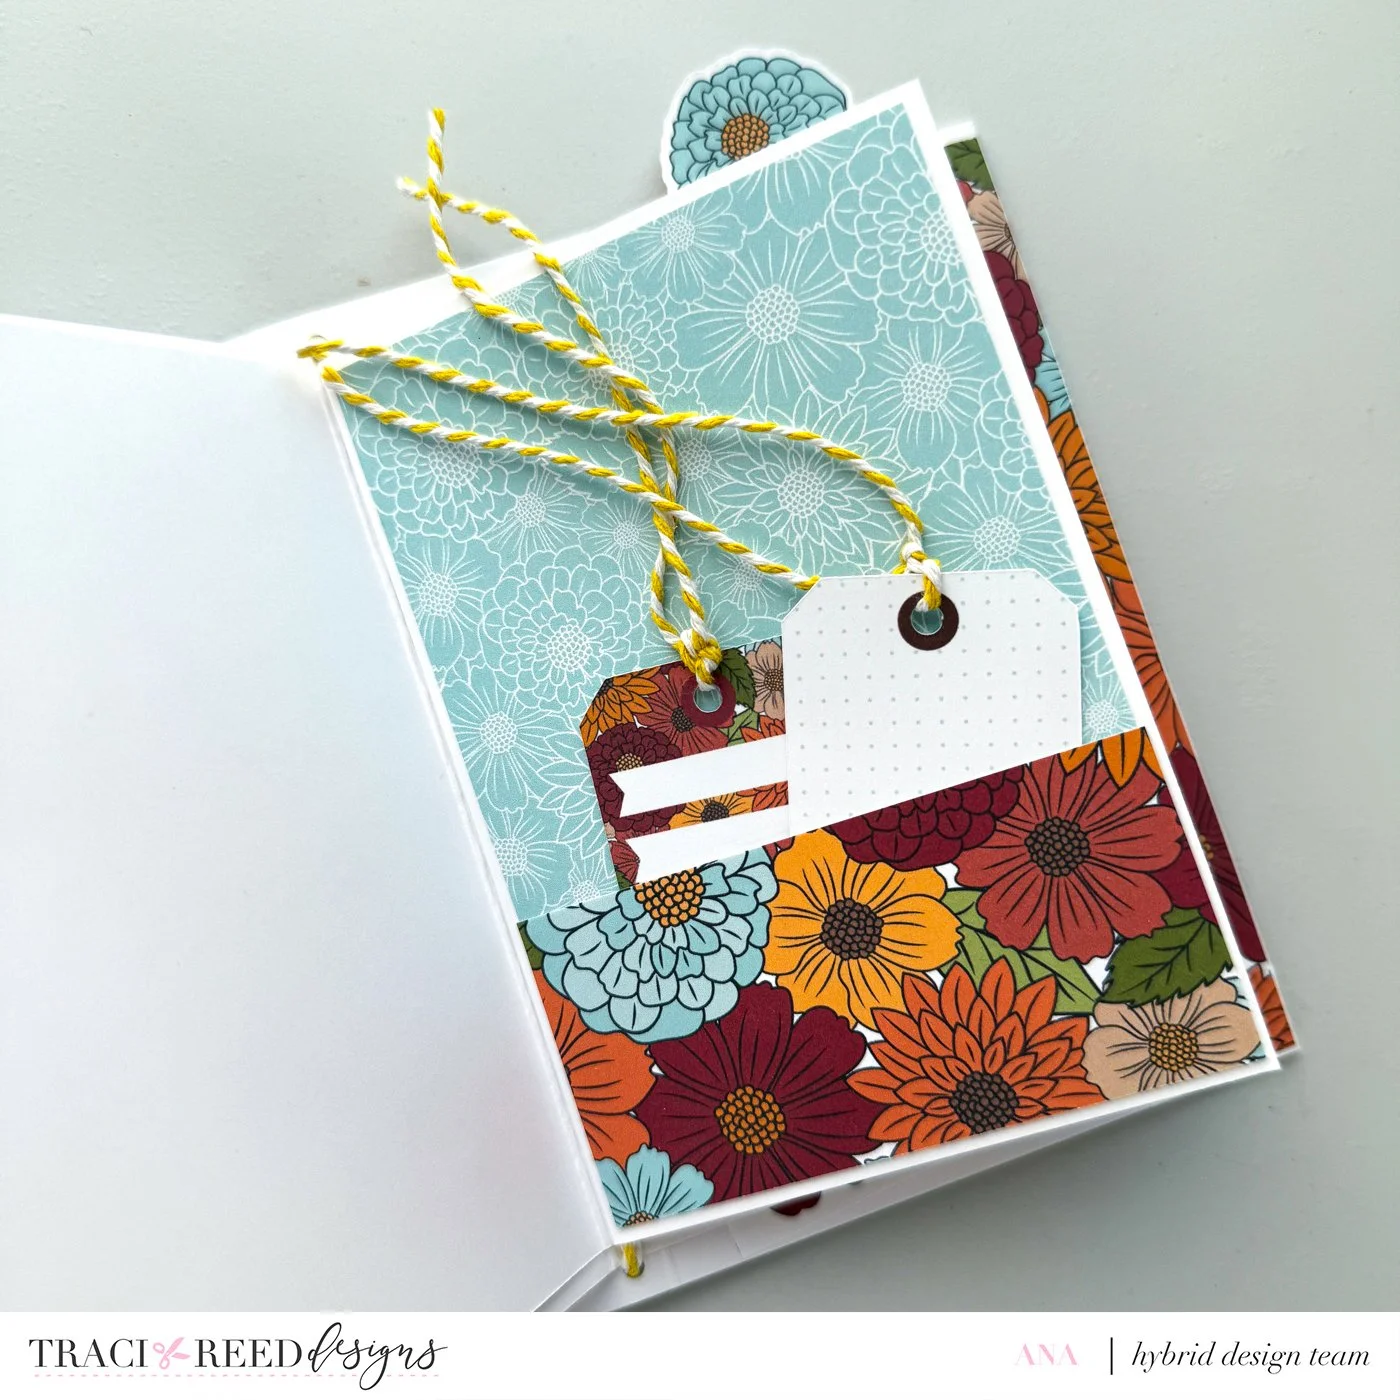
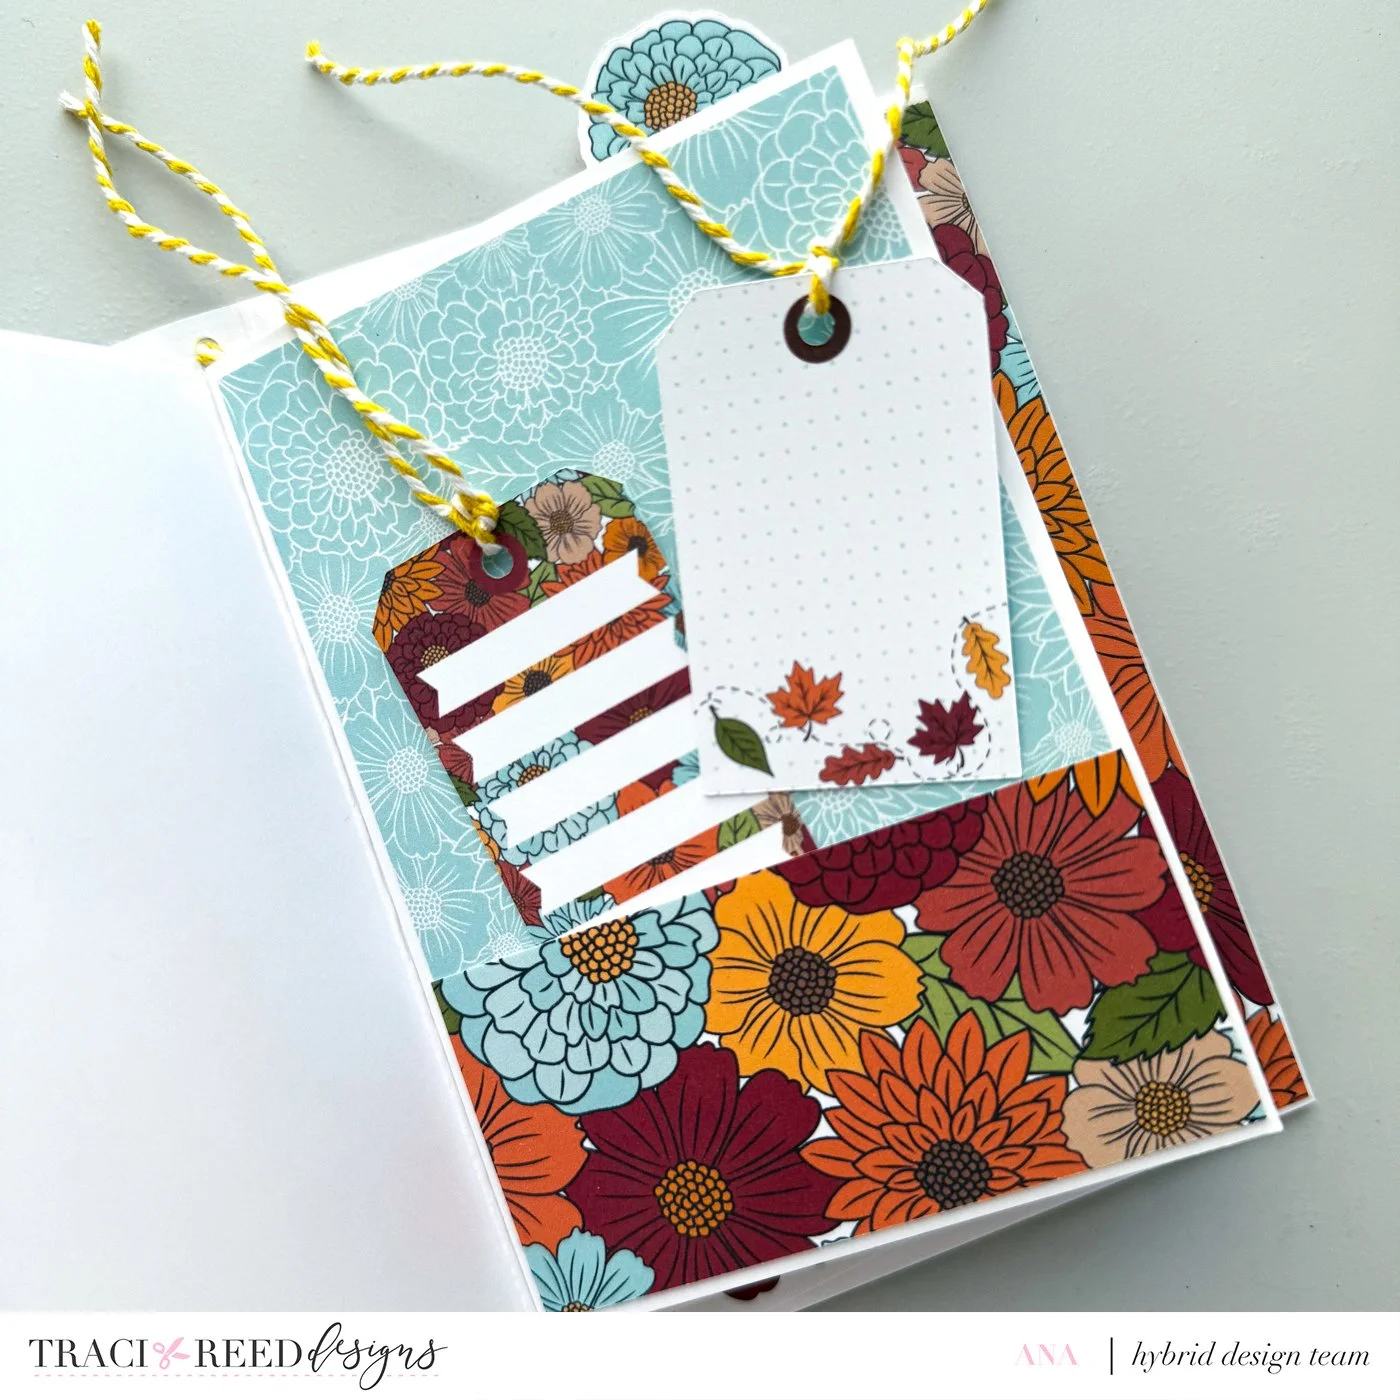
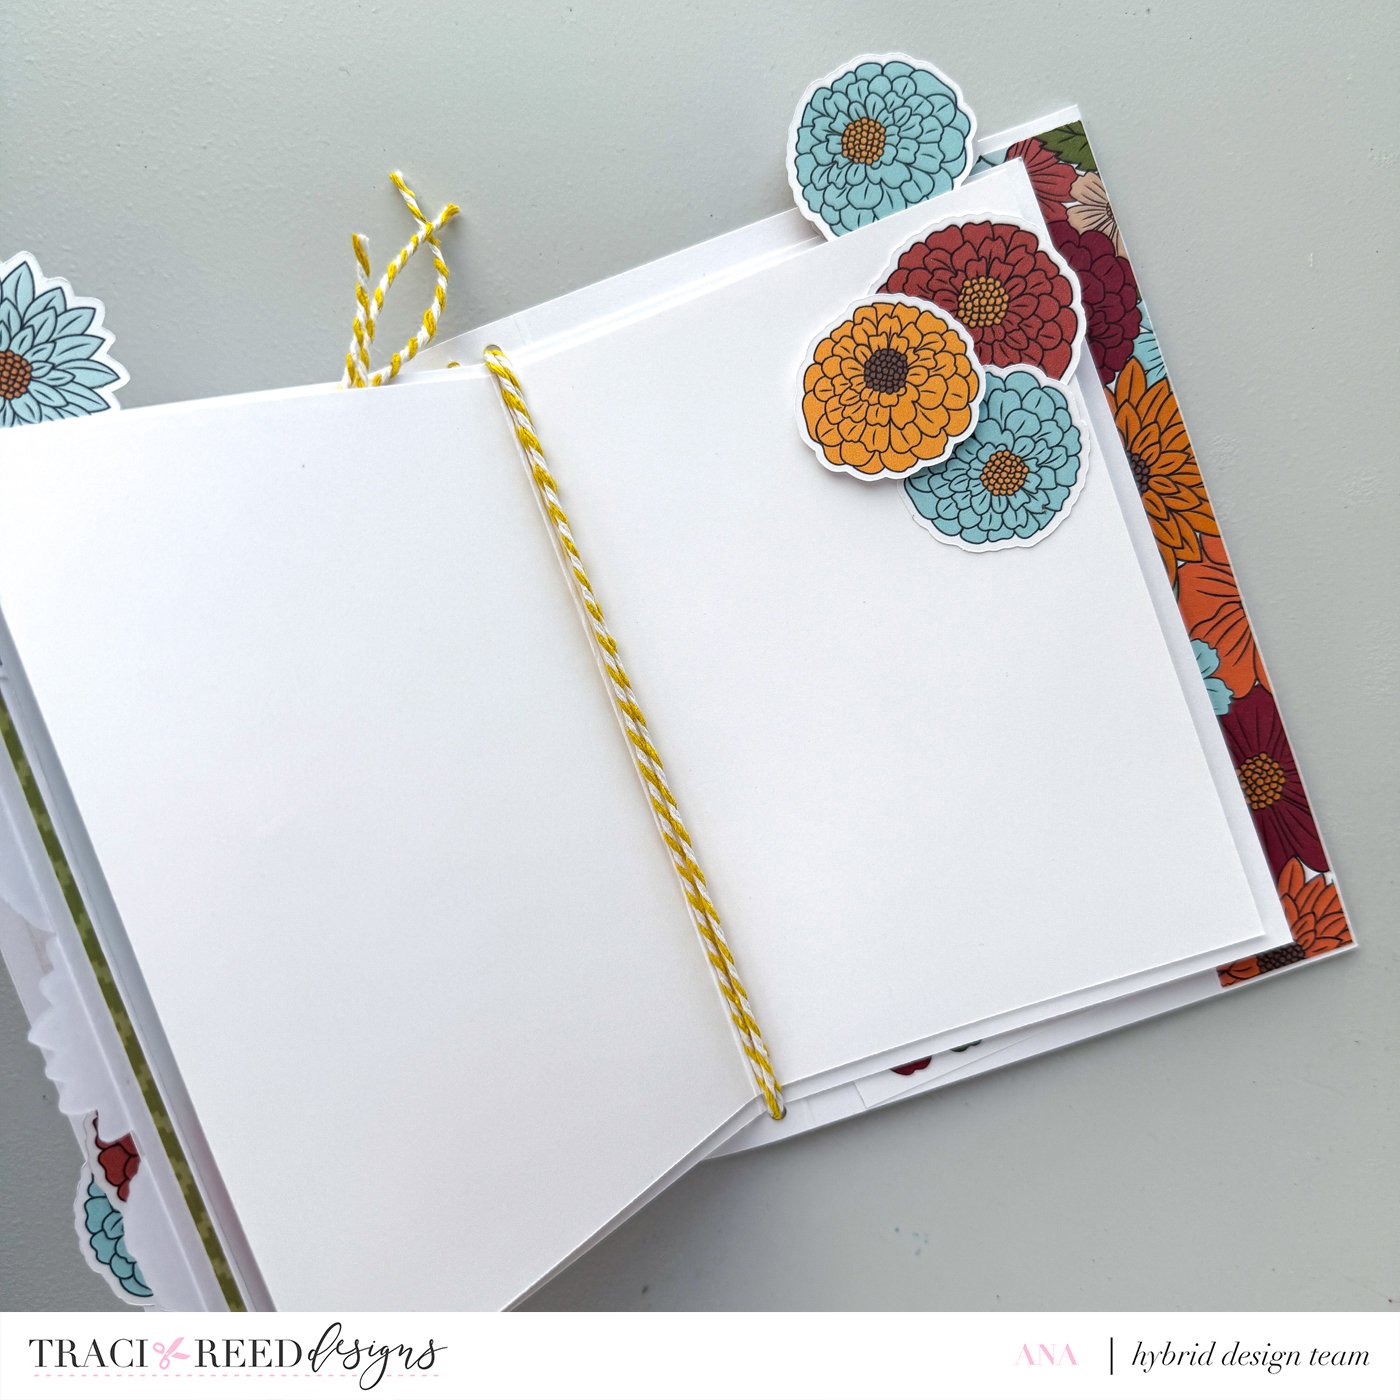
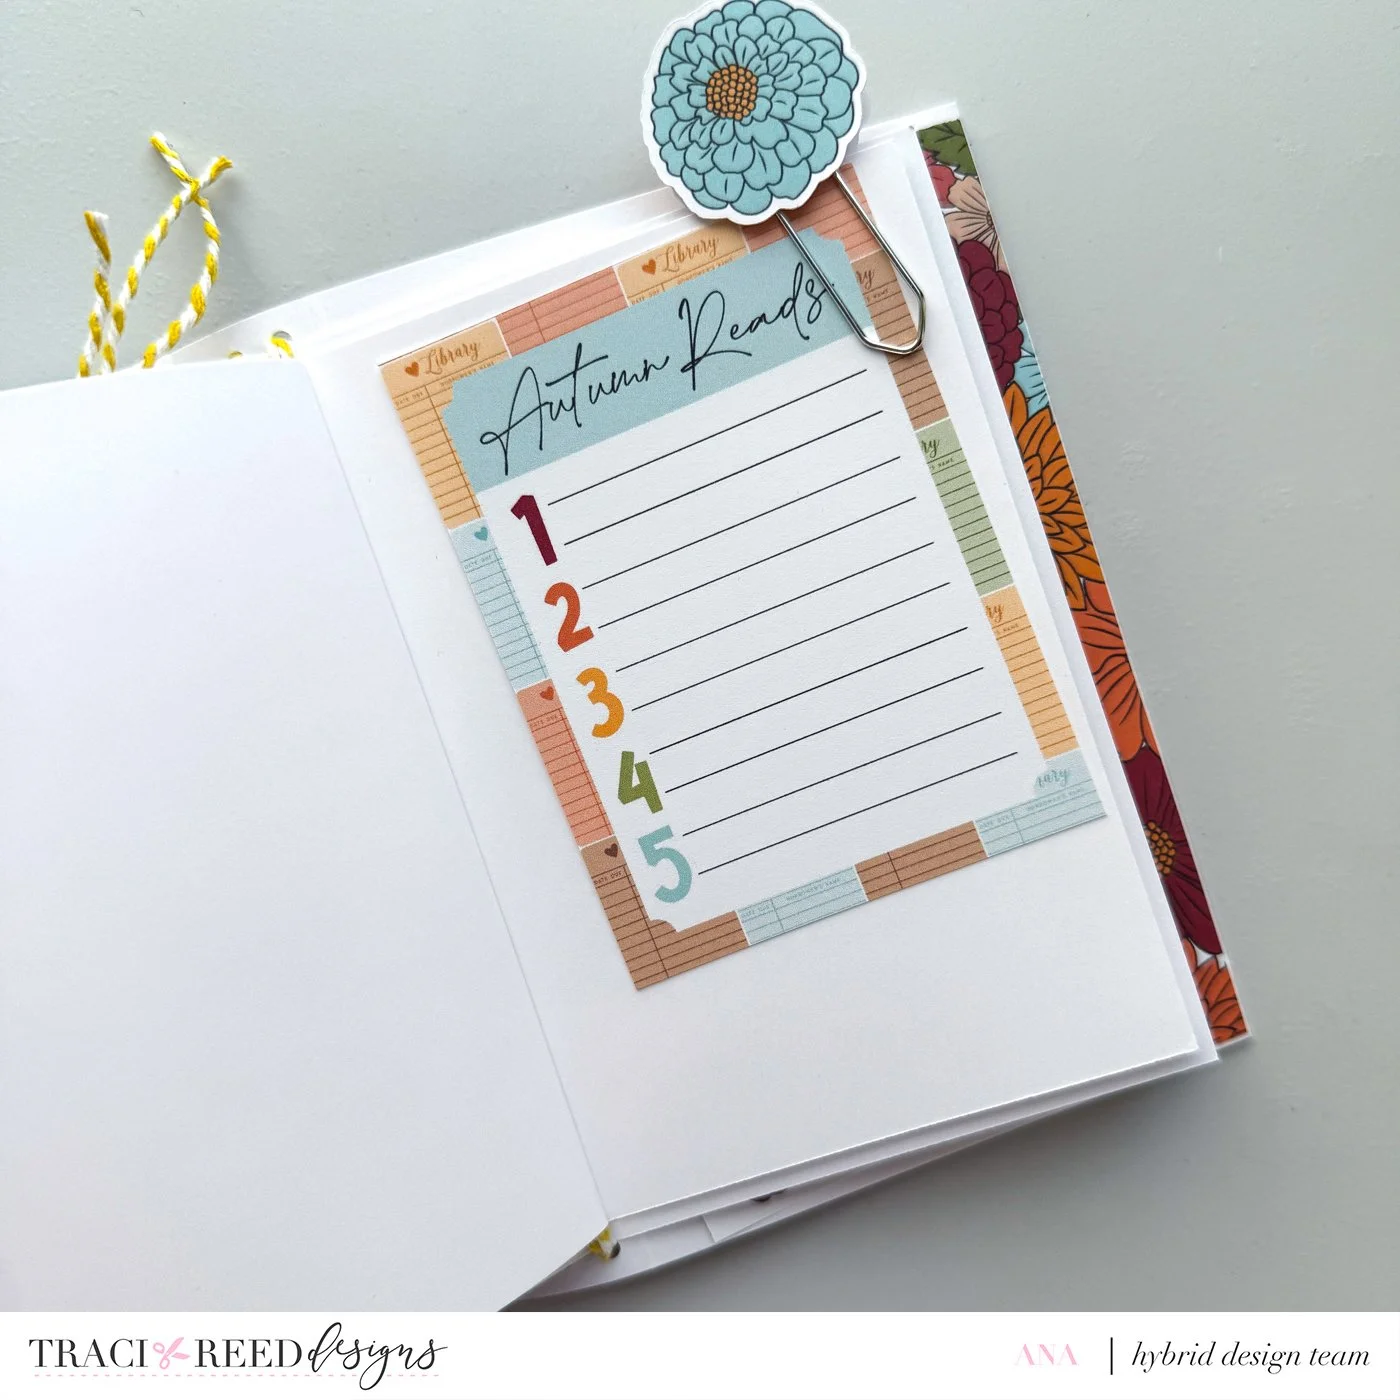
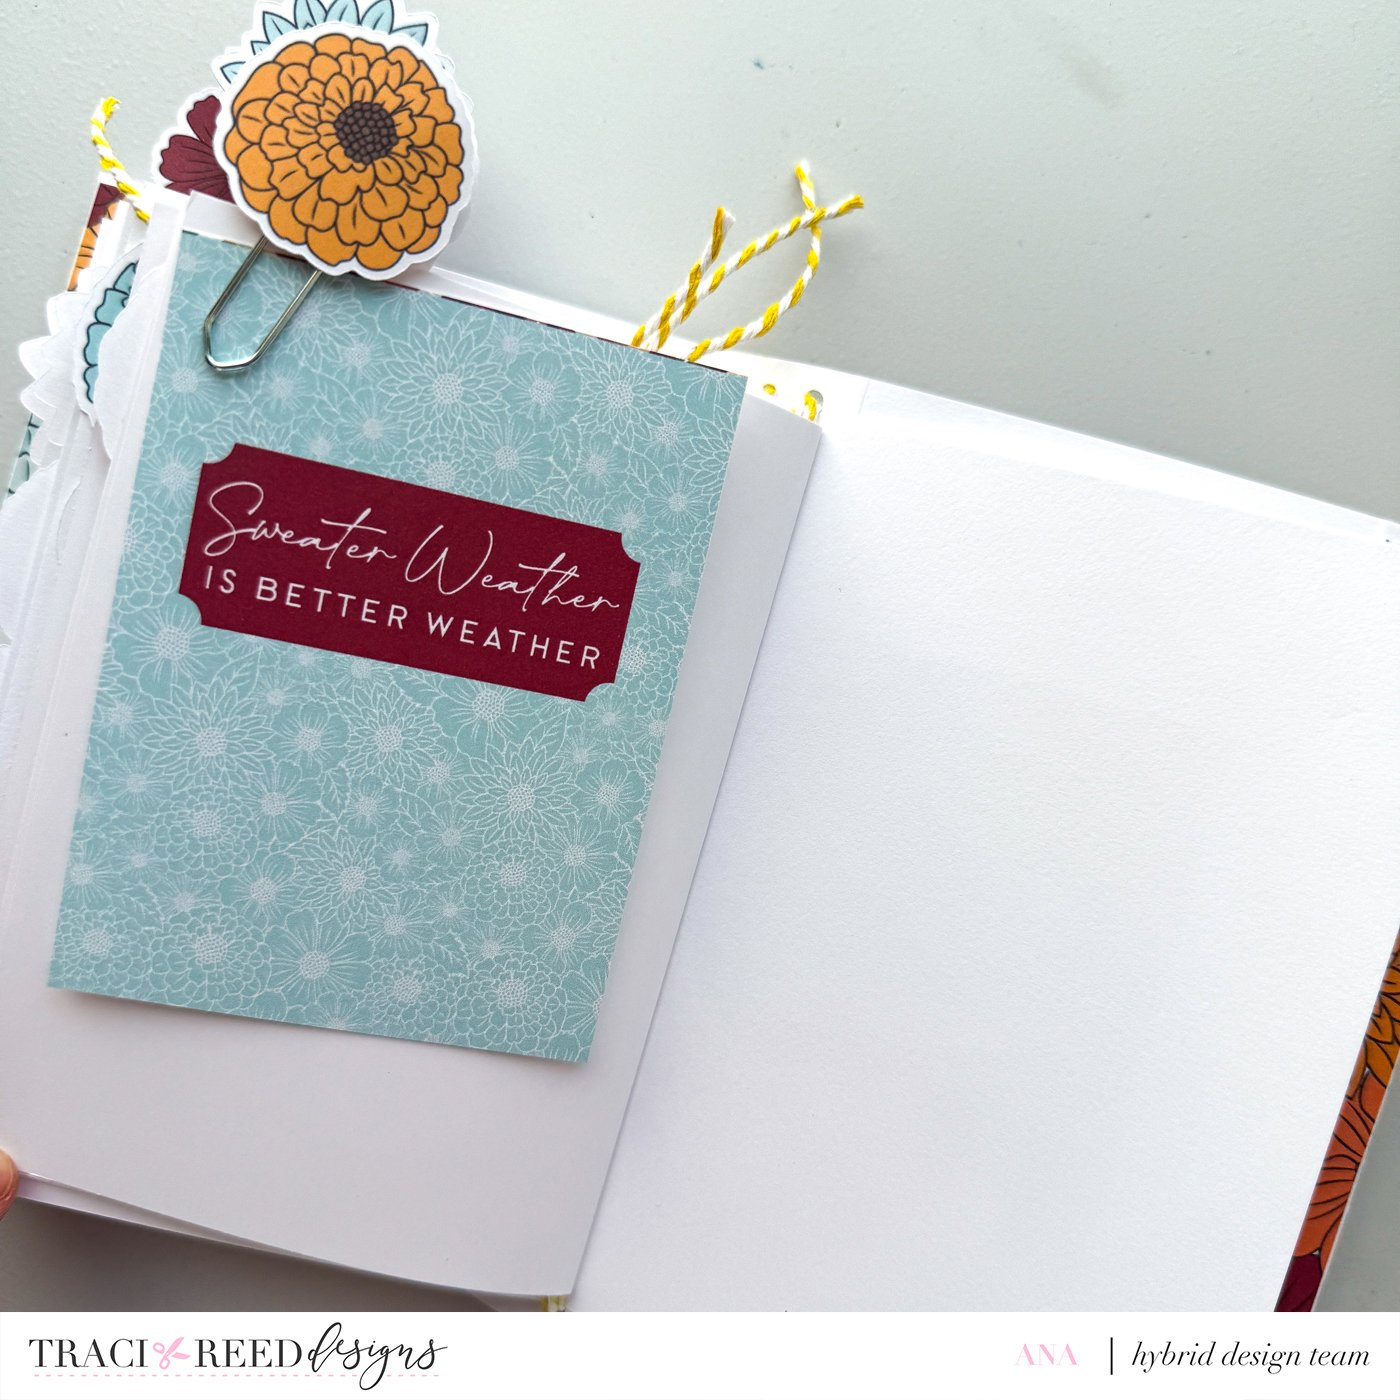
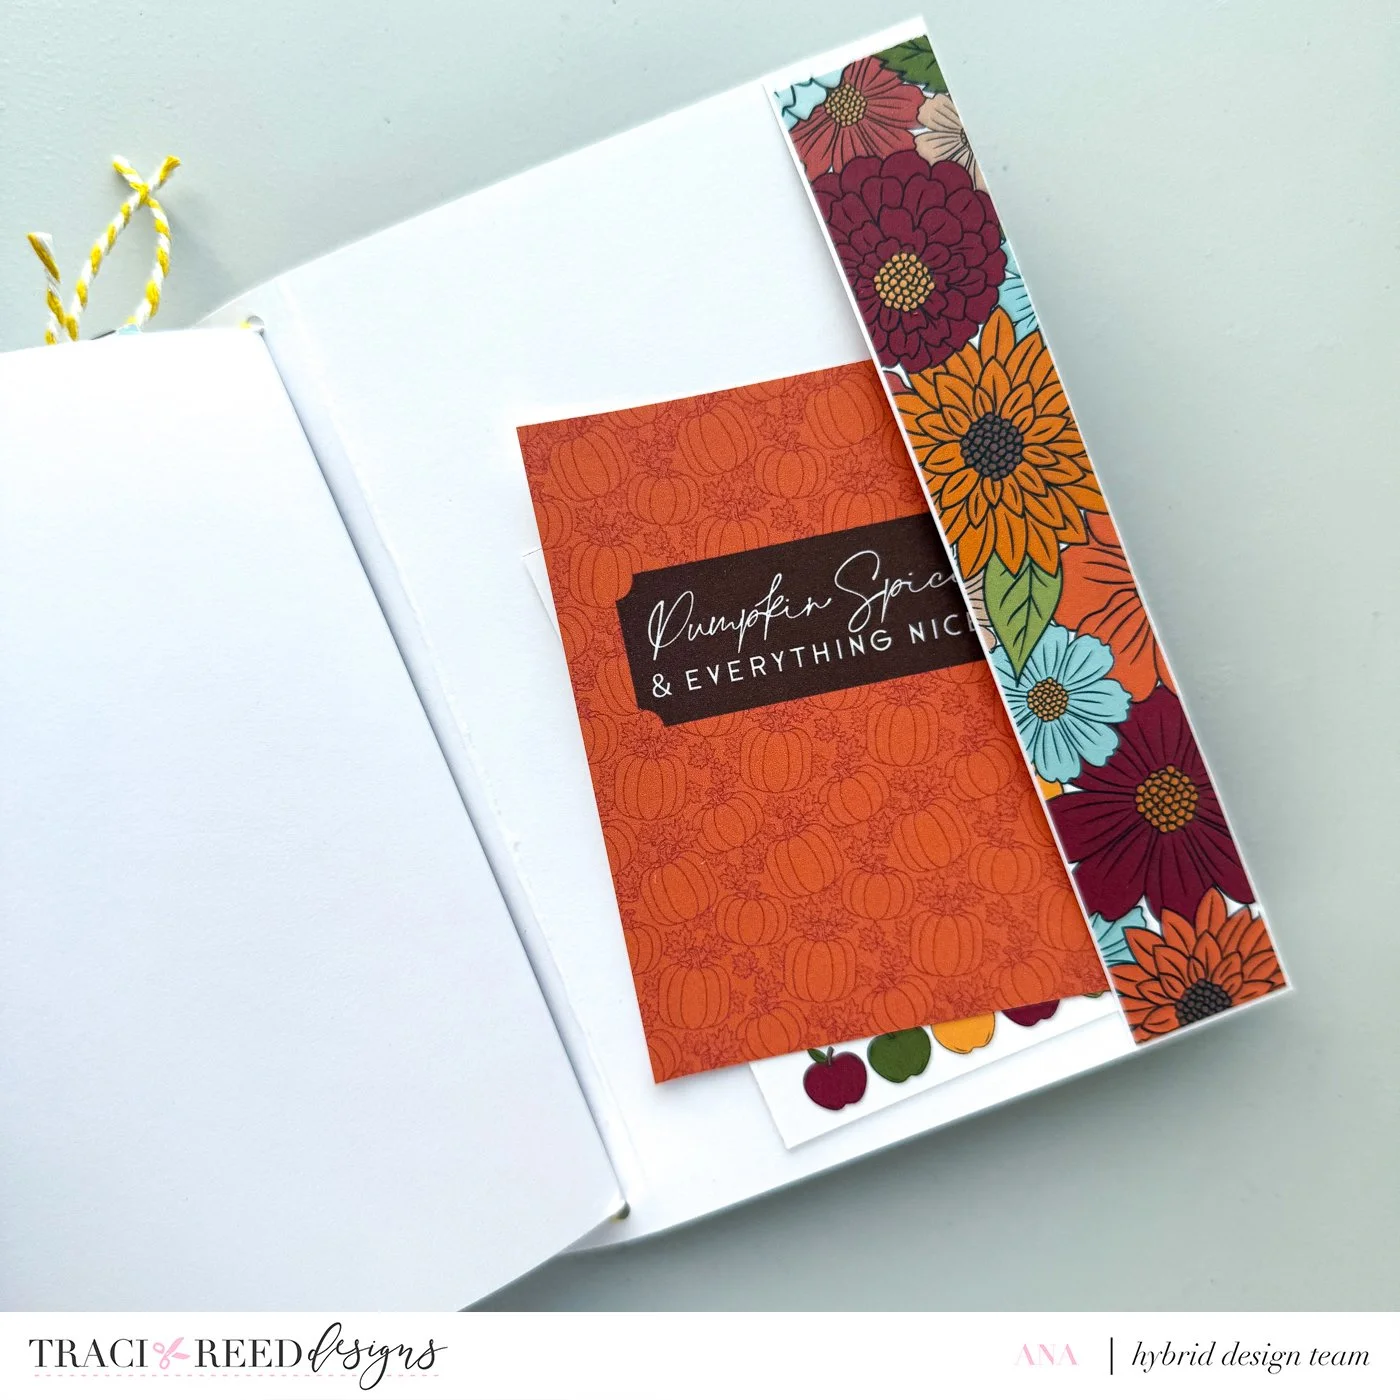
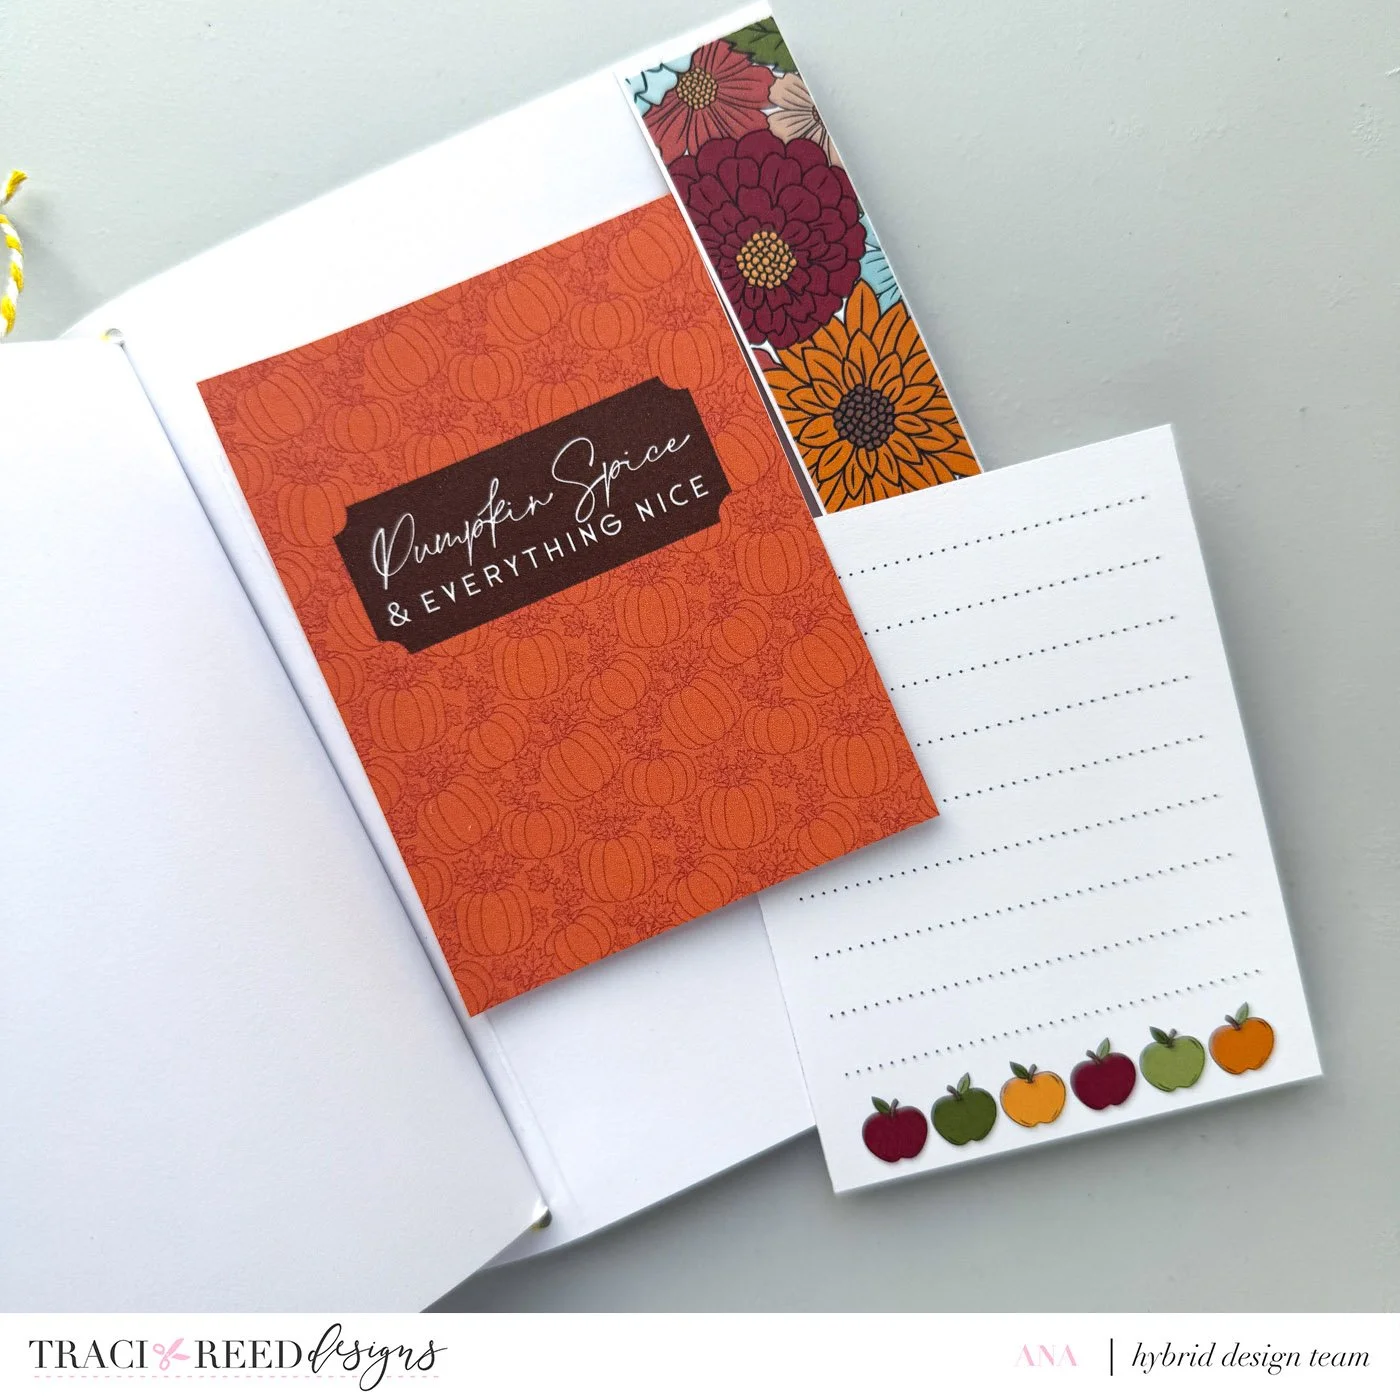
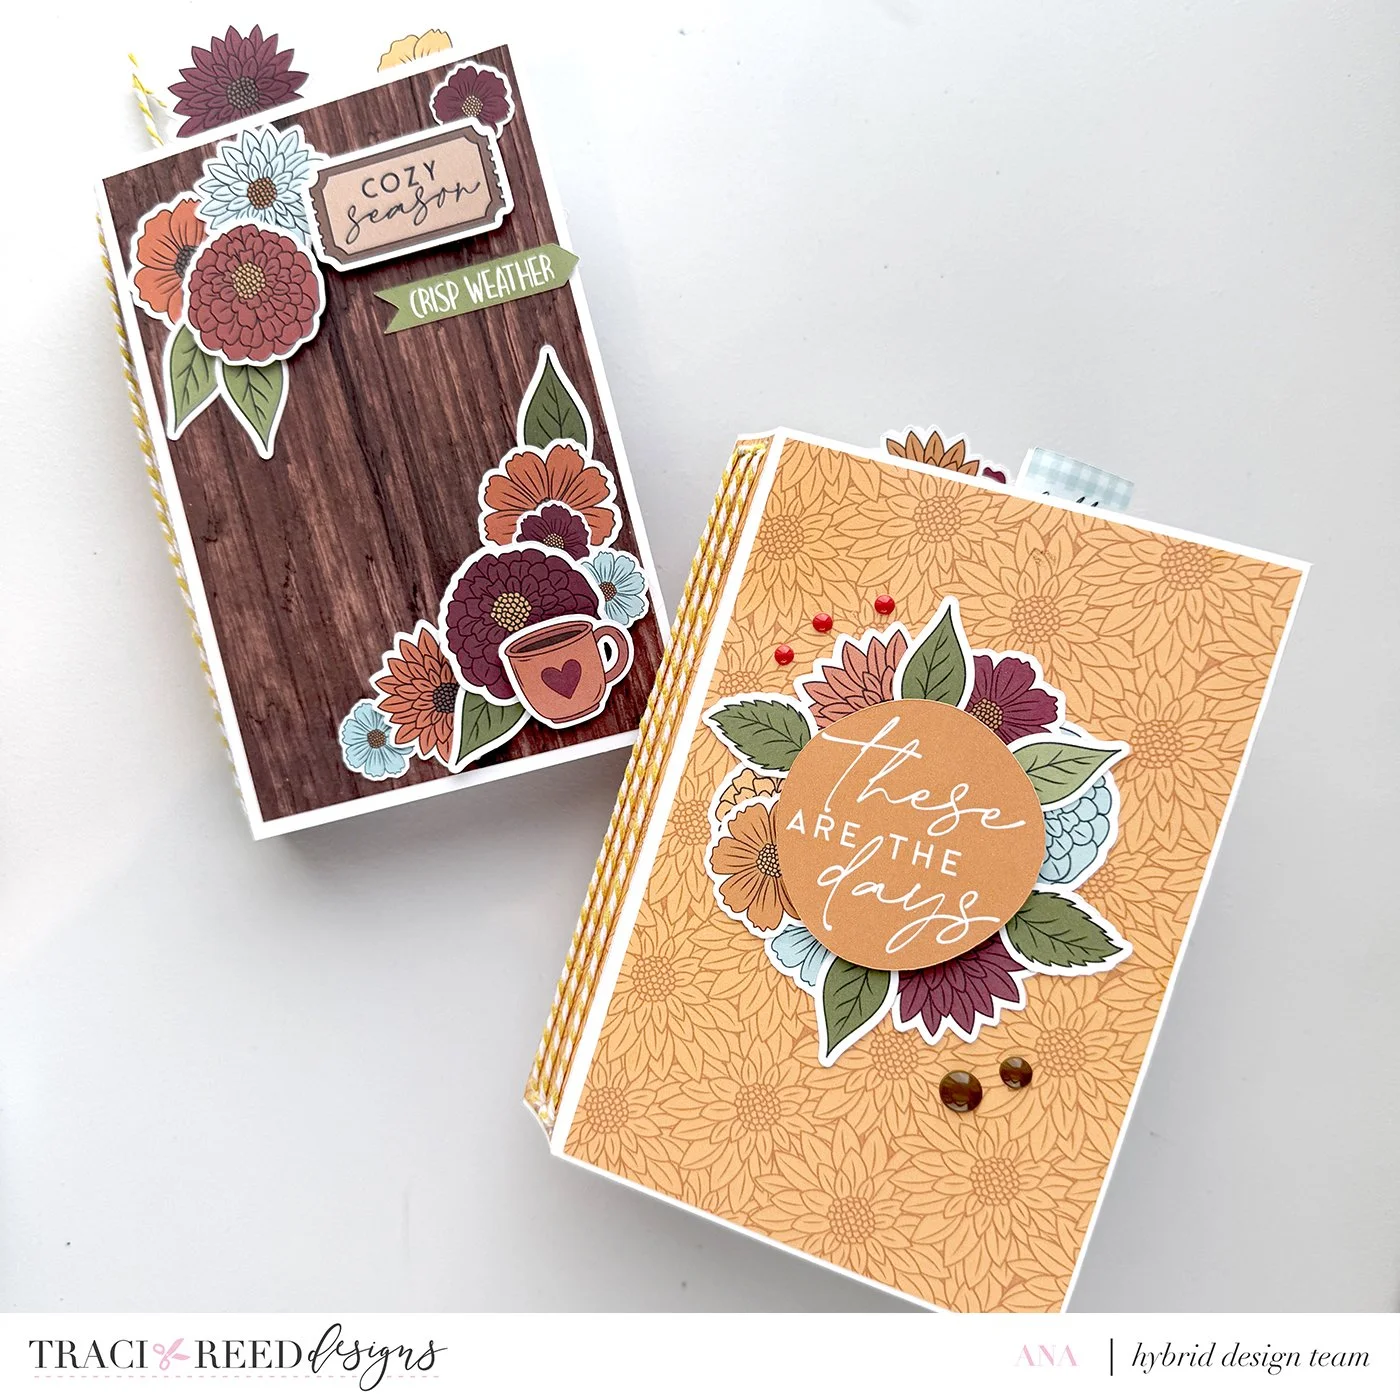
I’m also sharing photos of another version of this journal that I created for last weekend’s Instagram Hop. It’s the exact same journal construction, but with a completely different design to show just how versatile this project can be. A different collection, different embellishments, and a different mood can completely transform the finished look!
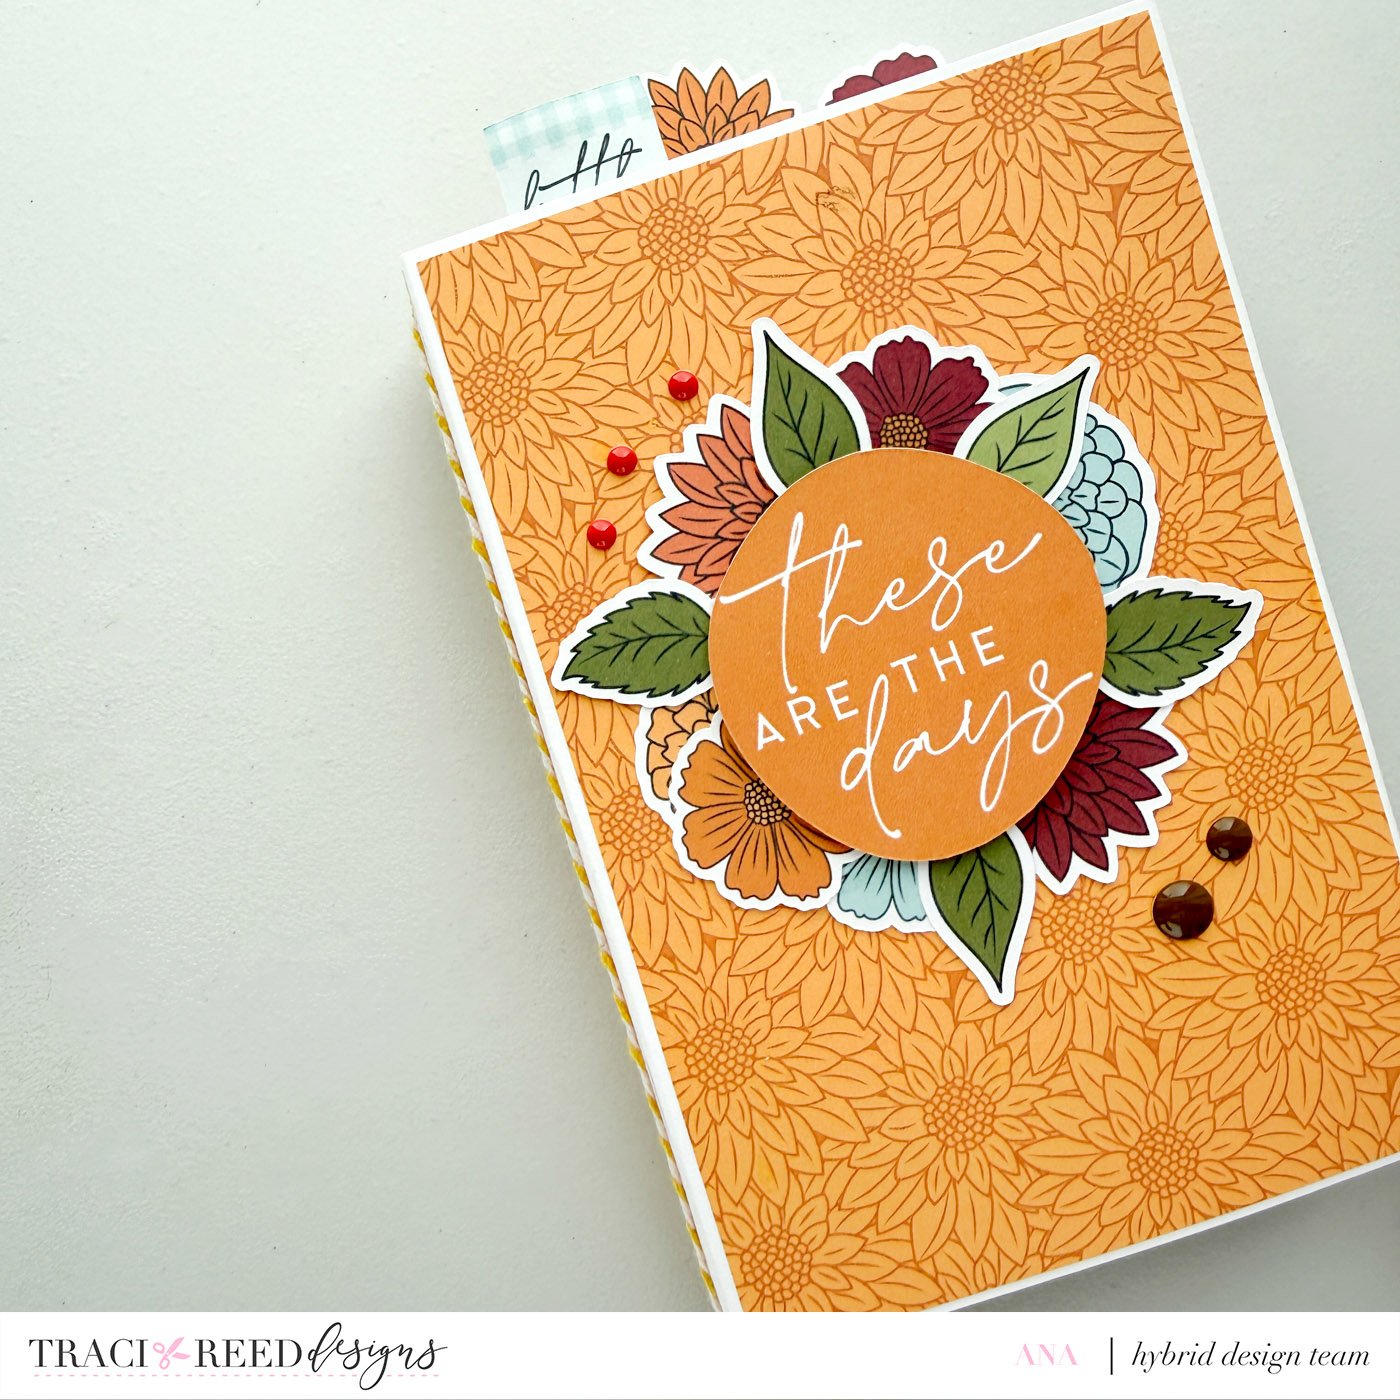
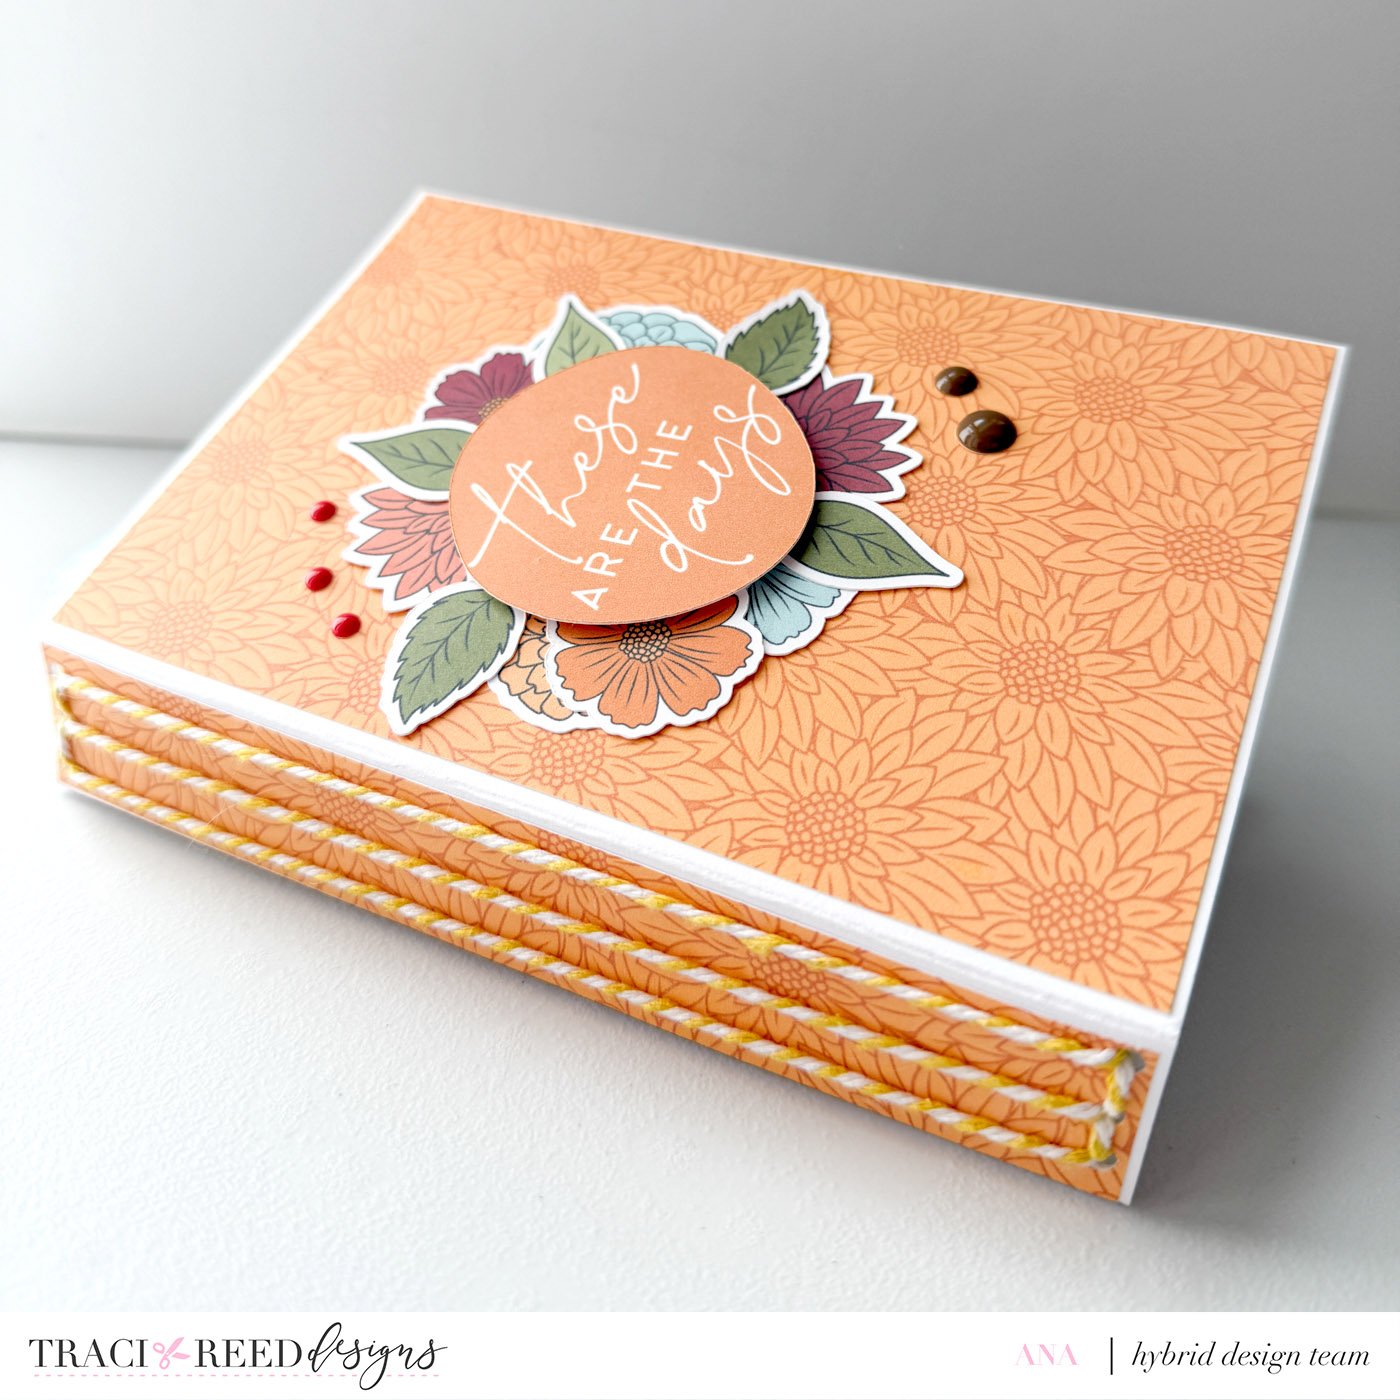
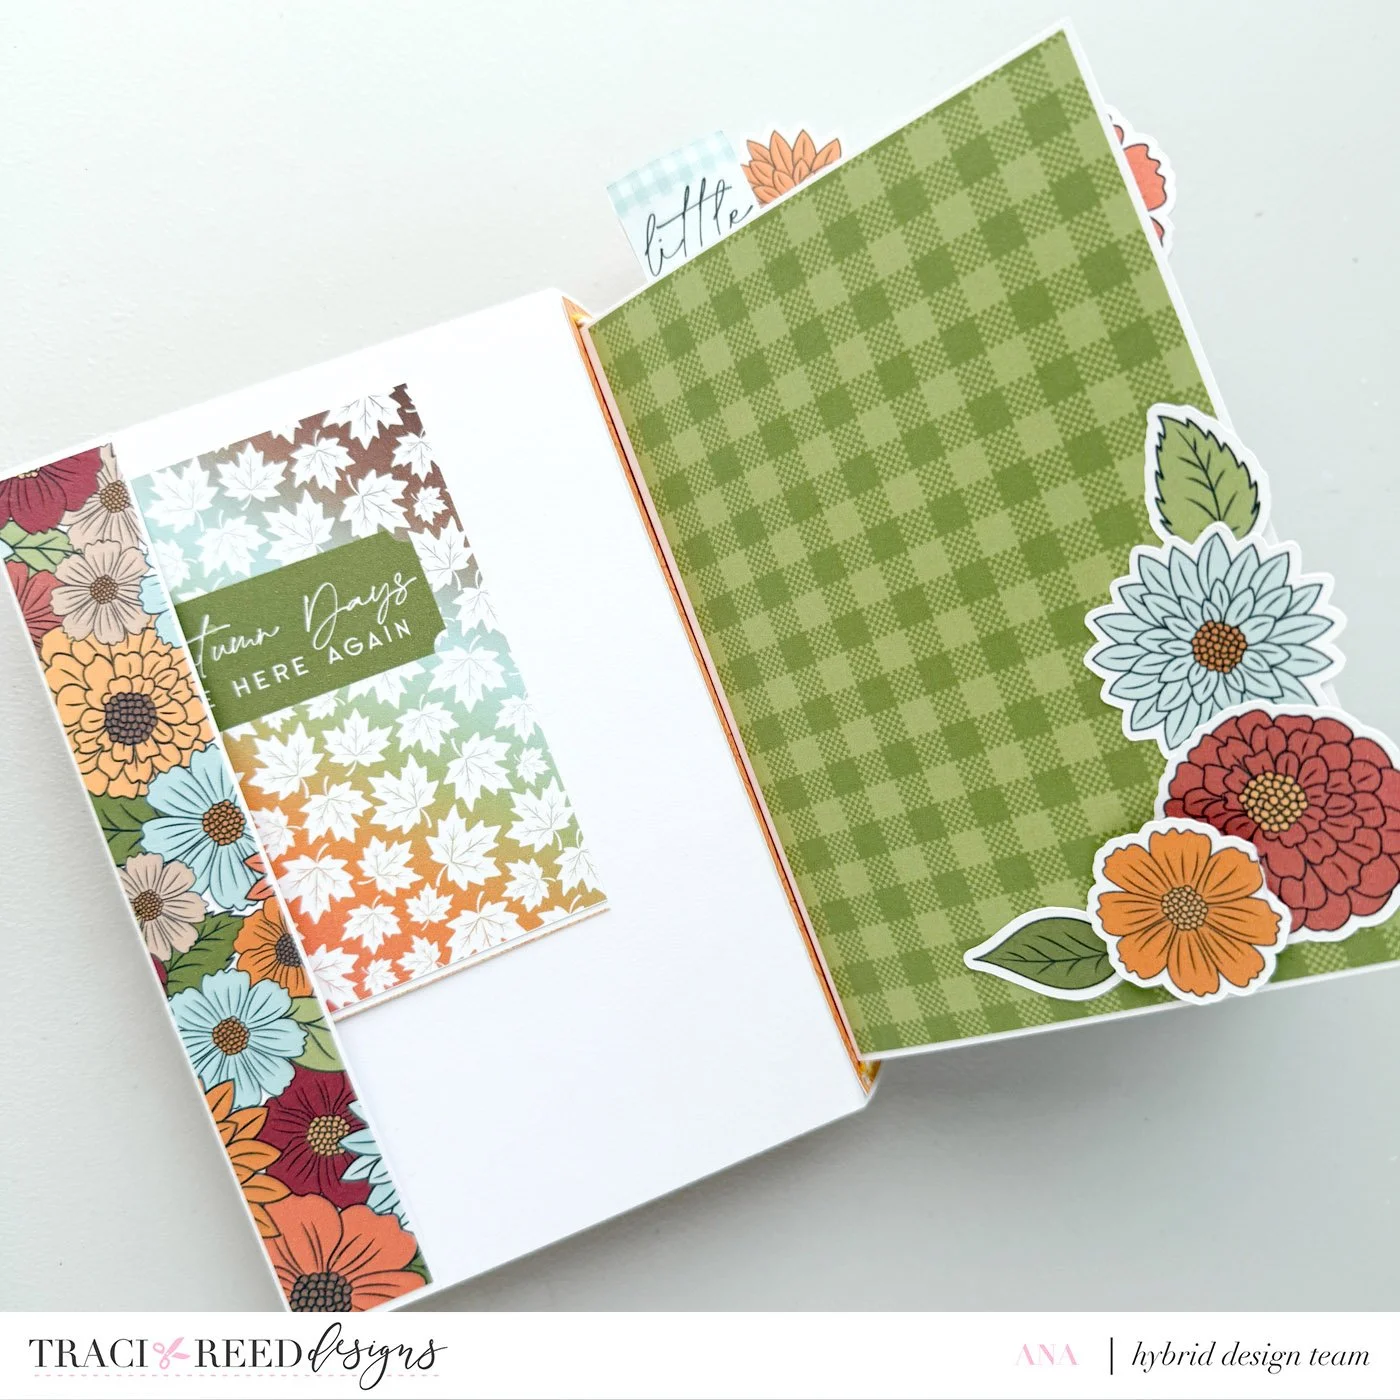
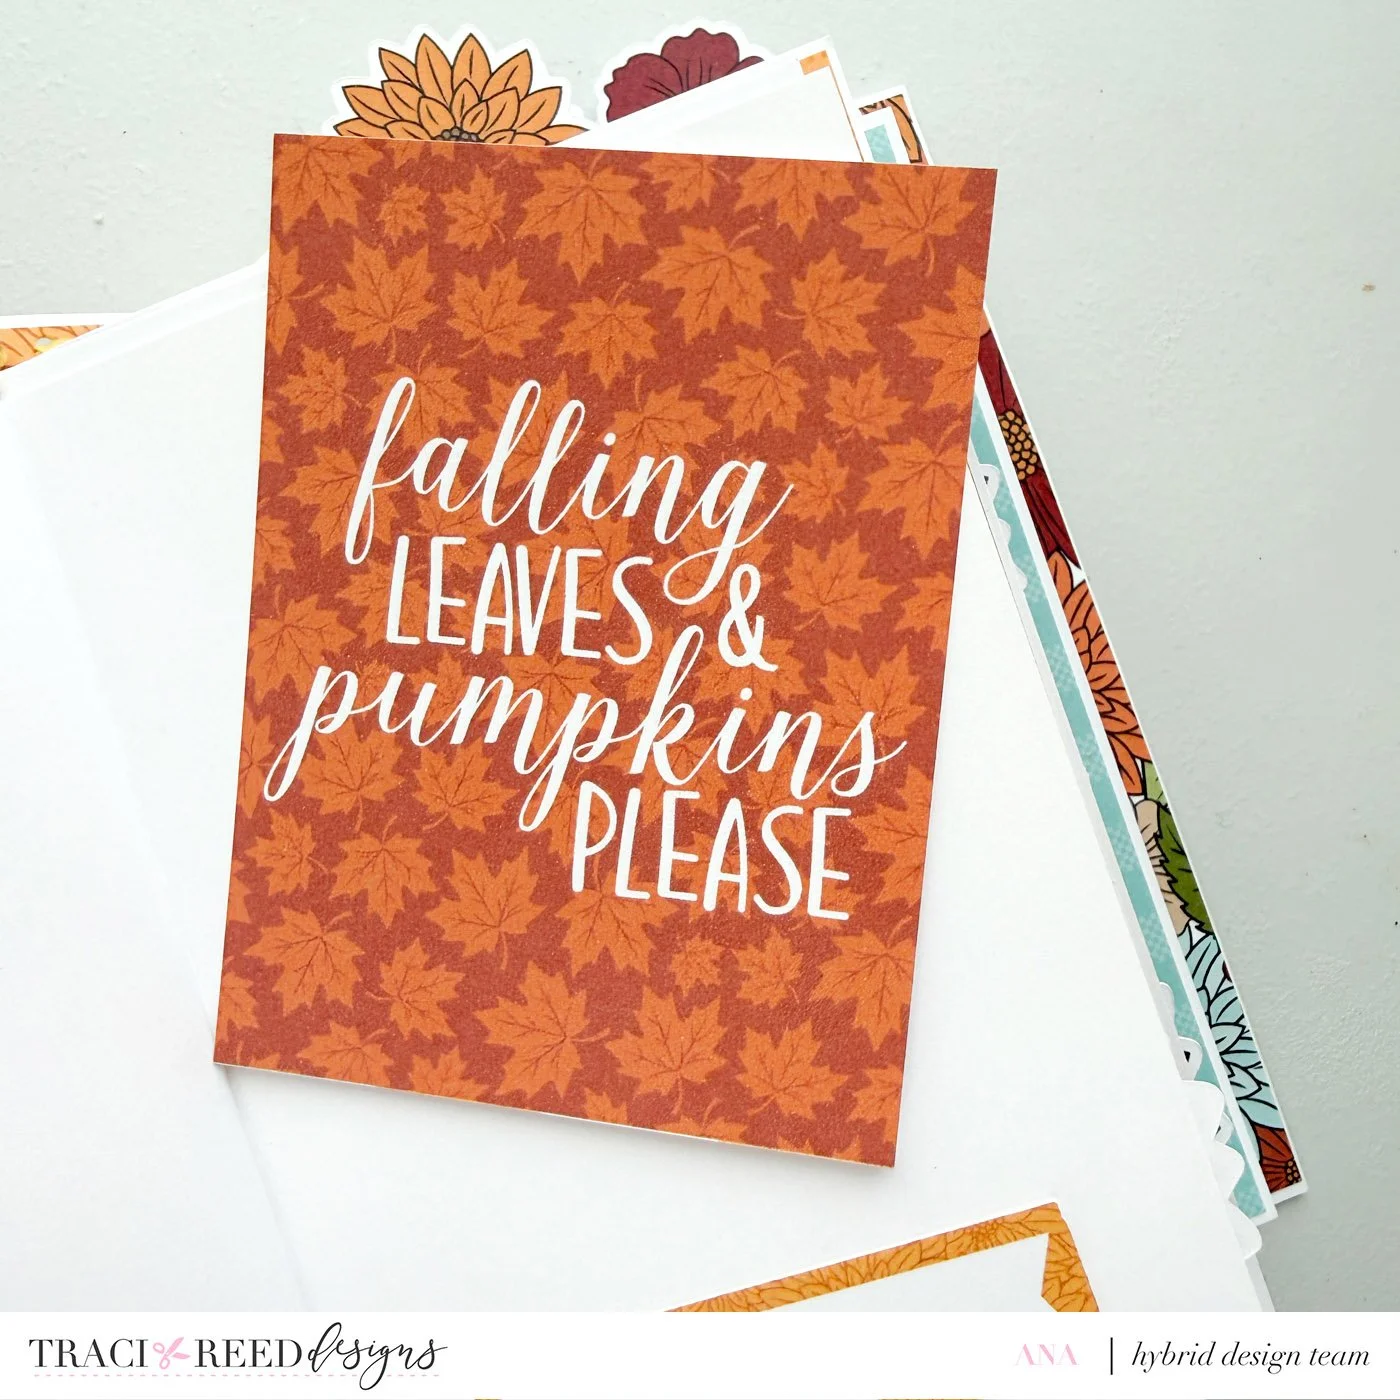
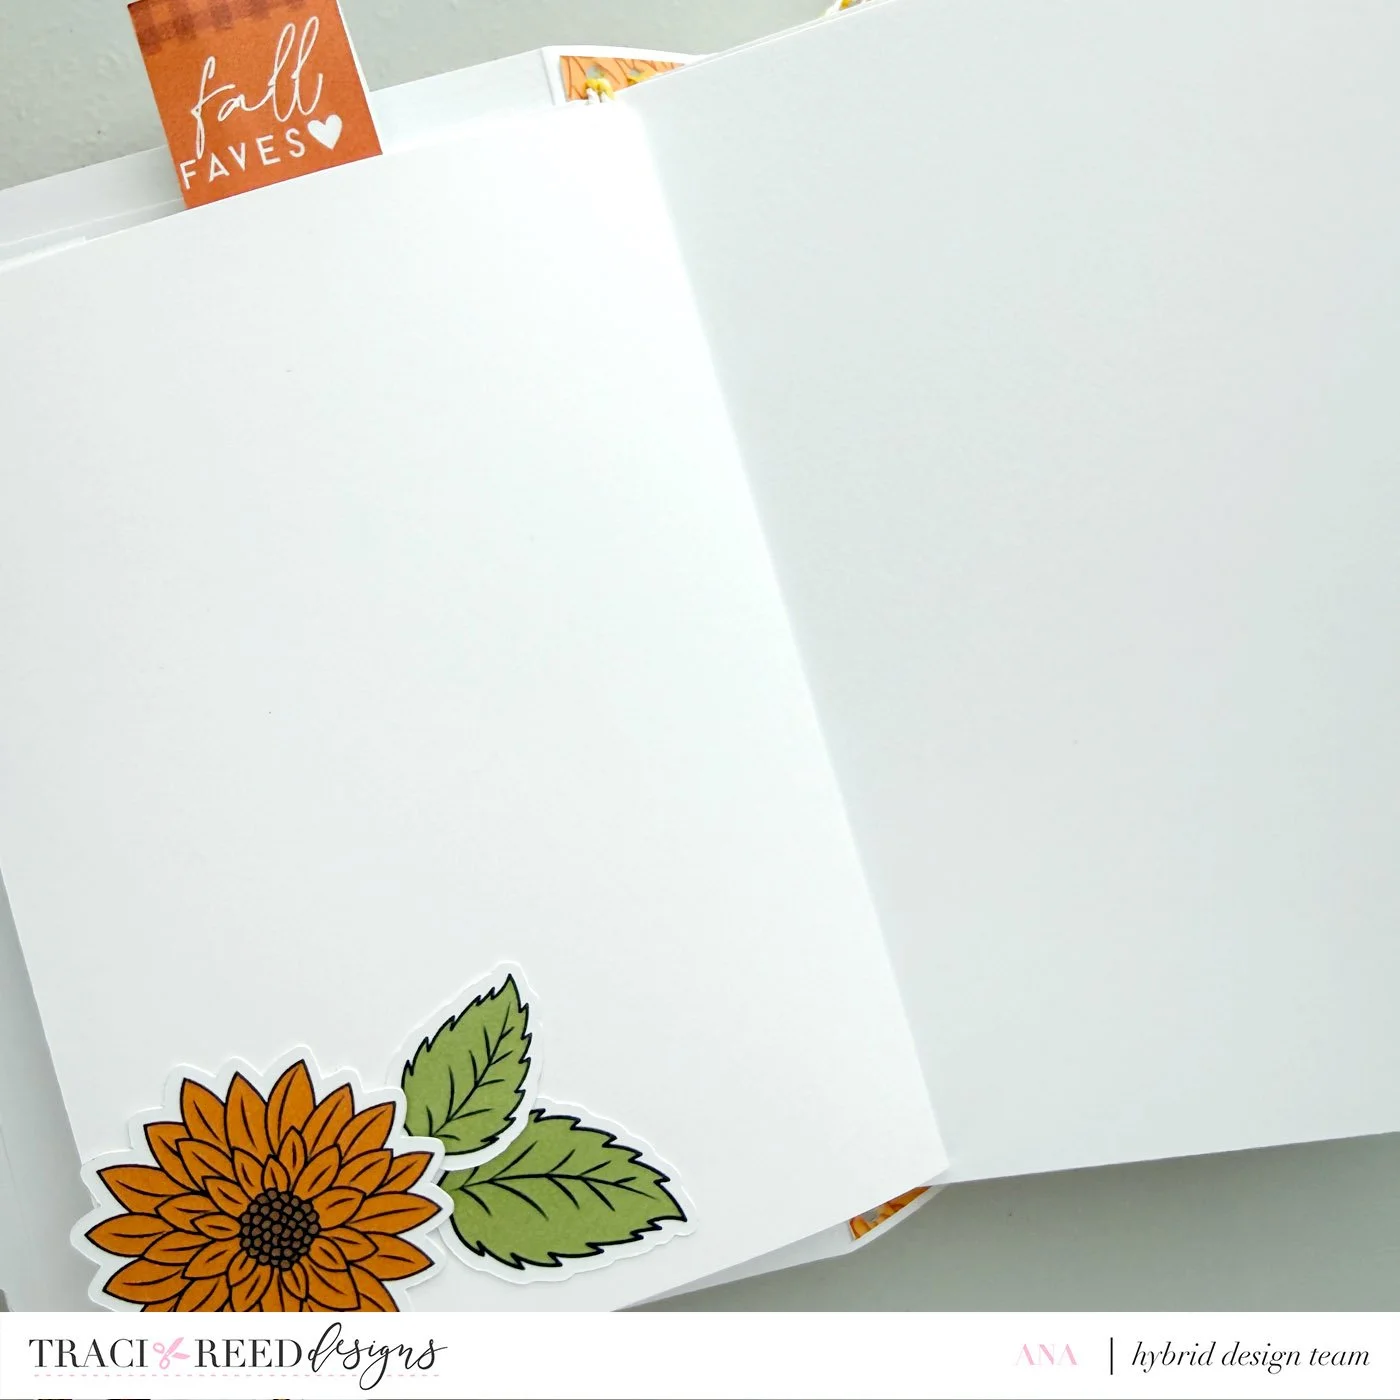
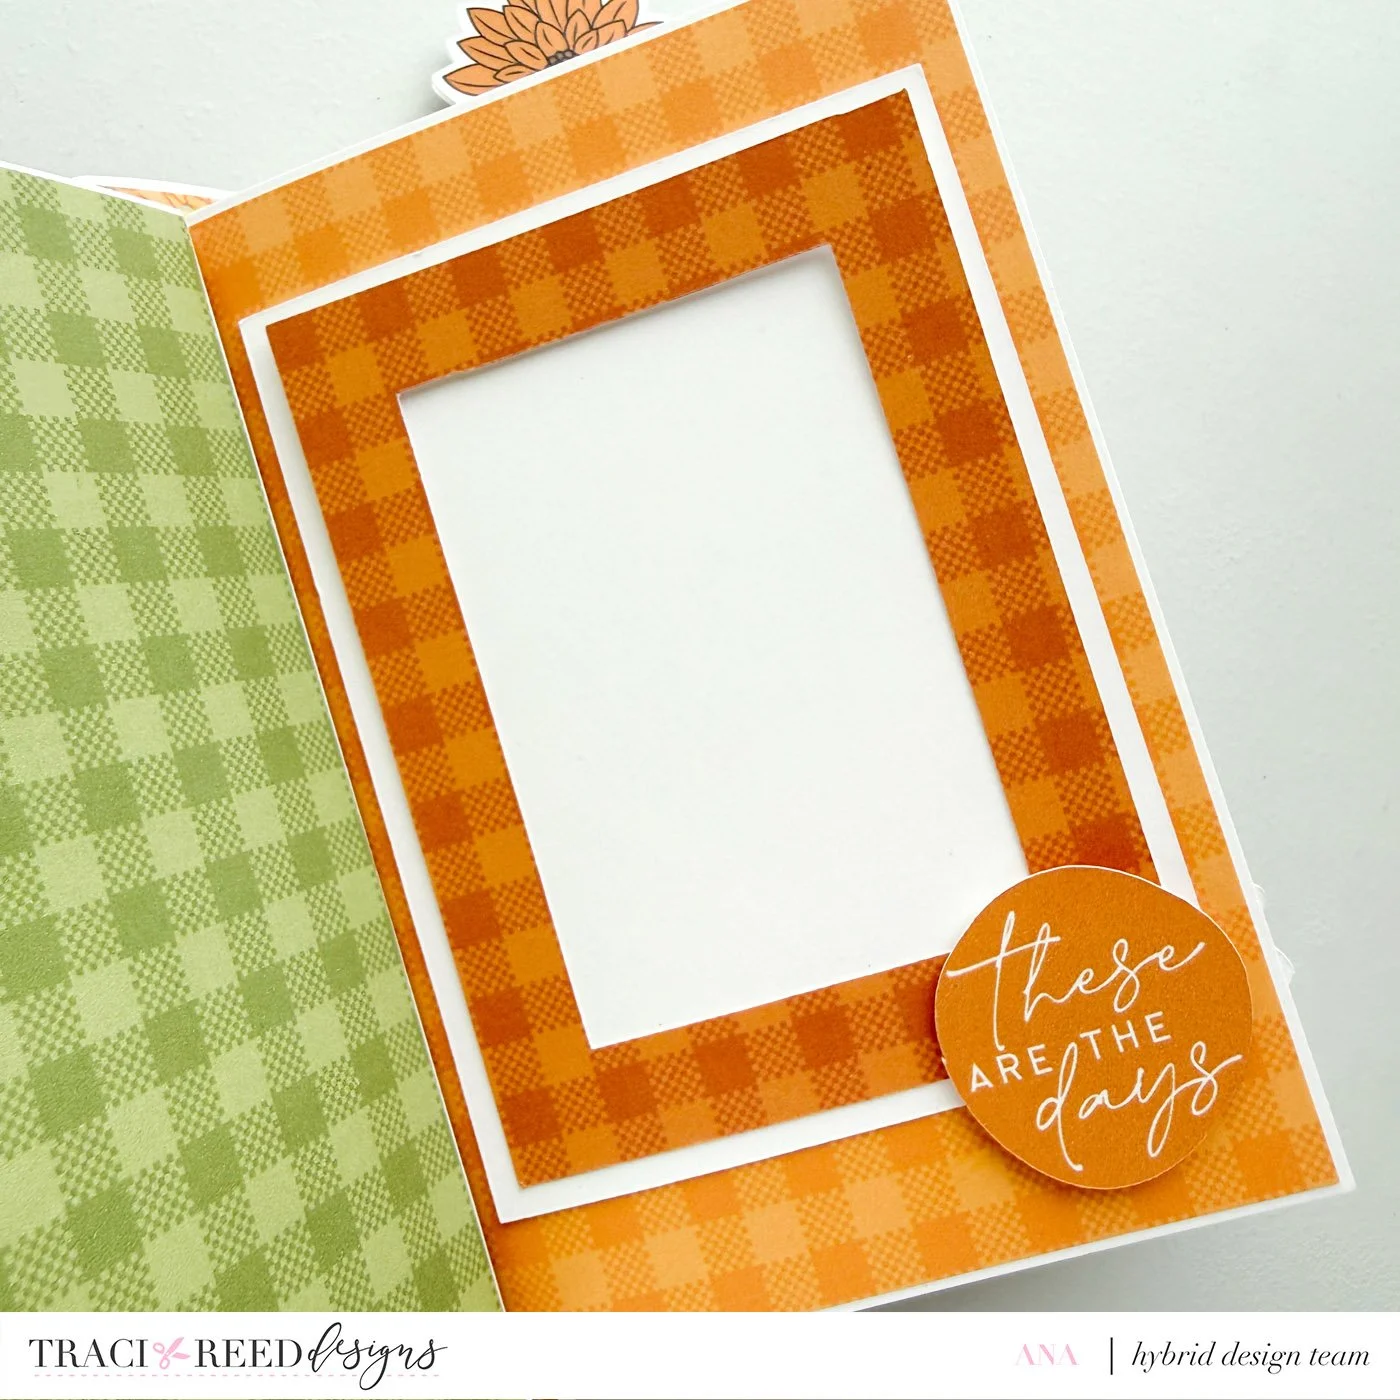
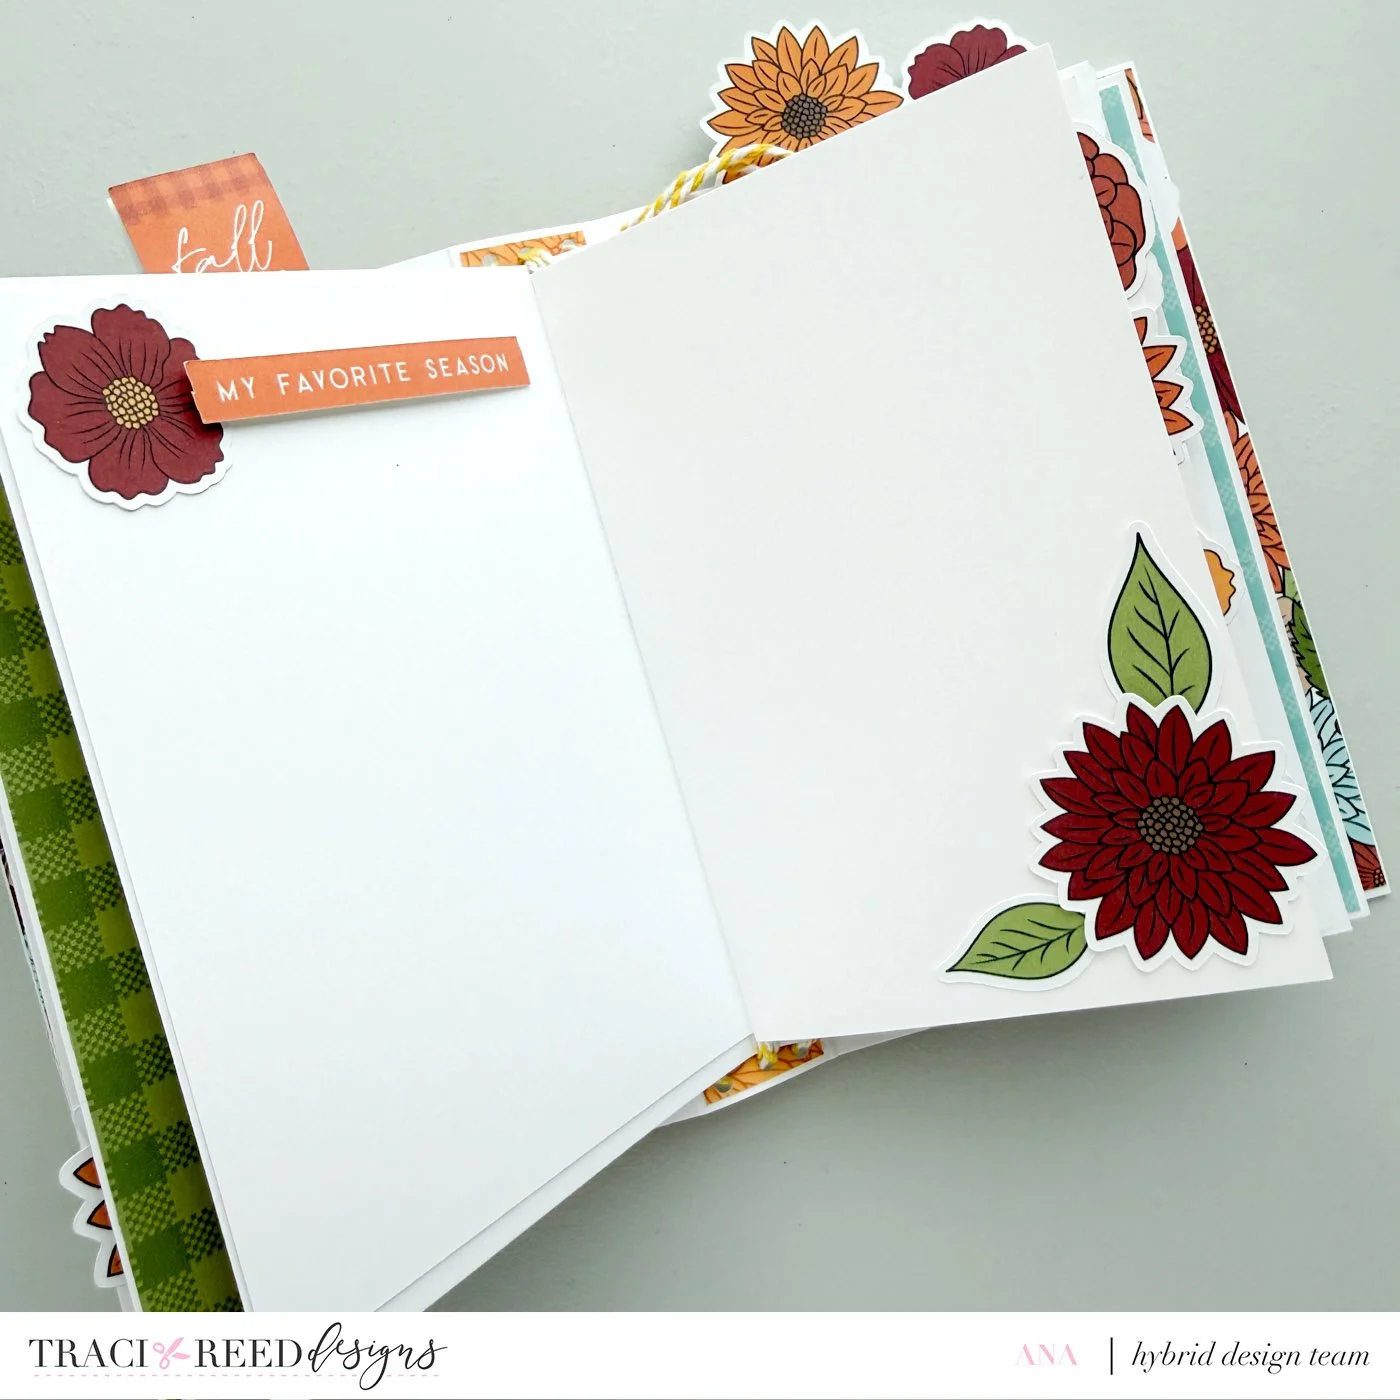
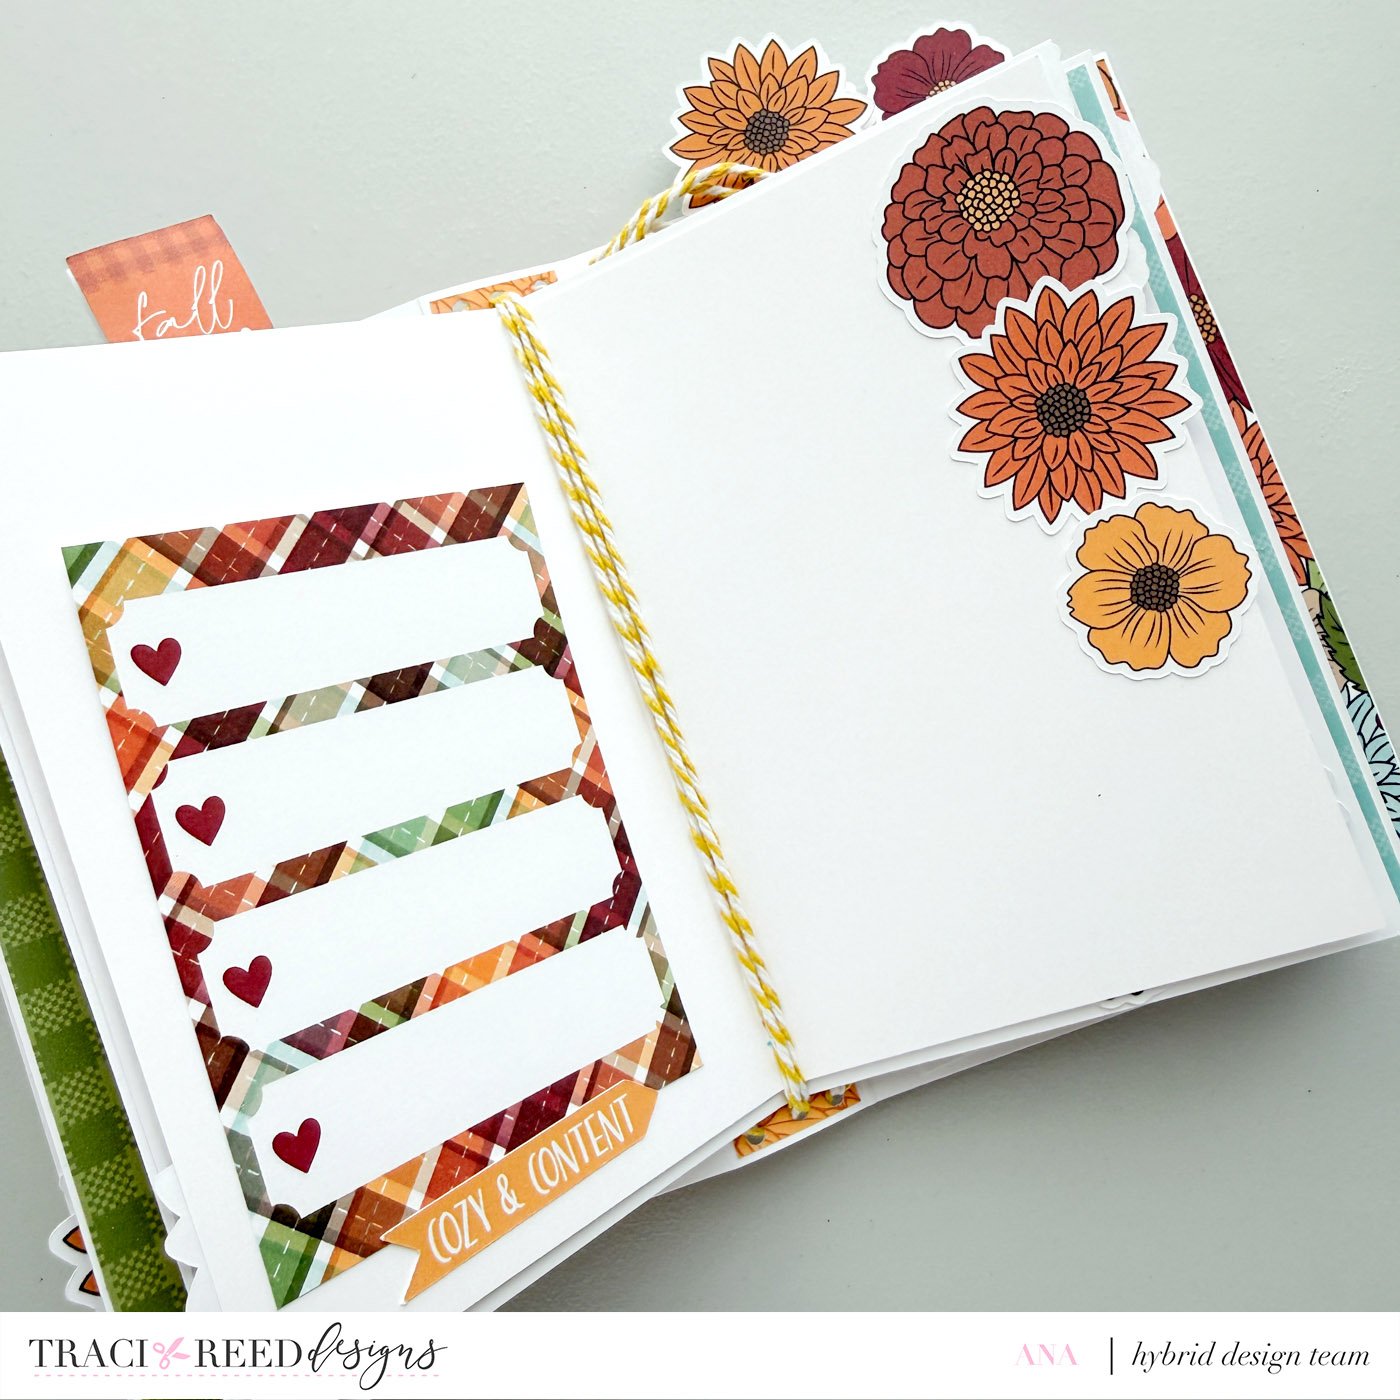
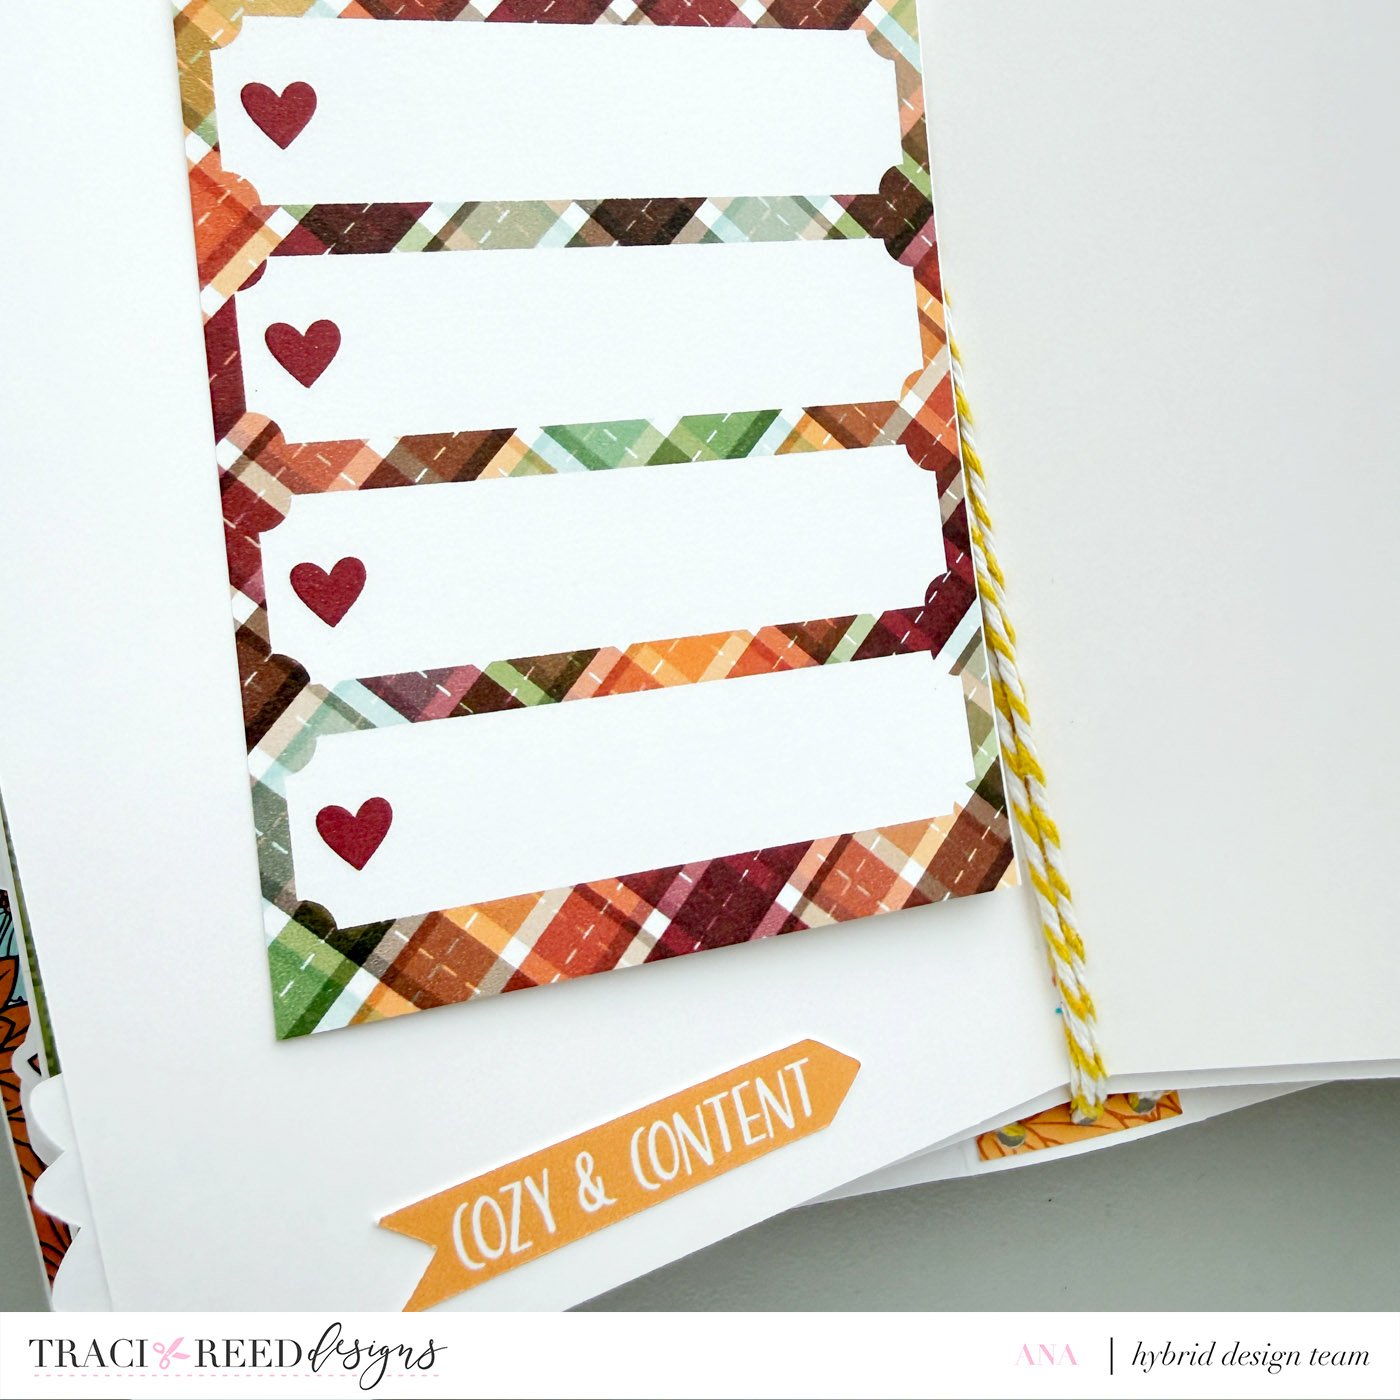
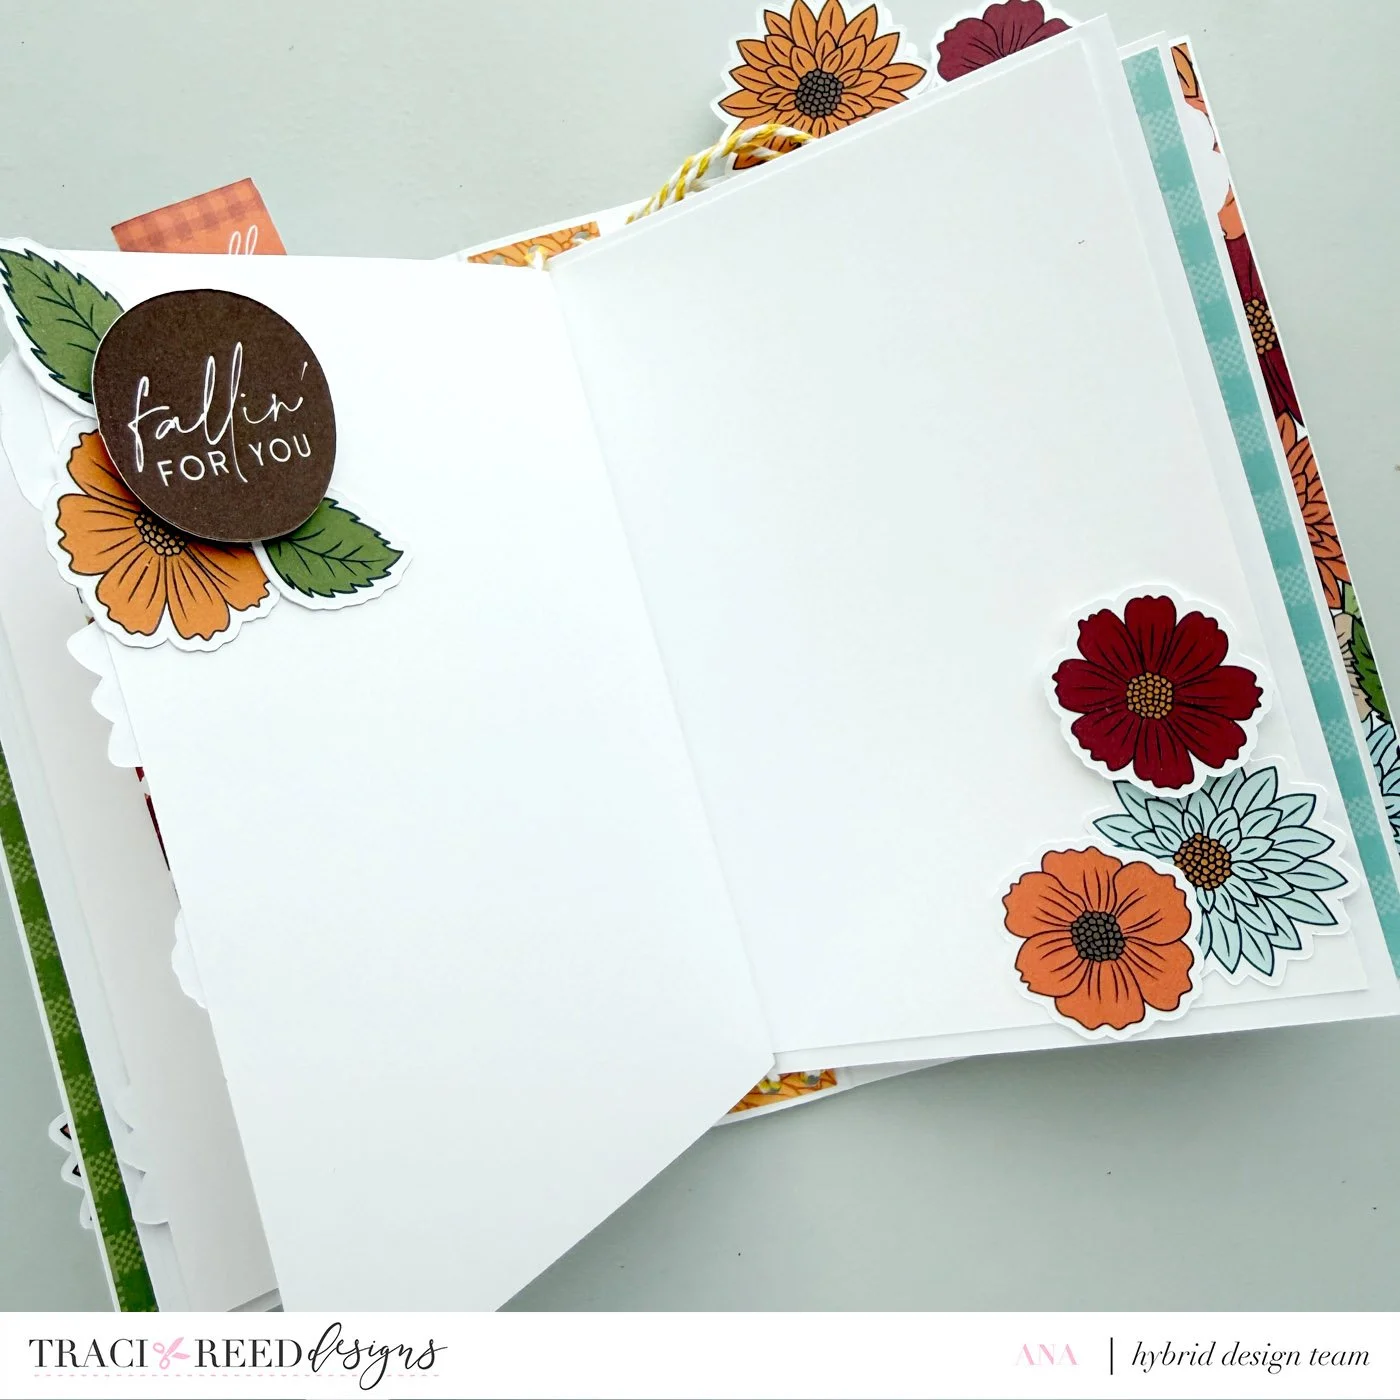
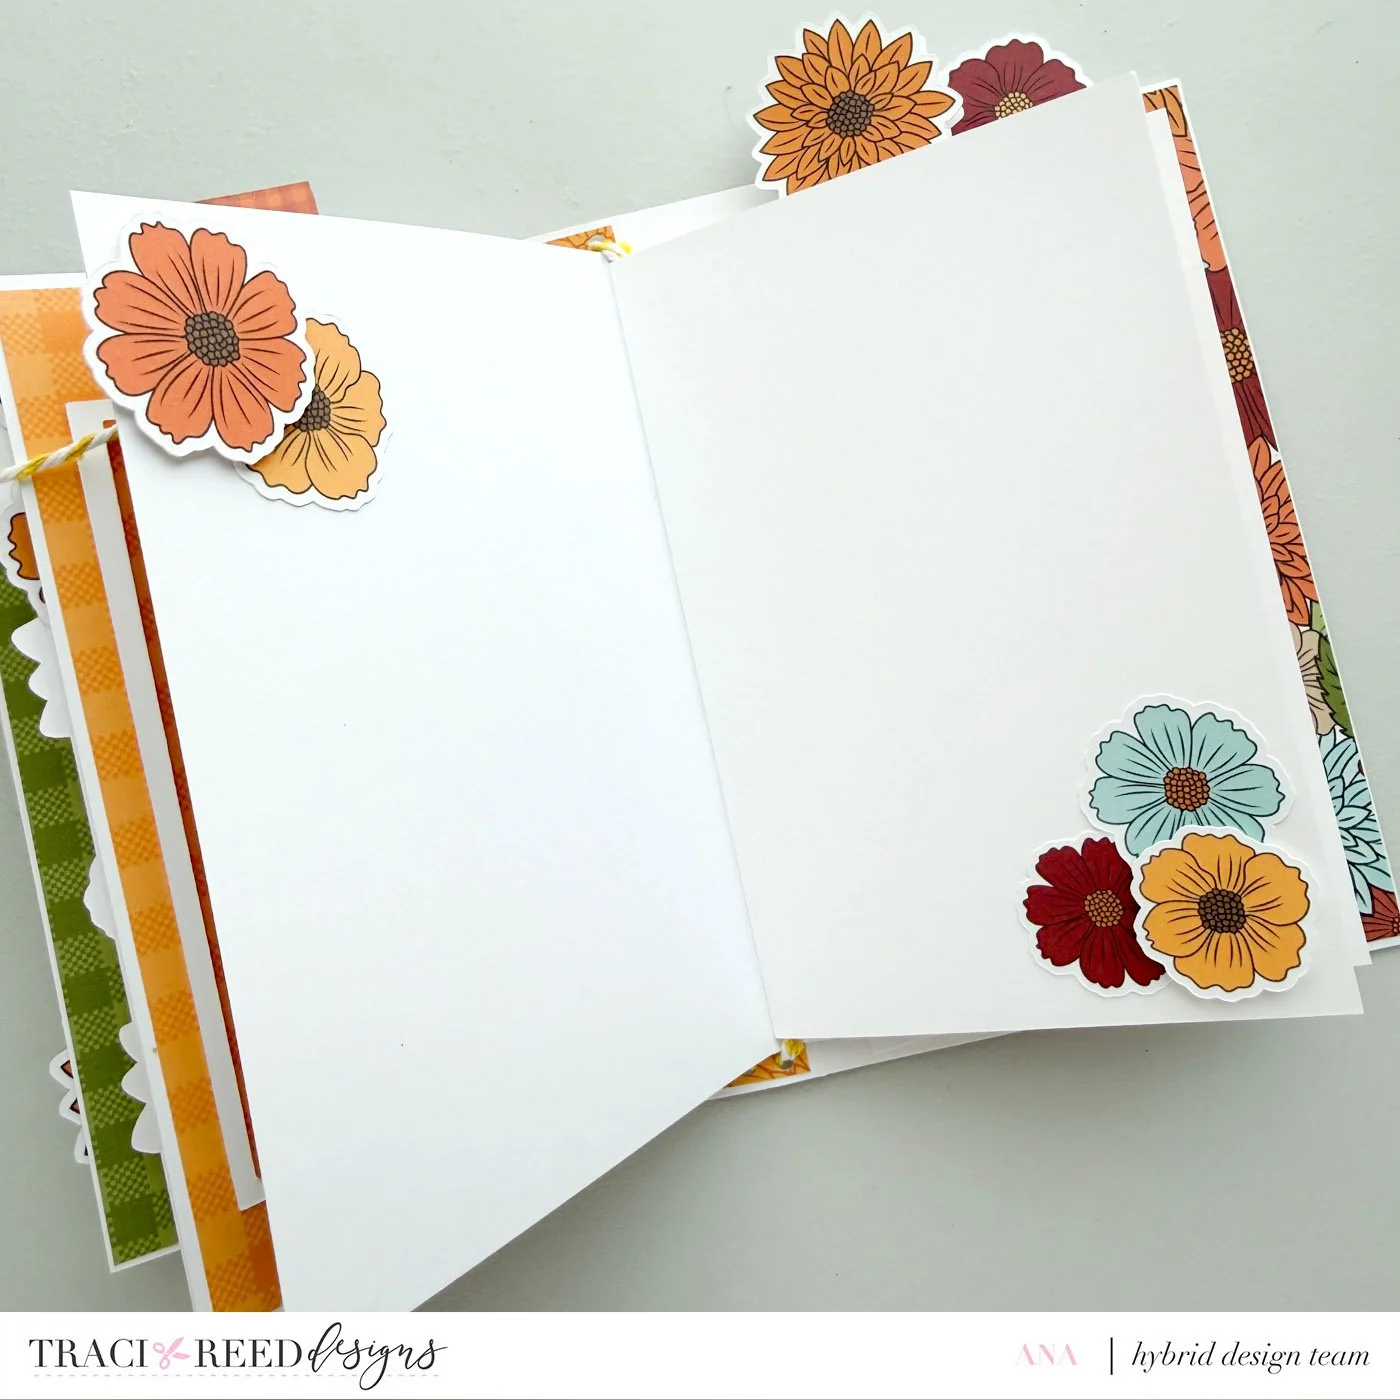
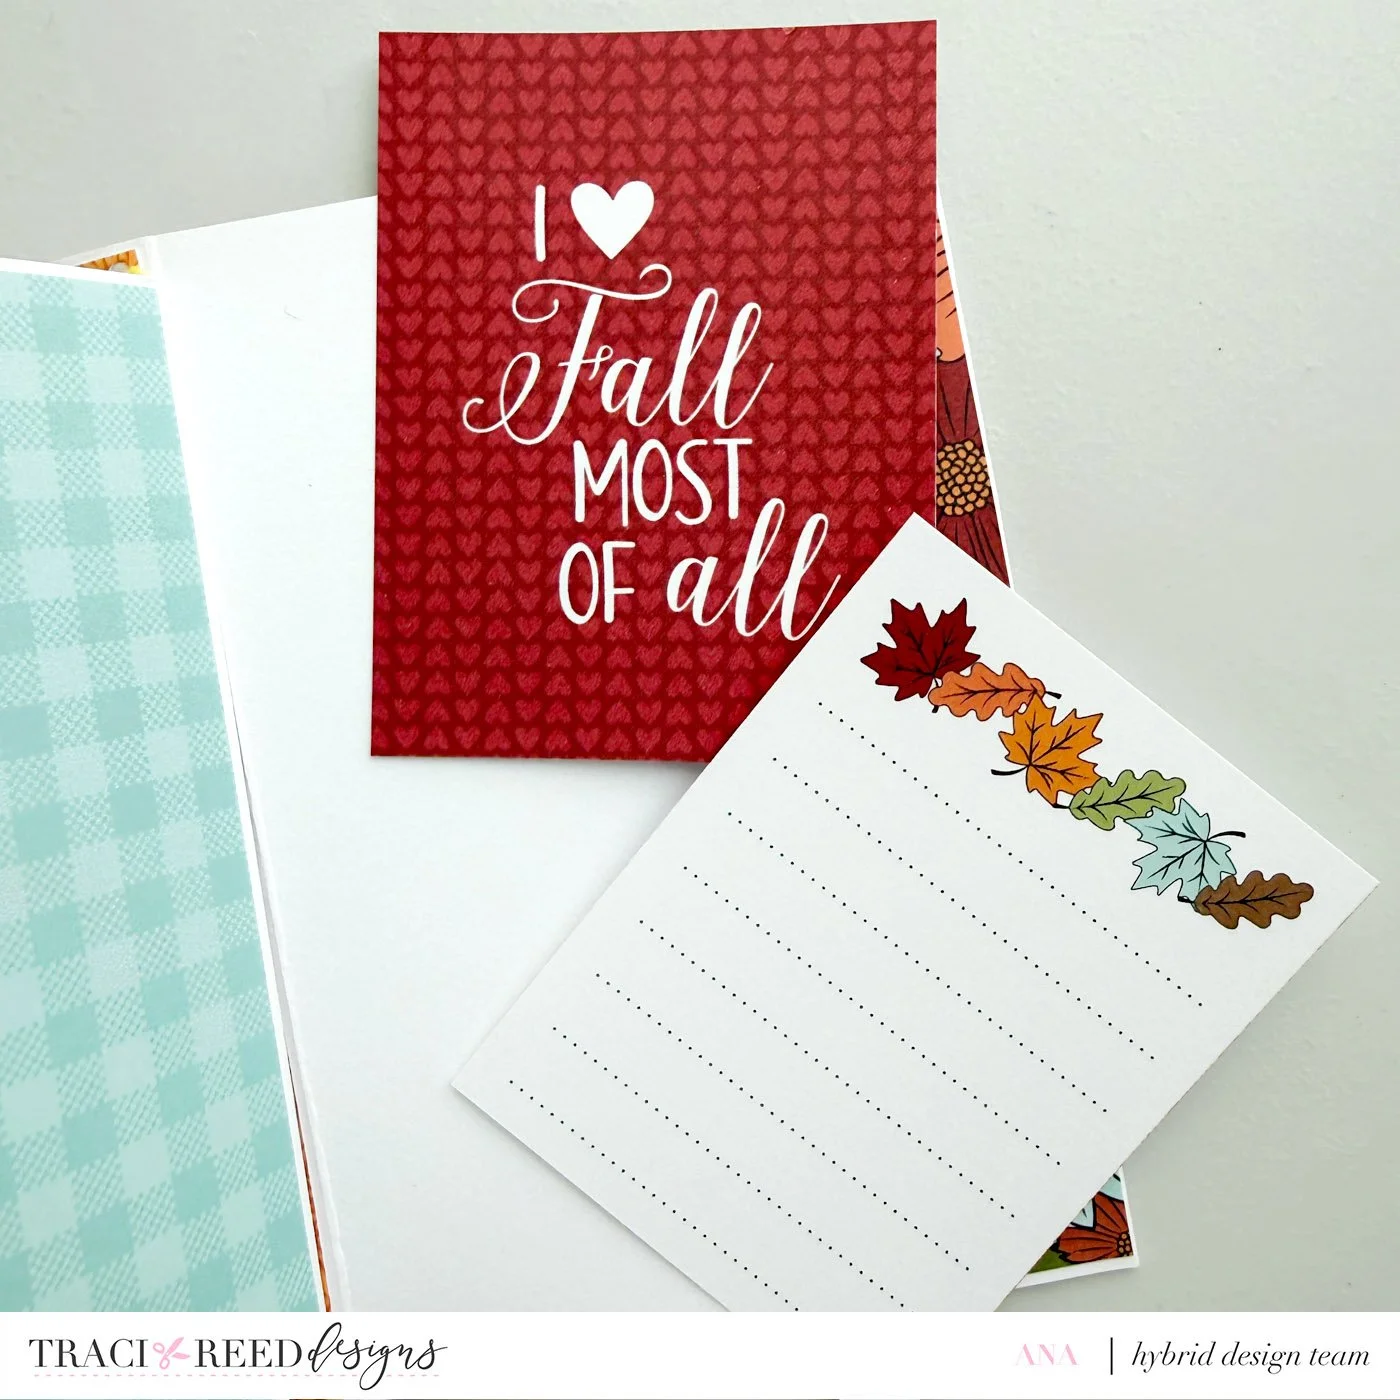
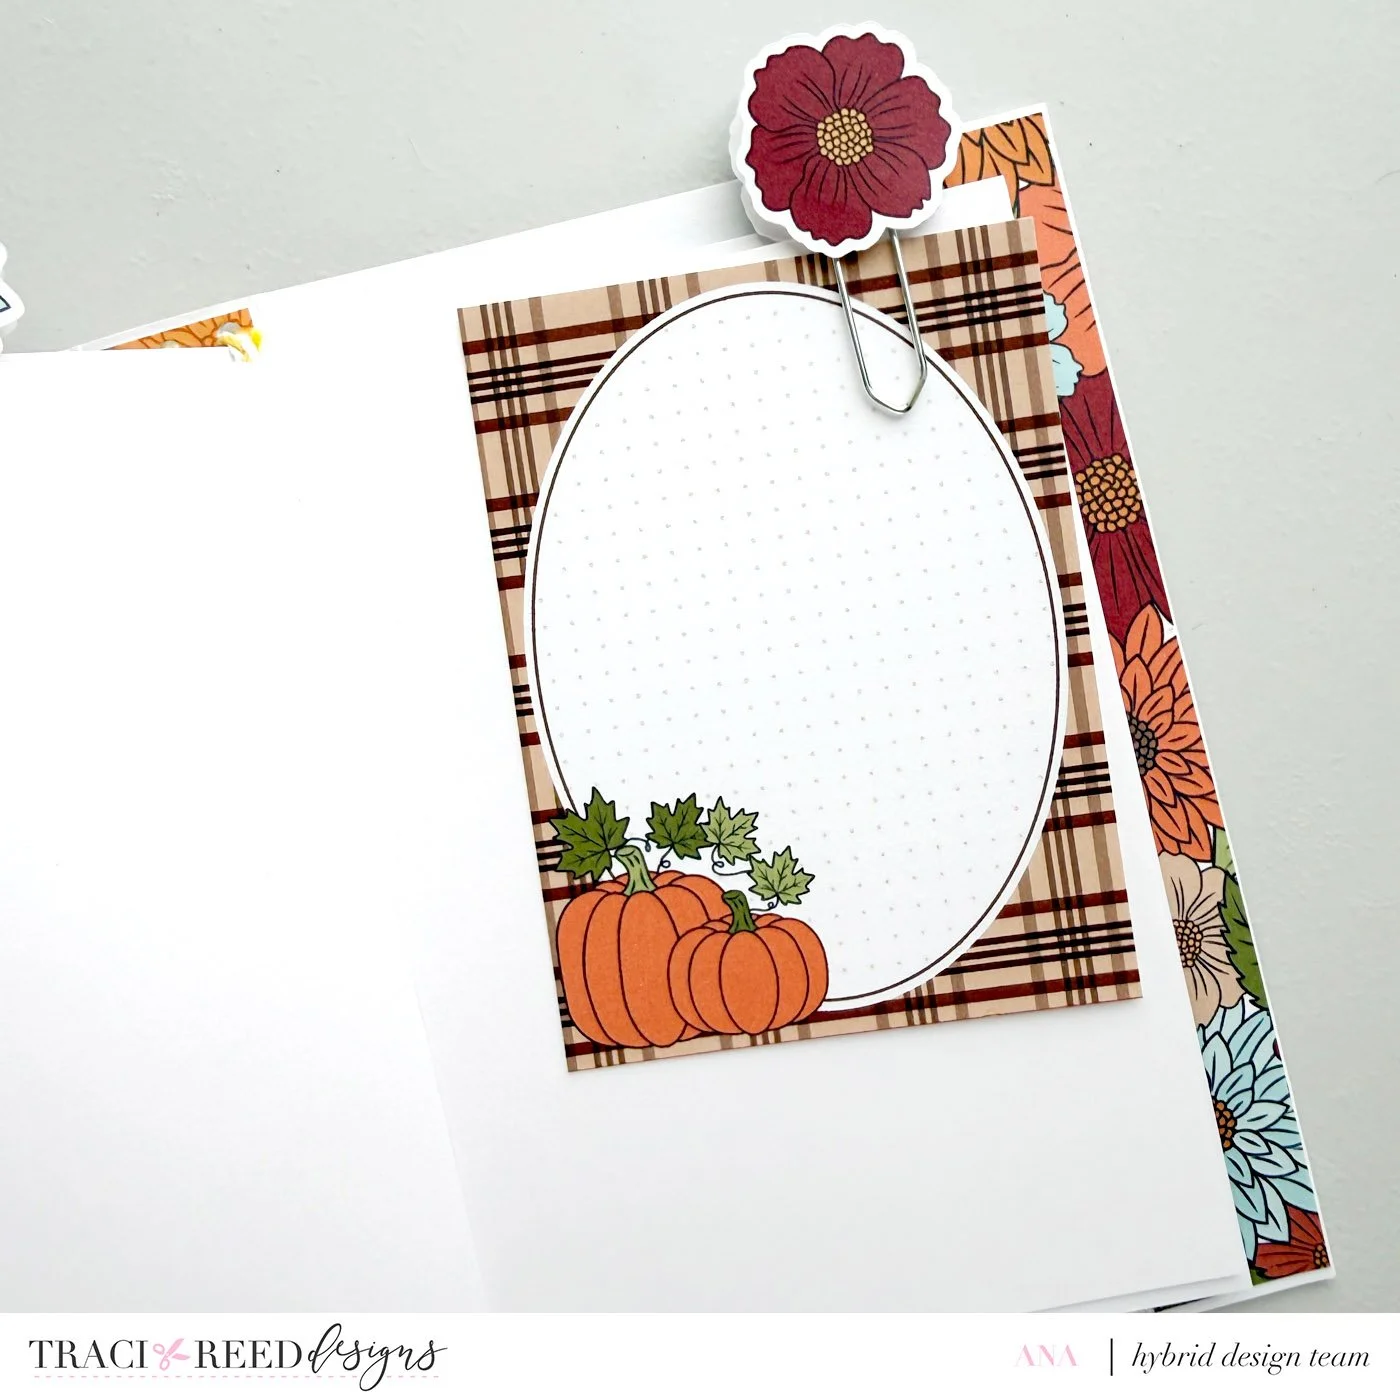
I hope this tutorial inspires you to create your own insert journal and fill it with memories you’ll treasure for years to come. Whether you dedicate it to autumn, holidays, your favorite books, family adventures, or everyday moments, I’m sure it’ll become one of those projects you’ll love looking back on.
Happy crafting, and until next time… may your pages be full, your glue dry quickly, and your crafty heart be even fuller.


Golden Days is here to celebrate everything we love about autumn, with a fresh and colorful take on the season! From falling leaves and pumpkin patches to apple picking, cozy sweaters, good books, and crisp autumn days, this collection captures all those little moments that make fall feel so special.
Rather than leaning into the traditional rustic or farmhouse side of fall, Golden Days brings a brighter palette to the season with warm oranges and golds mixed with unexpected greens, soft aqua, rich reds, and cozy browns. The result is a collection that feels unmistakably autumn while still fitting right in with the colorful Story Foundations palette.
Whether you're documenting a trip to the pumpkin patch, the first signs of cooler weather, back-to-school memories, afternoons spent apple picking, or simply the everyday moments that happen during your favorite season, Golden Days has plenty to help tell those stories. And yes, whether you're team apples or team pumpkins, you don't have to choose. This collection has room for both!
Like all Story Foundations chapters, Golden Days is designed to work beautifully on its own while also coordinating with the rest of the series. Mix and match papers, cards, stickers, and embellishments across collections to create pages that tell your stories your way.
See the unboxing and example images for the Story Foundations: Golden Days collection HERE.
Don’t forget, the entire 2026 Story Foundations Collections are meant to mix and match and pair with each other! You can see all the Story Foundations Chapters HERE.
BUNDLE INCLUDES:
Story Foundations: Golden Days Digital Kit, Cards 1, 2, &3 + Stickers!
BUNDLE DOES NOT INCLUDE:
Story Foundations: Golden Days TN Papers or Patterned Cards