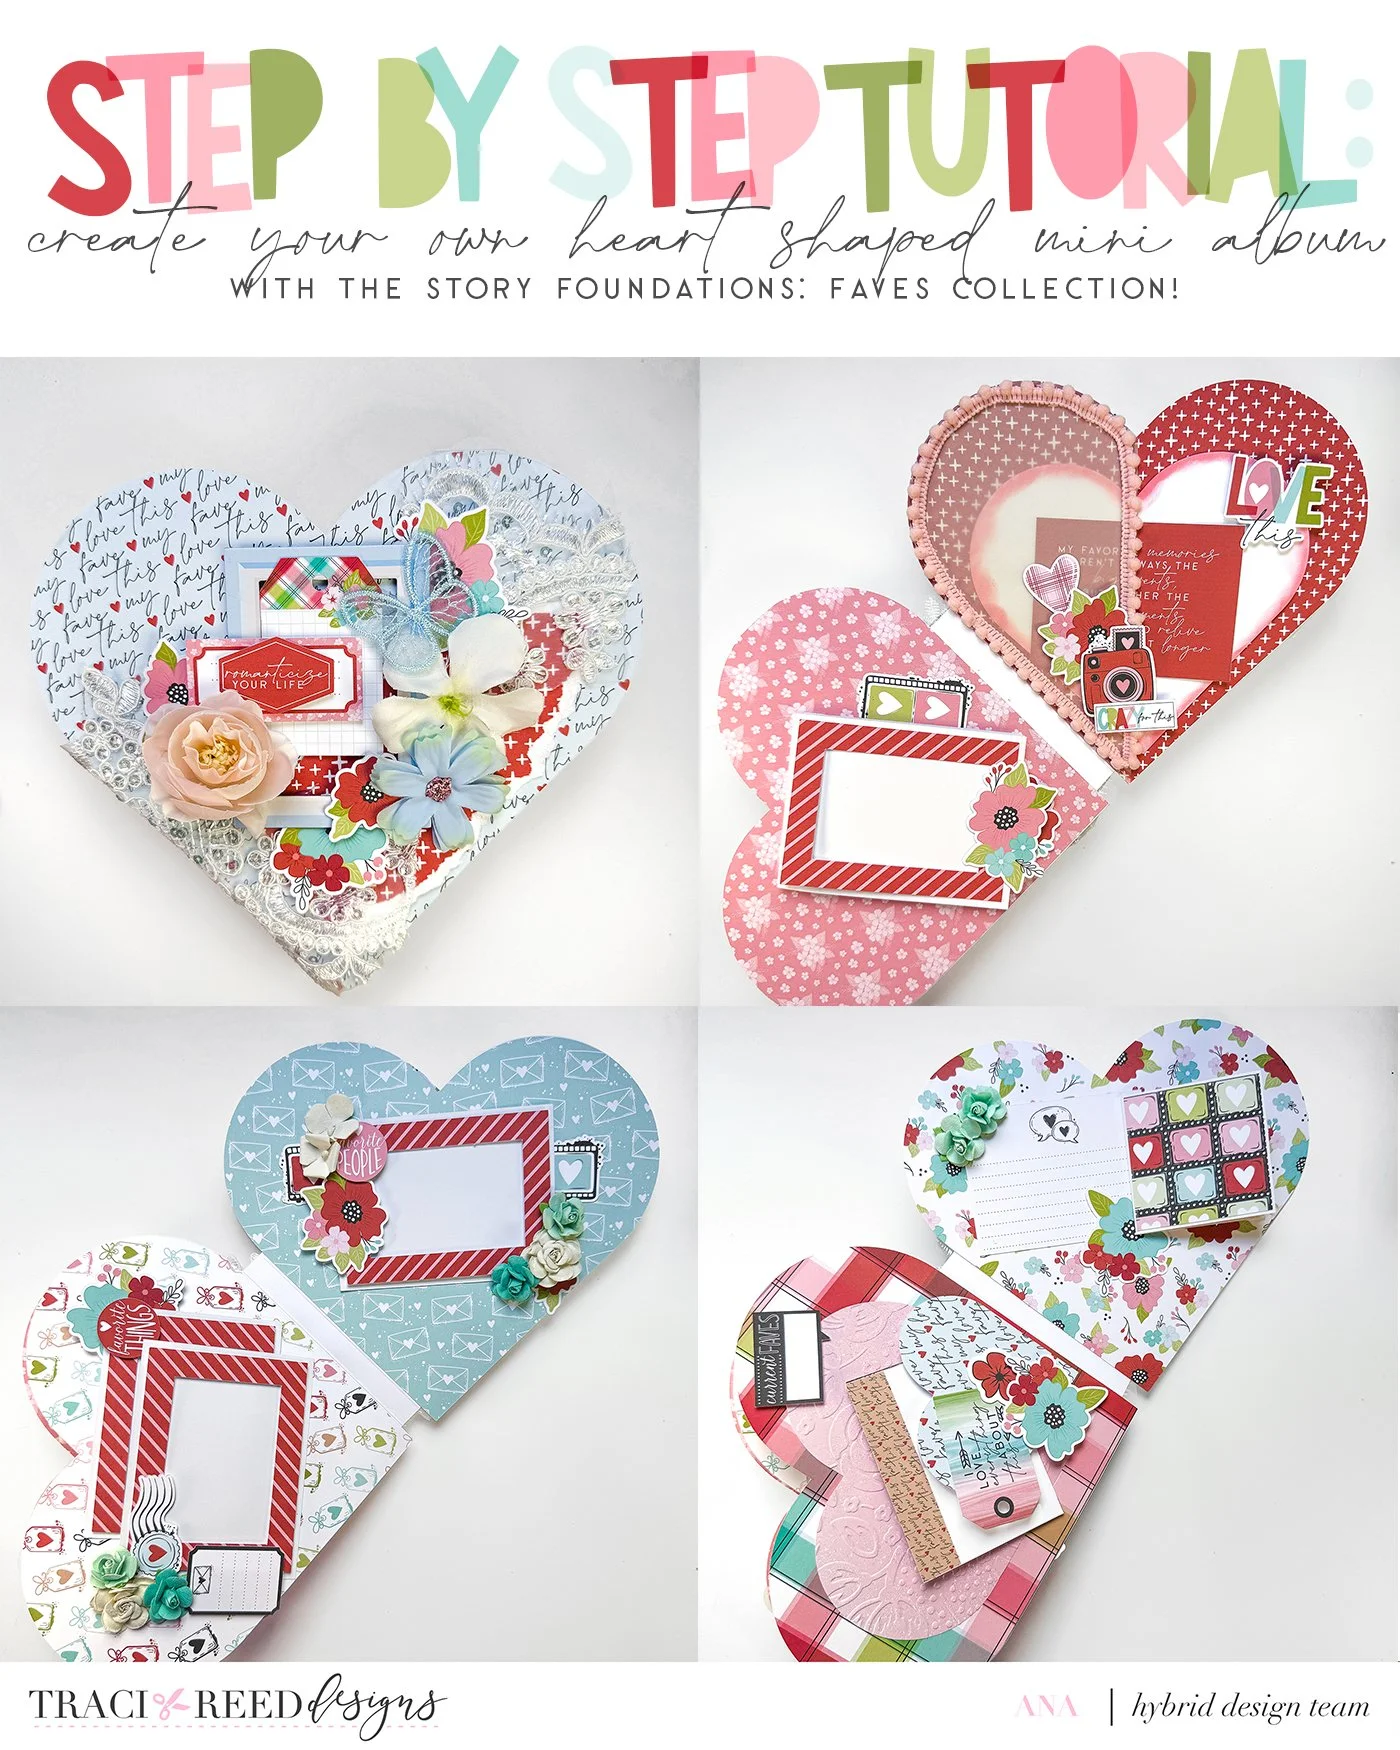
Tutorial: Create Your Own Interactive Heart Shaped Mini Album!
For my Chapter 2 project using Traci Reed Designs’ Story Foundations – Faves, I knew right away I wanted to create something that truly reflected the theme of the collection - favorites, love, and all the little things that make our hearts smile. Especially since this is a February collection.
And of course… what better shape for an album full of favorites than a heart-shaped mini album, right?
This heart-shaped mini may be sweet on the outside, but it’s packed on the inside with frames, pockets, inserts, and tuck spots, perfect for memory keeping not just photos, but also little bits and pieces, journaling cards, and written stories from this month of love.
The best part?
Whether you’re a Cricut user or a scissors-only crafter, this project is totally doable either way.
If you are a Cricut user, I’ve made a Design Space project just for you. And if not, no worries at all! This album is just as easy (and fun) to make by hand.
Materials Used
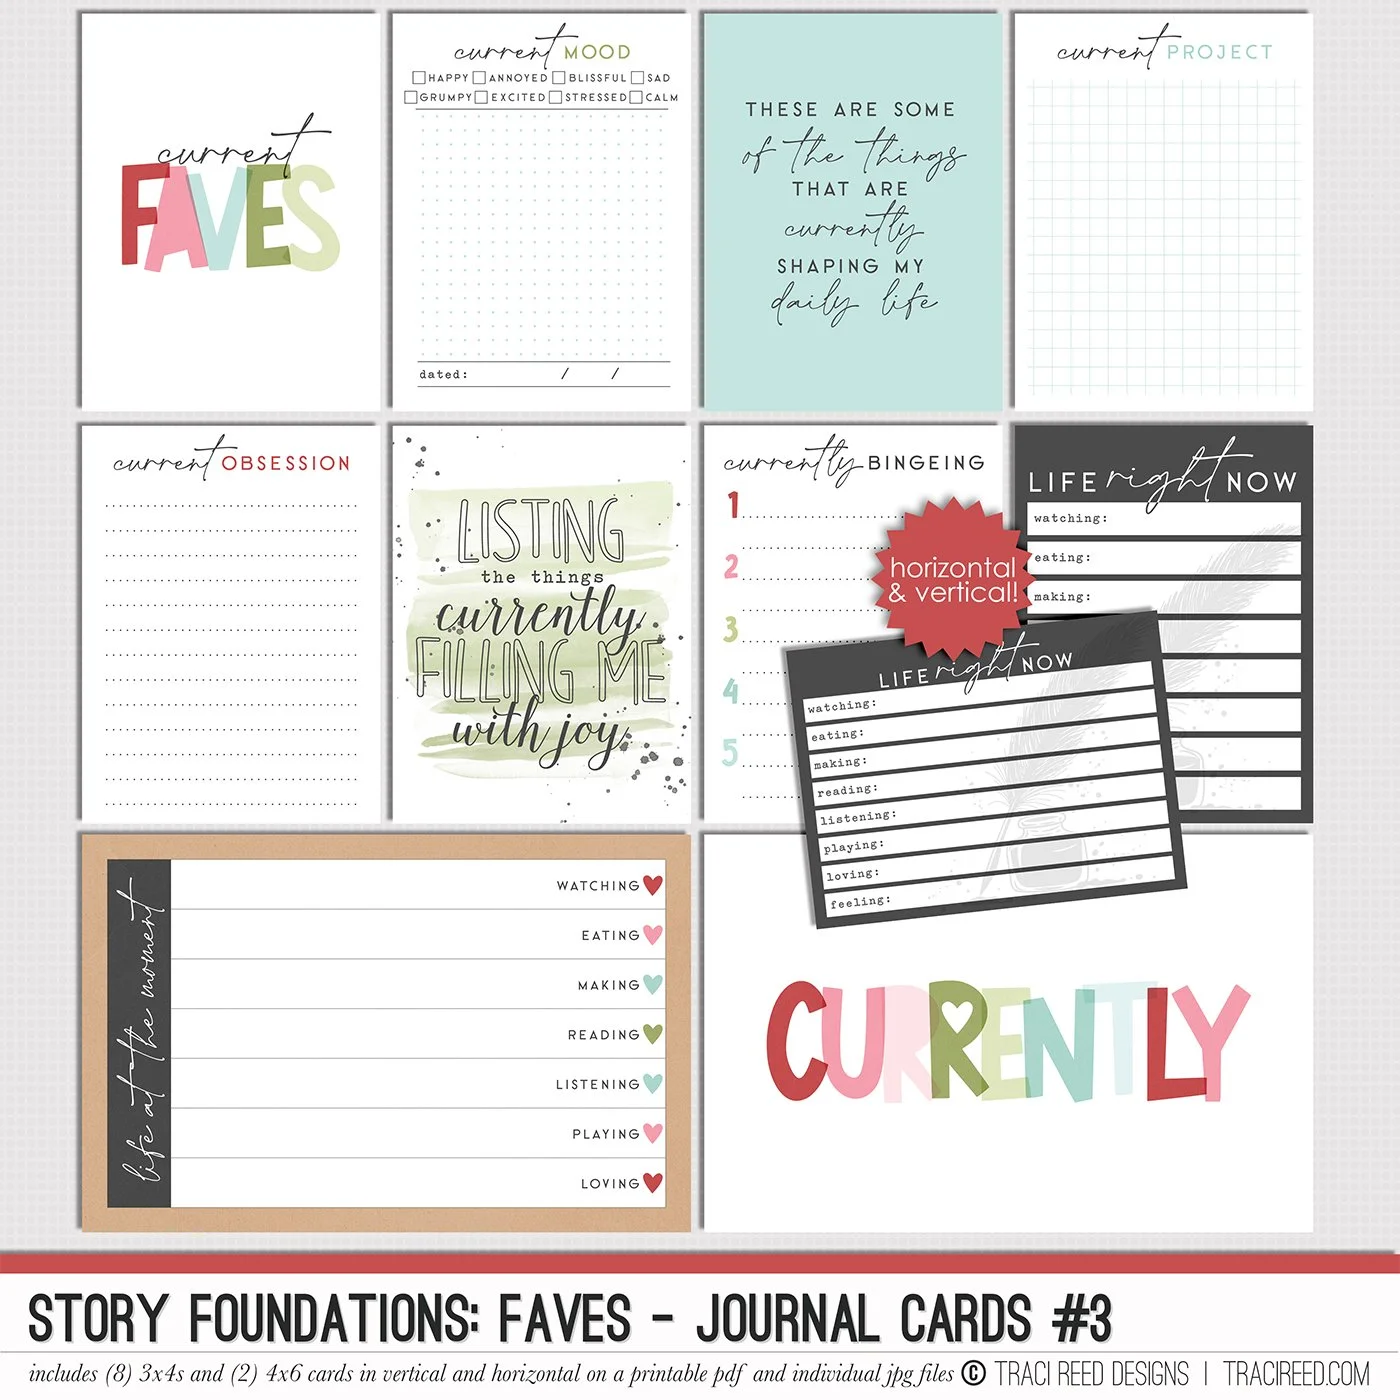
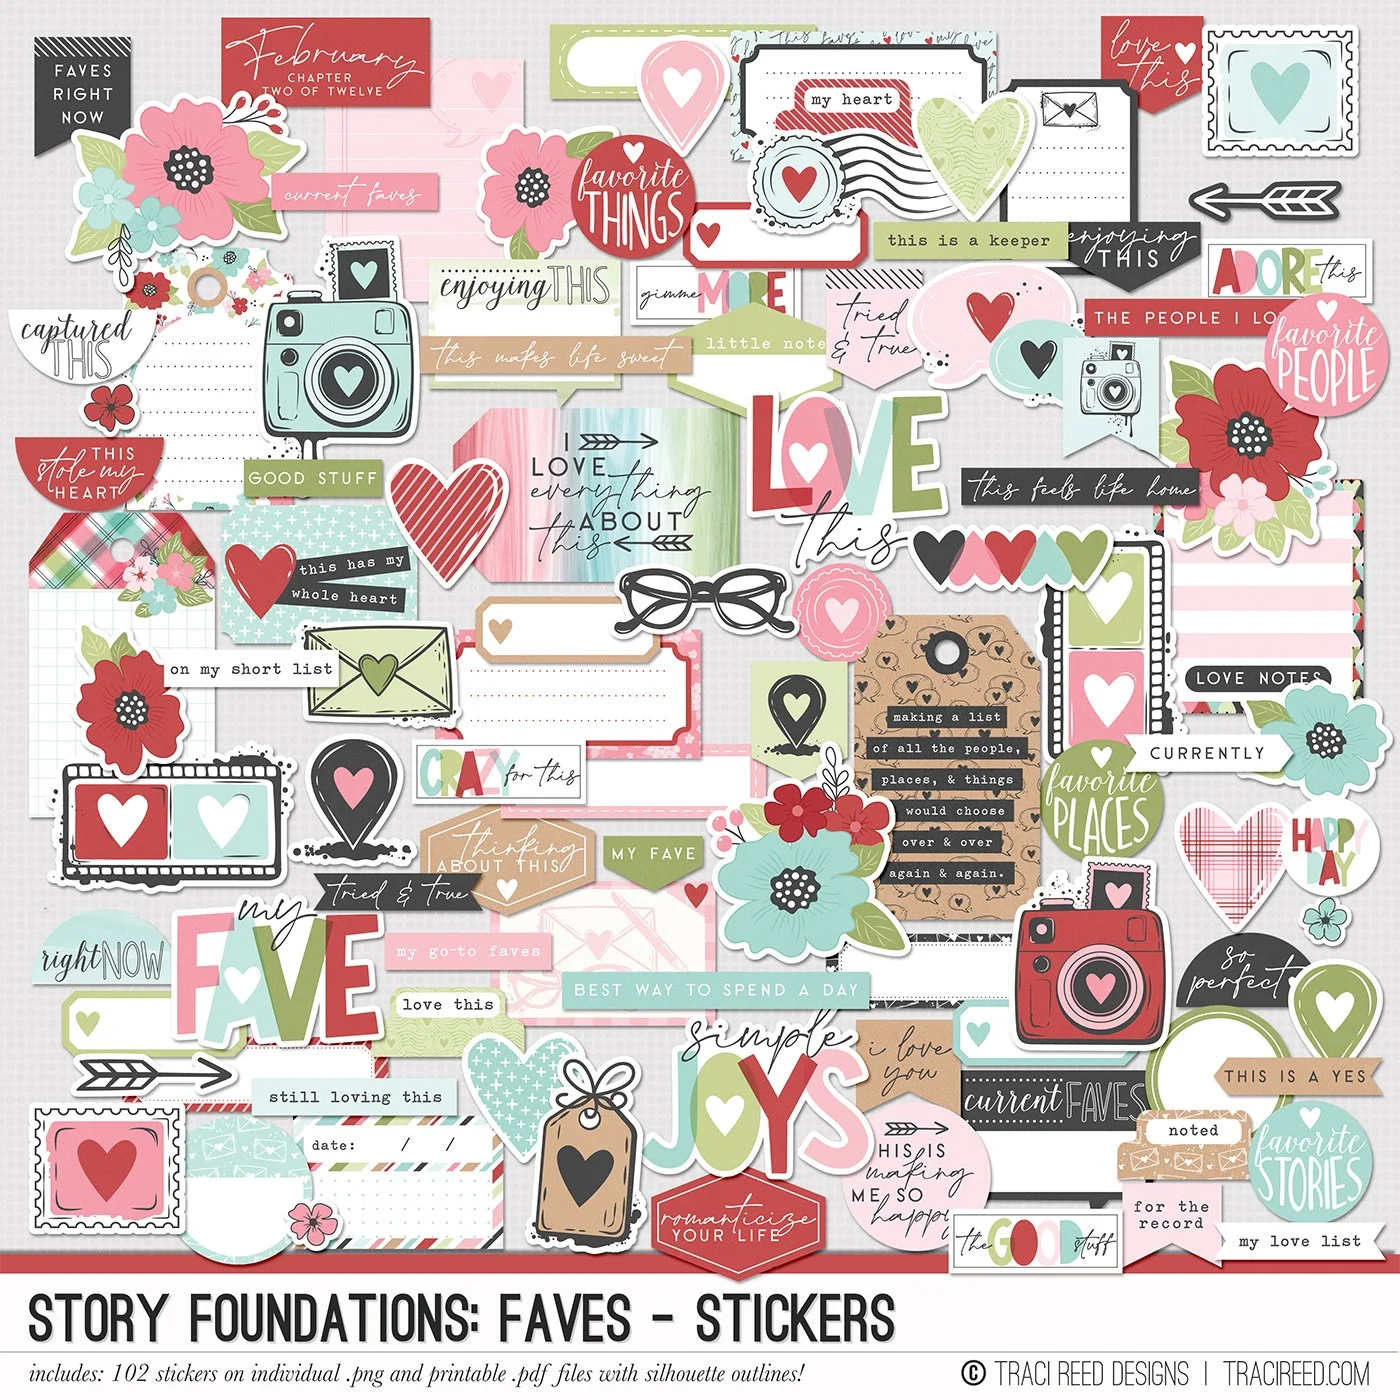
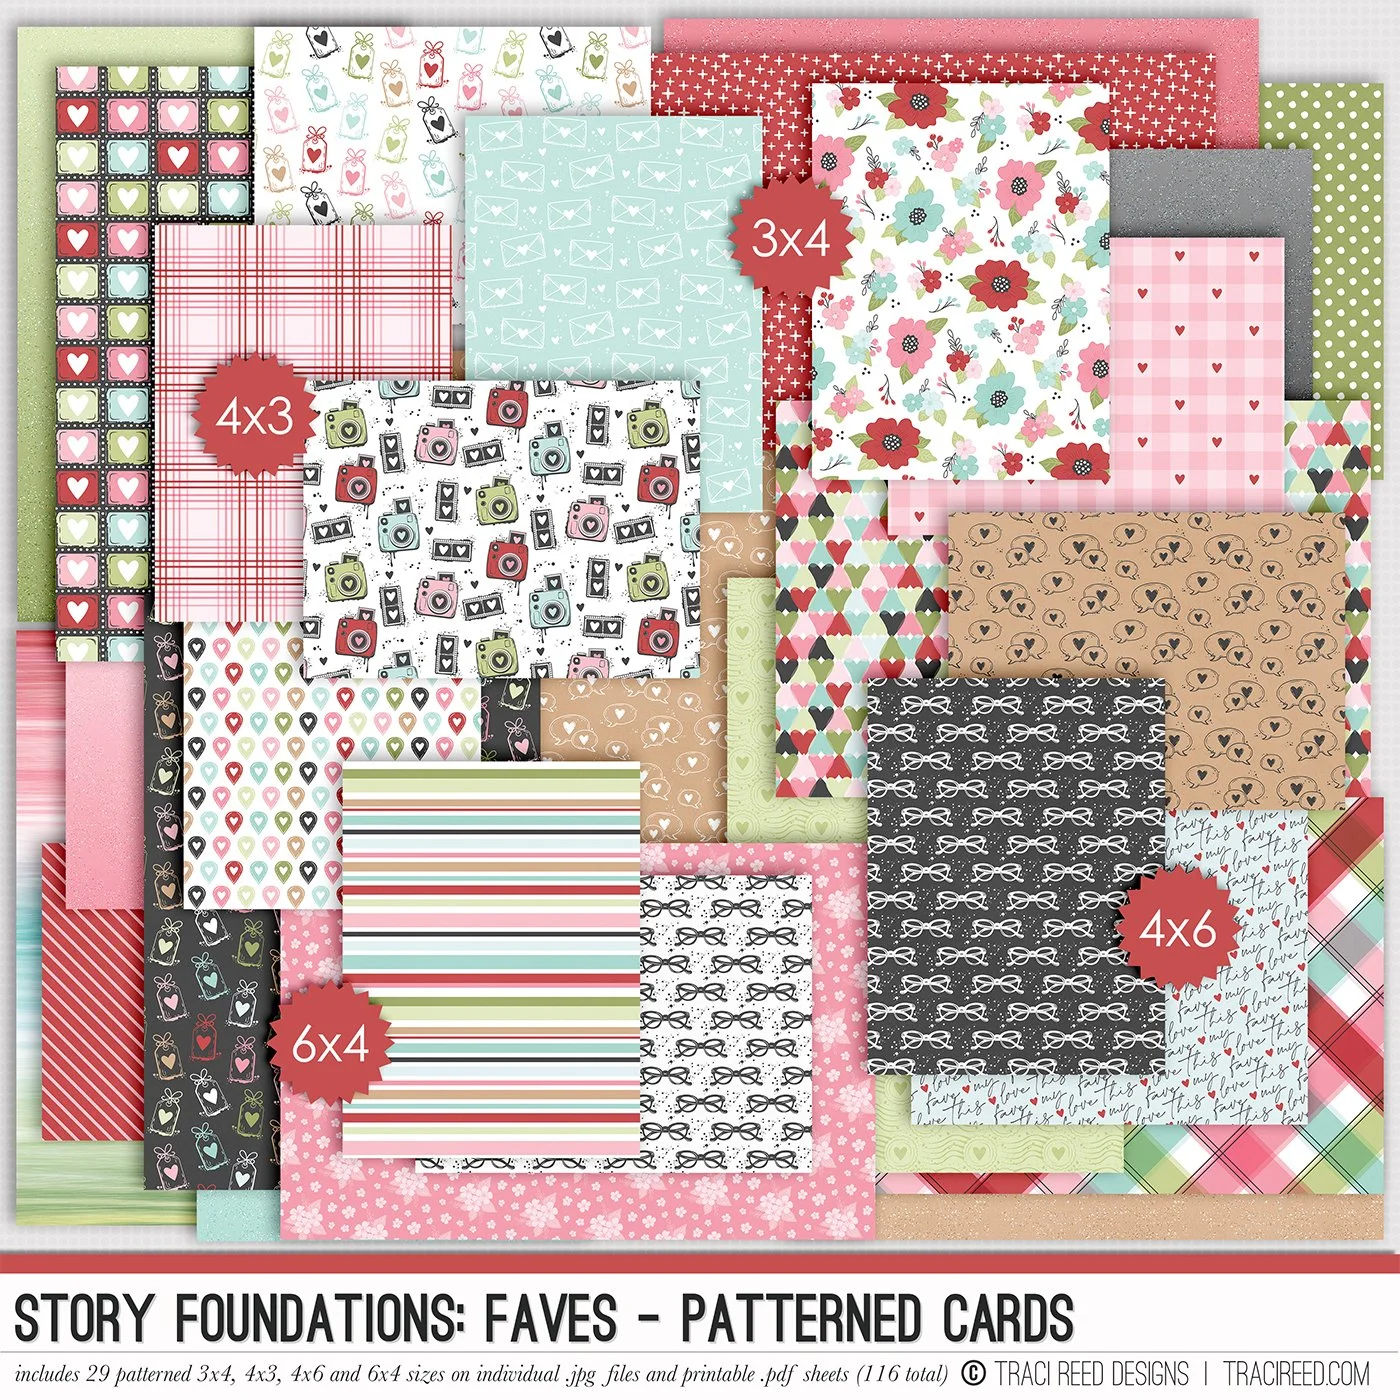
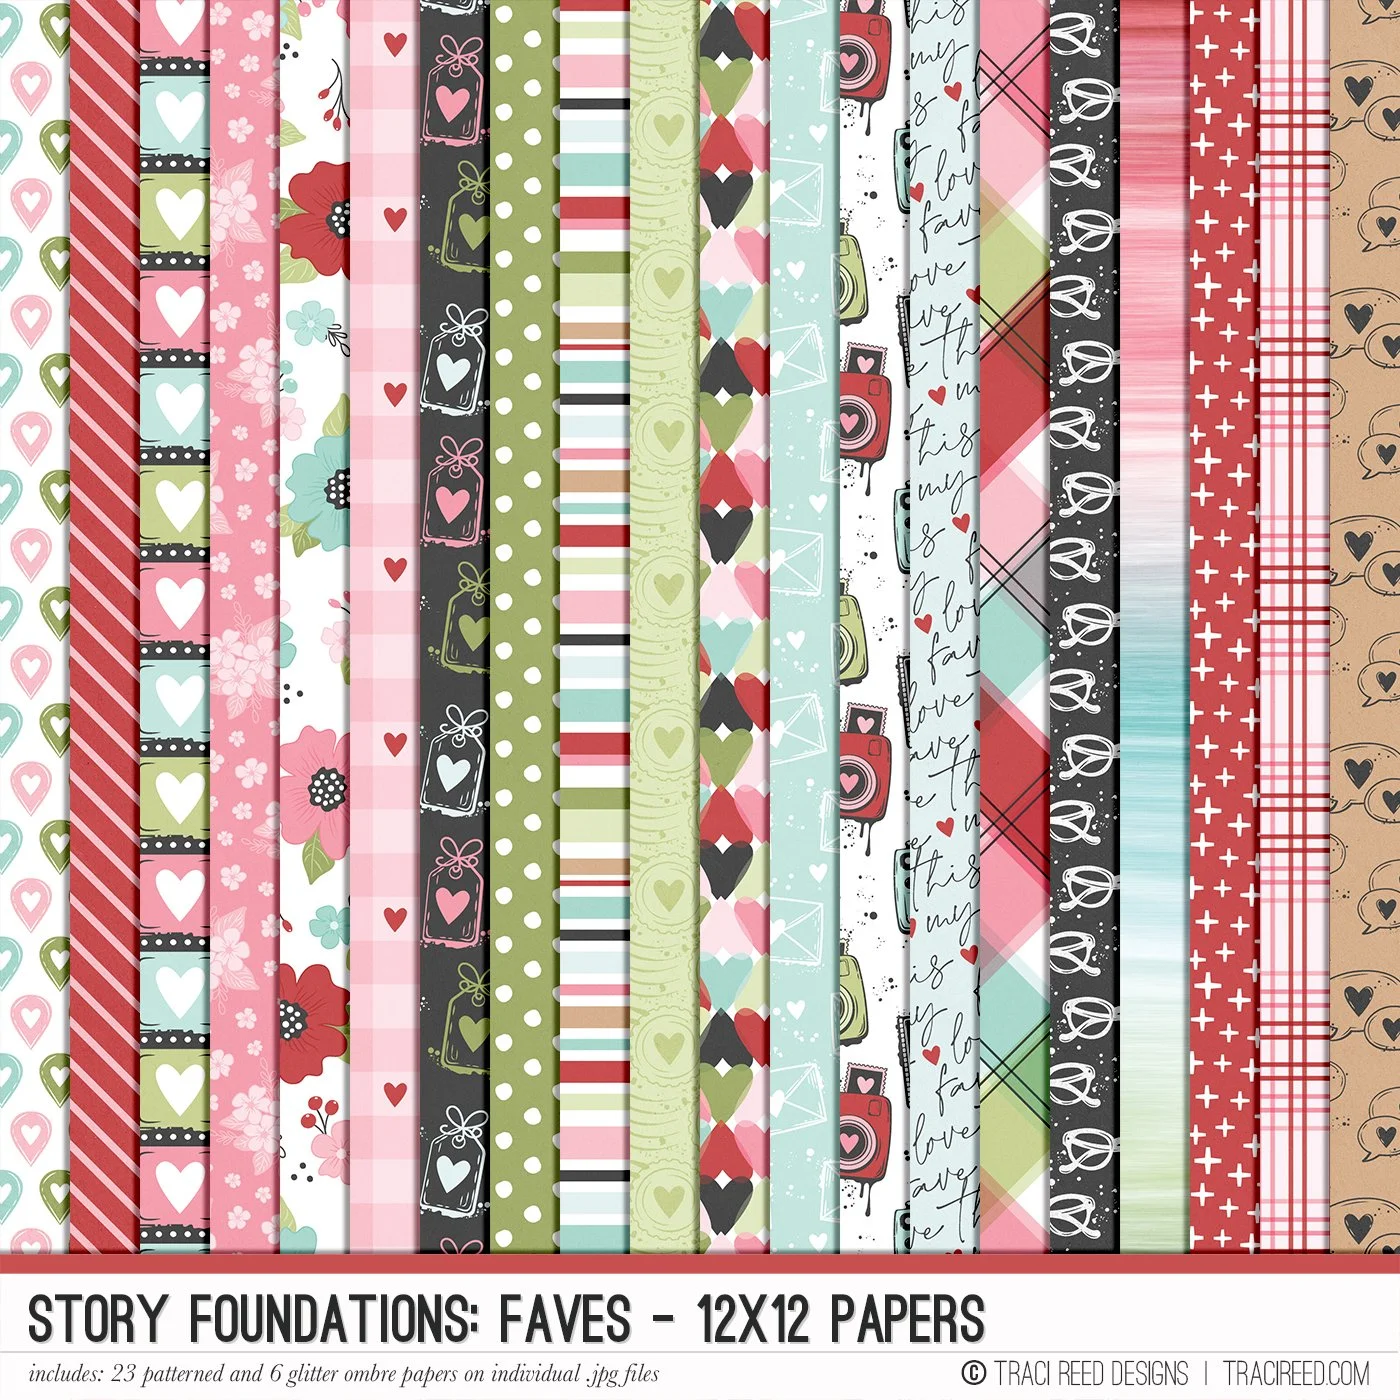
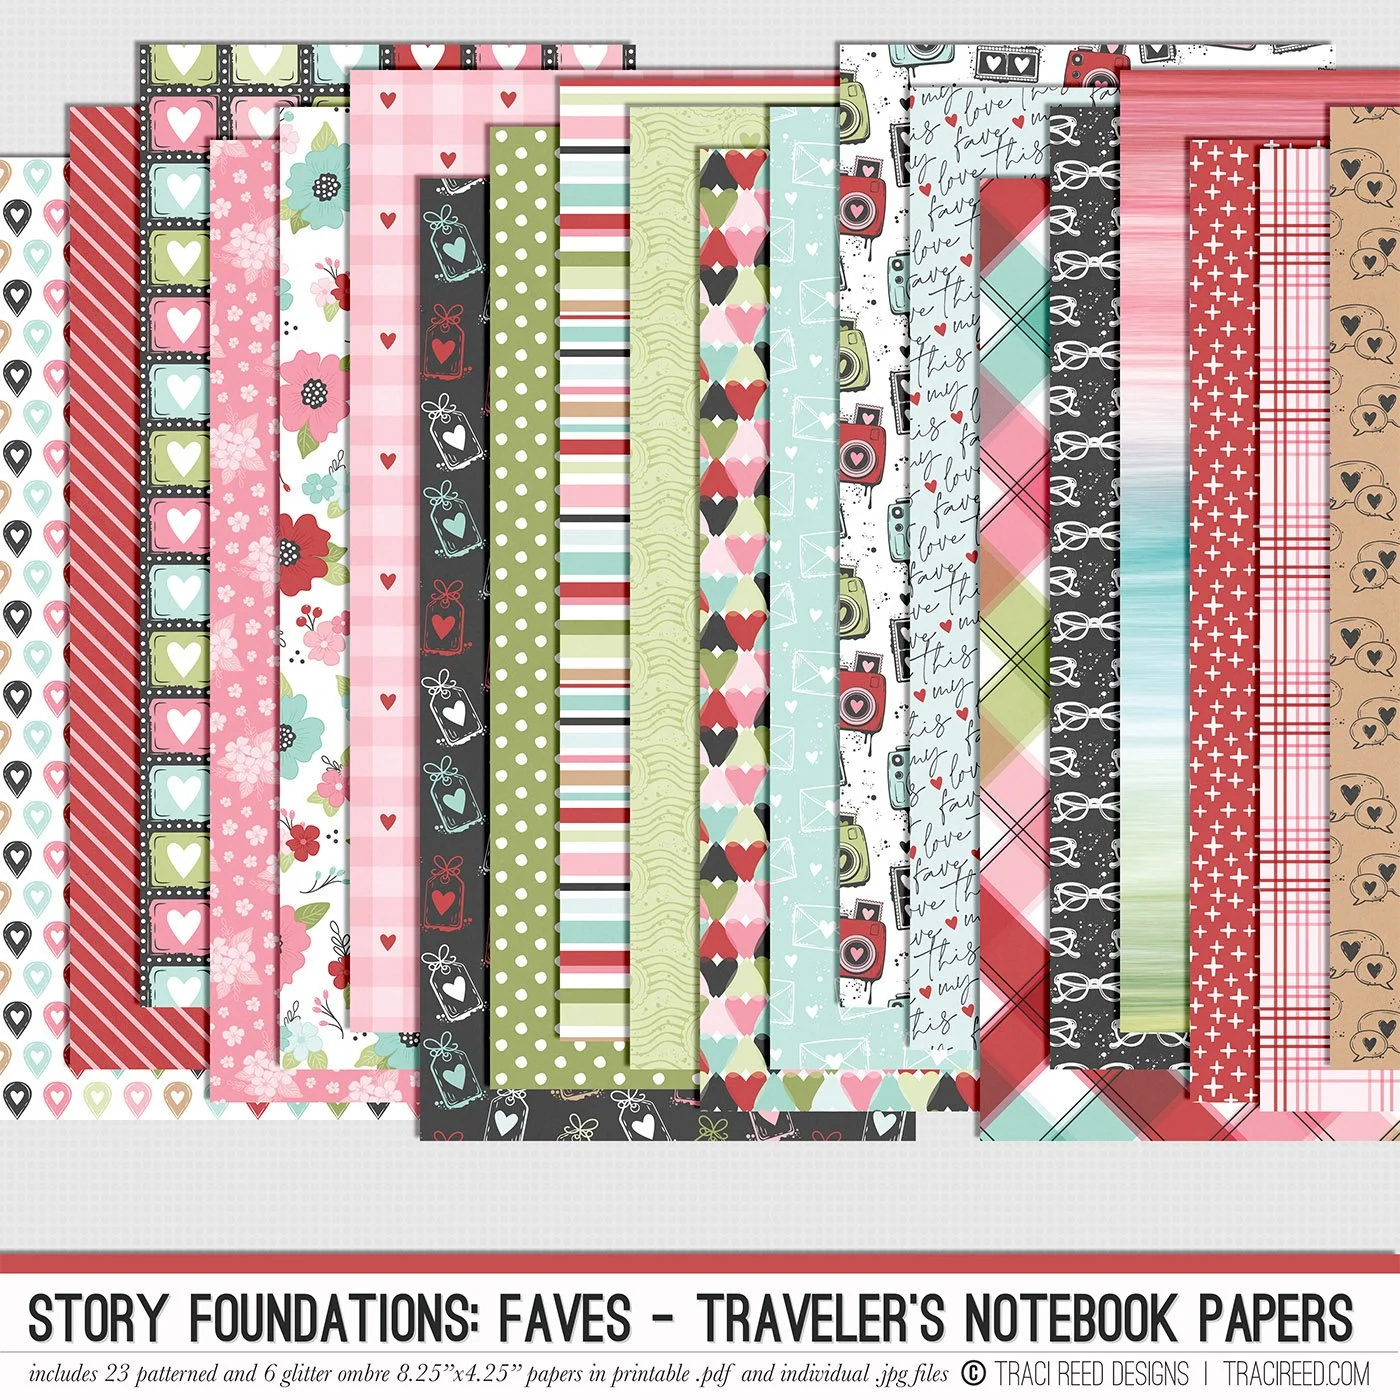
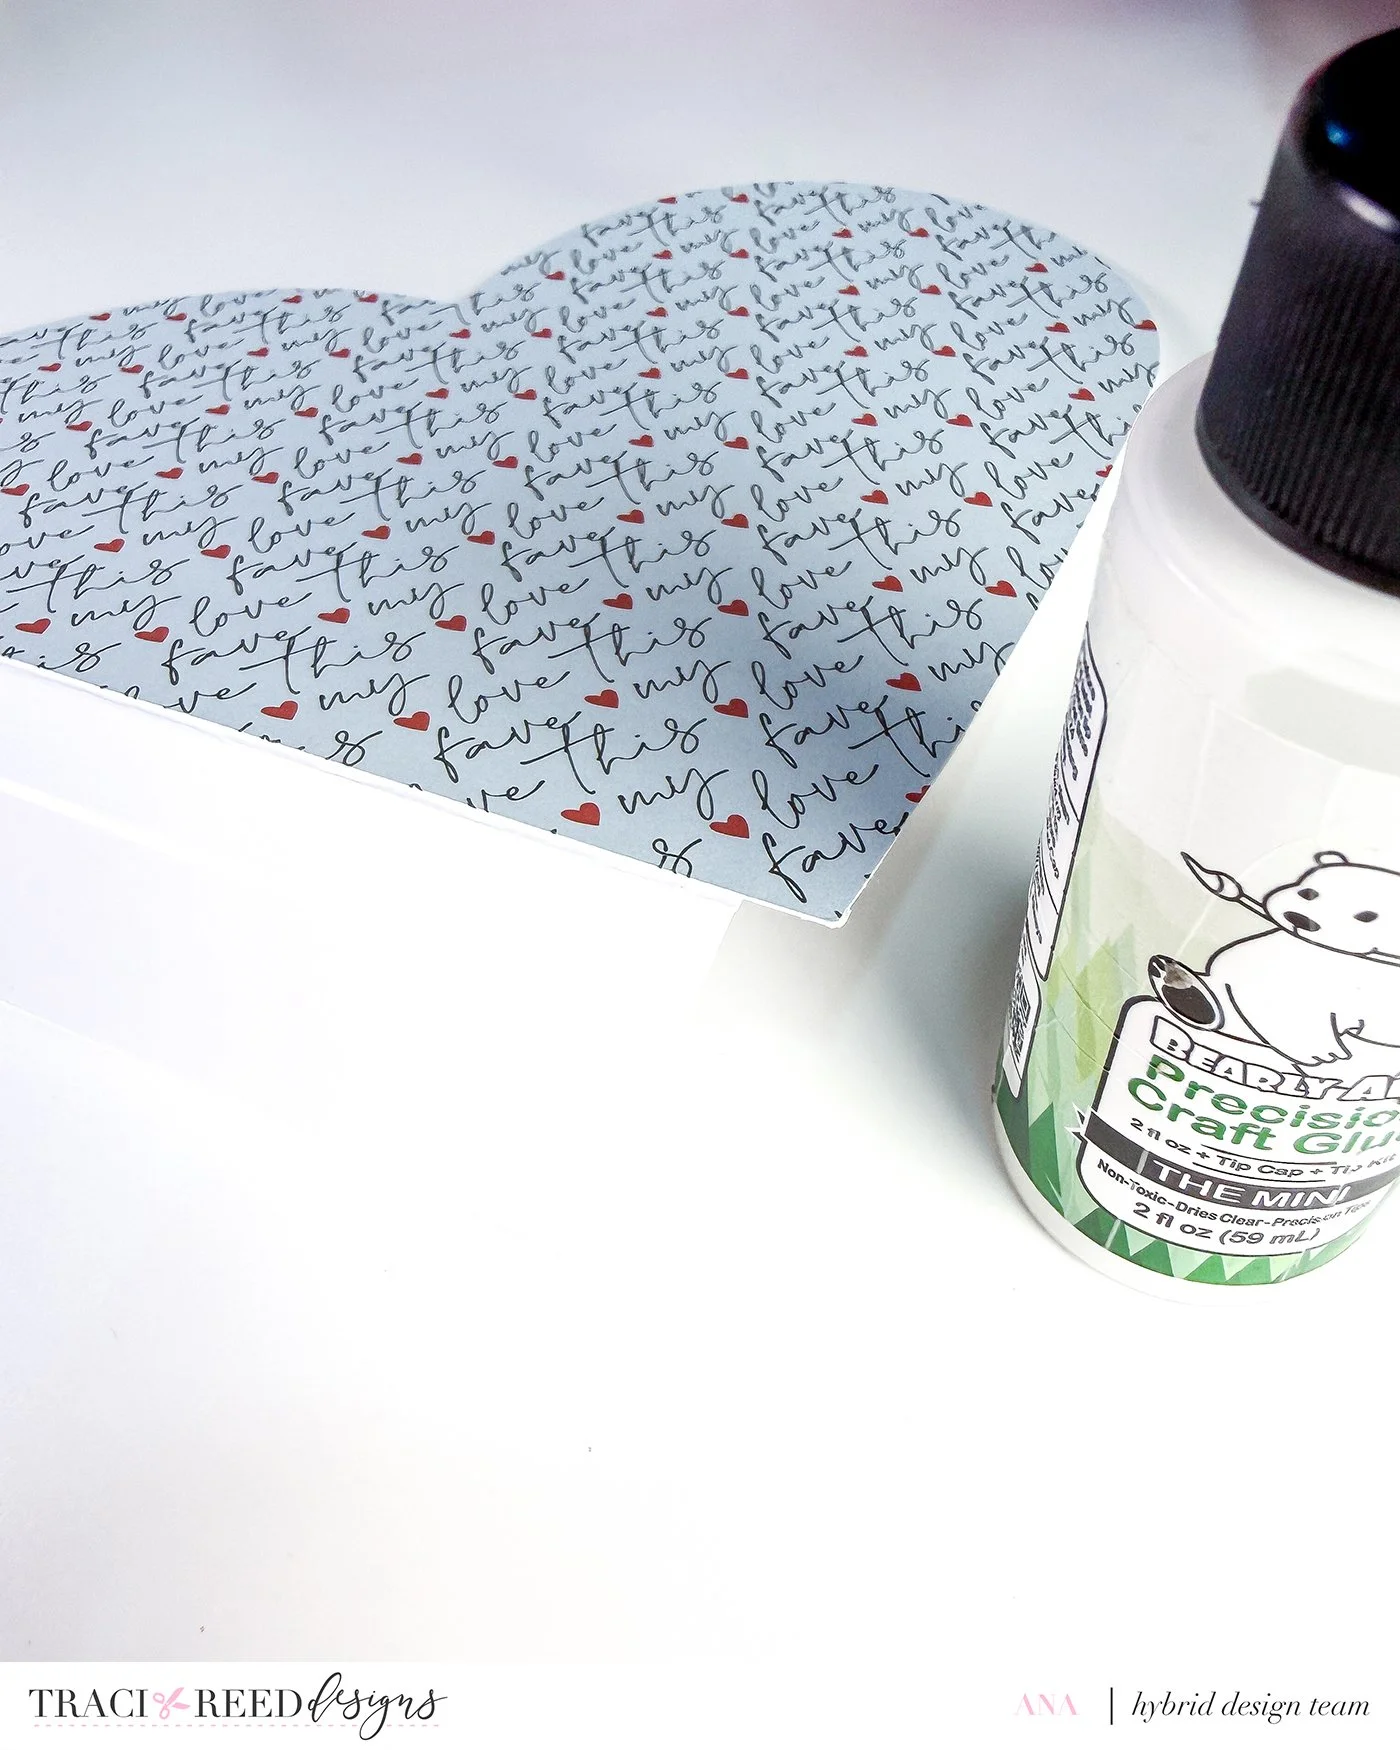
• Traci Reed’s Story Foundations – Faves collection
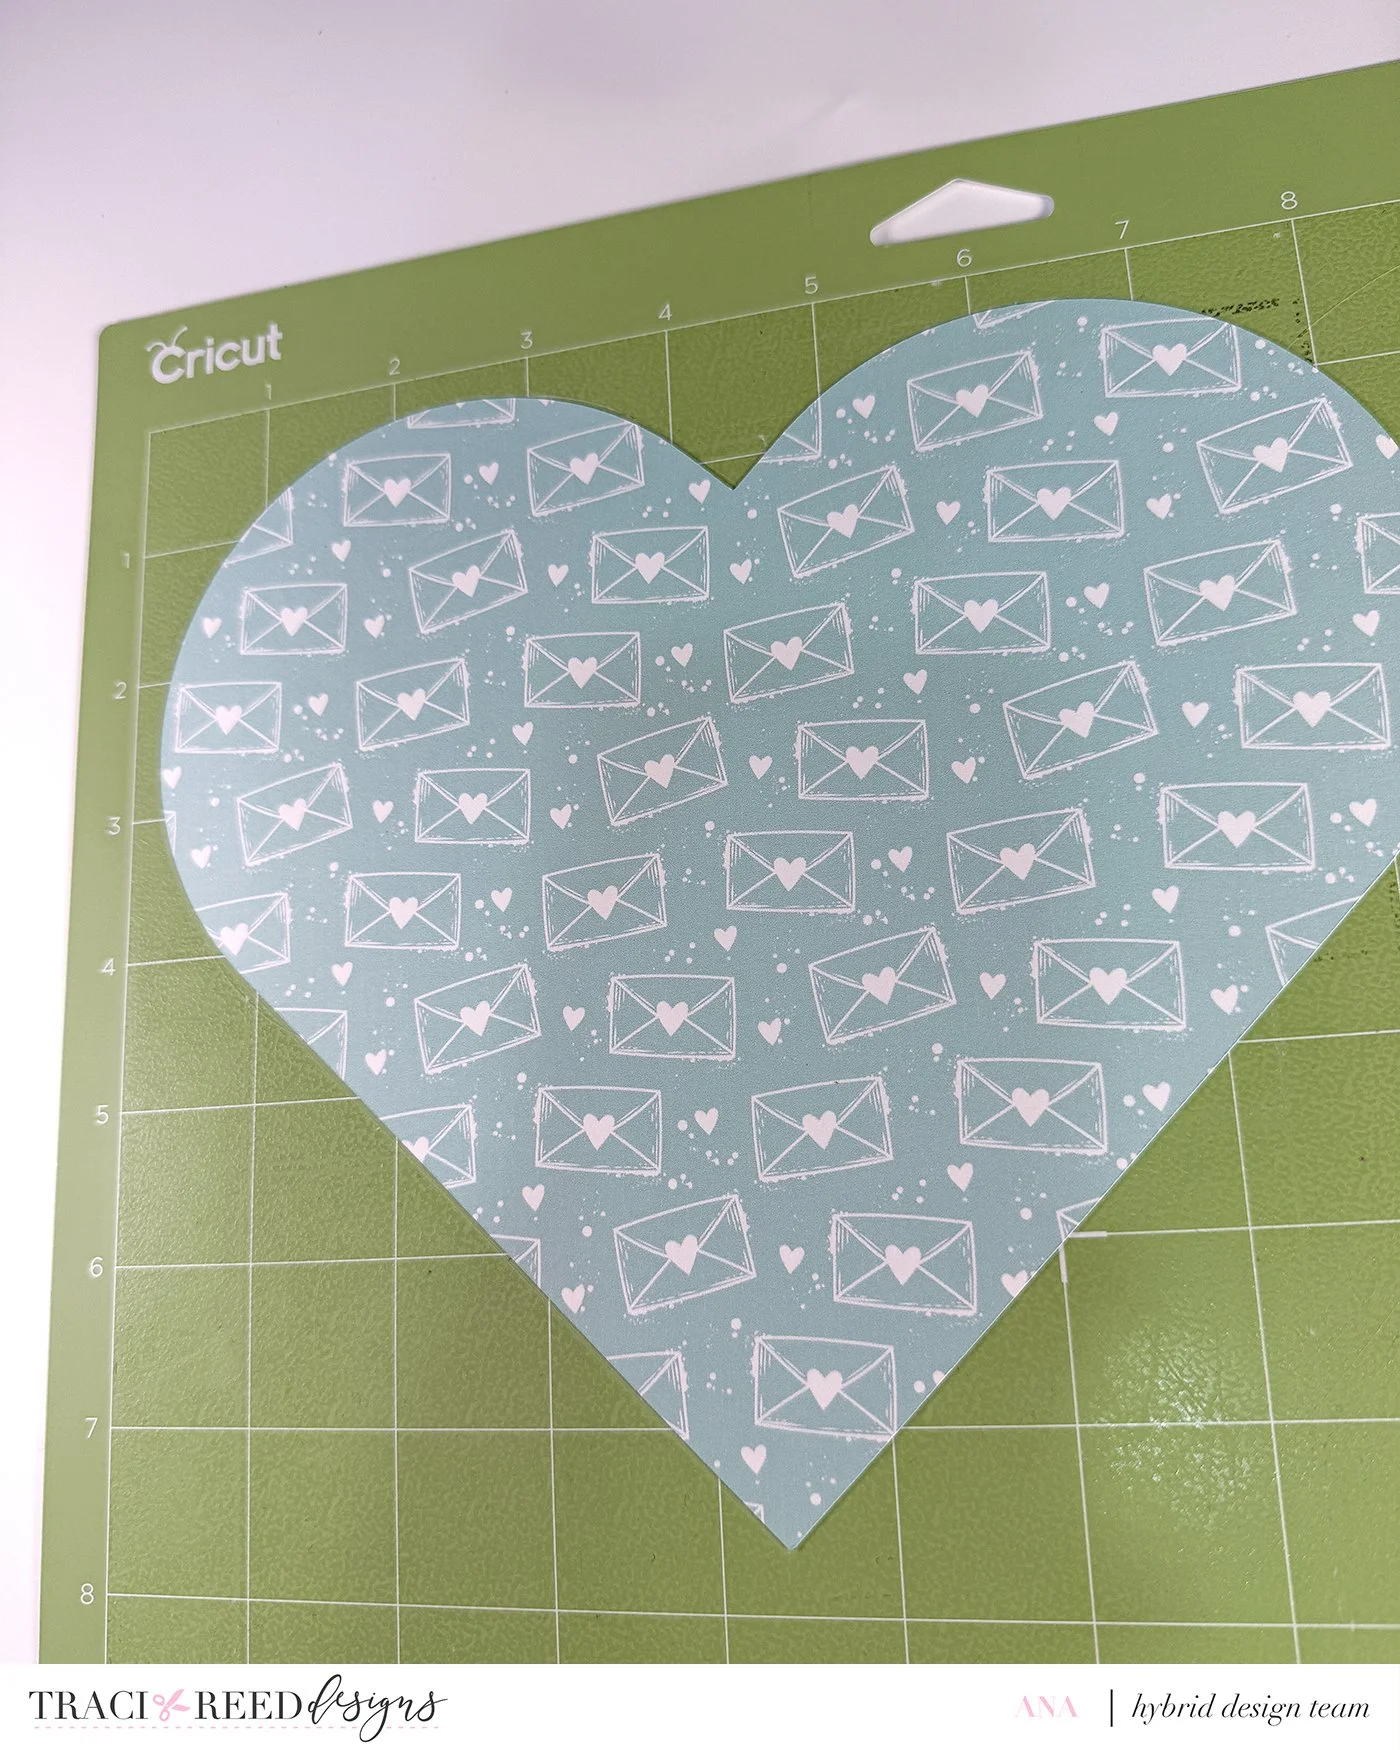
• Cricut Maker
• Scissors
• Glue
• Glue gun
• Ribbons and trims
• Score board
• Optional: cardboard (for sturdier covers)
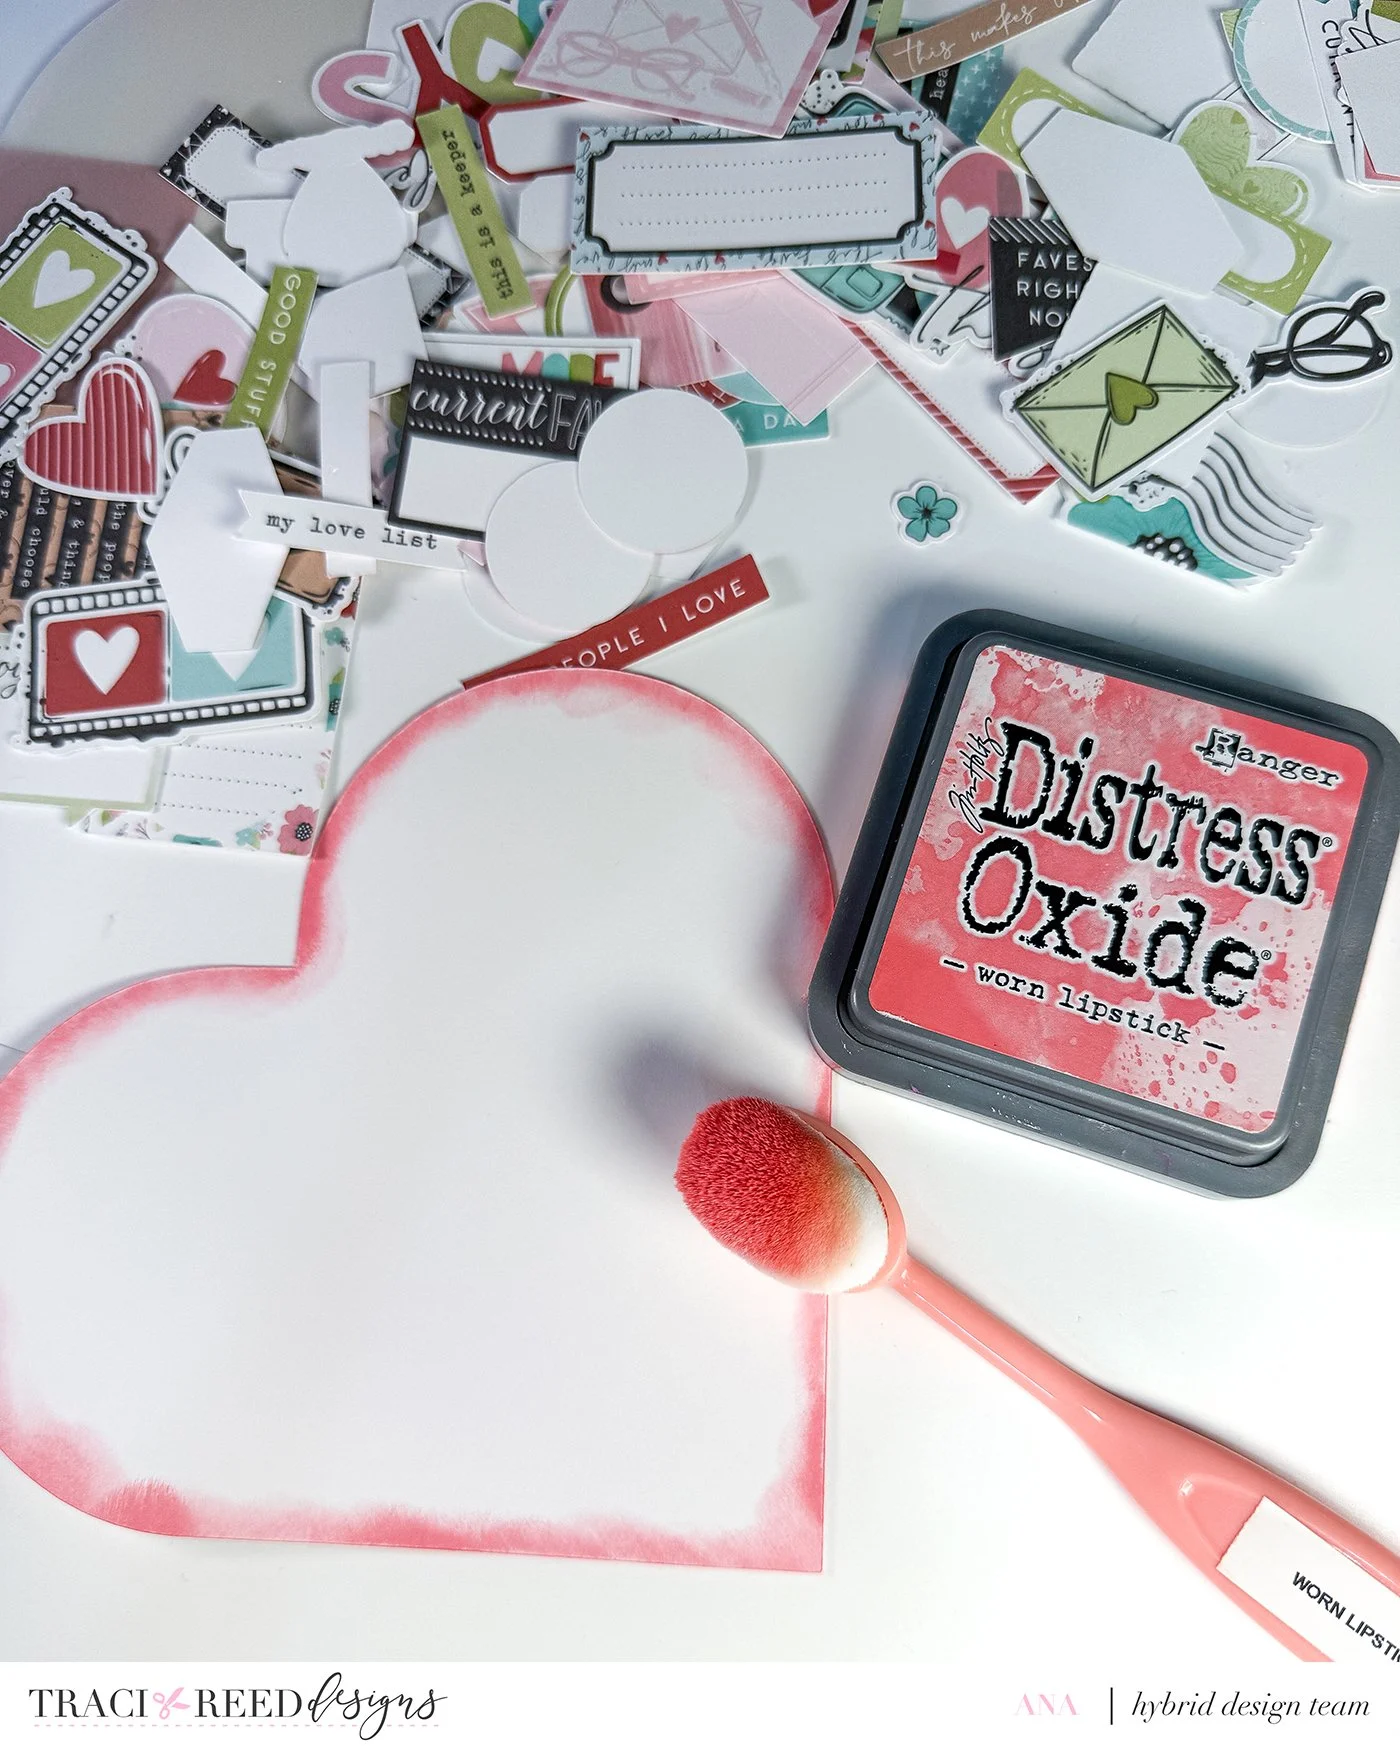
• Distress Oxide
• Floral embellishments
• Vellum paper
• Pompom trims
Cutting Instructions
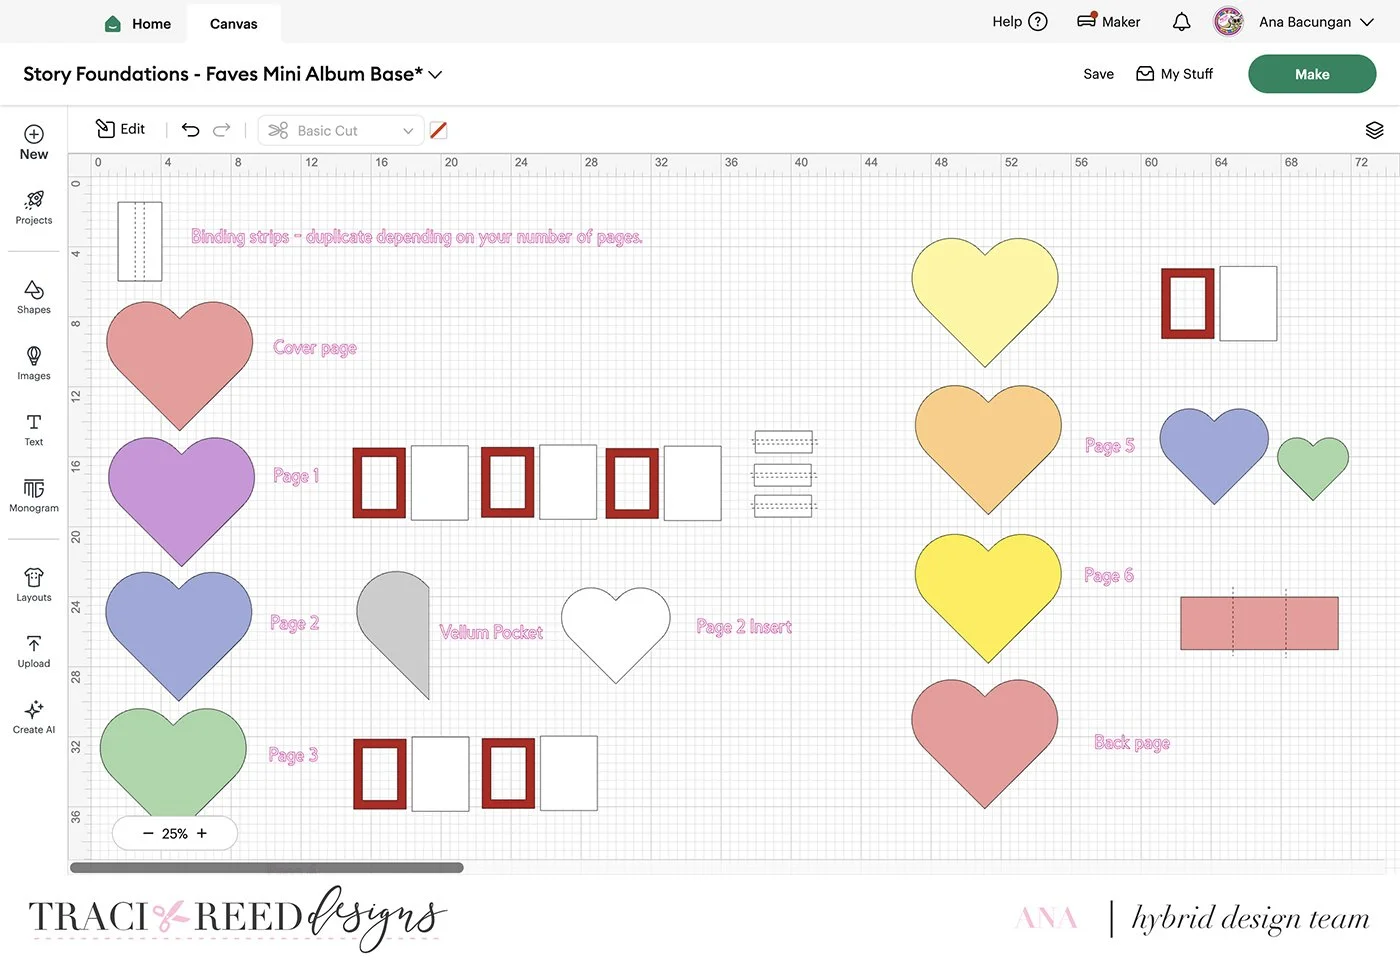
Cricut Users
You can find the full project in Design Space here.
• All colored pieces are cut from patterned paper
• The half heart in grey is cut from vellum
• All white pieces are cut from white cardstock
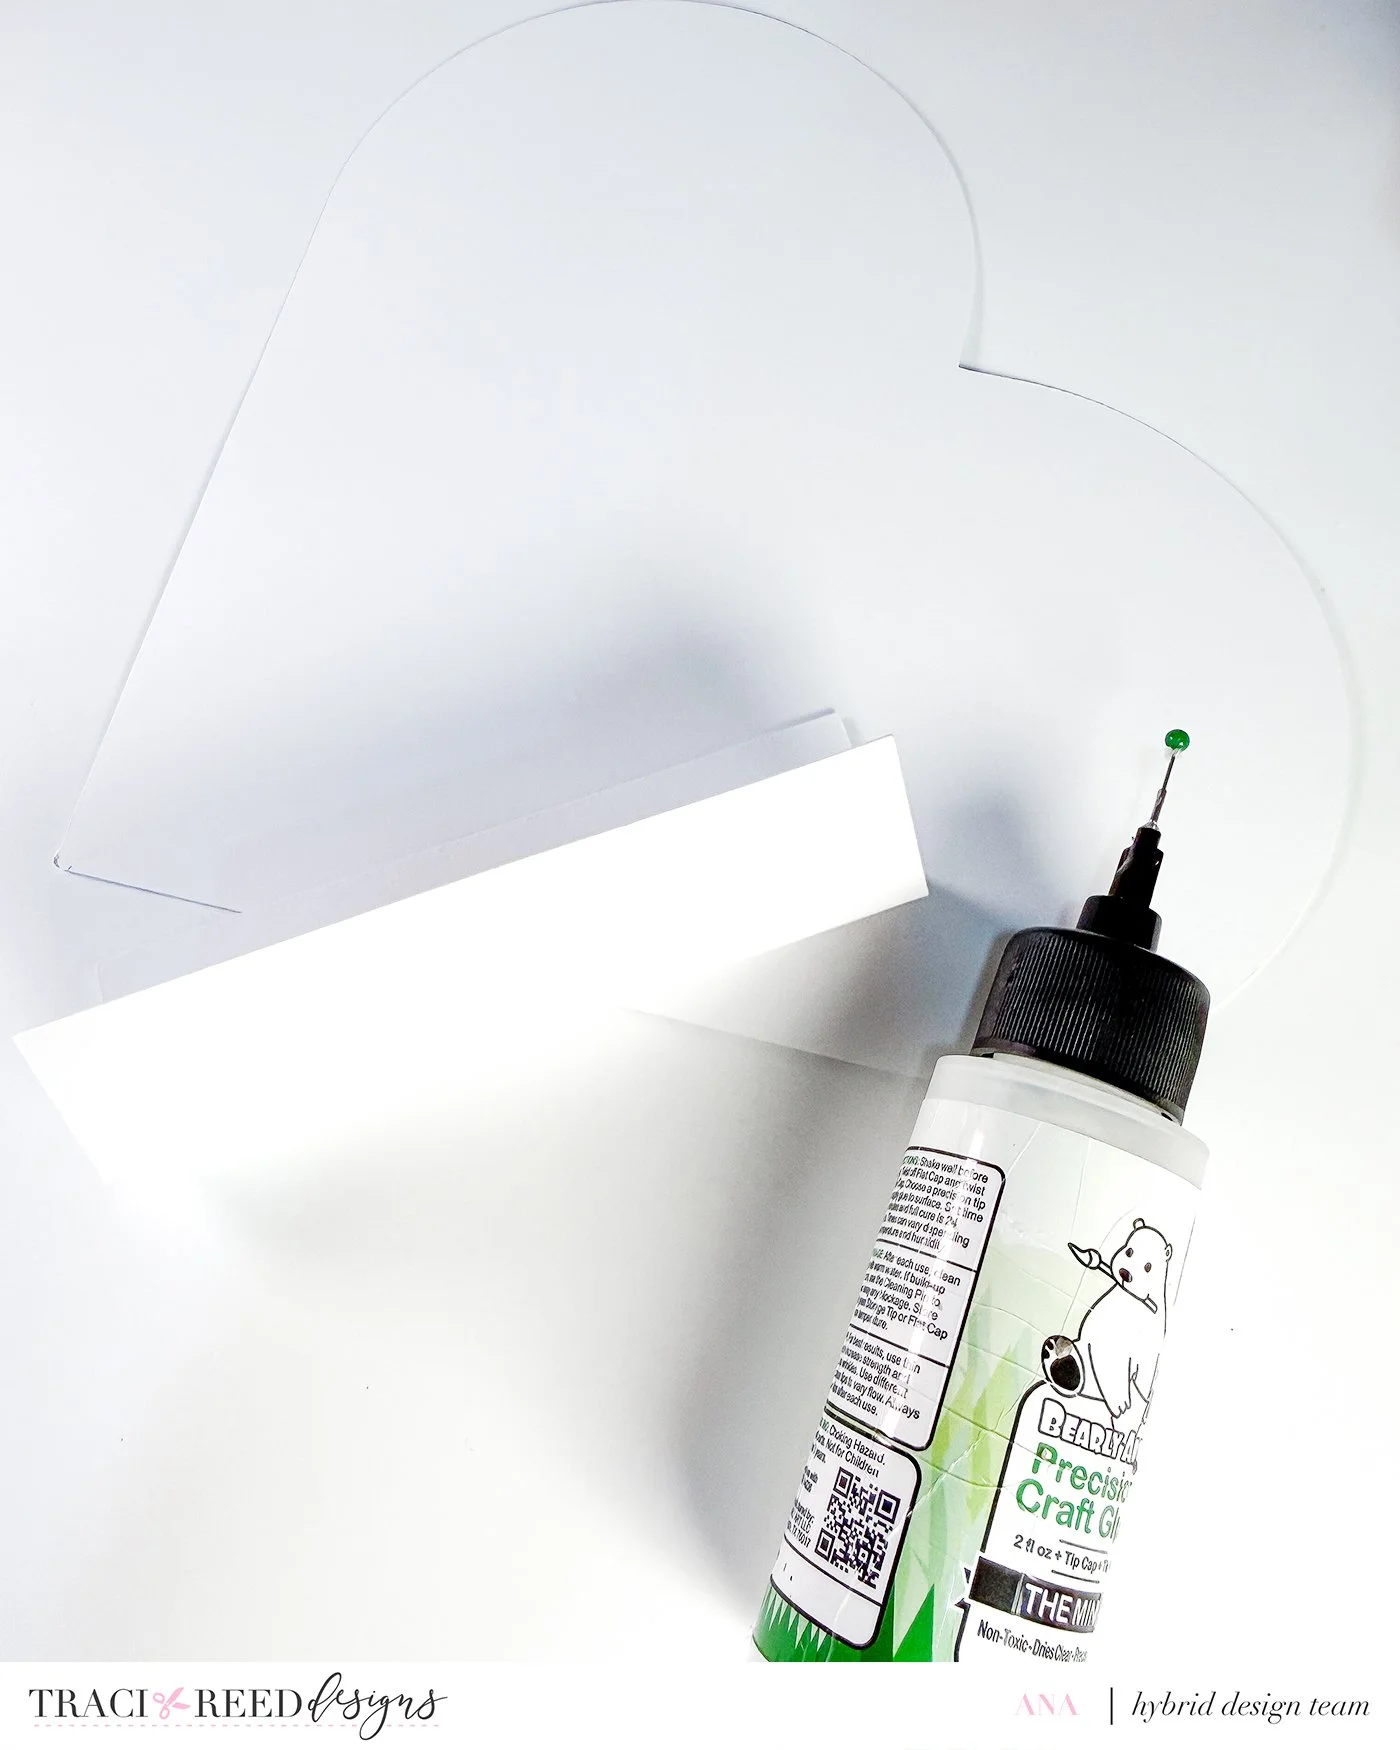
Manual Cutting Option
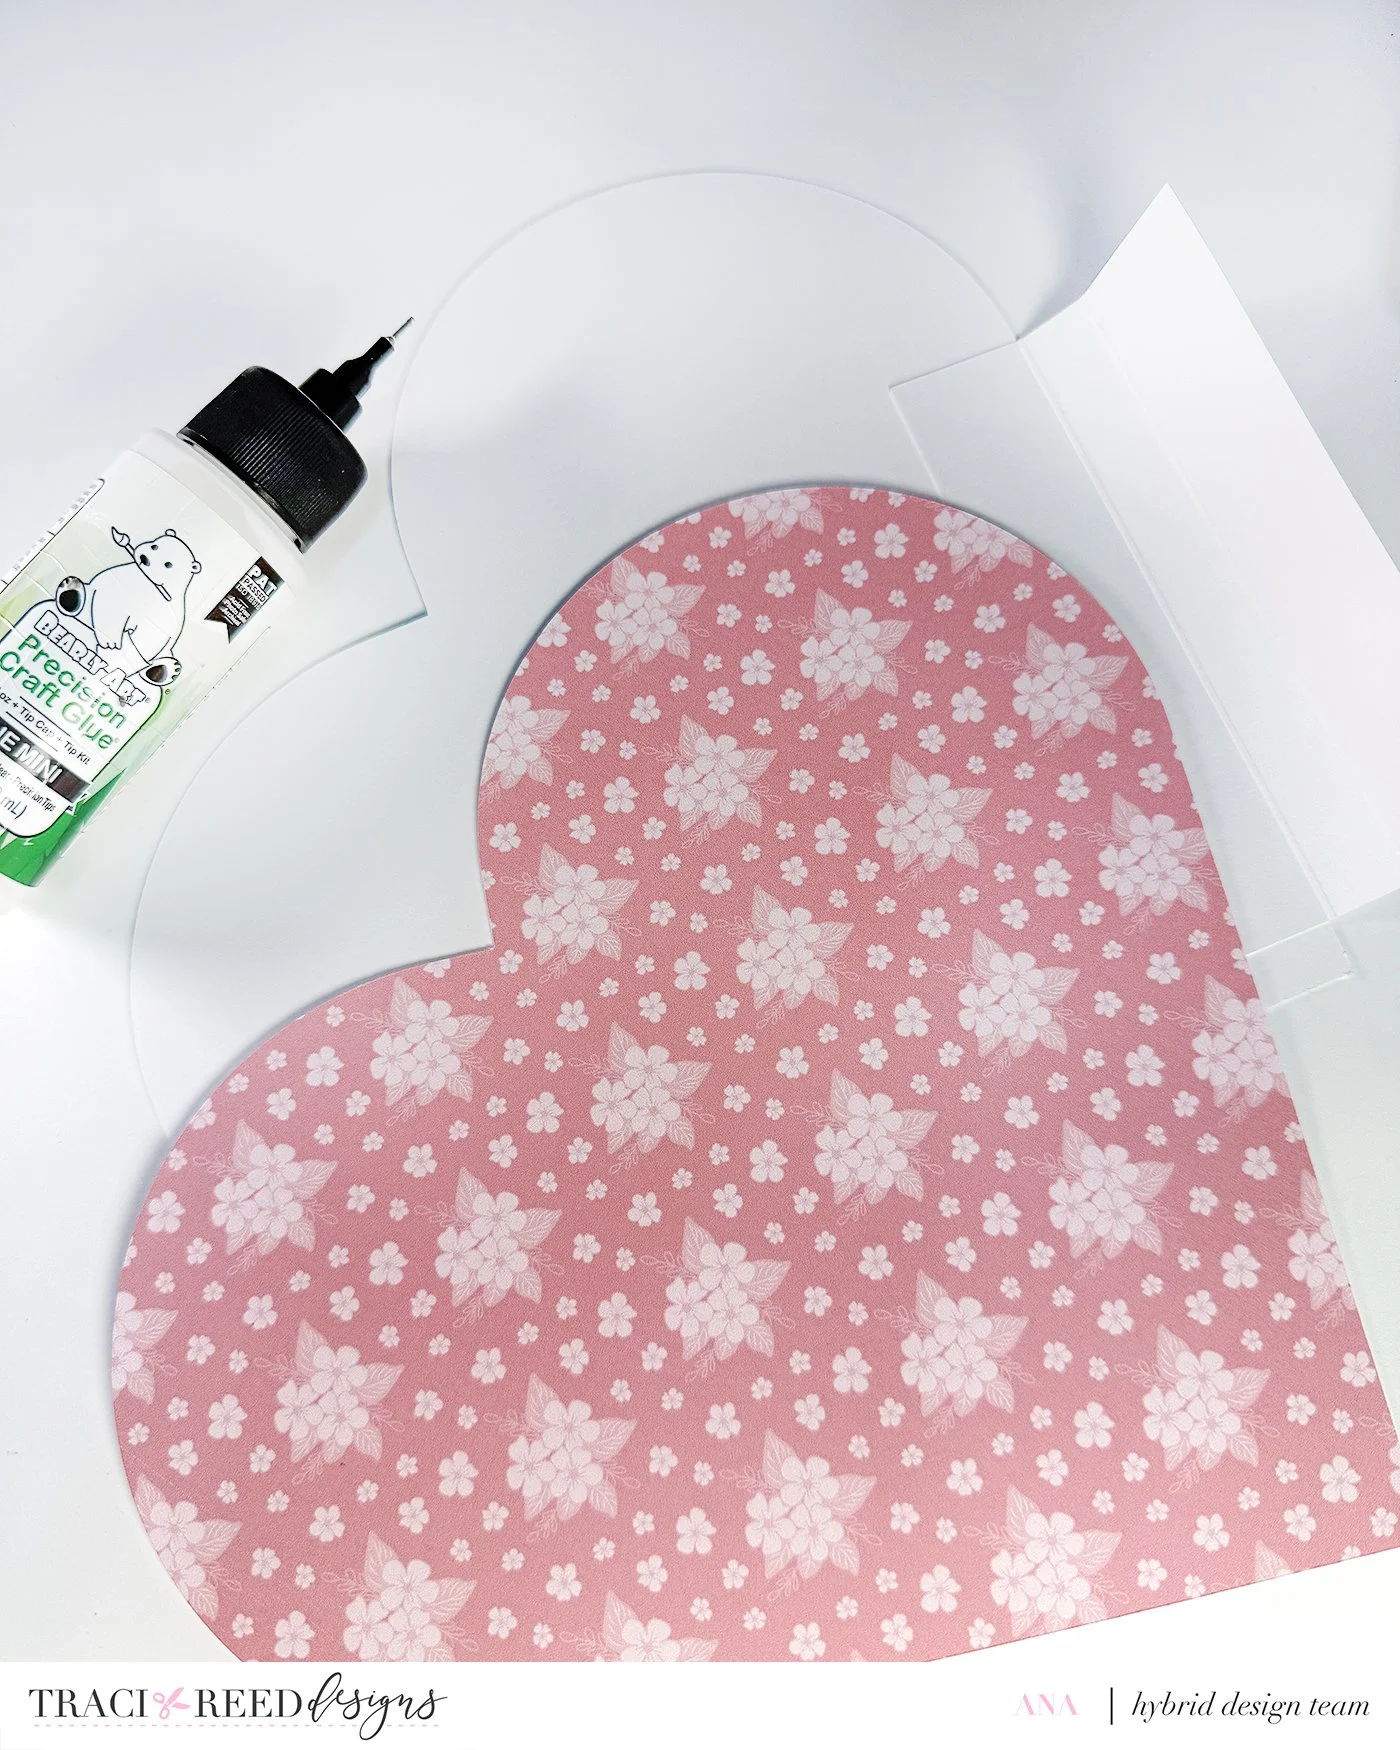
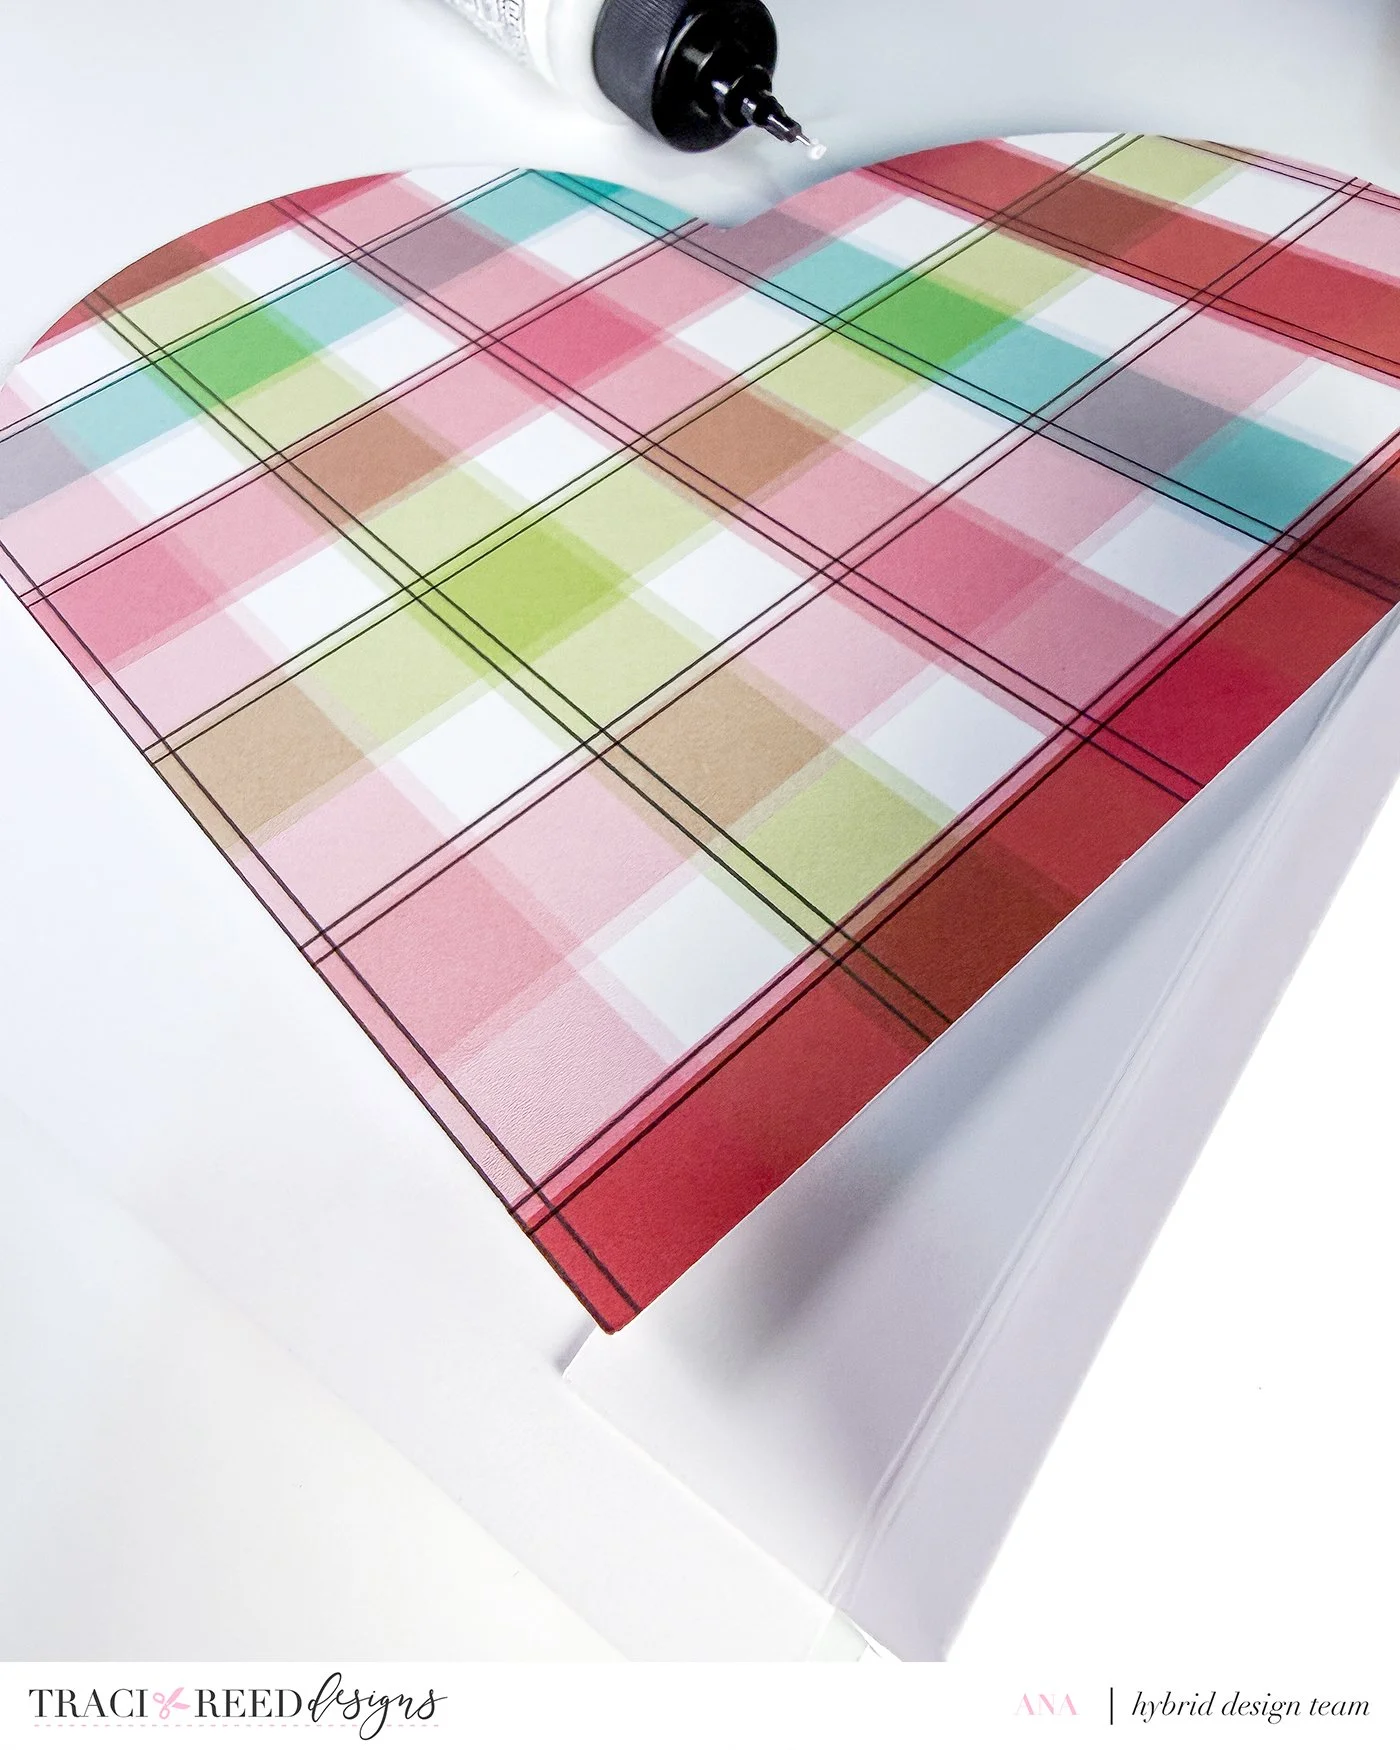
If you’re cutting by hand, you can easily create your own heart template. I simply made the biggest heart I could using an A4 paper, which ended up measuring approximately 8.35 x 7.38 inches.
Print a heart, the biggest you can on an A4 paper and use this as a template to trace and cut all your heart pages.
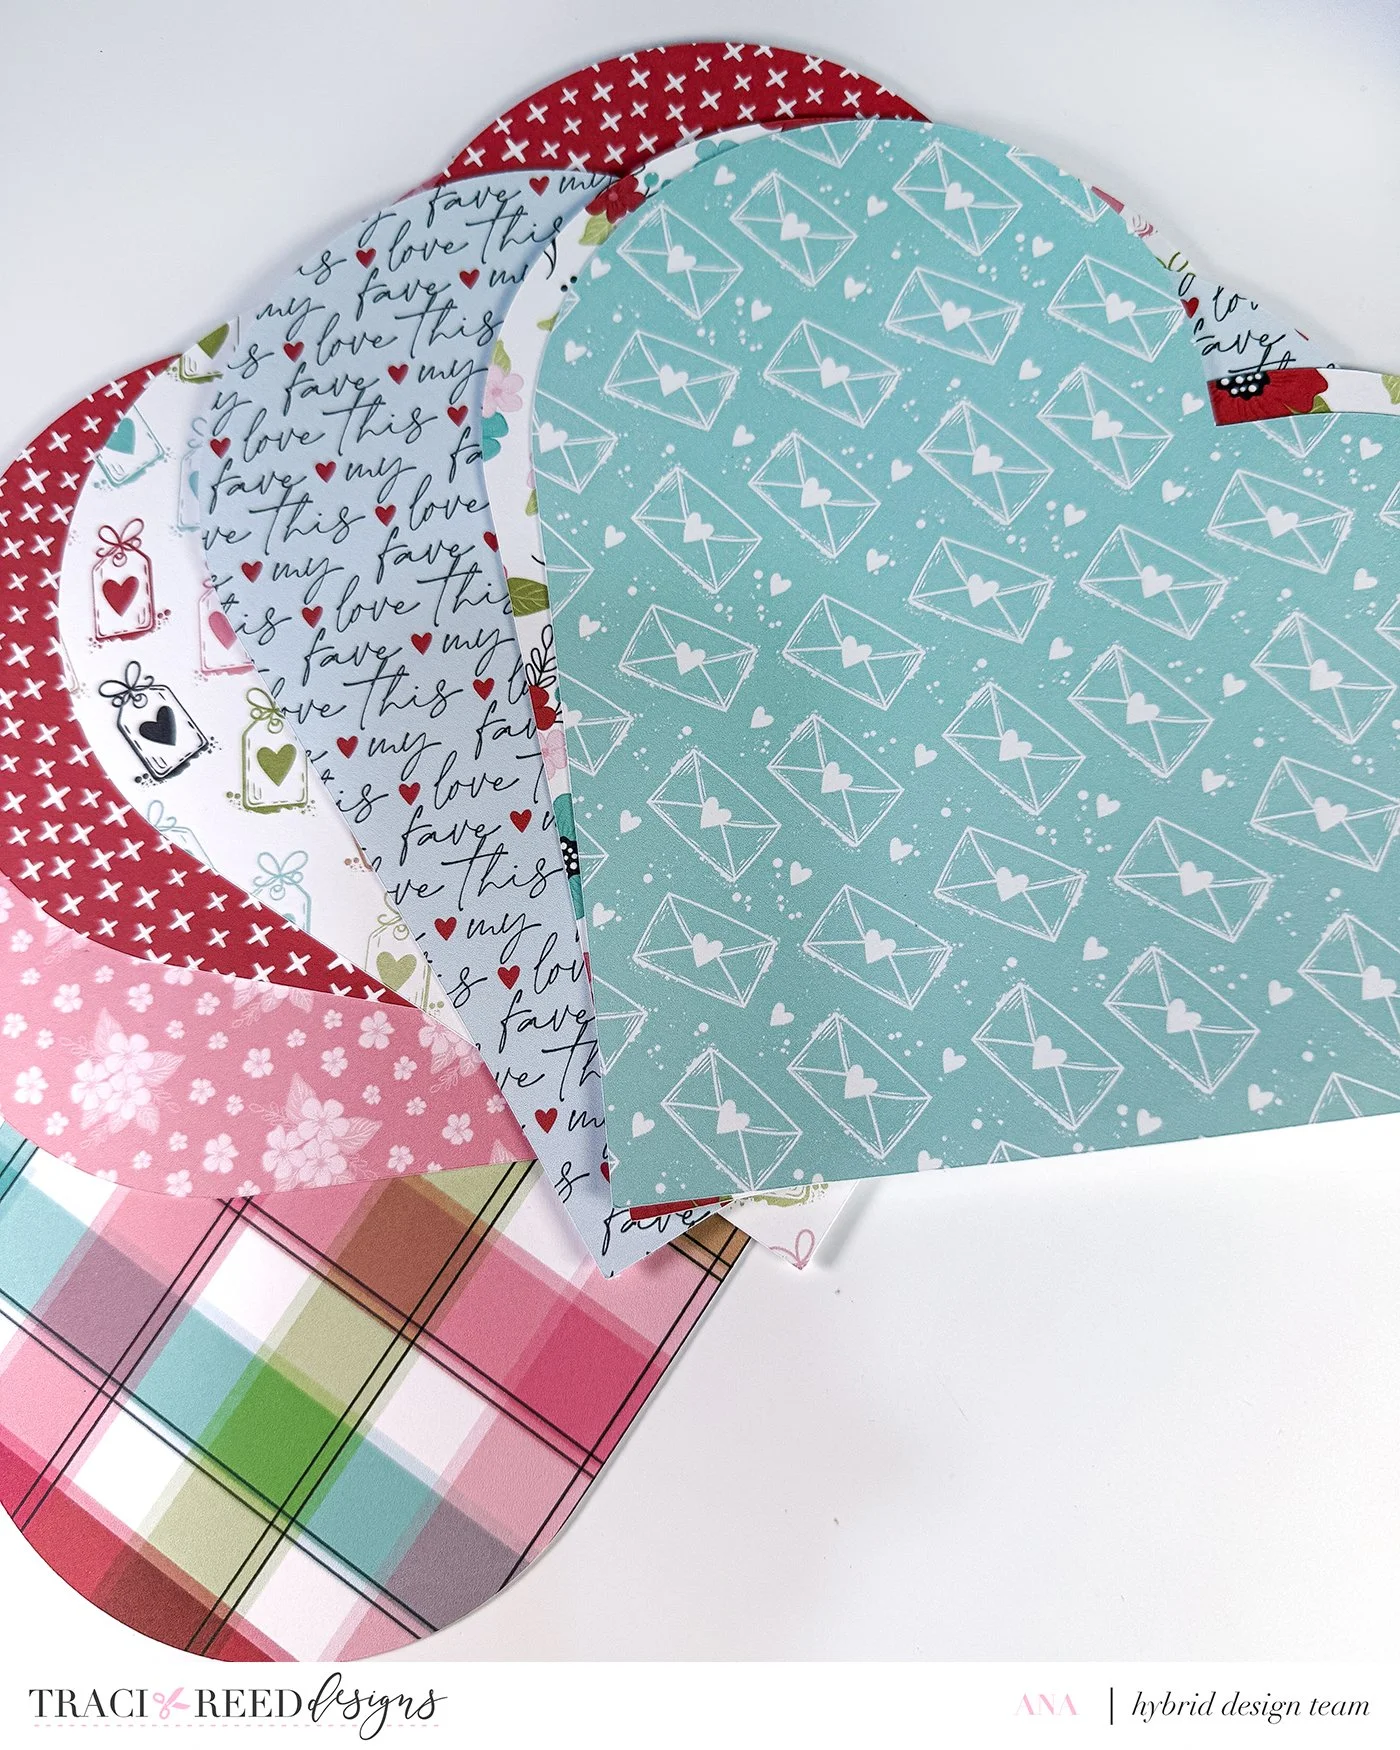
Pieces You’ll Need
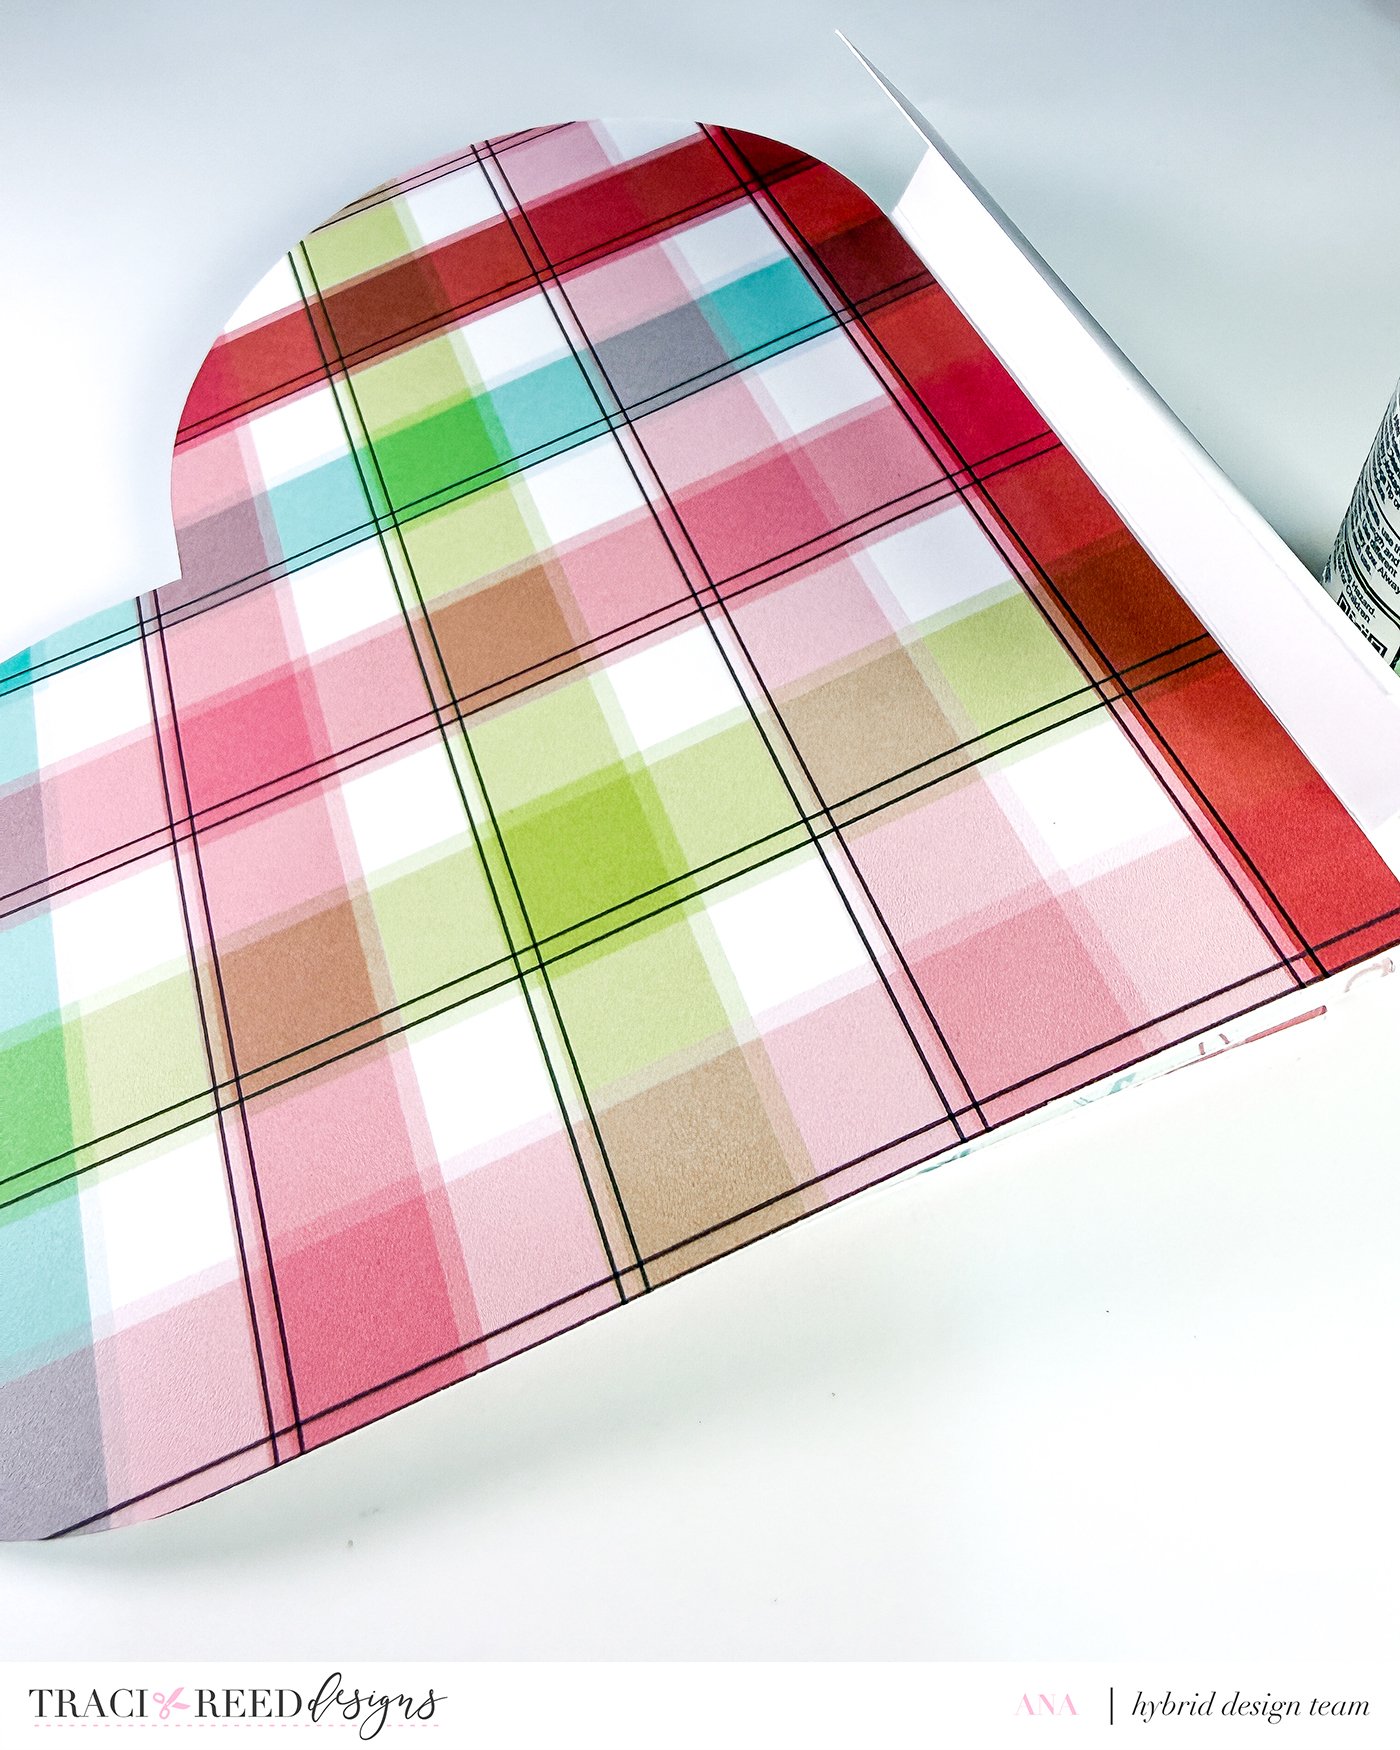
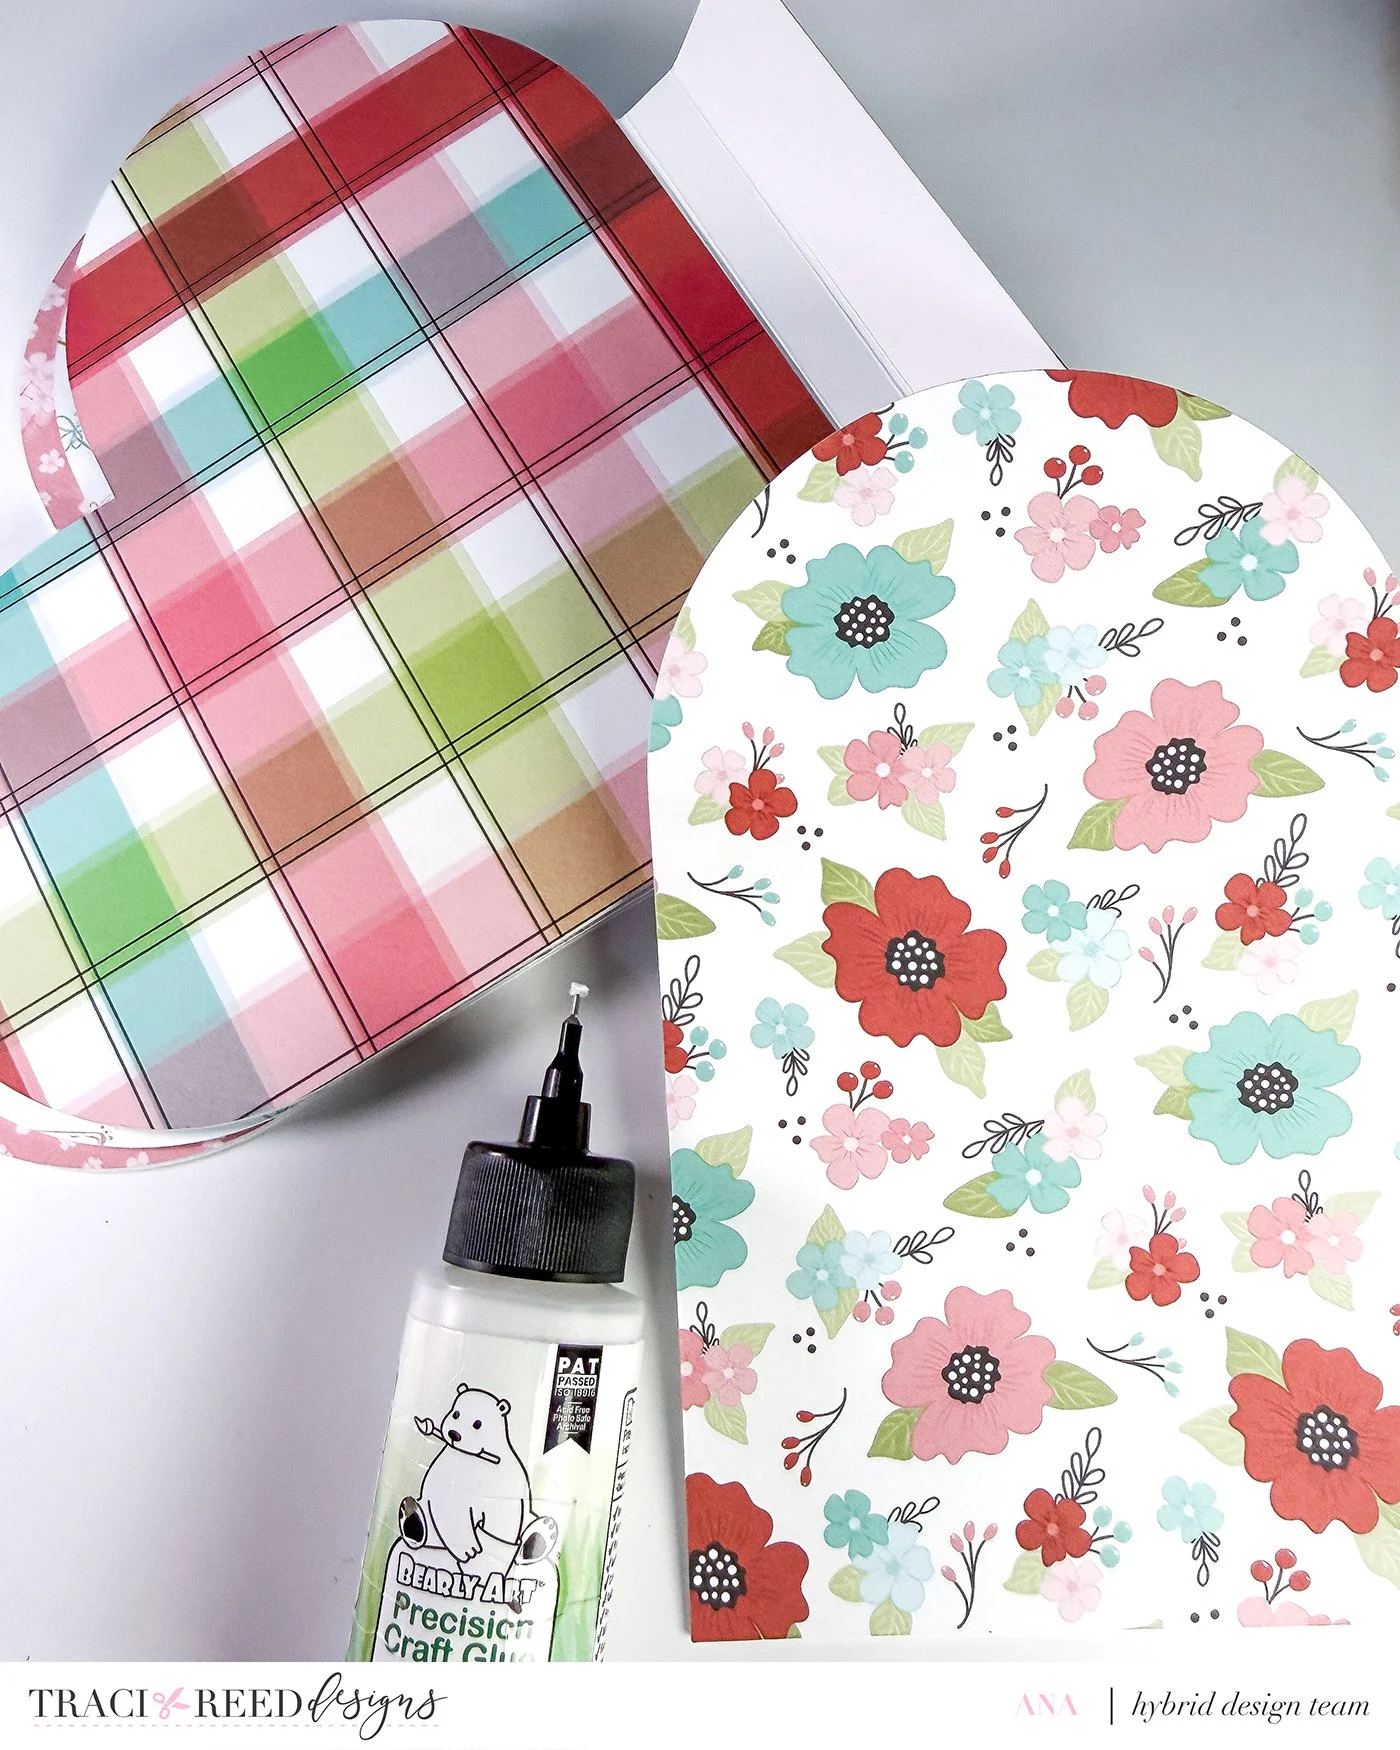
8 heart pages
2 identical hearts for front and back covers’
6 different designs for inner pages
1 half heart cut from vellum (same size as the heart pages, cut vertically in half)
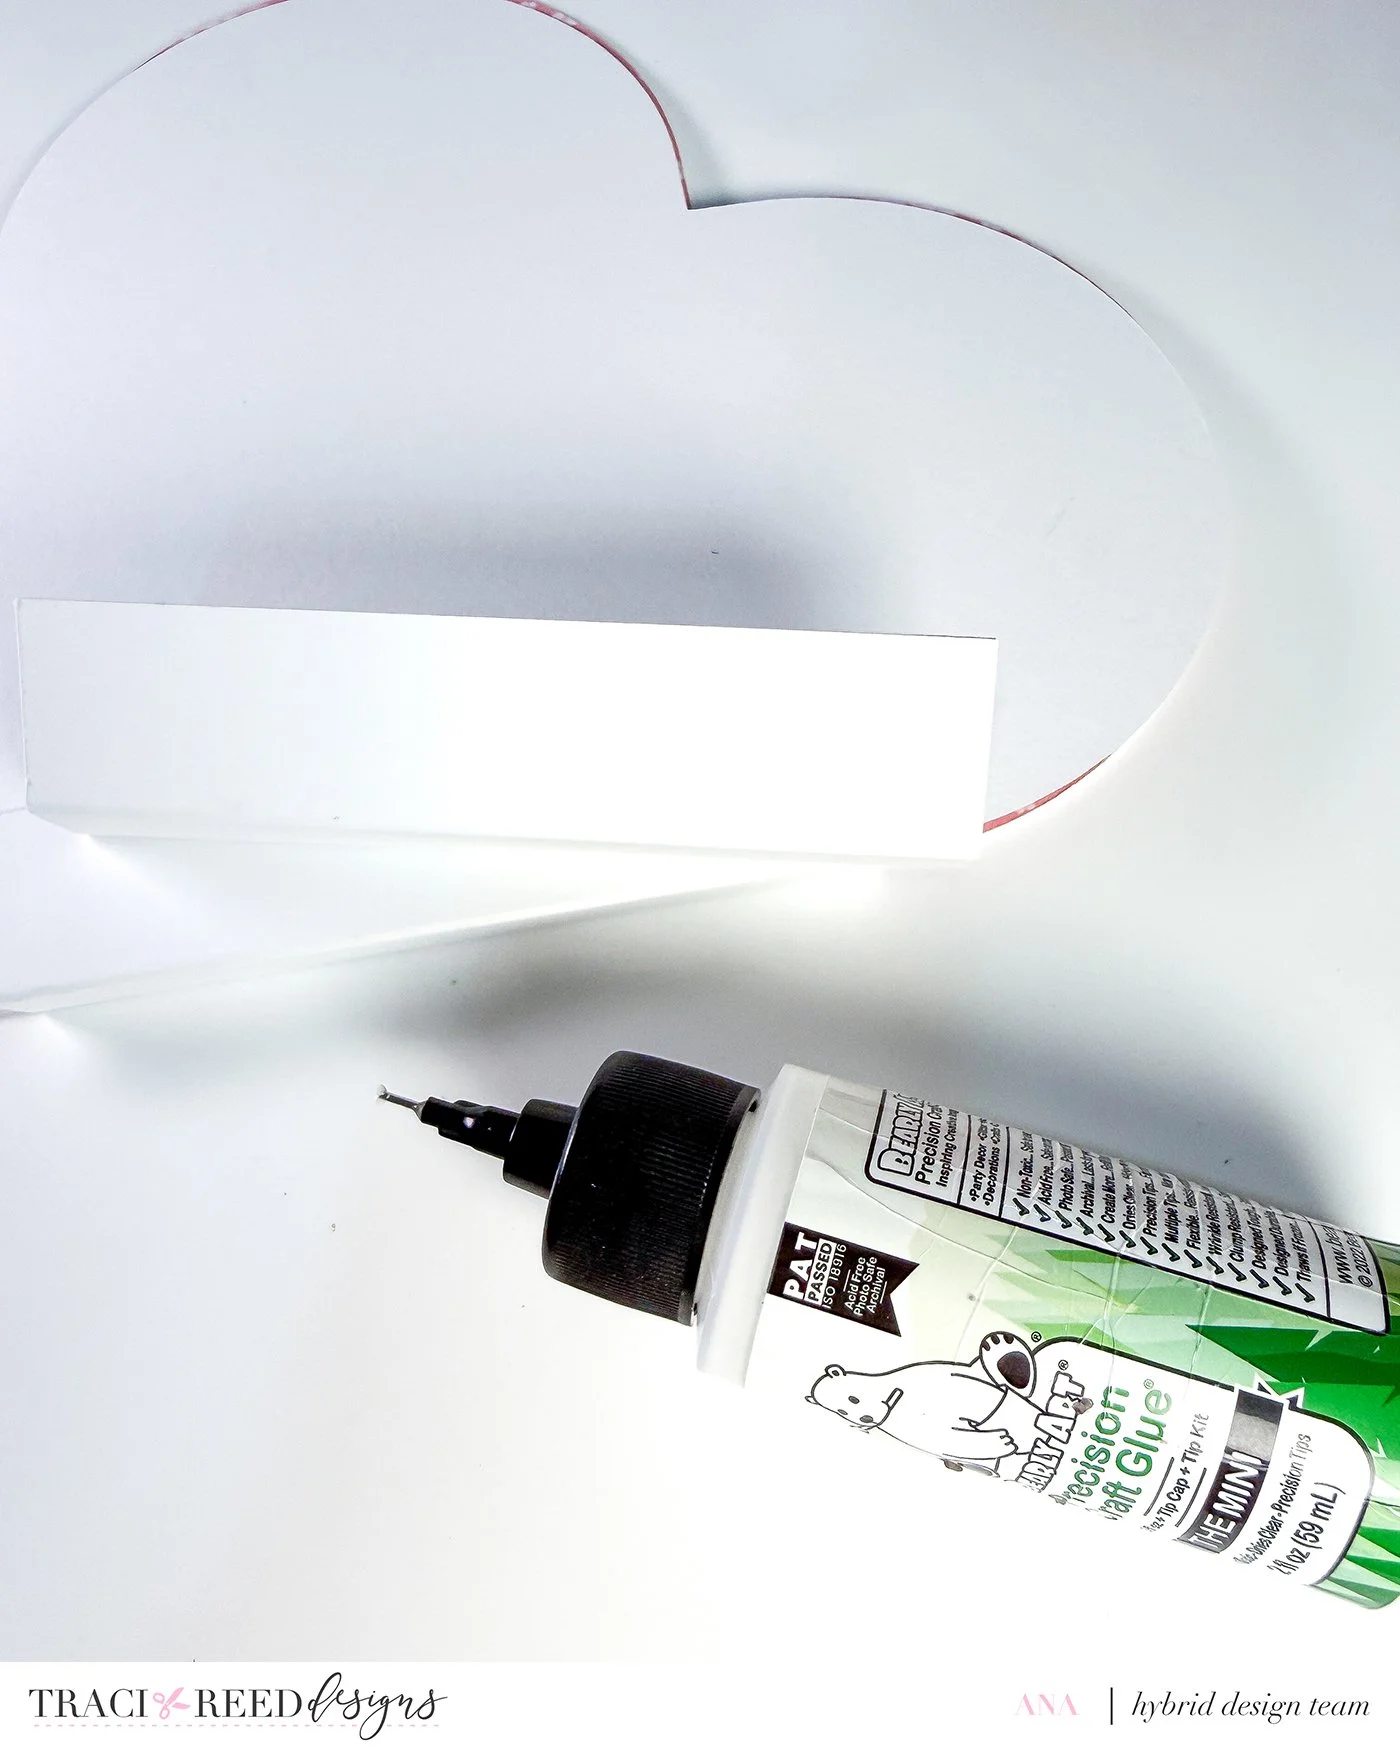
3 binding strips
Size: 2.5 x 4.5 inches
Score at 1 inch and 1.5 inches on the 2.5-inch side
6 frames measuring 3 x 4 inches with 0.5-inch borders (pattern paper)
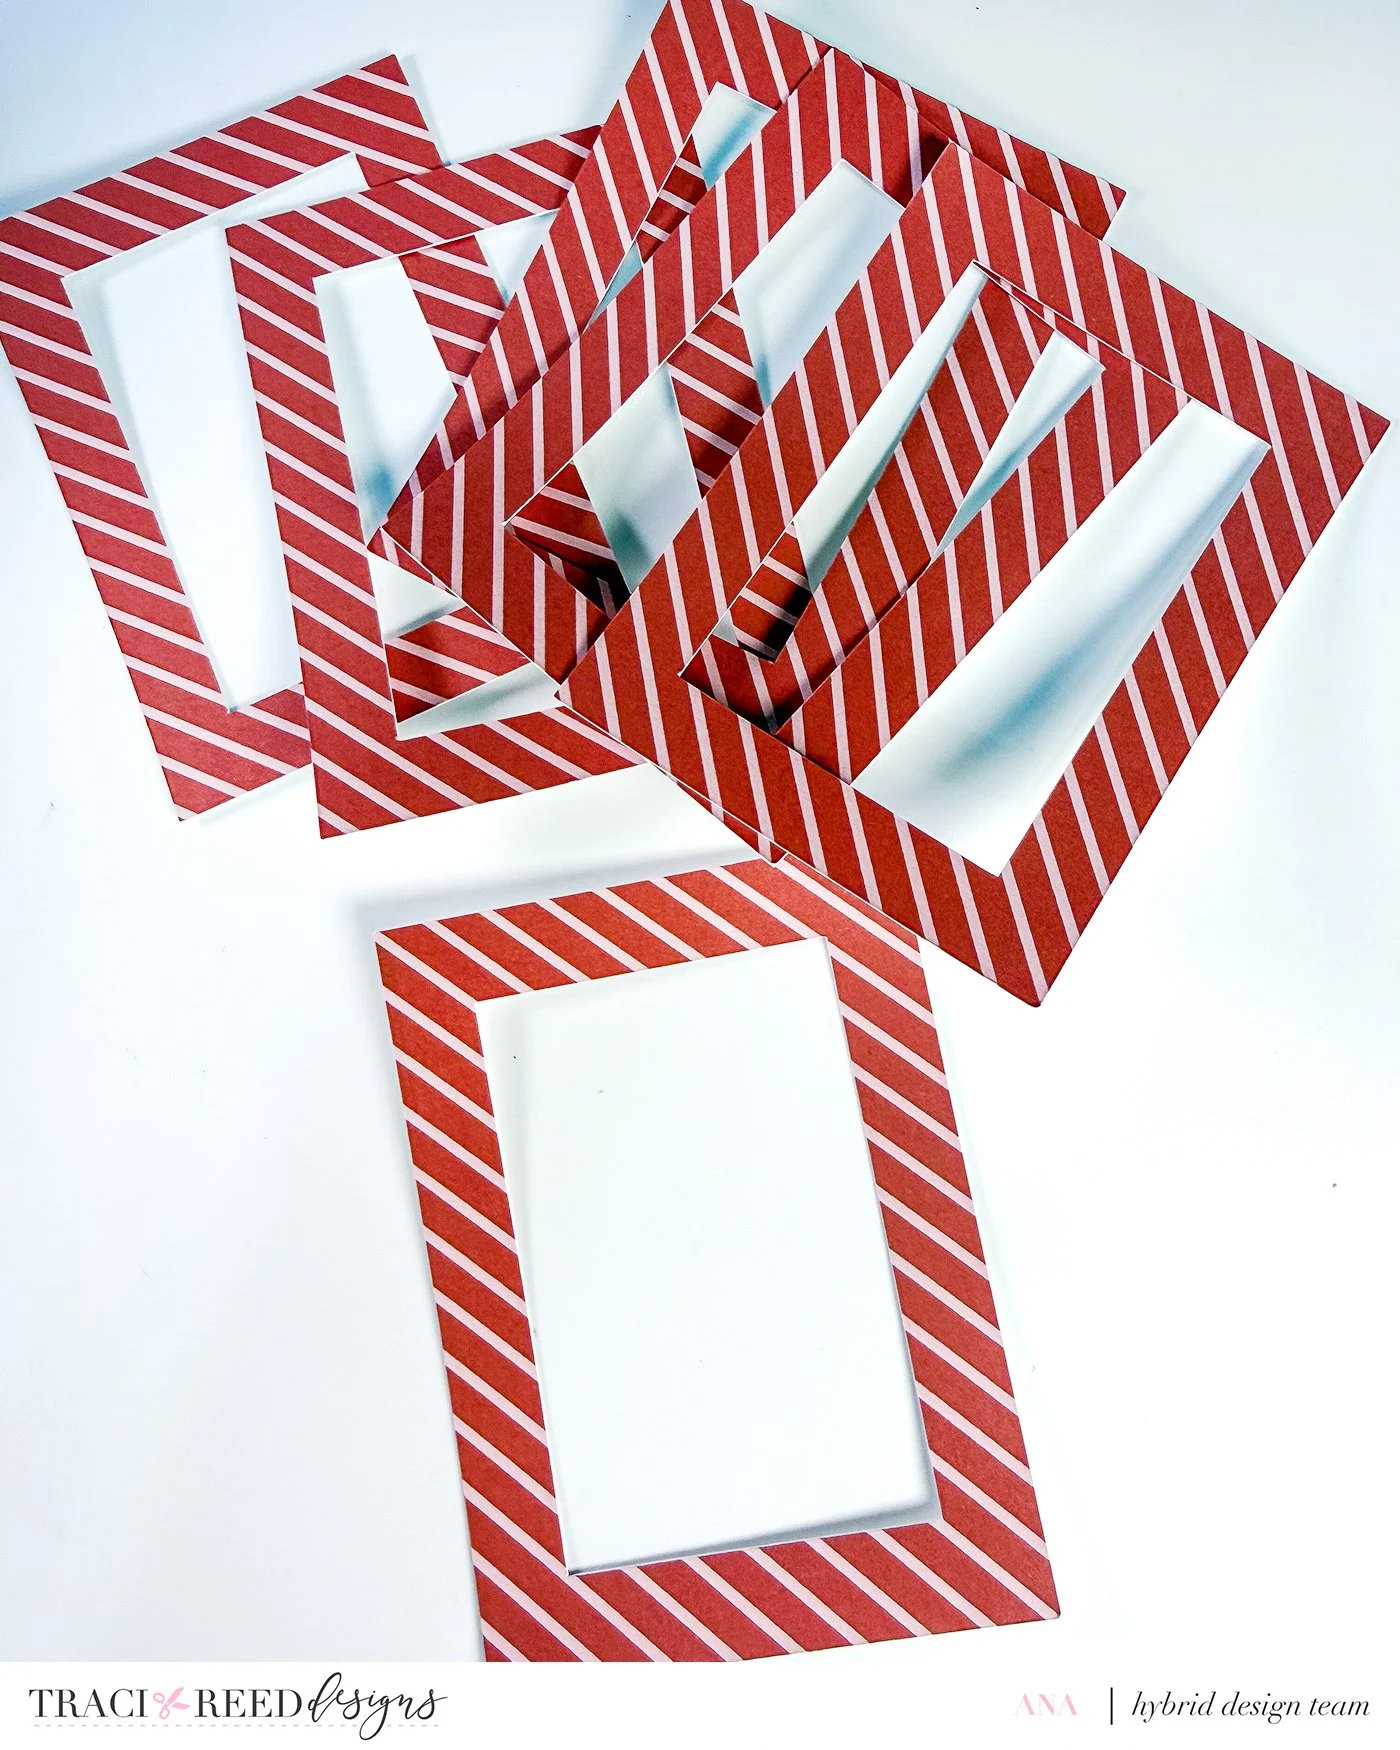
6 photo mats measuring 3.25 x 4.25 inches (white cardstock)

3 flip strips measuring 3.25 x 1.25 inches
Score at 0.5 and 0.75 inches on the short side
2 smaller hearts
One in white cardstock
One in patterned paper (use one of the plain-ish papers included in the collection)
Approximate size: 6 x 5.5 inches
1 smallest heart
Approximate size: 4 x 4 inches
Patterned paper
1 strip measuring 9 x 3 inches (use one of the plain-ish papers included in the collection)
Score at 3 and 6 inches
2 squares measuring 2.75 x 2.75 inches (scrap patterned paper)
Before assembling, make sure all pieces are cut and ready. I also recommend choosing and fussy cutting your favorite stickers from the Story Foundations – Faves collection ahead of time.
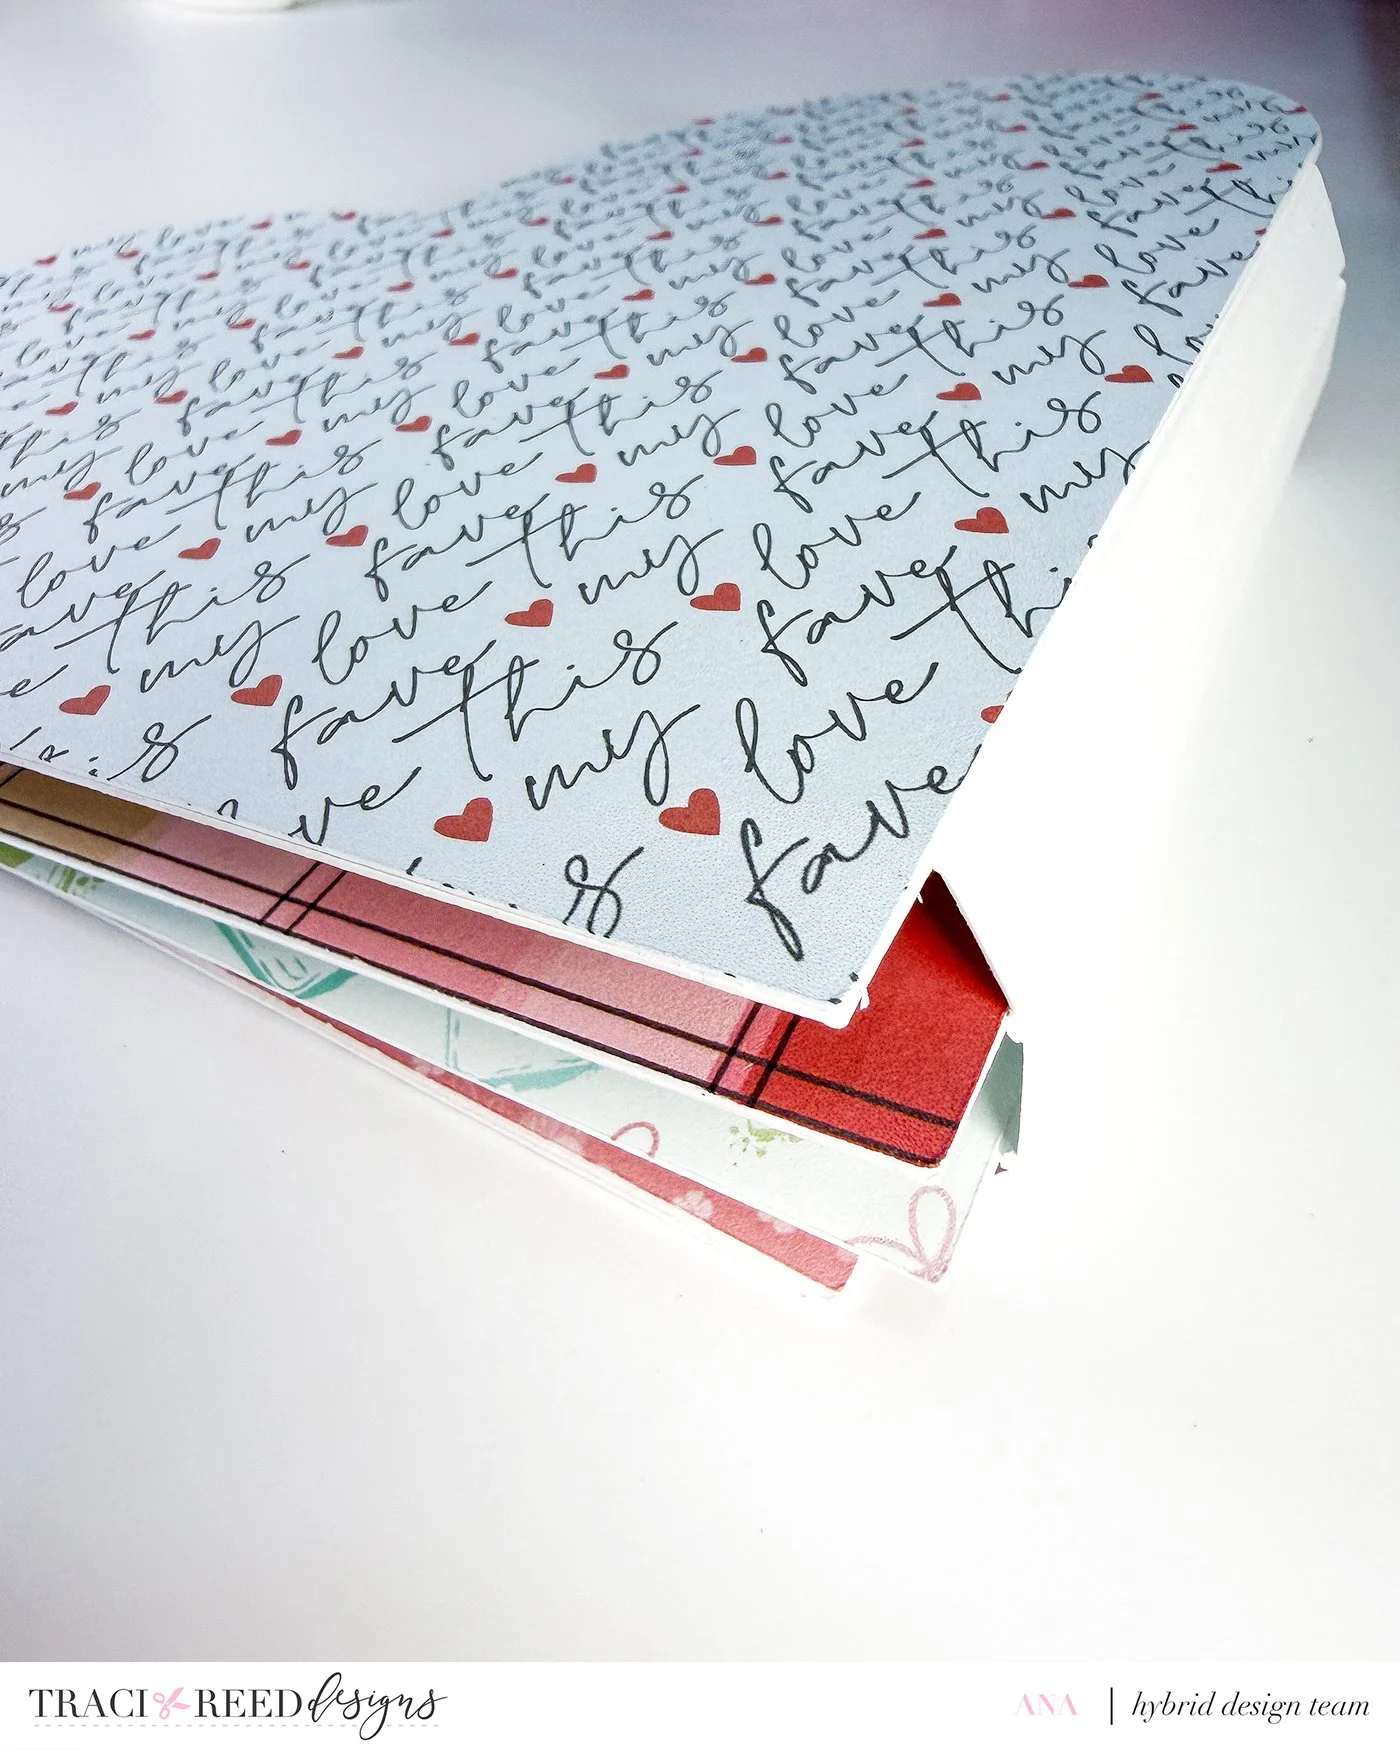
Assembly Time
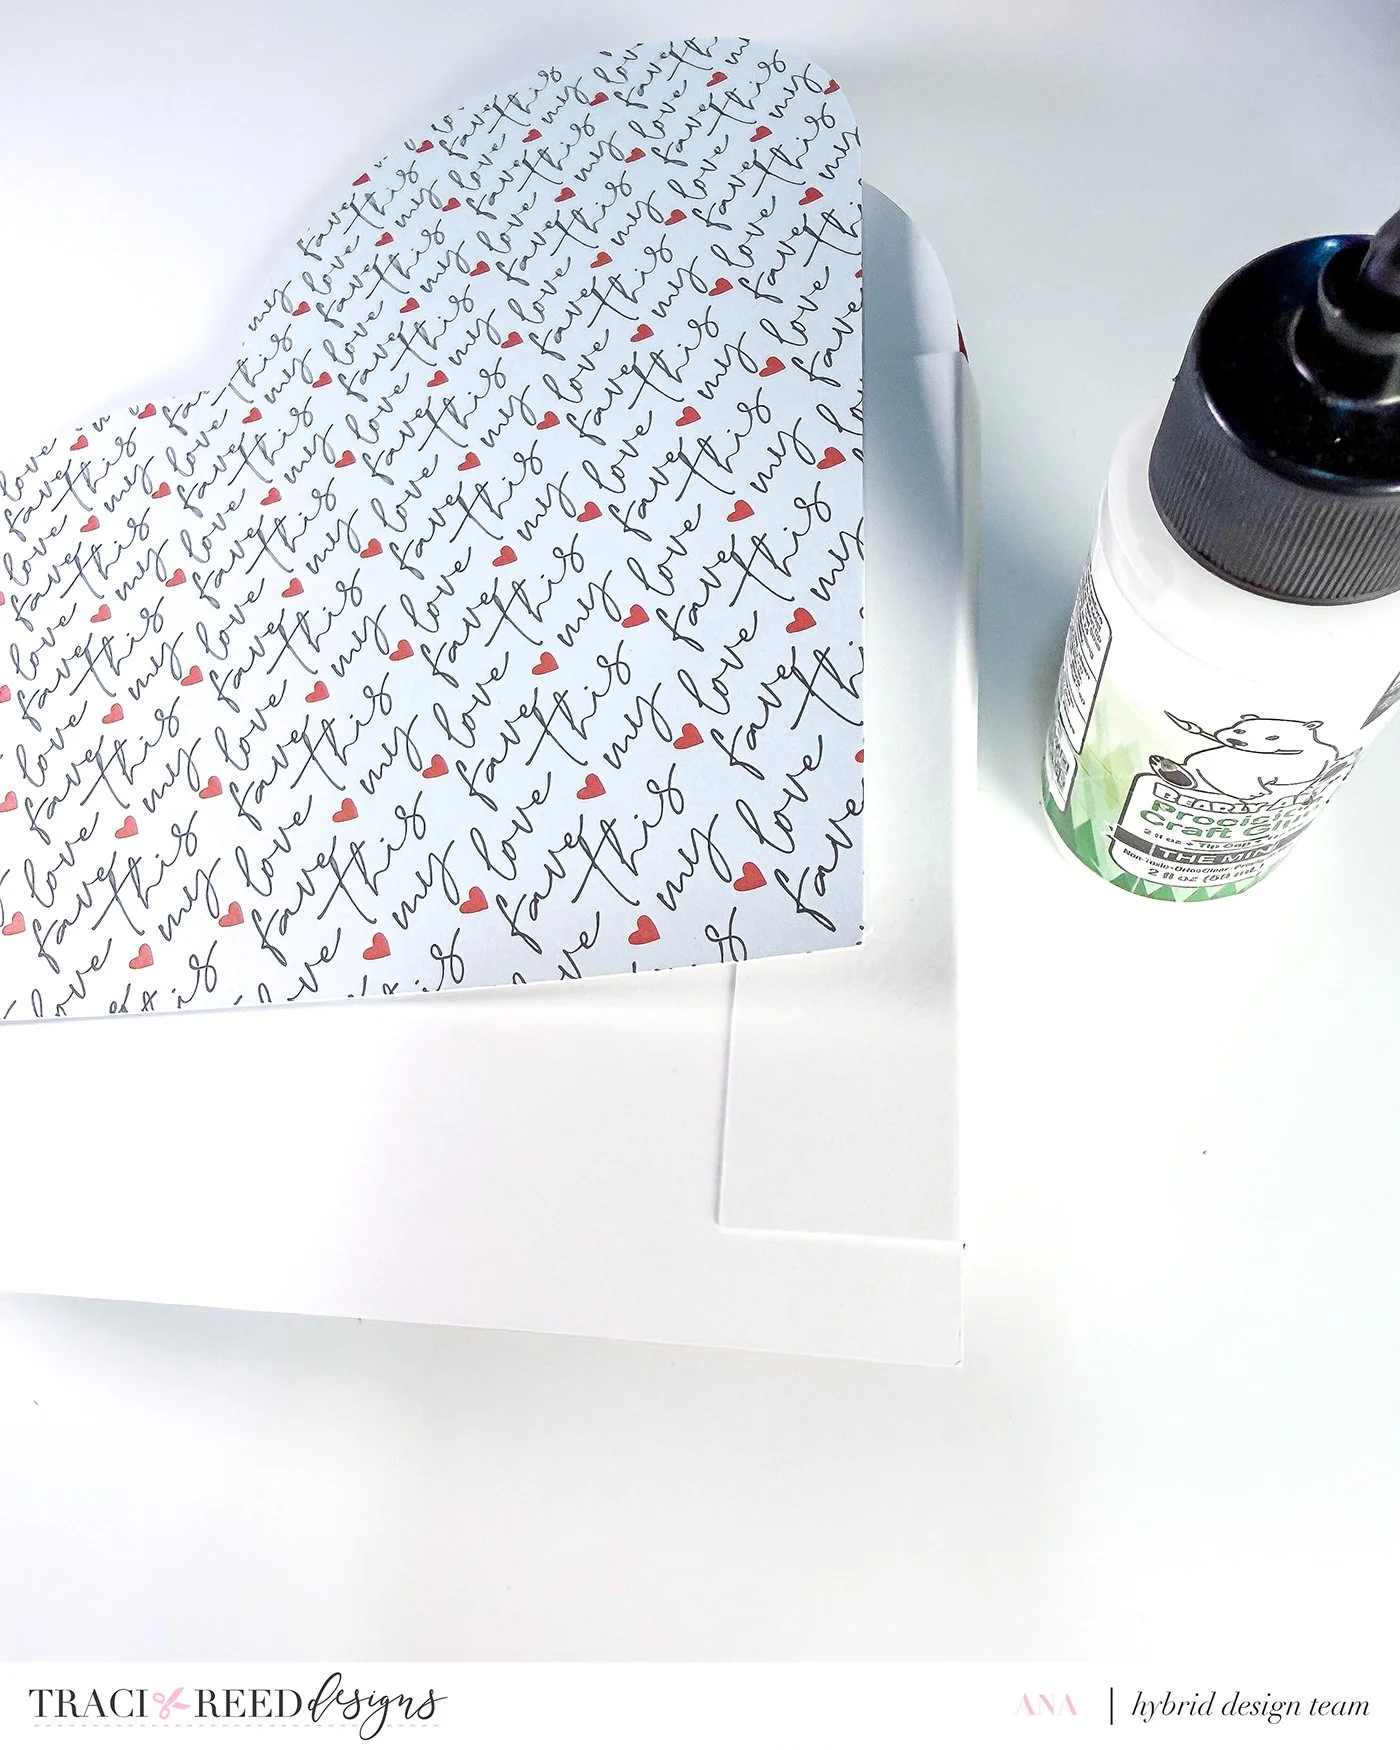
Binding the Album
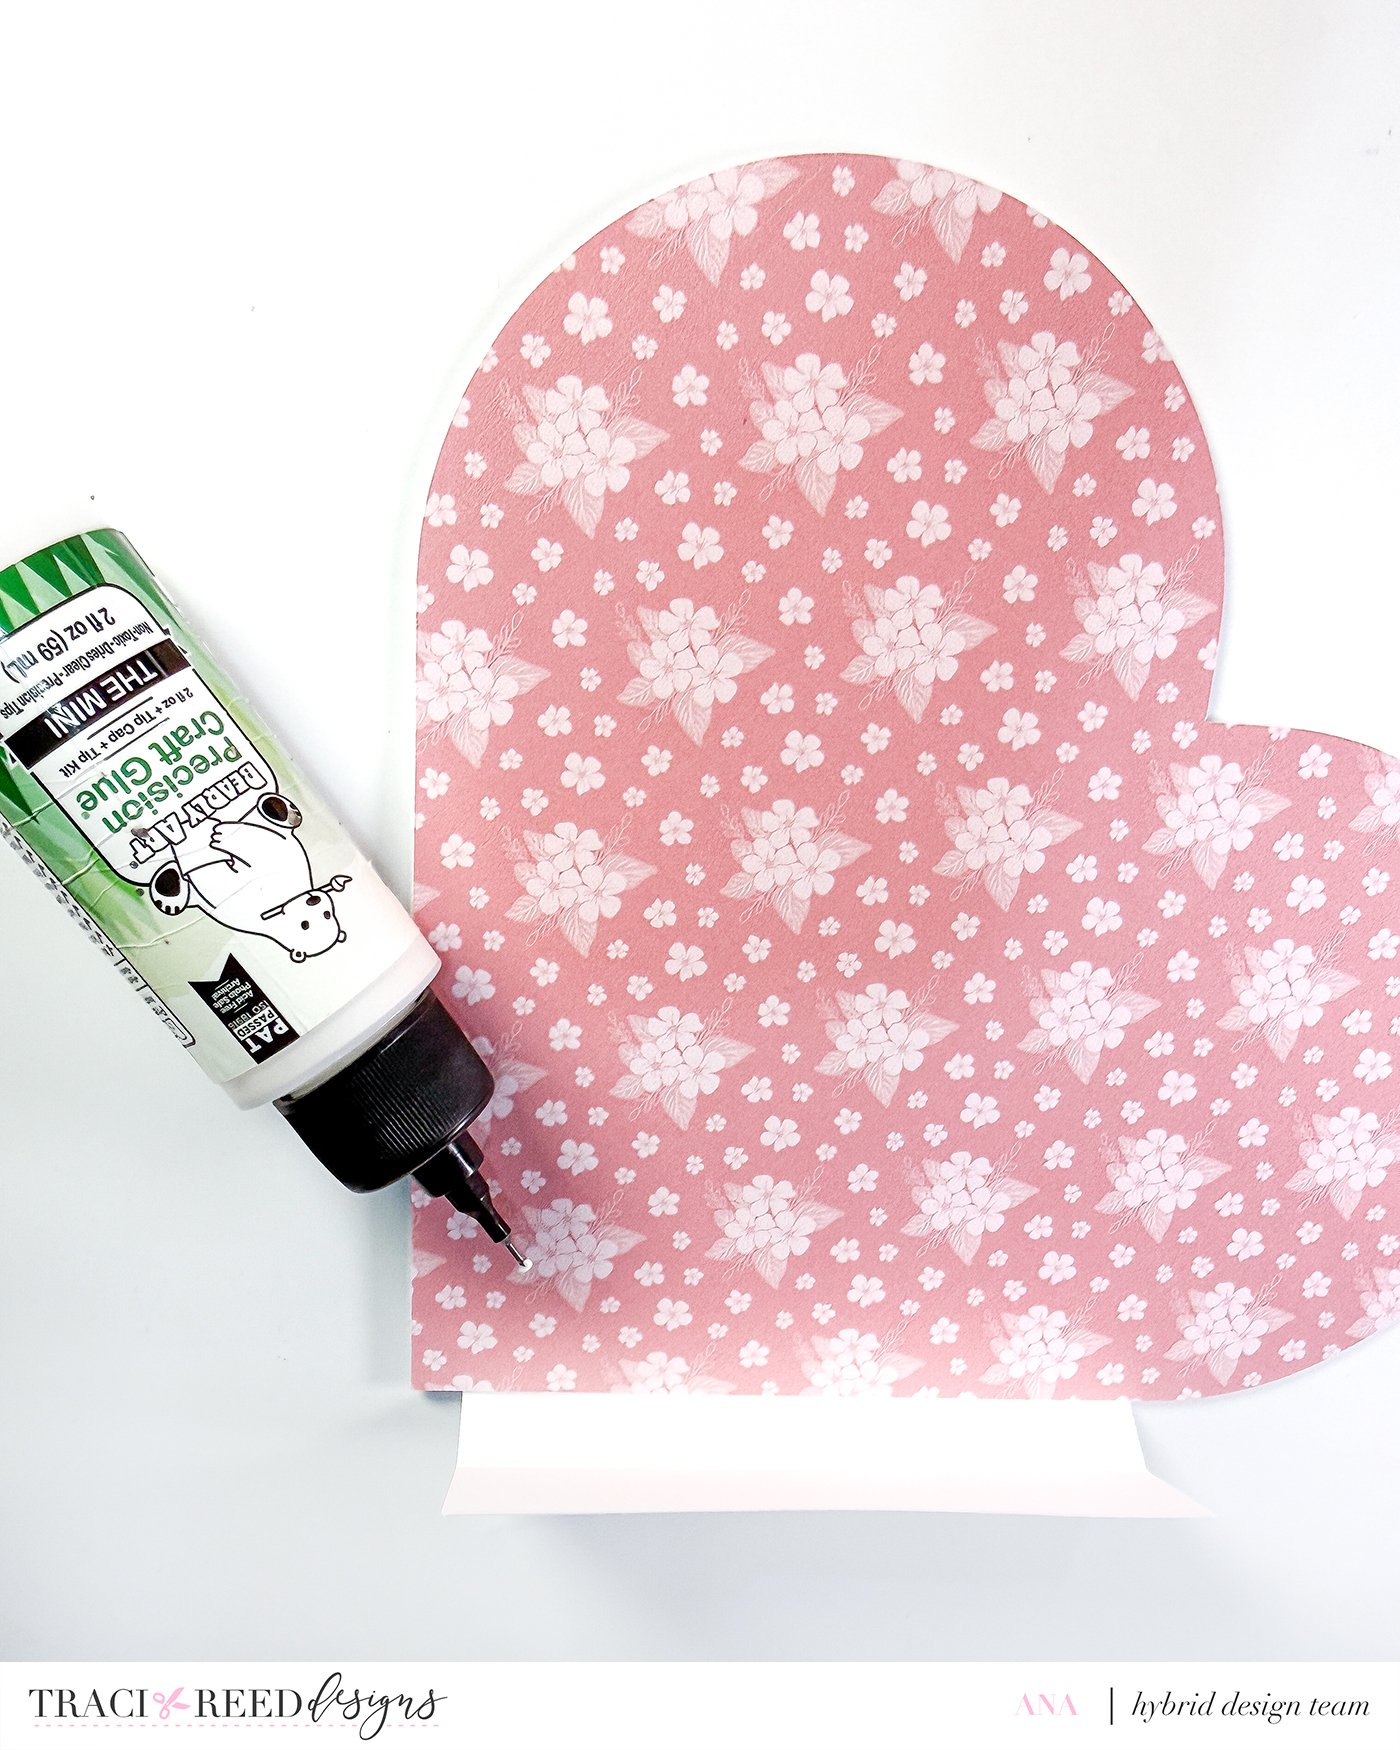
1. Start with one of the cover hearts, facing back side up.
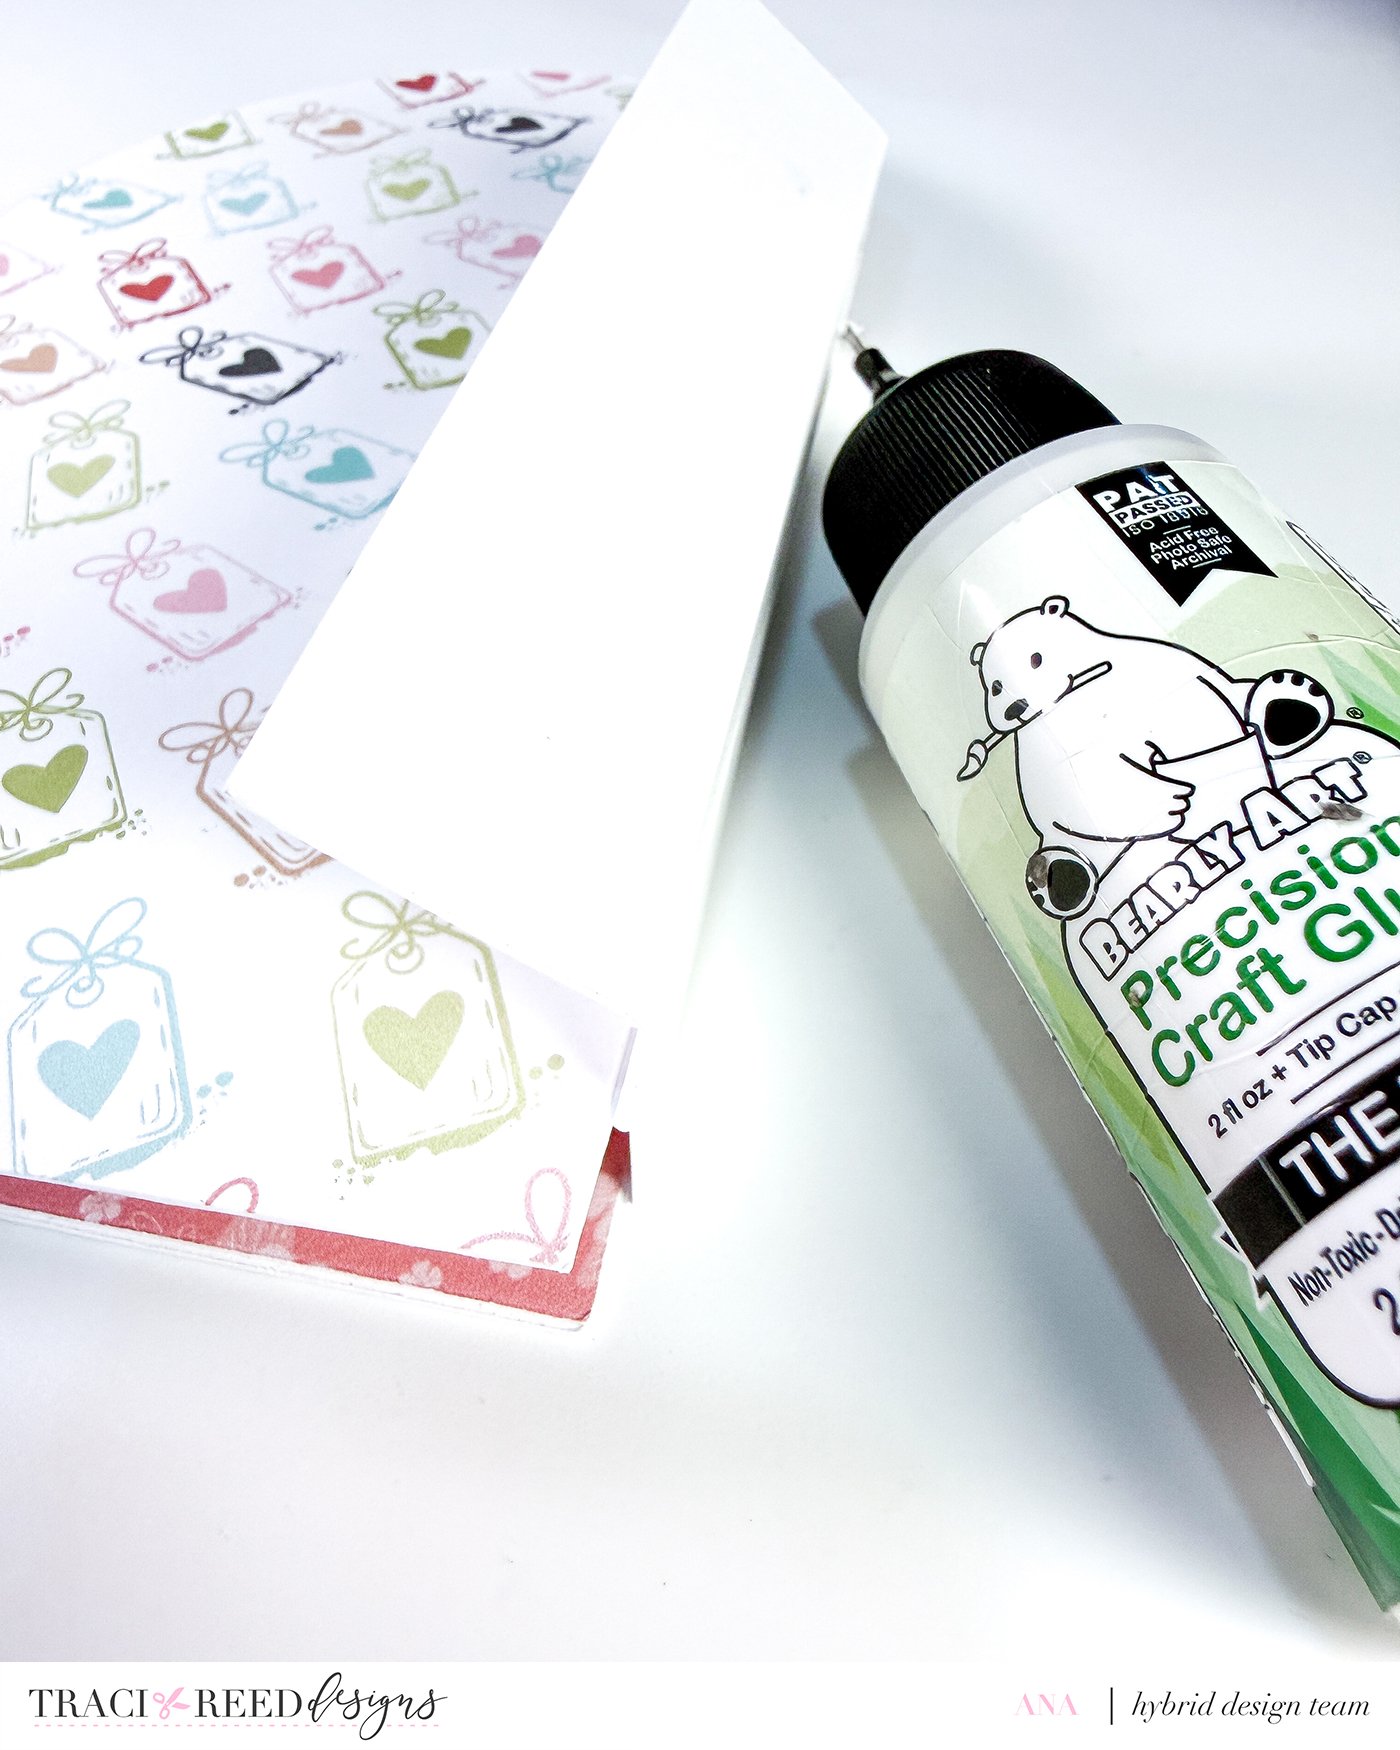
2. Glue the left side of a binding strip to the right edge of the heart. The opening should face left.

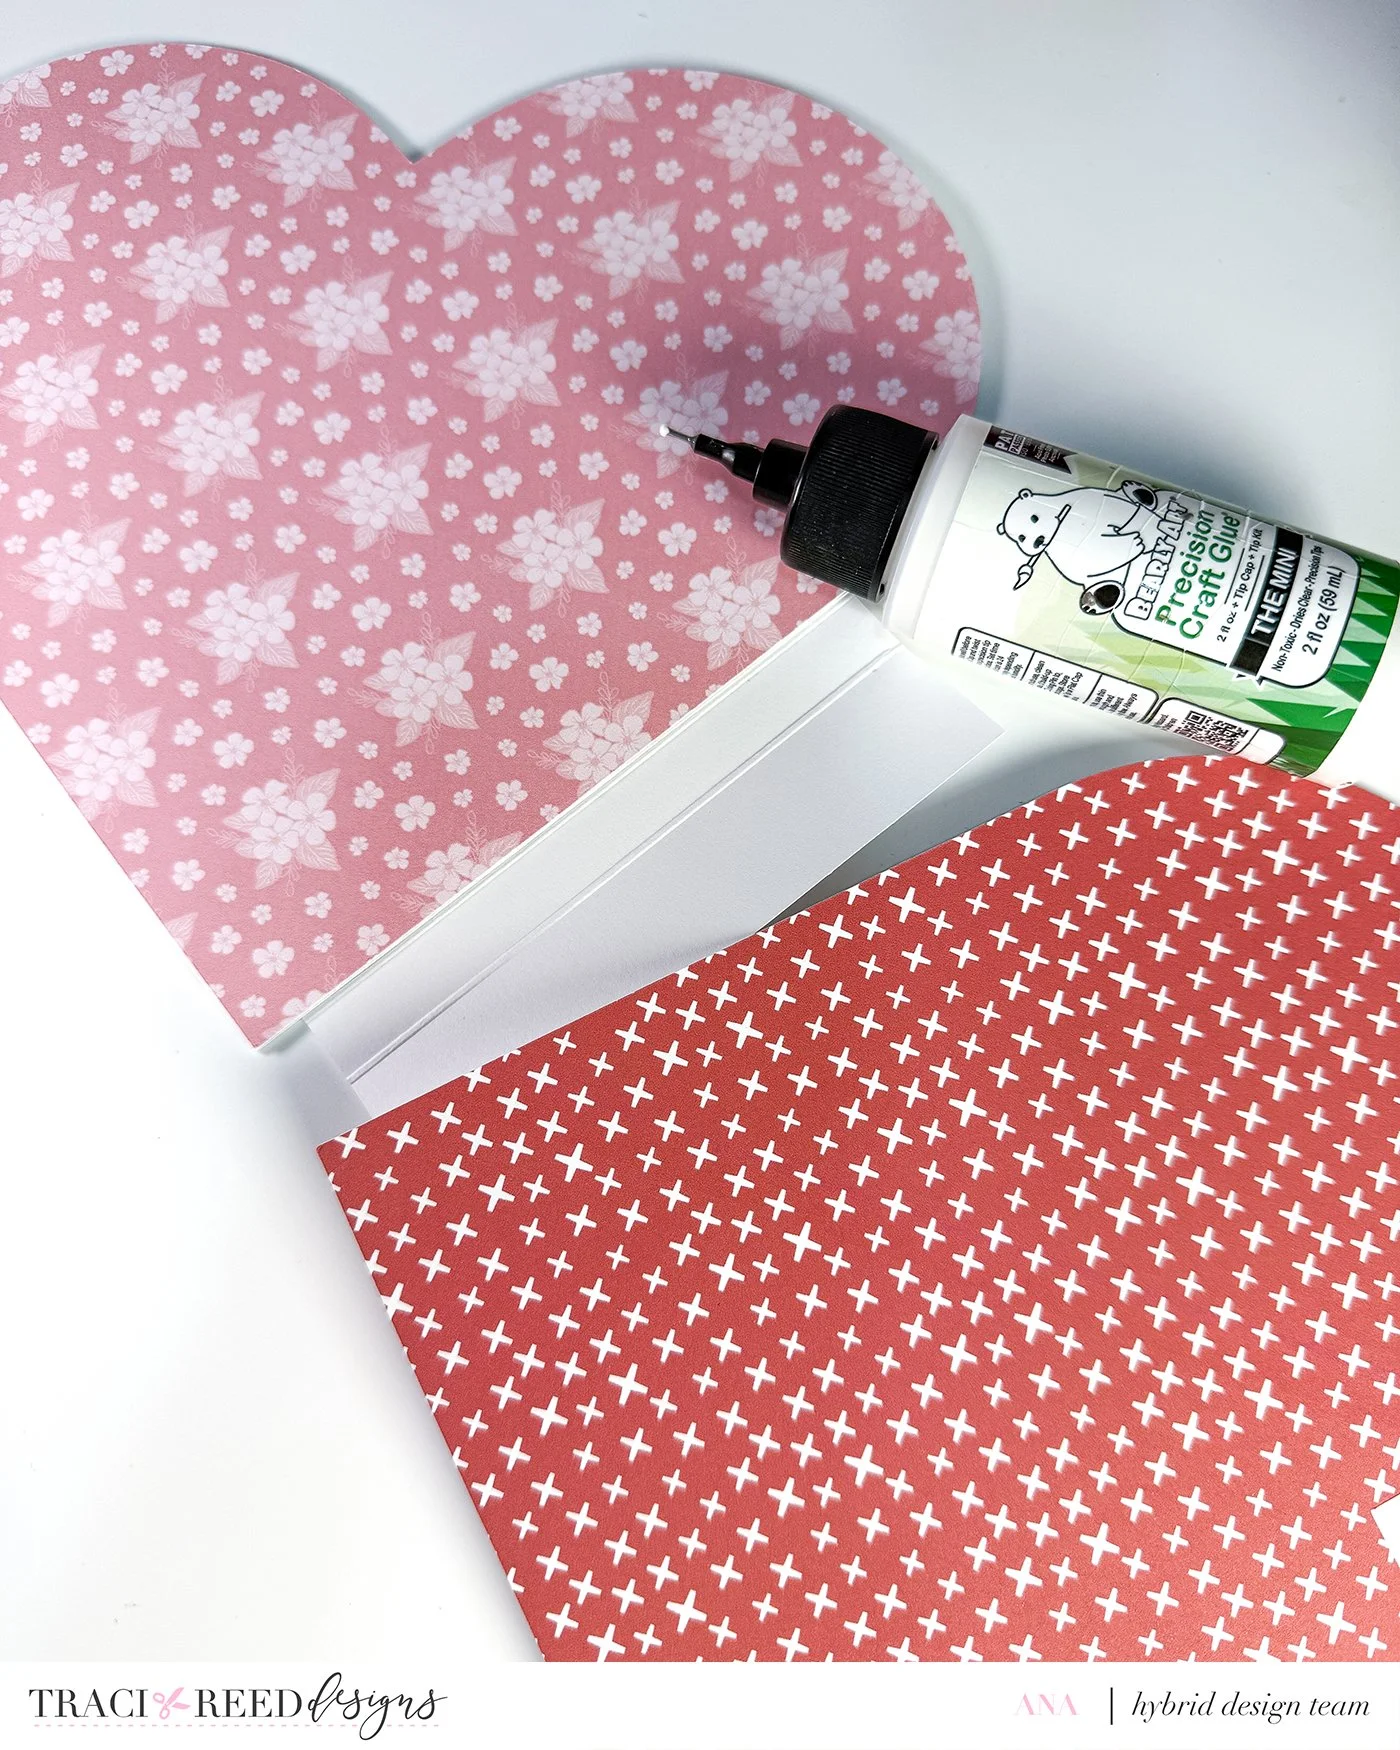
3. Add your first inner page behind the cover.
Optional: sandwich a piece of cardboard between the cover and first page for extra sturdiness.
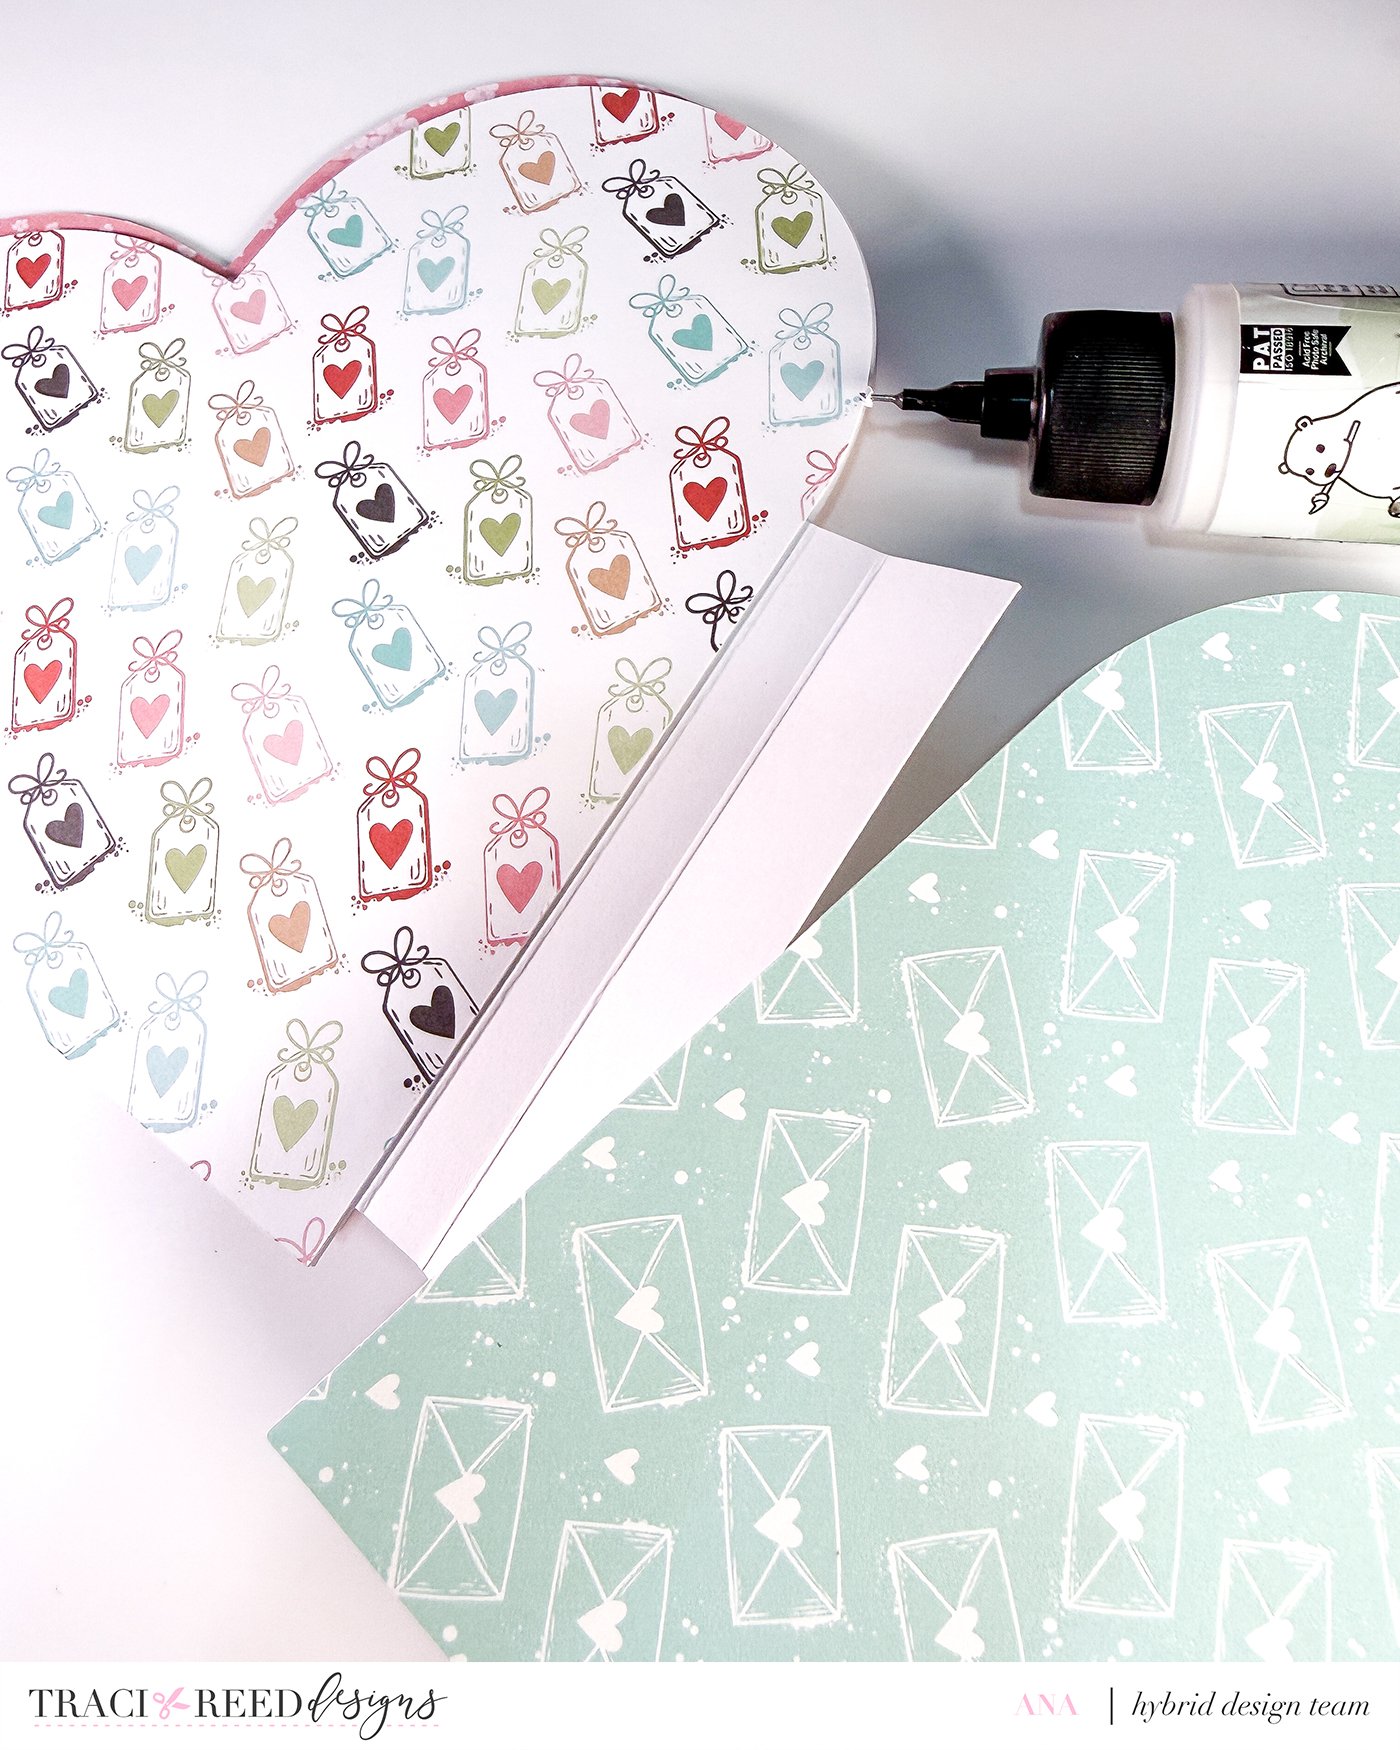
4. Glue the second page to the right side of the binding strip, making sure the hearts align when folded.
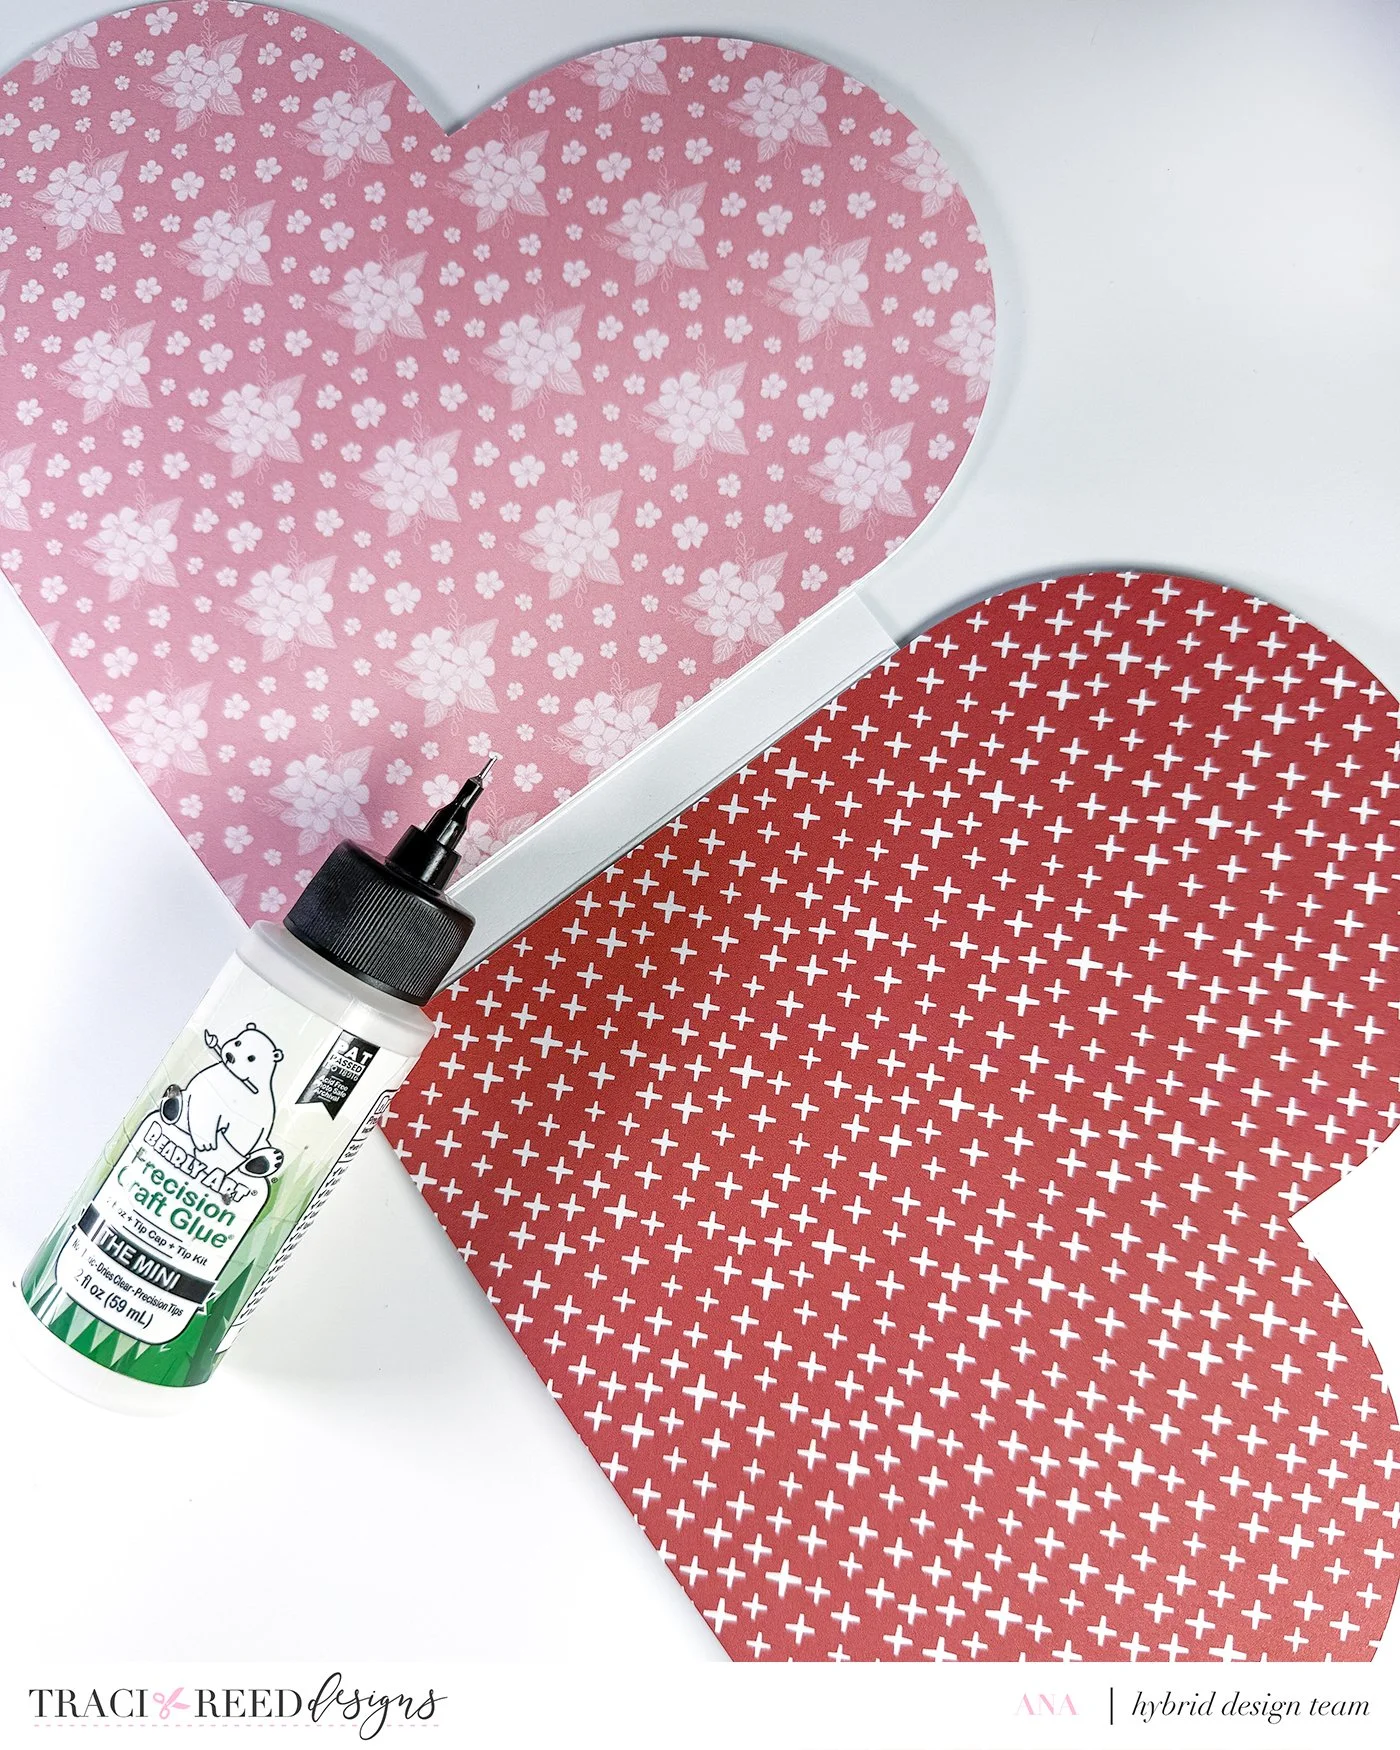
5. Flip the page over and attach another binding strip directly on top of the first.

6. Repeat this process until all six inner pages are attached.


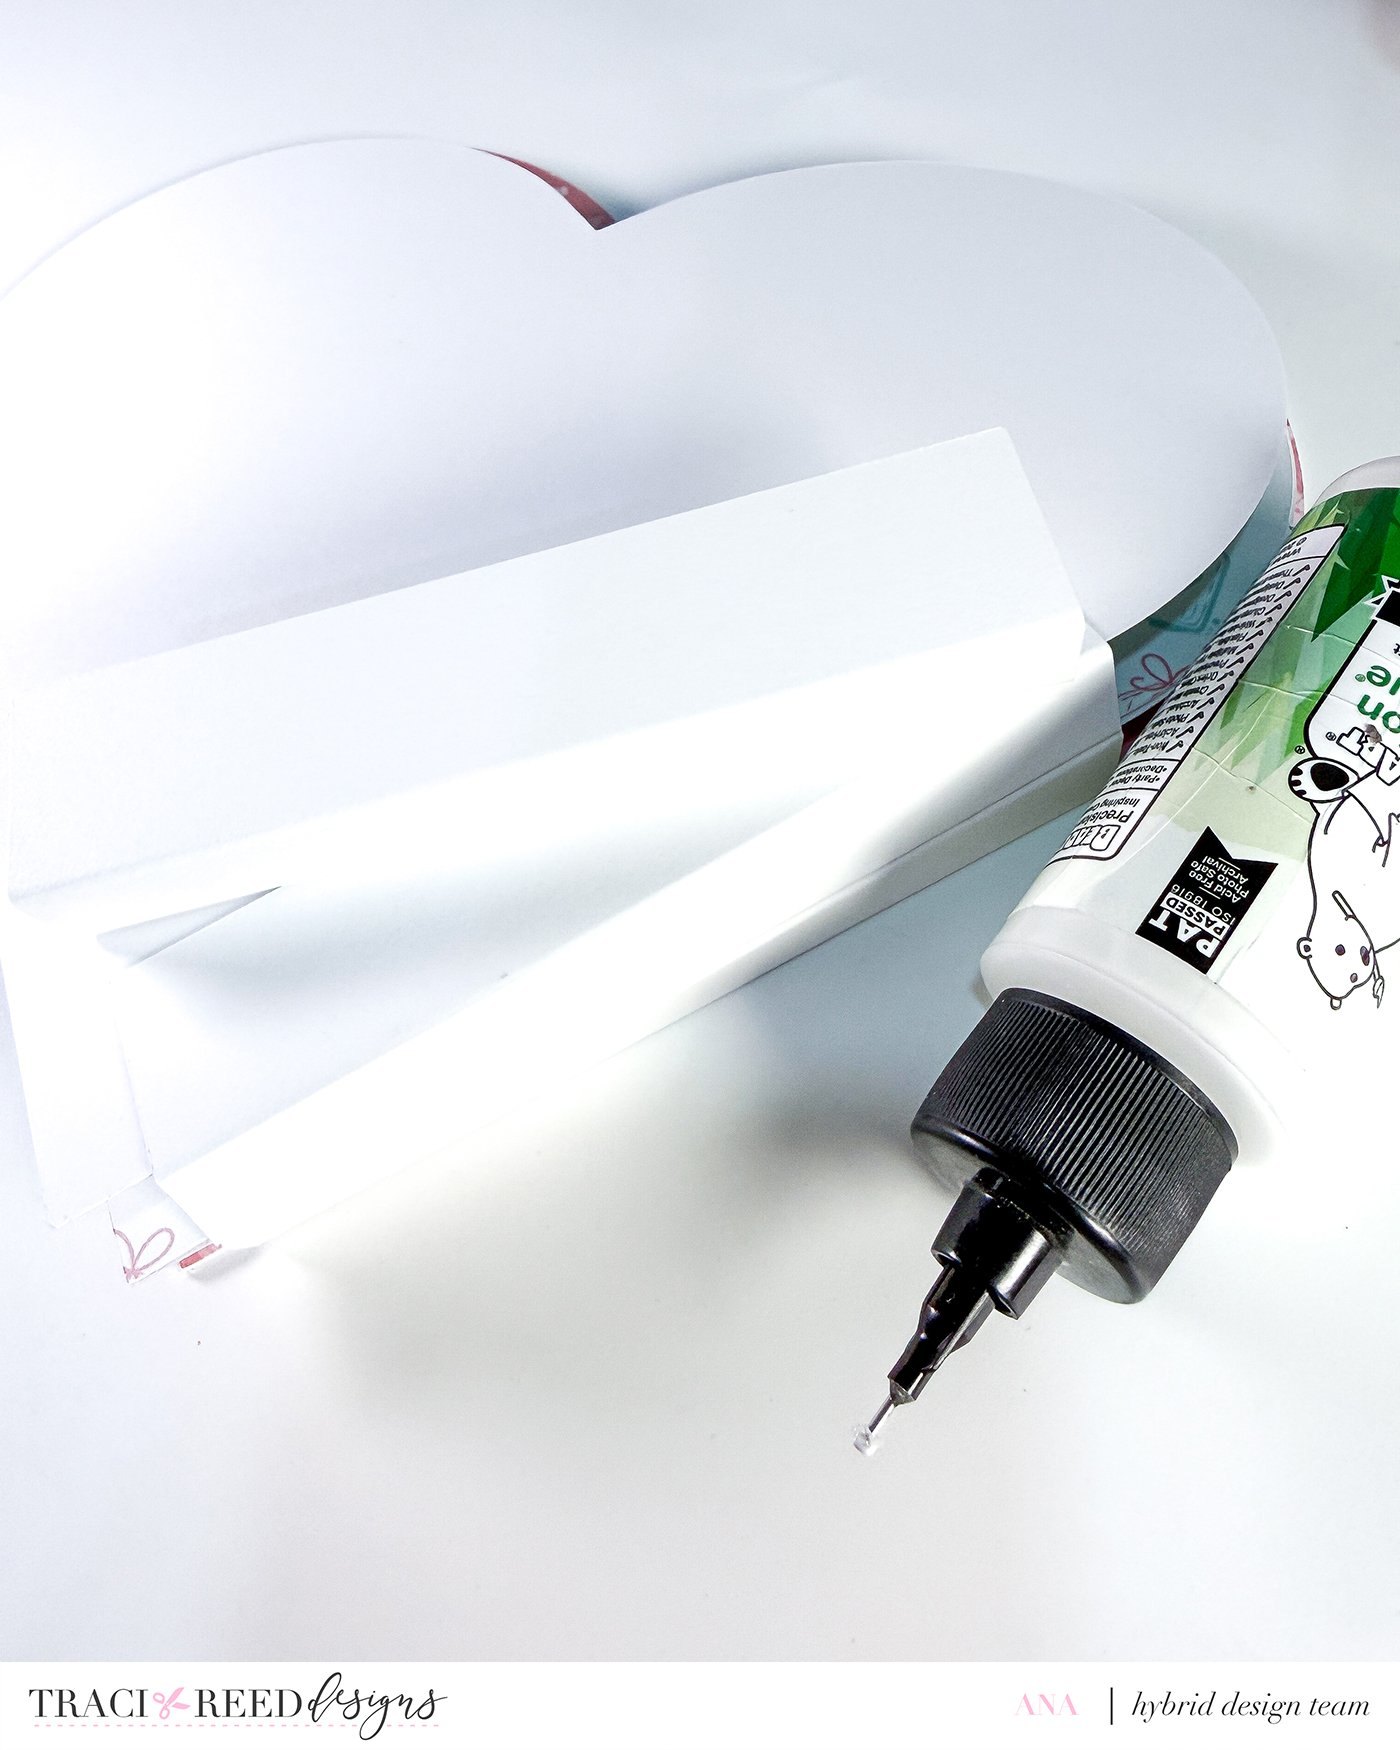

7. Glue the back cover heart to the final page (again, cardboard is optional).
Decoration Time
Tip: I always lay out my embellishments first without glue. Once I’m happy with the placement, I take a photo and use it as a reference while gluing everything down.
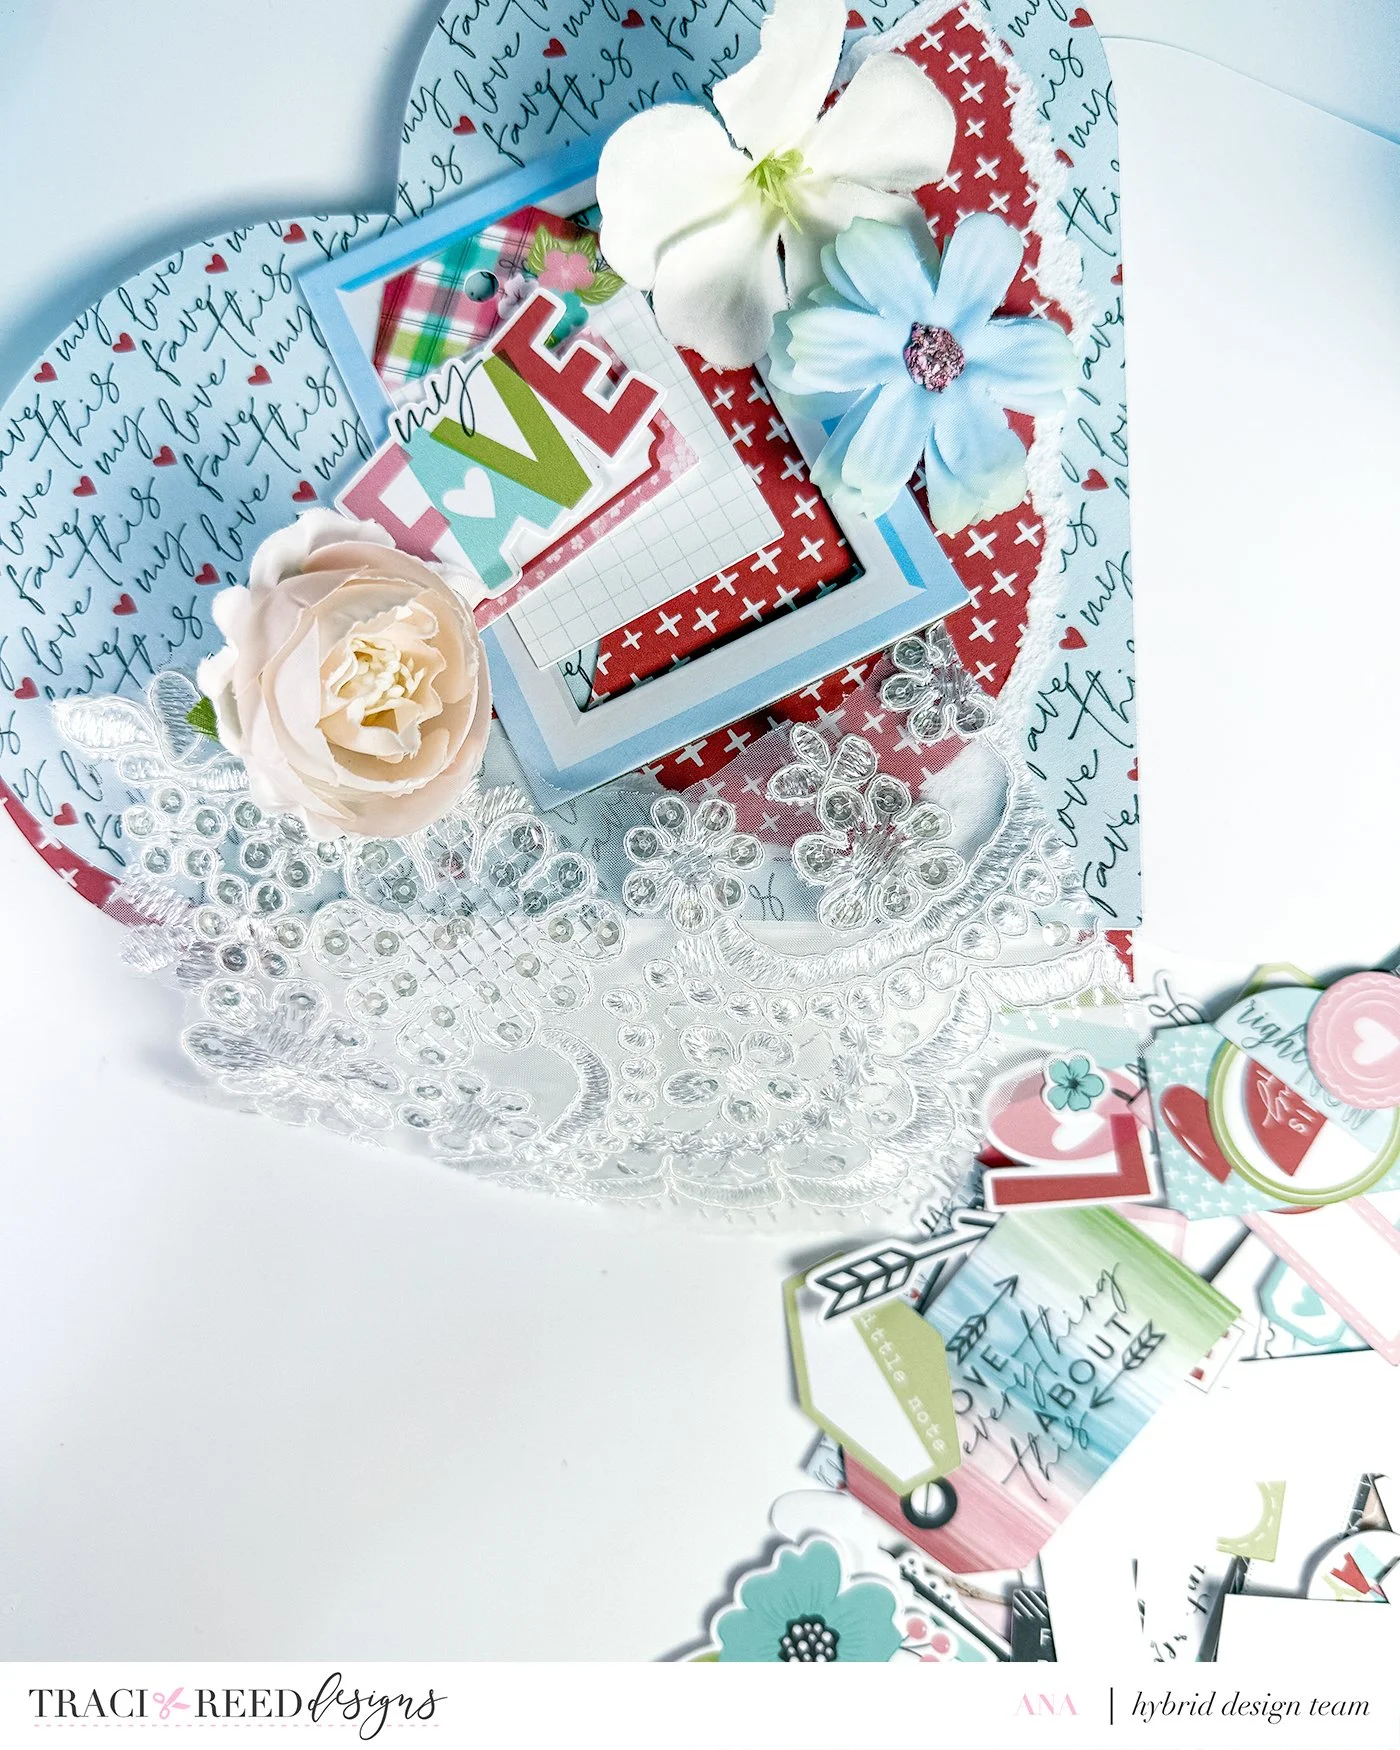
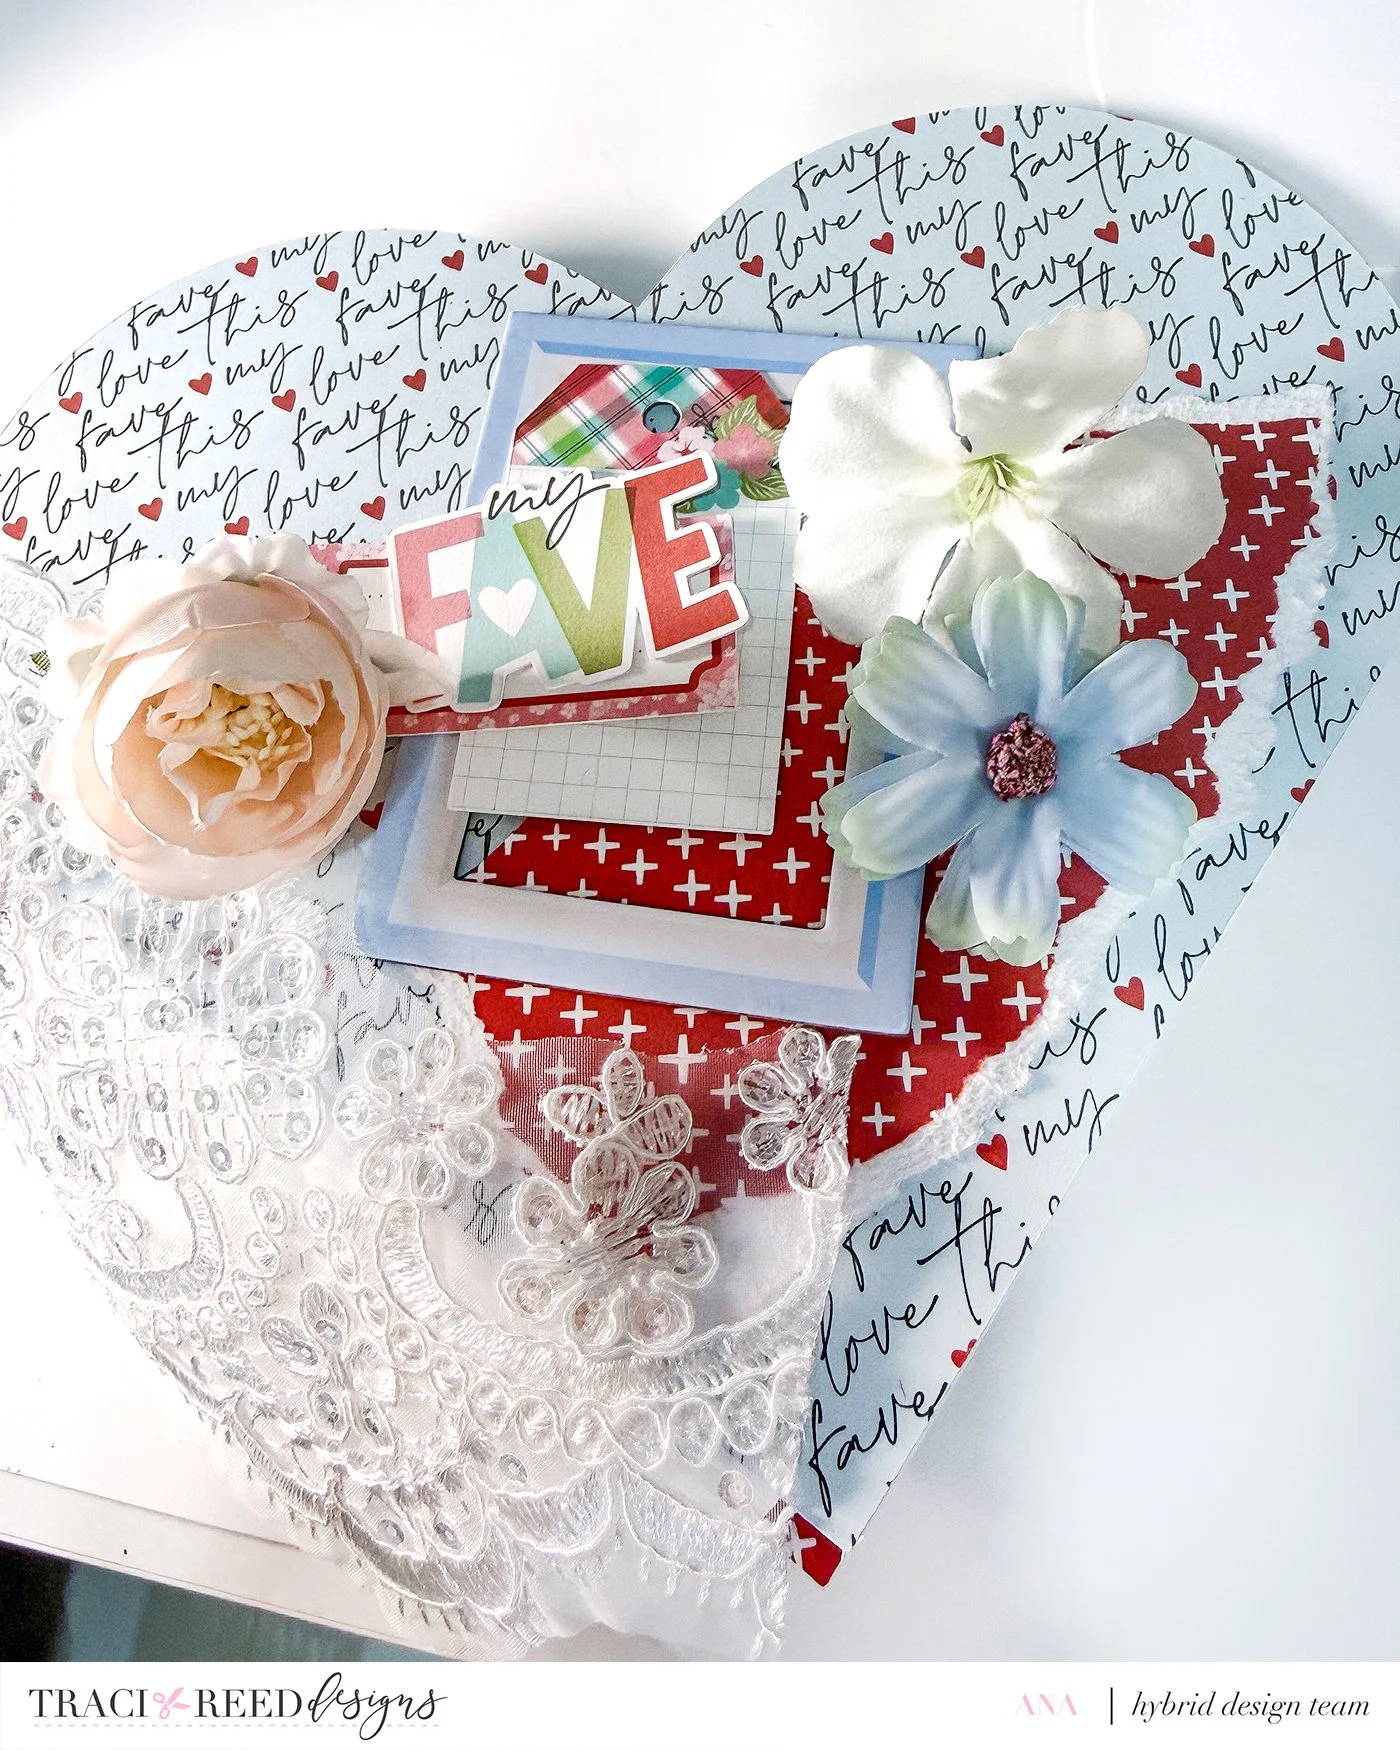
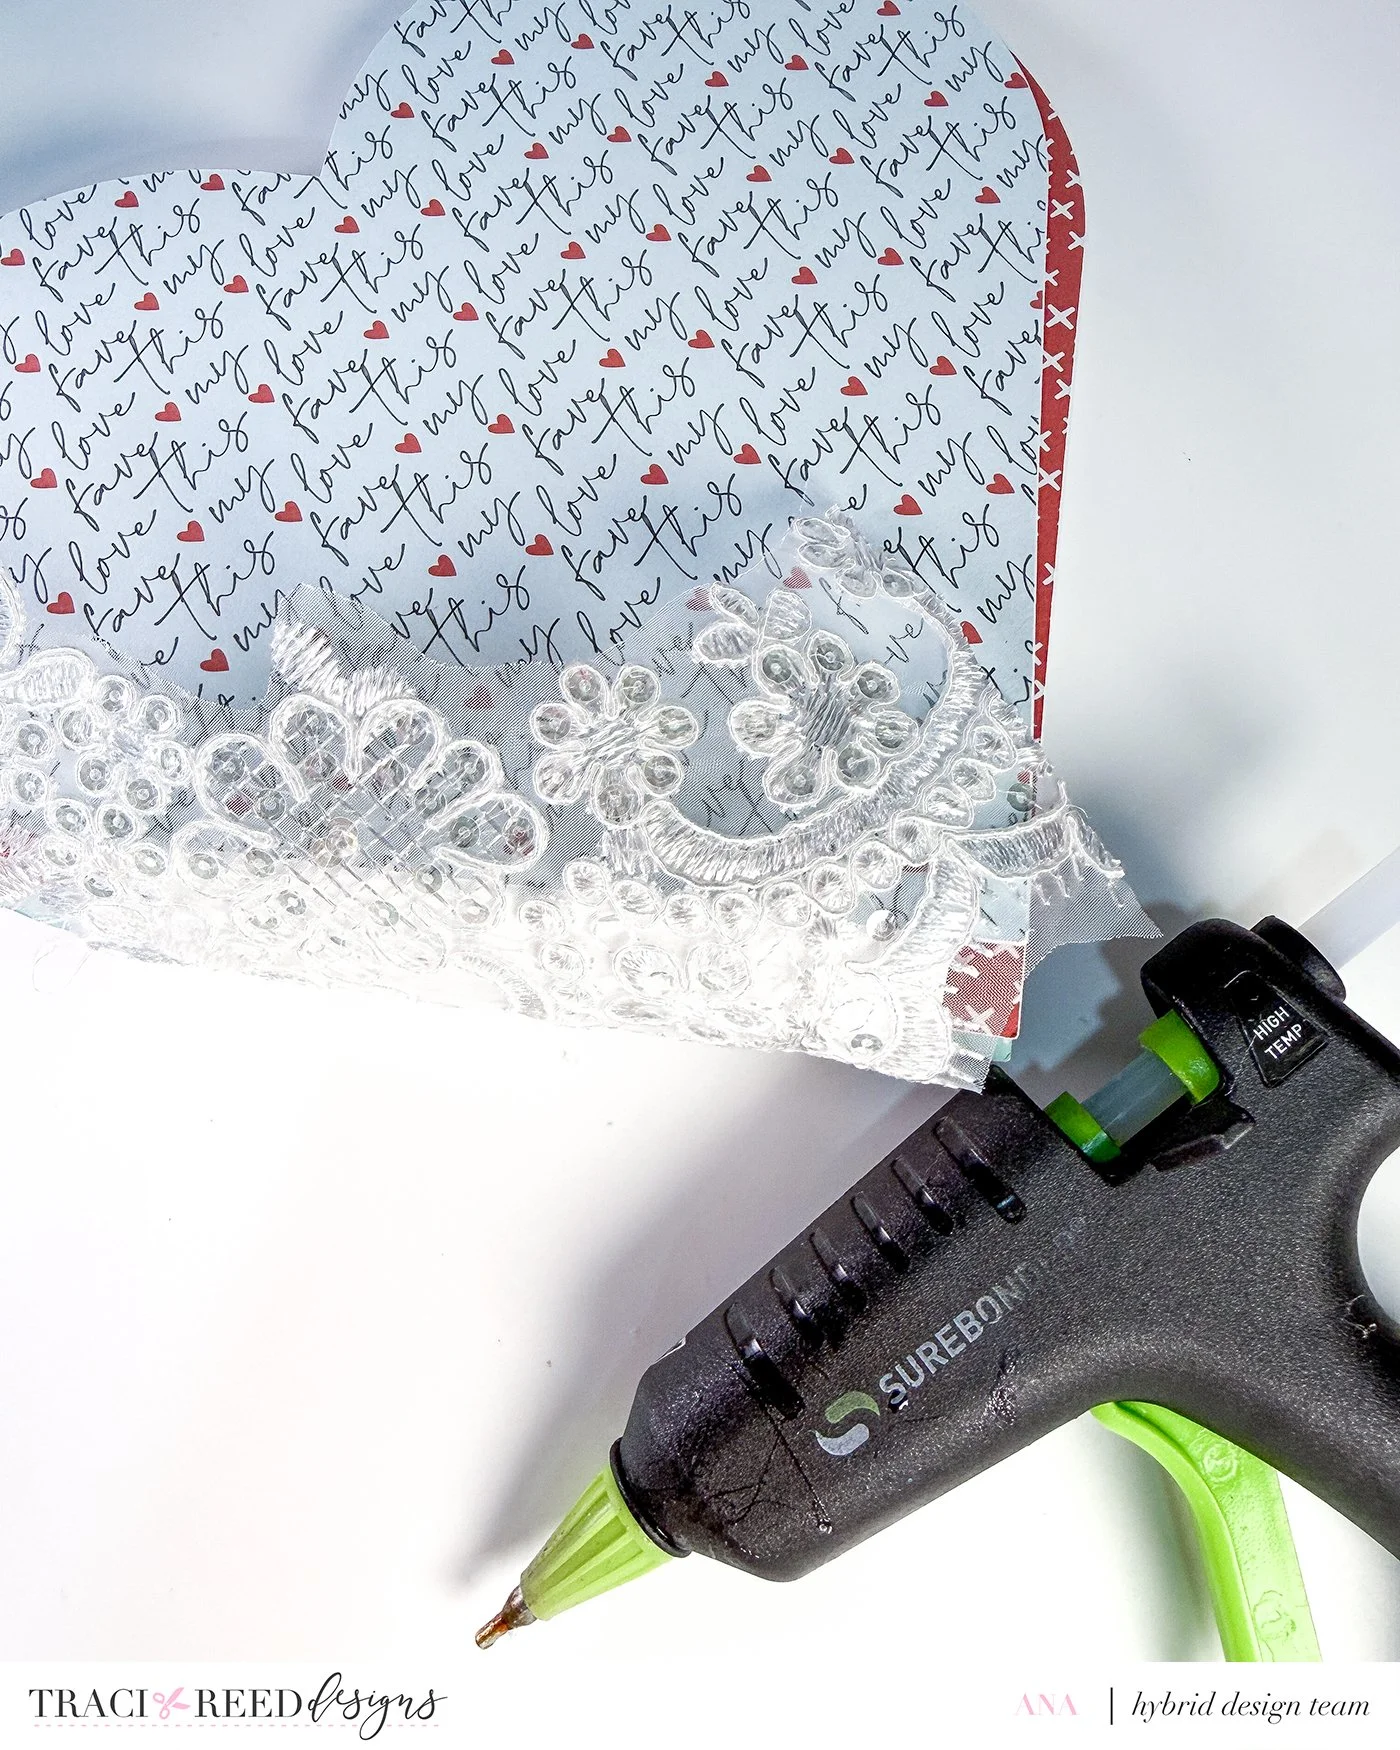
Cover Page
• Cover the spine with lace using a glue gun
• Torn patterned paper scraps
• Chipboard frame
• Floral embellishments from the collection
• Extra flowers and a butterfly embellishment
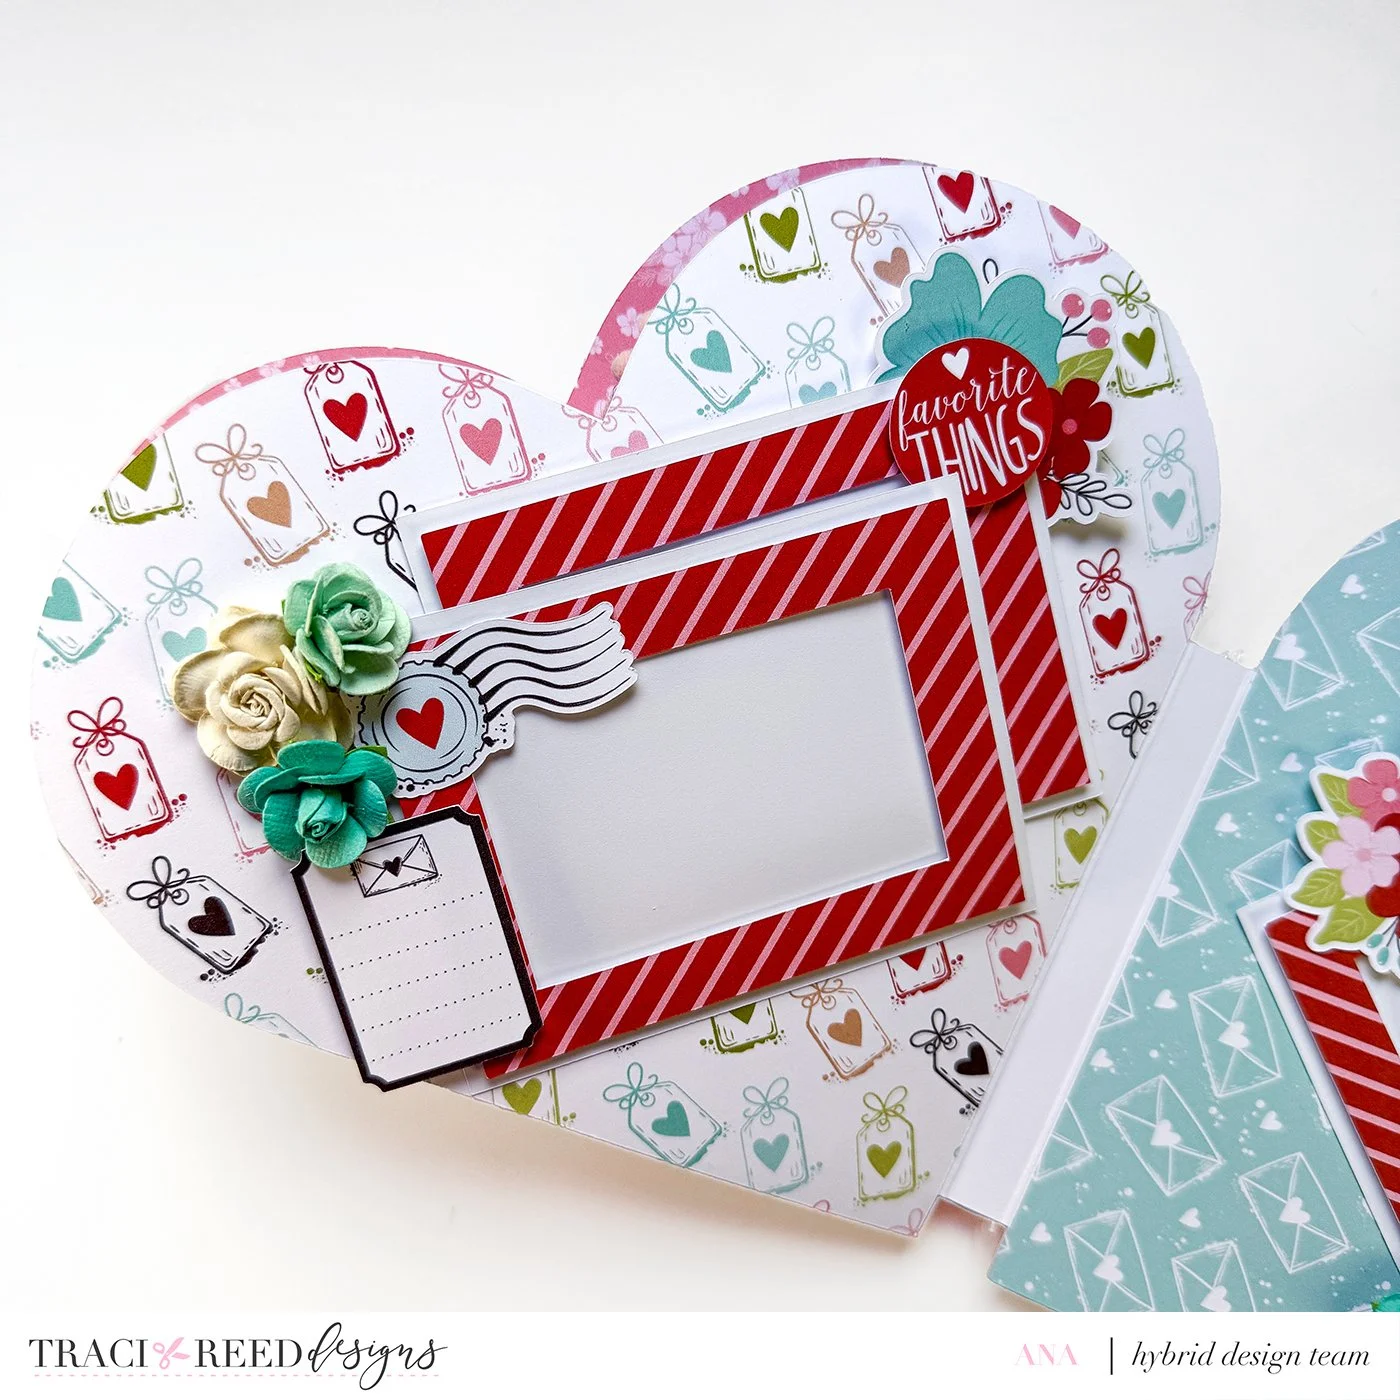
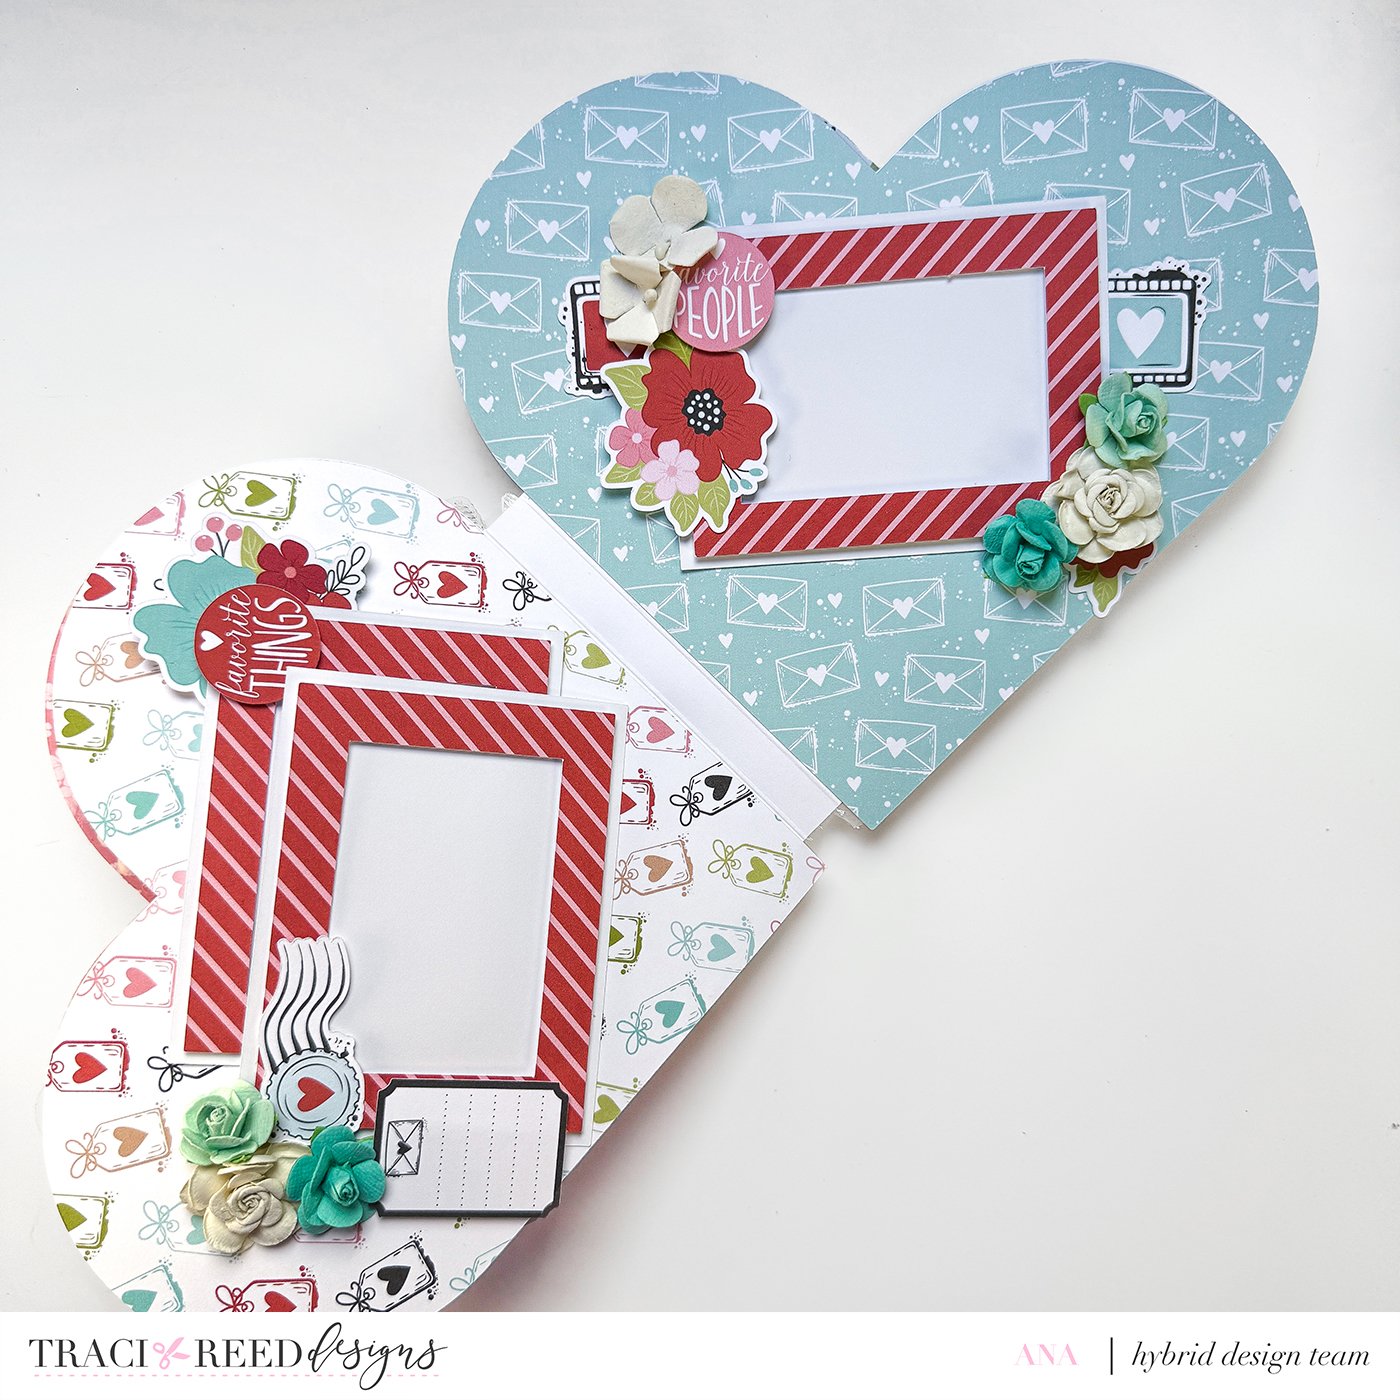
First Page
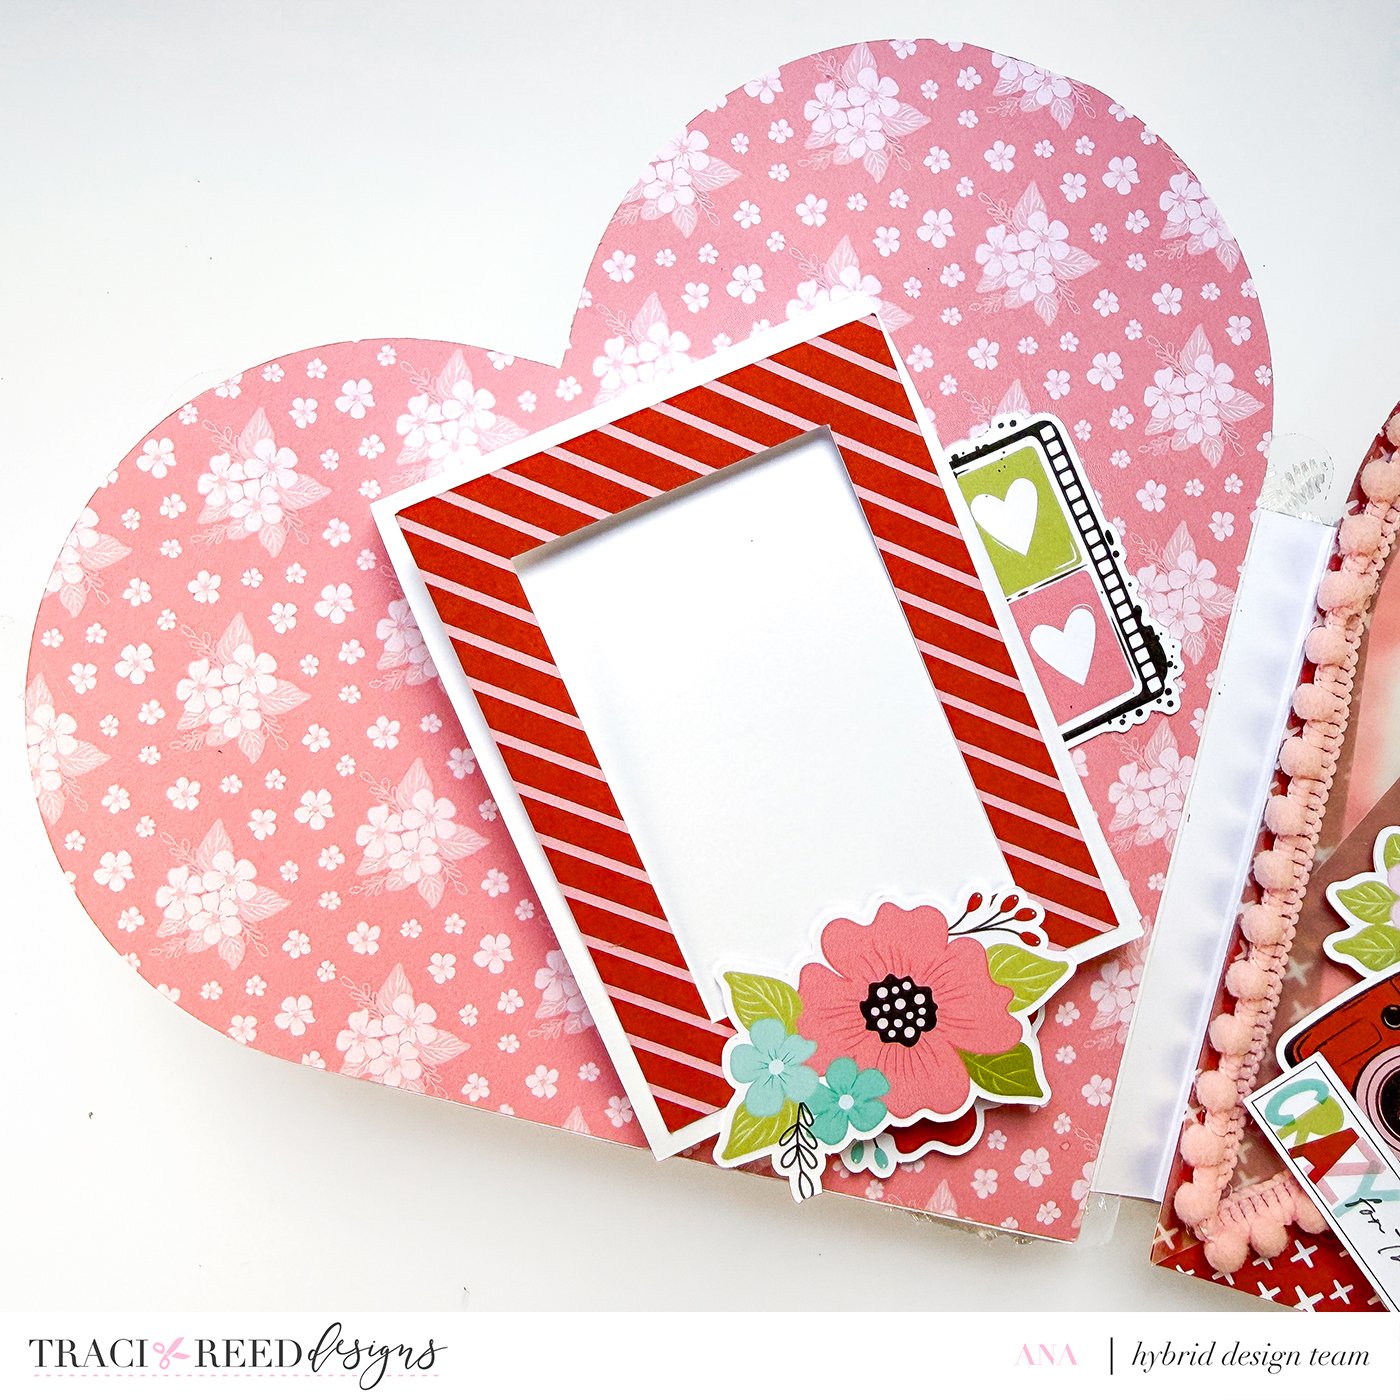
Adhere three 3x4 frames to photo mats (glue only at the bottom)
Use flip strips to layer the frames together
Add embellishments at the bottom of each frame using foam tape
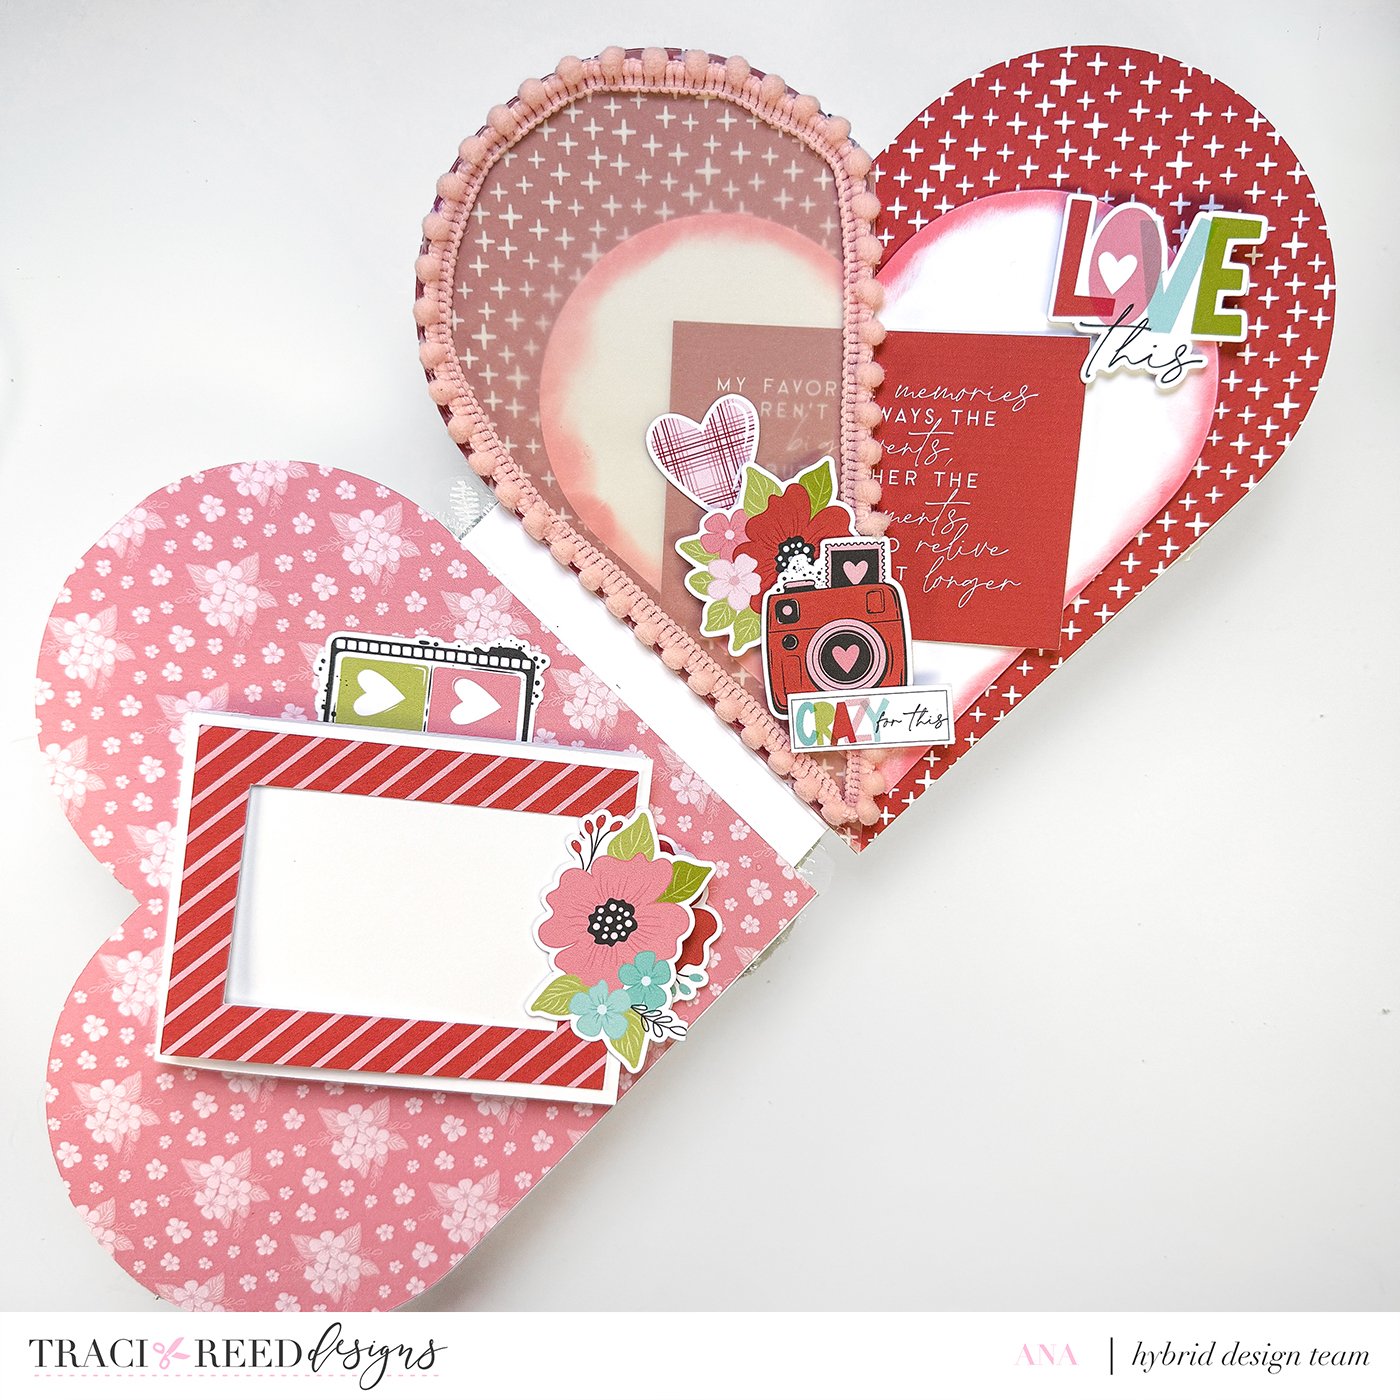
Second Page
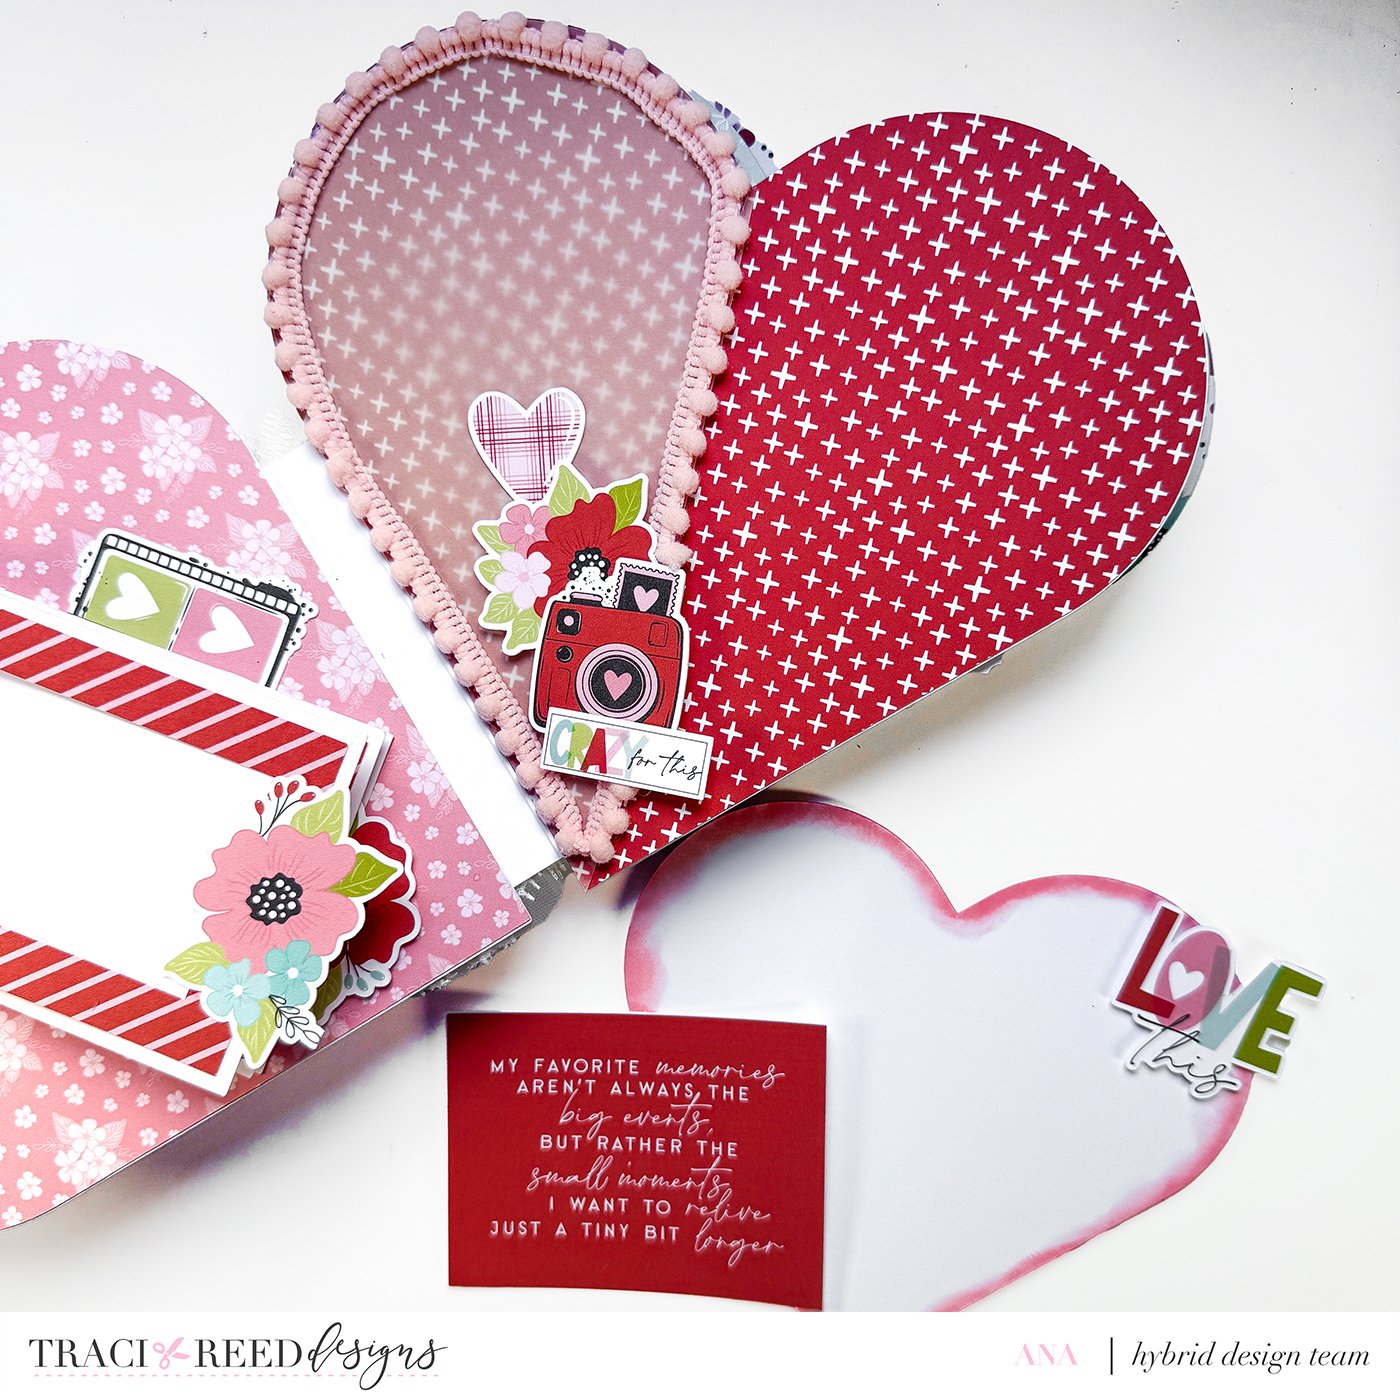
Adhere the vellum half-heart to create a pocket
Add pompom trim around the edges
Insert journaling cards and a smaller heart
Ink the heart edges with Distress Oxide
Embellish the pocket and heart
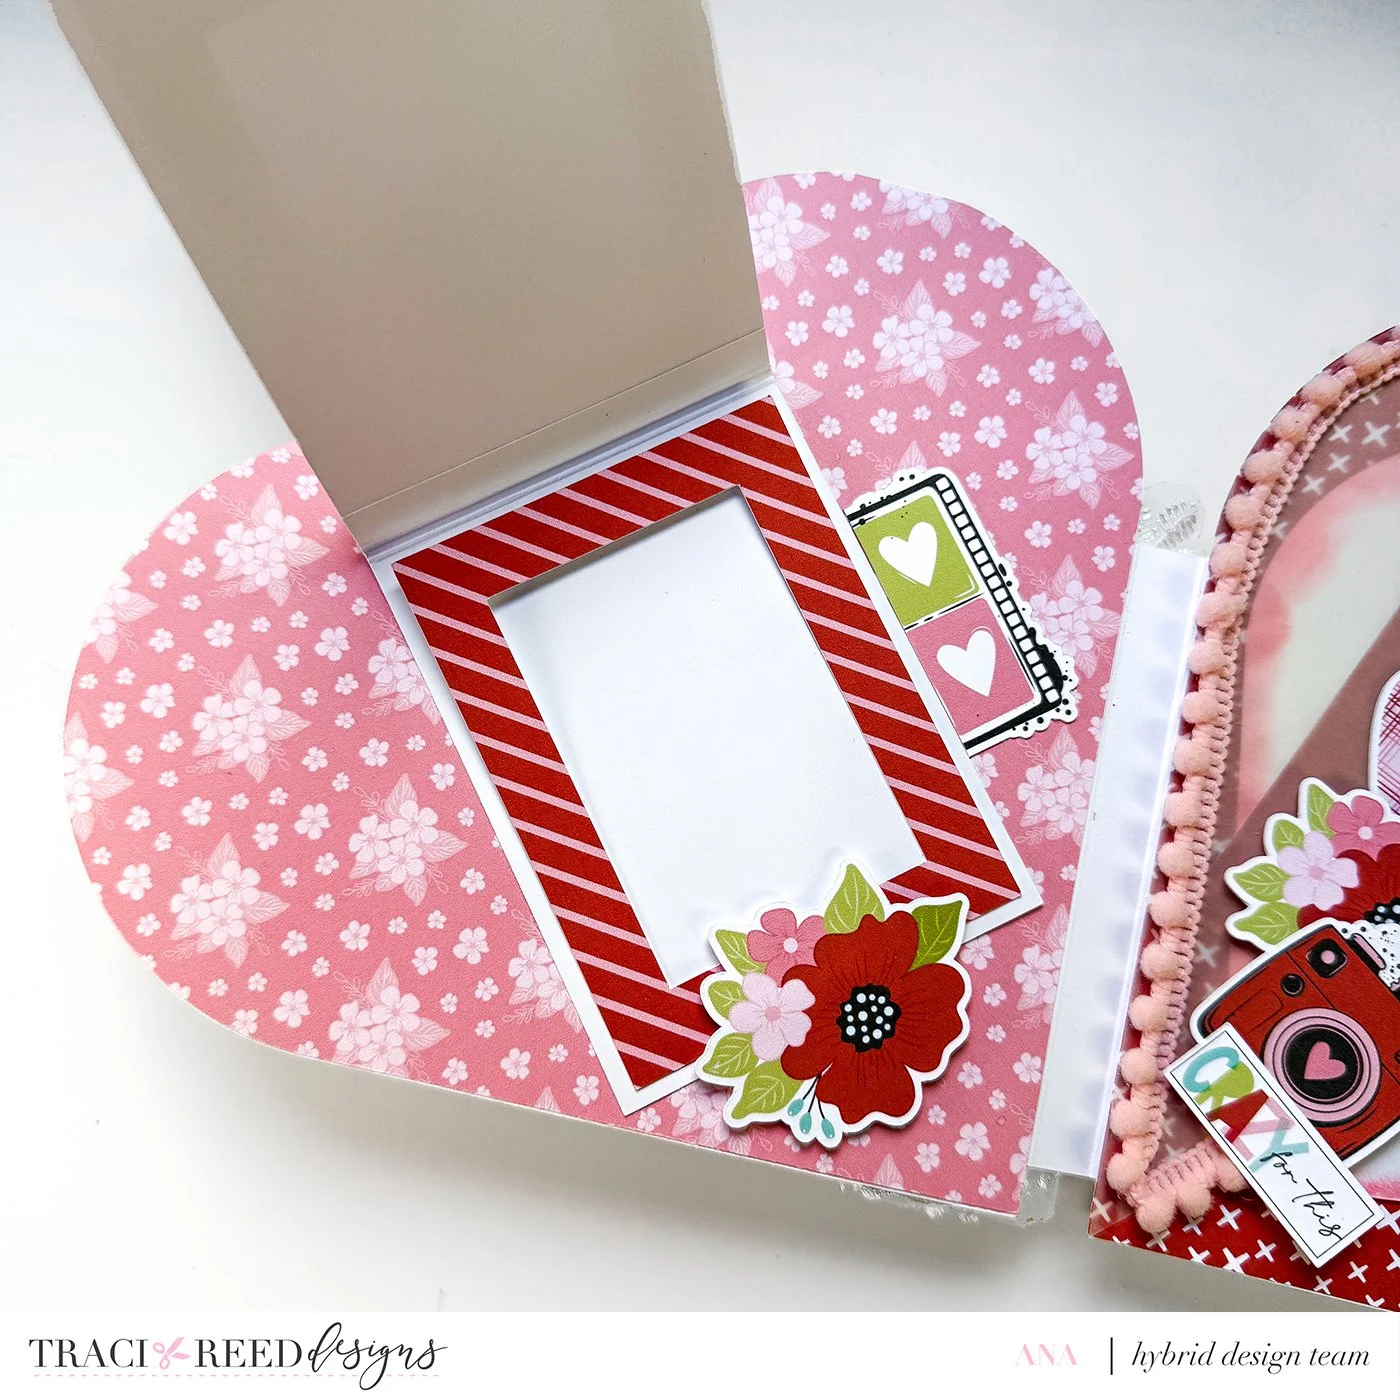
Third Page
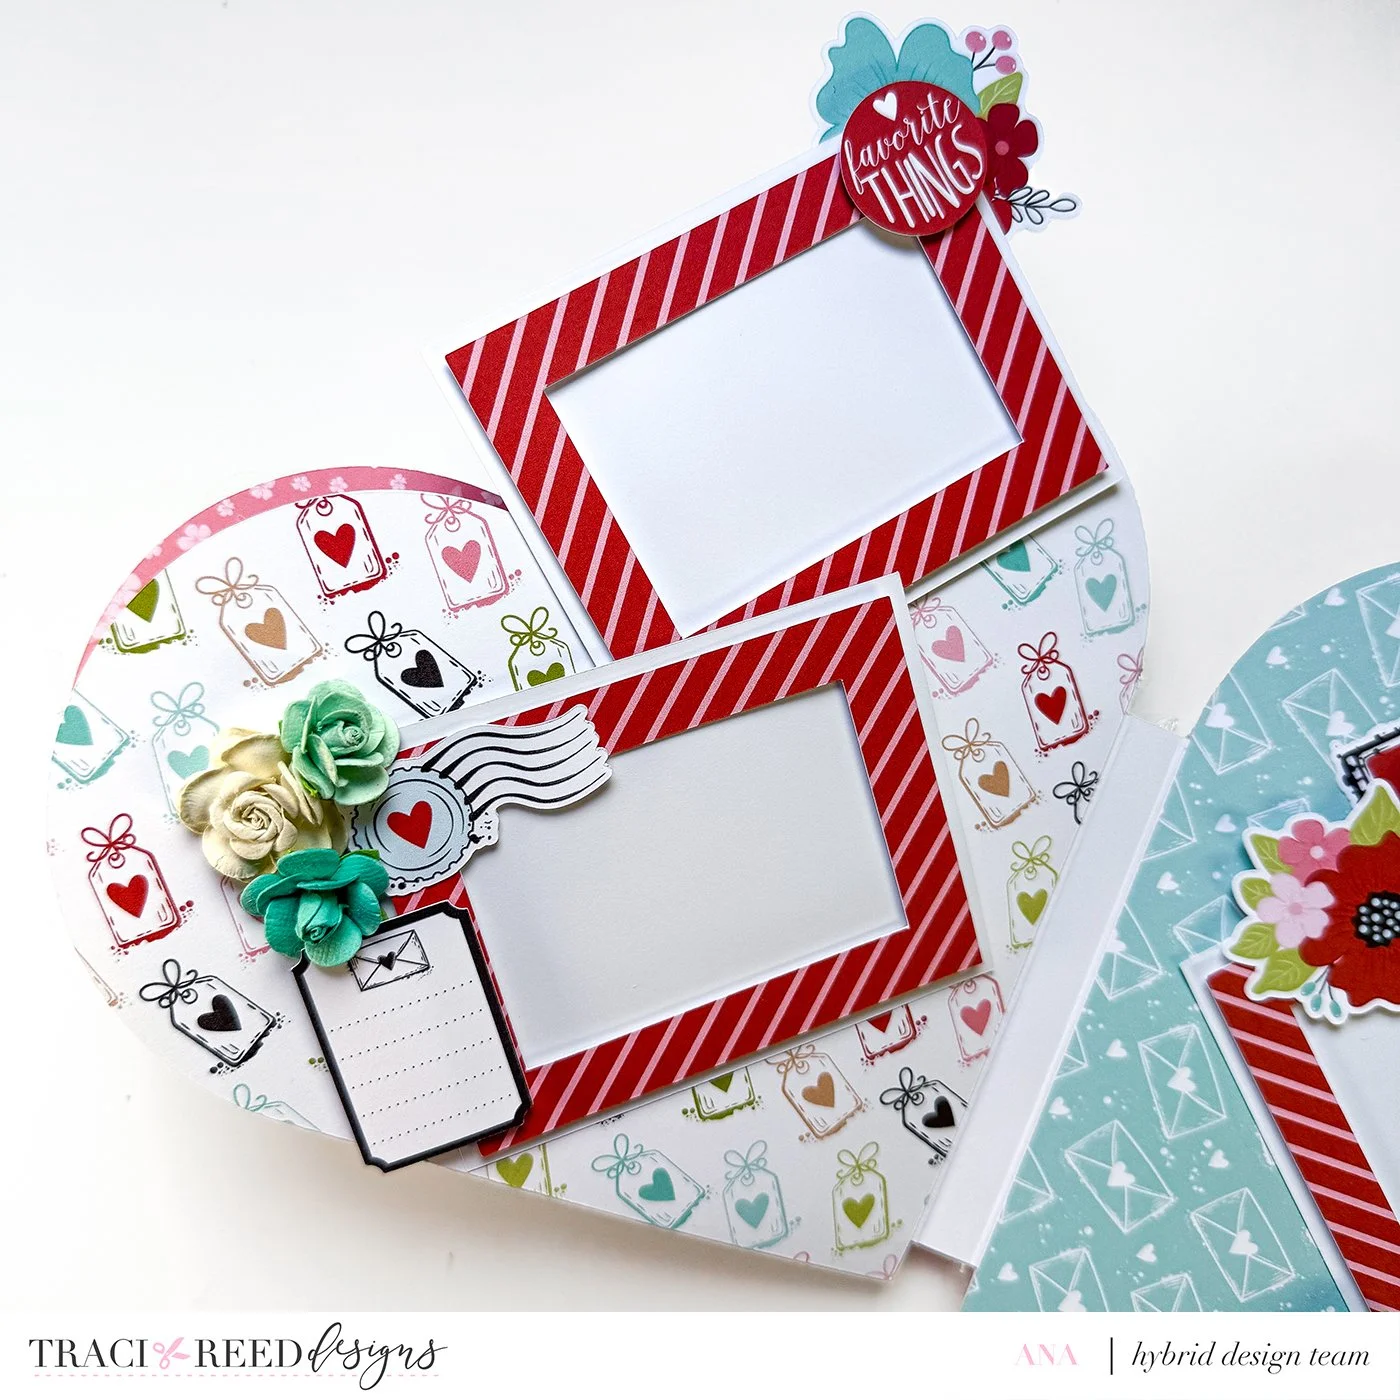
Layer two frames using foam tape
Leave tops open for photo insertion
Glue only the left and bottom edges of the top frame
Fourth Page
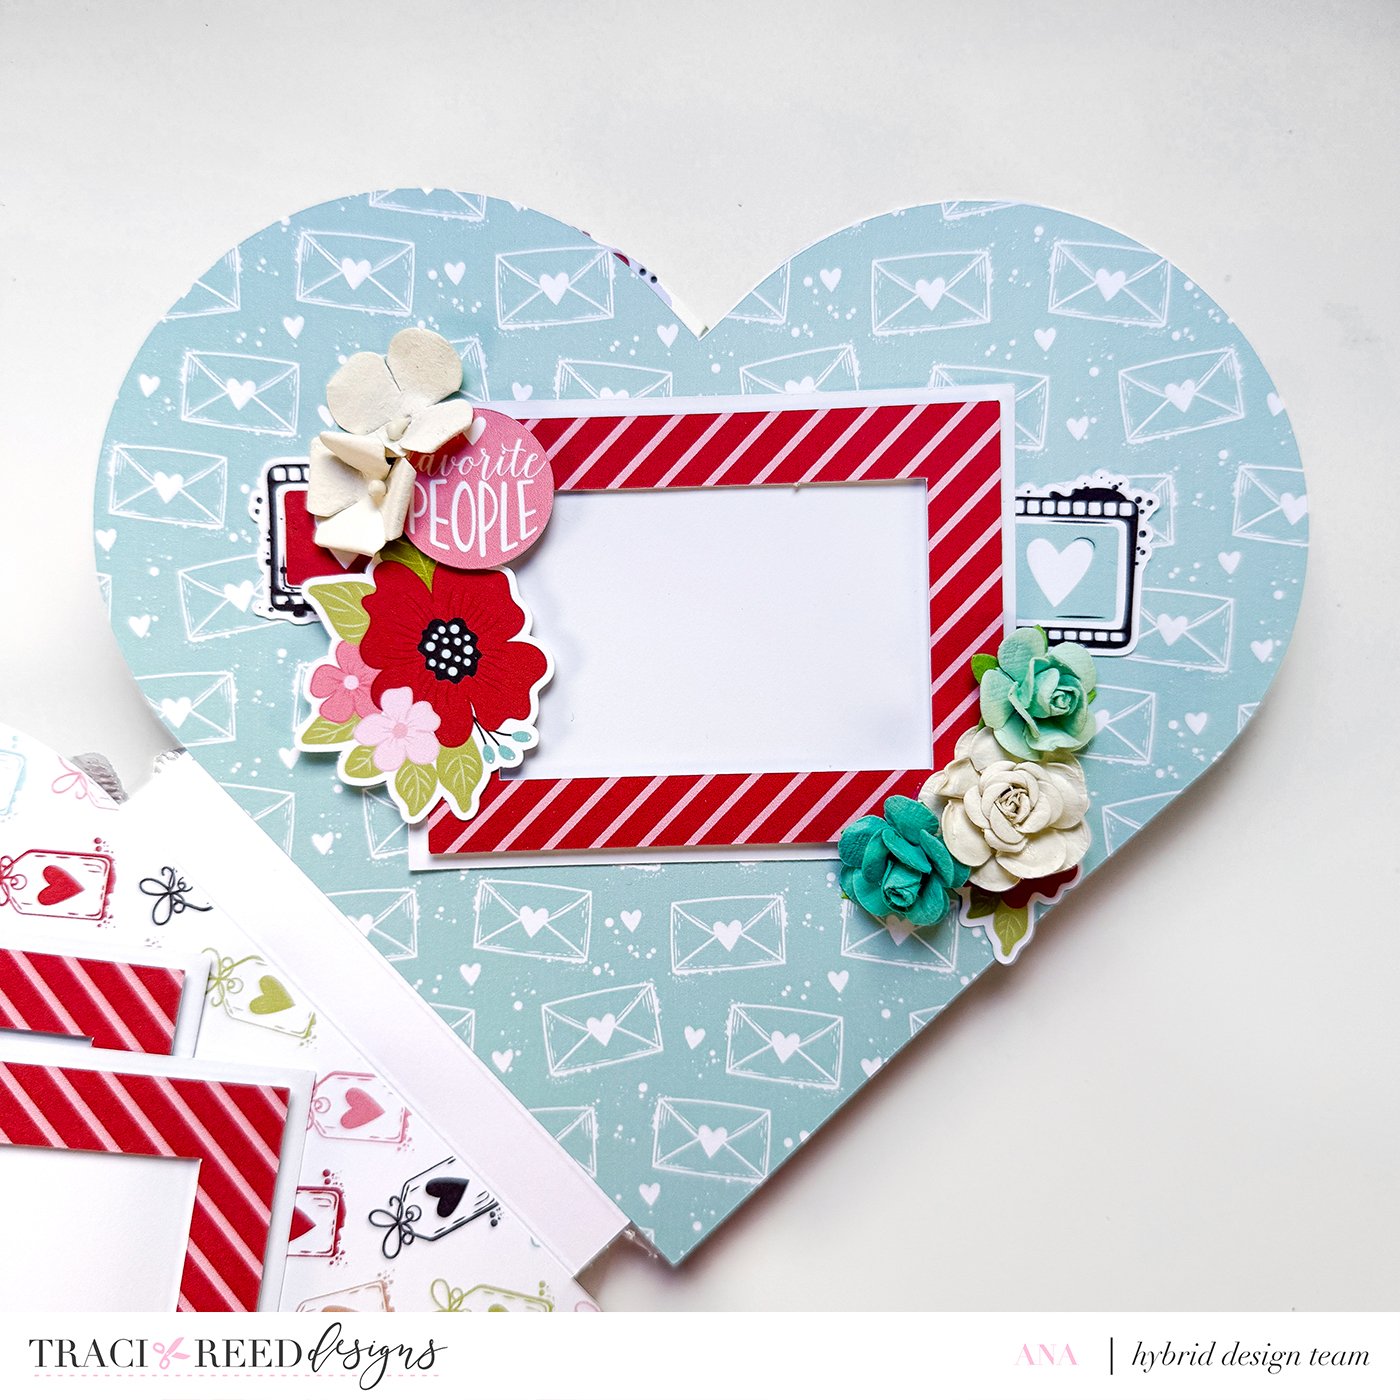
One frame layered with foam tape
Leave top open for photos
Add embellishments
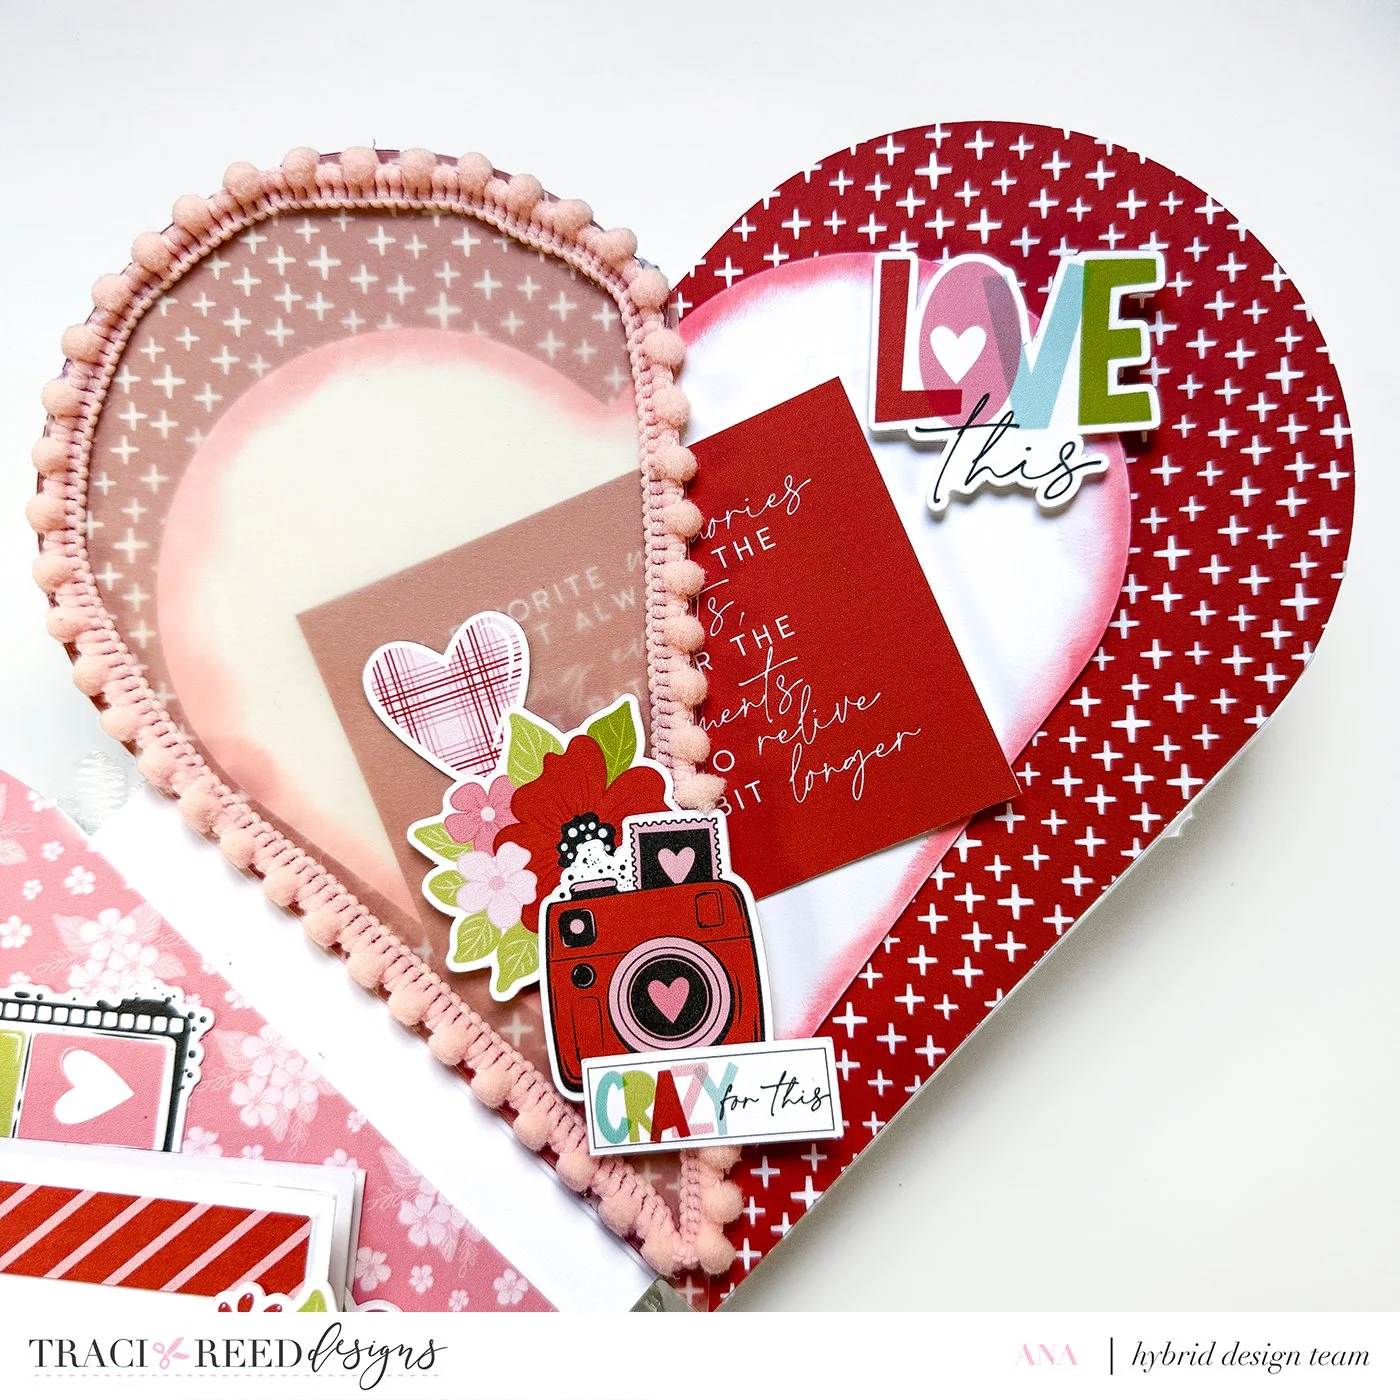
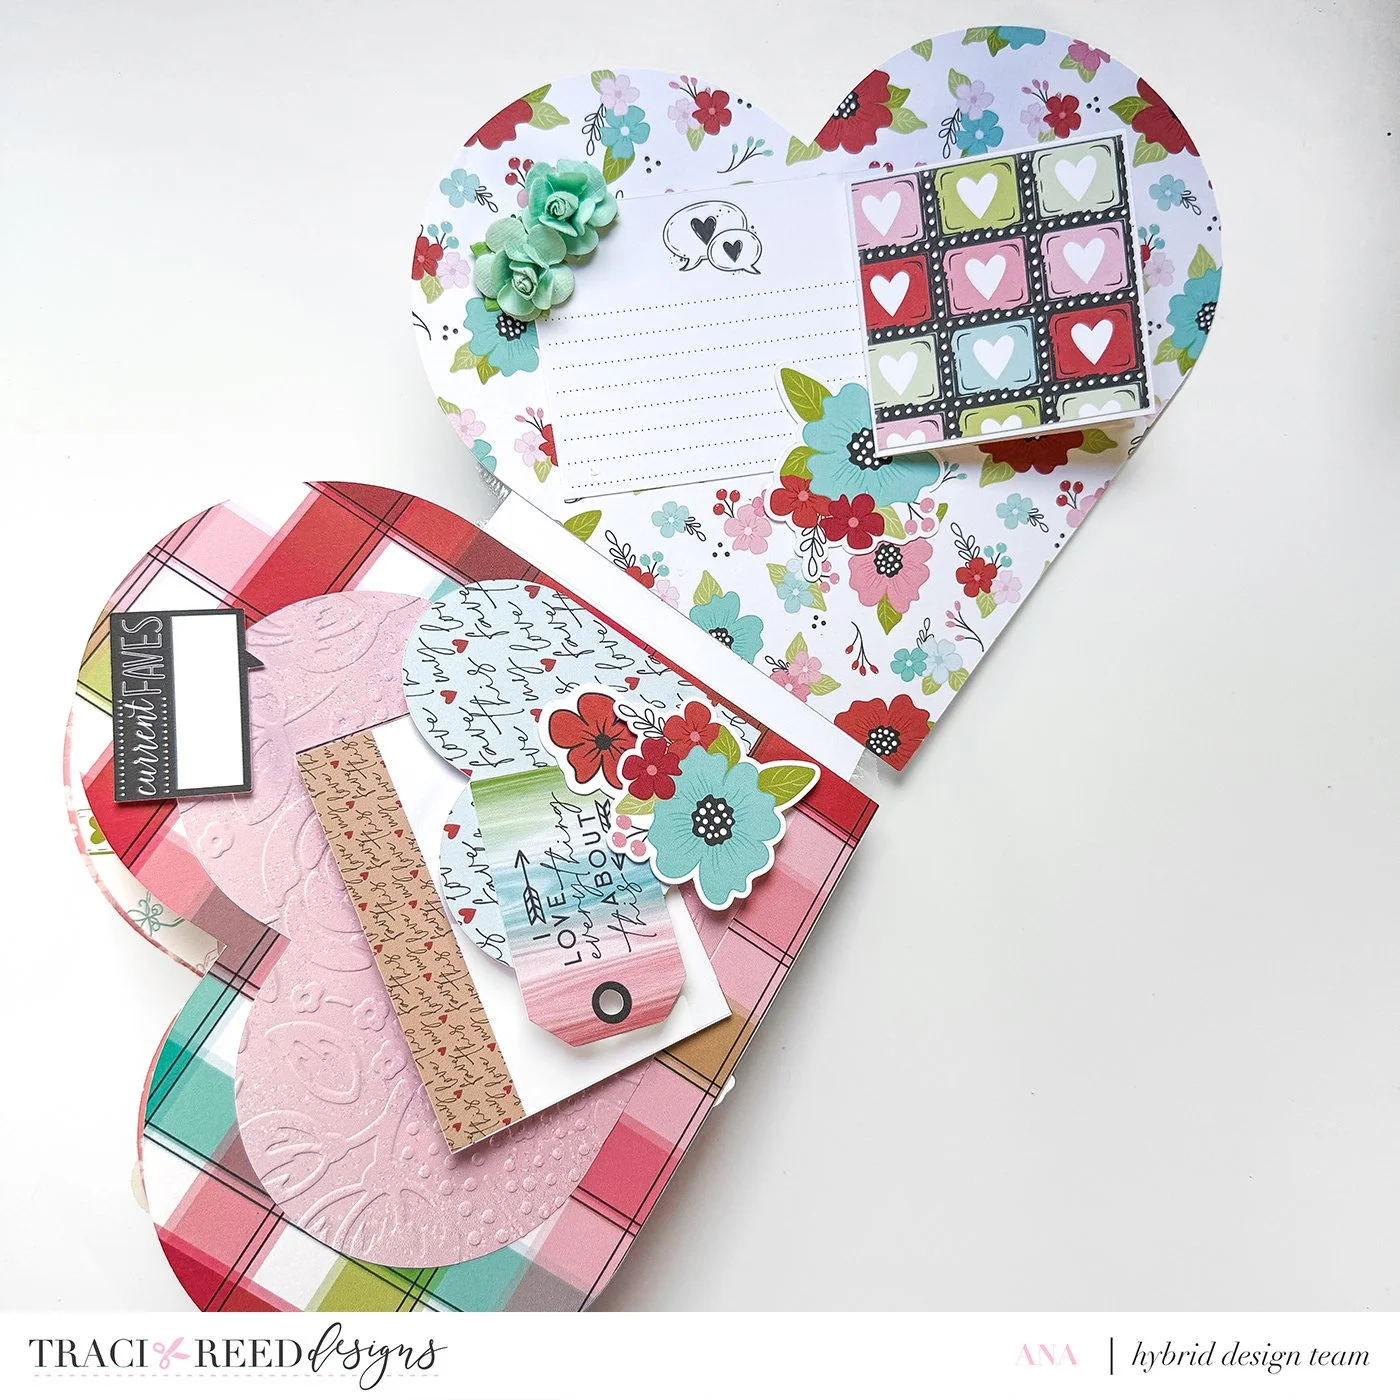
Fifth Page
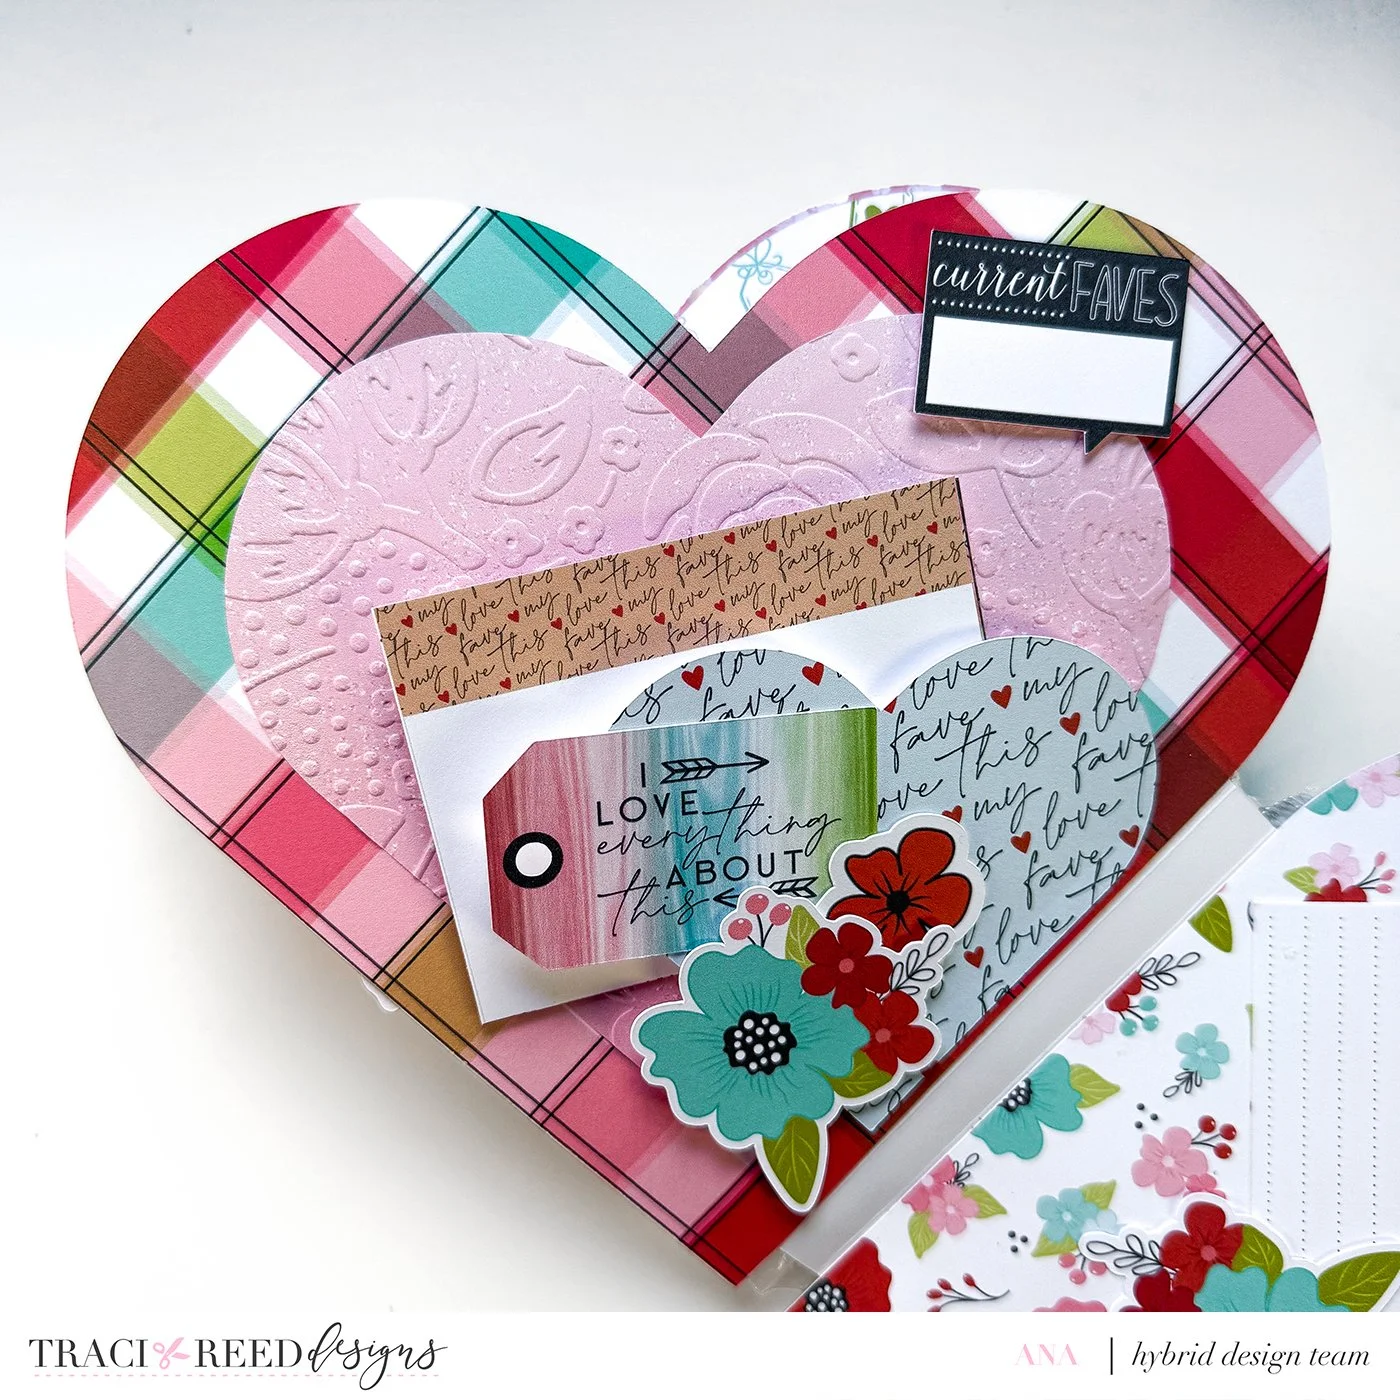
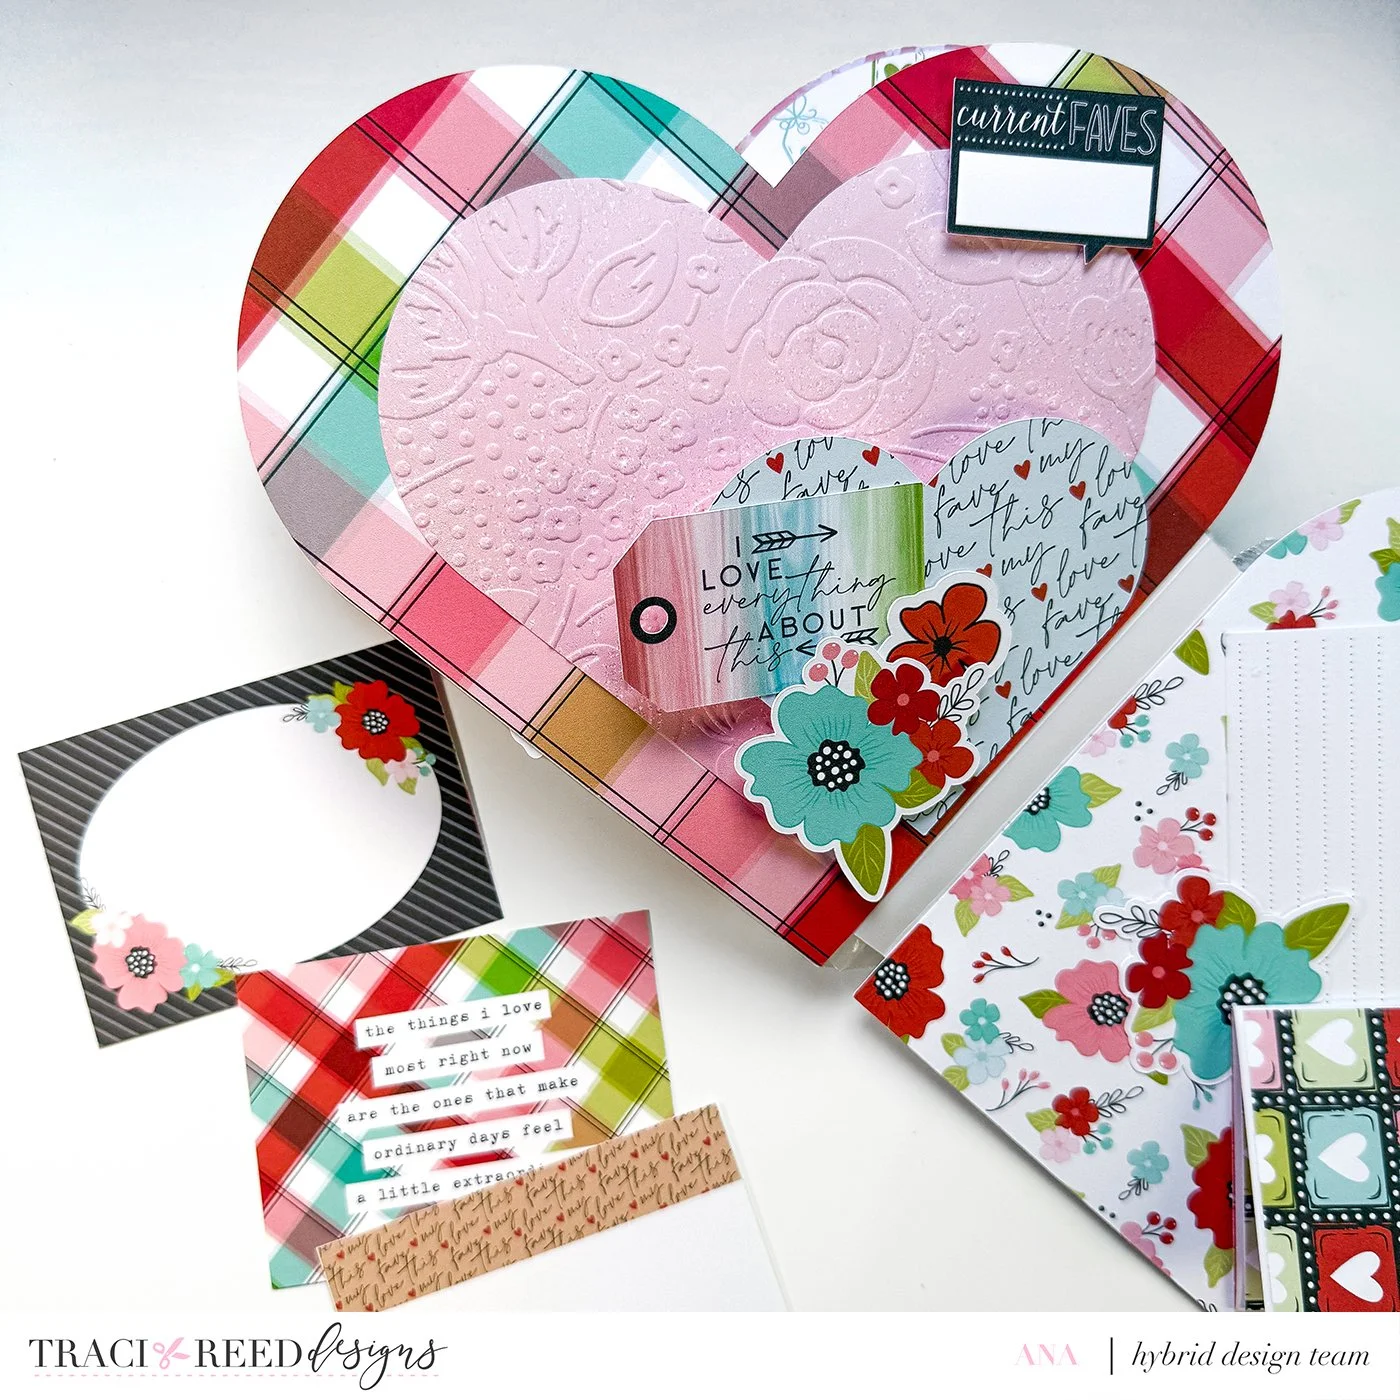
Emboss the medium-sized heart for texture
Adhere the smallest heart as a tuck spot
Add journaling cards and embellishments
Sixth Page
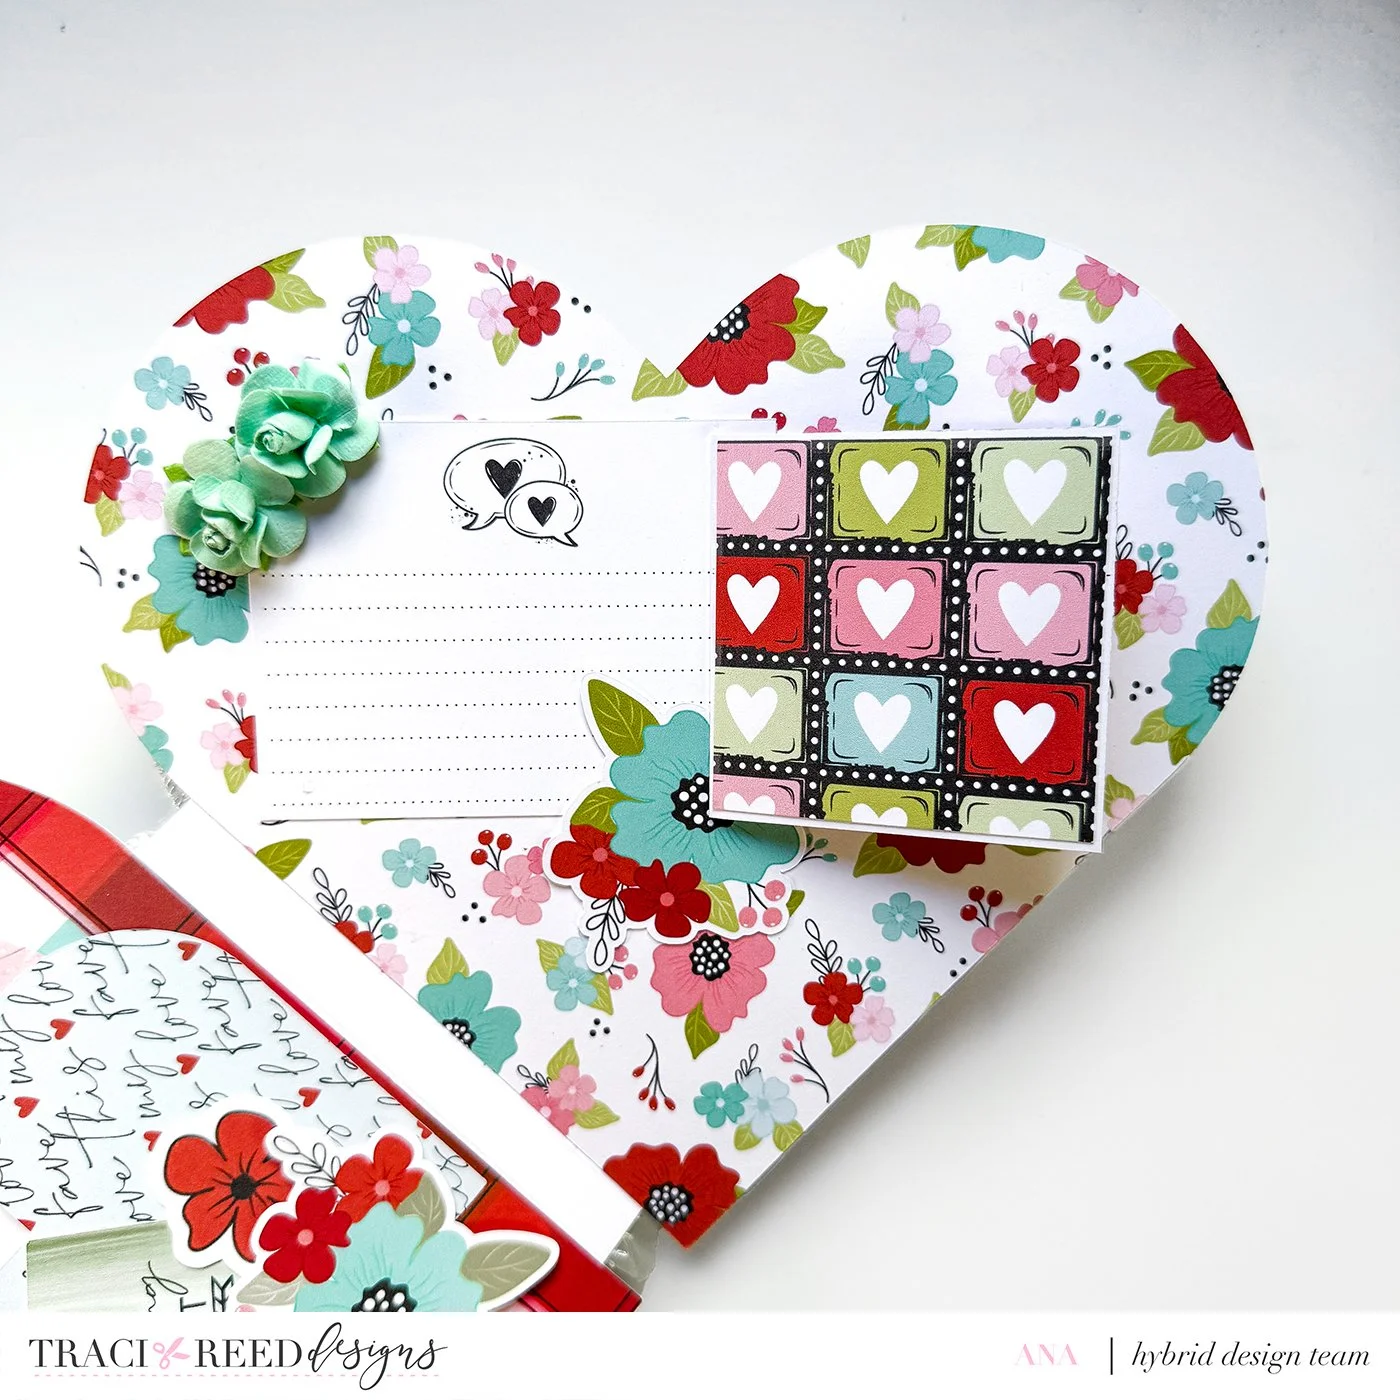
Add a journaling card from the collection
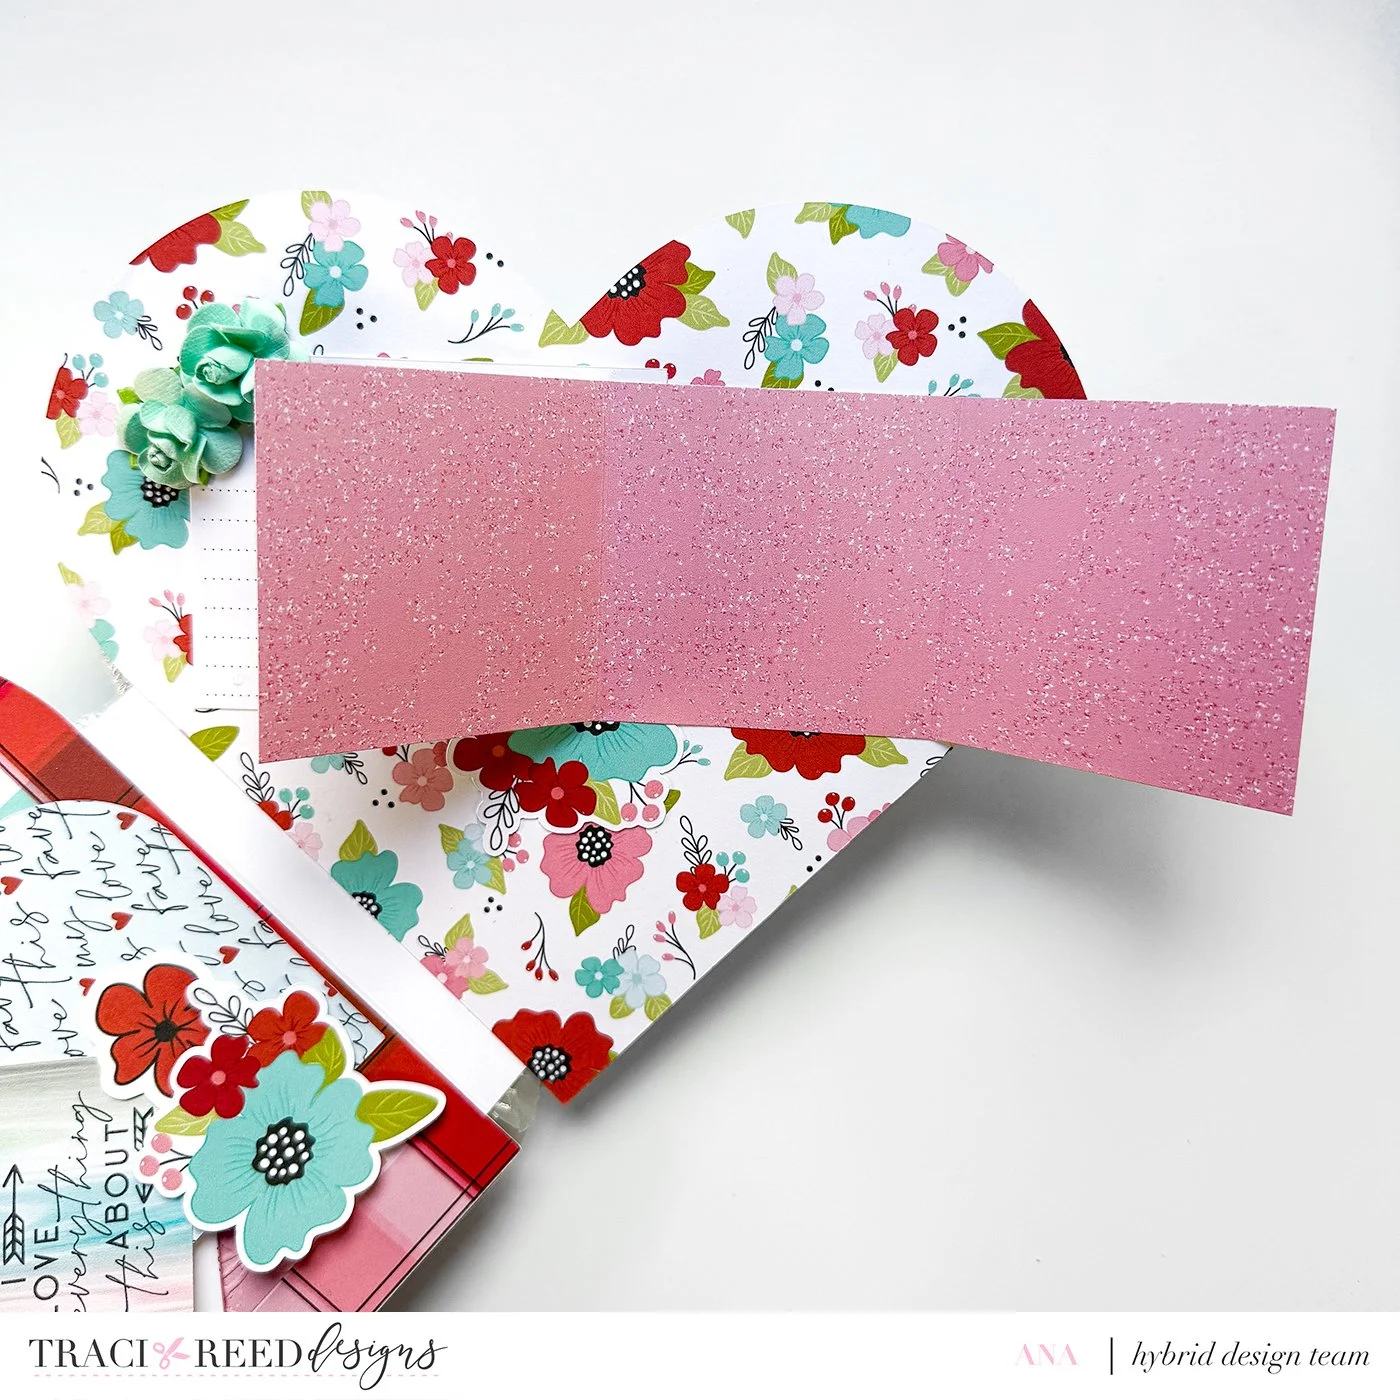
Create a fold-out panel using the 9x3 strip
Attach the square panels to the back
Glue to page to create a writable flap
Finish with embellishments
And tadaaaa!
Your heart-shaped mini album is ready to be filled with memories all month long. Use it as a February memory keeper, a Valentine’s project, a Galentine’s craft date, or even a little me-time creative escape.
I hope this inspires you to document all your favorites, the people, the moments, and the little things that make your heart smile.