Tutorial: Tips & Tricks for Blending Papers in Photoshop with Theresa
Hi friends, it’s Theresa here and today I thought I would share some fun mixed media background tricks with you! Backgrounds created with the fabulous mixed media elements have really captured my interests lately, and I am excited to share what we are doing today.
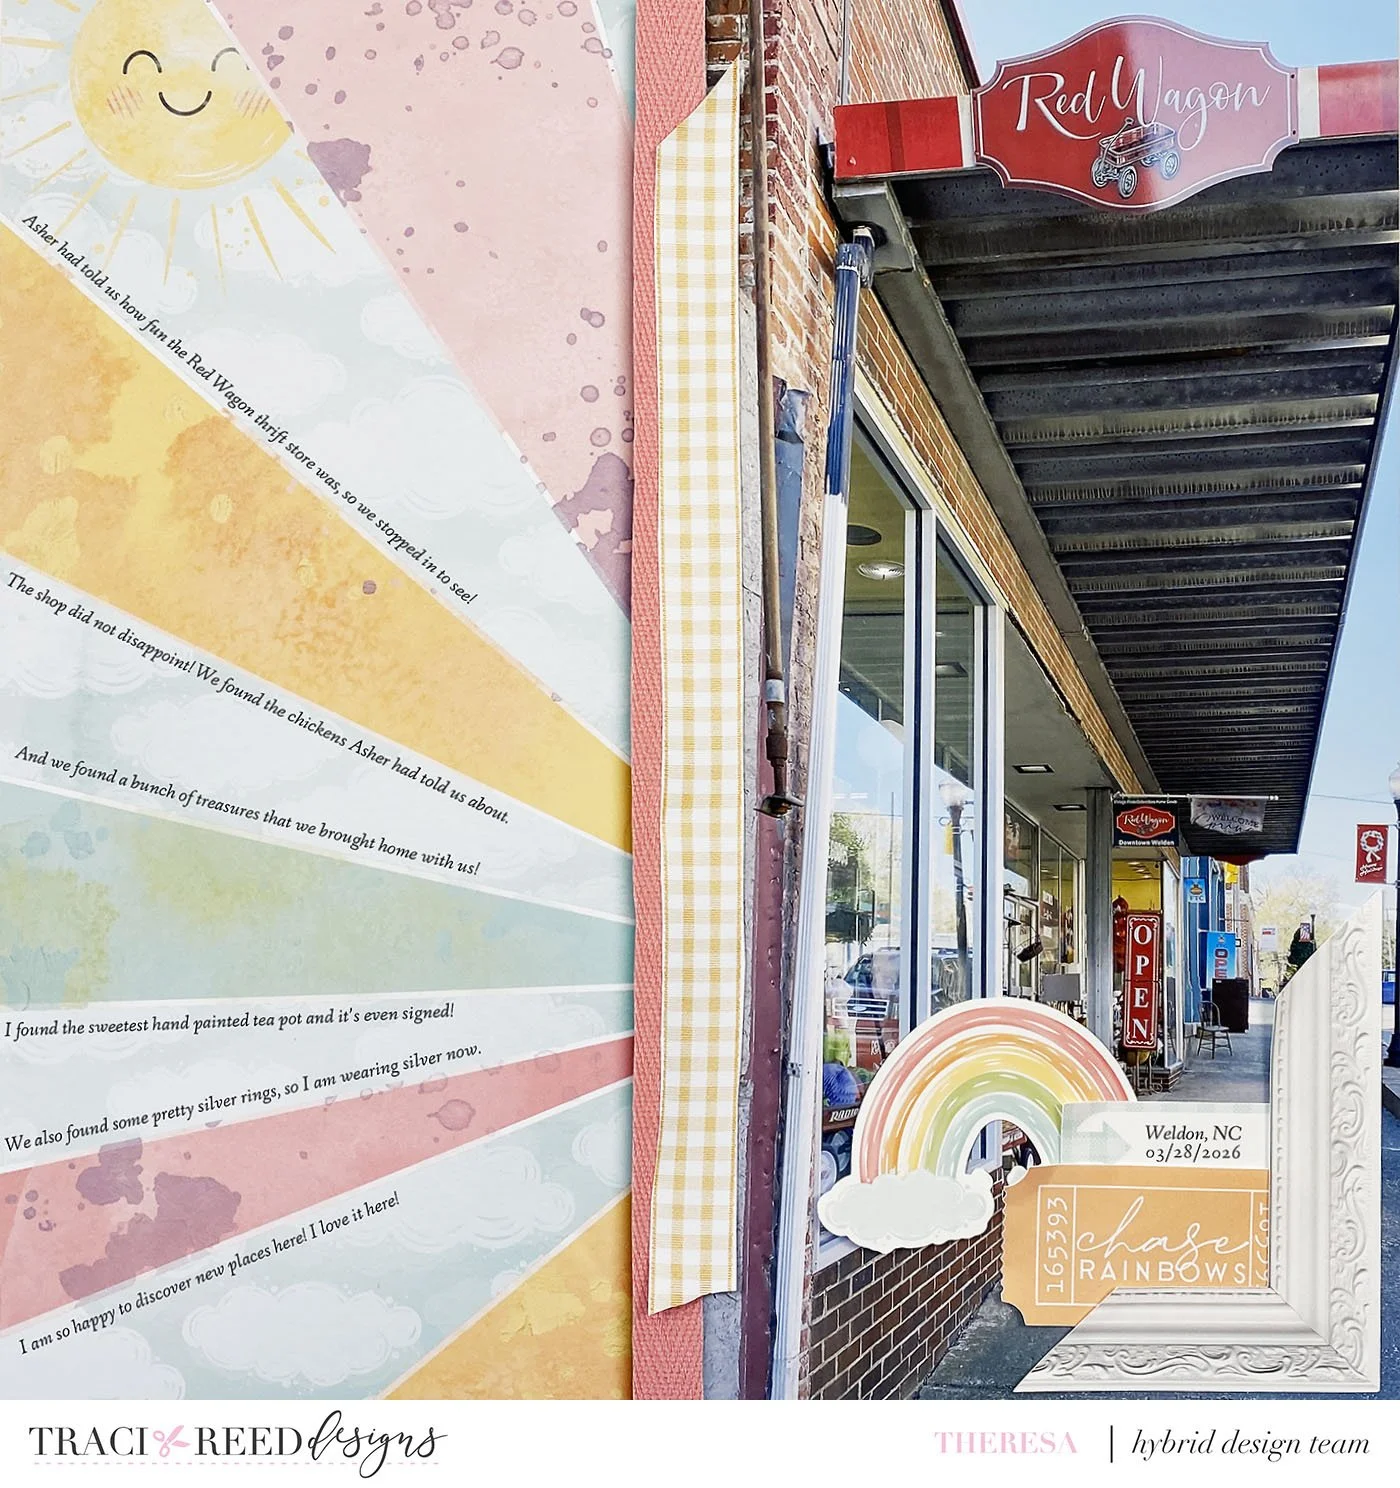
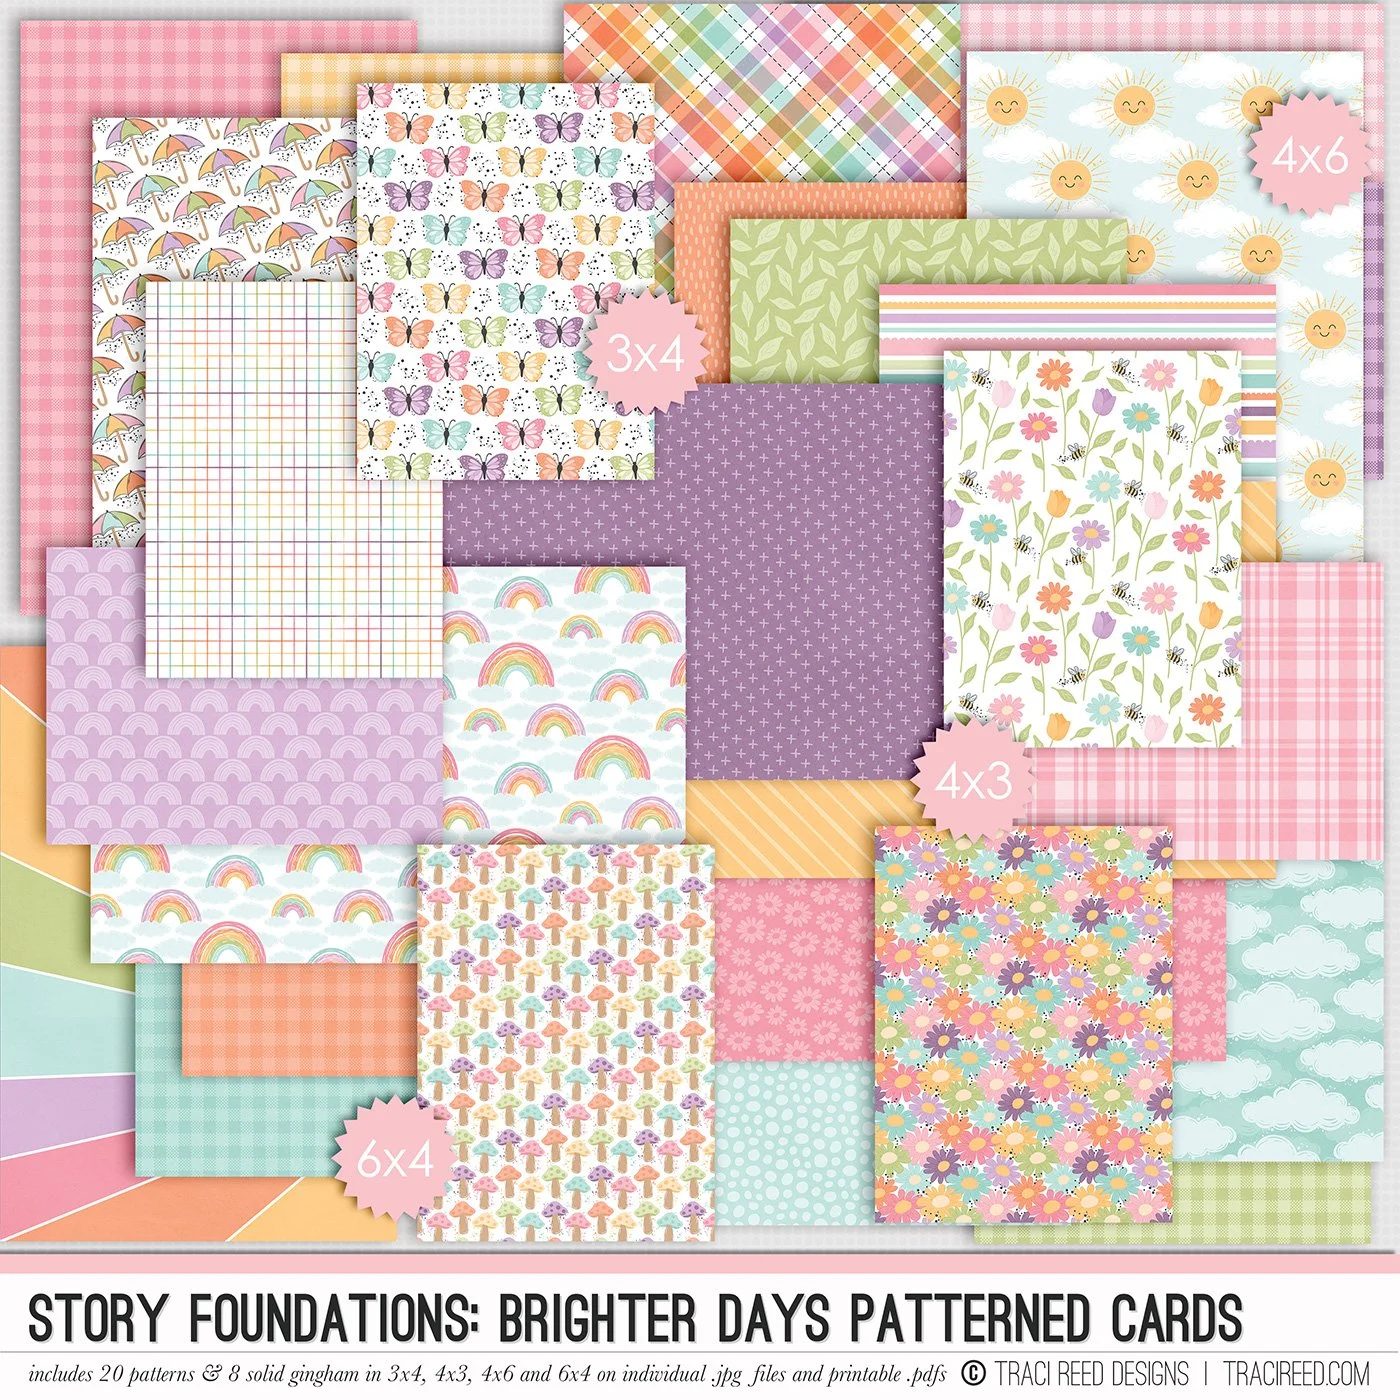
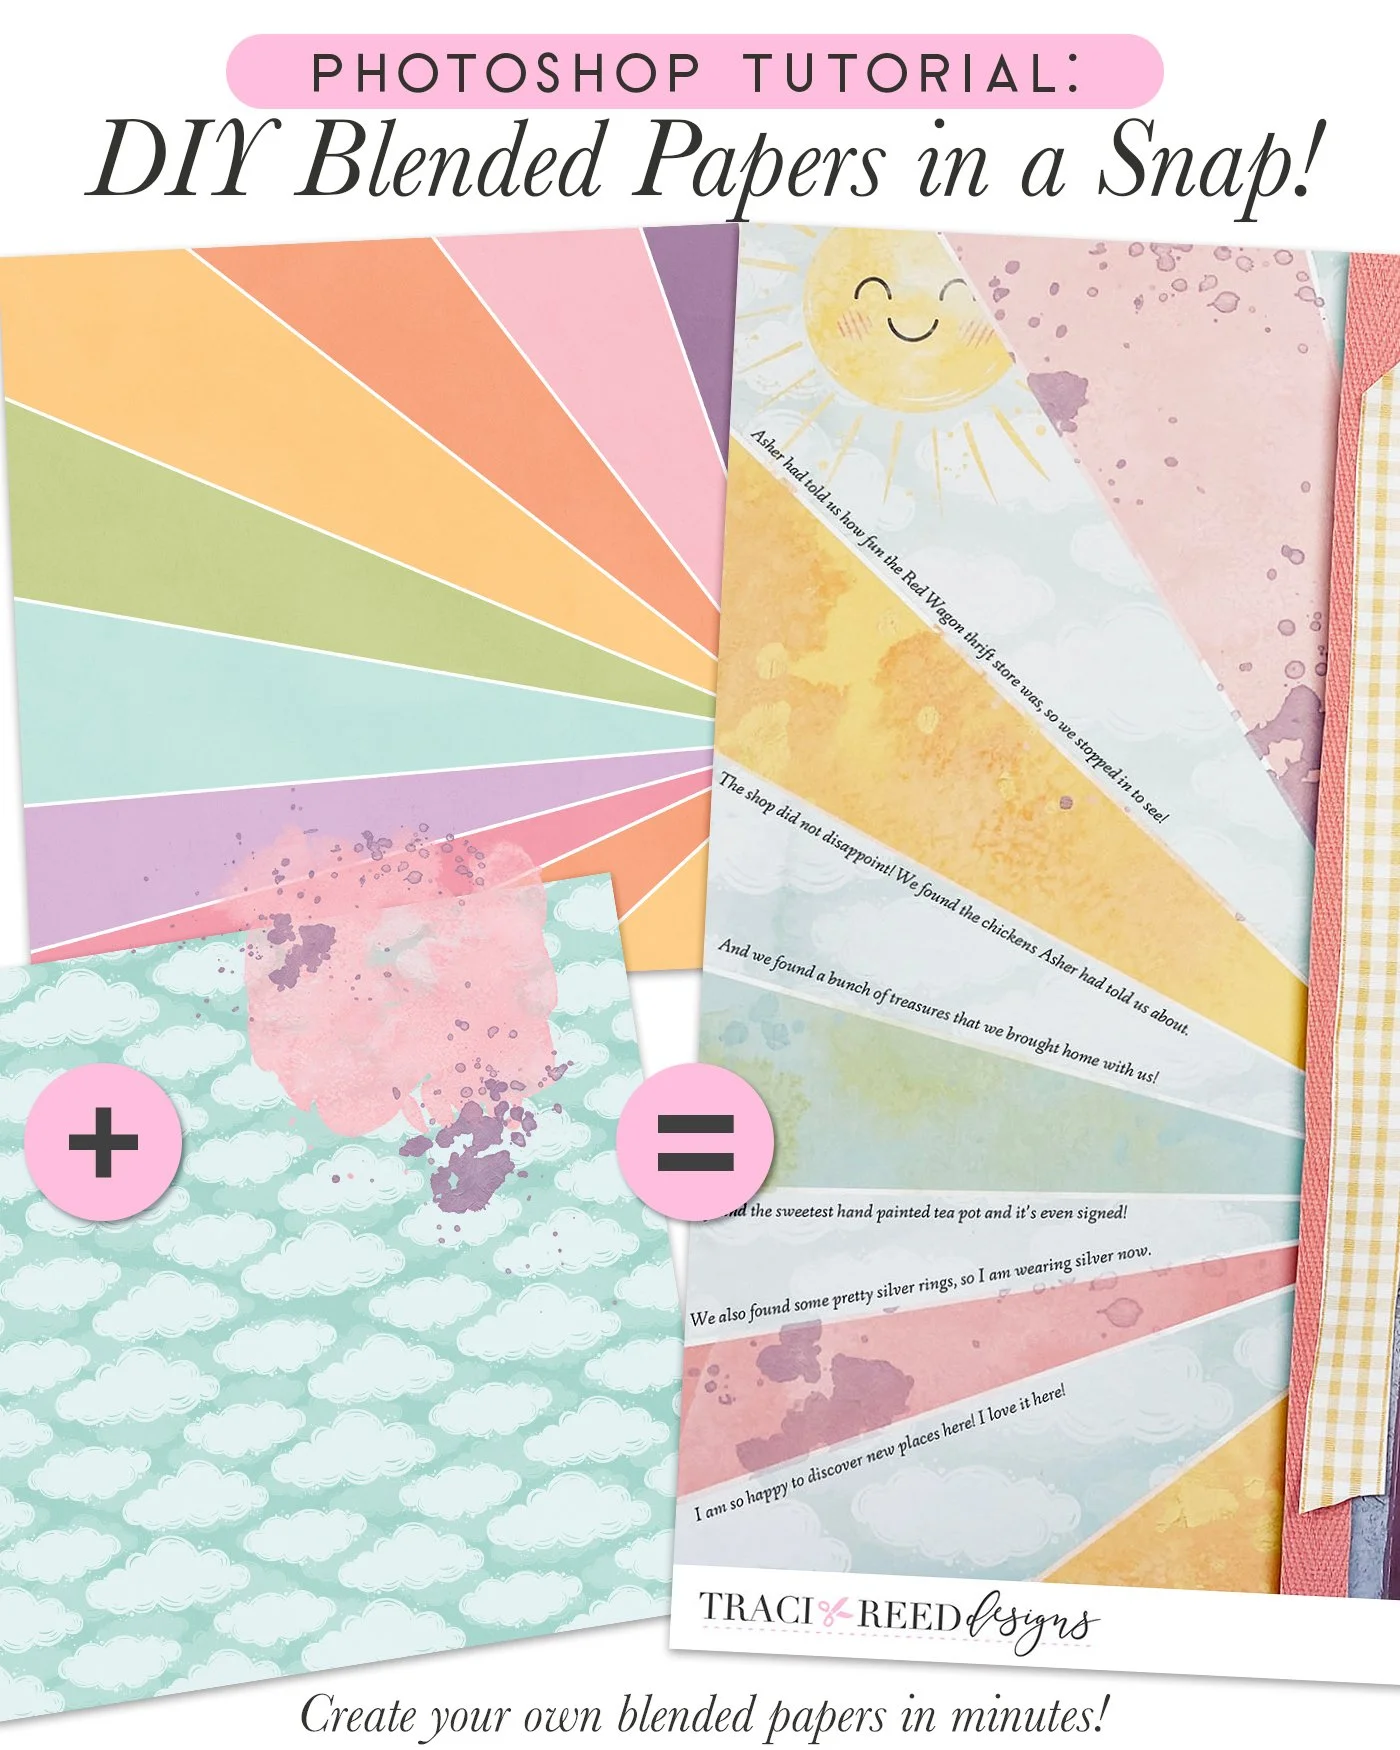
For my layout today, I have created a light cloud background and then added the mixed media rainbow starburst on top. To begin, open up the rainbow starburst patterned paper, the clouds, and the watercolor paper, and also open a new 12x12 canvas in Photoshop.
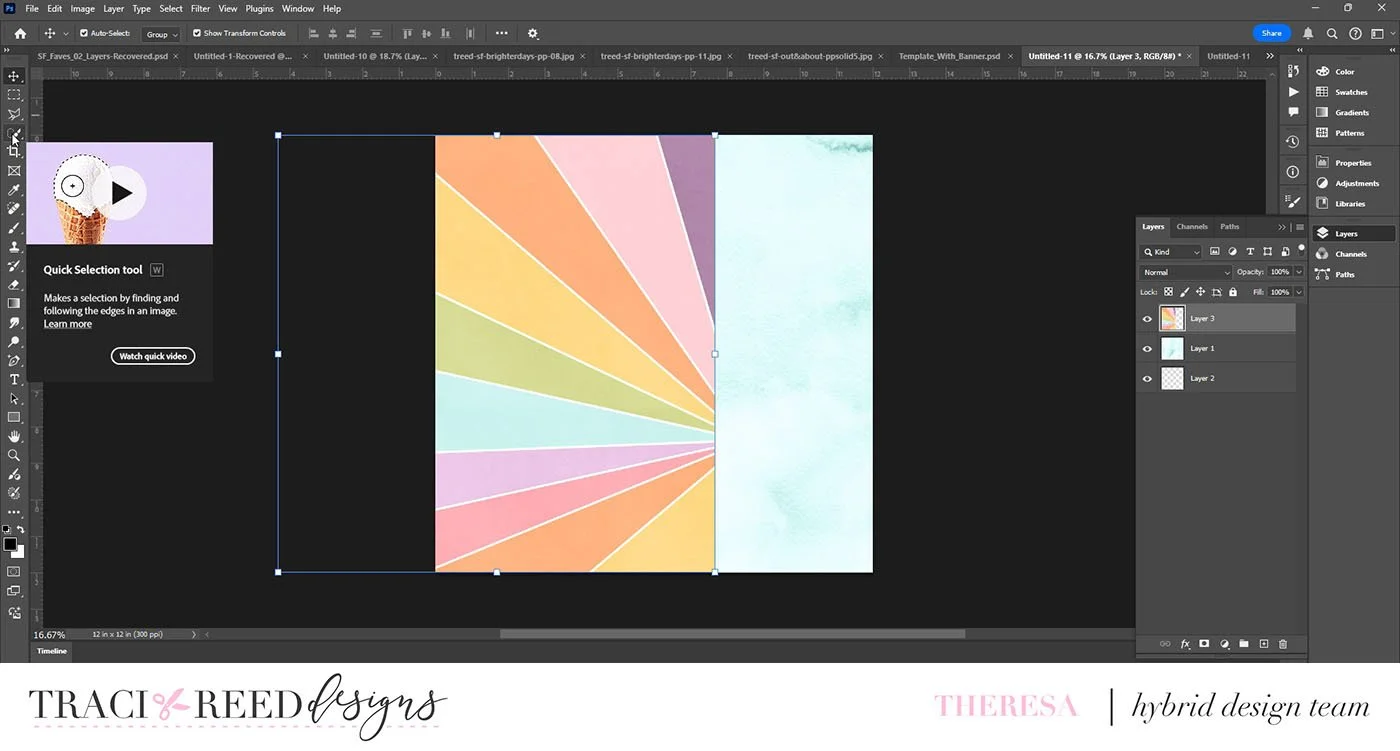
Layer the starburst paper over top of the watercolor paper and drag it so it is slightly to the right of center. Then use the Quick Selection Tool to select each color of the rainbow that you wish to use. I chose the pink, yellow, and blue ones.

The Quick Selection Tool will give you a circle with a plus sign inside of it. Click the circle on the color you want and drag it until it selects your piece. If it adds something you don’t want, simply hold down the Alt button and click on what you don’t want. It will delete it.
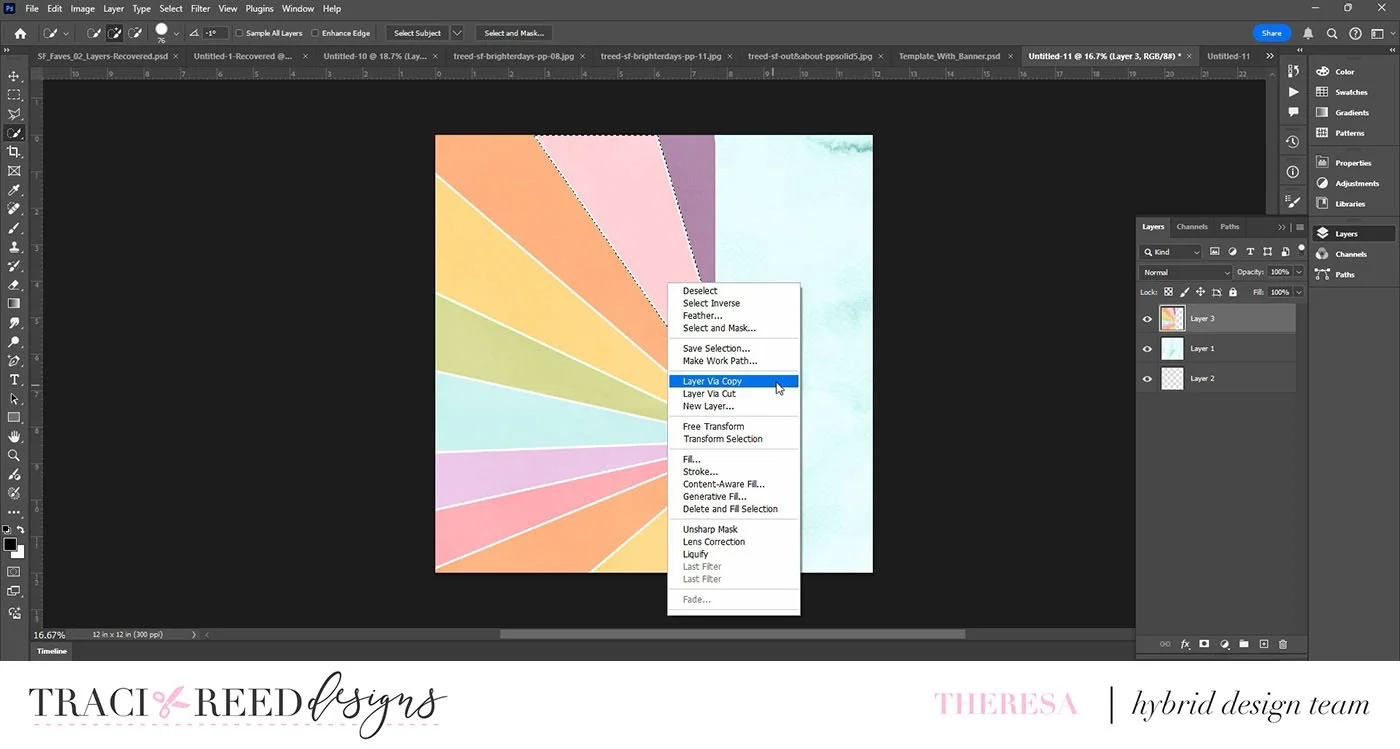
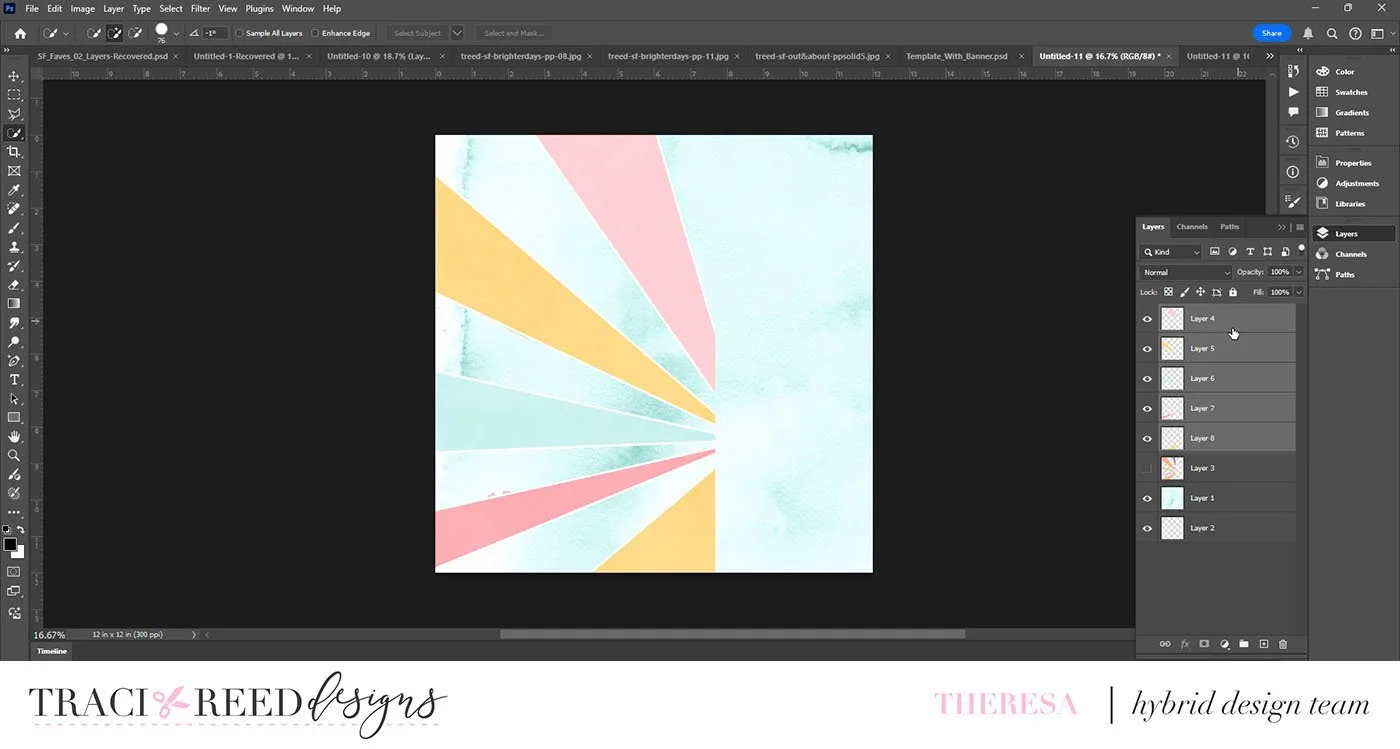
Once you have your marching ants where you have selected your piece, right-click and select New Layer Via Cut or Copy. This will extract your piece from the patterned paper and give it its own Layer. Once you have selected and given each piece a new Layer, this is what your background will look like!
Now we will soften the pieces of the starburst paper by adding some of the mixed media elements from the Out & About collection. Open up the mixed media items you wish to use (Pro tip: Use the File>Scripts>Load Files into Stack tool to open them all in the same window!)
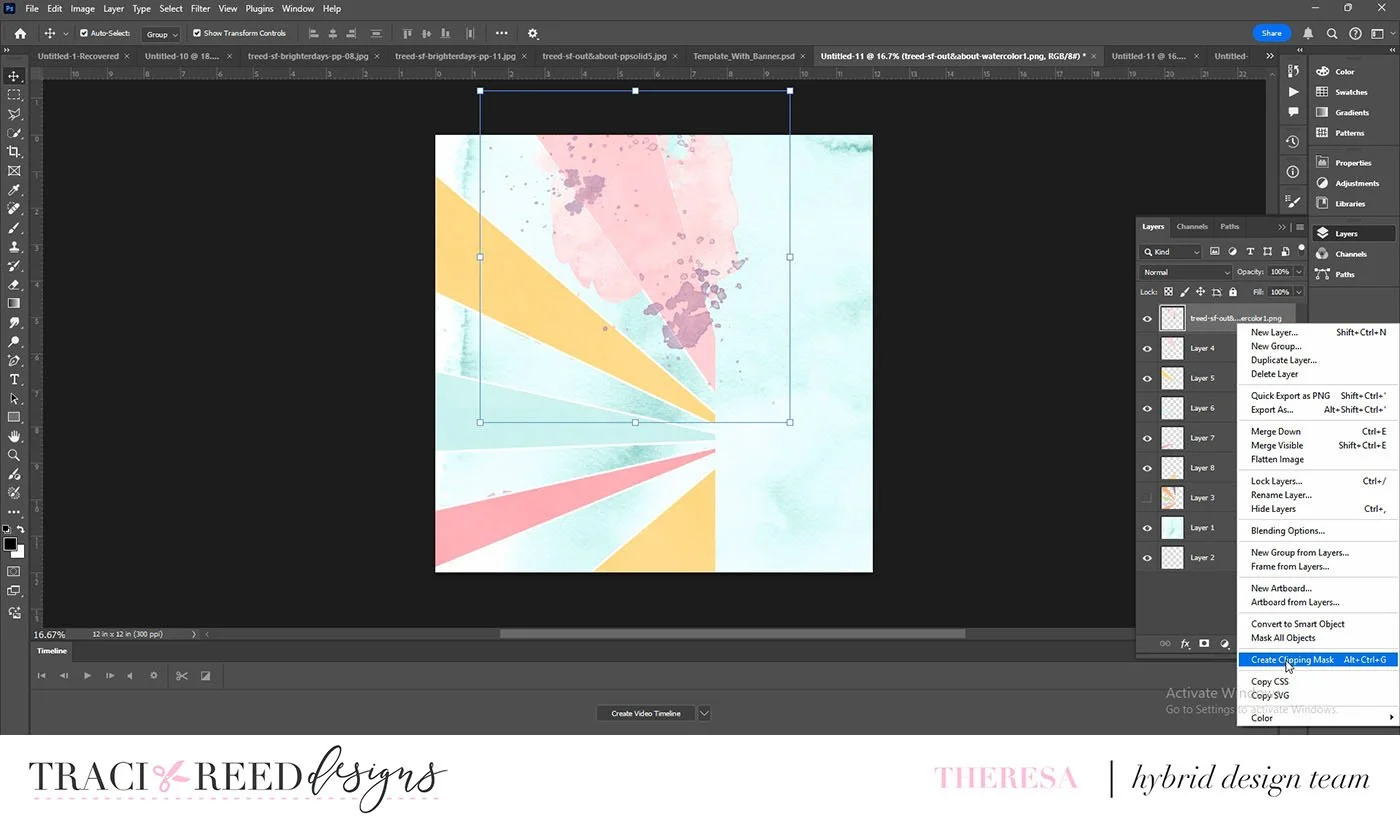
Position the mixed media element where you want it over top of the rainbow pieces. Right click on the mixed media layer and select Create Clipping Mask to clip the element to the piece.
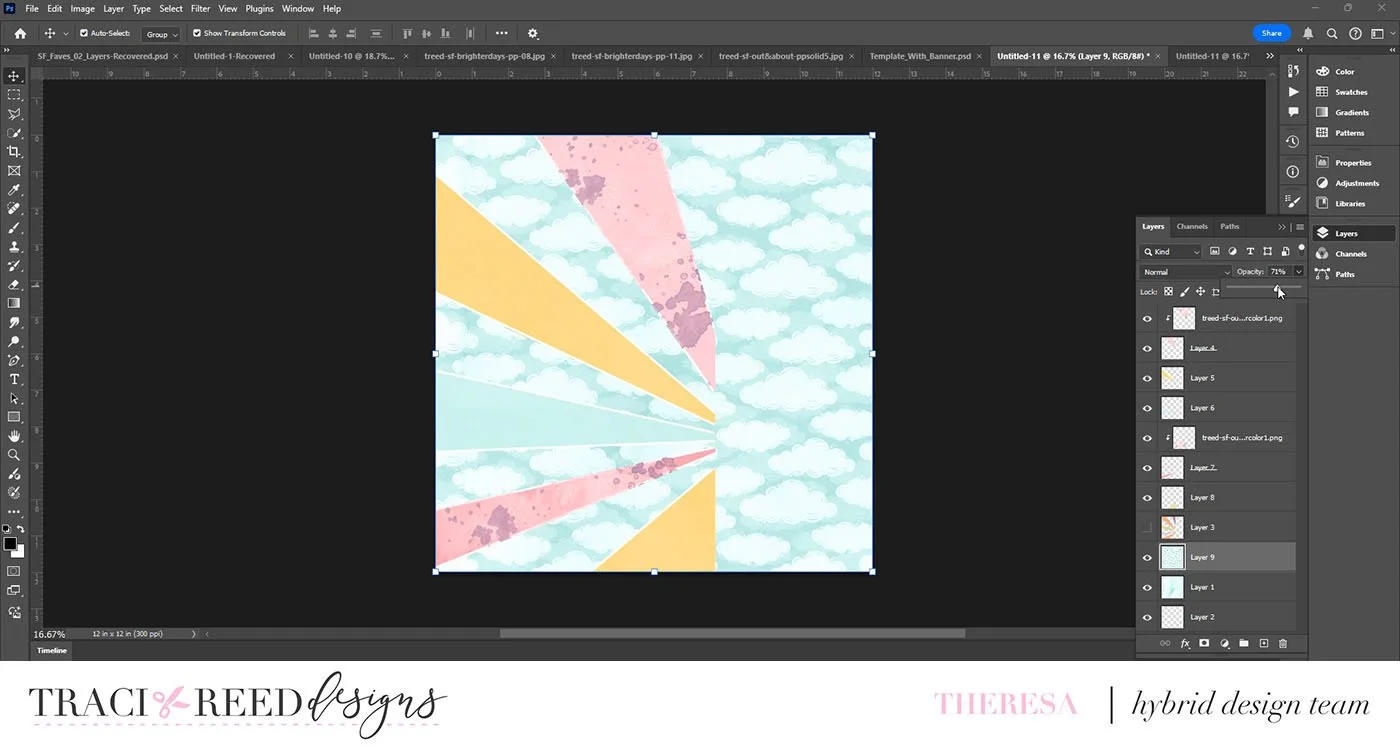
Once you have clipped all of your mixed media elements to each piece, bring your cloud paper into the canvas and make sure it is on the Layer above the watercolor paper. In the Layers menu you can turn down the Opacity to make the clouds a bit softer and ethereal. You can also use your Eraser tool on the left to erase some of the clouds. I’ve done that around the edges to give it even more of a mixed media feeling.
I have a tutorial video I’ve created showing these steps, which you can view here:
Thanks so much for joining me today! I hope you are inspired to make some super fun mixed media backgrounds too!
Theresa Moxley