Tutorial: How to Clip Paper to Layer in GIMP 3 with Ophelia
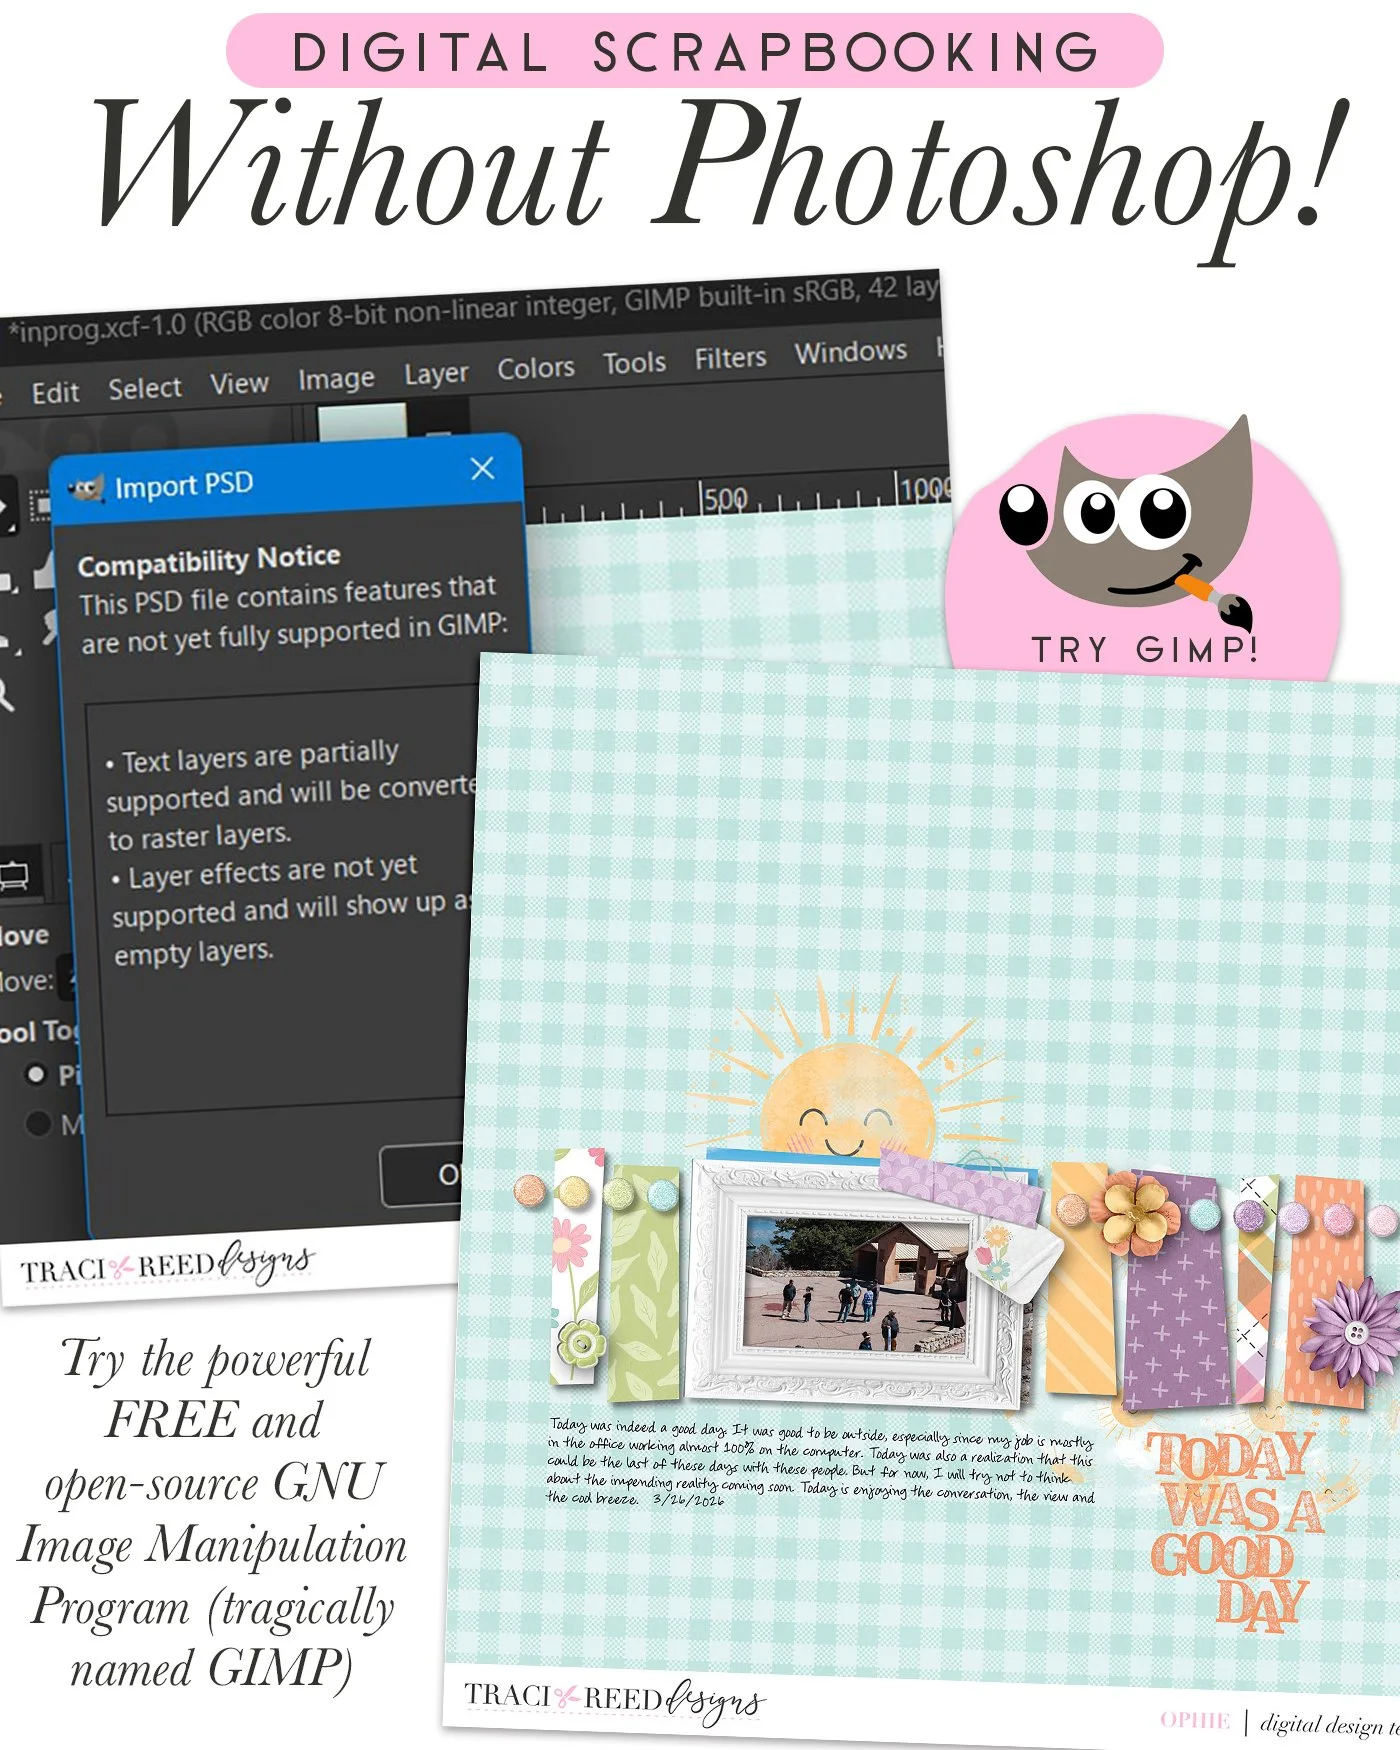
GIMP is a great application to use as a free alternative to Photoshop. I used GIMP for years before I switched to Photoshop when I went back to a Windows laptop and needed Photoshop for other uses besides scrapping.
I prefer to use a PSD template in GIMP as it recognizes the layers. If you use TIF files, it will not open it up as layers.
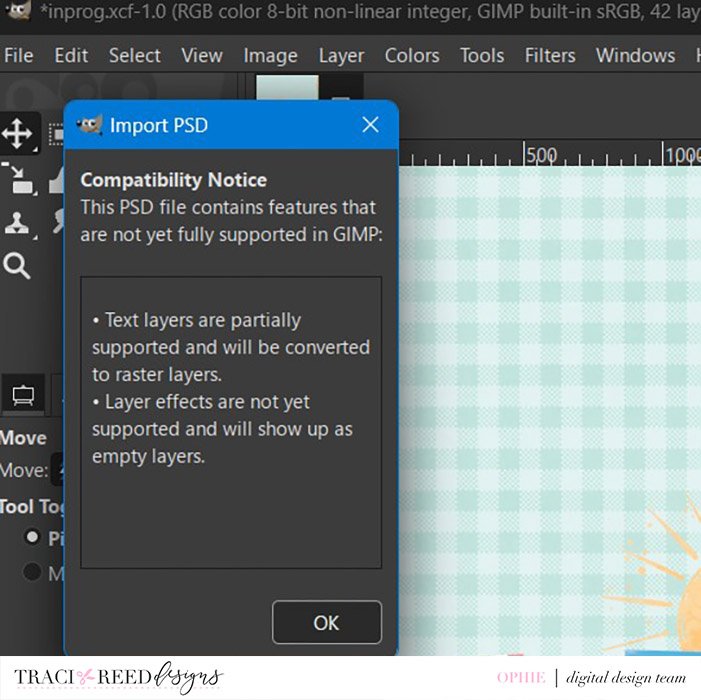
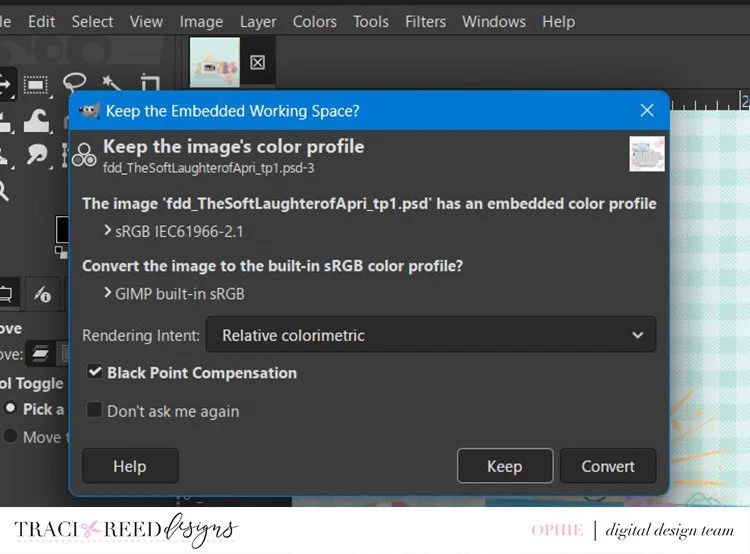
When you open the template, there are two pop-ups that will come up. It has to do with compatibility of the file because most likely, the template was created in Photoshop. Click OK. The next one is color space of the template. Again, likely because it was created in Photoshop. I usually select Keep.
If you are used to Photoshop, the steps you go through to clip layers in GIMP are different. Below is how I clip paper onto layers:
After you have open the template in GIMP, click on the layer that you want to clip the paper to. Drop the paper onto your template and it will placed it above the layer you wish to clip onto. Right-click on the layer you want to clip the paper and select Alpha to Selection. This will “select” the layer.

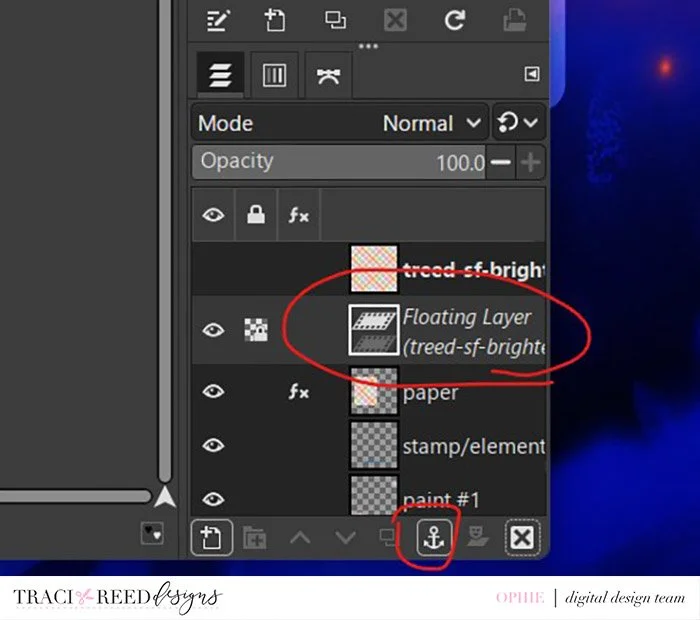
Then click back on your paper layer and hit Ctrl-C. This will “copy” the paper in the exact shape of the layer below it. Select the “eye” next to the paper layer so it’s hidden. Click on the layer that you wan to clip the paper you just copied. Go to Edit in menu bar. Hover over Paste As and select Paste as Floating Data. You’ll see it create a temporary layer called “Floating Layer”. Then click on the anchor. It will clip the copied paper onto that layer. Then click back on the hidden paper layer and click X at the bottom to delete it.
I hope this makes sense for you. GIMP has evolved over time so it has become quite a powerful application since I first used it in 2009. It does require a learning curve as it’s designed not to completely emulate Photoshop.
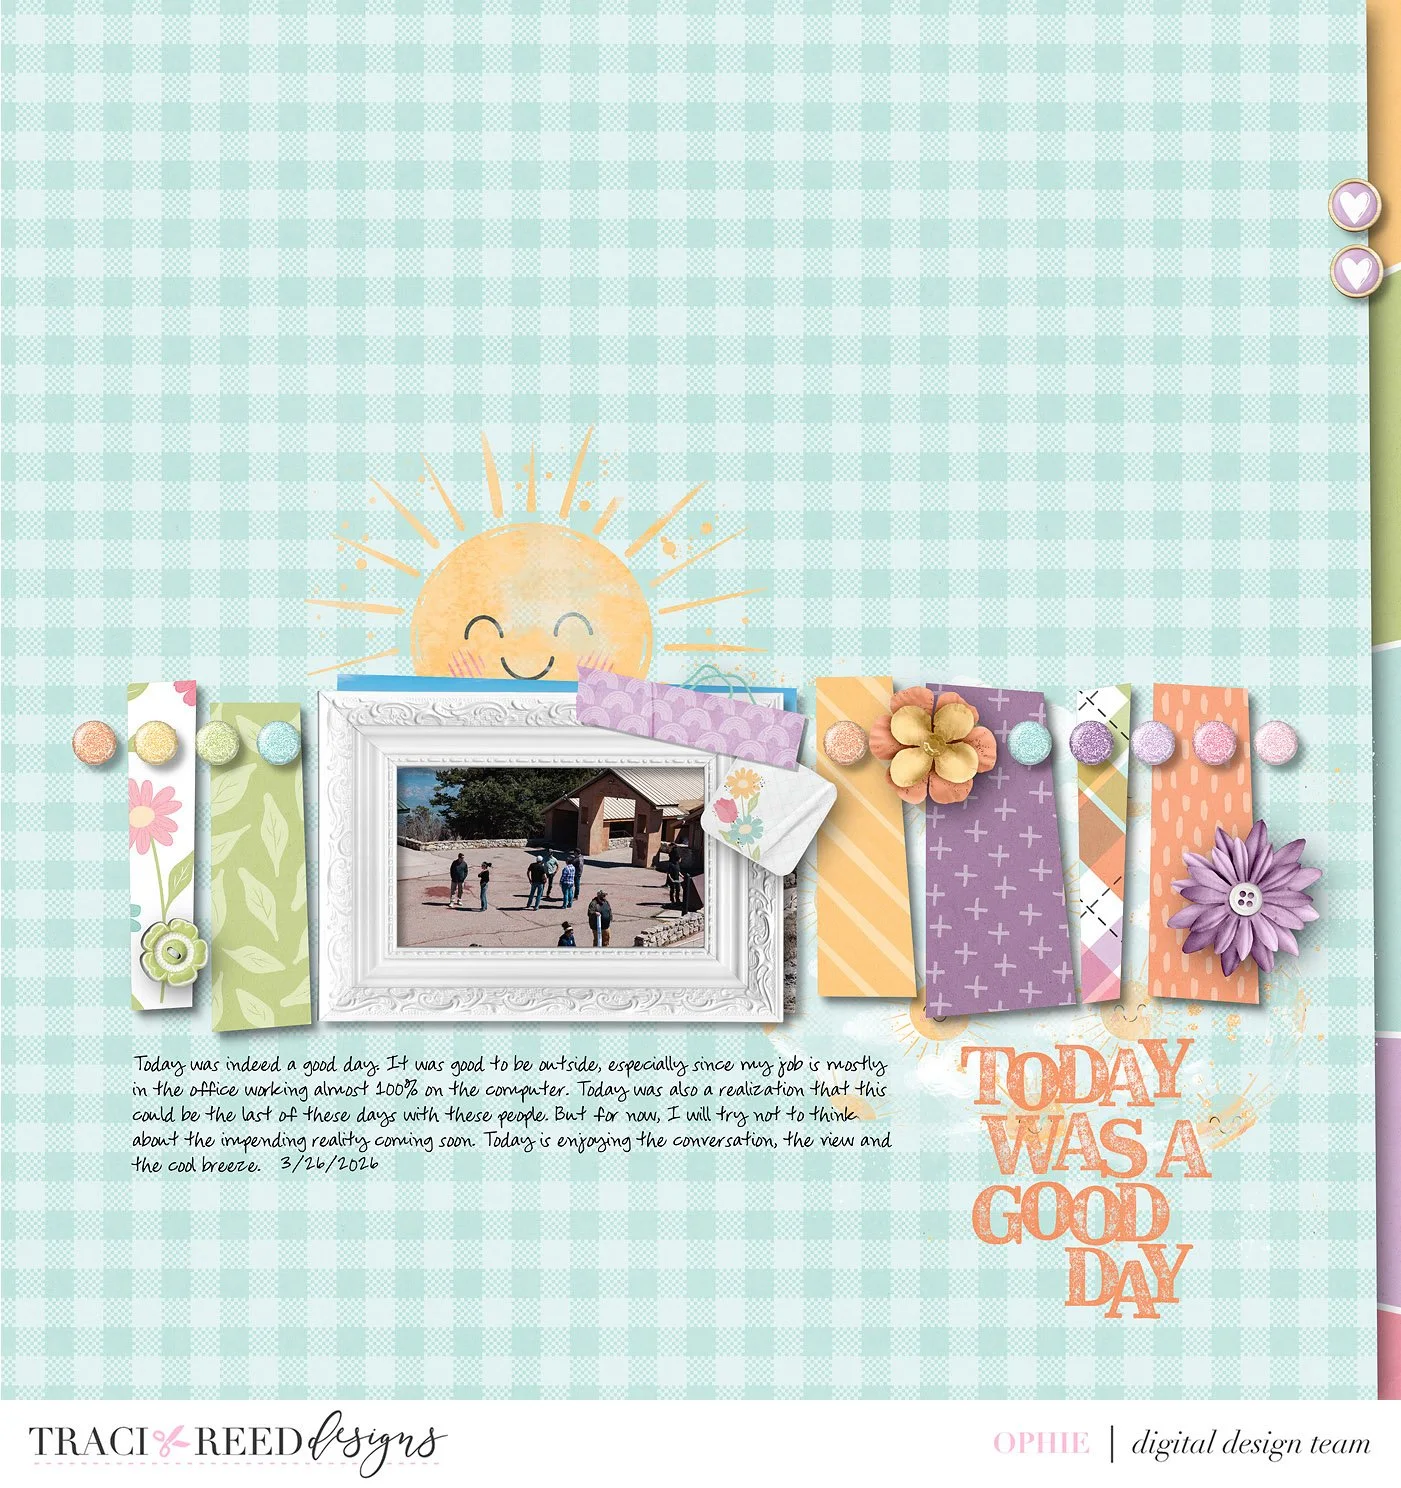
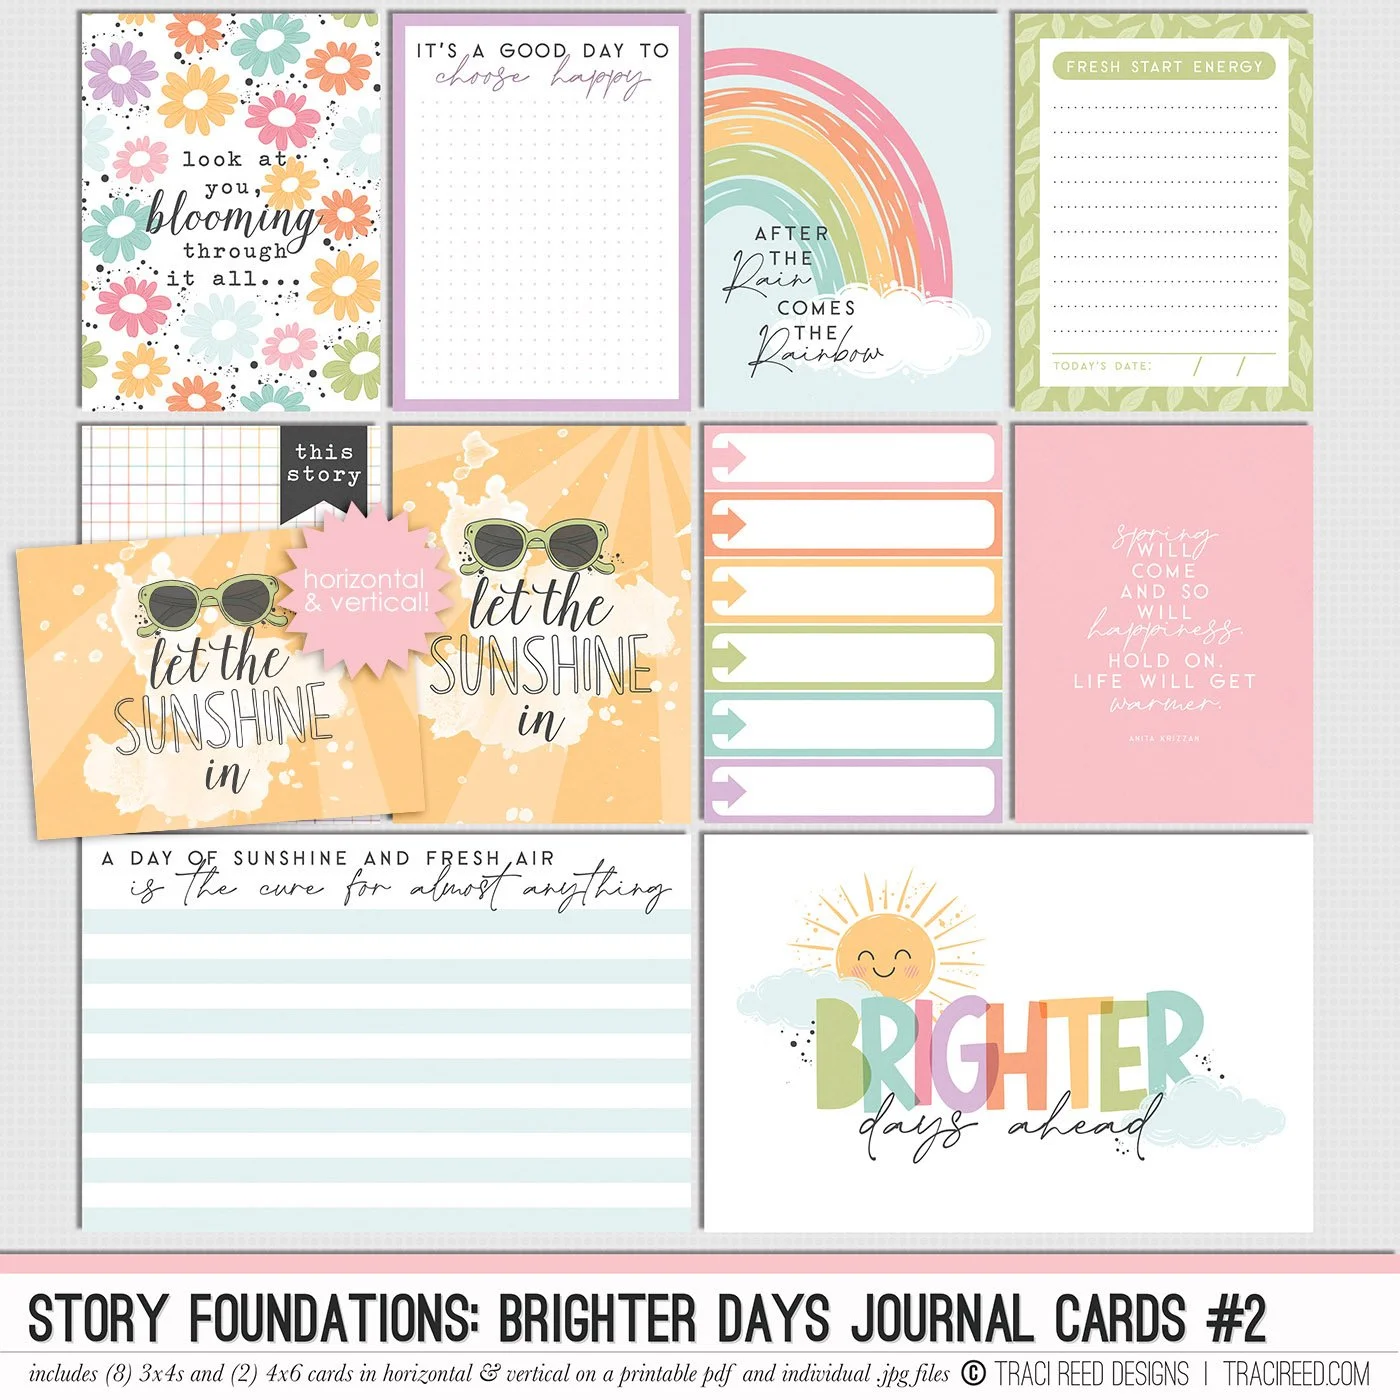
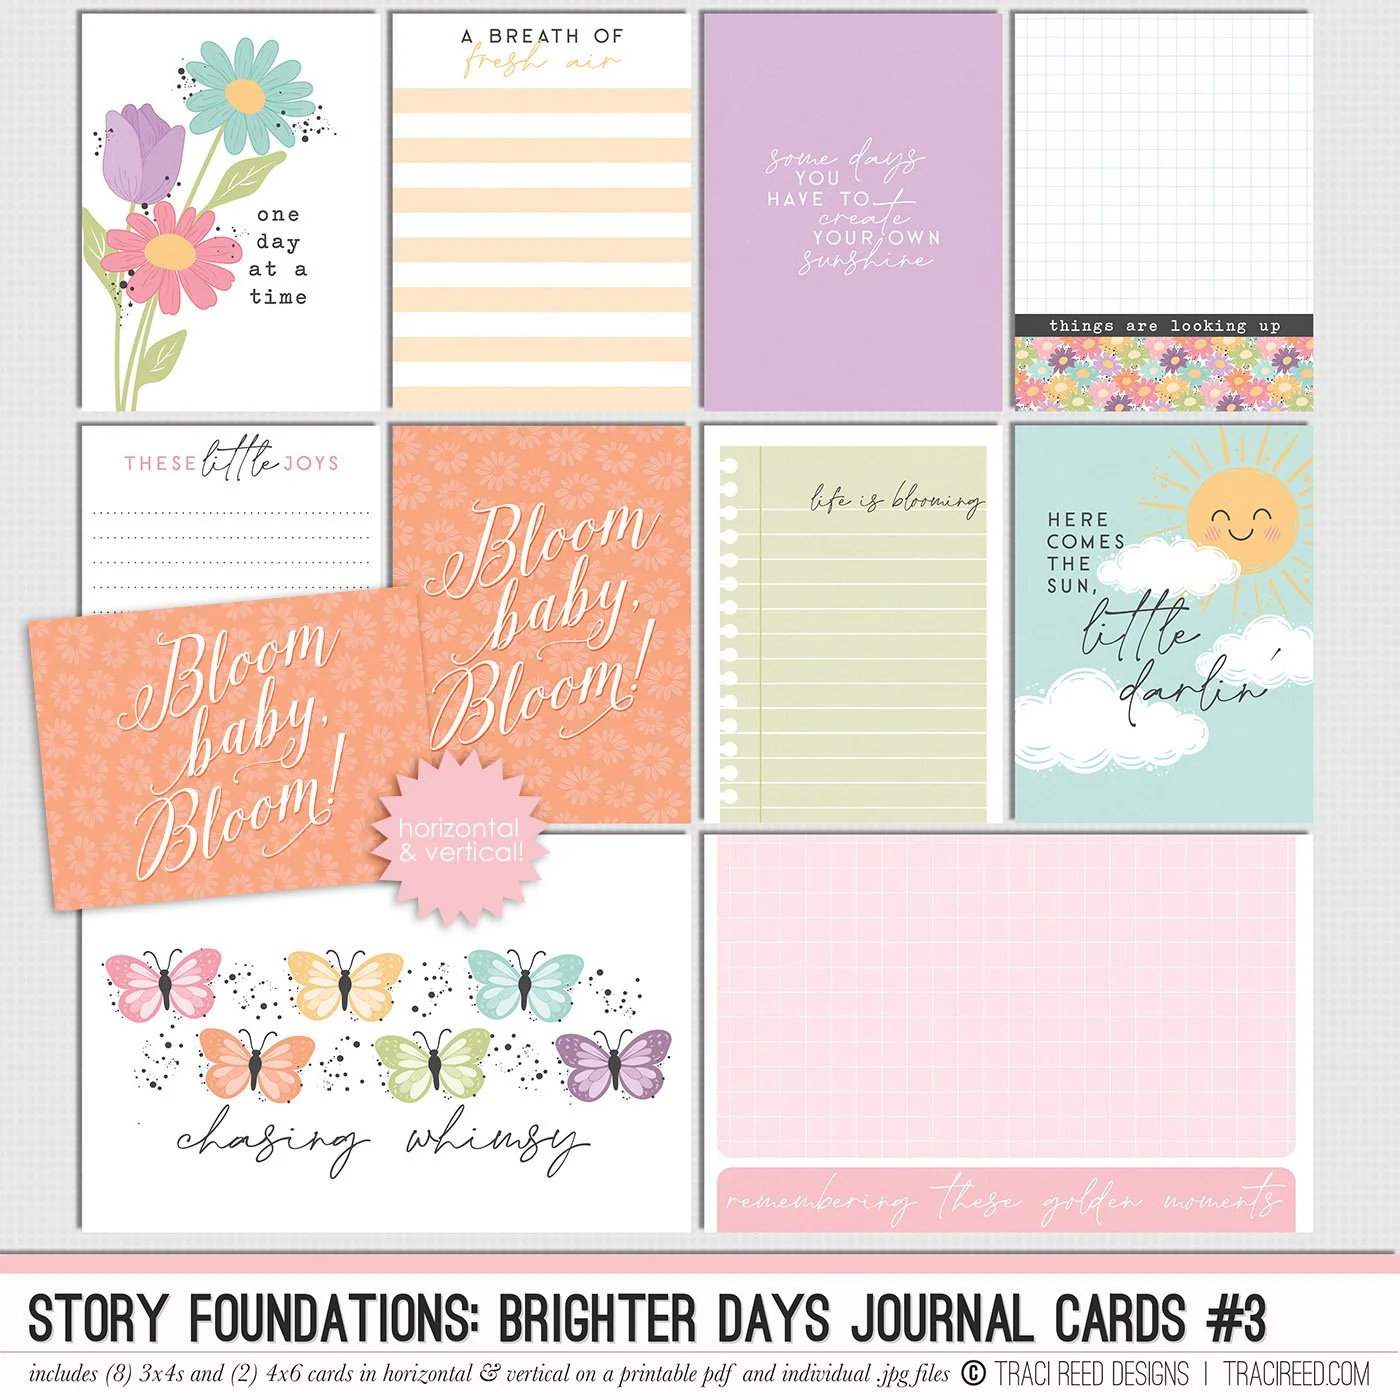
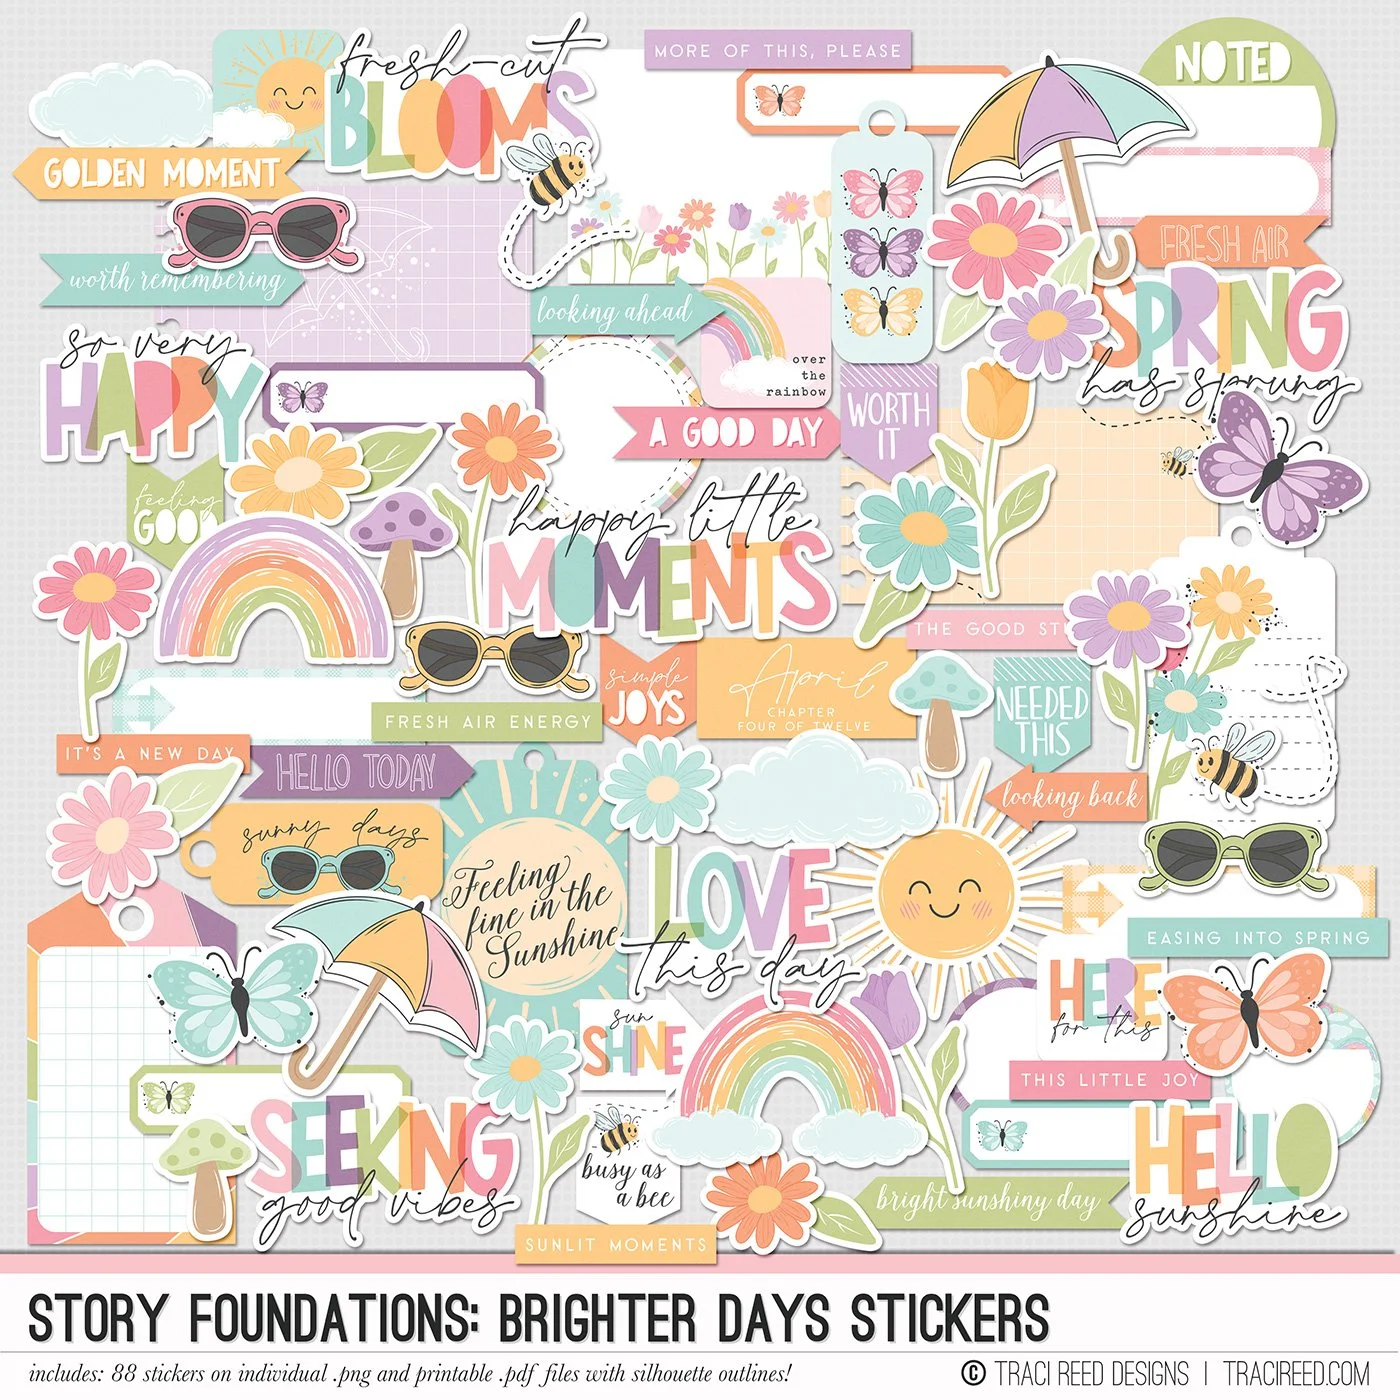
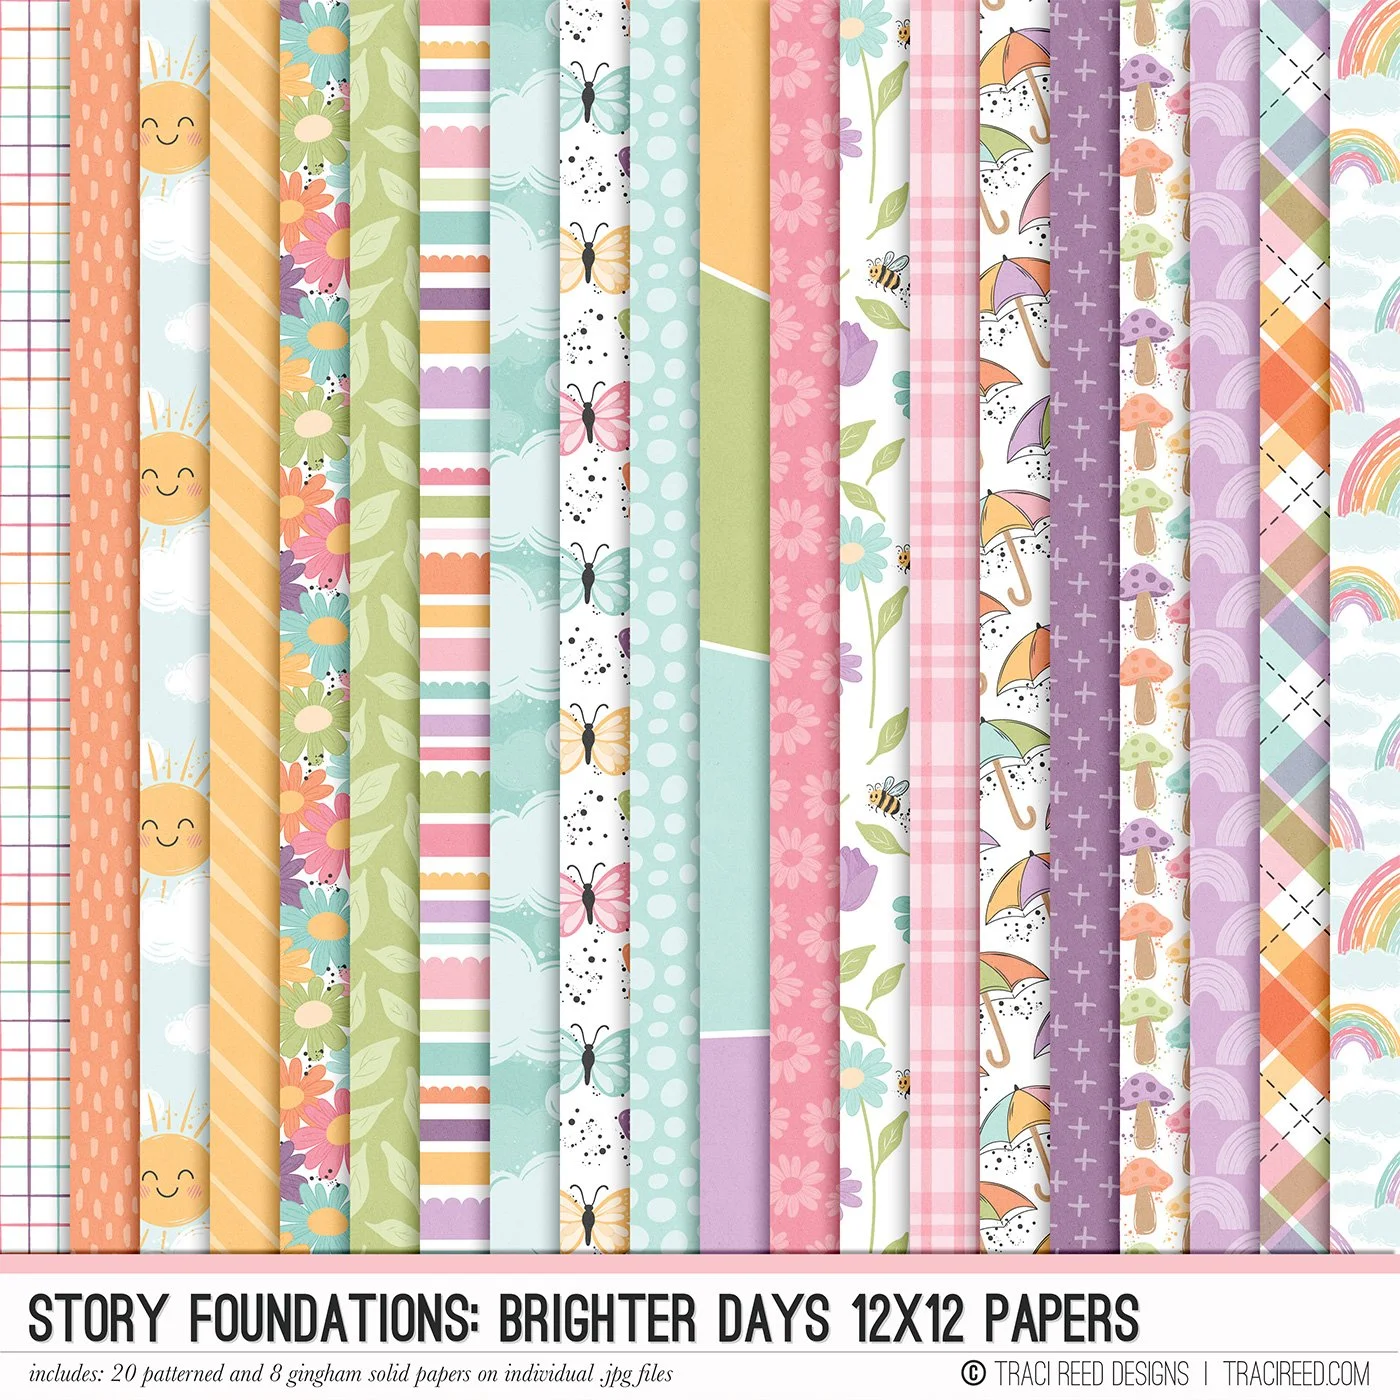
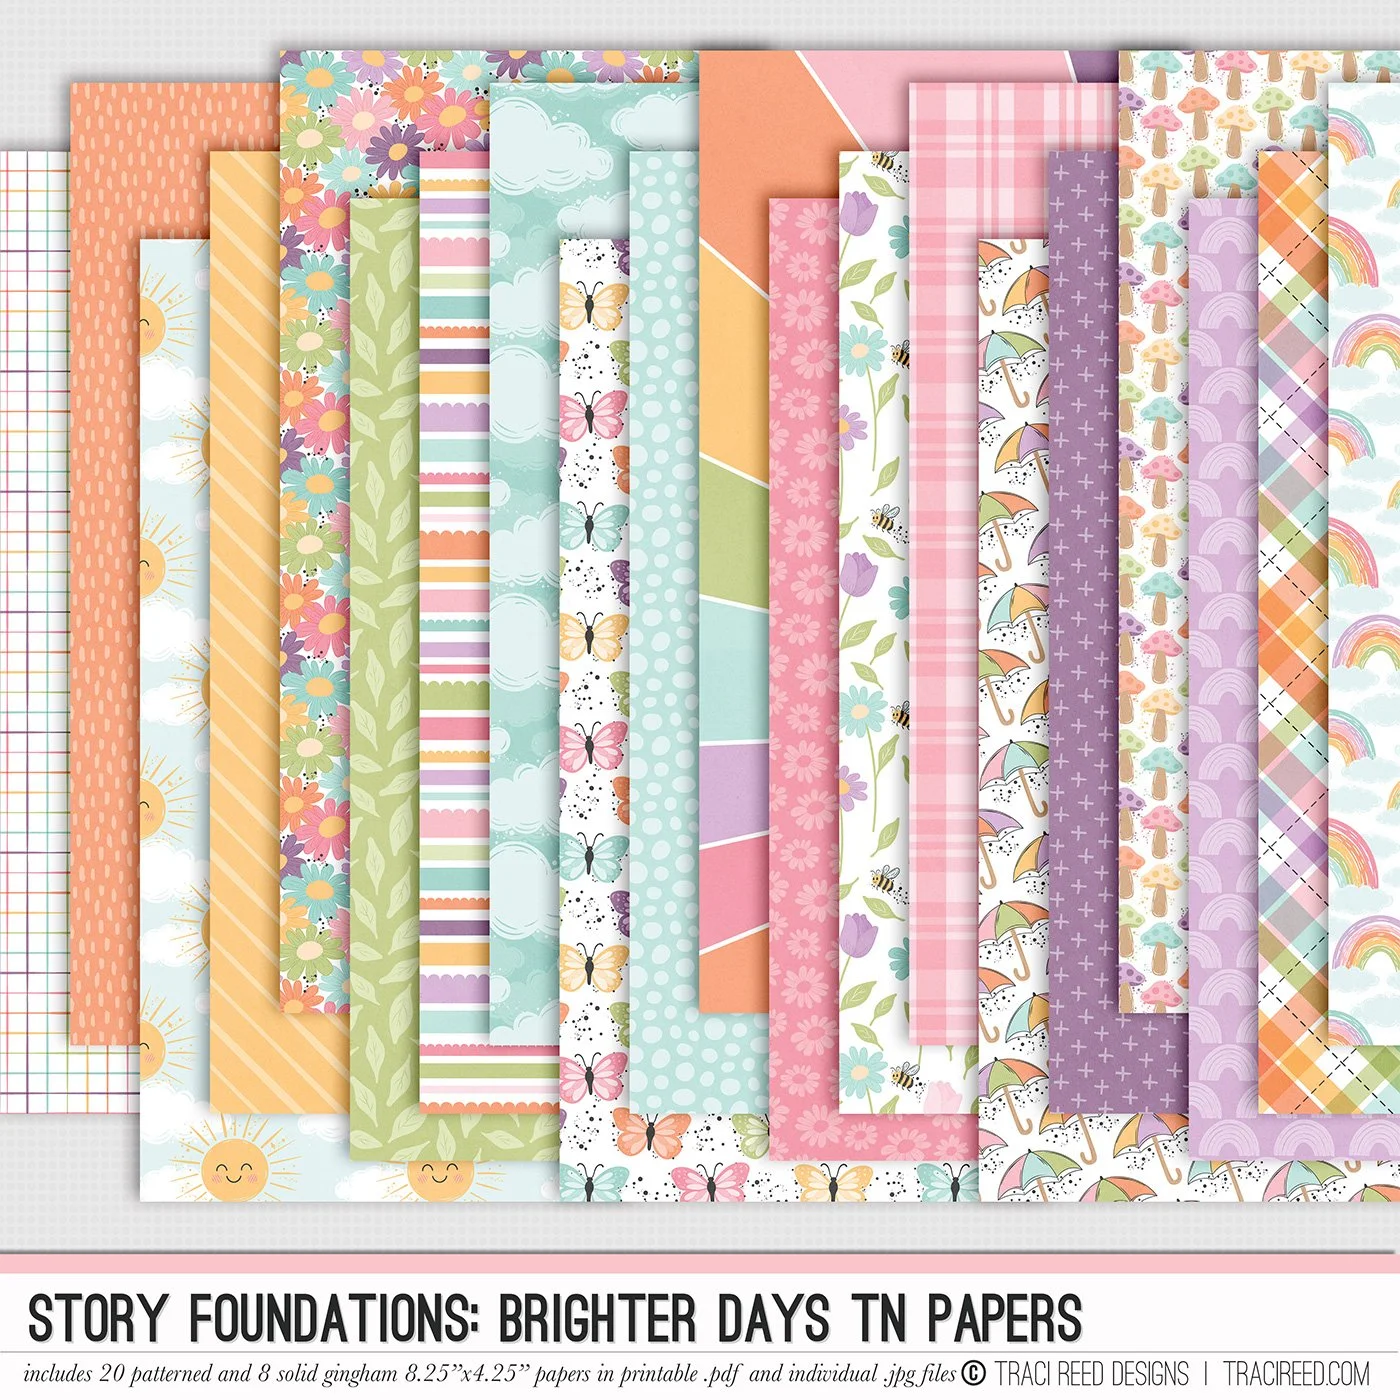
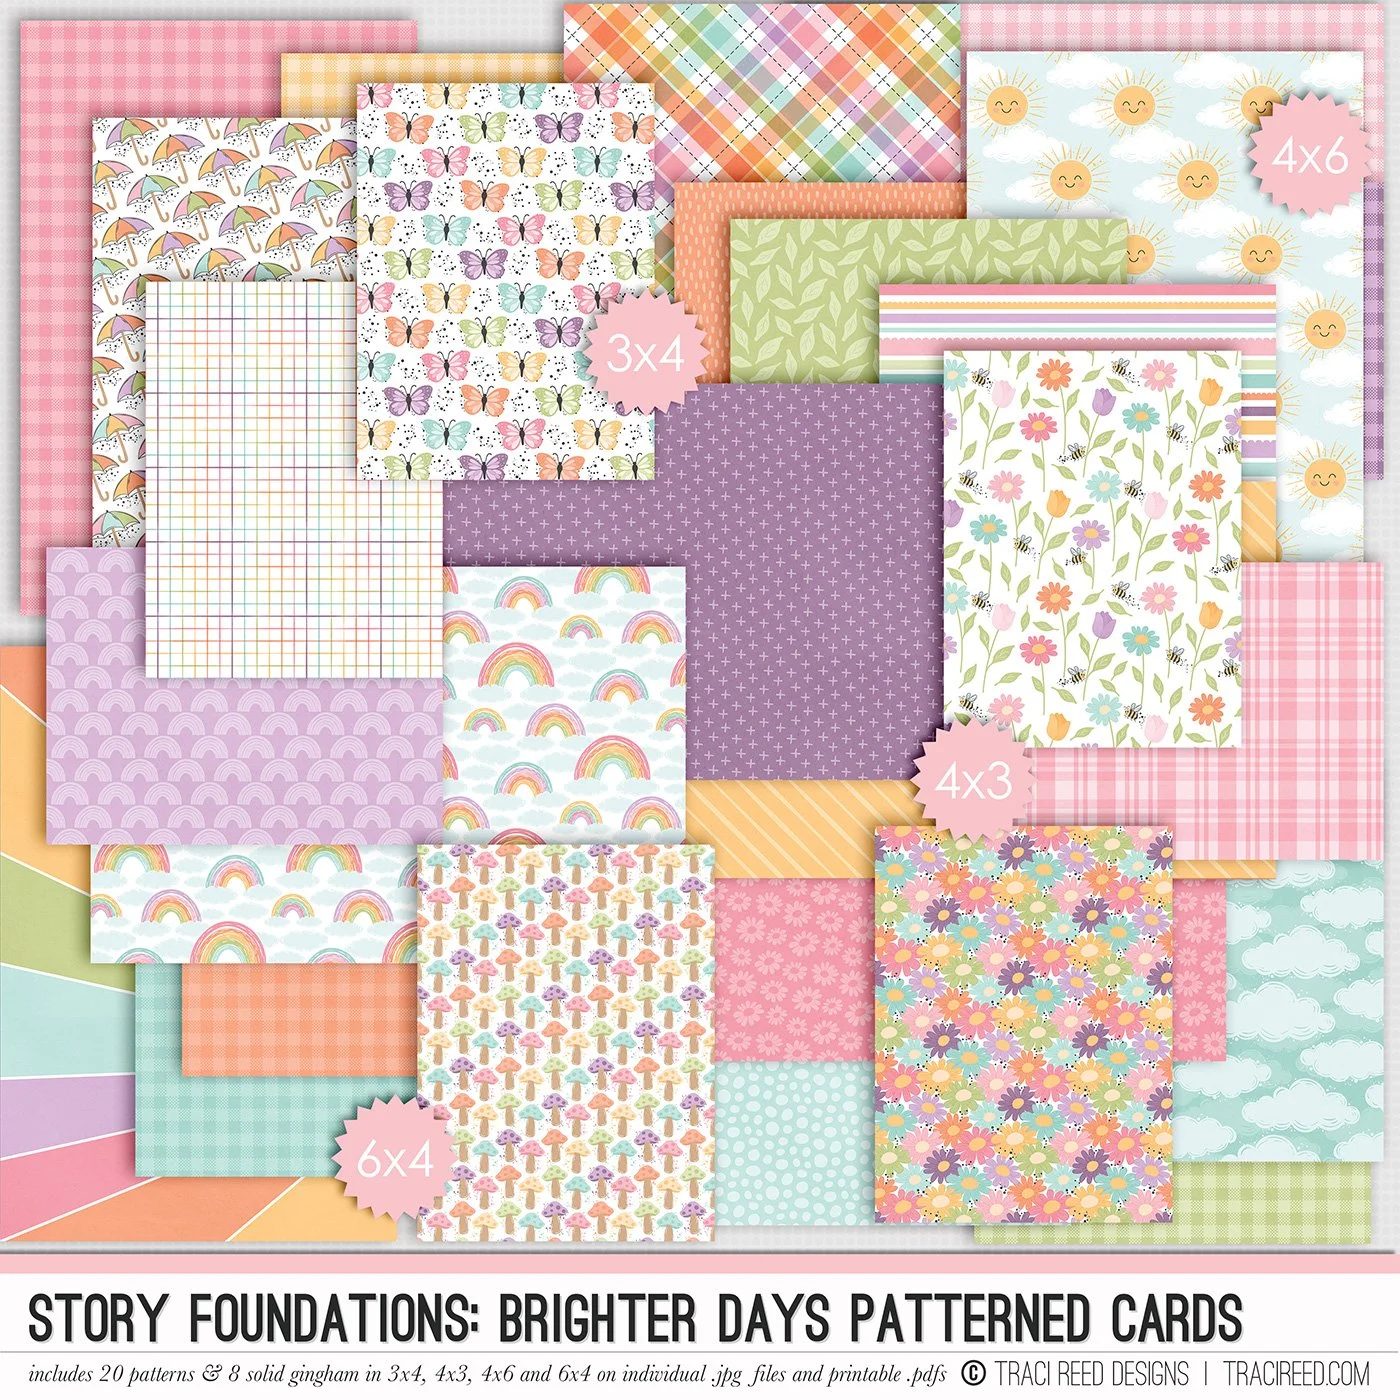
Here is my page below using a template in GIMP with Traci’s Story Foundations: Brighter Days kit.