Stay Wild, Flower Child!
Stay Wild, Flower Child!
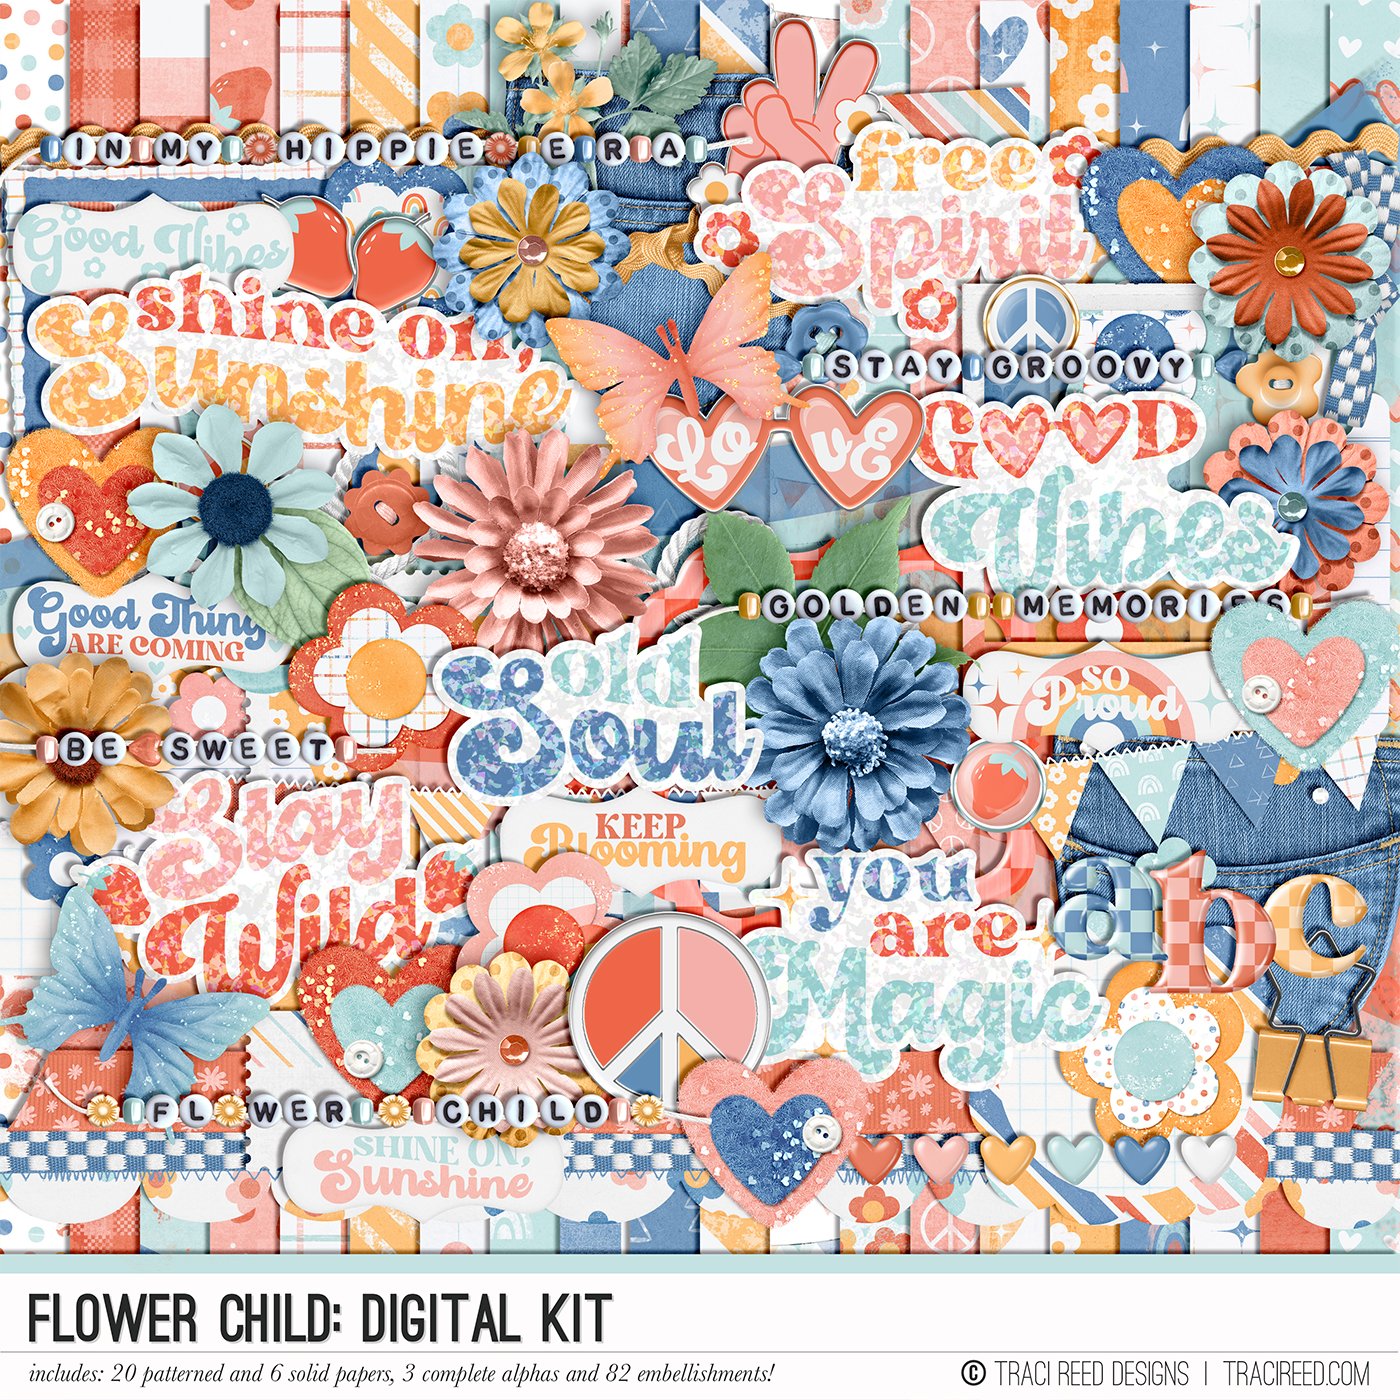
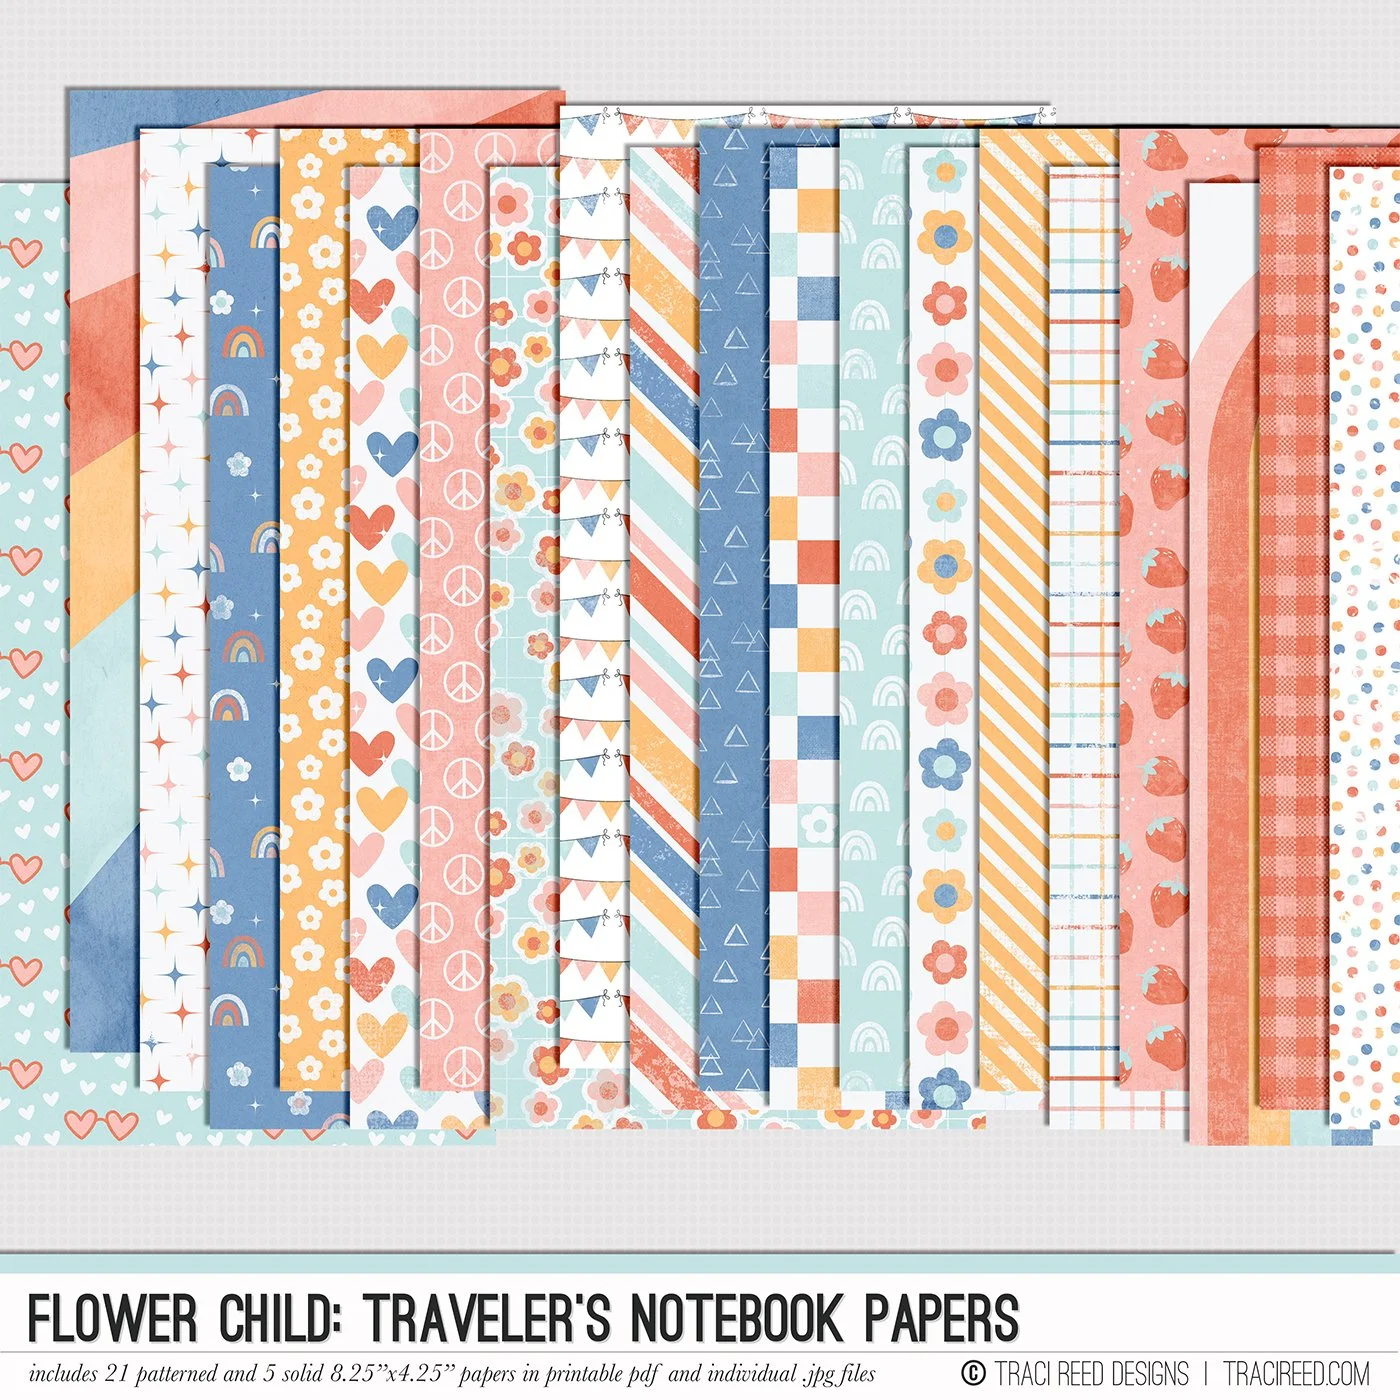
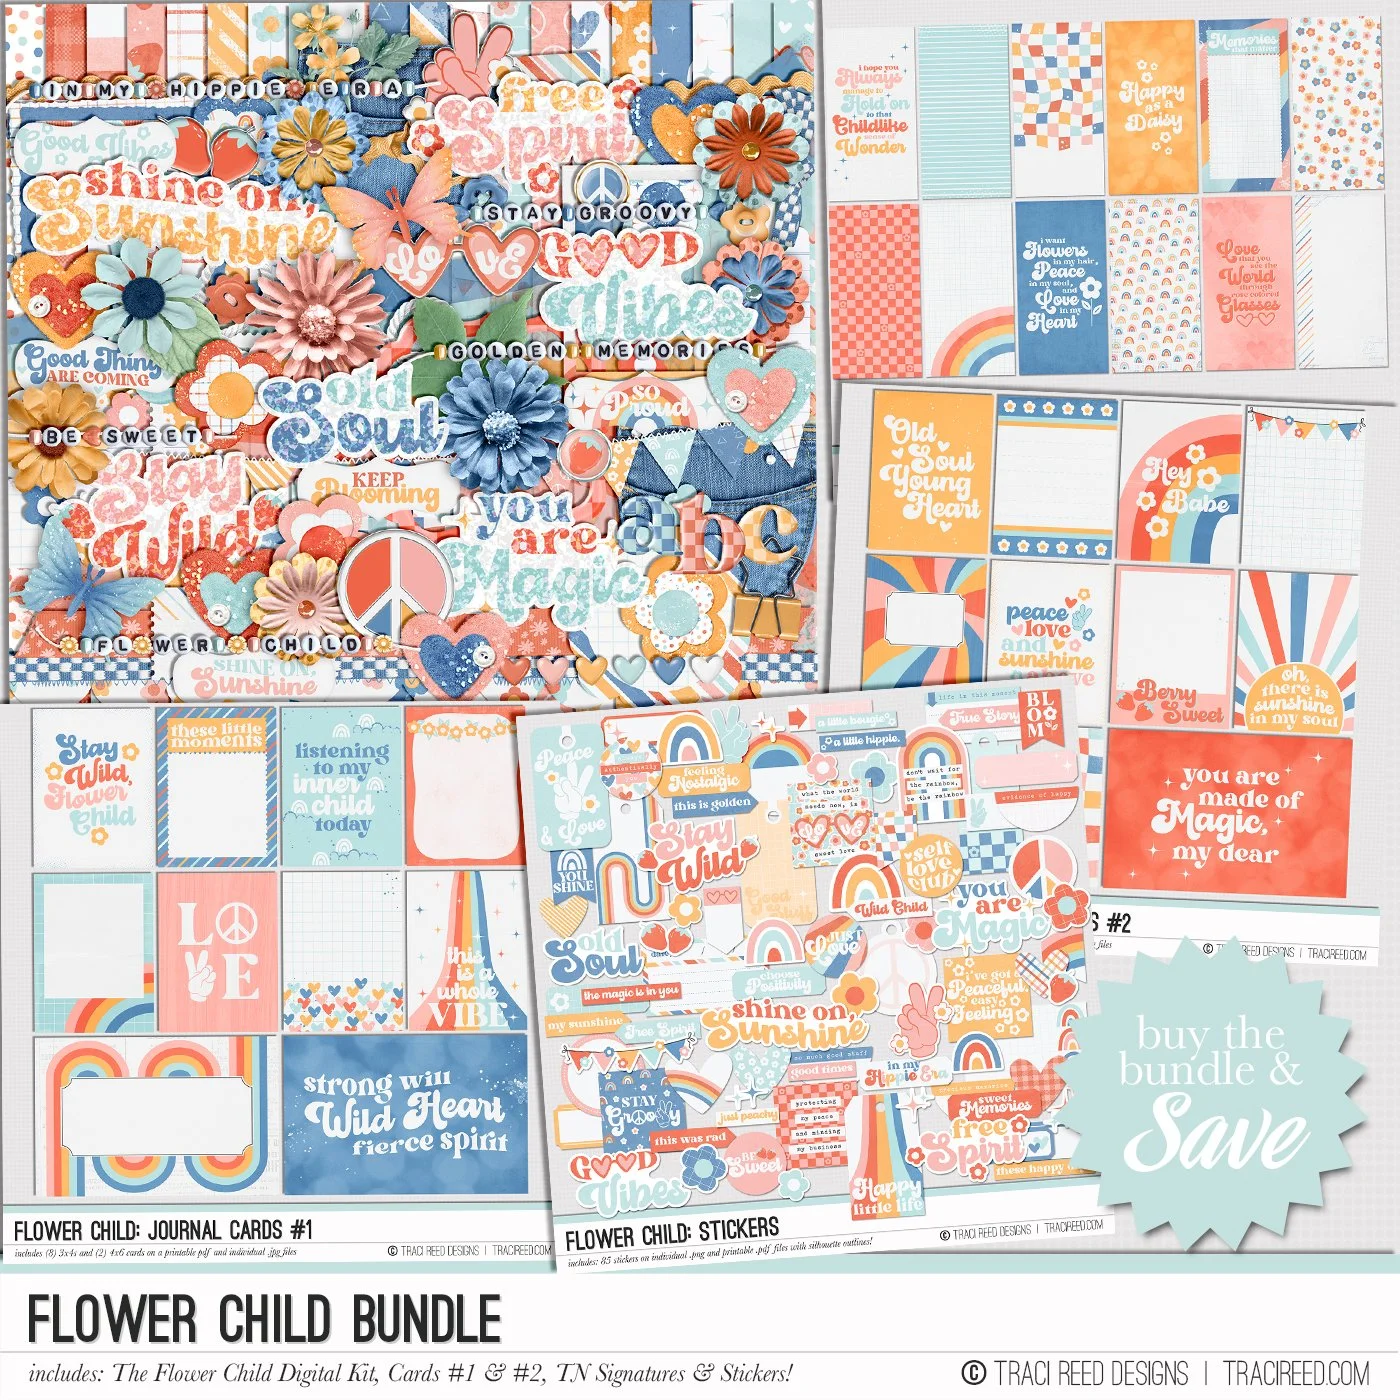
Flower Child is the collection that is most definitively me, as I designed it for my 40th birthday, and it’s full of sunshine and hippie vibes, perfect for a page all about your own little flower child, or even yourself! With a gorgeous color warm color palette that harkens back to the 80s but manages to stay modern, you really can scrapbook anything with this beautiful collection!
Danica
I just love this background paper in Traci’s Flower Child collection and I knew I had to use it in my layout. The curving lines create a sense of movement and I couldn’t think of a better photo for this then a playground photo! The majority of my layout was created using a template from Fiddle Dee Dee called Beautiful Life. I did substitute quite a few of the floral spots on the template for the awesome word arts in the collection. It was a lot of fun making this layout, and I hope you love it as much as I do!
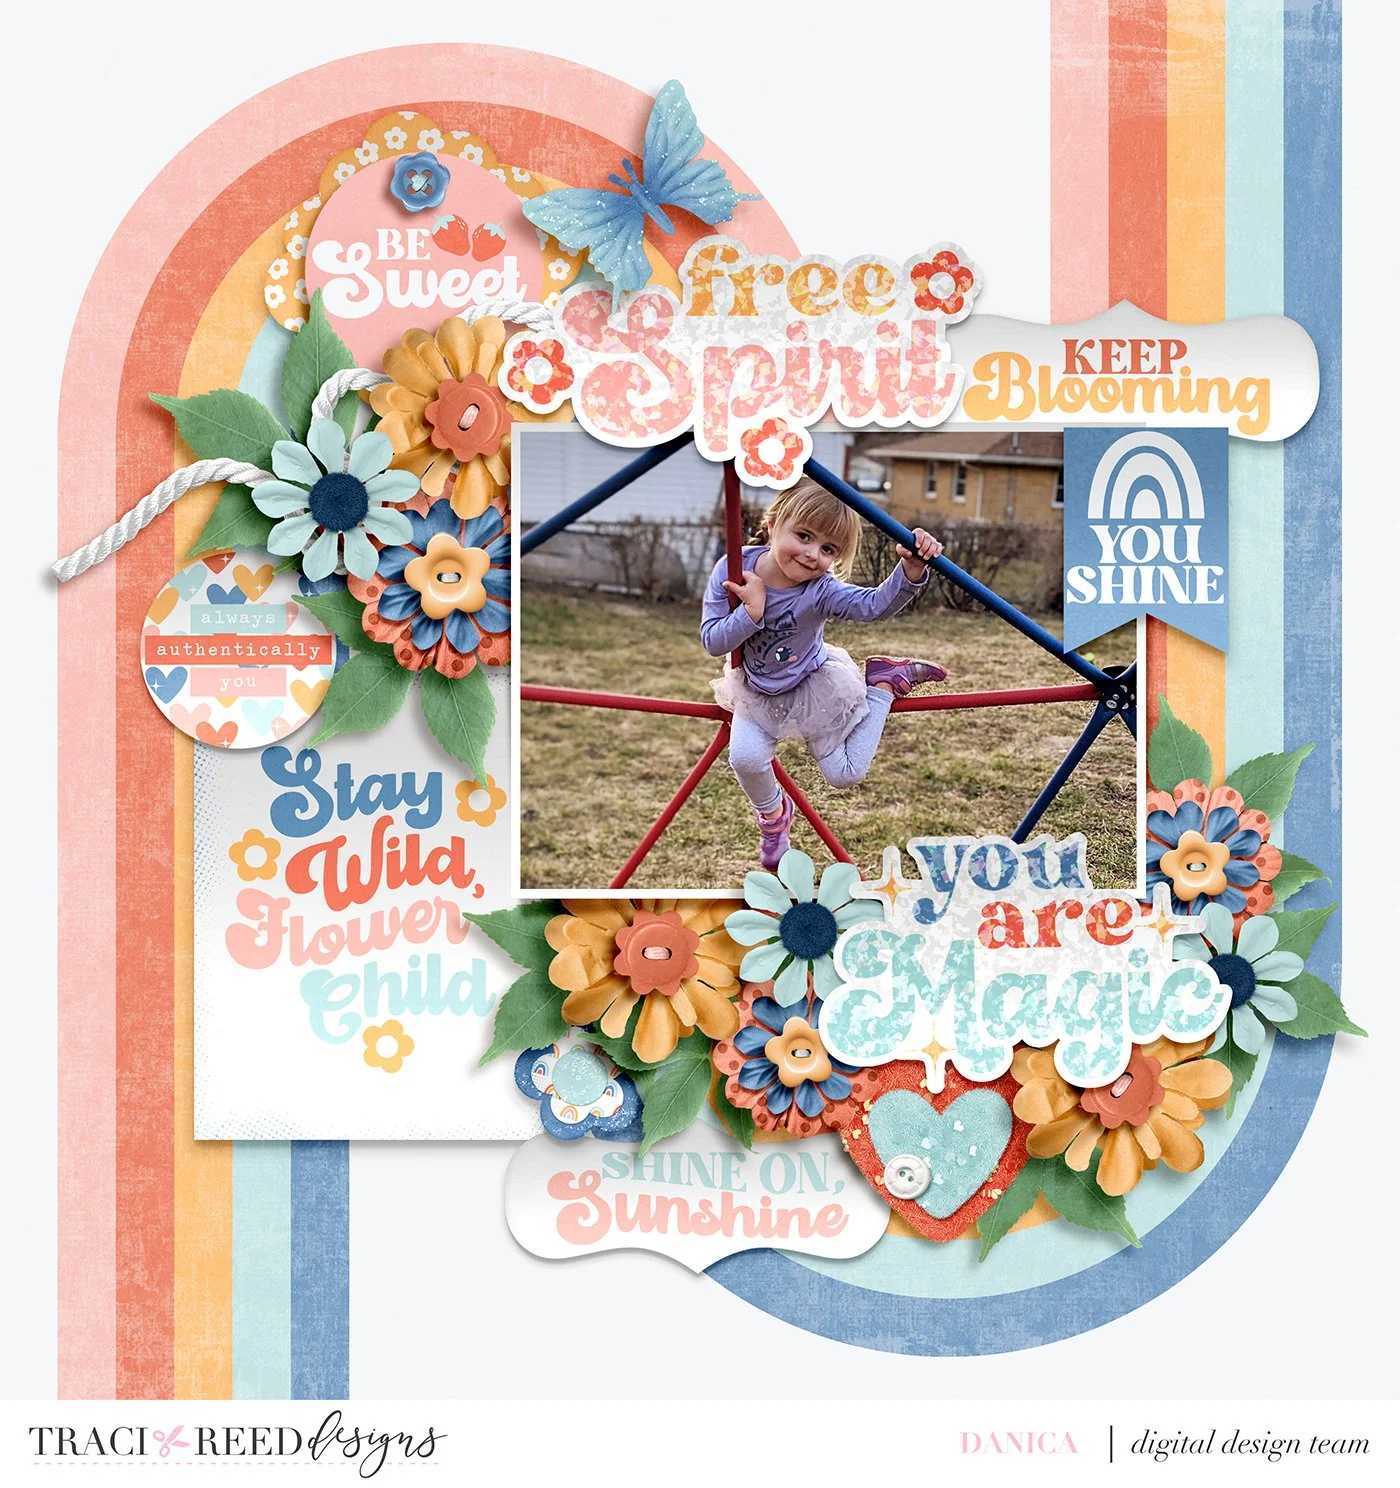
Shayla
I’m so happy with how this title turned out on my double page layout. A good typography mix is possibly one of the most satisfying things to look at. I used the red alpha included with Flower Child and one of the fun friendship bracelet ellies. But you might be wondering where I got my “the” and “to” fonts from? I modified one of the pre-existing word strips that originally read “the magic is in you”. I cropped the strip to just use the word “the” and then for my second word, I needed to perform some digital surgery. I duplicated the original word strip and then used the erase tool in my scrapbooking app to single out a letter T and letter O. Then I layered the two together and voilà, a custom font!

Torey
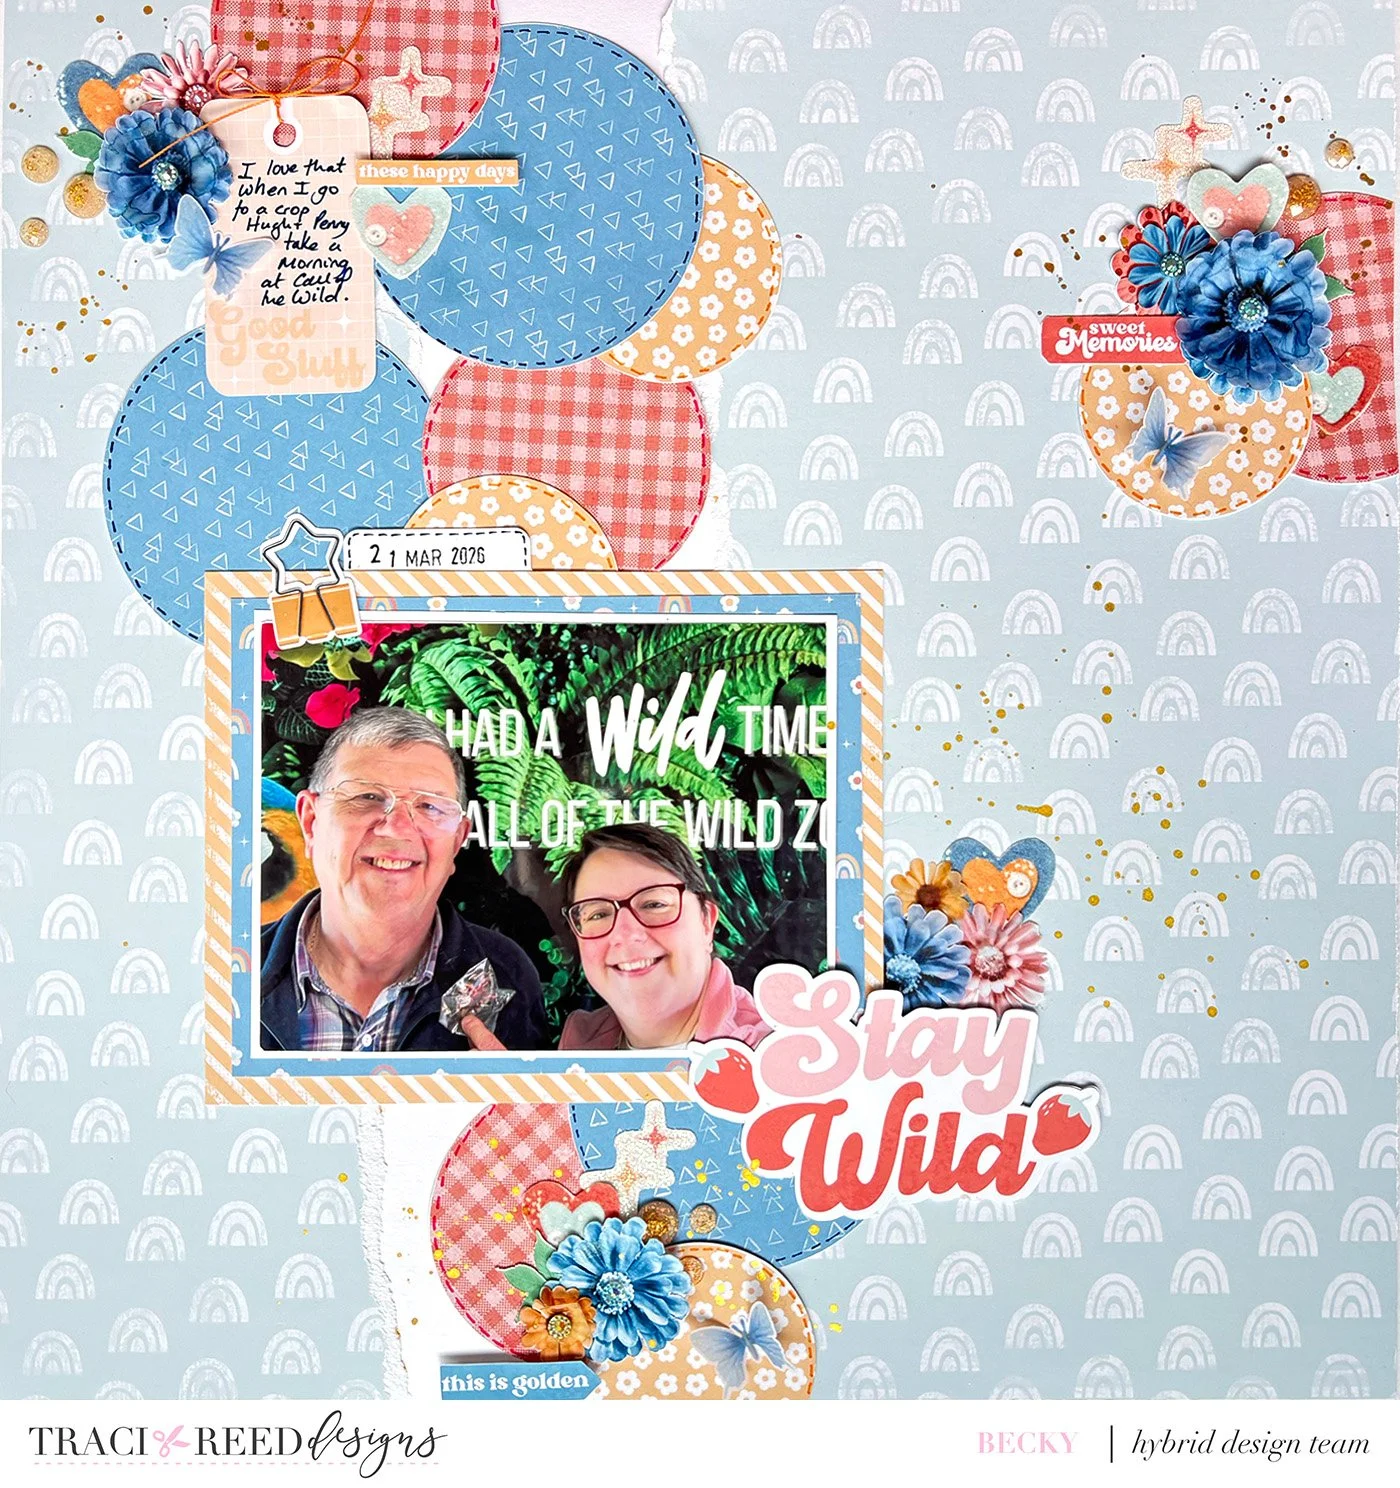
Flower Child is collection that always reminds me to embrace myself, so I thought it would be perfect to use for documenting a day where I was romanticizing my life! I love the digital ellies of this collection so much and created my own paper using some ellies and the textured paper from the paper pack. I kept my layout very simple, as I usually do, but I felt like the simplicity of this one really allows the elements to shine!

Becky
I had forgotten how much I love Flower Child! For my layout I wanted to concentrate on the different textures in the kit and so printed the ‘felt’ hearts from the digital pack onto fuzzy paper, the stars onto glitter paper and then to add more texture I used the flowers from the digital pack and layered vellum ones on top of paper ones. I also printed out vellum butterflies. I absolutely love how this layout came together.
Bruna
Flower Child is such a cheerful and colorful collection! I loved this striped paper and chose it as a base for my layout. I used mixed media and several elements (look at those beautiful flowers!) from the digital kit to register my daughter and her cousins making cookies!
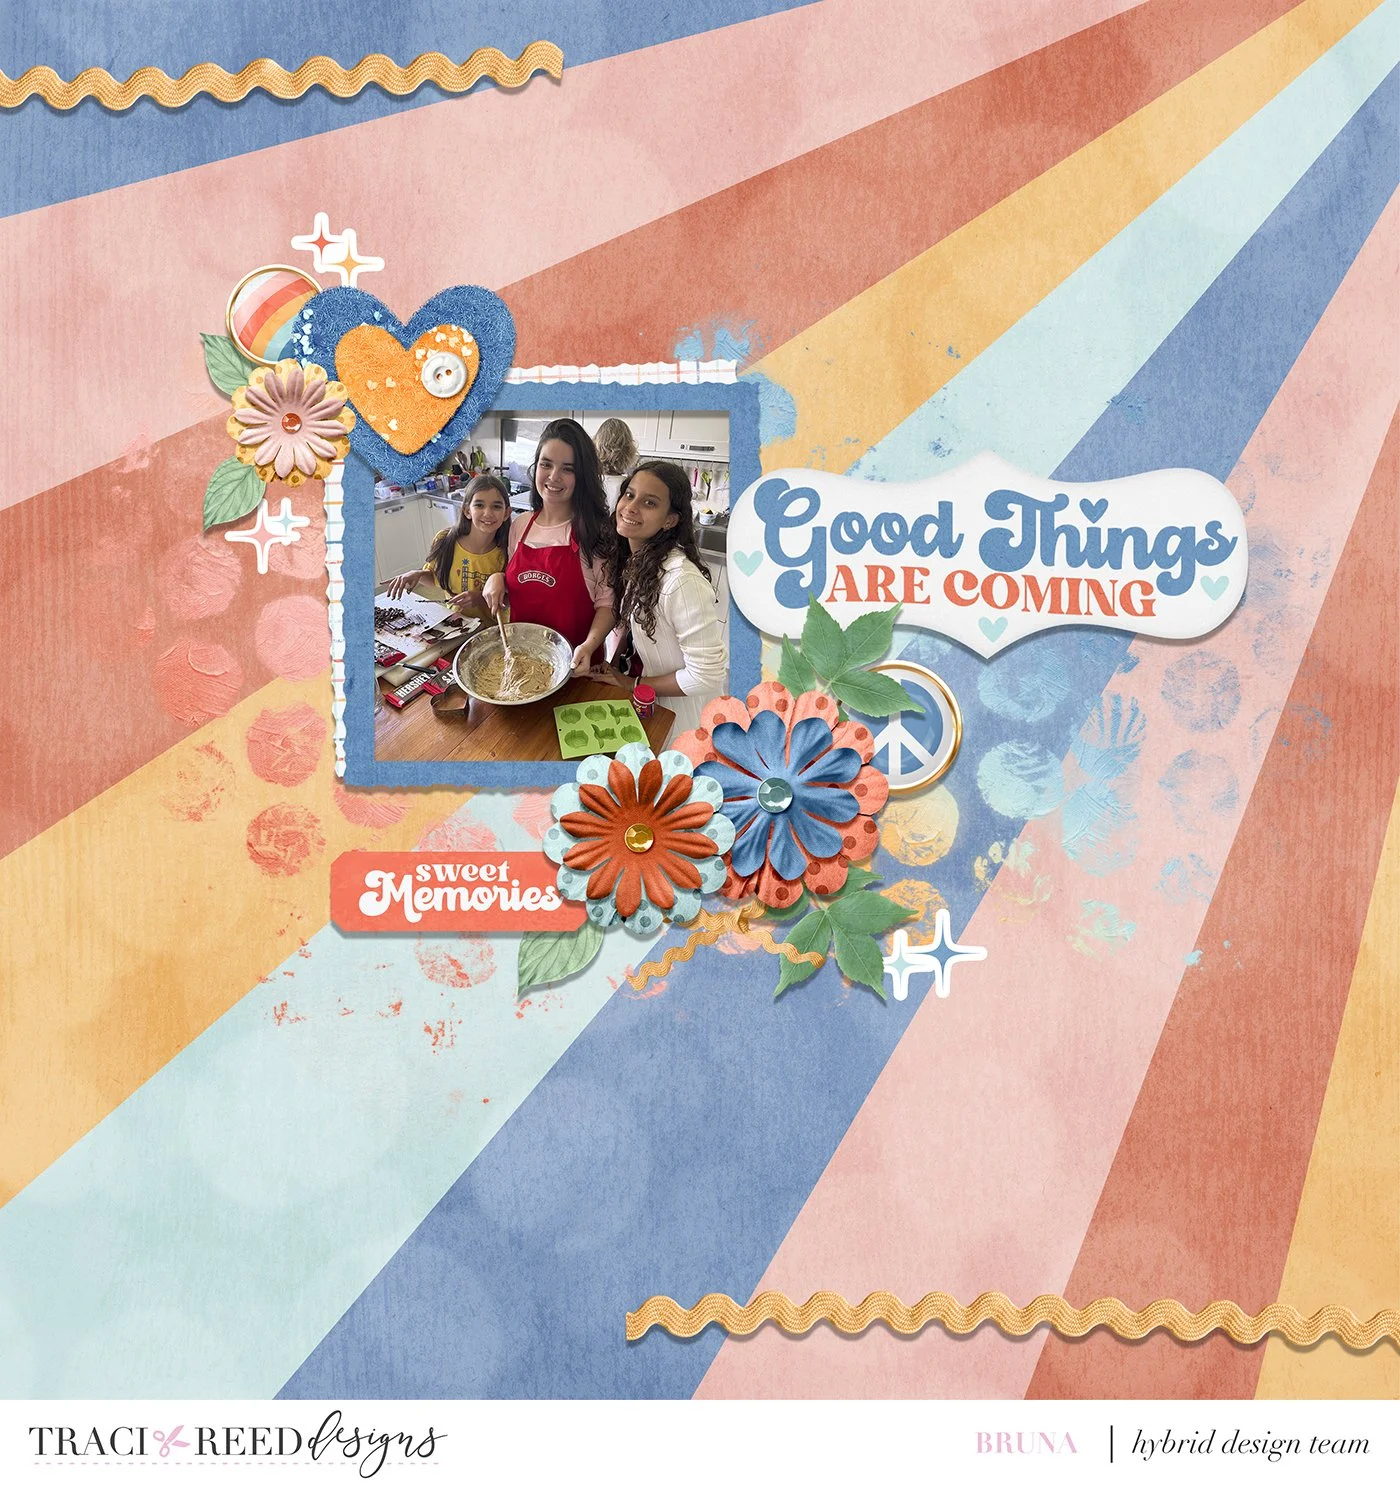
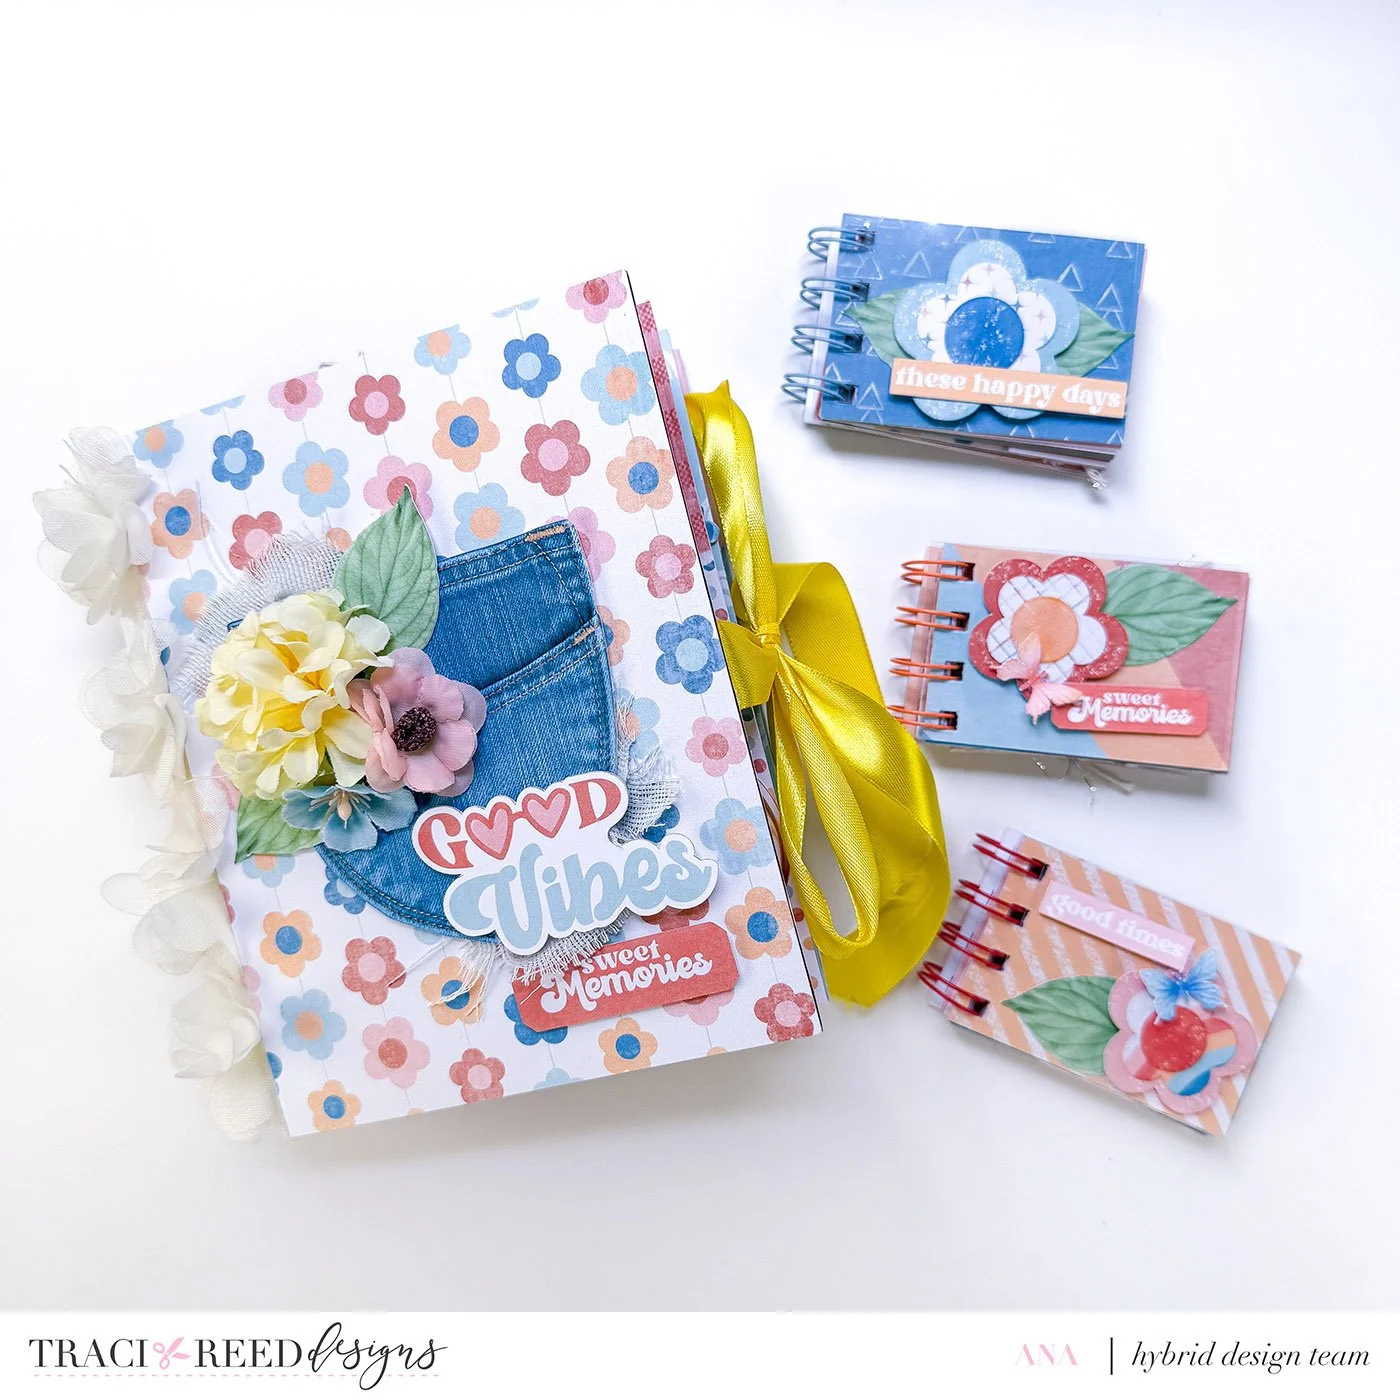
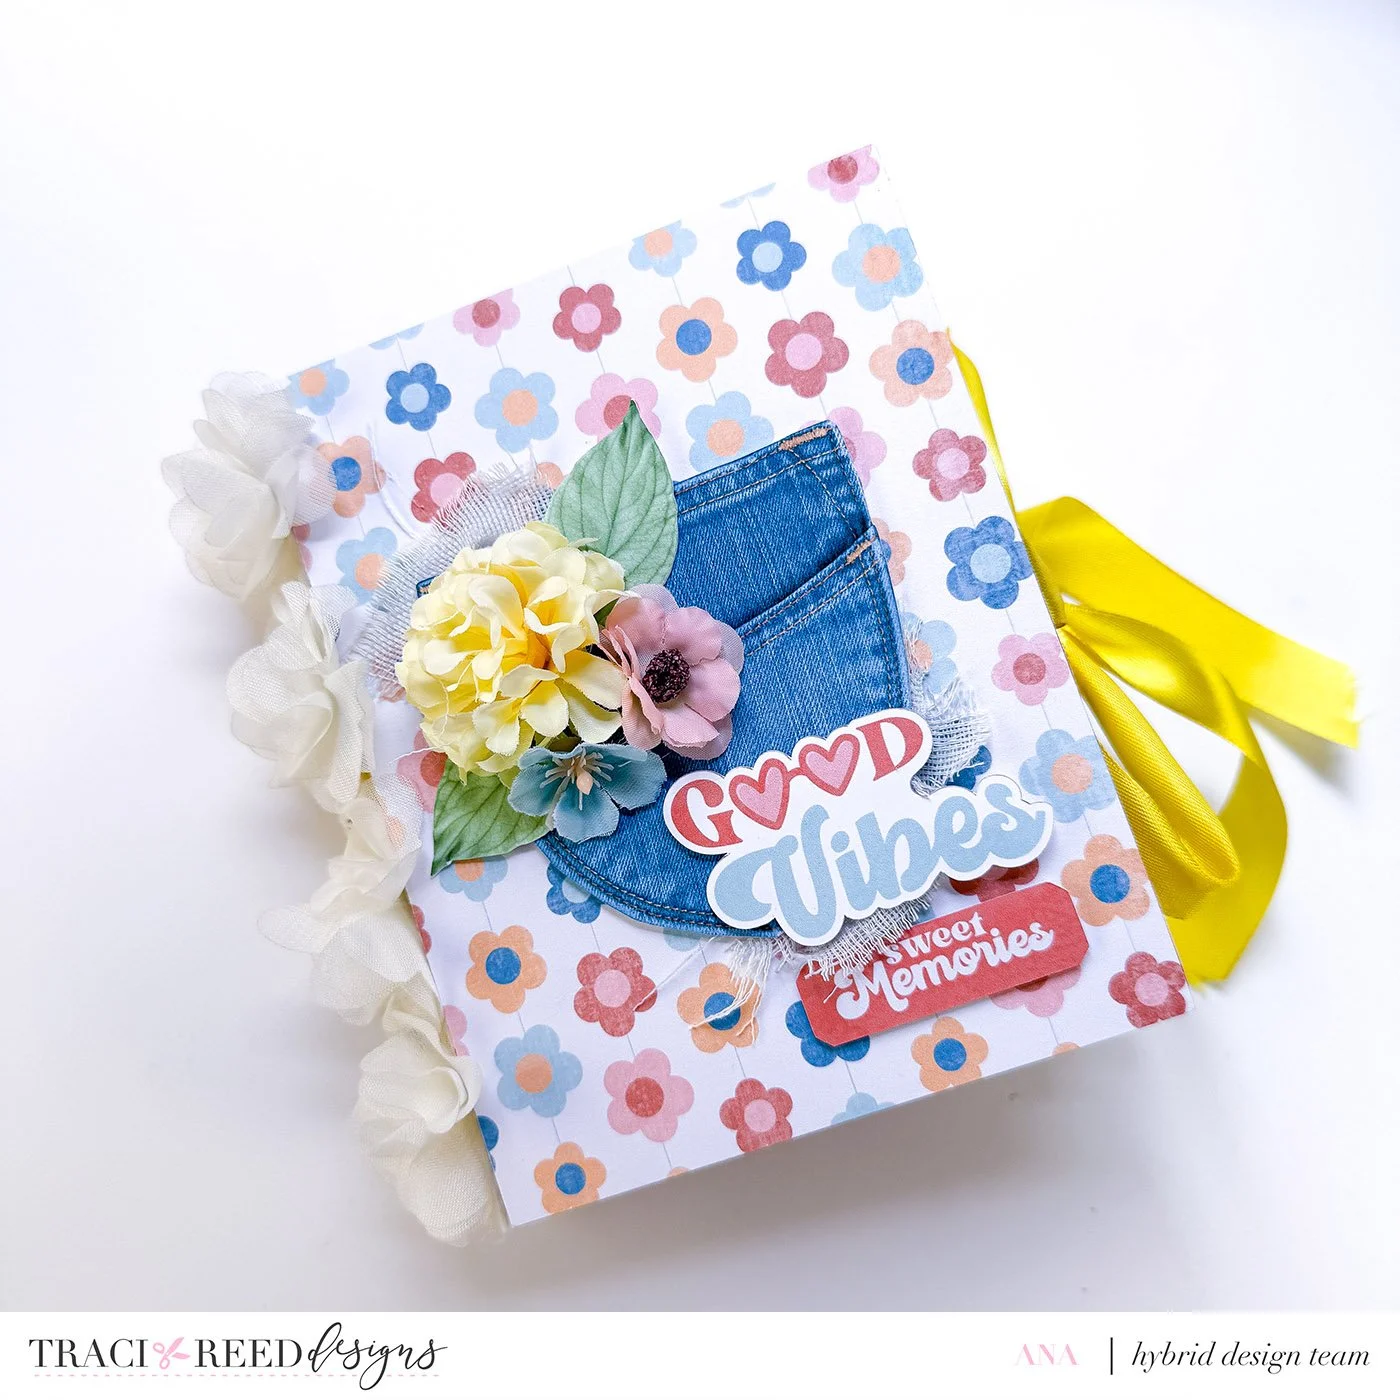
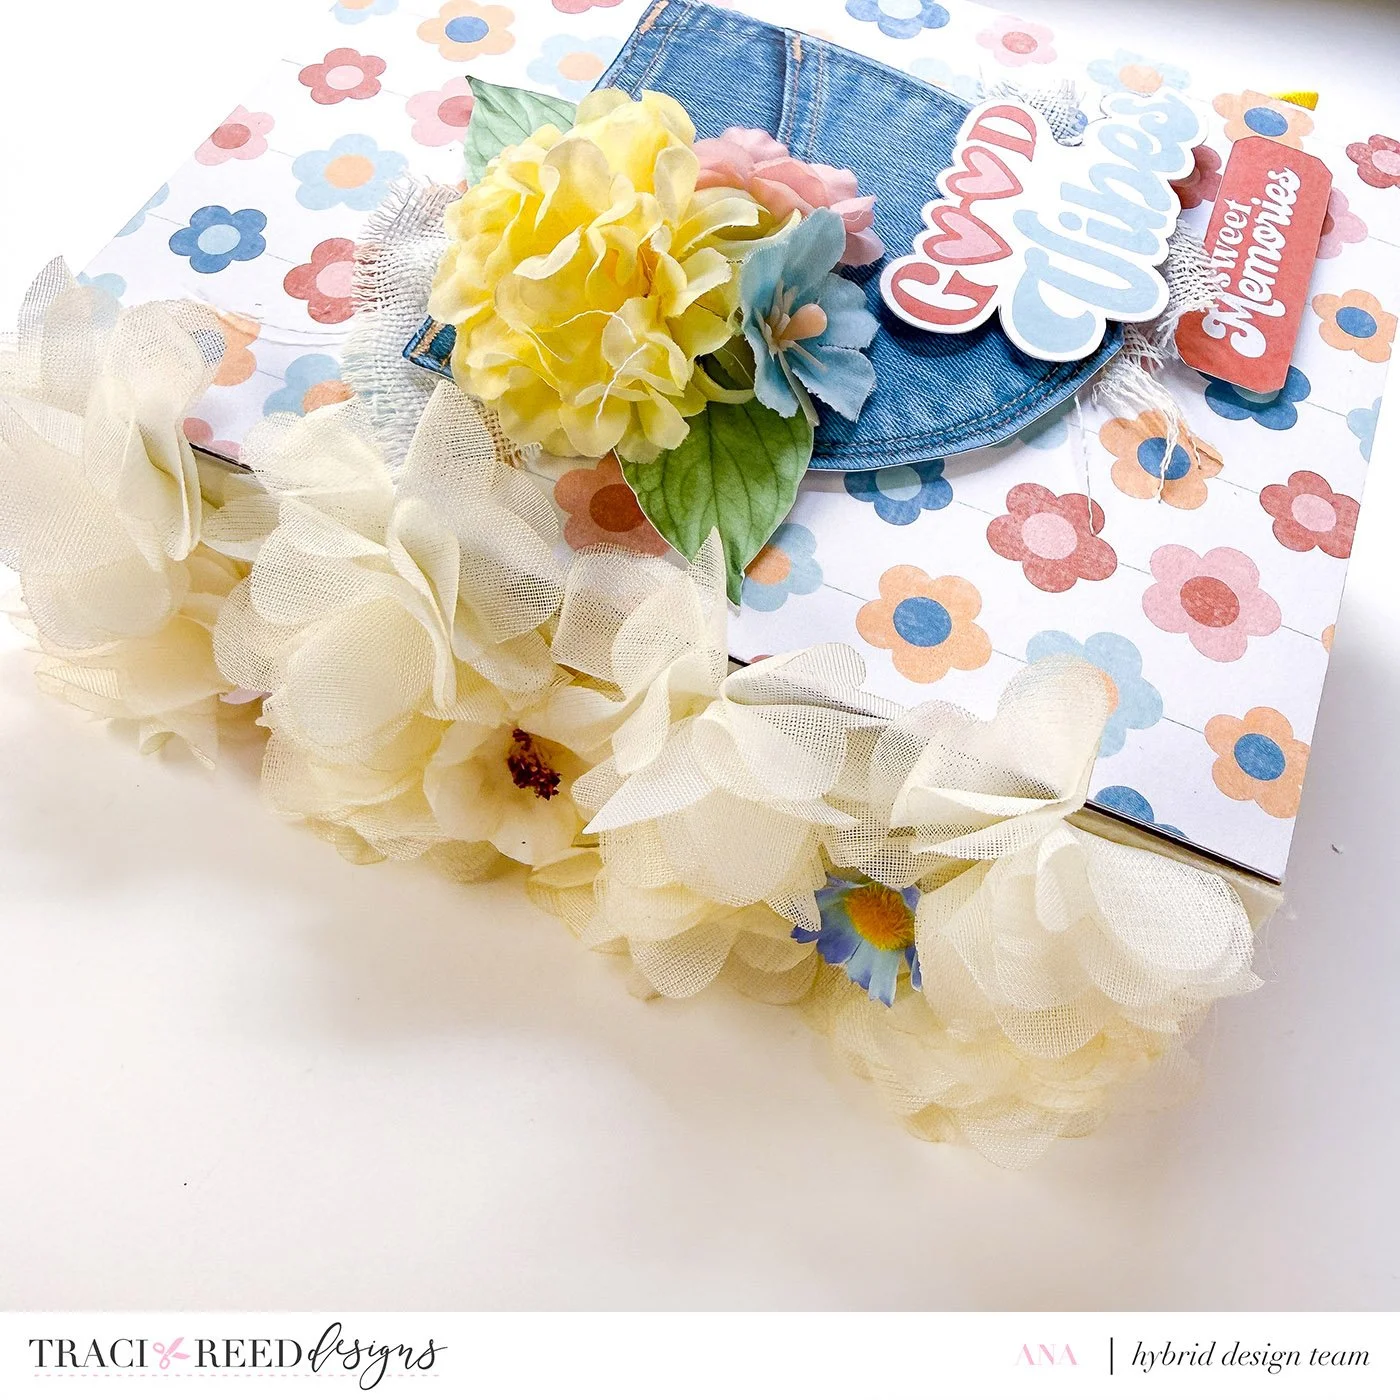
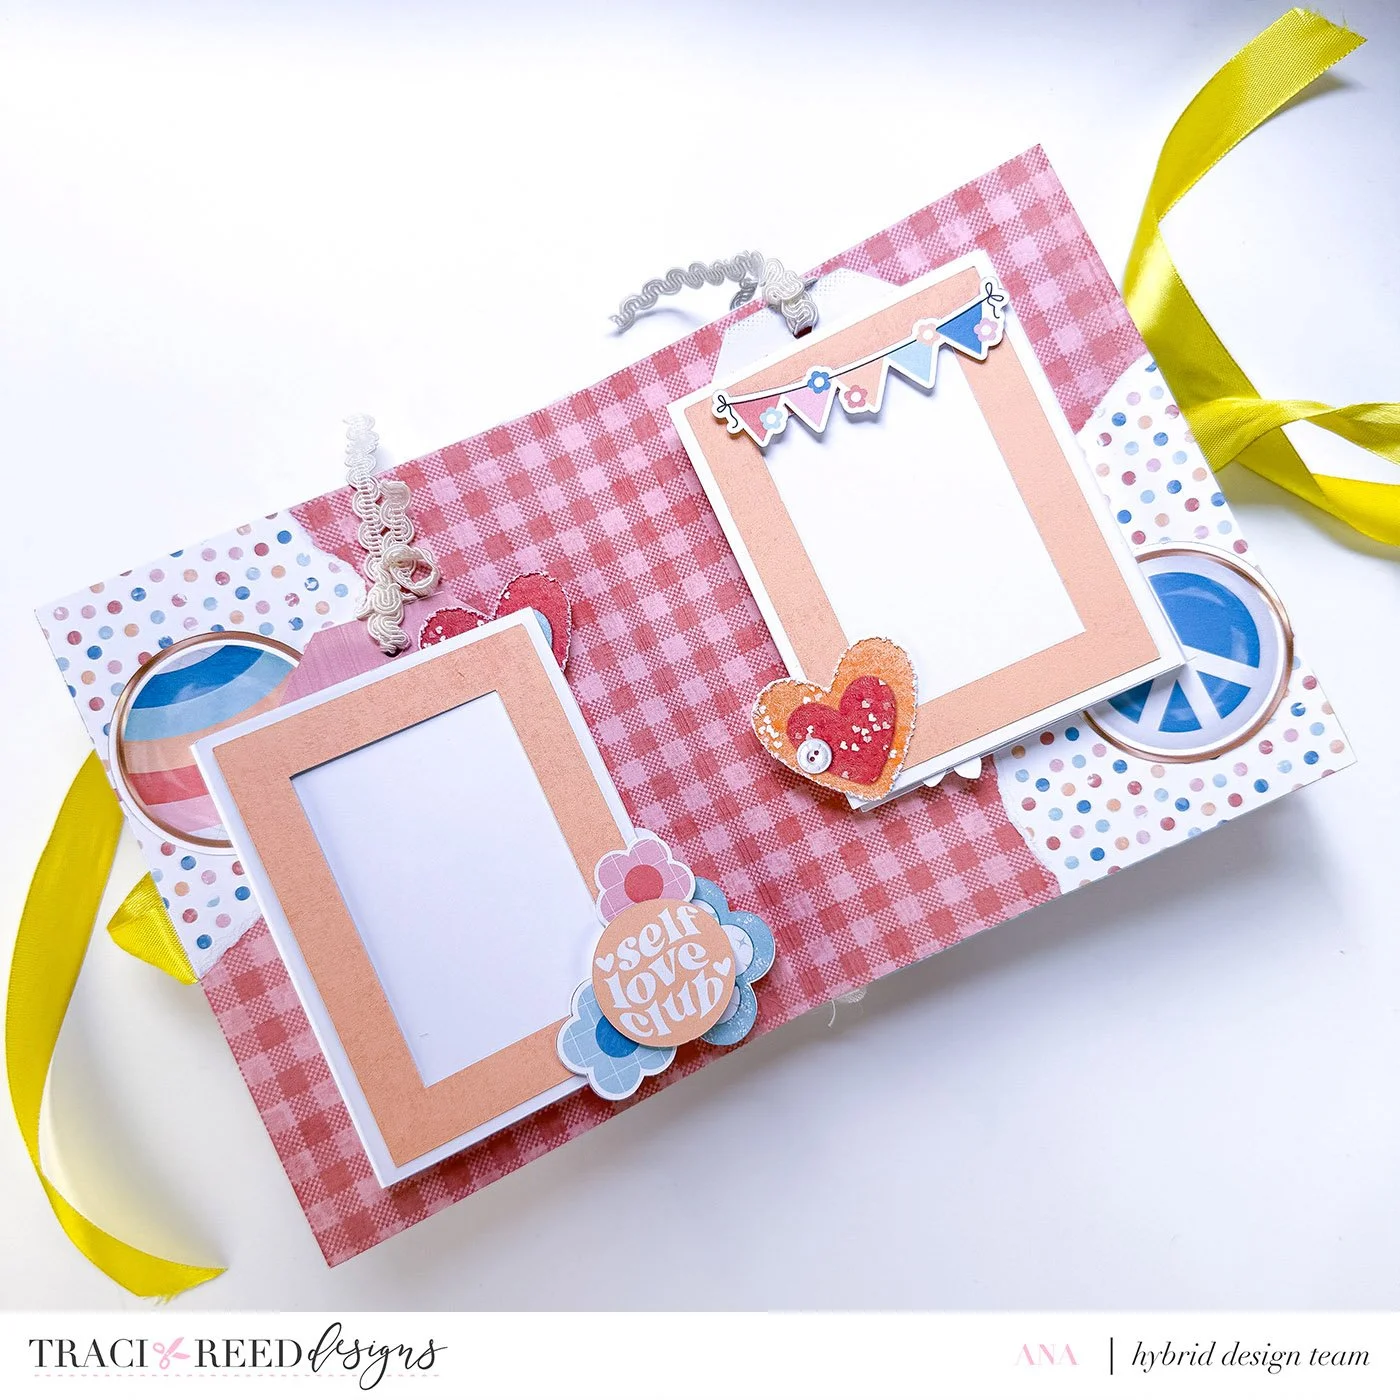
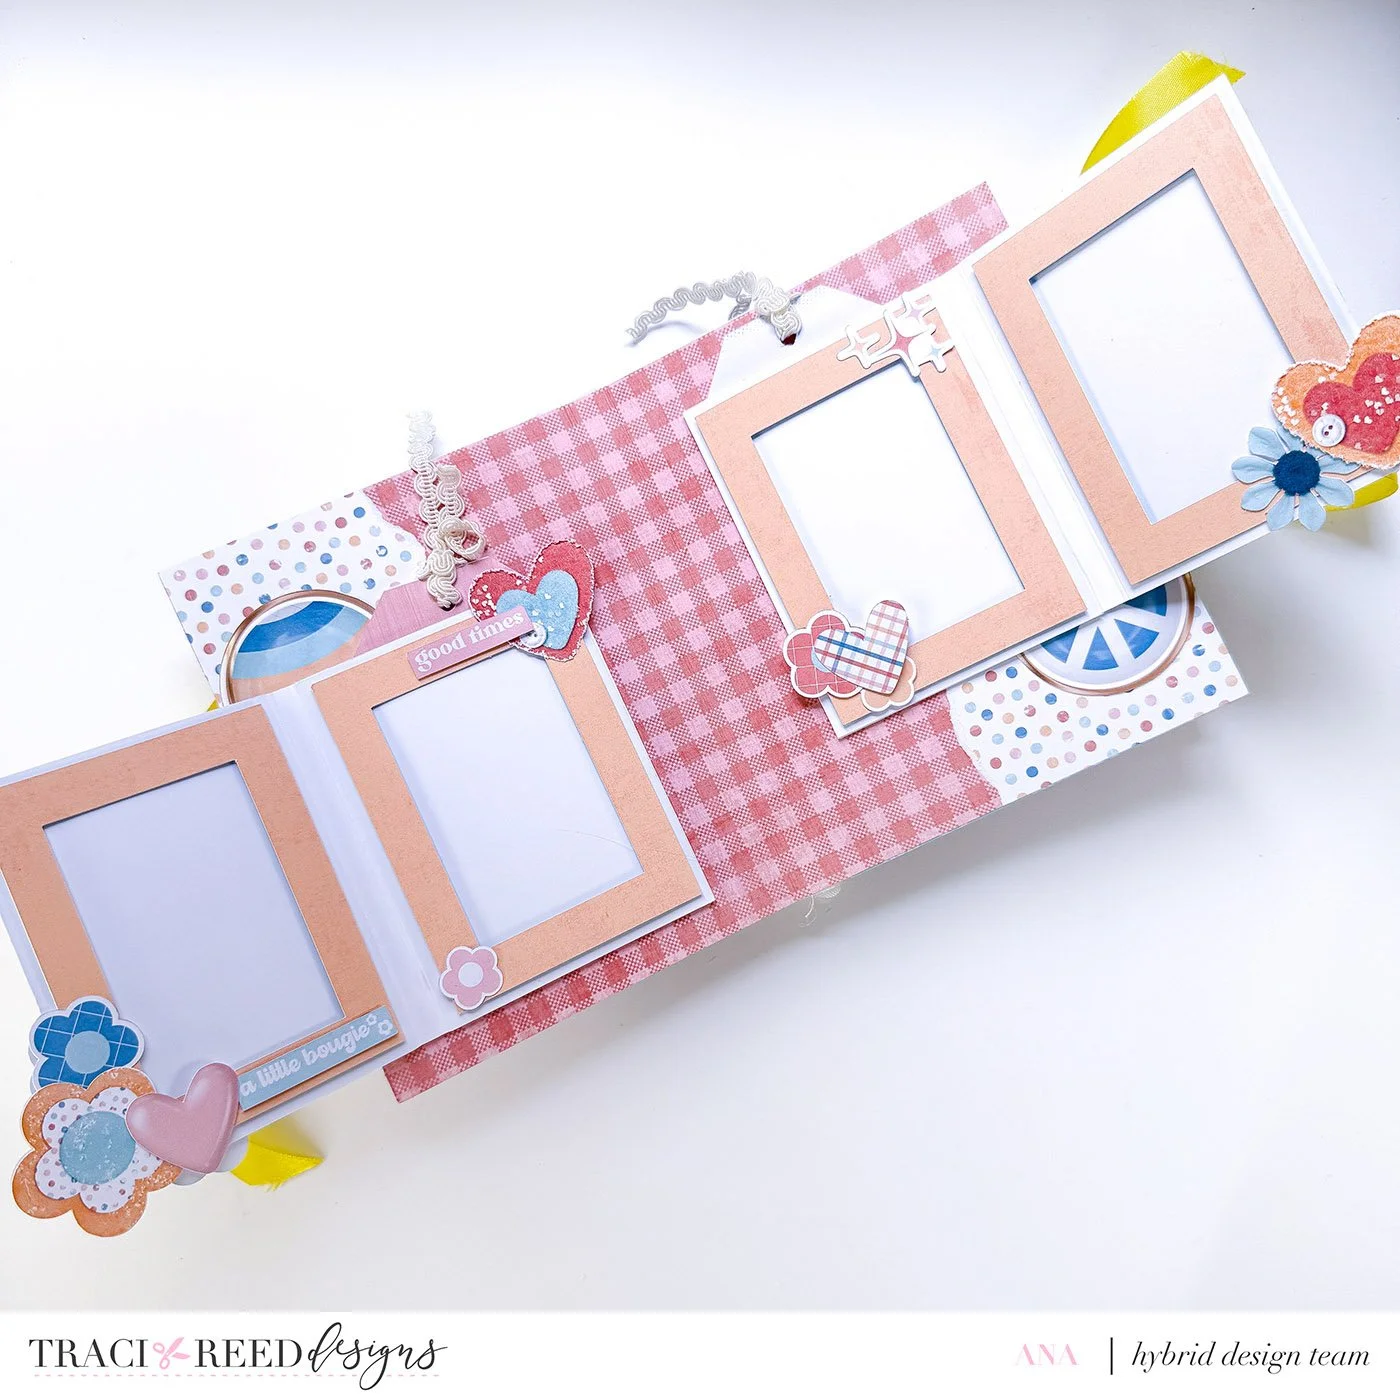
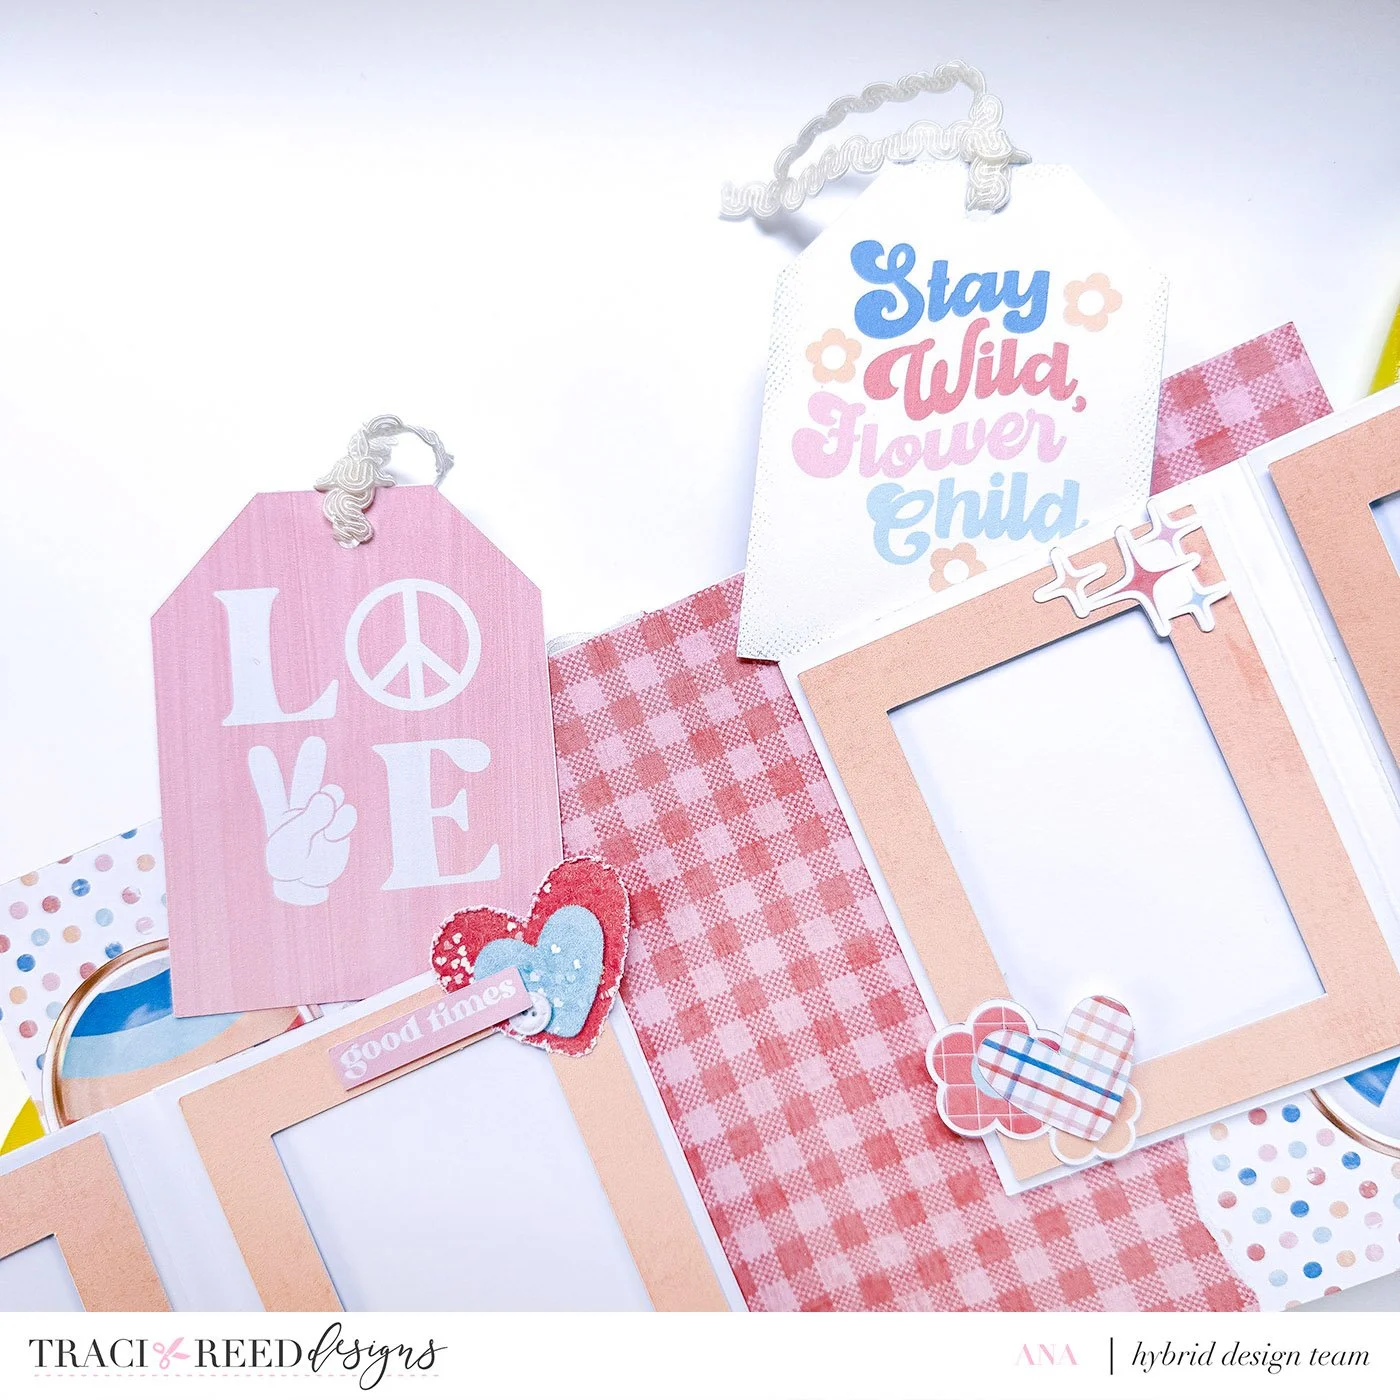
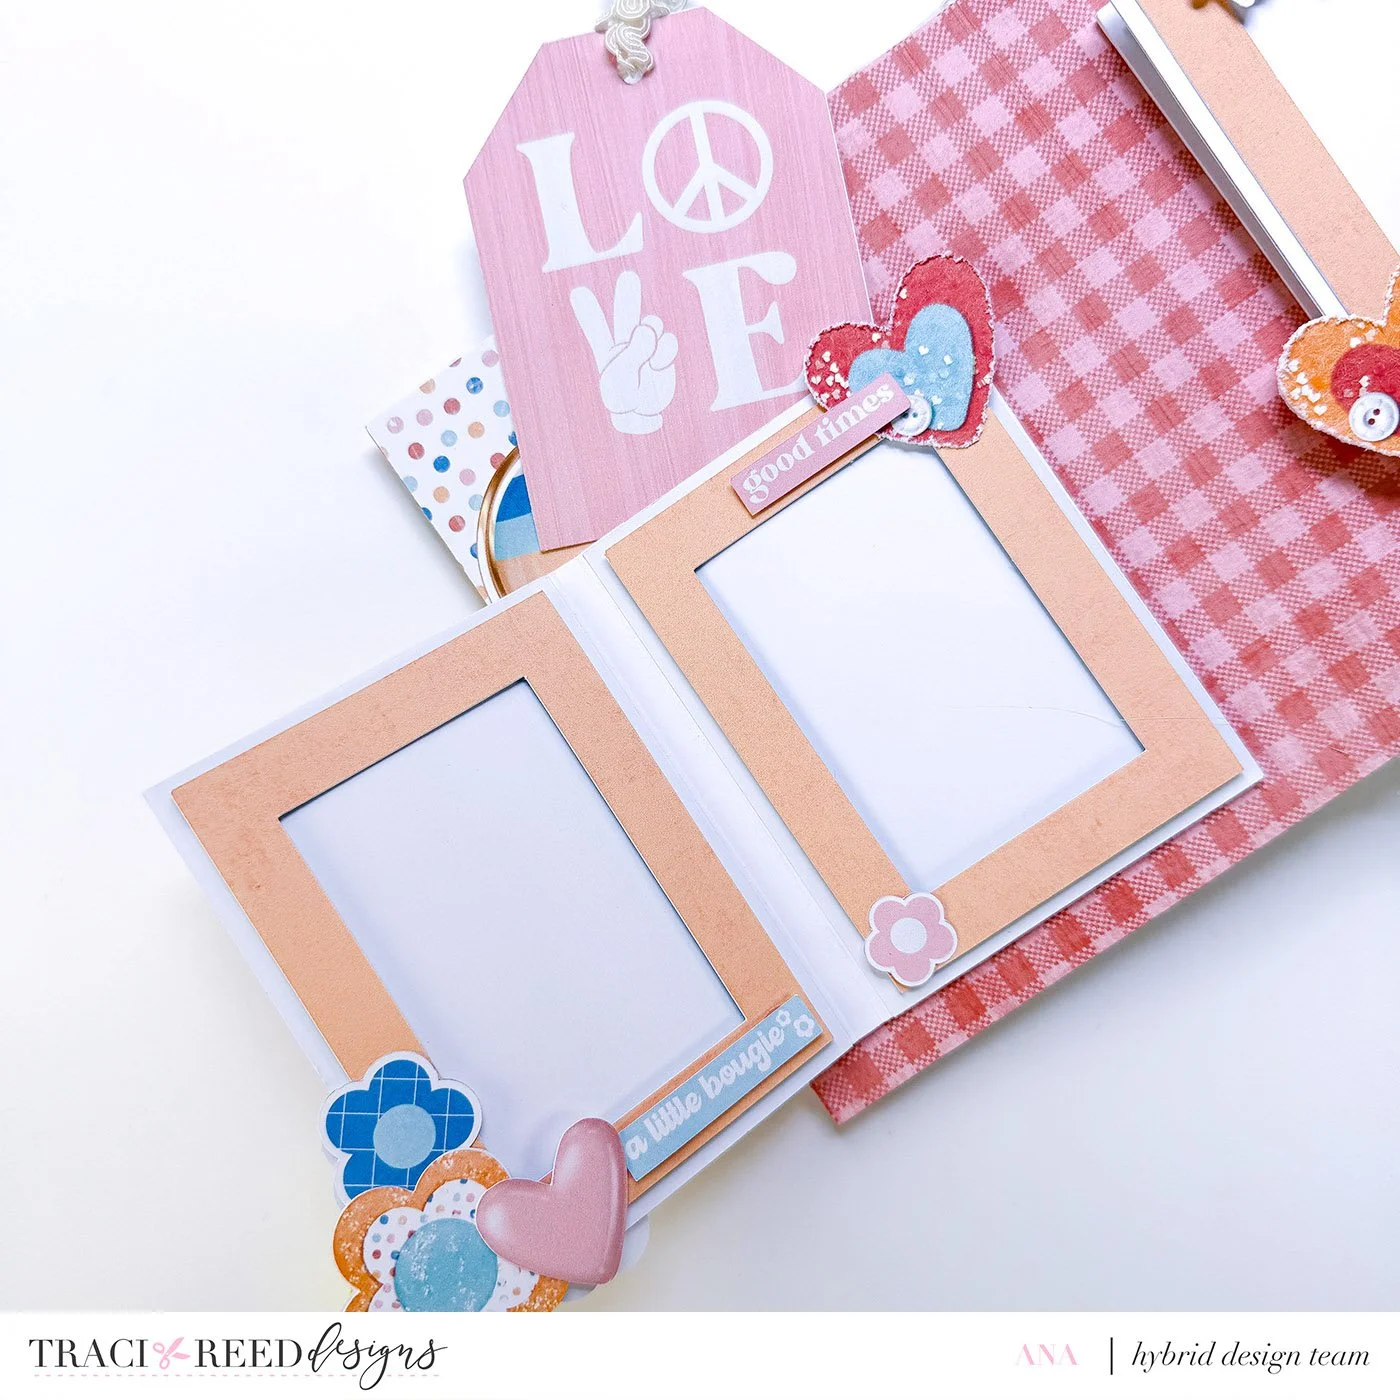
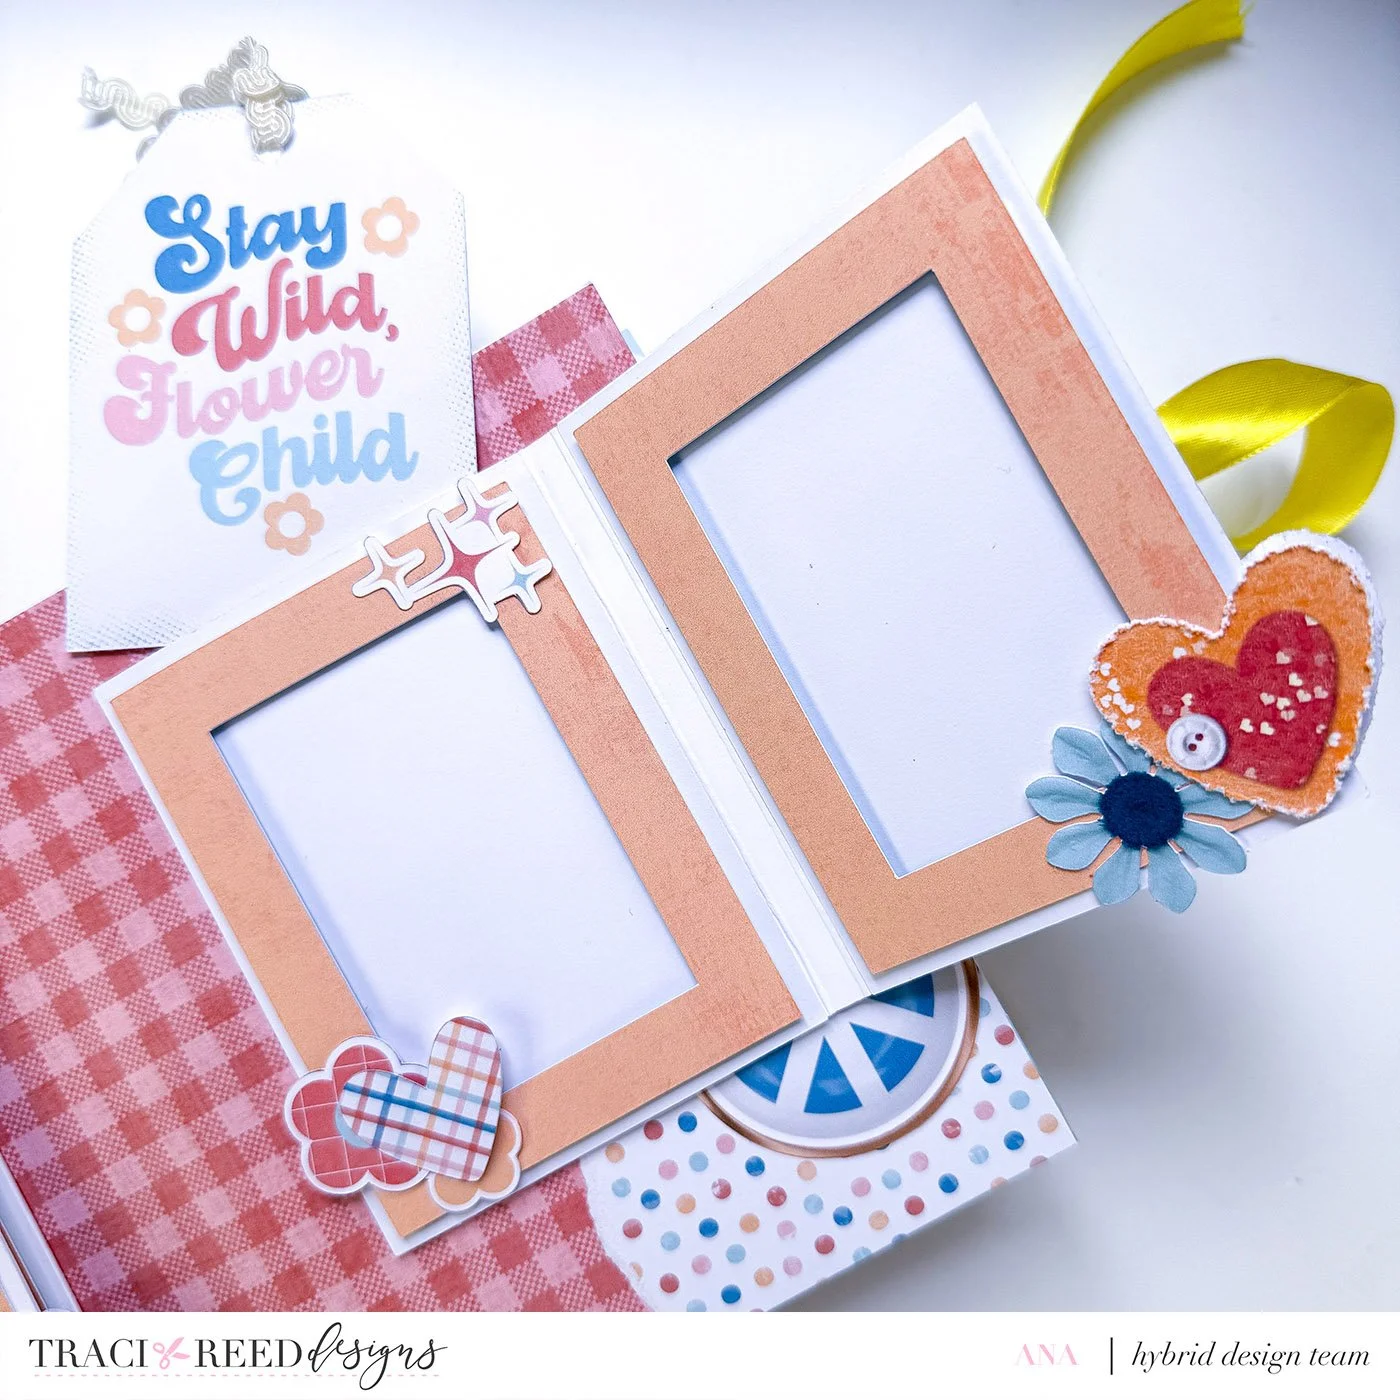
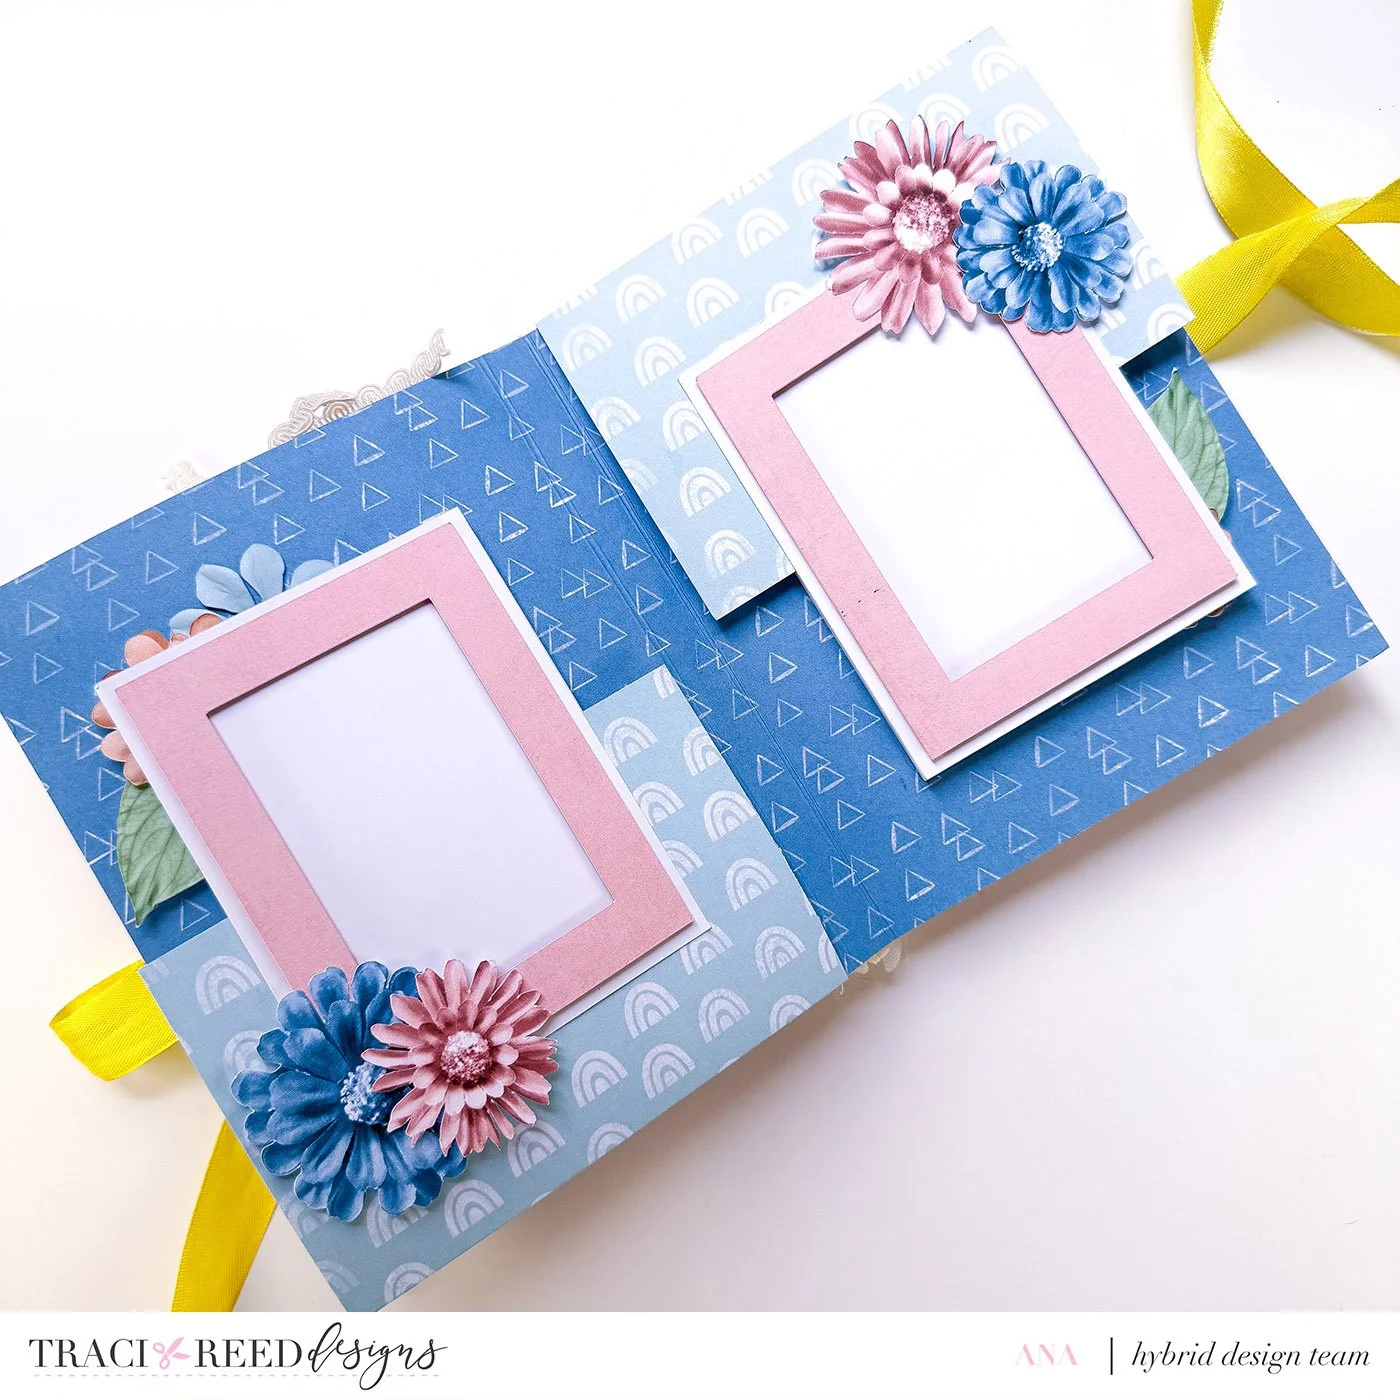
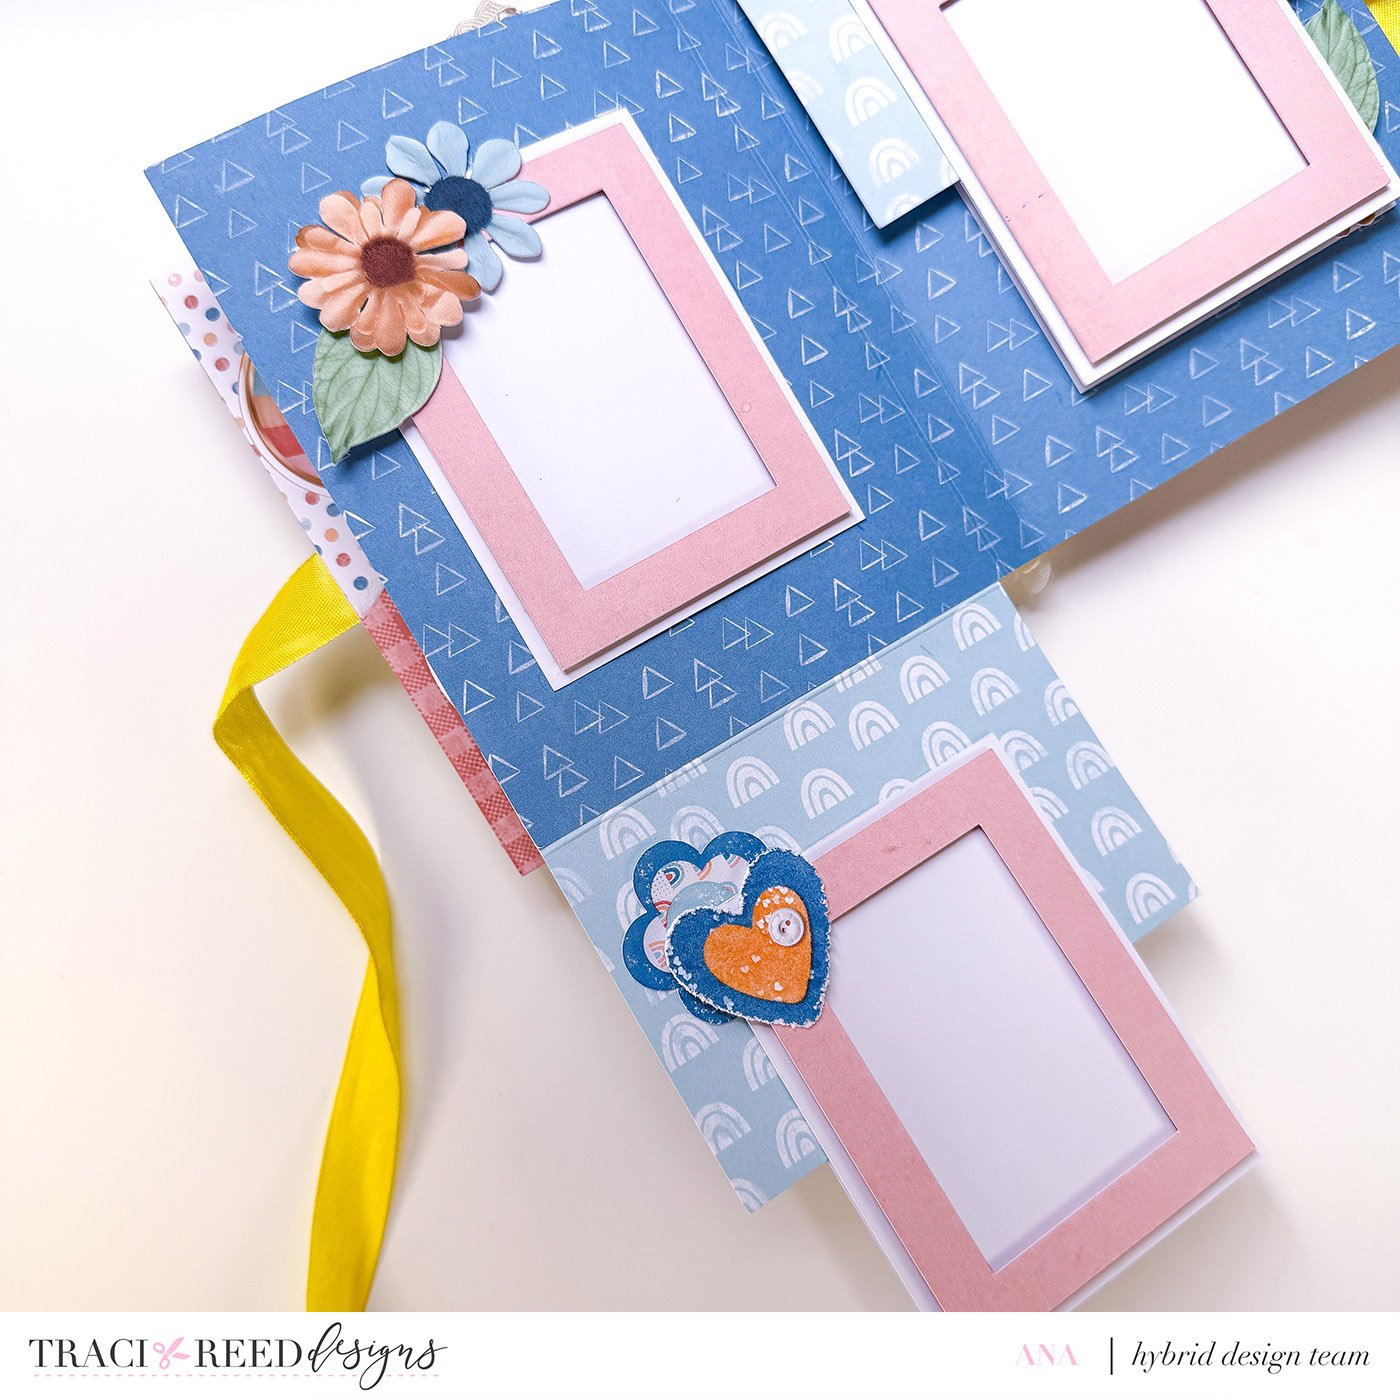
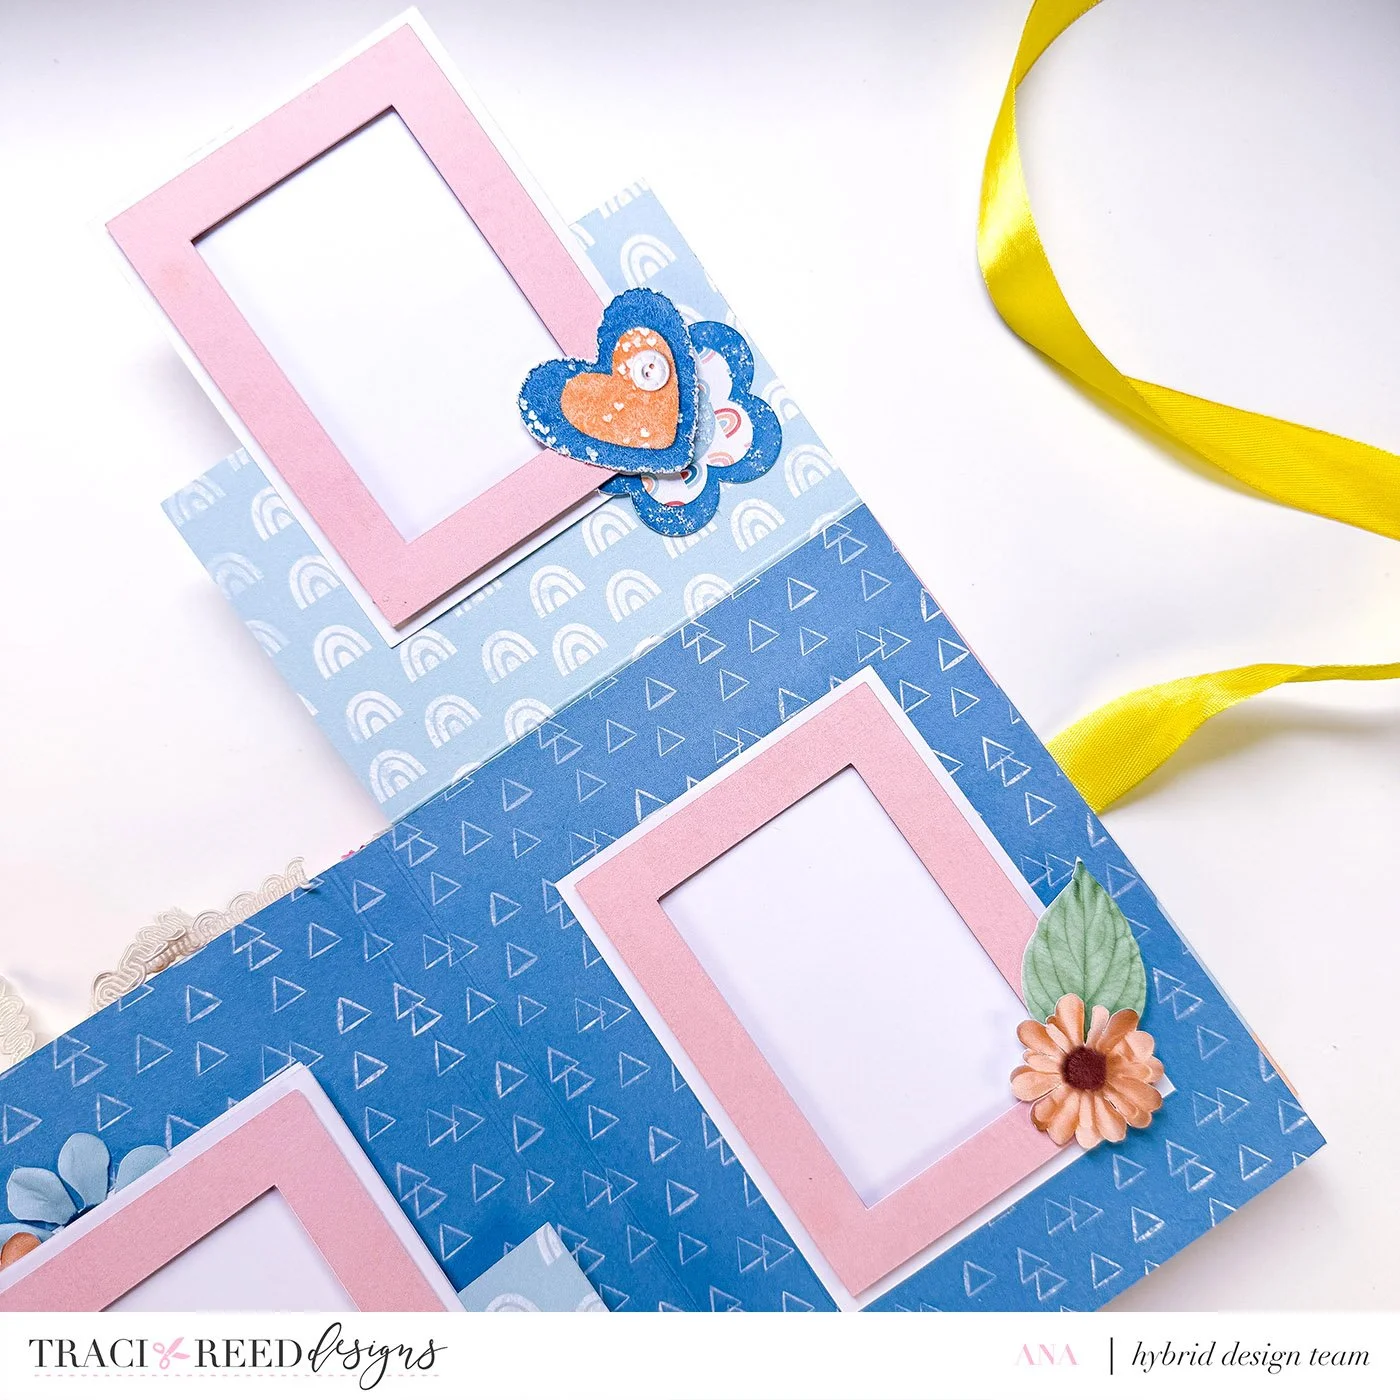
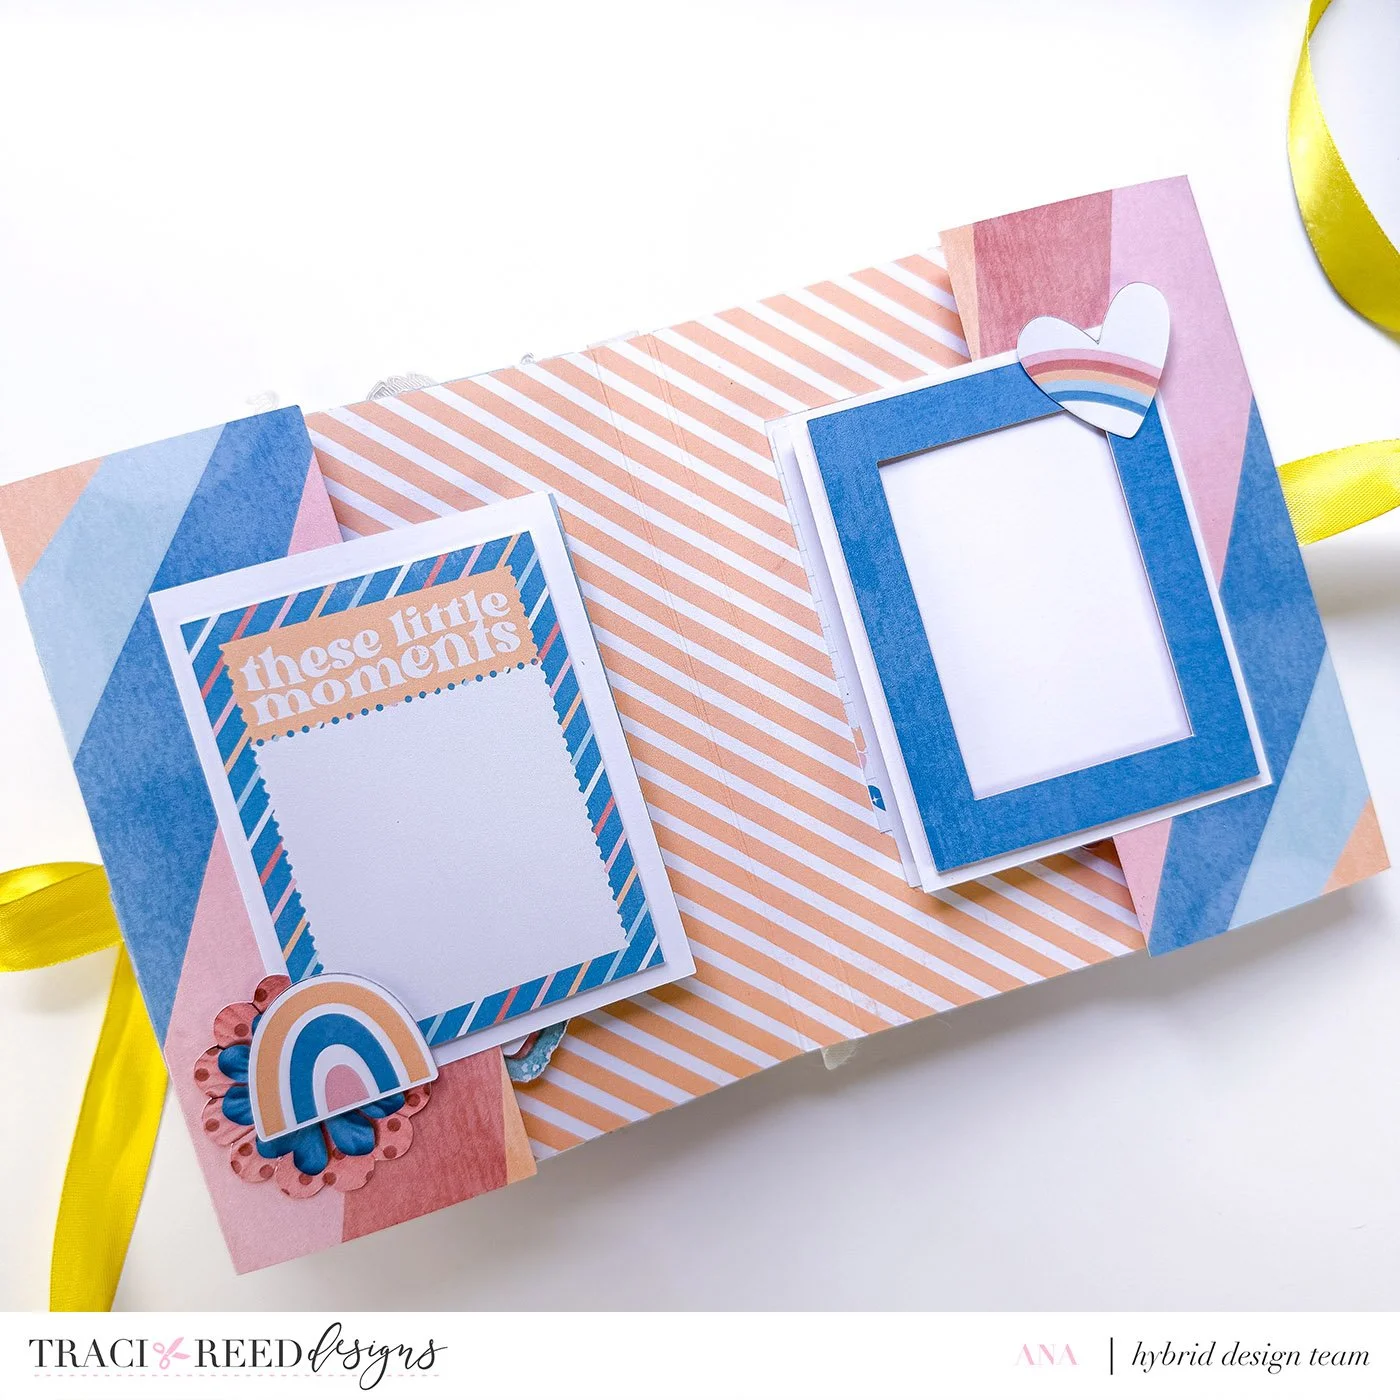
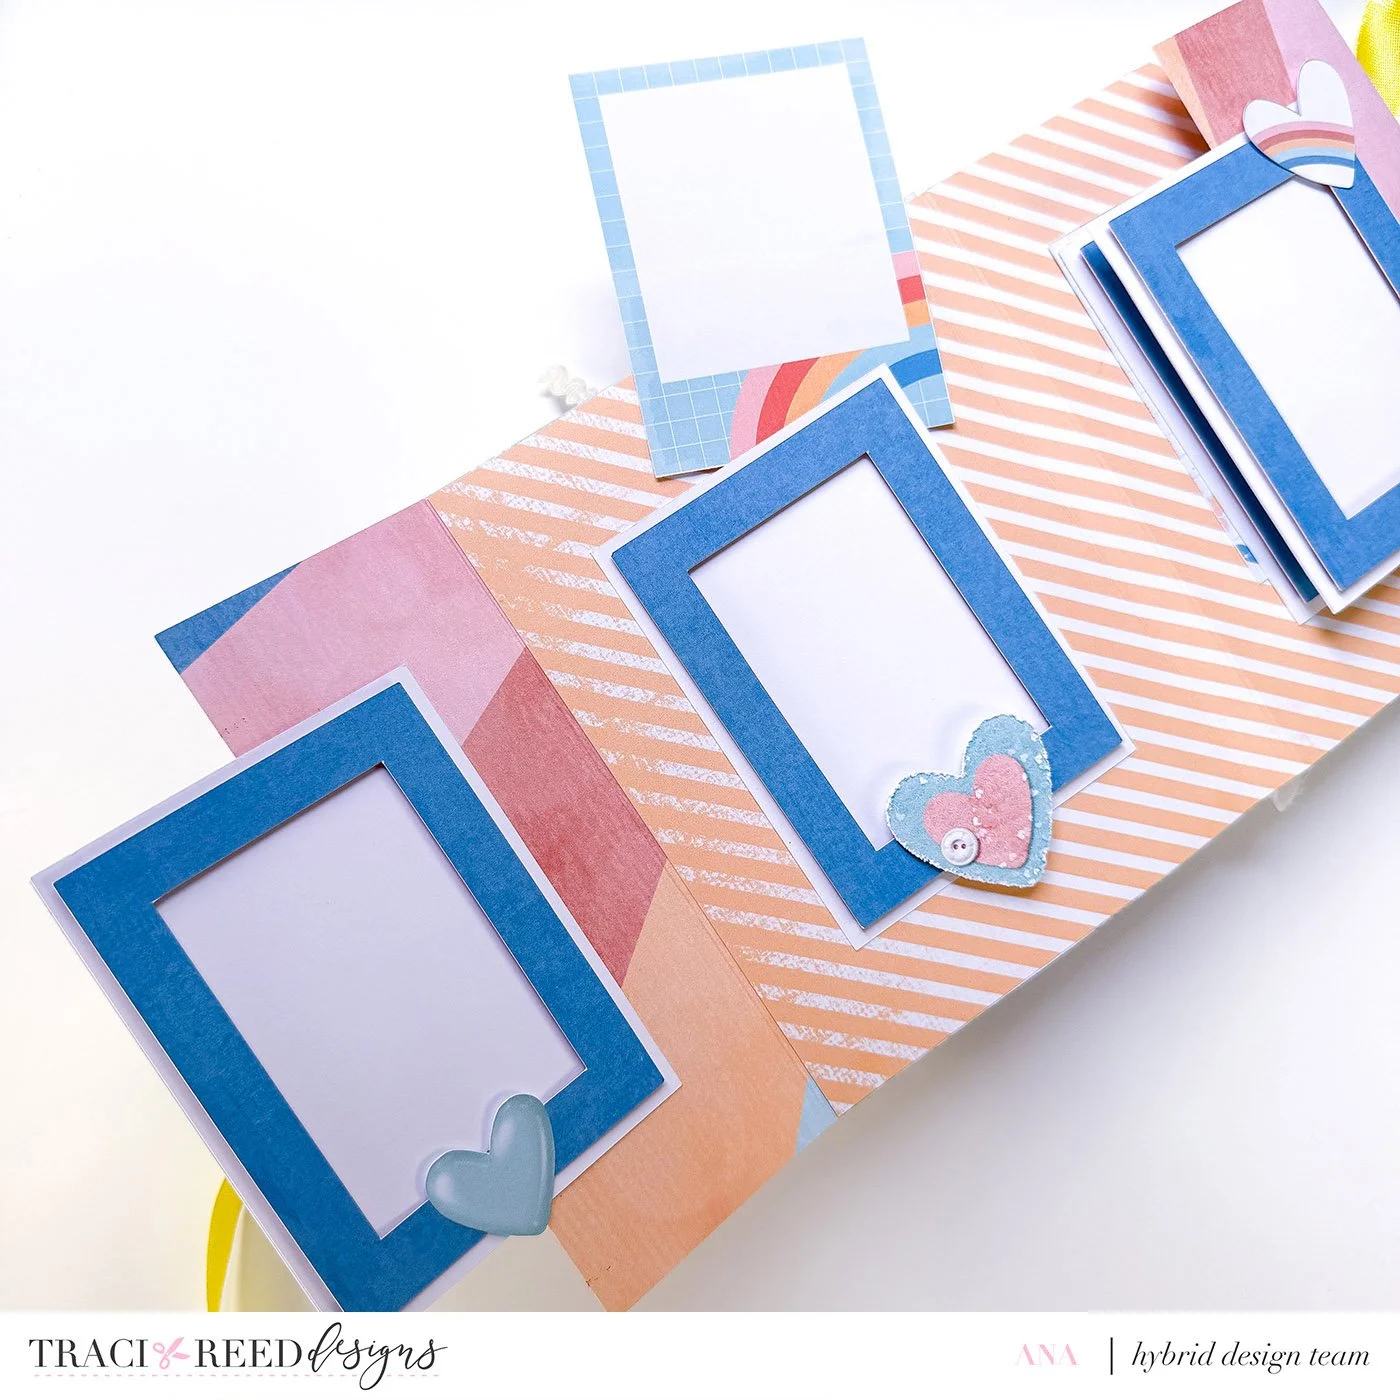
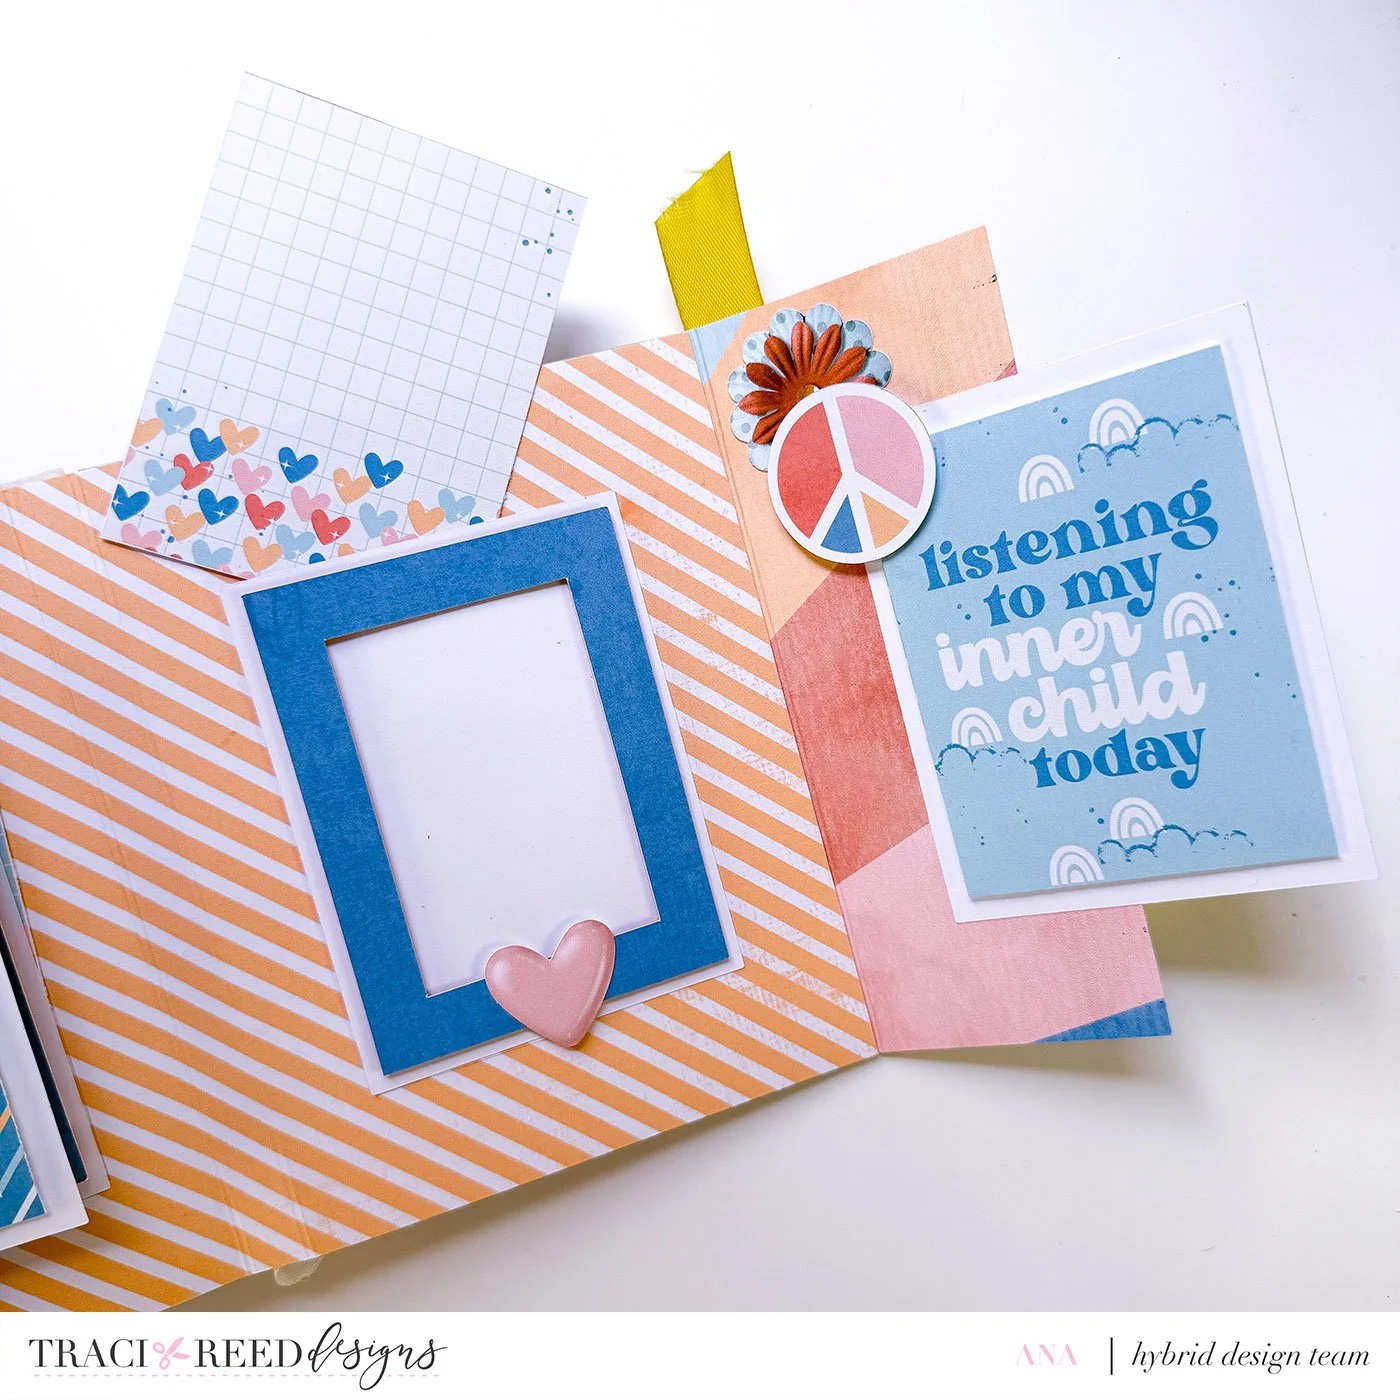
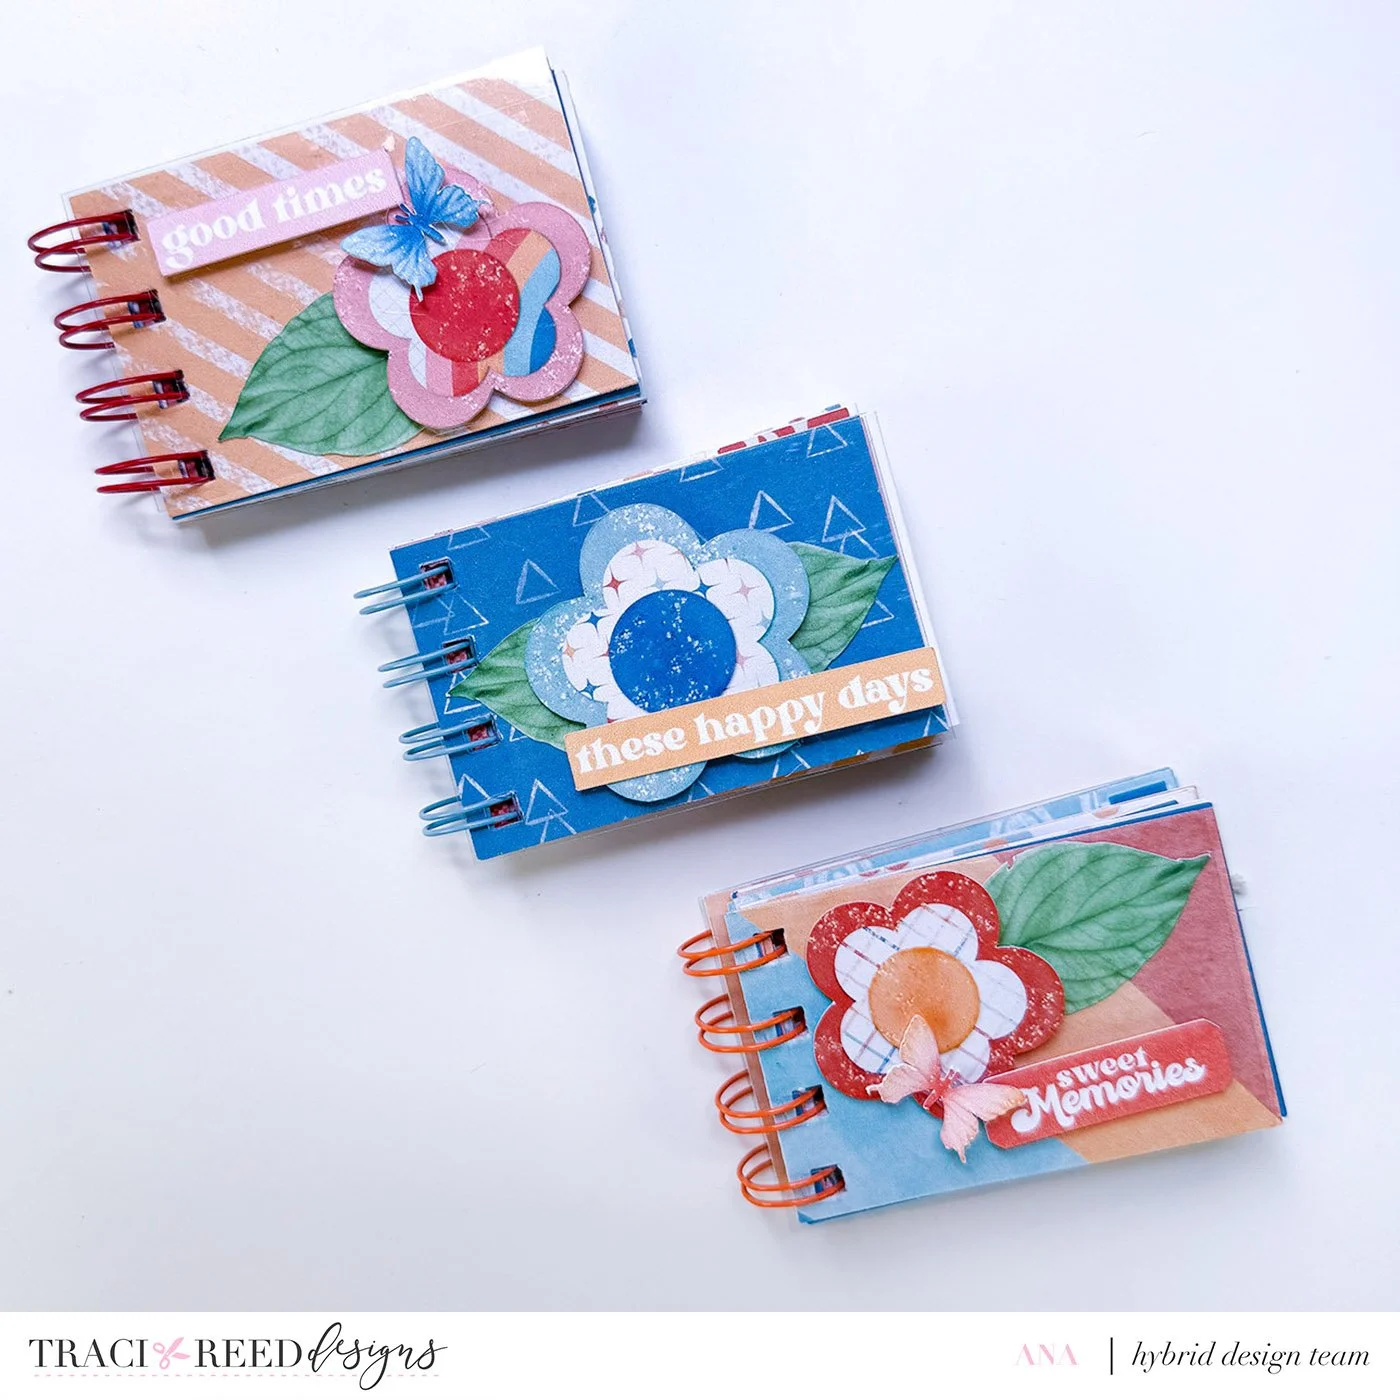
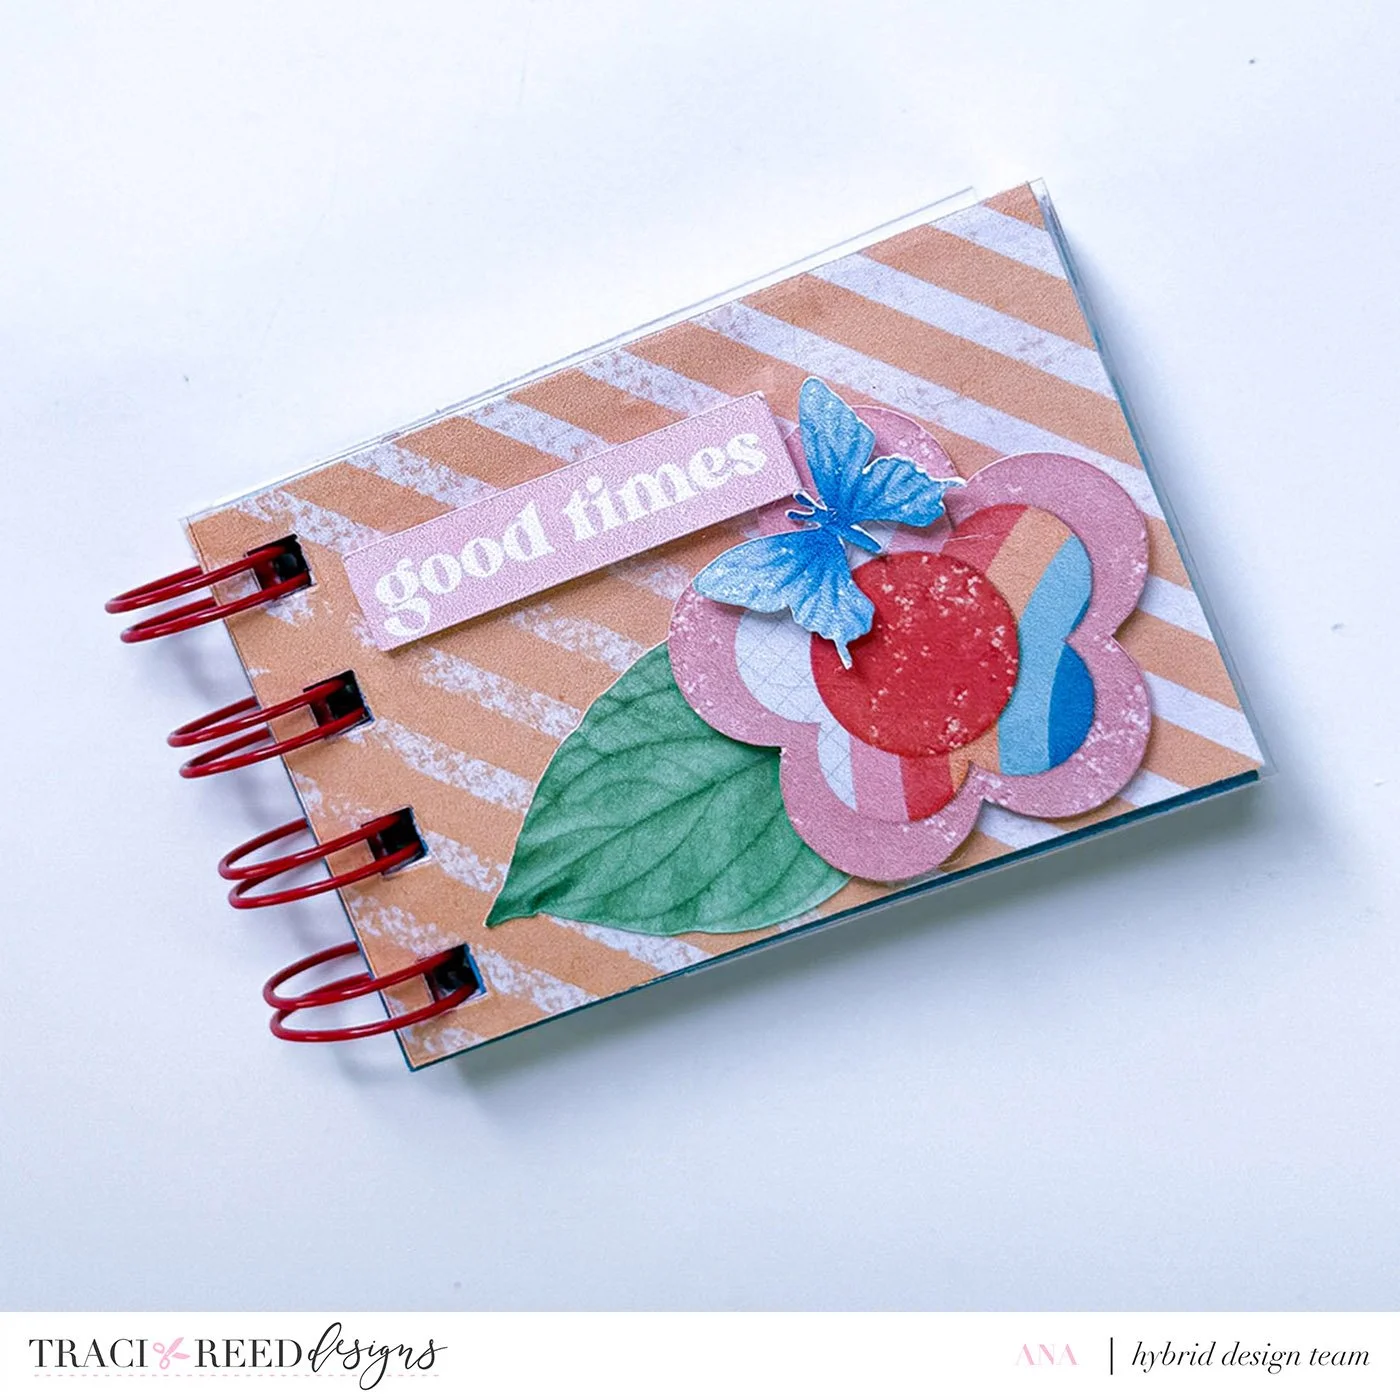
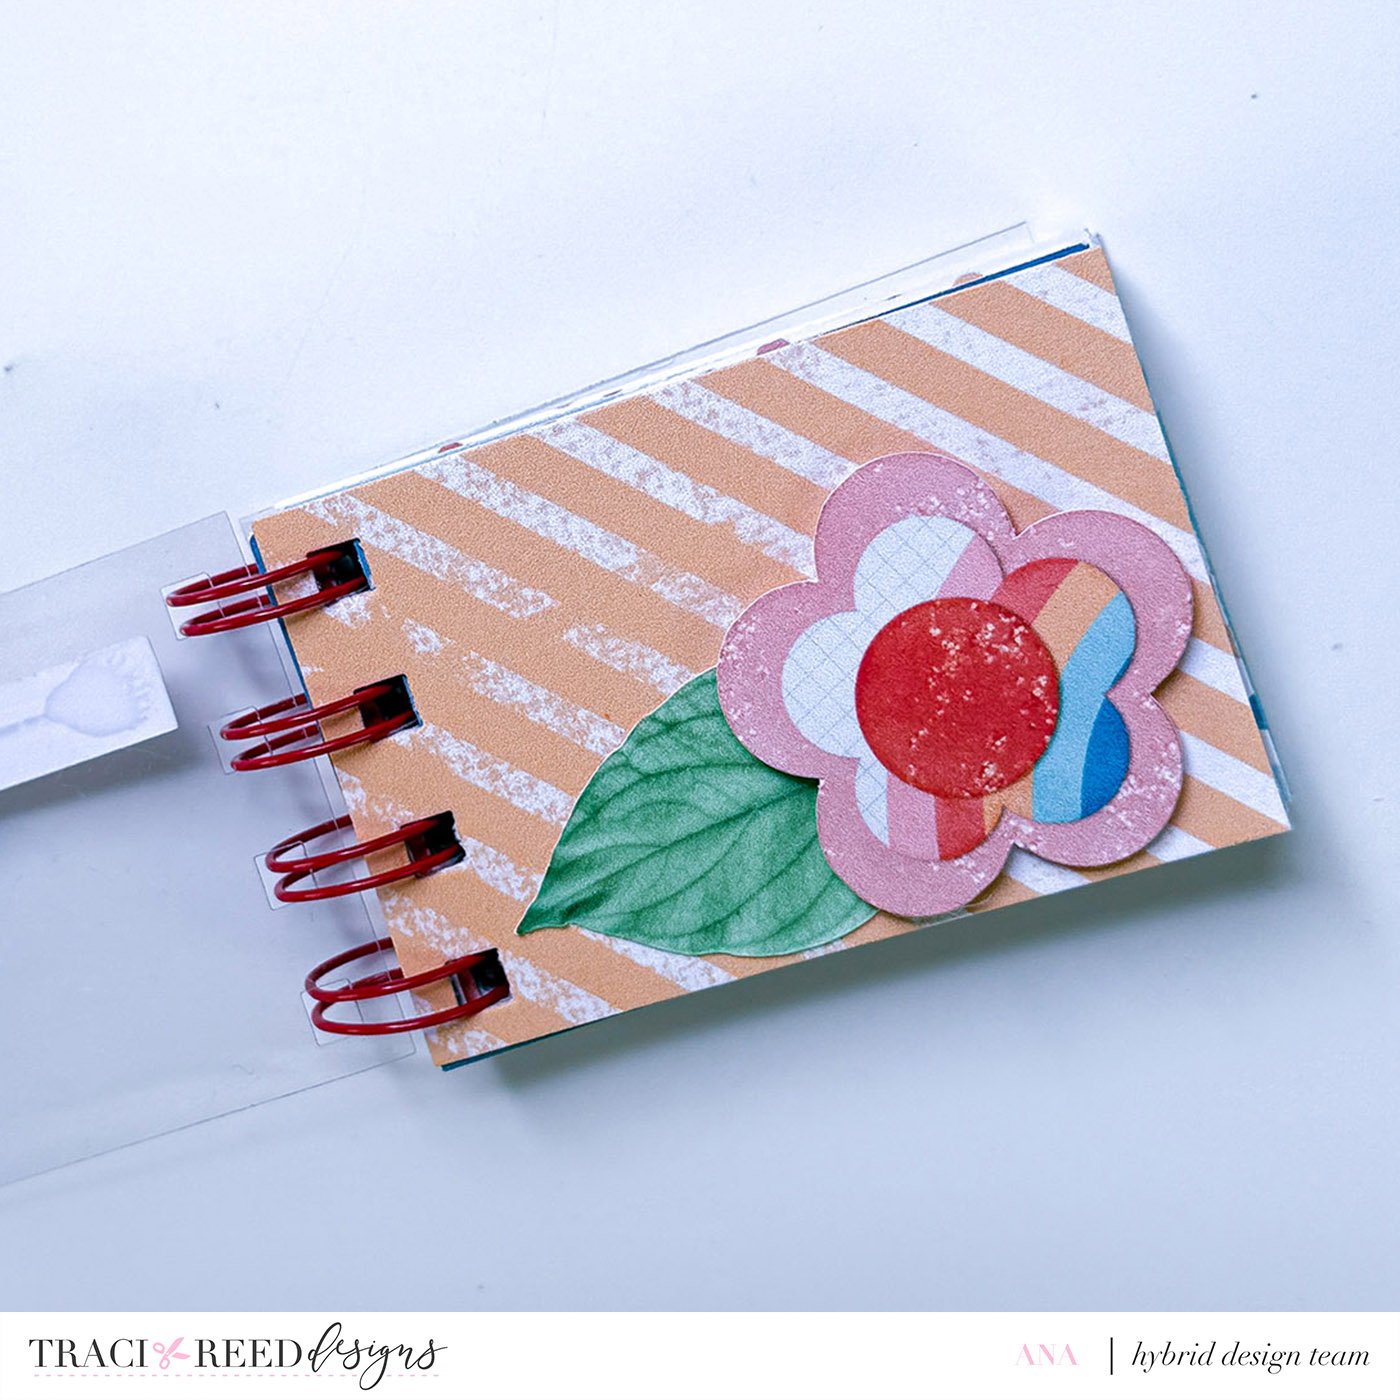
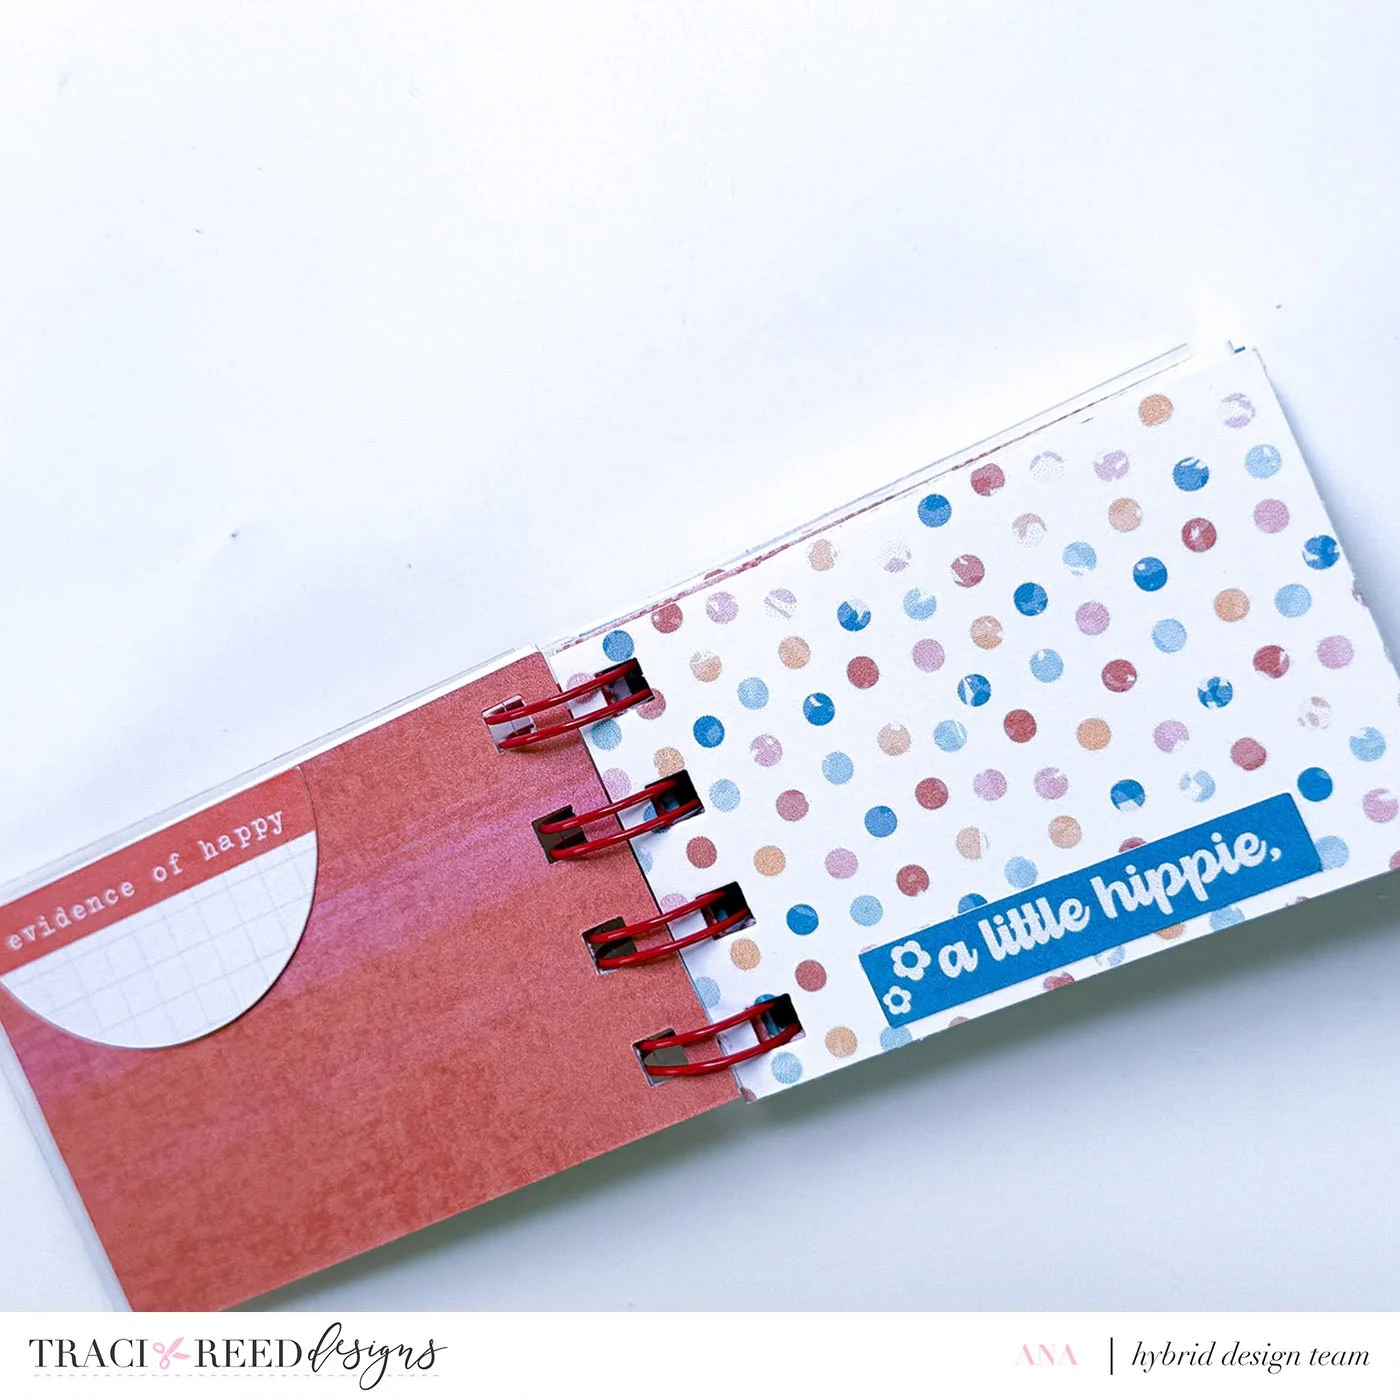
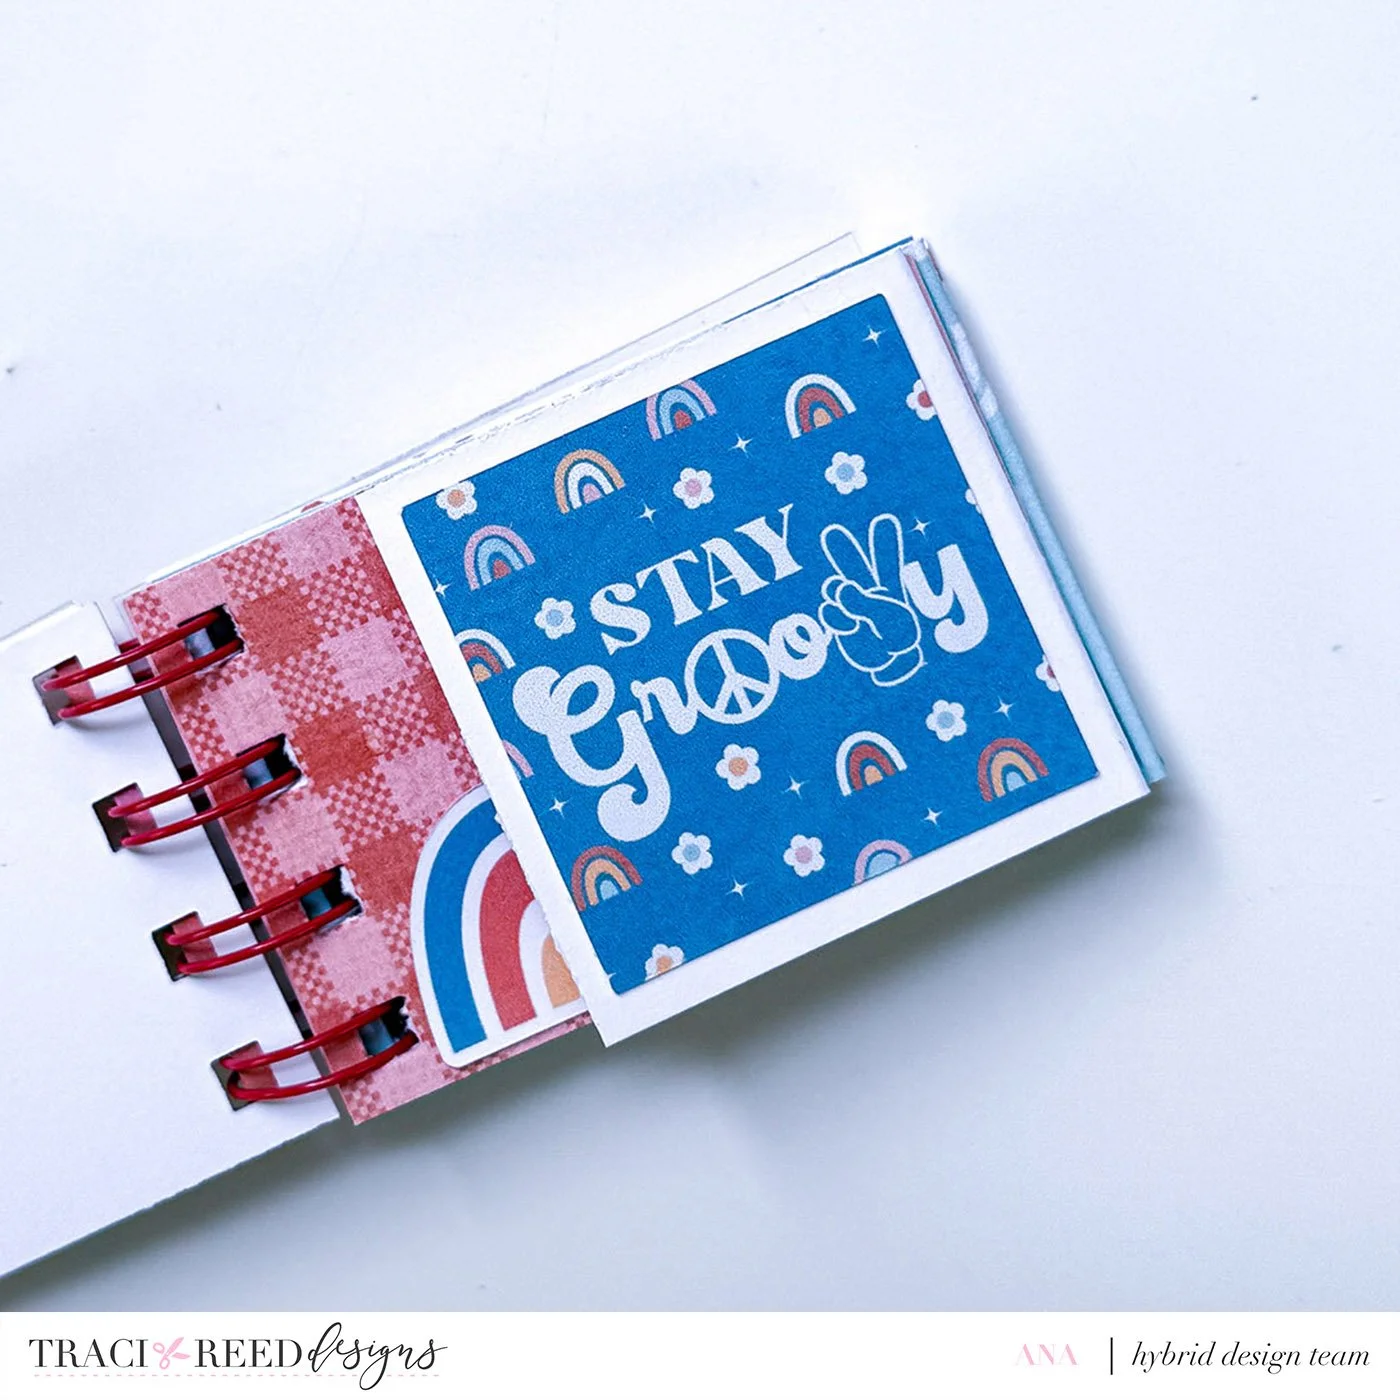
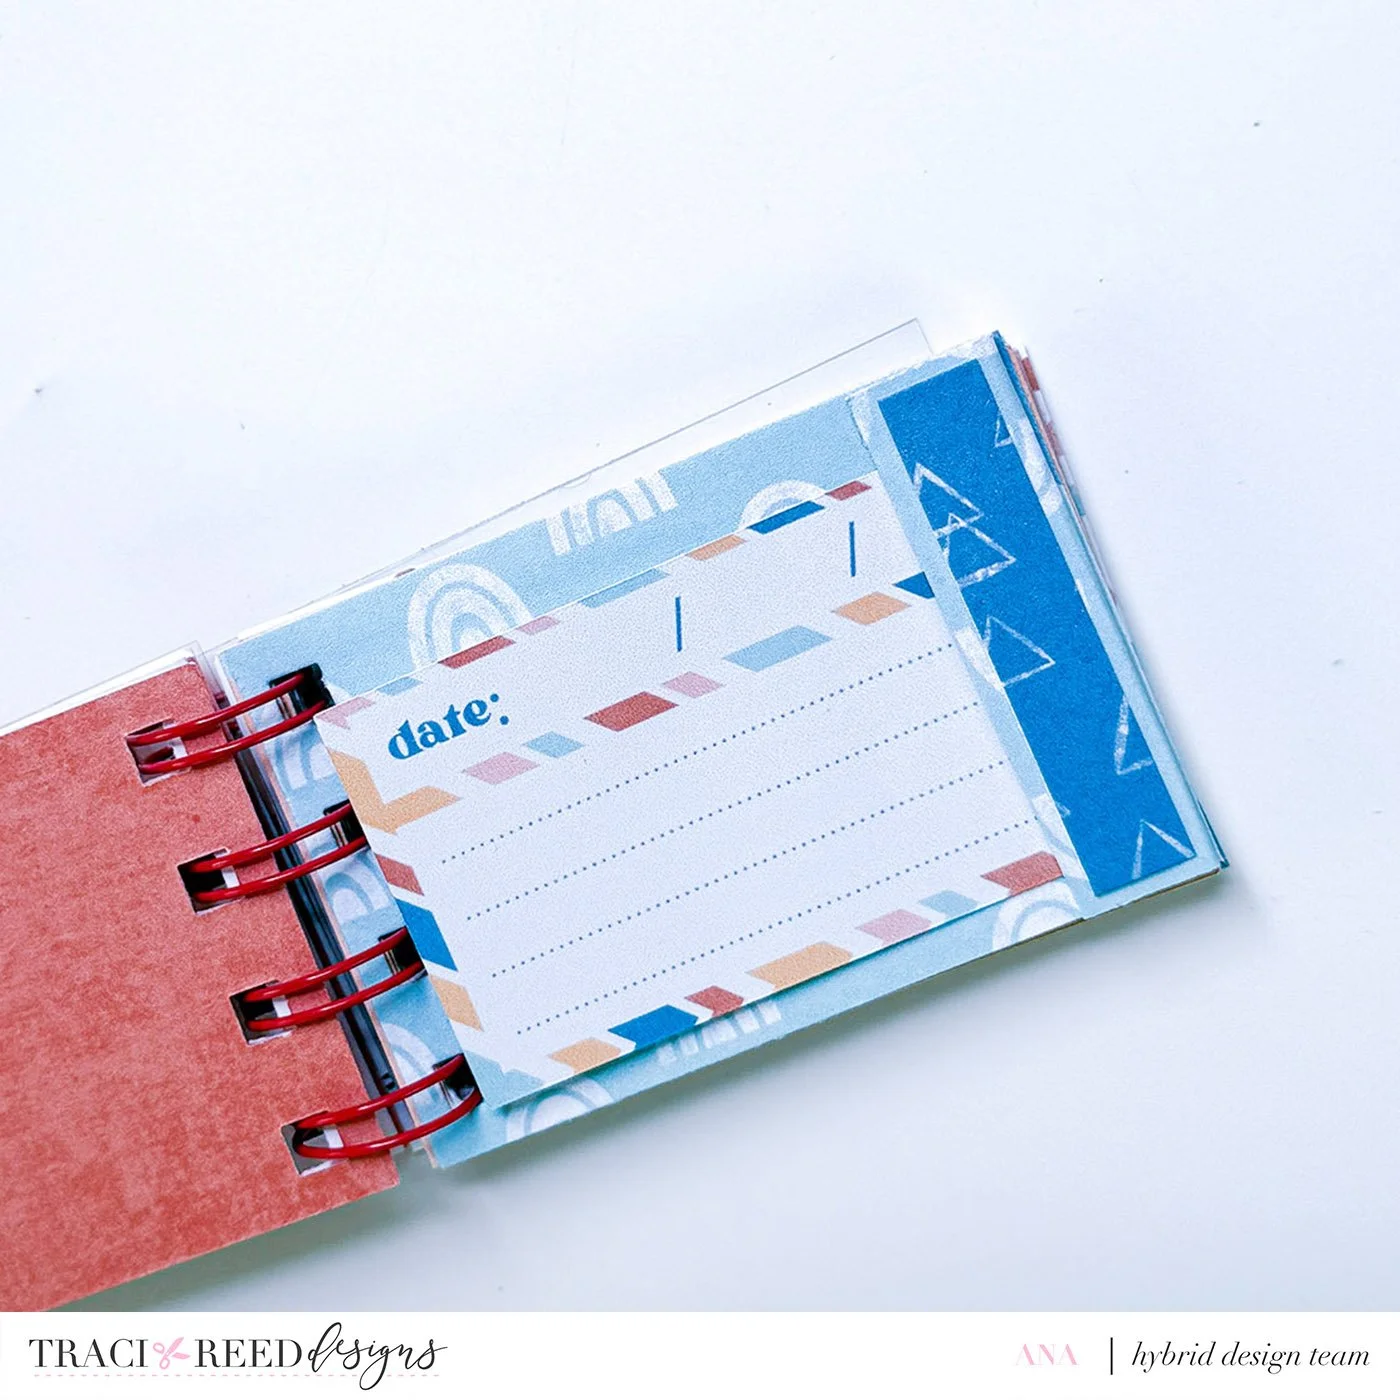
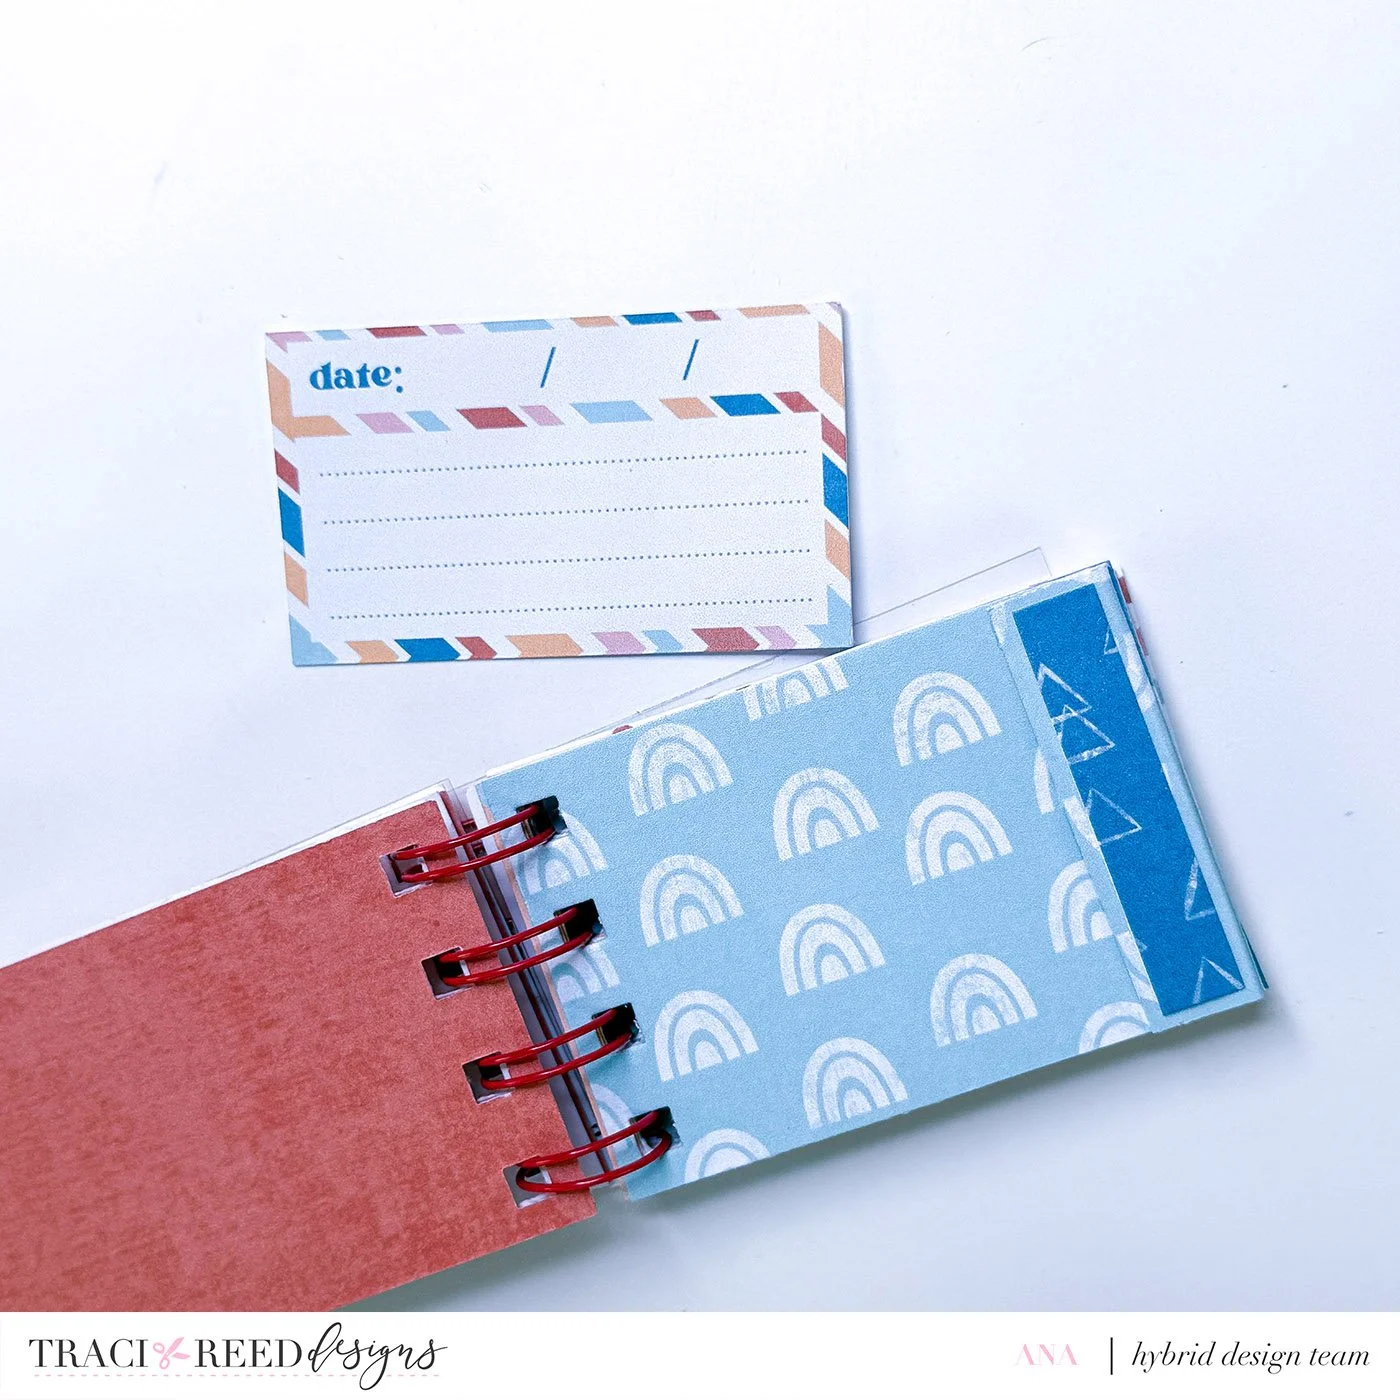
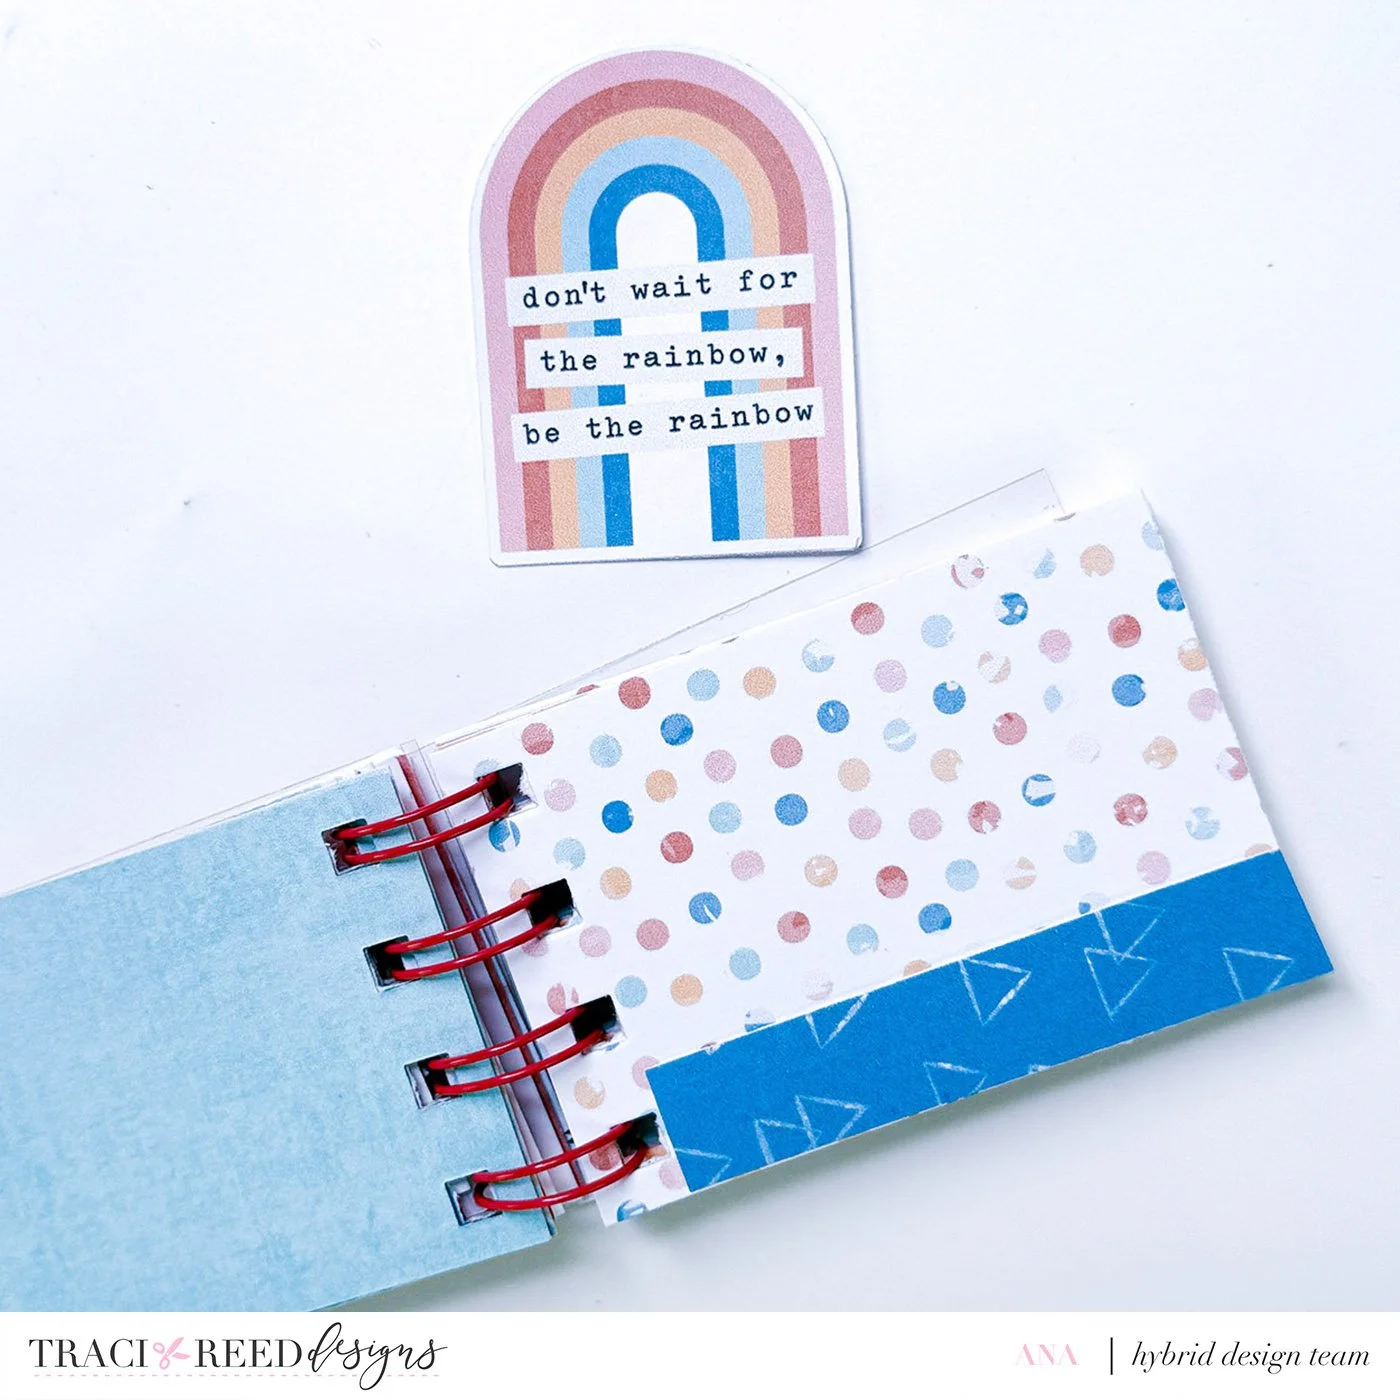
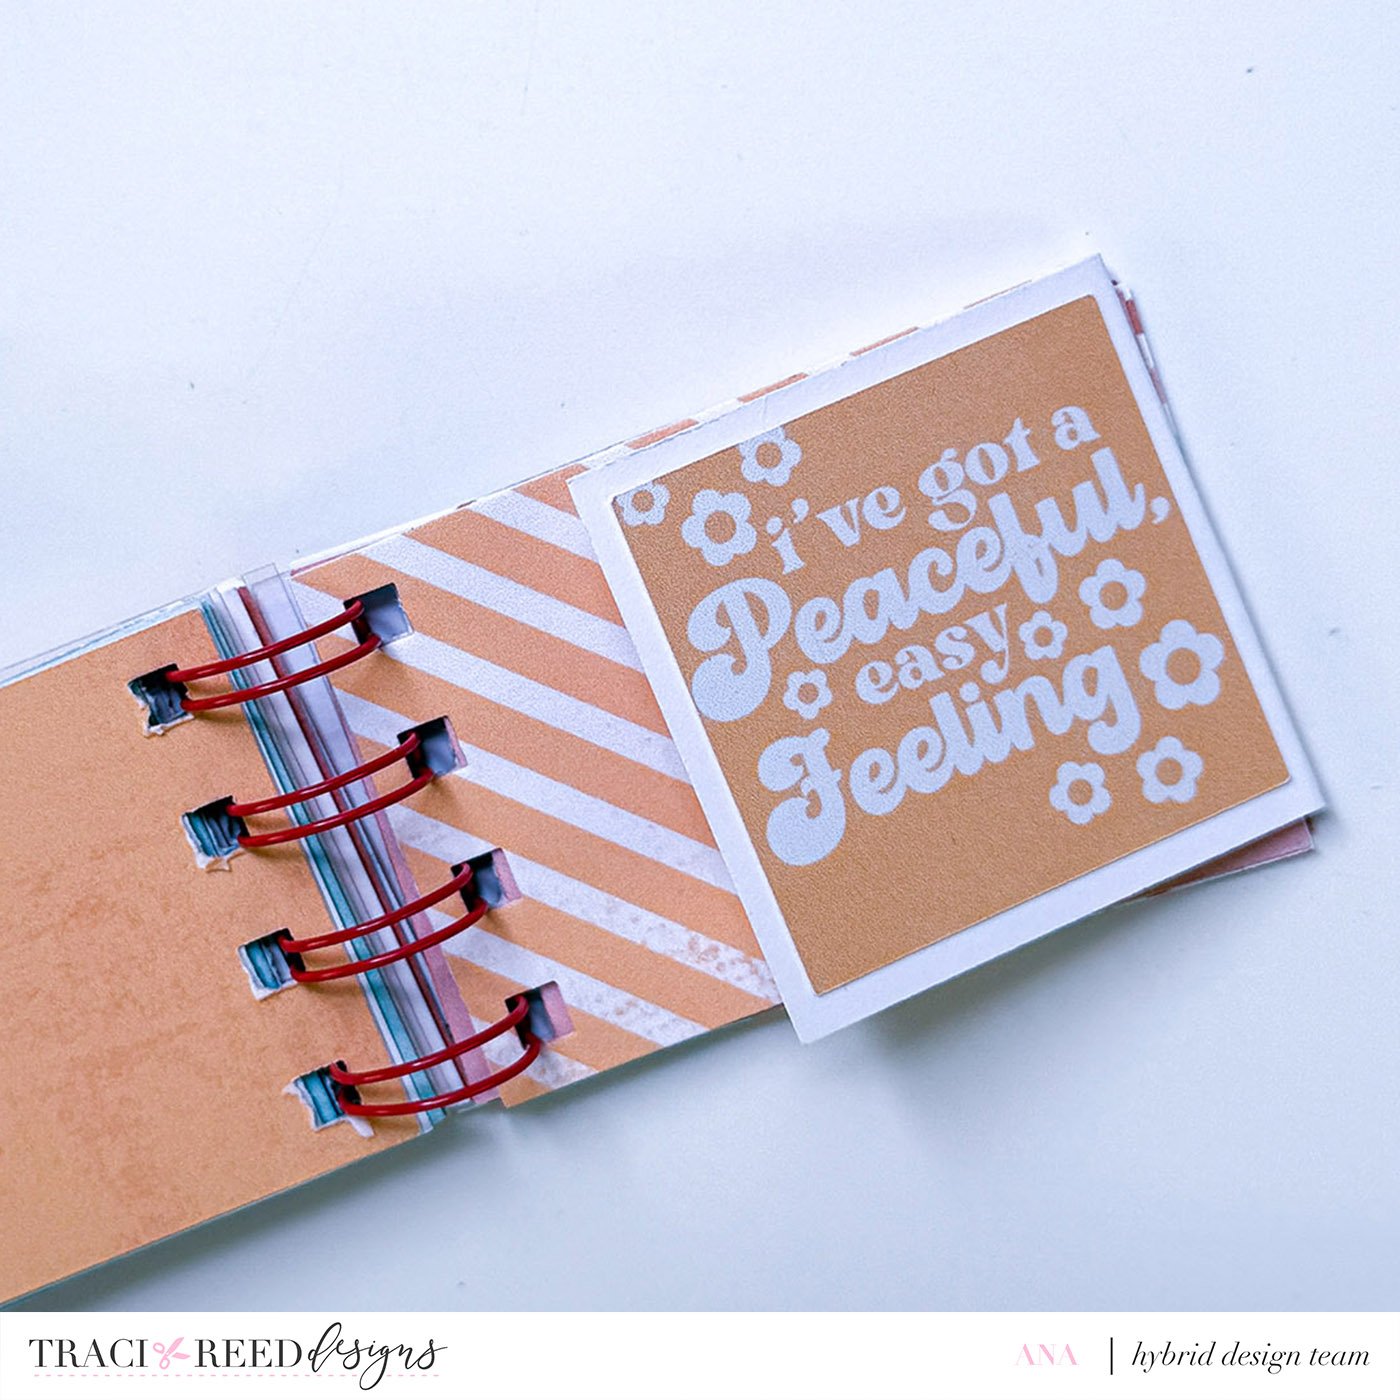
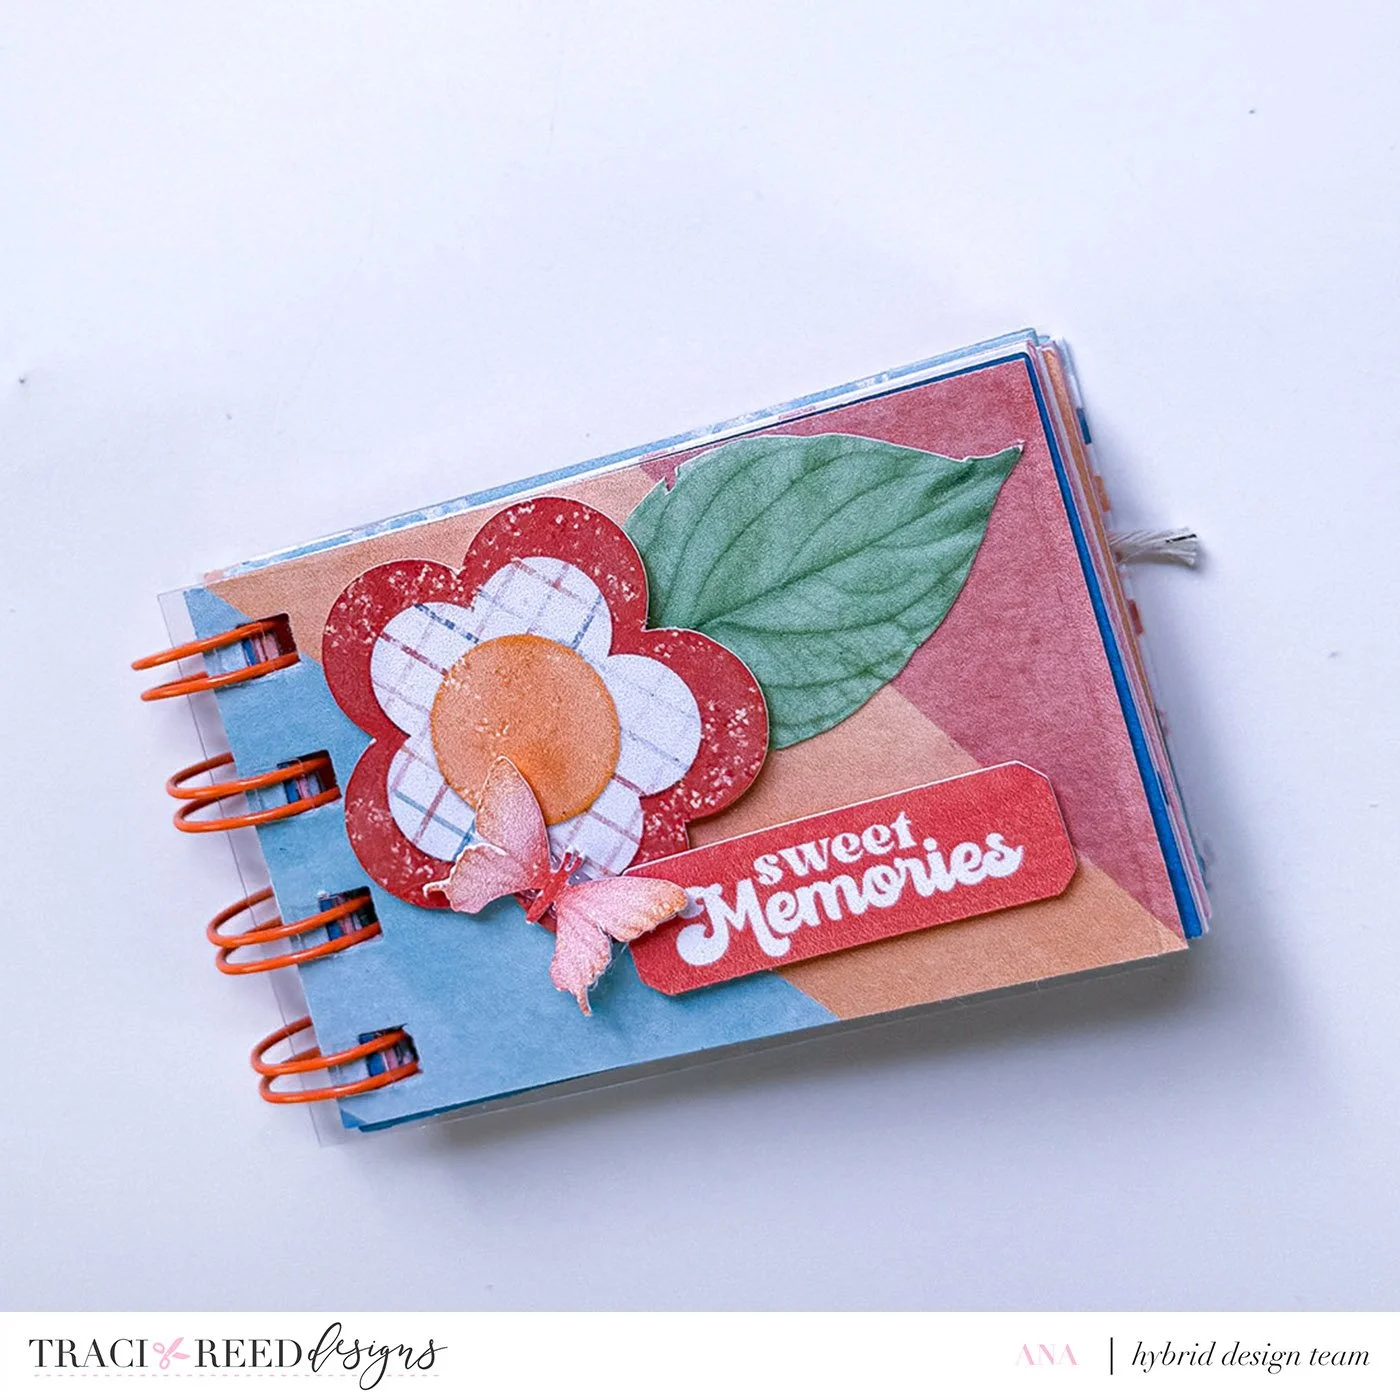
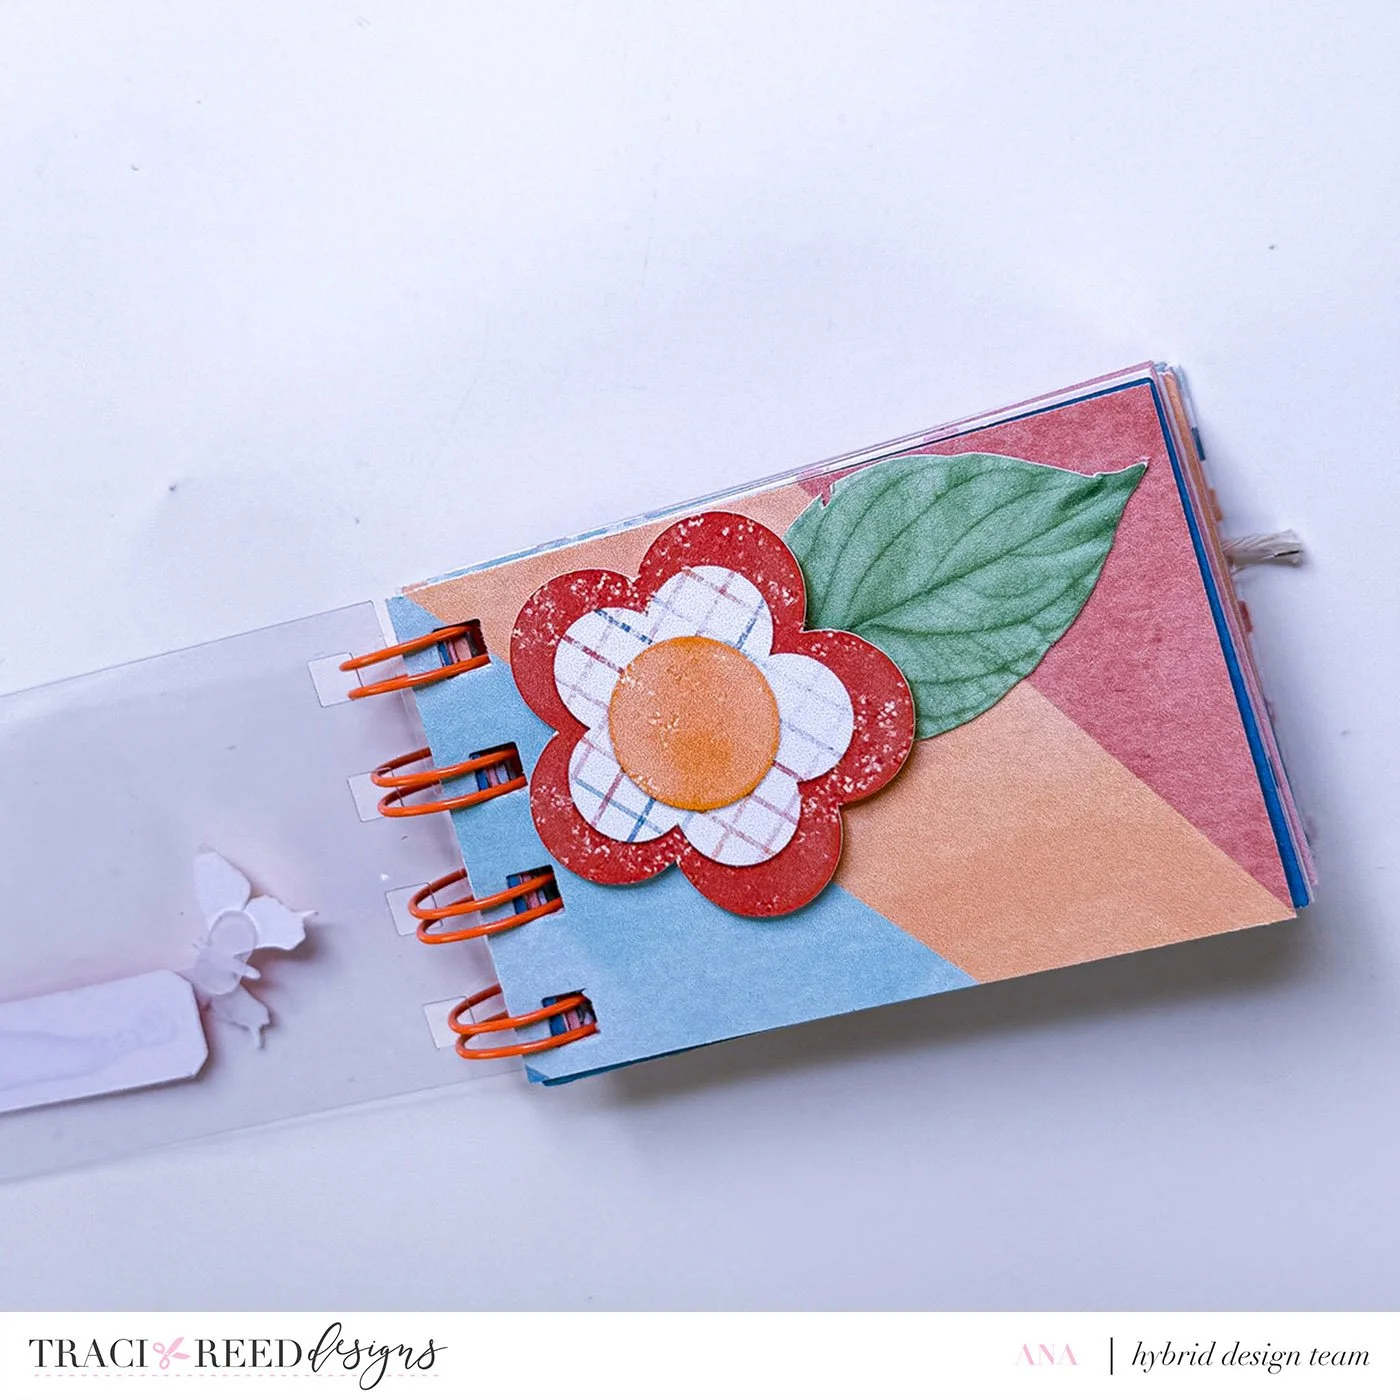
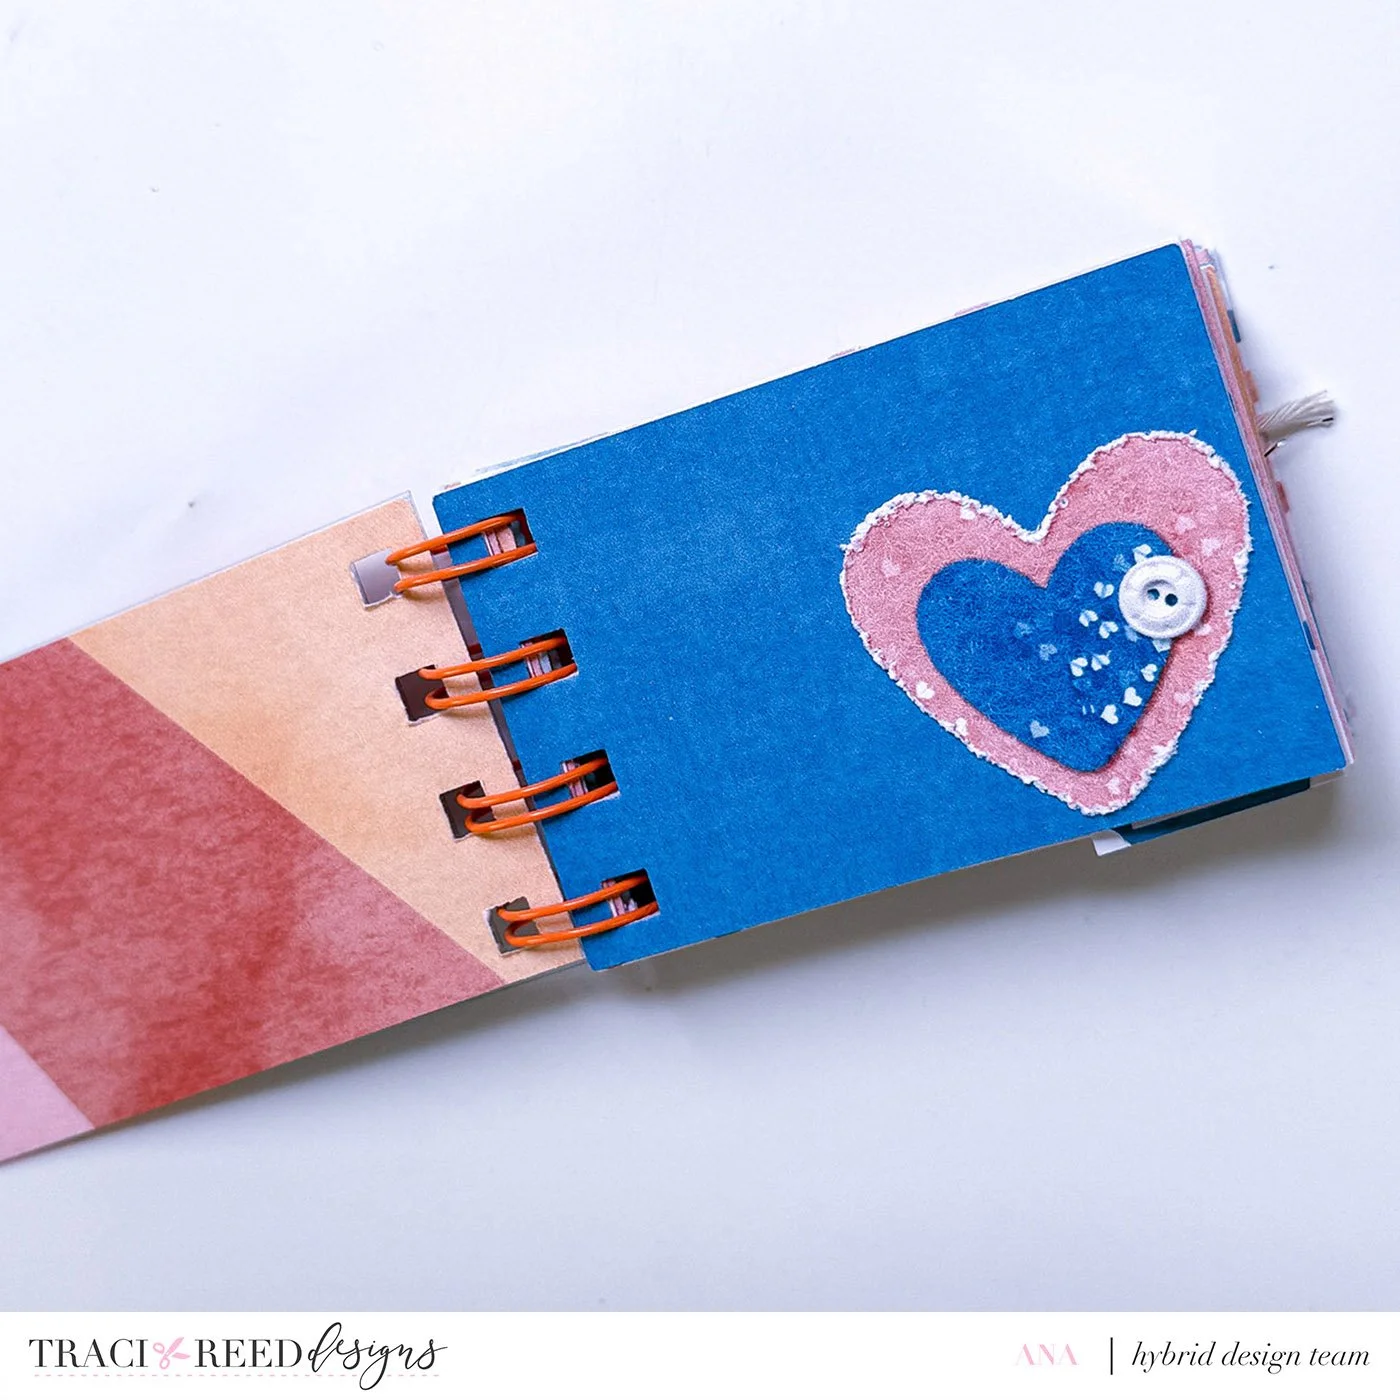
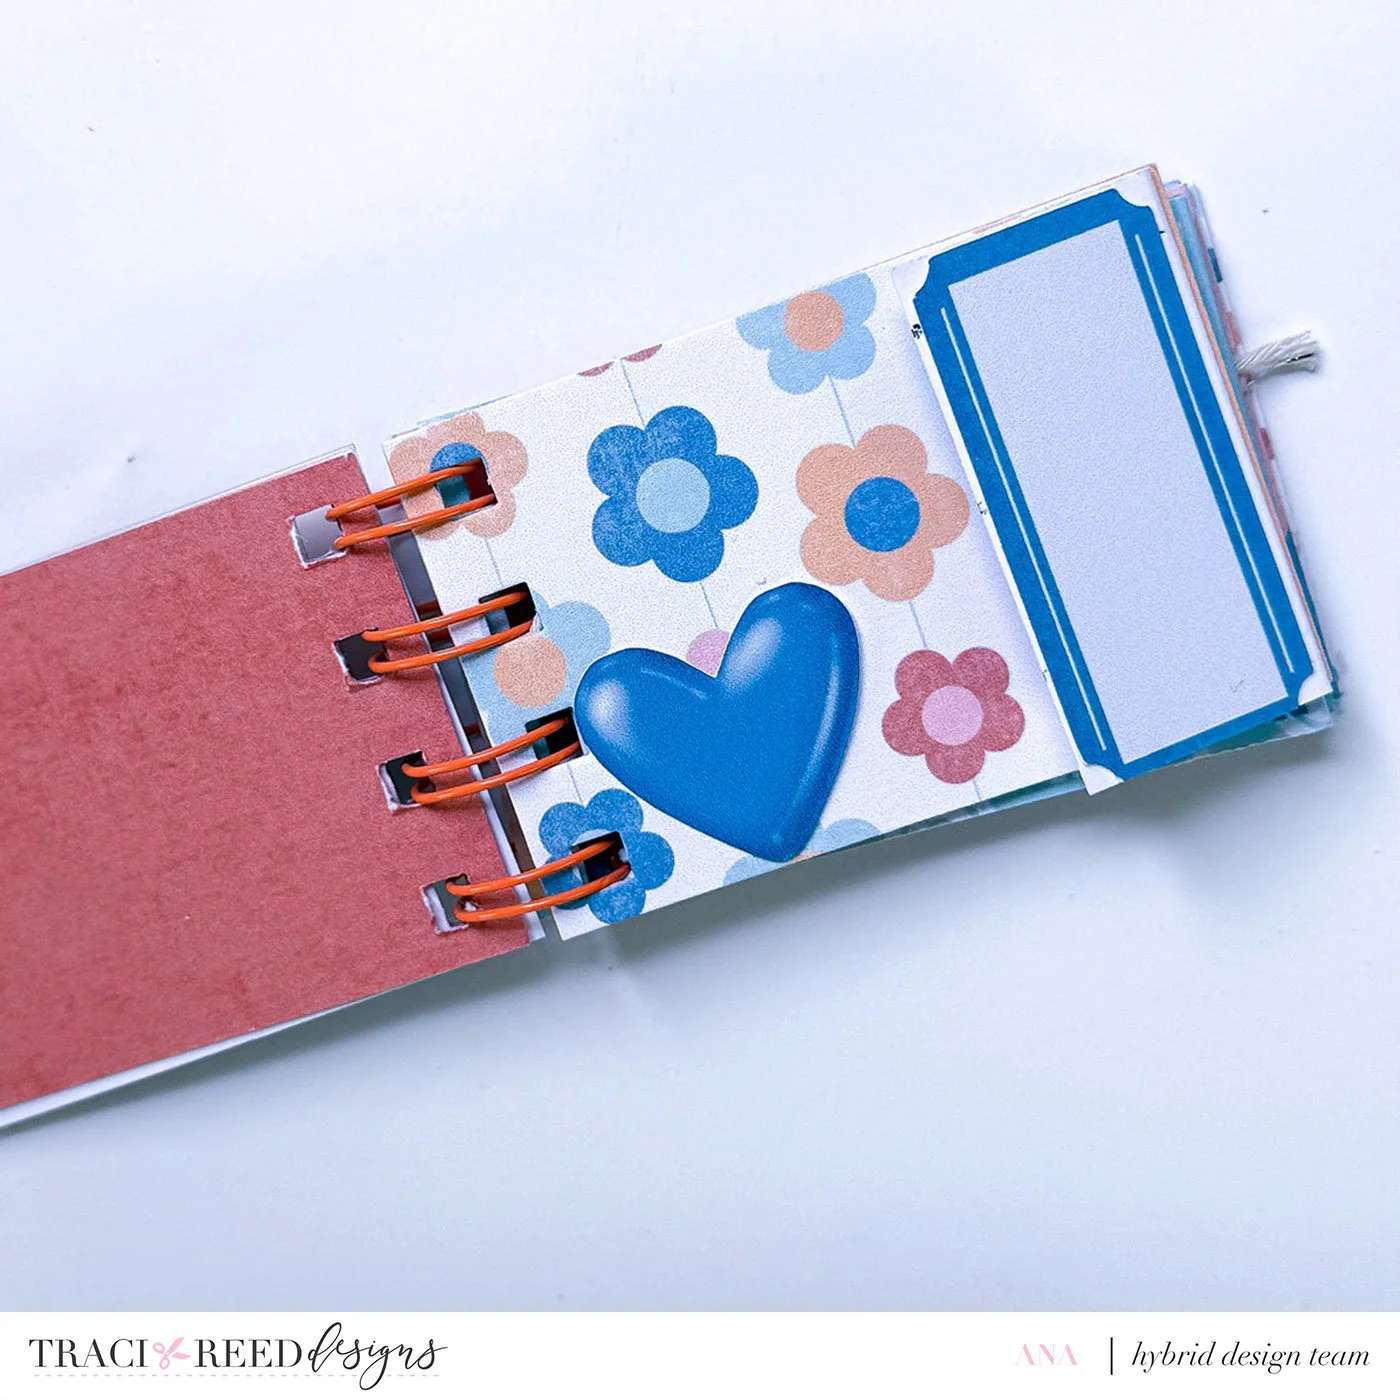
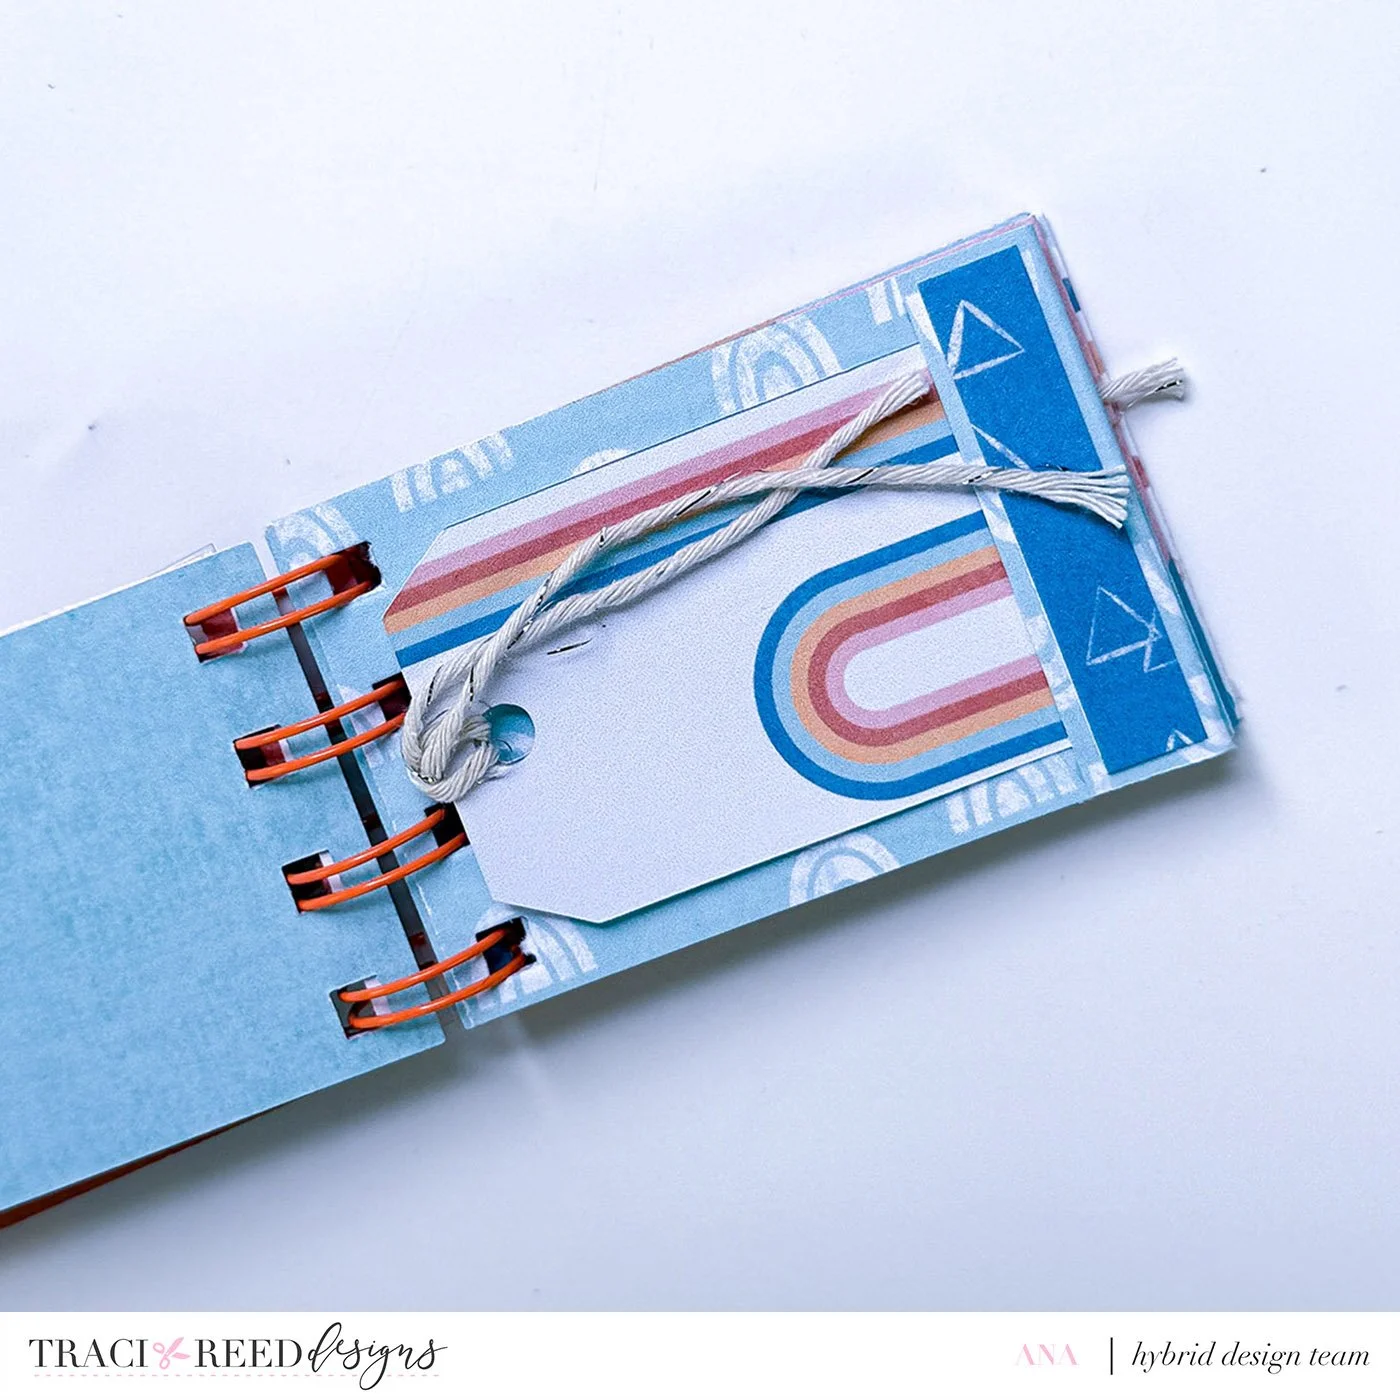
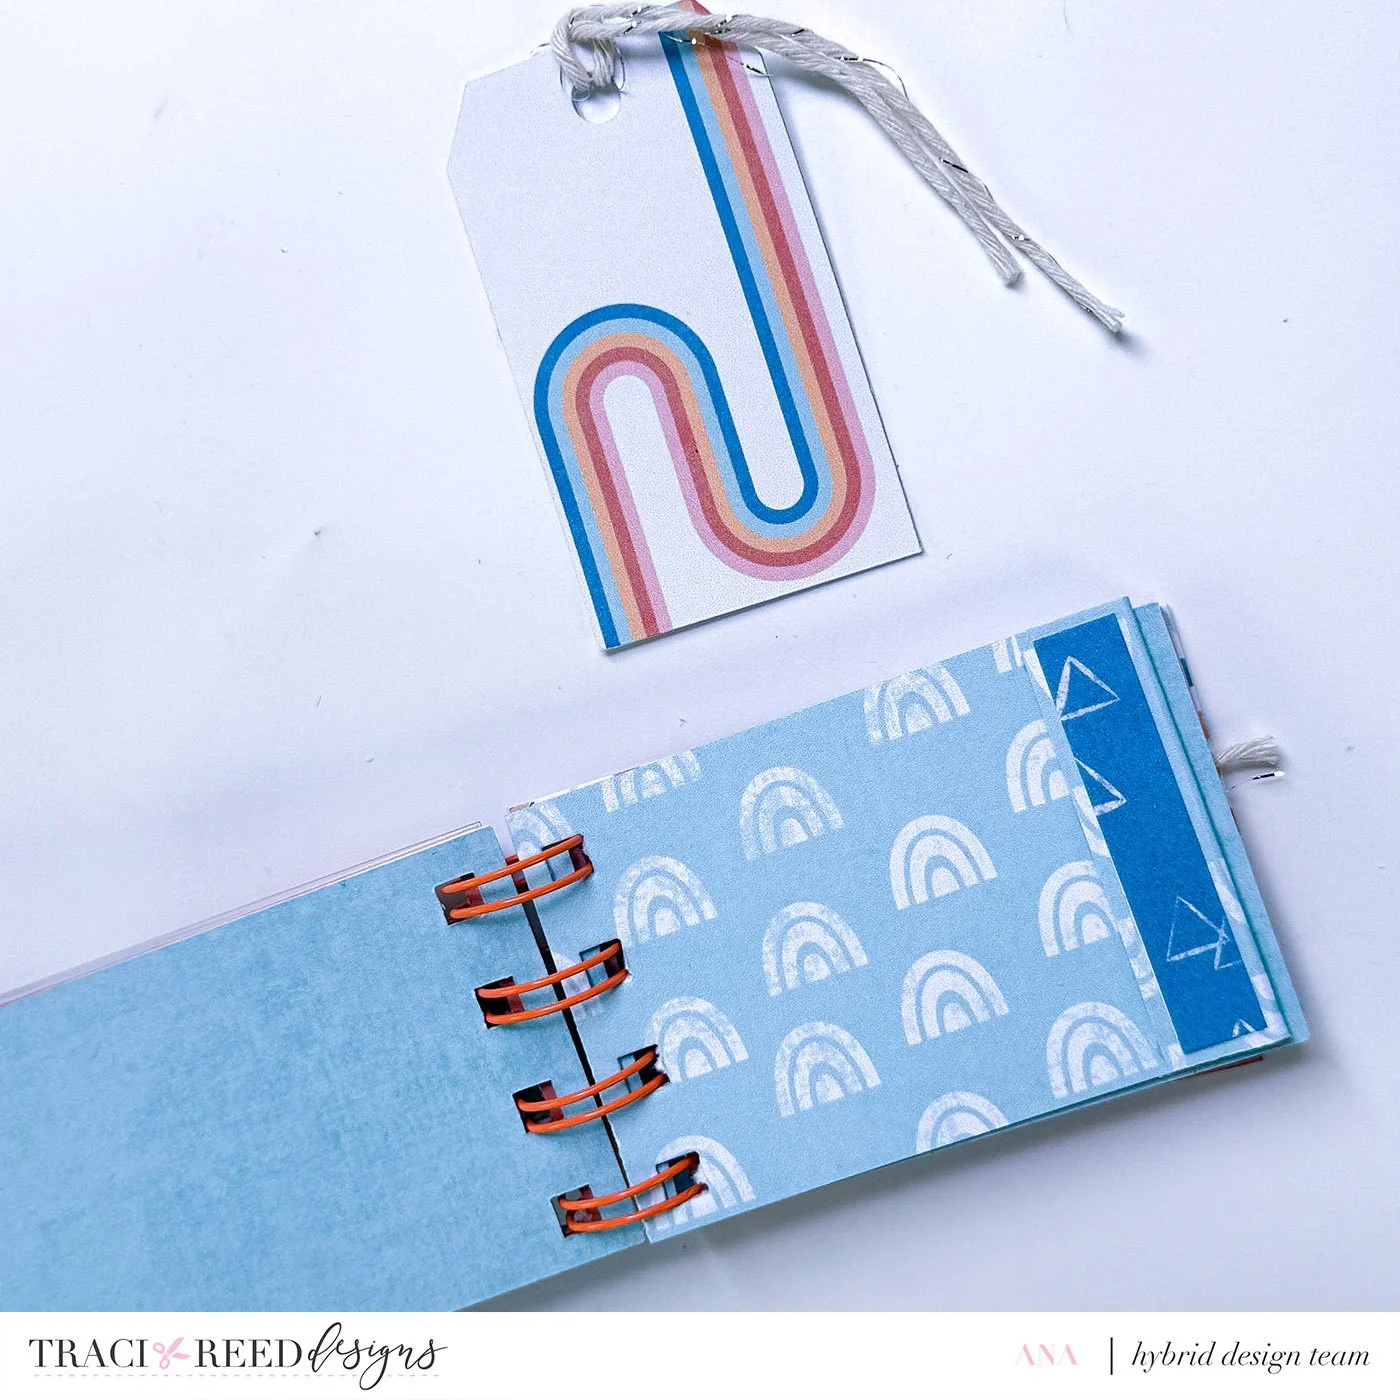
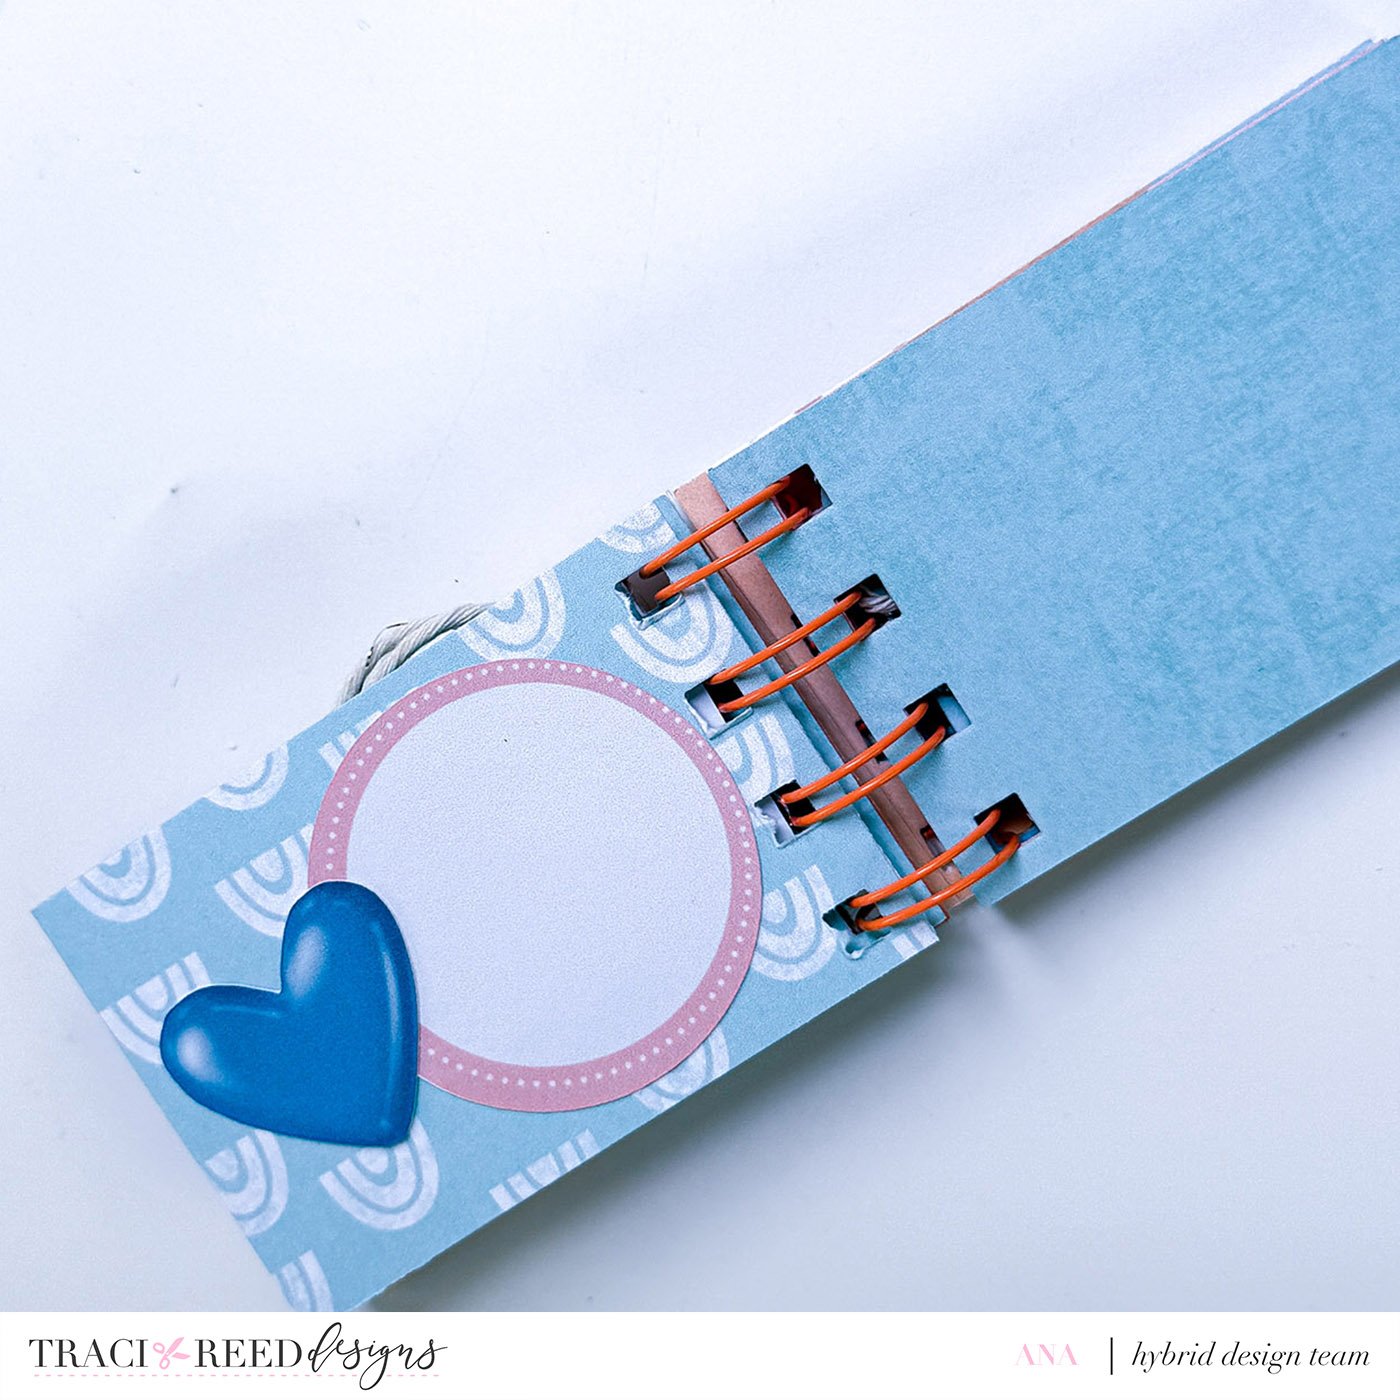
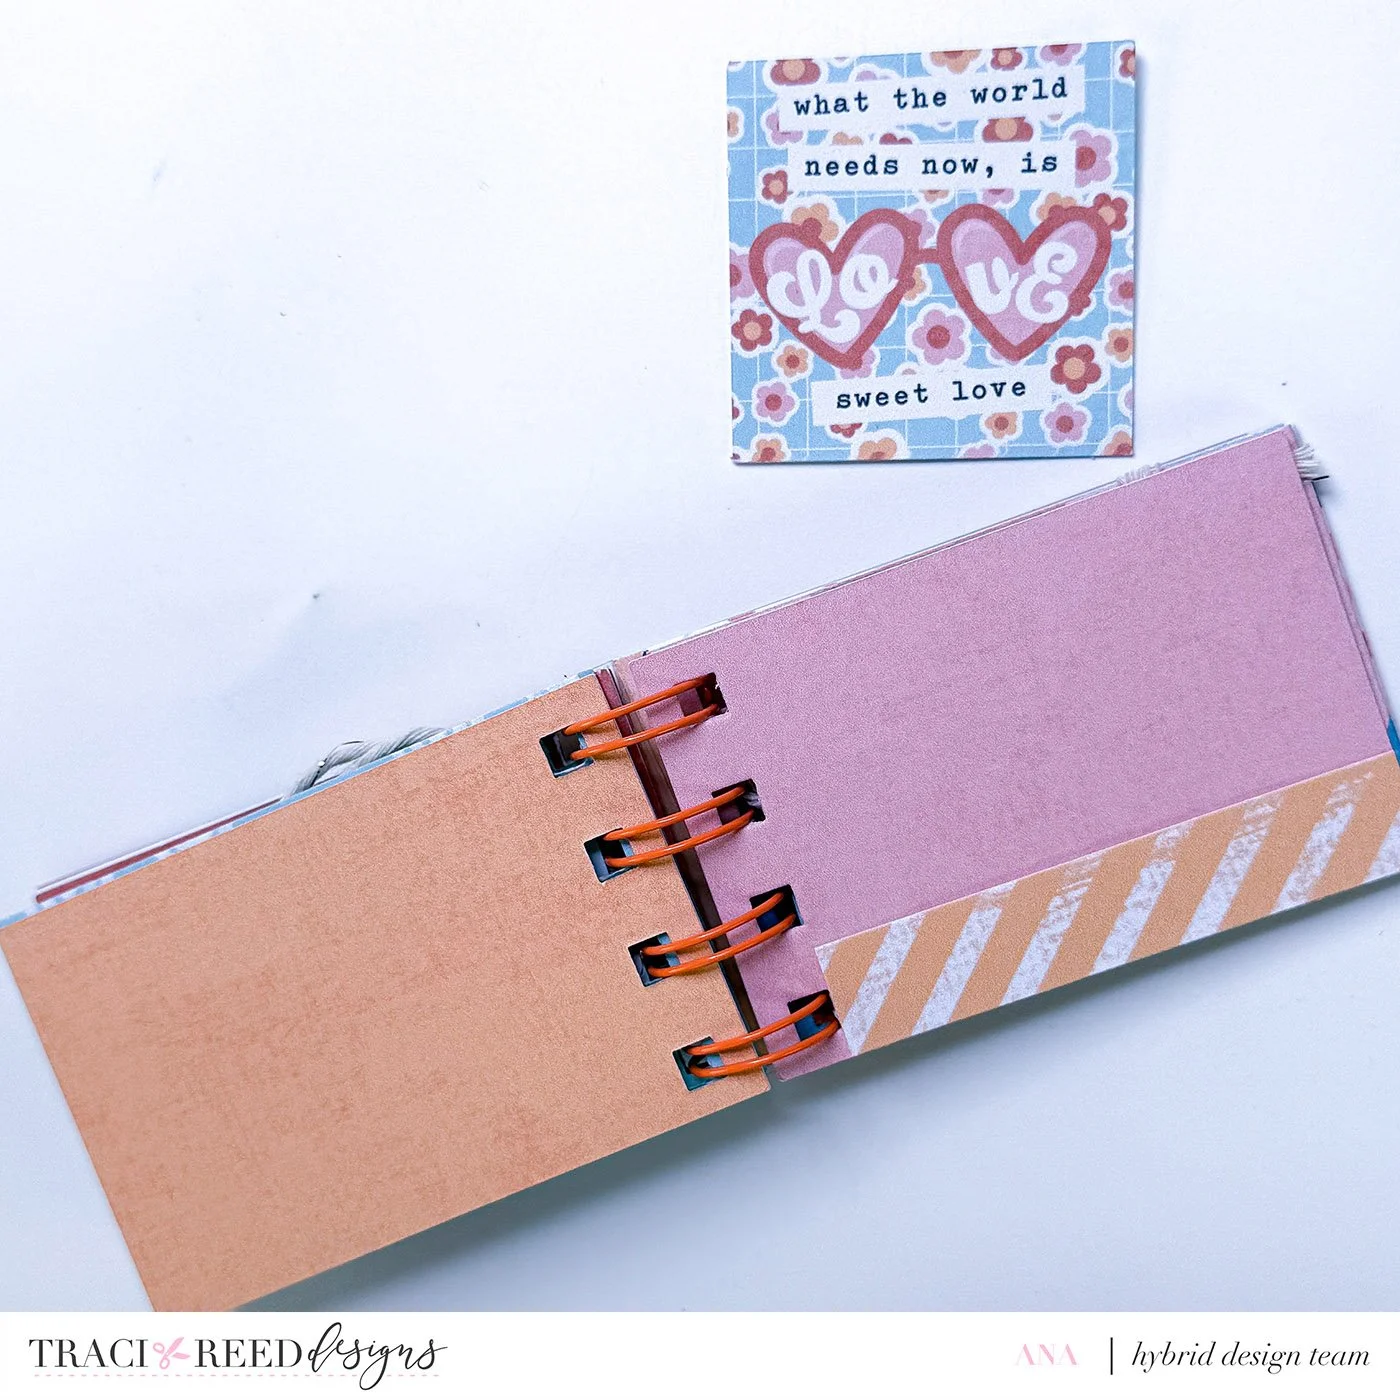
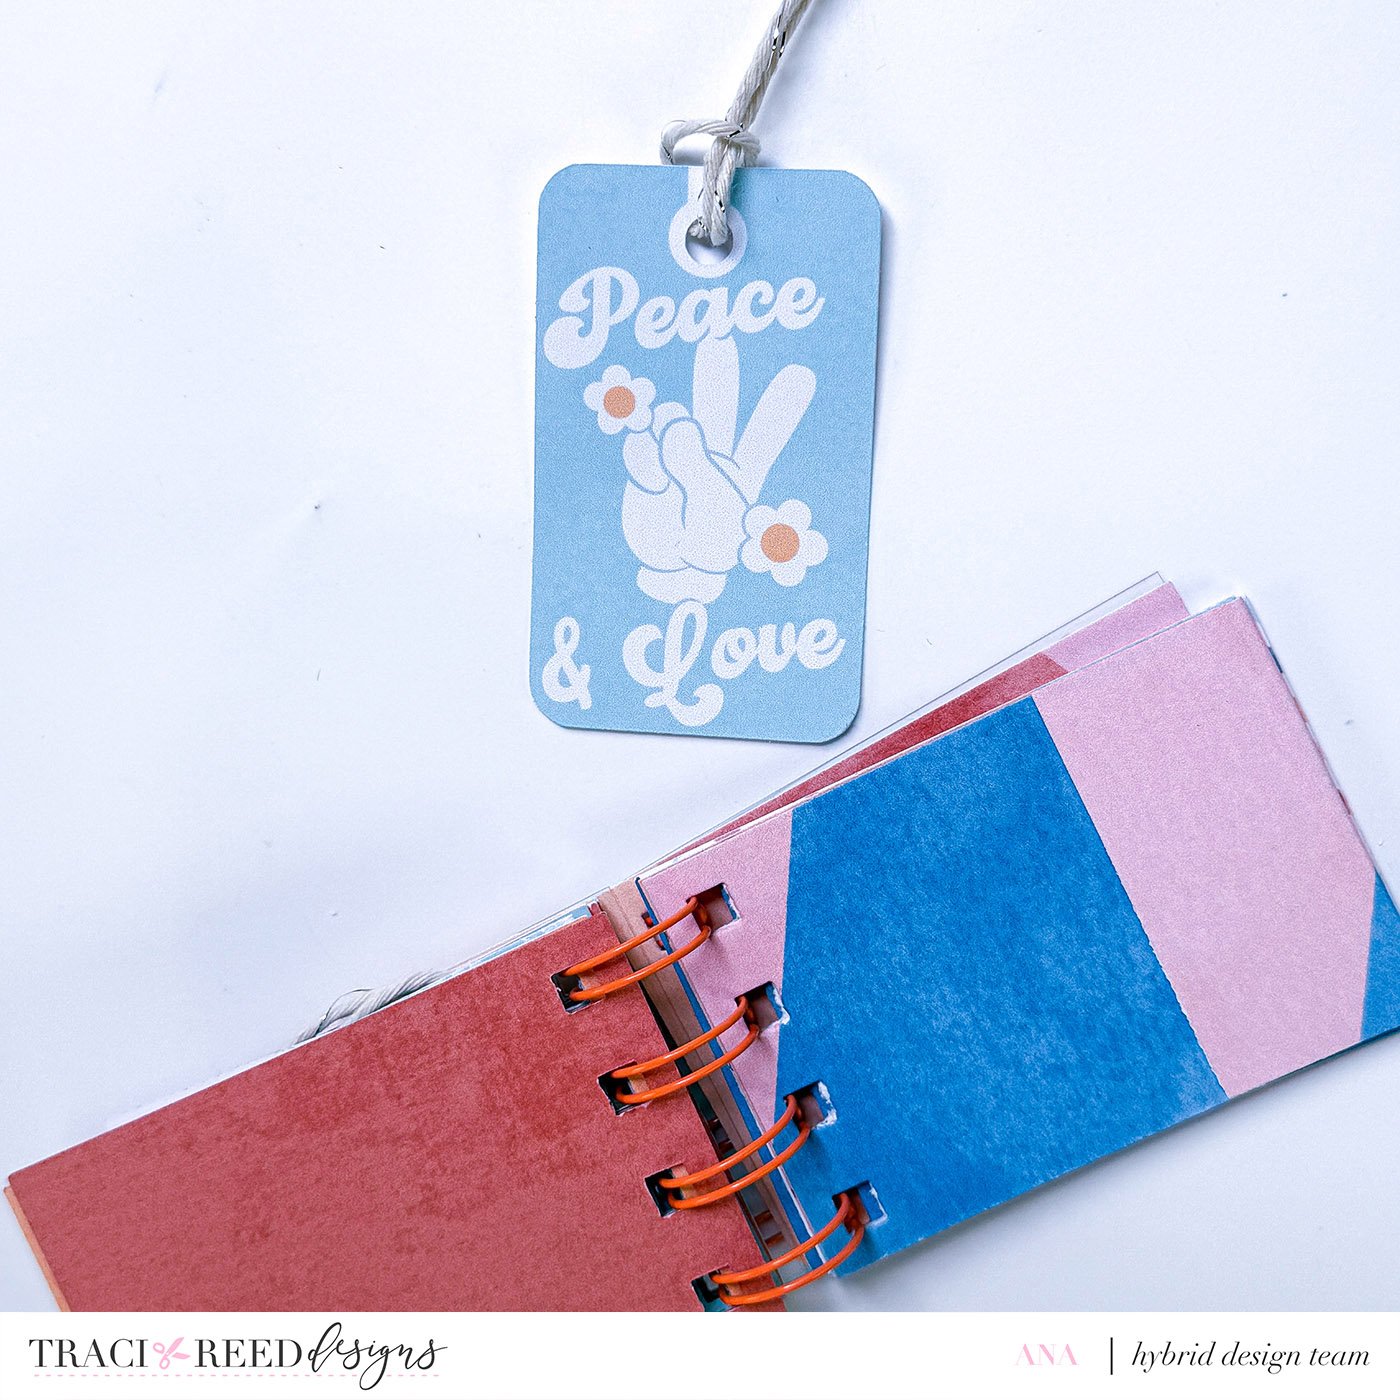
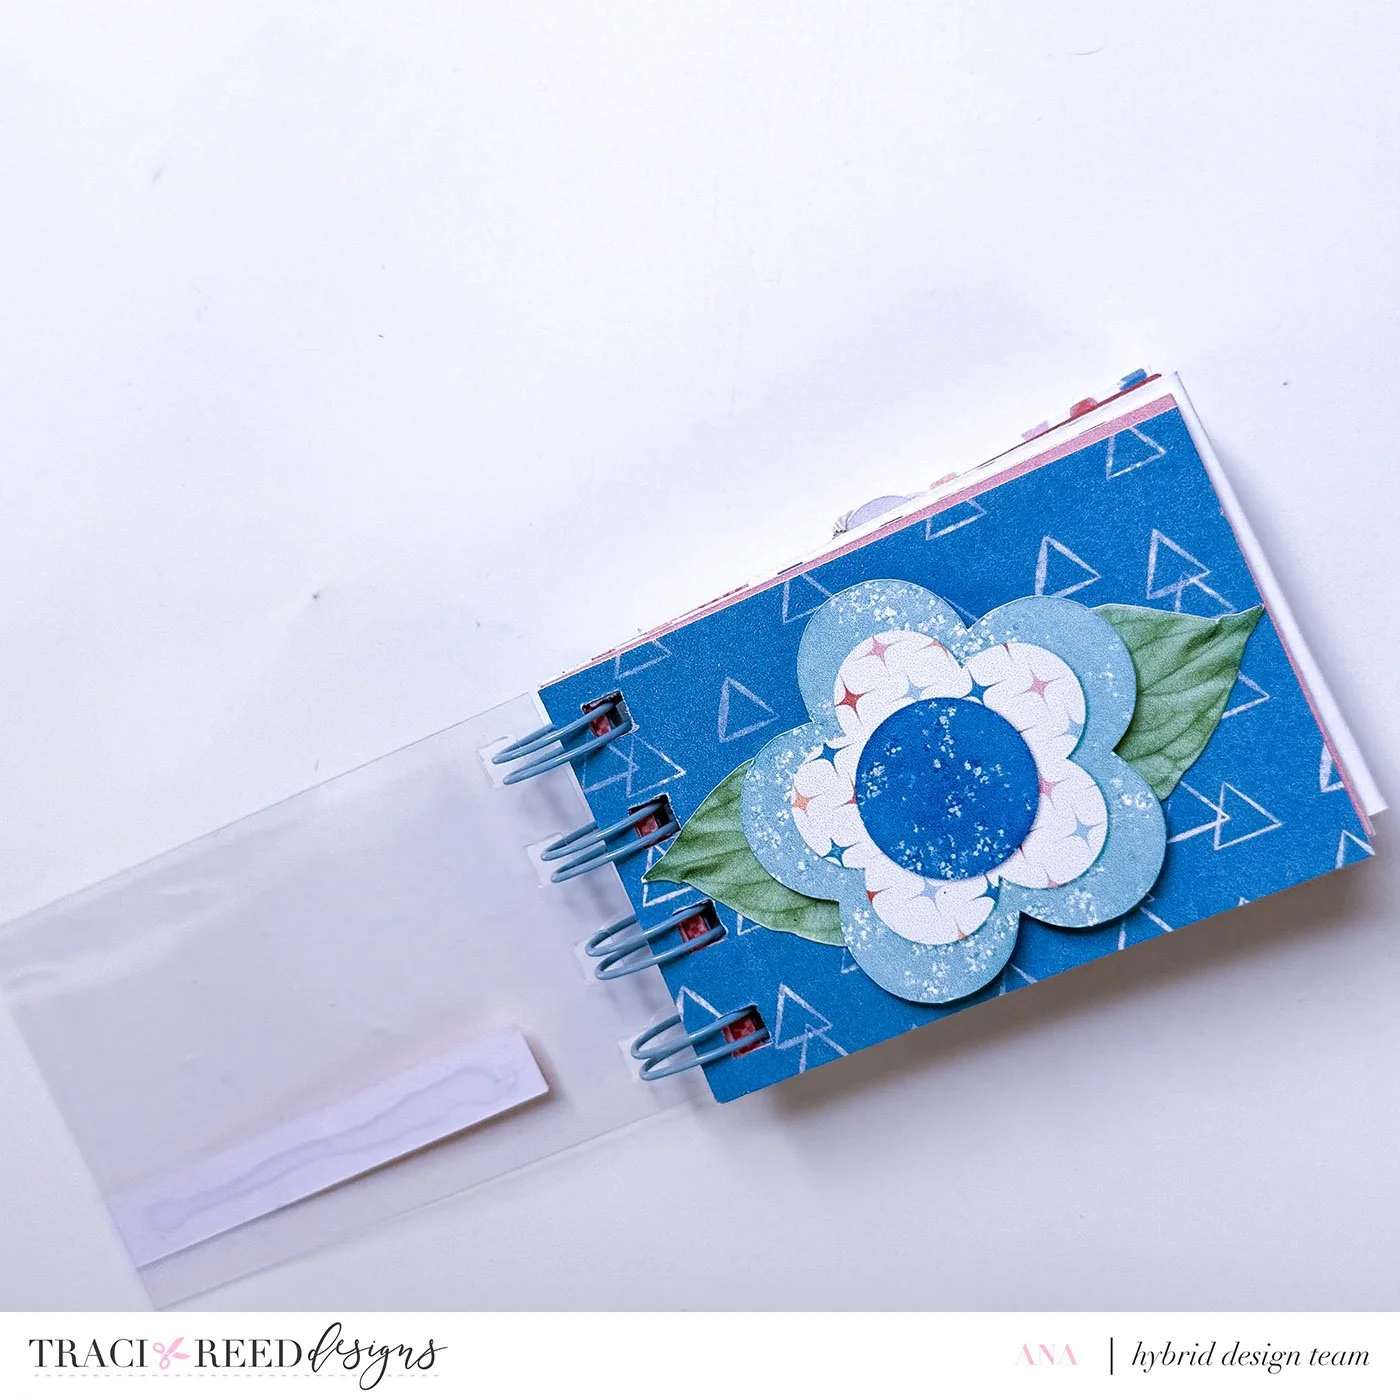
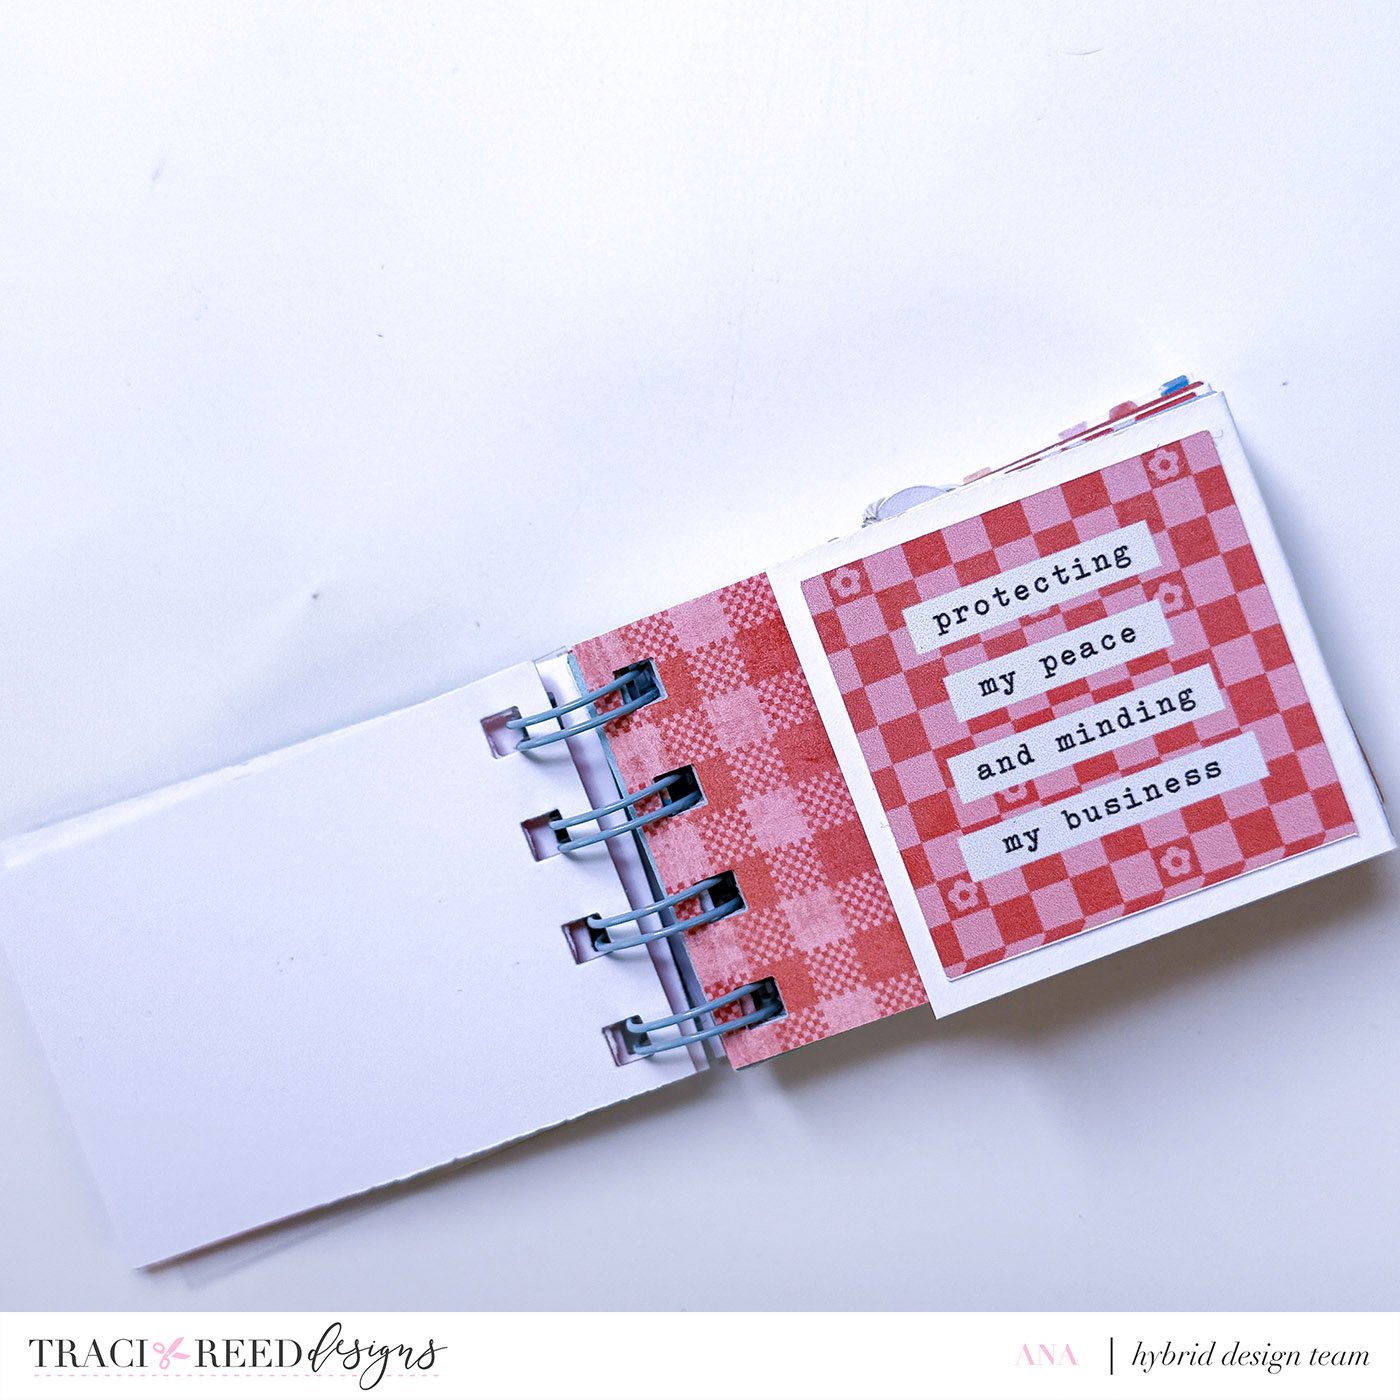
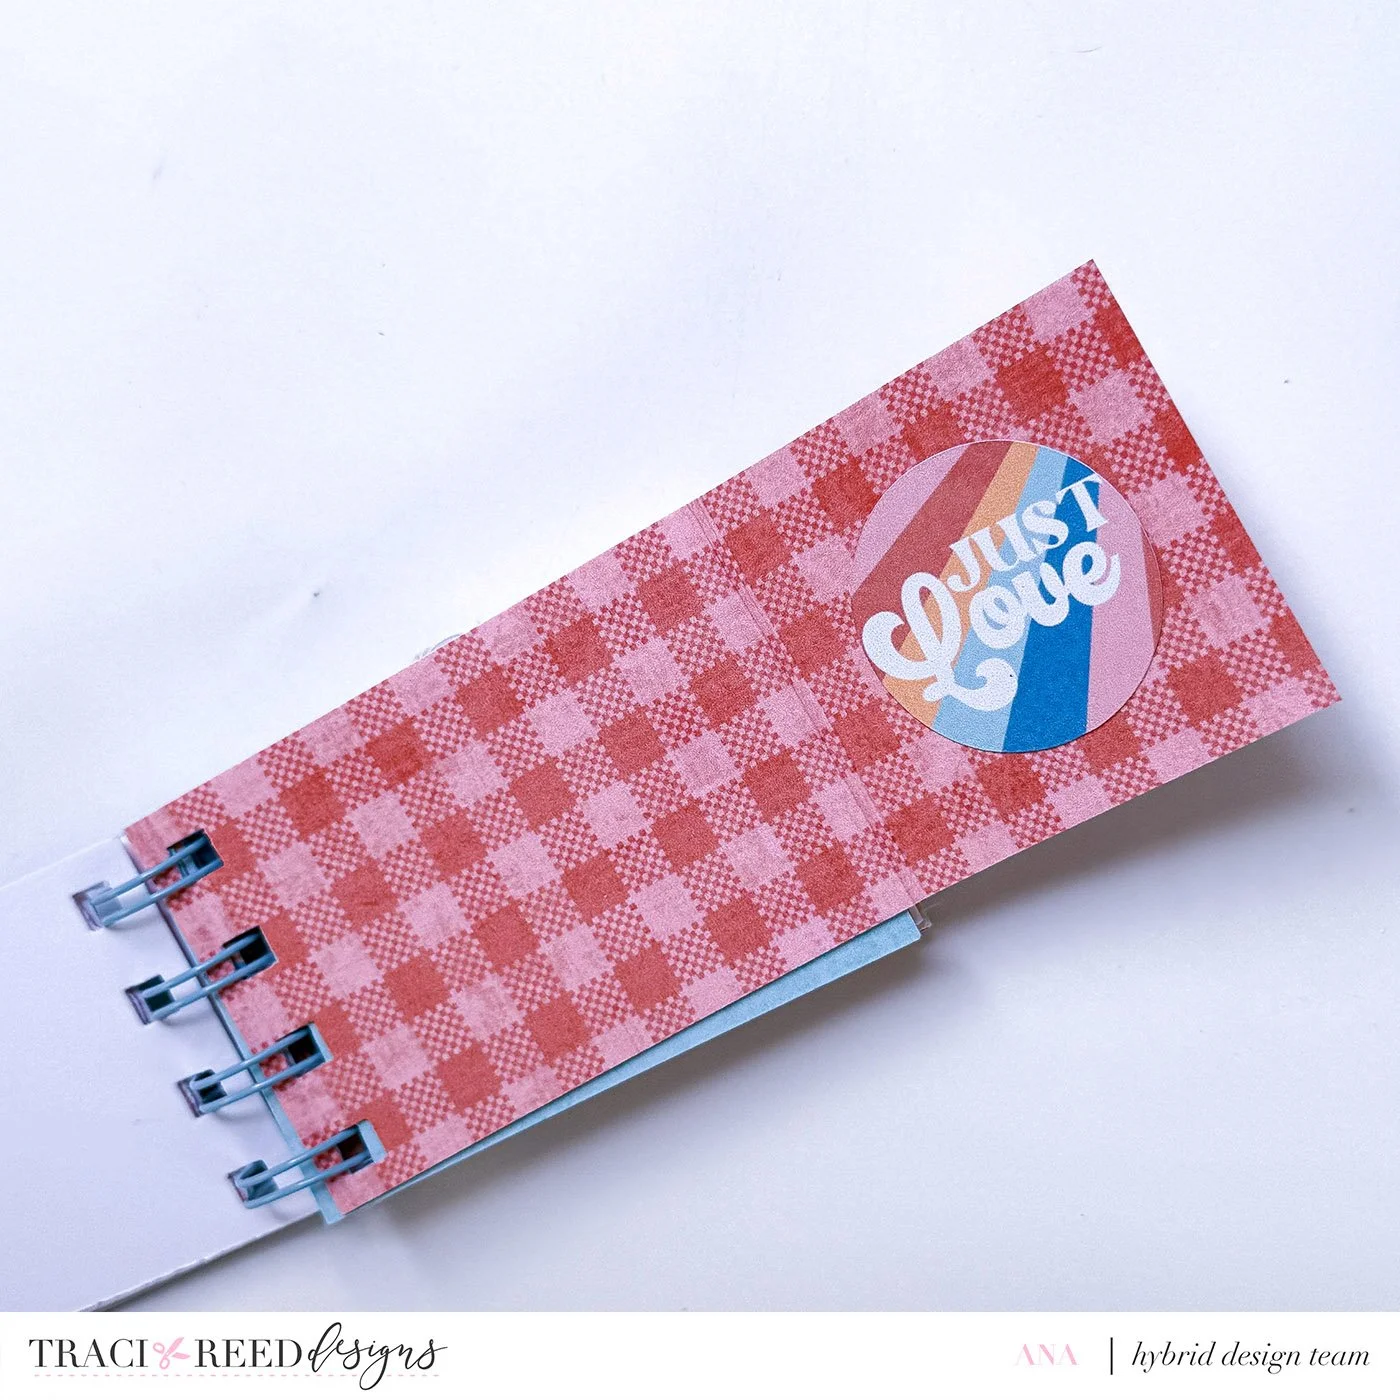
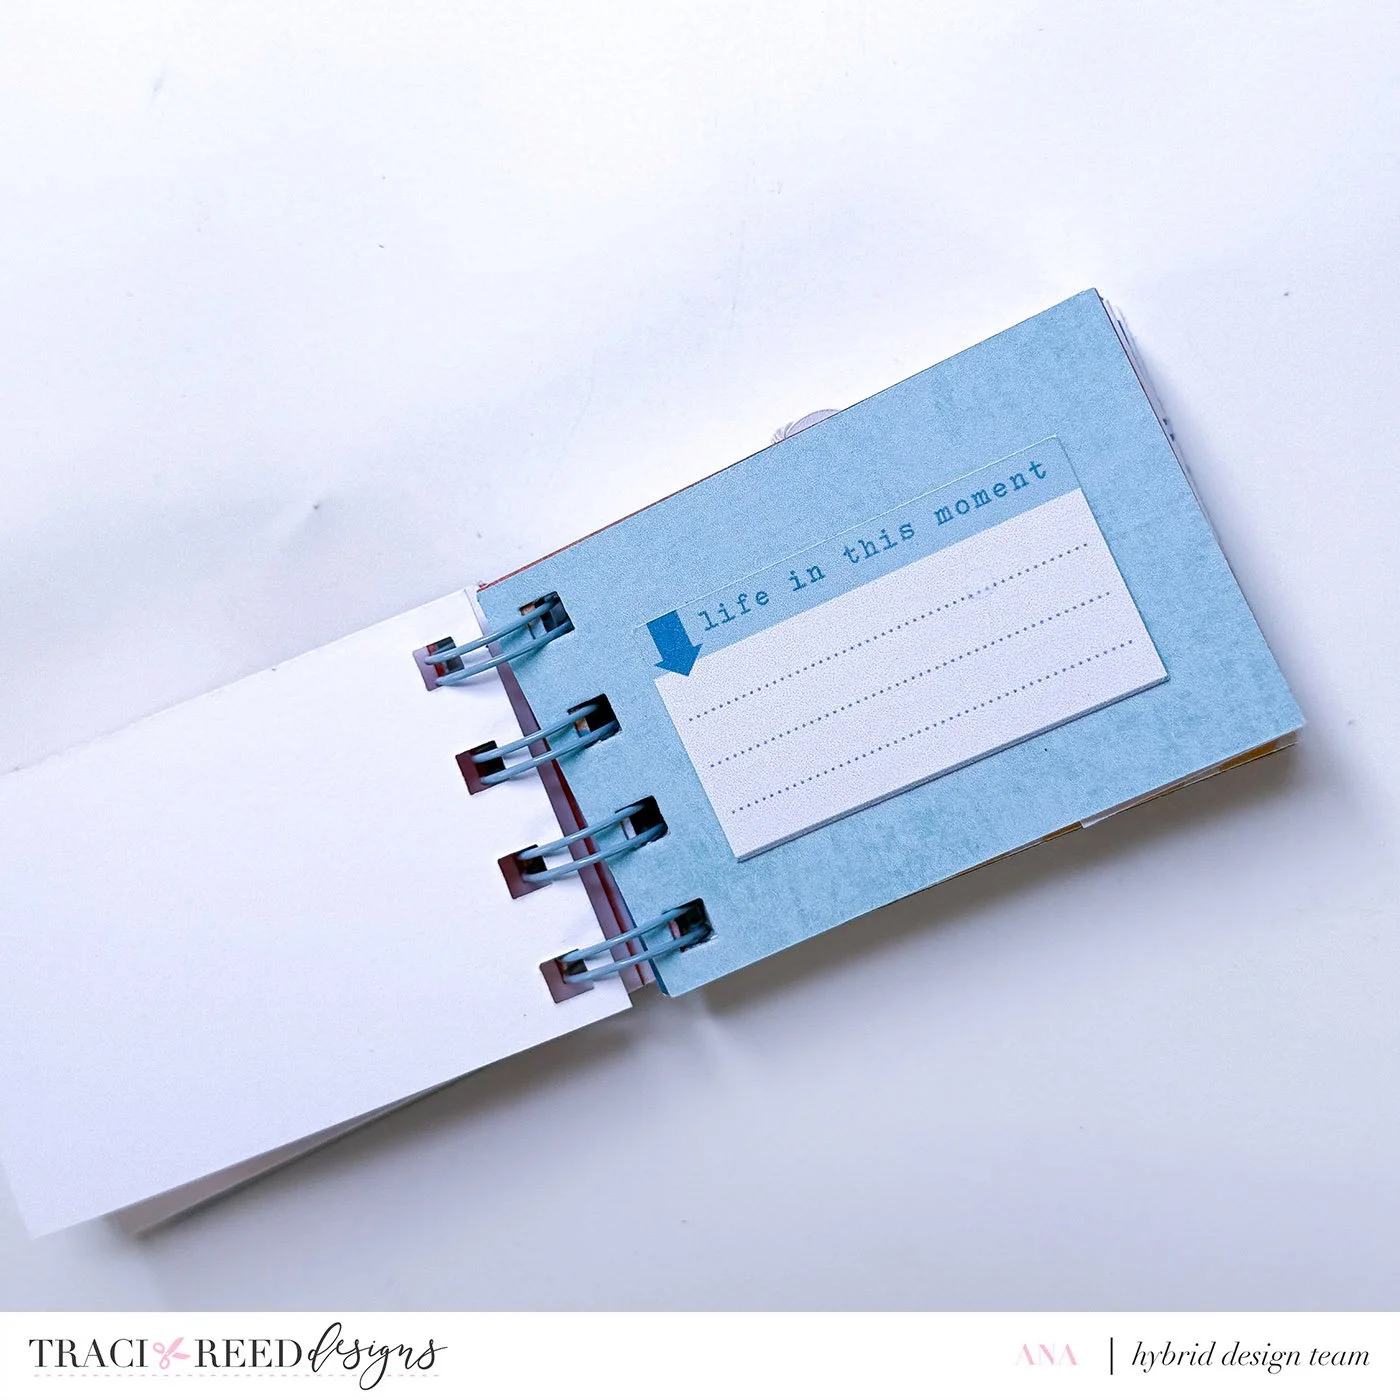
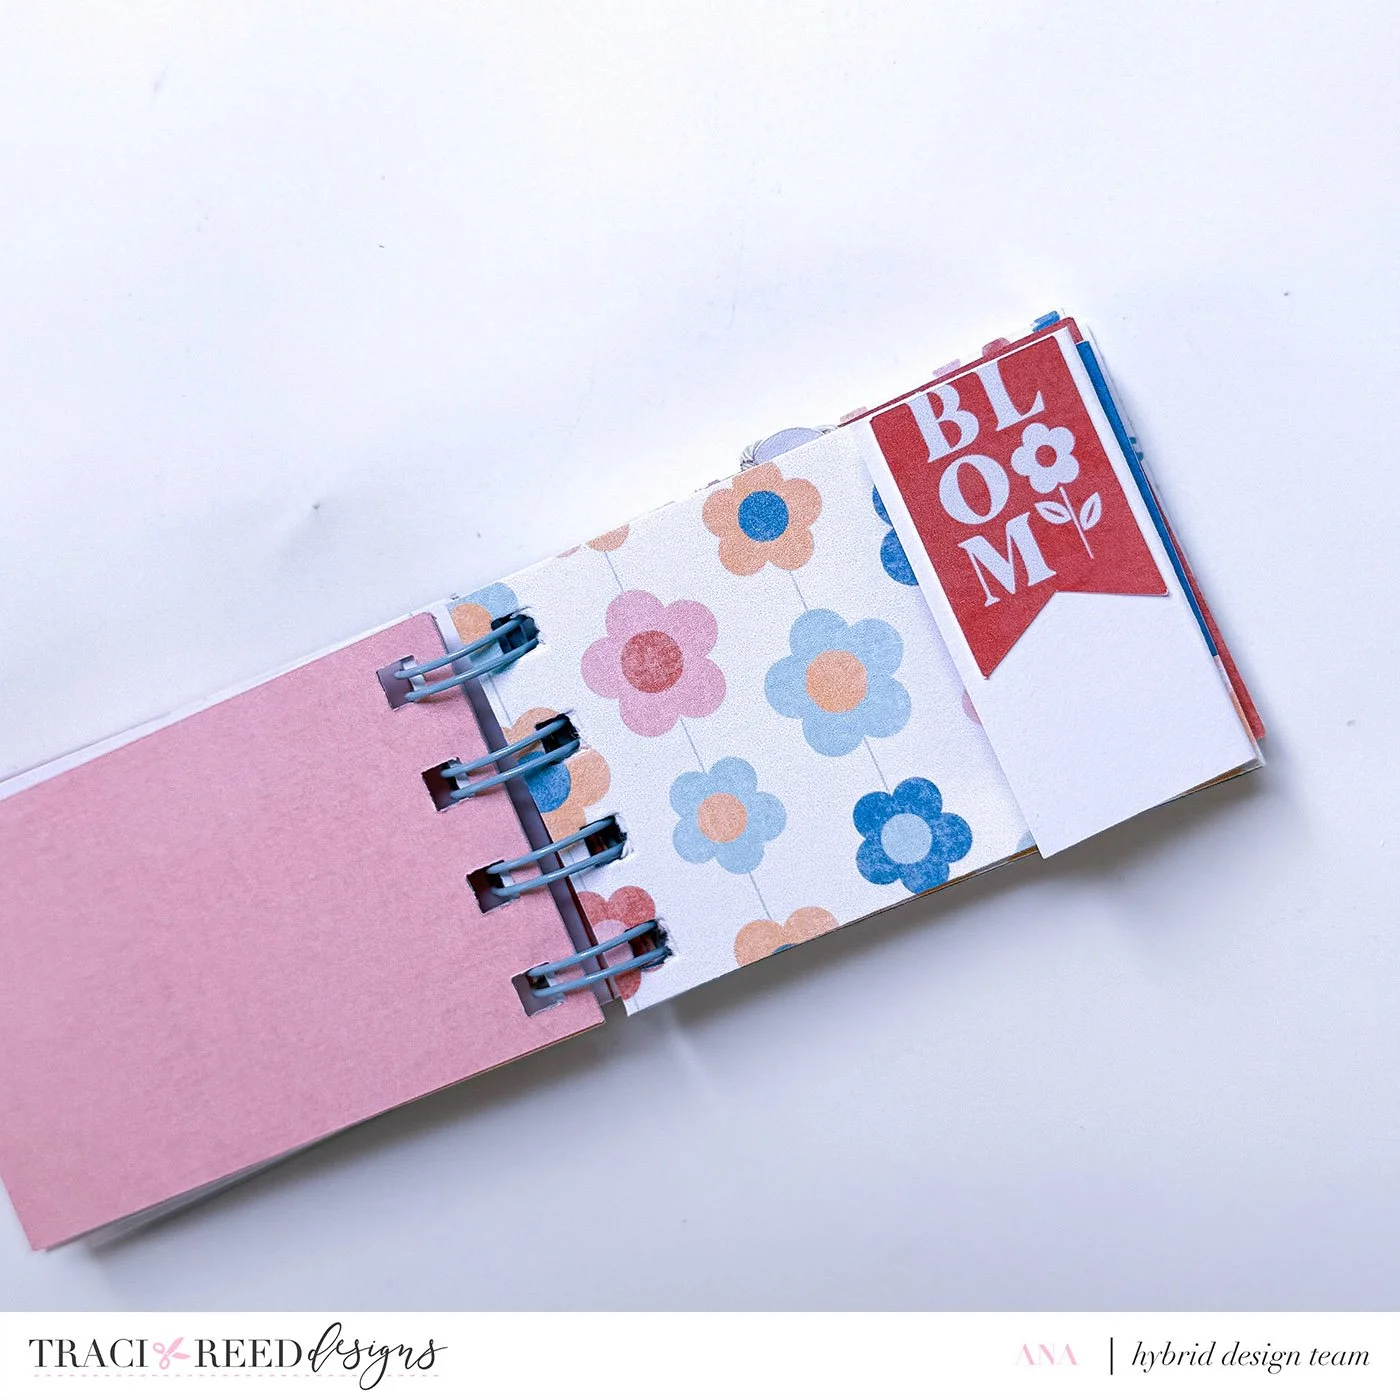
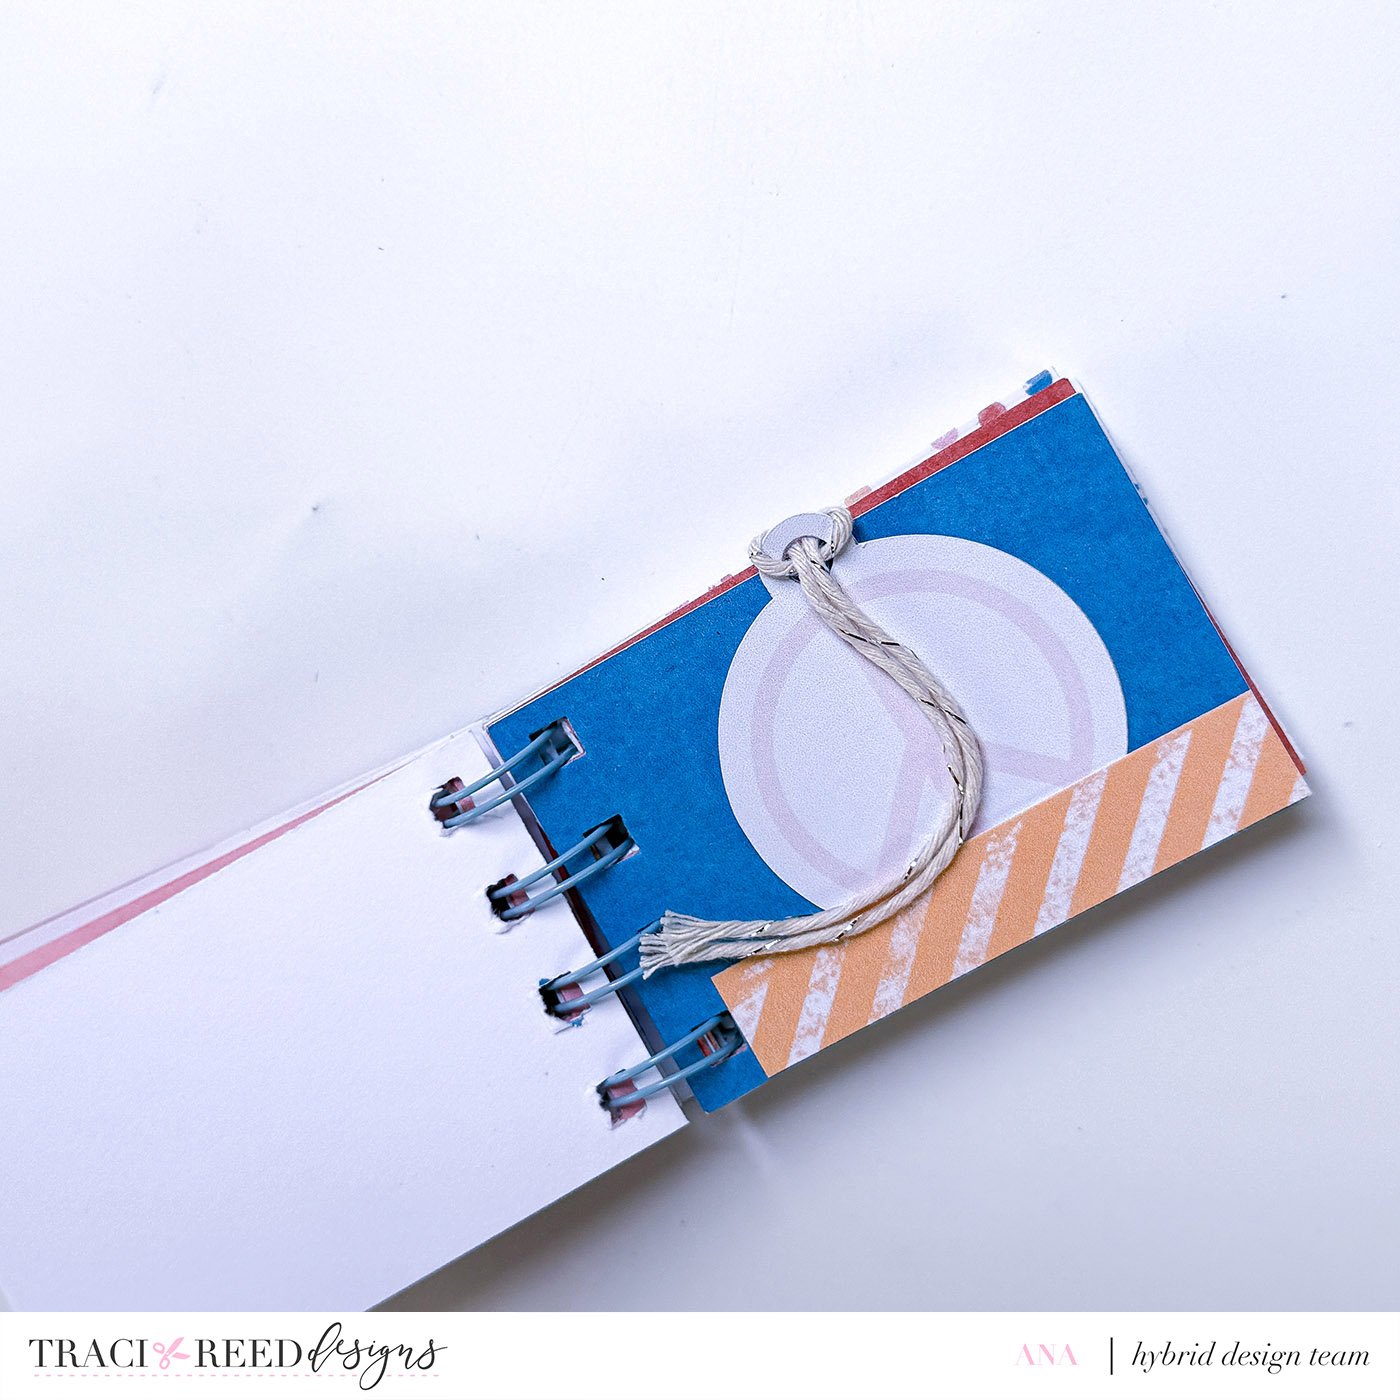
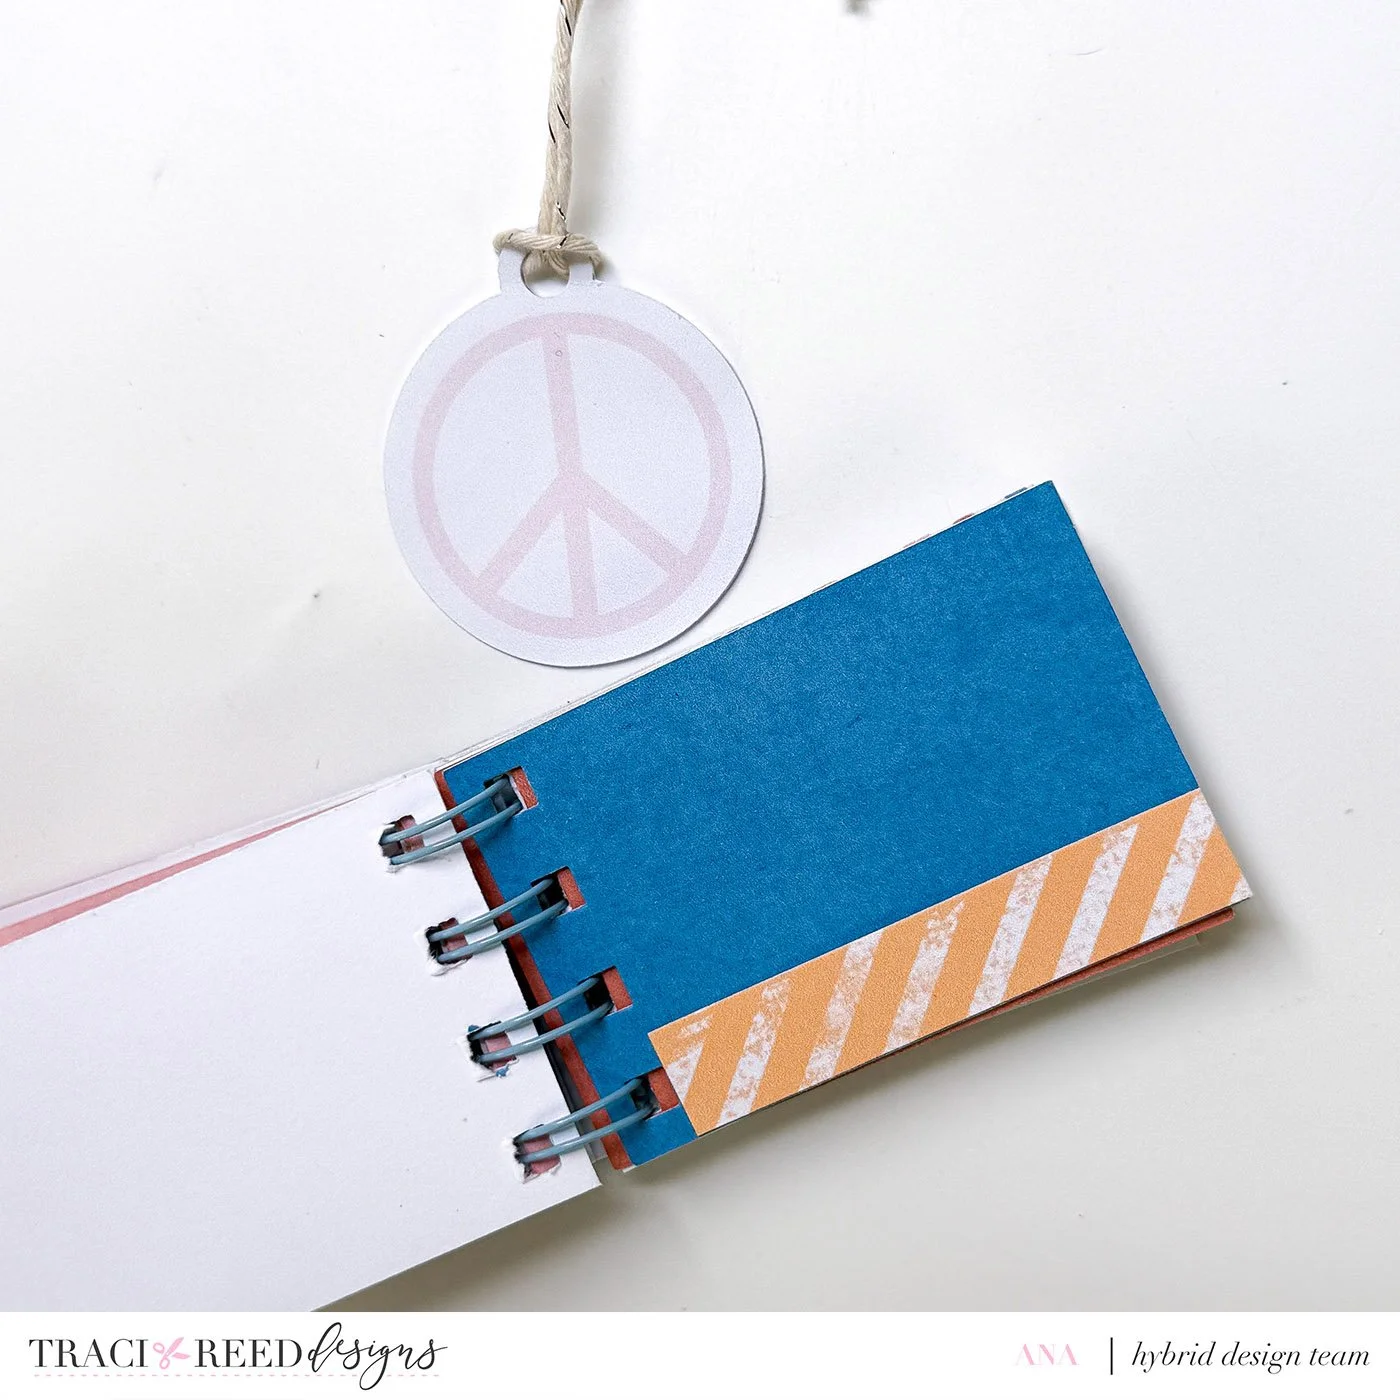
Ana
Today’s project turned into something I didn’t quite expect… because what started as one mini album became four! Yes, one full mini album and three adorable micro minis, all thanks to Traci’s Flower Child Collection and my inability to throw away pretty scraps.
I absolutely love this collection, anything with florals instantly has my heart. I always find myself adding flowers to whatever I make. I try to challenge myself not to sometimes… but let’s be honest, the urge is always there. And I think it finally won this time! Especially since I worked on a simple black-and-white mini right before this, maybe all the floral energy I held back there just exploded into this project. Haha!
At first, I actually thought of making this album for my mom because of its hippy, retro vibe. But somewhere between finishing the album and writing this post, I had a realization… wait a minute… I’m not exactly a kid anymore either! Why did I immediately think “this is for mom” when I saw something a little vintage-inspired? Sorry, mom! Haha.


Laura
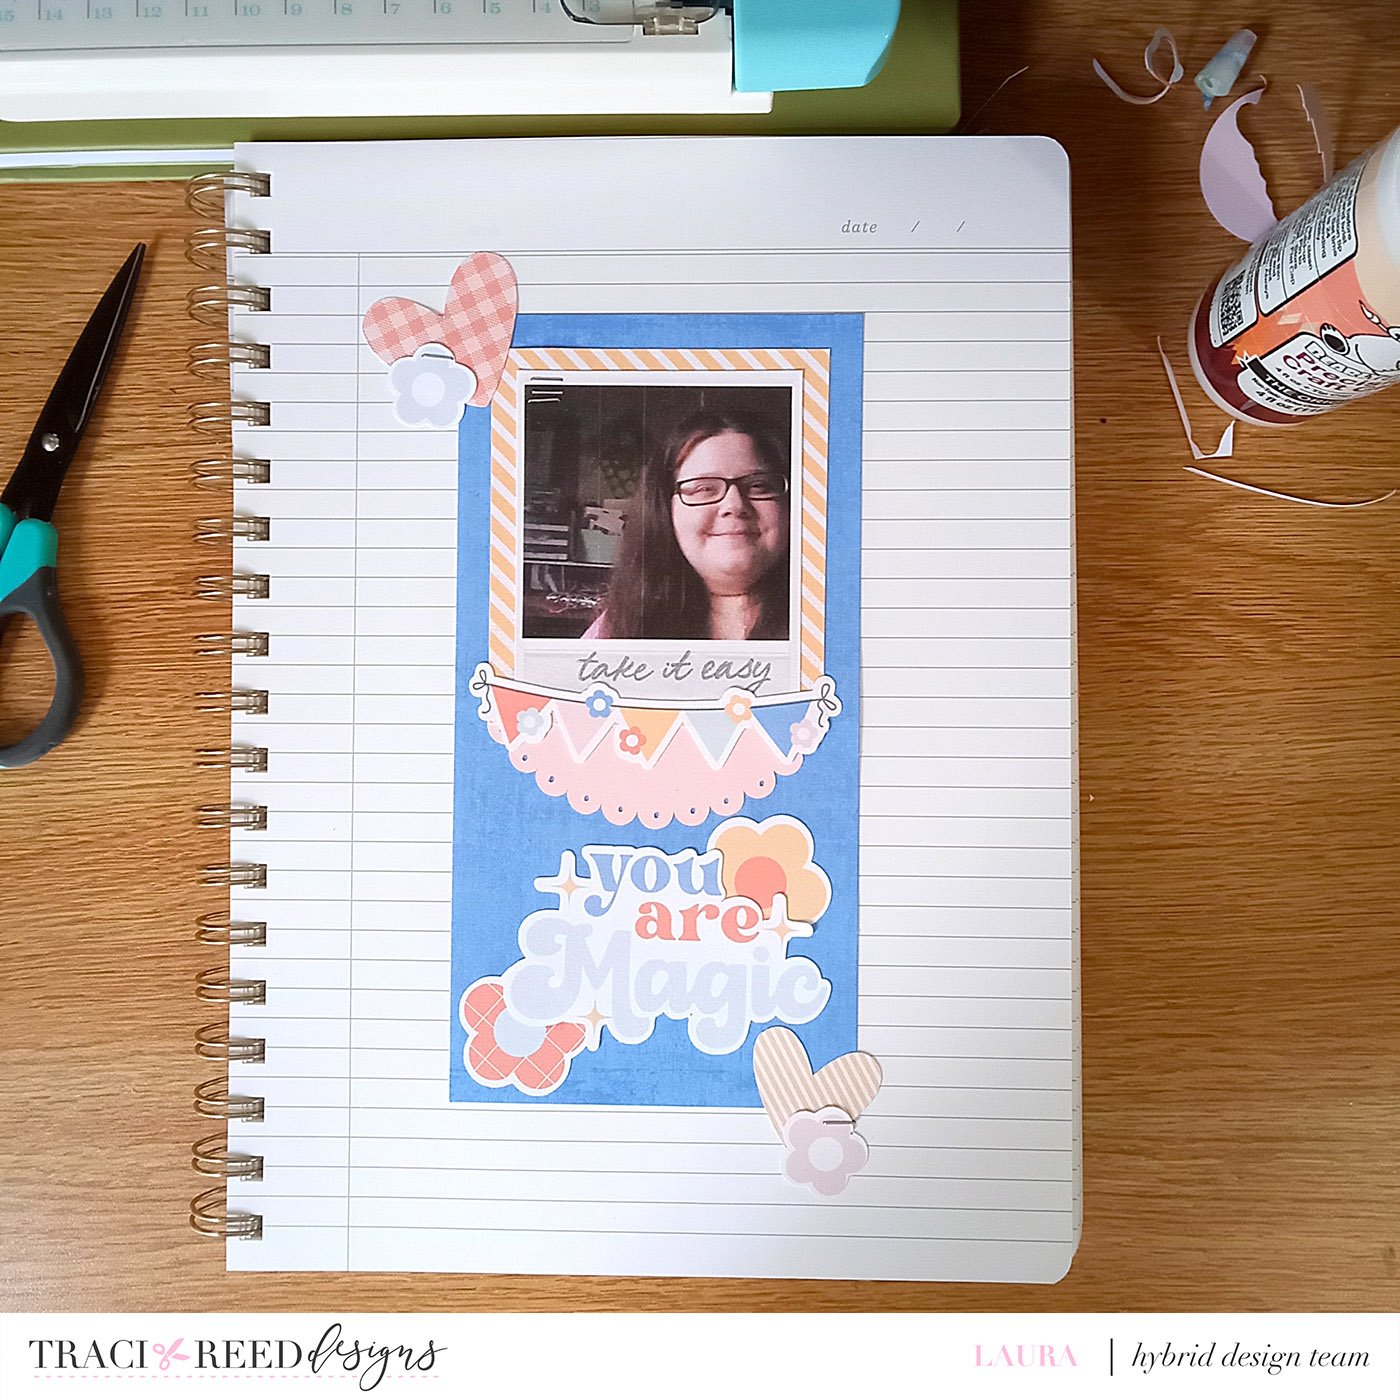
For my layout I used a solid color travelers page. I layered my photo onto another TN page. These big word arts are perfect for a title. I stamped a sentiment on my photo from a set in my stash.
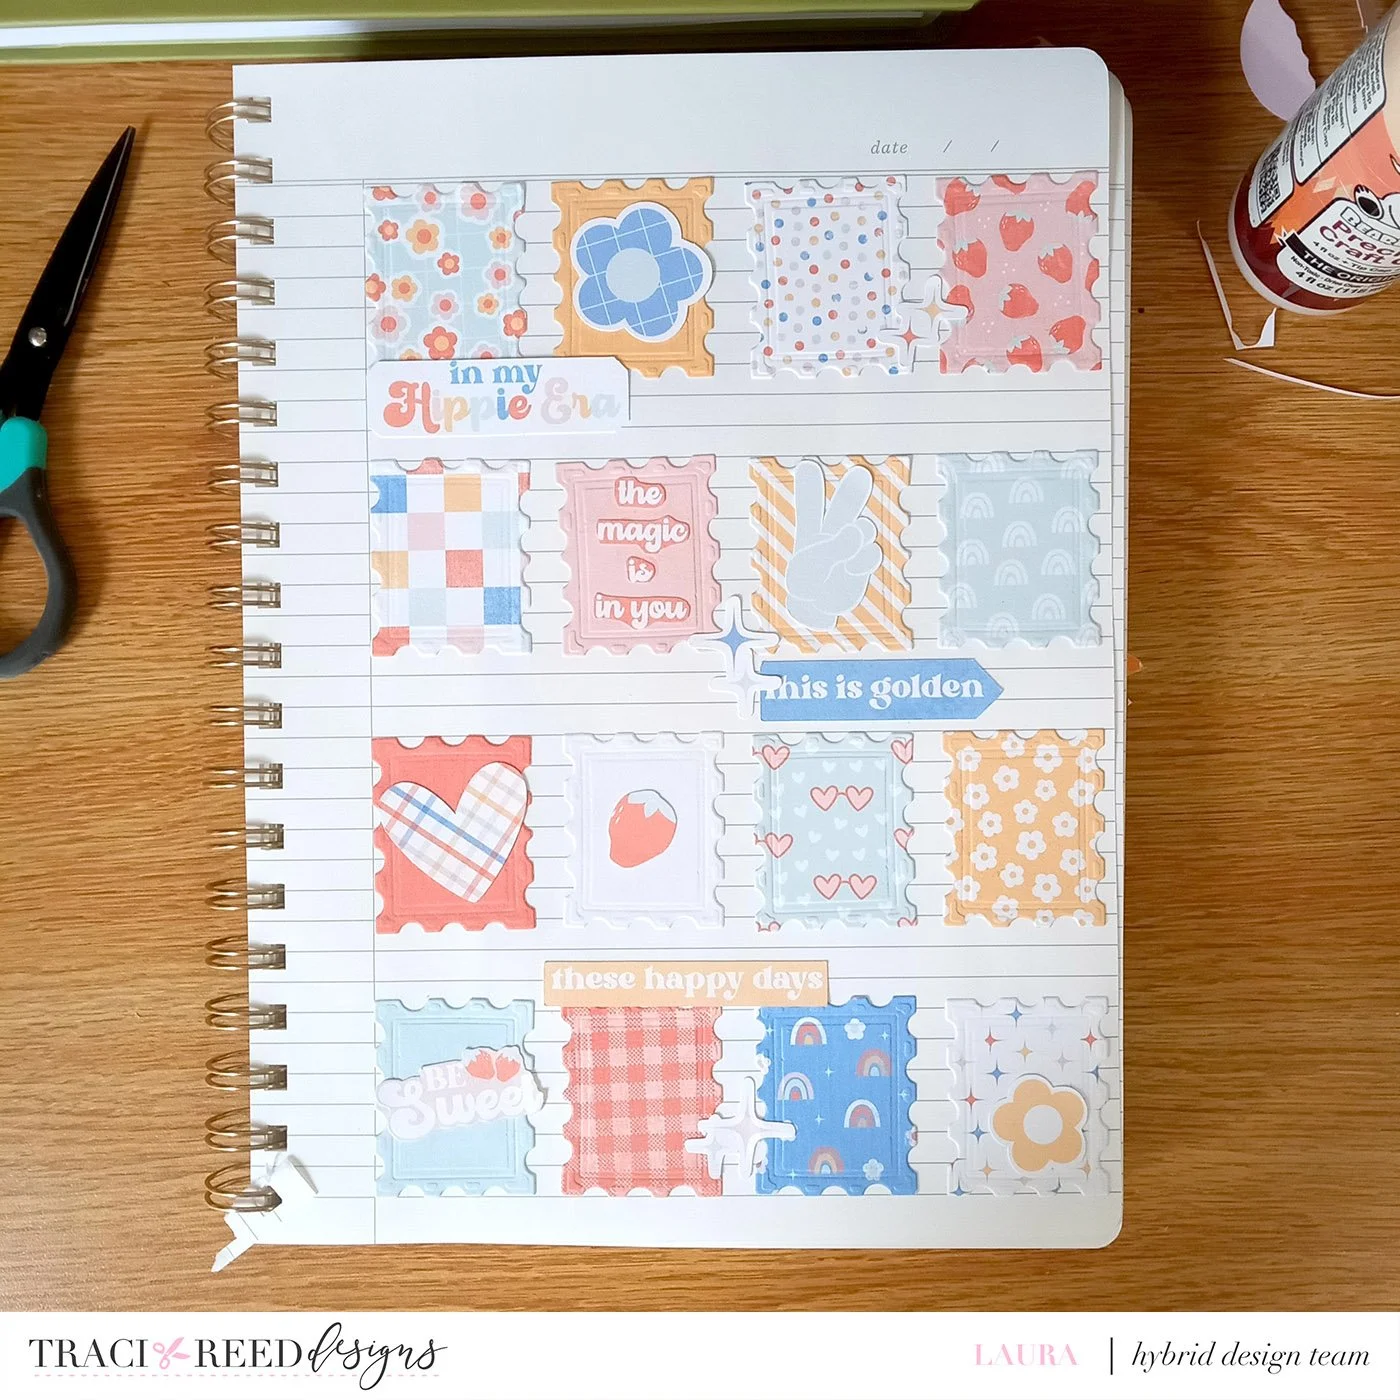
My second page I used a postage die and die cut several TN pages. I die cut enough to make a grid on my page. Then I sprinkled some embellishments throughout.