Tutorial: Create Your Own Sunburst Rainbow with Theresa!
Hi friends, it’s Theresa here and I have a super dynamic tutorial for you using the beautiful sunburst papers in the Poolside collection! Sunburst layouts always draw us in with dynamic movement and powerful lines, and in today’s post you will learn how to make them. Here is the final layout we are creating today:

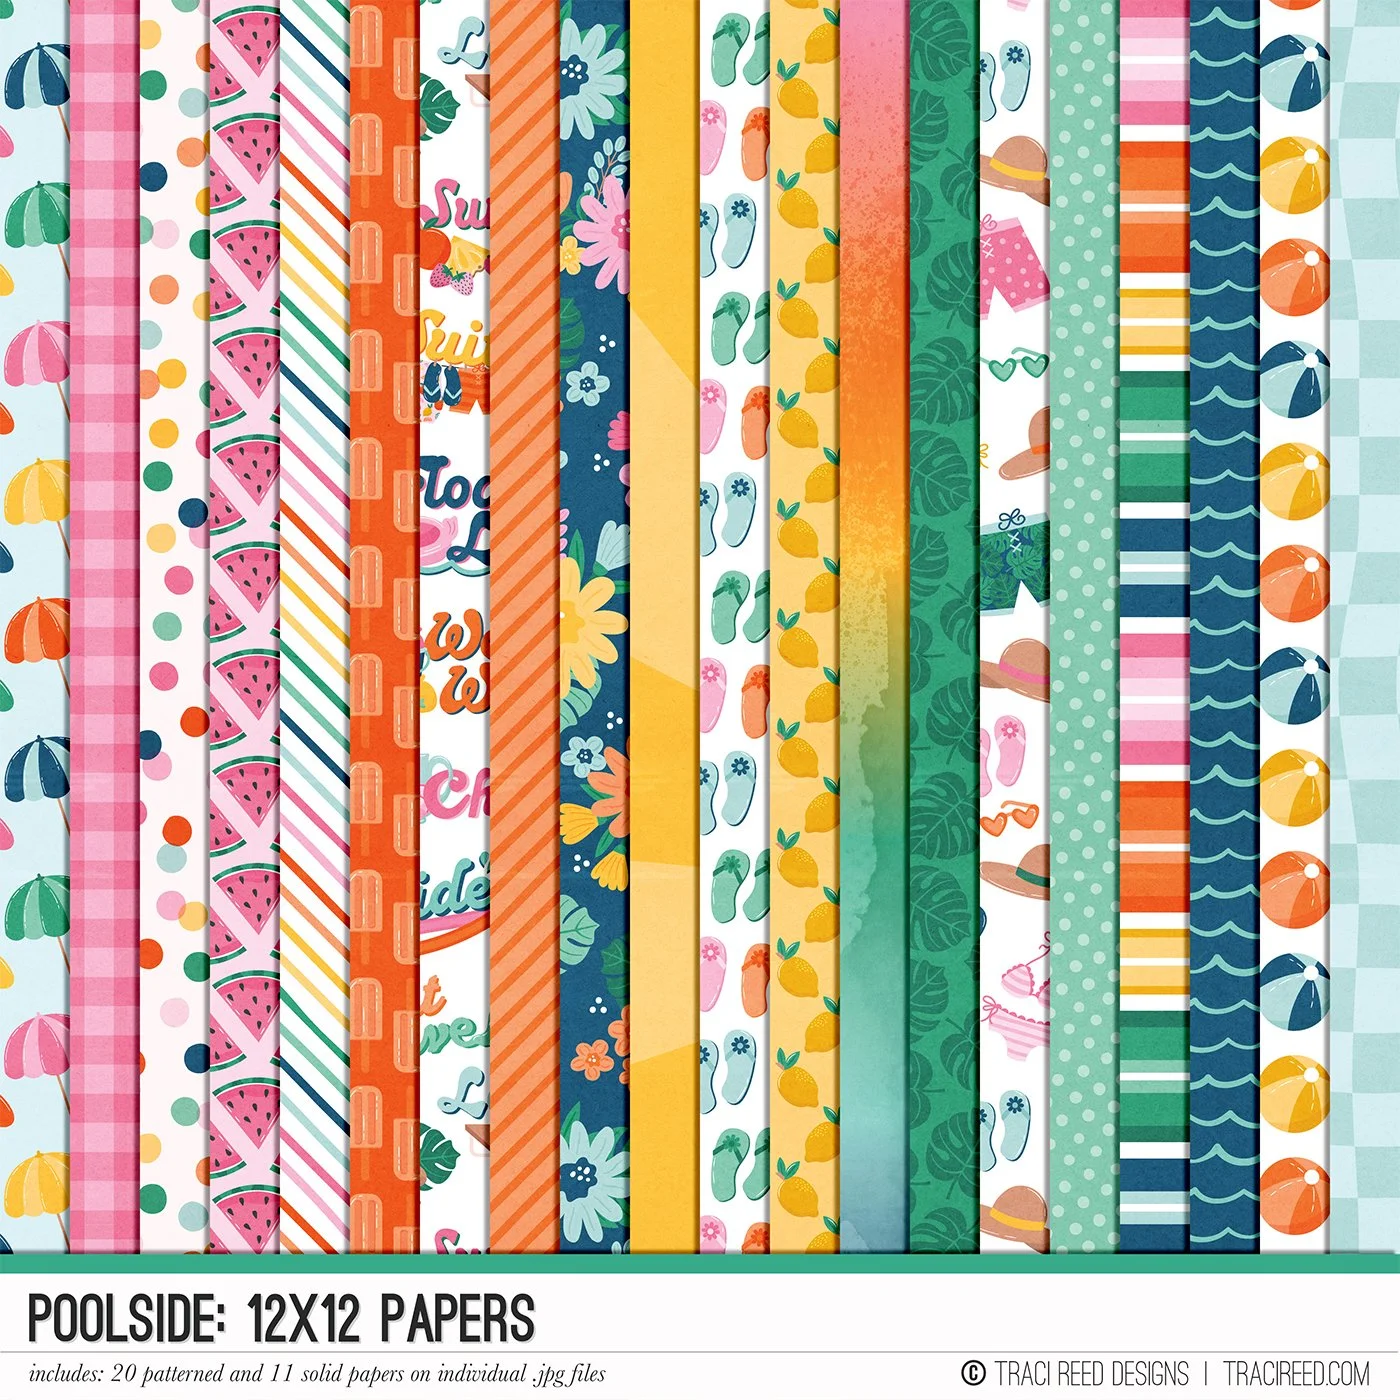
This layout has my heart for the way it brings to life our family’s love of watermelon in the summer! Whenever we purchase one, Alan will cut it all up while we eat ridiculous amounts right on the spot. Ha! I was inspired by the colorful sunburst in the Poolside Add-on and felt like it would be fun to add patterned papers to it, and layer it. Here is the breakdown of how I accomplished this using Photoshop CC and the Silhouette Cameo 4.
Step 1: Open up the the sunburst patterned paper in Photoshop. I always create another blank layer underneath, and in this screenshot you will see it set to a blank 19x13 blank canvas.

Step 2: On the left hand side of the Photoshop screen you will see the Quick Selection Tool. Now sometimes you can use the Object Selection Tool, but I found Quick Selection worked best for this shape. Hold down the Shift key and click on each of the rays of color until each one has marching ants. This means Photoshop recognizes your shapes and you can continue.

Step 3: Now you can right click over top of one of the rays to bring up this dialog box. Select Layer Via Copy. This will take your selected rays and place a copy of them onto a new layer for you. The entire patterned paper remains complete on its own layer. I turned that one off so that just the rays are showing, since that is what we are now working with.

Step 4: I decided to make my sunburst rays into a circle shape, and to do that I selected the Elliptical Marquee Tool at the top left. If you hold the Shift key and drag your cursor across the canvas, it will draw a circle of marching ants.

Step 5: Draw your circle as big as you want it, and then once again you will right click and select Layer Via Copy. You now have a circle of colorful sunburst rays extracted from the original patterned paper, on its own layer!

Step 6: I also wanted to add some of the fun patterned papers to the sunburst, so I began by bringing the gradient patterned paper into my canvas. I positioned it directly over top of the sunburst and adjusted the paper so the part that I wanted was right over top of the ray that I wanted. In the Layers menu, right click on the patterned paper and select Create Clipping Mask so that your paper is now part of the sunburst.

Step 7: We don’t want the entire patterned paper as the sunburst, only the one ray, so we are going to use the Polygonal Lasso Tool. Make sure you are on the patterned paper layer, and then draw your shape around the ray. It doesn’t have to be perfect, but you do want to be sure that you are covering your ray.
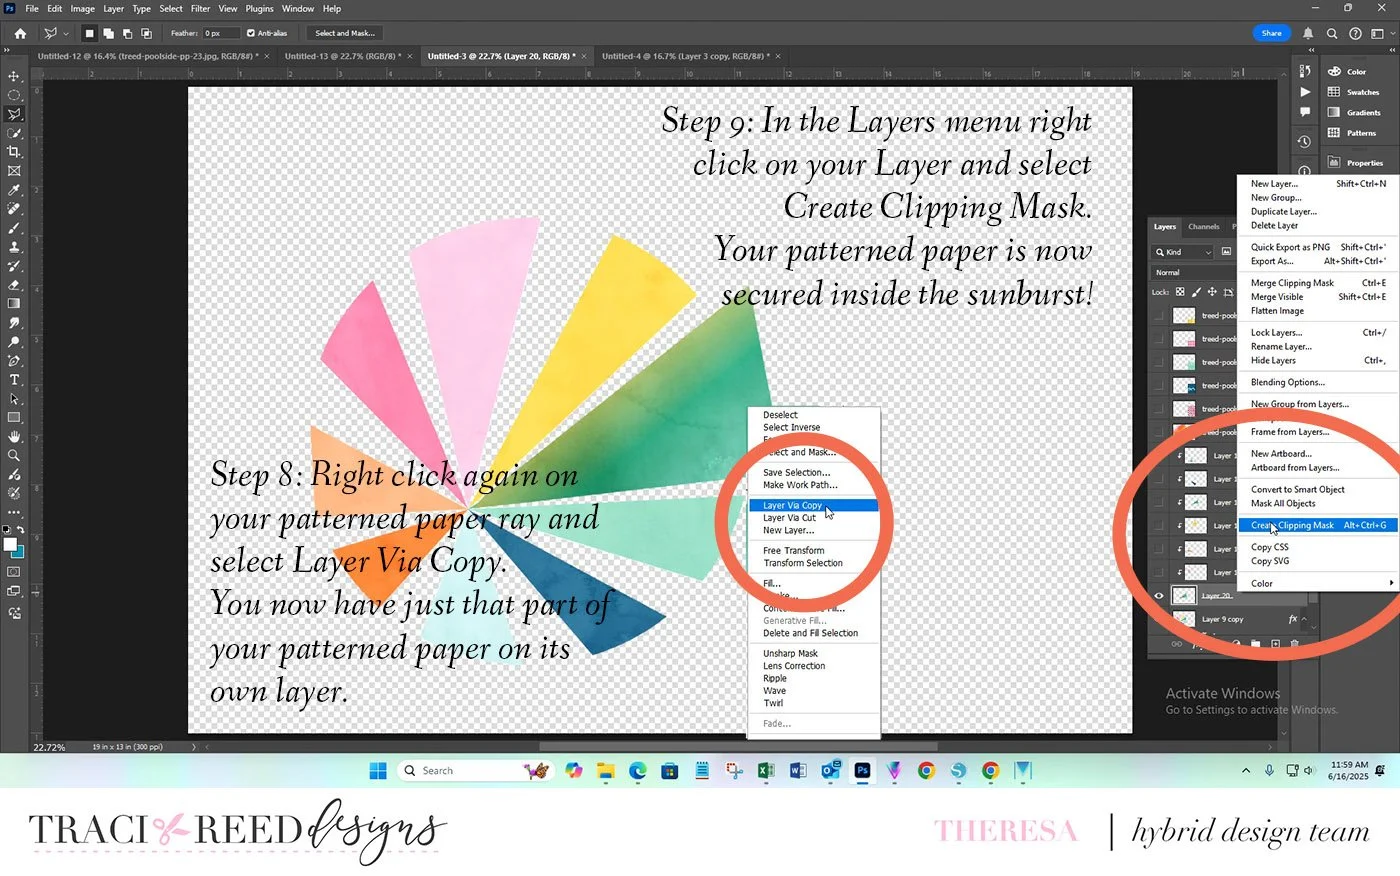
Step 8: Right click again on the polygon layer and select Layer Via Copy. Now you have just the polygon lifted out of the patterned paper. You can turn the patterned paper layer off now or delete it from your canvas if you are done with that one. We only need the polygon now.
Step 9: We are going back to the Layers menu, right click on your polygon and select Create Clipping Mask. Now your ray is beautifully covered with your patterned paper. Repeat this as often as you like around your sunburst to add the patterned you want!

Interestingly enough, when I brought the sunburst pieces into the Silhouette software, it needed a little clean up. Apparently the Silhouette picked up all of the tiny pixels and auto-traced all of those grey points to be cut.
Step 9: Double click on the red trace line to show all the grey dots. This puts you right into the Point Editing Mode, and a dialog box pops up in the top right.
Step 10: Click Simplify in that dialog box first, and you will see some of the grey dots disappear. This is what we want to happen! Then click around the page on the individual lines and delete those points so your lines will be straight and clean while cutting.

One last detail is printing the sunburst pieces so they can be cut. I made sure that my sunburst pieces fit onto the 12x12 canvas and then actually set it up to print onto 13x19 photo paper with the registration marks.
Step 11: Print your sunburst piece from the Silhouette print dialog box. Select 13x19 photo paper and the Silhouette will automatically place it along the far left and top margin. You will be able to cut this down to 12x12 using those edges as the starting point.
Once everything was printed out and cut as needed, it was super fun to pull this layout all together! Here are a few detail photos.

Notice the super cool title, using the alphabets from Poolside, which curves around the sunburst shapes. I also added some of the mixed media elements to my background, trying to have the background colors match up with the sunburst colors as much as possible.

I also had fun adding the super cute embellishments from the add-on kit to emphasize my photo. The journaling goes perfectly on the bracket label along with the circle bits and word strips.
I have a great detailed process video that includes this Photoshop tutorial and lets you see everything printed and cut, then assembled.
Thanks so much for joining me today! Happy Creating!
~Theresa
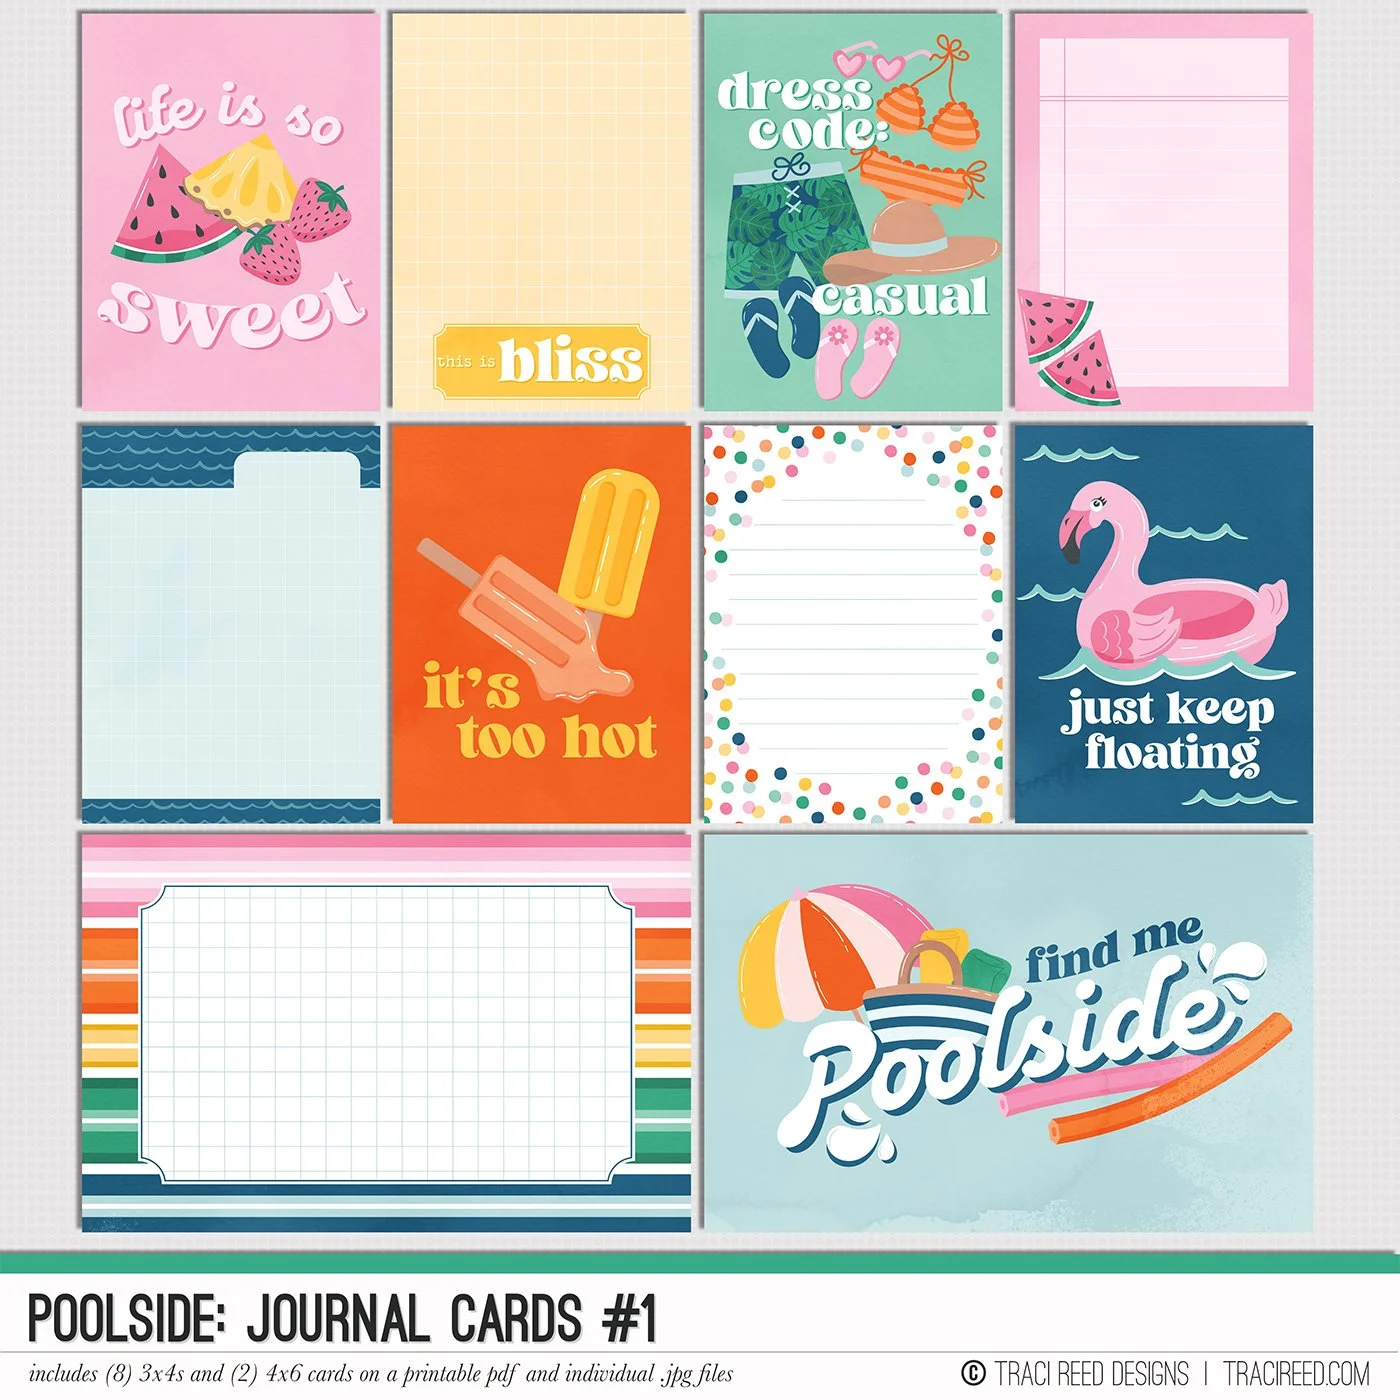
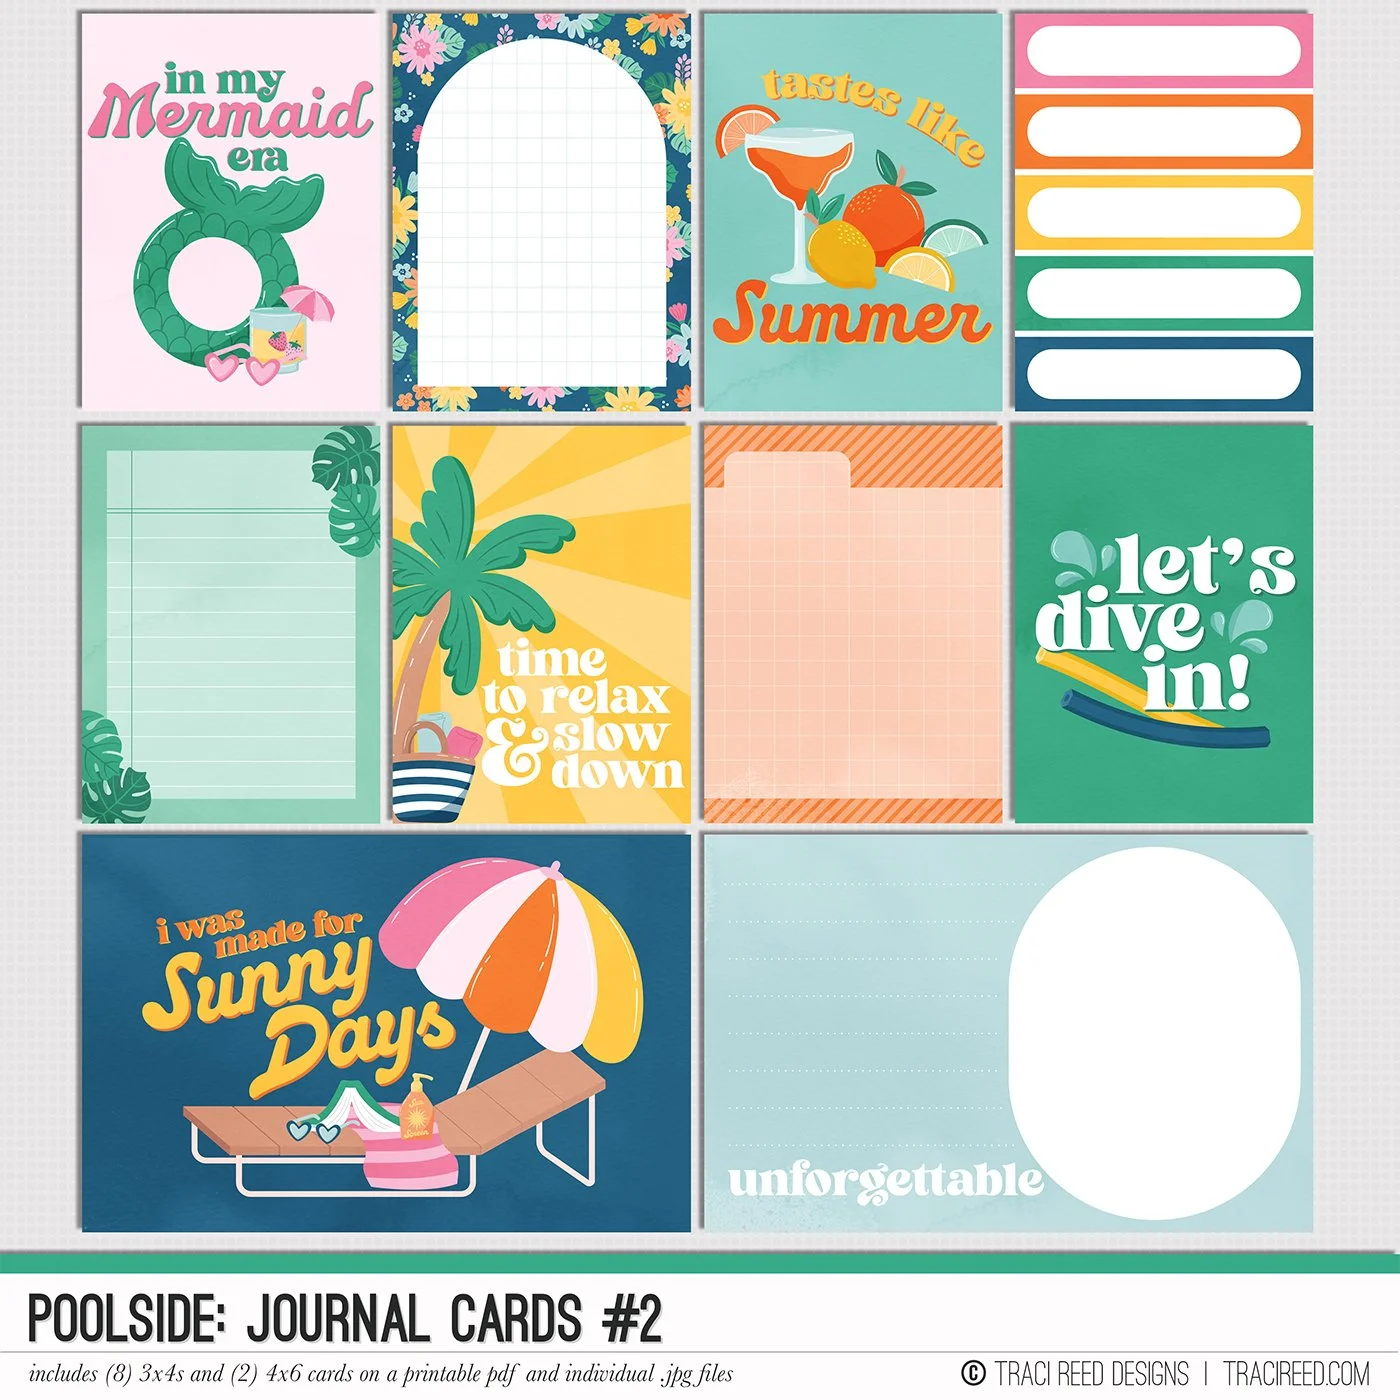
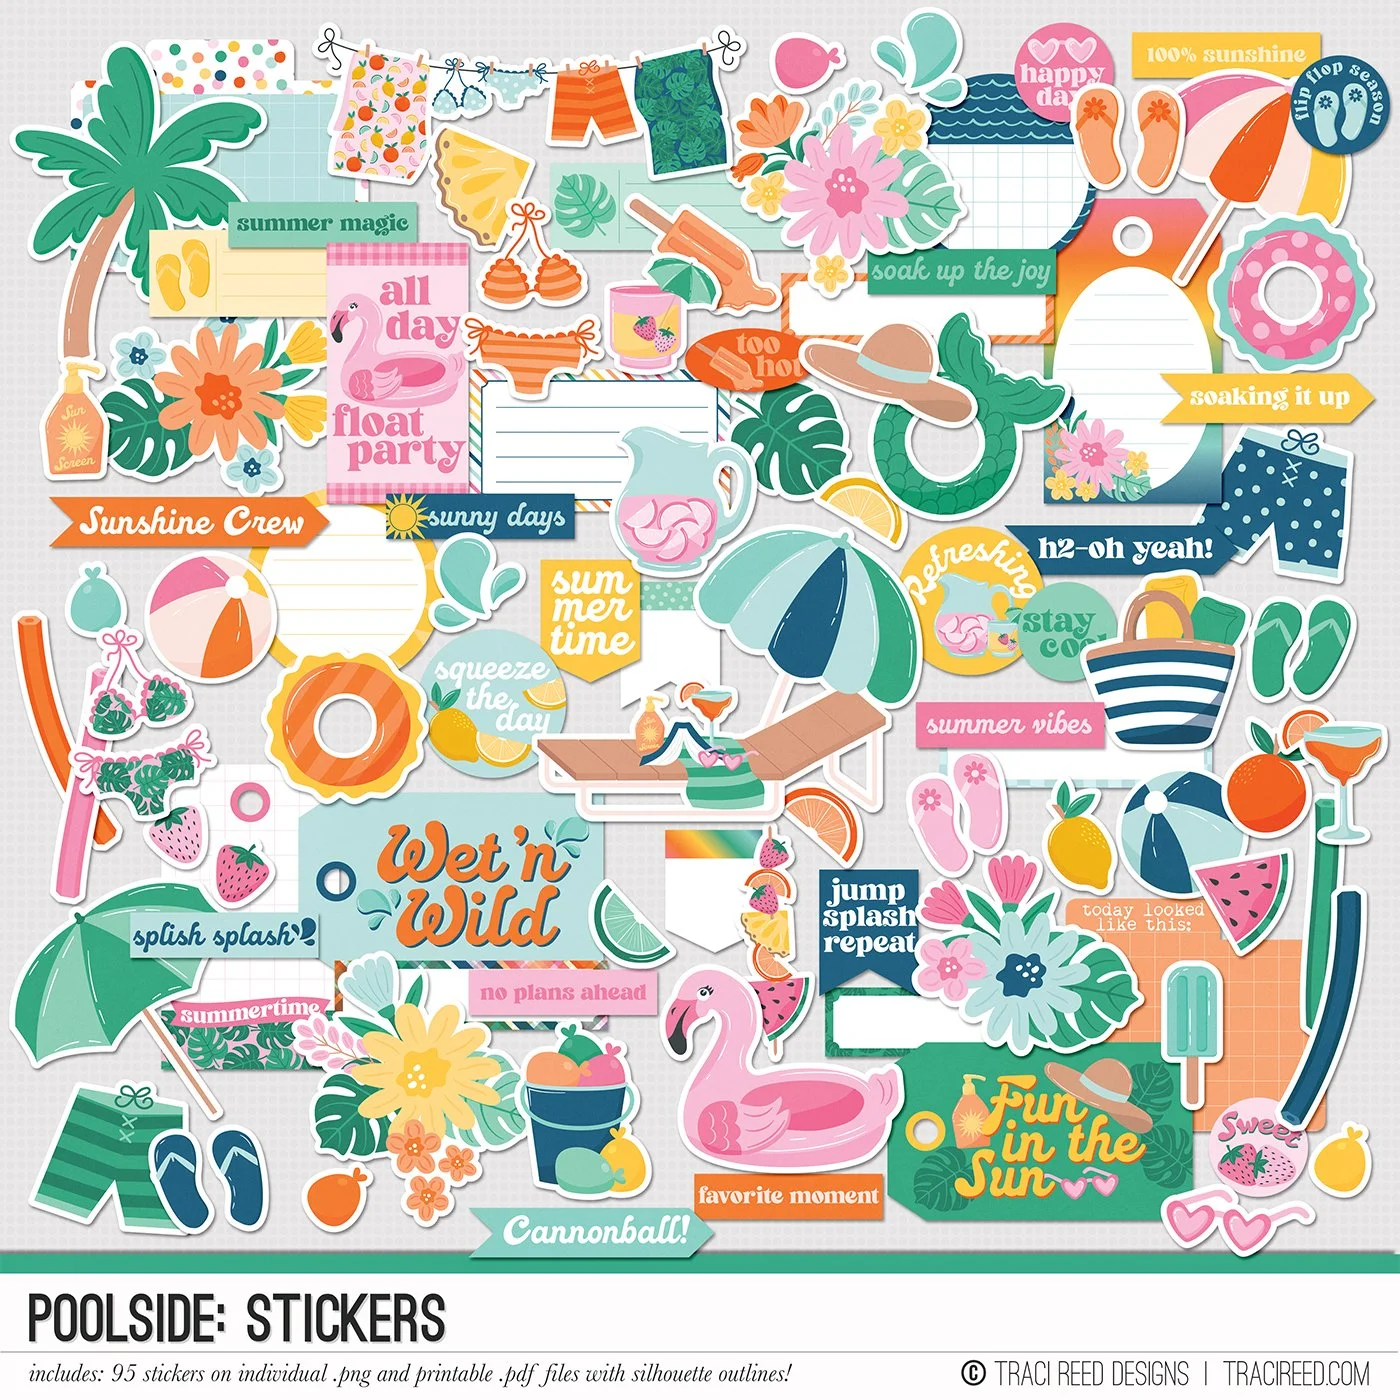
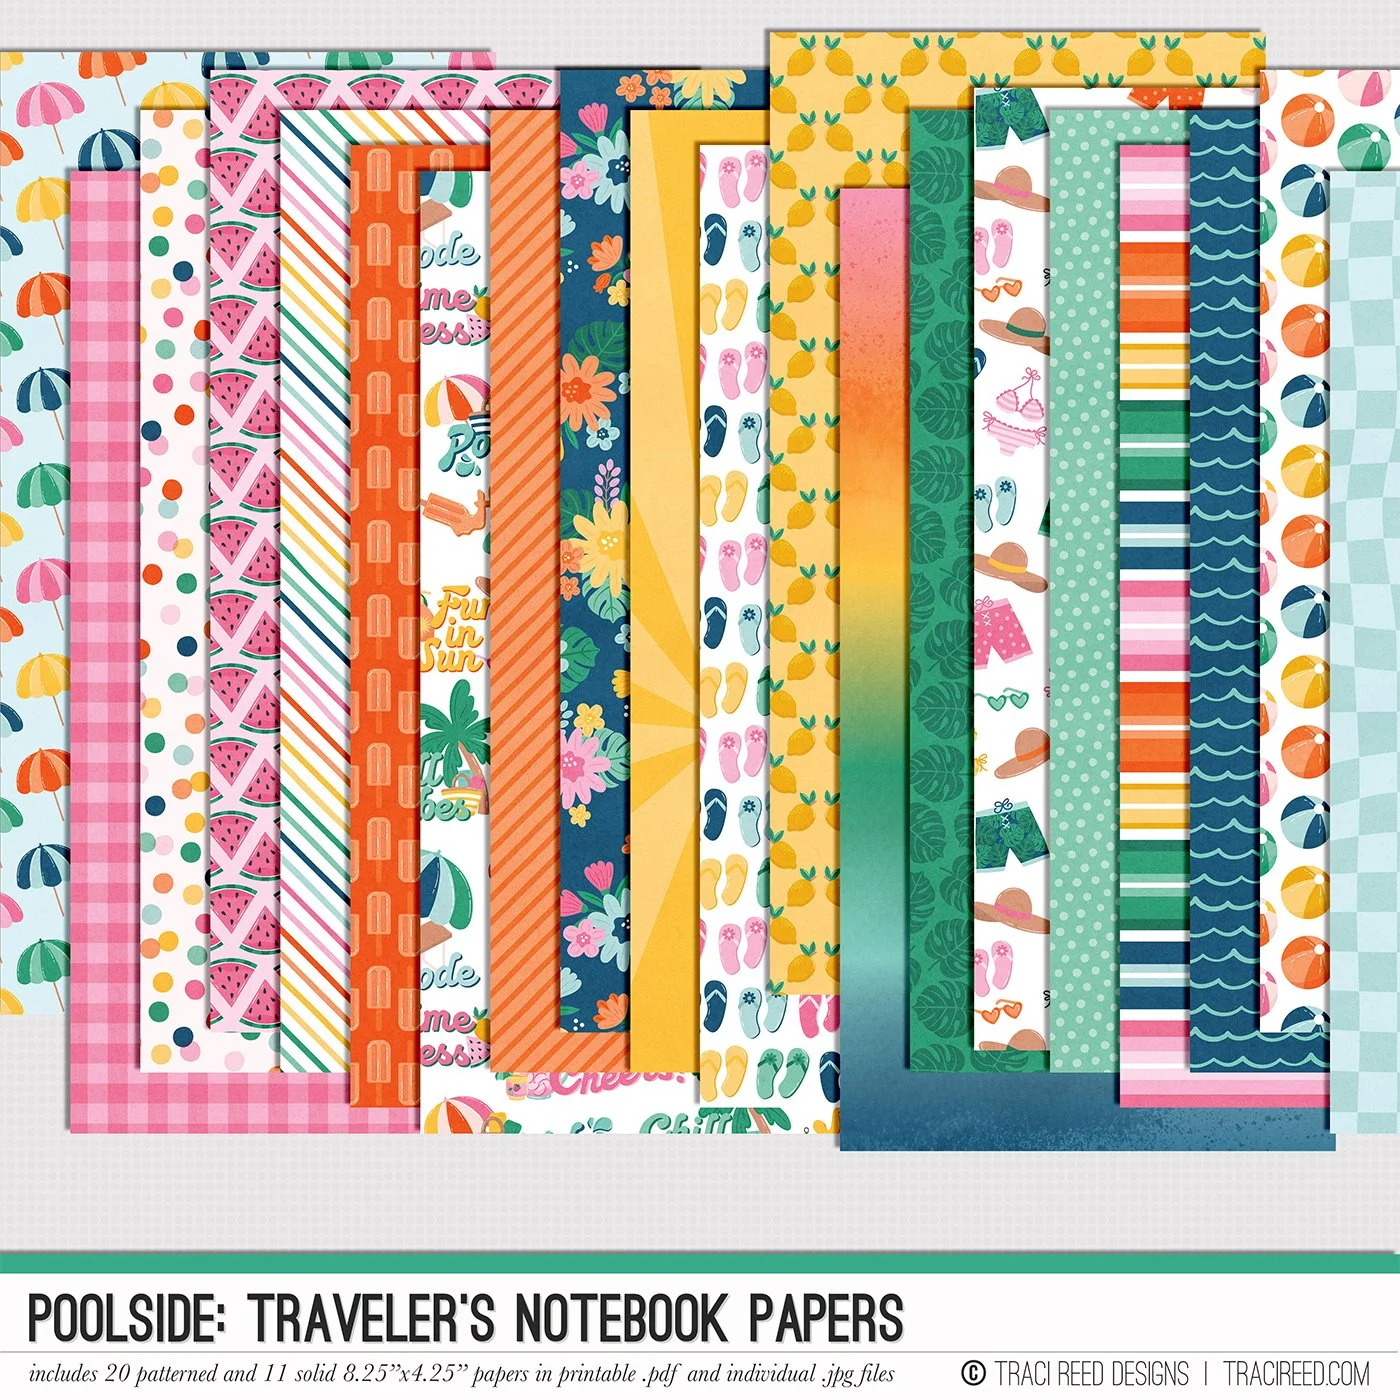
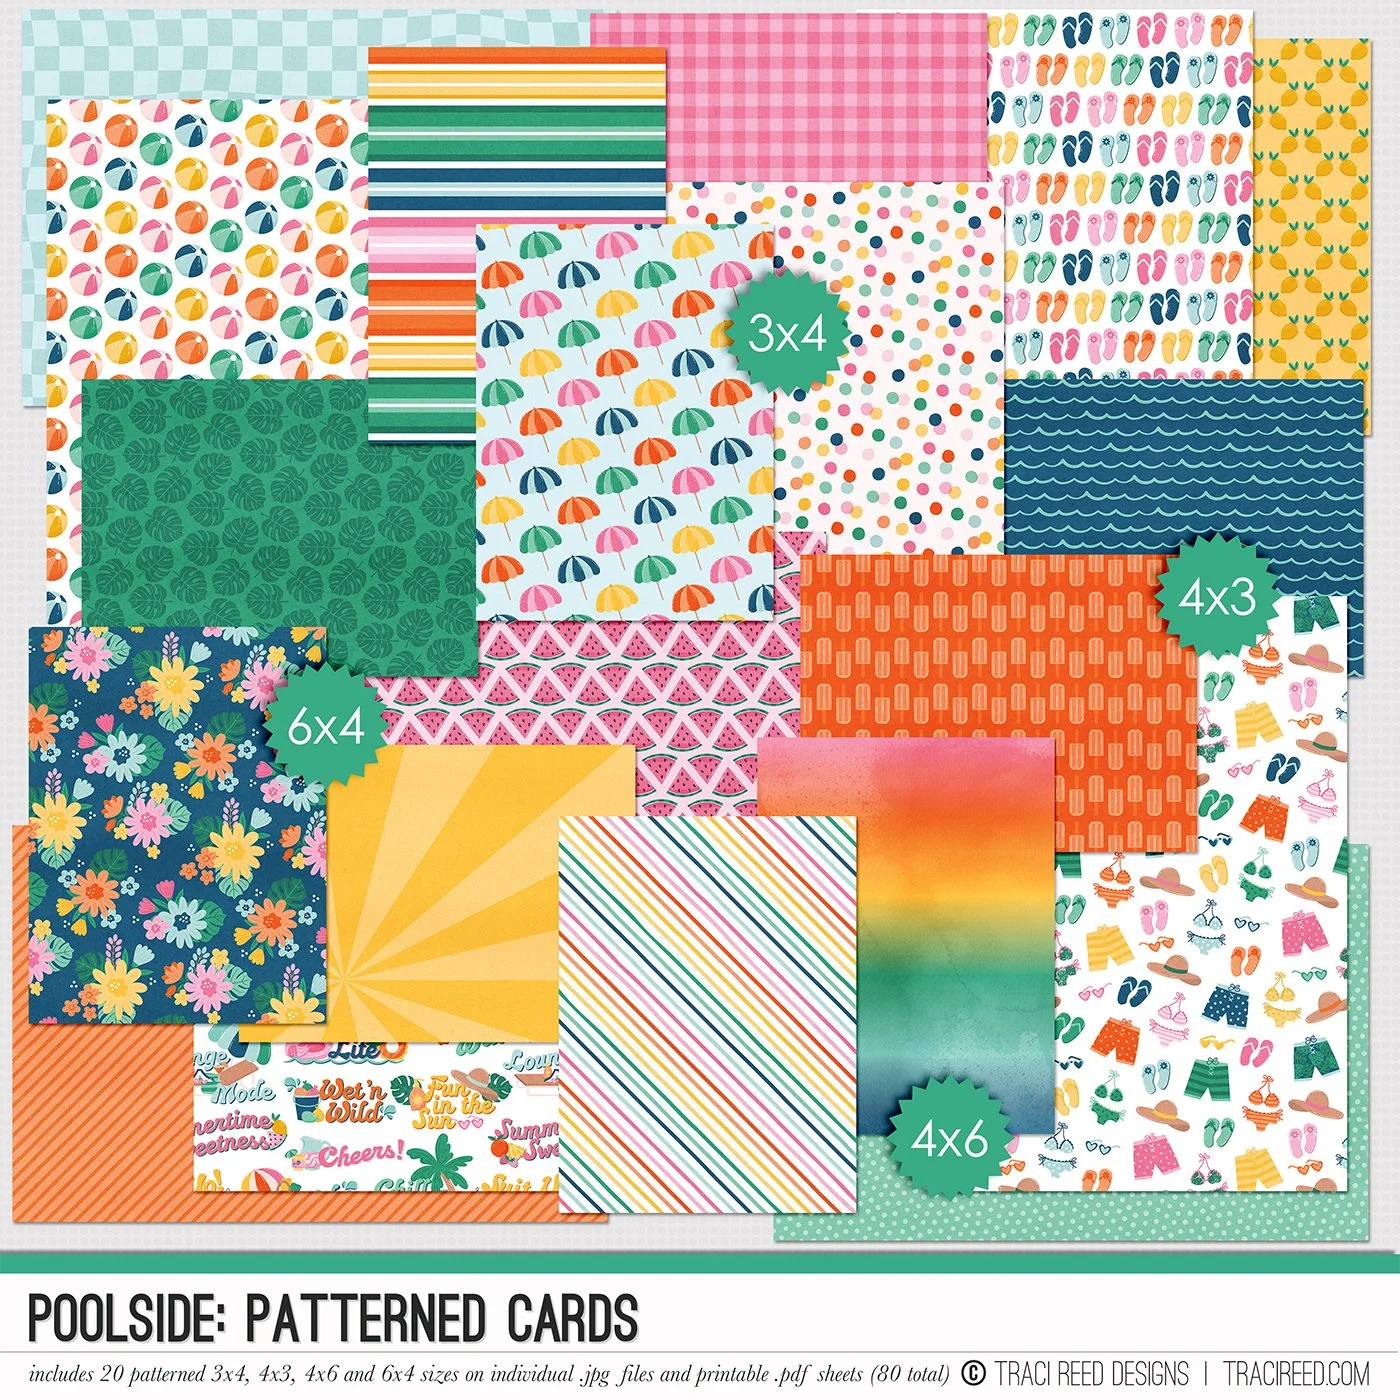
The Poolside Collection