Tutorial: Creating an Entire Hybrid Layout in Silhouette Studio with Becky!
If like me you haven’t got PSE or Canva but have got Silhouette Studio I am here to show you how I go about creating a hybrid layout in SS. I do this to save paper and because I actually find it really relaxing creating the layout on my laptop! I have done a video showing how I go about it but read on for a quick review of what I did to create this layout using Poolside.
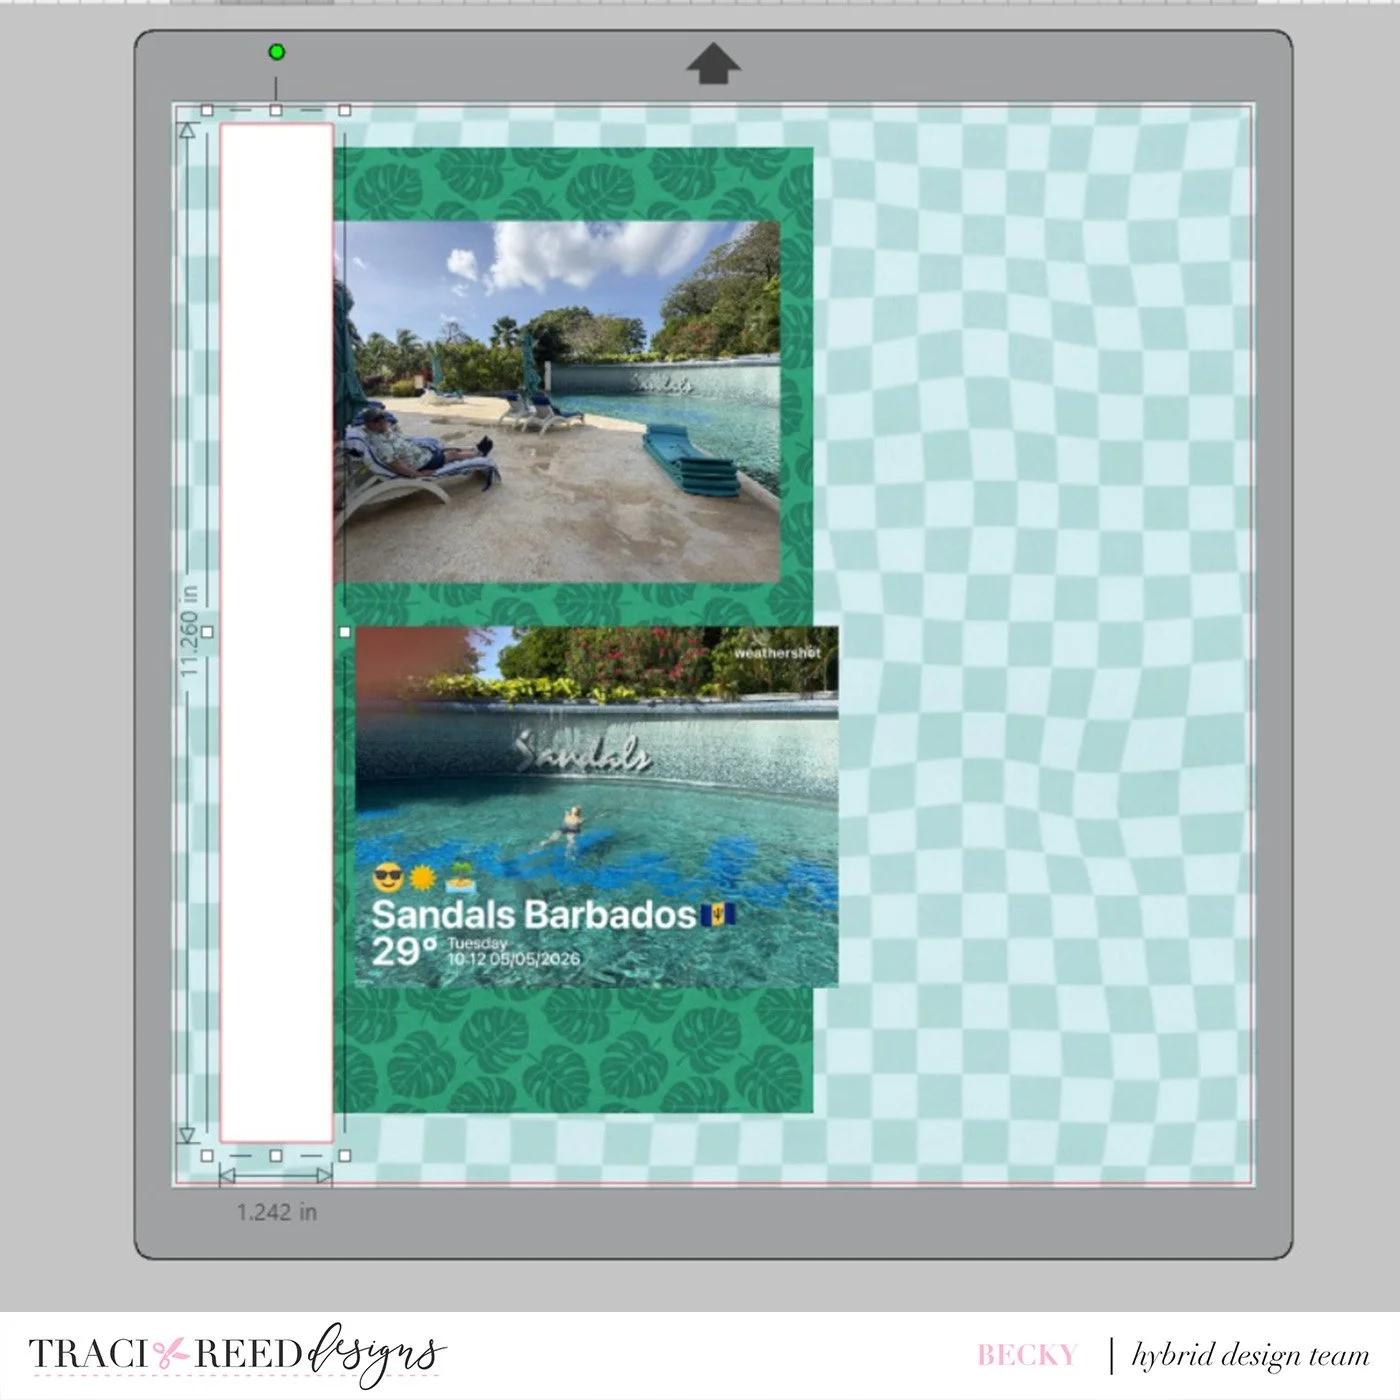
Firstly I open a 12x12 canvas in SS and merge in the photos I want to use and size them to what I think I want them to be. I can always resize later before printing. Next I go to the folder of patterned papers and have a look to chose the one I want and merge that. I will then draw a box to the shape of another paper layer I want to add.
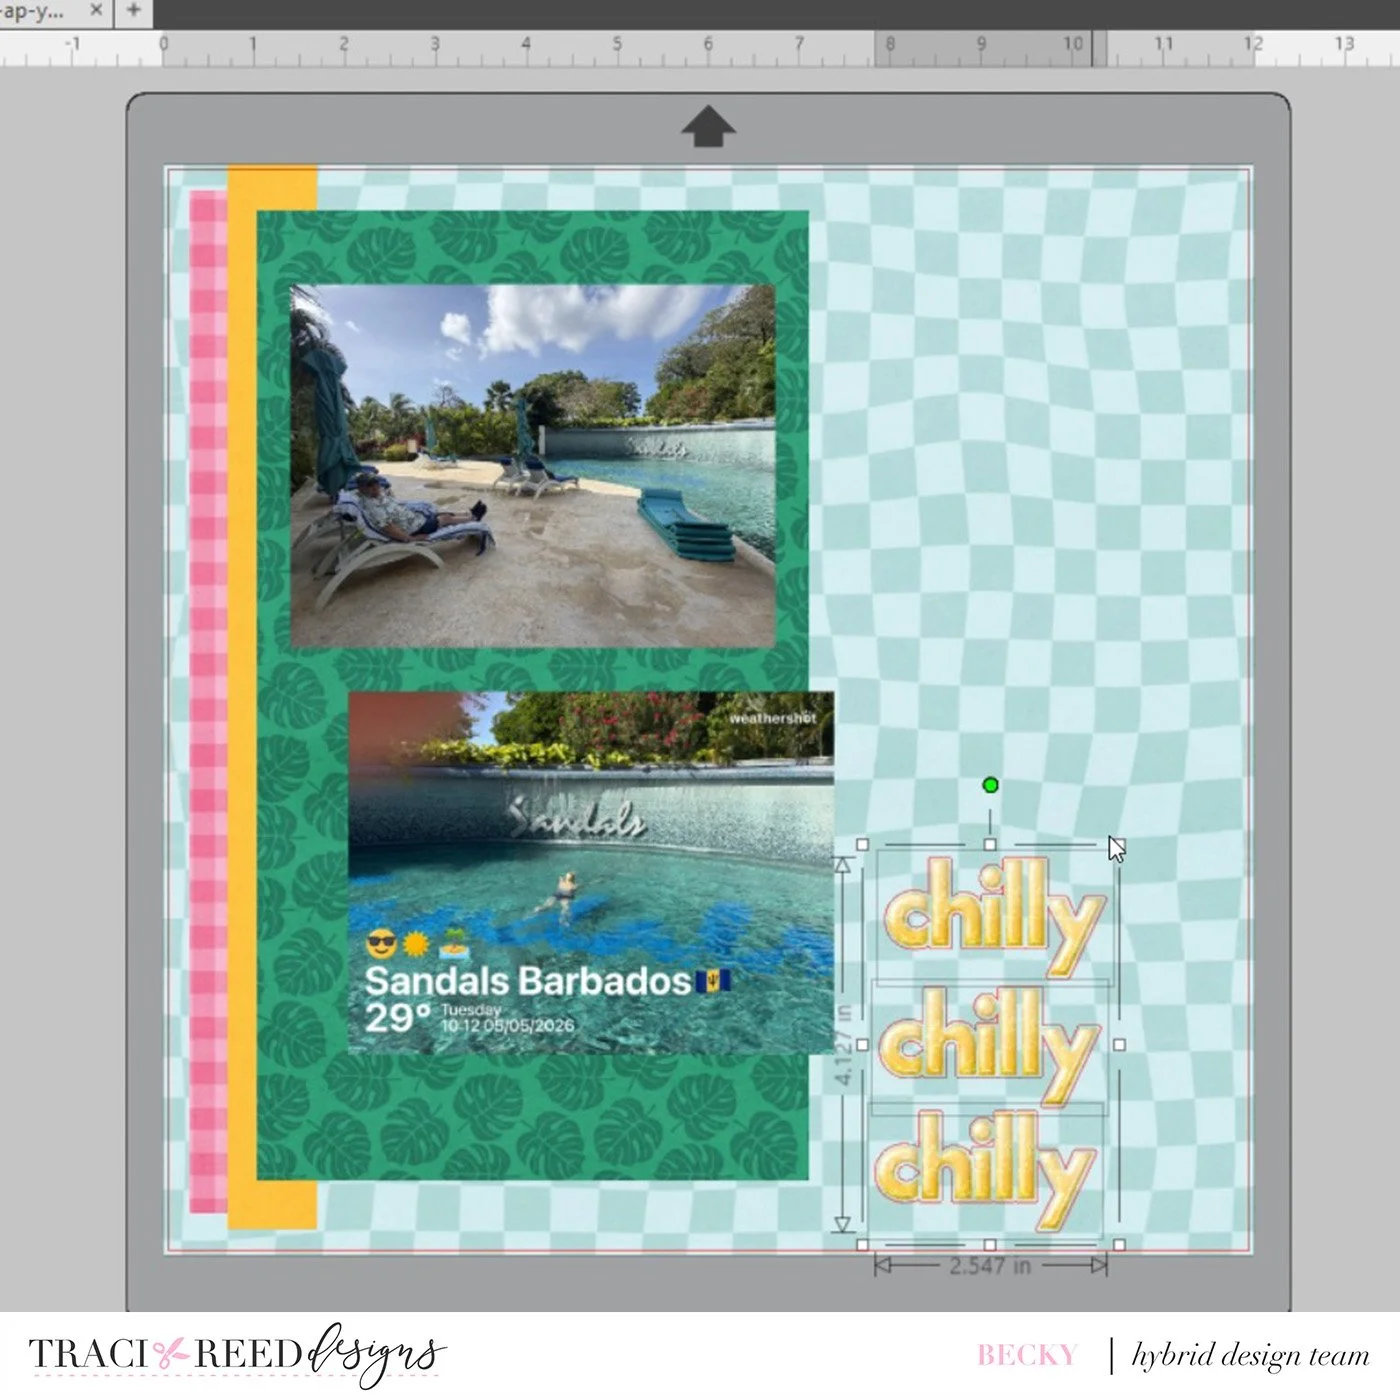
Once I’ve brought in the next paper and sized it to 12x12 I place the box in the top and crop it. This leaves me with the strip of patterned paper I want. I repeat this for all the paper pieces I require. I add my title using the letters from the alpha pack (this is described in detail on the video).
Then comes the really fun part! I open up the sticker sheets, release compound path so I can move them individually and grab lots of different ones to try out.
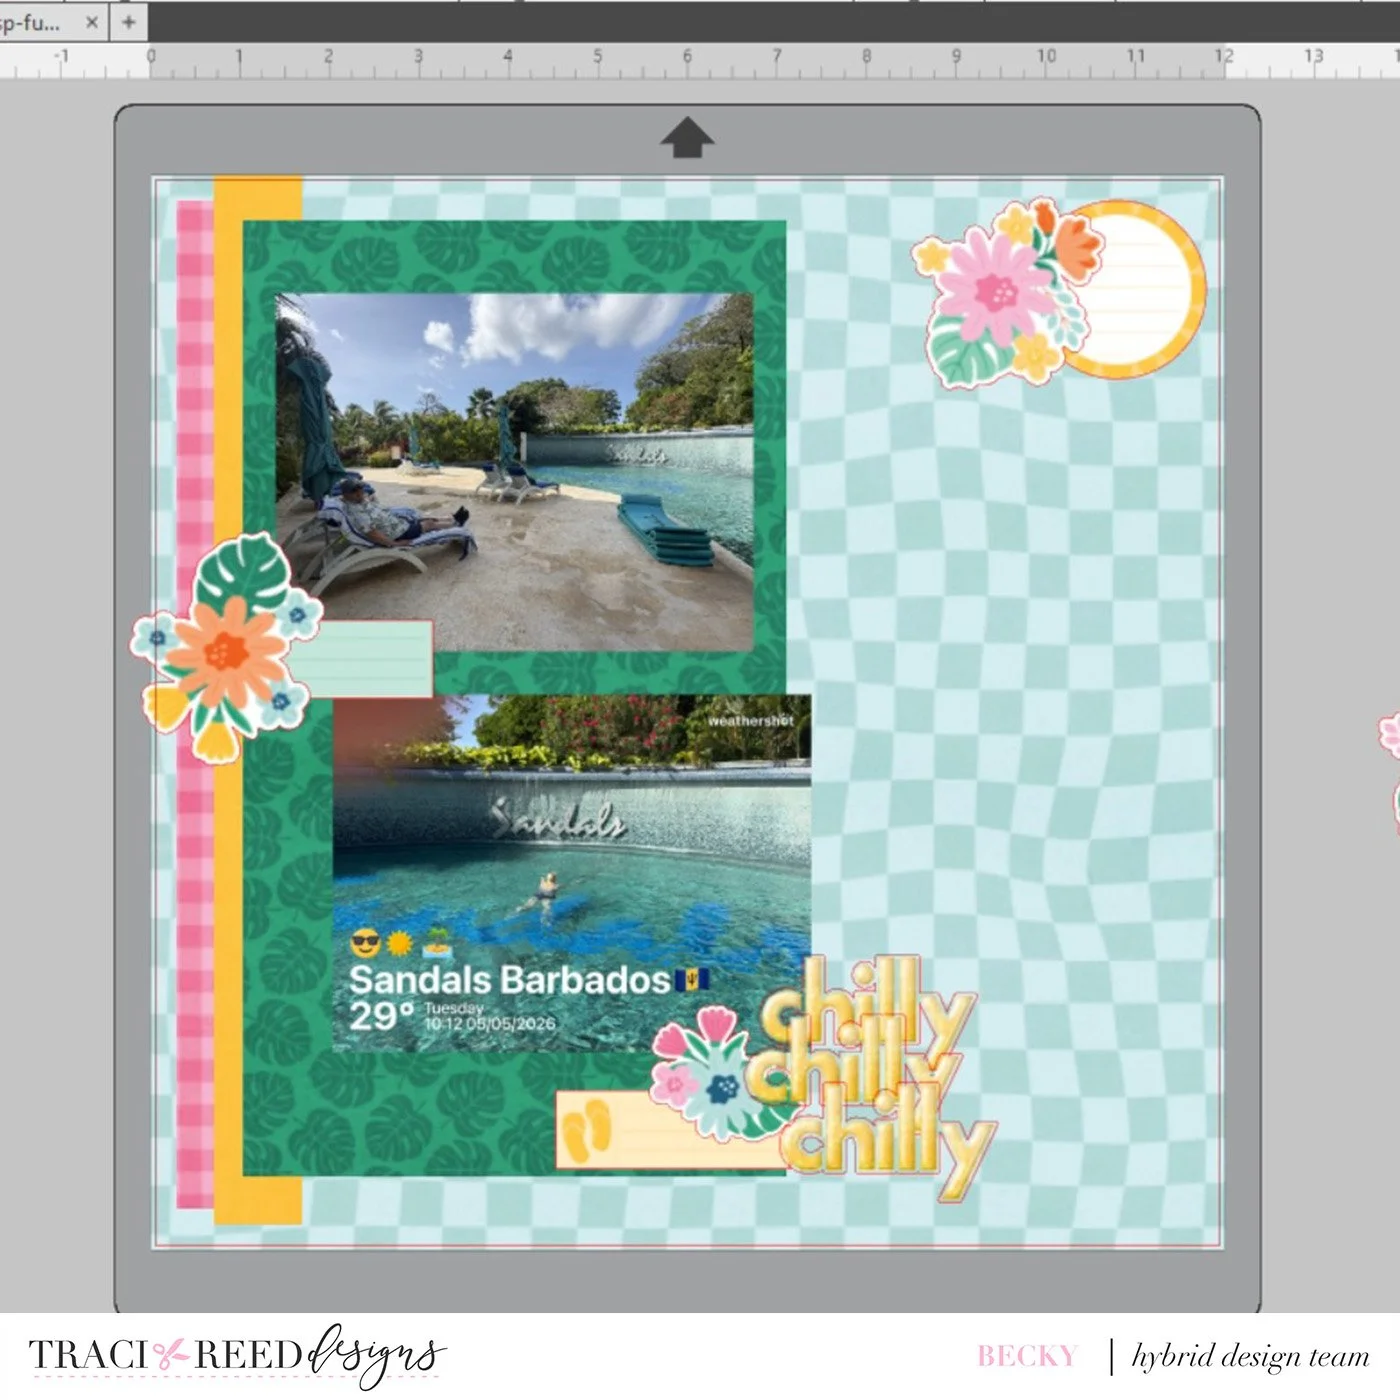
Once I am happy I save the canvas to my hard drive.
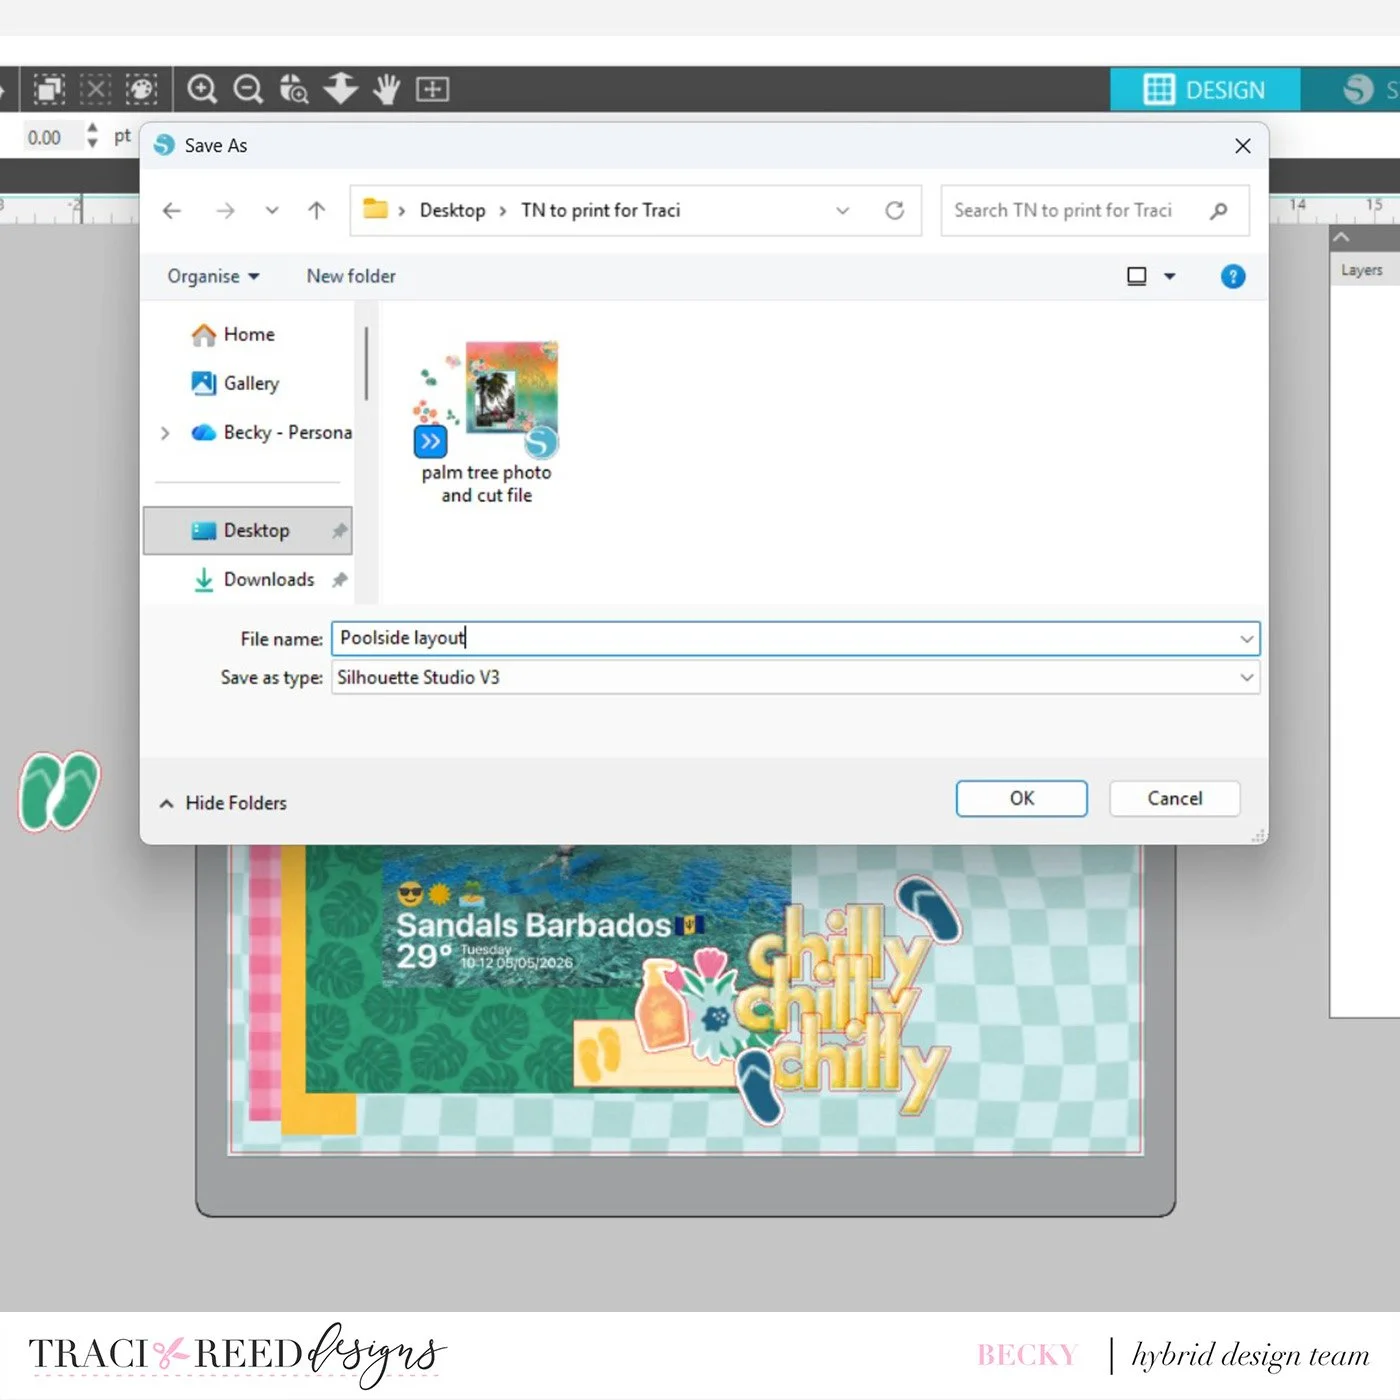
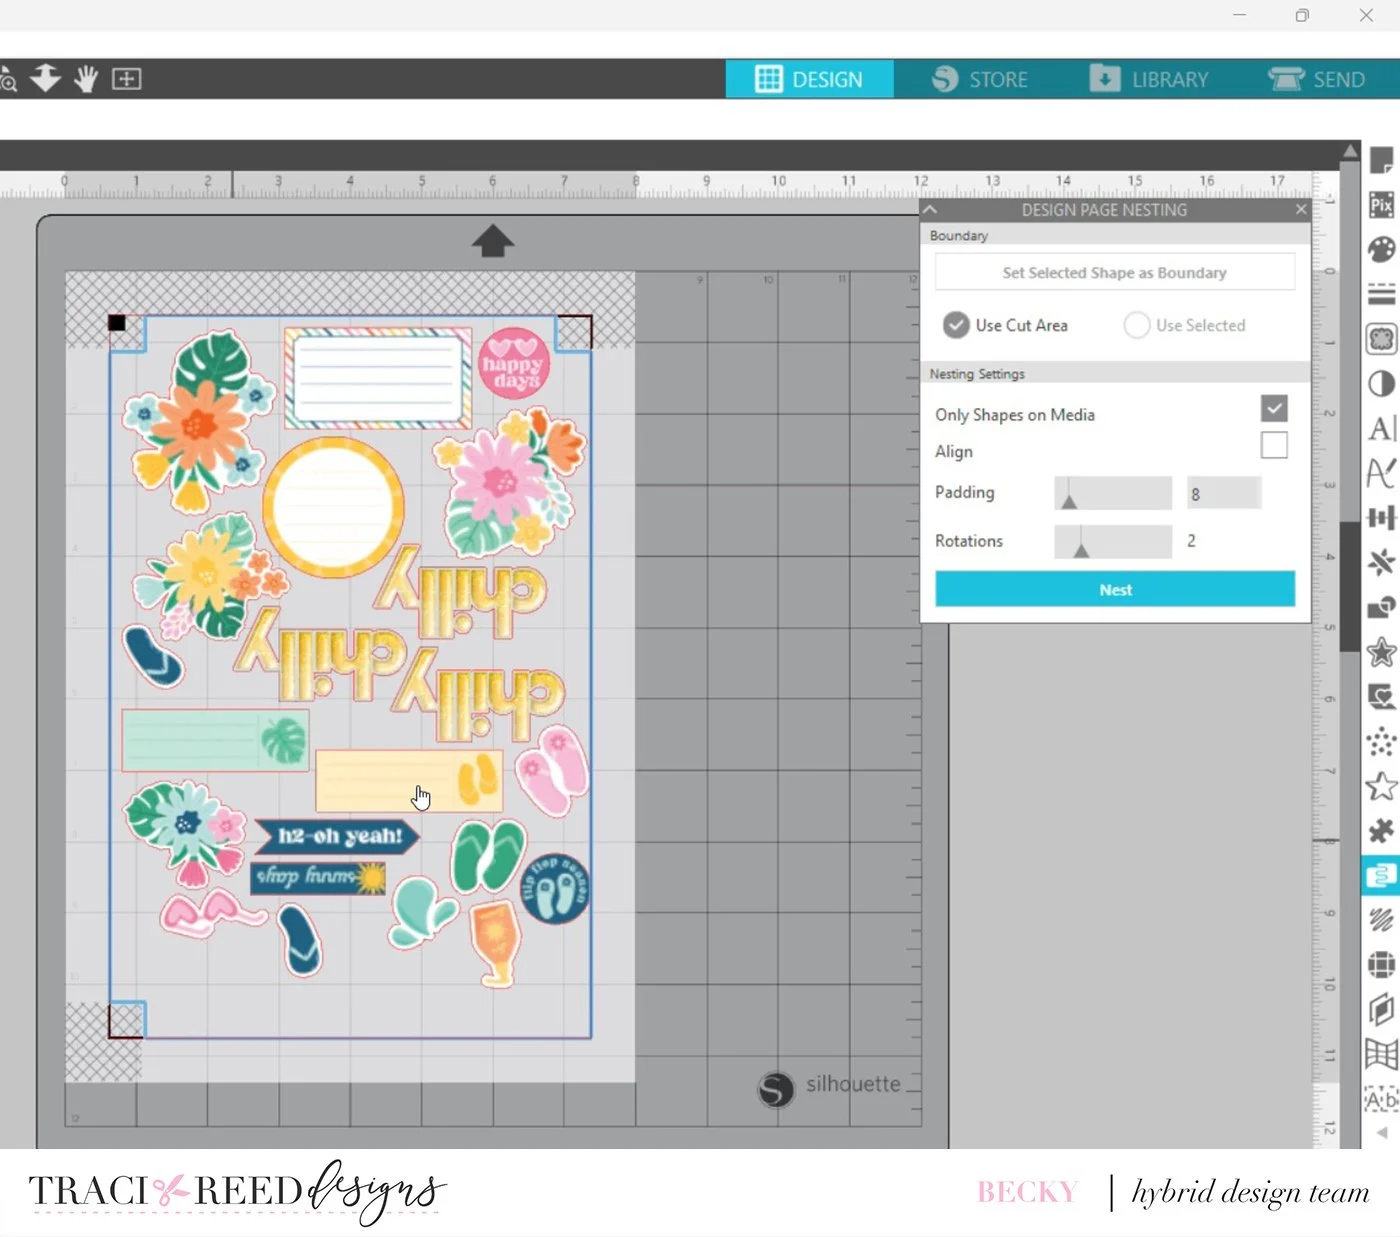
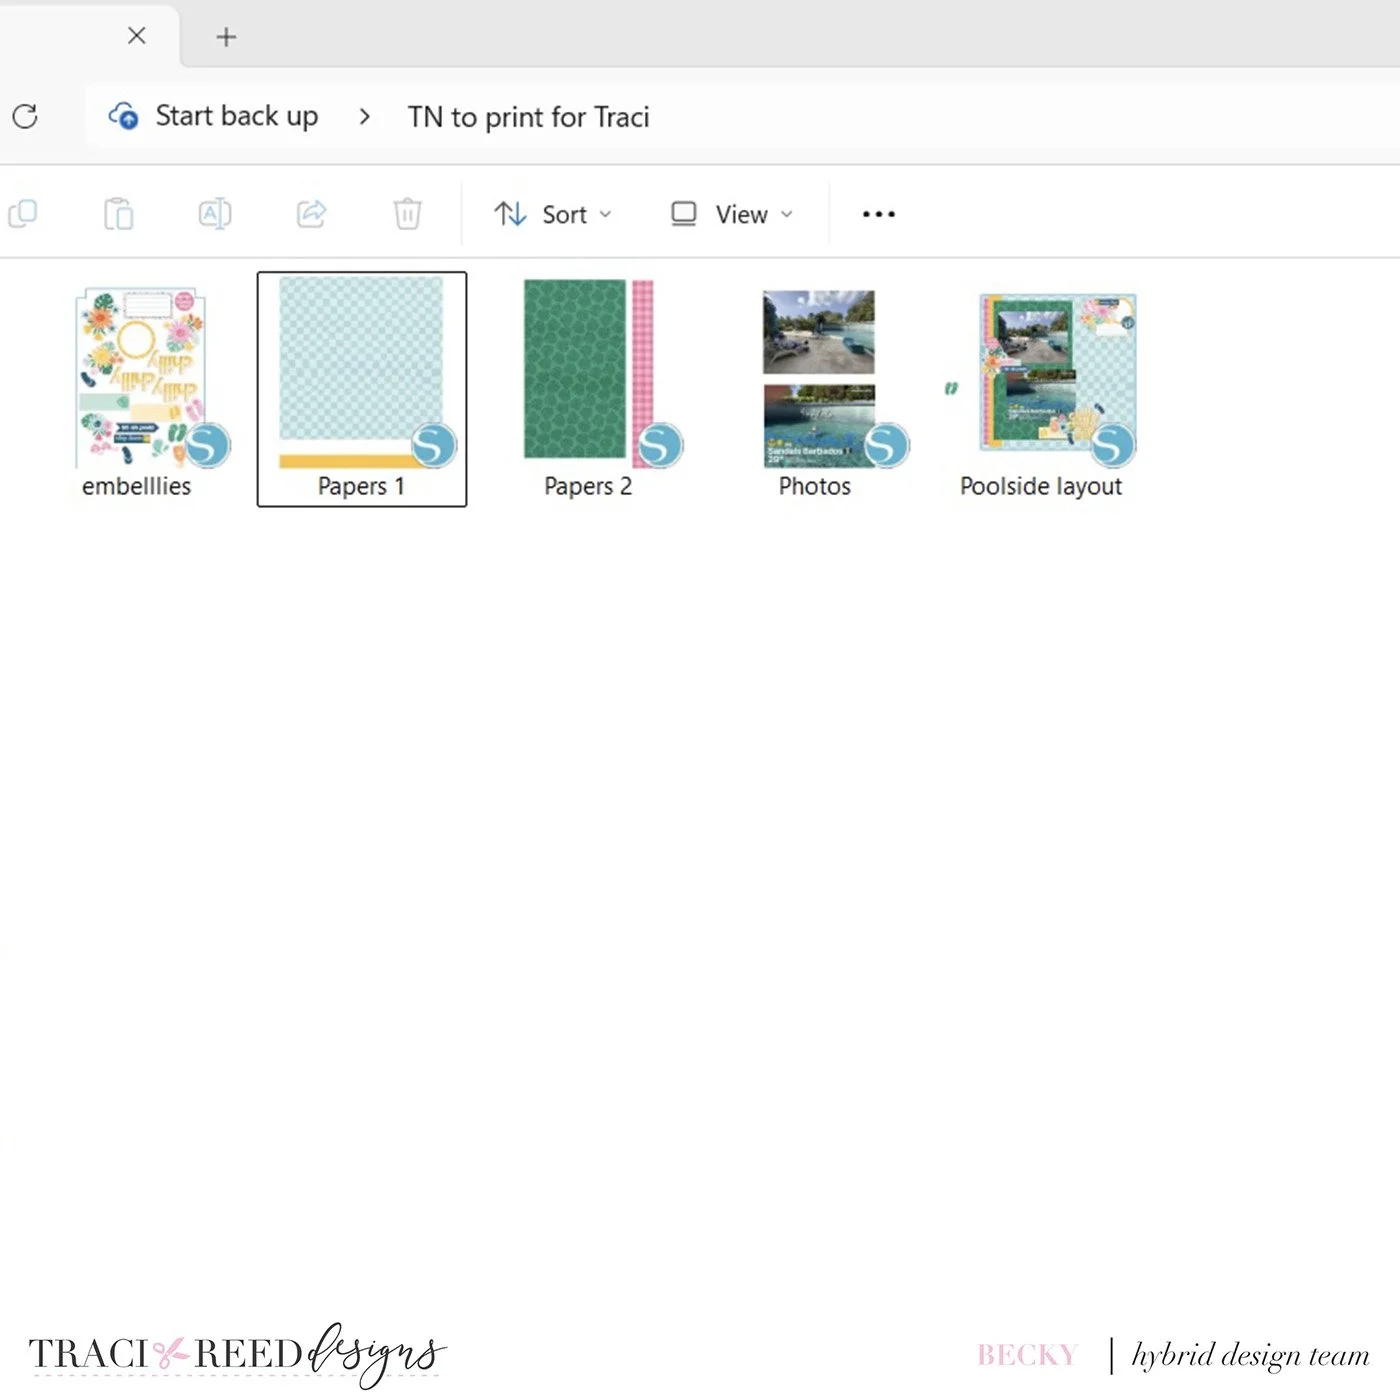
I then go back onto the canvas and separate up the papers onto individual pages and then make my own print and cut sheet of the stickers. I save these to my hard drive ready to print when I am ready to craft!
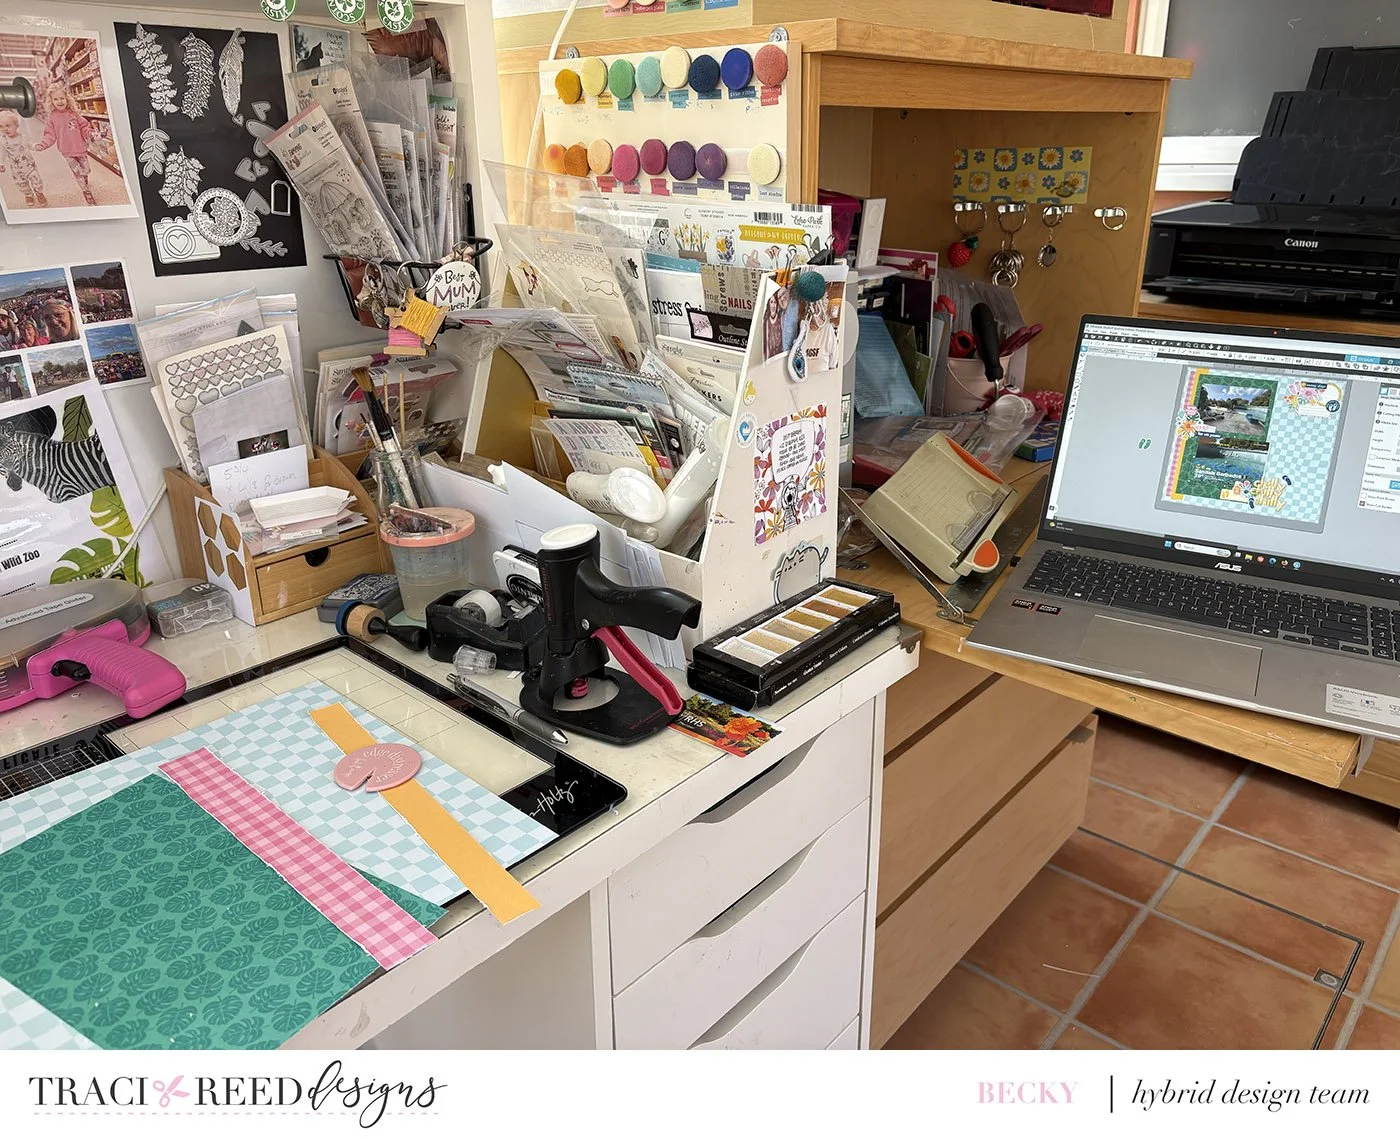
And here everything is printed and cut out ready to put together.
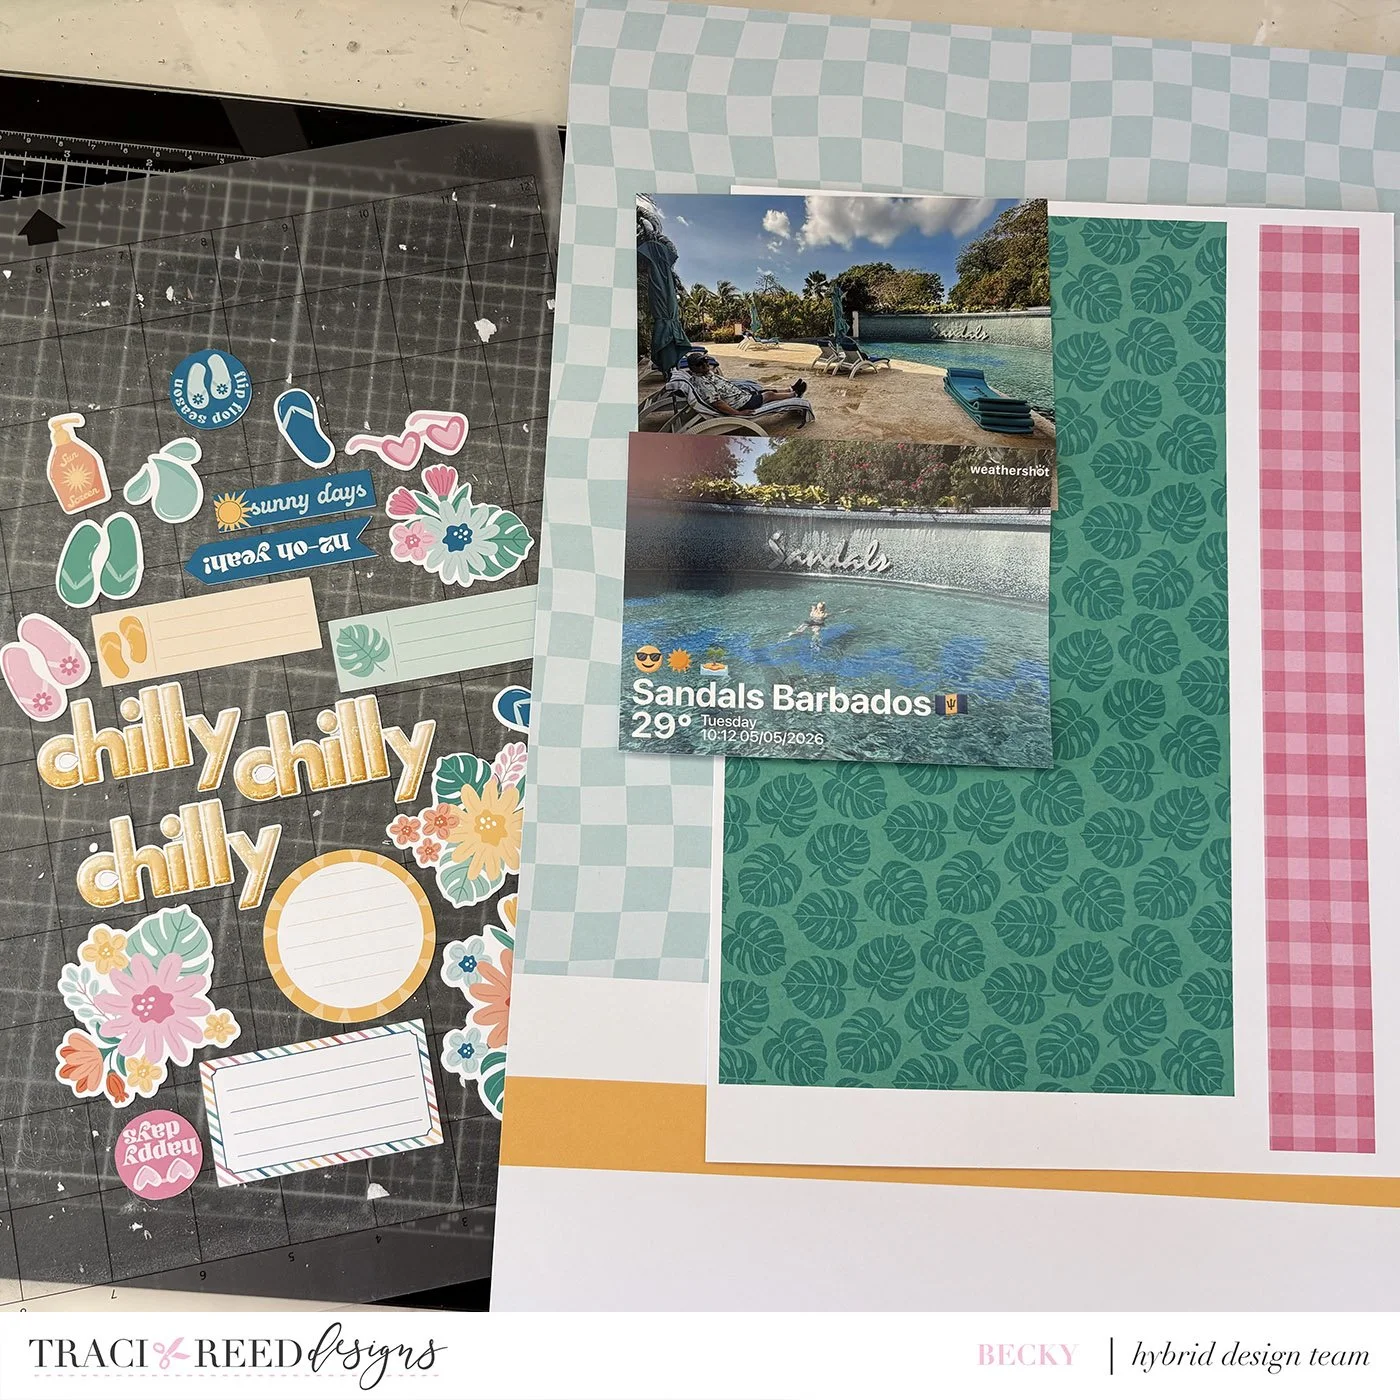
I then pop my laptop next to my desk with the layout open on it and I can use it to place all my papers, photos and embellishments in the right place!
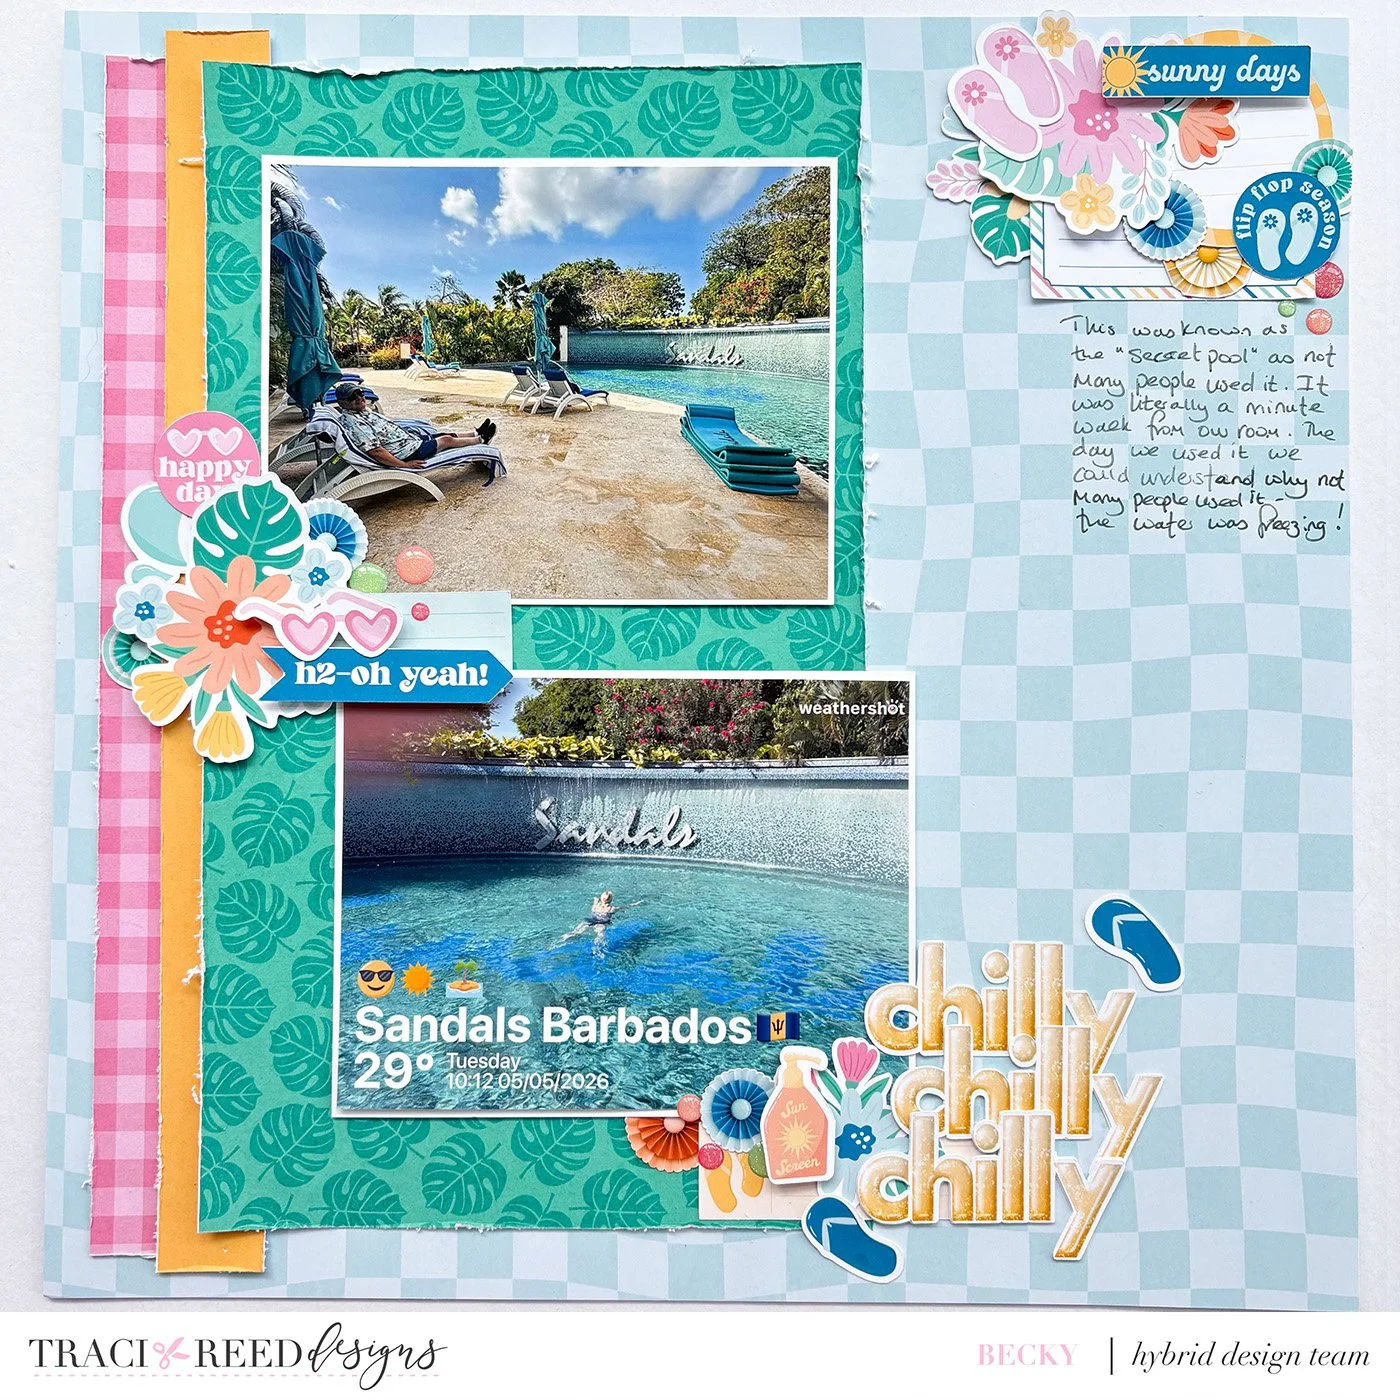
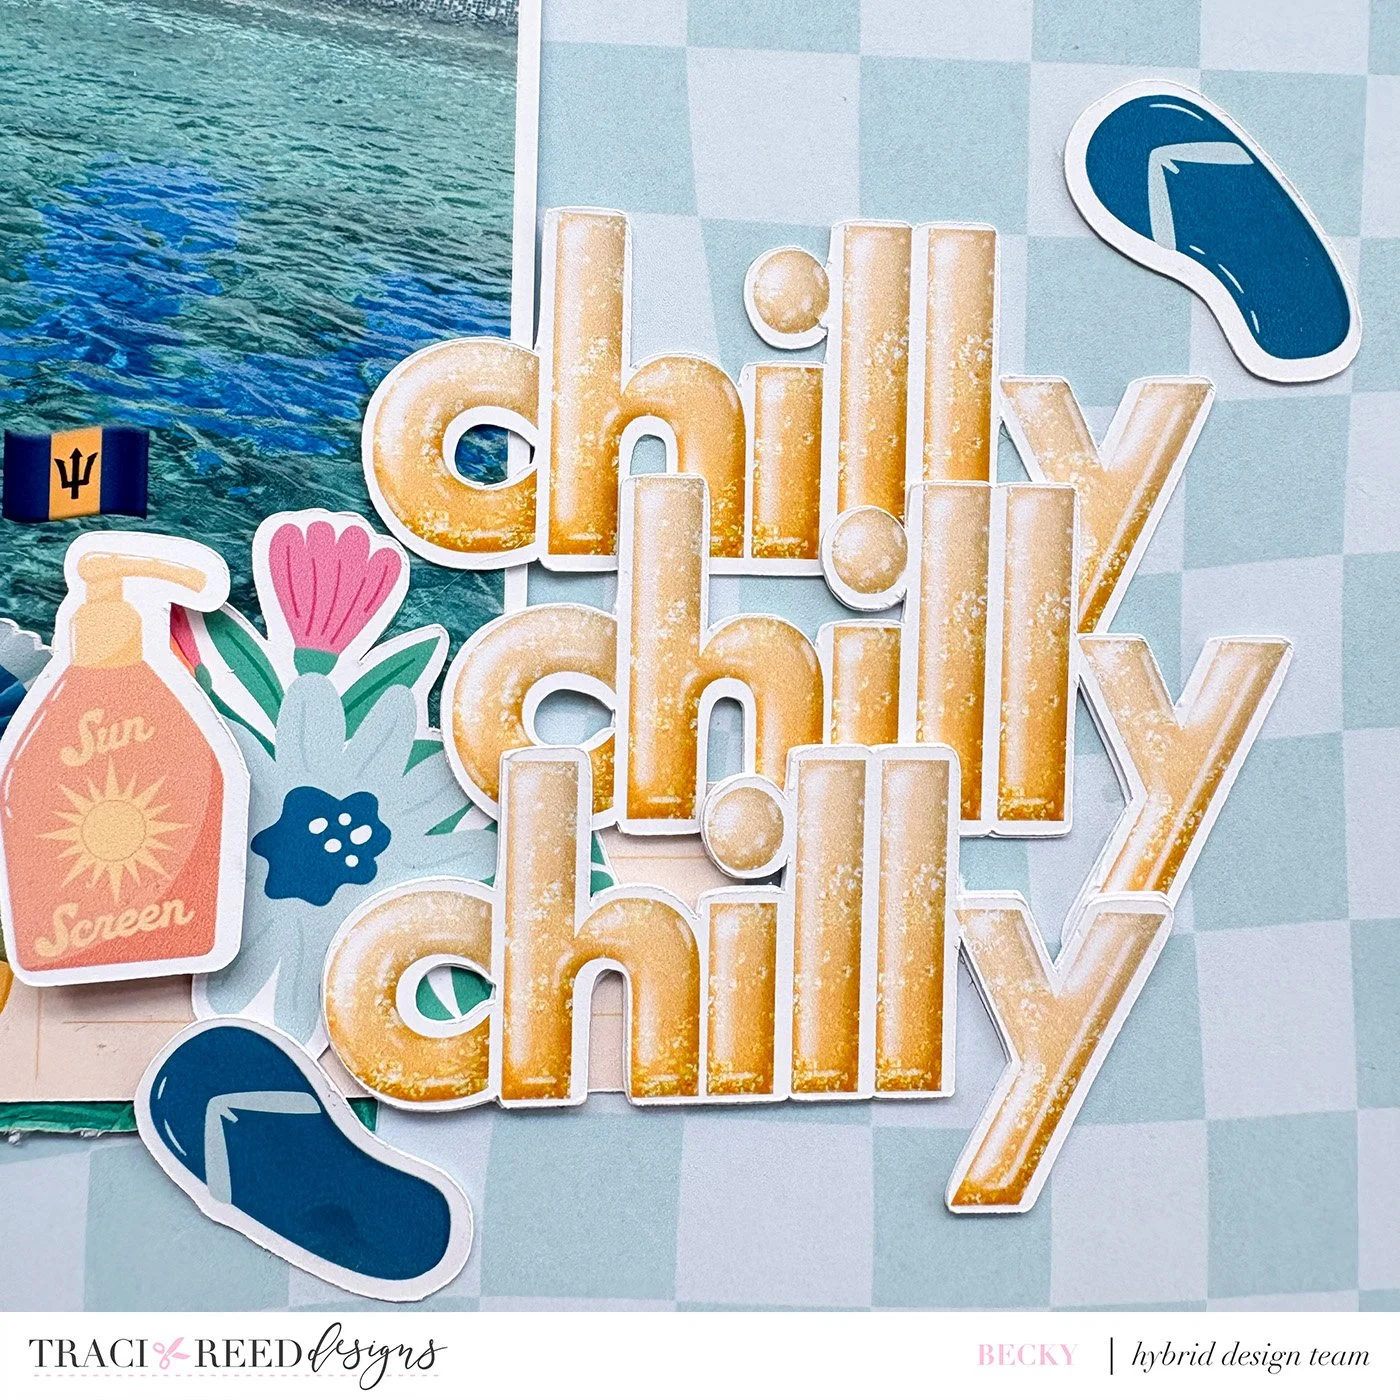
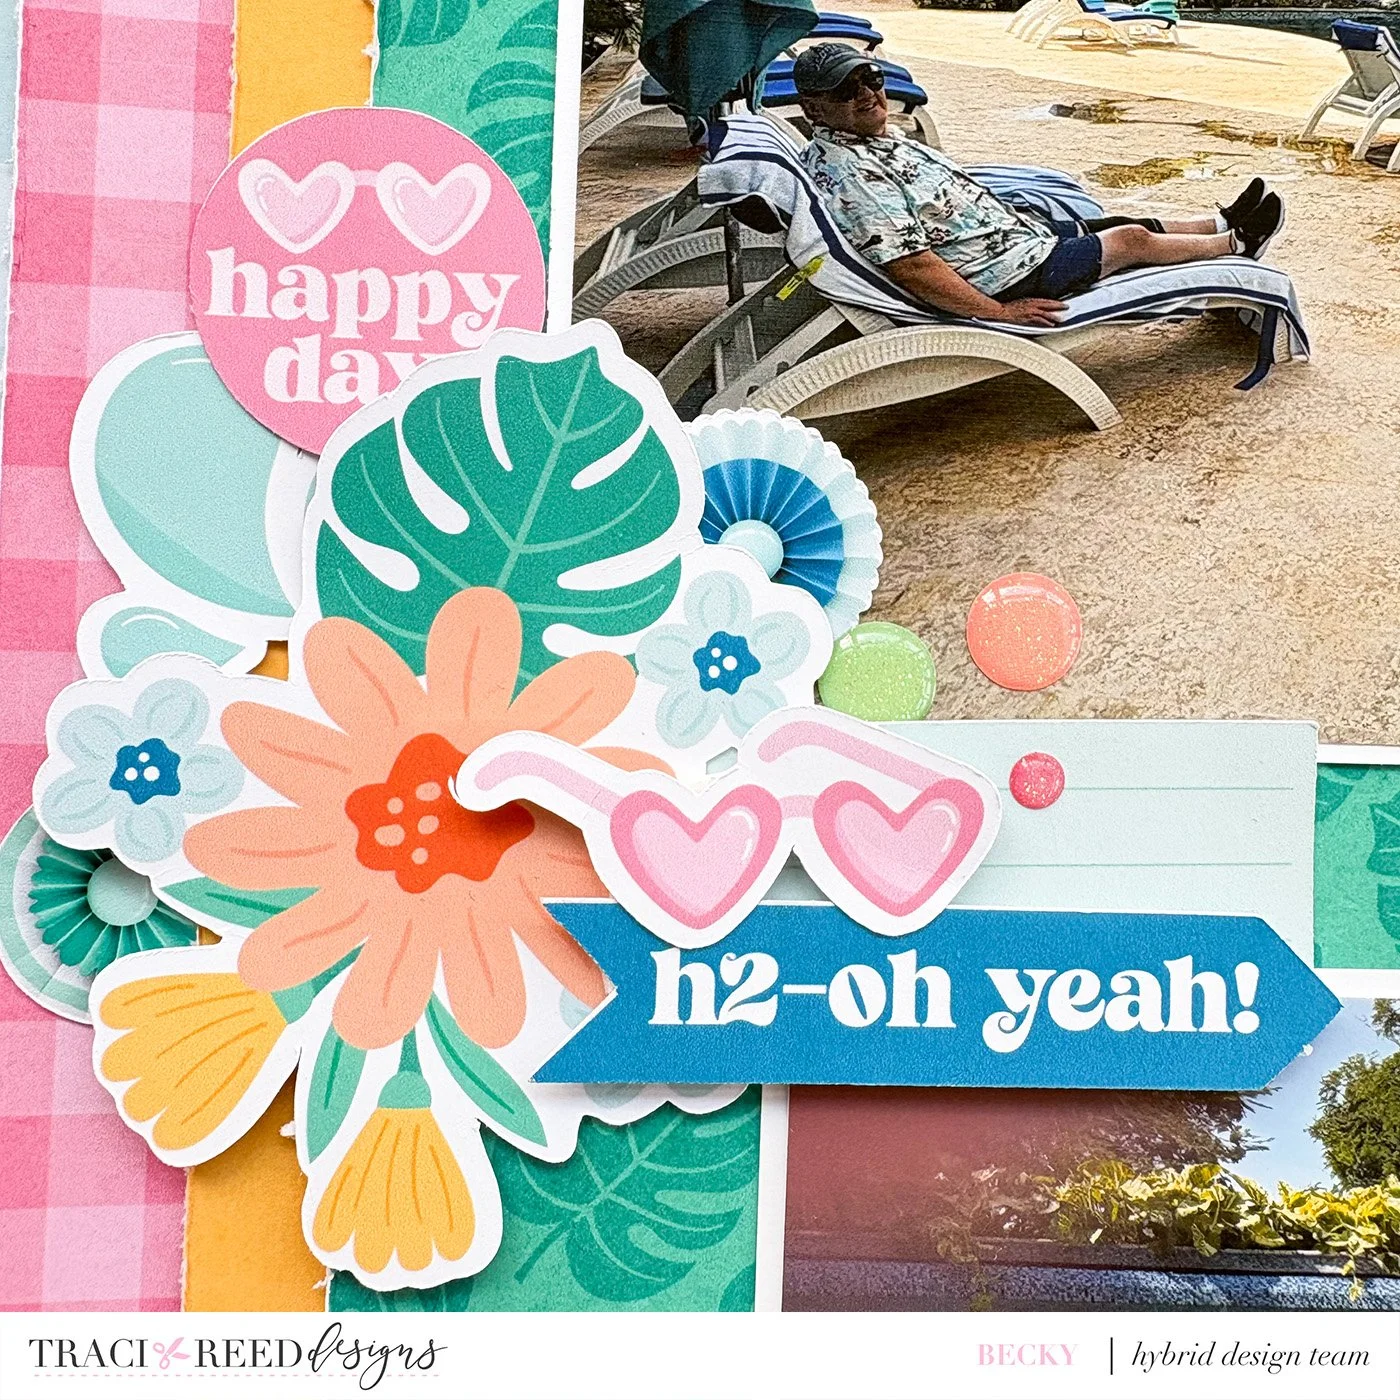
And here is my finished layout! Sometimes I do add extra bits and pieces but of course the advantage of hybrid is that you can go and print off as many embellishments as you like!
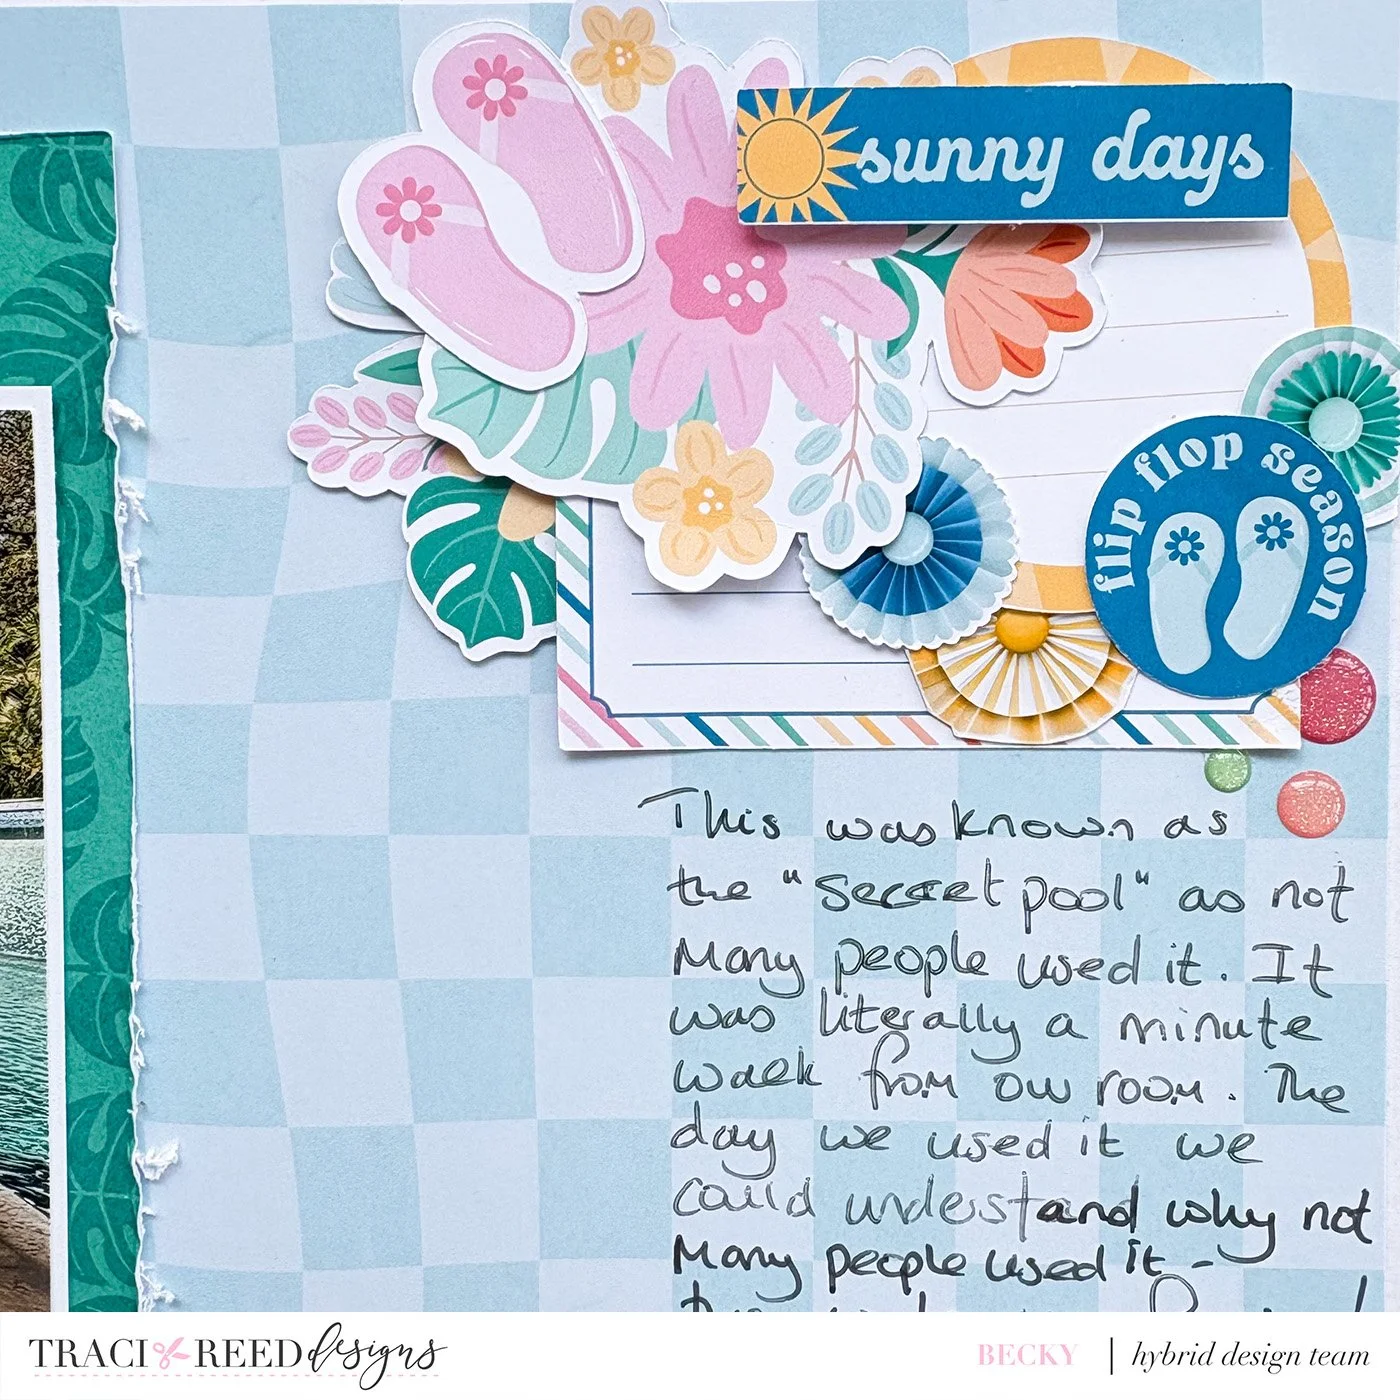
And here is the link to my YouTube tutorial.

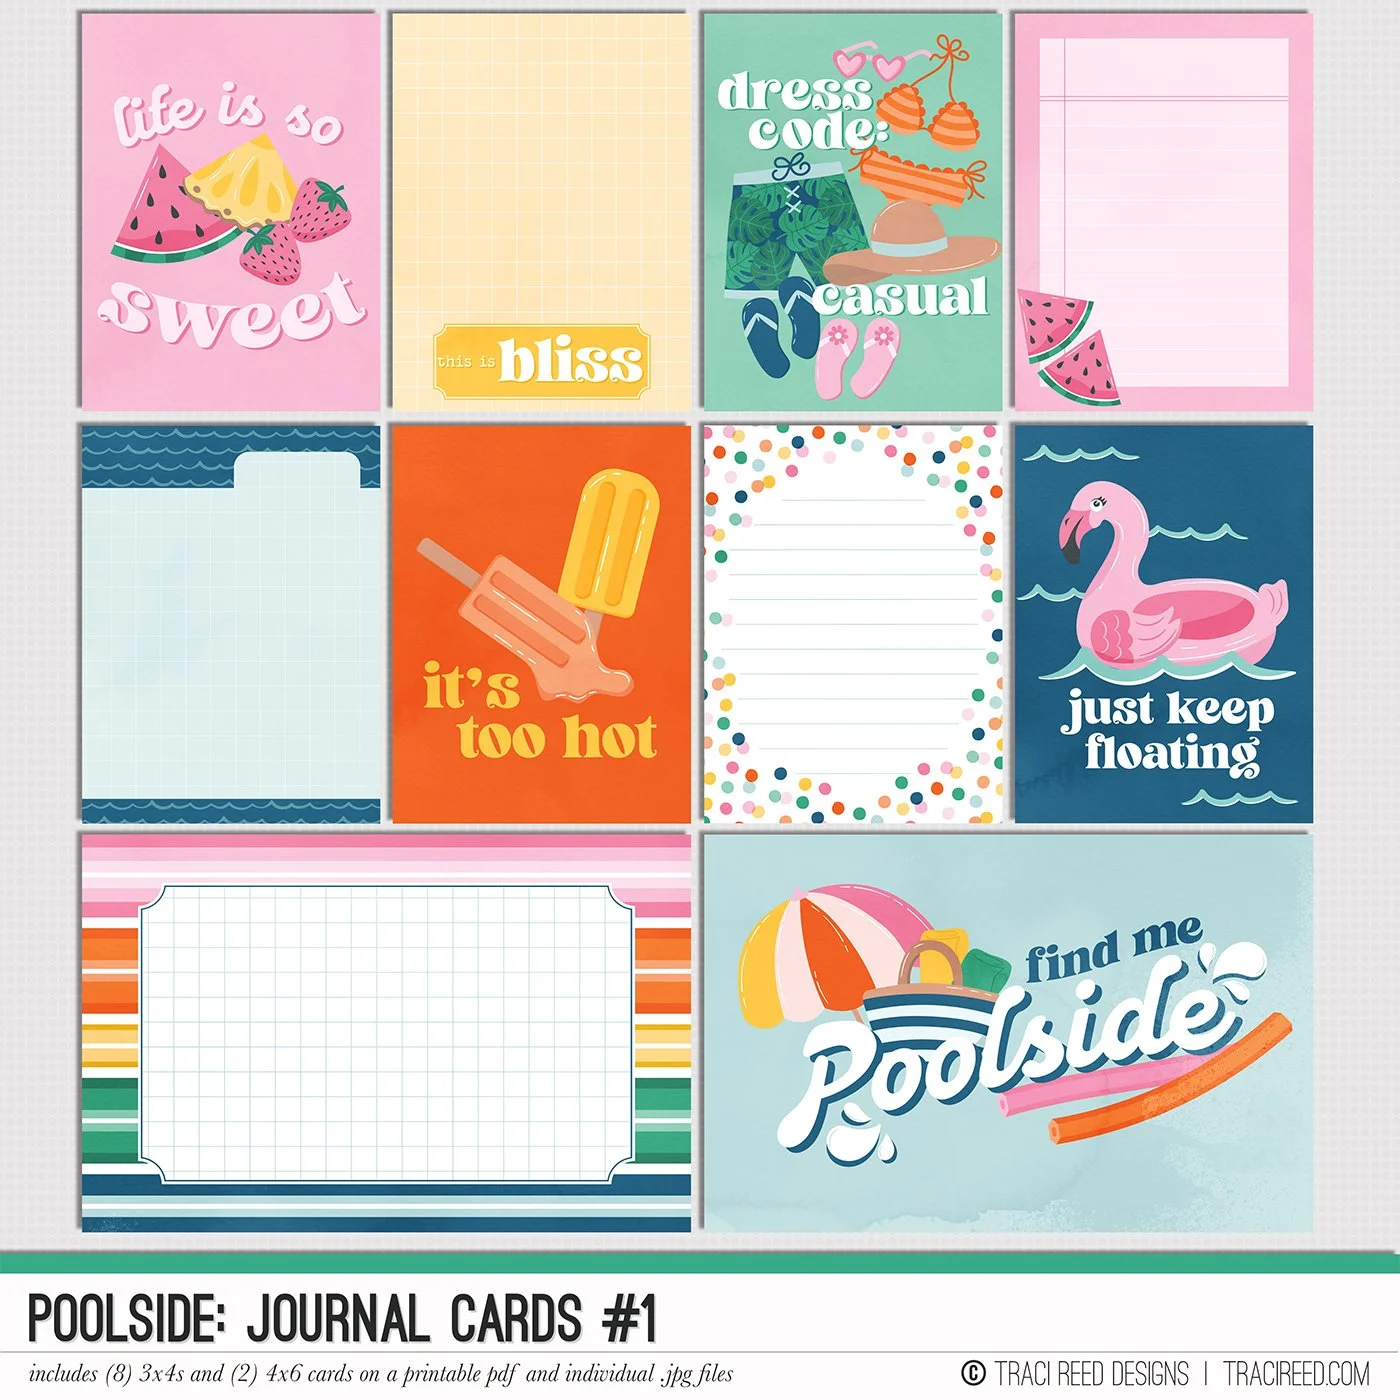
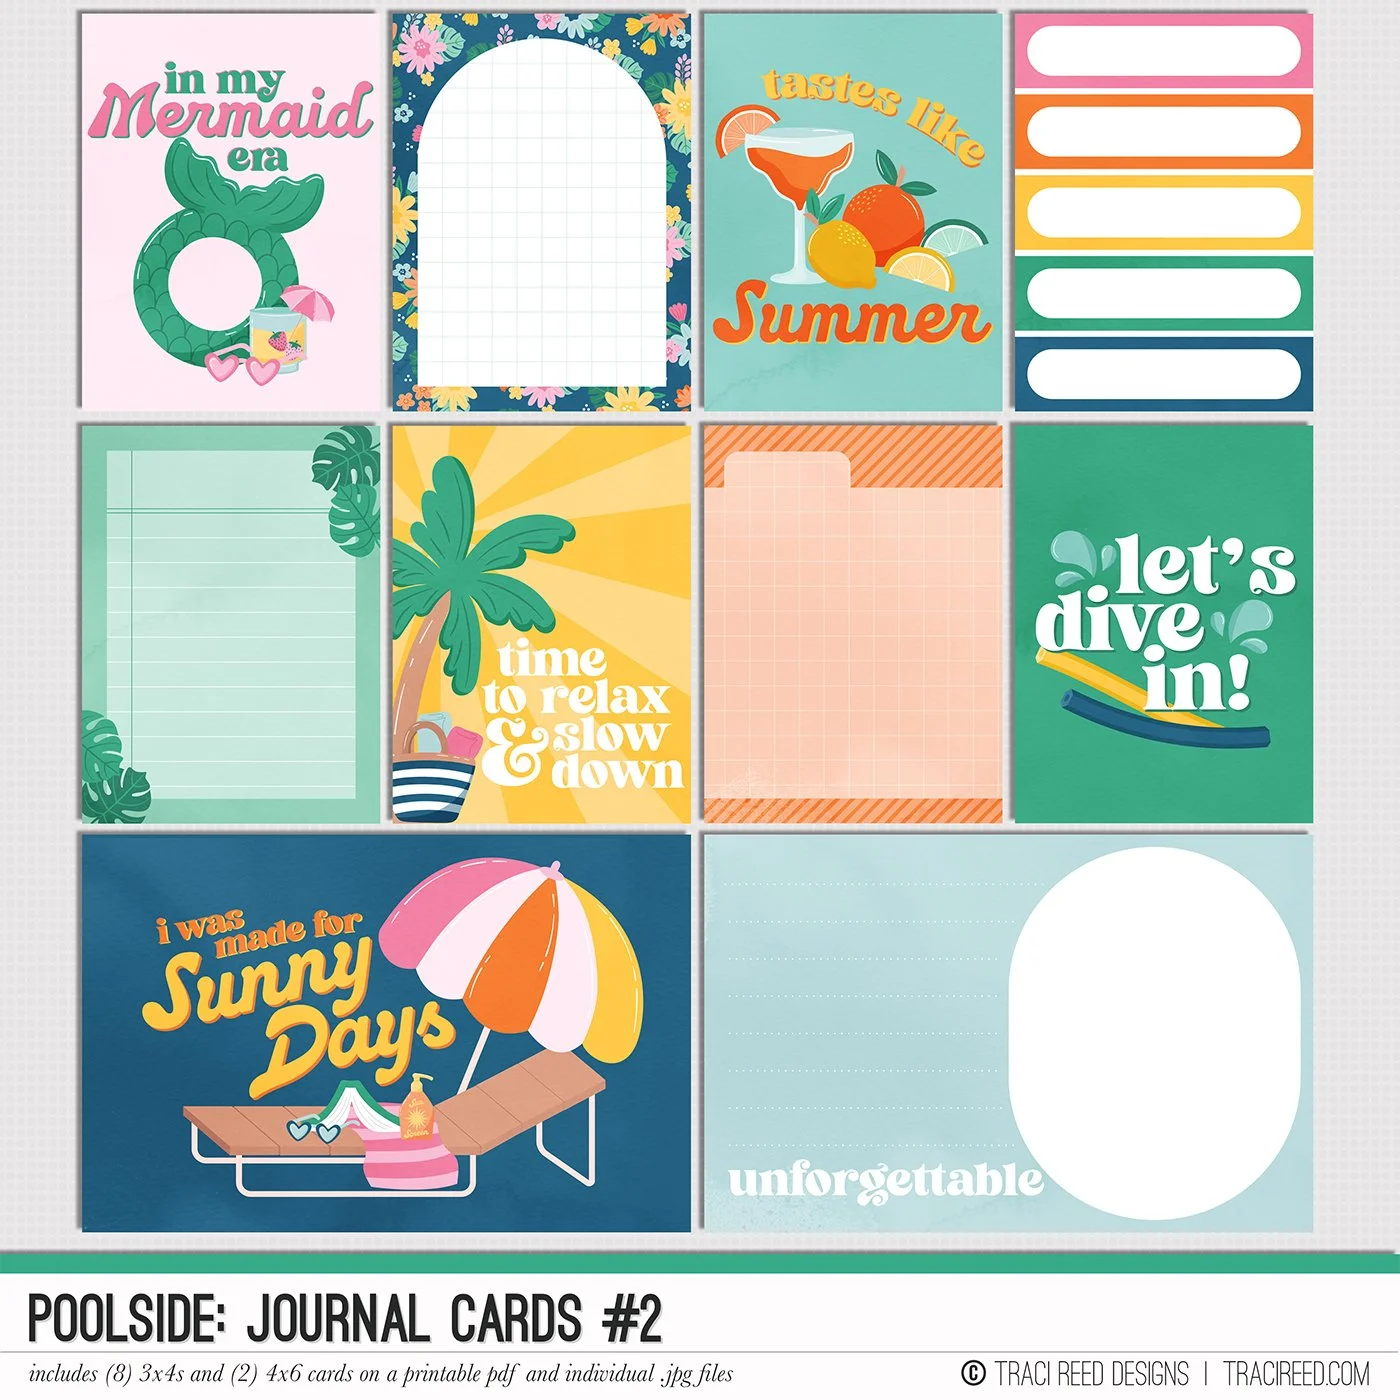
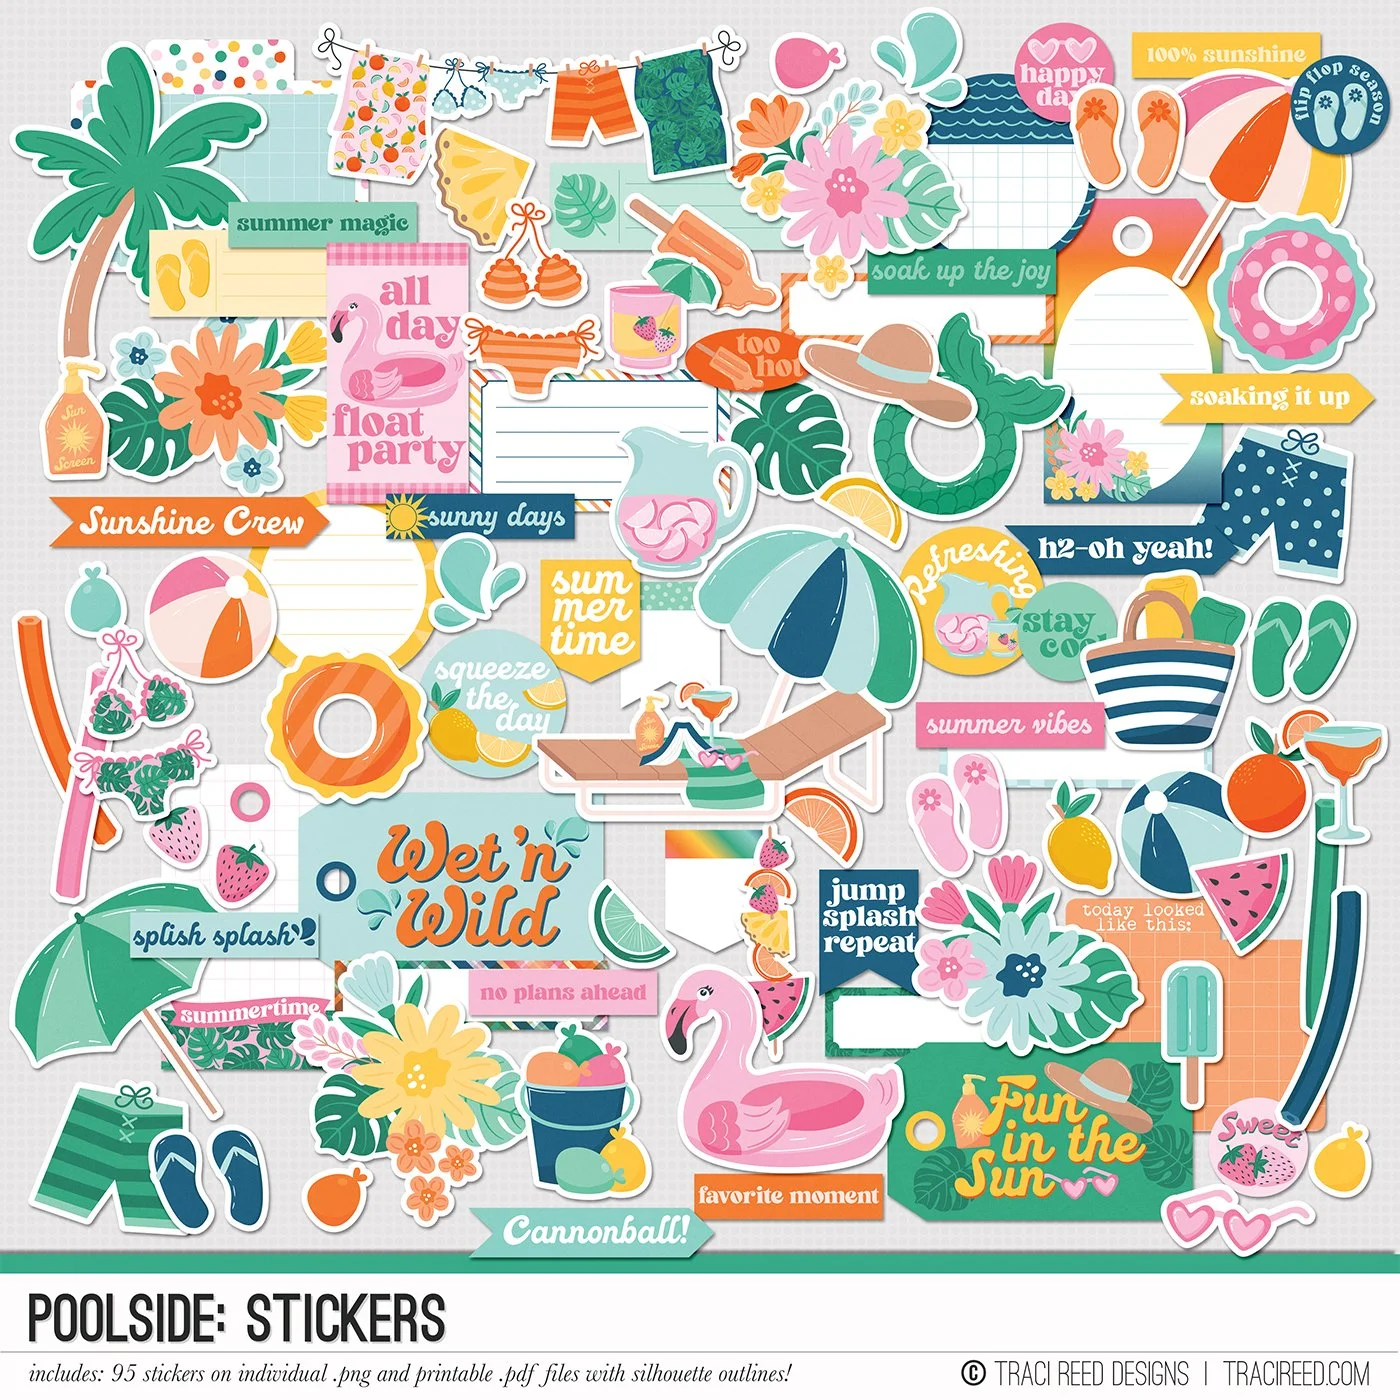
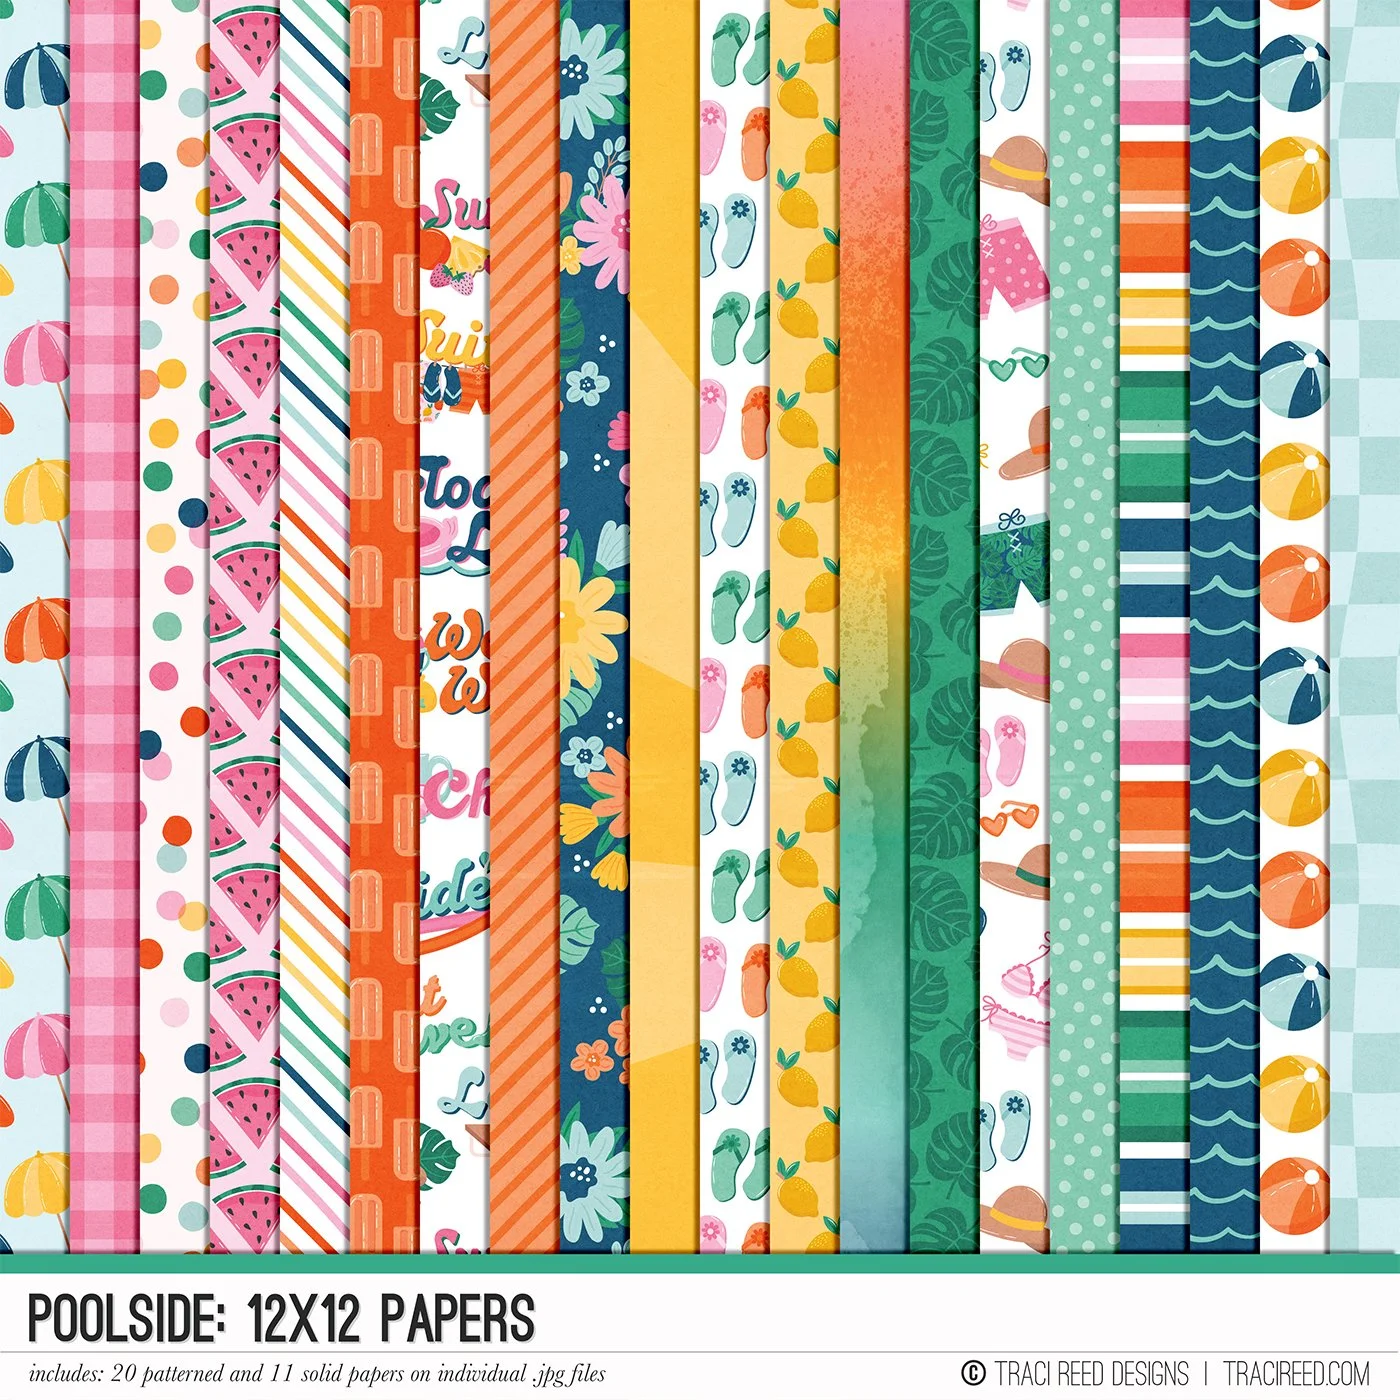
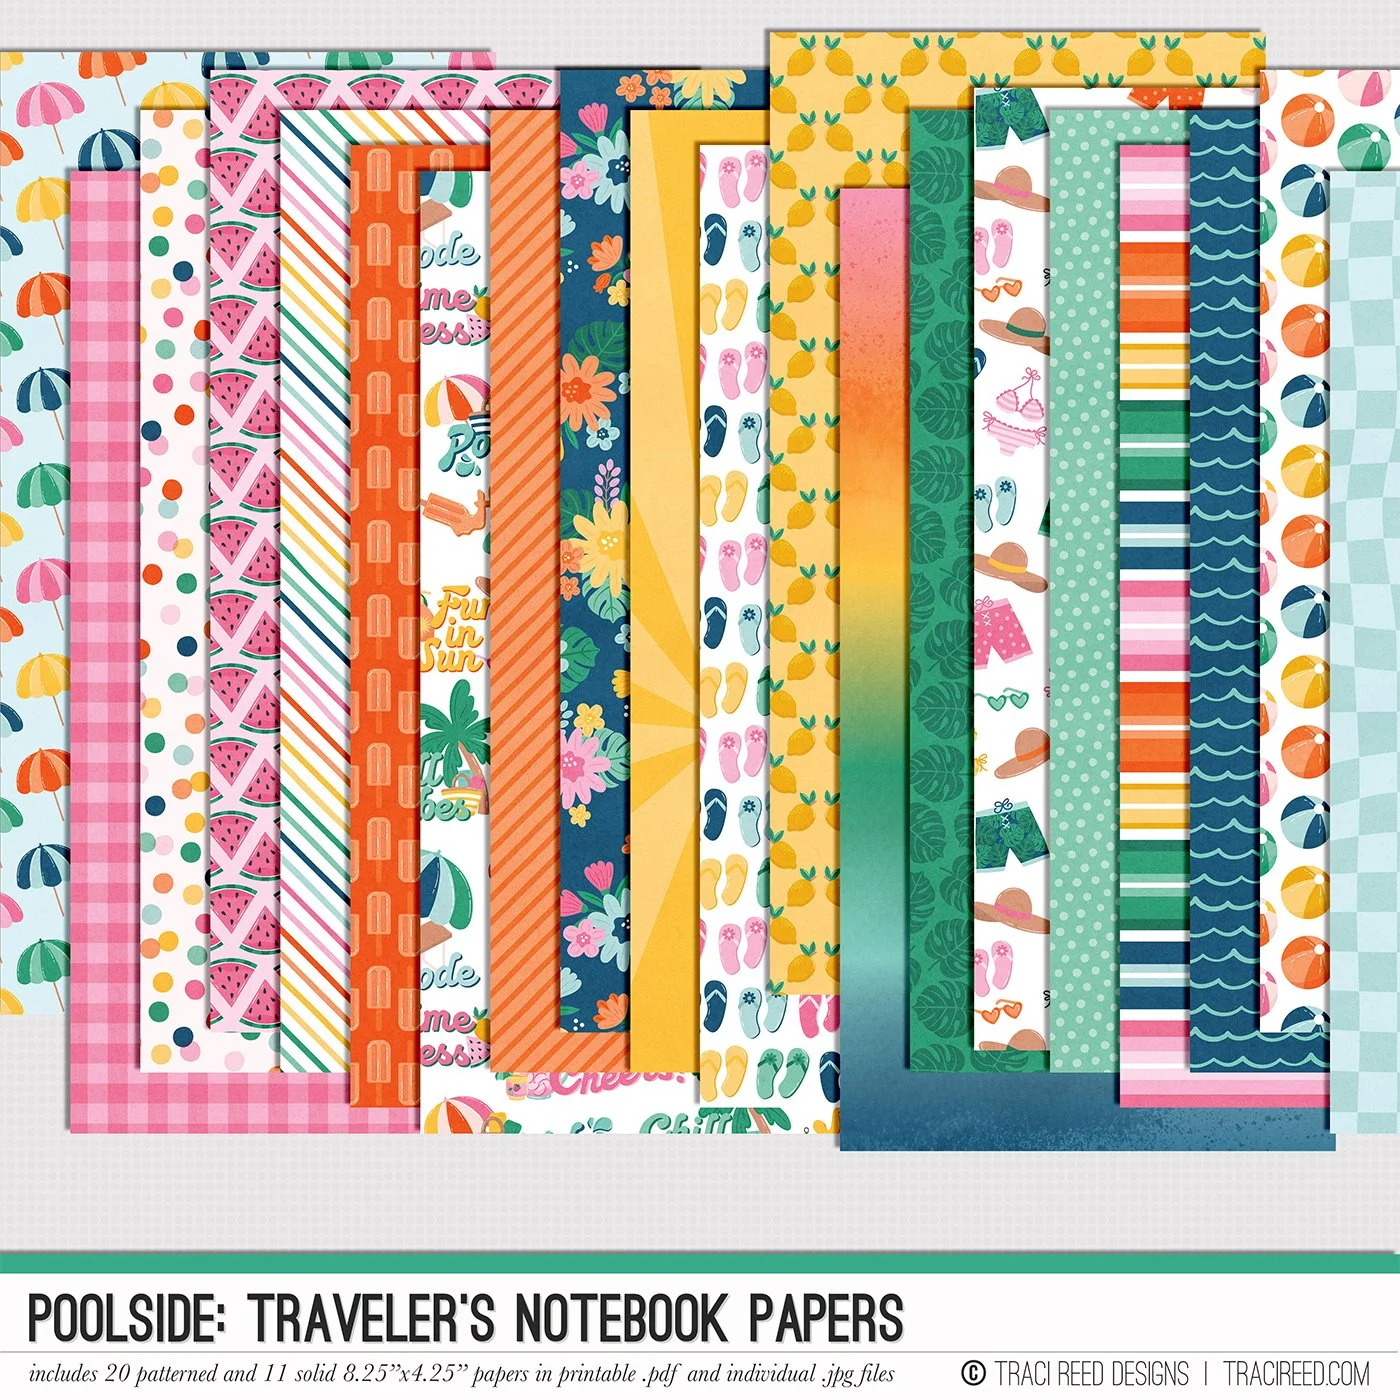
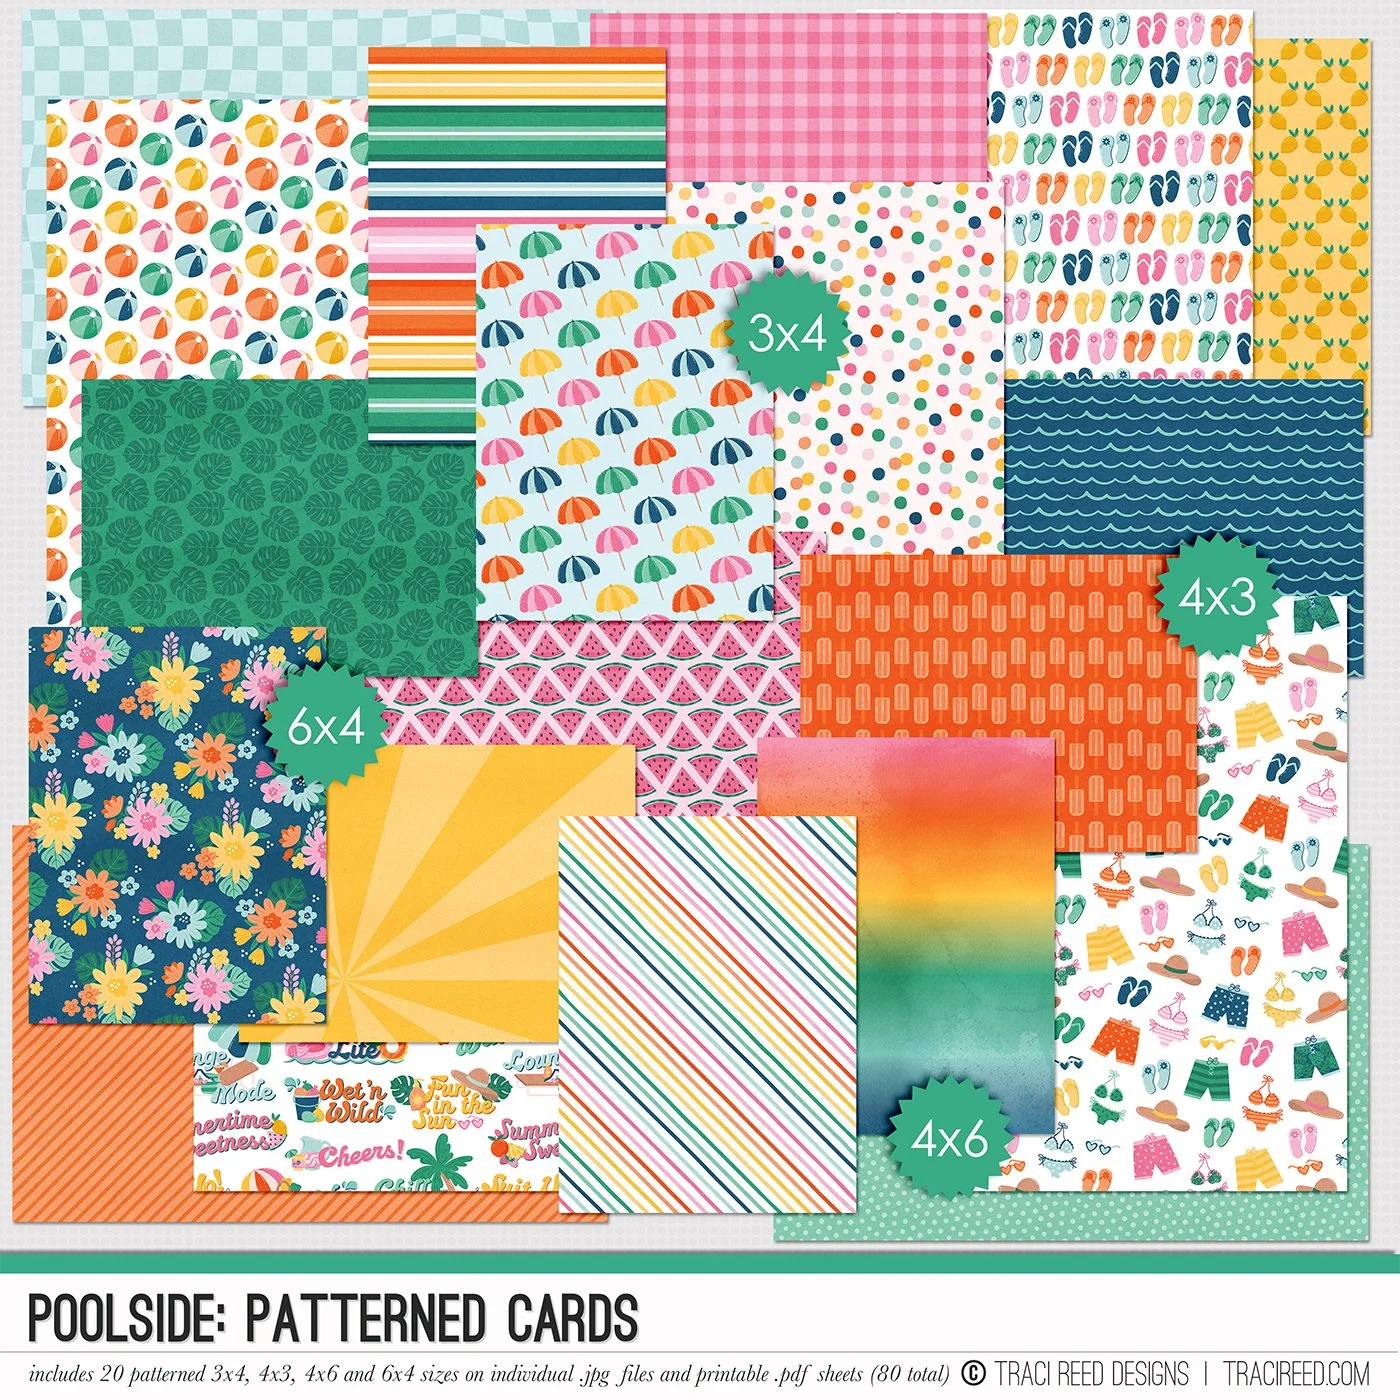
Make a splash in your summer memory keeping with the Poolside digital scrapbooking collection! Packed with playful icons, vibrant papers, and journaling-ready elements, this collection captures all the sunshine, snacks, and splashy fun of your favorite poolside moments.
Whether you’re documenting lazy days by the water, spontaneous water balloon fights, or just soaking up the sun, Poolside brings bold color and lighthearted energy to your pages!
Want to see the unboxing + example layouts? Check out the Poolside blog post HERE!
POOLSIDE BUNDLE INCLUDES
Poolside Digital Kit, Cards #1 & #2, Stickers + Bonus Titles!
POOLSIDE BUNDLE DOES NOT INCLUDE
Poolside Patterned Cards or TN Papers