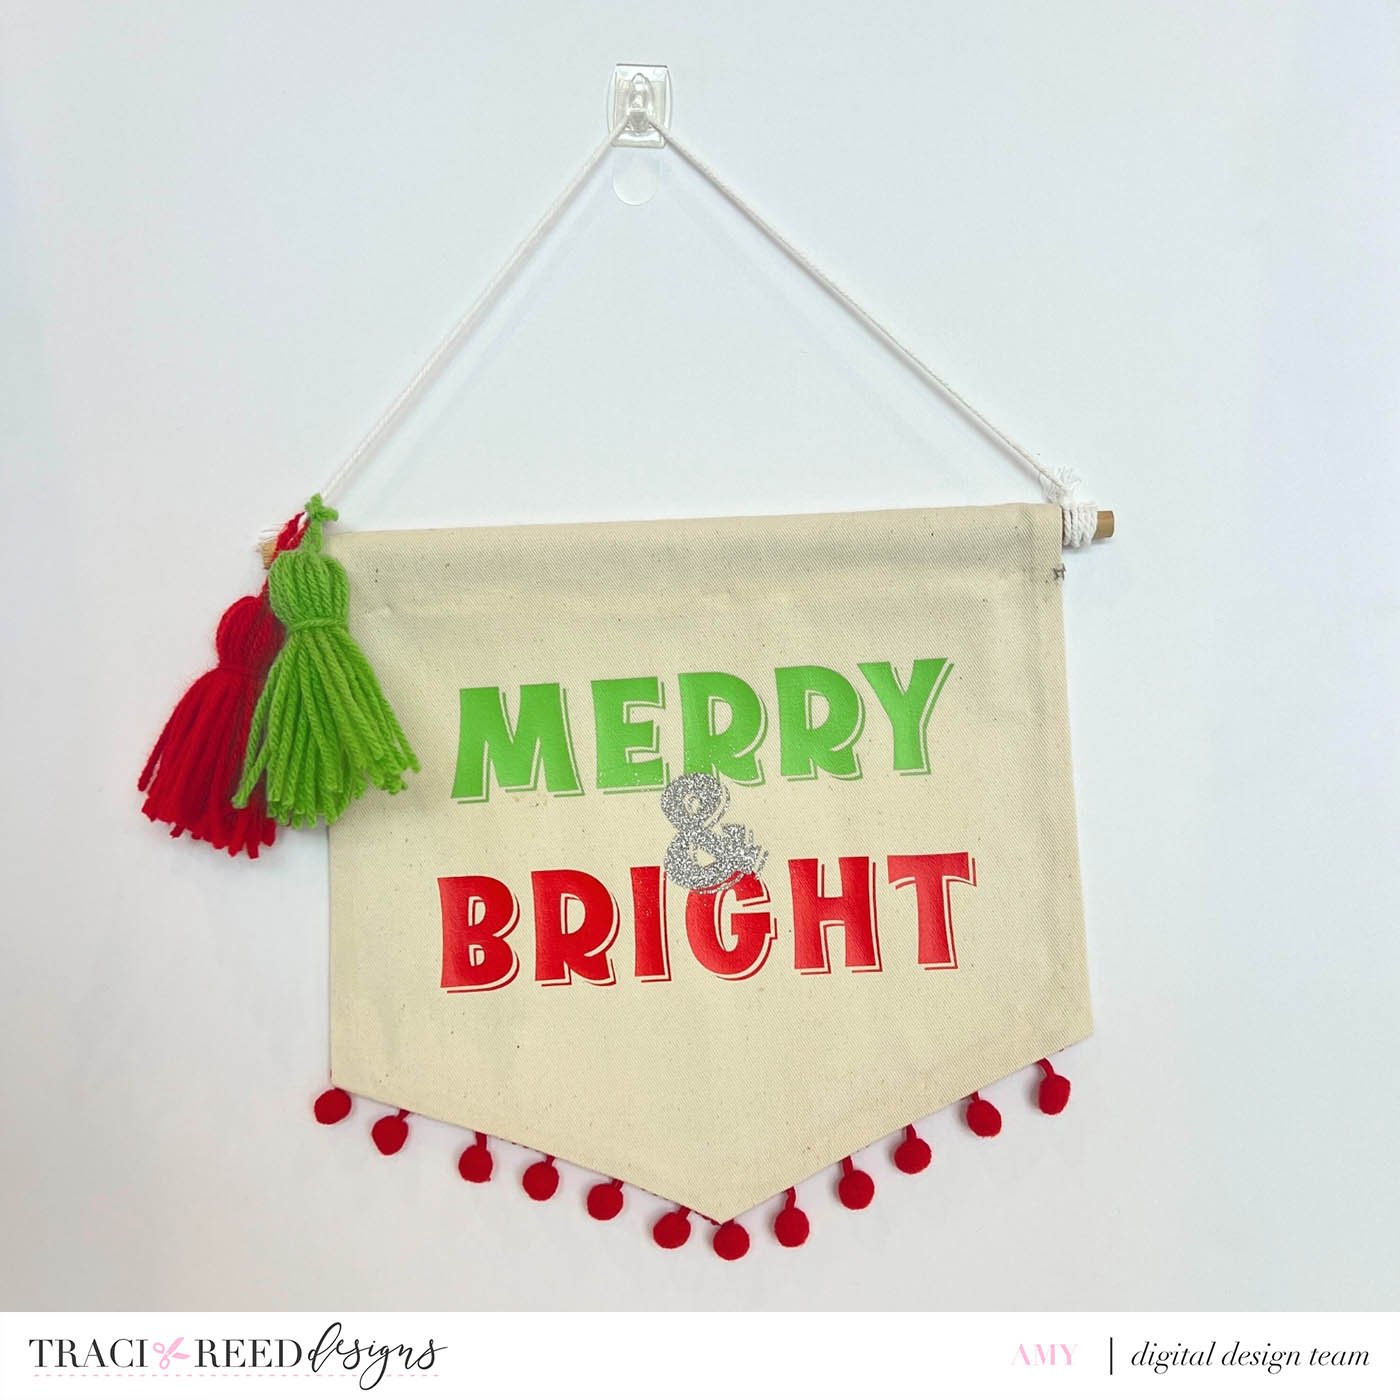
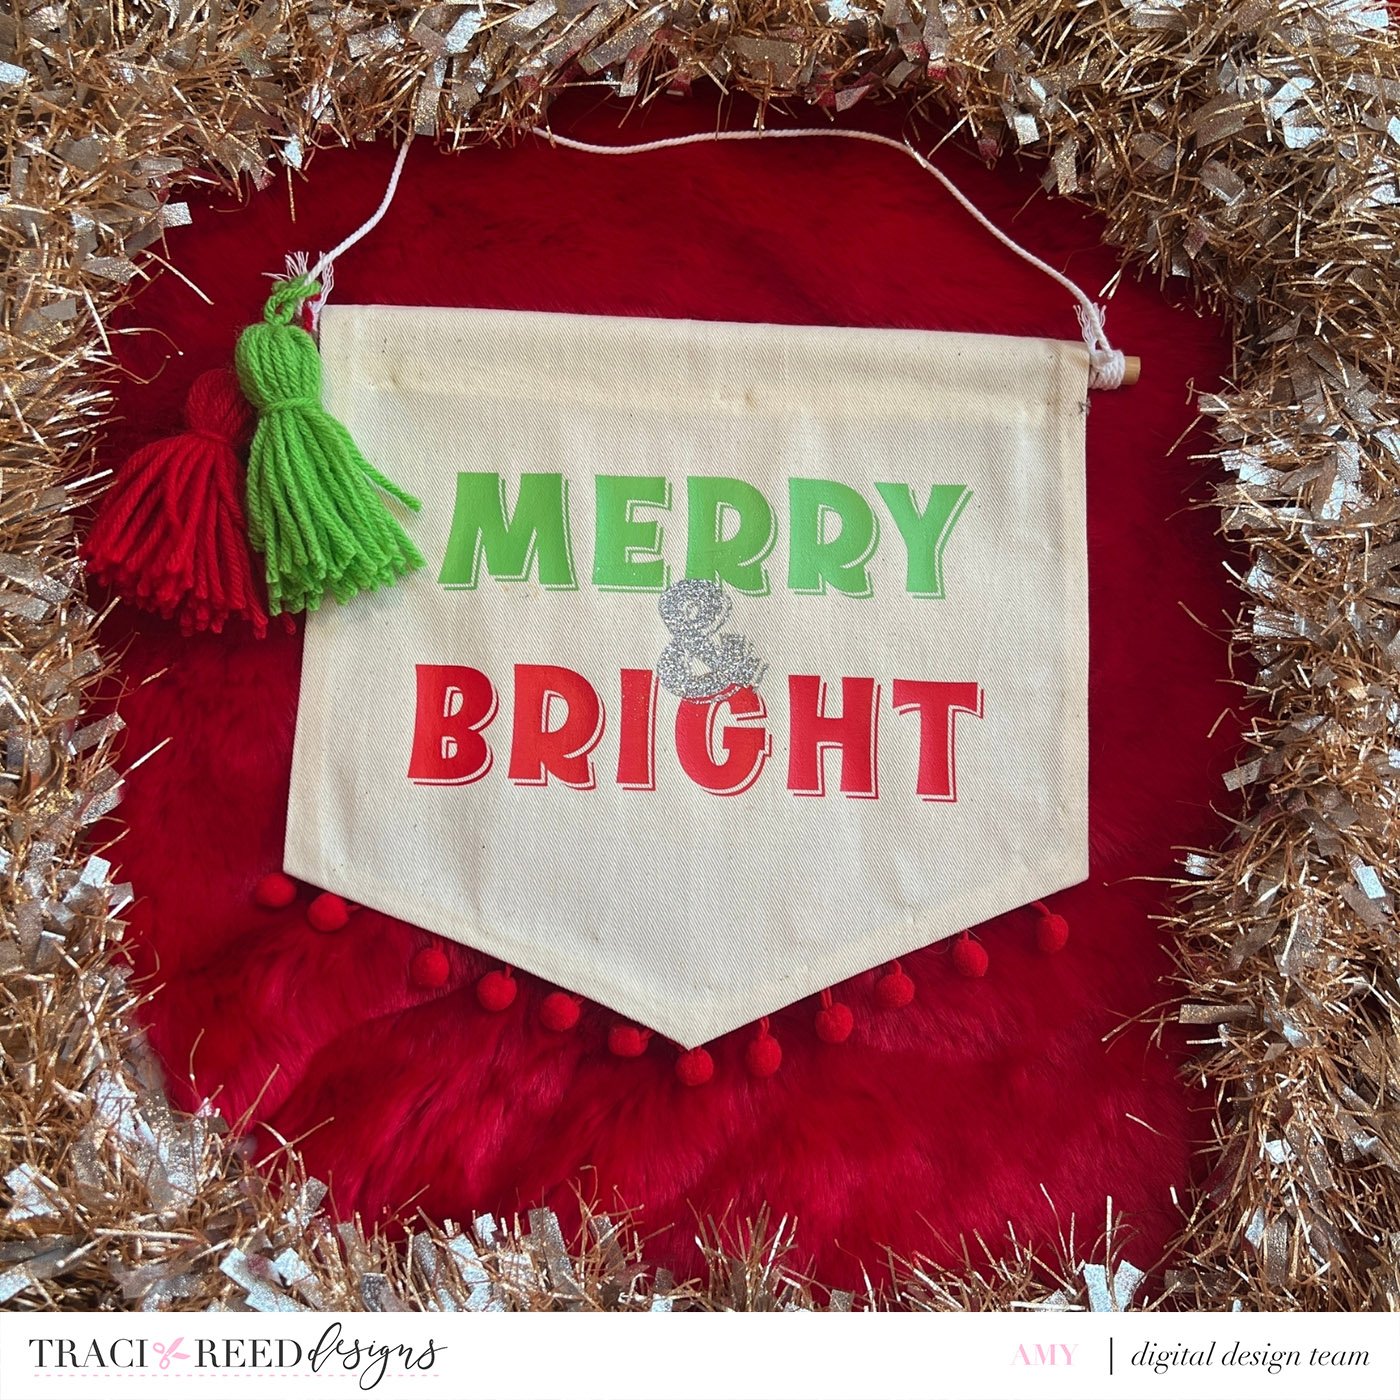
A Festive ‘Merry & Bright’ Banner with Amy
I had so much fun making this banner!! I really stepped outside my comfort zone for this project because I do not sew, but I found a great no-sew alternative. If you do sew, I think this would look even better with a nice ¼” border.
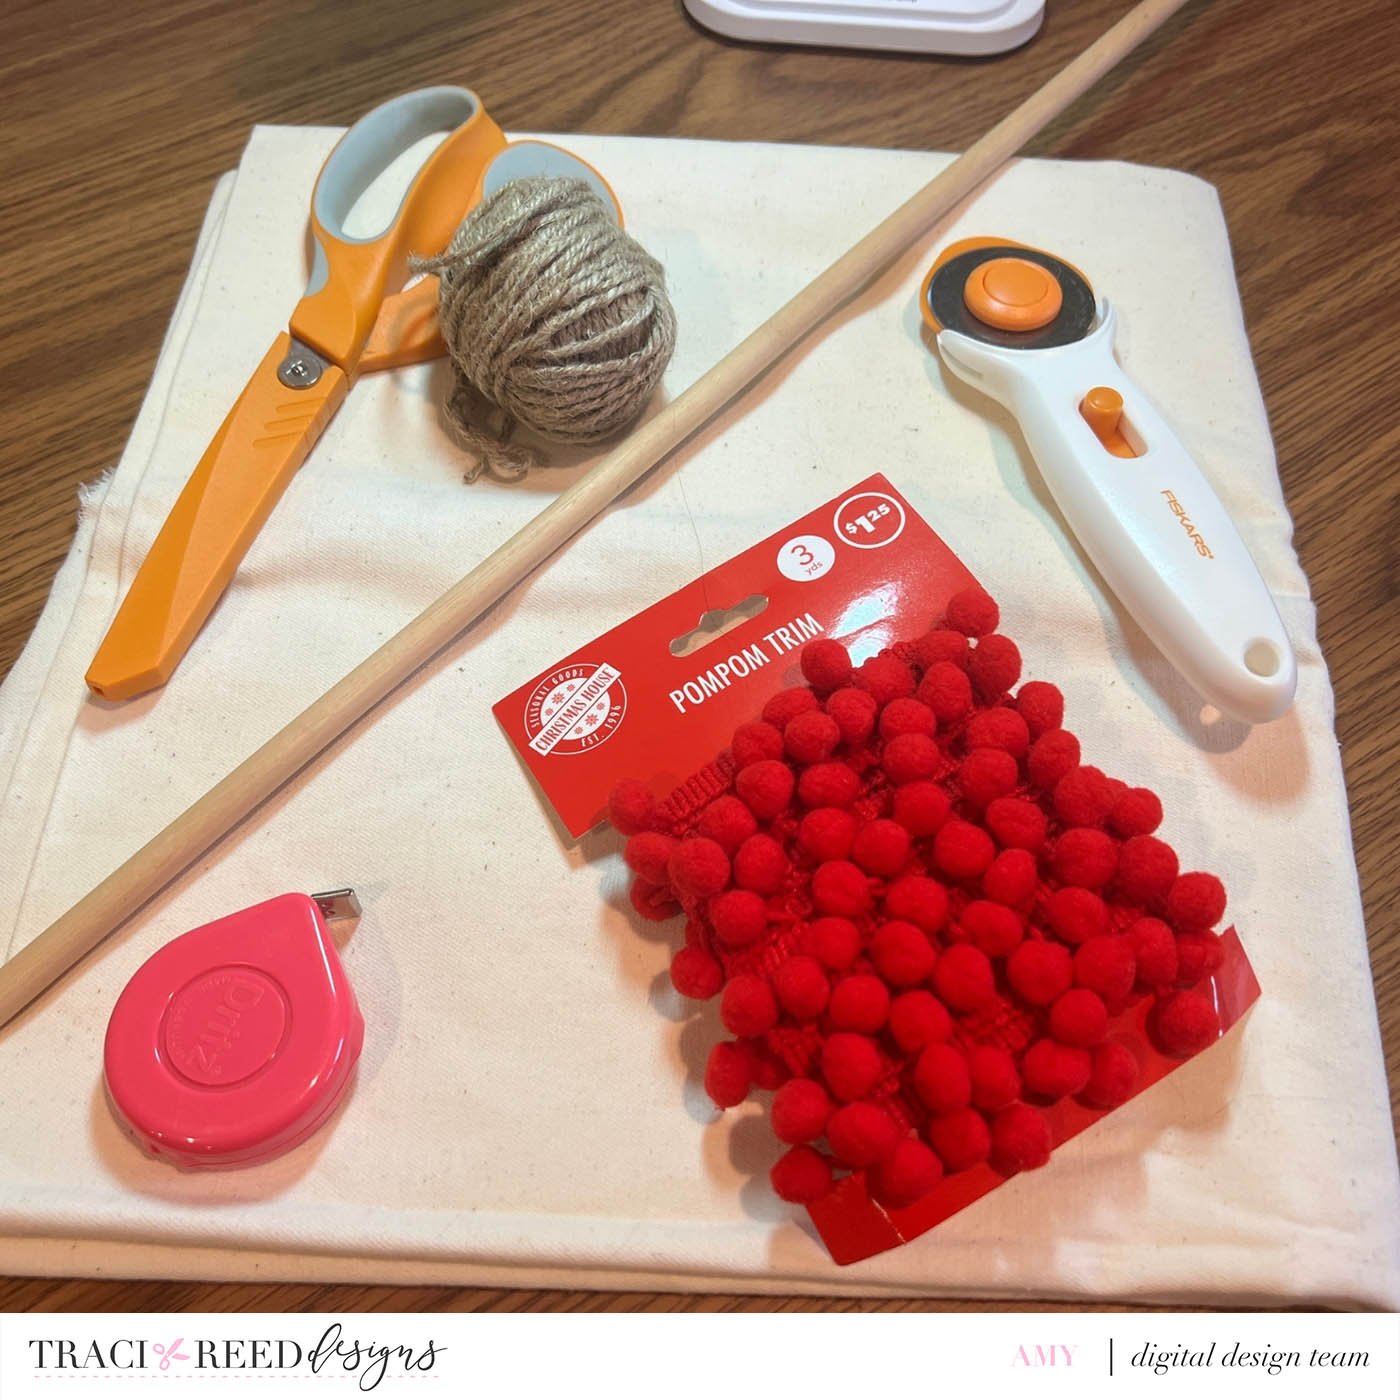
Supplies:
Fabric for the banner
Yarn for the tassels
String for the hanger
Dowel
Iron on vinyl
Fabric adhesive
Pom pom trim
Scissors or rotary cutter
Self healing mat if you use the rotary cutter
Cricut or other cutting machine
Iron/Heat Press
Ironing board
Banner Instructions:
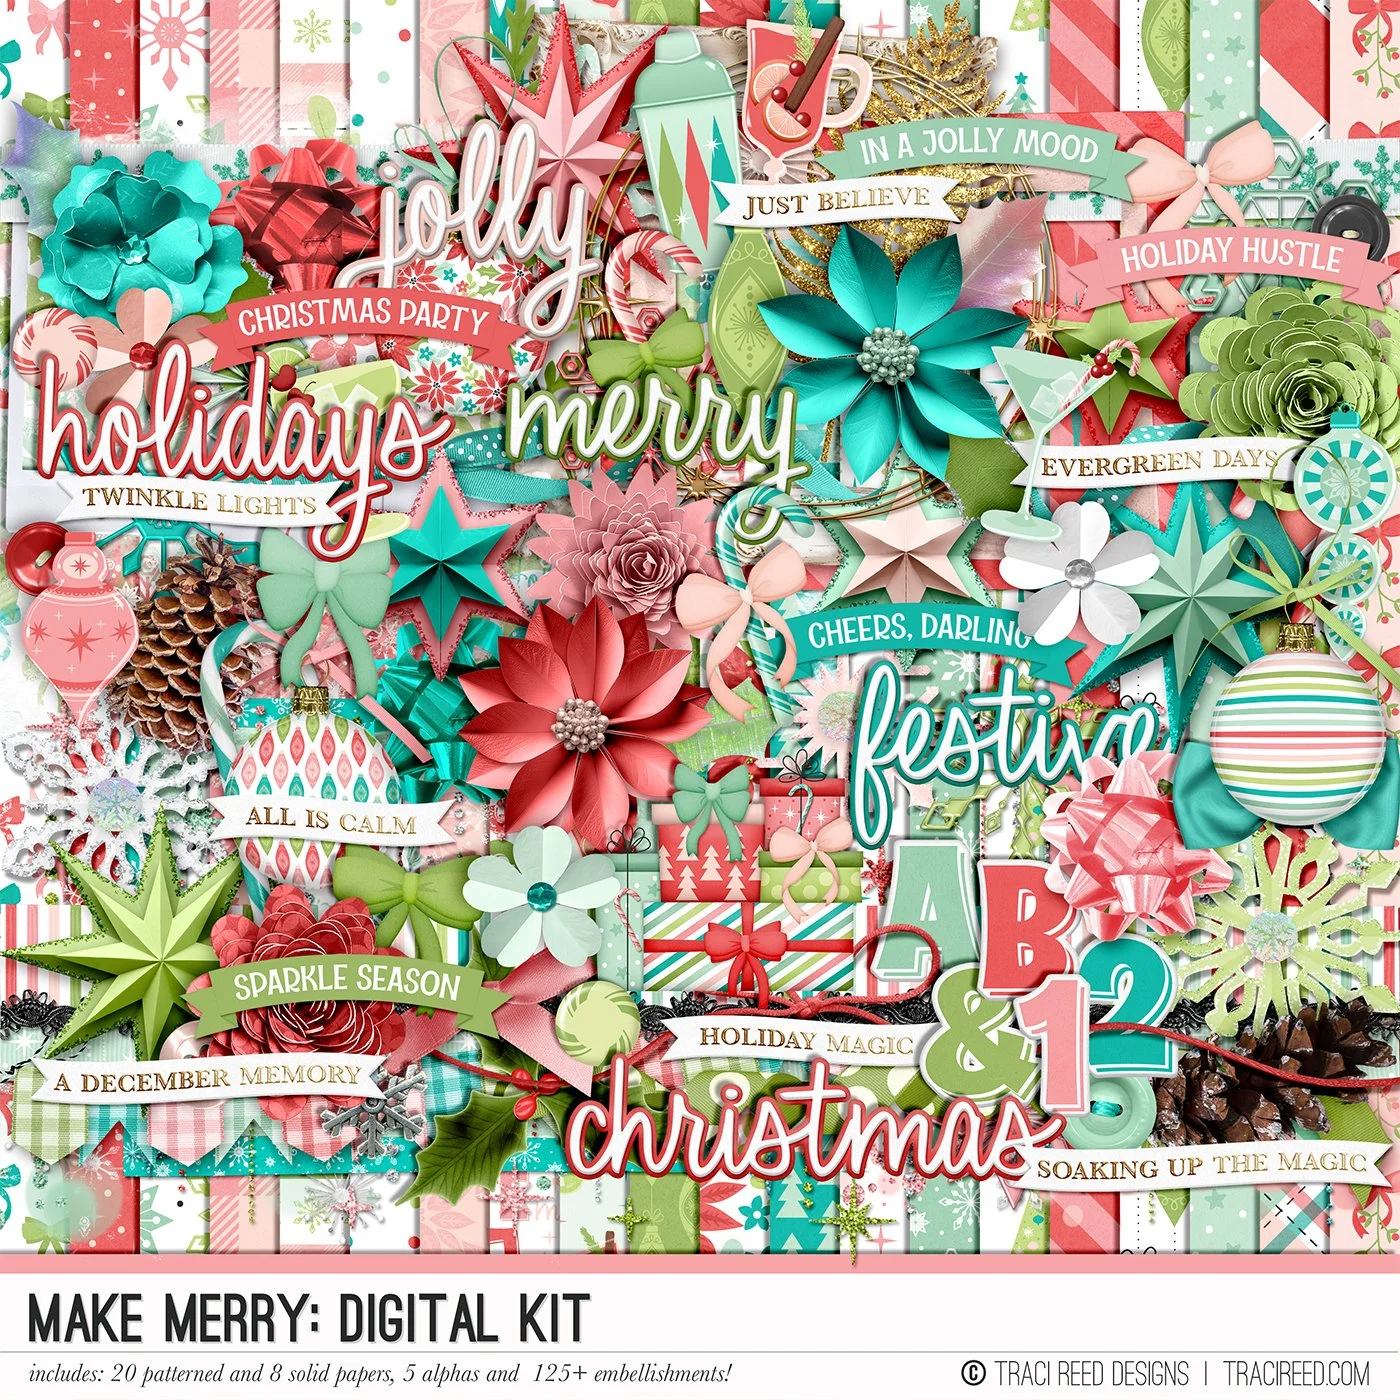
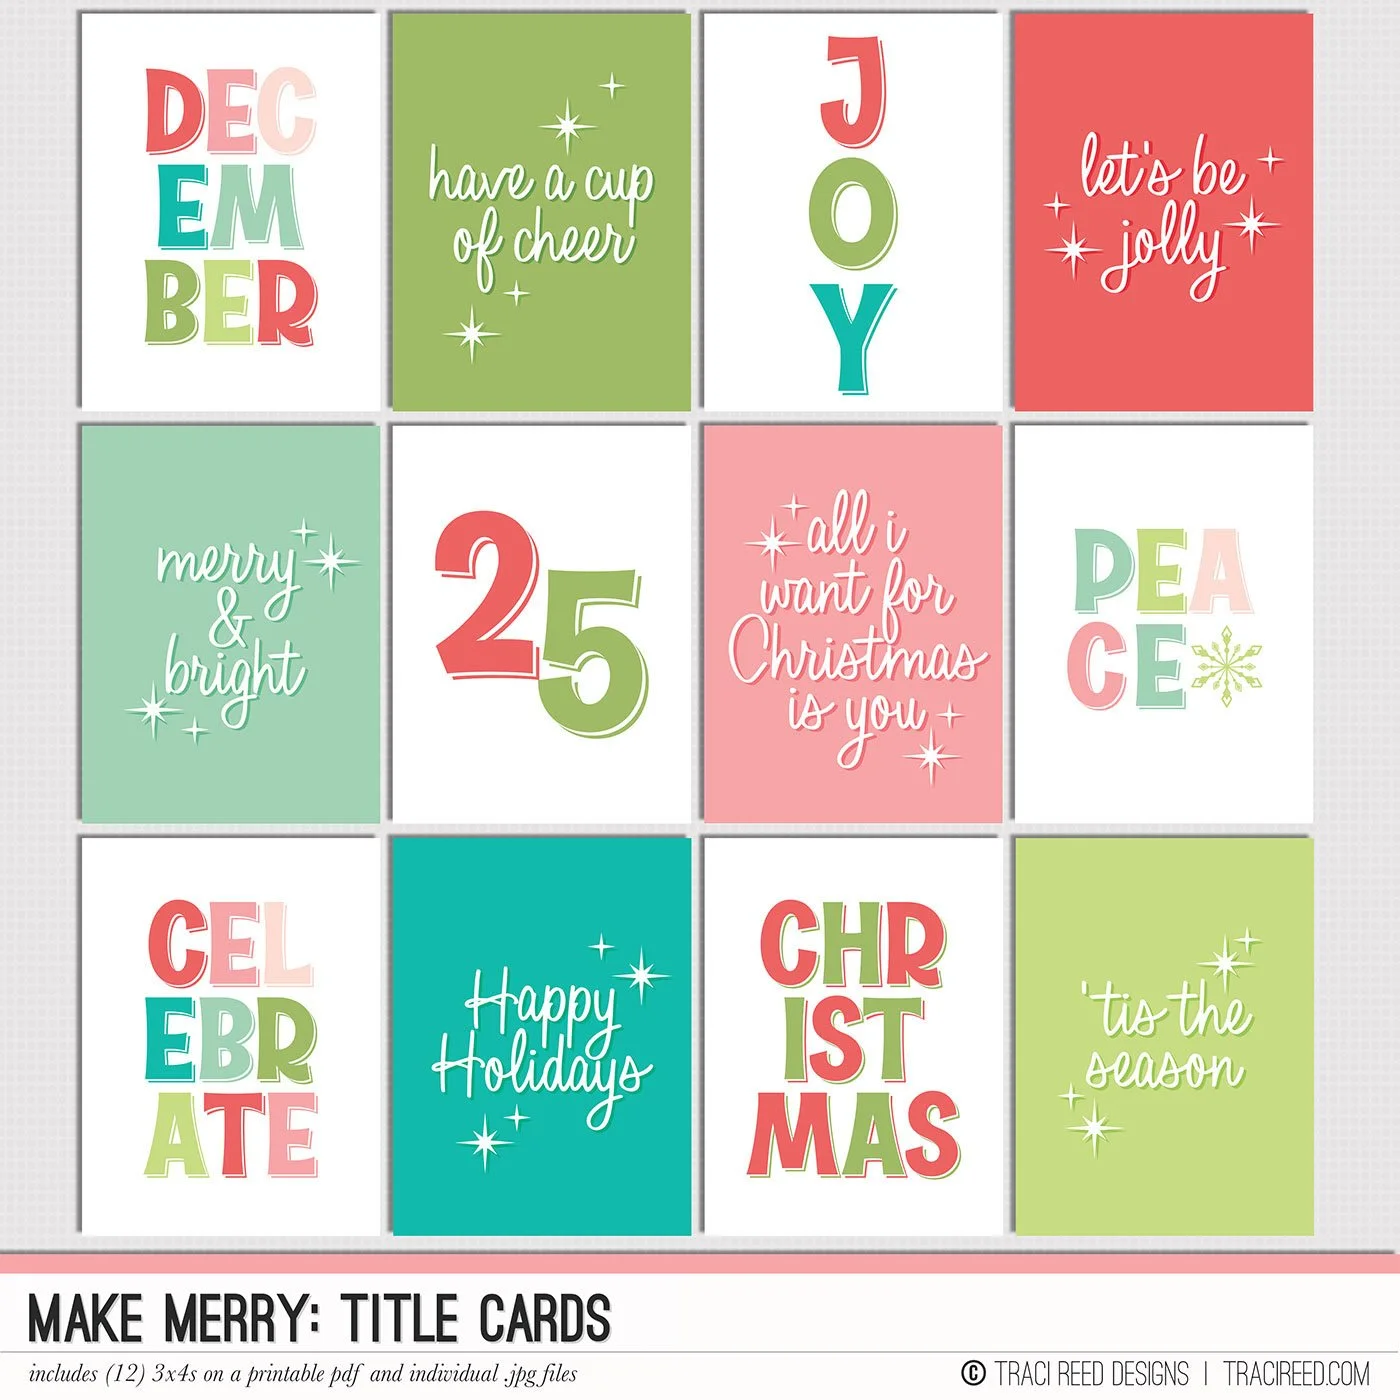
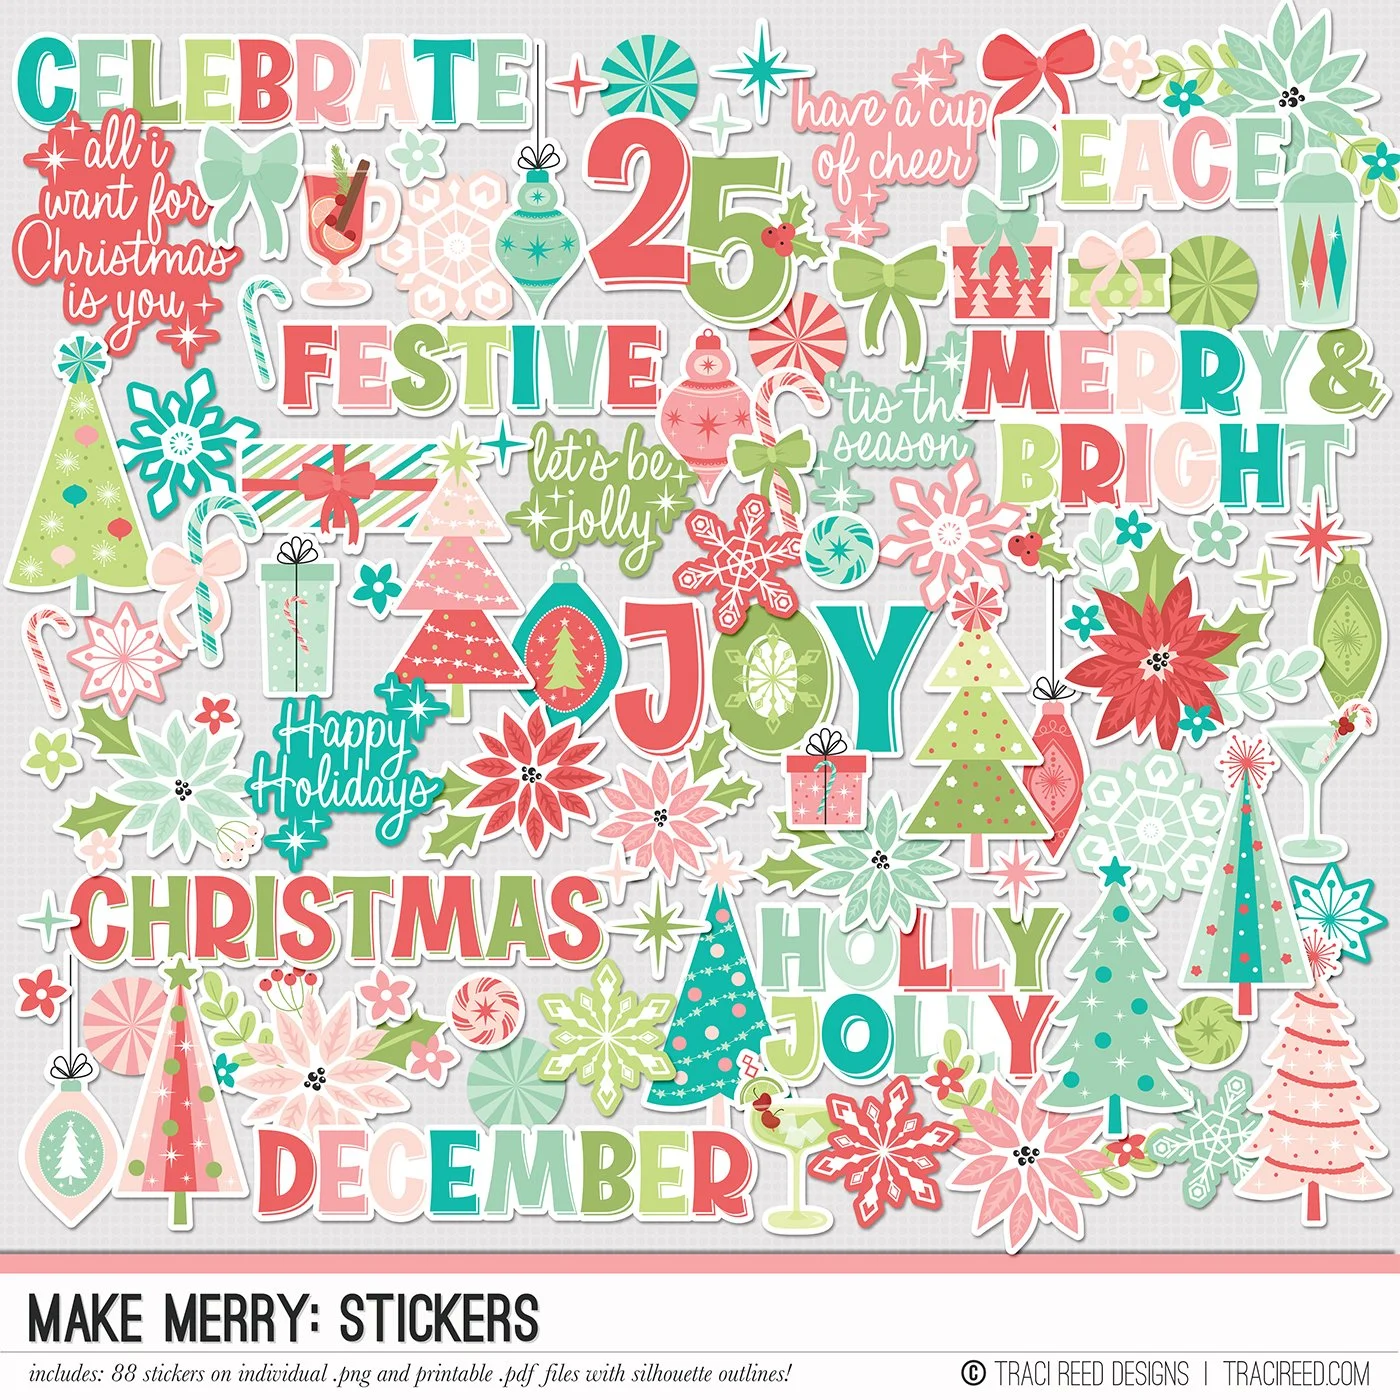
I started this project by making my design in Adobe Photoshop Elements using the alpha set from the Make Merry kit. I chose to start with this step in order to determine what dimensions I would ultimately need to cut the fabric.
Using the alphas, I created the ‘Merry & Bright’ saying using Adobe Photoshop Elements on a 12x12 canvas. I removed the white matting on the alphas to make it a clean cut for the cutting machine. Once the alphas looked clean, I saved the file as a png with a transparent background.
** The saying can be created in any software as long as you can edit out the white matting around the letters and save as a png file.

Upload the png file to the cutting machine - I used my Cricut.
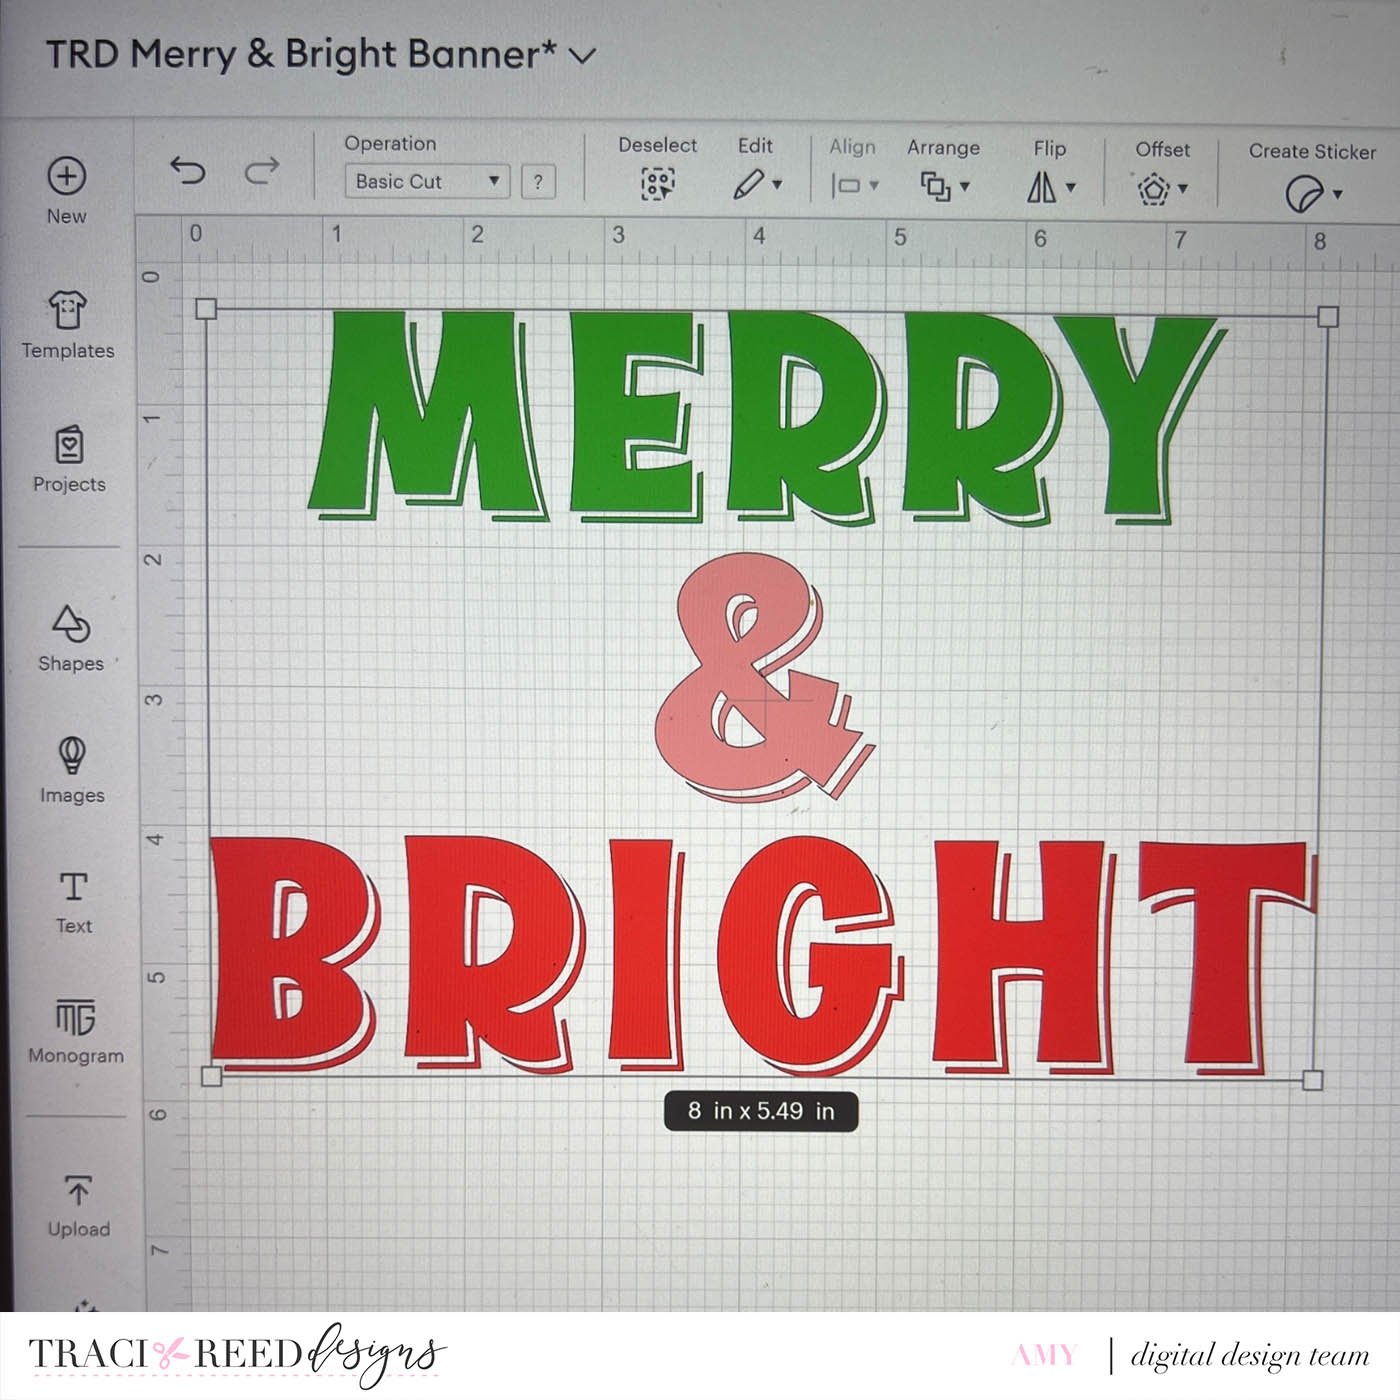
For the Cricut cut, I used the Mirror feature for my iron on vinyl.
** If you are new to using Iron-on Vinyl - check out THIS great tutorial**

Once my design was complete and the words were cut out and weeded, I was able to visualize how big the finished banner should be. I mentally added a few inches to each side of the design so that I had enough fabric to work with and room for mistakes.
Cut fabric roughly 22” x 11” because I wanted extra length to ensure I had enough fabric to make a hem and a pocket for the dowel. But you can make your banner any dimension you want it to be. It really depends on the size of your final‘Merry & Bright’ phrase. Mine was 7”x4.8” on the final cut.
** After completing this project, I realized I did not need this much length and I could have gone with a 12”x11” or 11” x 11” size.
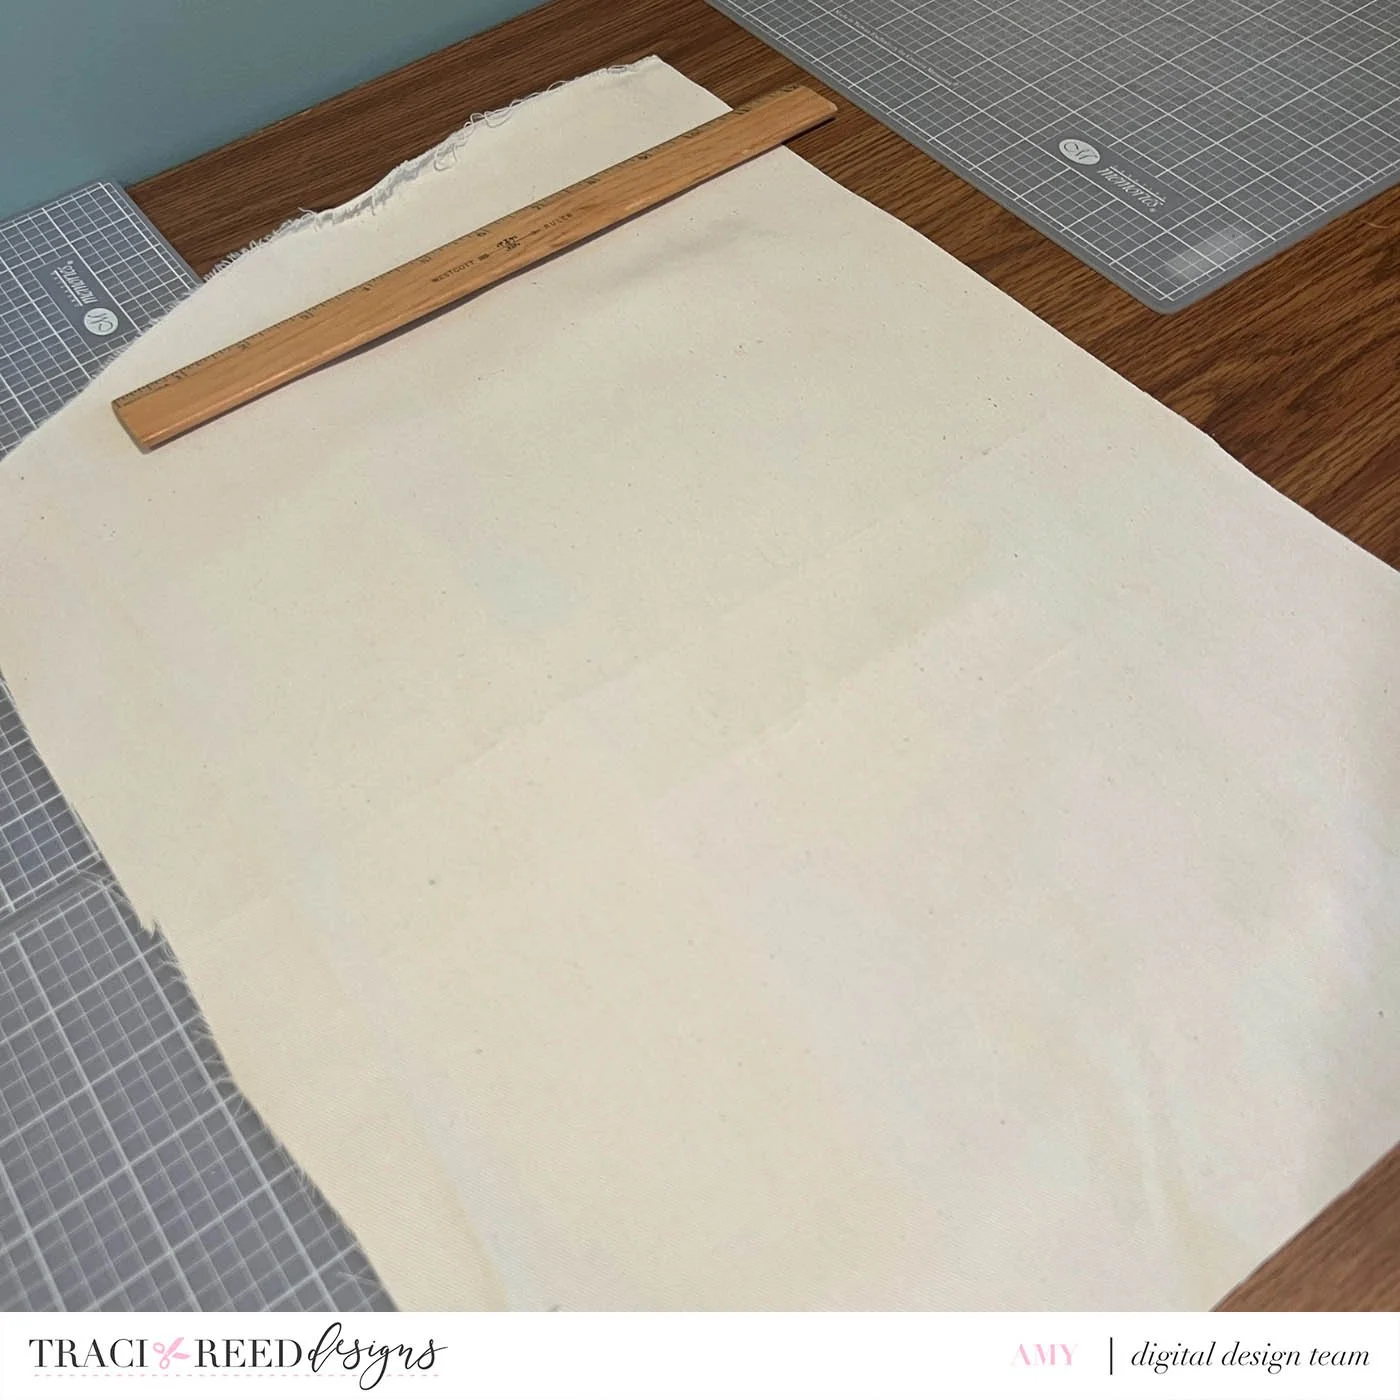
Once my fabric was cut into a clean rectangle, I then folded the fabric in half lengthwise and cut one of the shorter sides to a point to make the banner shape.

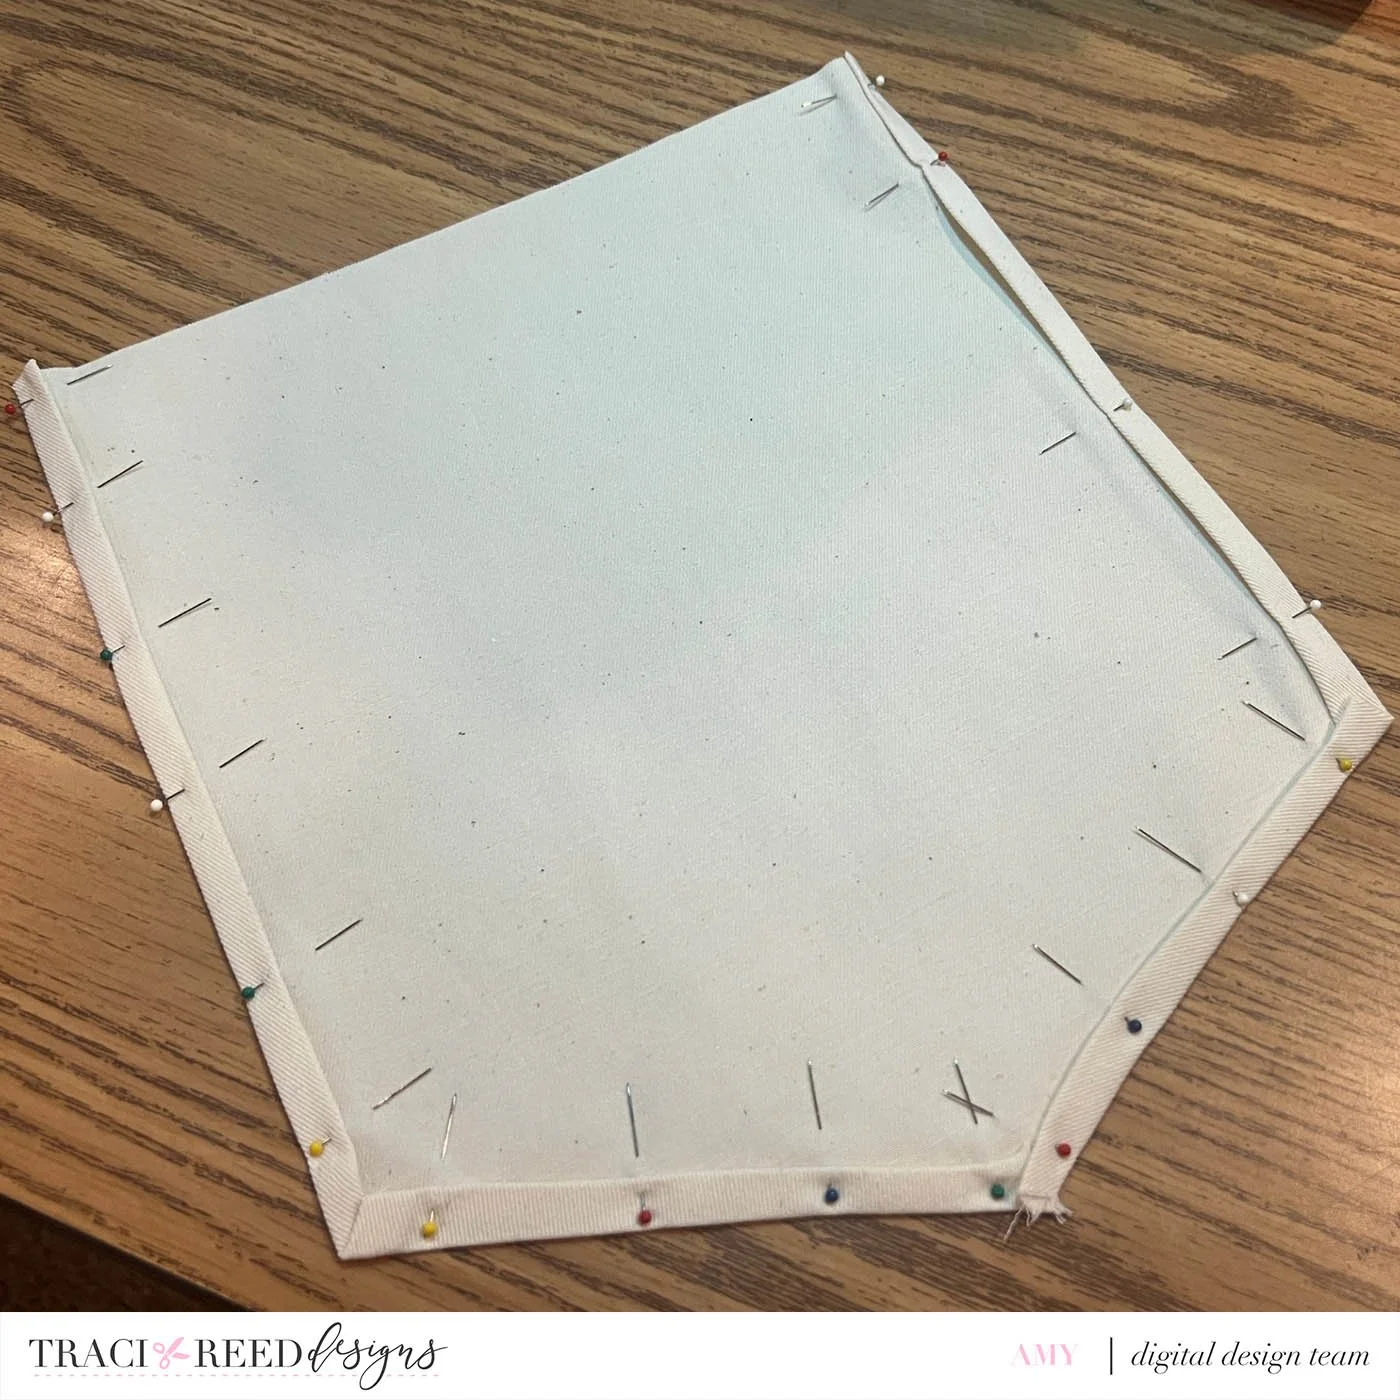
At this point, I had the right shape for my banner. To make the hem, I folded all the sides (except the top) in ¼” and then folded them over again, using a double fold for the hem to give it a clean look.


I pinned the hem down and ironed it to make it easier to glue (or sew). I did leave the top hem open until I could figure out my final dimensions and how long I wanted my dowel to be.
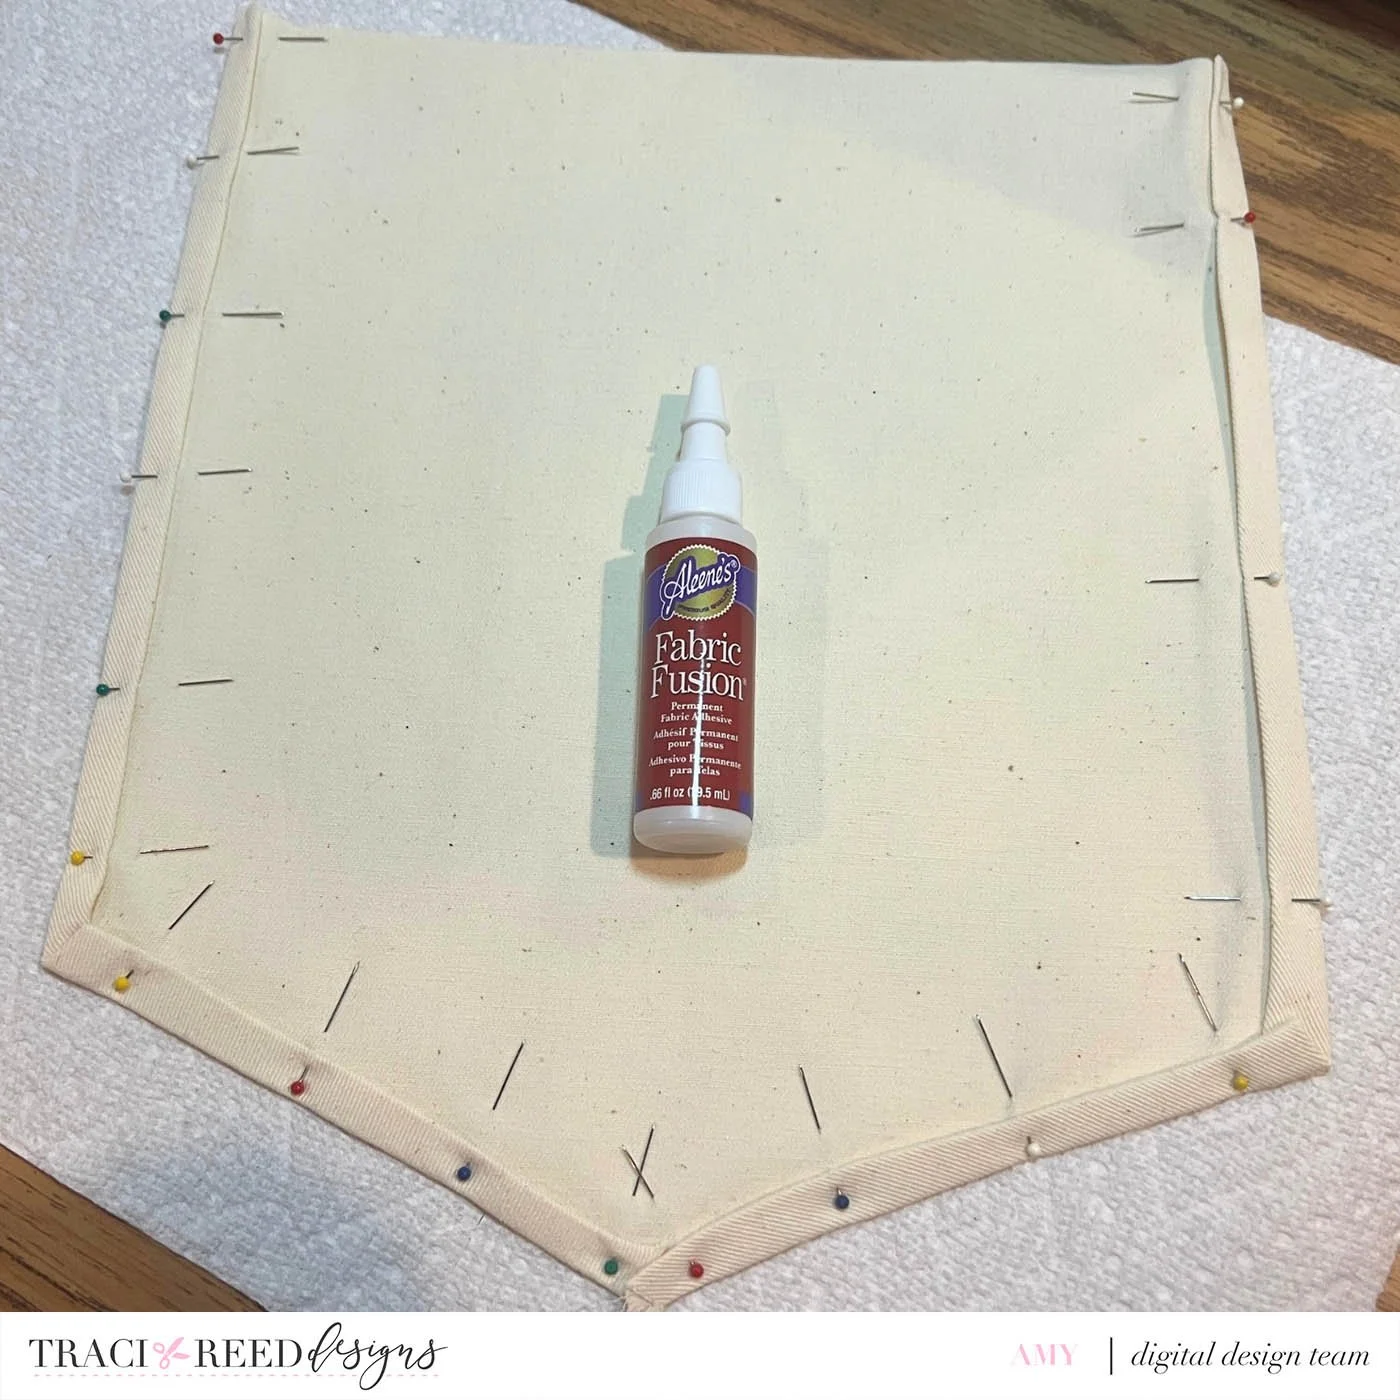
I glued the hem using fabric adhesive and let it dry as per the instructions for the adhesive.

While this was drying, I cut the dowel using a chopsaw. I ended up needing an 11” dowel. But this dimension will depend on what banner dimensions you use.
Once the hem was dry, I ironed the ‘Merry & Bright’ phrase onto my banner. I used the Cricut heat press. You will want to check the Cricut Heat Guide HERE for the settings for your specific fabric.
** You can also use your home iron - the previous mentioned tutorial does a great job at explaining both of these options.


Once my design was ironed on, I figured out how much room I had on the top for the dowel pocket, cut my fabric down a bit and finished up the top hem using the same double fold method previously described.
** Make sure you leave enough space for the dowel to fit!
To finish it up - Add your dowel and attach your string to the dowel to create a way to hang your banner. Add the pom pom trim to the bottom for a bit of whimsy using the fabric adhesive. Make your tassels & attach for a splash of color!!