Create Your Own Layered Pocket Cards Using Just Your Phone with Michele!

I love pocket scrapping with apps for projects like Gratitude and December Daily. The convenience of creating something on the go or while I’m watching TV at night always draws me back to app-scrapping.
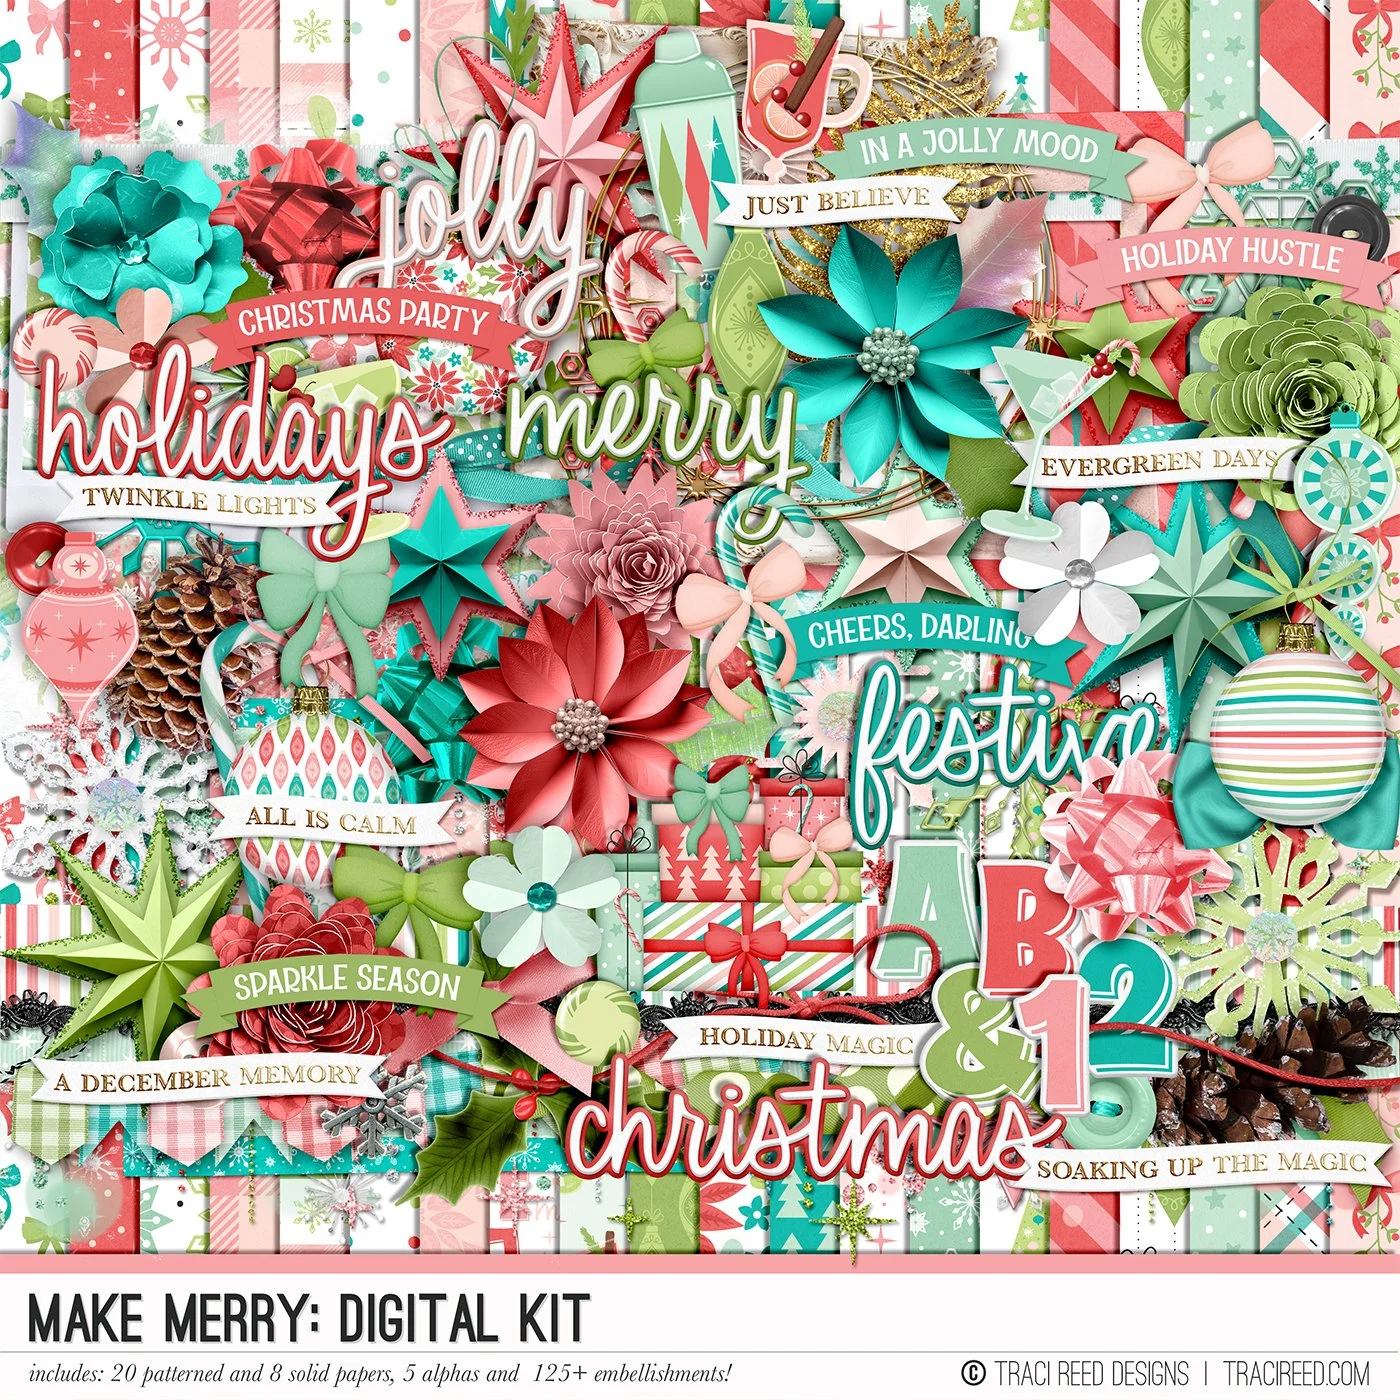
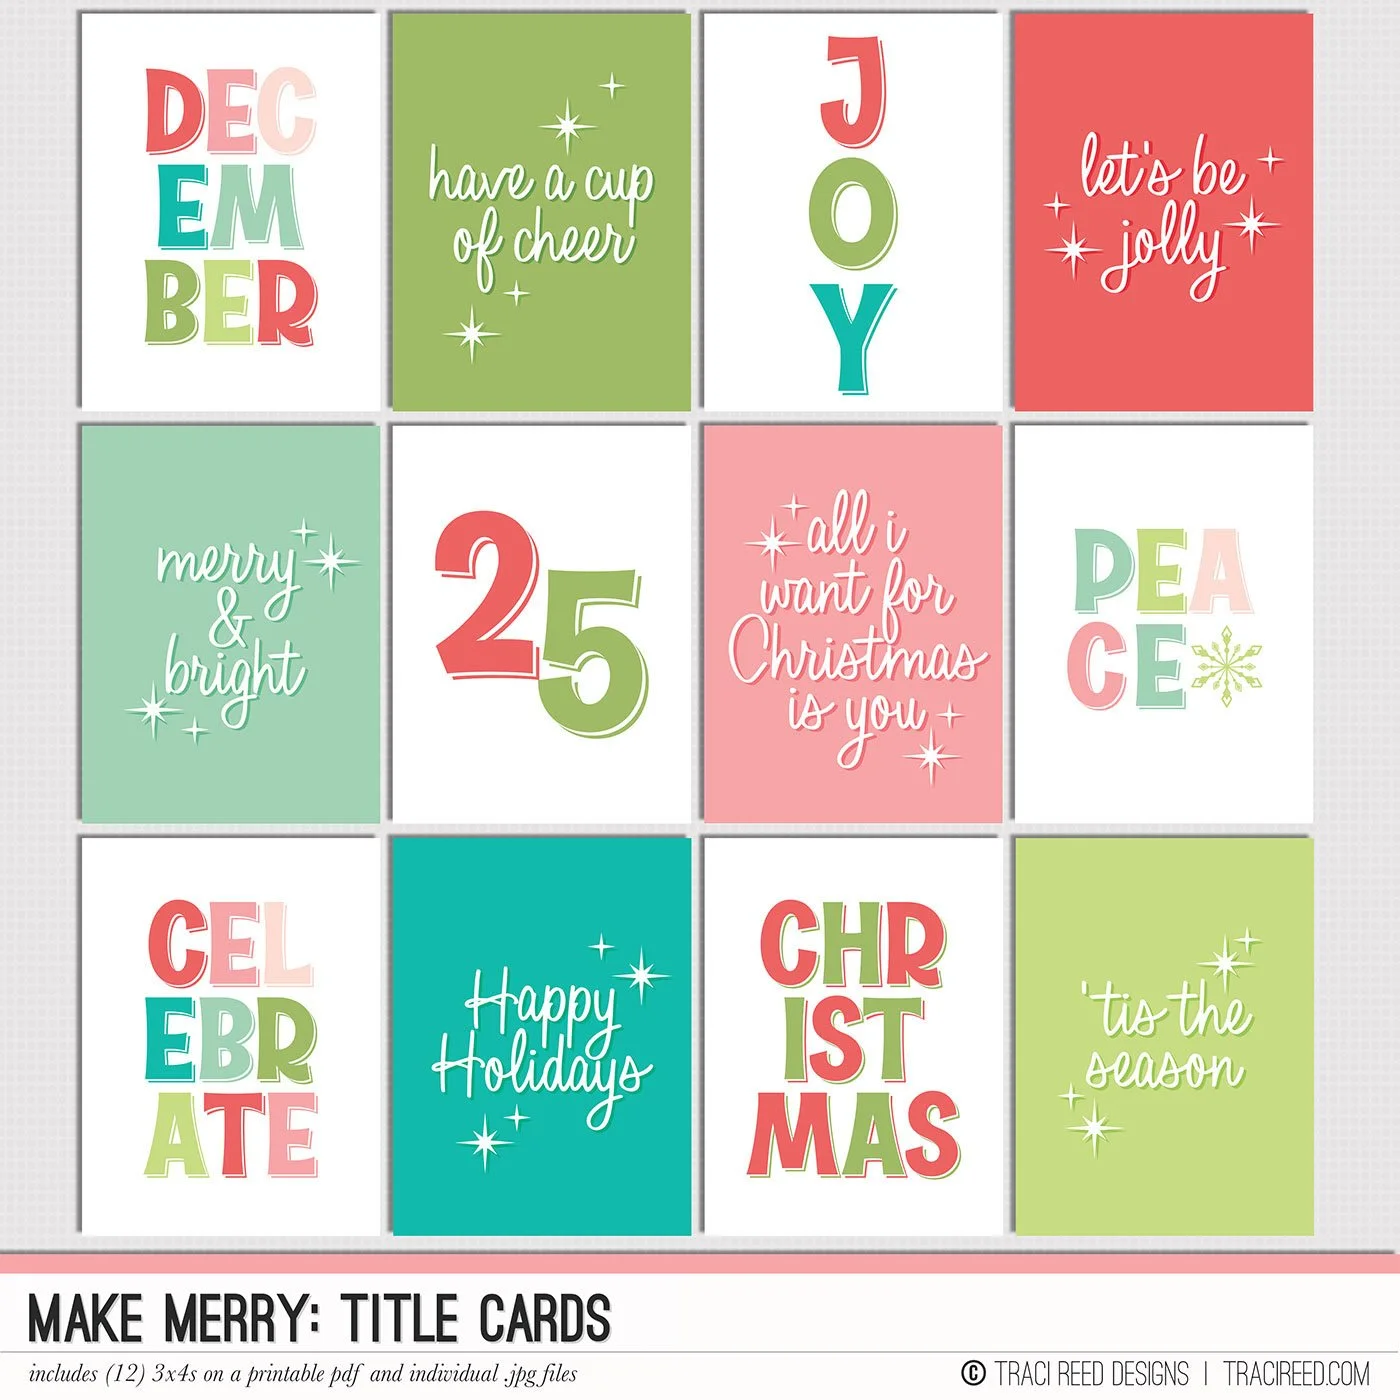
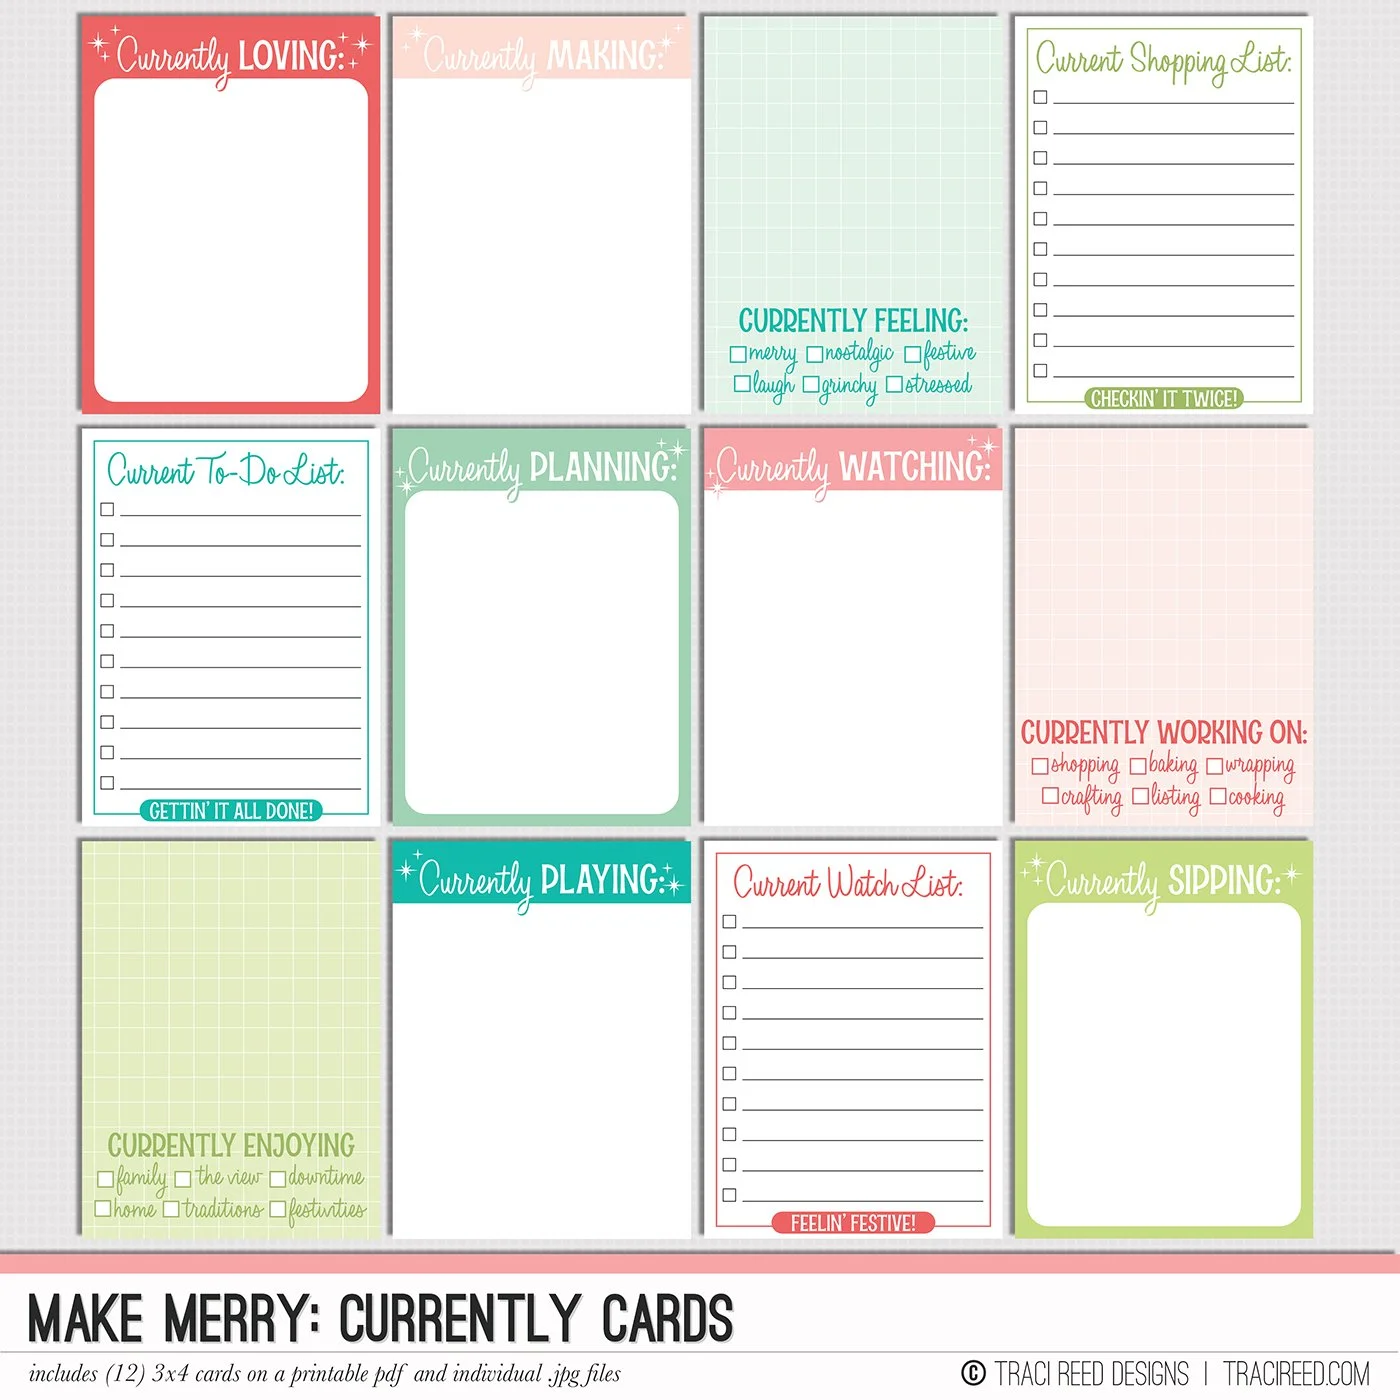
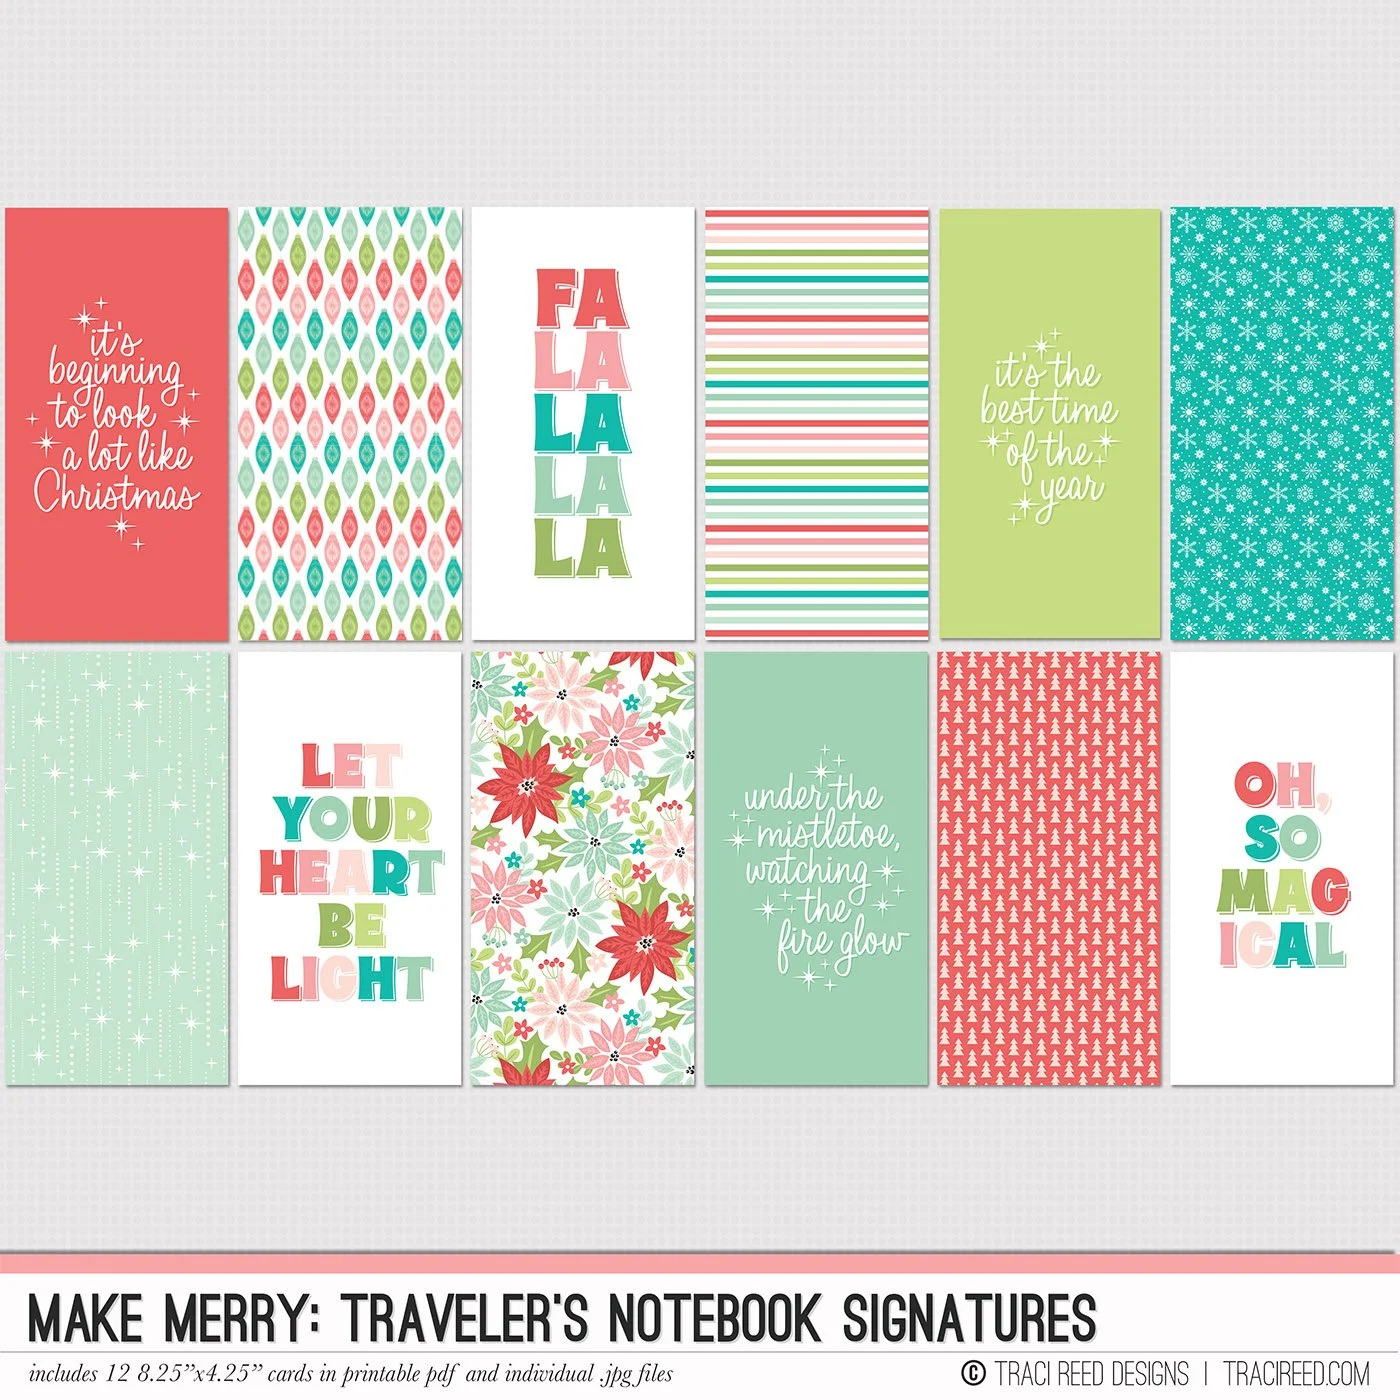
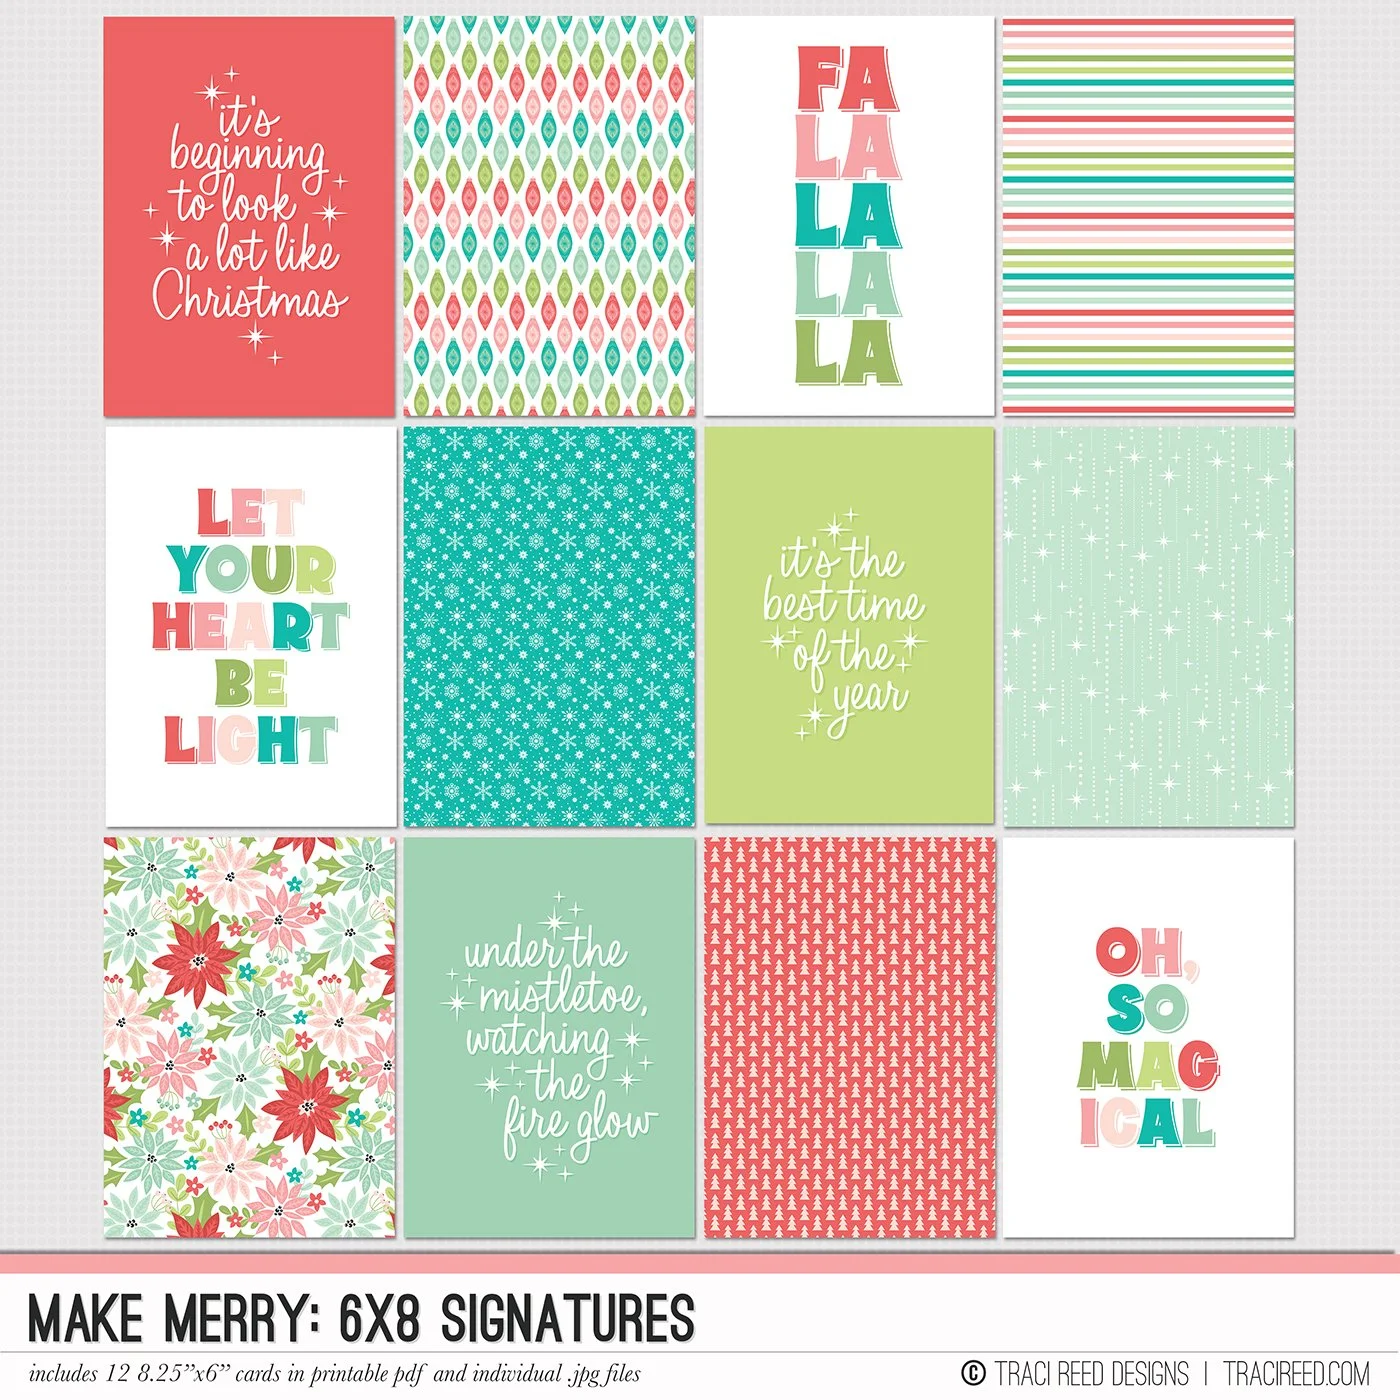
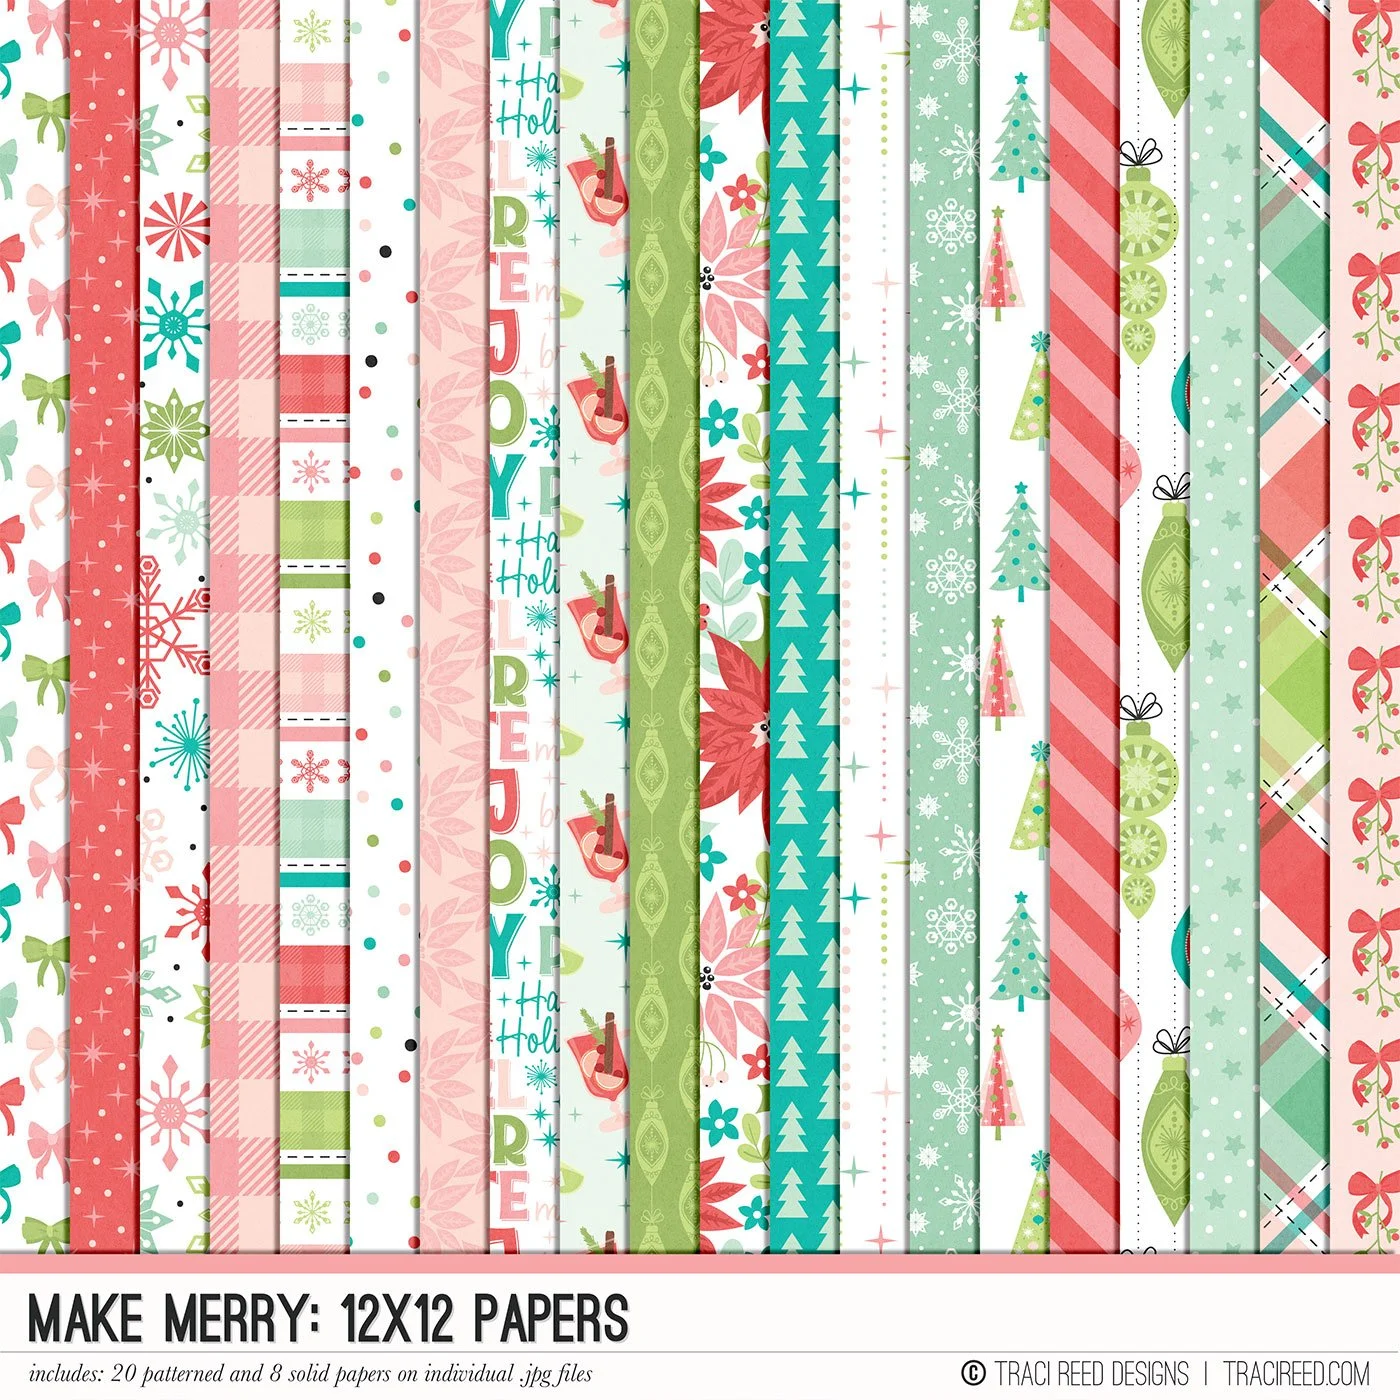
In direct conflict with that is my love of being creative with the fun products released—most recently, Make Merry.
I’ve finally figured out a way to combine both, and I’d love for you to give it a try!
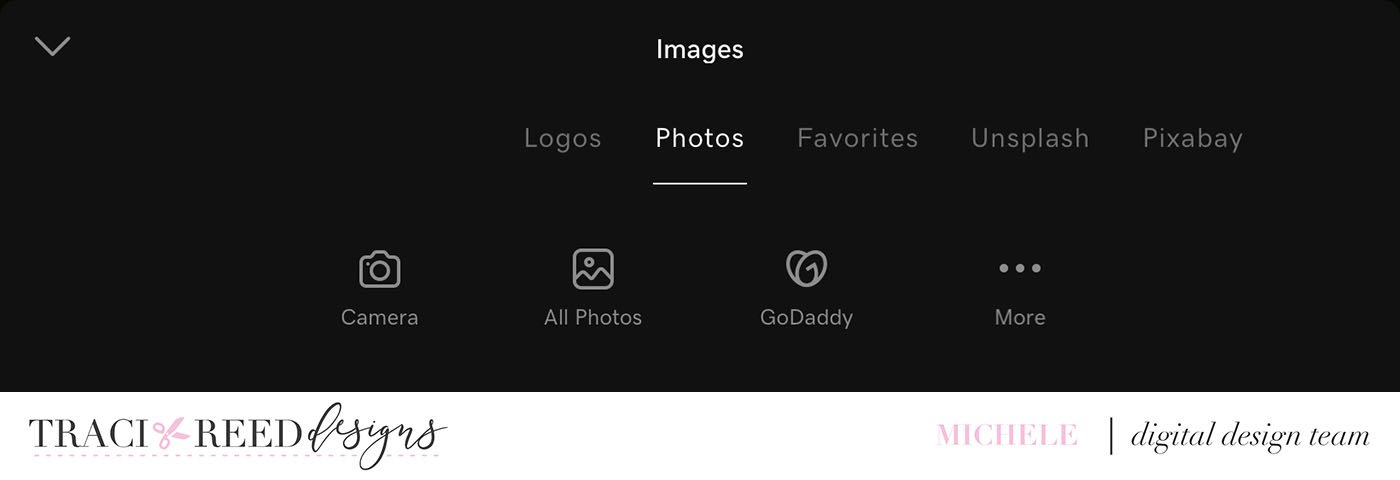
These are the apps I regularly use for appscrapping:
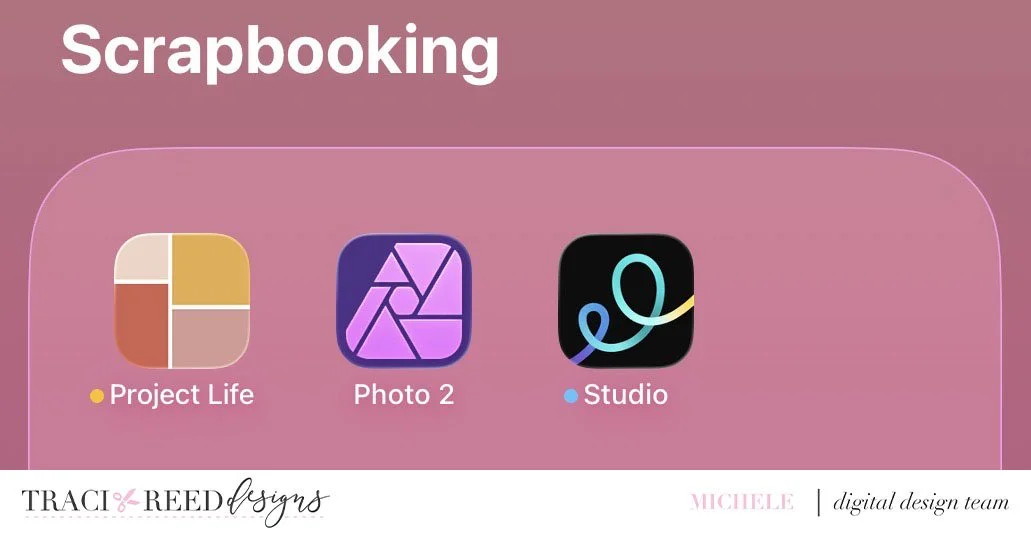
For this project, I’m not going to use Photo 2 (also known as Affinity Photo). The Project Life app is free with many additional kits and templates for purchase. I only use the free version of Studio (formally Over).
I need to think about sizing before starting. I know that I want my book to be 6X8. When I look in the Project Life app, these are the templates I am going to be using:
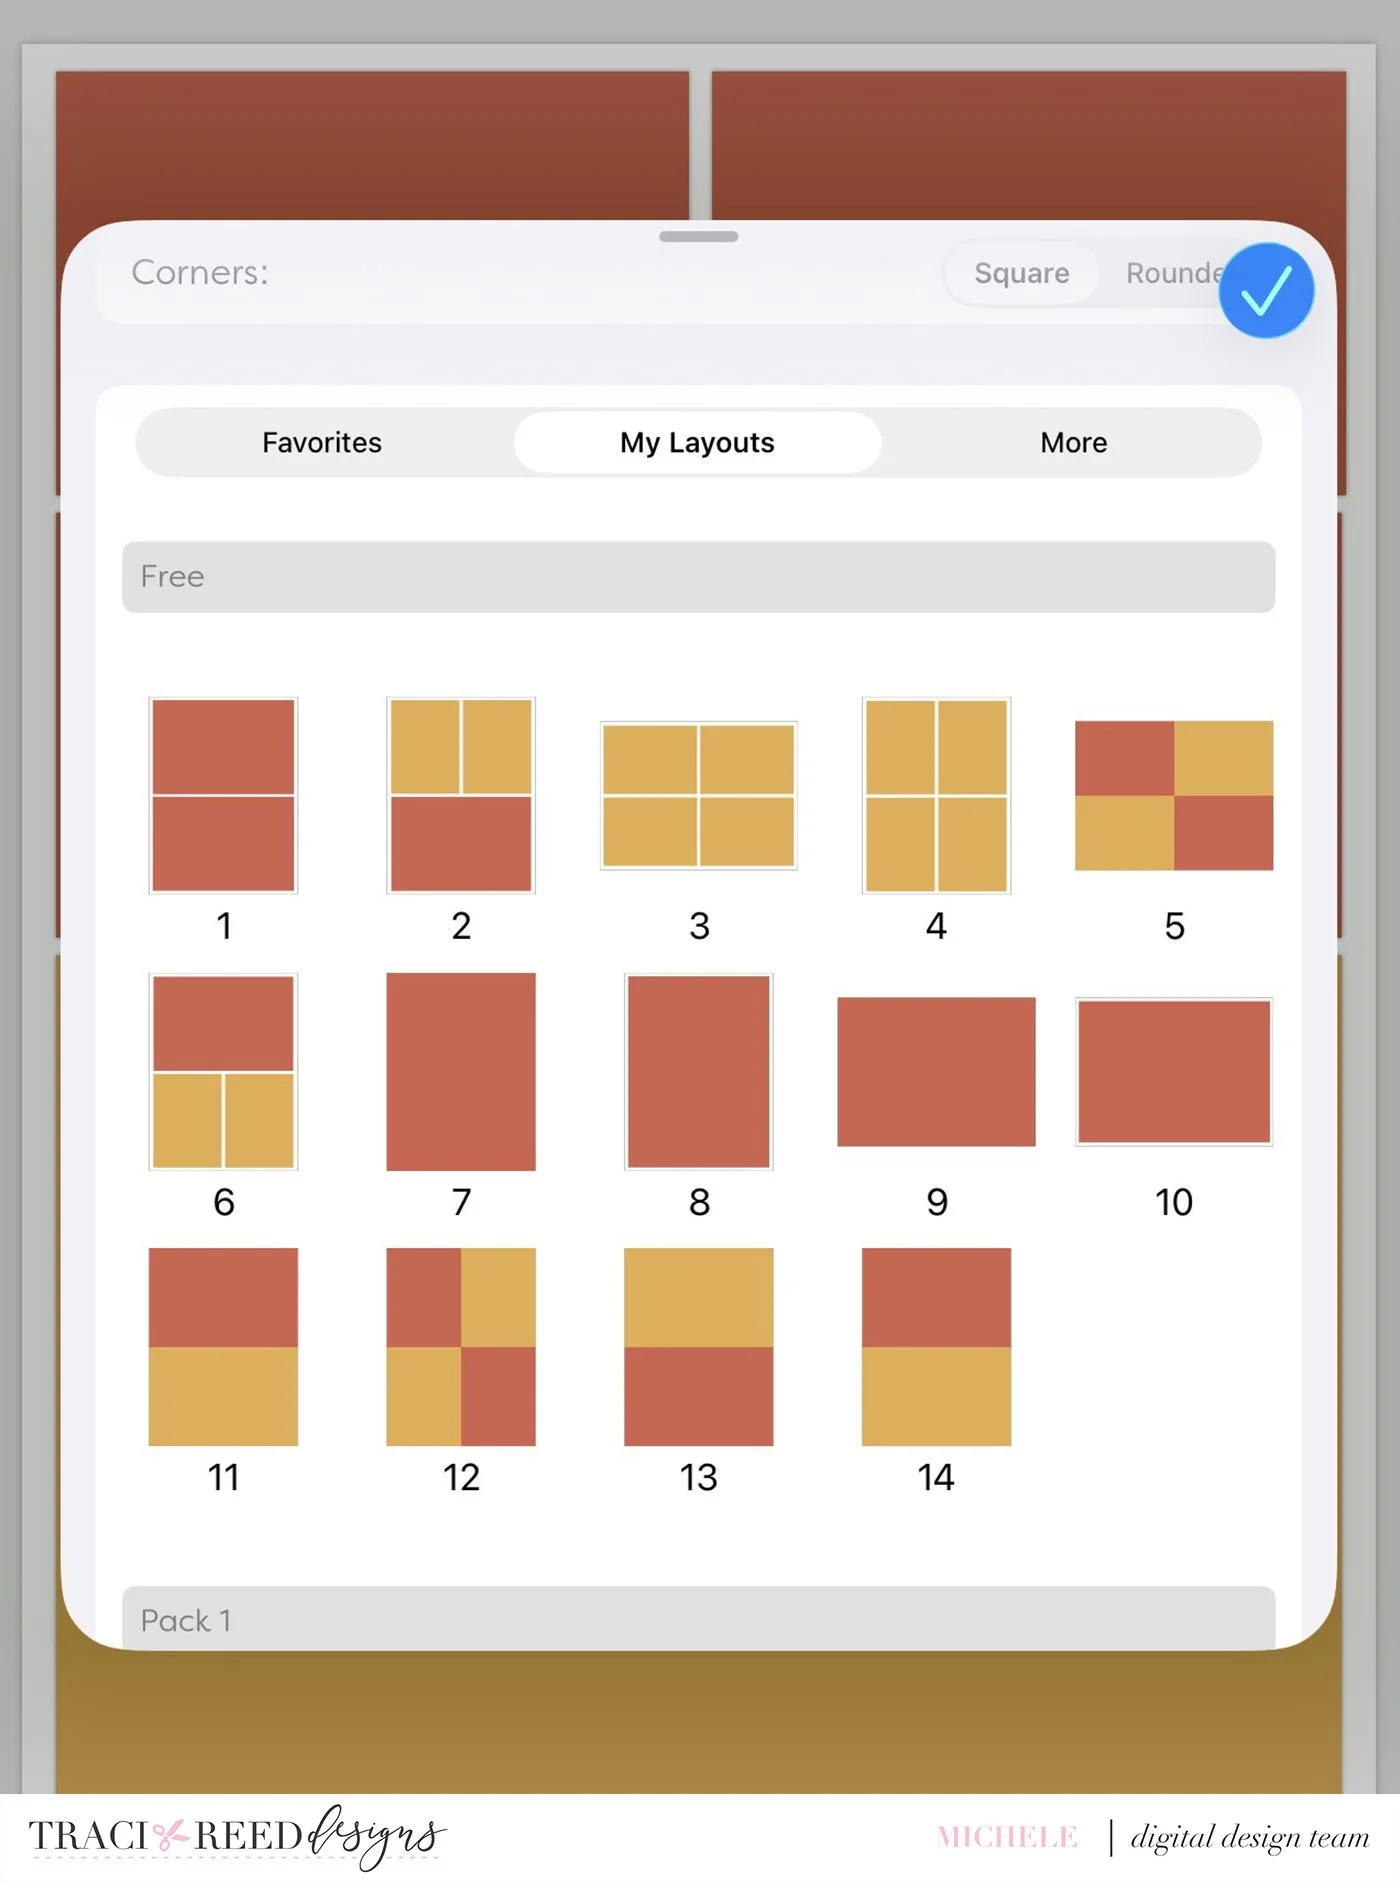
Before starting, you should determine your layout size.
This is the default layout I usually use for a project like this but mix and match depending on the photos.
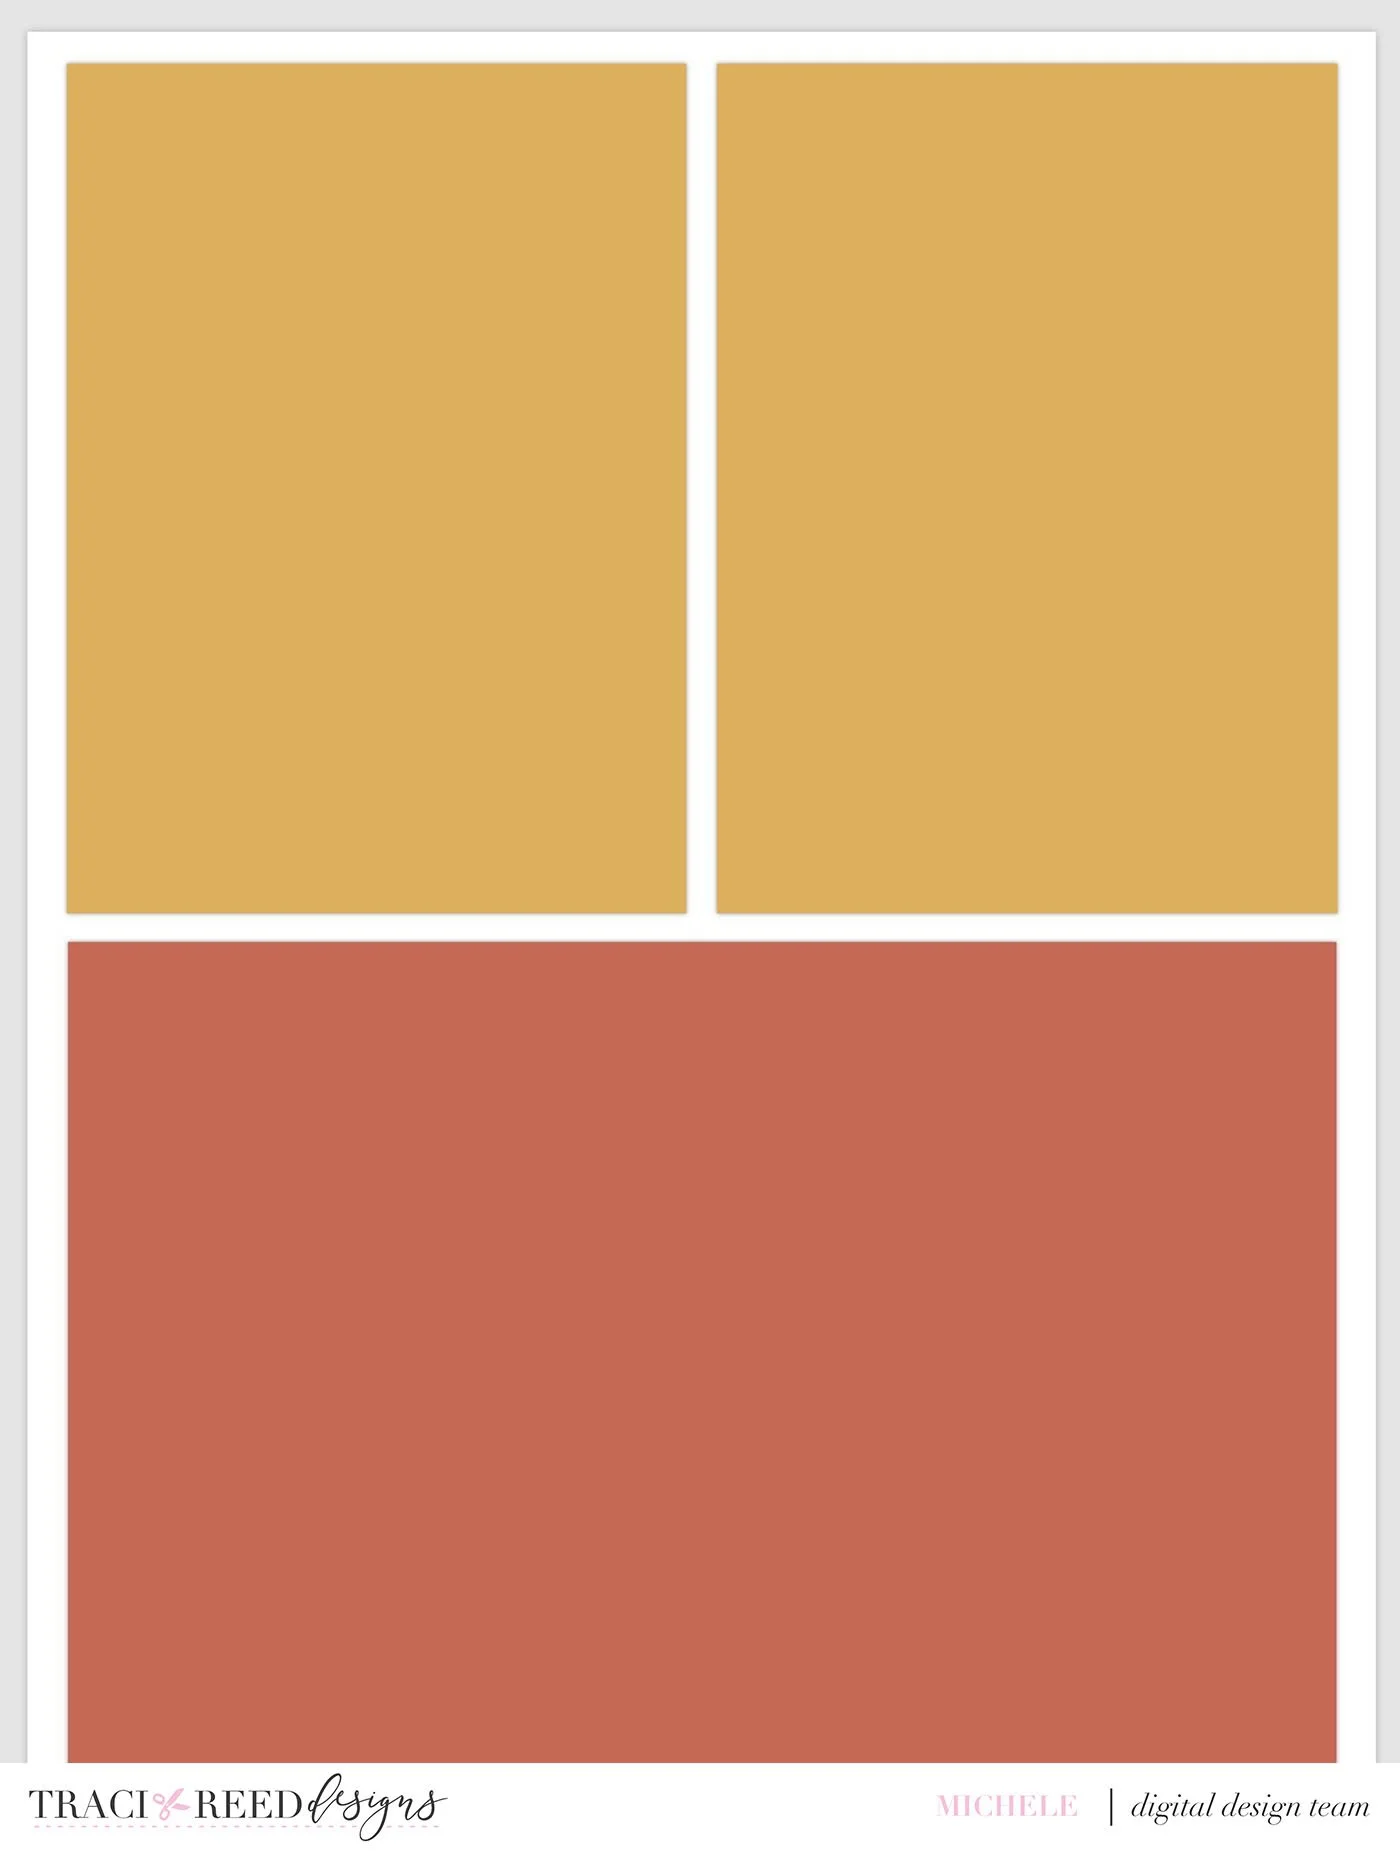
Since this is the layout I want, and I know that this is 6 wide by 8 tall. Because of that, I know that those yellow pockets are 3 wide by 4 tall. It is important to know that when I make my cards in Studio.
Now I’m going over to the Studio app remembering that I want a 3X4 ratio.
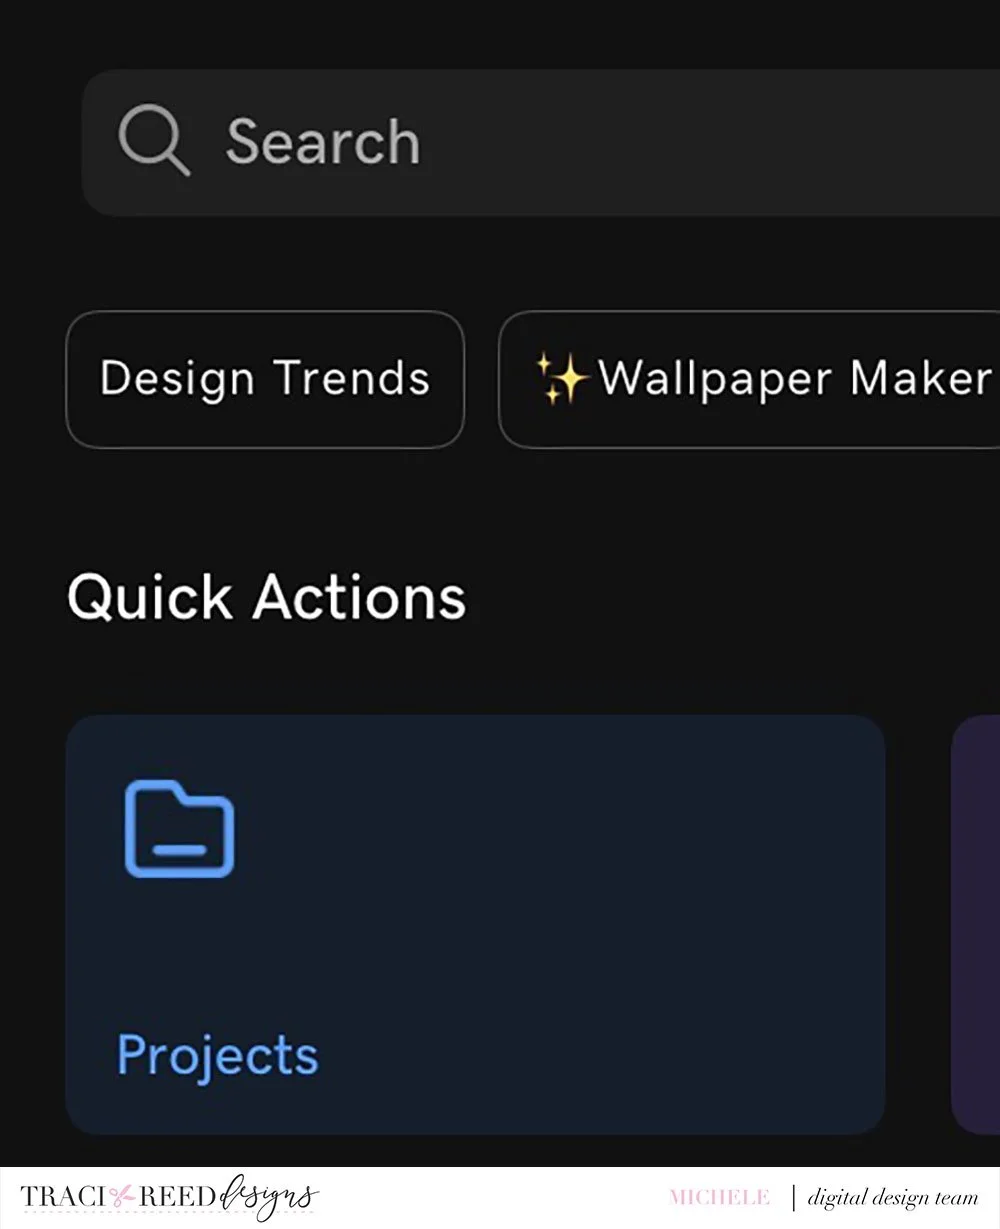
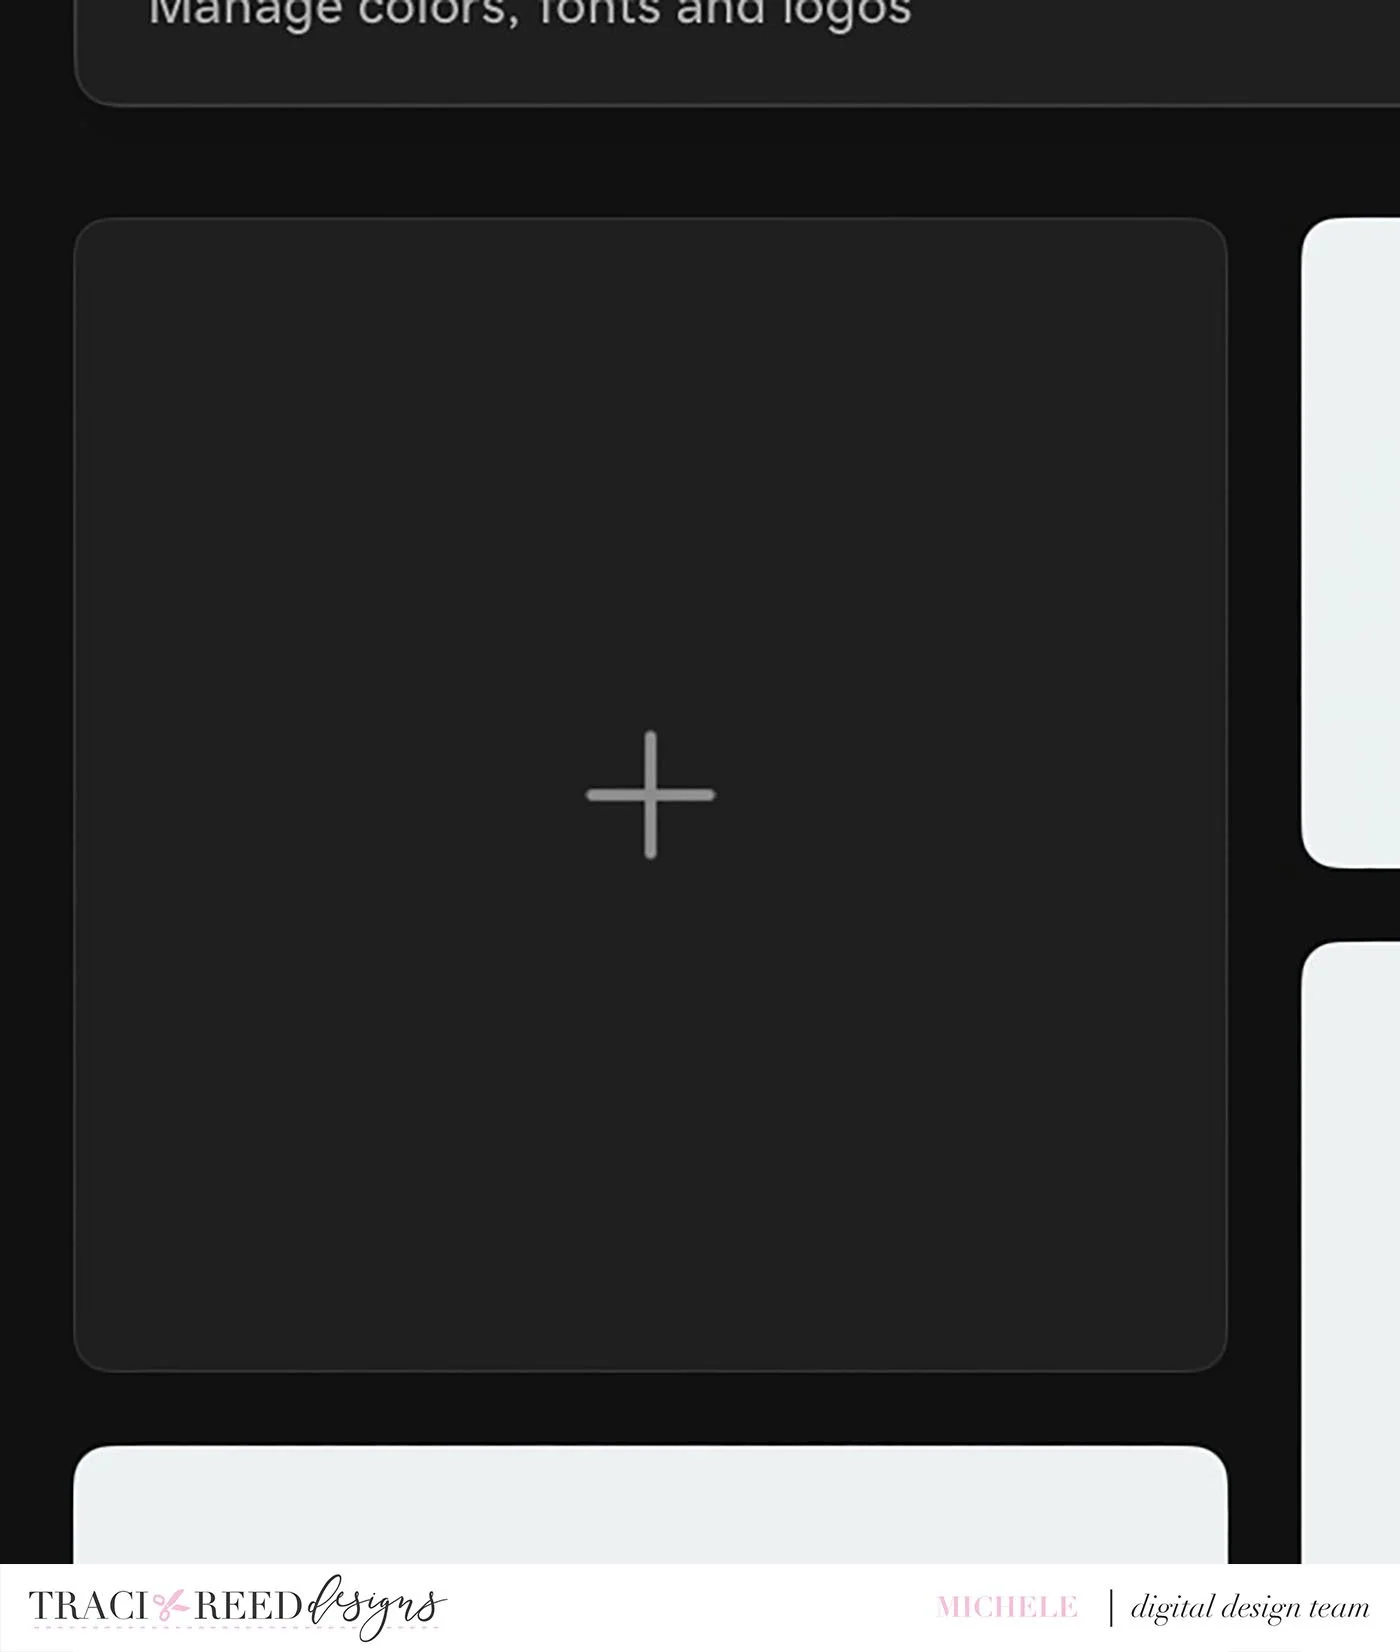
I click projects:
Then the +.
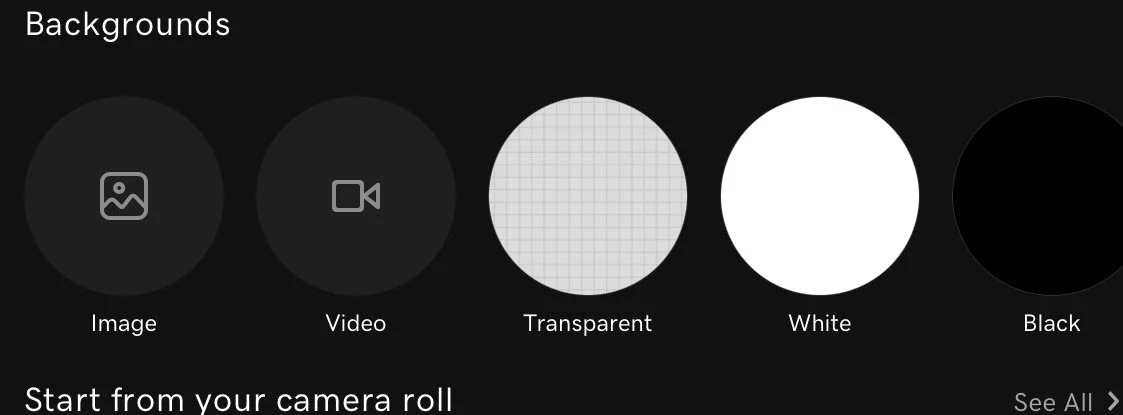
I like to choose Transparent background. I could start with an image (paper) from the collection, but I like to build on top of a background in case I want to delete anything.
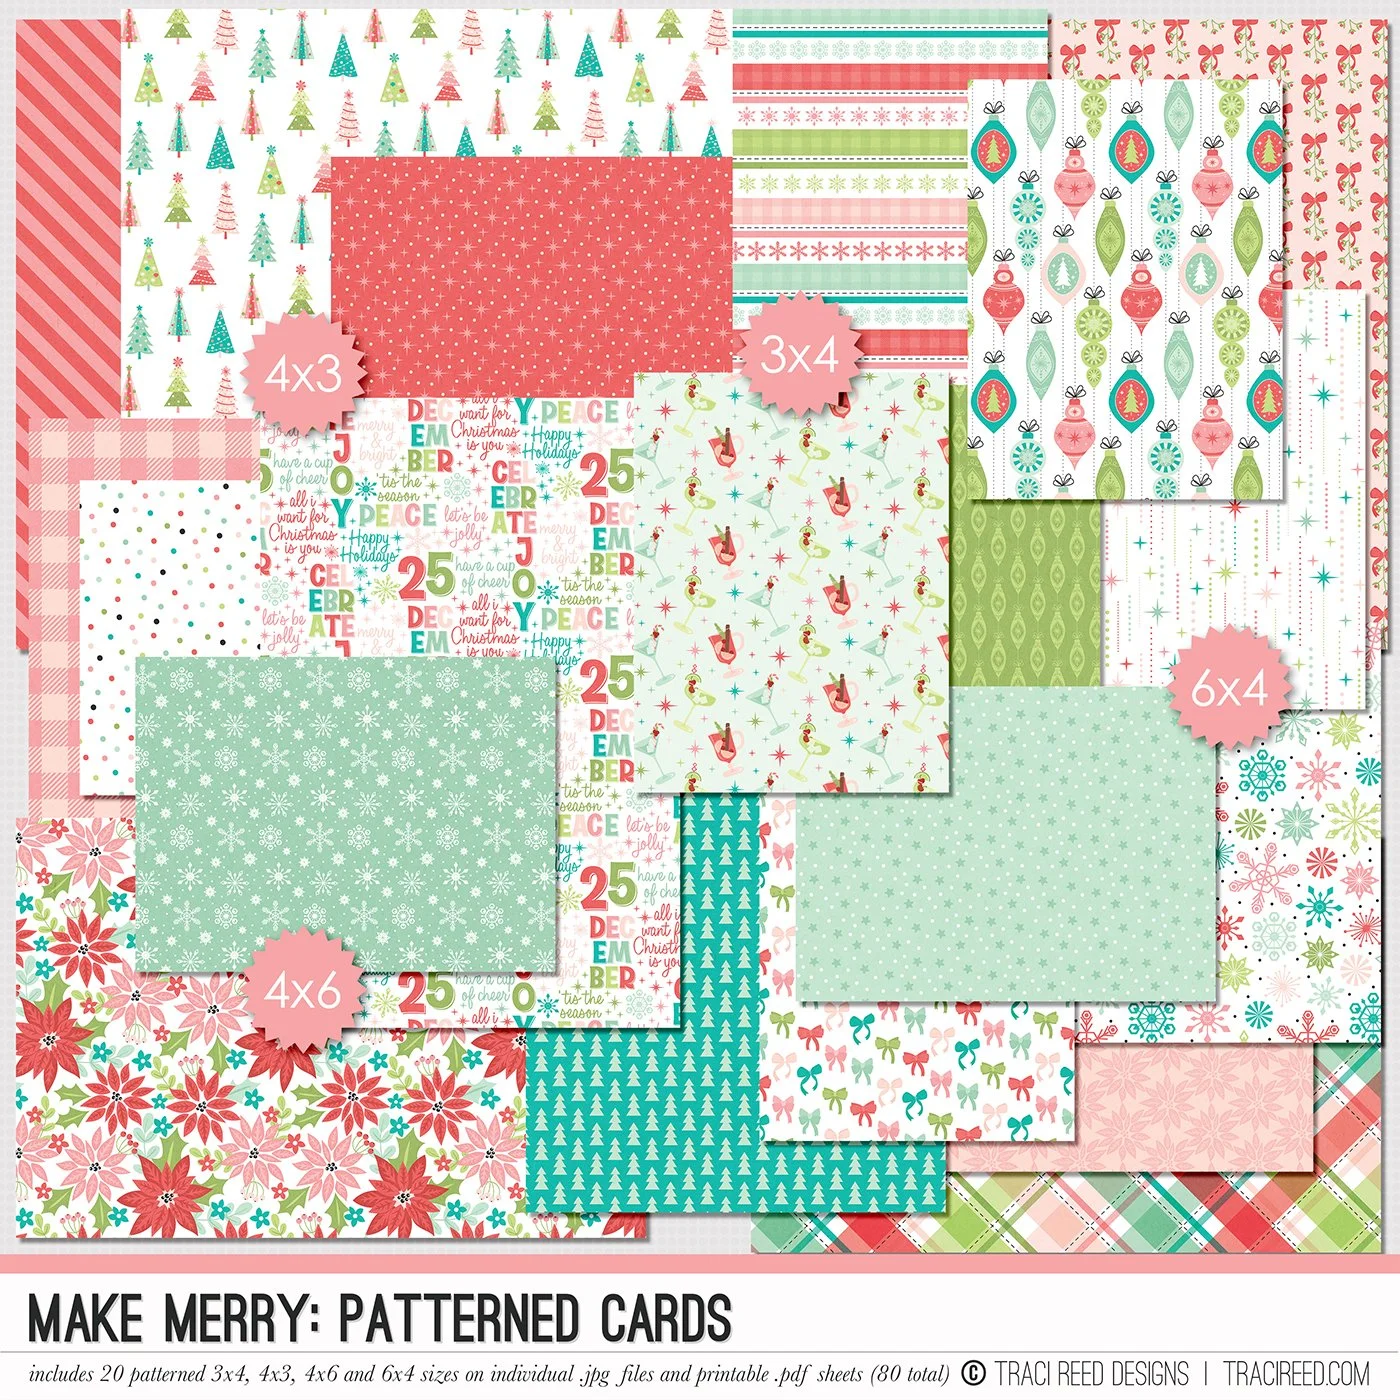
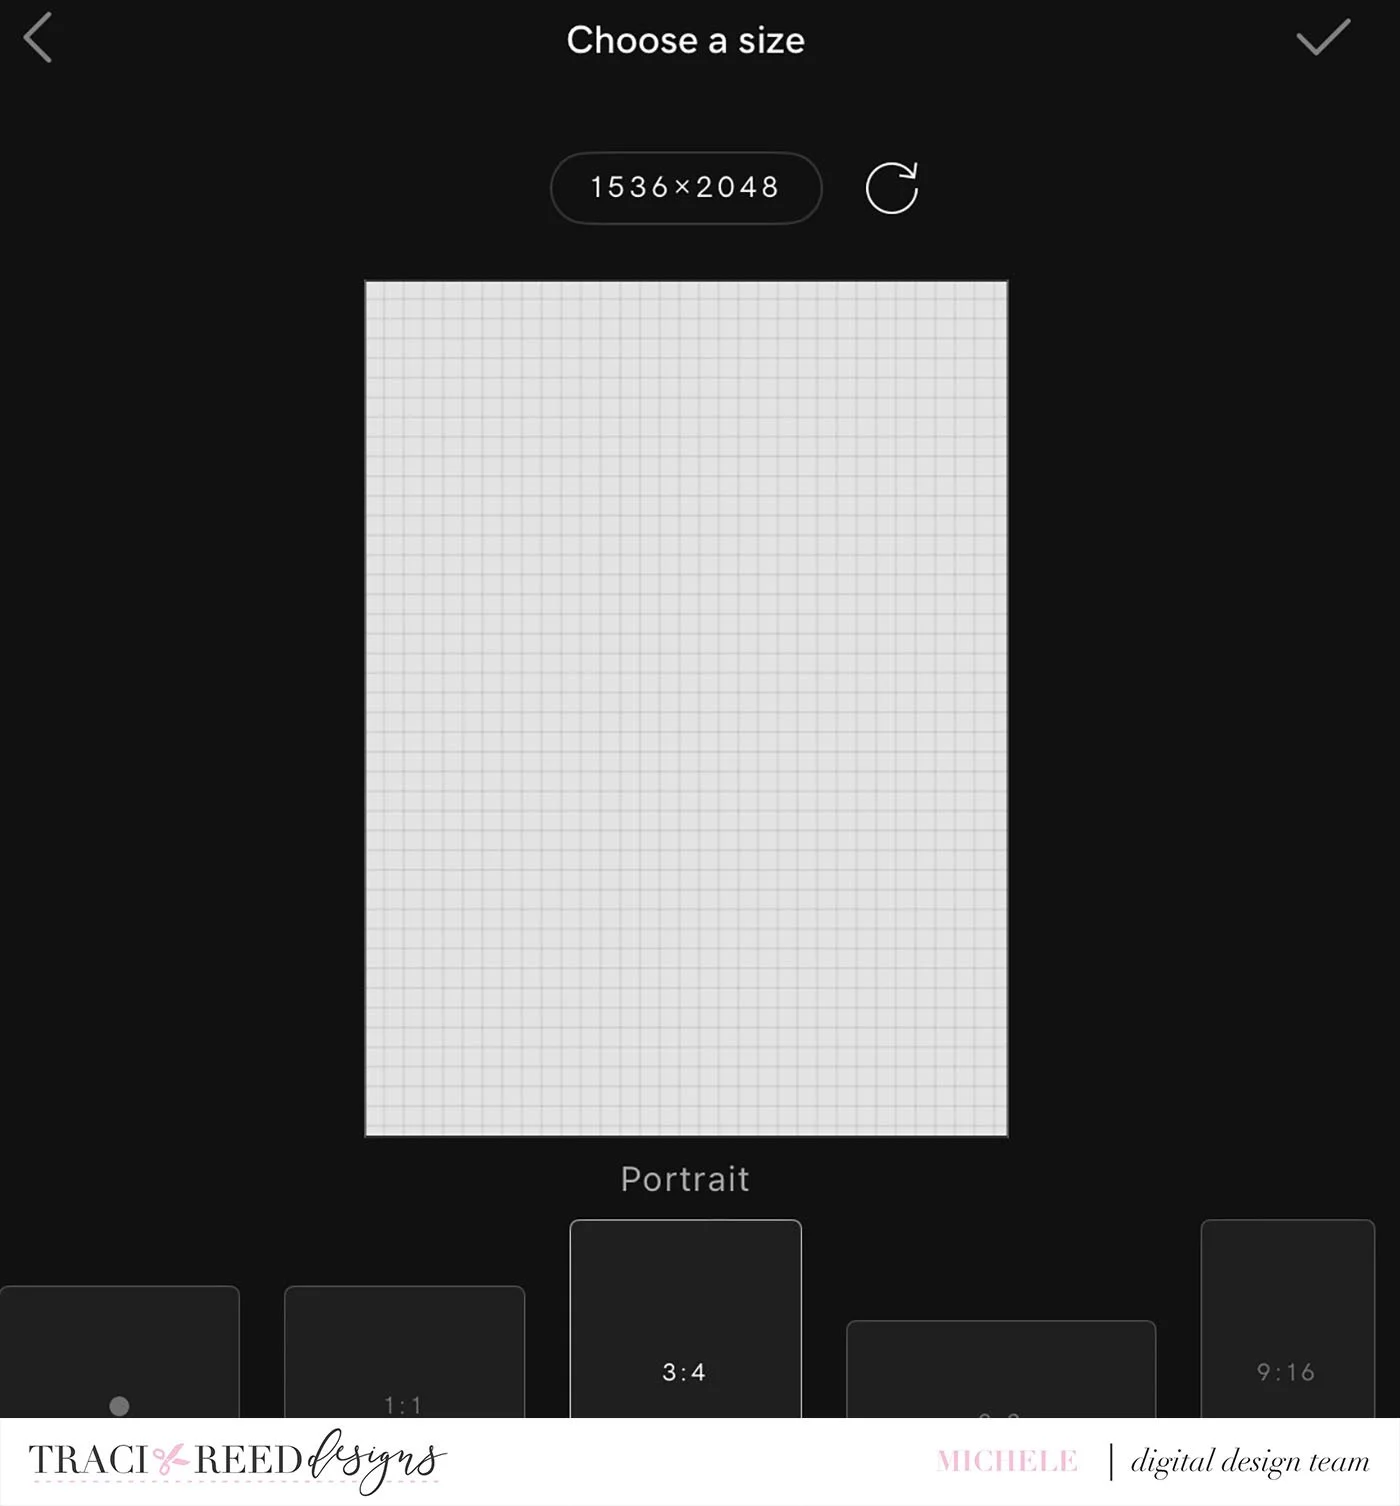
I choose 3:4 since this is ratio I know that I want. This will work for a full 6X8 too. I just need to use multiplication when deciding on a layout. The little circle arrow at the top will change it from portrait to landscape if that is the look you need. You can also move it over a card to the 3:2 if you want a 4X6 card.
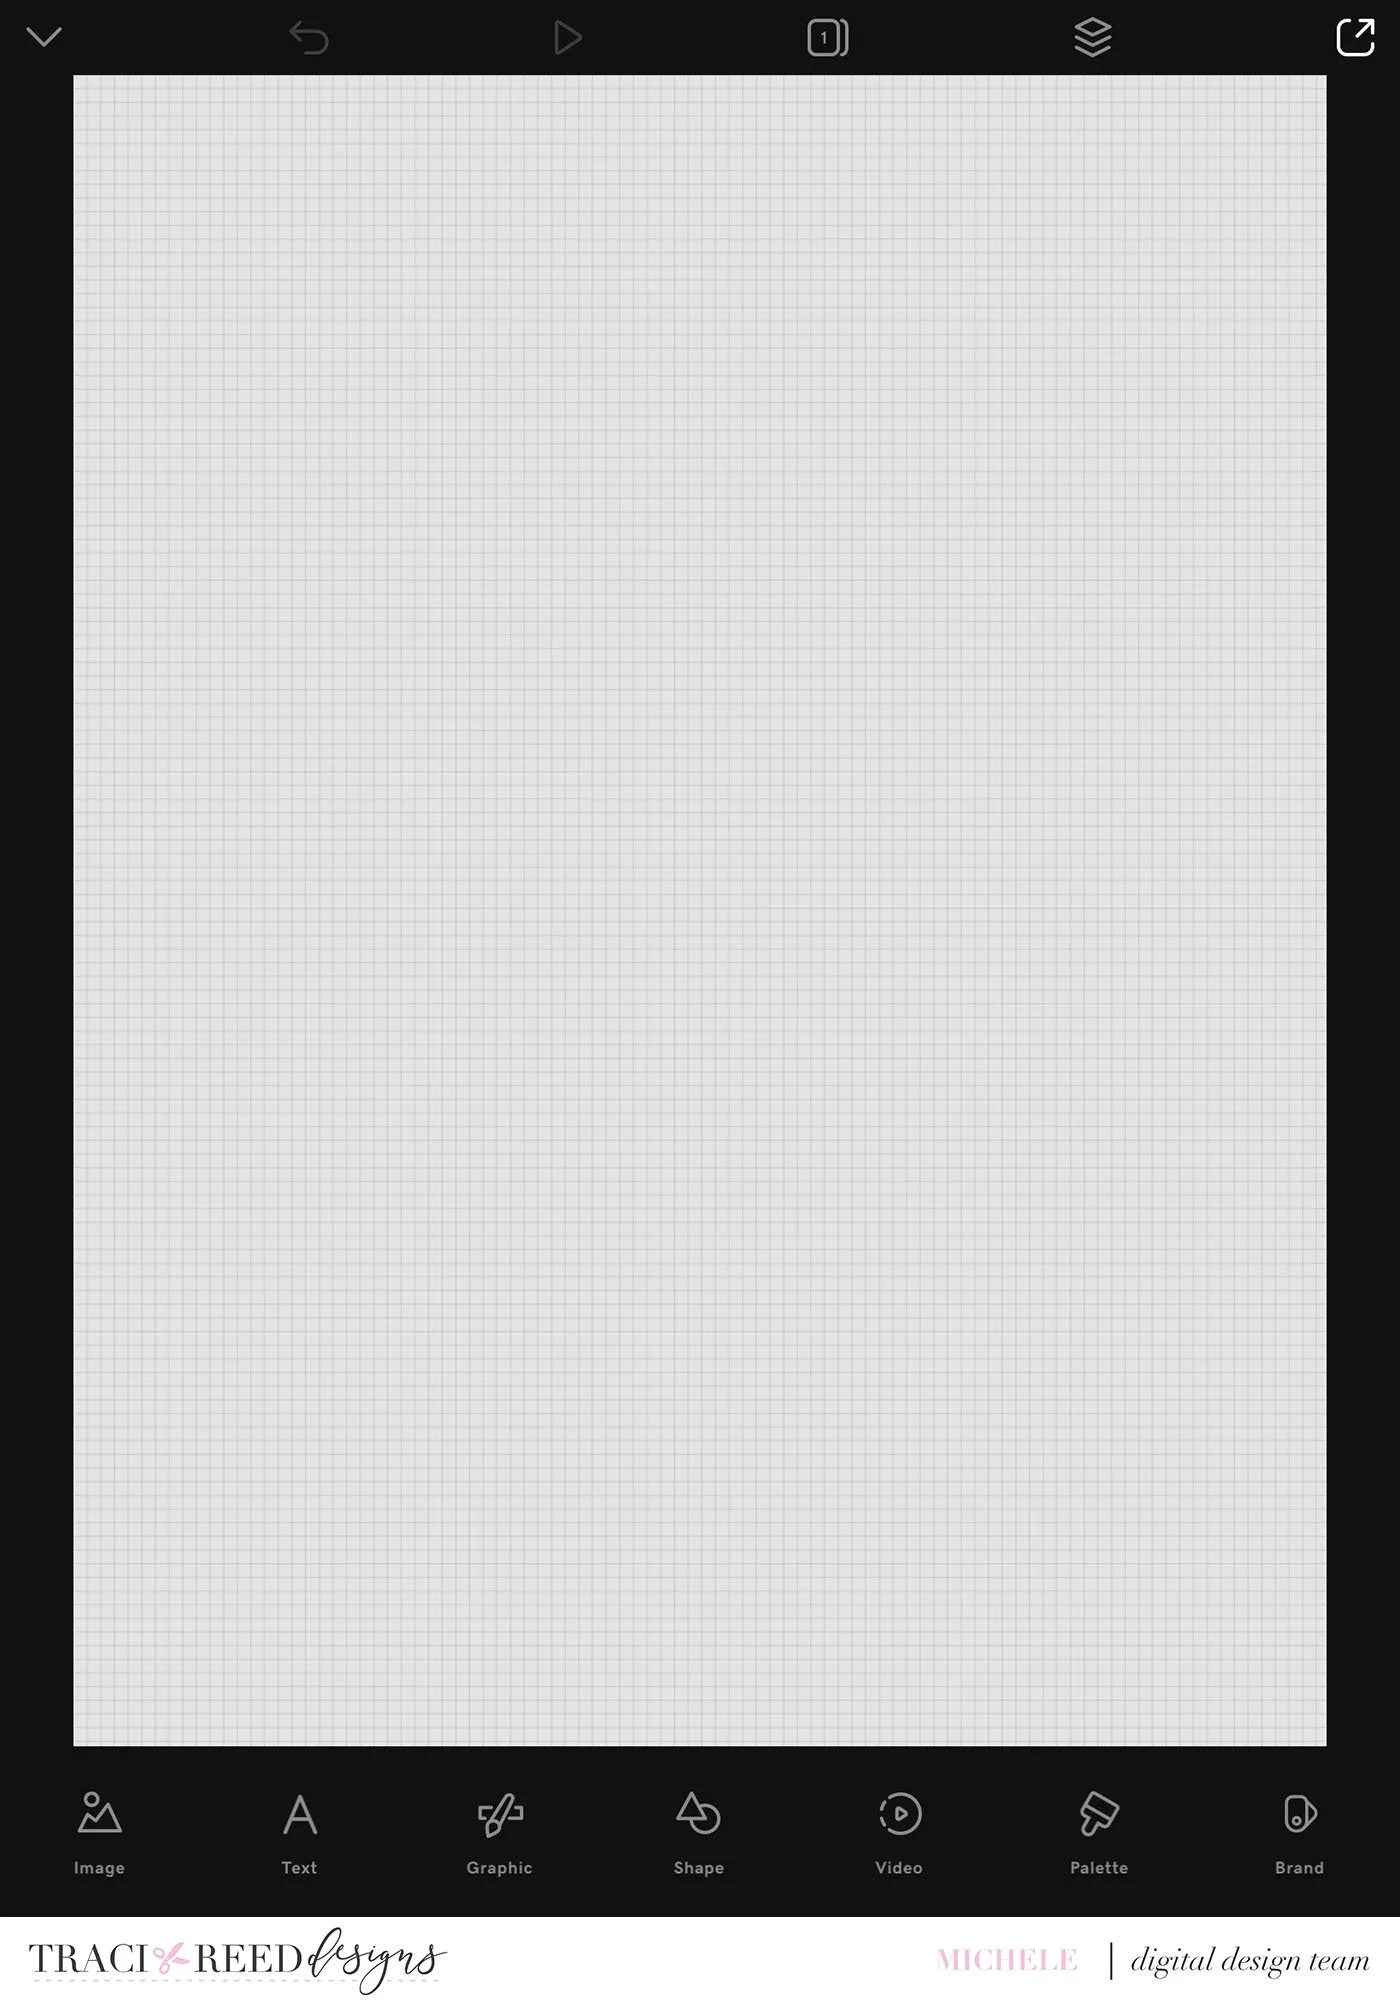
This is my blank canvas to create my day card.
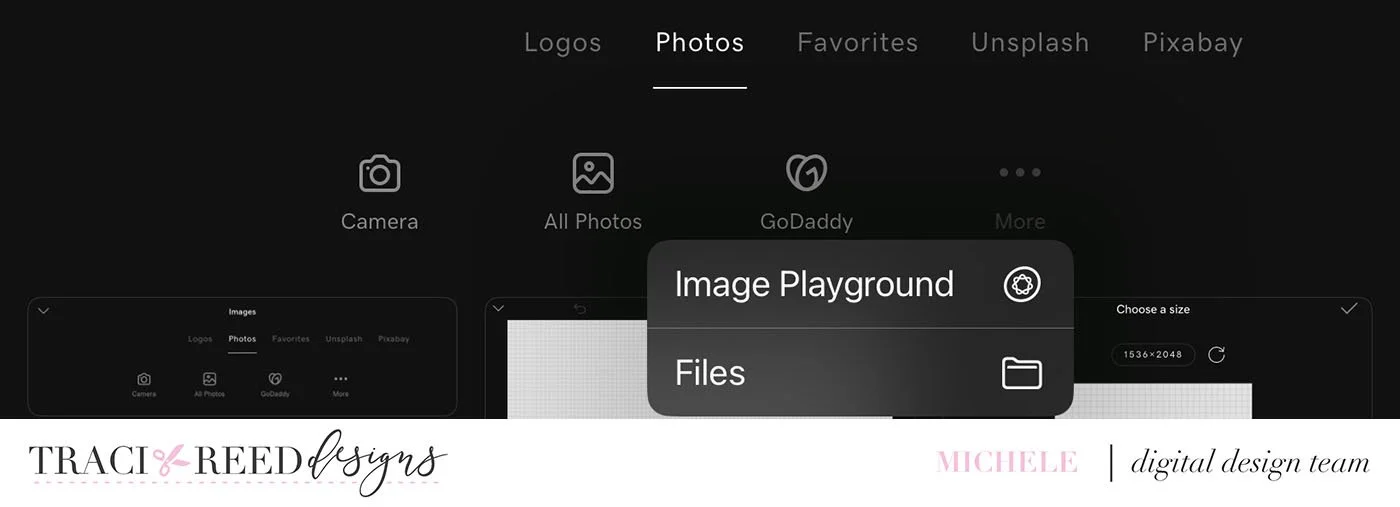
At the bottom click image, then more and navigate where your collection is saved.
I choose more…Files and then Make Merry.
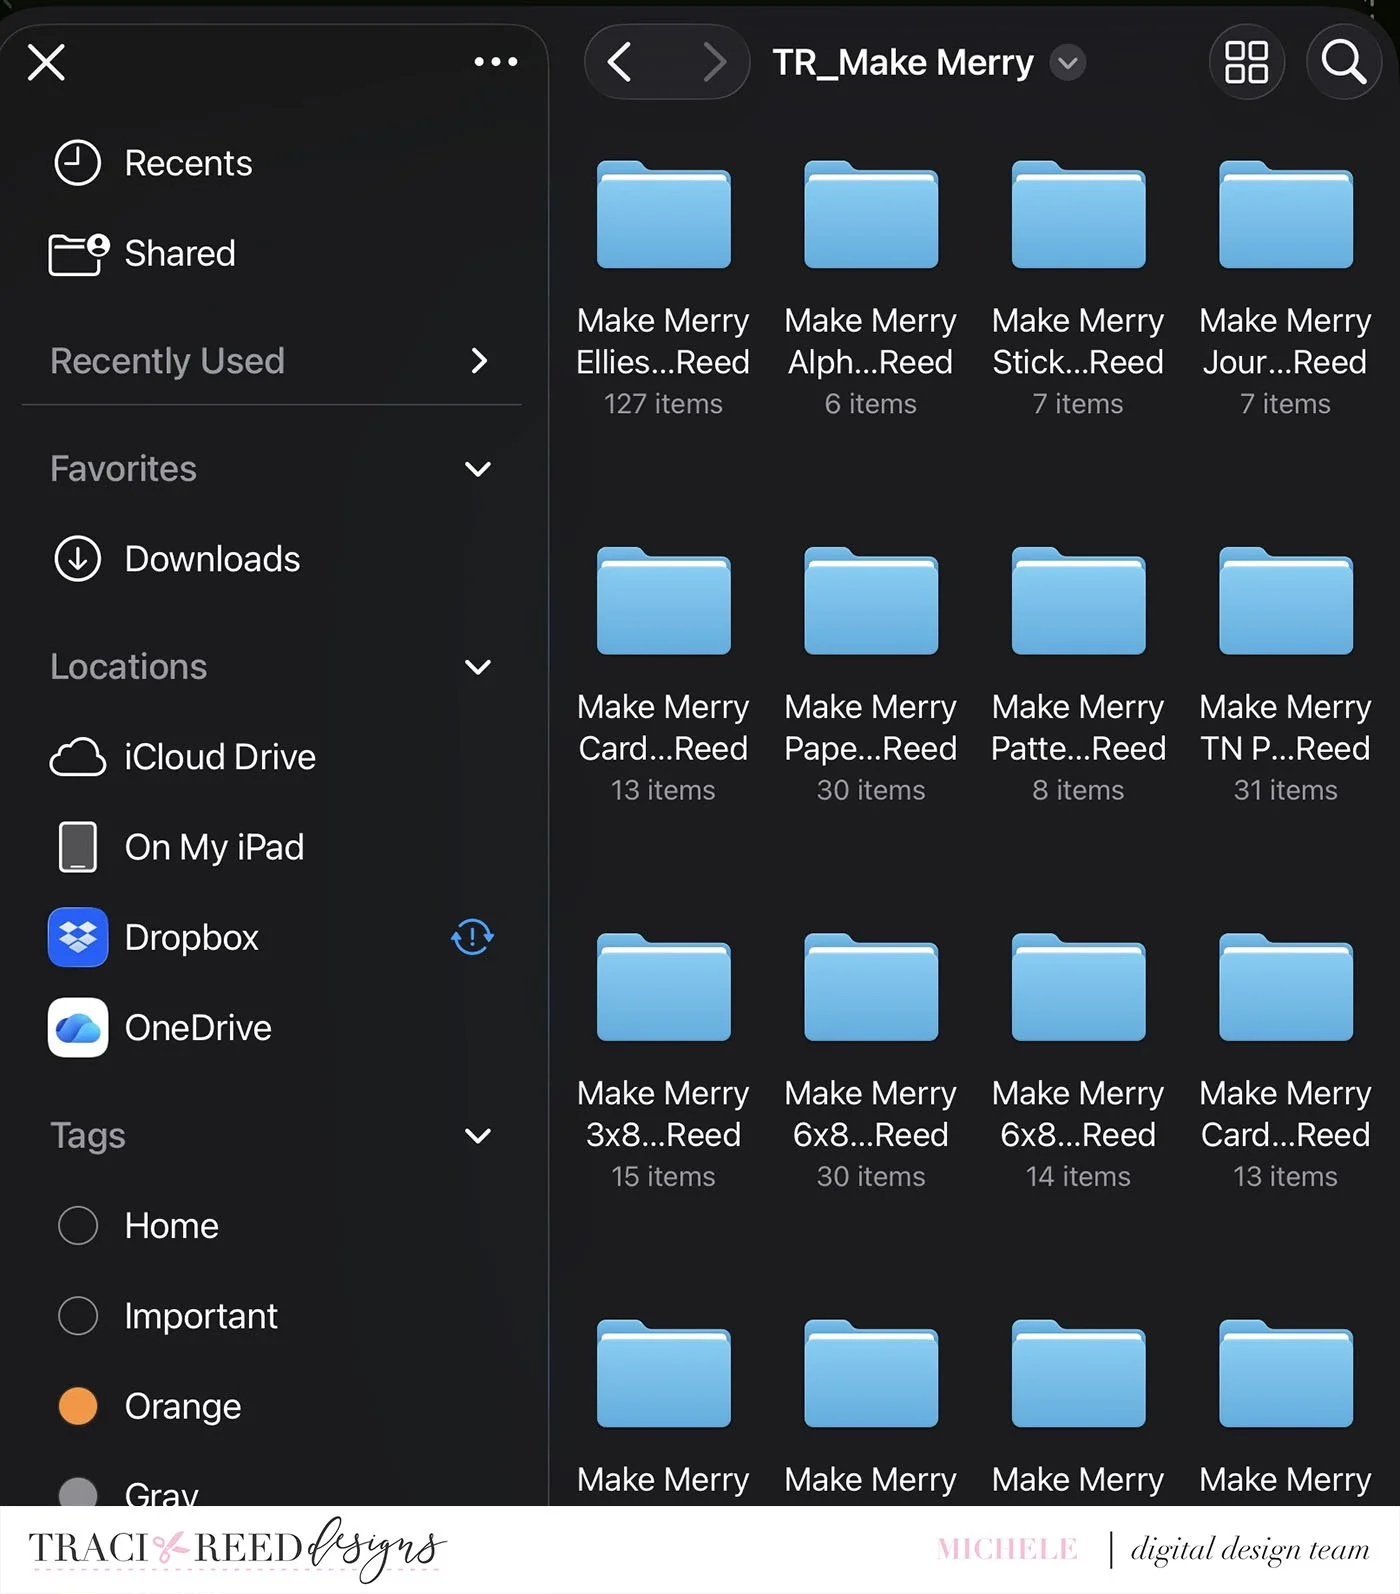
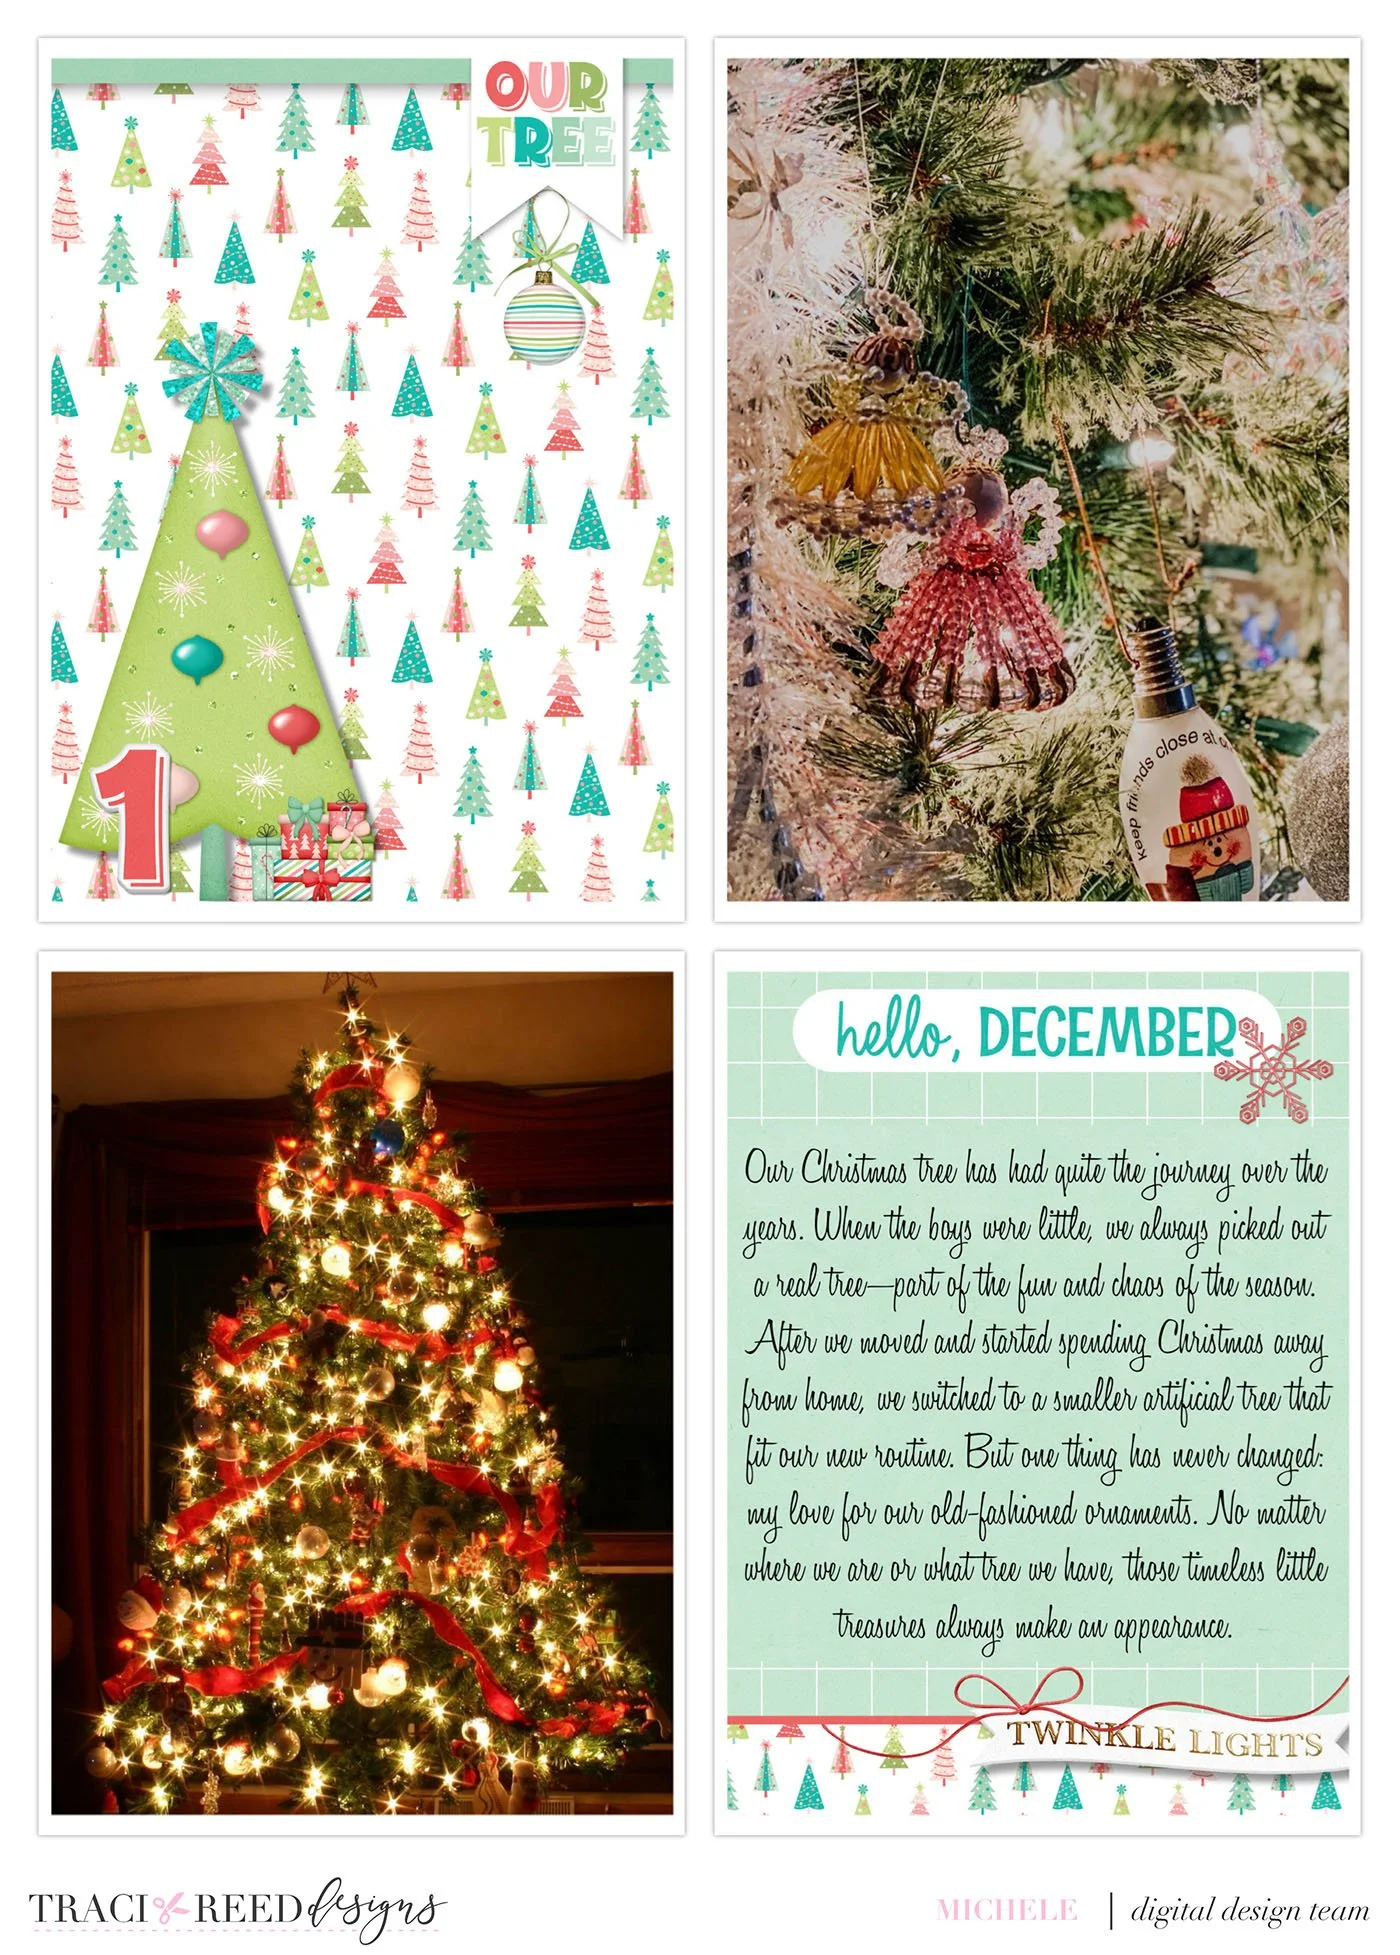
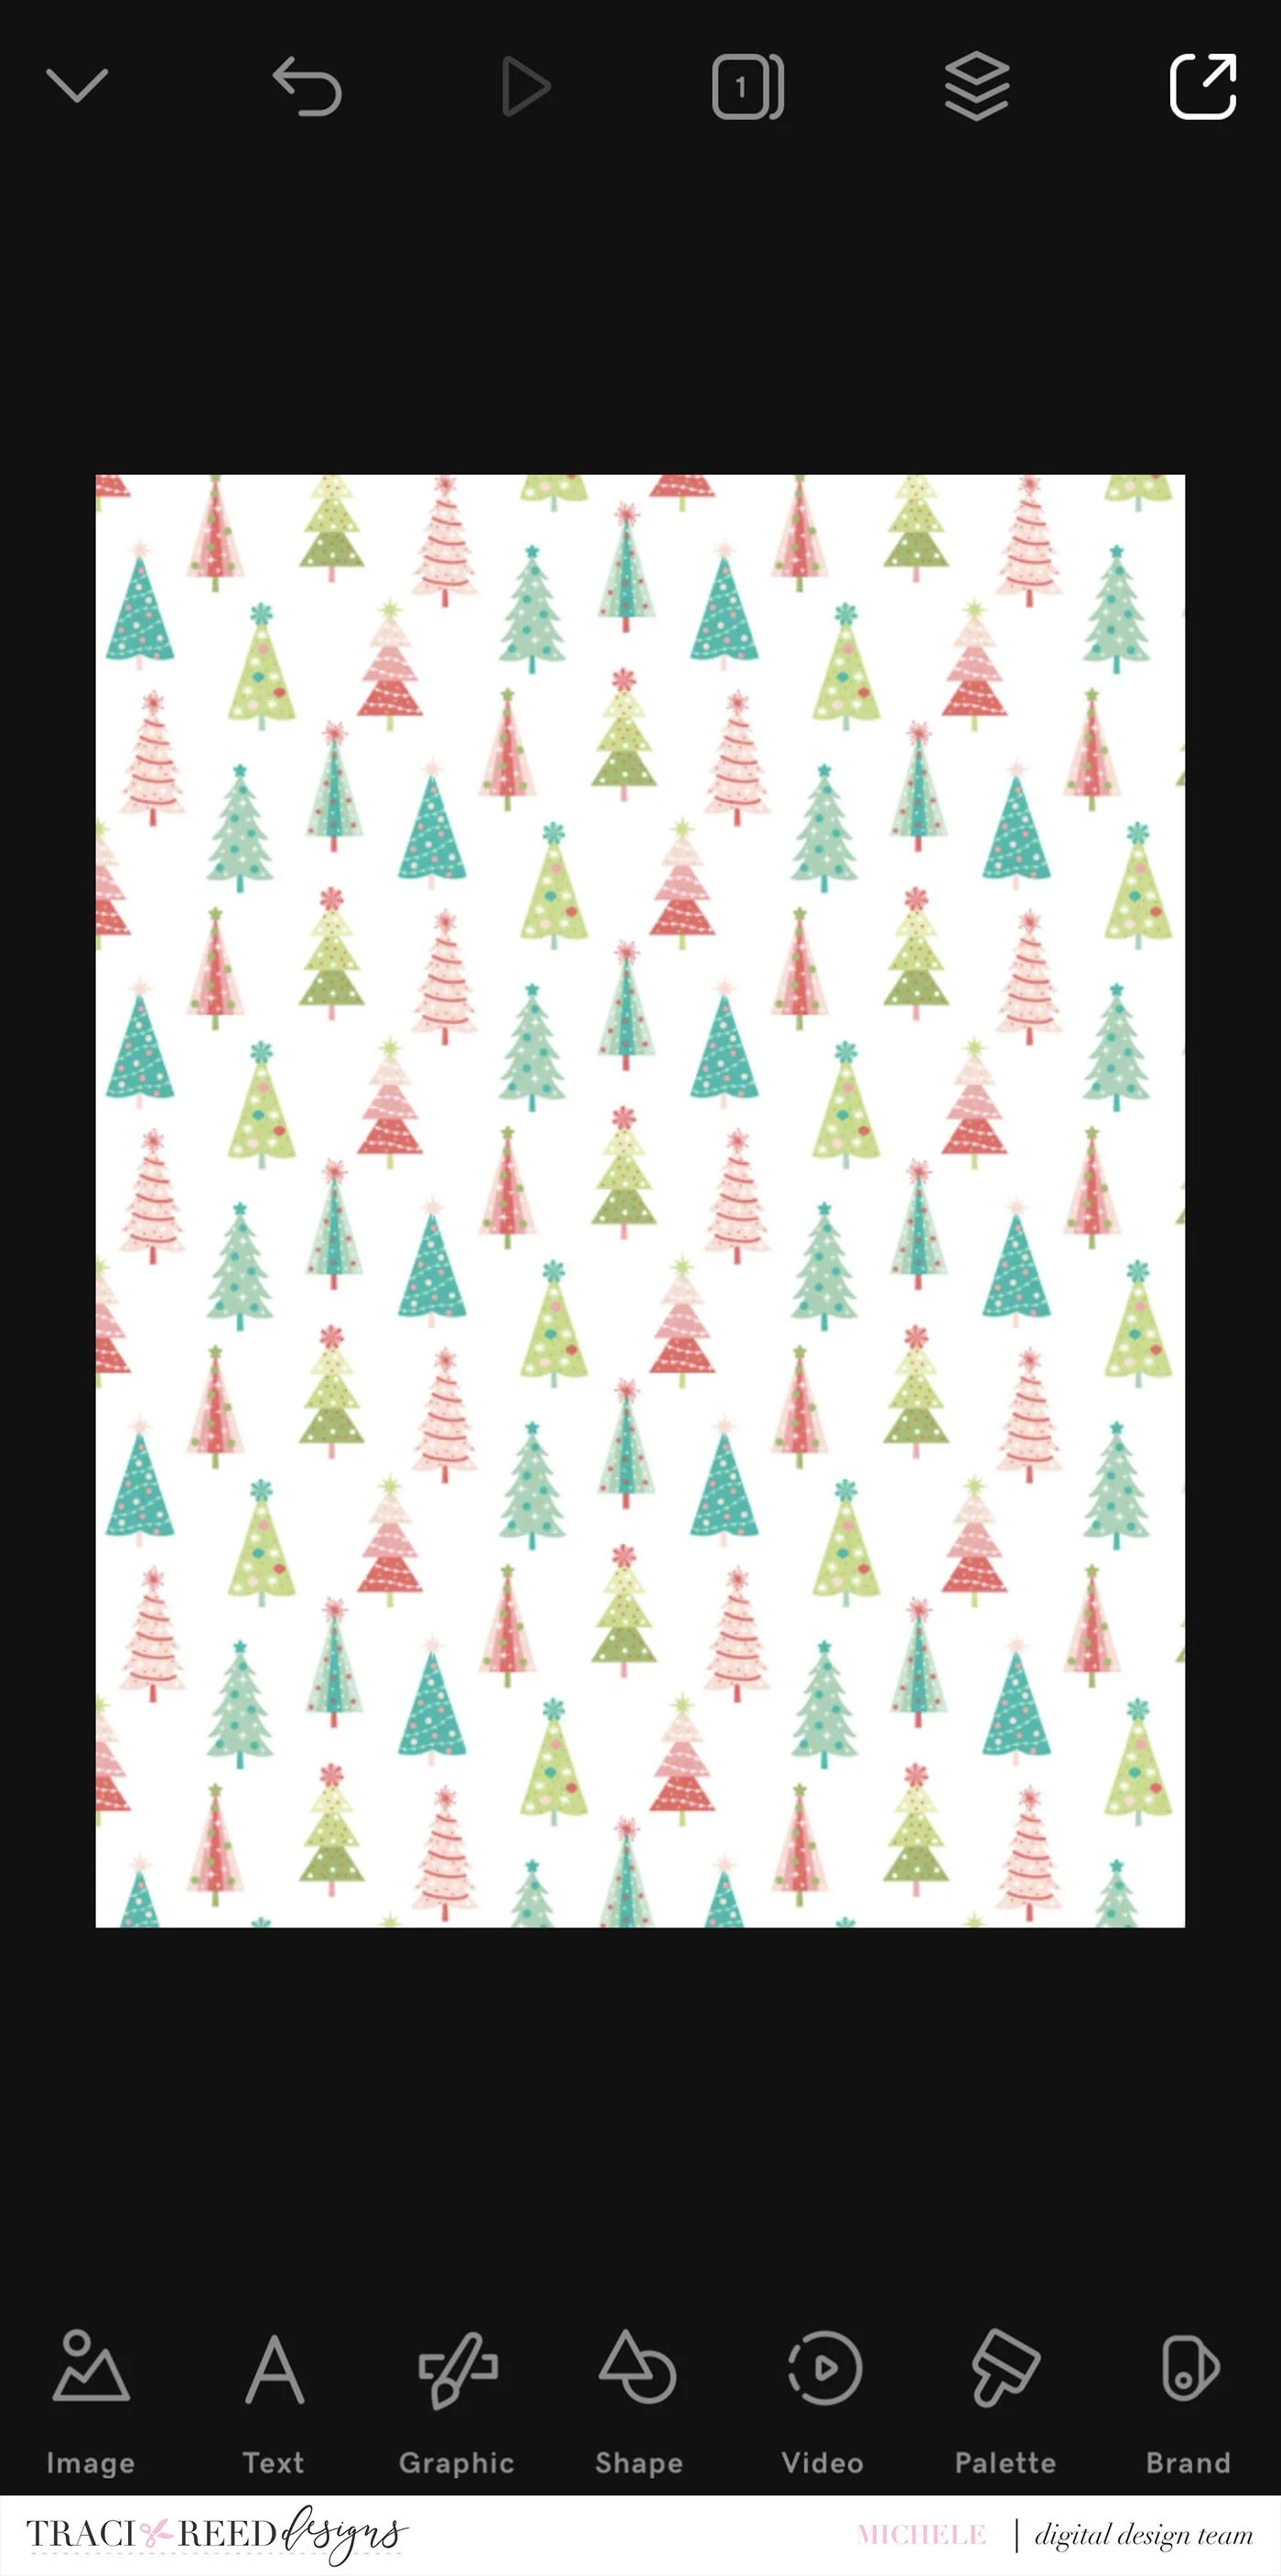
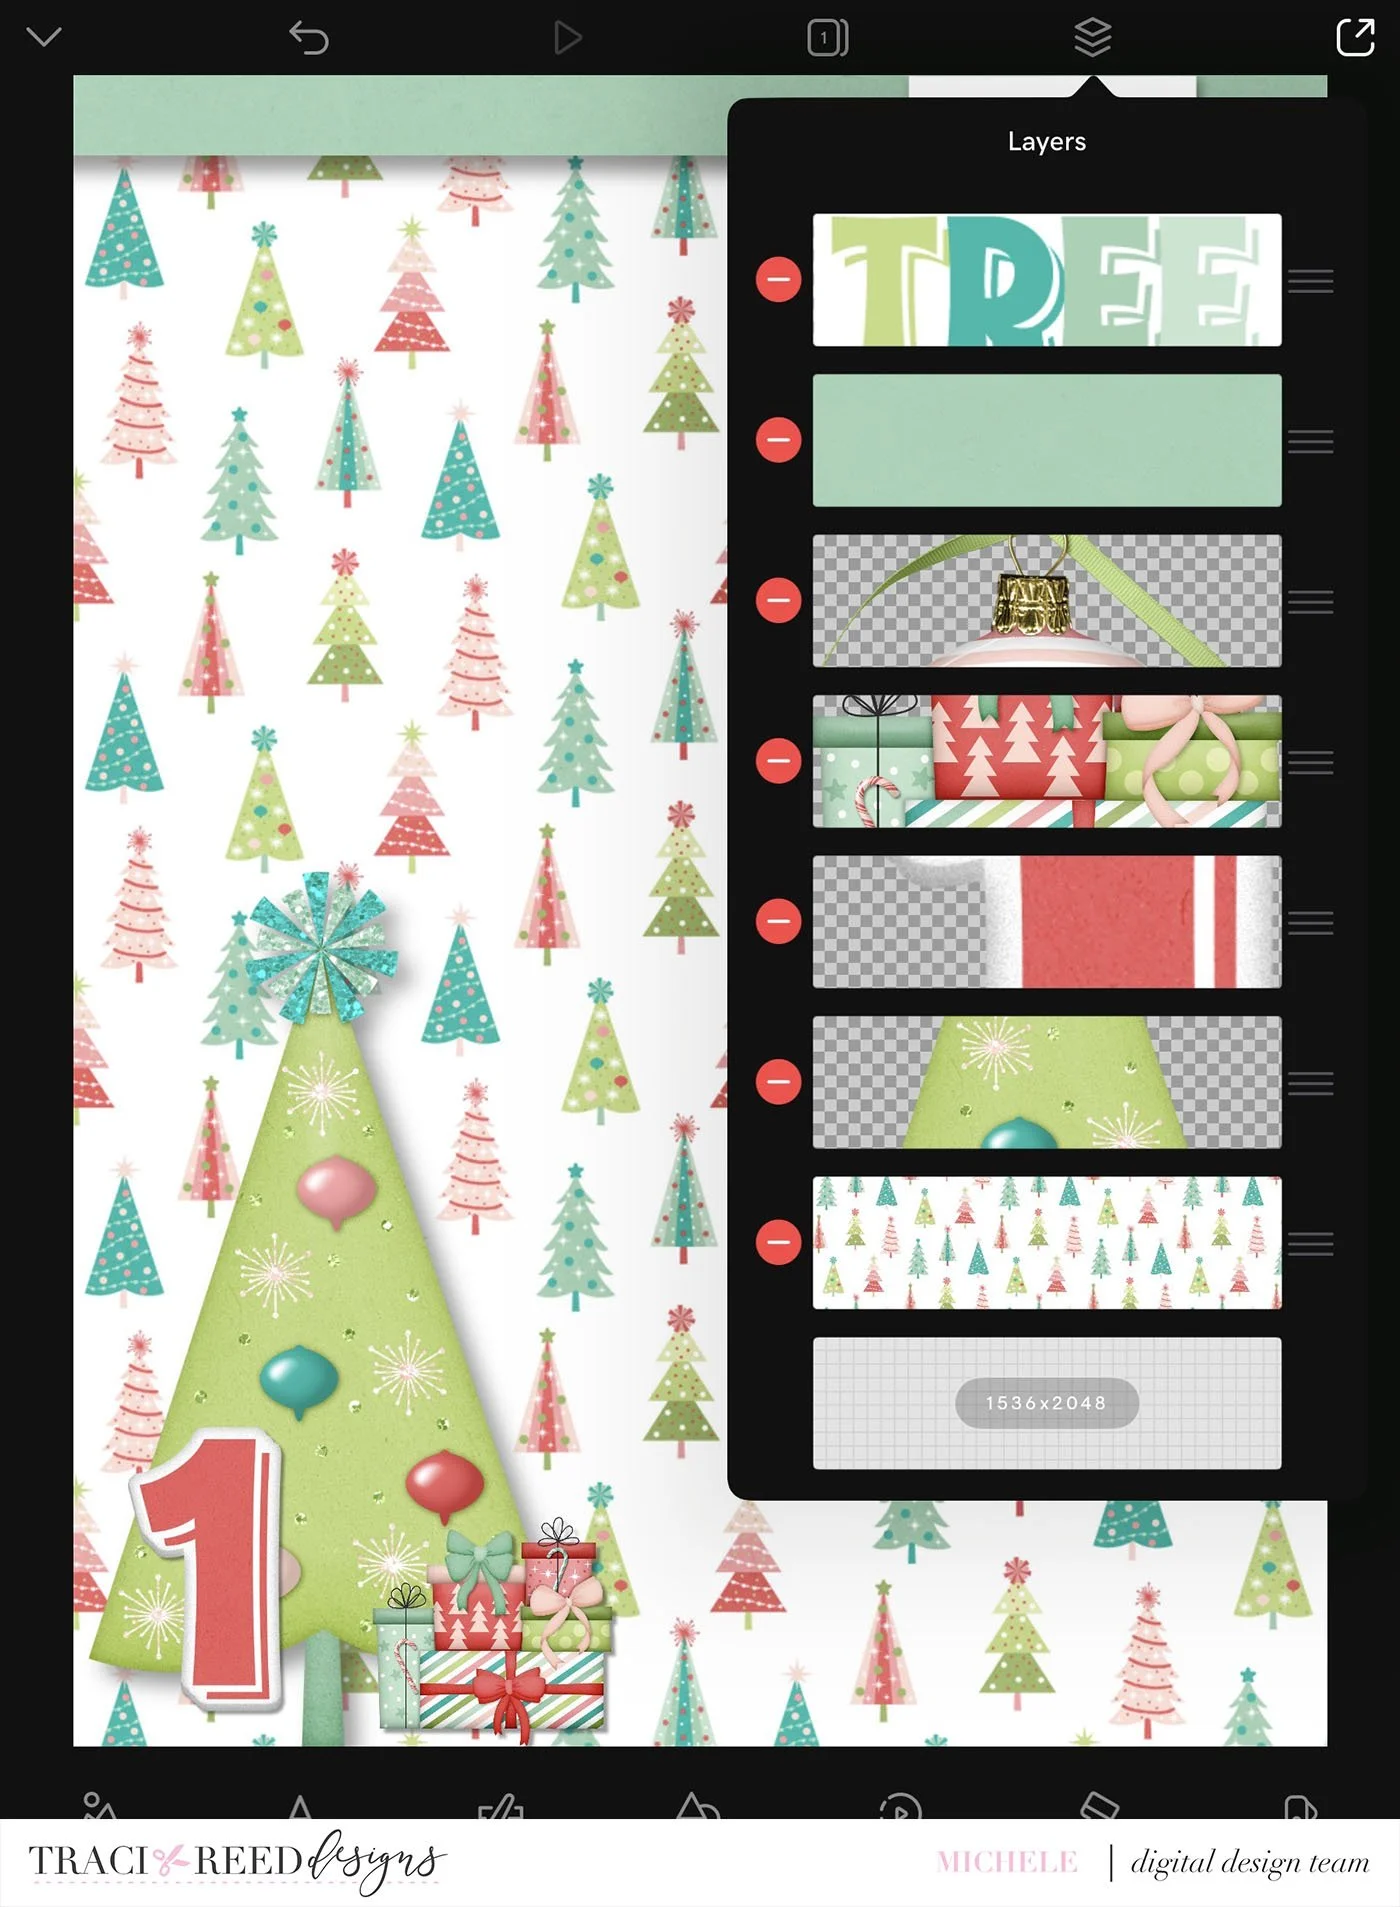
I selected papers and found one that I wanted. I know my first page is always the tree, so this is what I wanted to start with.
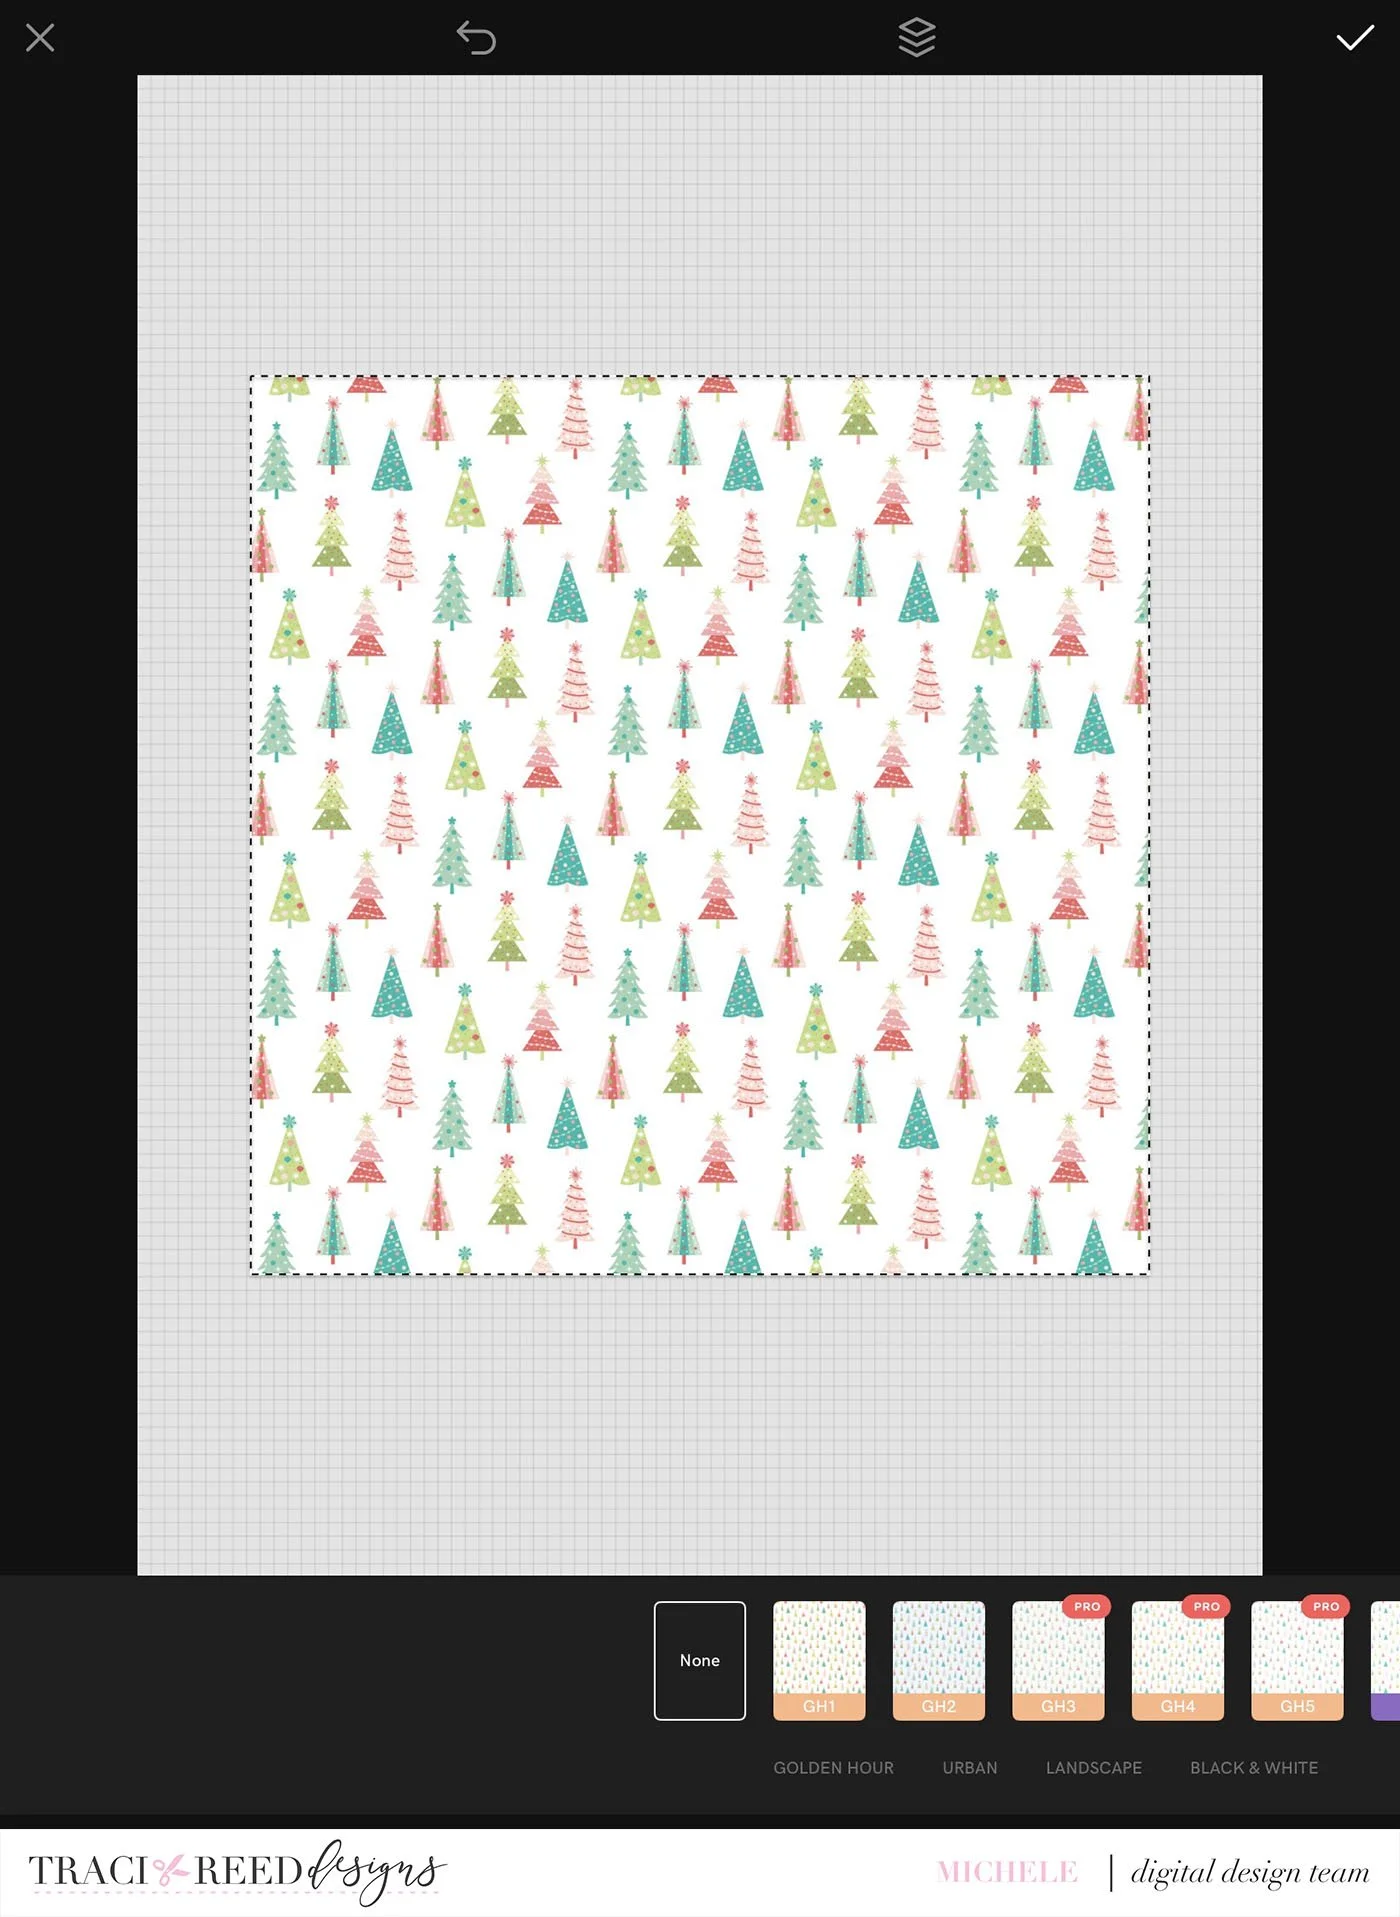
When it comes in, it is smaller than the canvas.
Using your fingers, enlarge to fill the canvas.
Now I start using all the great embellishments that go with the collection. You resize using your fingers.
Image—more—find your file.
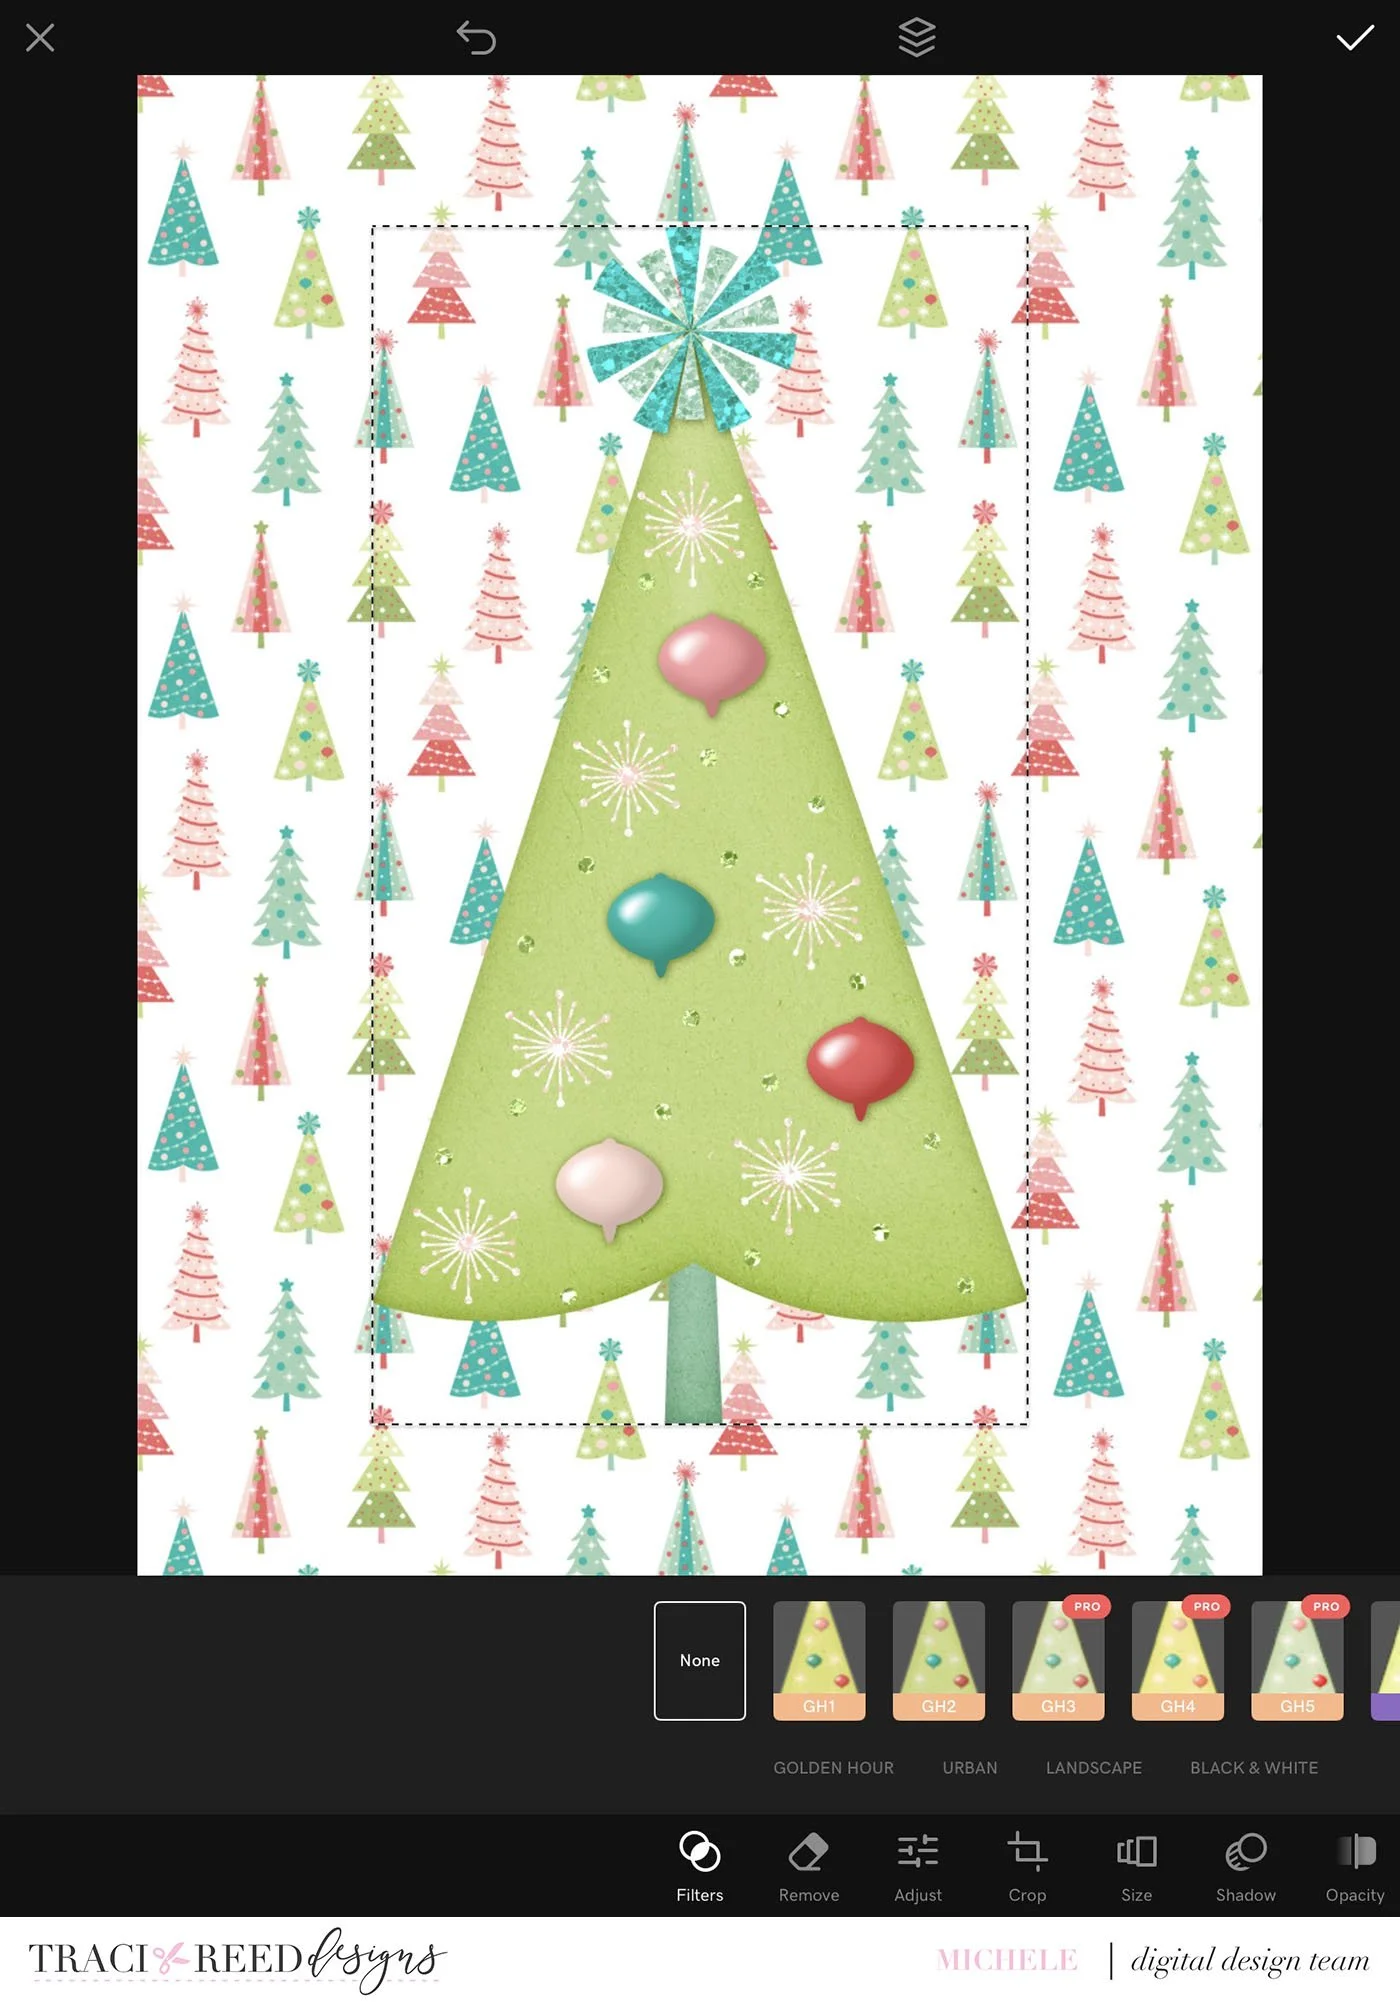
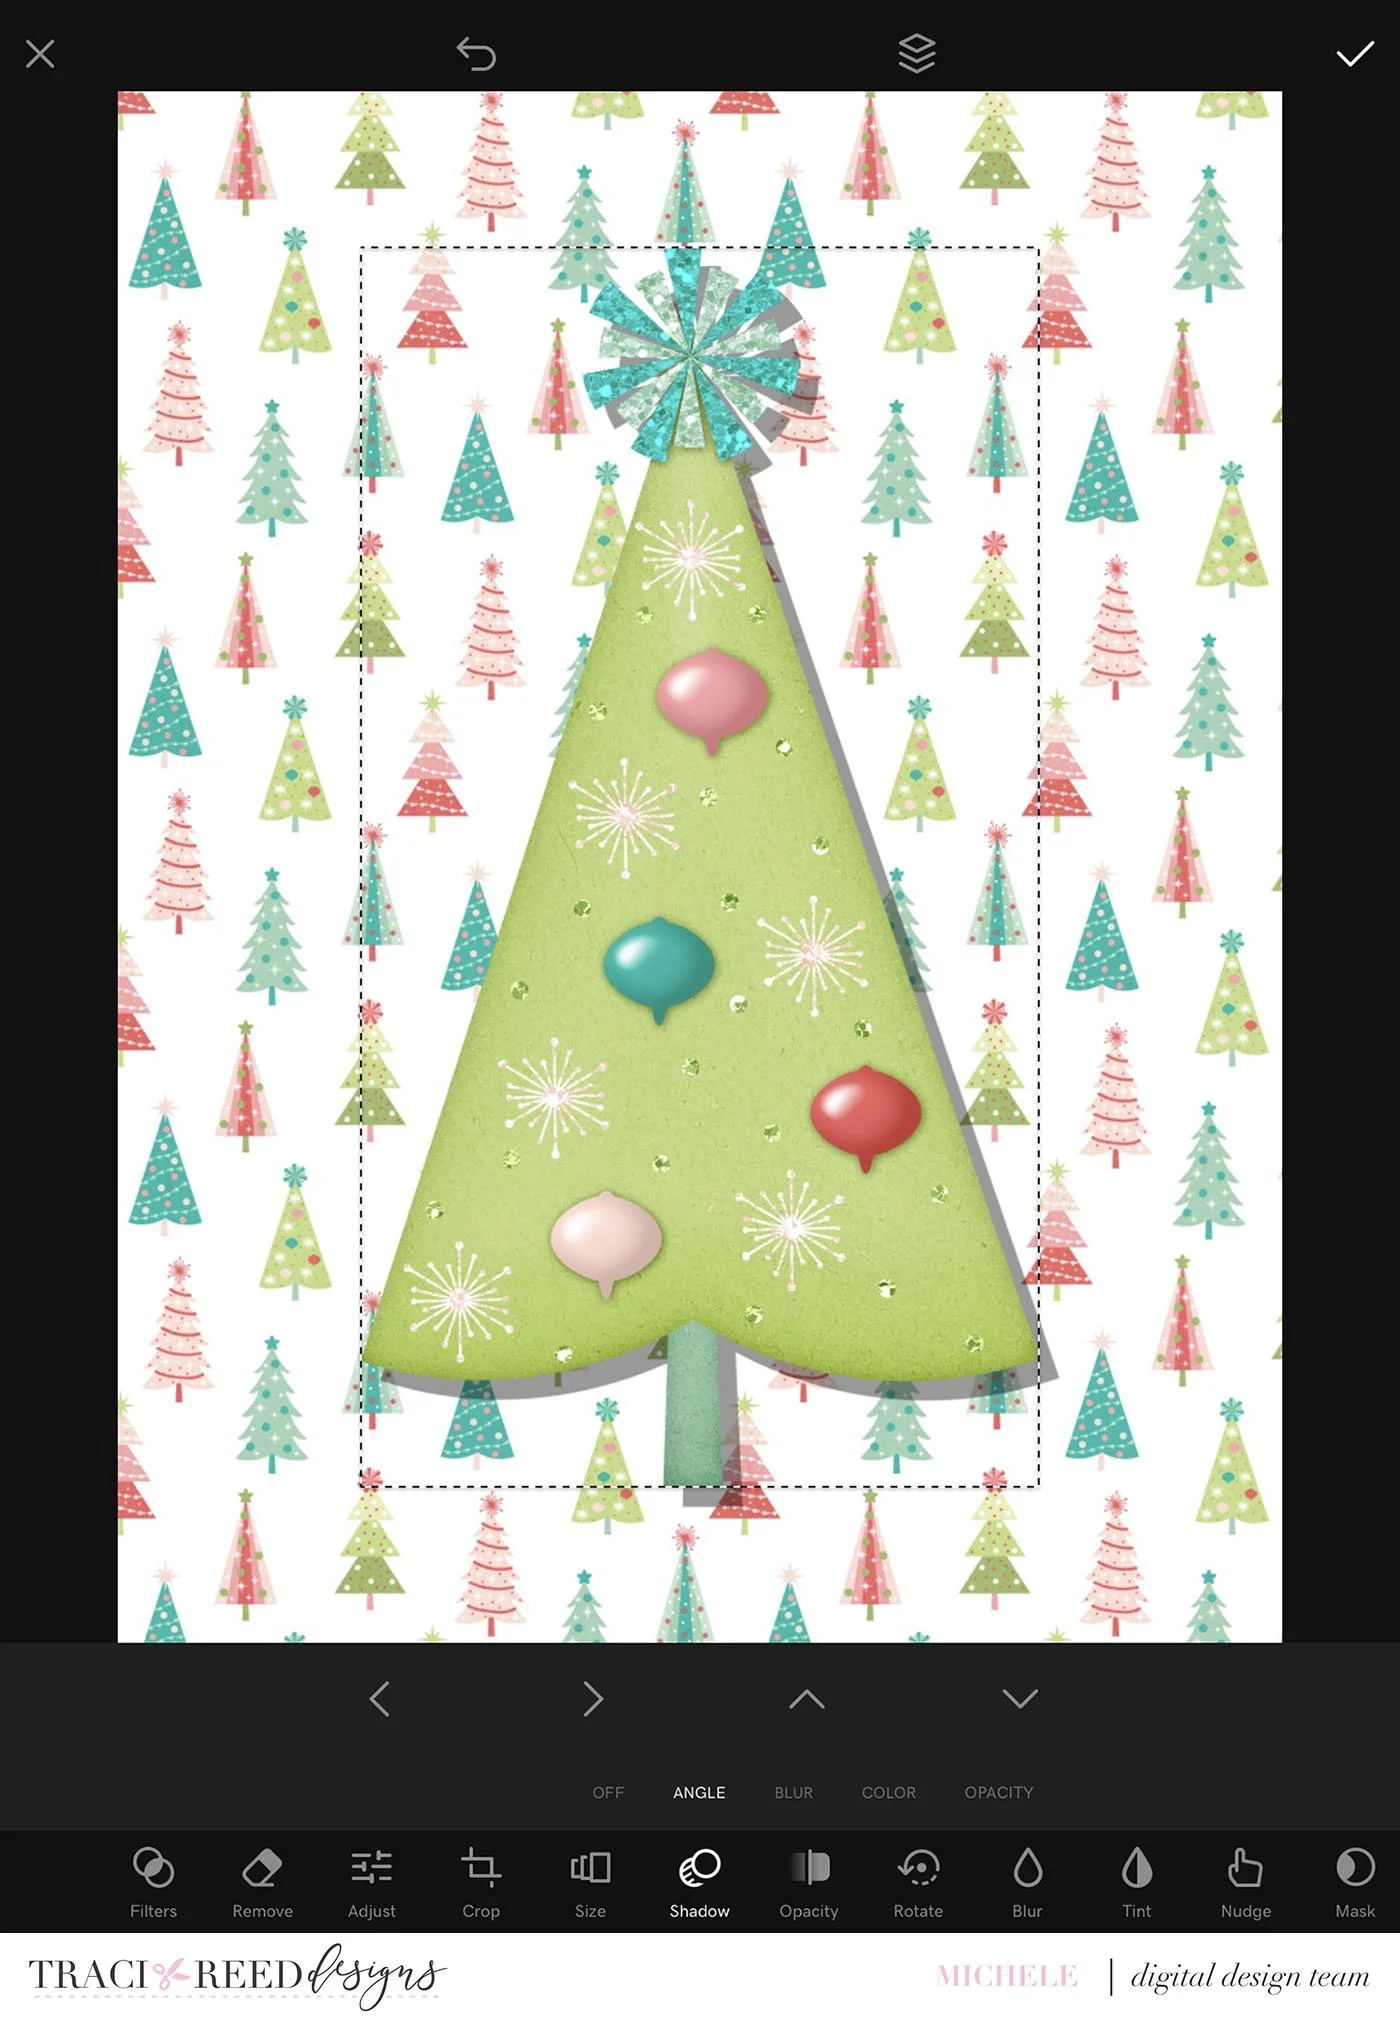
I do like to add a drop shadow on each item.
Make sure the item is highlights when the selection bar around it. Click edit, shadow and find what works for you. My go to is: Angle, two clicks to the right and two clicks down. Then I go to blur and move it to about 35%. I adjust as needed depending on the embellishment.
Keep adding embellishments to build what you would like.
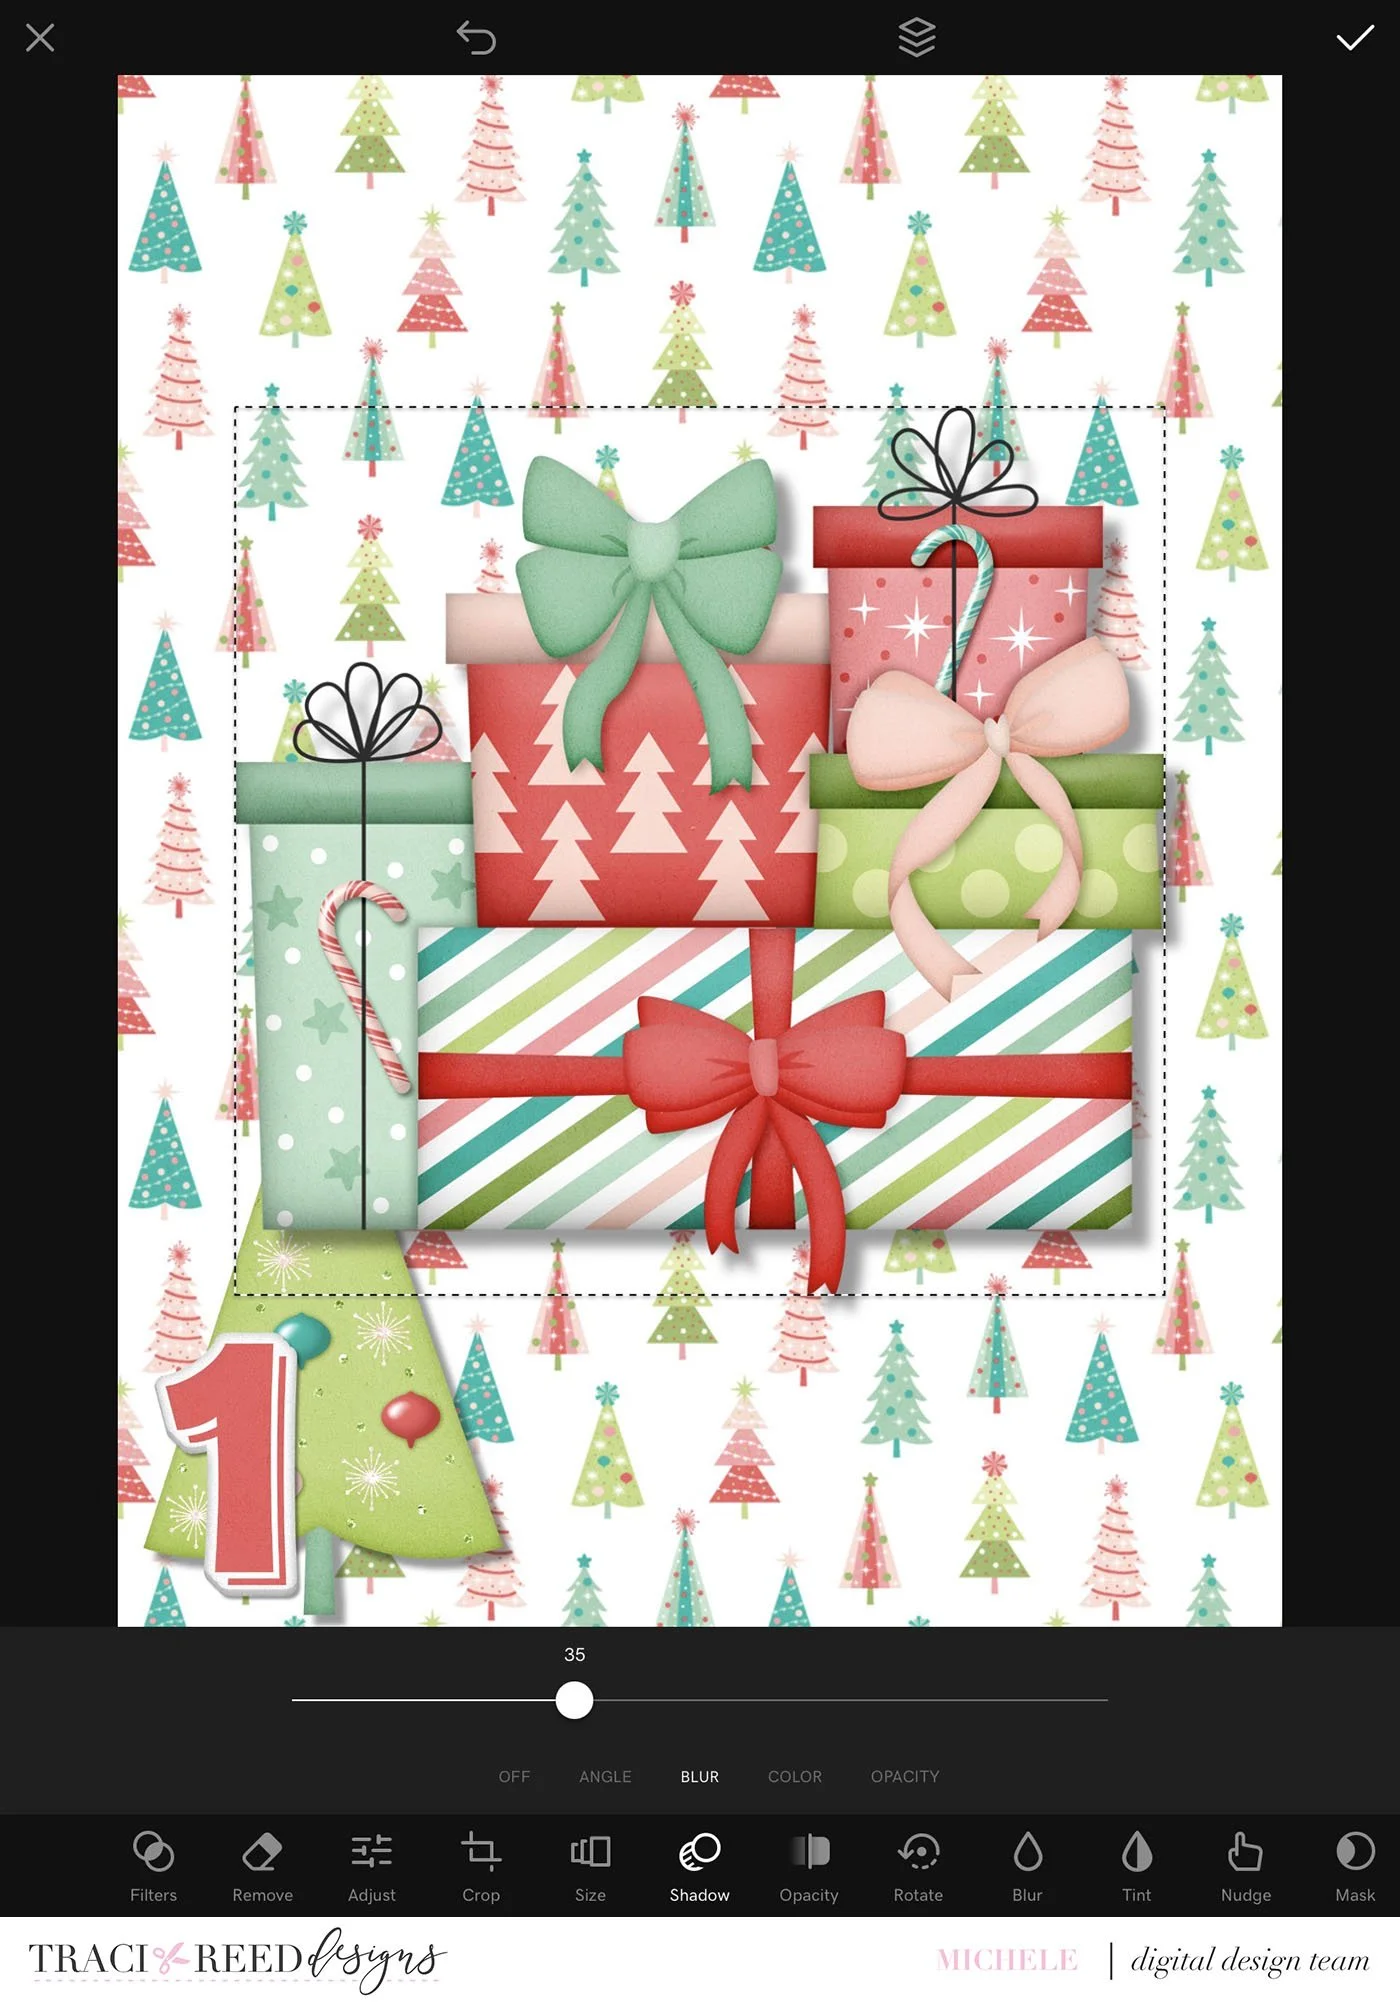
Here you can see all the files I’ve added to this canvas. You can also reorder by clicking the square with lines in the top left and dragging and dropping.
When you love your card, you choose the square with an arrow at the top right and export your card.
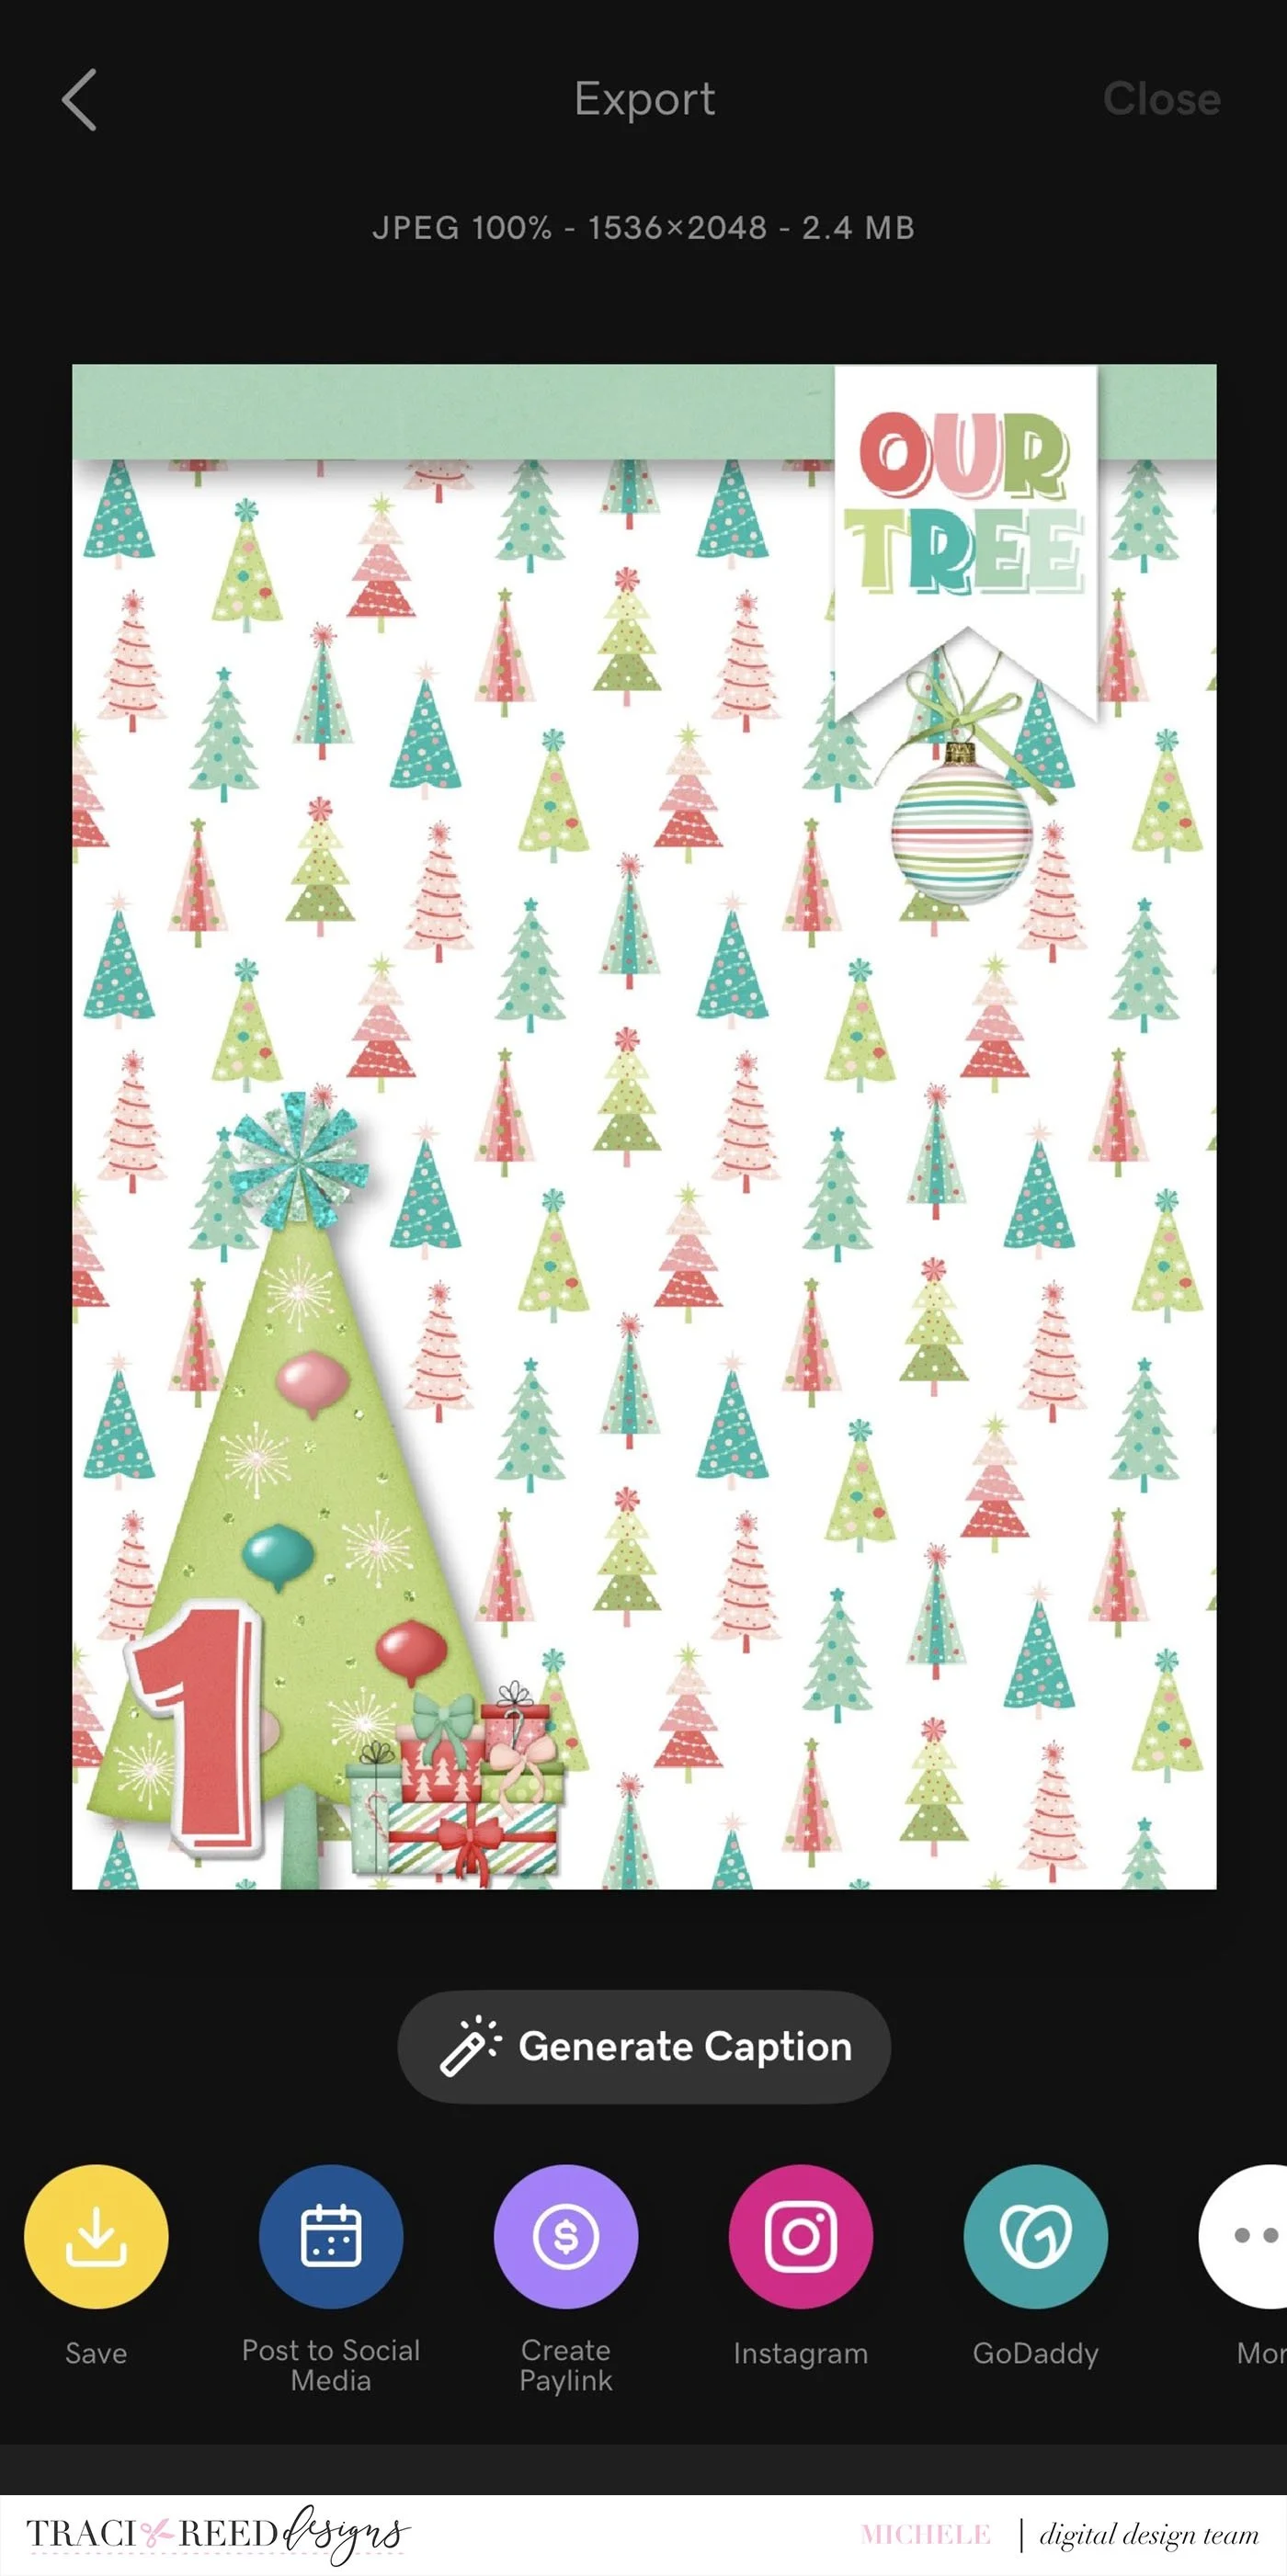
This saves it to your camera roll.

Now I open the layout in Project Life and add the card.
I actually didn’t use my default layout because I wanted to include two photos and a story.

I used the same technique, to build a journal card in the Studio app.
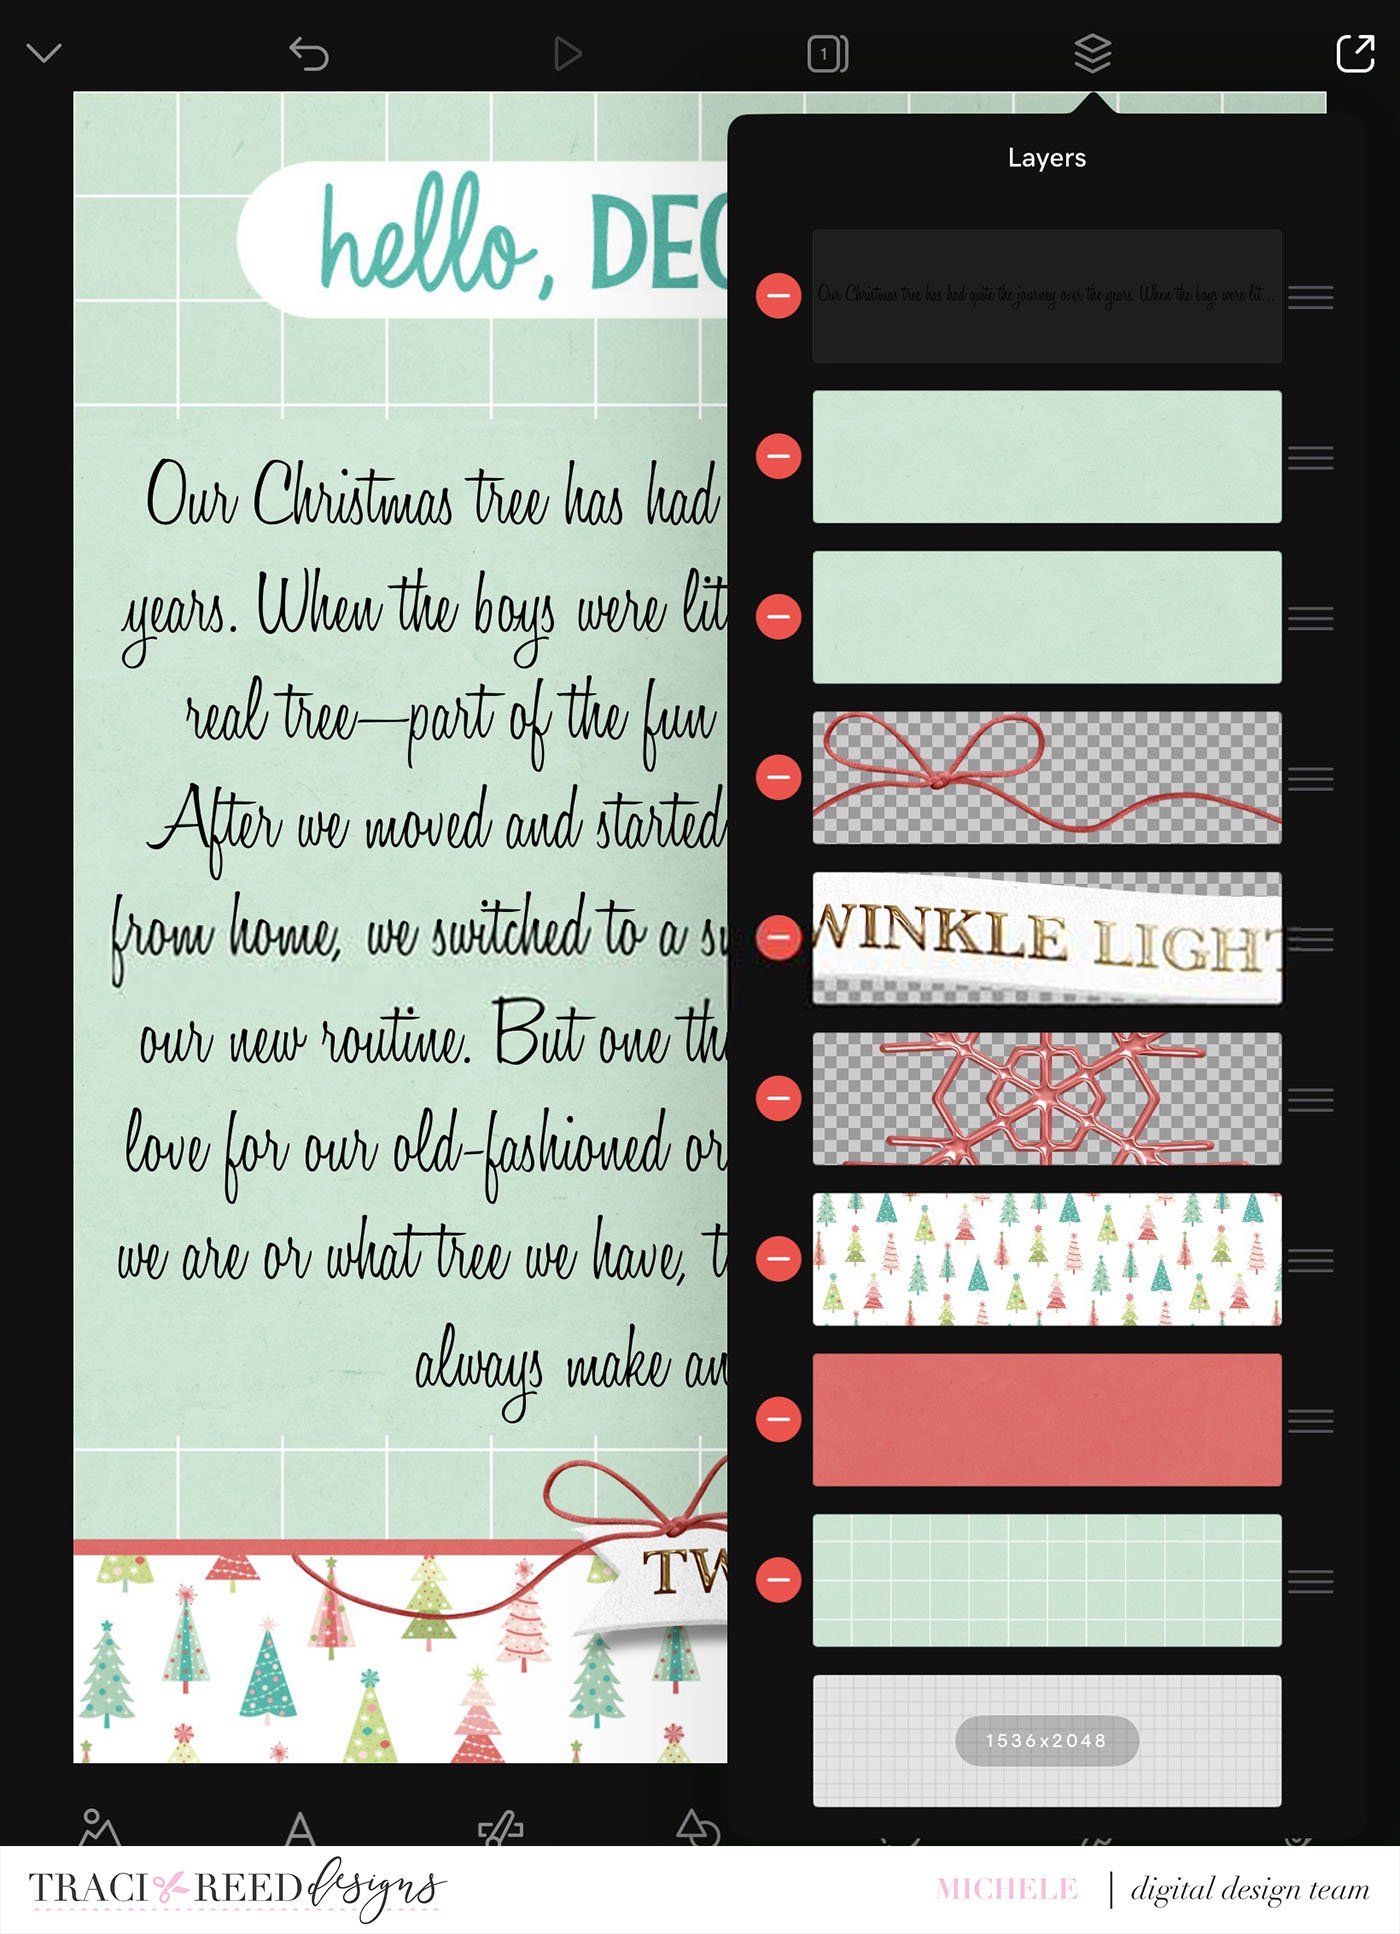
I exported that card to my camera roll and then added it to the Project Life app.
I love that I can create a finished book all nestled in the Project Life app but can use all the embellishments and be as creative as I want on small canvases right in an app.
Here is my finished page 1: