Create Your Own T-Shirt Transfers with Sticker Files!
Hi everyone,
I am really excited to be here on Traci’s blog today to share a very different way I like to work with Traci’s products … to create my own bespoke tops!
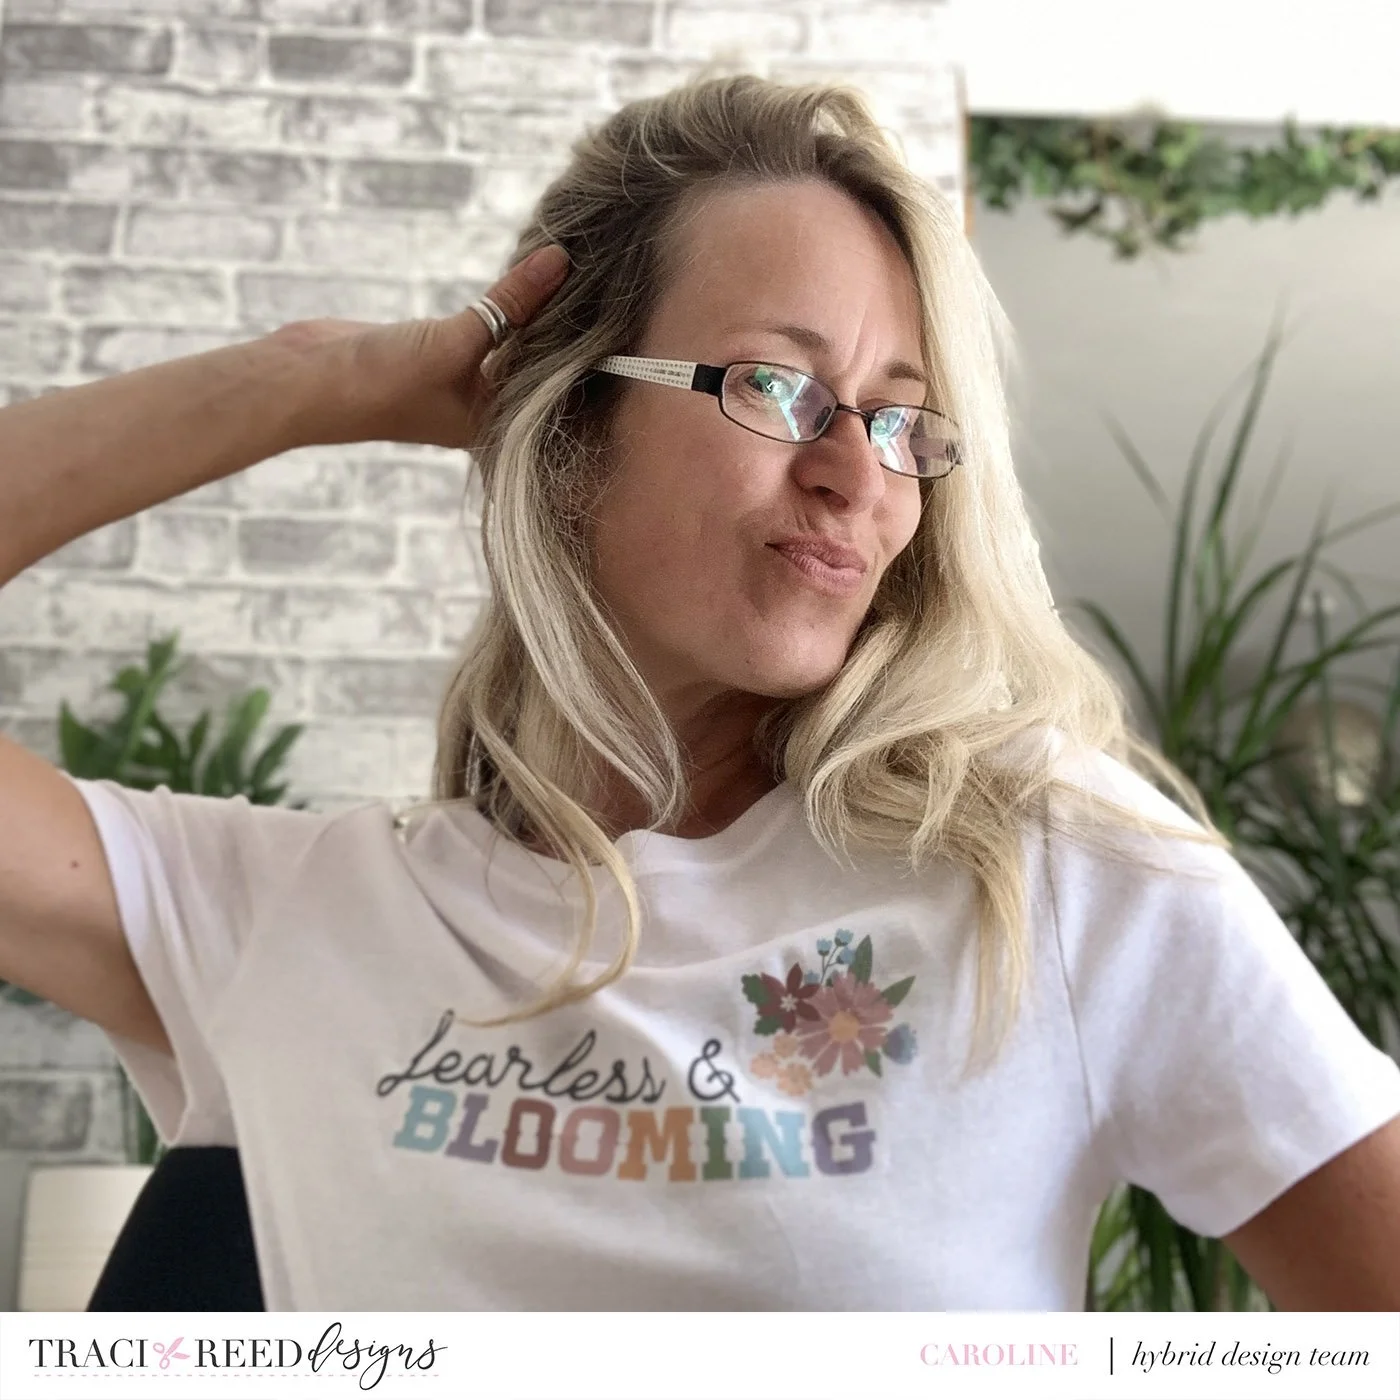
I first did this to create a fab halloween tshirt for myself and loved the result so much that I have added more tops with different motifs from quite a few of Traci’s collections!
In this post I am creating two tops. A tank top working with one of the bonus stickers from the “Our Story Matters” collection and a t-shirt that combines two stickers from the “Trailblazer” collection.
Let me show you how I made these…
What you will need:
Individual sticker files from one of Traci’s collections
A method of re-sizing & printing (I use Photoshop Elements but Canva also works)
Printable t-shirt transfer paper (I’ll go into this more below)
Scissors
A plain top
An iron
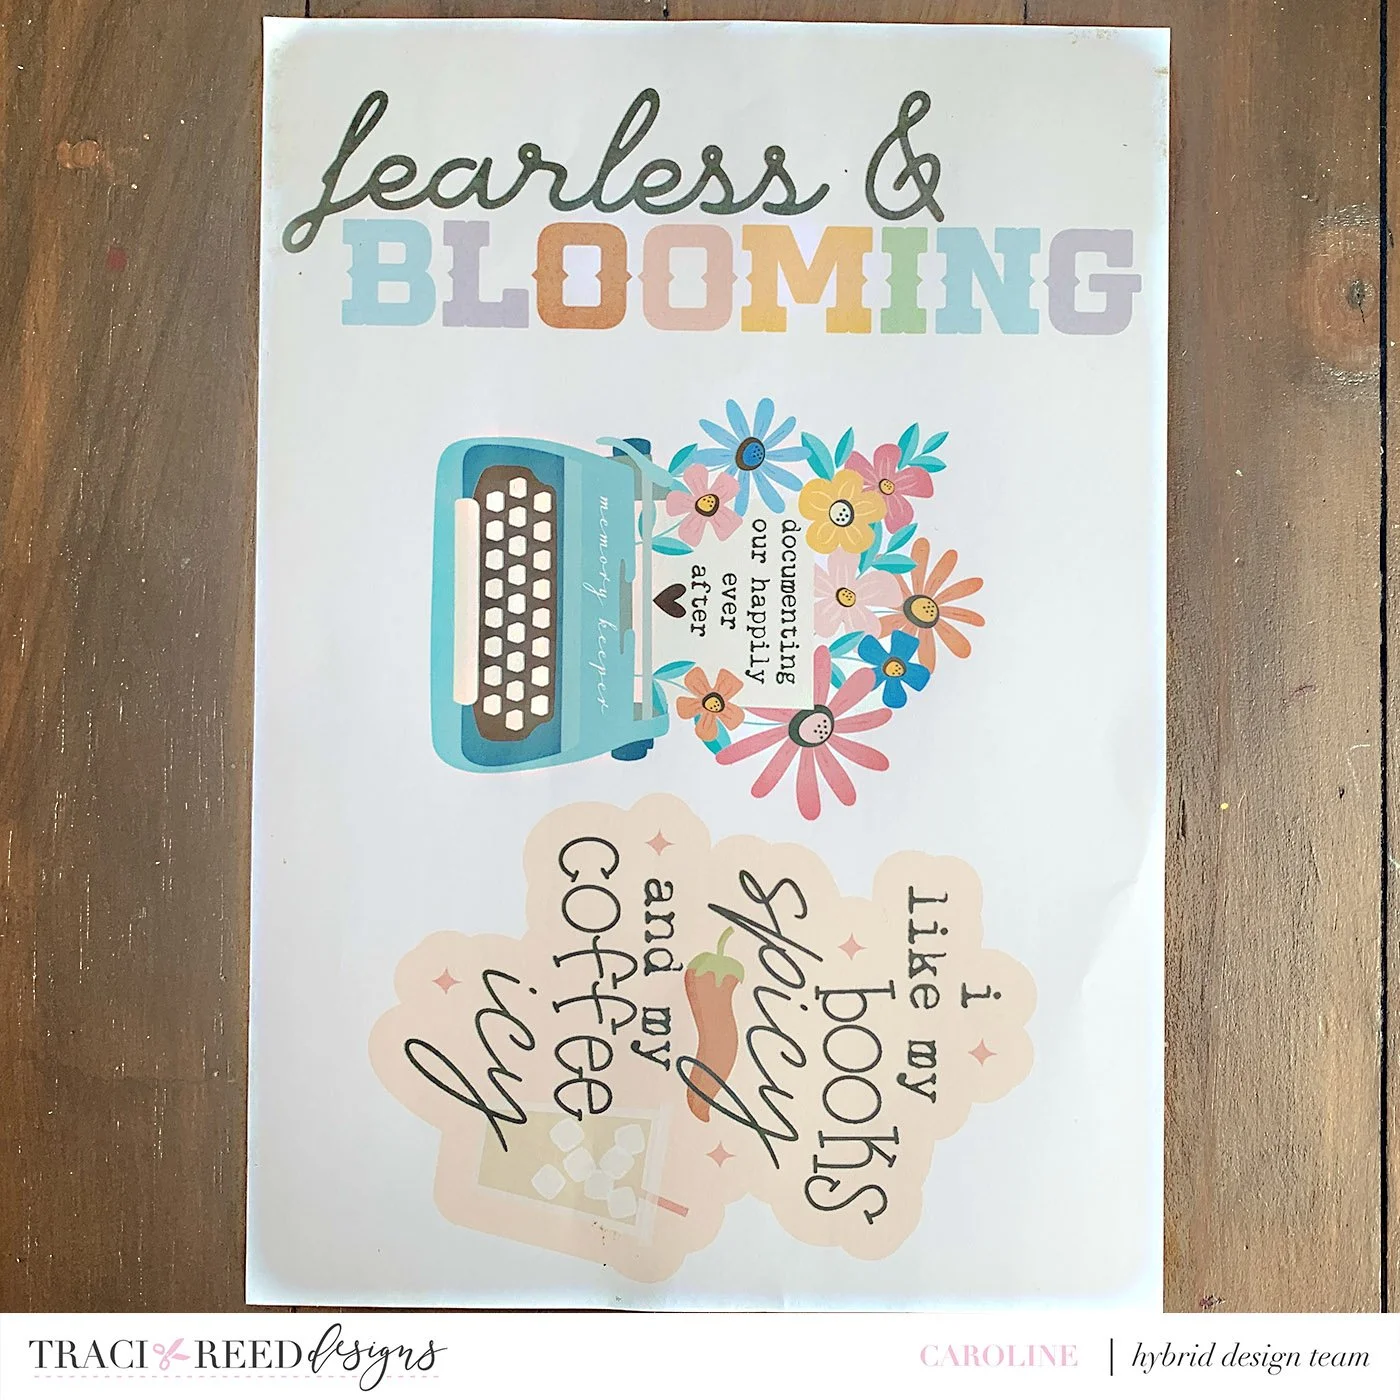
Step One - Create your design
First select the sticker(s) you want as your tshirt design.
I work with the individual png files from the sticker pack
I also LOVE to work with the bonus stickers that are available when you bundle the collection
Import the files you want into your software/app
Create a blank file/canvas the size of your tshirt paper (mine is A4) to add your motifs to for printing
Roughly measure the area on your top where you want the design to be.
Re-size the sticker(s) to match that space (ensuring you keep the ratio locked so you don’t stretch the design)
I tend to only measure the longest dimension - as long as that fits the smaller
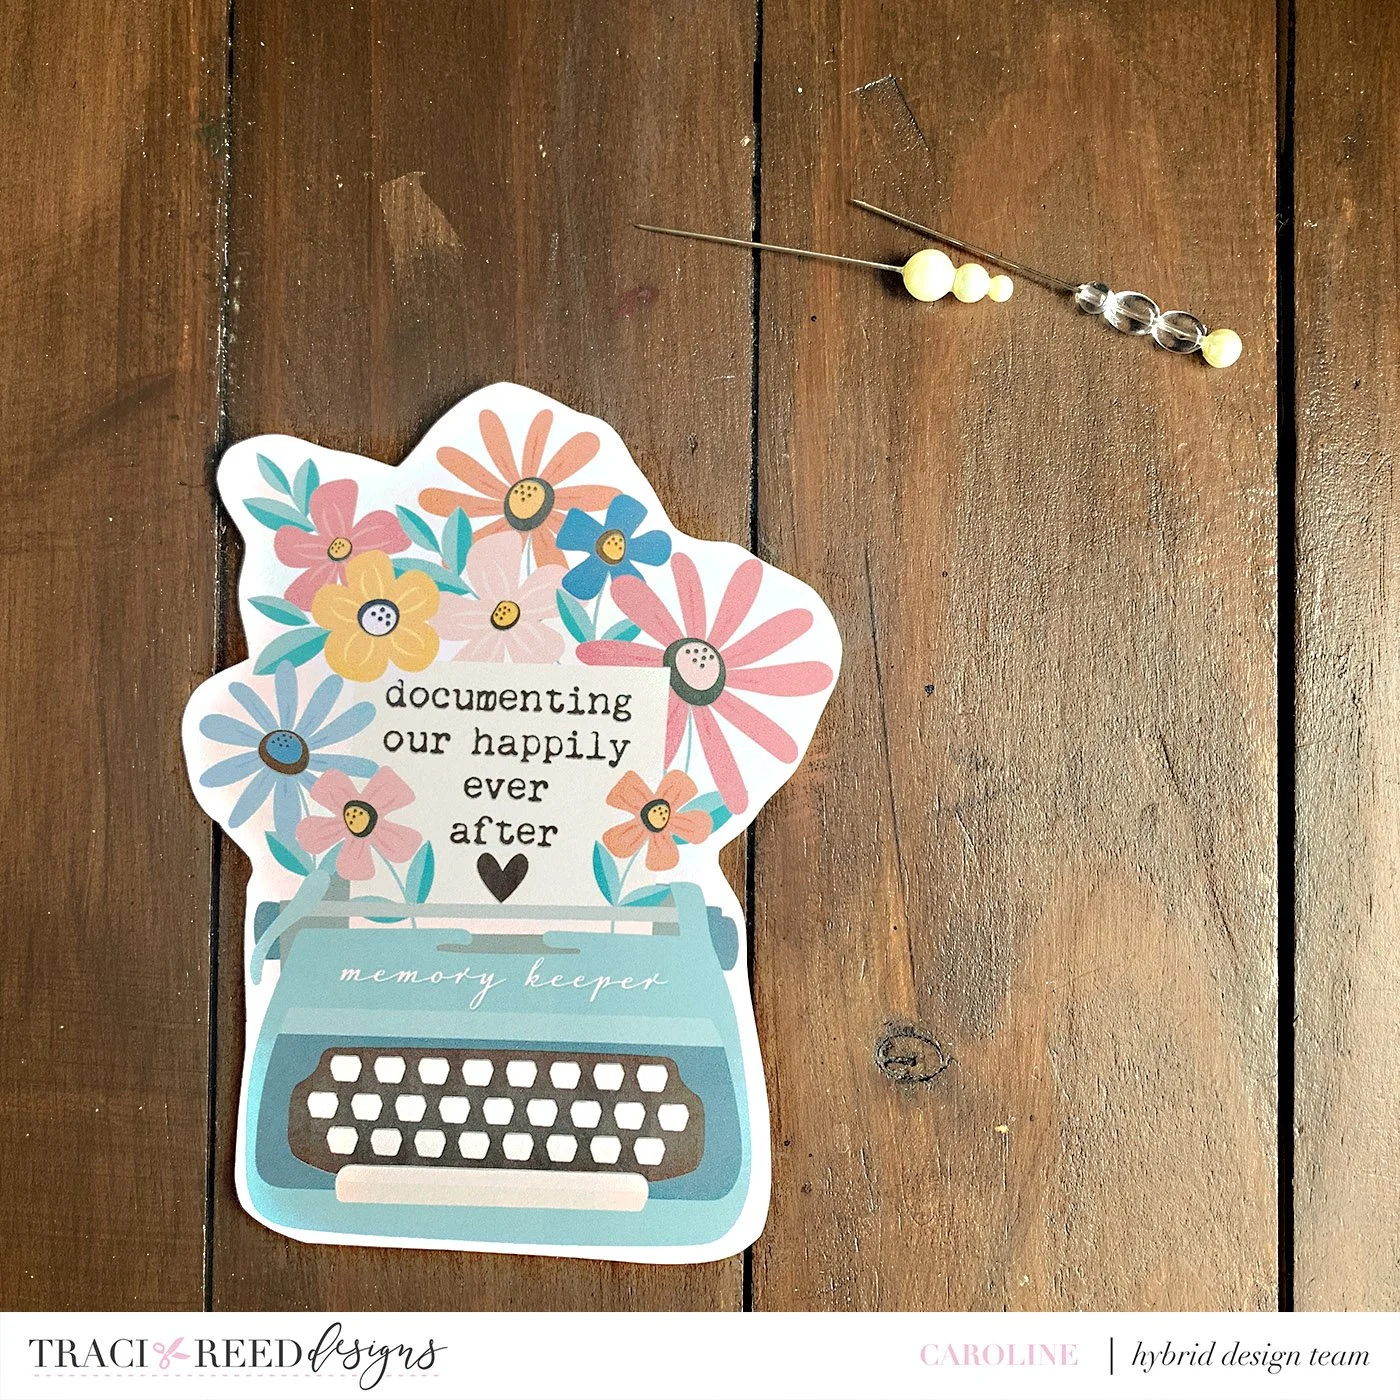
Step Two - Test it out
When you have the files resized, print a test on a sheet of copier paper
You can print greyscale to save ink here, but I like to do in colour to see what the design will look like
Cut out the design and pin to the t-shirt where you would like it to be
Make sure you try the top on at this point, as the curves of the body can move the placement of the motif from where you may think it would be!
If you want the design a touch bigger or smaller, make a note of by how much and go back to your design to make those amendments
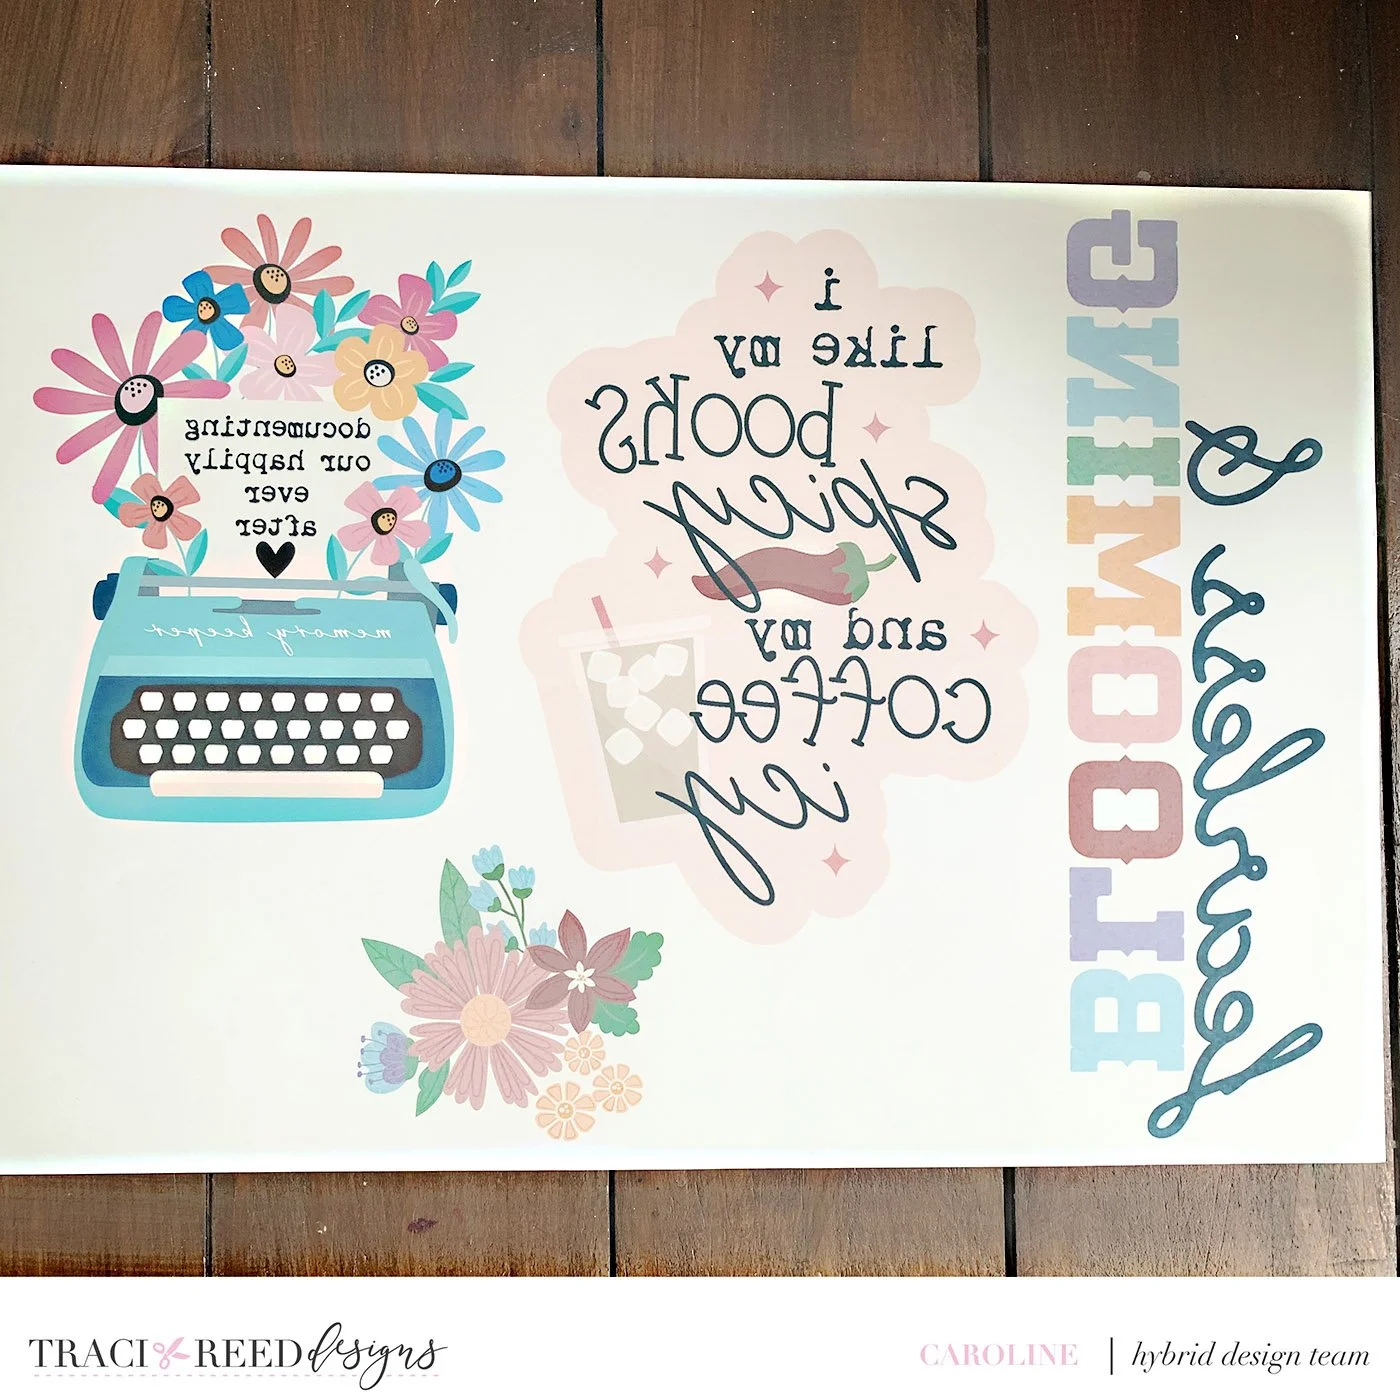
Step Three - Print Your design
How you print your design will depend on the tshirt transfer paper you are working with so it is really important you read the instructions on the packaging
The transfer paper you buy will be guided by the colour of your top. There are specific papers for white/light coloured tops and black/dark coloured
The method of adhering your design varies for these.
I am working on white/light tops
Light tops will generally need a mirrored image to be printed
This is because the printed image works like a stamp - you put it face down on the top and iron to transfer the image
When printing my design from Photoshop Elements I selected “TShirt Transfer Paper” as my paper to print on to from the Print Dialogue box.
Selecting this medium automatically mirrored my image so I didn’t need to do that manually.
If you are choosing “Other” as your paper medium you will need to mirror your image before printing.
If in doubt, print a test on copier paper but selecting the medium you want to see how your printer behaves
Step Four - Create your Tshirt
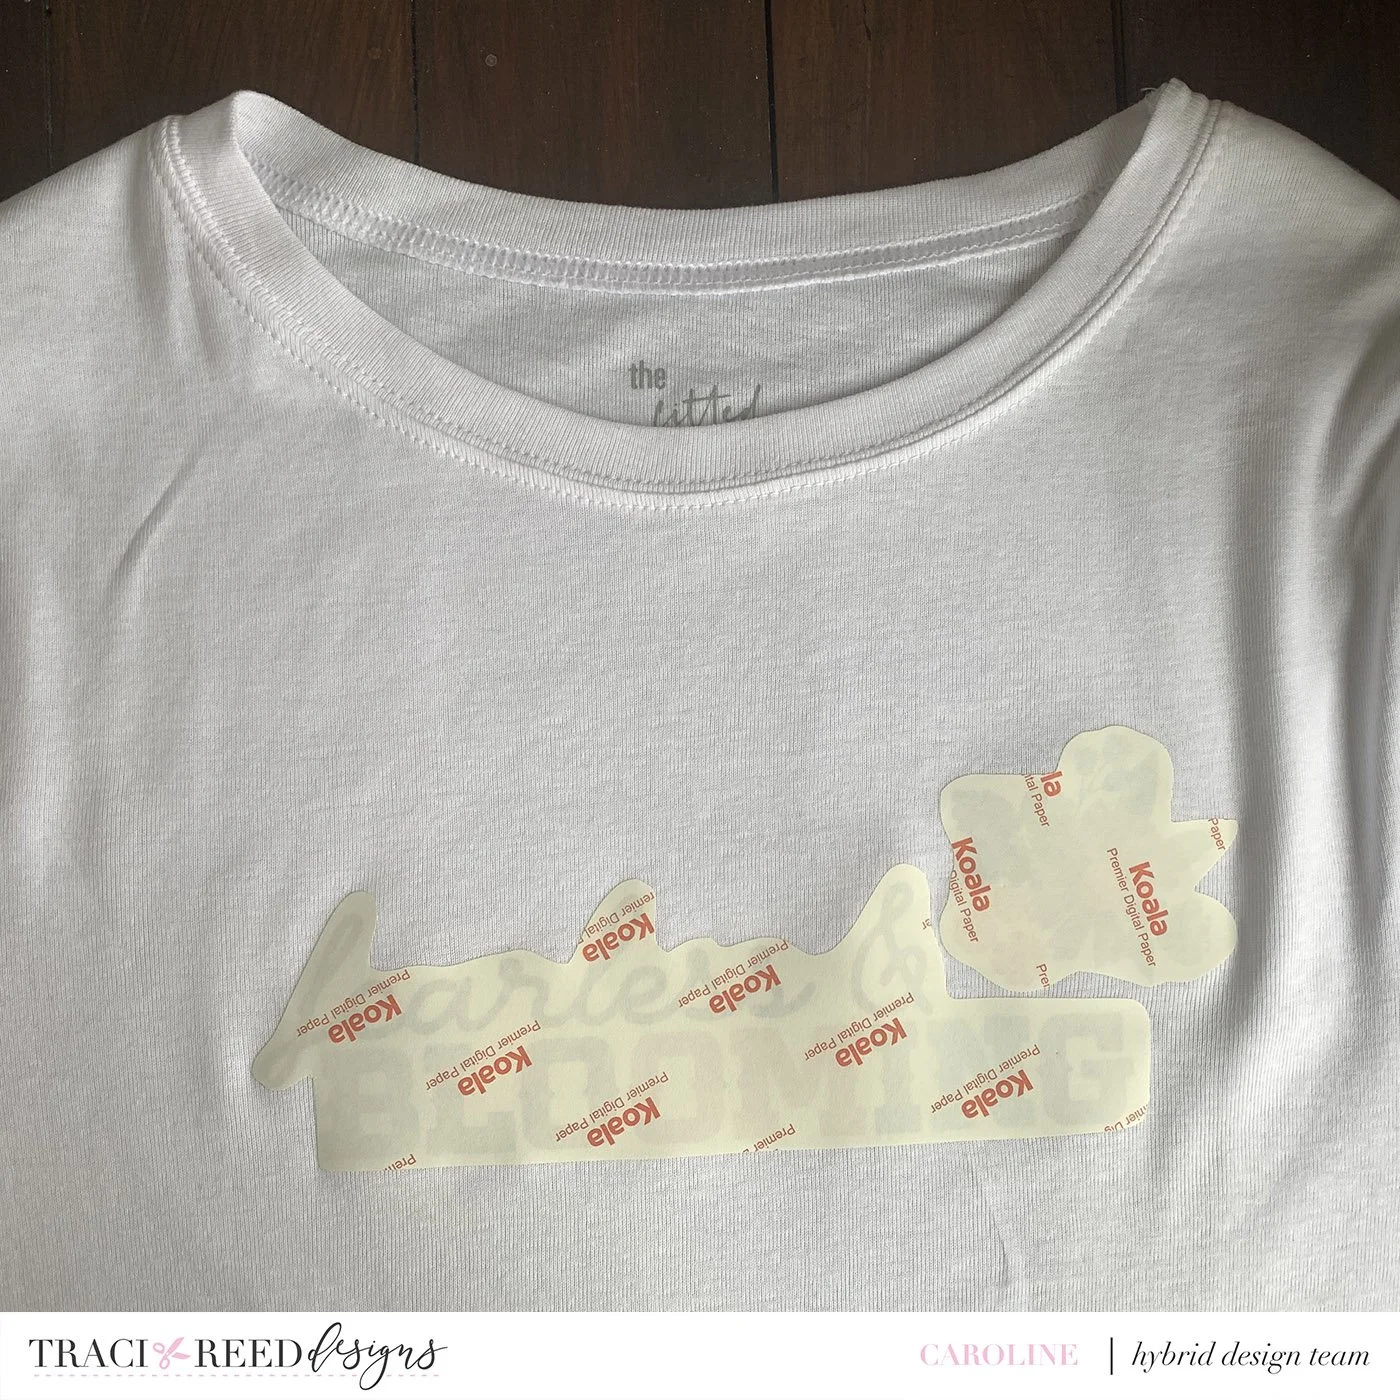
Once your design is printed you need to trim it out with scissors
I like to leave an additional border around the coloured image when I cut
This border will be clear when you have transferred the image
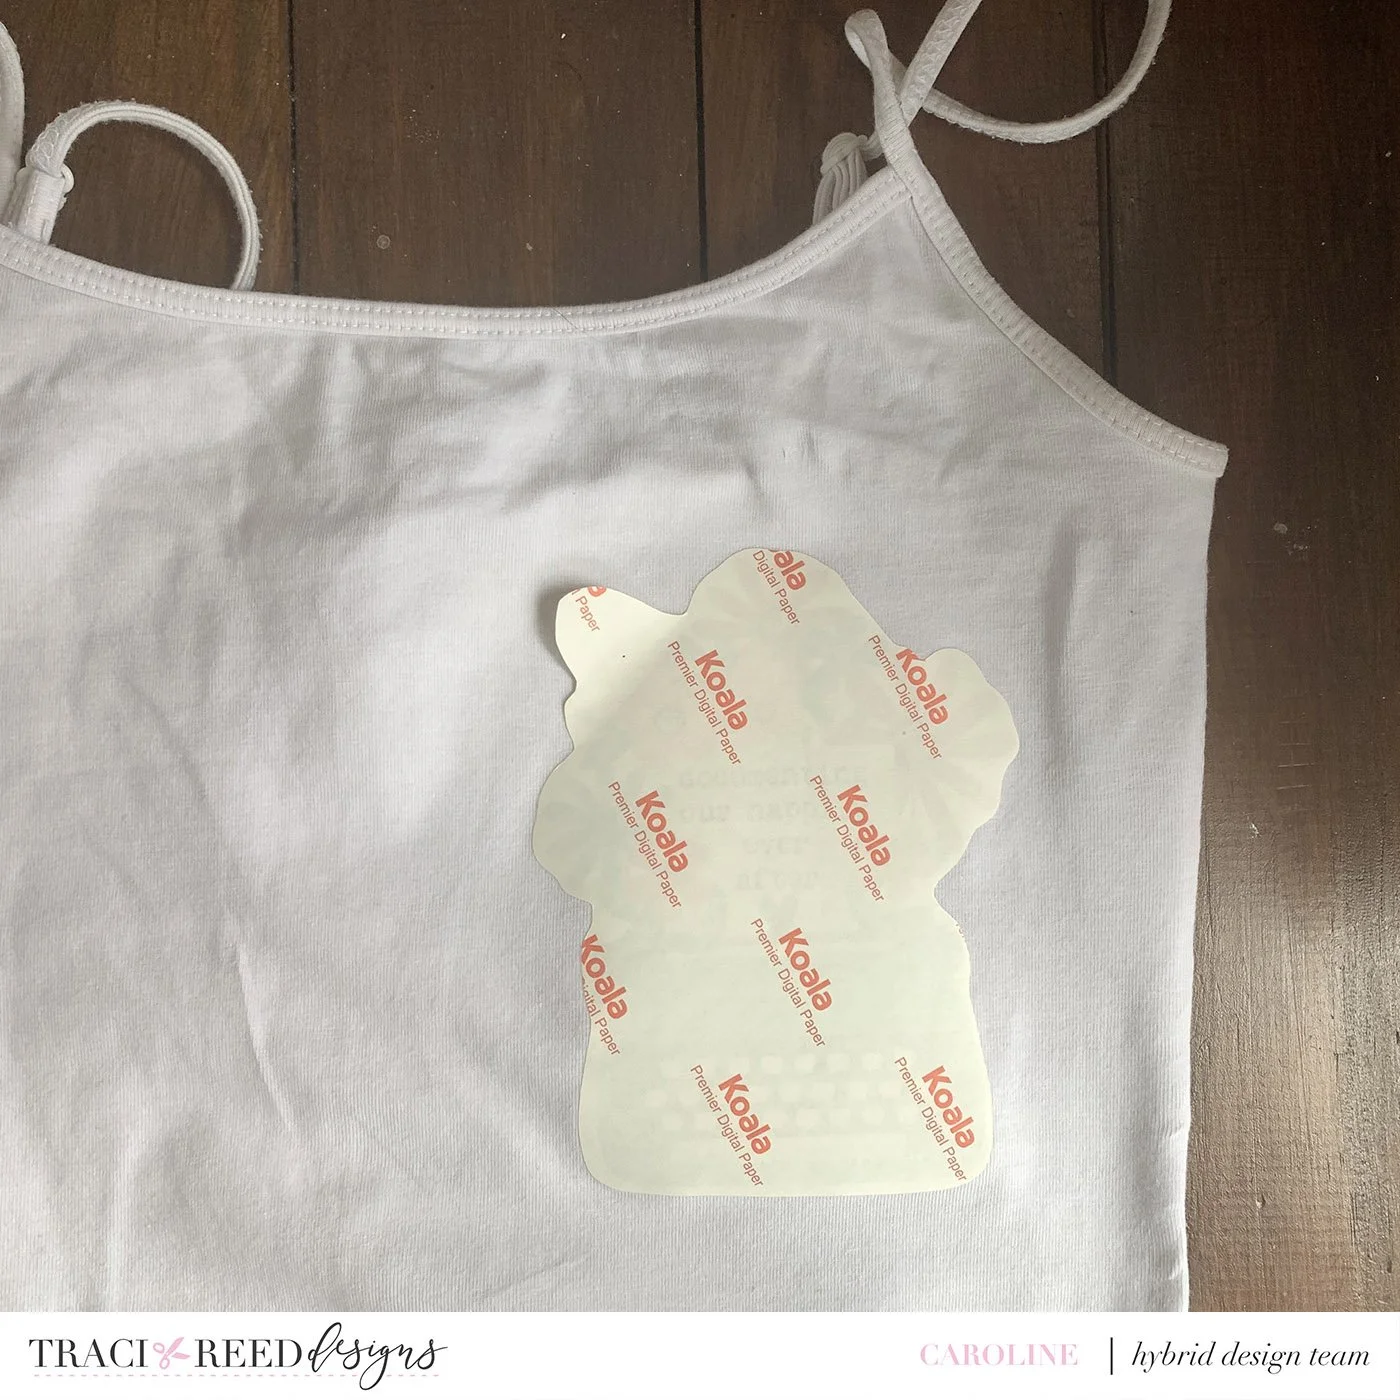
Place the motif face down (for light tops) where you want it to be.
TIP - I leave a pin in the top-centre when I test with paper so I know where to put the transfer
Heat your iron
When it is ready, iron over the backing paper of the printed design, pressing nice and hard as you go
If you are adding several cut outs on one shirt either iron them all on at the same time or add separately but leaving time for the t-shirt to cool before placing each design on to the fabric
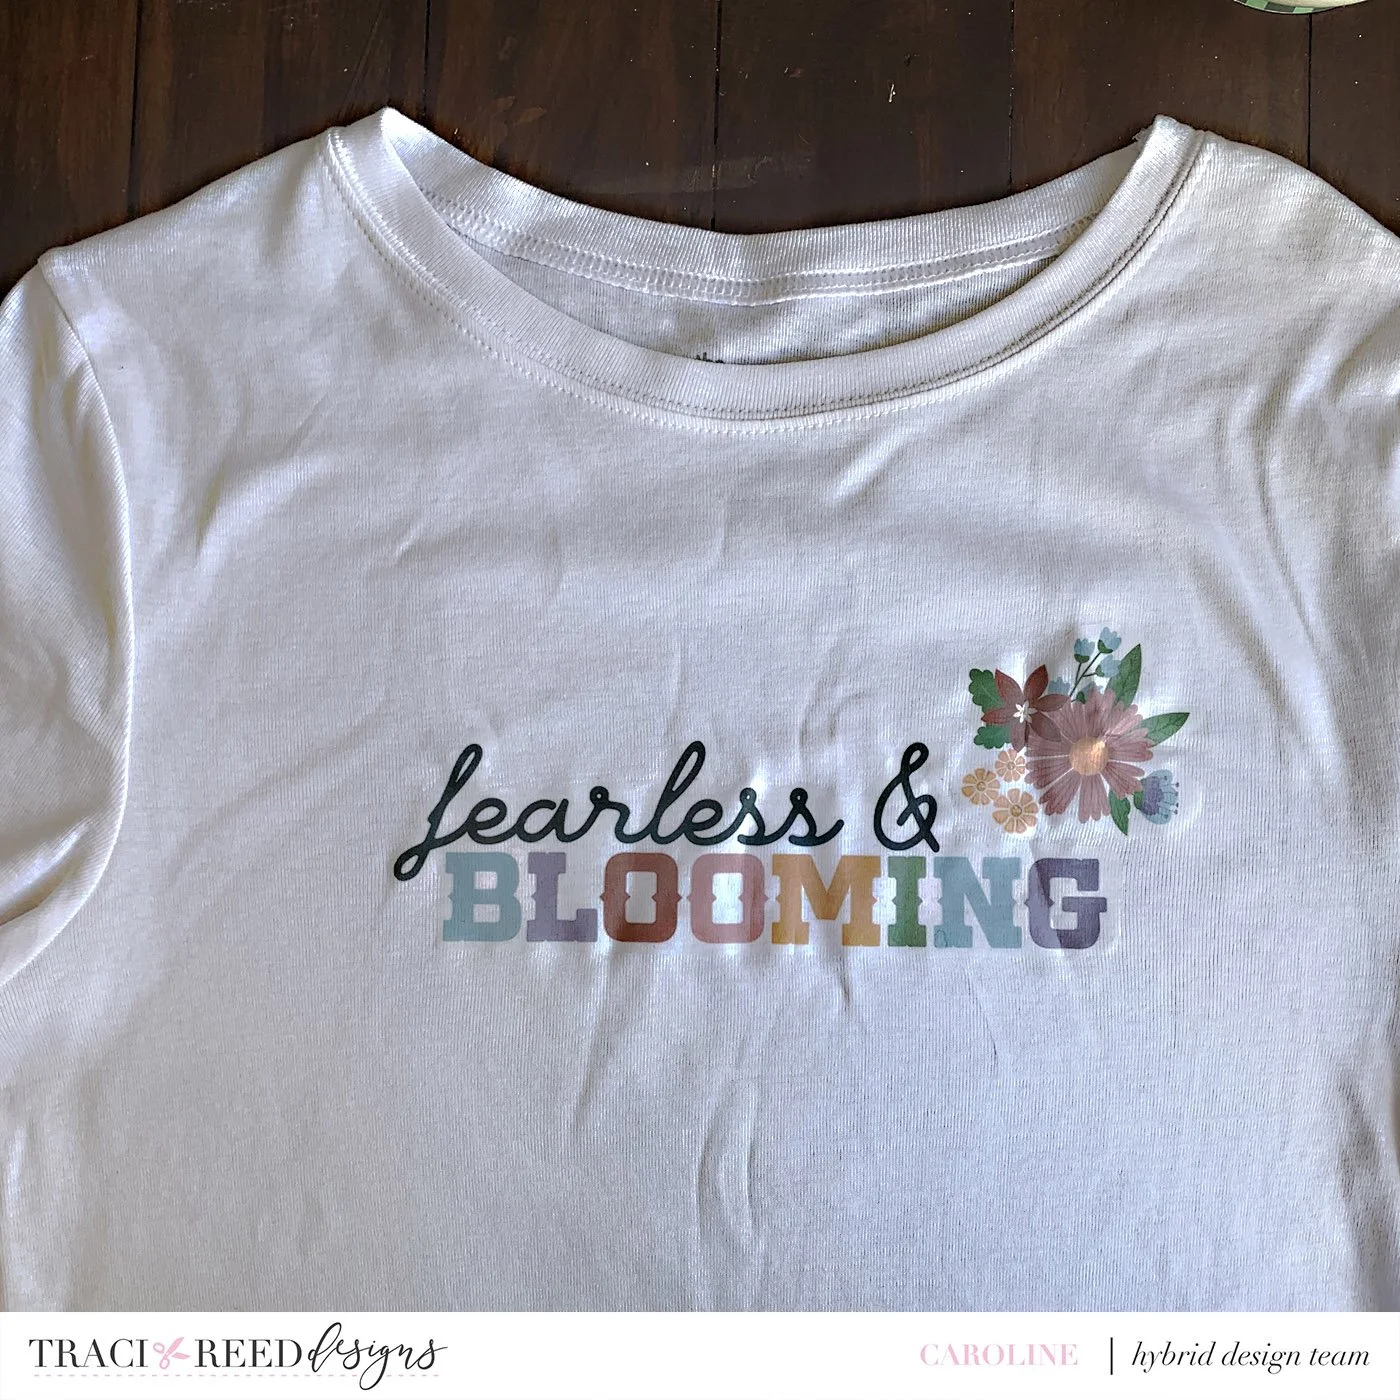
Leave the t-shirt to cool completely before gently pulling off the backing paper
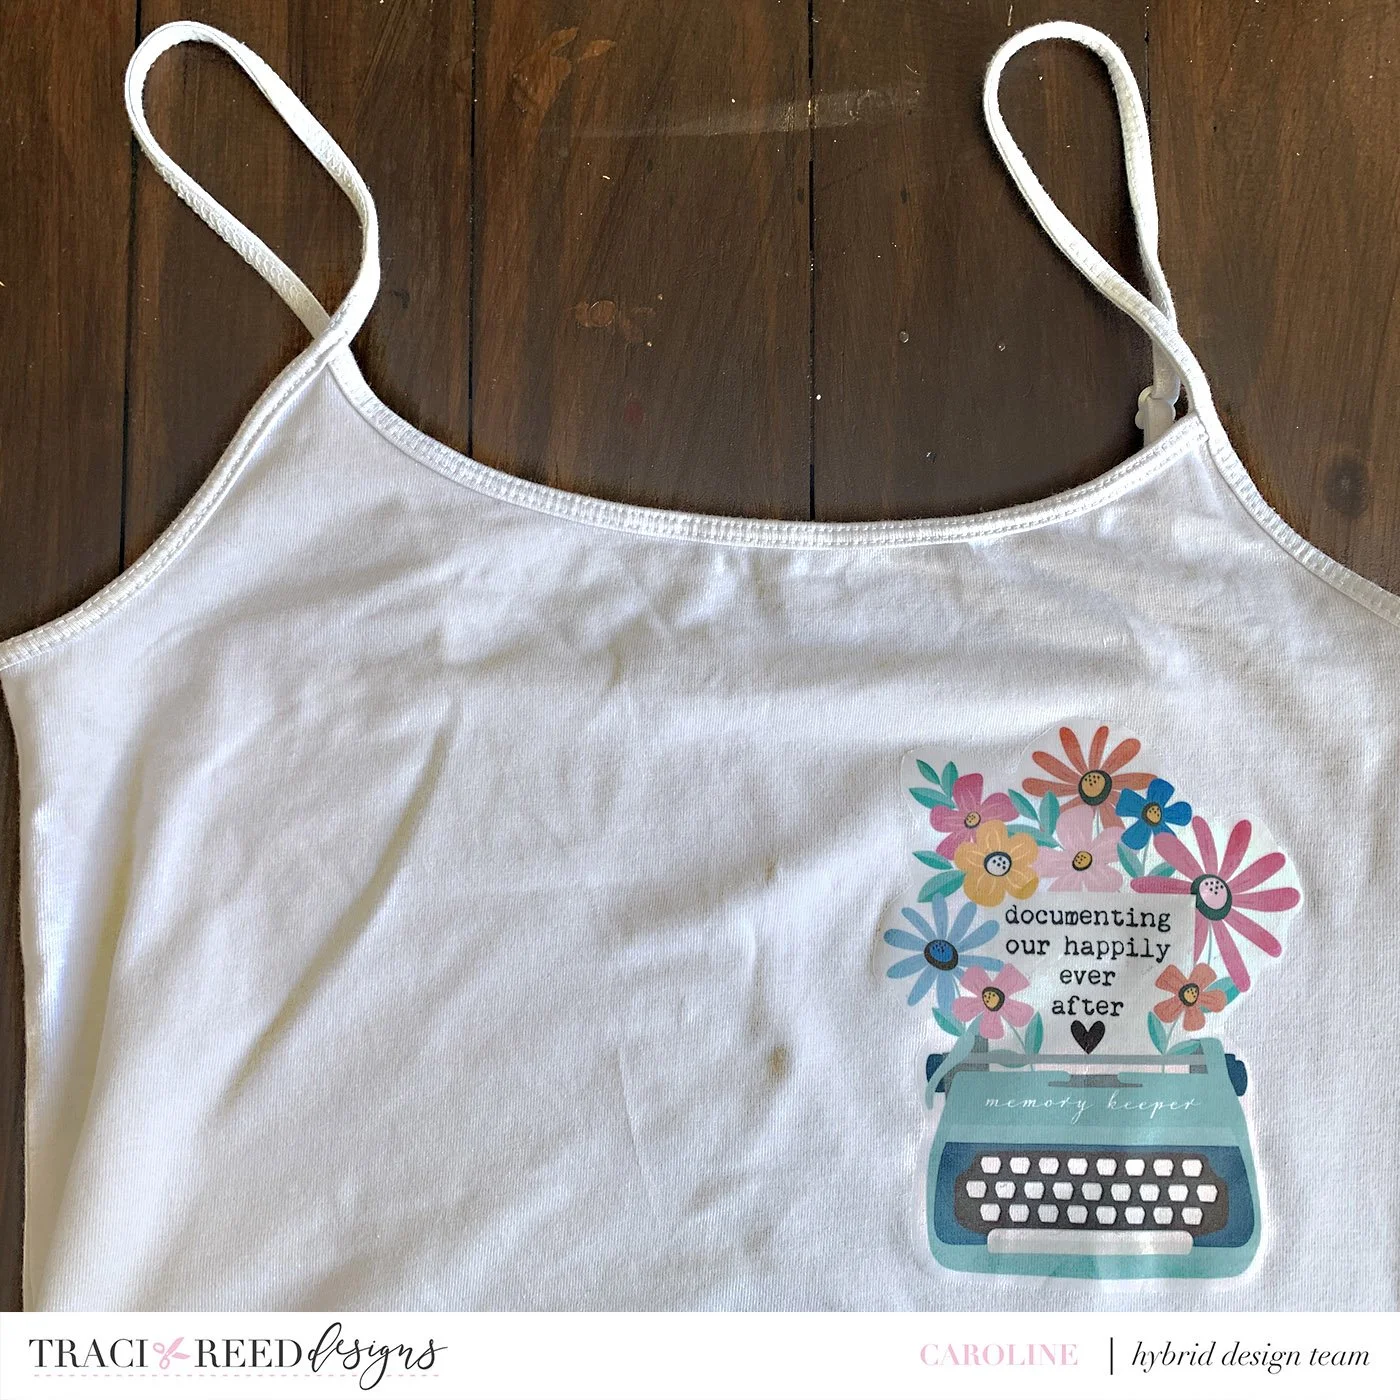
Admire your design and wear with TRD Pride!
I hope you have enjoyed this tutorial and that you give this a go. It’s also great to do on canvas bags (I did a library bag recently with the “Bookish” collection!!) I am sure you will get lots of compliments on your bespoke tops, so be sure to share the love and tell people how they can buy Traci’s products and use this technique to create their own.
Bye for now
Caroline
Products Used In This Post


