Tutorial: Using Digital Stamps To Make Cut Out Titles in Photoshop
Happy Christmas in July!
I am one of those people who never gets their December documenting project done close to the holidays. I get a lot of it done, but then I begin to burn out and I usually get distracted by my new documenting project for that year too. I enjoy revisiting everything in July though… it’s fun to think of cold weather things when the temps are in the 90s!
I am within three pages of having my 2024 December documenting project done, so it was time to get serious about a cover. I almost always procrastinate on my covers!
As you may remember, my style is pretty minimalist. My plan for my cover was minimalist, but that doesn’t mean that it can’t be interesting! One of my favorite things to do with my covers is to use digital stamps to make cut outs.
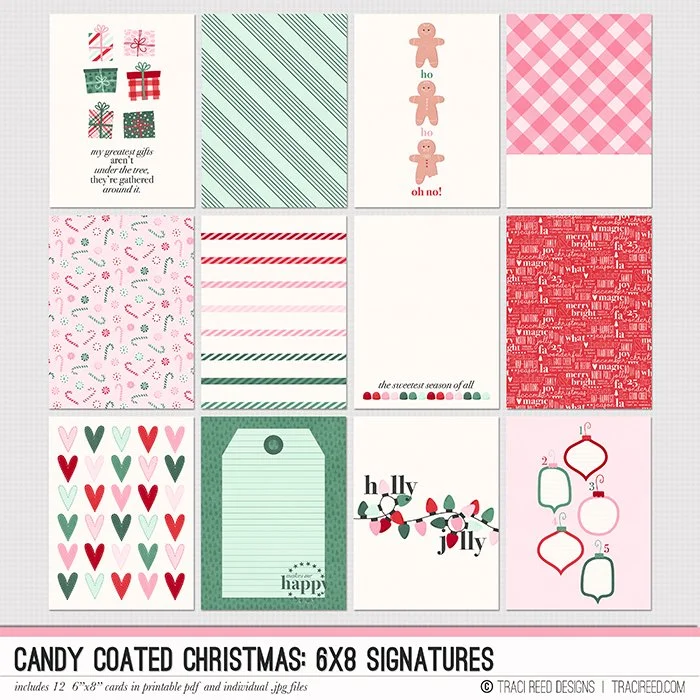
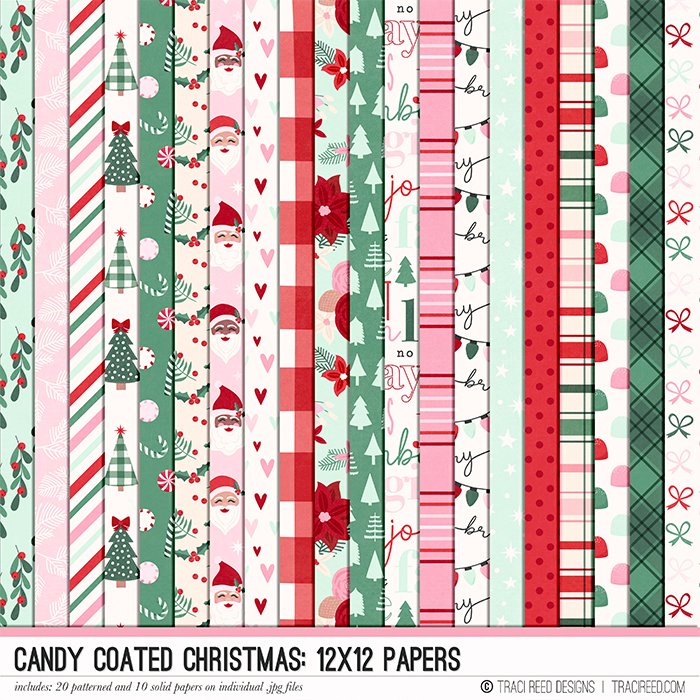
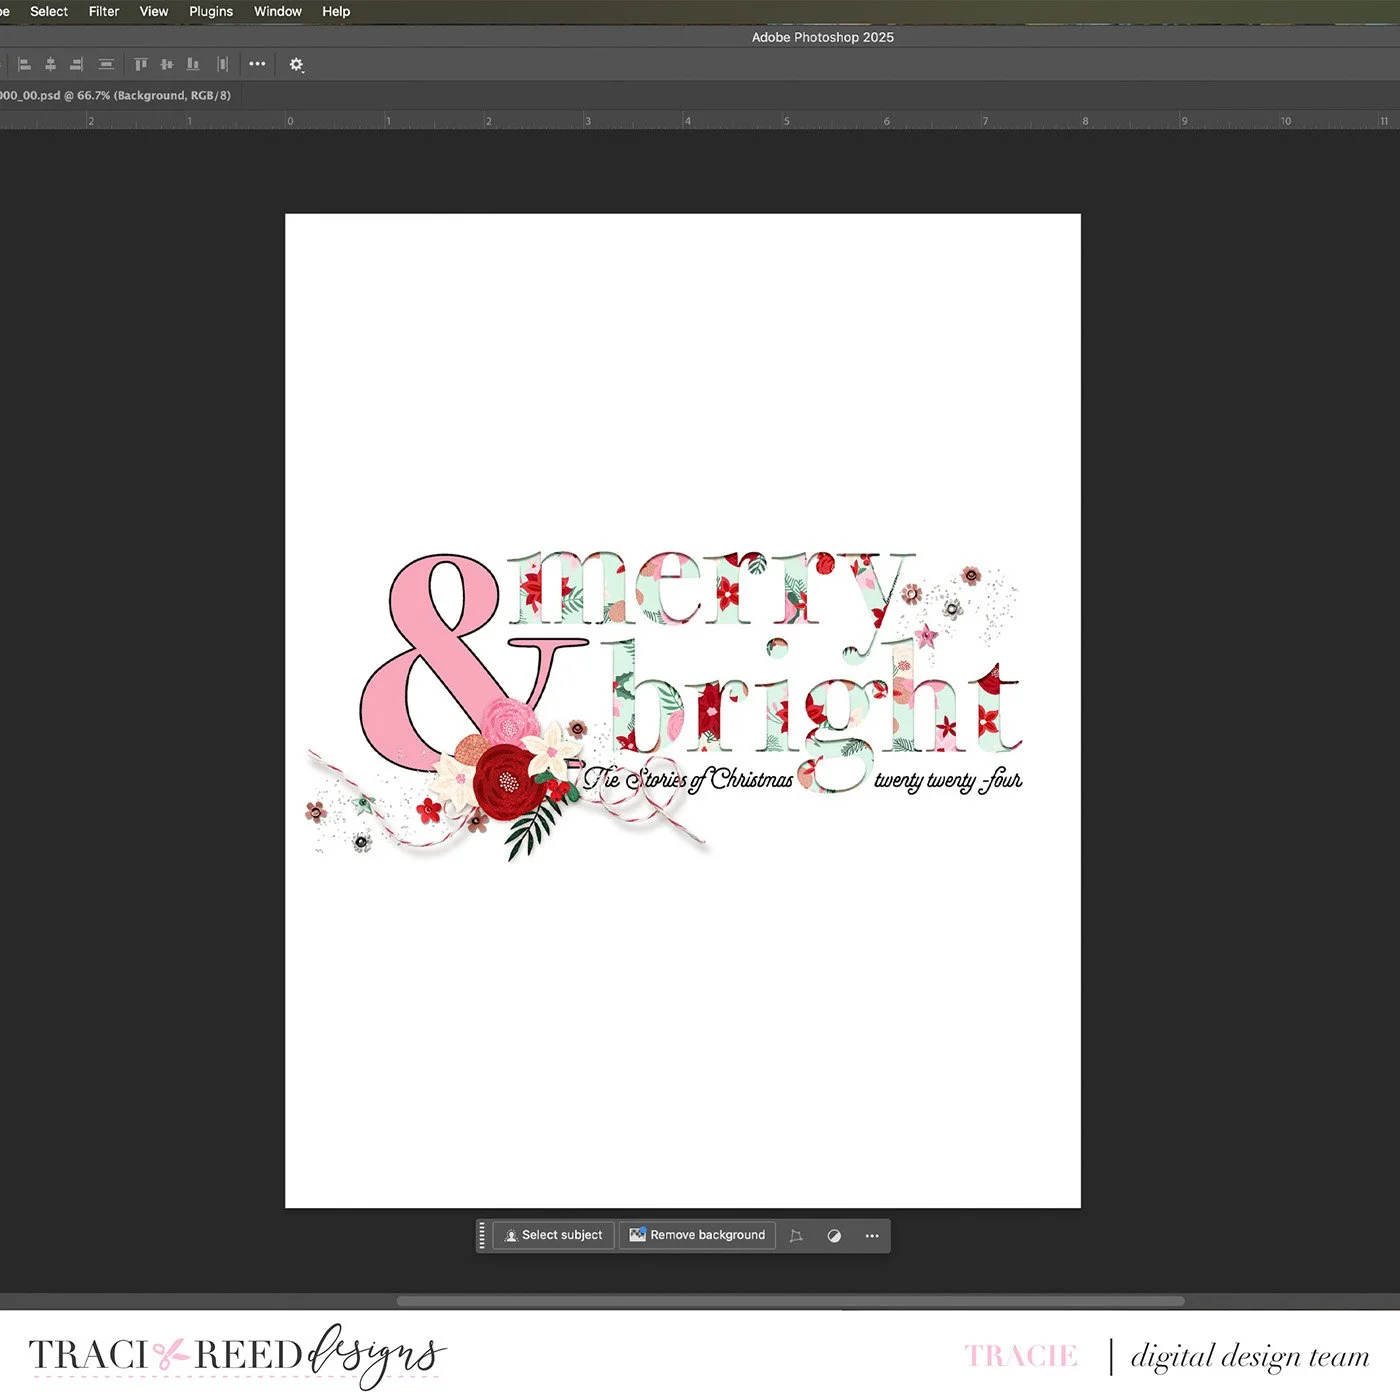
I used the Candy Coated Christmas Collection to make this cover…

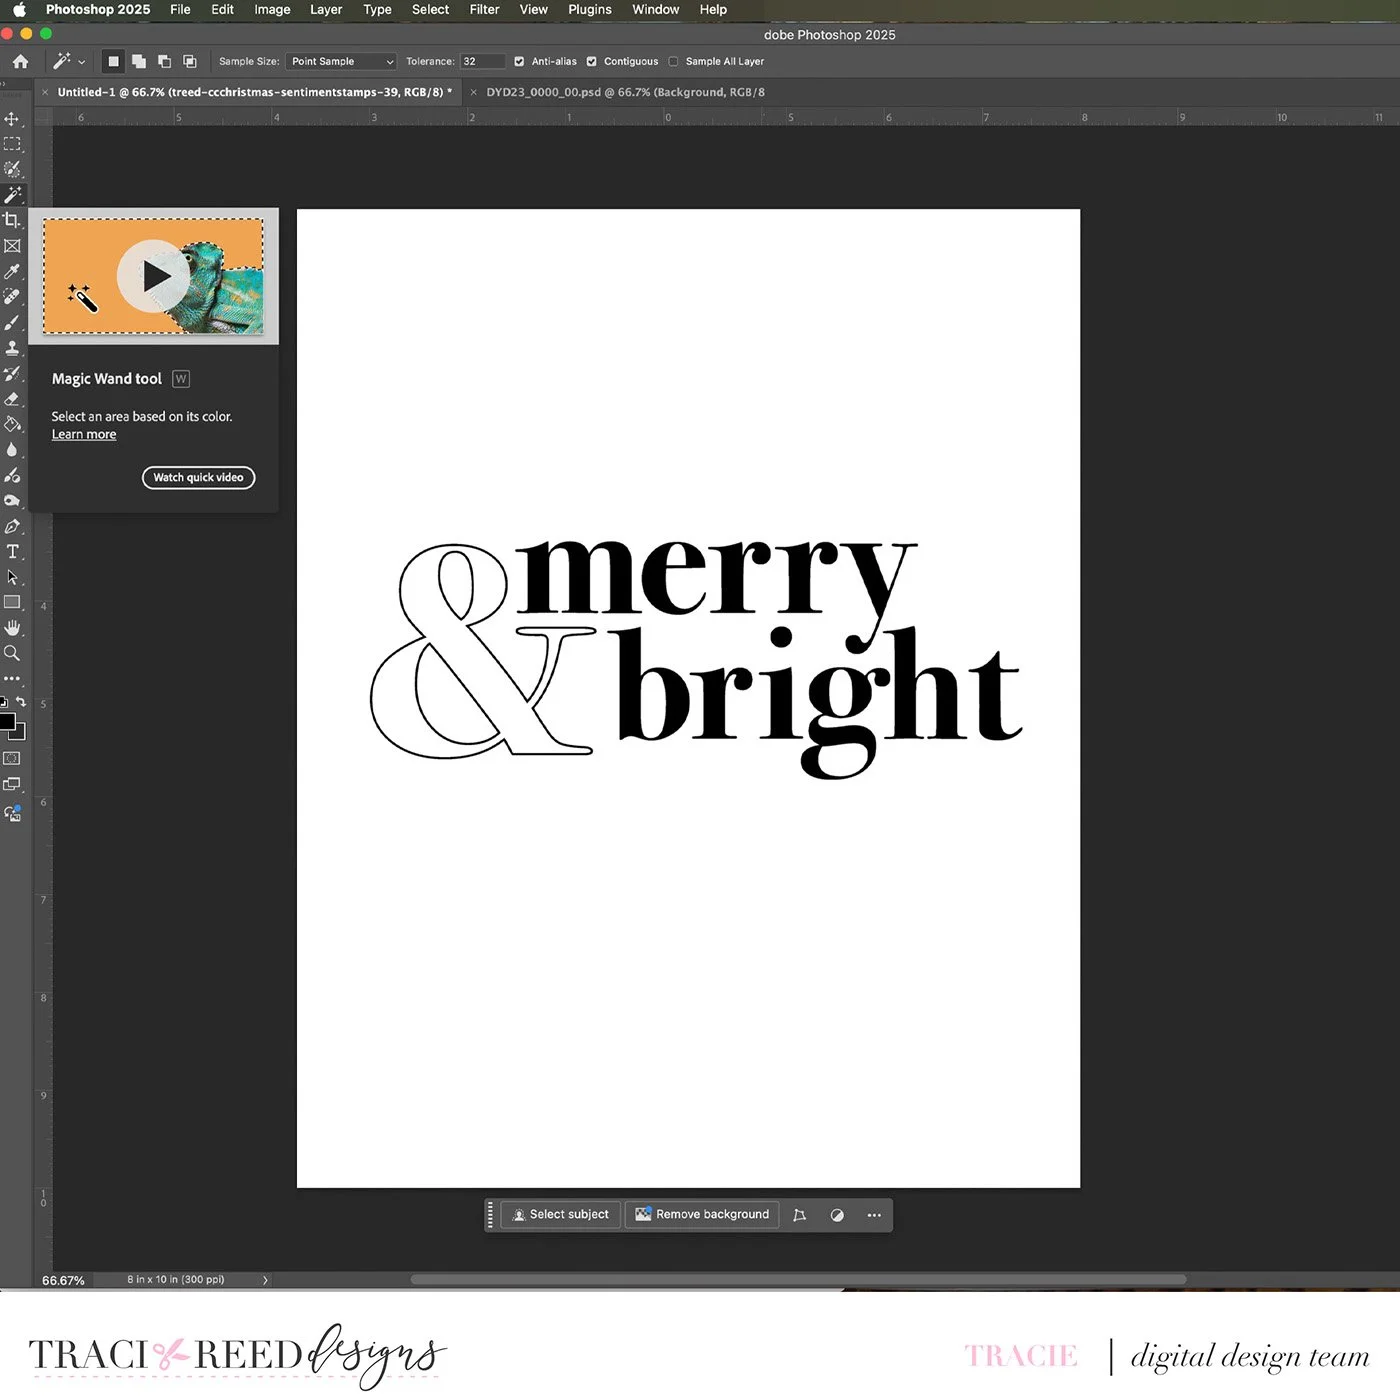
See how the words merry and bright look like they’ve been cut out of the top paper? I’m going to show you how I did it.
After opening a new canvas in Photoshop, duplicate it…

Next, drag the digital stamp you want to use onto the top layer…

Select the stamp and the top layer and merge them…

Find your Magic Wand tool…
Hold down shift as you select all of the letters you want to cut out…

Hit delete…

Add a drop shadow…
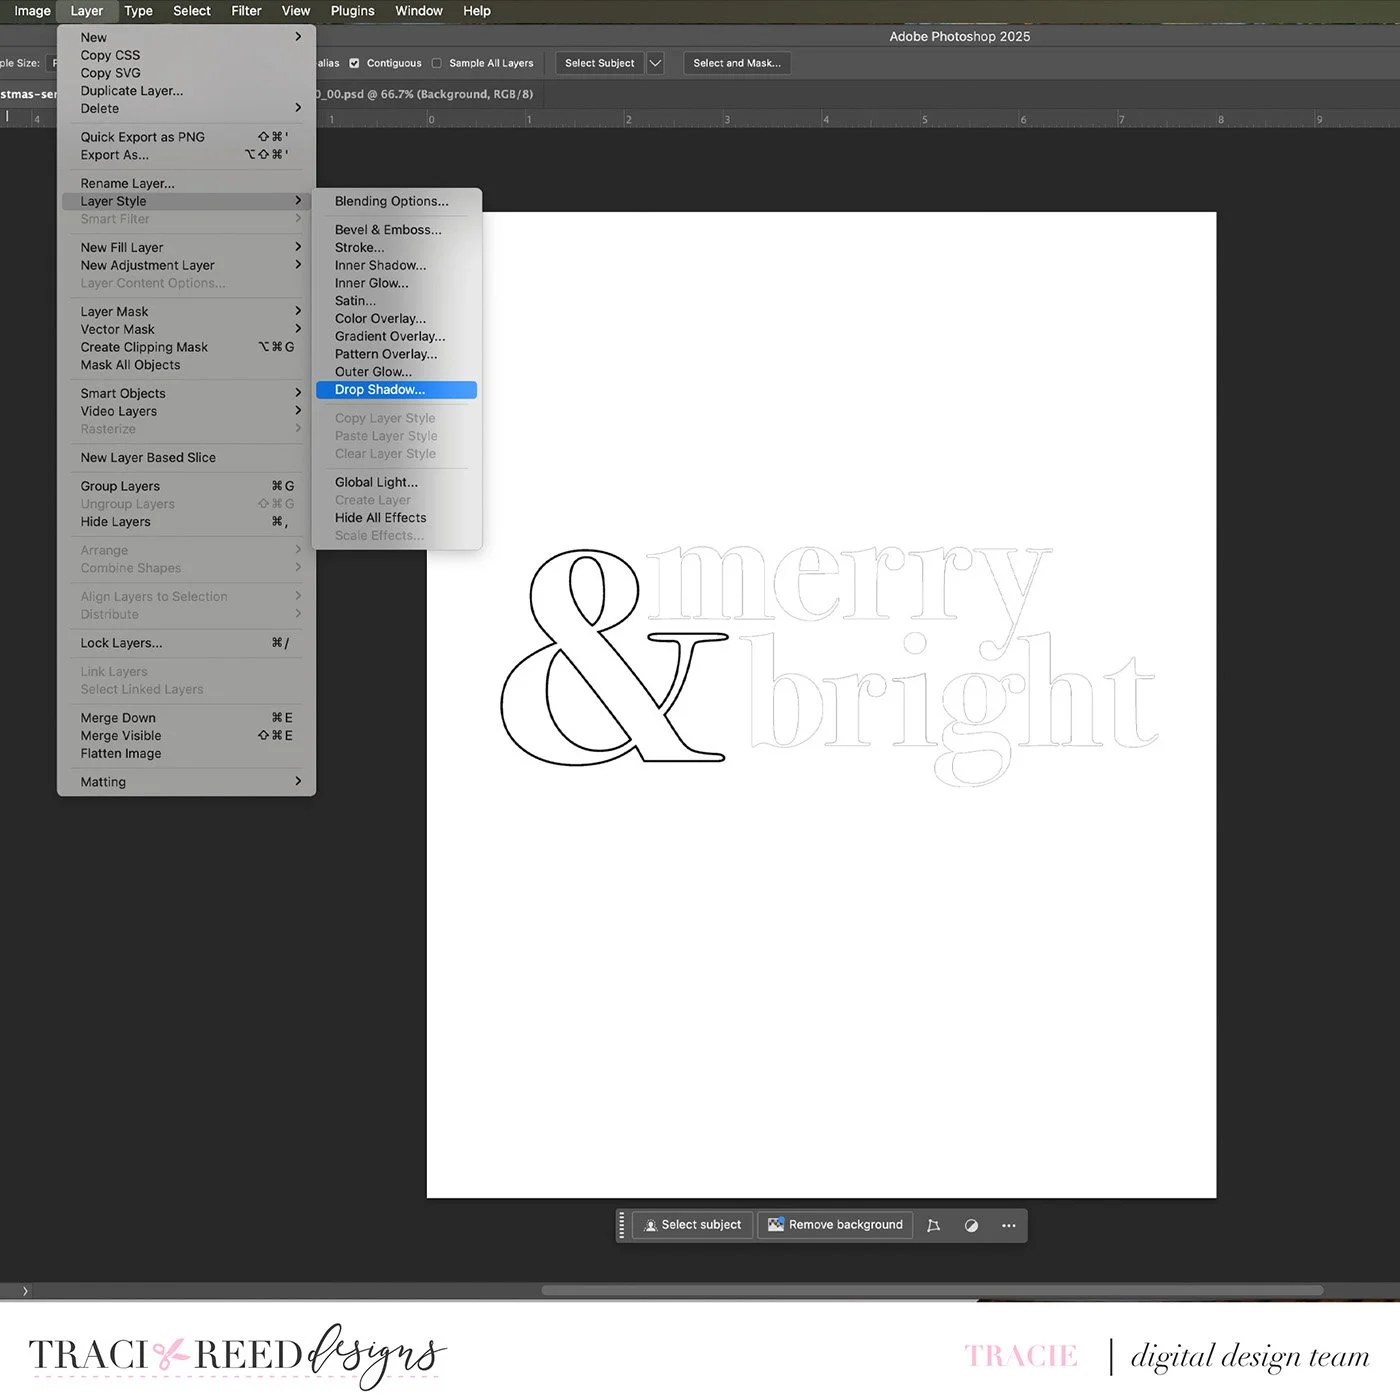
And play with the settings until you get it the way you like it…

Add a fun paper below your cut out layer…
From here, just start playing around with elements until you complete your cover…
I just love using this technique and I hope you will too!