Ways to Work it Wednesday: Digital Stamps
Hey Hey Hey! It's Ways To Work It Wednesday and today Cathy, Danica, Stephanie, and Sabrina are showing off 4 different ways that you may not have thought of to use digital stamps!
I LOVE the versatility of digital product and I think that digital stamps might be the most versatile of ALL the products!
Cathy - Wildflower
One of my favourite ways to use digital stamps is by playing with the colour on a digital layout. As I create a layout, I will change the colour several times before I settle on what I like. If you aren’t sure how to do this, it’s really quite simple… and we all know I love simple. Why overcomplicate things?
Within photoshop, insert the digital stamp in the size you wish. From layers, select the digital stamp, then fx and finally color overlay. Select the colour of your choice! What this means is that you can even get exact matches of colours whether you are using the eye dropper function within Photoshop or using a colour code!
Once you start using digital stamps, you won’t look back!
Danica - Beginnings & Endings
One thing you can do with digital stamps is make your own watermarked patterned paper! You can created personalized papers with your children’s names on them, dates, or anything you want. The possibilities are endless. When creating your papers be sure to turn on grids or rulers so that you can line things up easily.
For my layout, I used a coffee cup stamp from Traci’s Ex Libris Galaxias Collection and a love stamp from the Wildflower Collection.
I took a khaki colored paper as my base from Traci’s Beginnings & Endings Collection. I created a second layer and designed my paper with the digital stamps using the grids and rulers as a guide. Once I liked my design, I merged all the stamped images except for the base khaki paper and saved as a png so I can use this again if I would choose to do so for another project.
Now take your png overlay and create a layer above it. Fill it with a color slightly darker than your base layer. Clip this filled layer to your overlay and then merge all down. That’s it. You have created a patterned paper with a watermark design.
Layout template is from BuzzBee Designs called Edge to Edge.

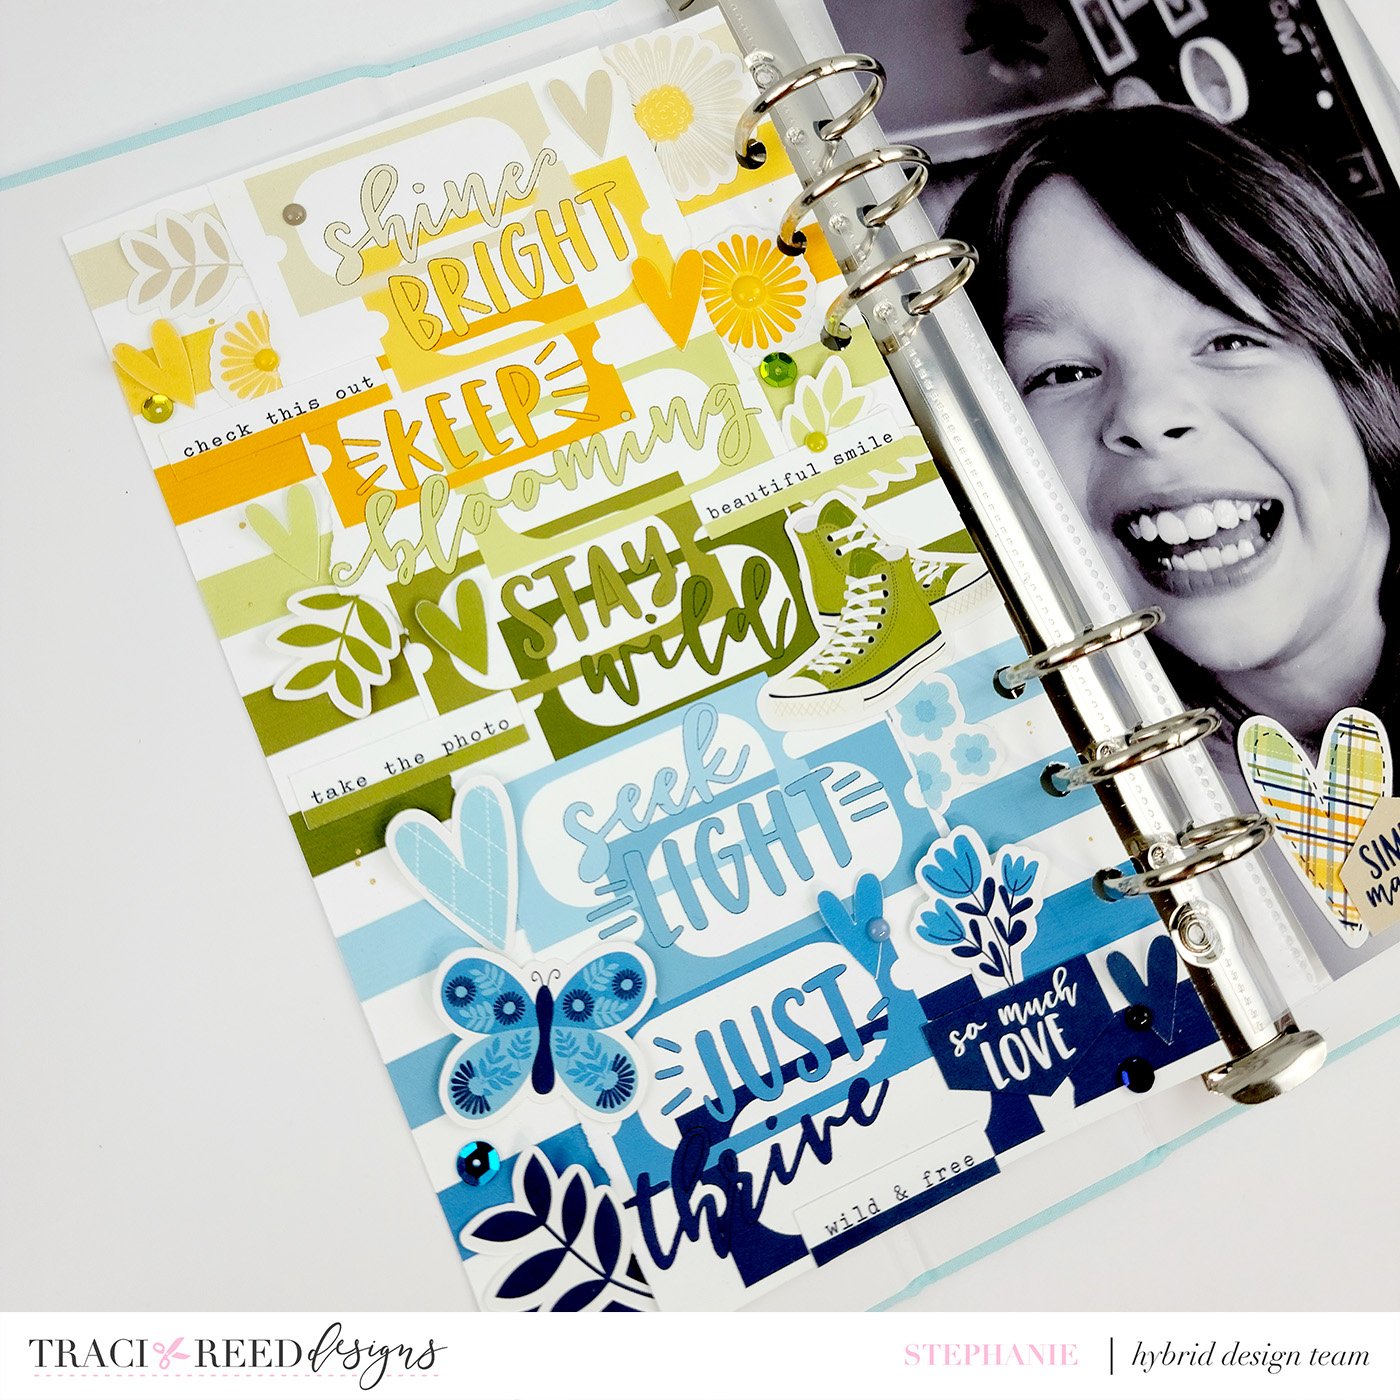
Stephanie - Wildflower
I love working with a multi- stripe pattern paper, so for this layout I used this paper from the Wildflower collection with the Wildflower digital stamps.
I layered the ticket style stamp, coordinating with each color in a vertical line to the pattern paper, then I completed the layer of digital stamps with some sentiments that were also color coordinated.
Next, I grabbed all the stickers and went to town, layering them alongside my digital stamping, helping it all blend and flow together.
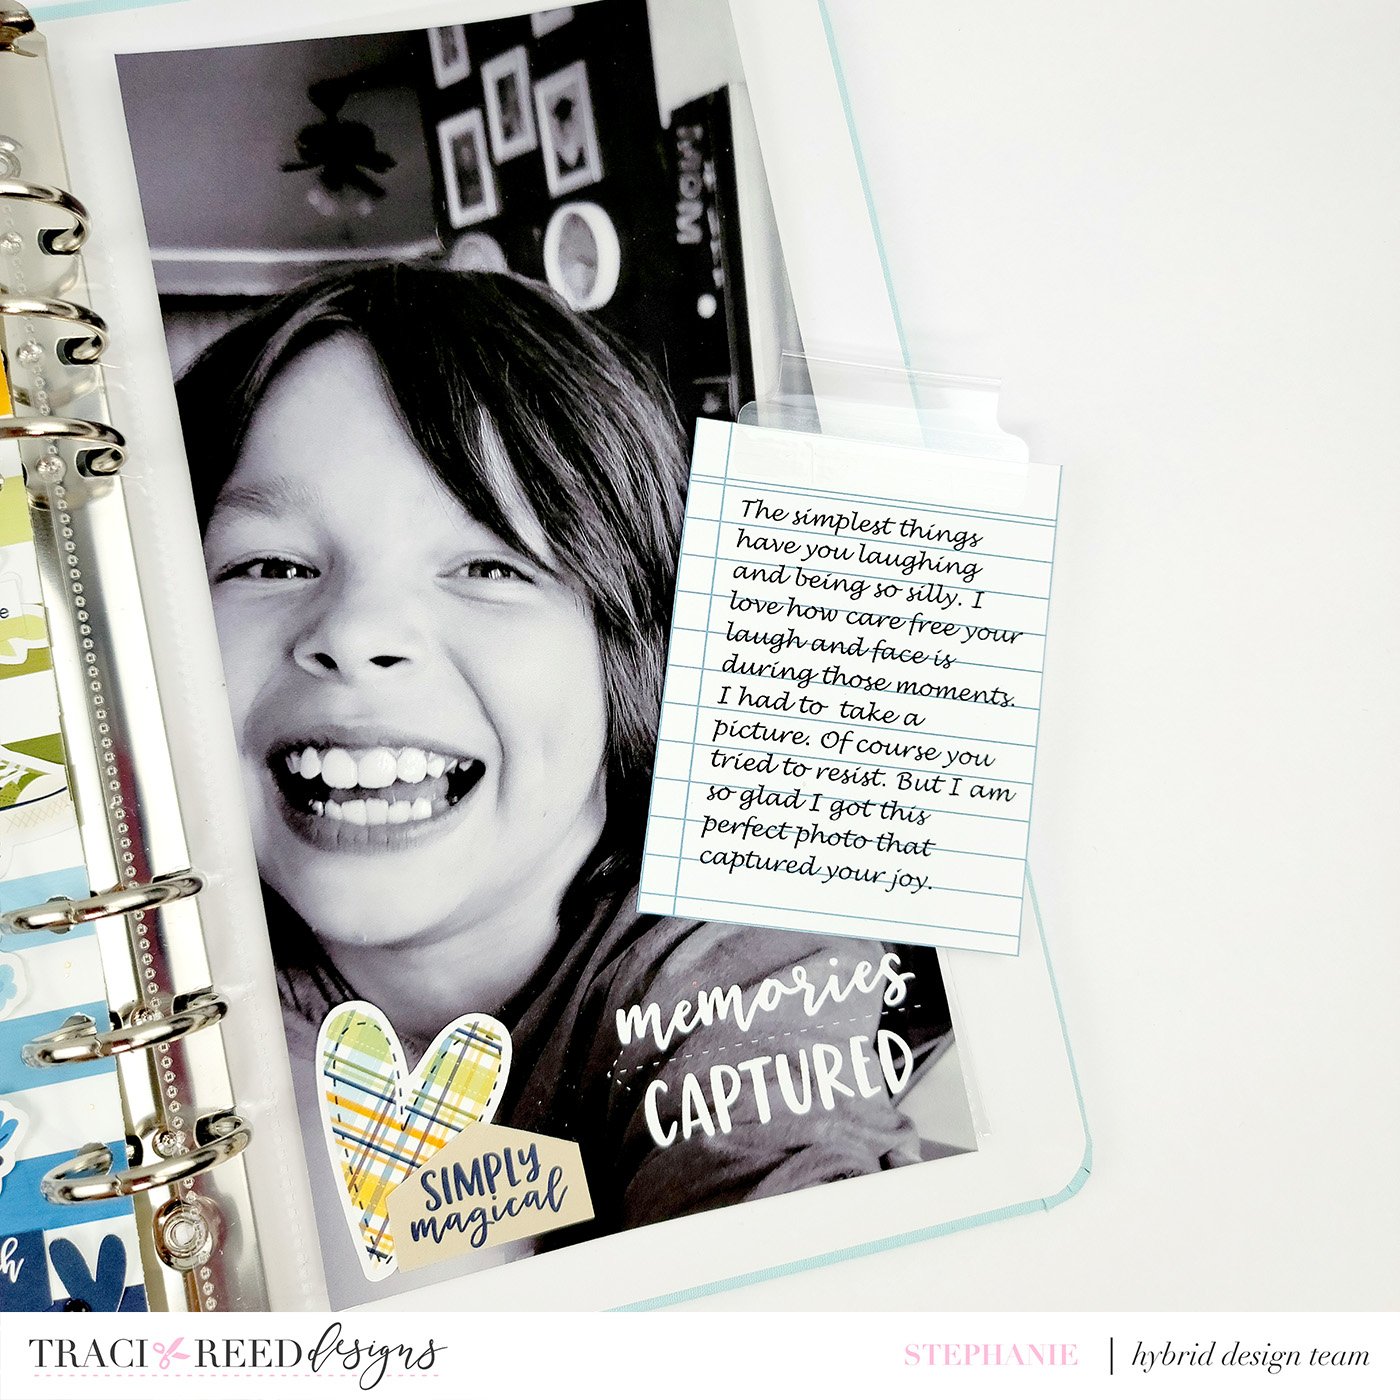
For the right side, I kept it simple with a full-page photo. I did add a digital stamp sentiment before printing because I wanted a sentiment in white. The beauty of digital stamping… perfect impression the first time!
I created a pocket in the back of my photo to include some journaling. I loved how this traveler's notebook page turned out.

Close Ups
I also printed and cut the labels on white paper, then watercolored them to match the Wildflower collection, backed the label hole with acetate and foam tape, added sequins, then backed the whole thing with patterned paper from the collection to make mini shaker pocket embellishments!

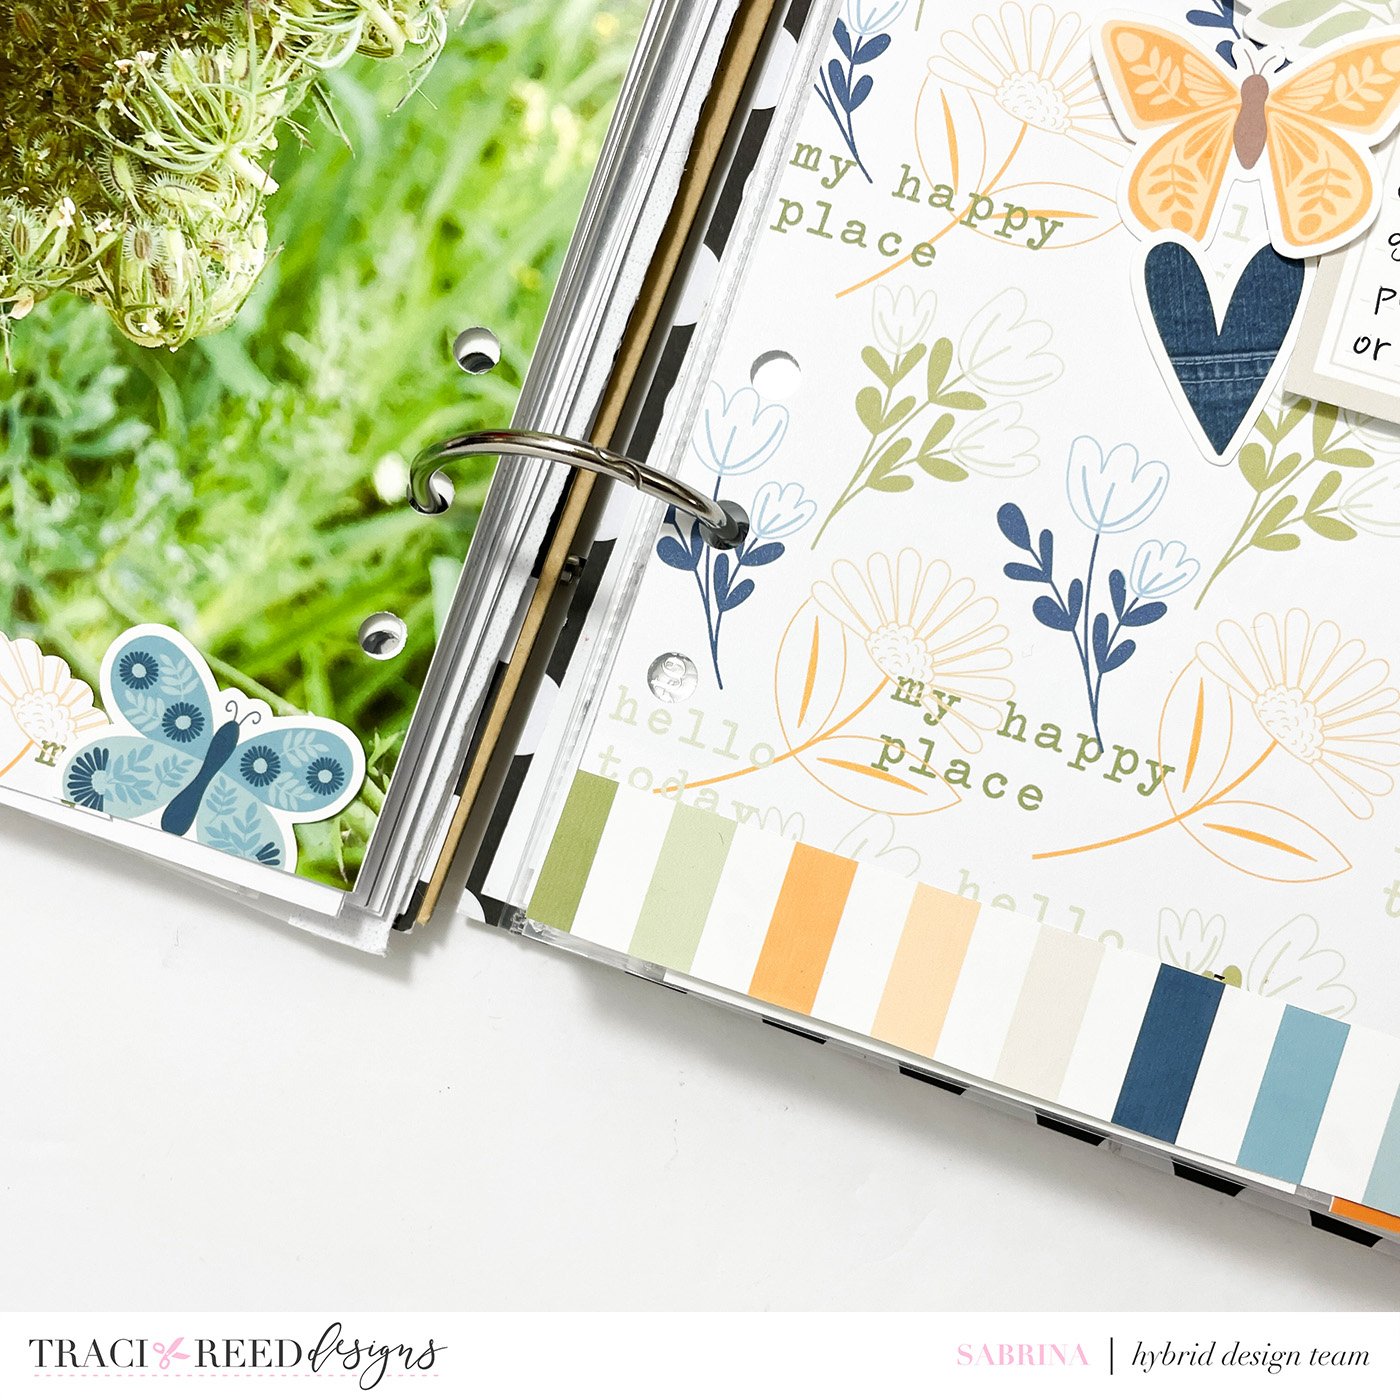
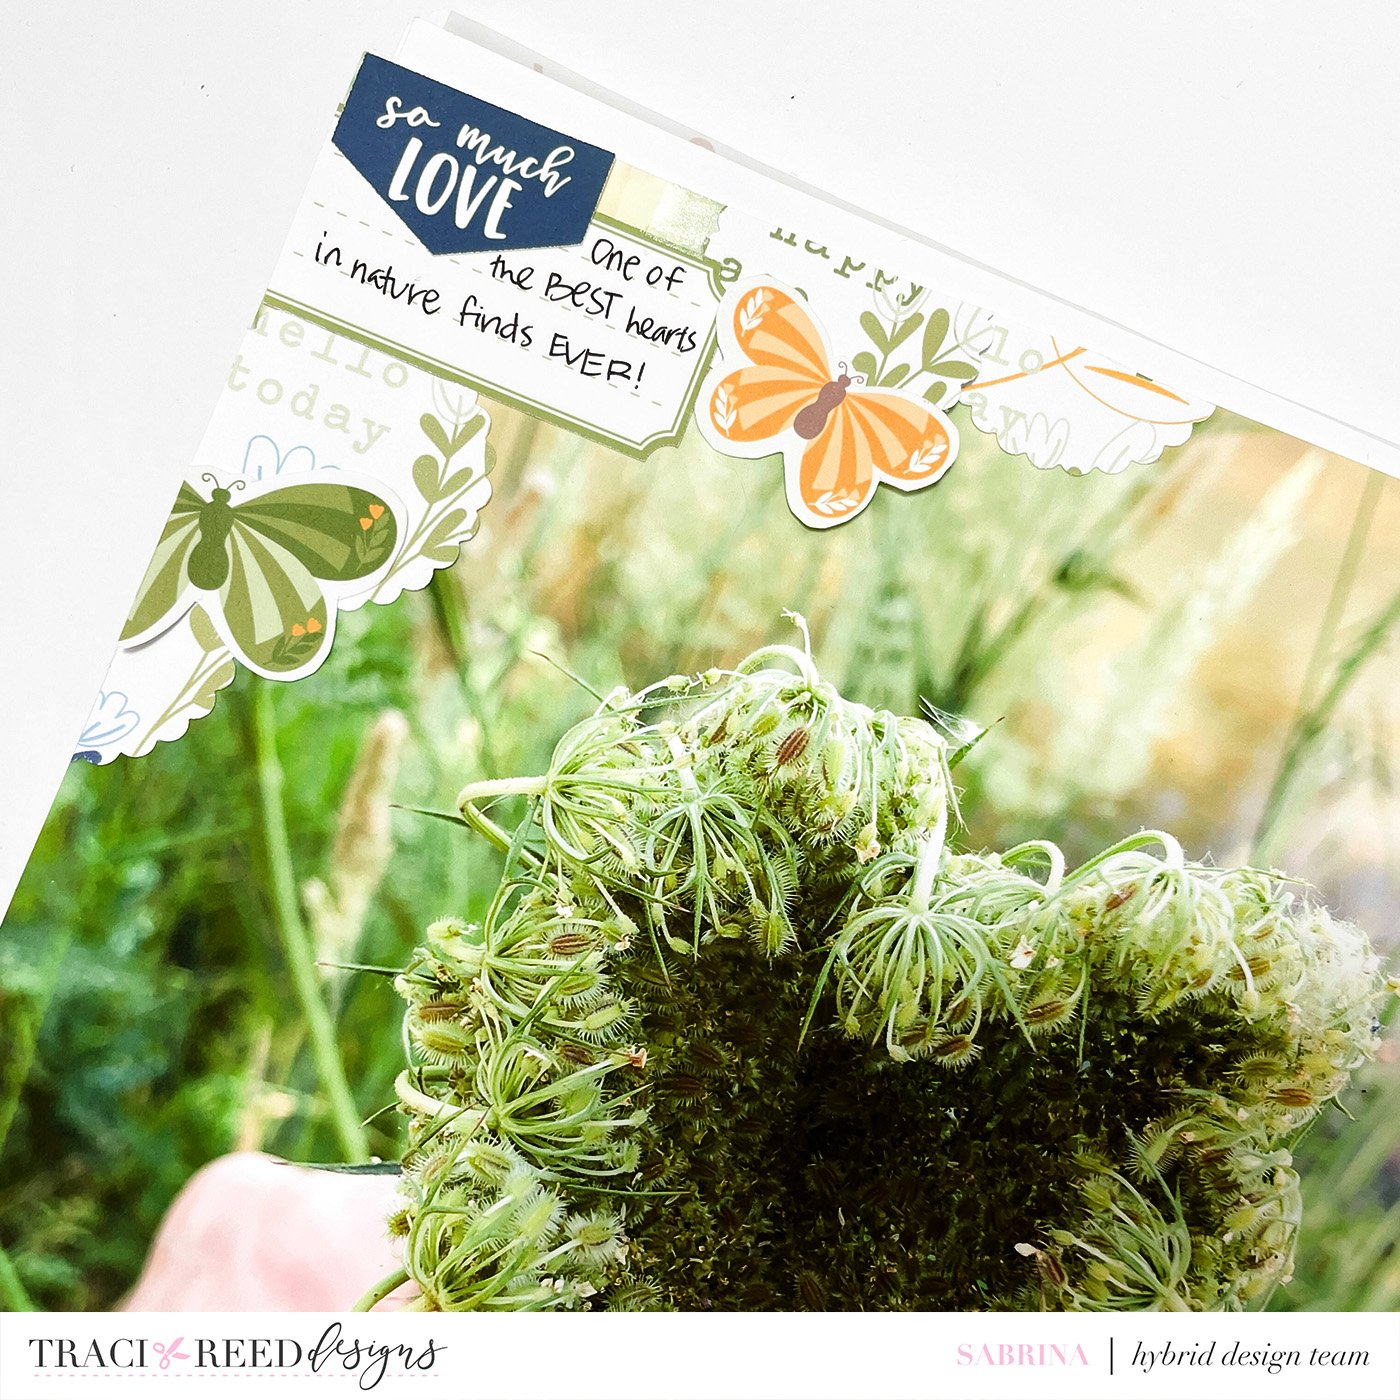
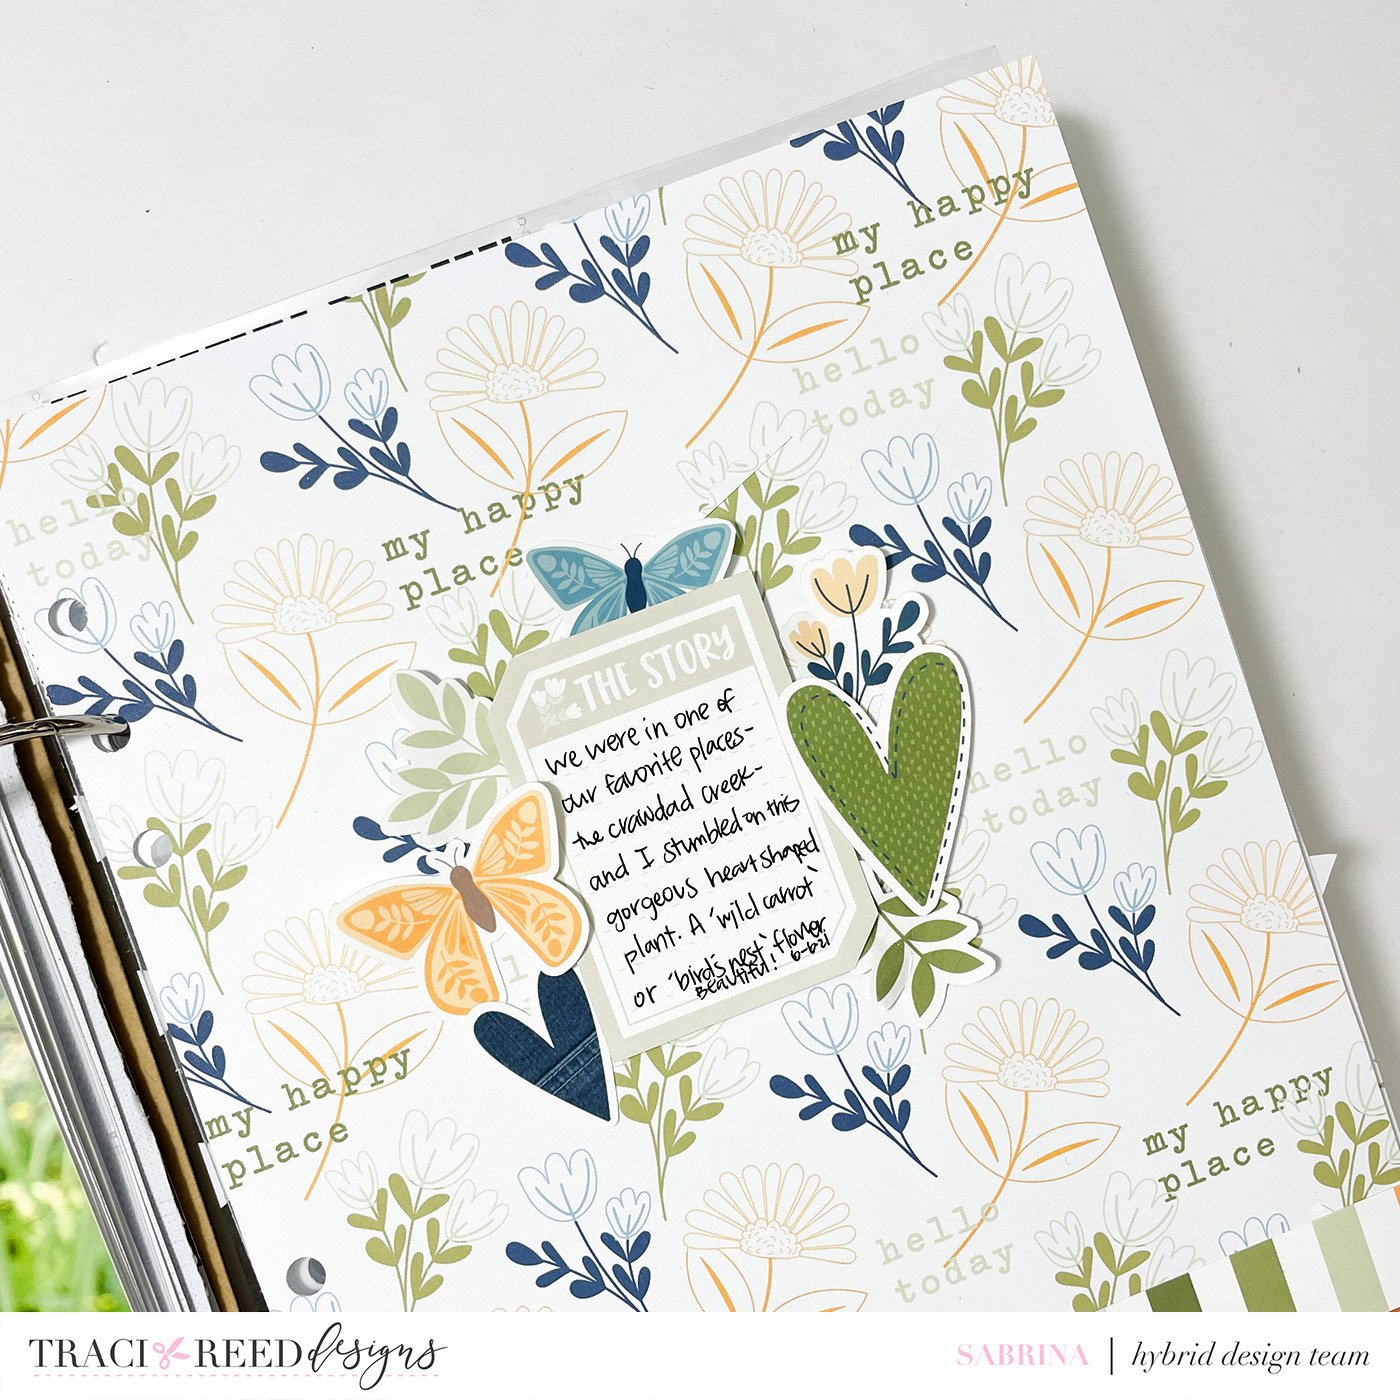
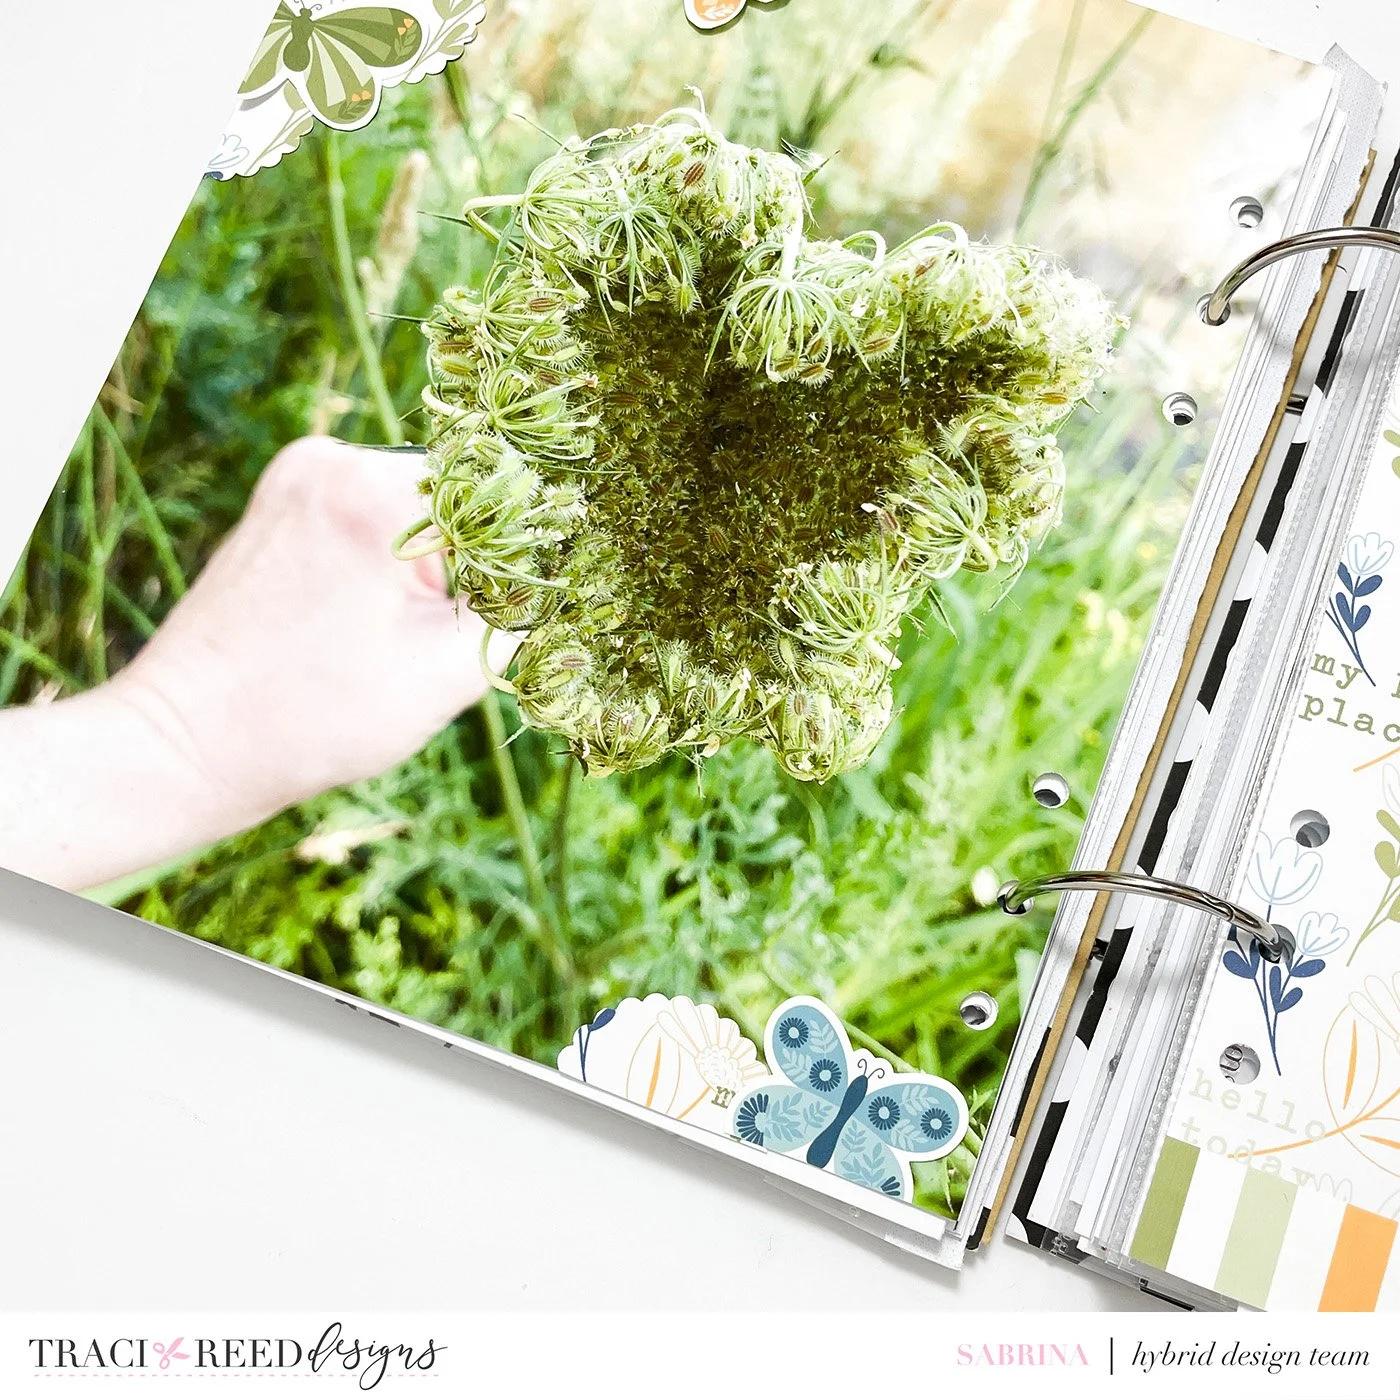
Sabrina - Wildflower
My project documents hearts in nature and the best one I’ve ever found. I had to make the photo huge and sized it outside the page protector. For the right side I wanted to keep things simple so I used the Wildflower digital stamps to make my own stamped patterned paper. I colored the flowers with 2 different colors and placed them in a cluster of 3 all over the page. I then added in 2 phrases “my happy place” and “hello today” in a few places on my custom paper. I finished up my project with some clustering on both pages with the focus on the middle for the right sided page. Love the versatility of digital stamps and how they supported my special photo.

Close Ups