Beginner to Advanced: 3 Ways to Modify a Digital Template into a Cut File in Photoshop & Silhouette Studio
Who’s up for a challenge today? I know, I know, some of us don’t scrapbook to LEARN, but rather to PLAY, but who says we can’t do both? Today, I’m going to show you three ways you can take a digital template and turn it into a cut file for your paper scrapbooking, ranging from easy to advanced!.
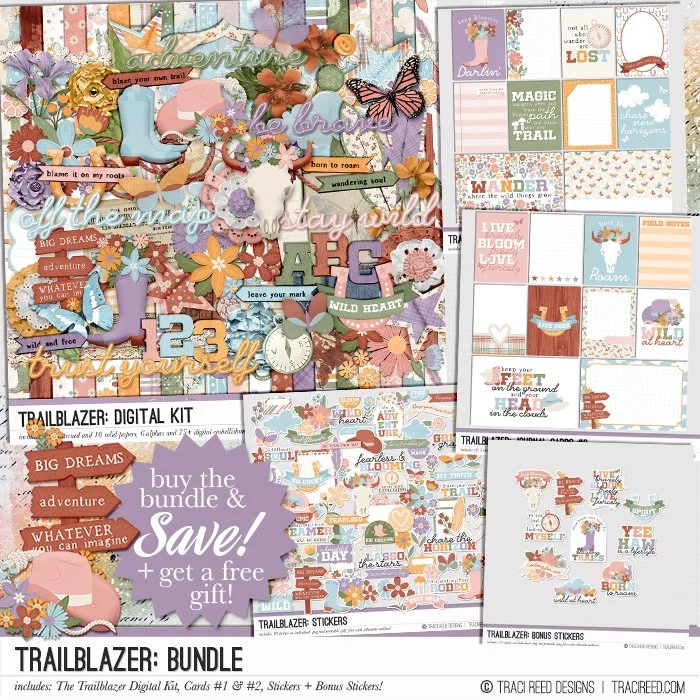
In the end, we’re going to end up with this gorgeous layout on the right using the Trailblazer collection that started with this stunning template by Cindy Schneider on the left, but first, let’s take some baby steps, shall we?
Sidenote, I am using Photoshop & Silhouette Studio, but you can recreate this same effect in any program that will open layered templates.

Template Hack #1: Cutting Shapes from a background
Arguably the easiest way to get these gorgeous butterflies onto your page, you can simply cut them out of the background and back them with any patterned or solid paper of your choice!

To achieve this look:
Create a layer filled with black under the butterfly layers. This will be your eventual cut file.
CMD (CTRL) click the image thumbnail of the first butterfly layer in the layers palette to get the “marching ants” around the butterflies to show you that they’re selected
Repeat the process for each butterfly layer while also holding down the SHIFT key to add each selection to the first. At the end, you should have marching ants around each butterfly.
Select your black cut file layer you created in the first step and hit delete to erase the butterflies from the layer, creating a cut fie.
Save ONLY the black cut file layer as a PNG file.
Open in Silhouette Studio and cut from the background of your choice, then back with the paper of your choice.

Template Hack #2: Paper Piecing Butterflies
Not a hard or complicated process, but definitely time consuming to piece together!

To achieve this look:
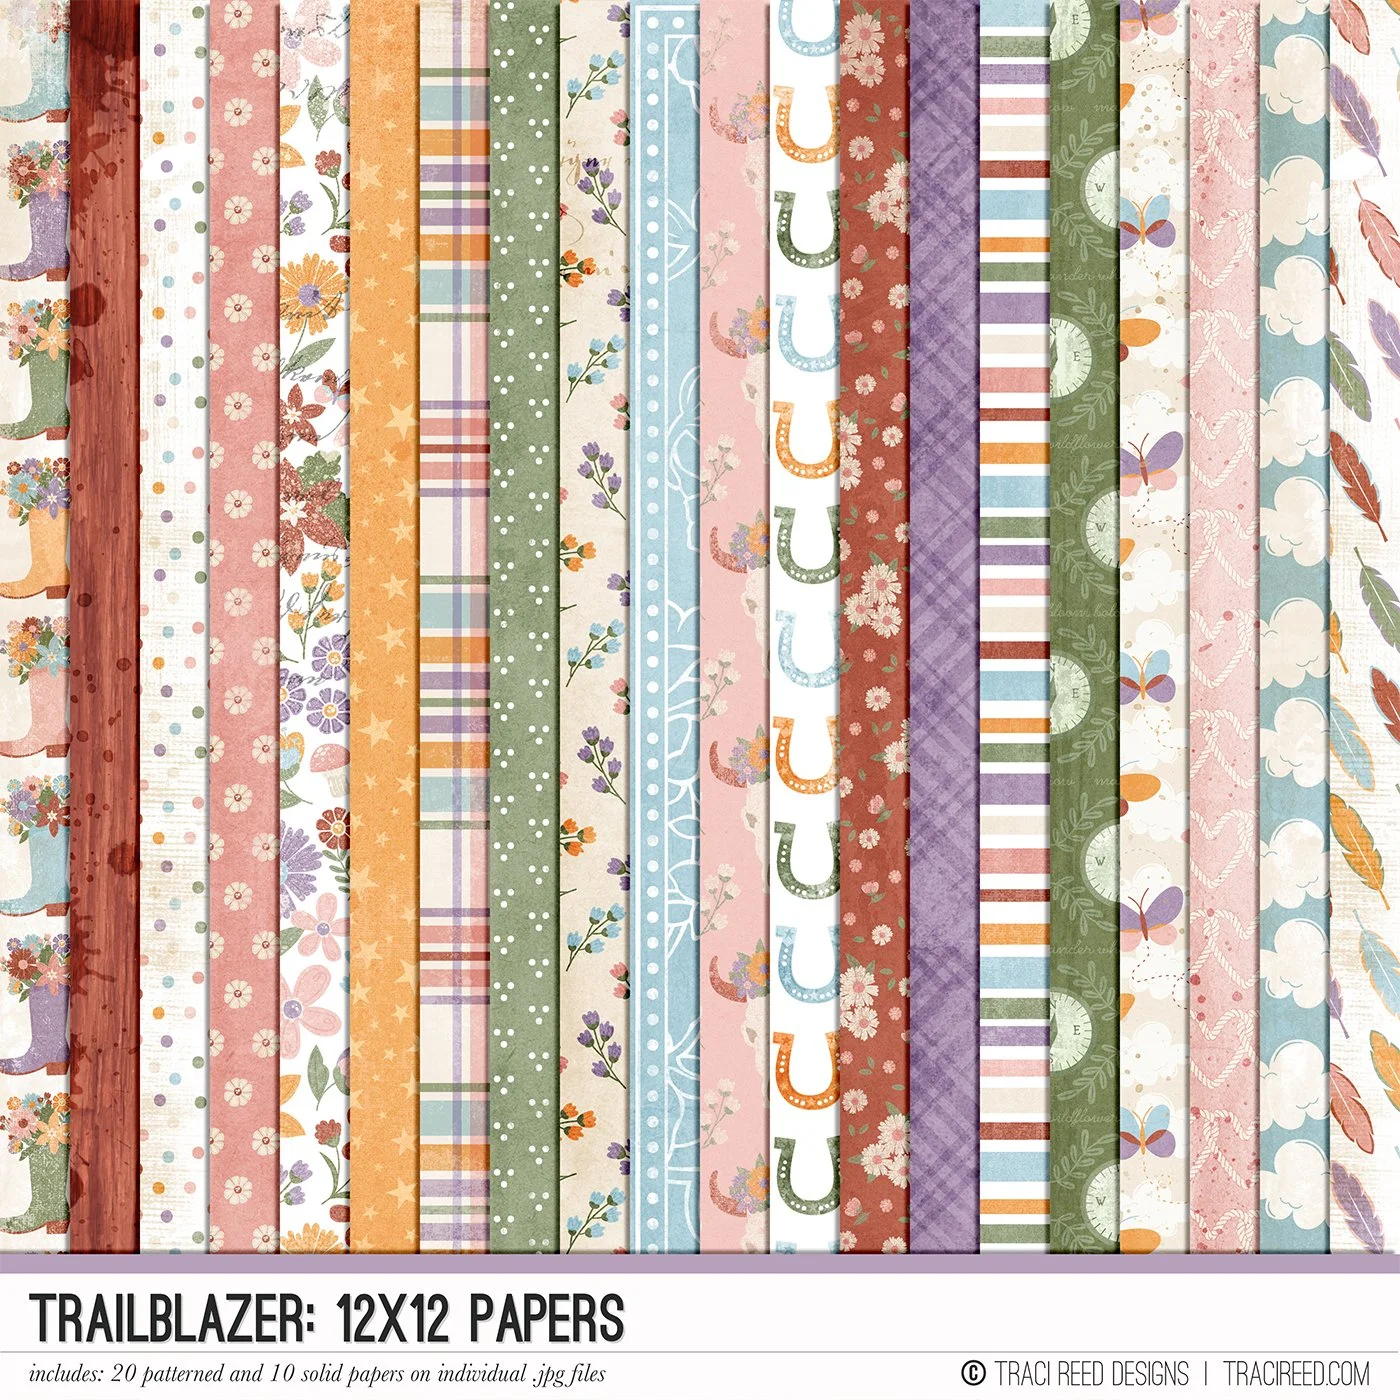
From the original template layer, clip the patterns you wish to have your butterflies to each layer. On this template, the butterflies are grouped together in horizontal stripes to make it easier to clip a single paper to multiple butterflies.
When you’ve added papers to each butterfly, merge the paper layers to their corresponding butterfly layer to be able to more easily manipulate the cut outs.
Now we need to create cut sheets. We won’t be able to fit all the butterflies on a single 8.5x11, so create two 8.5x11 sheets centering as many butterfly rows as you can on each sheet. Save these sheets as PNG files
Open your print and cut sheets in Silhouette Studio, center them to the page, then turn on the registration marks, set to the smallest possible settings
Print, then cut them out!
Pro-Tip: Use the “negatives” of your cut files (i.e. the white space) to easily align all your butterflies on your background paper the way they were on the template.

Template Hack #3: Creating Floating Wings
Definitely the most complicated and time consuming version, but well worth the effort!

To achieve this look:
First, create the same cut file we made in the easiest version of this tutorial and use a black brush to erase all the delicate butterfly antennas because they won’t be cut from the final product and this will save you some fussier time in Silhouette Studio.

Once you’ve saved your cut file, open it up in silhouette studio and use the Break Point tool to separate the body from the wings of the butterfly so that the body does not cut out.

To do this, you’ll select the point on the body closest to the wings on both sides of the body, then delete all the points in between those two points. Repeat the process with the head portion of the body. (If this isn’t clear, check out the video below.)

This will give you a butterfly shape that looks like one of the ones below. Notice how the wings to not connect:

Now, rather than repeating that tedious process for every butterfly, I chose group the two wings together and copy and paste them throughout the template, deleting the original butterflies. After you do this for a column or two, you can copy and paste and rotate columns together easily.
Don’t forget to print your background paper AND the patterned butterflies on two separate sheets. When you cut your butterflies from the top paper, the printed butterflies will automatically align underneath easily!


P.S. Save yourself some time (like I didn’t 🤦🏼♀️) and don’t bother cutting out the butterflies that will be covered up in the final layout!
I think it was worth the effort, don’t you!?

Close Ups


Check out the full video tutorial + scrapbook process below!
Timestamps:
1:57 Beginner – Learn how to cut butterfly shapes out of a background in Photoshop and prep them for Silhouette Studio
5:35 Intermediate – Add patterned papers to butterfly layers and save them as print-and-cut files.
10:05 Advanced – Modify your butterfly shapes in Silhouette Studio to create wings that lift off the page without fully cutting out.
Cut Straight to the Scrapbooking: 20:14