Think Outside The 12x12: Scrapbooking 12x12 Layouts with 8.5x11 (or smaller!) Printables: Lesson One!
No 12x12 Printer? No Problem! In our “Think Outside the 12x12” series, we’re showing you how to scrap 12x12 layouts with TRD printables, even if you don’t have a 12x12 printer!
When it comes to scrapbooking, using smaller pieces of paper can present a creative challenge, and one bar to printables I often see presented by my customers. But fear not! In this blog series, we'll explore an techniques for using non-12x12 papers on your 12x12 layouts that still have that POP that you want for your large layouts!
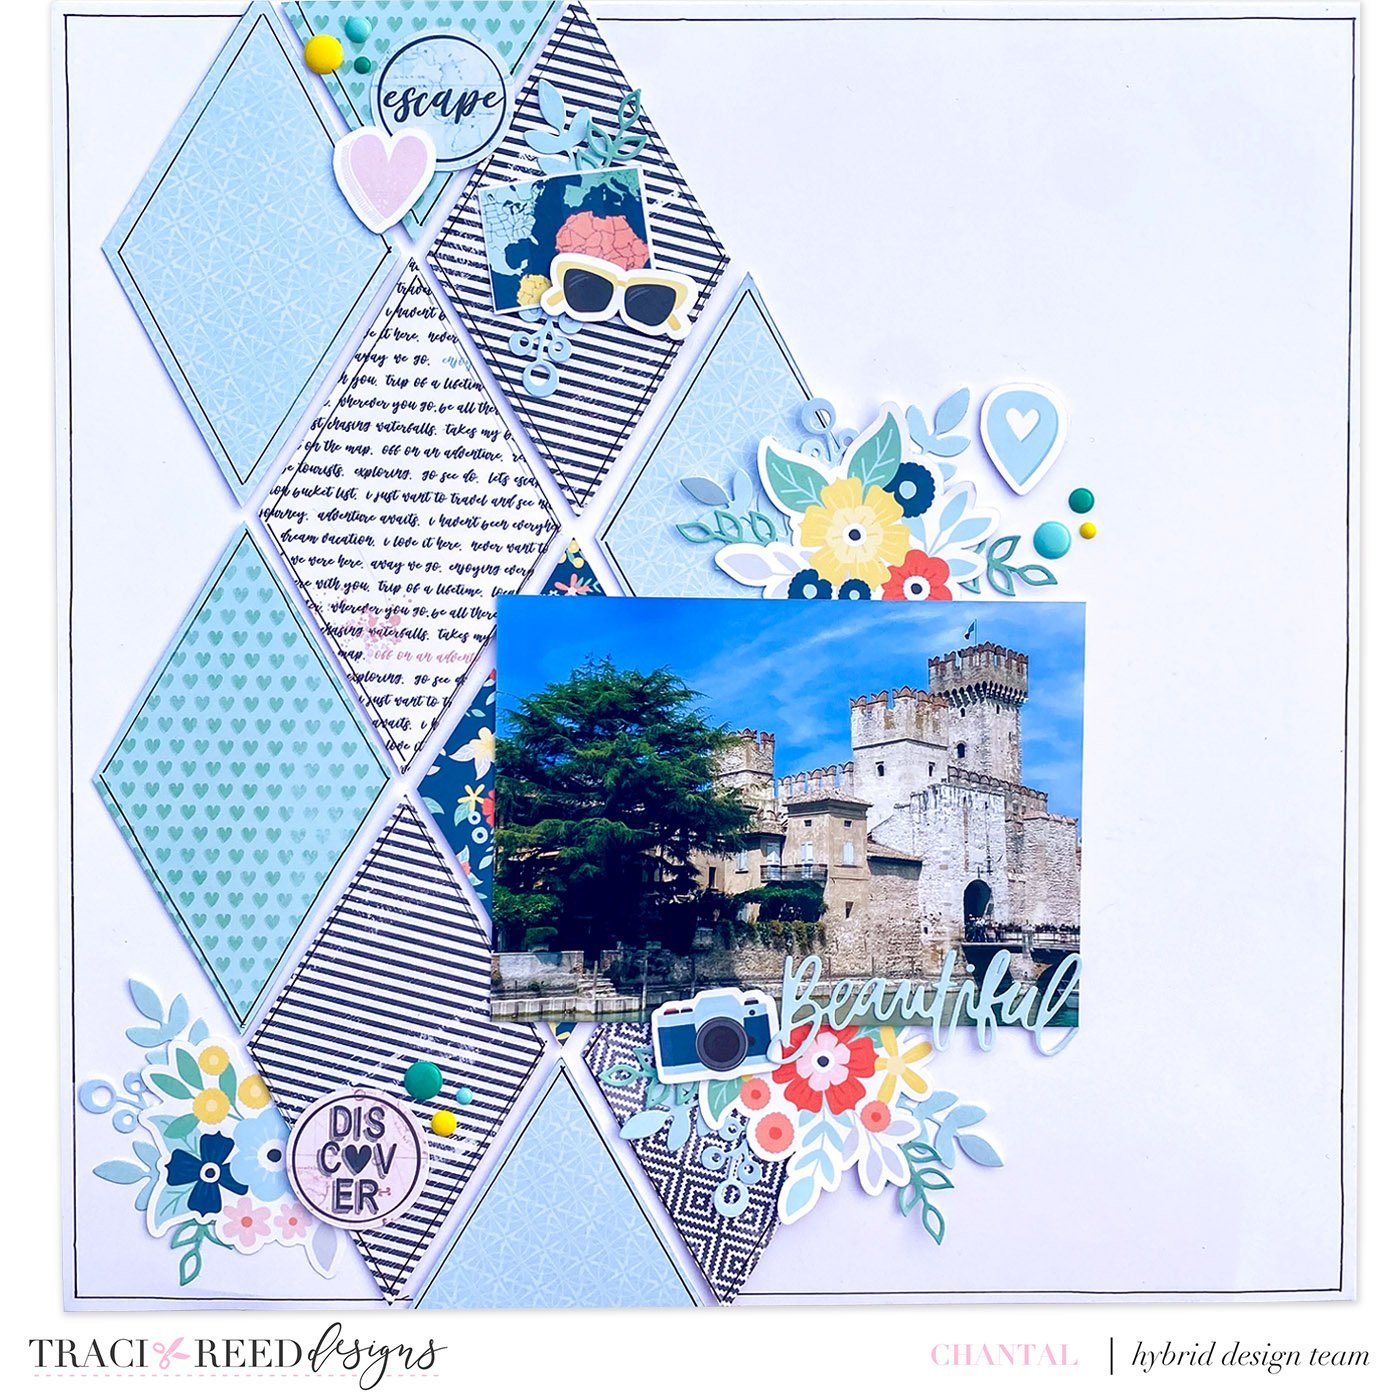
Lesson One: Embrace the Versatility of 4x6 Patterned Cards
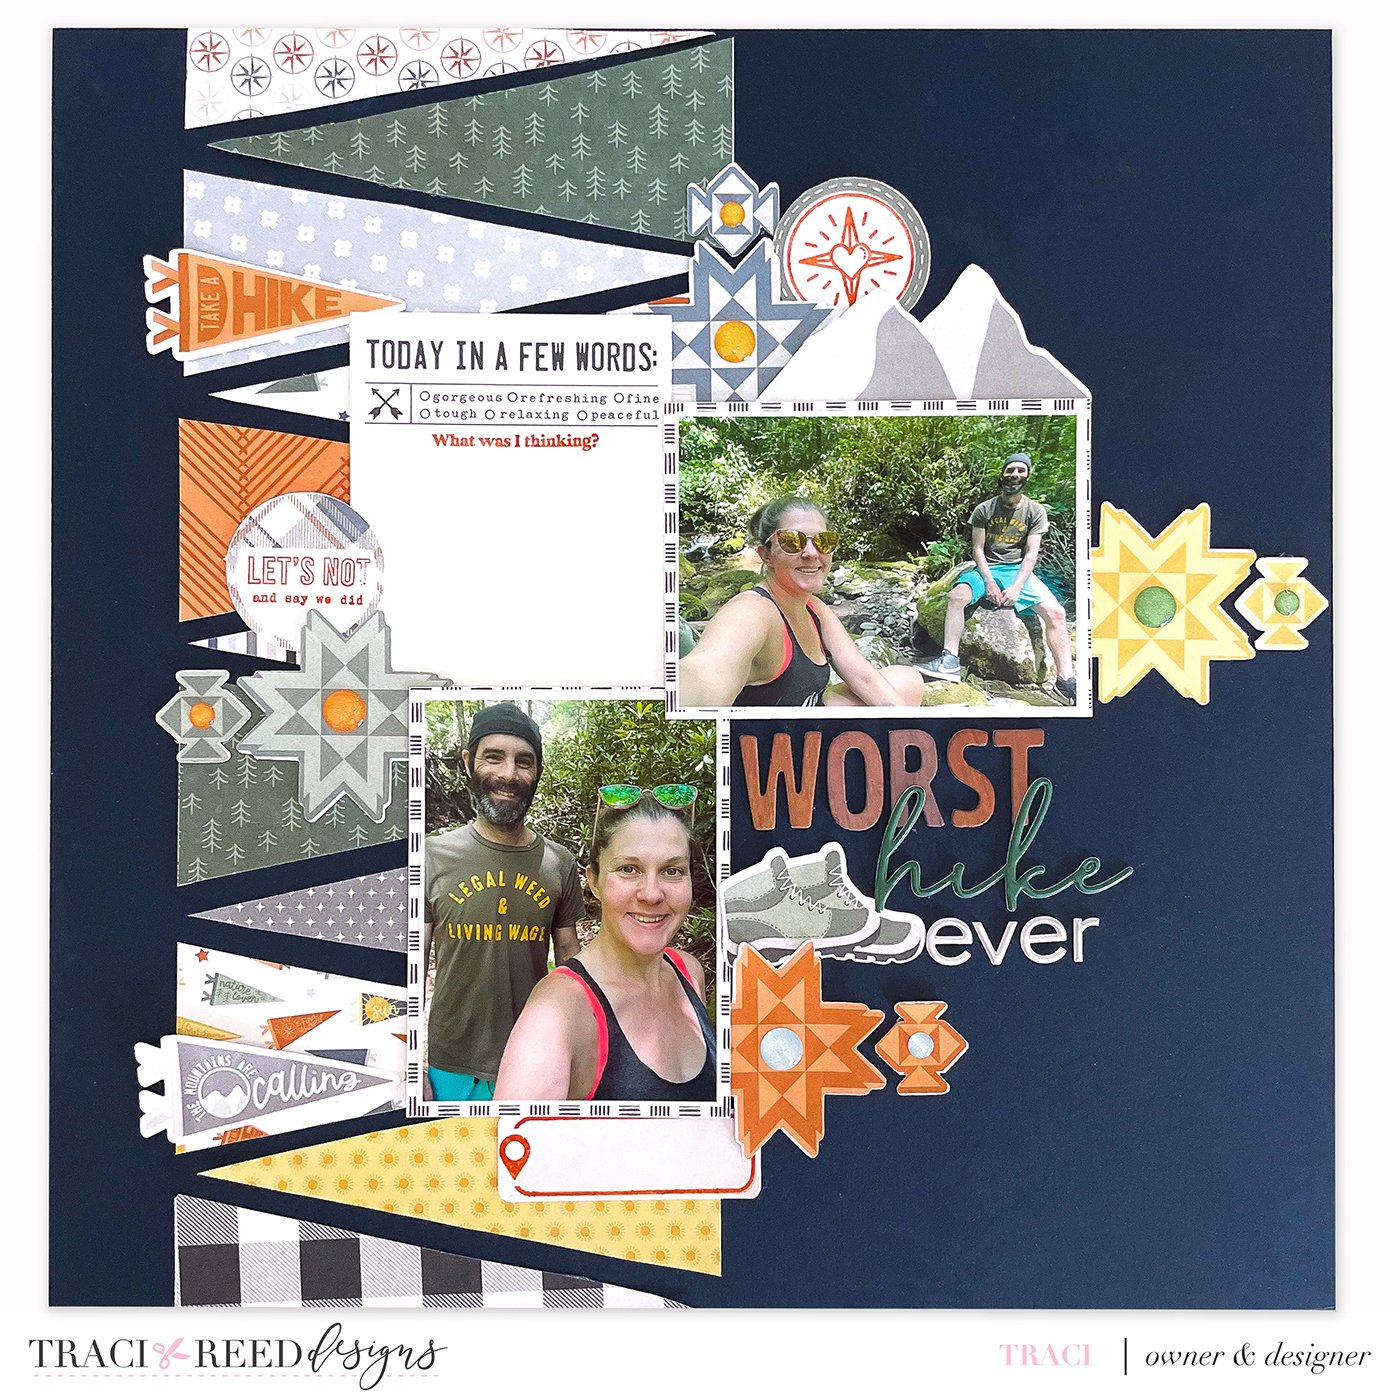
One oft-under-utilized product I see are the 4x6 patterned cards. They are the PERFECT size for scrapbooking of all styles and my most-used printable in my own scrapbooking. Today i’ll be using the Summer Camp 4x6 Patterned Cards + Stickers on this 12x12 layout.
For my page, I wanted to recreate the design of the pennants included in the Summer Camp collection, so I decided to use my 4x6 patterned cards to create a column of “pennant” triangles all the way up my page as a base for my photo cluster.
Start by gathering a collection of 4x6 patterned cards in various colors and designs. These cards are included in every single one of my collections and are a great way to print all the patterns to have at the ready. Don't let their size limit your creativity—think of them as building blocks for your pages!
Cut Your Cards into Triangles: Using a paper trimmer or scissors, carefully cut the 4x6 patterned cards into triangles. Aim for consistent sizes, but don't be afraid to experiment with different angles and shapes. Remember, imperfections add character to your scrapbook pages! Consider using a template or ruler to guide your cuts for precision and ease.
Plan Your Triangle Placement: Before adhering the triangles, take a moment to plan their placement on your 12x12 scrapbooking paper. Lay out the triangles in different orientations and arrangements, exploring various patterns and color combinations. You can create a bold geometric pattern, a cascading effect, or a random assortment—it's entirely up to you! Play with different options until you find a layout that speaks to you.

4. Secure the Triangles in Place: Once you're satisfied with the arrangement, adhere the triangles to your 12x12 scrapbooking paper using a glue stick or adhesive of your choice. Take care to ensure a secure bond, especially at the edges of the triangles. Press down gently to avoid any air bubbles or shifting.
5. Embellish and Complete Your Layout: Now that your triangles are securely attached, it's time to add the finishing touches to your layout. Embellish with stickers, die-cuts, or ephemera that complement the theme or colors of your page. Consider including journaling, date stamps, or handwritten notes to document the memories behind your photos. Let your creativity shine as you put the final touches on your unique masterpiece!
For my page, I added various alphabet stickers and die cuts around my photos to emphasize the composition and a journaling card to form an L shape around my title!

Using 4x6 patterned cards, you can maximize the amount of pattern you include on your layouts by using the cards creatively. By repurposing these cards into triangles, you'll transform your 12x12 pages with unique patterns, vibrant colors, and a touch of artistic flair. Embrace the versatility of smaller papers, and let your imagination run wild. Now it's your turn to try this technique and unleash your creativity onto the pages of your scrapbook. Happy crafting!
Process Video
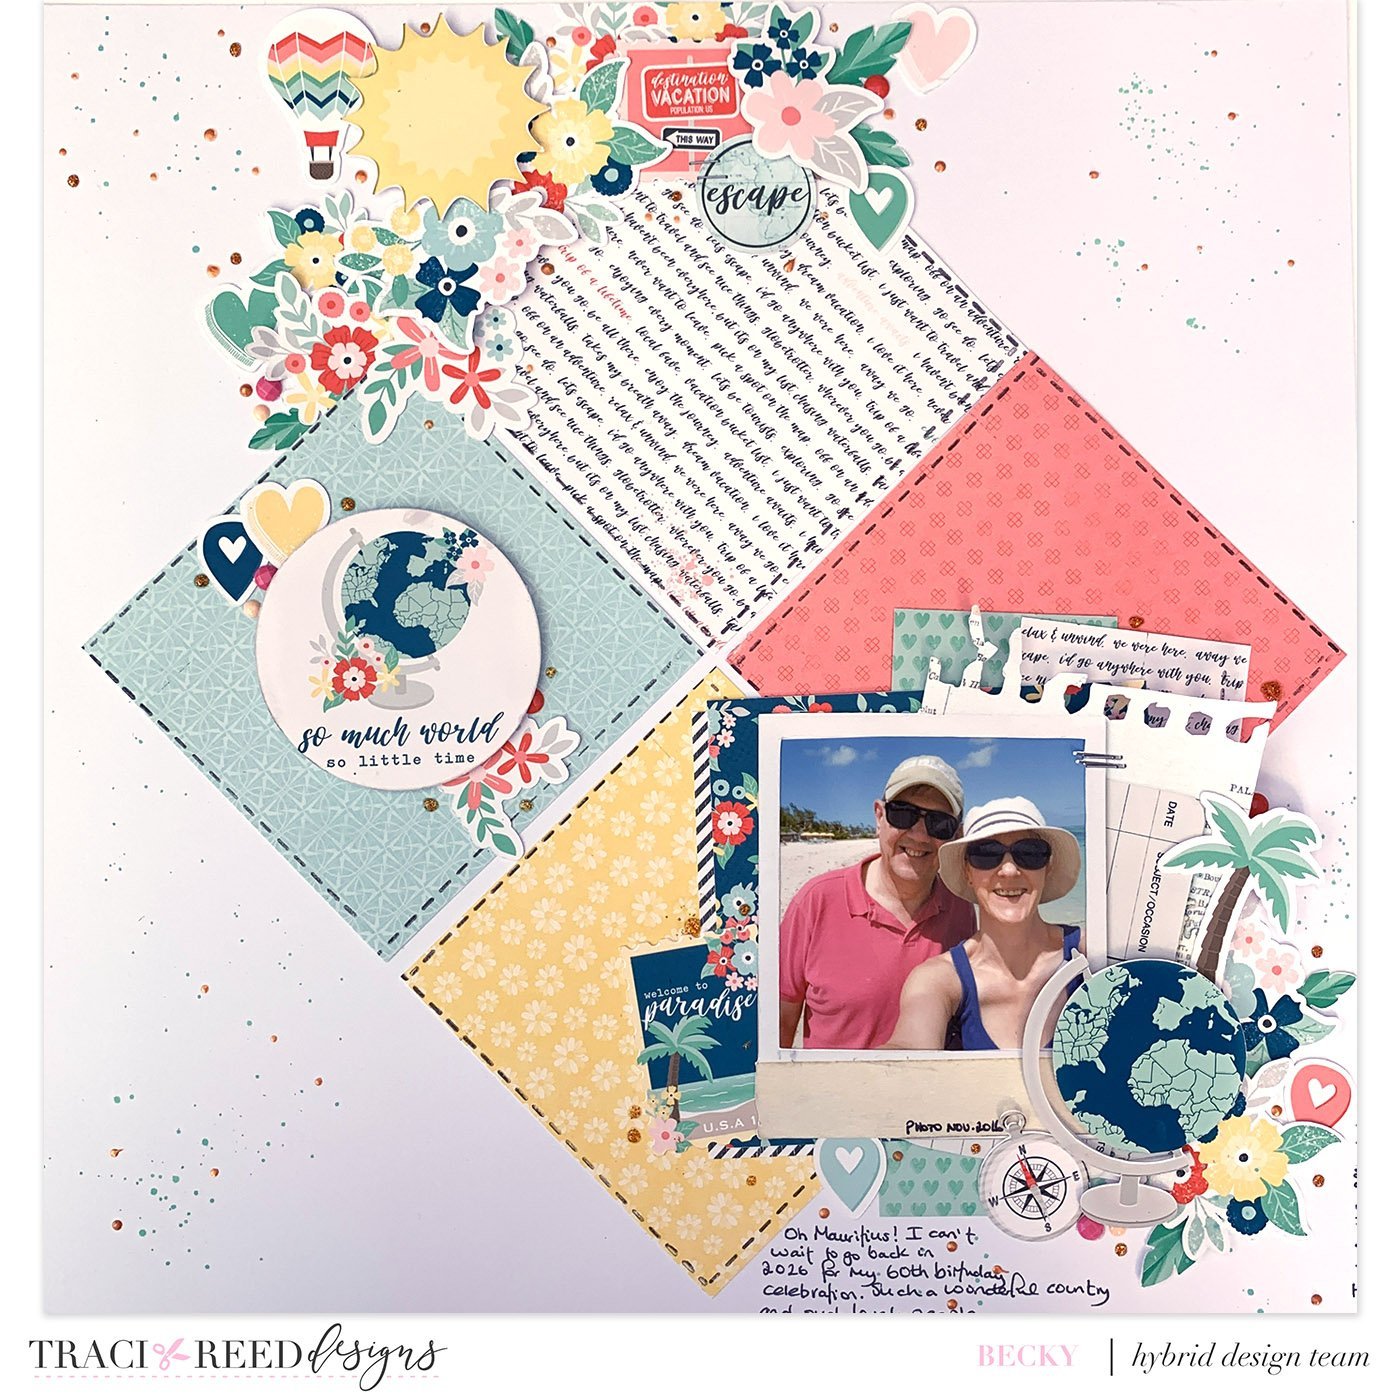
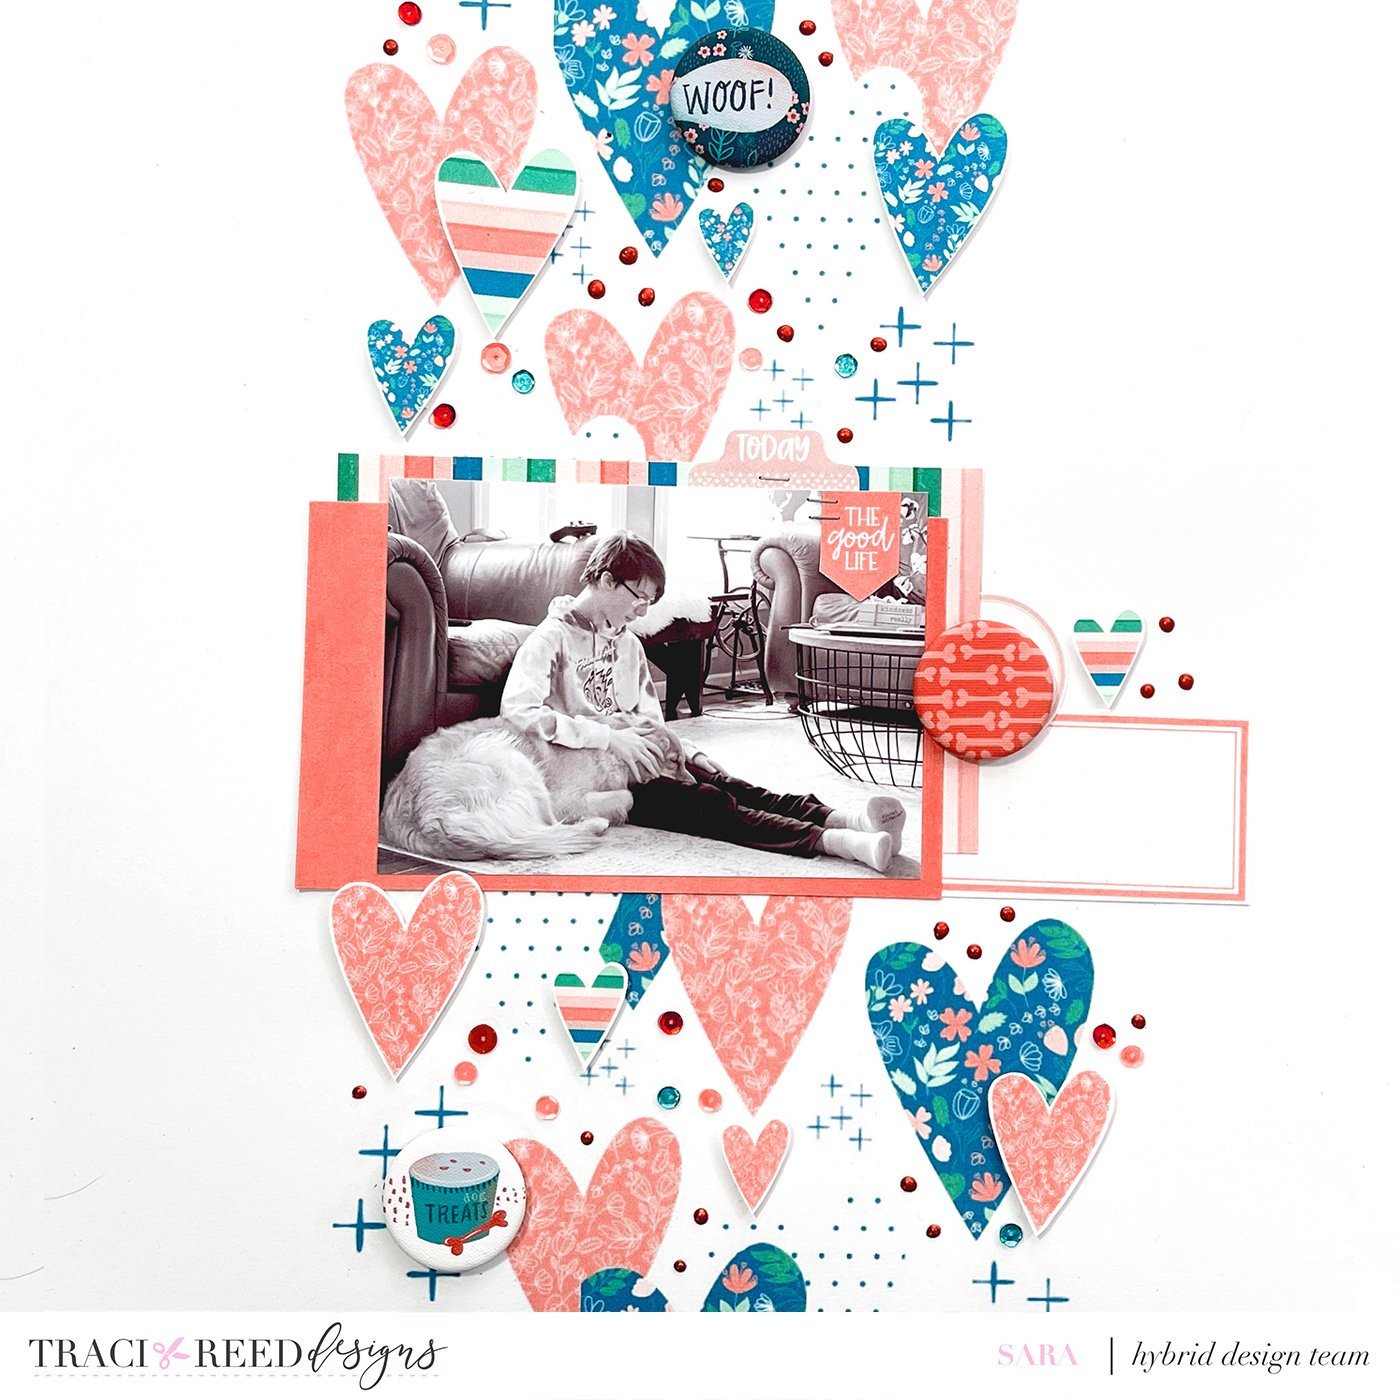
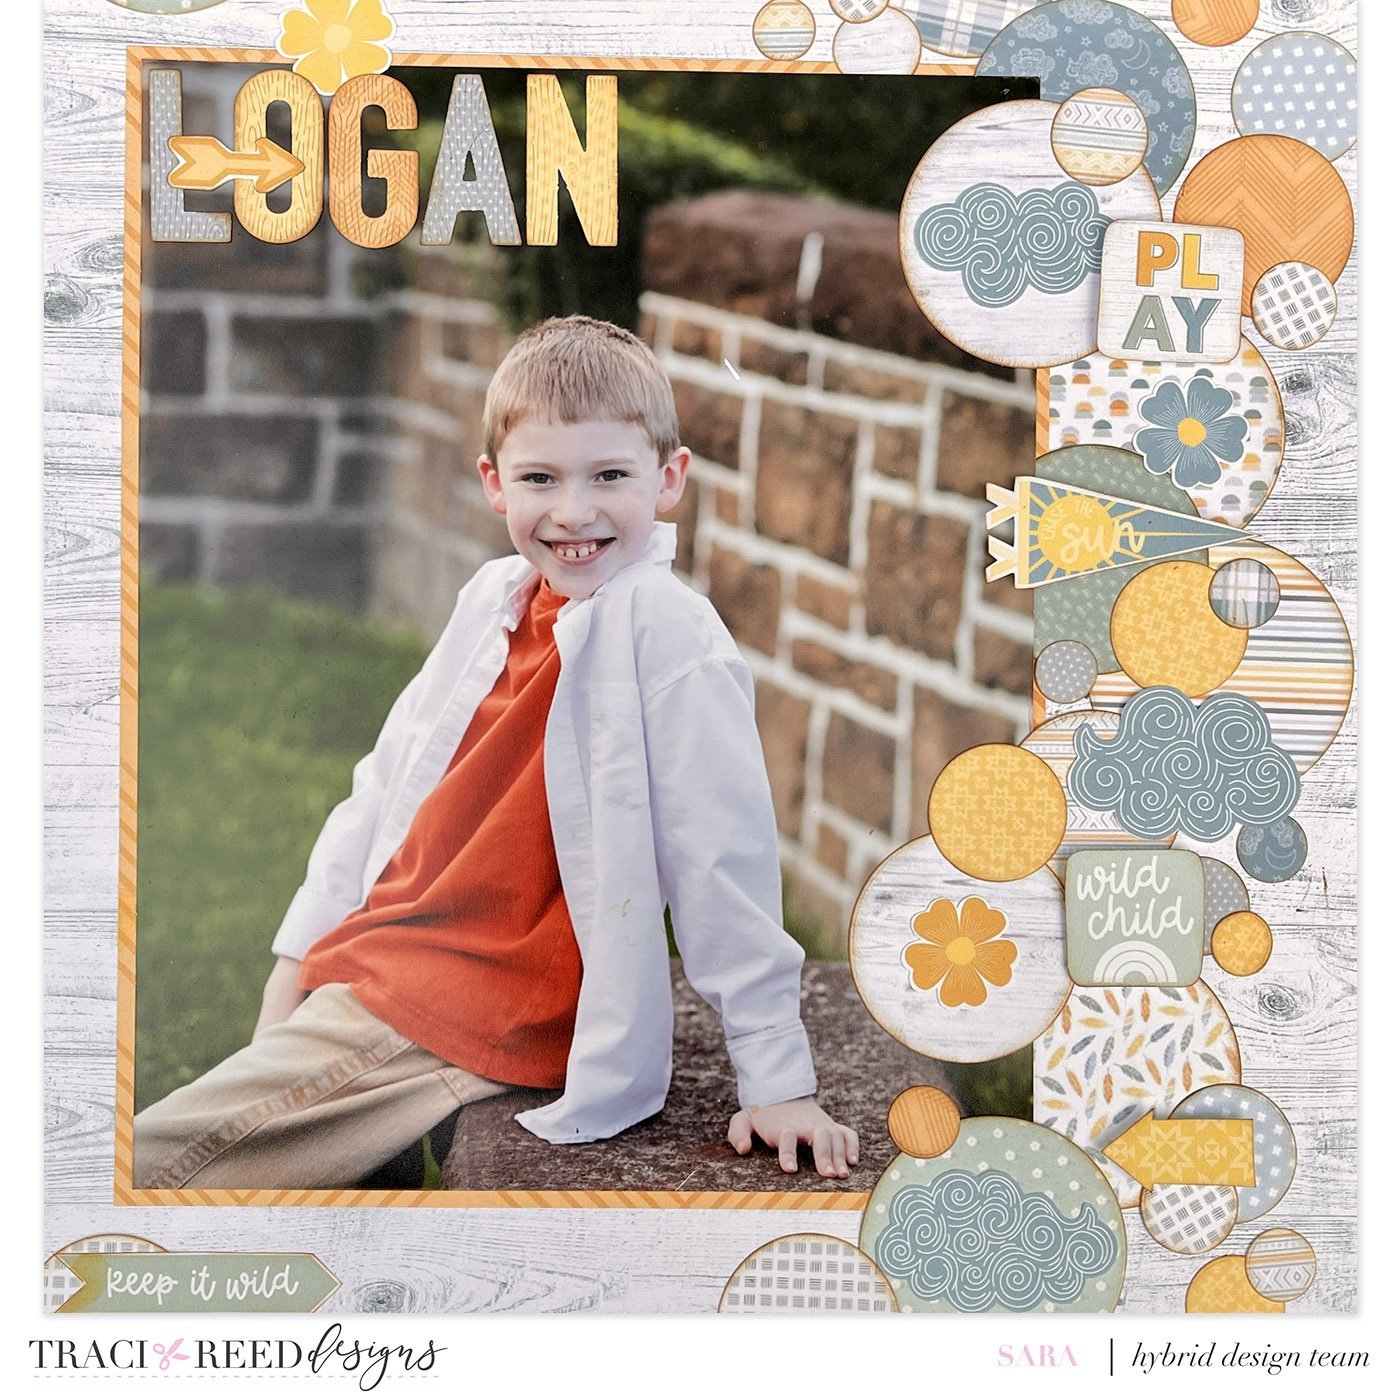
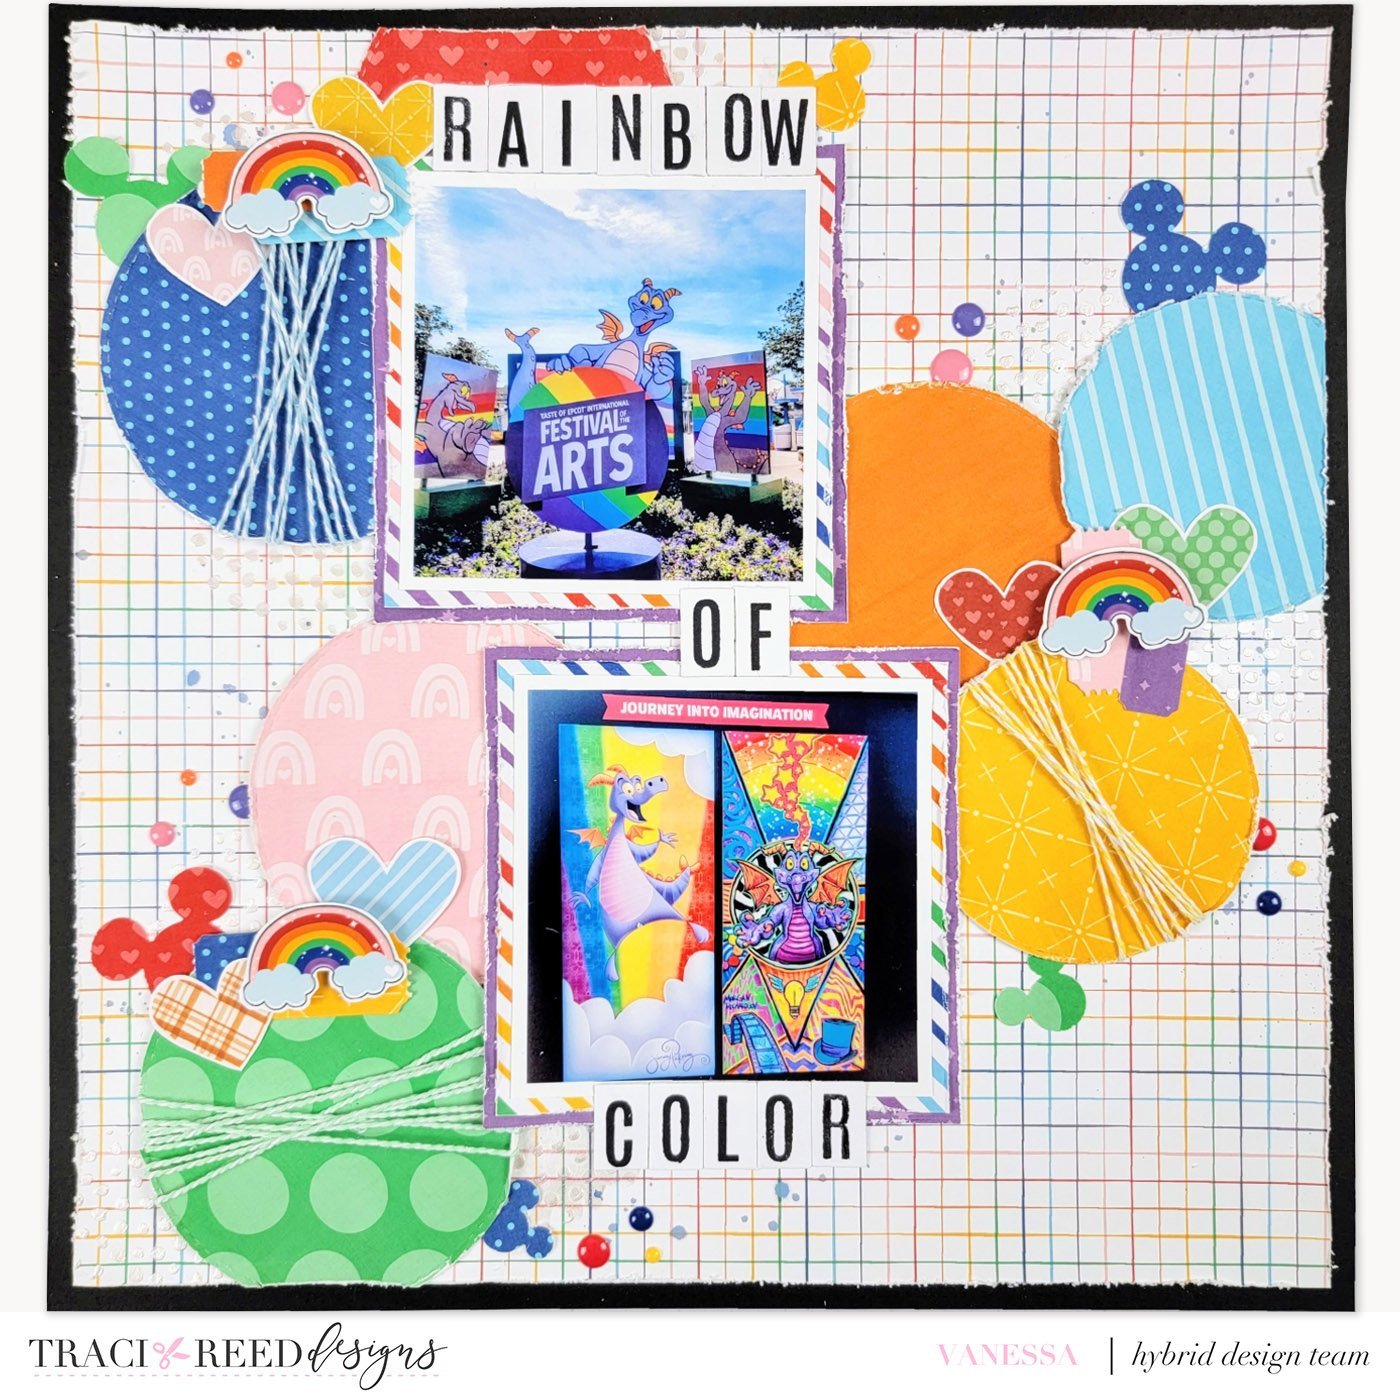
Team Examples With Shaped Paper Pieces
Blog Posts:

TRD Products Used In This Post


