Think Outside The 12x12: Scrapbooking 12x12 Layouts with 8.5x11 (or smaller!) Printables: Lesson Seven!
No 12x12 Printer? No Problem! In our “Think Outside the 12x12” series, we’re showing you how to scrap 12x12 layouts with TRD printables, even if you don’t have a 12x12 printer!
When it comes to scrapbooking, using smaller pieces of paper can present a creative challenge, and one bar to printables I often see presented by my customers. But fear not! In this blog series, we'll explore an techniques for using non-12x12 papers on your 12x12 layouts that still have that POP that you want for your large layouts!
Lesson Seven: Let Your Diecuts Do The Work!
Welcome to Episode 7 of our Think Outside the 12x12 Series! Today, we're breaking free from the traditional use of patterned papers and unleashing our creativity with embellishments as the foundation for our 12x12 layout. Prepare to be amazed as we dive into the world of textures, finishes, and creating captivating depth using foam dots! Let's get started on crafting a stunning embellishment-based layout.
Step 1: Gathering Your Embellishments
The key to a successful embellishment-based layout is an assortment of eye-catching elements. Raid your stash of die-cuts, stickers, and word bits from the digital collection and add in complimentary pieces like sequins, sequins, enamel dots, string, doilies, lace and anything else that sparks joy. Remember, there are no limits here - the more variety, the better!
Step 2: Organizing by Size
Start by sorting your embellishments based on size. Group the largest pieces together; these will form the backbone of your layout. Think of them as the main collage components that will anchor your design.

Step 3: Arrange the Largest Pieces
Lay out your largest embellishments on the 12x12 background. Play around with the placement until you achieve a visually appealing arrangement. Don't be afraid to overlap or angle some pieces to add interest.
Step 4: Working with Medium-sized Embellishments
Now that your larger pieces are in place, it's time to add the medium-sized embellishments. These will fill in the gaps and complement the focal points you've created. Remember to vary the textures and finishes, as this will add dimension to your layout.
Step 5: Elevate with Foam Dots
The secret to achieving depth and dimension lies in foam dots! Carefully lift some of your embellishments off the page by adhering them to foam dots. This simple technique instantly adds a sense of realism and interest to your design.
Step 6: Introducing Small Embellishments
To add that final touch of charm and detail, sprinkle in the smaller embellishments. These little gems will bring a delightful pop of color and personality to your page. Be mindful of creating visual balance and distributing them evenly throughout the layout.

Step 7: Balancing the Layout
Stand back and take a look at your masterpiece. Ensure the visual weight is well-balanced, and no single area feels overloaded or sparse. Adjust as needed until you achieve a harmonious and pleasing composition.
Step 8: Adding Titles and Journaling
With the embellishments in place, it's time to include your title and journaling. Let your creativity flow with stickers, die-cuts, or even handwritten notes. These elements will provide context and bring your story to life.

Congratulations! You've successfully created a captivating 12x12 layout without using patterned papers. This episode has truly been a testament to the limitless possibilities that exist in the world of scrapbooking. Let your imagination soar and continue to explore unique ways to preserve your memories. Until the next episode of Think Outside the 12x12 - happy crafting!
Process Video
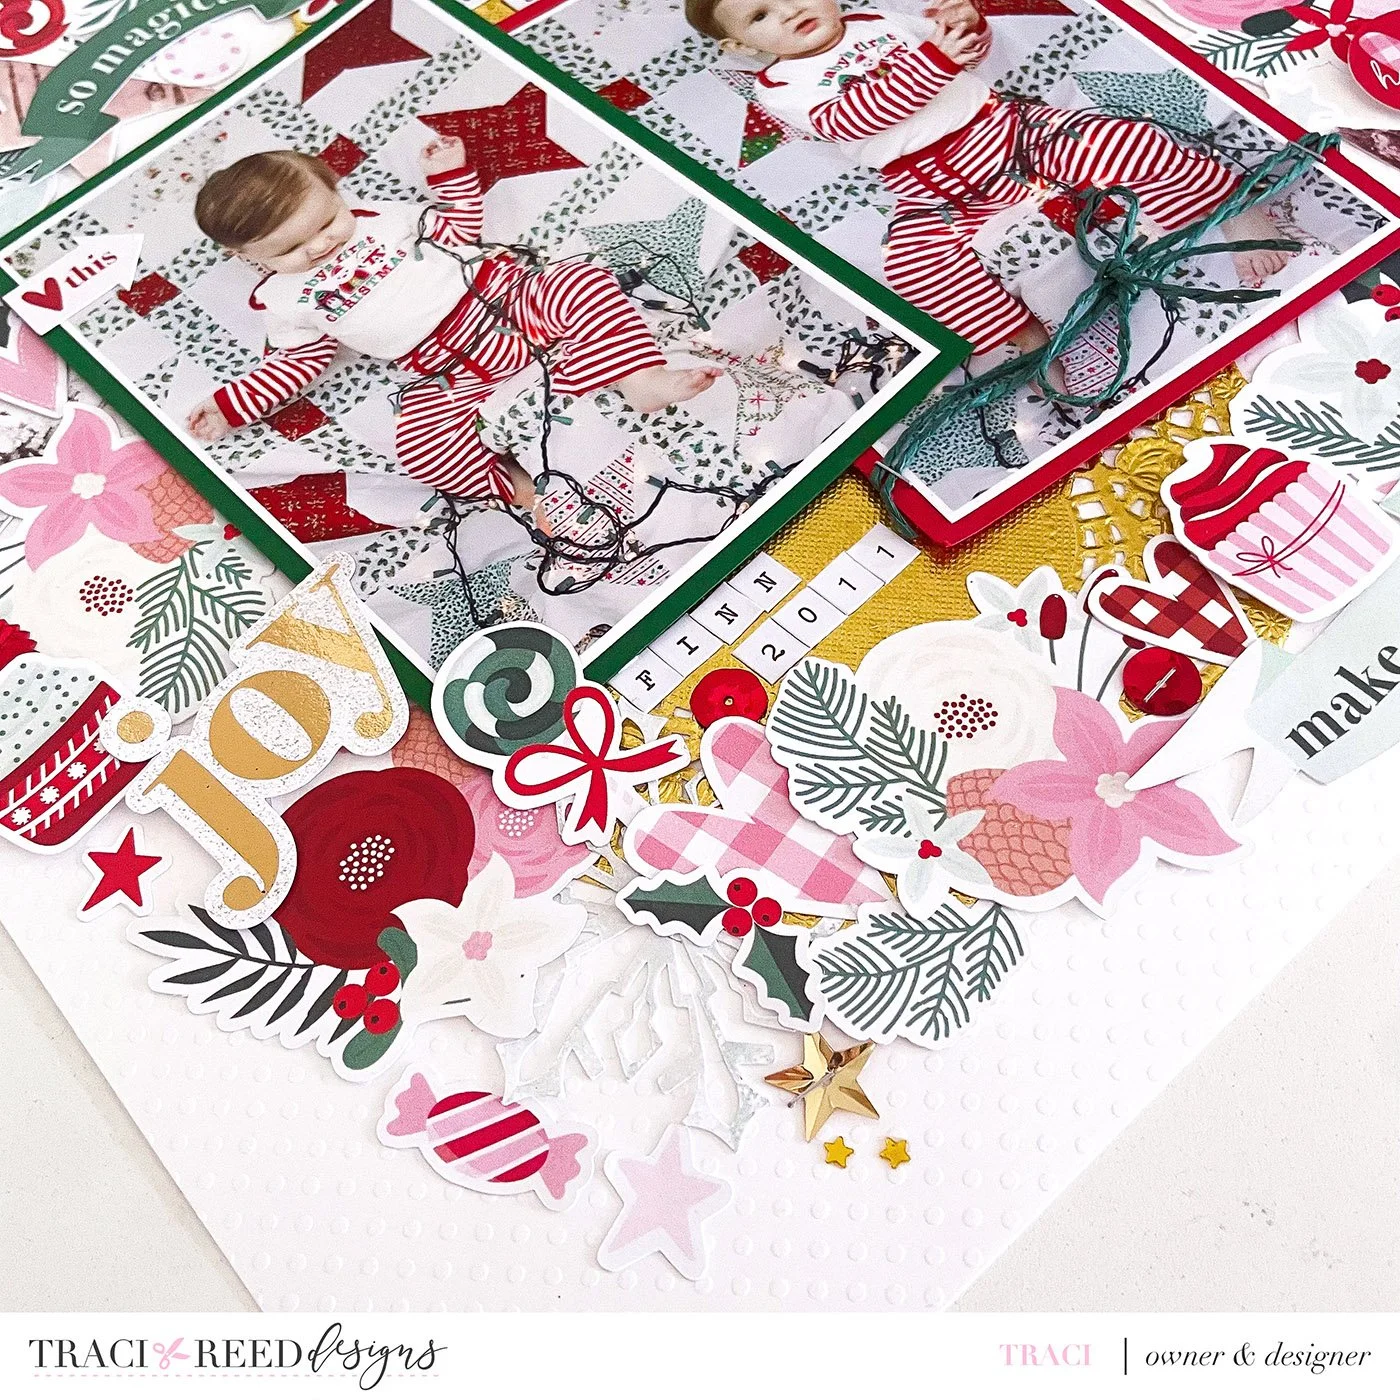
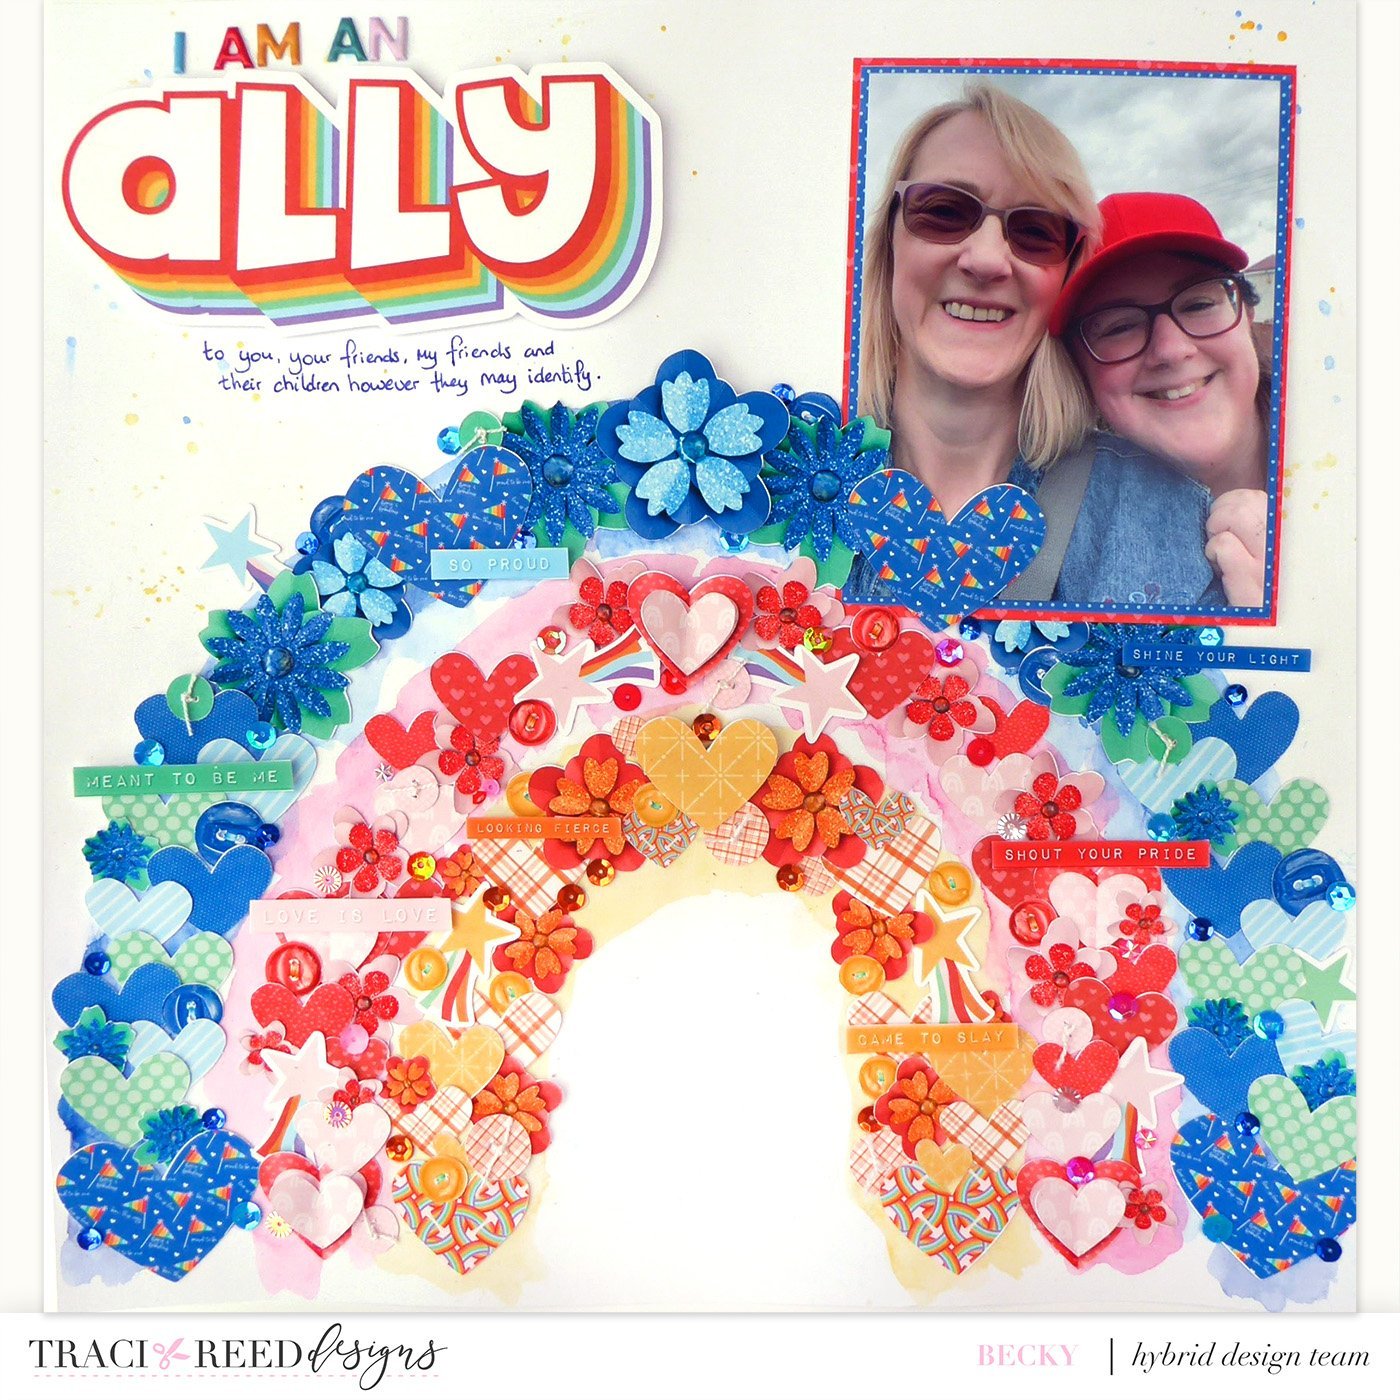
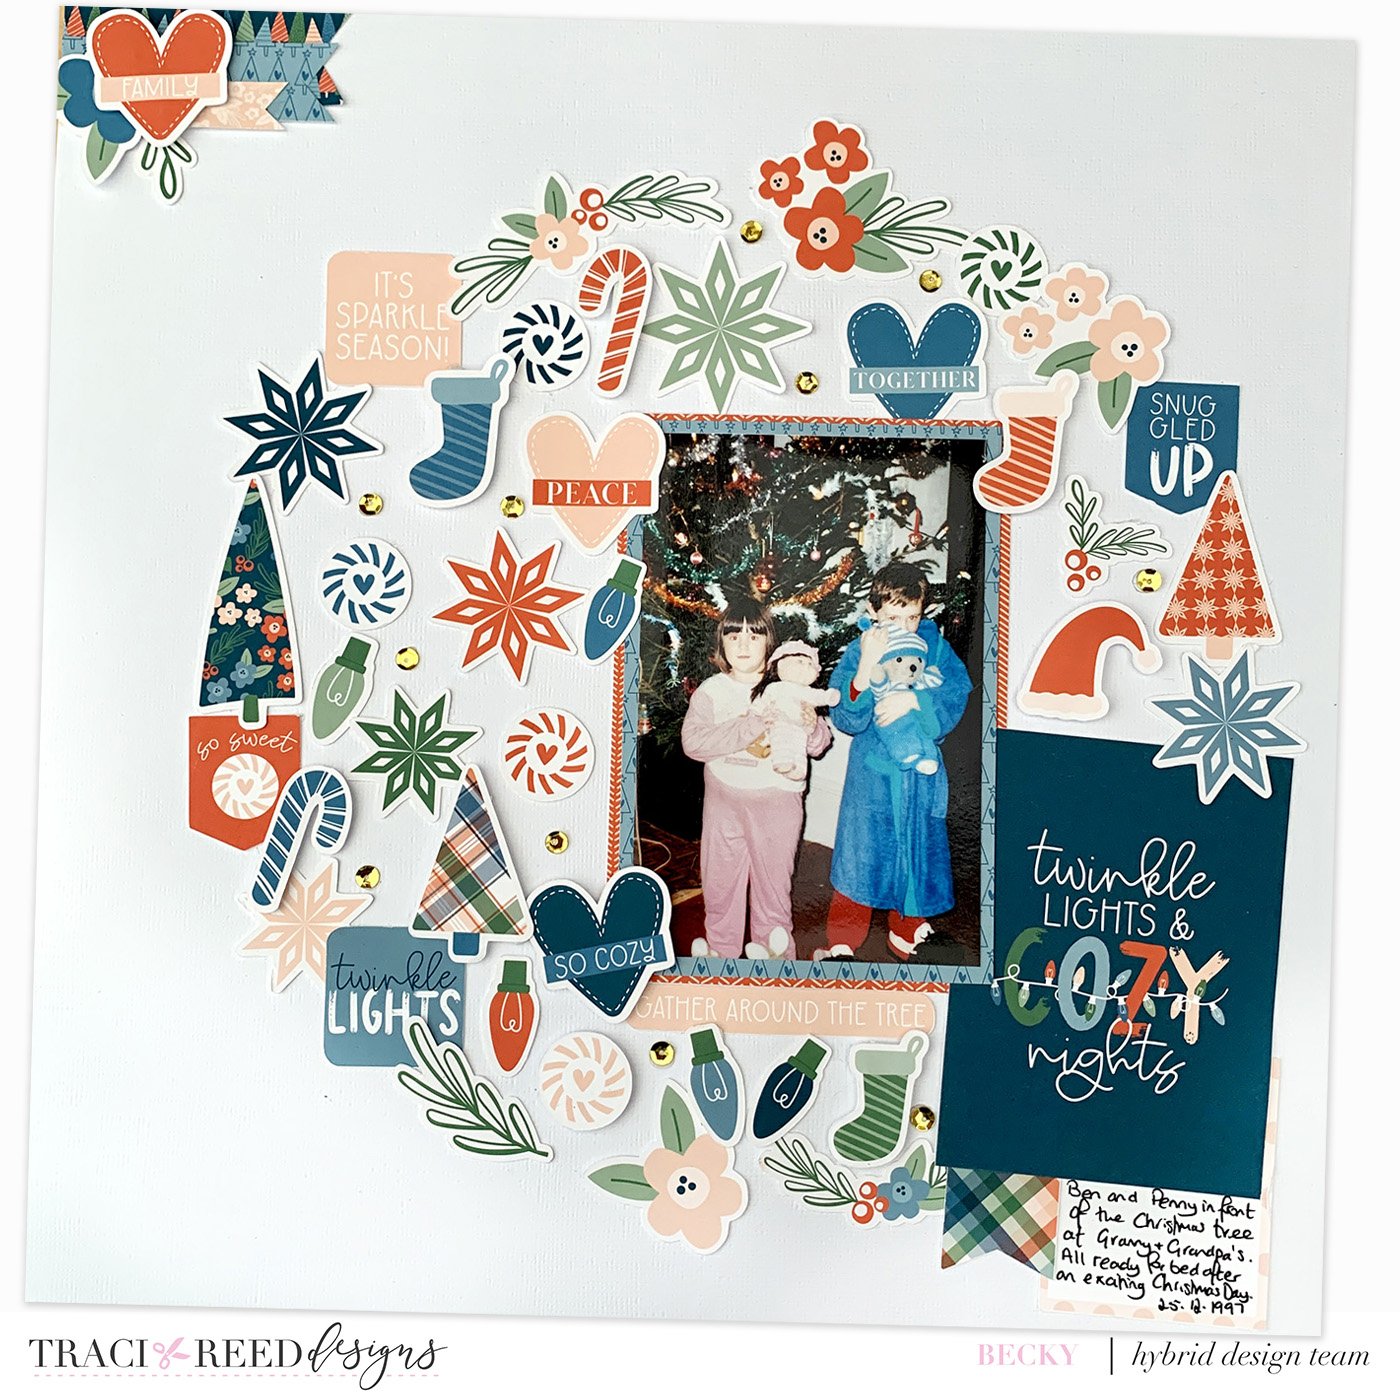
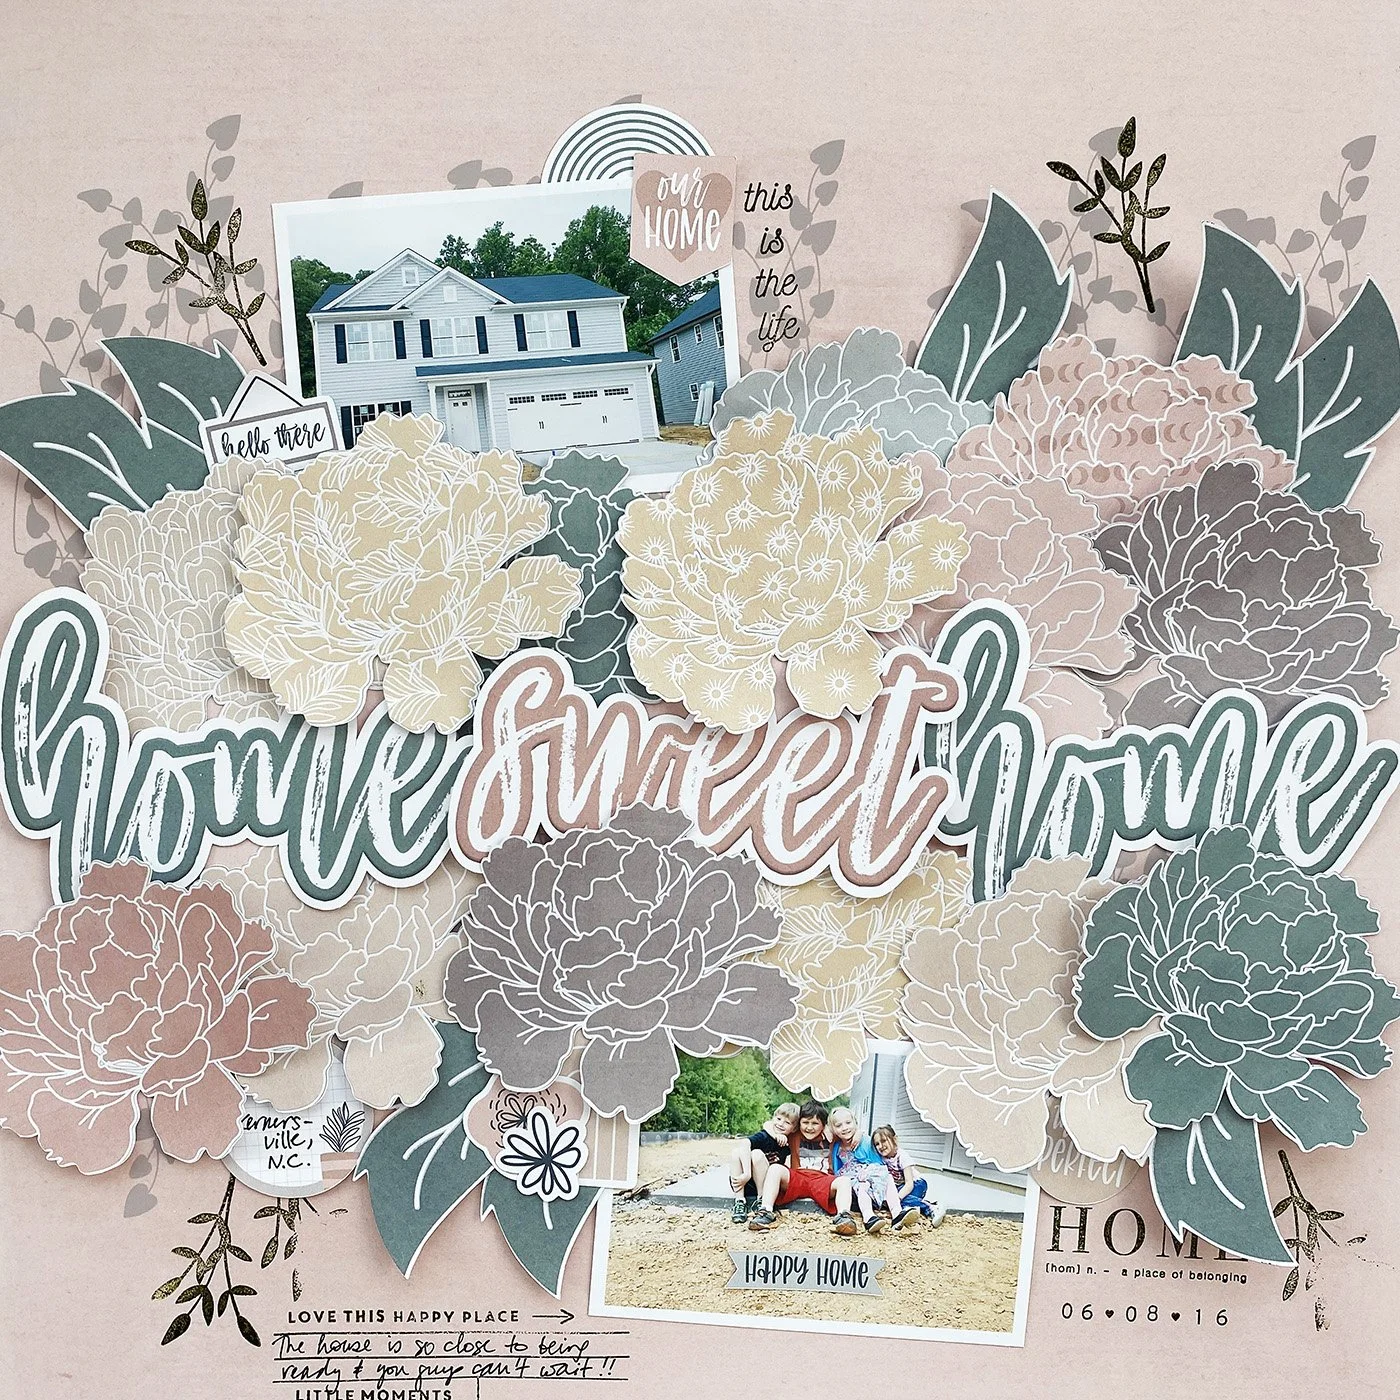
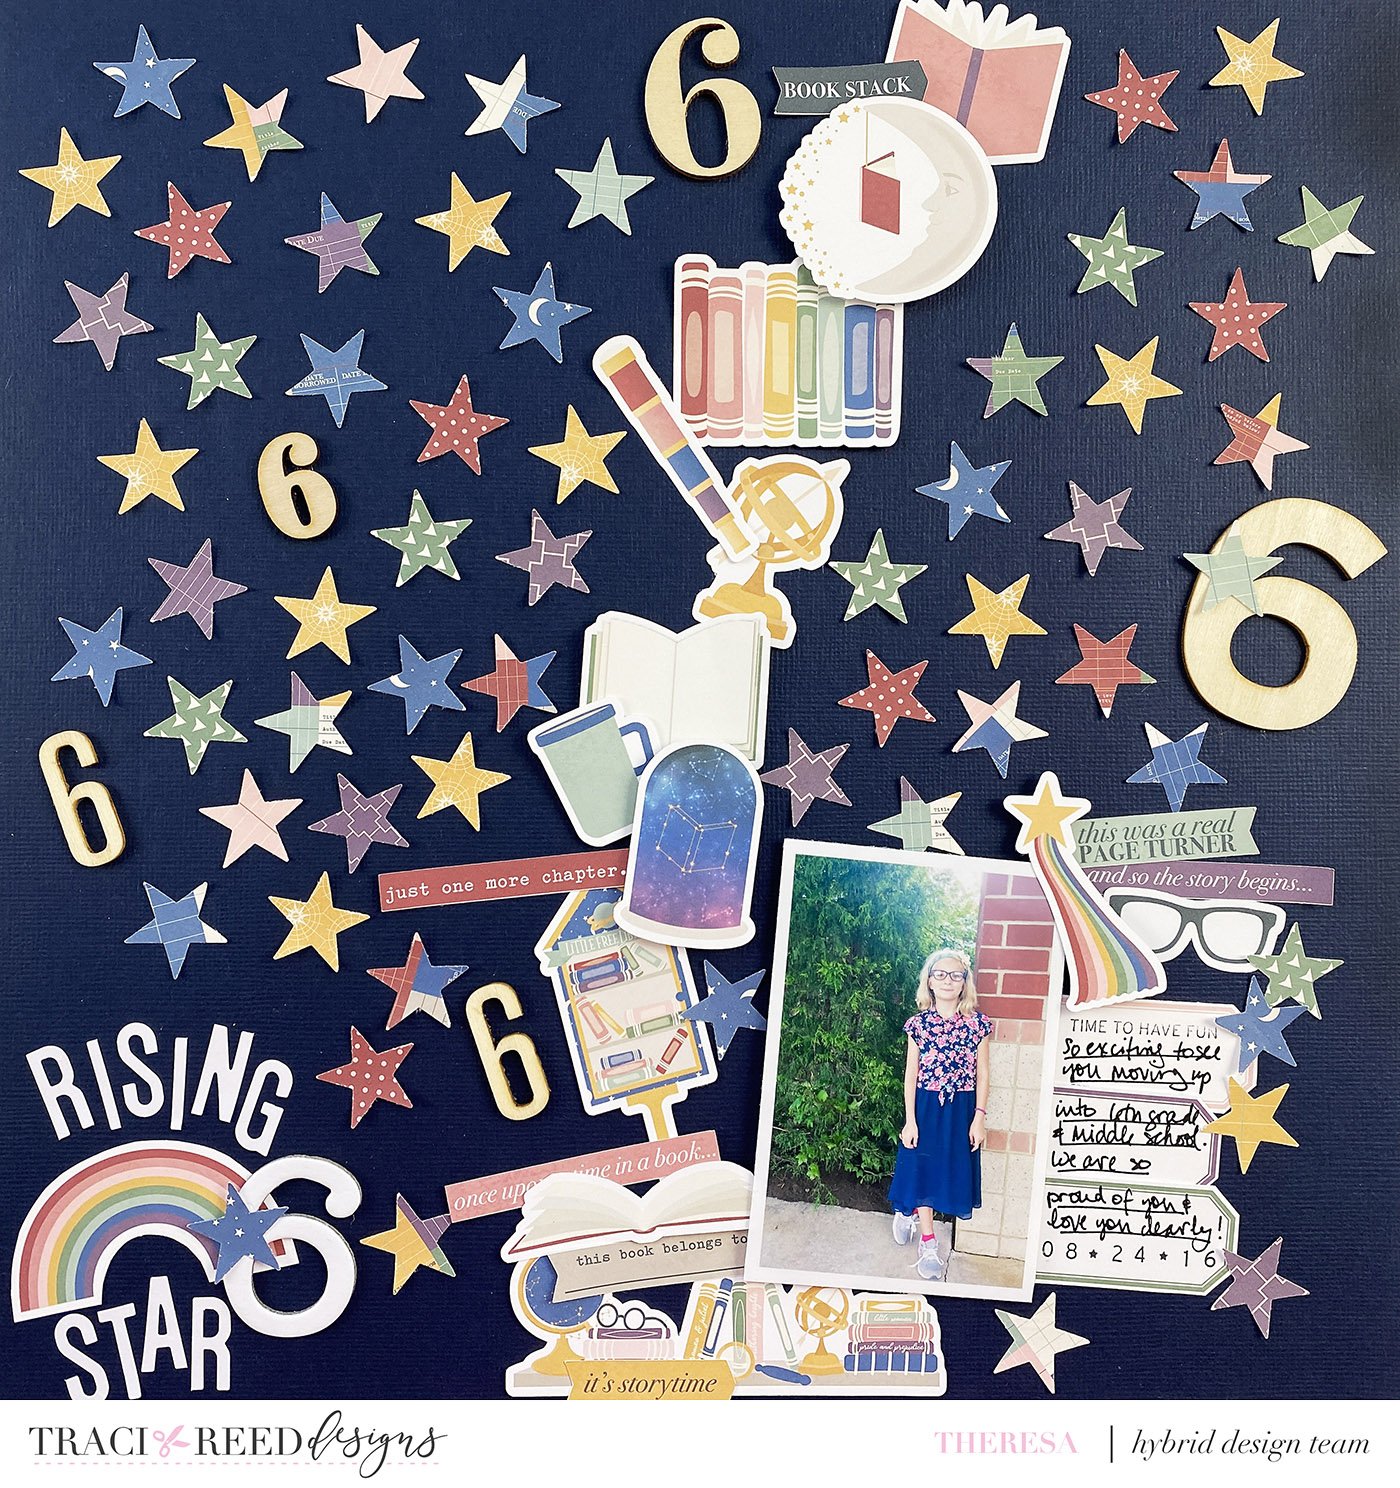
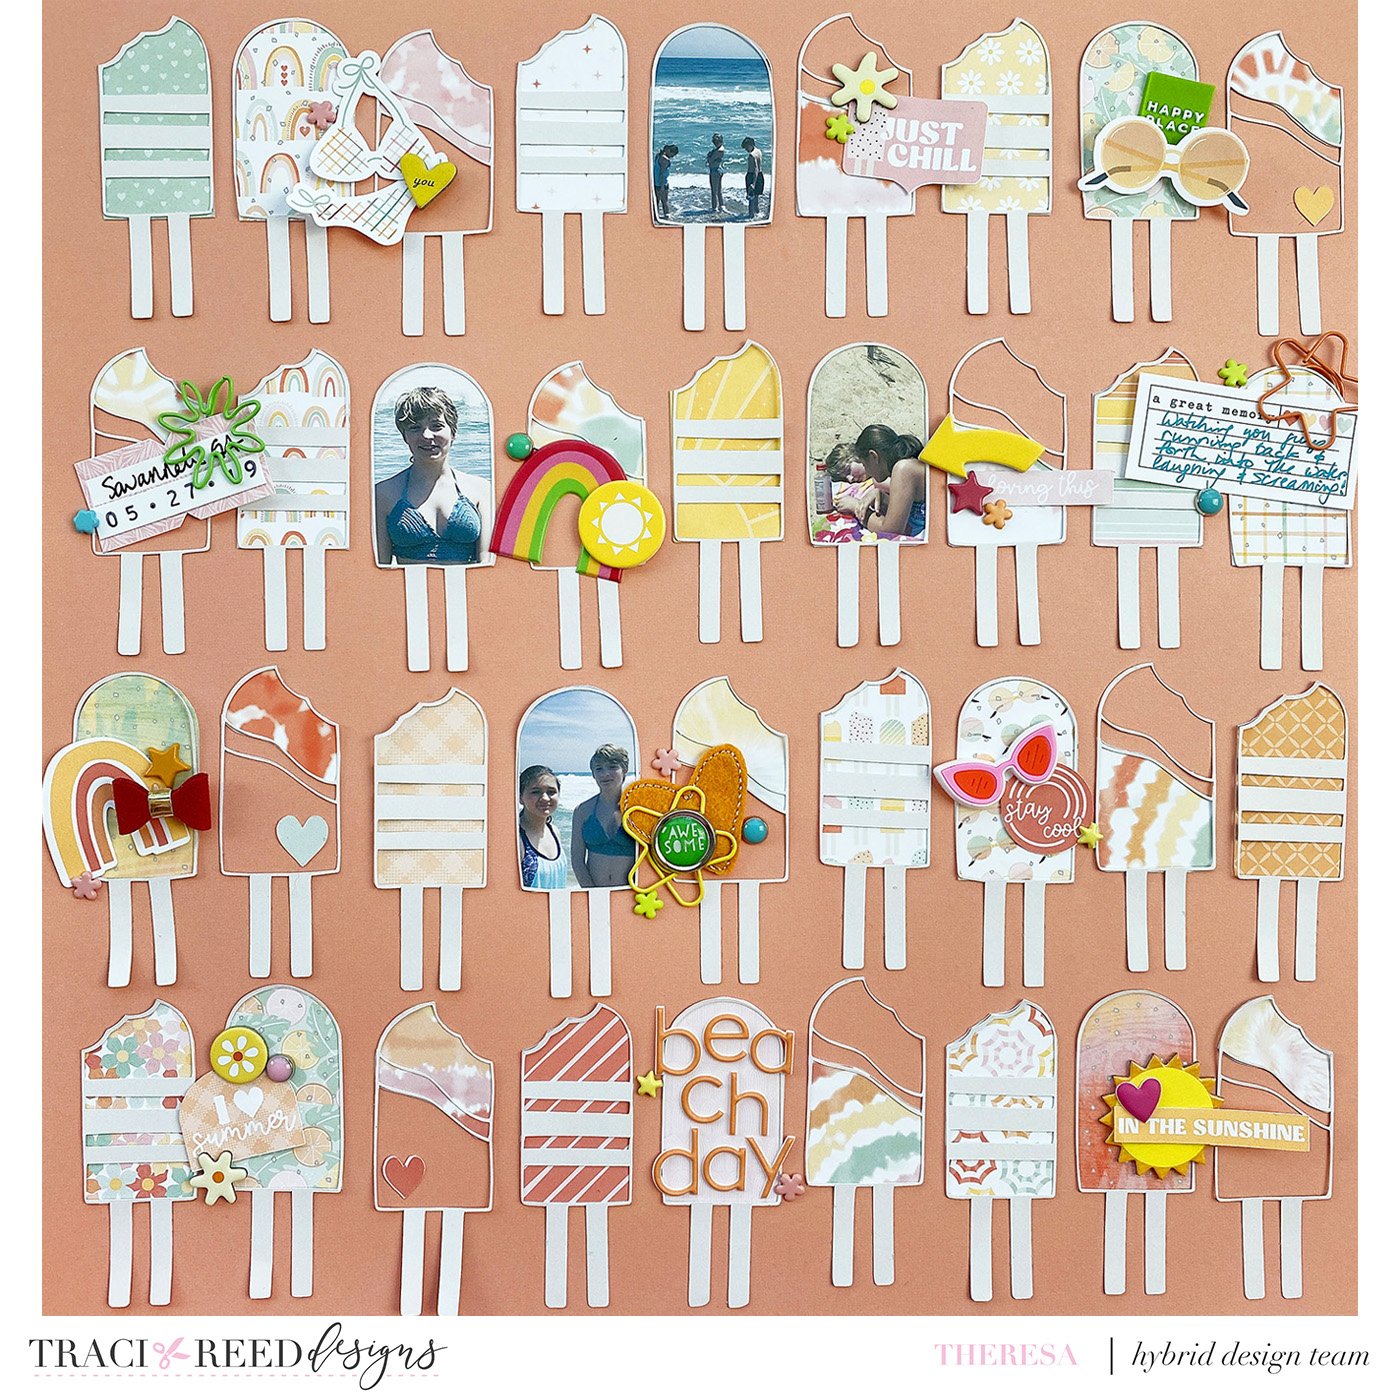
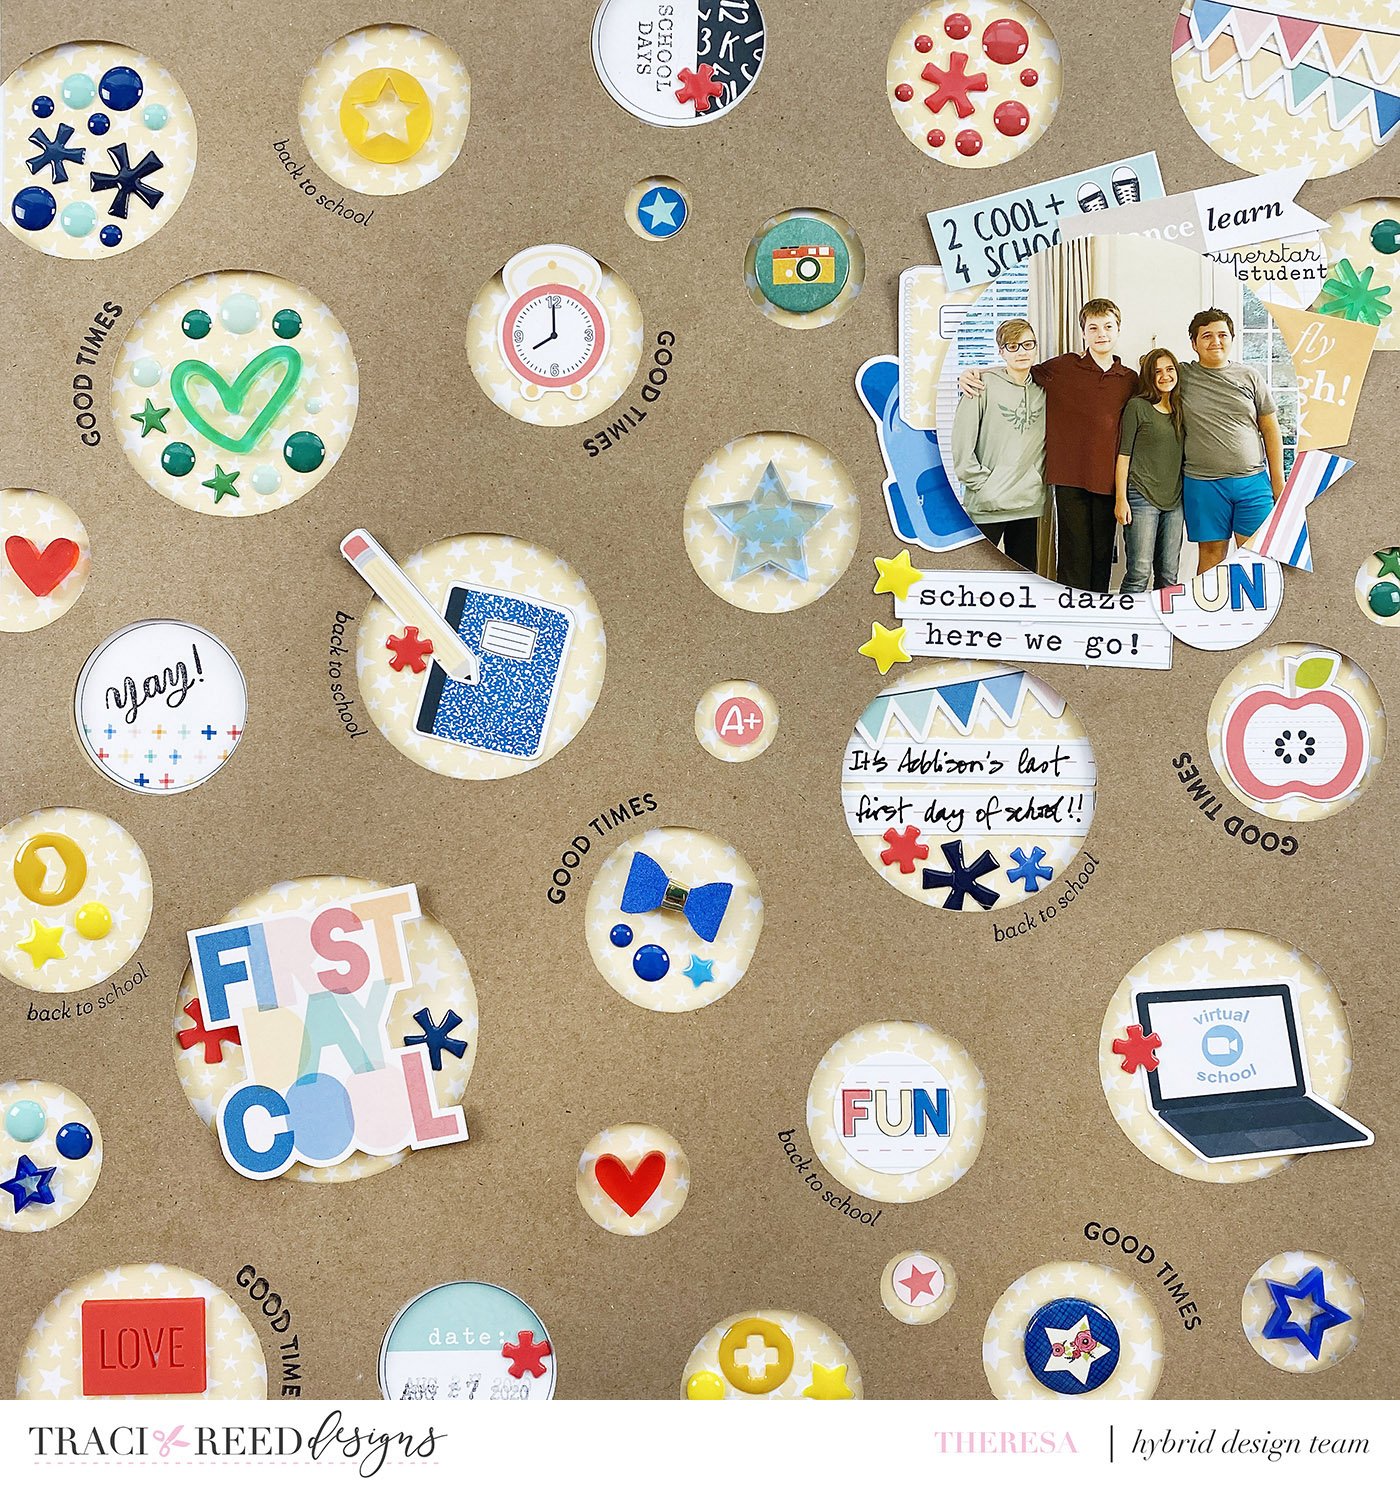
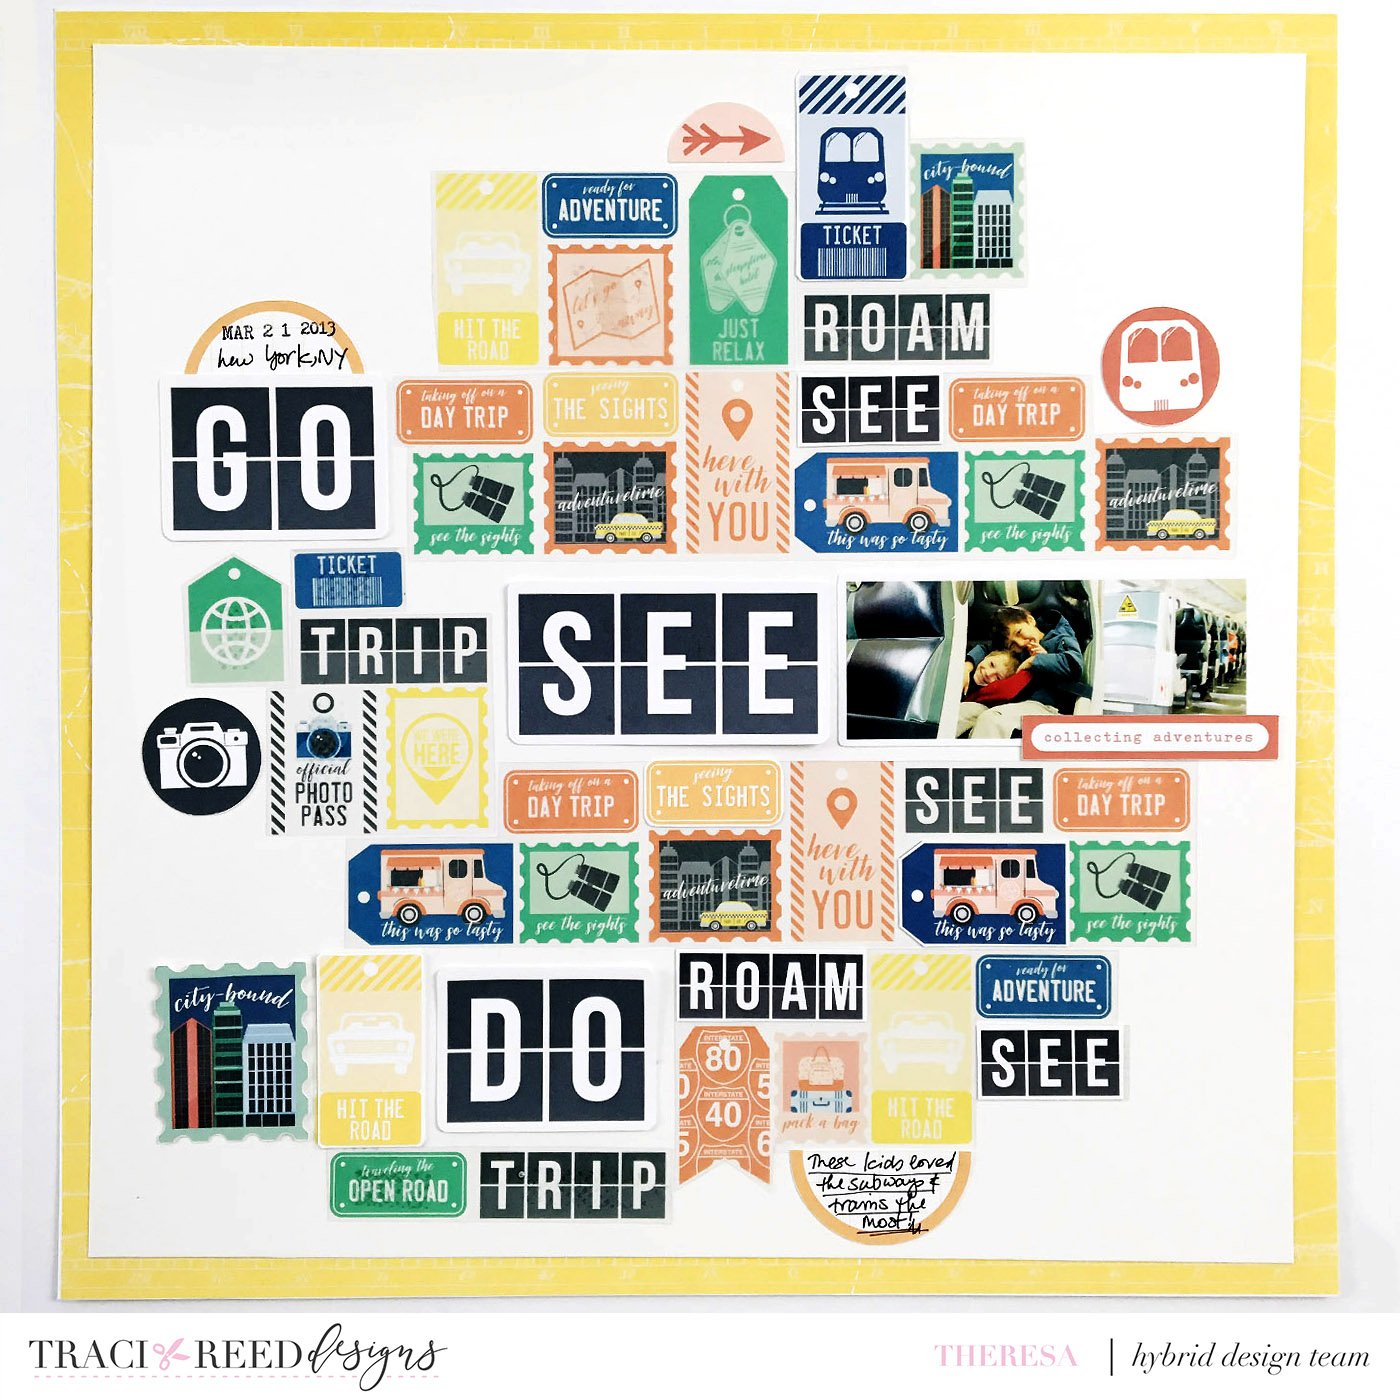
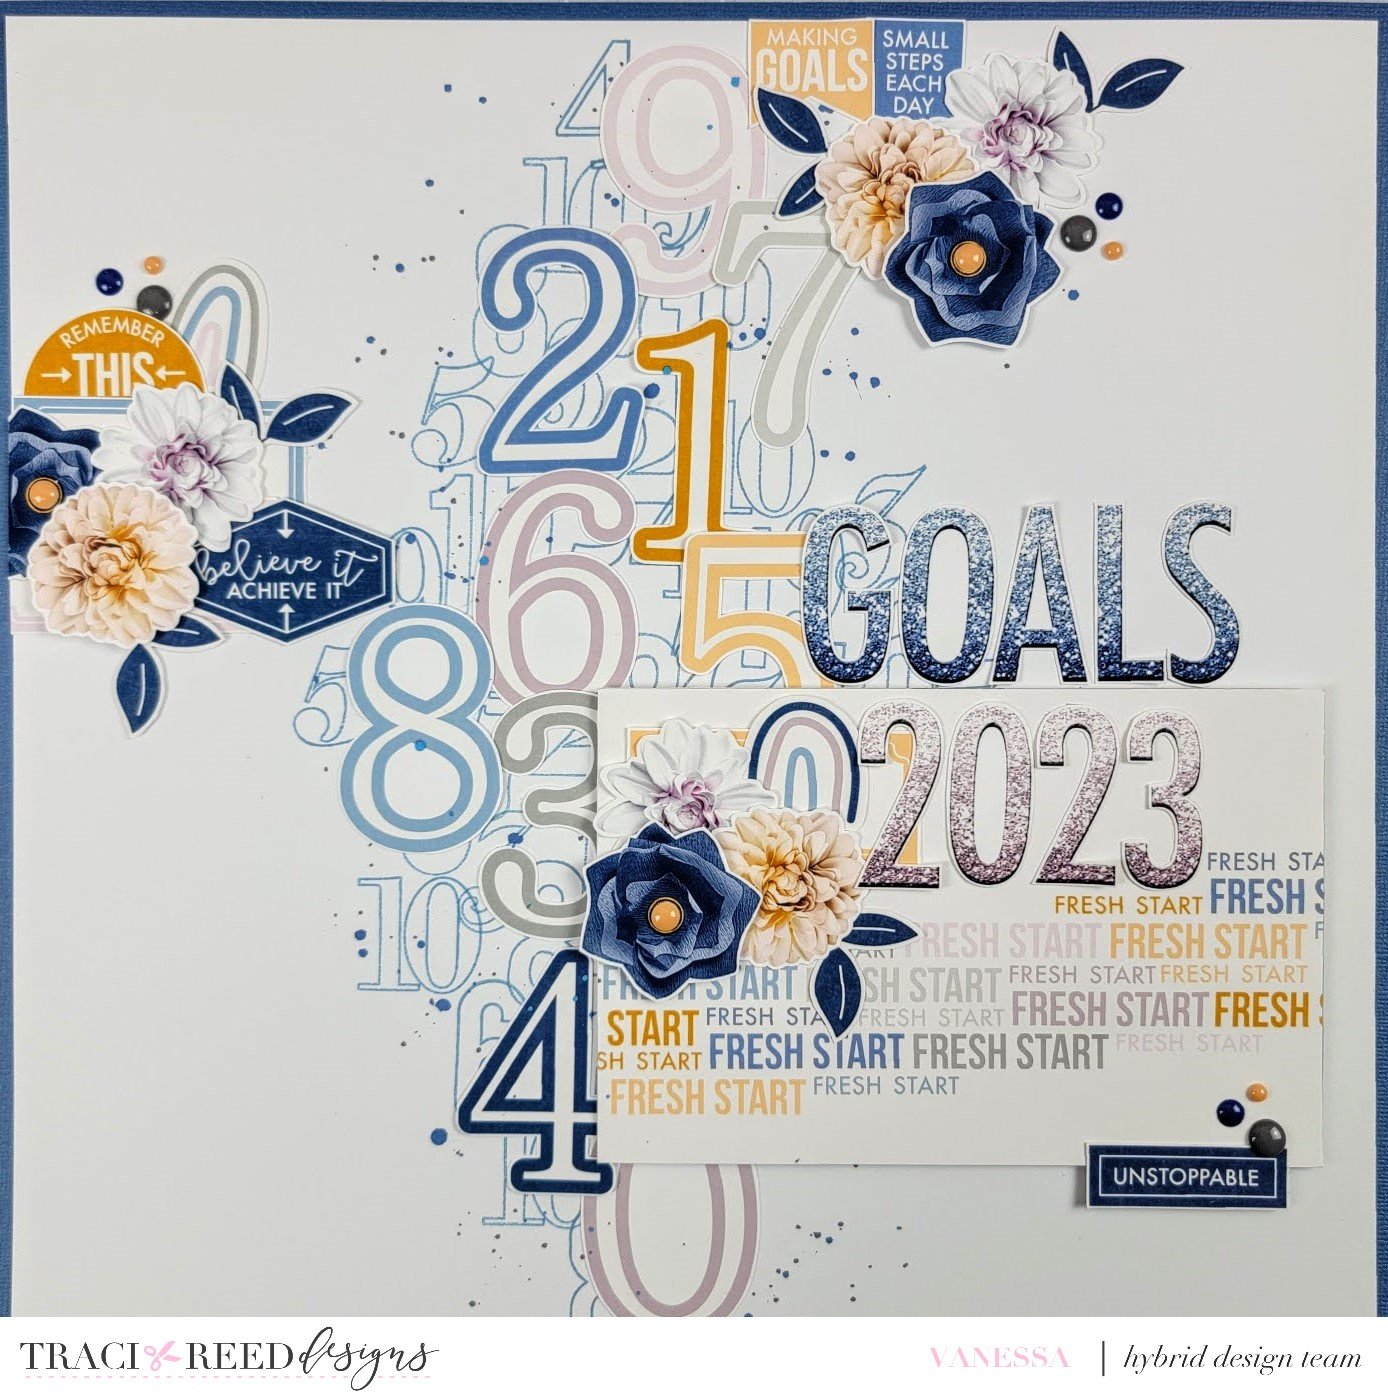
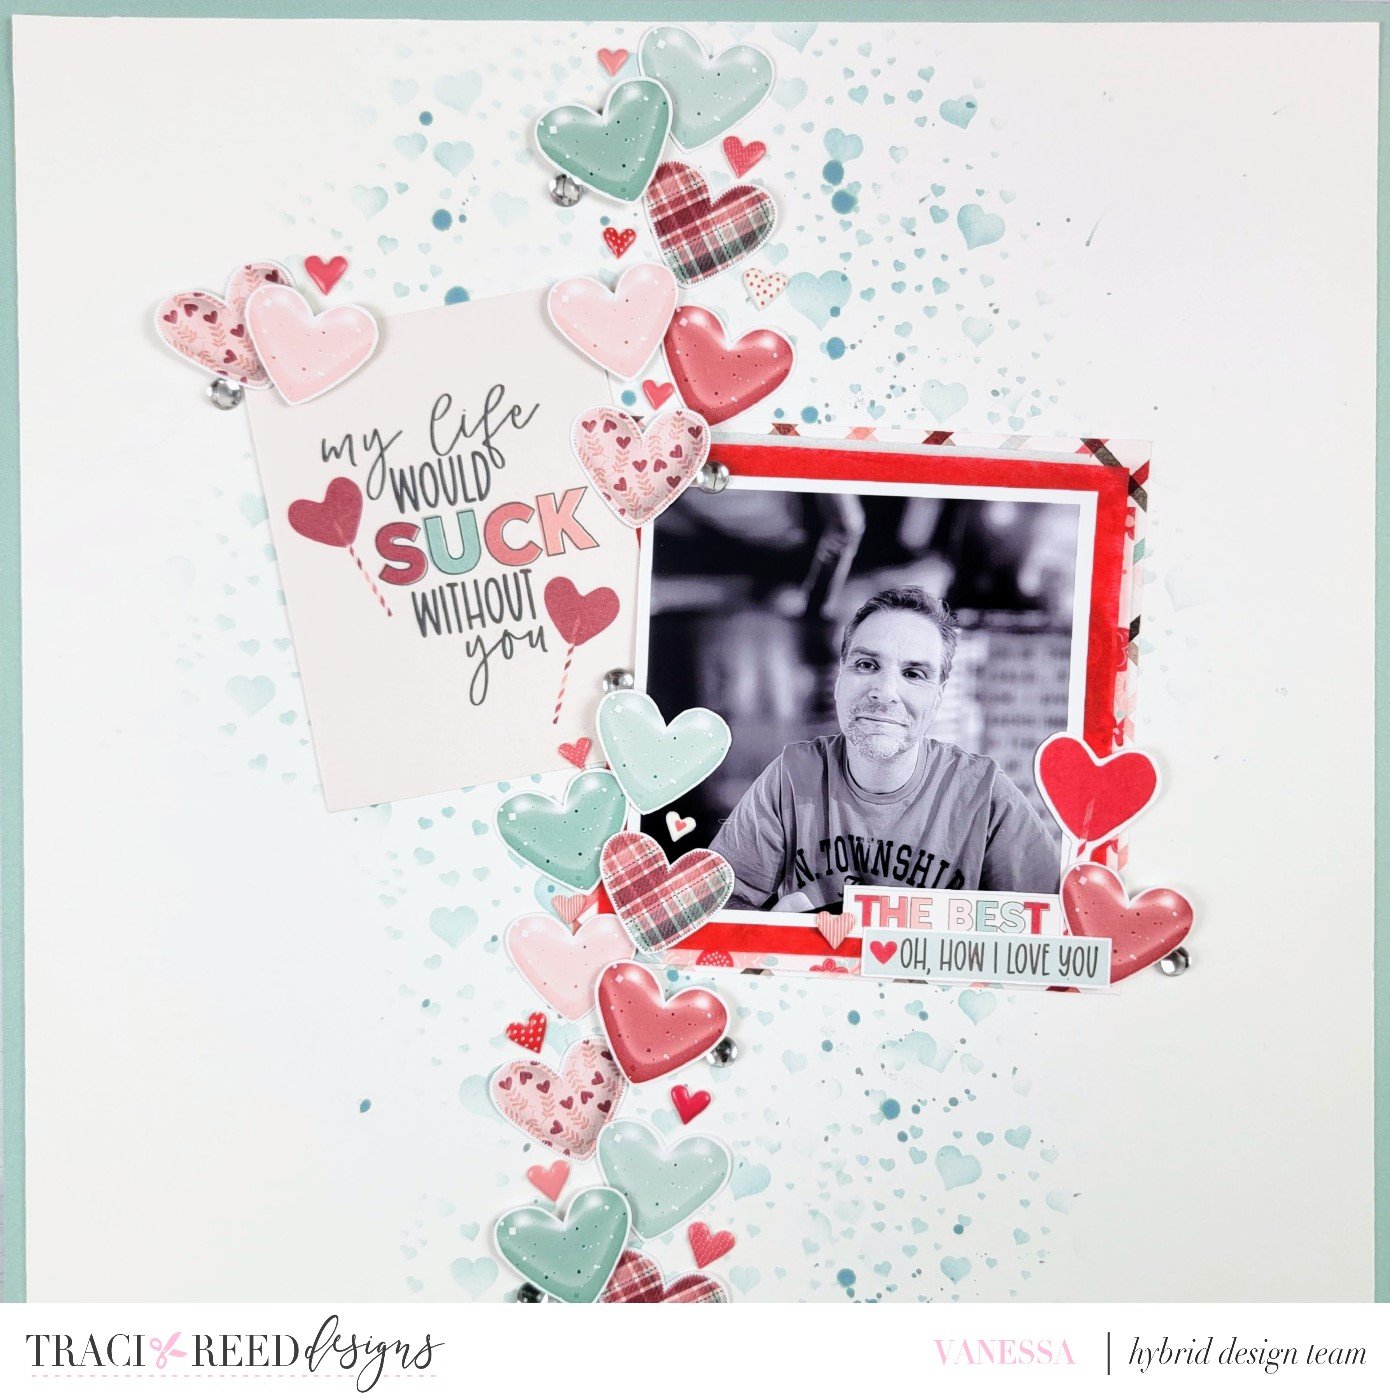
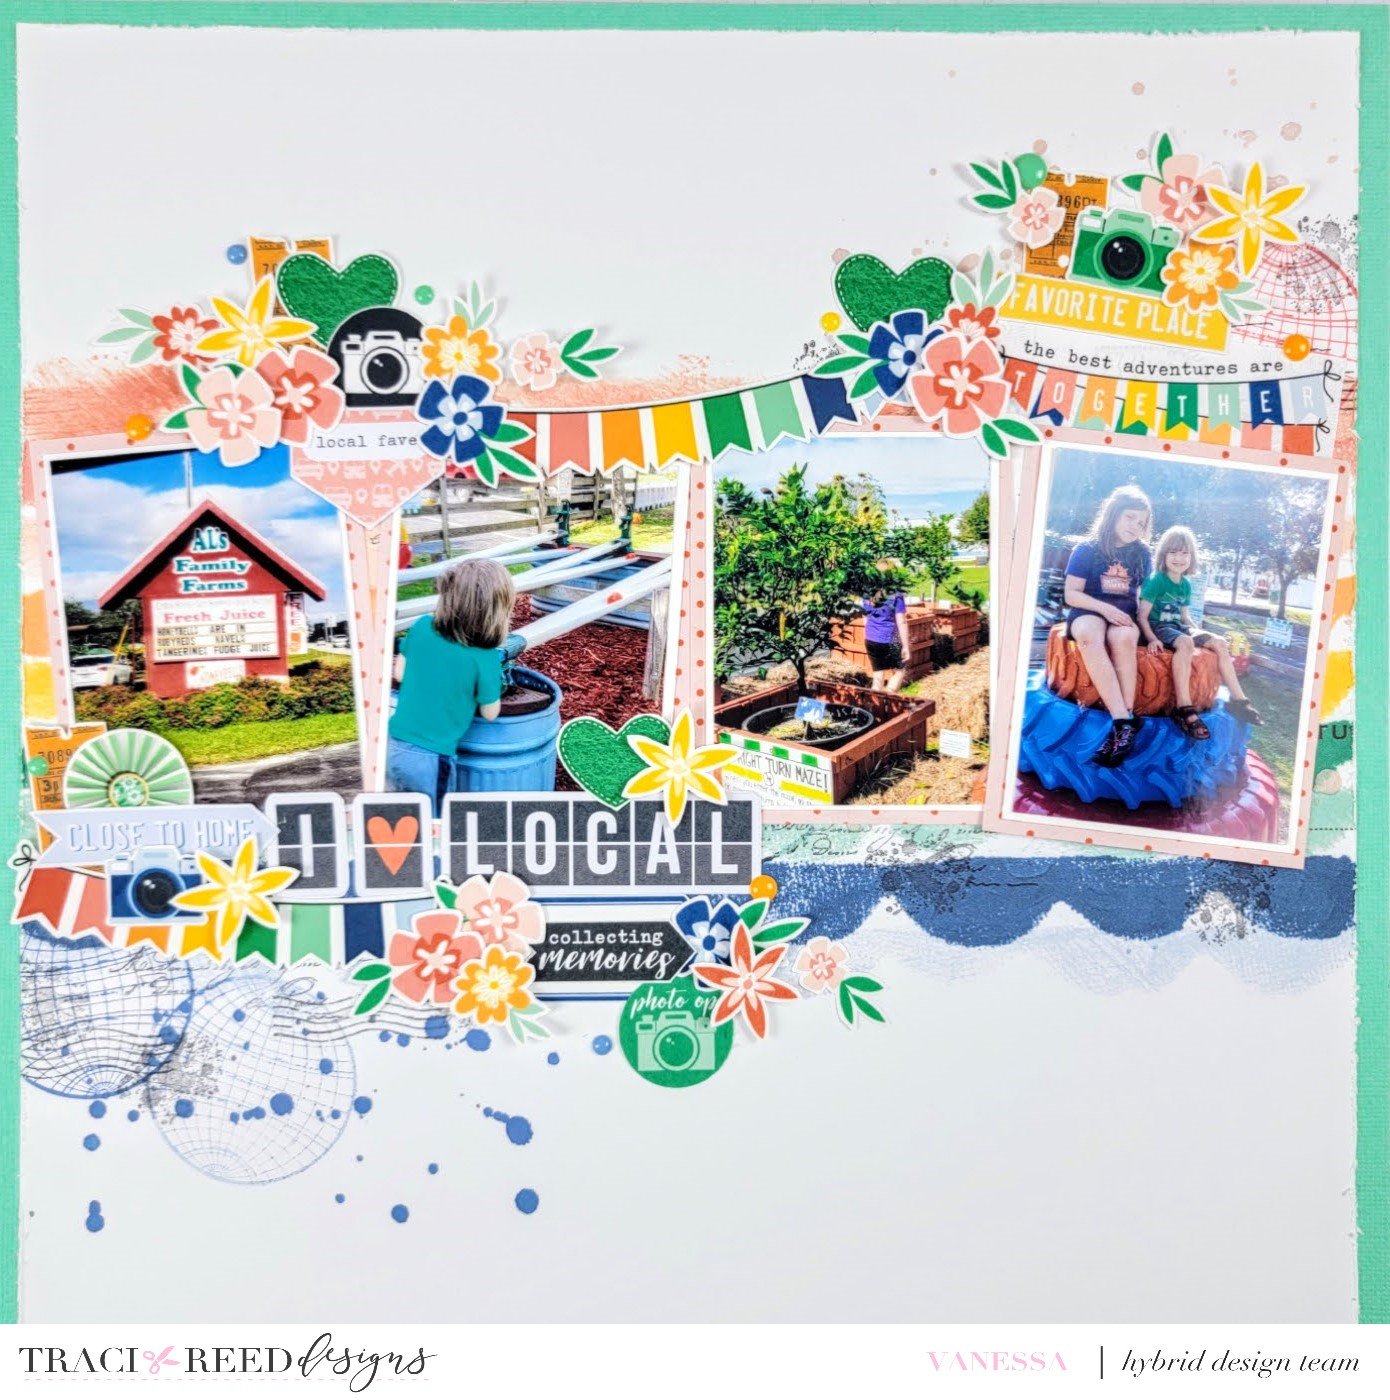
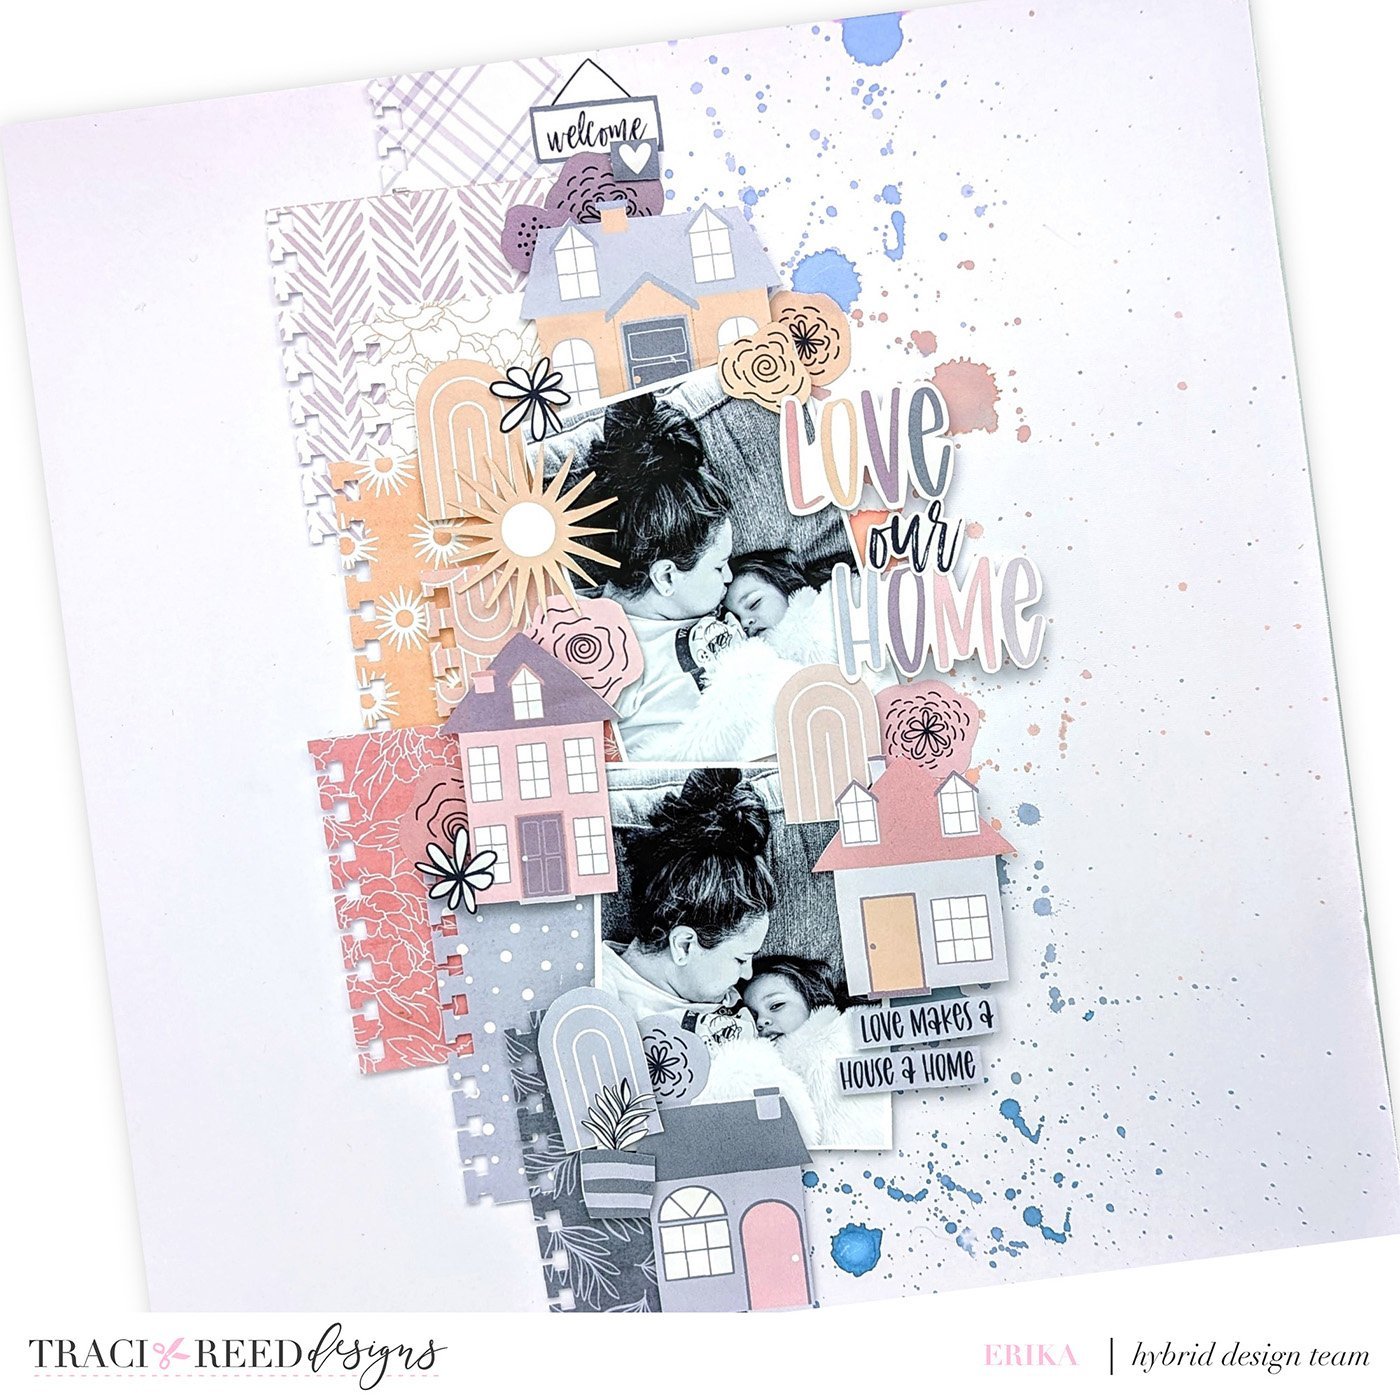
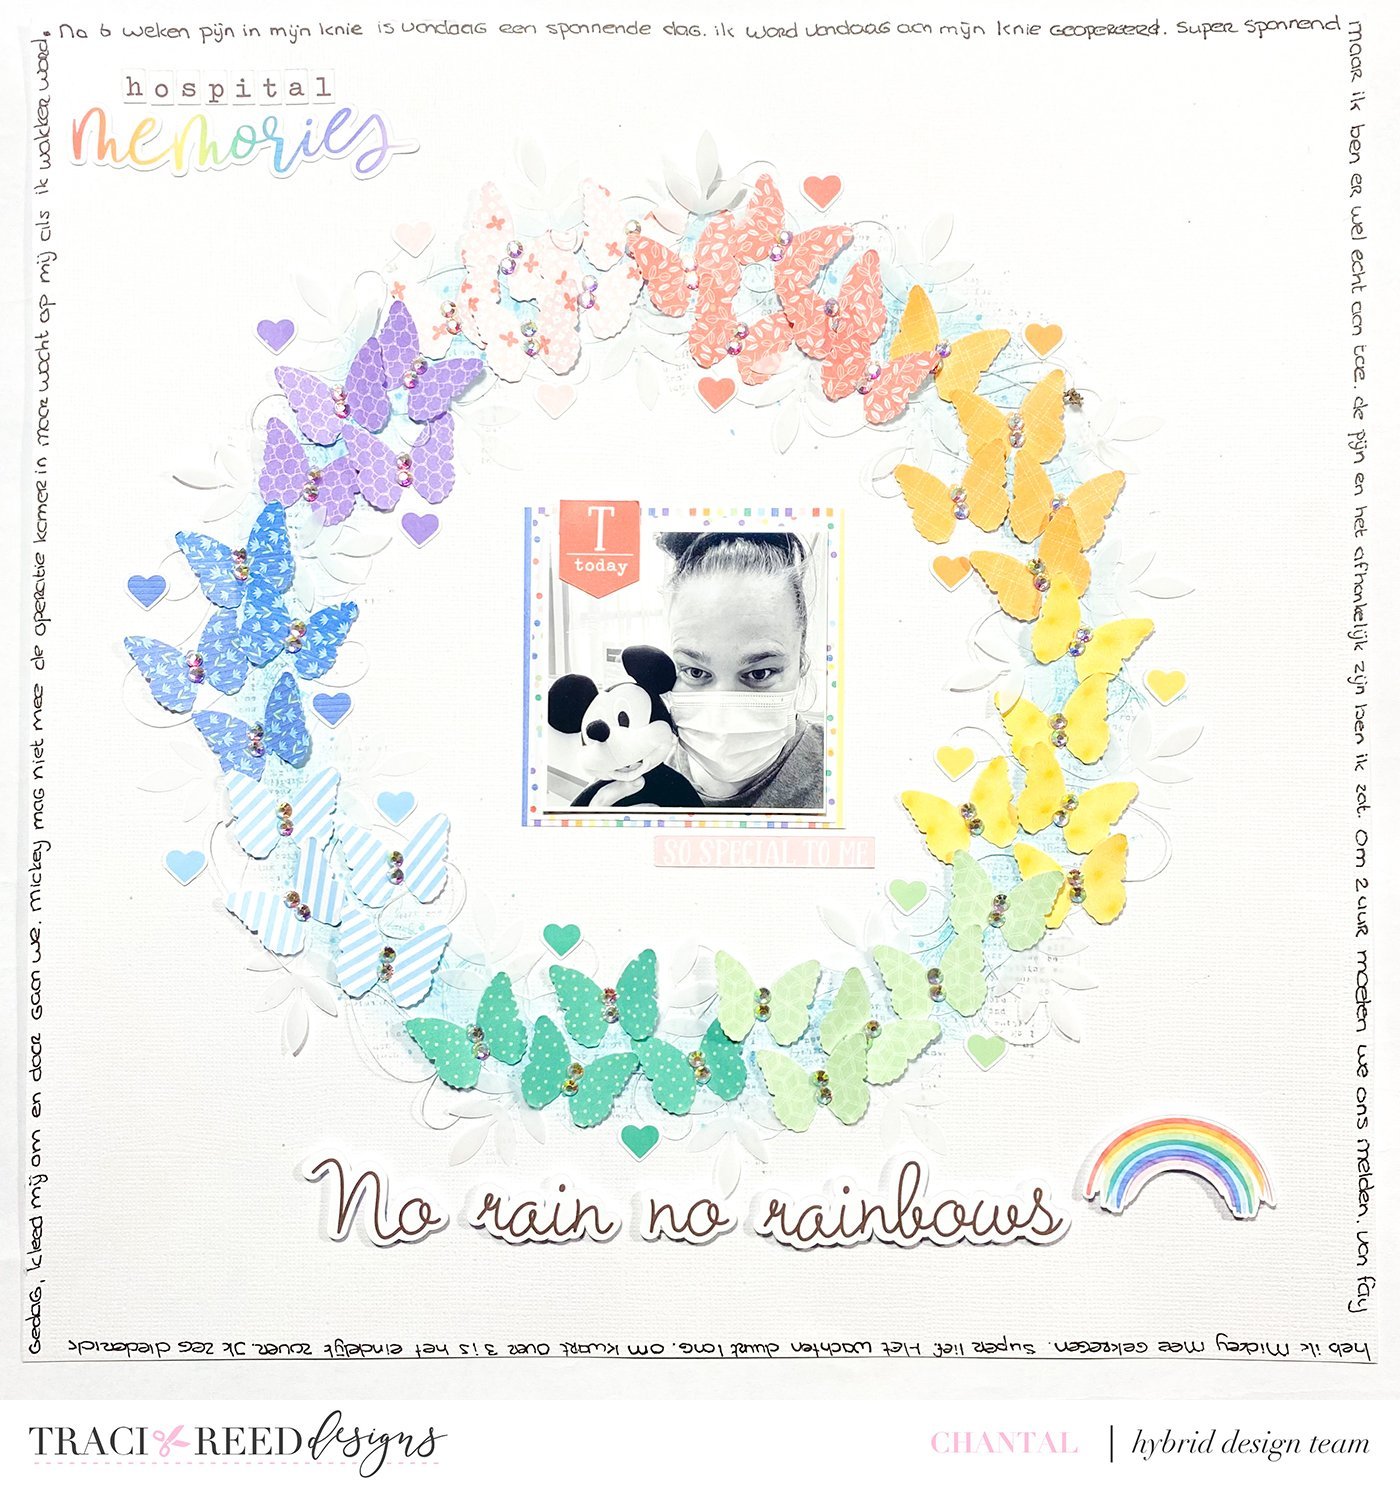
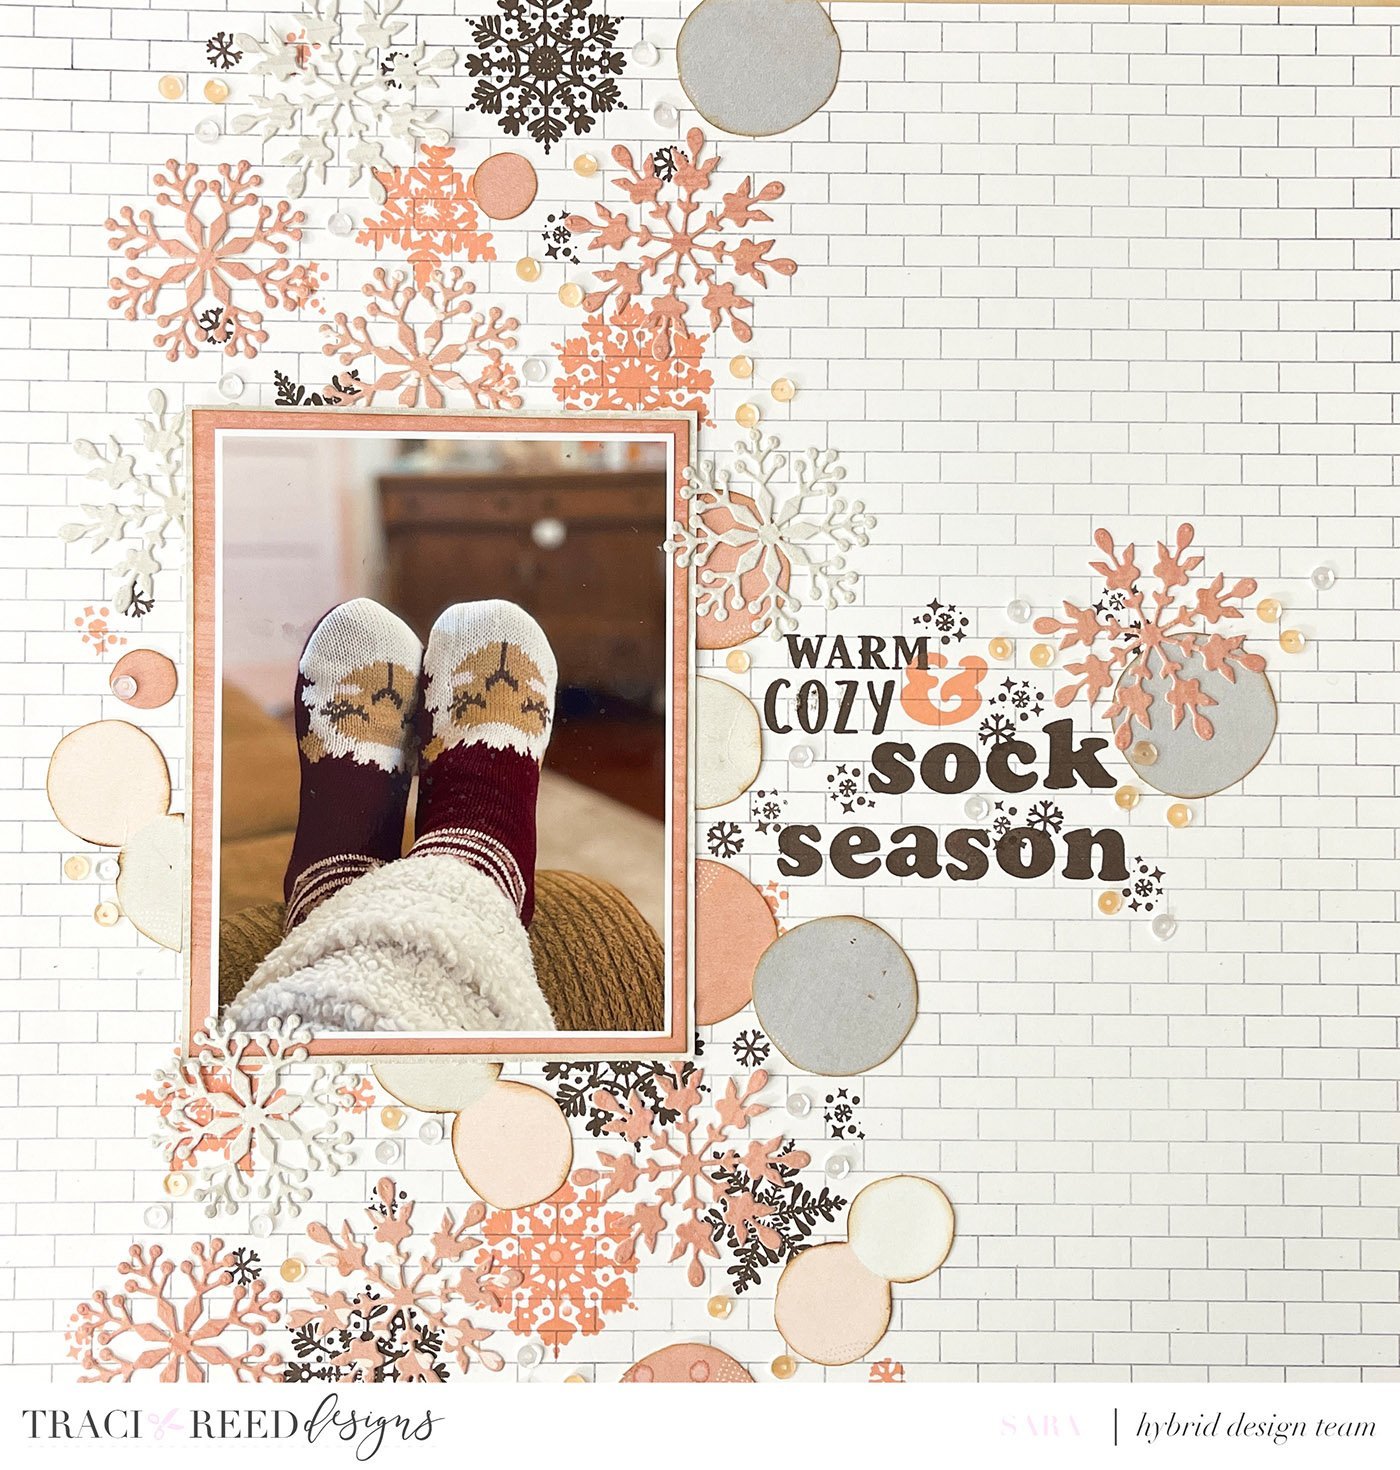
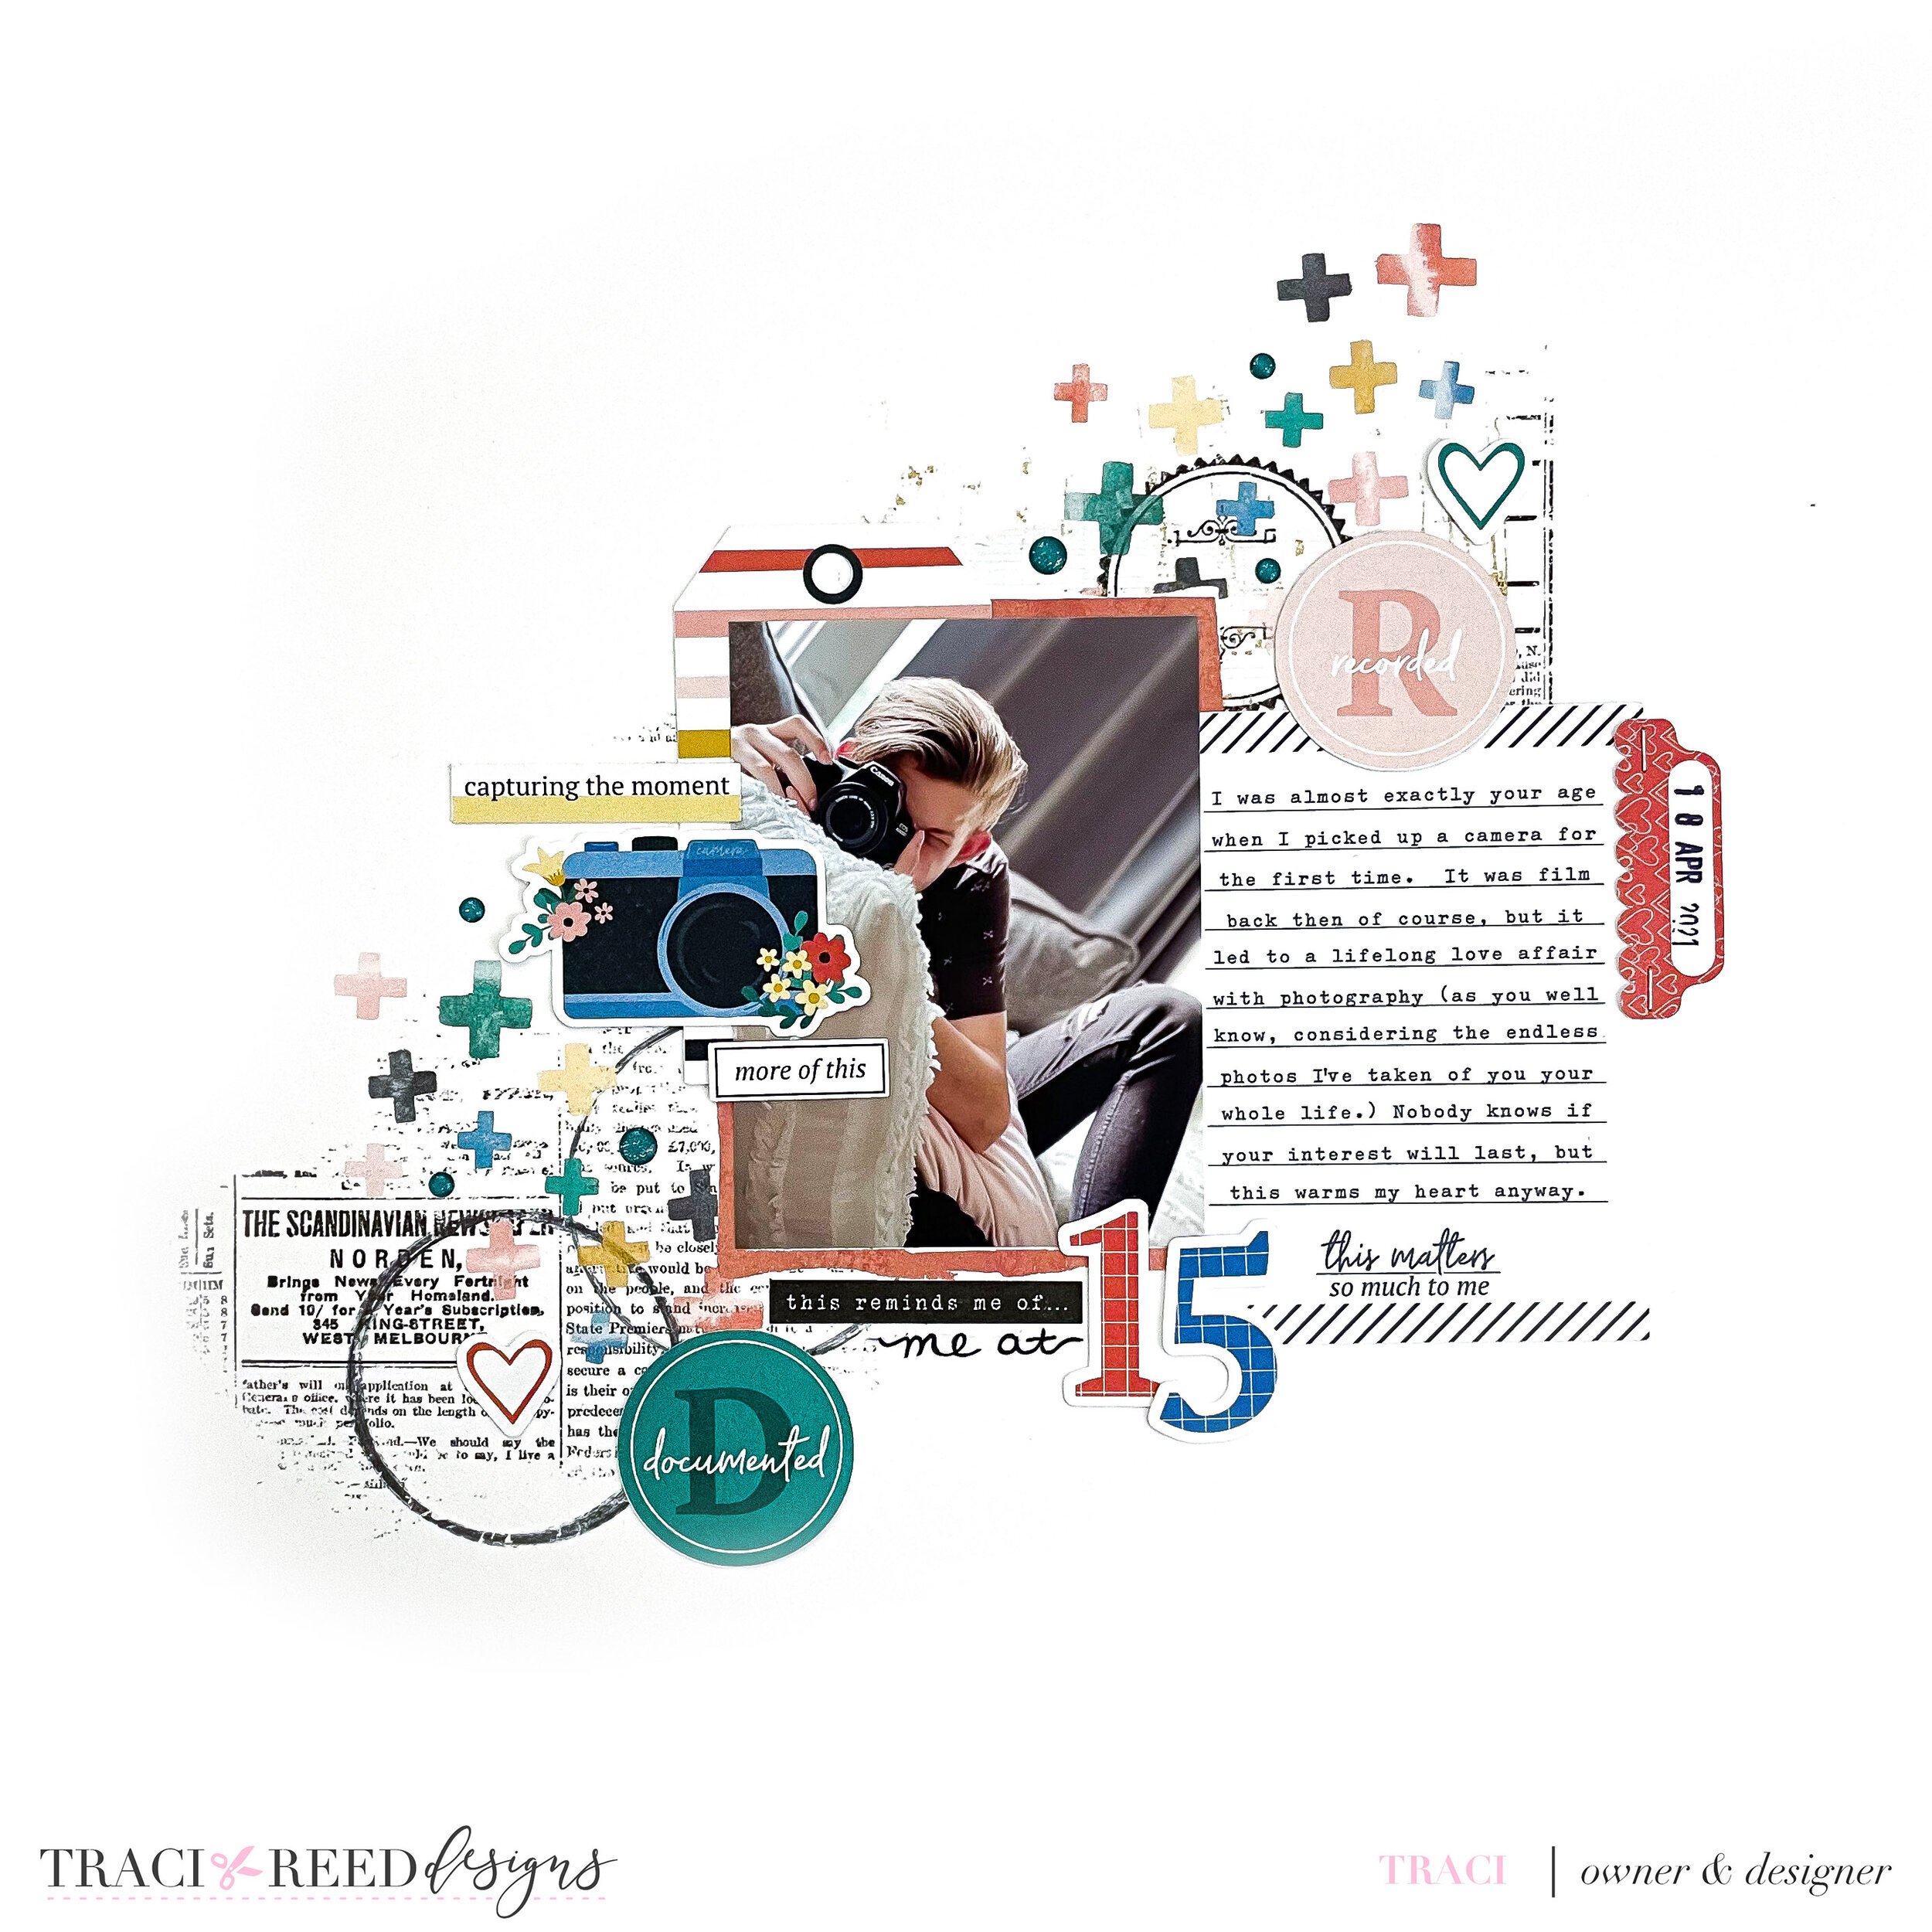
Team Examples With Embellishment Bases:
Blog Posts:


TRD Products Used In This Post


Other Products Used In This Post: