Teach Me Tuesday: Paper Tears and Folds
Hey Hey Hey Scrappy people! It’s Teach Me Tuesday here on the blog and today Caroline, Evelyne, Larissa and Melinda are showing you 4 AMAZING ways to fold and tear paper for your projects!

Evelyne - On A Roll with Anywhere But Here
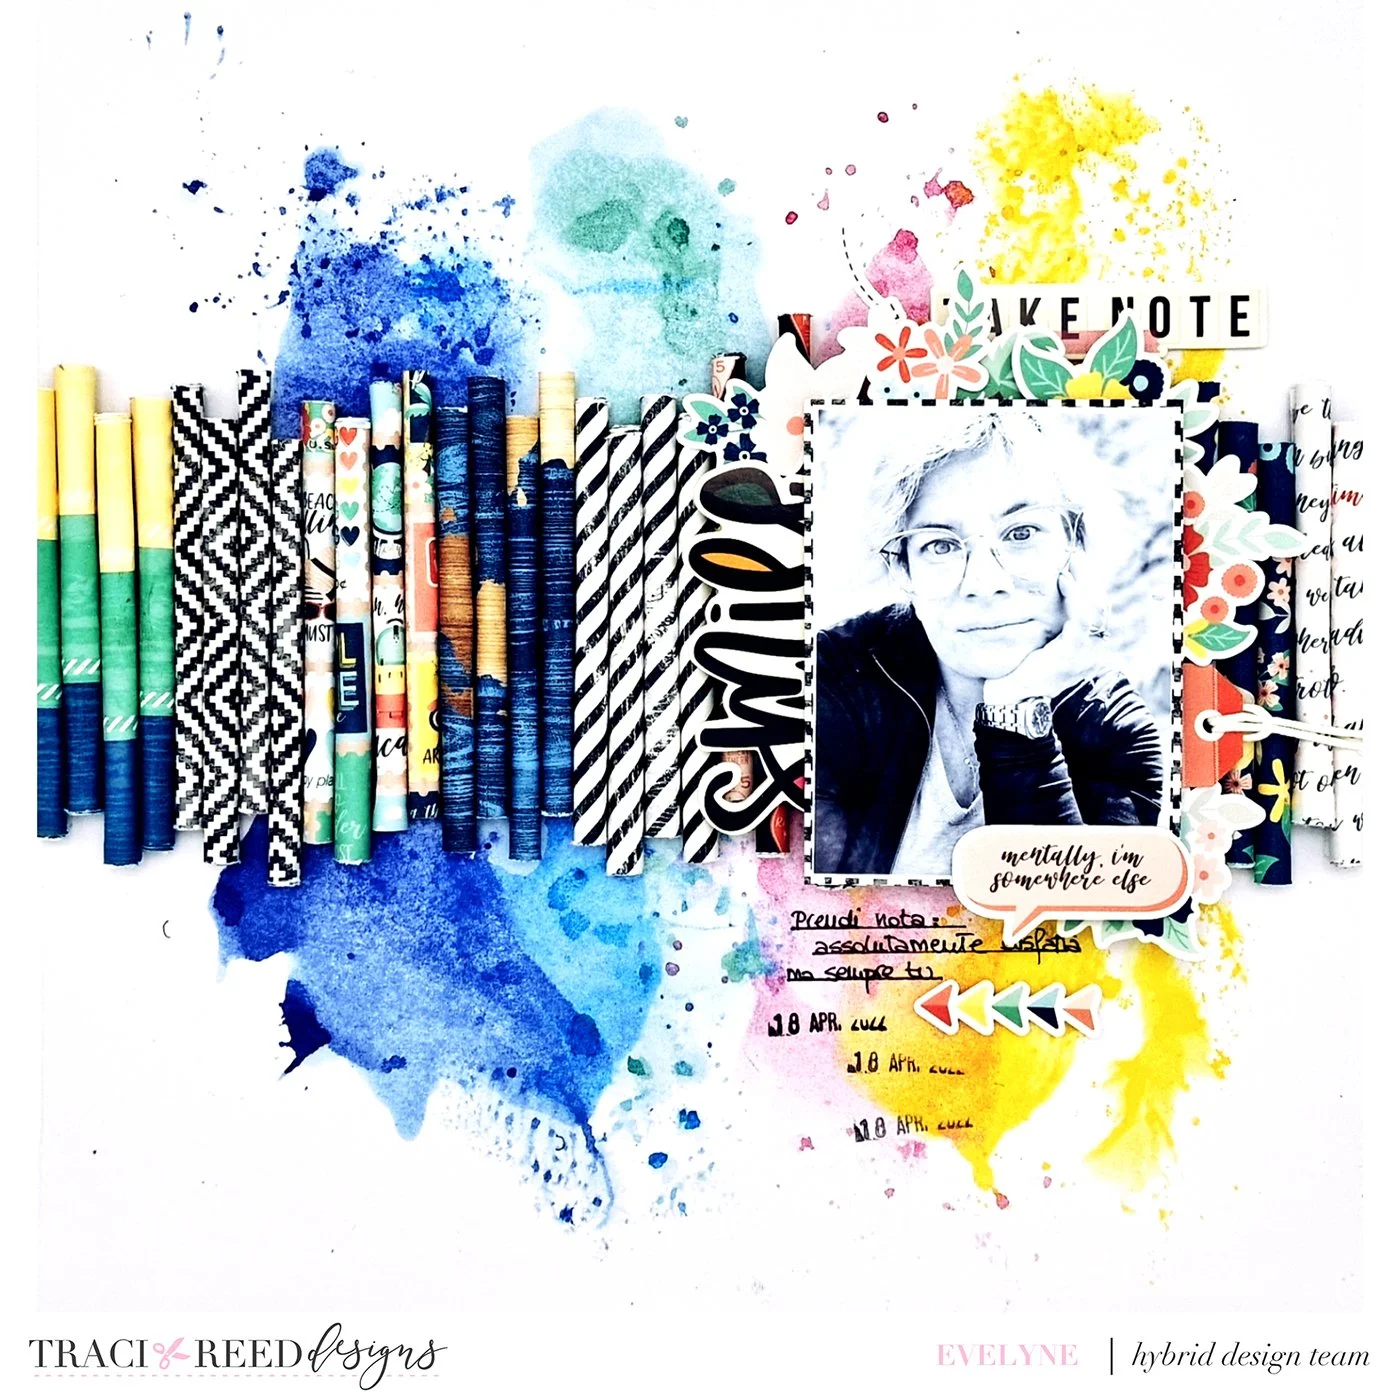
Today I used theAnywhere But Here collection and focused mostly on the papers (which I love!)
I created tons of paper rolls, it took some time but it was worth it, to fill a 12 * 12 bazzil in length and then I just put in the photo and some embellishments to complete the project.
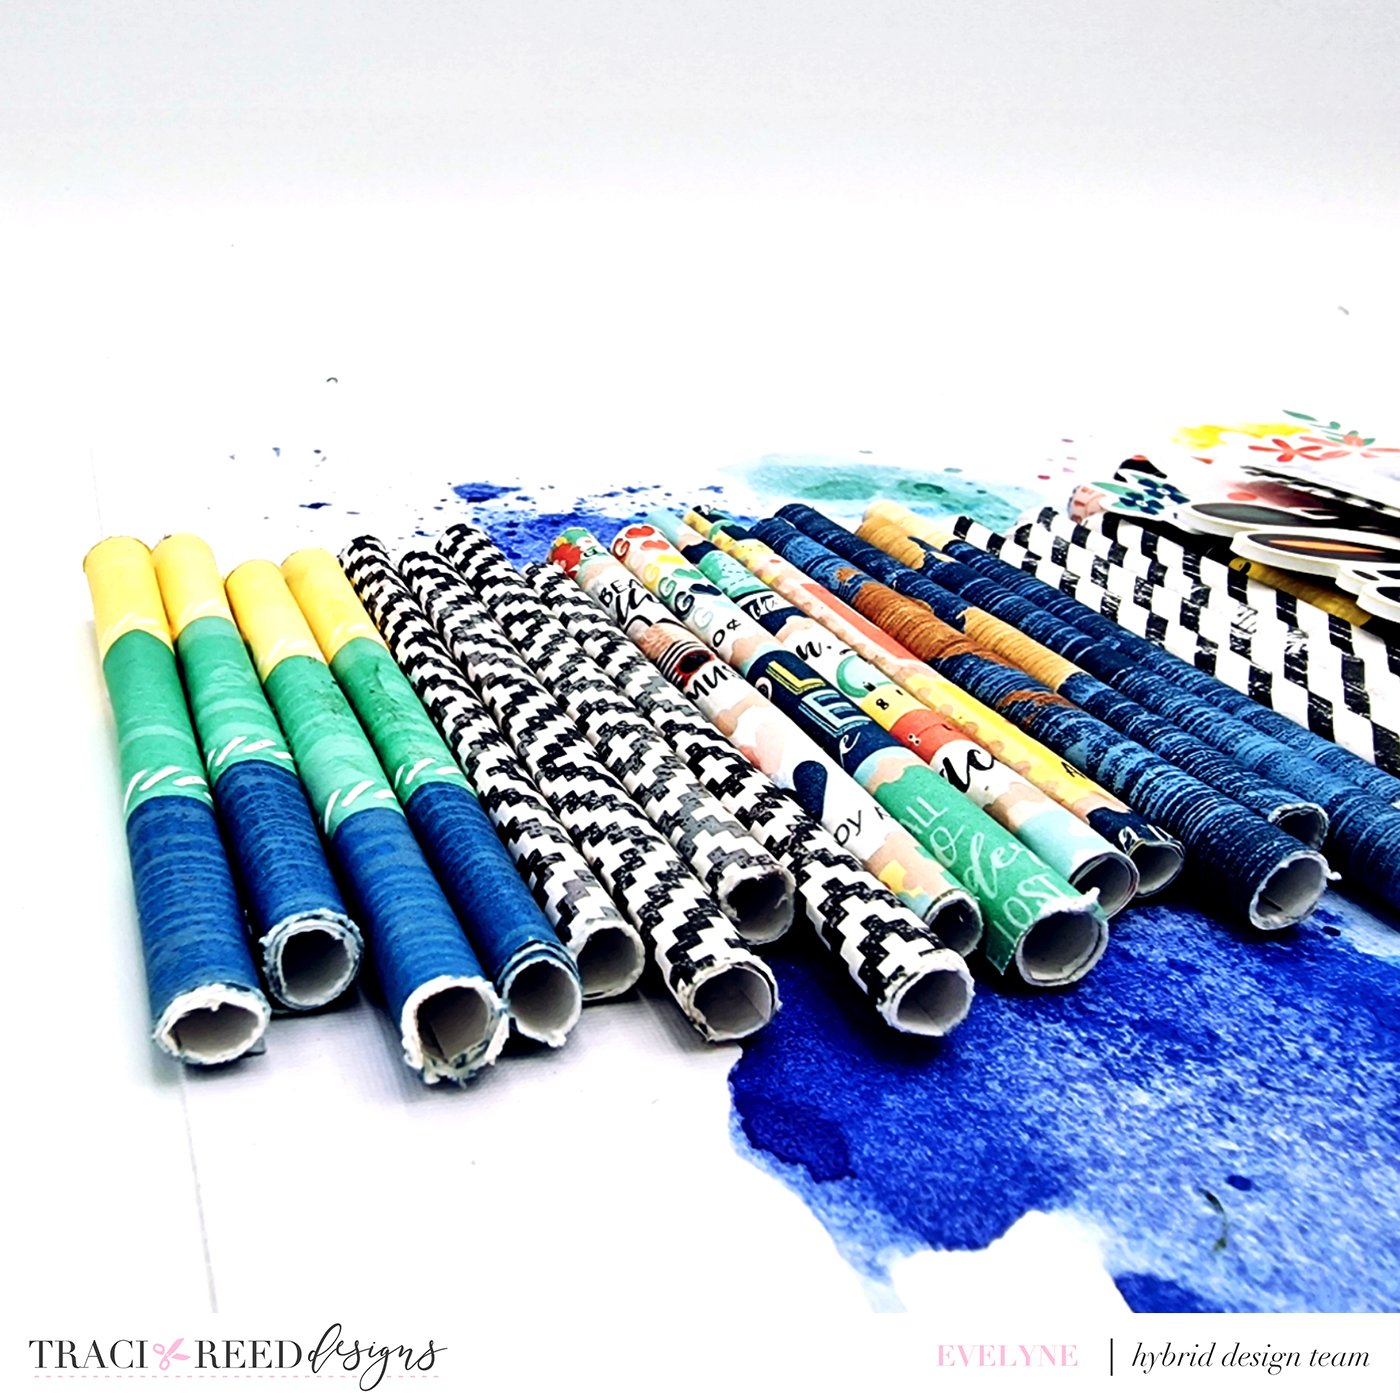
I also left you a video to see in detail how to create your rolls, you can adapt the length to your liking.
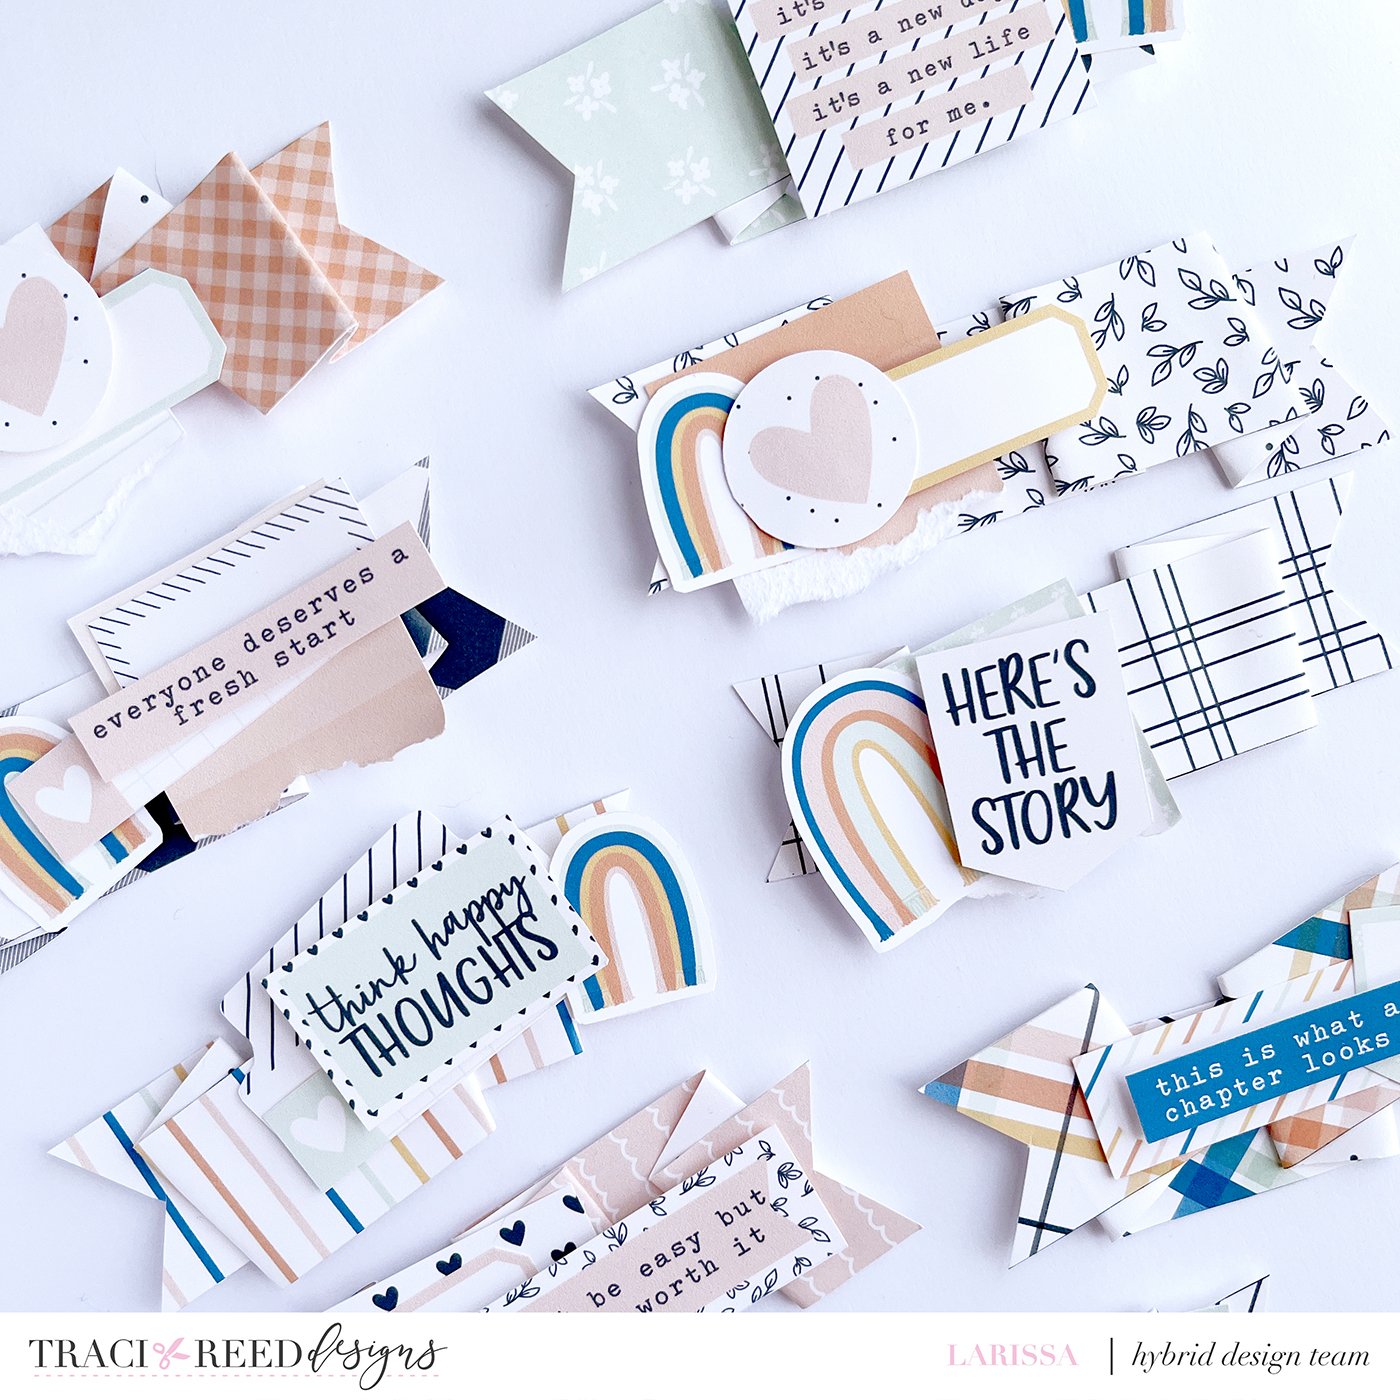
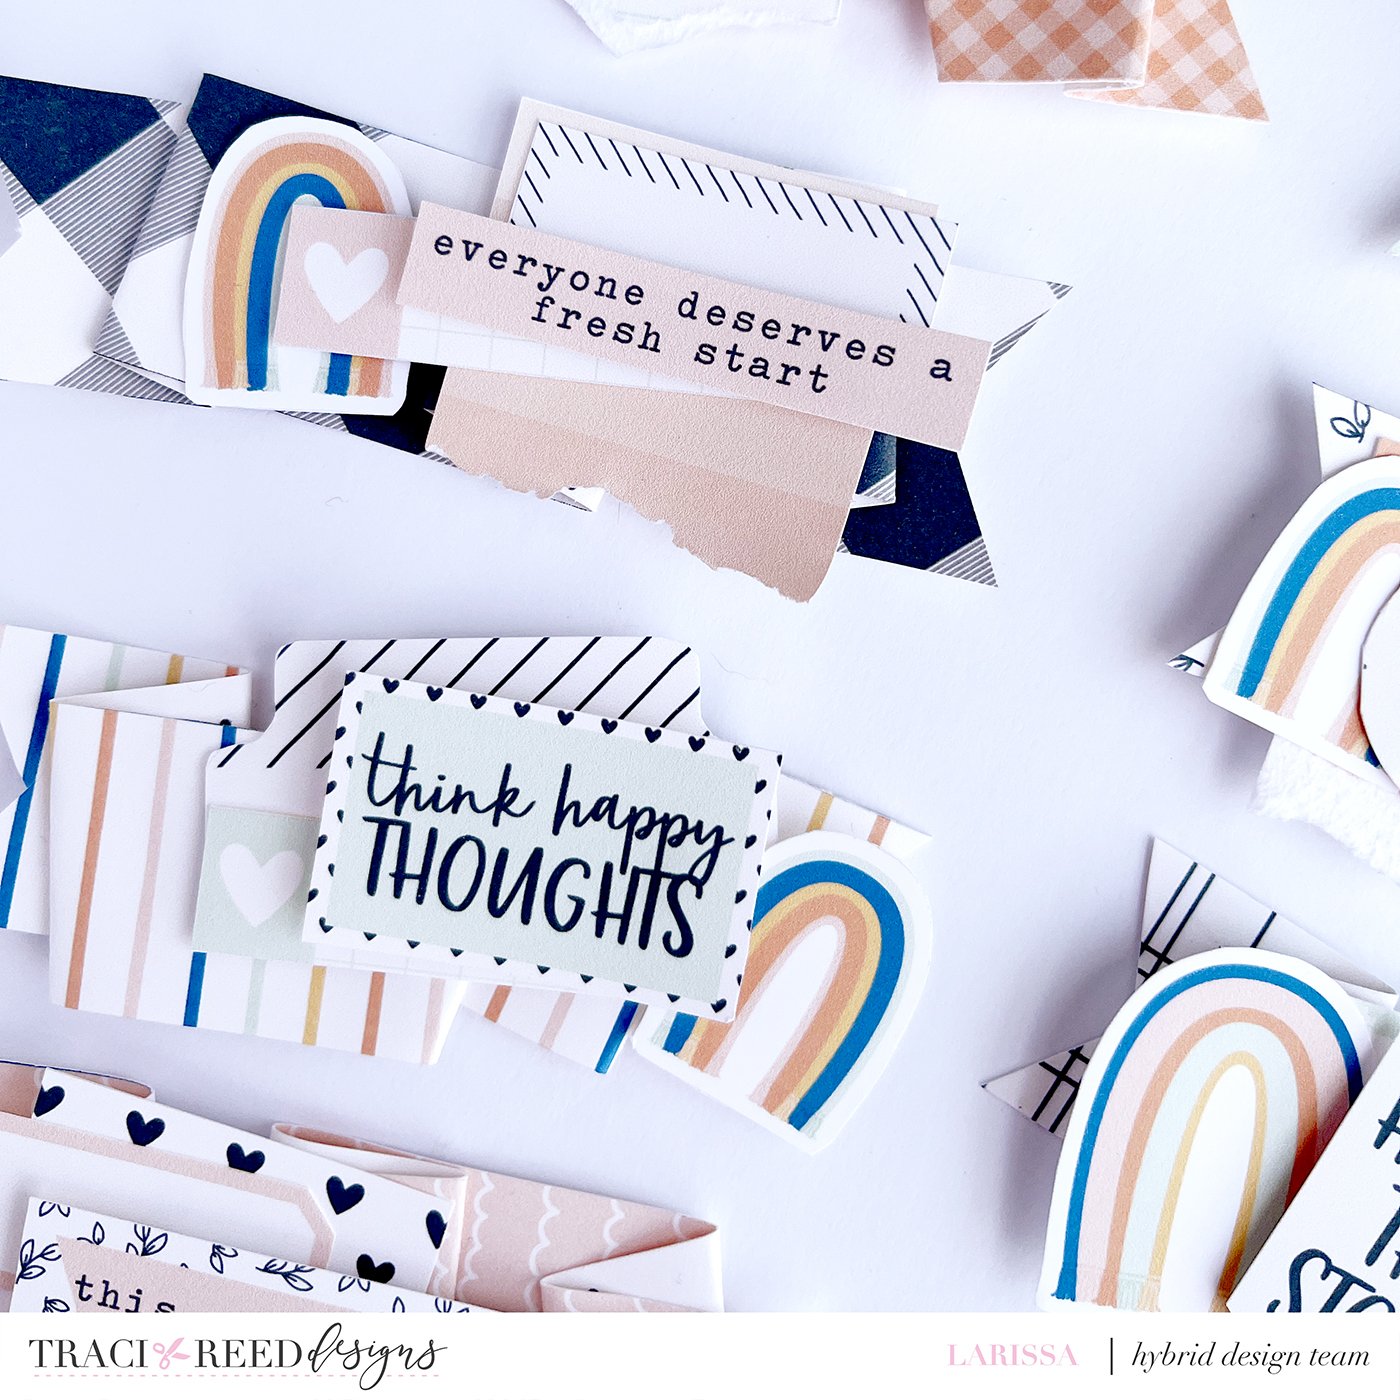
Larissa - Folded Paper Ribbons with Beginnings & Endings

Lately I’ve been obsessed with folded paper banners that I knew I had to create some for today’s post!
Before folding your papers, you will create a printable file in photoshop and make strips that are 1” in height (and the length of the paper in width). To make our backs look nicer, I like to print a simple pattern (I usually go for polka dots) in the back of the strips. This way, it doesn’t matter how you fold it, you will always have the two sides looking beautiful.
There is no mystery when folding it, go with what the flow tells you to do, but I always like to fold the paper in different directions so it looks nicer.
Then, you just have to embellish using whatever you want! I like to go with many layers and dimensions.

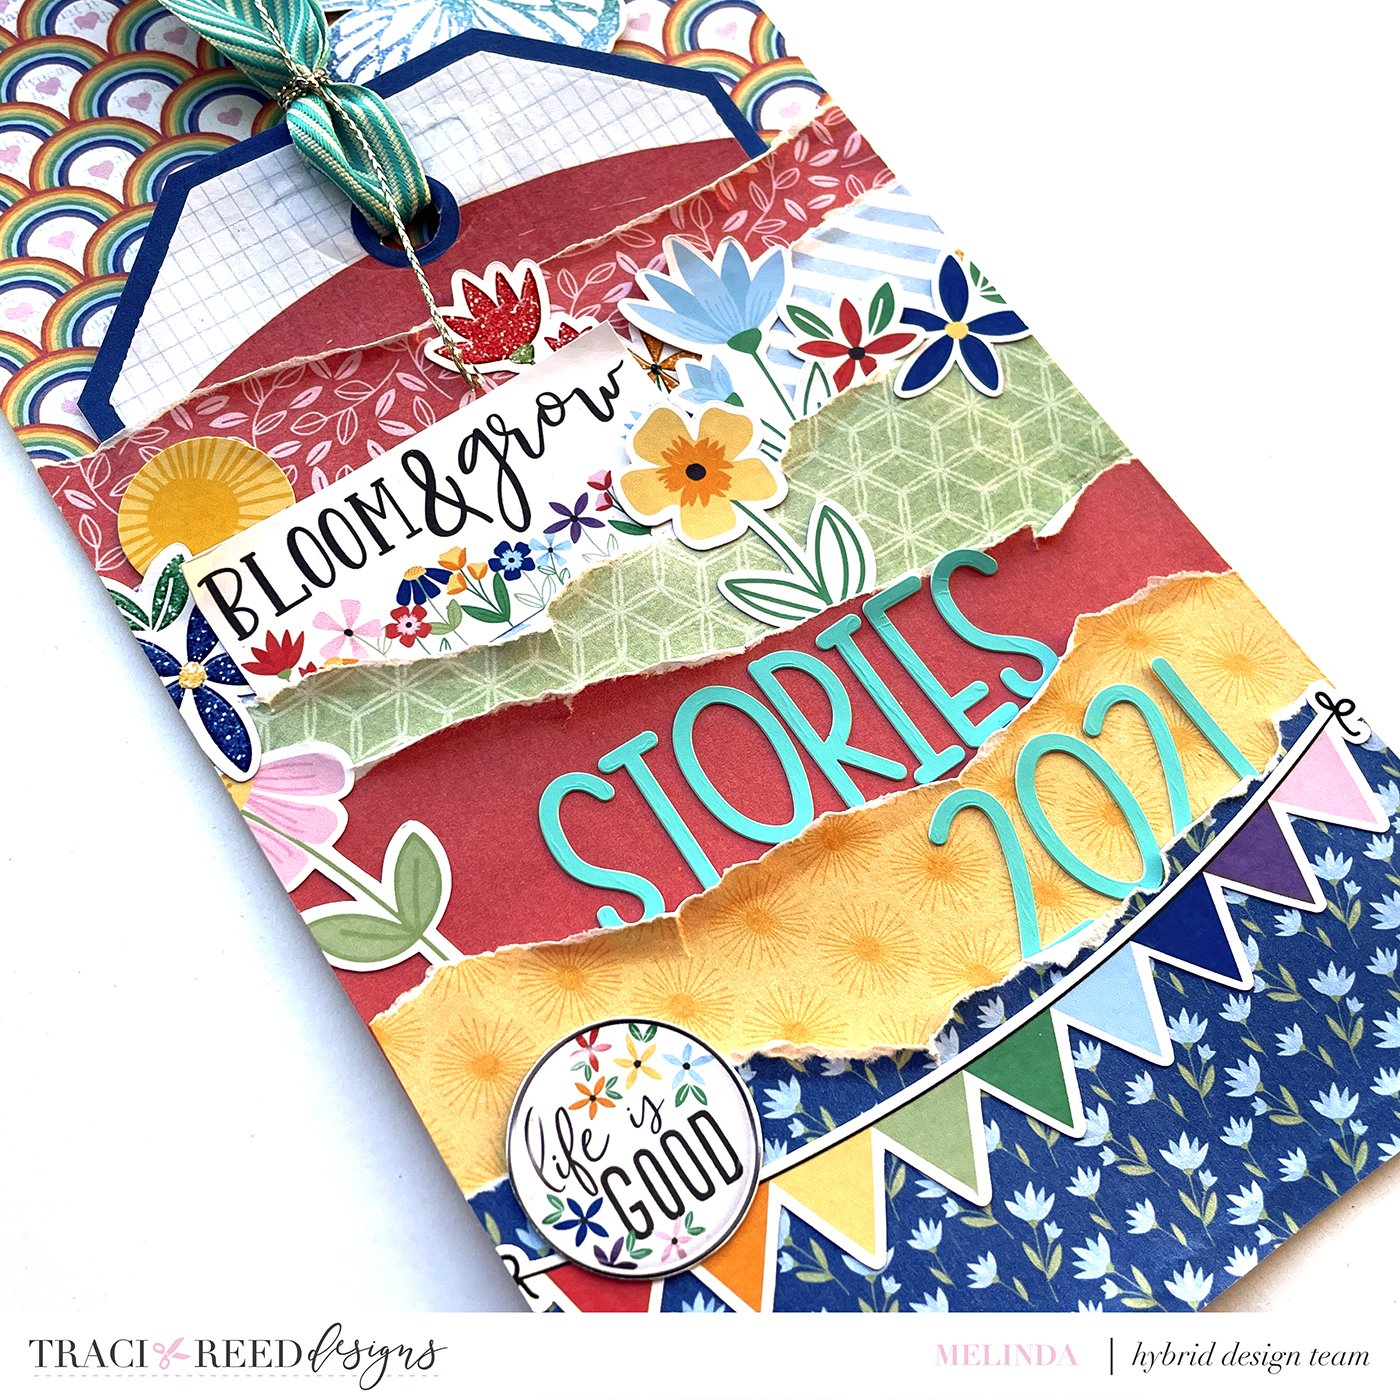
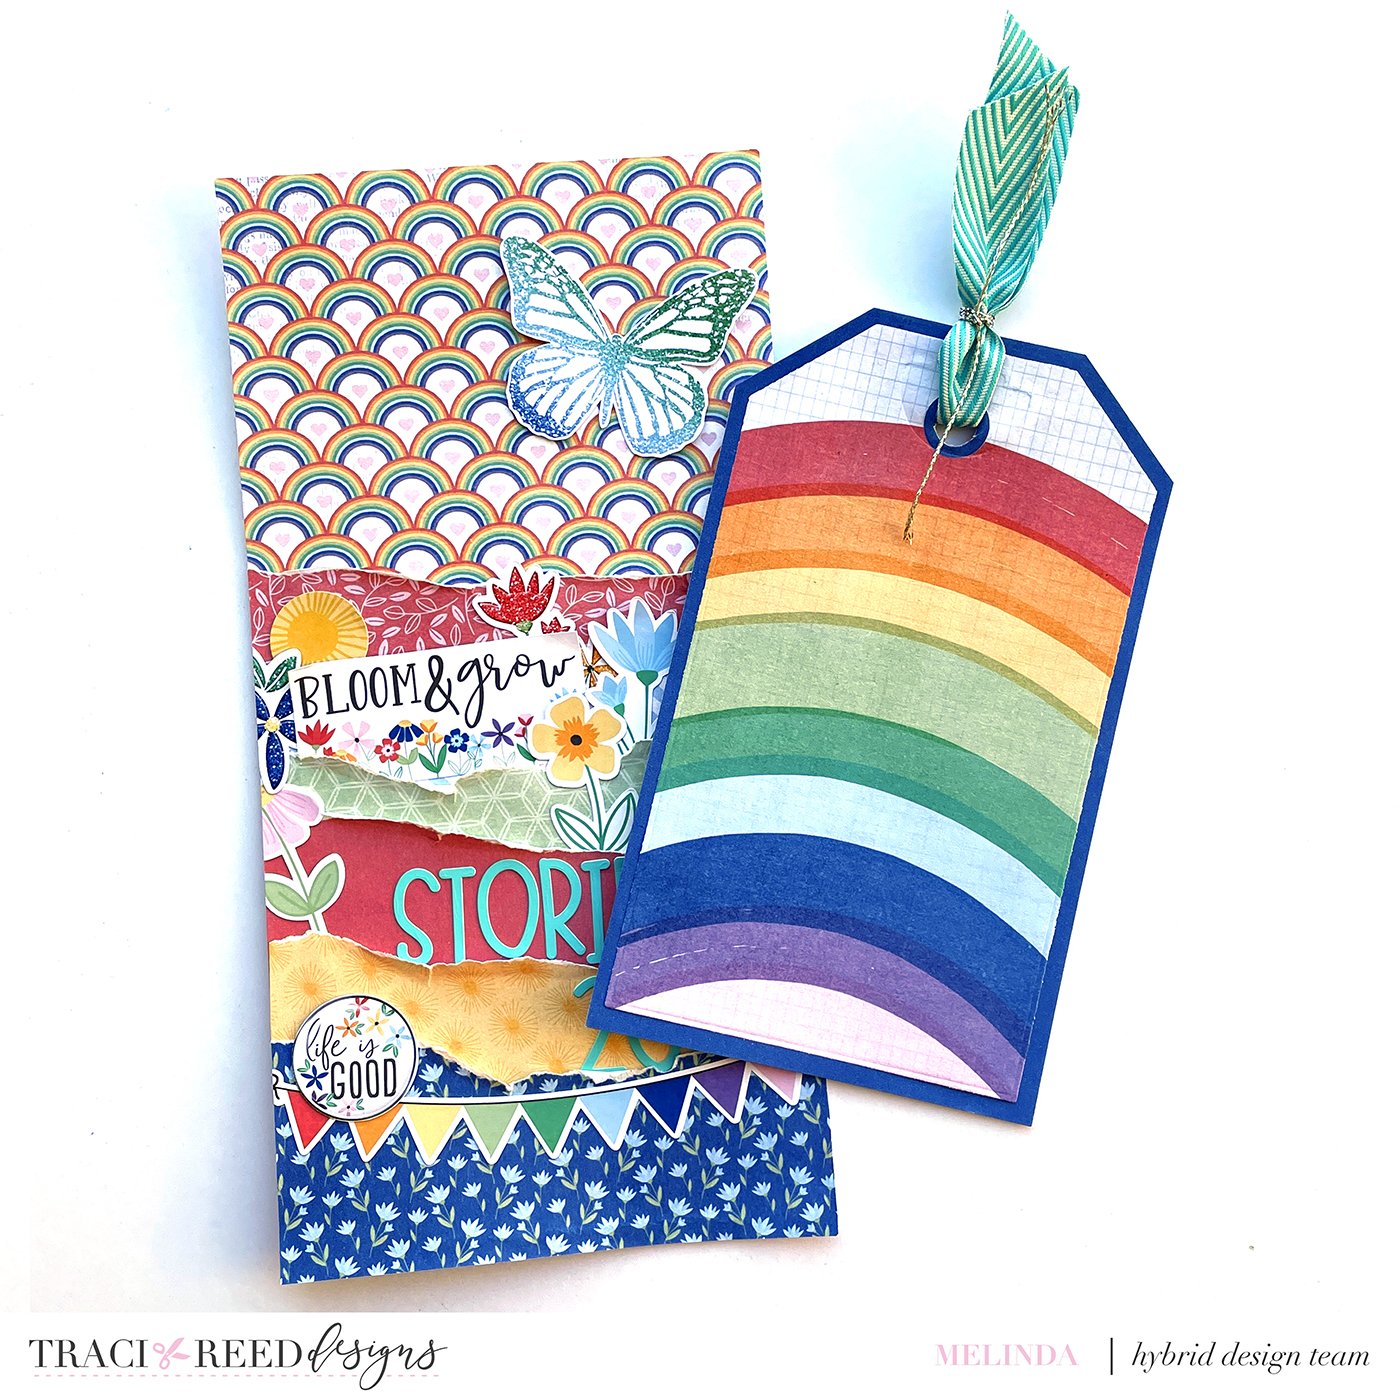
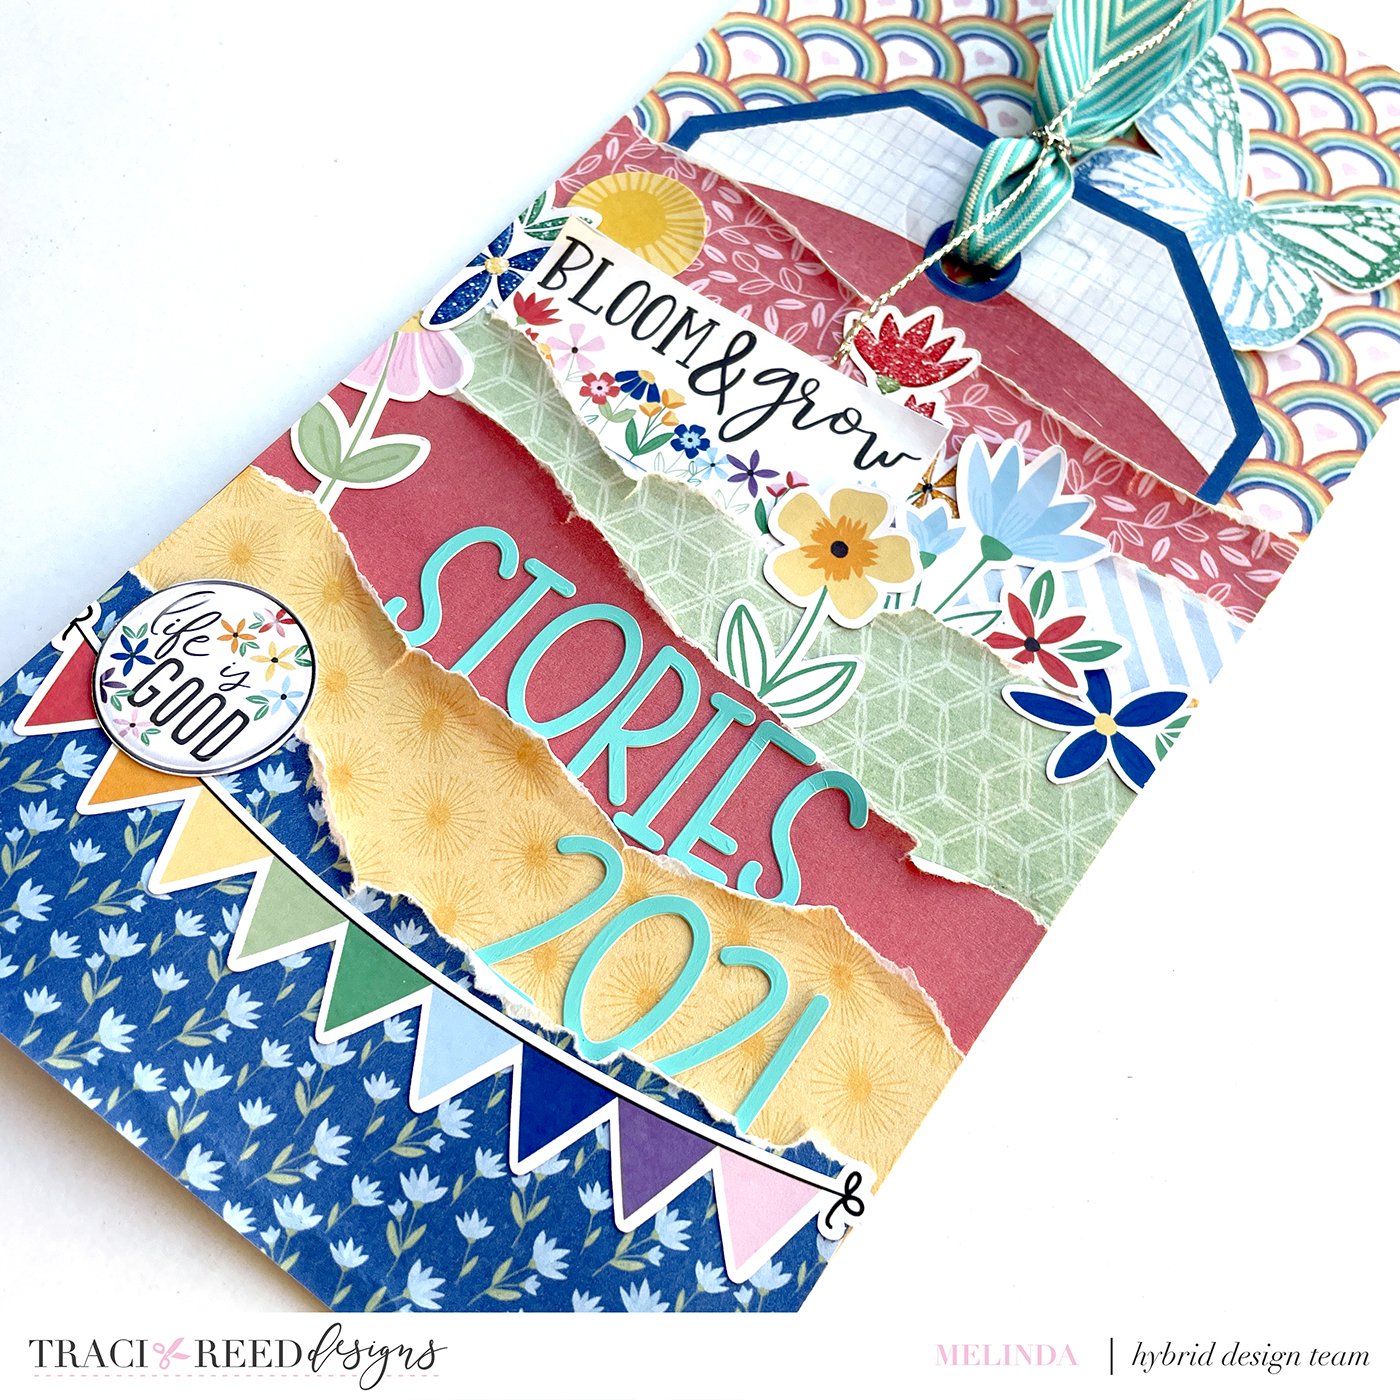
Melinda - Stacking & Tearing with Keep Chasing Rainbows

When you just love ALL of the patterns in a collection it can be super hard to pick or choose a couple to work with on a particular page!! I had this gorgeous collection still on my desk - Keep Chasing Rainbows - and thought this would be a perfect project to show off some of my most fave patterns in the collection!! This is the opening page for my, you guessed it, "2021 Stories" in my travellers notebook that I have recently started. With the torn papers I was able to add lots of interest and texture and also use the different layers to tuck things into. AND, this fun opening page also has a big tag tucked in behind all of the layers so I can add some journalling should anyone wish to know just what I was thinking when I started this totally random, non-sequential notebook full of stories!!
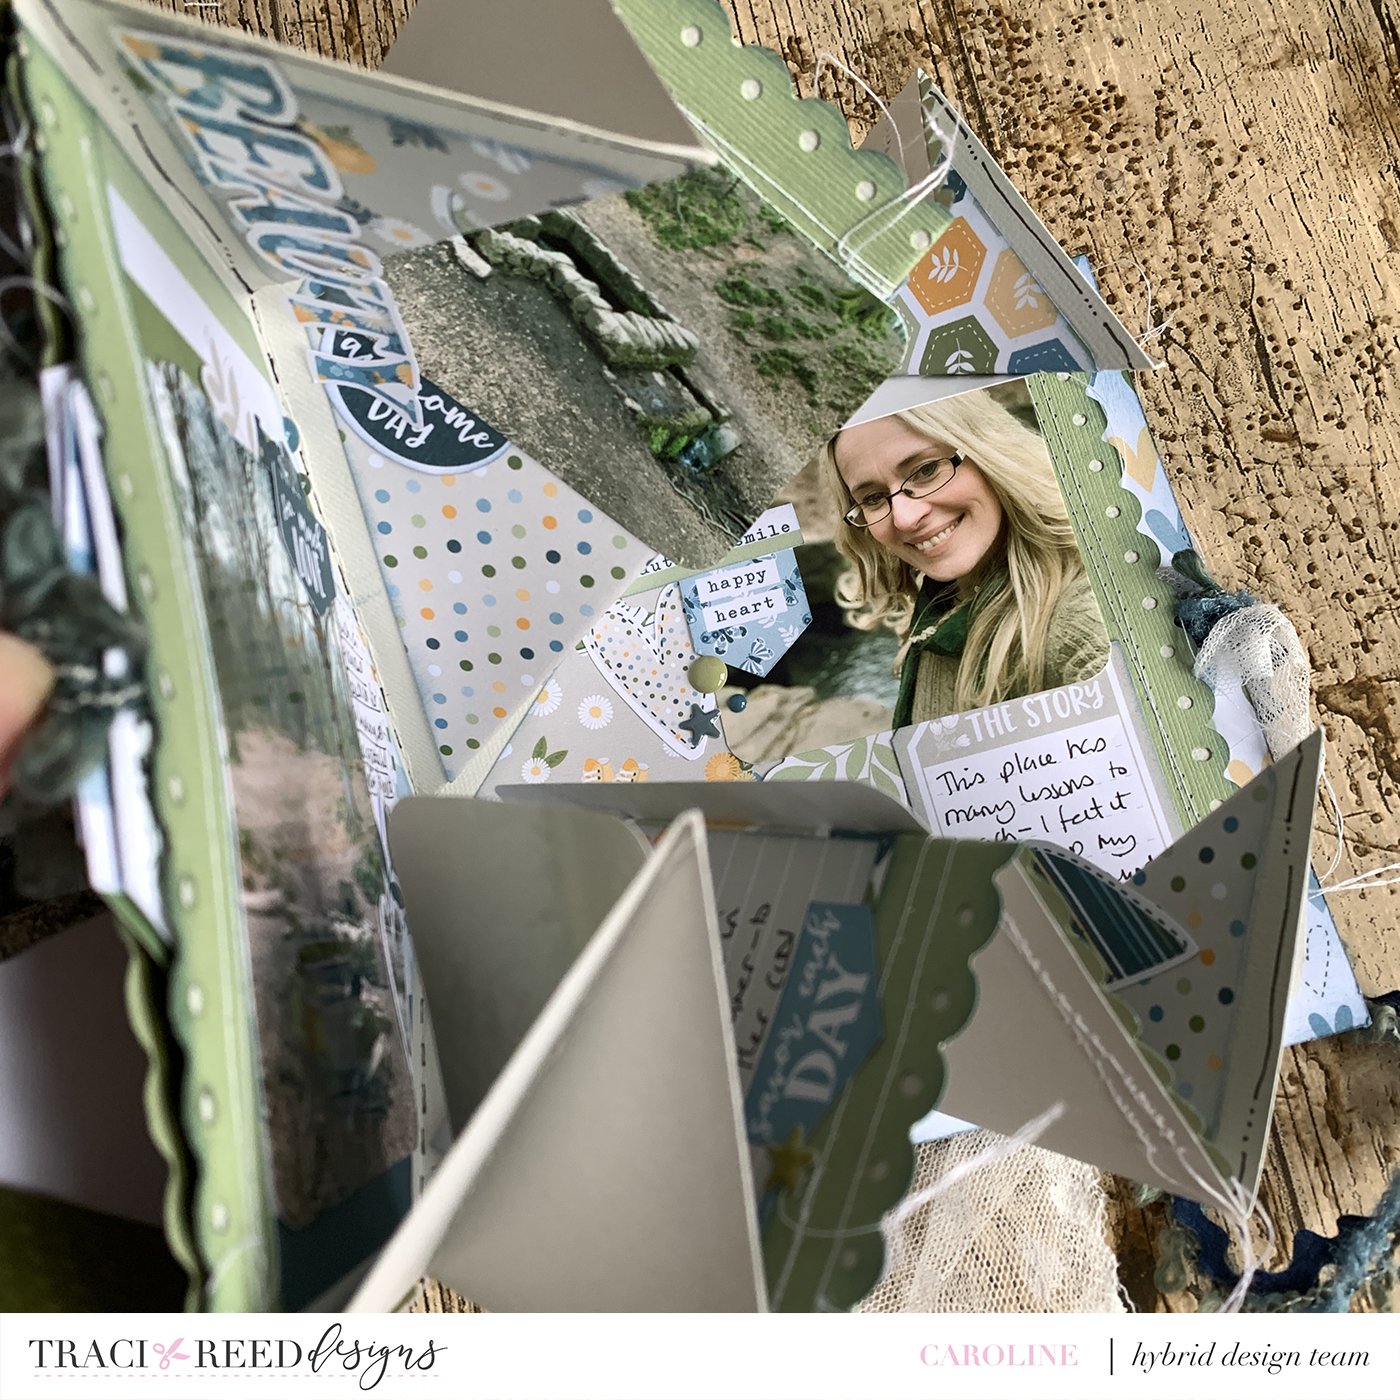
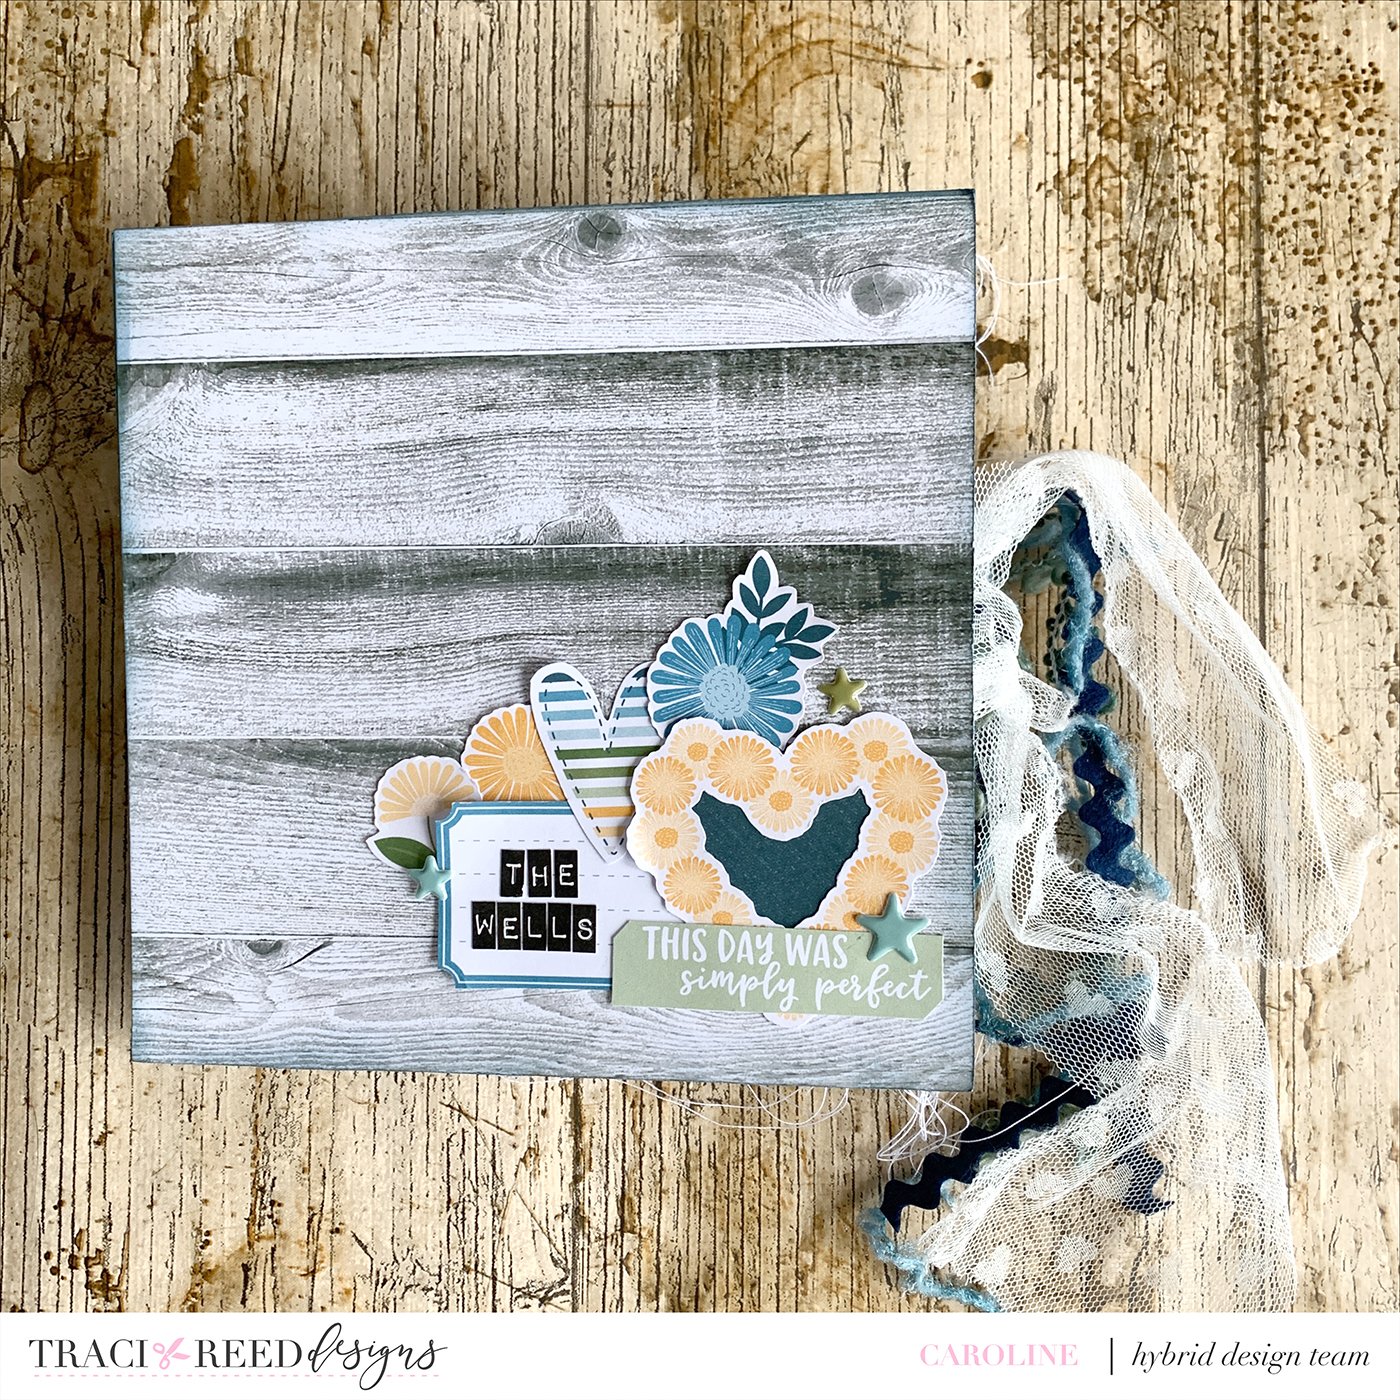
Caroline - All Folded Up with Wildflower

When I saw the theme of Tears and Folds come up as a project call for the Design Team I knew it was one for me. I add paper tears to almost ALL of my projects!! I love the texture they give … fast forward to my project … not a paper tear in sight!!! For some reason when I stood at my craft table I suddenly remembered a mini book I made years ago - created from folded cardstock. I remembered how much I loved that album… and that was it!!
One reason I went with a mini book was because I LOVE the Wildflower collection from Traci but had bizarrely started to hoard it (erm, it’s a printable collection … I can just print more!!!) so that reminder made me decide to use LOADS of it!!

To Create Your Pages
Gold card stock in half diagonally
Turn and repeat
You now have an X fold on your card
Turn and fold in half vertically
Pinch the vertical fold and push inwards. The page will fold into a triangle.
Measure 3 inches from the outer point and fold inwards.
Repeat for all 4 corners.
Unfold and now as you punch and fold manipulate those corners so the also fold in.
You are left with a folded pentagon shape
Repeat for as many pages as you want - I have 3 pages.

Create and Decorate
I opted to work with the gorgeous Wildflower collection for these photos of a springtime adventure with my hubby.
Work from the bottom layer outwards.
Remember those folds - either fold your papers, trim them smaller, or only adhere to one side of a fold so they act like a pop-up
Assemble your book
Adhere your three pages together
Opt to only stick 4 of the 5 sides if you want a pocket between pages. I did this for extra photos and hidden journaling.
Create a cover that is 6.5 inches square.
Add some to ribbon to tie closed your book before adhering the cover to the first and third pages.
Embellish the cover
Bask in the glory of your mini book!!
I created a little video to show you how to fold the pages. I also wanted to show you my finished book. It’s my first You Tube video so bear with me on that one!!
I hope you enjoy this project and the others the Team have put together.
Caroline x