Hybrid Scrapbooking: How to Combine Digital and Traditional Techniques for Stunning Results

If you’ve ever loved the convenience of digital scrapbooking but missed the hands-on creativity of paper and glue, you’re not alone. Hybrid scrapbooking is the sweet spot between tech and touch — giving you the best of both worlds. Whether you’re short on time or want to level up your layouts, this method makes memory keeping both fun and flexible.
Here’s how to get started with hybrid scrapbooking, plus a step-by-step guide and tips to make your pages pop.
What Is Hybrid Scrapbooking?
Hybrid scrapbooking combines digital elements (like photo editing, digital papers, or printed journaling blocks) with traditional materials (like cardstock, embellishments, and textures).
It’s not about going all-digital or ditching your paper stash — it’s about using each method where it shines best.
For example, you might digitally design your title, print it on cardstock, then add it to your page with foam tape, real ribbon, and a flair button. Or maybe you format your journaling in Canva or Word, print it in your favorite font, and layer it under a photo with washi tape and real stitching.
Tools You’ll Need
Digital:
• Photo editing software (Canva, Photoshop, PicMonkey, or even phone apps)
• Digital scrapbooking kits or printable embellishments from Traci Reed’s website
• Printer (preferably one that prints crisp, color-accurate pages)
• High-quality paper (matte photo paper or heavyweight cardstock)
Traditional:
• Paper trimmer, scissors
• Glue, tape runner, or other adhesives
• Stickers, stamps, washi tape, and other embellishments
• Albums or page protectors
How to Create a Hybrid Layout (Step-by-Step)
Here’s a simple hybrid layout flow you can follow:
1. Pick a Theme or Story
Choose a recent event, memory, or moment you want to document — like a weekend getaway or graduation photos.
2. Edit Your Photos Digitally
Use software or apps to:
• Crop
• Brighten or apply filters
• Add text overlays or dates
• Create a photo collage if needed
3. Design Digital Elements
You can:
• Create a title with digital fonts and clipart. (For my layout I used the digital alpha’s)
• Type your journaling and choose a fun font
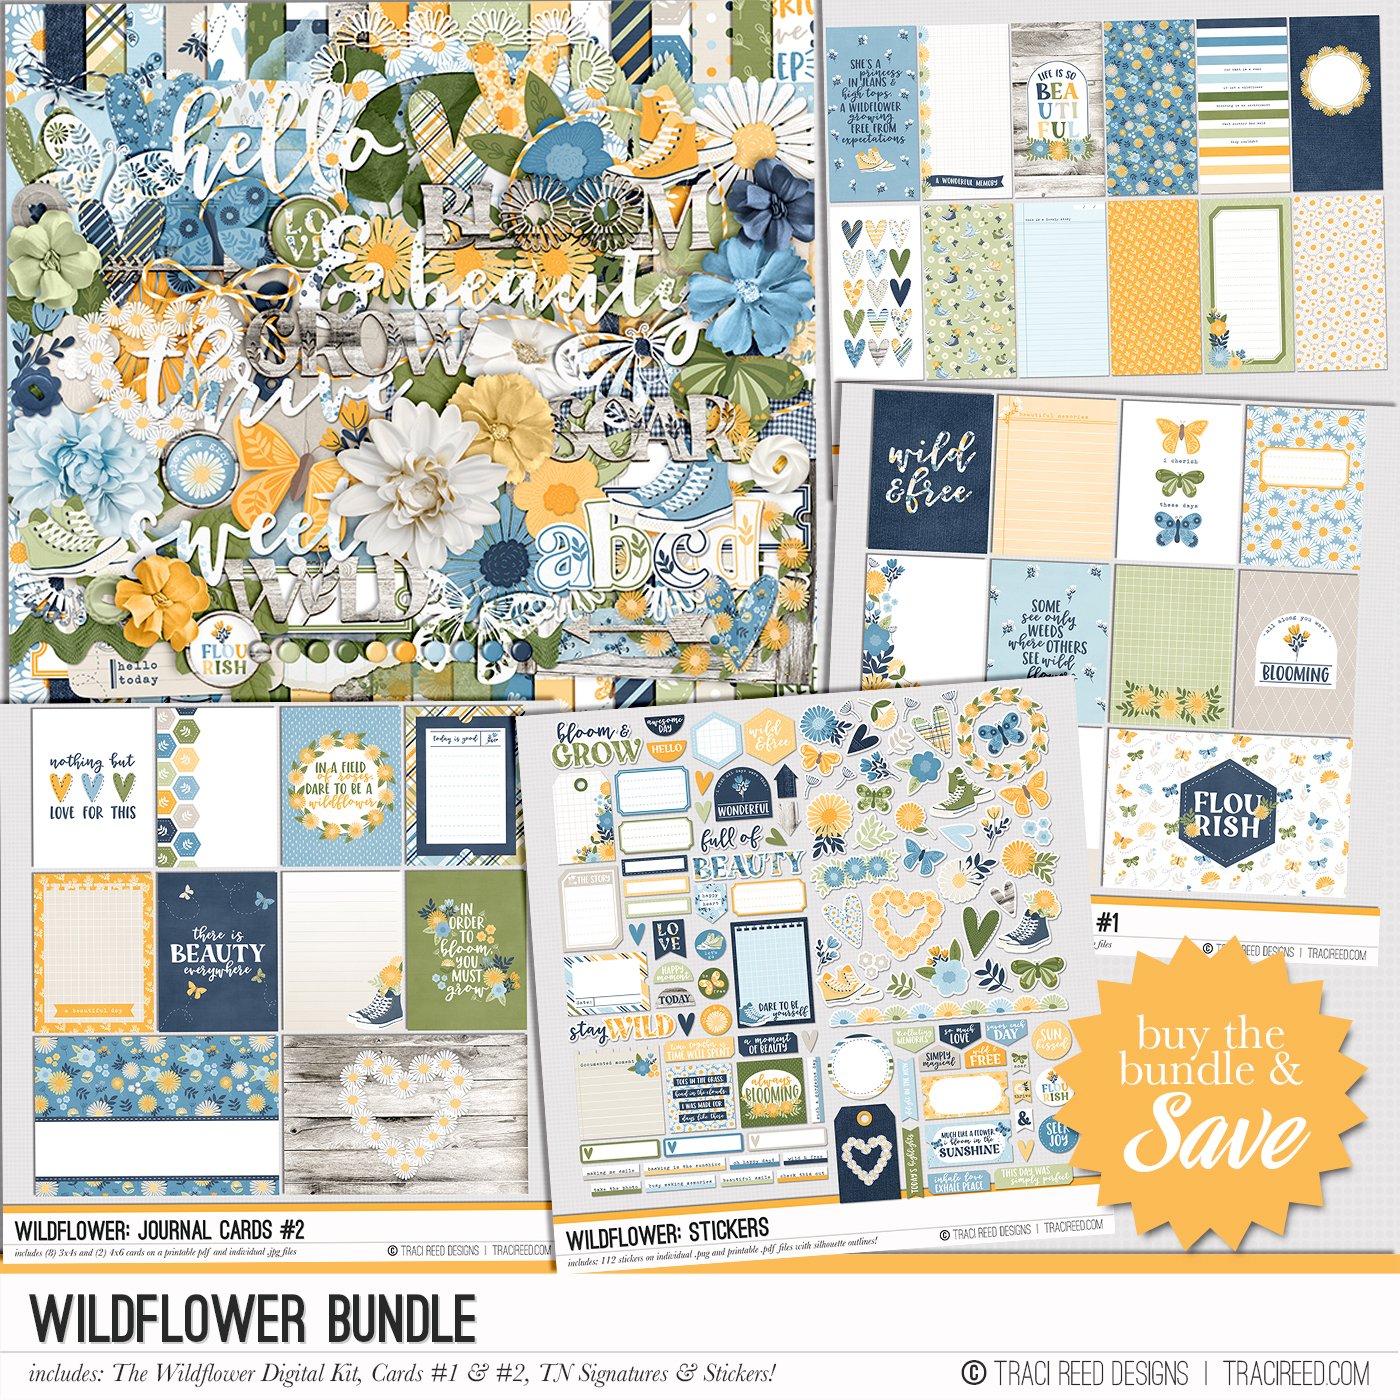
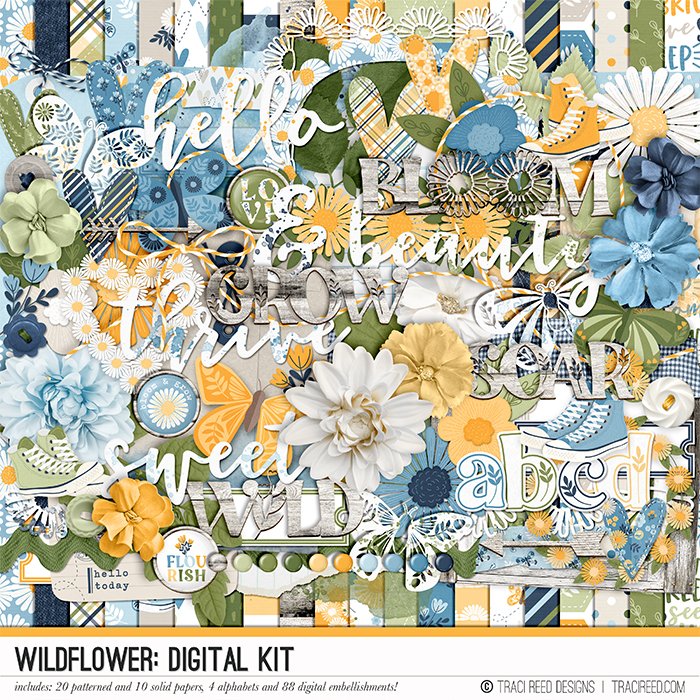
• Download digital papers and embellishments (I used the Wildflower collection and printed 8.5x11 papers)
4. Print & Trim
Print your digital items and trim them to fit your layout. A good tip: print extras so you have pieces to play with and layer.
5. Assemble with Traditional Supplies
Layer your printed elements with physical embellishments like stickers, buttons, or washi tape. Use foam adhesive for added dimension, or stitch down a photo corner with thread for texture.
Tips for Hybrid Success
• Test print small pieces first to check color accuracy
• Print on matte paper for journaling blocks (no smudging!)
• Use foam tape to raise printed embellishments and mimic chipboard
• Organize digital files by project or theme to stay efficient
• Don’t be afraid to mix fonts and textures — that’s the fun of hybrid!
When to Use Hybrid Scrapbooking
Hybrid is especially helpful when:
• You’re short on time but still want a custom, beautiful page
• You’re making multiples (like gift albums or monthly layouts)
• You want to personalize journaling with a clean look
• You’re traveling and can prep digital parts in advance
Ready to Try It?
Whether you’re dipping your toes into digital or looking for new ways to refresh your layouts, hybrid scrapbooking opens up a world of creative possibilities.