Create an Interactive Envelope Page with Caroline!
Hi All,
I’m super excited to be here on Traci’s blog this spooky season with an interactive envelope page that is perfect for ANY of Traci’s collections but I am working with the current PARANORMAL ACTIVITIES today (but this is going to be replicated in my December Daily album later in the year!!)
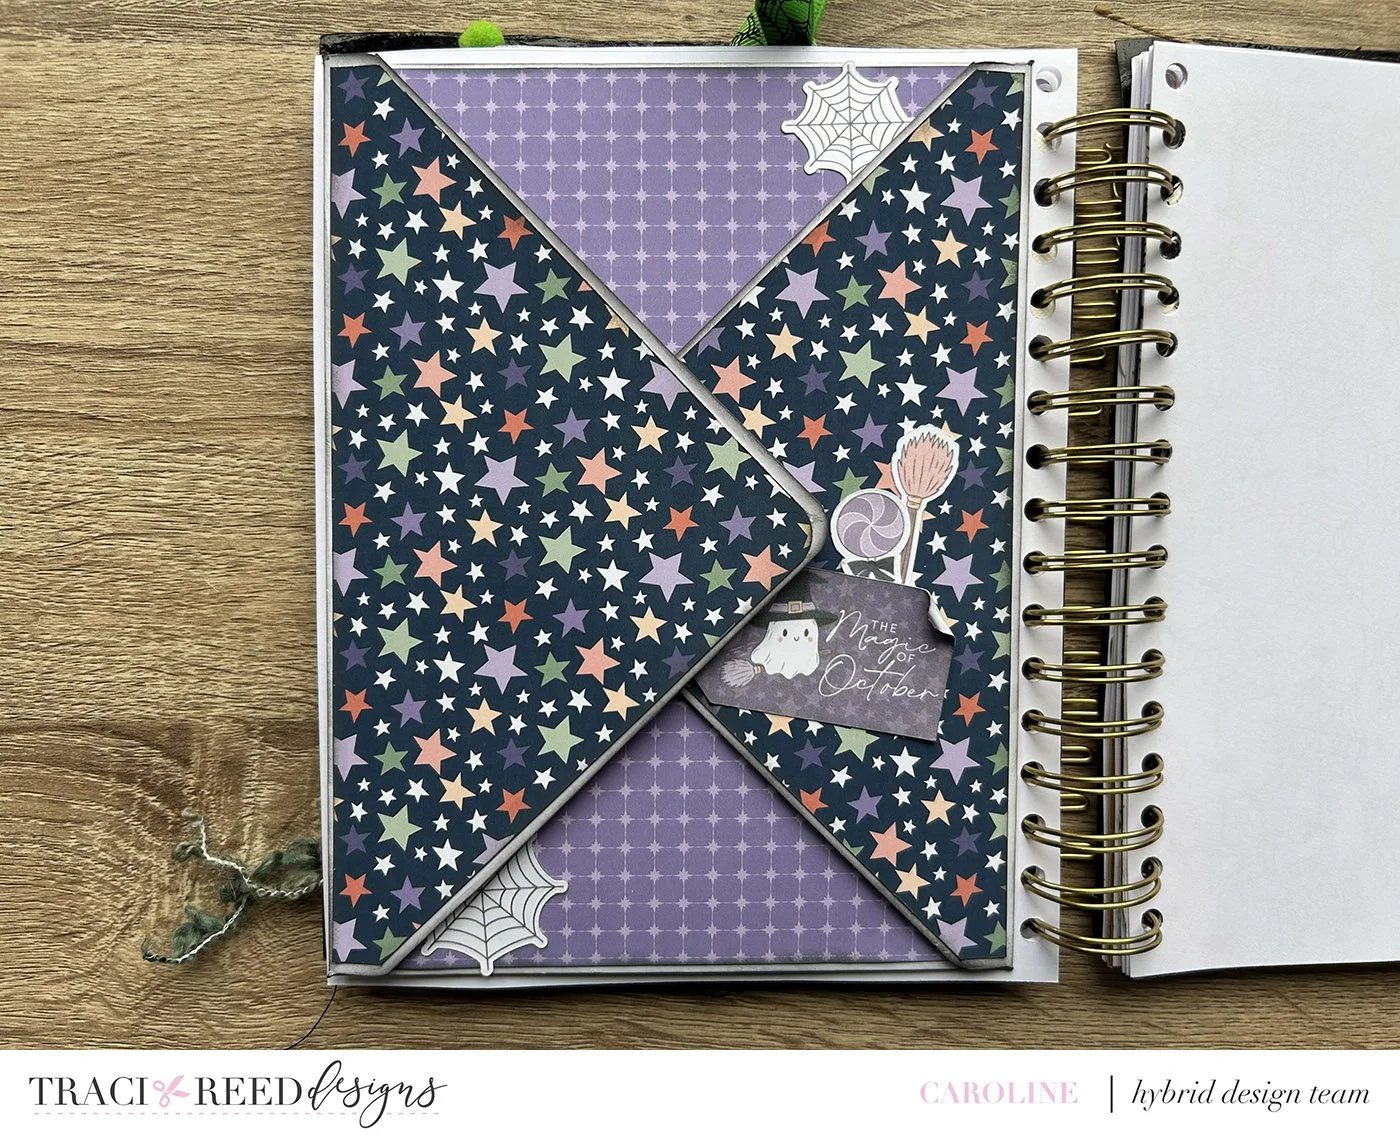
I’m going to share a step-by-step process so you can follow along and create one of these fun interactive envelope pages for yourself. I am working at a size that fits the 6.5x8.5” pages in the October Daily-ish notebook I have created for myself but the fun thing with this concept is you can create your envelopes at a page size to suit you! Let’s get started…
STEP 1 - CREATE YOUR ENVELOPE PAGE
I began with a white cardstock base for my envelope as I don’t have a large format printer. I actually like this as it means I can mix in a few different papers from the collection on the different envelope flaps! ***TIP 1: if you have a large format printer, you could print your base size double-sided to speed up the process ***
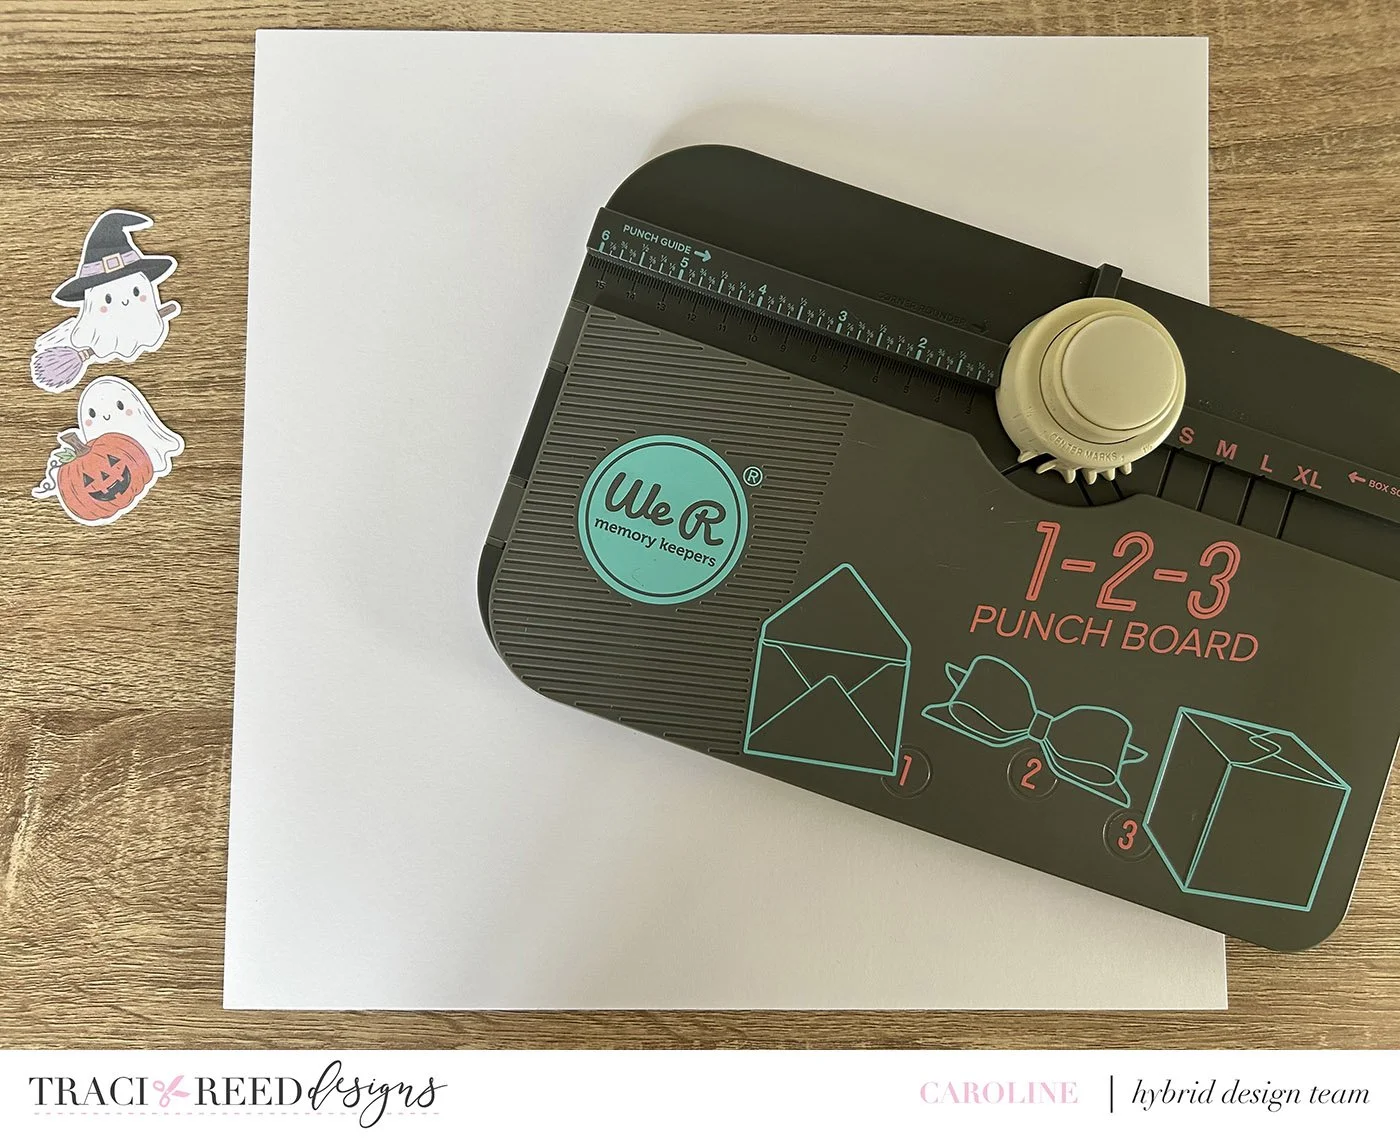
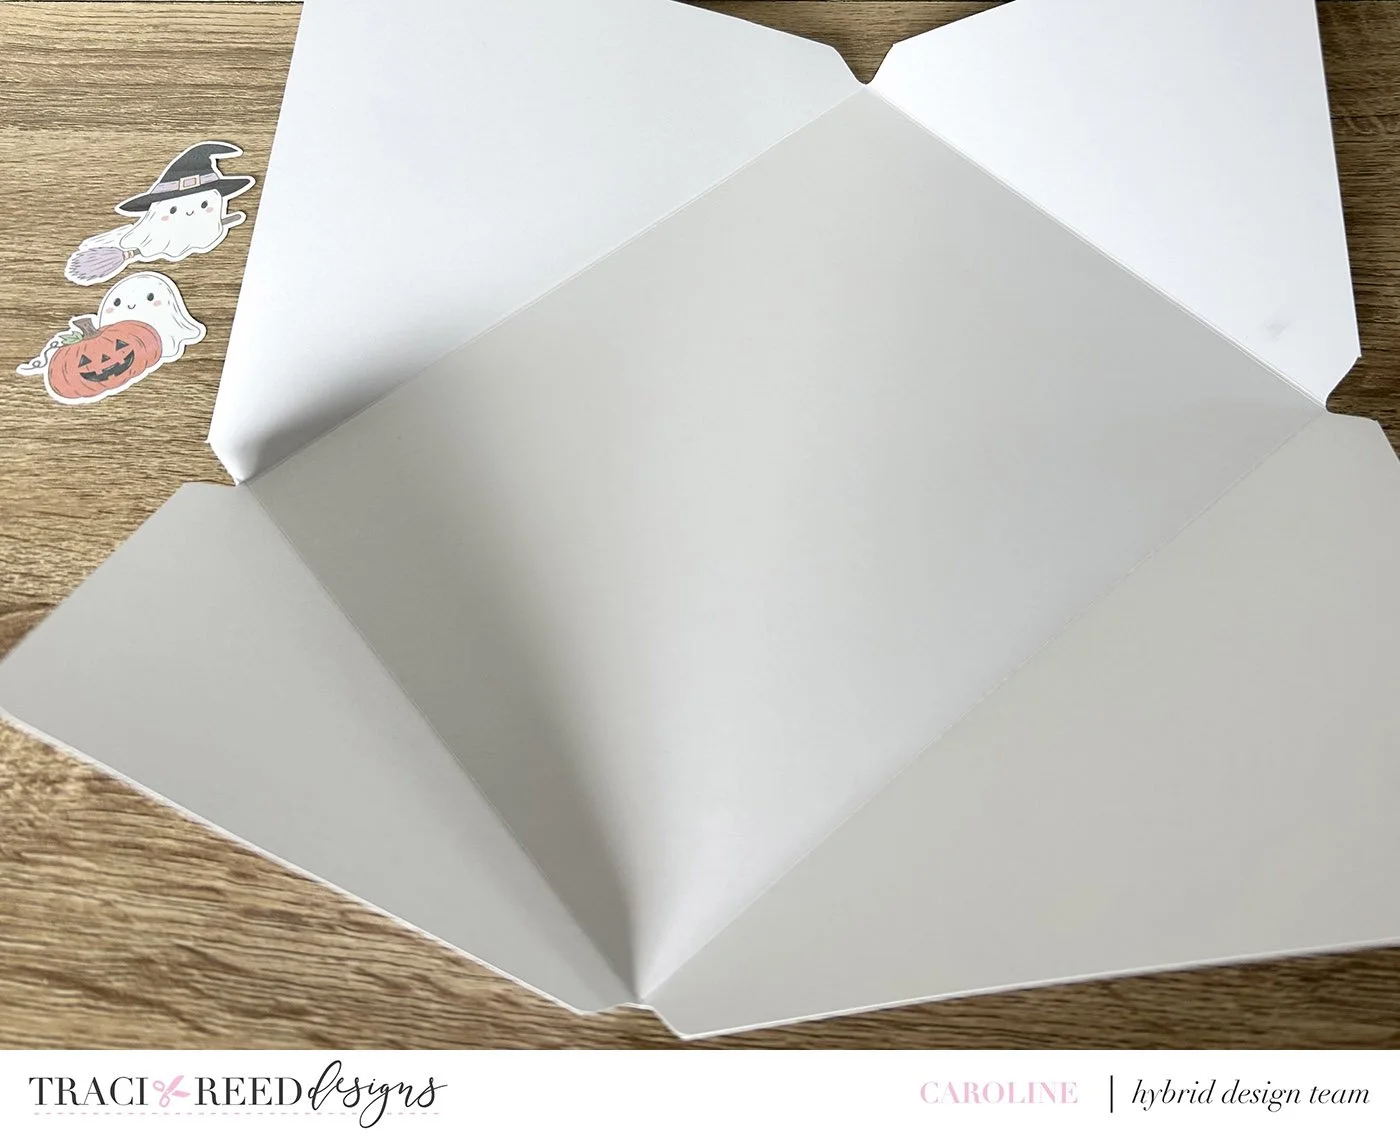
I am using a We R Memory Keepers Punch board I simply followed the sizings and guides for a 6x8 insert to ensure the envelope would fit my page size. This meant cutting my cardstock down to 11.25” and going from there. ***TIP 2: If you don’t have a punch board you can easily replicate this by a) taking apart an envelope close to the size you want and using that as a template or b) printing out an online envelope template of the size you prefer)
Once I had my envelope folded I inked all of the edges with Black Soot Distress Oxide (as I am going for a grungy look in my project this October). I next pulled out all of the papers I wanted to work with for this page. I opted for the inside of the envelope to go with a black and orange palette and so trimmed my patterns down to fit on the inside of each flap (cutting them a little smaller so I had that grungy white border)
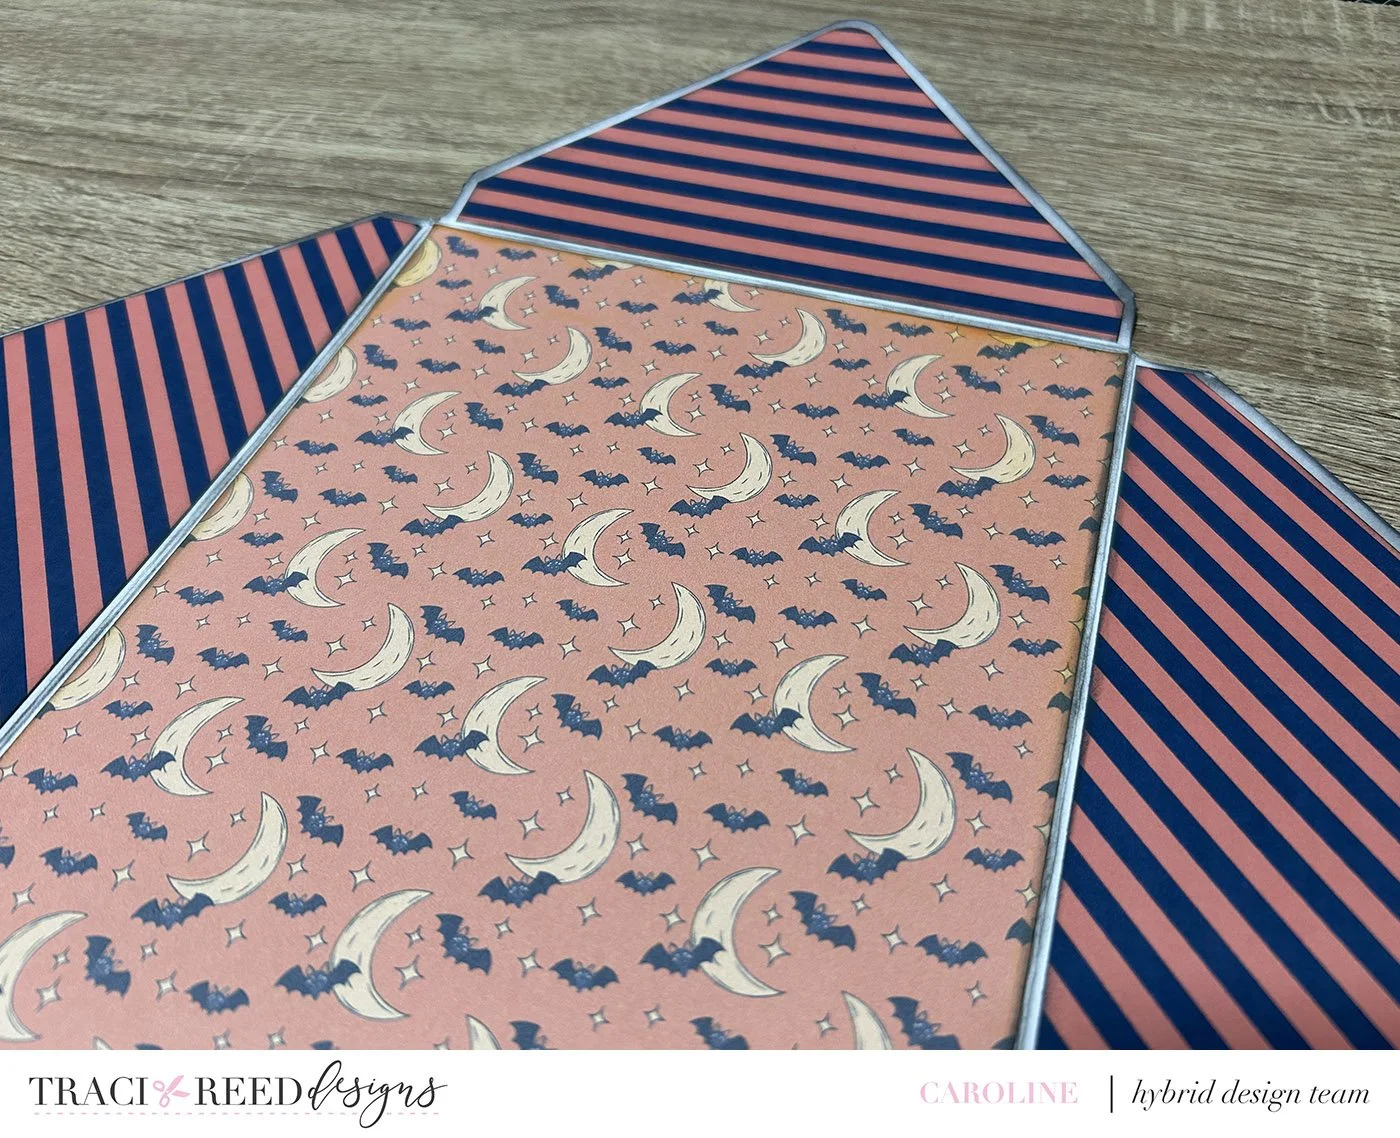
***TIP 3: Check that you like how your papers look when the folds of the envelope are opened out - be sure to orientate patterns so they are not upside down before you cut!!
STEP 2 - DECORATE INSIDE
I wanted extra interactivity for my page and so I created a smaller envelope to hold some of the 3x4 cards from the collection with photos on the back of them. I also added a couple of the cards but adhered only 3 sides so they work as pockets. I added some papers that I will include on the front of the envelope to act as photo mats too.
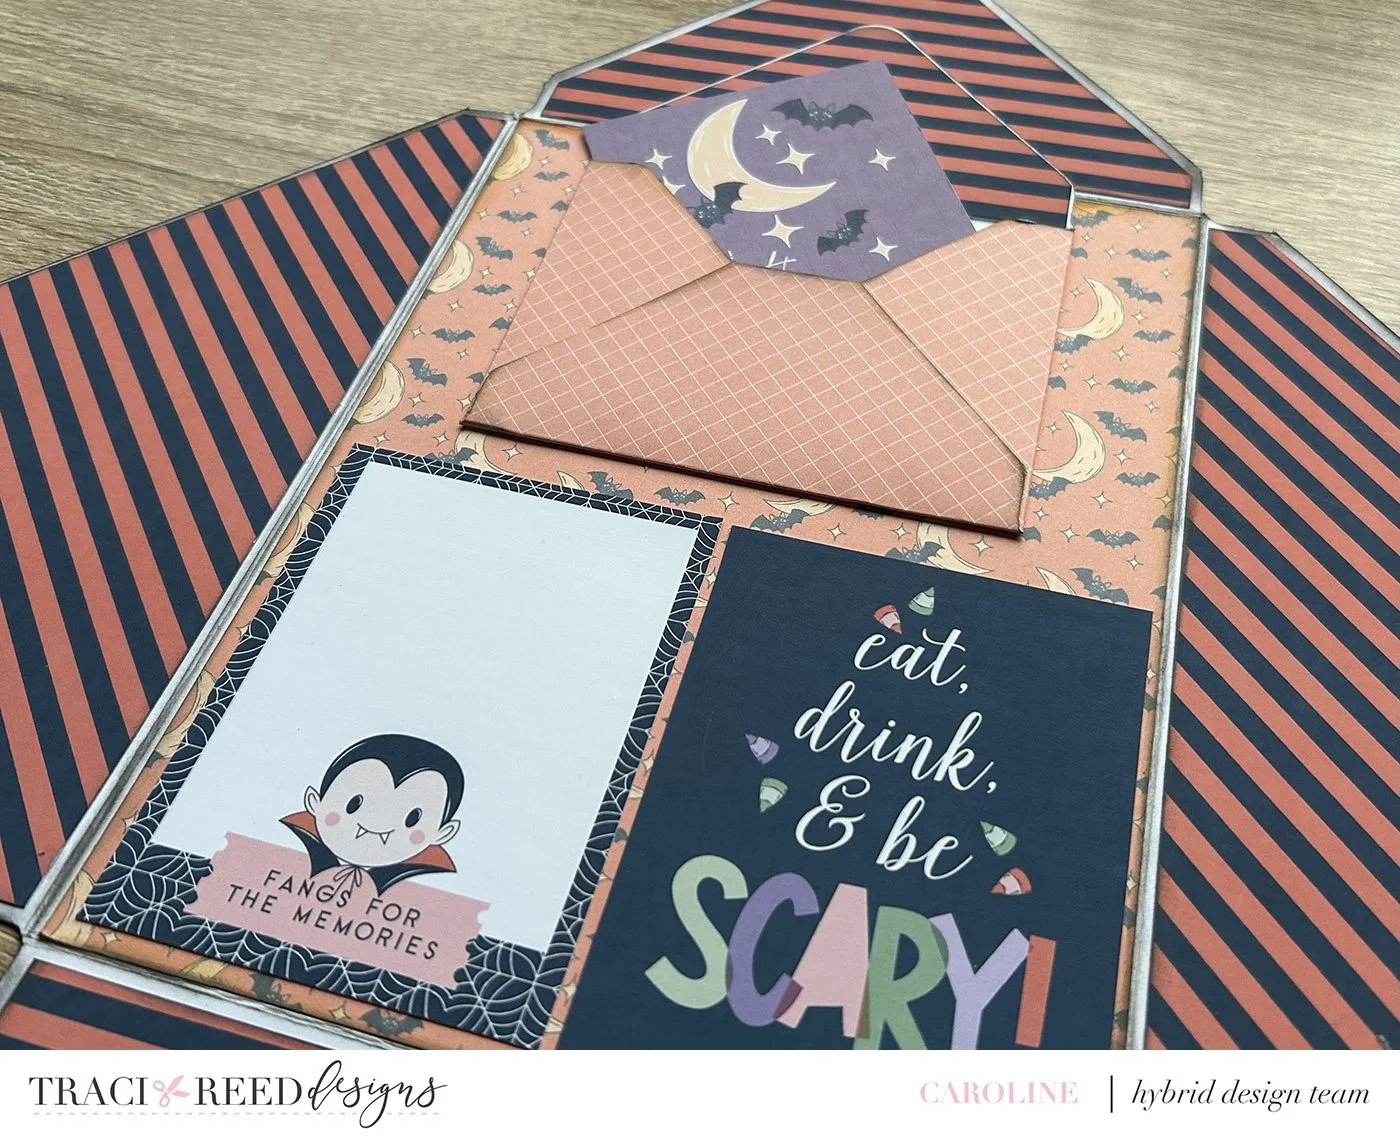
I then added fun touches with die-cuts from the collection to hold extra journaling and even small photos. This is a foundation page so I will be adding the photos and words a little later in the month so I made sure to only lightly tack the die cuts to layer up later.
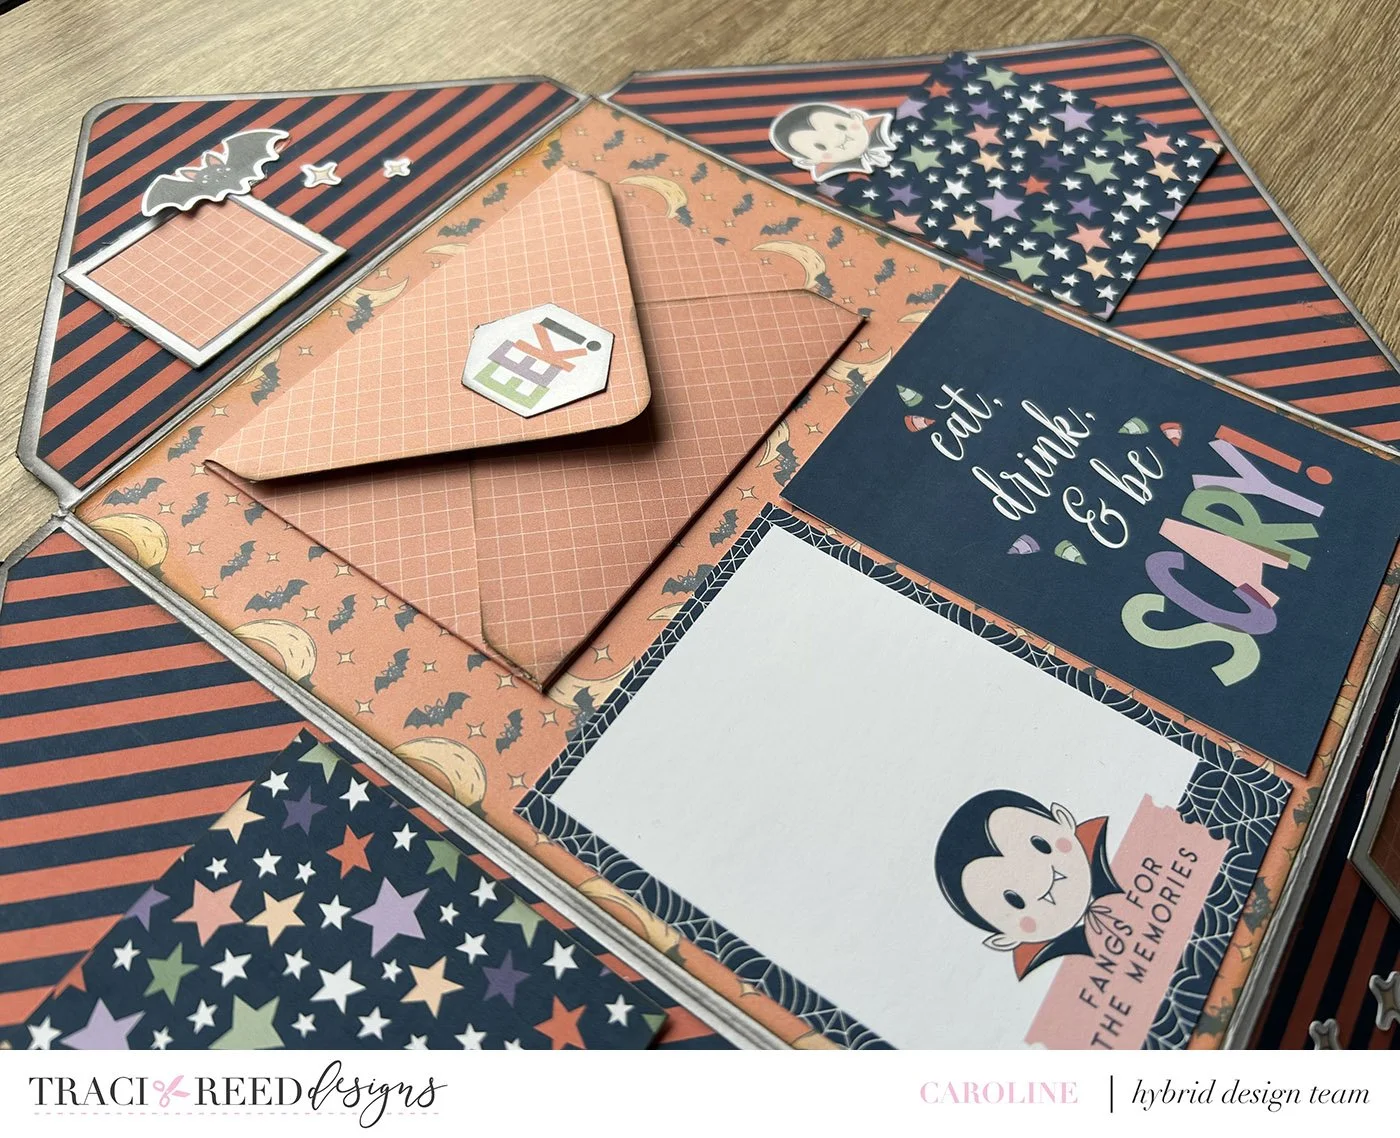
***TIP 4 - be sure to work with flat adhesive and layers for the inside of the envelope as you will need the page to secure closed nicely.
STEP 5 - DECORATE OUTSIDE
I worked with 2 of my absolute favourite papers for the outside of the envelope… the purple grid and that gorgeous multicoloured star print! Again all my edges were inked and I left a slim white border to the papers popped. I secured the envelope with just one velcro pop dot on the inside of the top flap and it works perfectly to keep the whole thing closed.
I opted for minimal decoration on the front … hidden spiders webs and a cute tag with a couple of motifs tucked behind.
As I am going to be adhering this envelope into a notebook I left the back of it blank.
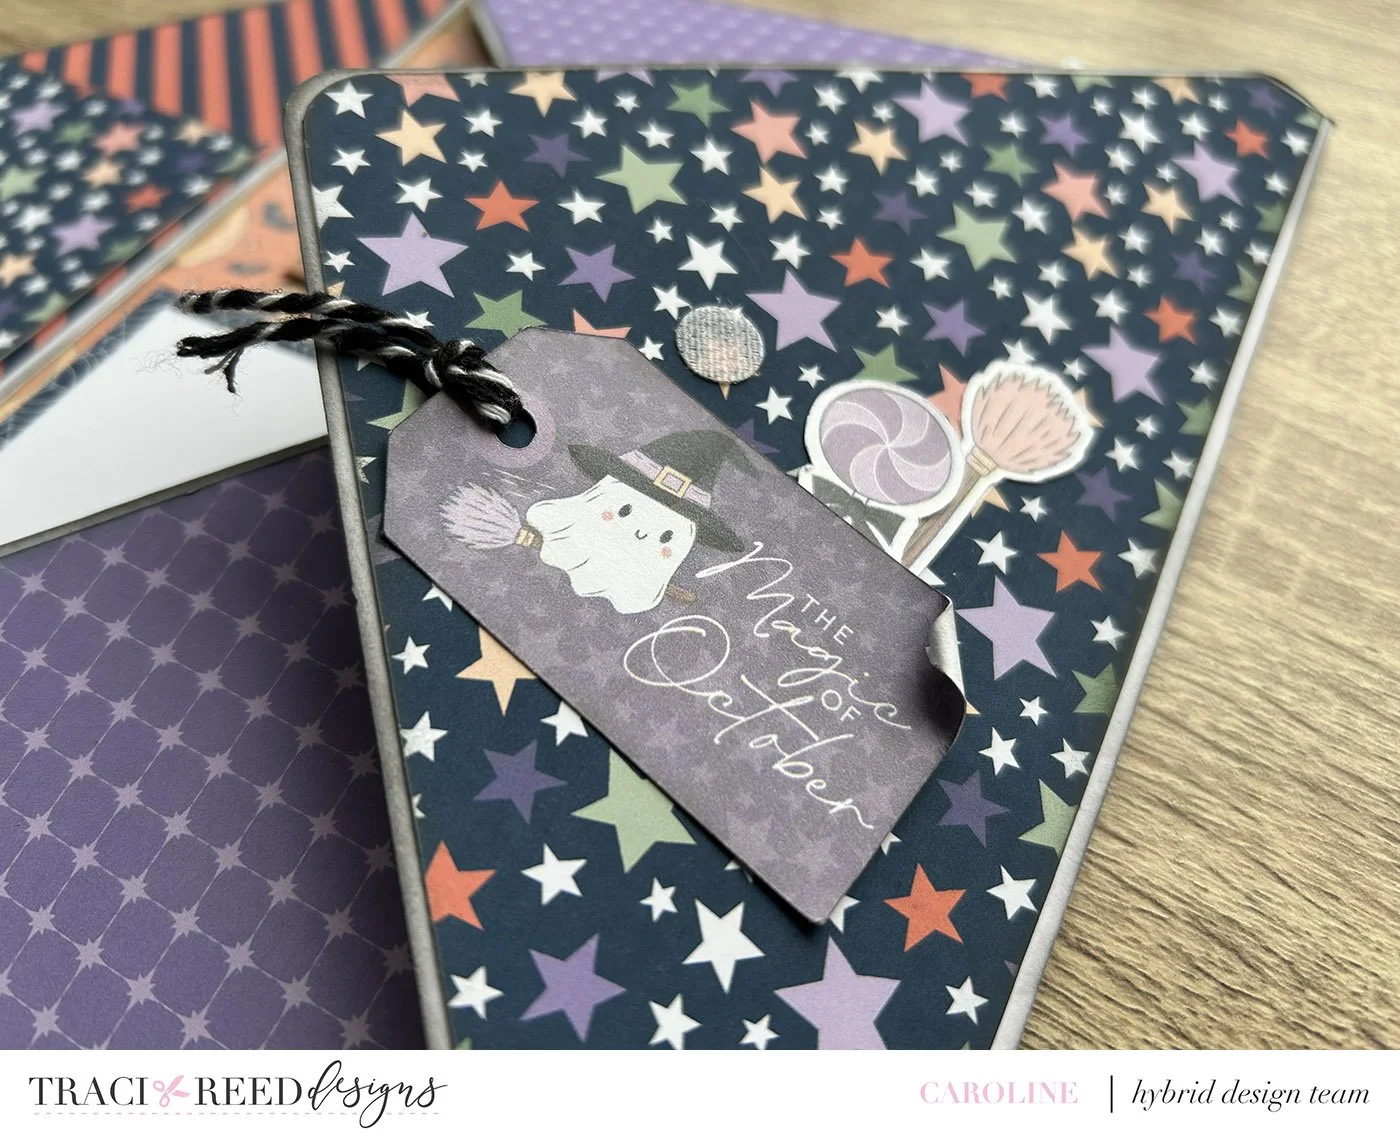
***TIP 5 - If you are inserting this into a binder album, you can really have fun with the flip side of the envelope outer. I like to include a fun address and also a postal stamp I have on that so that the envelope looks like it has been sent through the mail.
The resulting page is a really fun, interactive page that has minimal bulk but maximum impact! It works nicely in a notebook or in a binder and gives you the opportunity to really play with lots of patterns and die cuts from the collection you are choosing to work with.
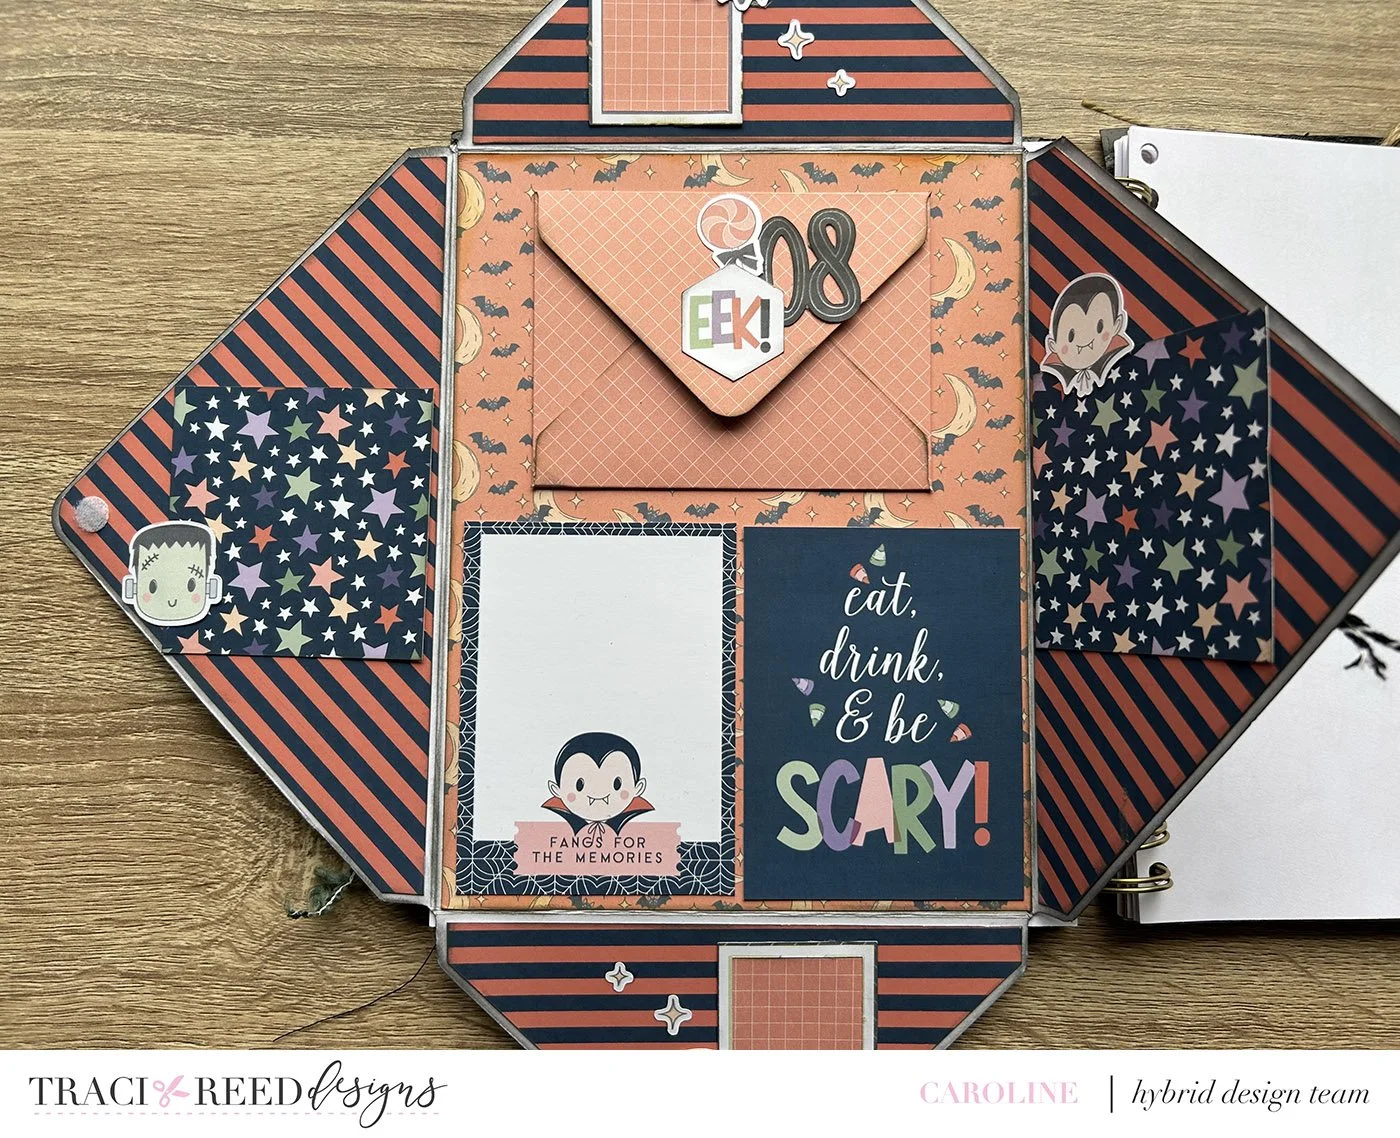
***FINAL TIP - if you want to add extra dimension to this it can be tied closed with a cute ribbon to make sure it stays secure. And can easily be added to a binder by sandwiching some off-cut transparency between the cardstock and paper layer that you then hole punch … this way your envelope stays cute and hole-less!!)
I hope you have fun giving this project a go and the Paranormal Activities collection makes this a perfect addition to your October Daily album!
Bye for now!
Caroline
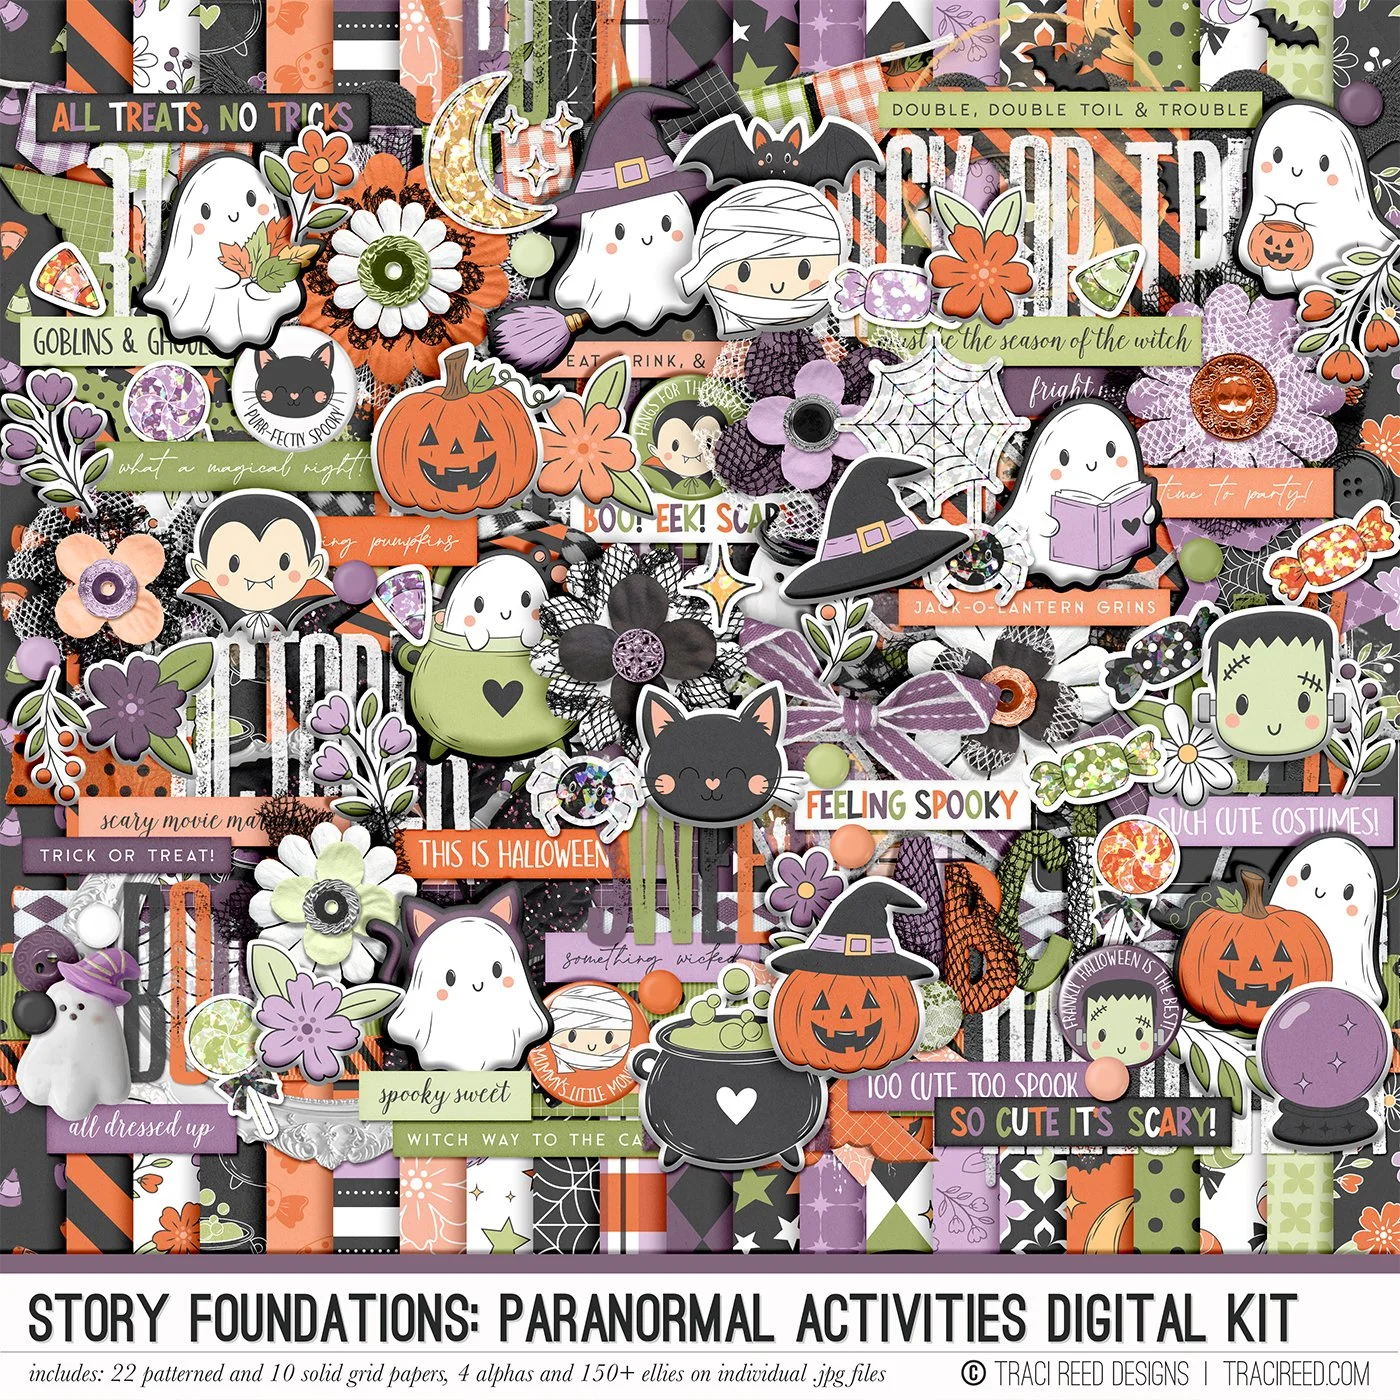
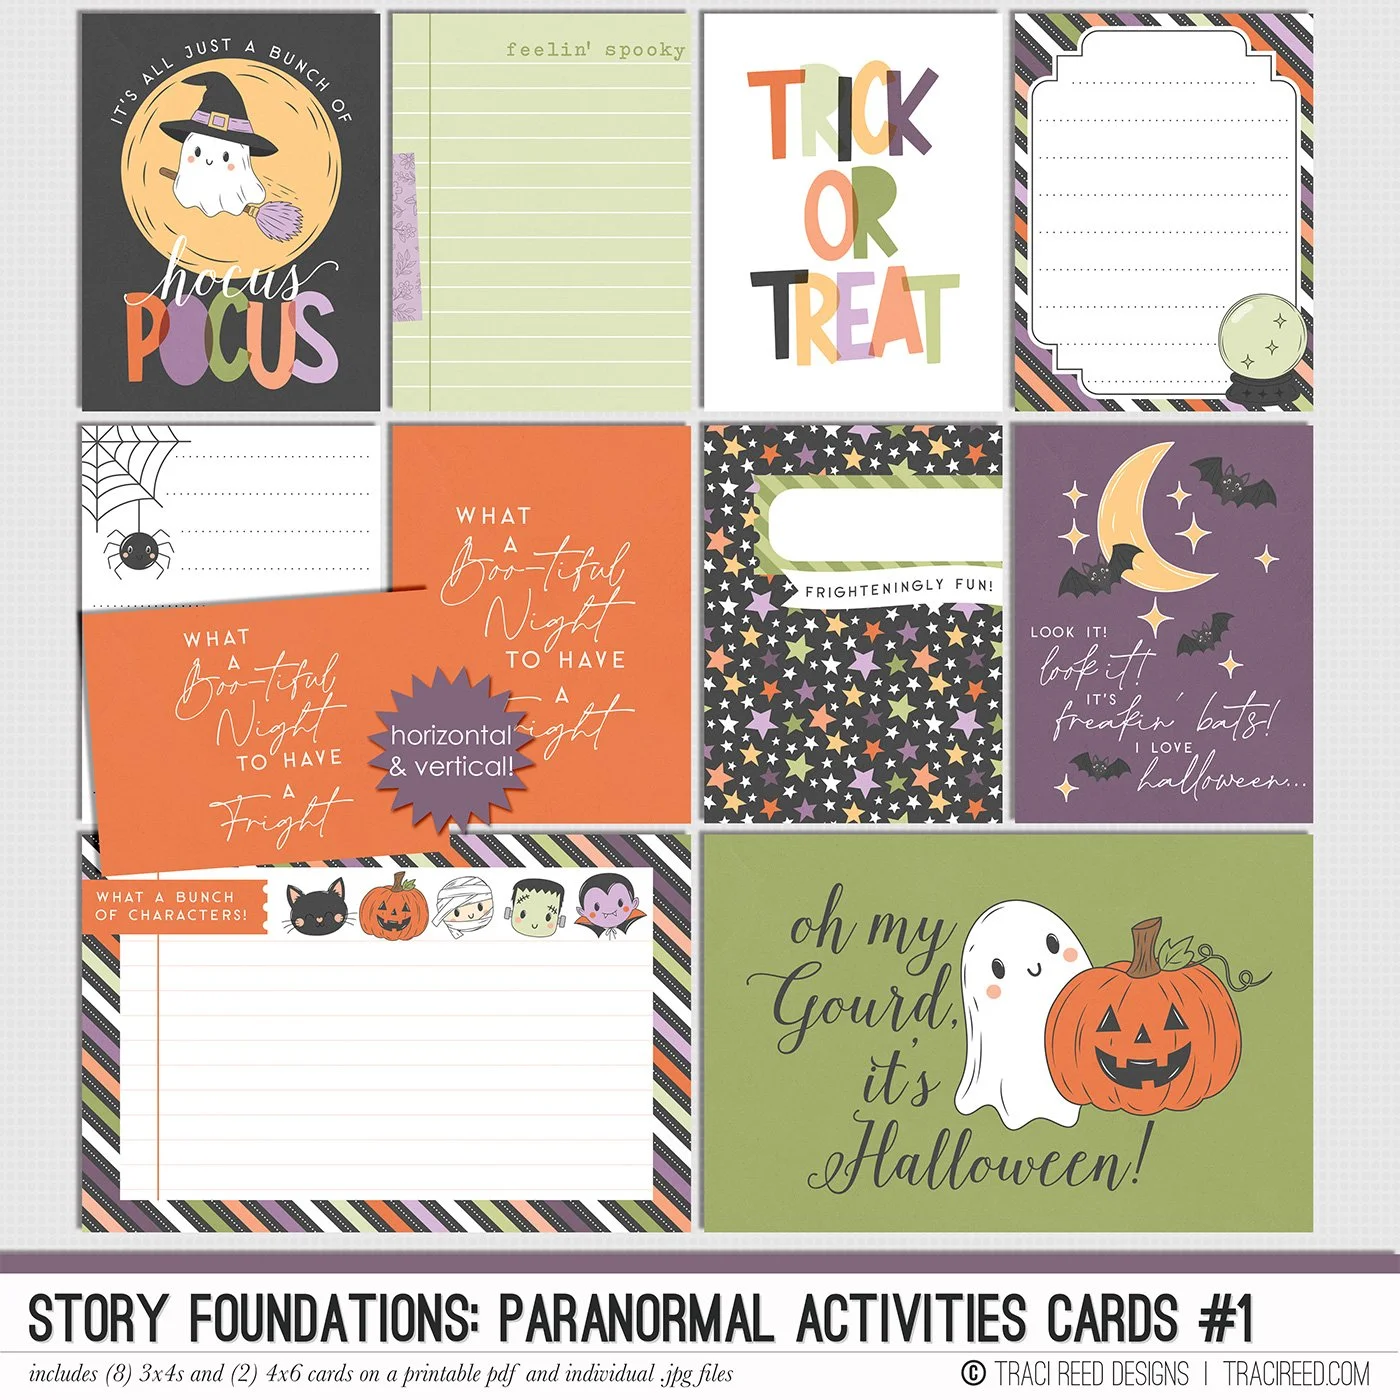
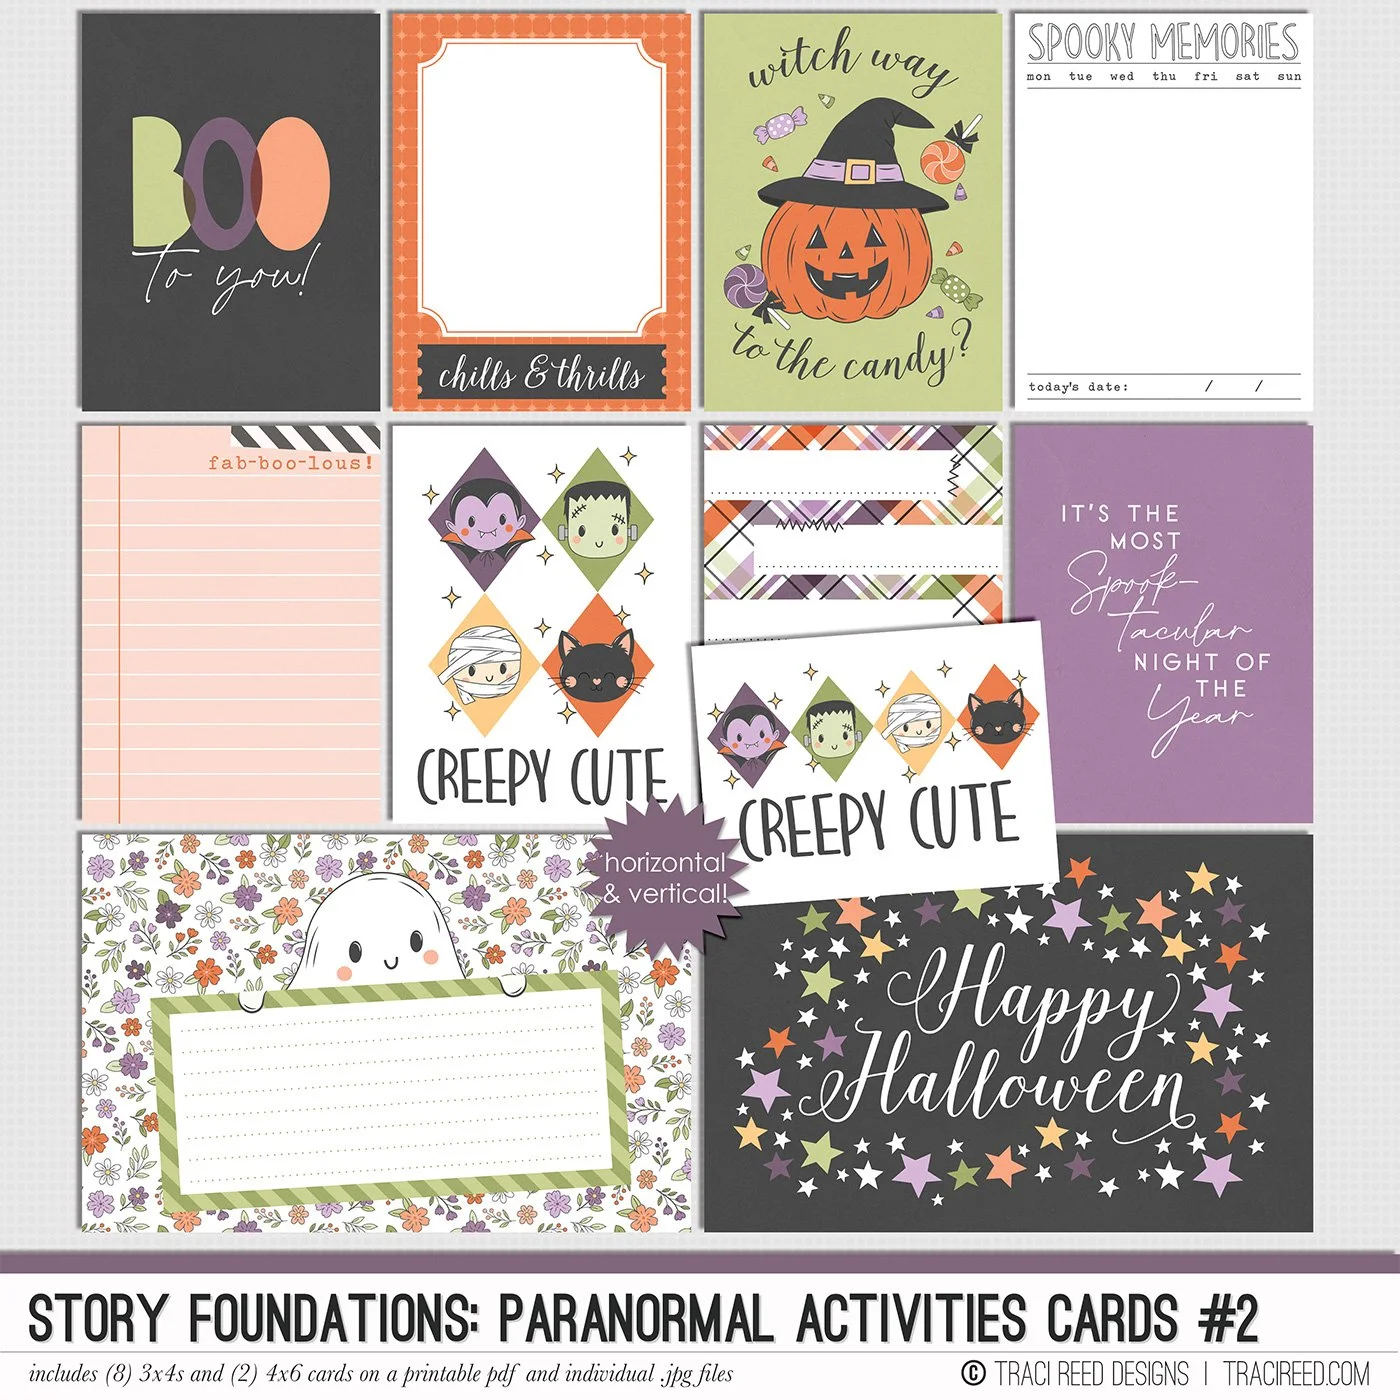
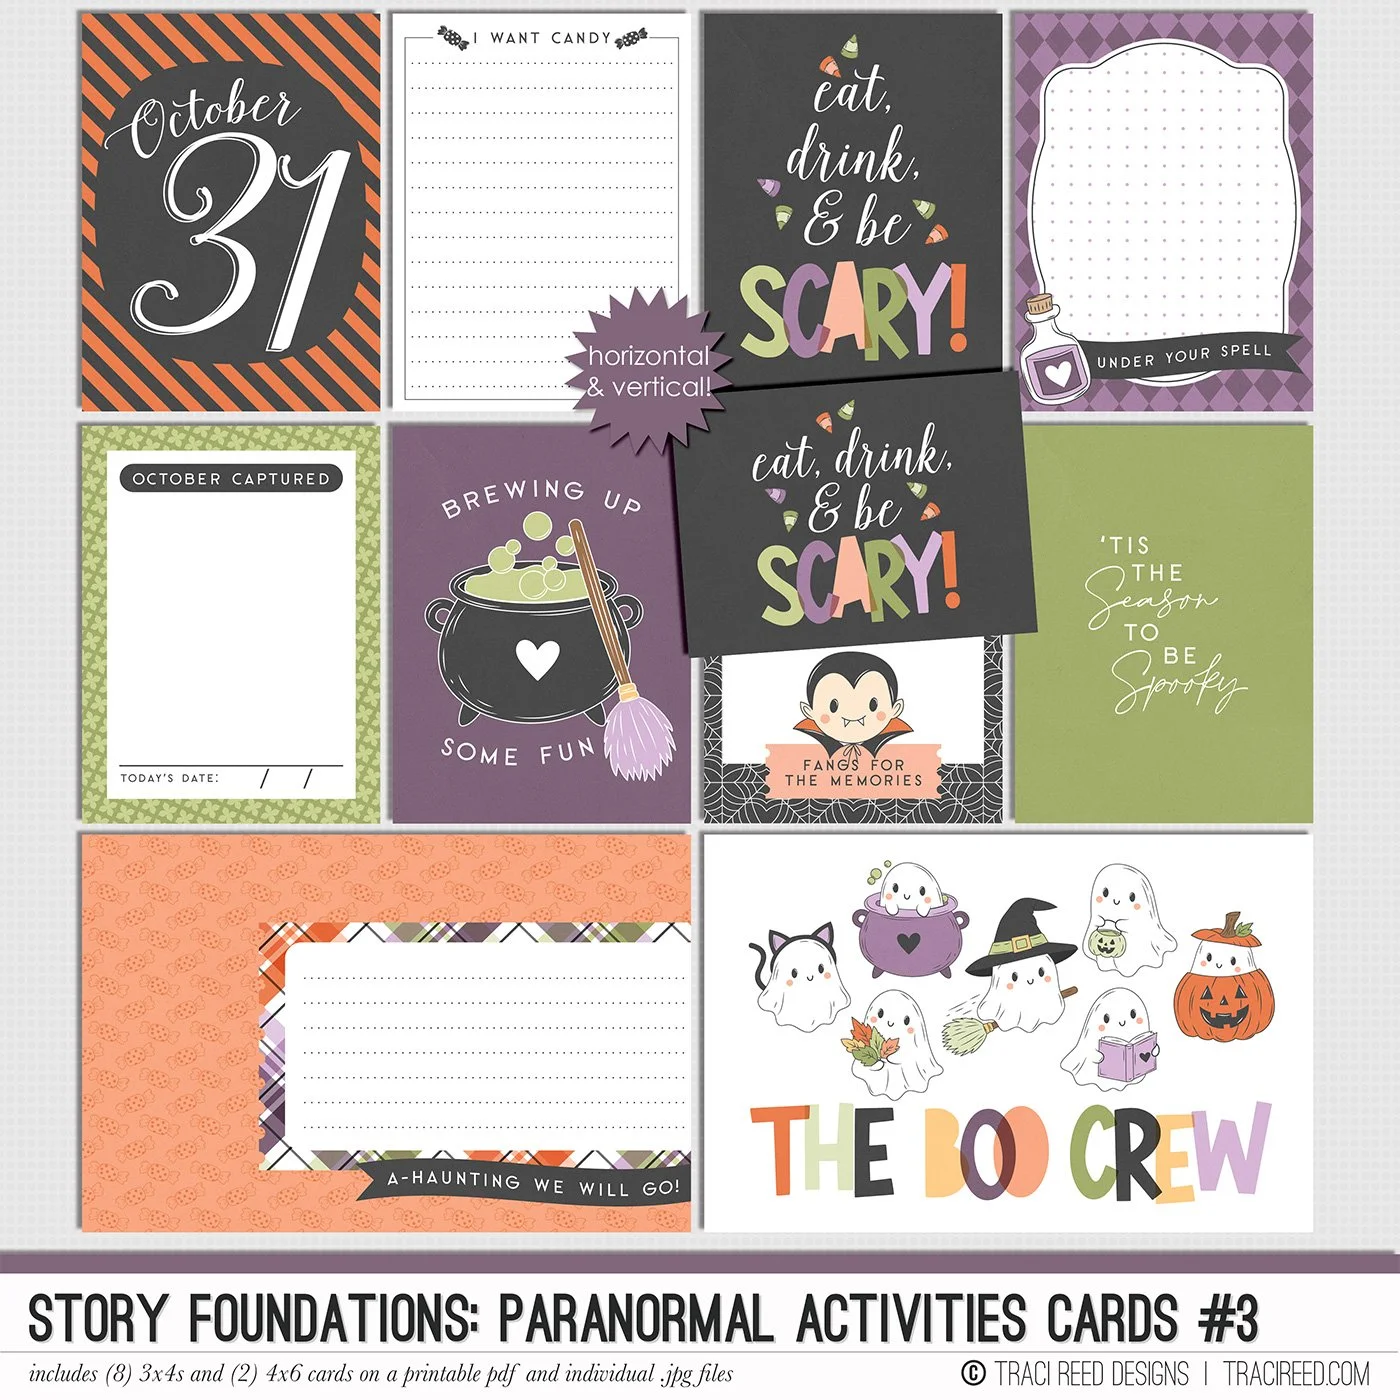
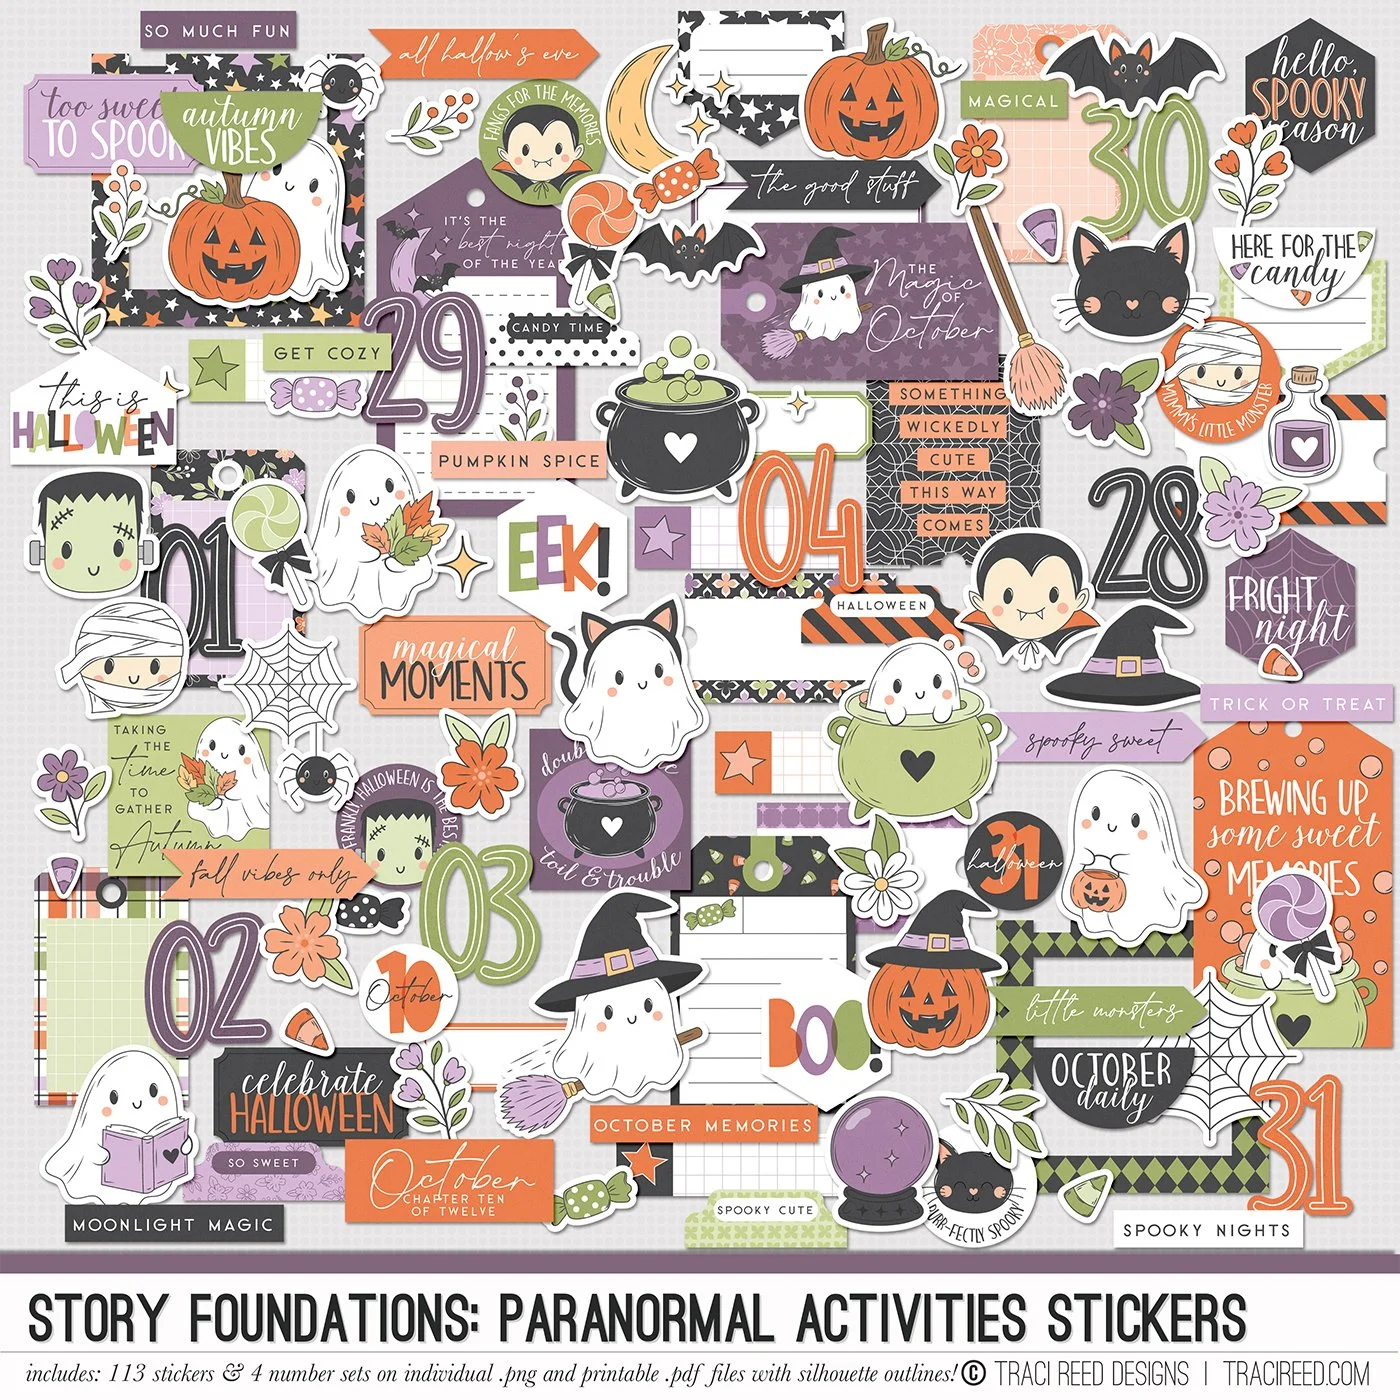
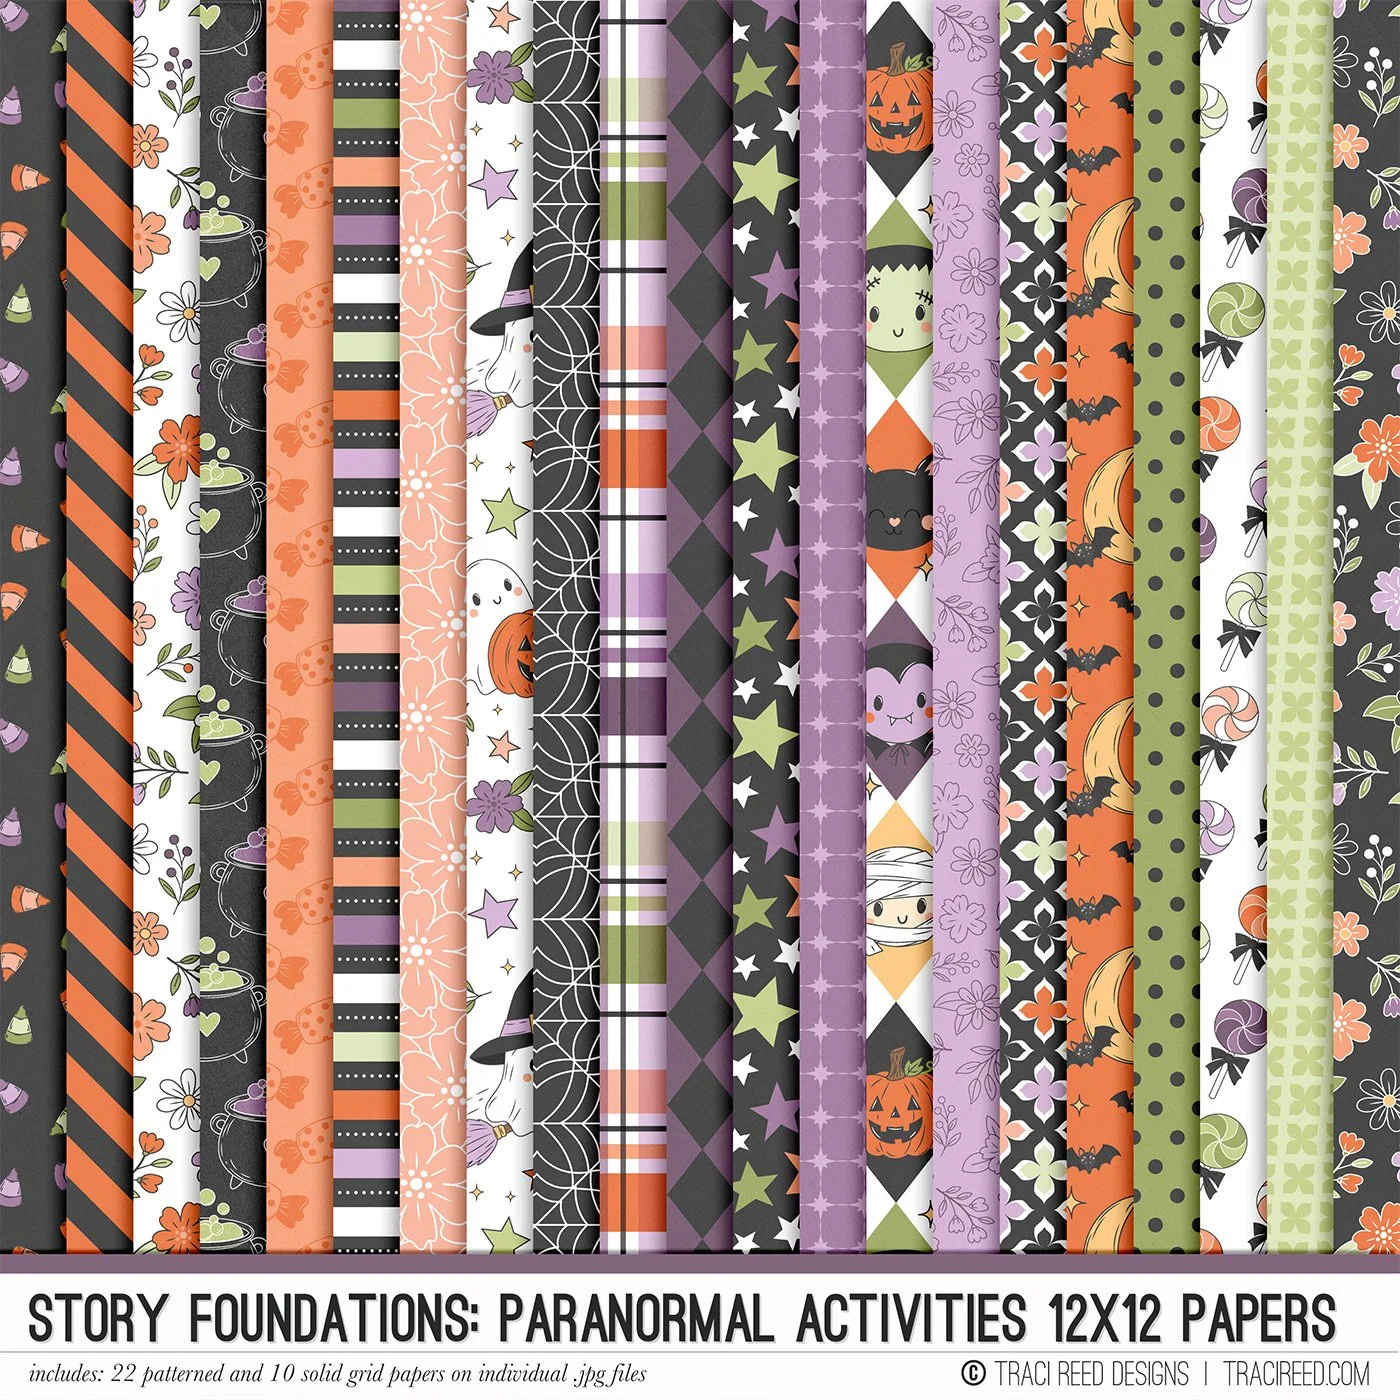
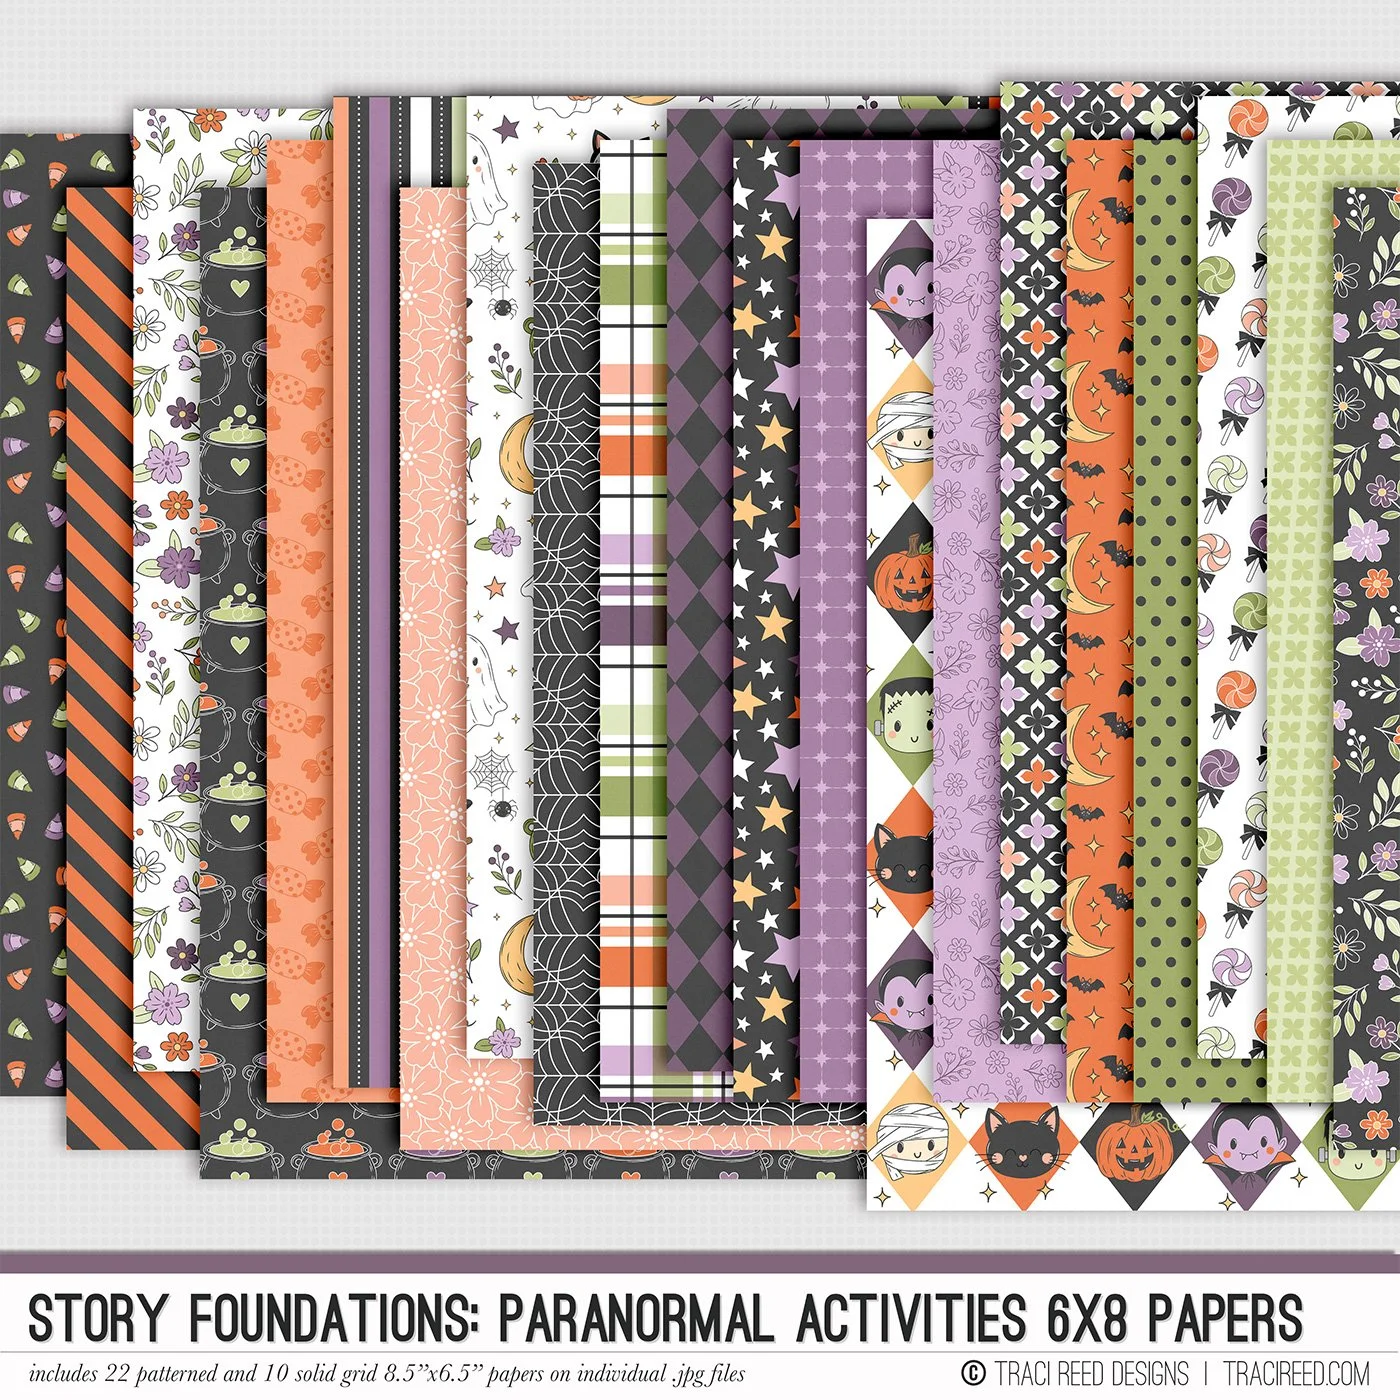
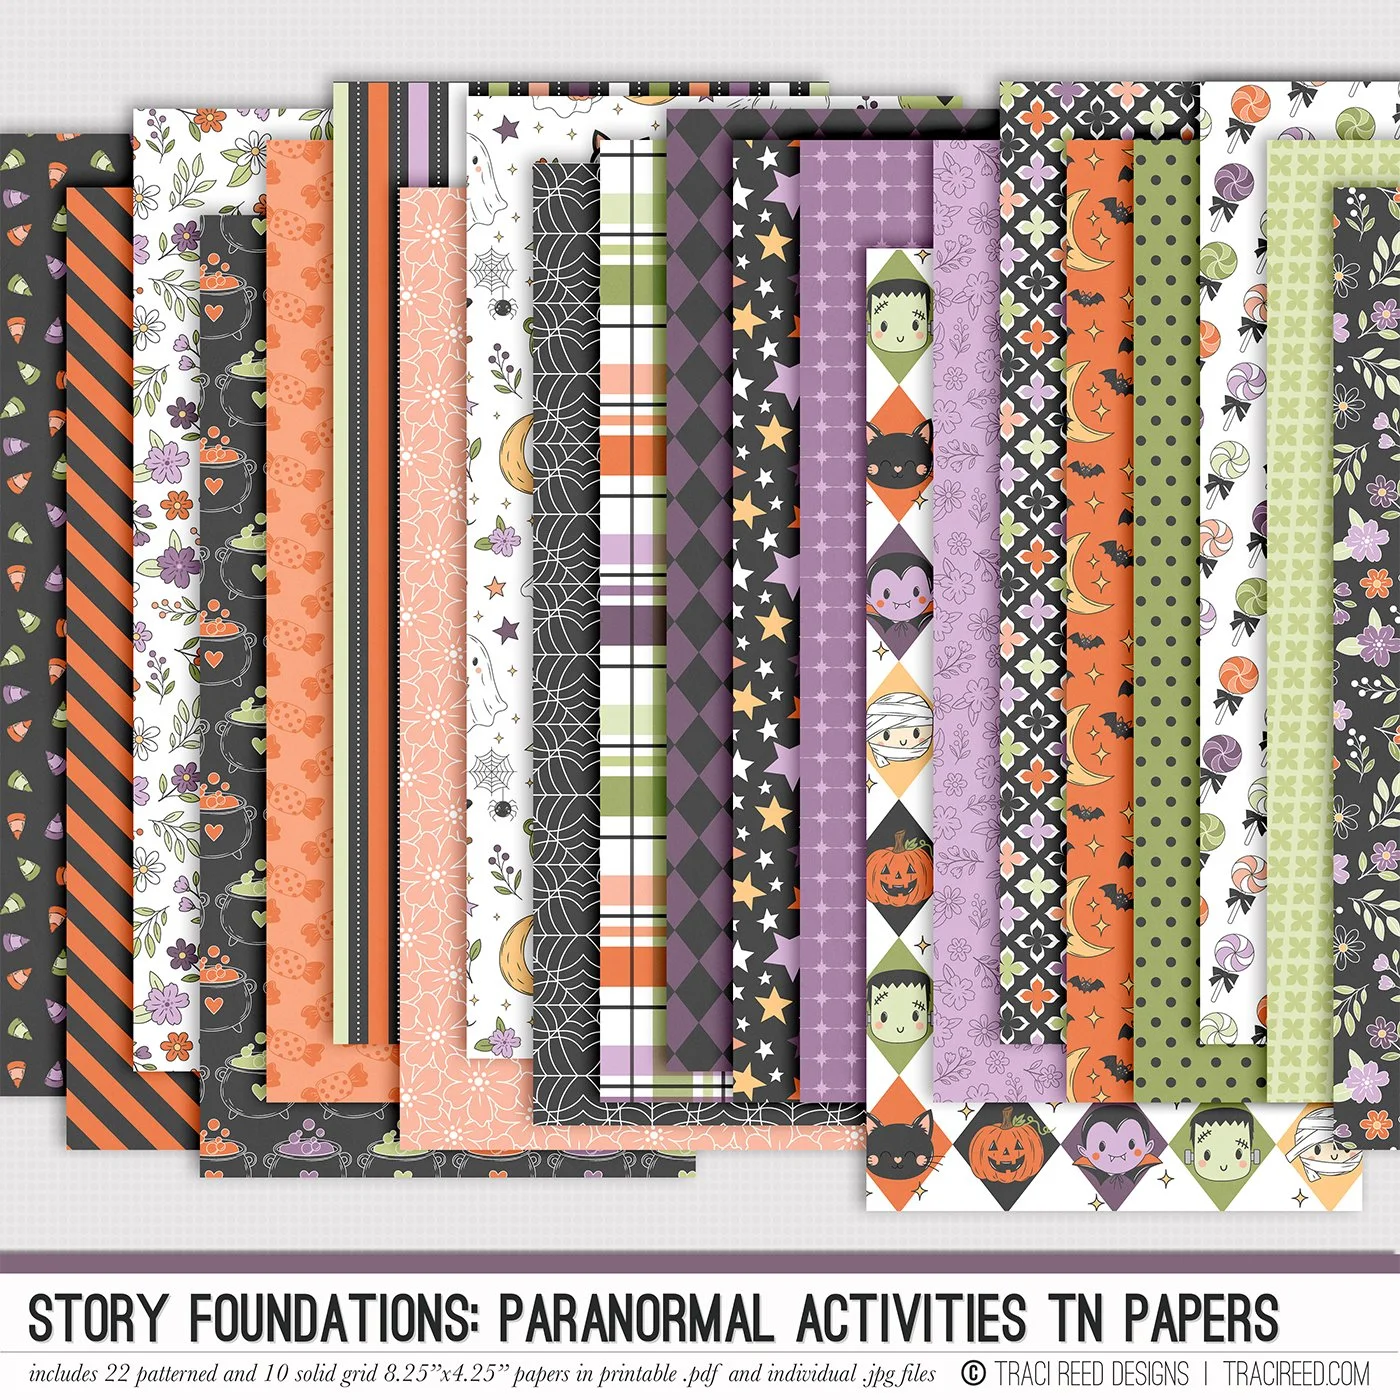
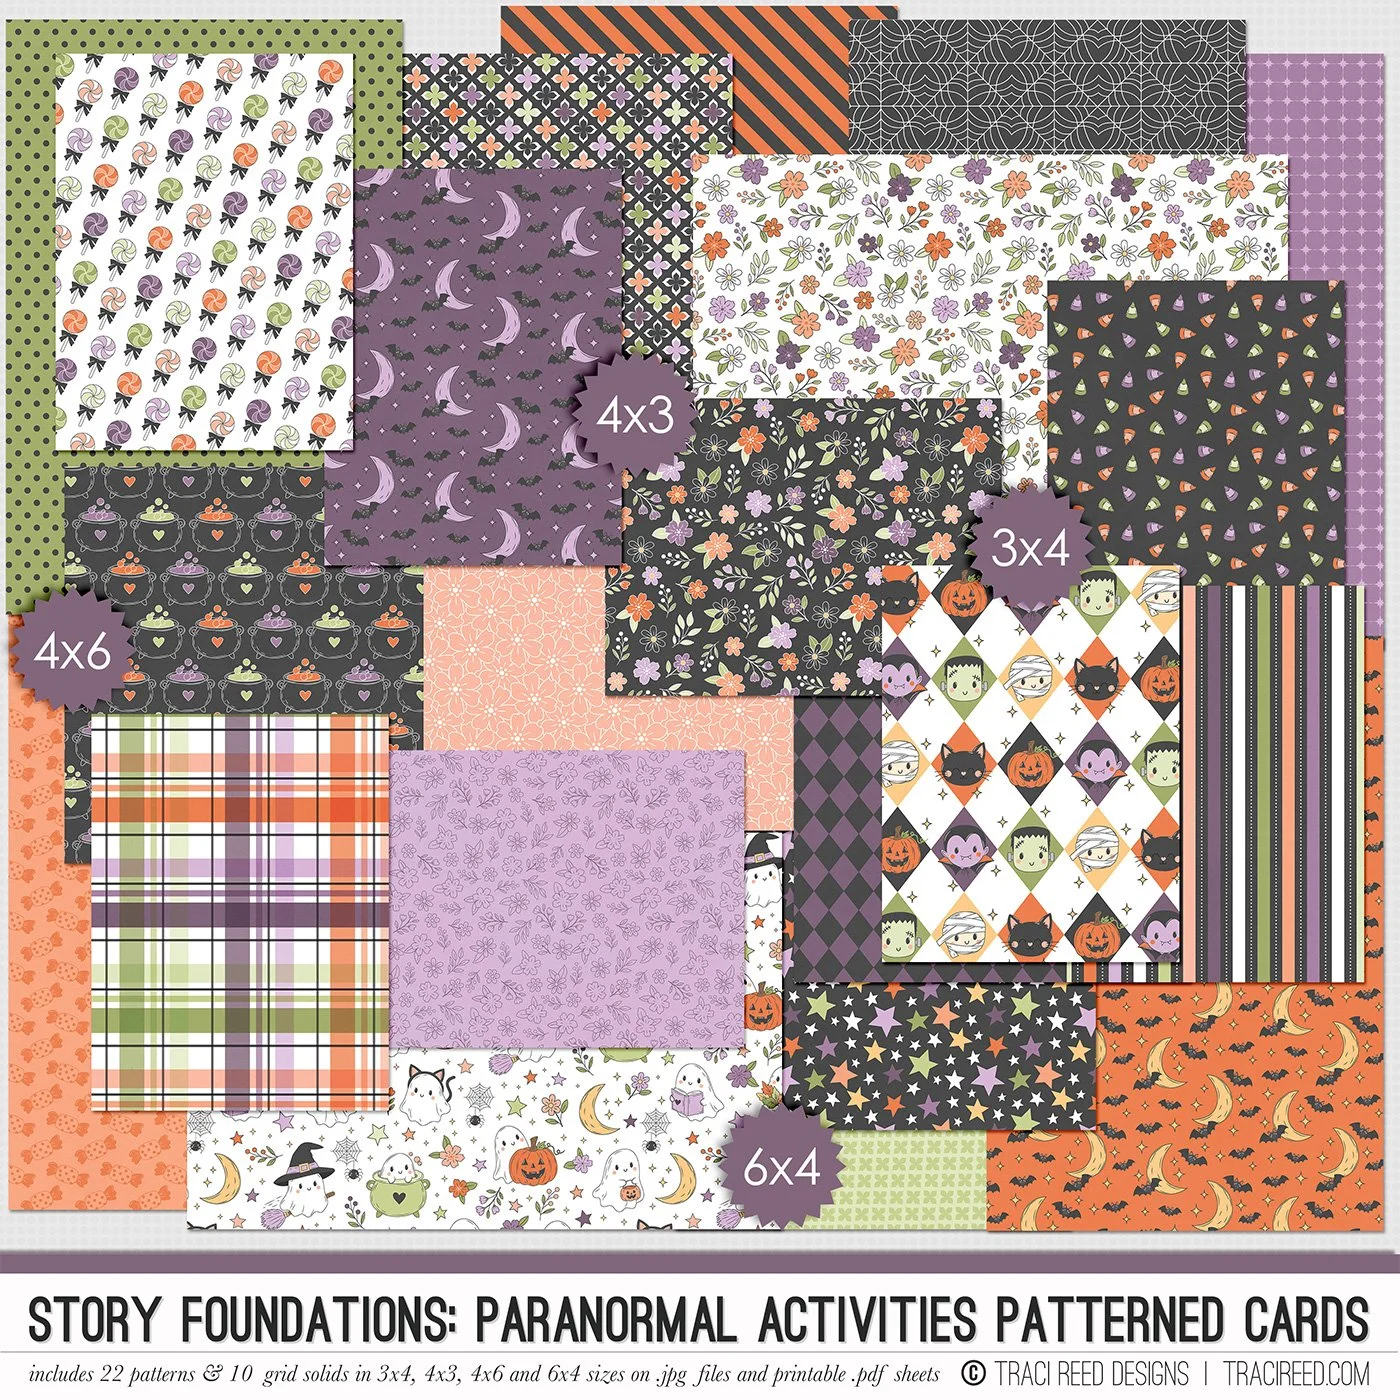
Get ready for a little Halloween fun with Story Foundations: Paranormal Activities! This chapter is filled with sweetly spooky hand-drawn icons and embellishments, from adorable ghosts and curious black cats to pumpkins, witch hats, bats, candy, potions, and all the little details that make October so much fun.
The collection includes a colorful mix of patterned papers, journal cards, stickers, digital stamps, and a digital kit, all designed to work together while mixing and matching beautifully with the other Story Foundations chapters. With playful Halloween patterns, sweet florals, classic stripes, and plenty of fun little details, there's something for every kind of spooky season story.
Whether you're documenting trick-or-treating, Halloween costumes, pumpkin picking, your favorite fall traditions, or simply everyday life in October, Paranormal Activities makes it easy to bring those memories to life. It's perfect for Halloween scrapbook pages and October Daily albums, with plenty of versatility to carry you through all the little moments worth remembering this season!
BUNDLE INCLUDES:
Story Foundations: Paranormal Activities Digital Kit, Cards 1-3 and Stickers!
BUNDLE DOES NOT INCLUDE:
Story Foundations: Paranormal Activities 6×8 Papers, TN Papers or Patterned Cards!
PLEASE NOTE: DUE TO FILE SIZE CONSTRAINTS, A LINK TO DOWNLOAD THE DIGITAL ALPHA IS INCLUDED AS TEXT FILE IN YOUR DOWNLOAD.