Incorporating Ephemera + Maps in Your Travel Albums with Penny
I’ve always been a collector of all the little things, the bits of paper that tie us to a memory, a moment, a meaning. Anymore, a little bit of a paper memory is hard to come by, but vacations still can offer us a multitude of those little memories. Room keys, luggage tags, boarding passes (screenshots printed out or a traditional paper pass), maps (again,electronic from your phone or paper), itineraries, train tickets - just some examples I can think of from recent trips.
I can be really good at gathering it, and even keeping up with it along the trip, but I’m not usually so good at doing anything with it. When we signed up for this month’s blog post, I picked this topic to sort of force myself to deal with the mound of memorabilia from our most recent European river cruise.
And honestly, getting started was the hardest part! Sometimes a mental hurdle is all that holds us back. But my deadline loomed, and so I forced myself to begin making sense of it all.
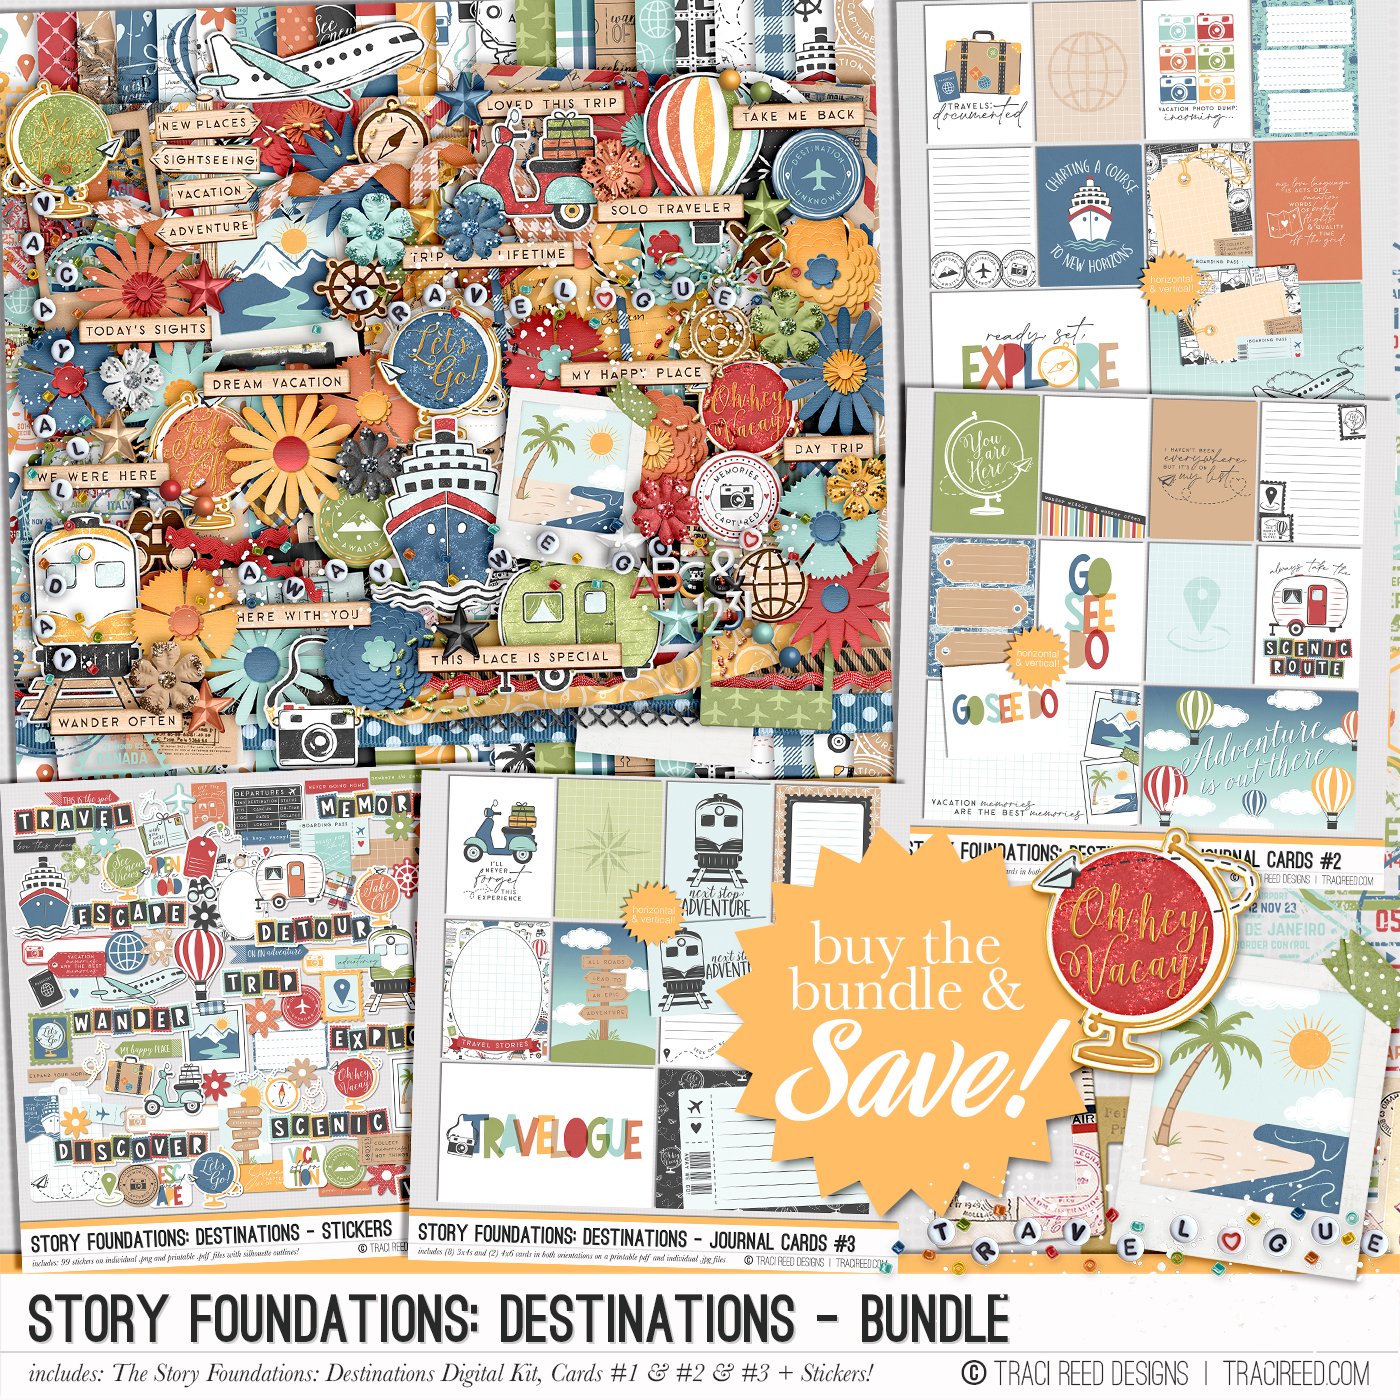
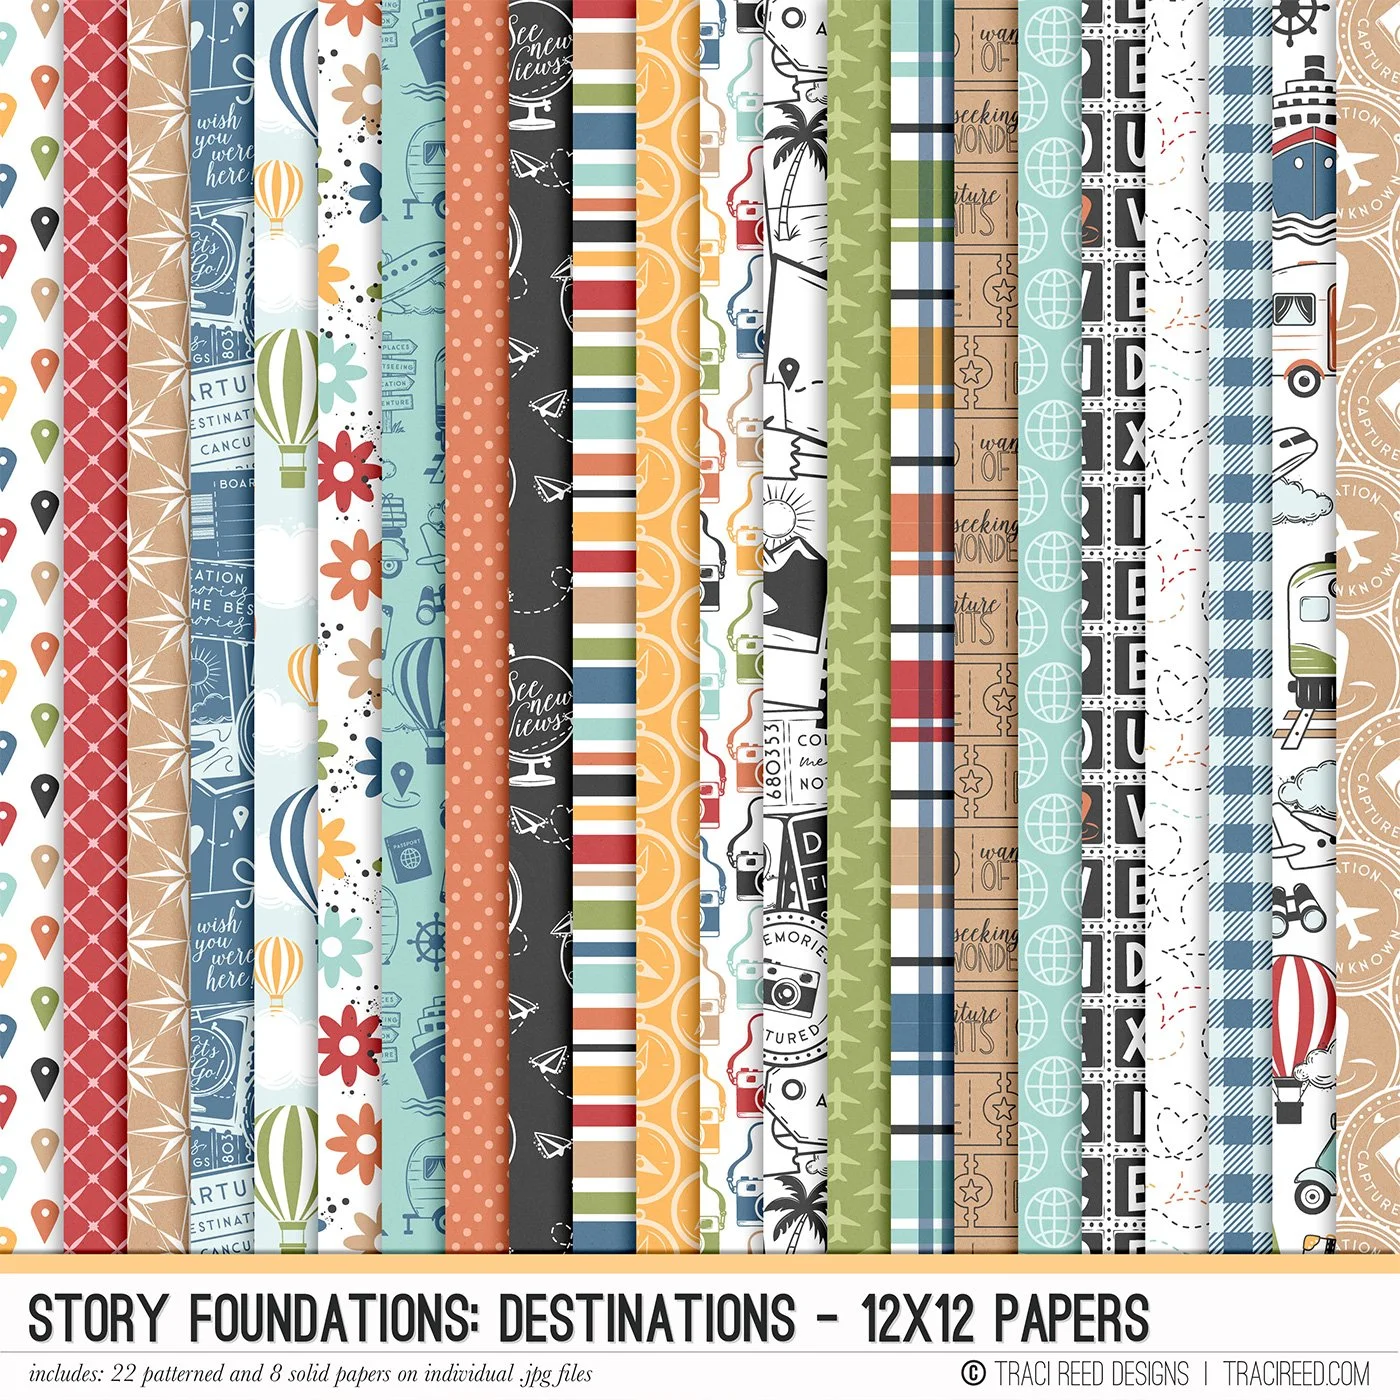
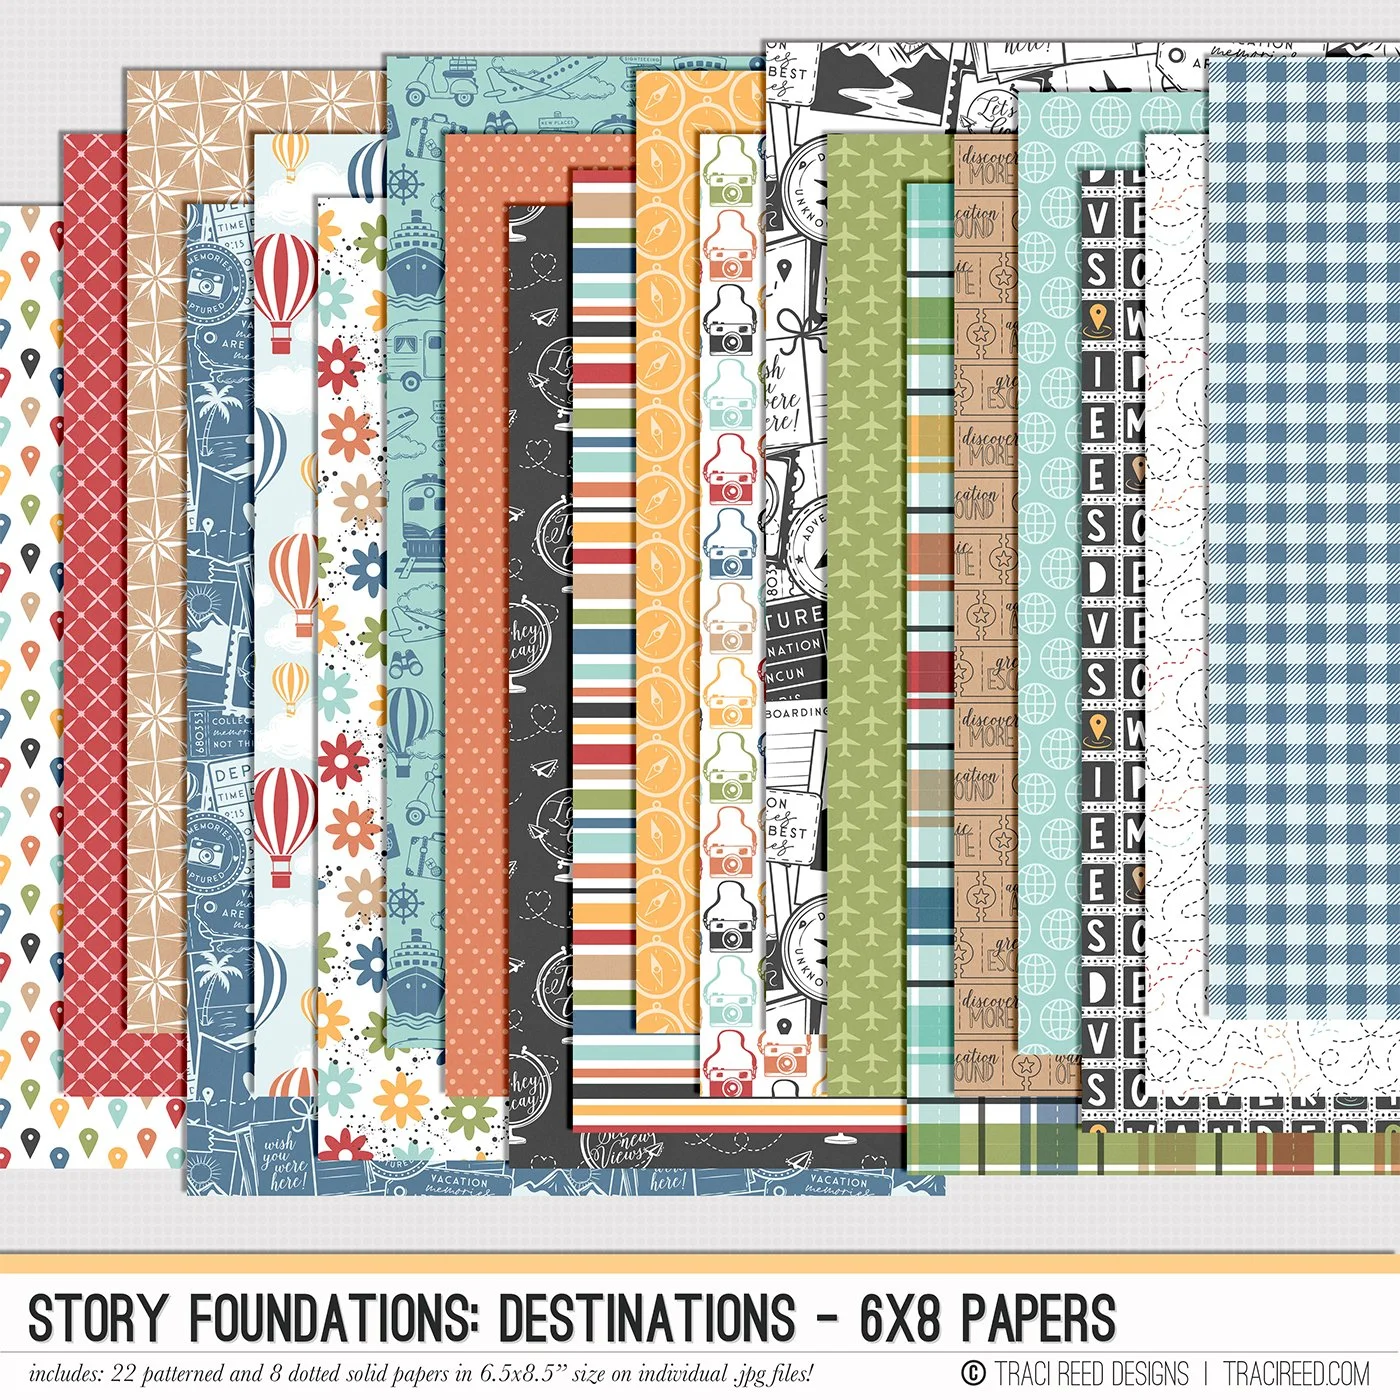
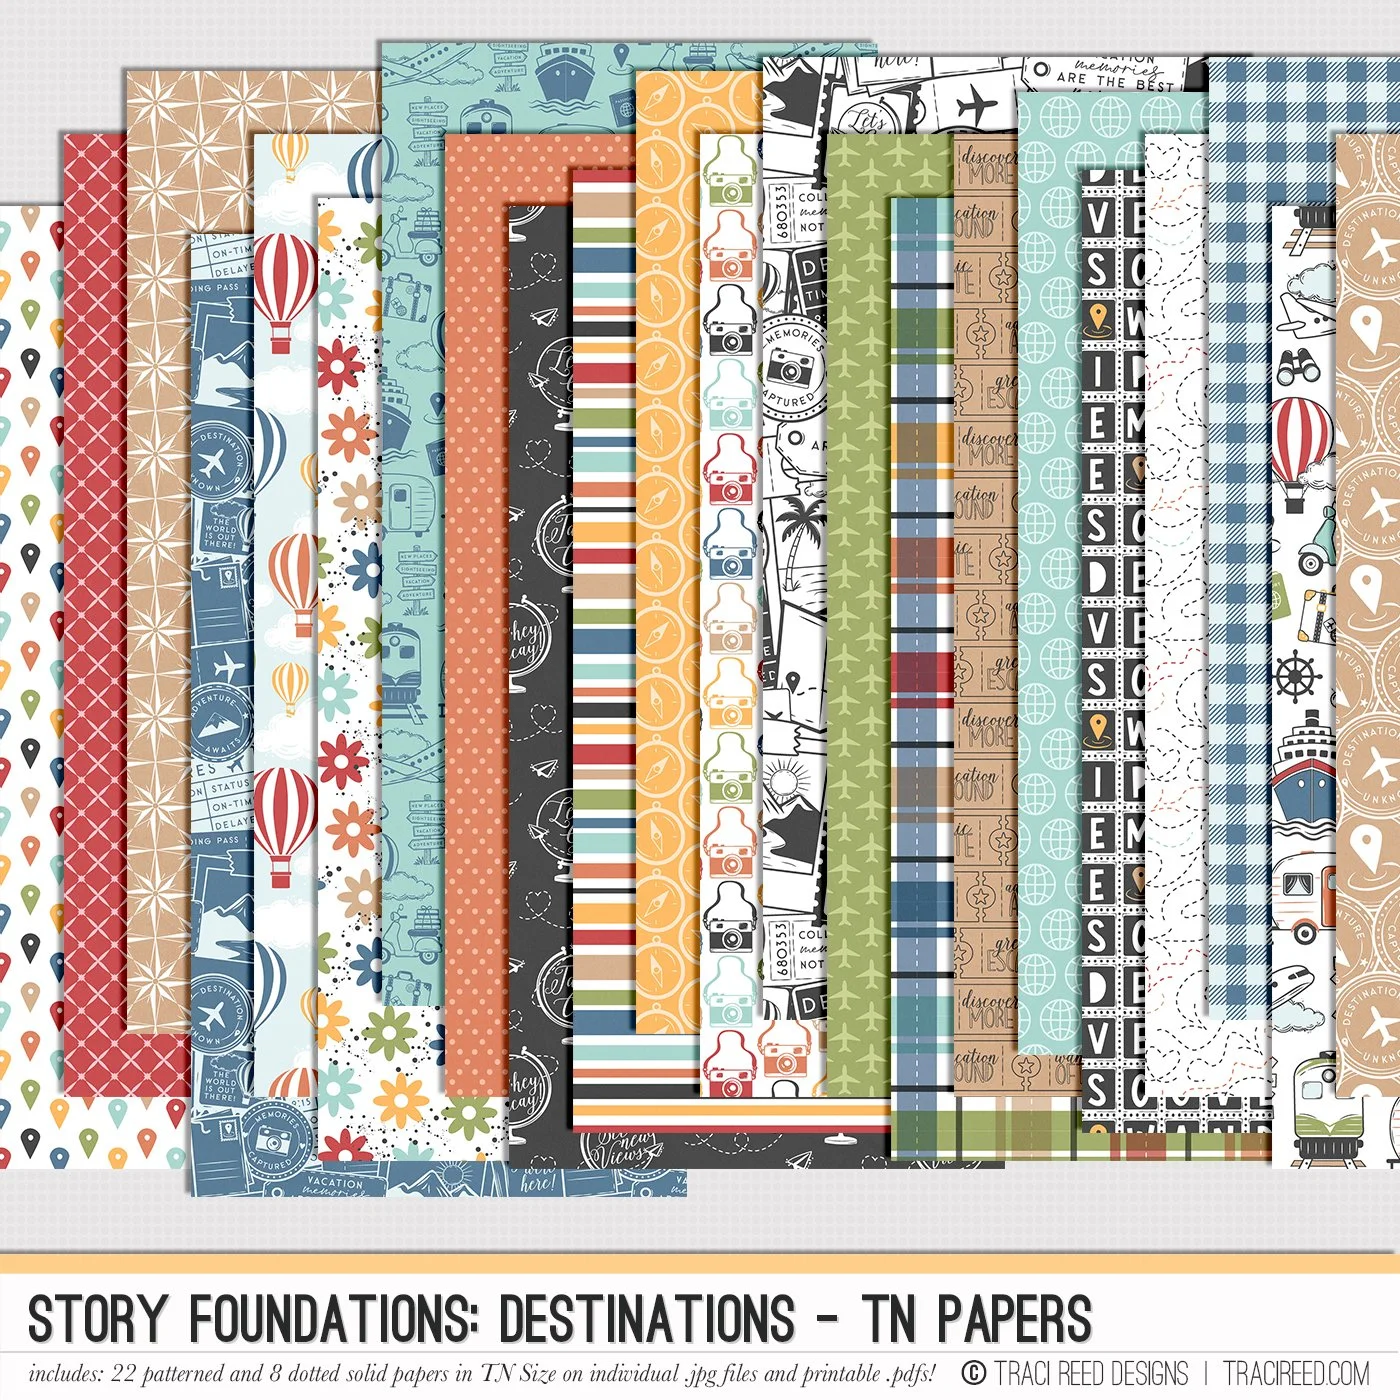
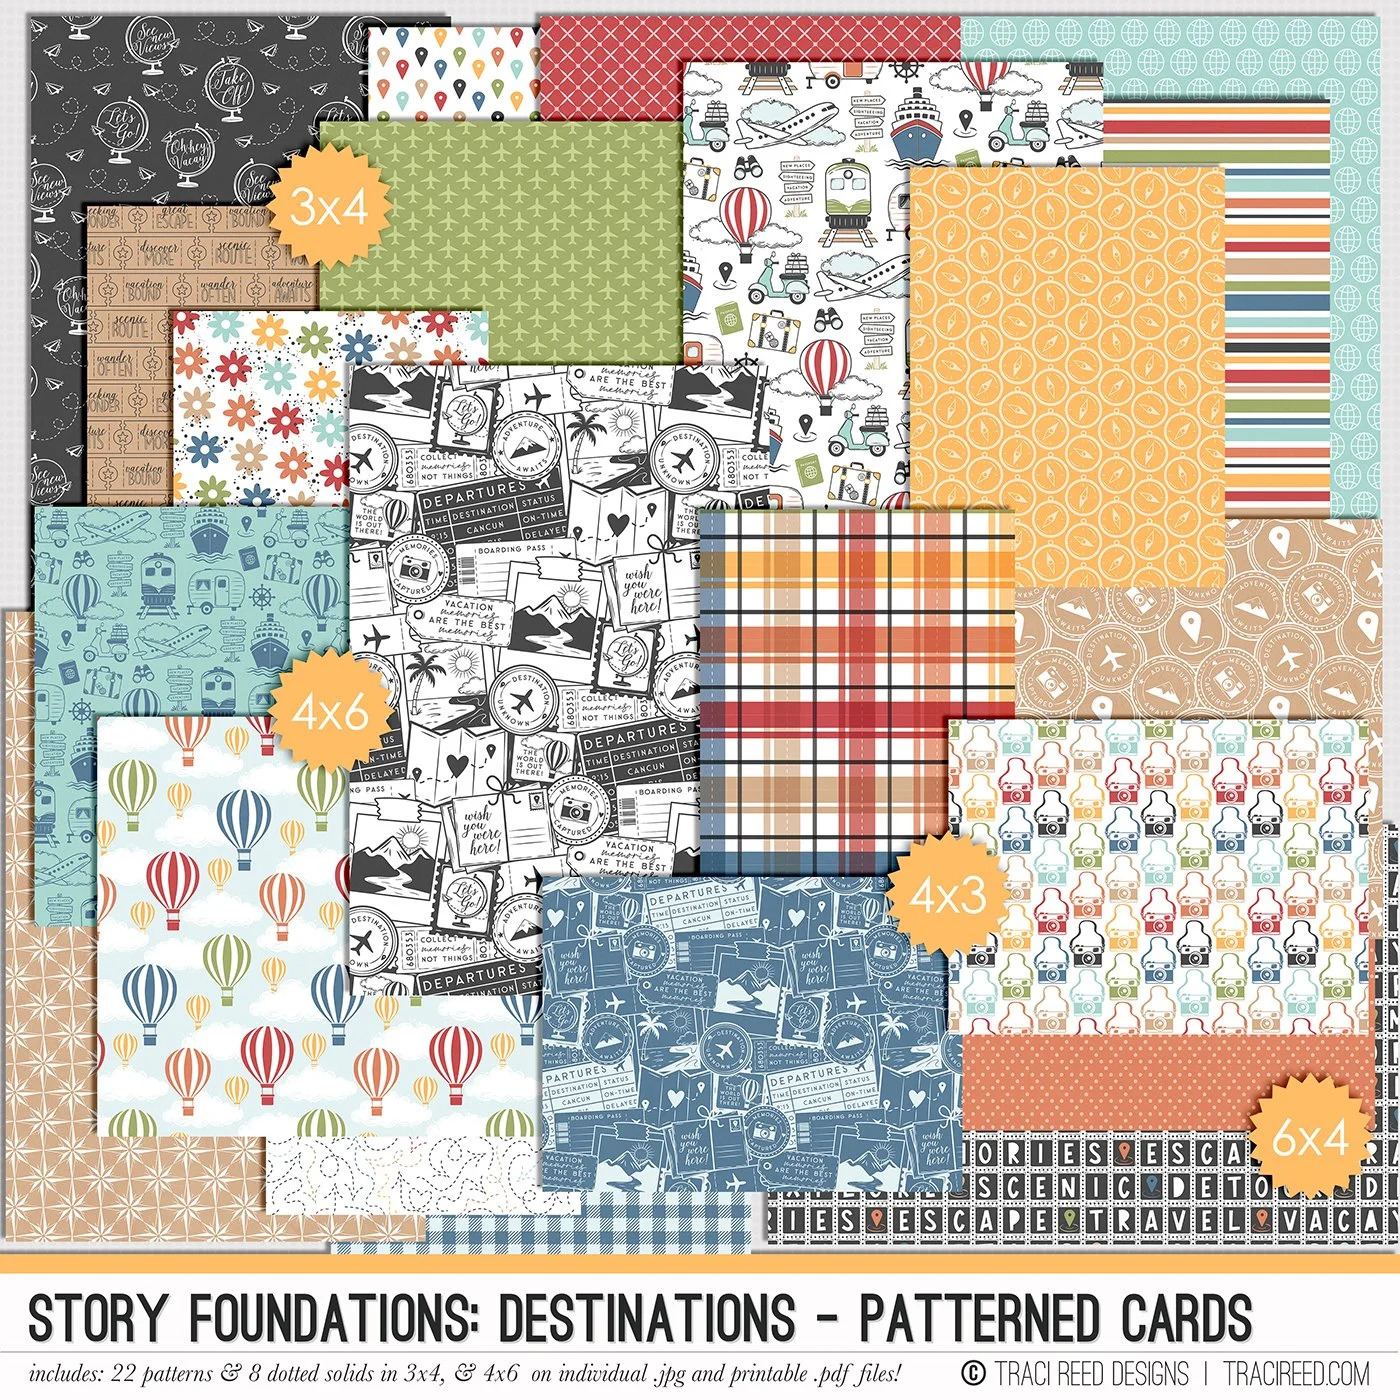
My first step was to sort through everything I had, identifying anything that spoke to me for this project, and then to find some papers and a sketch that would give me a starting point. Cue the Traci Reed Designs Story Foundations: Chapter 6 Destinations collection! So many lovely papers to pick from for my project!
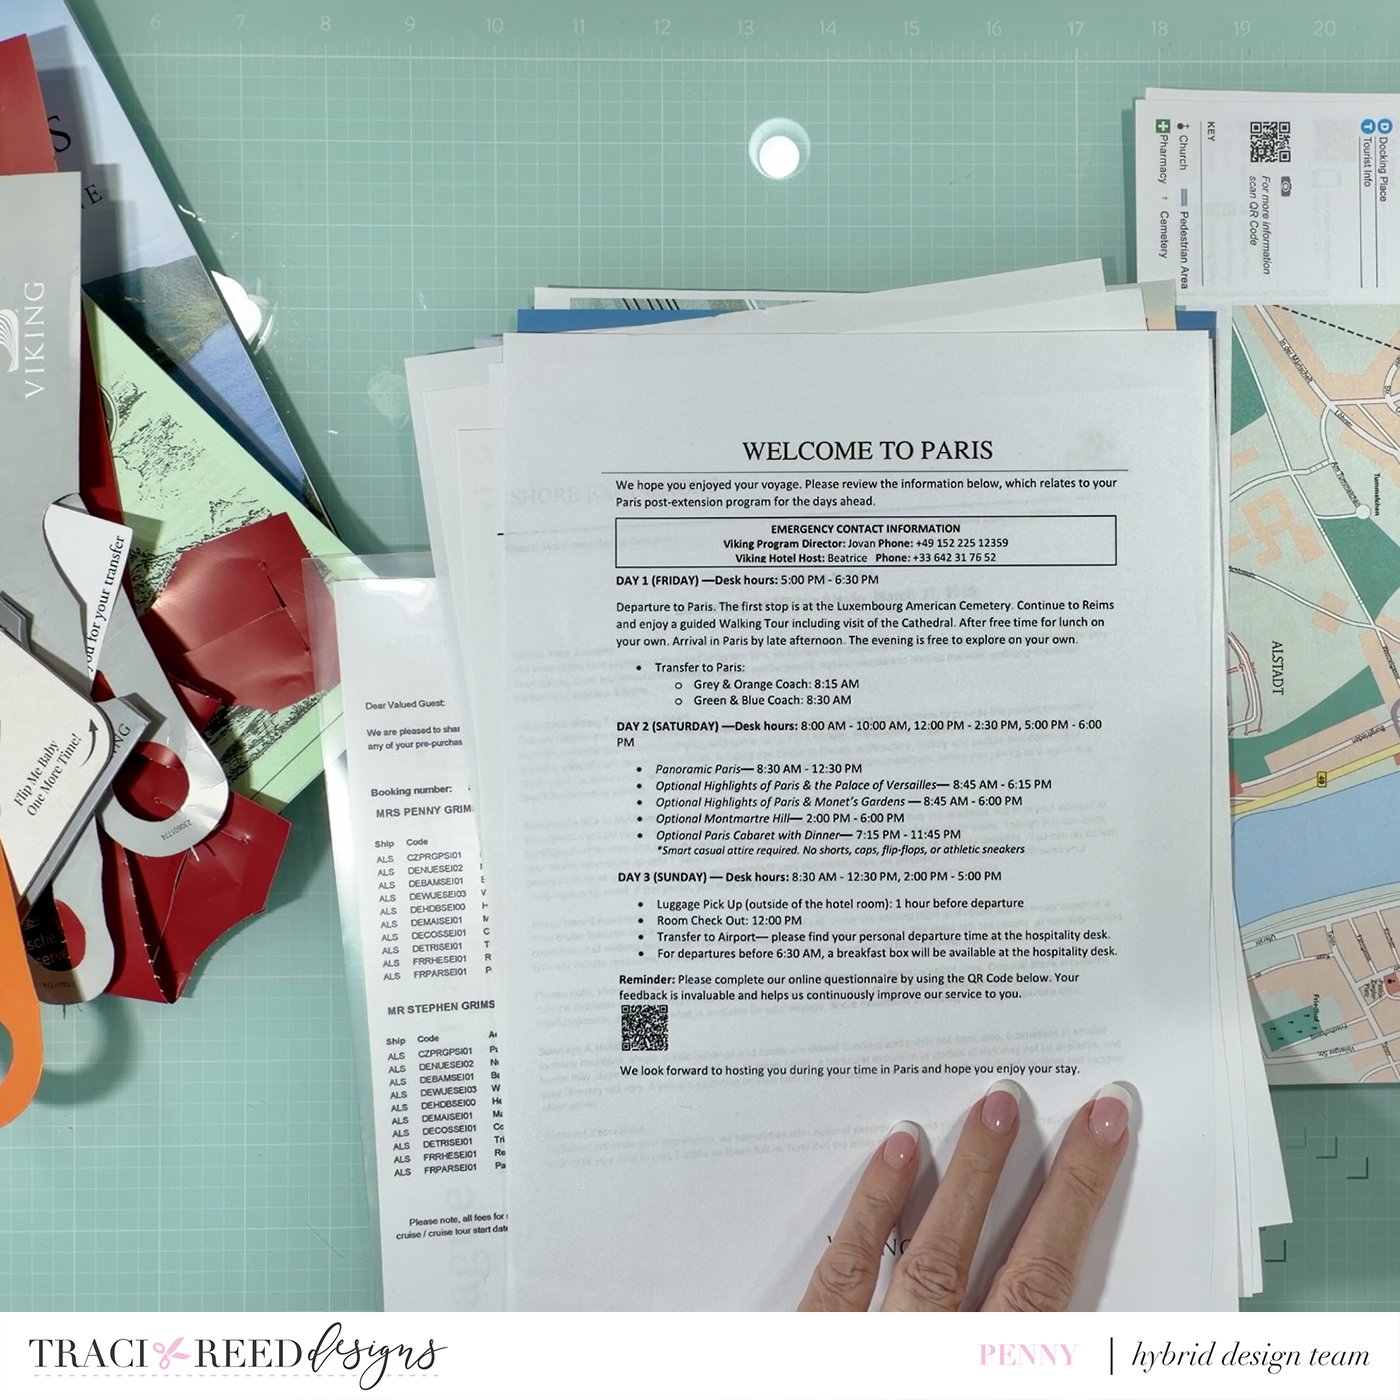
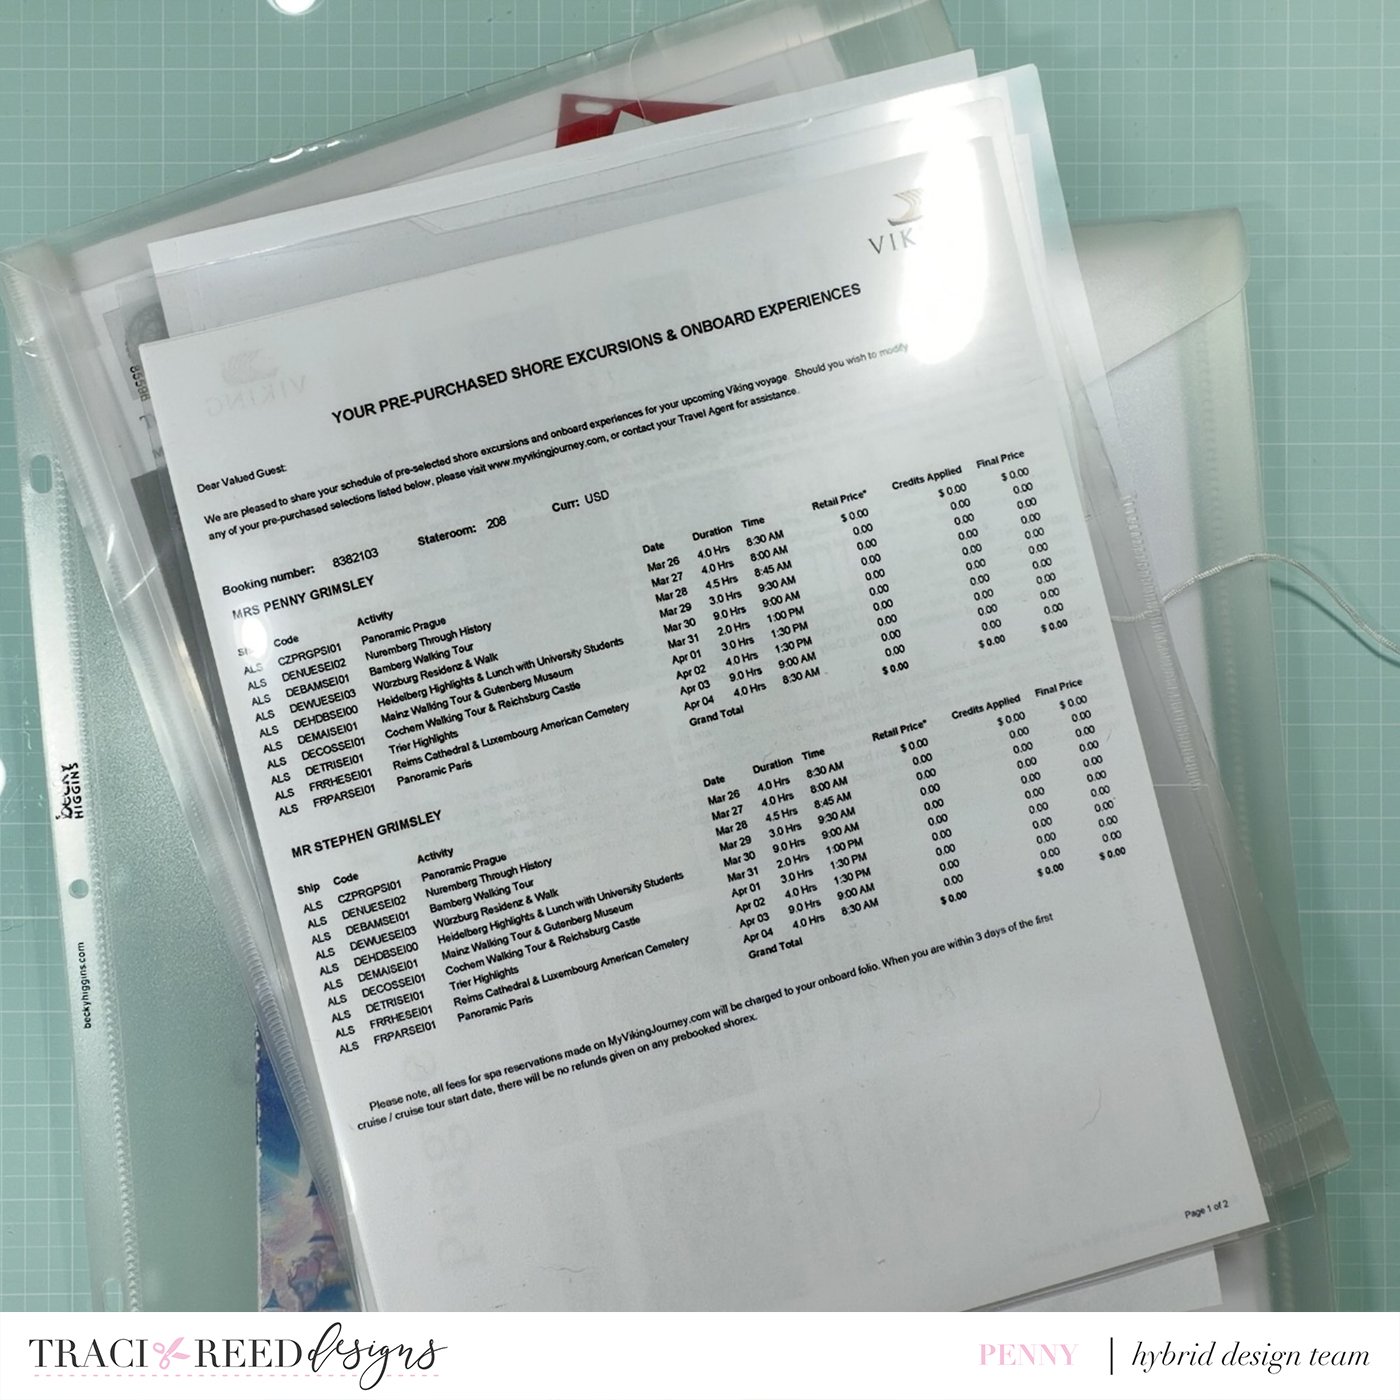
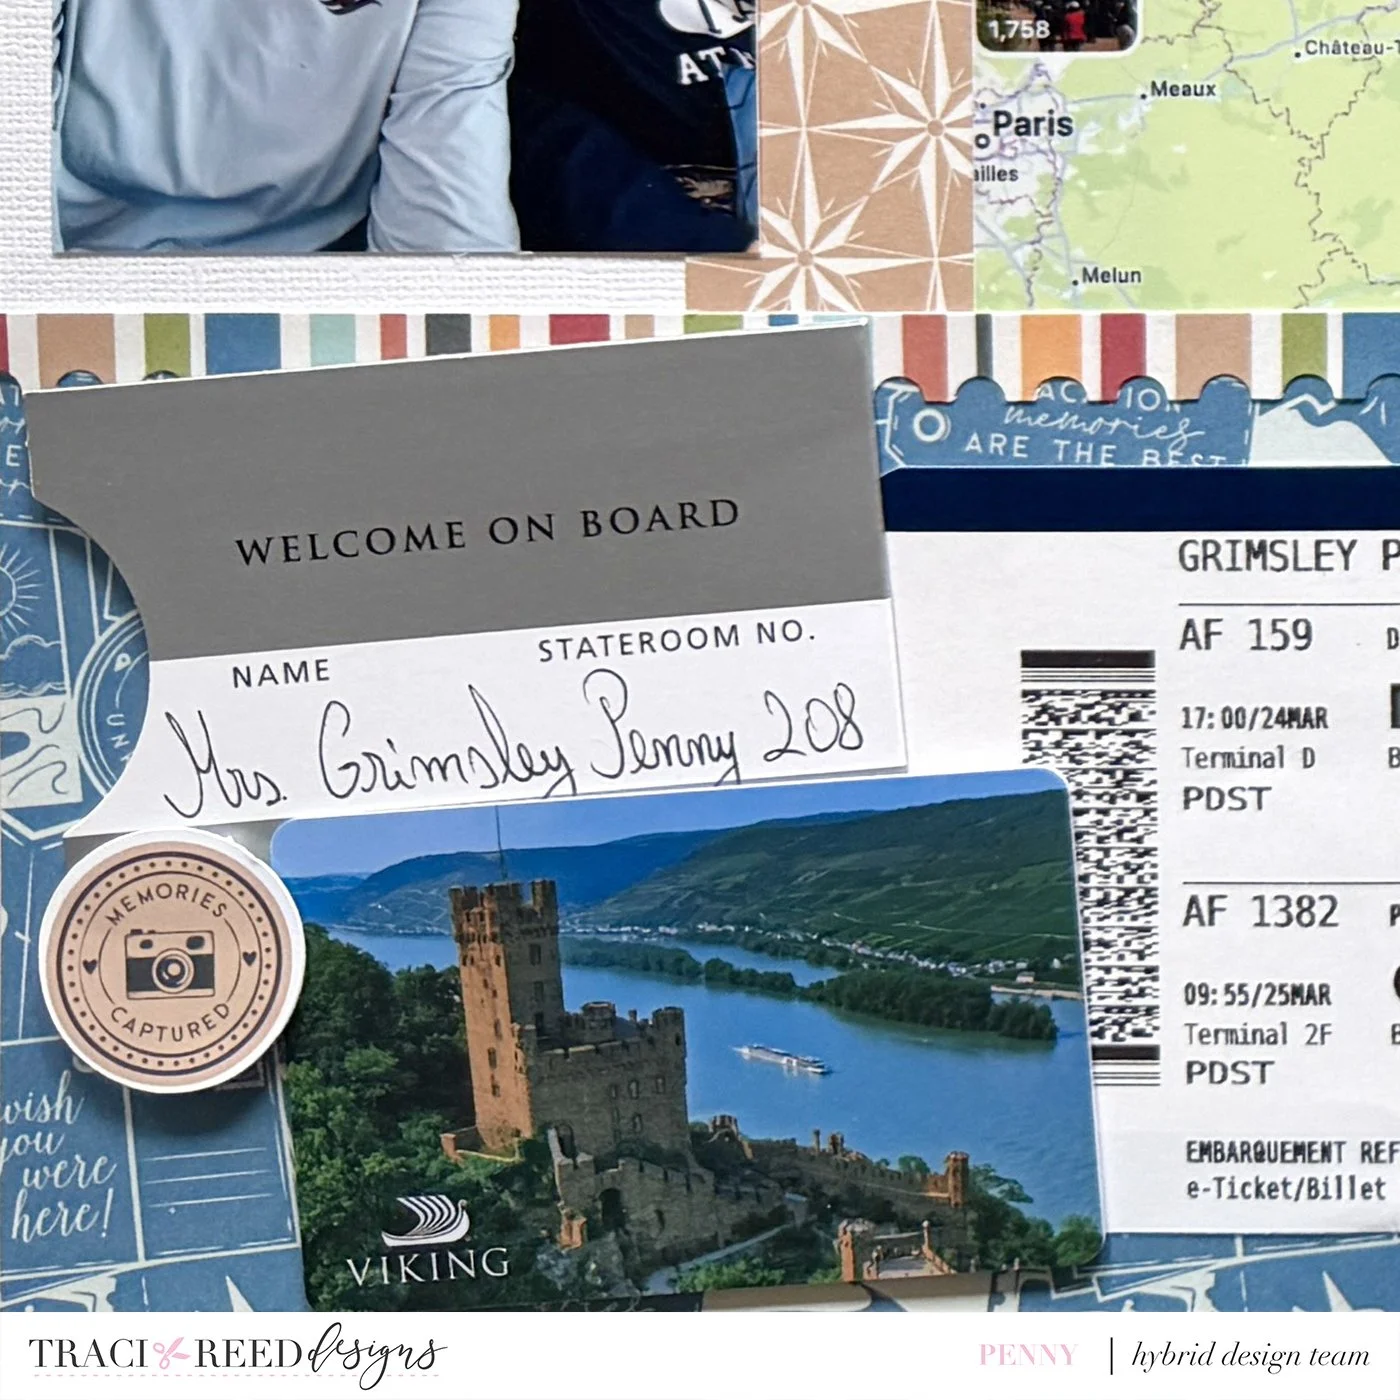
I decided to let the MAP of photos I had taken along the way be my starting point for this layout, capturing it in a screenshot and then cropping it in Photos, and then I looked for items that supported those moments and that story. I settled on a printed boarding pass, hotel card keys, a little itinerary, and luggage tags. And I settled on a sketch that supported a large horizontal band - mainly, my map photo.
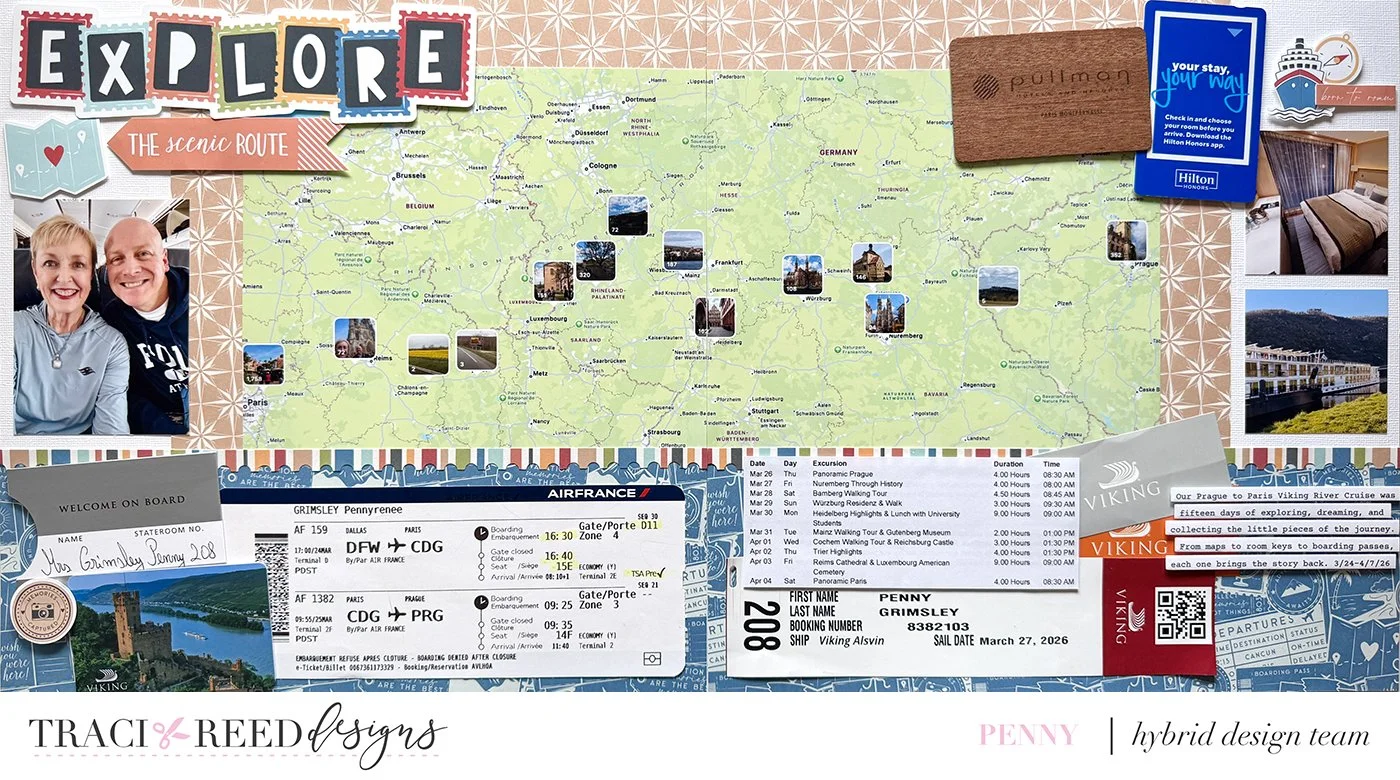
I ultimately selected more neutral papers to support all of the activity on the page, papers that complemented the primary map photo. To balance out the large horizontal movement of the map and the bottom strip of paper, I chose to place a large block of paper behind the map. The block of paper draws the eye upward and serves as an anchor for my title and my room keys. I then added some smaller photos on each side of the map, which further define the story, and hopefully balance out the page. Below the map, I layered in the river cruise details, letting their horizontal shapes echo the shape of the map.
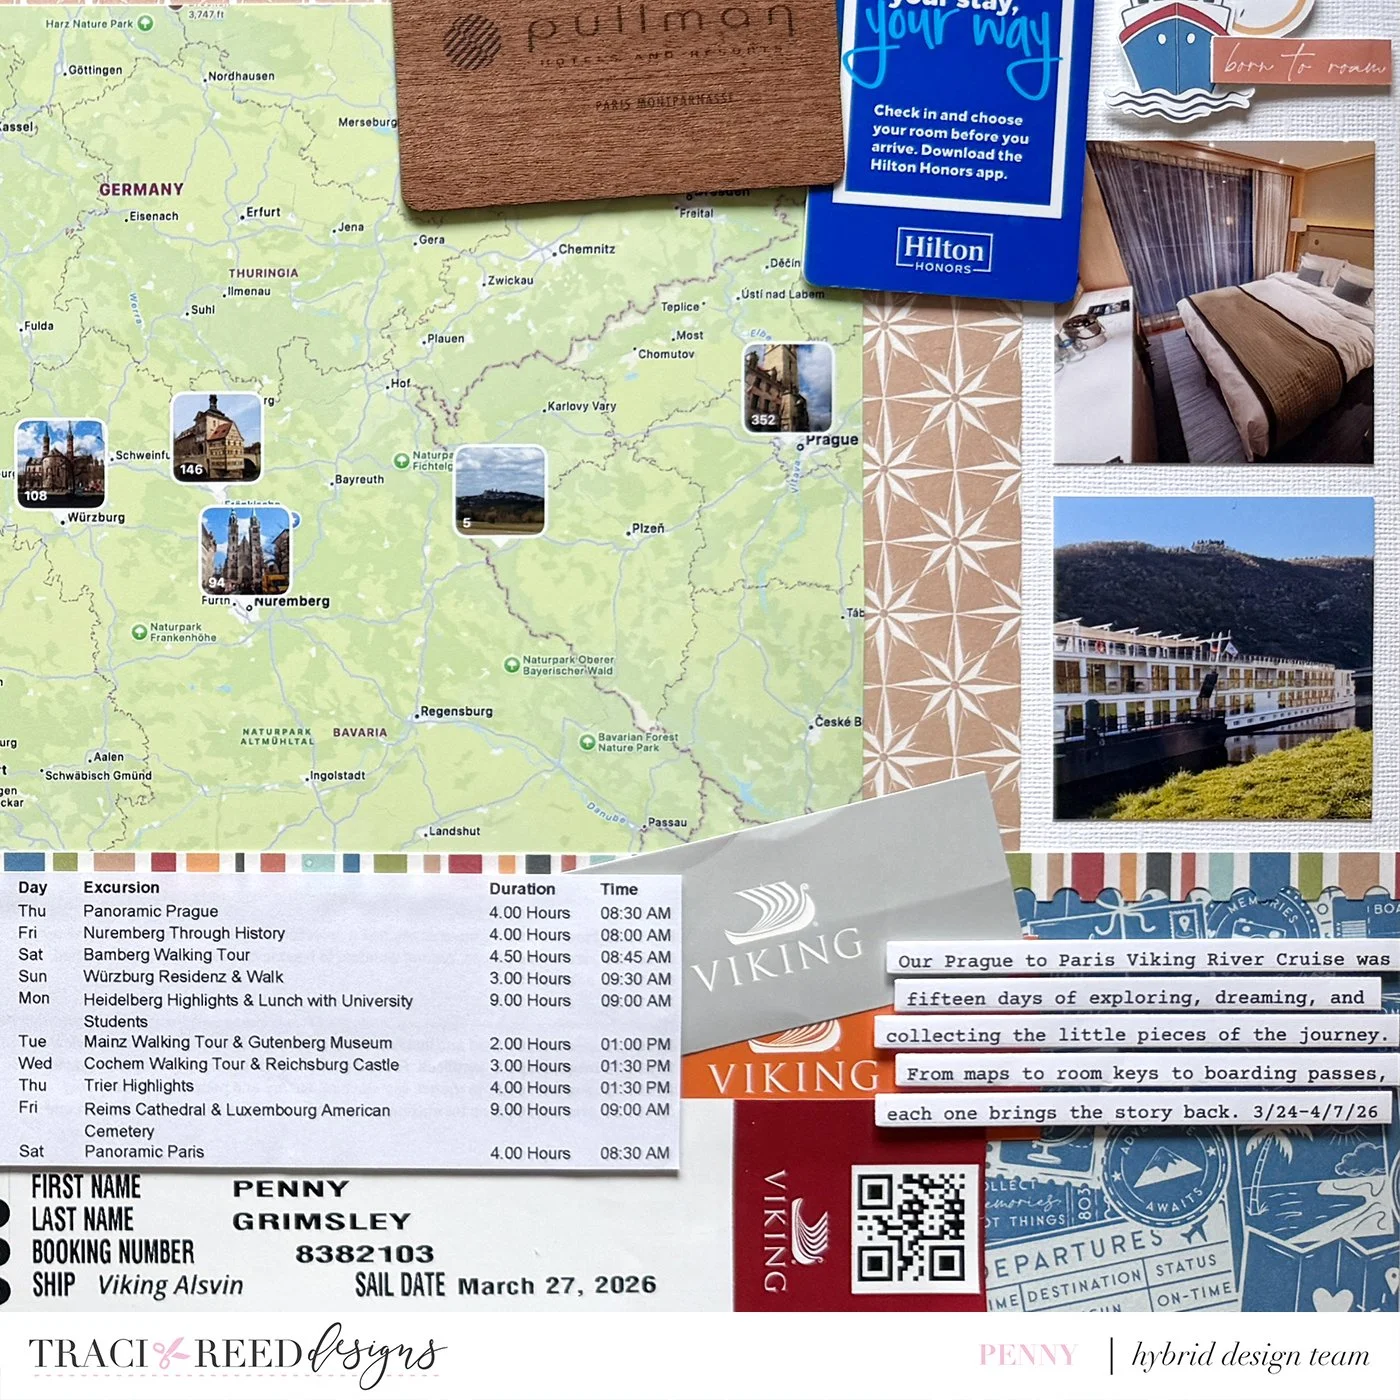
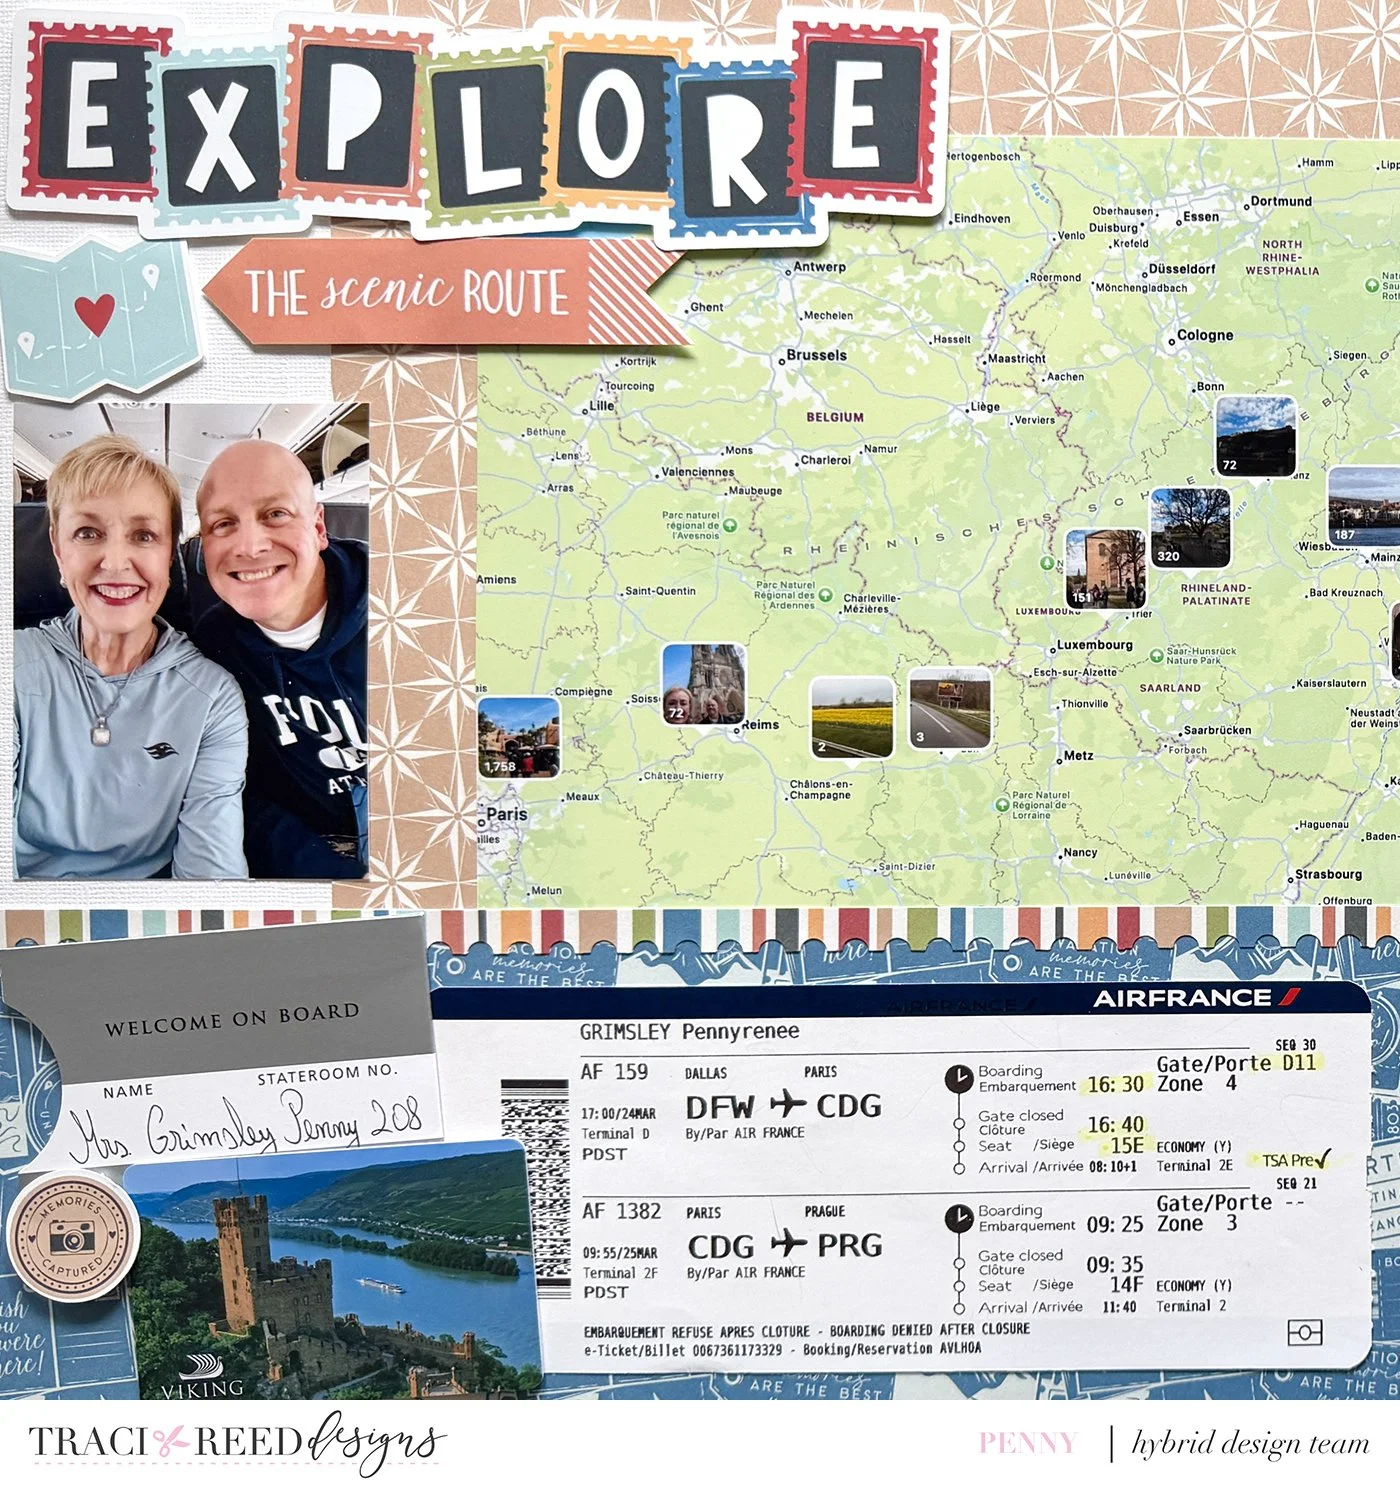
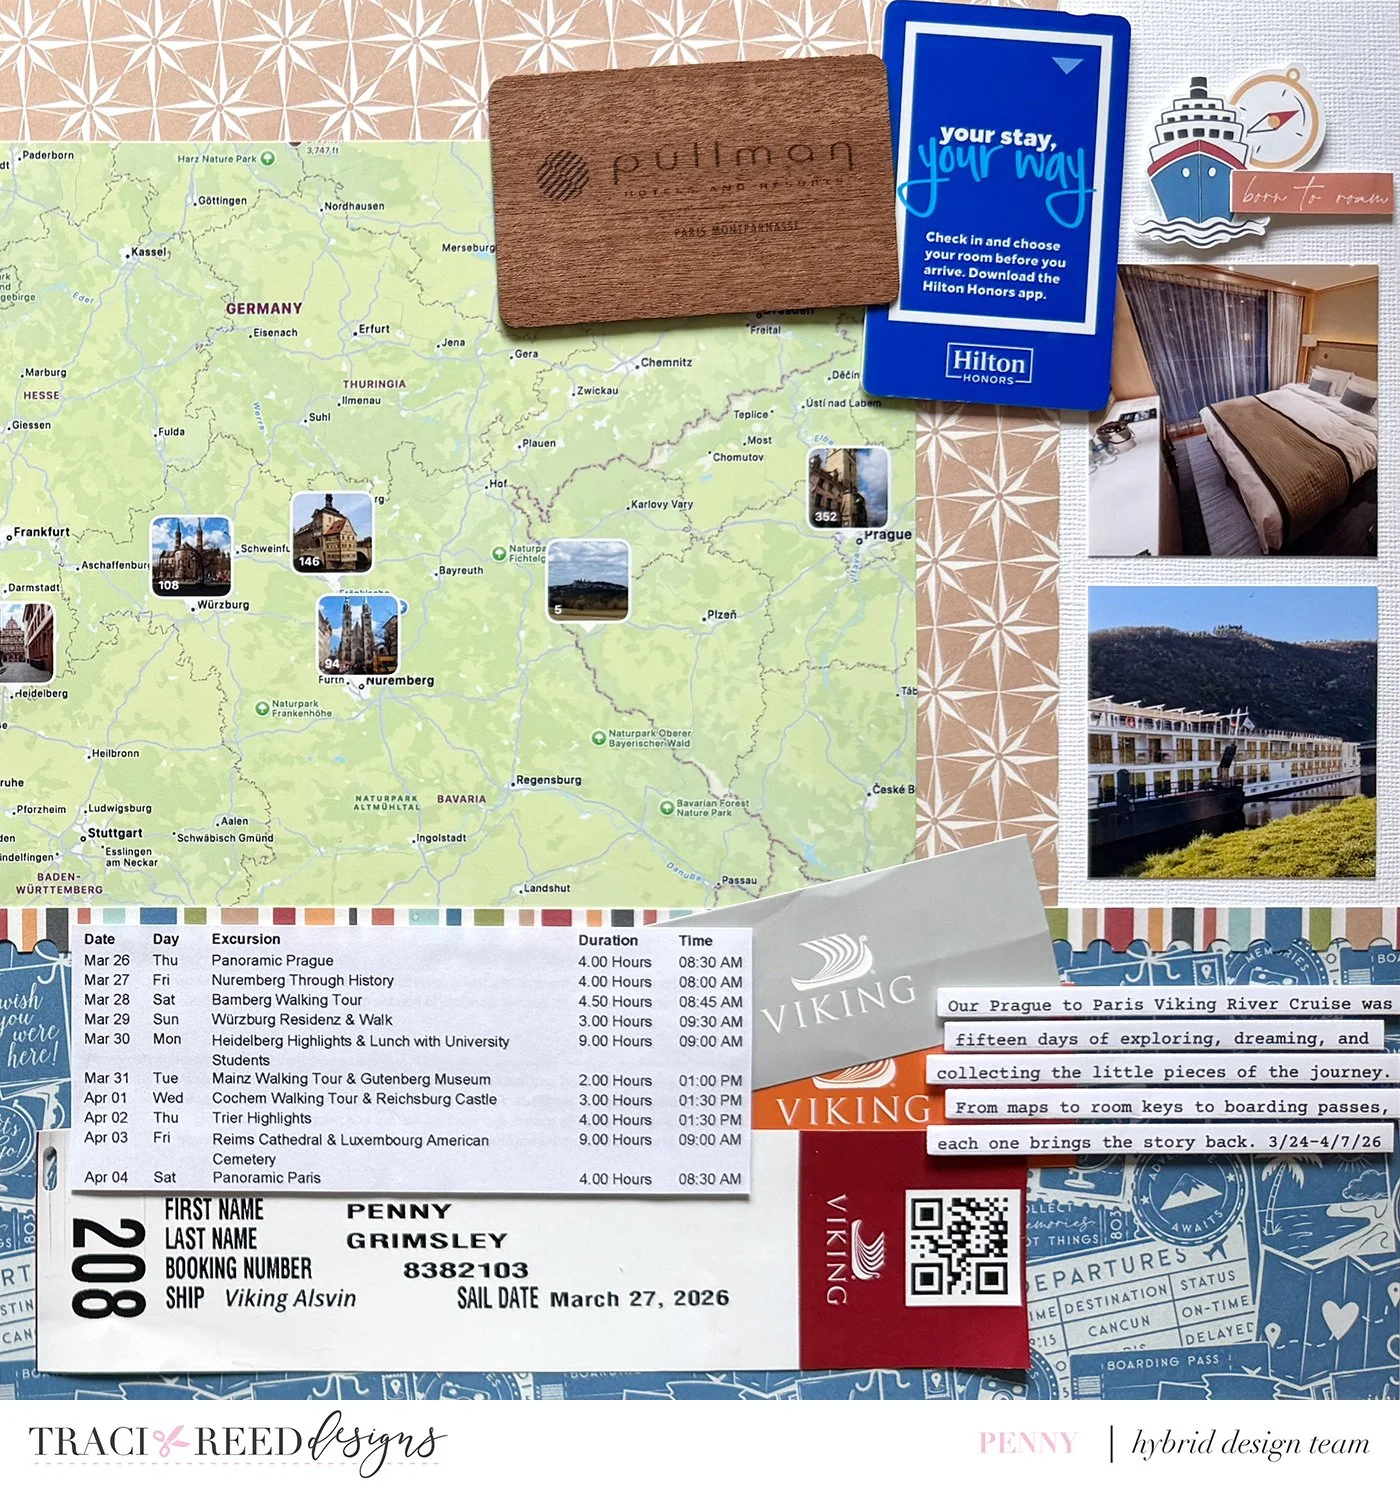
Nine pieces of memorabilia, plus my map! I love the layering of the memorabilia, how it adds so much texture to the page, and how it also adds depth to the story, and recalls so many memories, large and small, for me!
With so many physical pieces on the layout, I kept the journaling short and focused. I didn’t need to retell every stop or every detail because the map, itinerary, boarding pass, room keys, and luggage tags were already doing so much of the storytelling. My journaling simply connects those pieces together and reminds me why they matter.
To help you gather items on your next trip, and get them safely home and hopefully onto a layout or two, I’ve compiled a few tips for you:
Tips for Managing Travel Memorabilia - Before, During and After
Prepare before you go by taking a durable sleeve or envelope for gathering your memorabilia as you travel and corralling it during the trip.
Begin capturing electronic memorabilia via screenshots: boarding passes, e-tickets, weather forecasts, use of Maps to navigate somewhere (walk, ride, bus, train), Lyft/Uber bookings, etc.
On paper items (maps, guides, labels, napkins, newsletters), grab two when you can of anything you like. This allows you to see the front and the back if you want to use the original. It also increases the odds of getting home with one in good shape.
The flap (middle divider) part of your suitcase is usually a great place to store these items. It is the most durable section and least prone for bending.
Once home, go through your carry-ons and bags to ensure all the little items were corralled and put them with your other items.
Place your memorabilia in a safe place when you’re home, maybe in line of sight, and set a date on your calendar.
Decide to tackle the pile. Sort like items together. Sort by parts of the trip. Sort by any storyline that speaks to you.
Remember to incorporate your electronic memorabilia as you go. Maybe print a small contact sheet of these items for reference.
Decide what items you want to convert to smaller versions (scan or photograph and reprint) and what items you want to keep in their original size and source.
Decide what type of coverage these items get in your albums. Options: Work into a layout, store in a pocket, create a collage of items, etc.
And while I was sorting my memorabilia, one more solution for managing some of the memorabilia presented itself. I decided it made a lot of sense to just whip up a quick pocket page to hold my lovely daily ship newsletters. I love coming back to the room after dinner to bed turn-down and a little note waiting at the foot of the bed. Not all cruise lines still offer a printout, so I loved that Viking did this on our Rhine River Cruise.
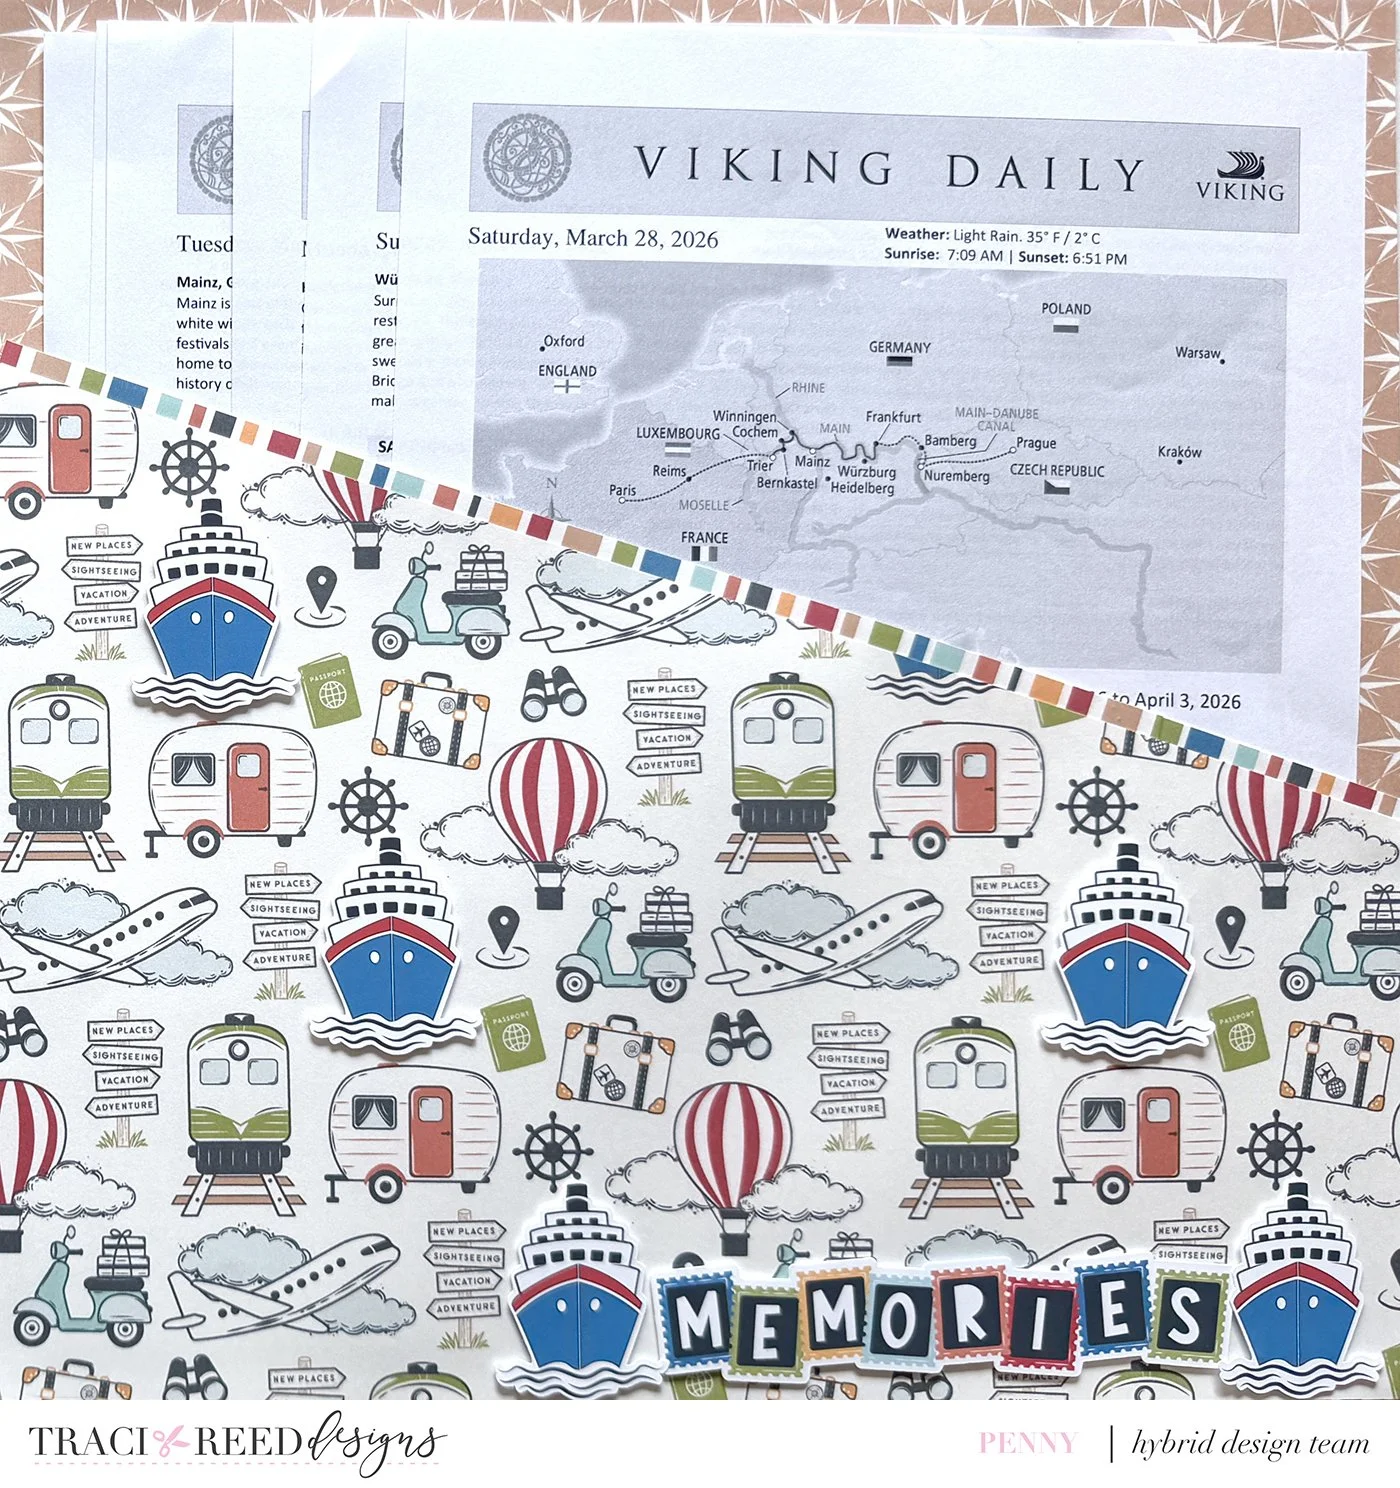
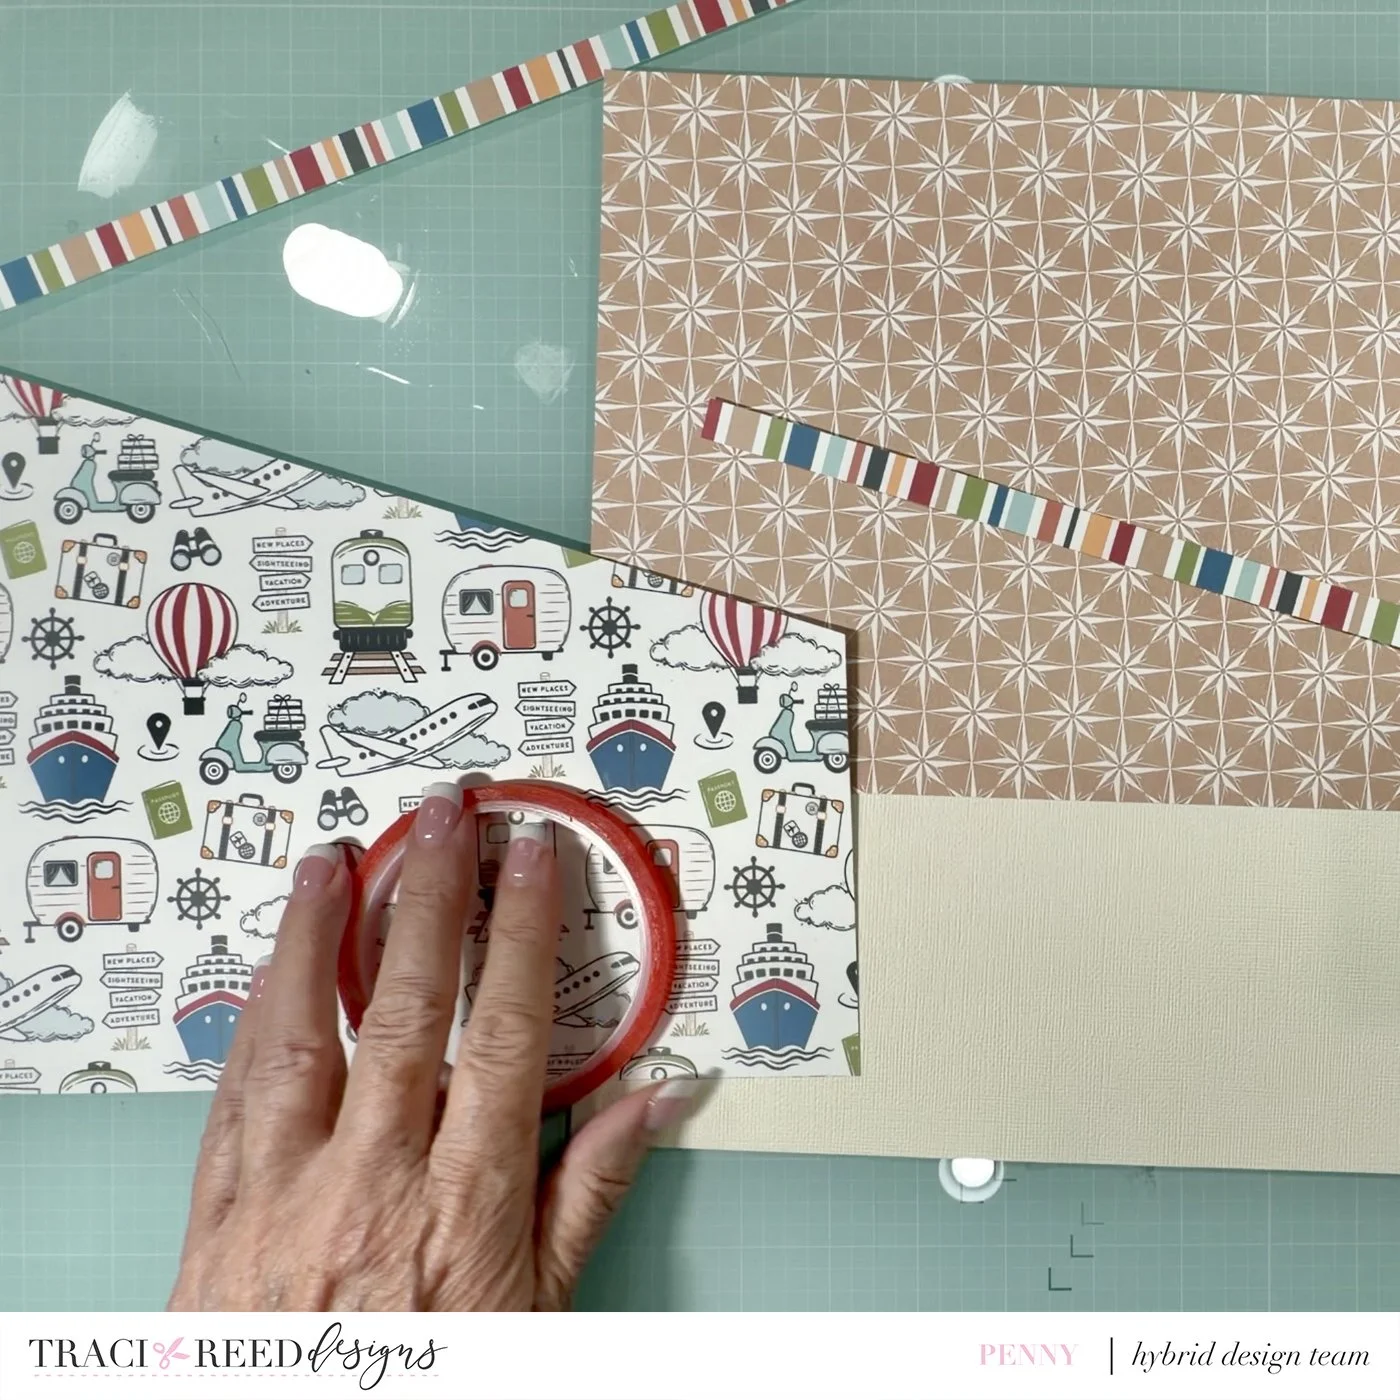
Because the newsletters are in black and white, I decided to use the adorable multi-colored print in this collection. I made a quick angular cut, paired it with the neutral background and stripe, and had the bones for a solid pocket. Knowing it will live in a page protector, supported, assures me the redline tape will hold at the seams.
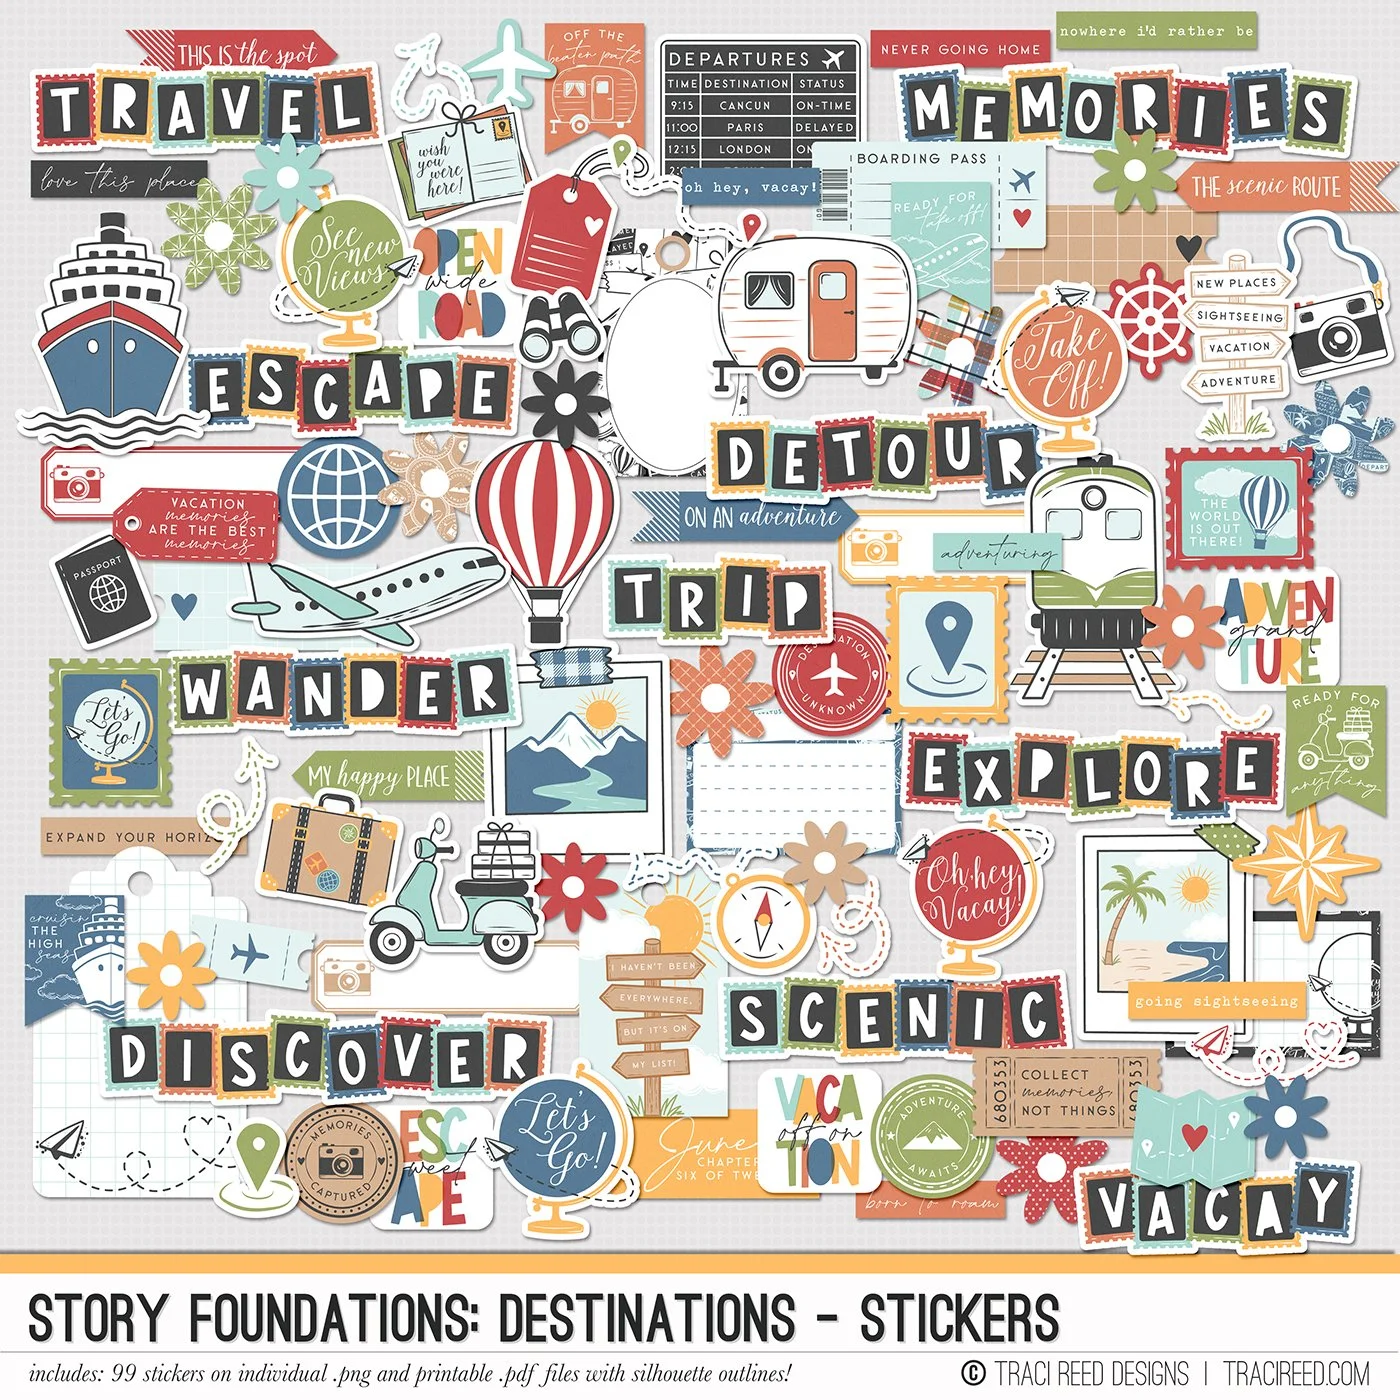
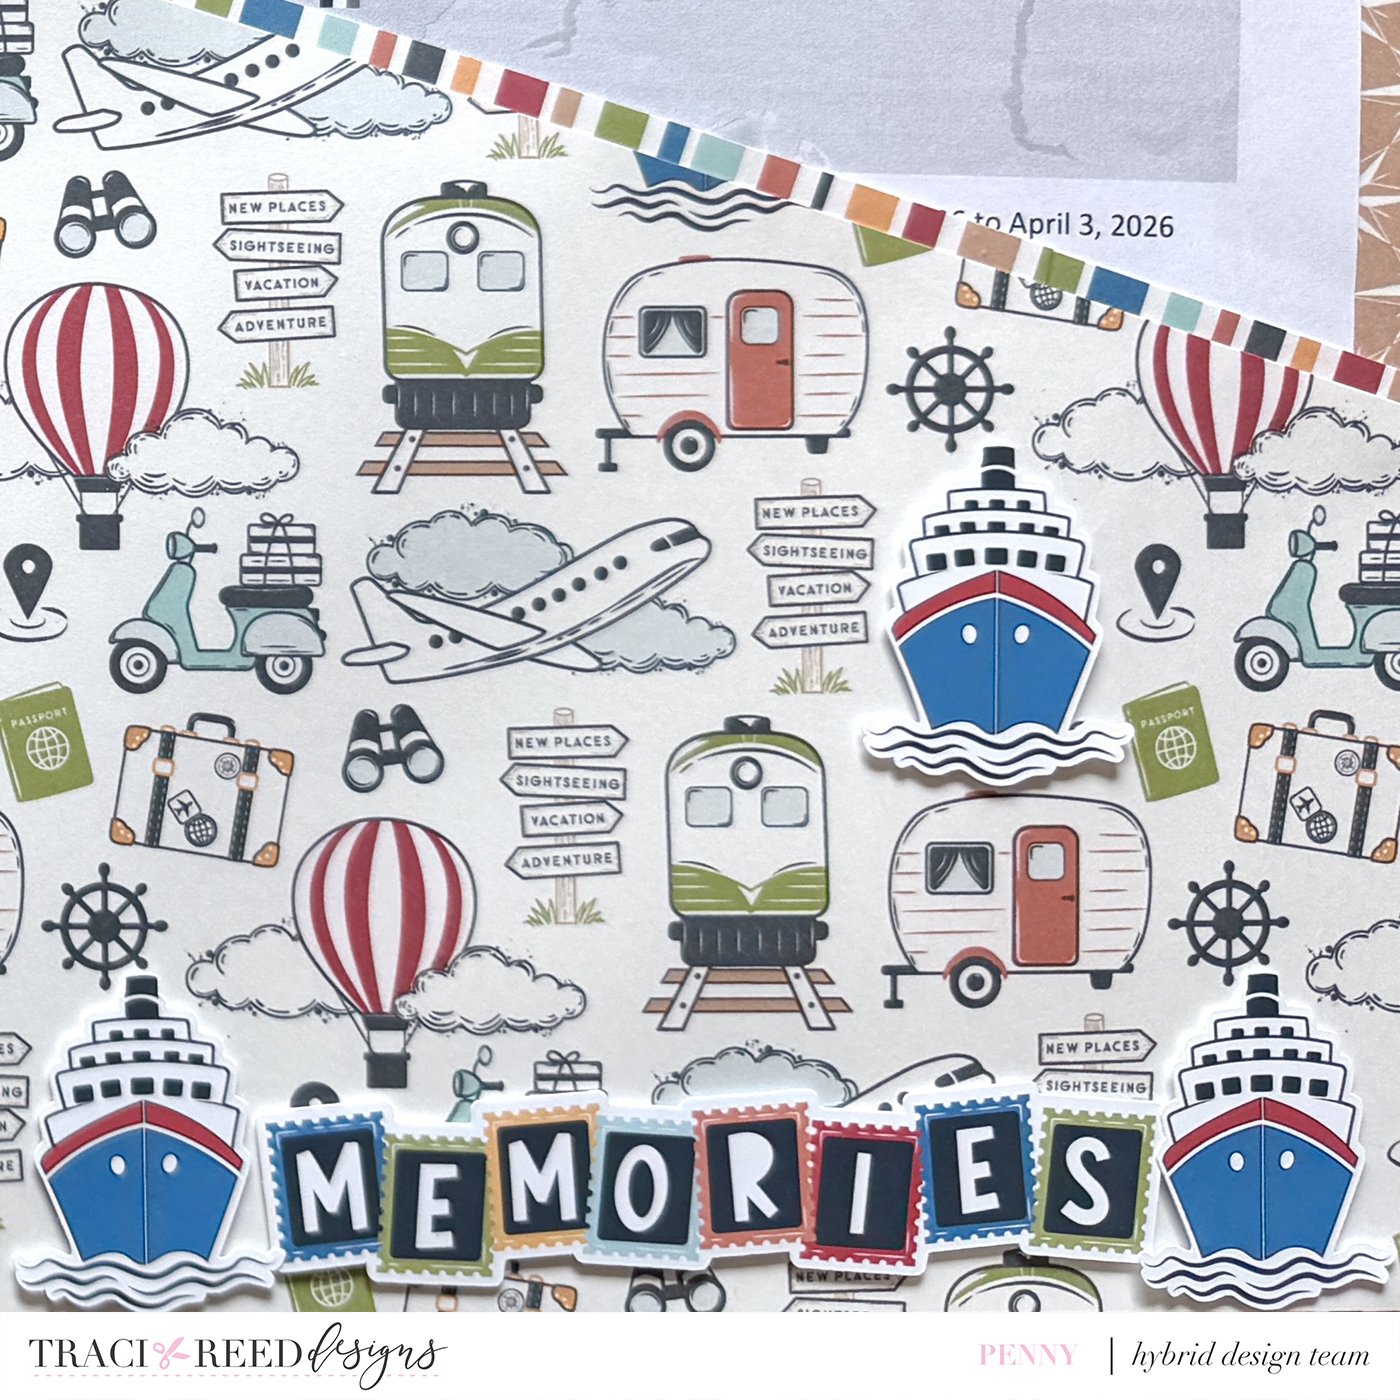
For a little finishing touch, I decided to emphasize the ships (our mode of travel), and add a little title. I selected the Memories title and sized it so it would fit between the two ships. I then printed and cut 5 of the ships and the Memories postage stamp title, popped these elements up on foam, and voila! Quick and easy organization and storage for the little letters that hold the story of our Viking River Cruise days!
I hope my memorabilia layout and pocket page inspire you to catalog some of your own travel memories, and that my tips for managing memorabilia while you travel are helpful to you on your next trip, land, air, or sea!
I have a process video for each project:
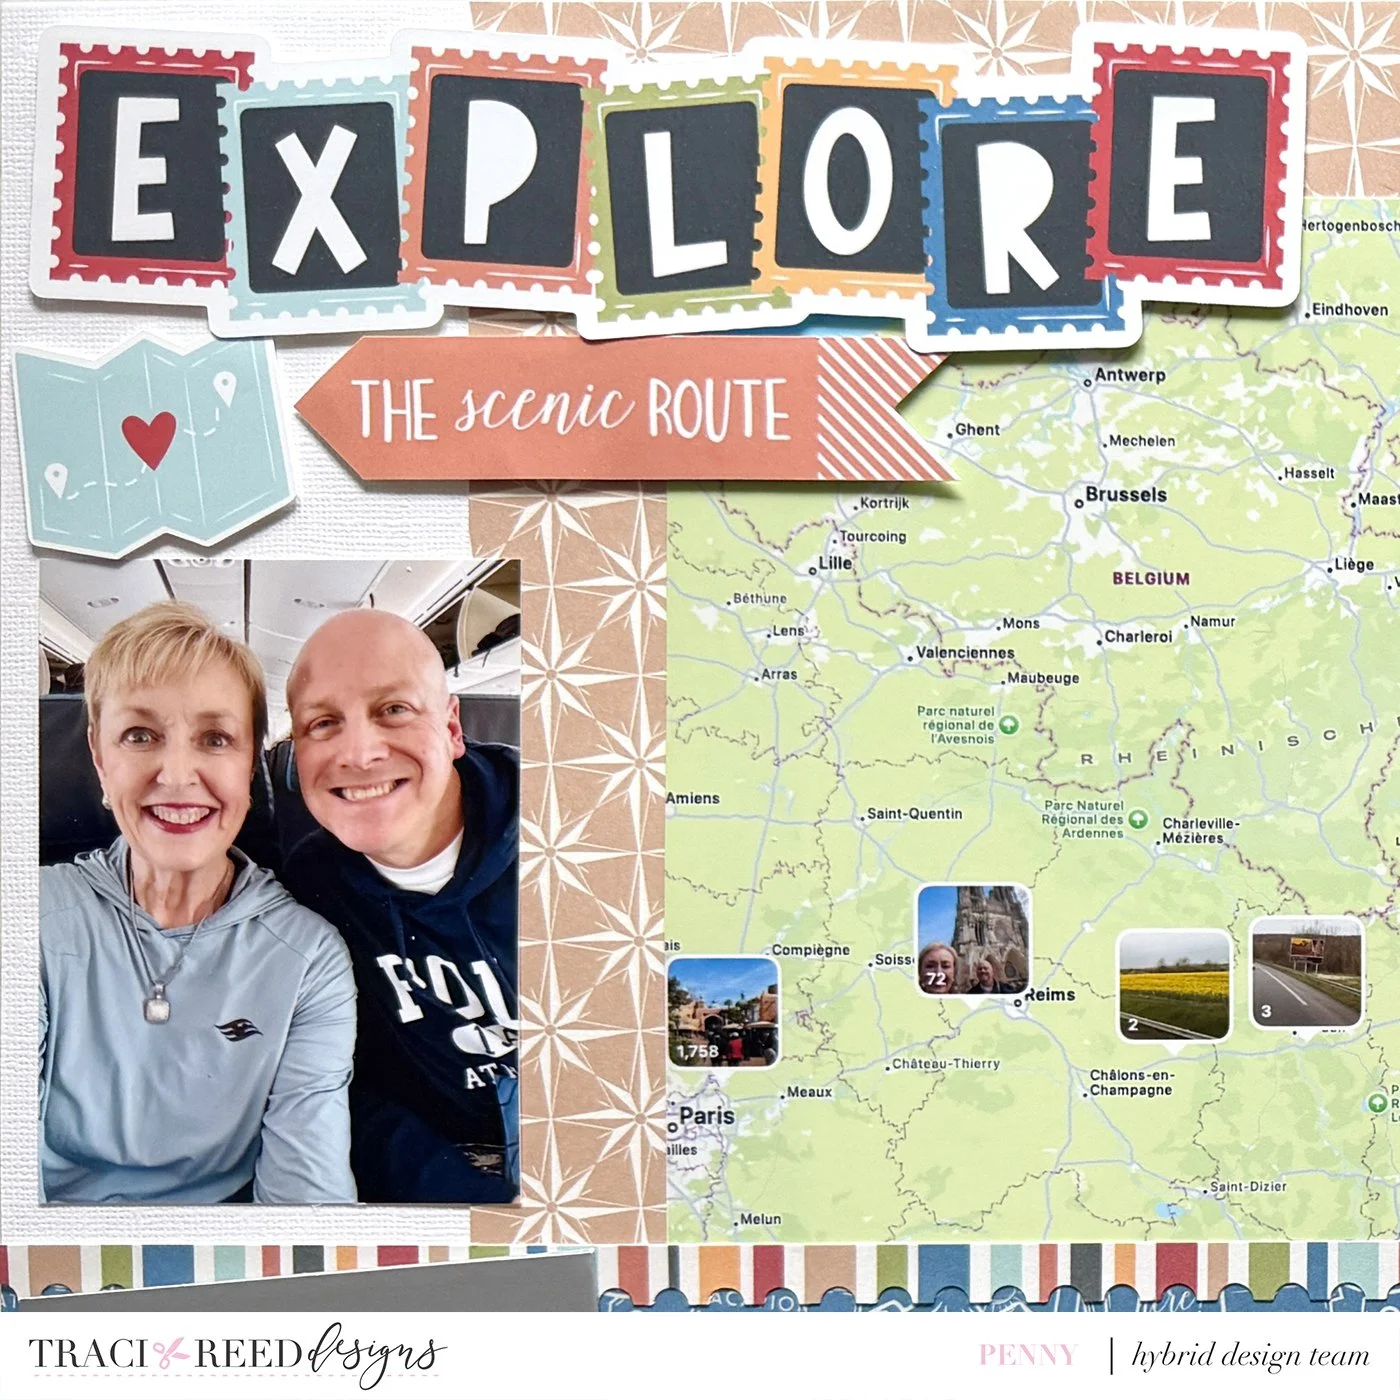
Explore double page layout:
Memories pocket page: