
Tutorial: DIY a Mini Album from a Pouch with Ana!
Hi crafty friends!
A cousin of mine has been raving about this viral DIY pouch journal cover that she’s been wanting to make for the longest time. I honestly had no idea what she was talking about until one randomly popped up on my feed and of course, the journal girlie in me just had to make one too!
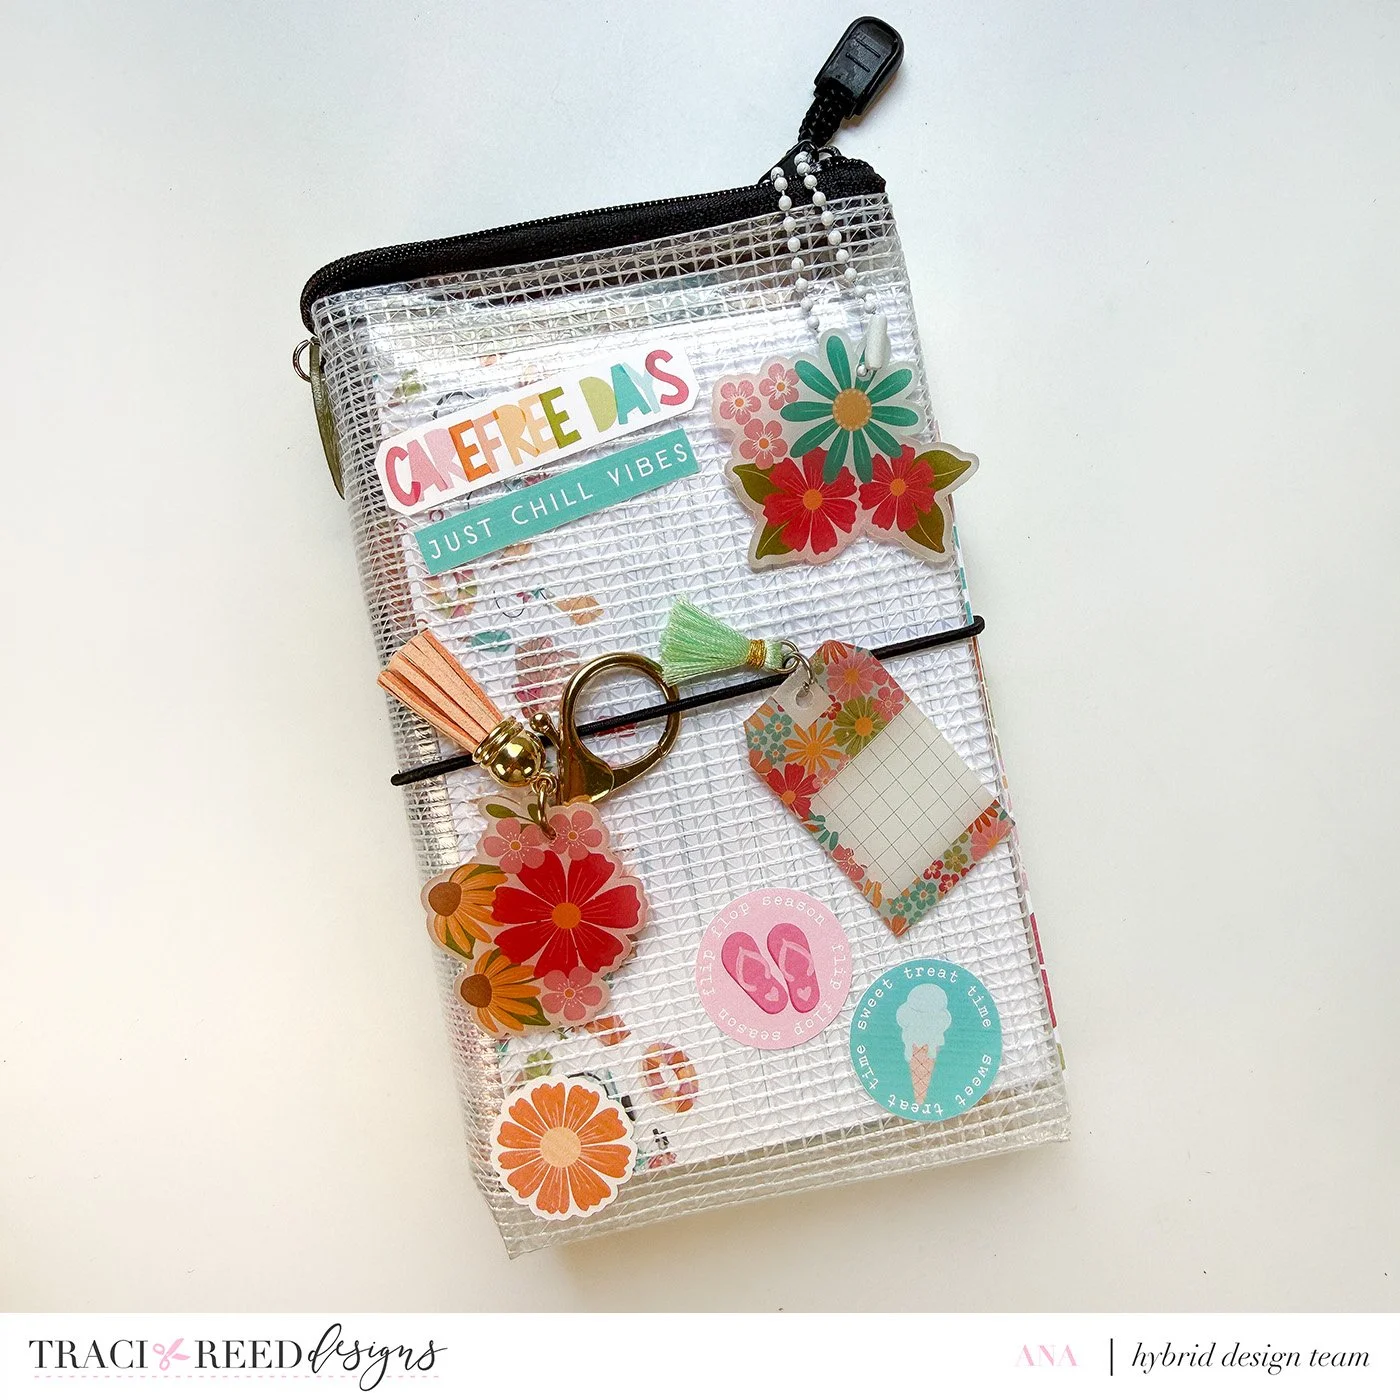
One of my favorite things about this project is that I didn’t even have to buy a plastic pouch. I repurposed one from a crafting kit I got years ago that had just been sitting around collecting dust. I knew there was a reason I kept those pouches! Haha!
For my version, I used the bright and colorful Carefree Days collection. This project is super simple, fun, and a great way to give those old plastic pouches a new life, and of course, play with another pretty collection from Traci!
Materials Used
Plastic pouch
Traveler’s Notebook inserts
Elastic string
We R Memory Keepers Crop-A-Dile (or any sharp poking tool)
We R Memory Keepers Heat Gun
Printable shrink plastic
Sticker paper
Ball chains
Key rings
Traci Reed Designs Carefree Days collection
Let’s Make the Journal Cover!
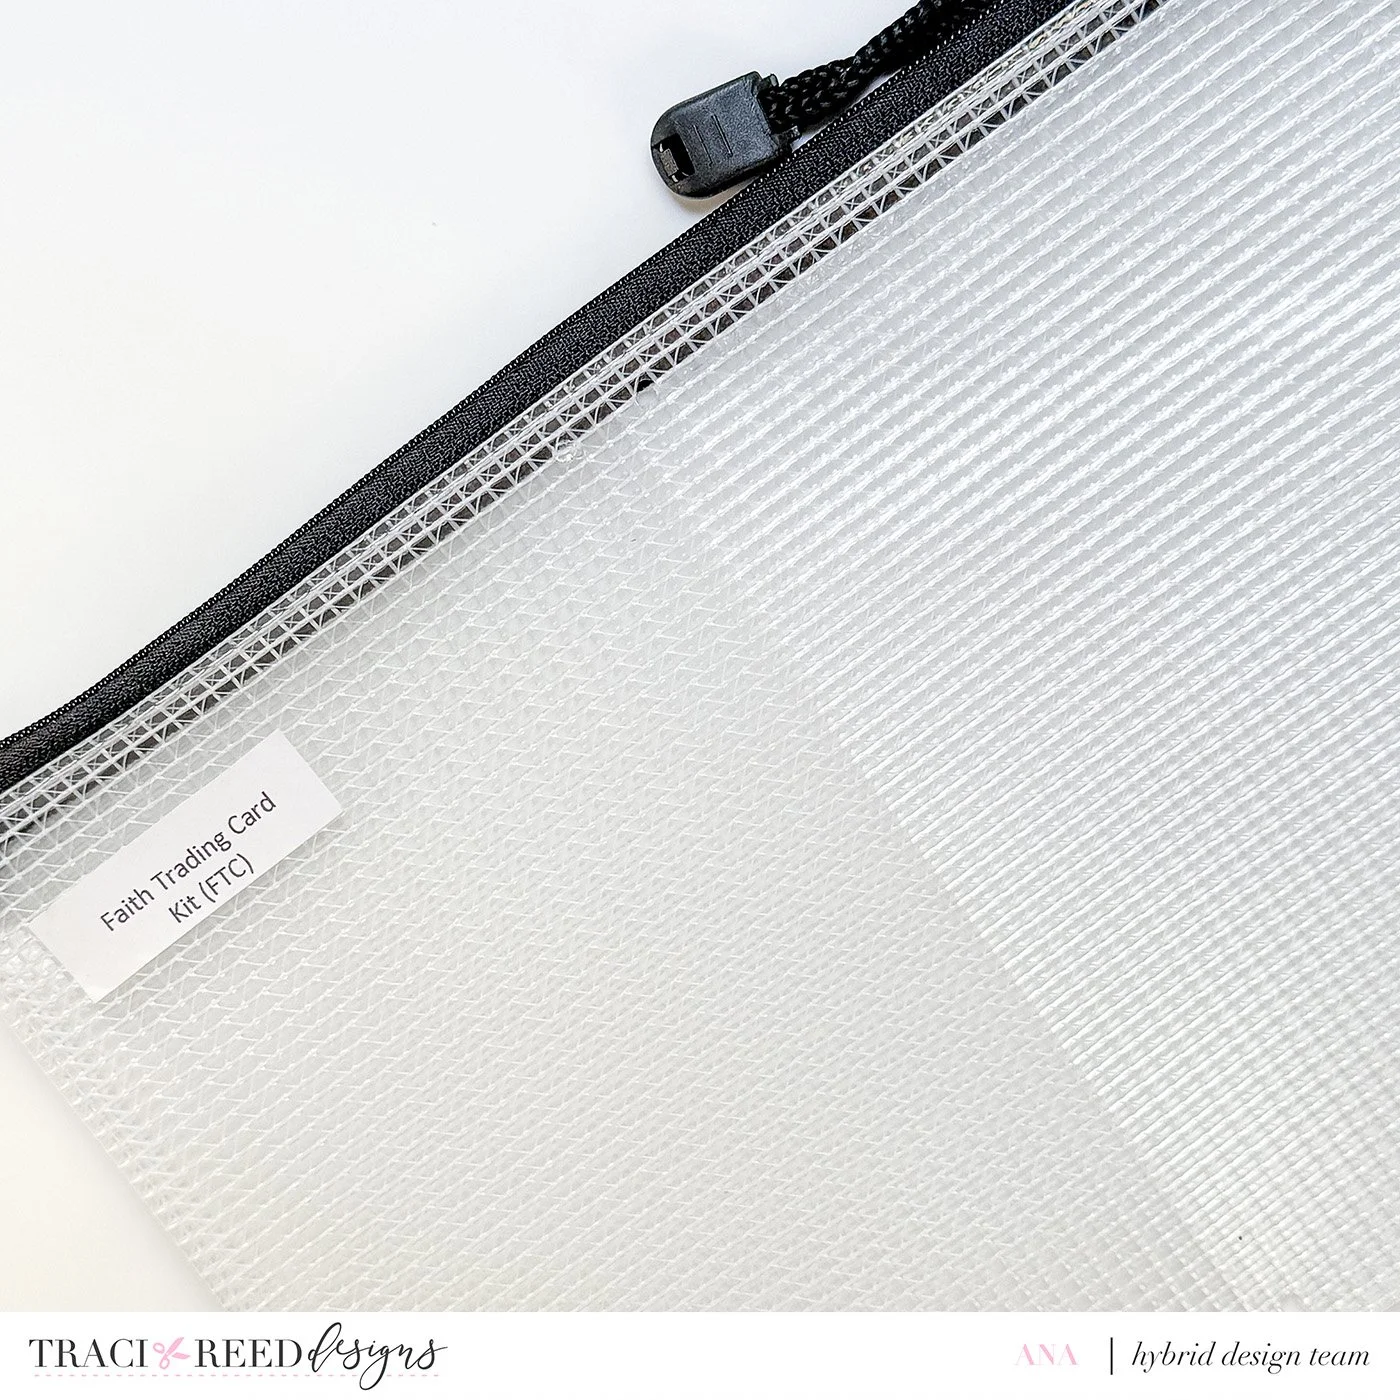
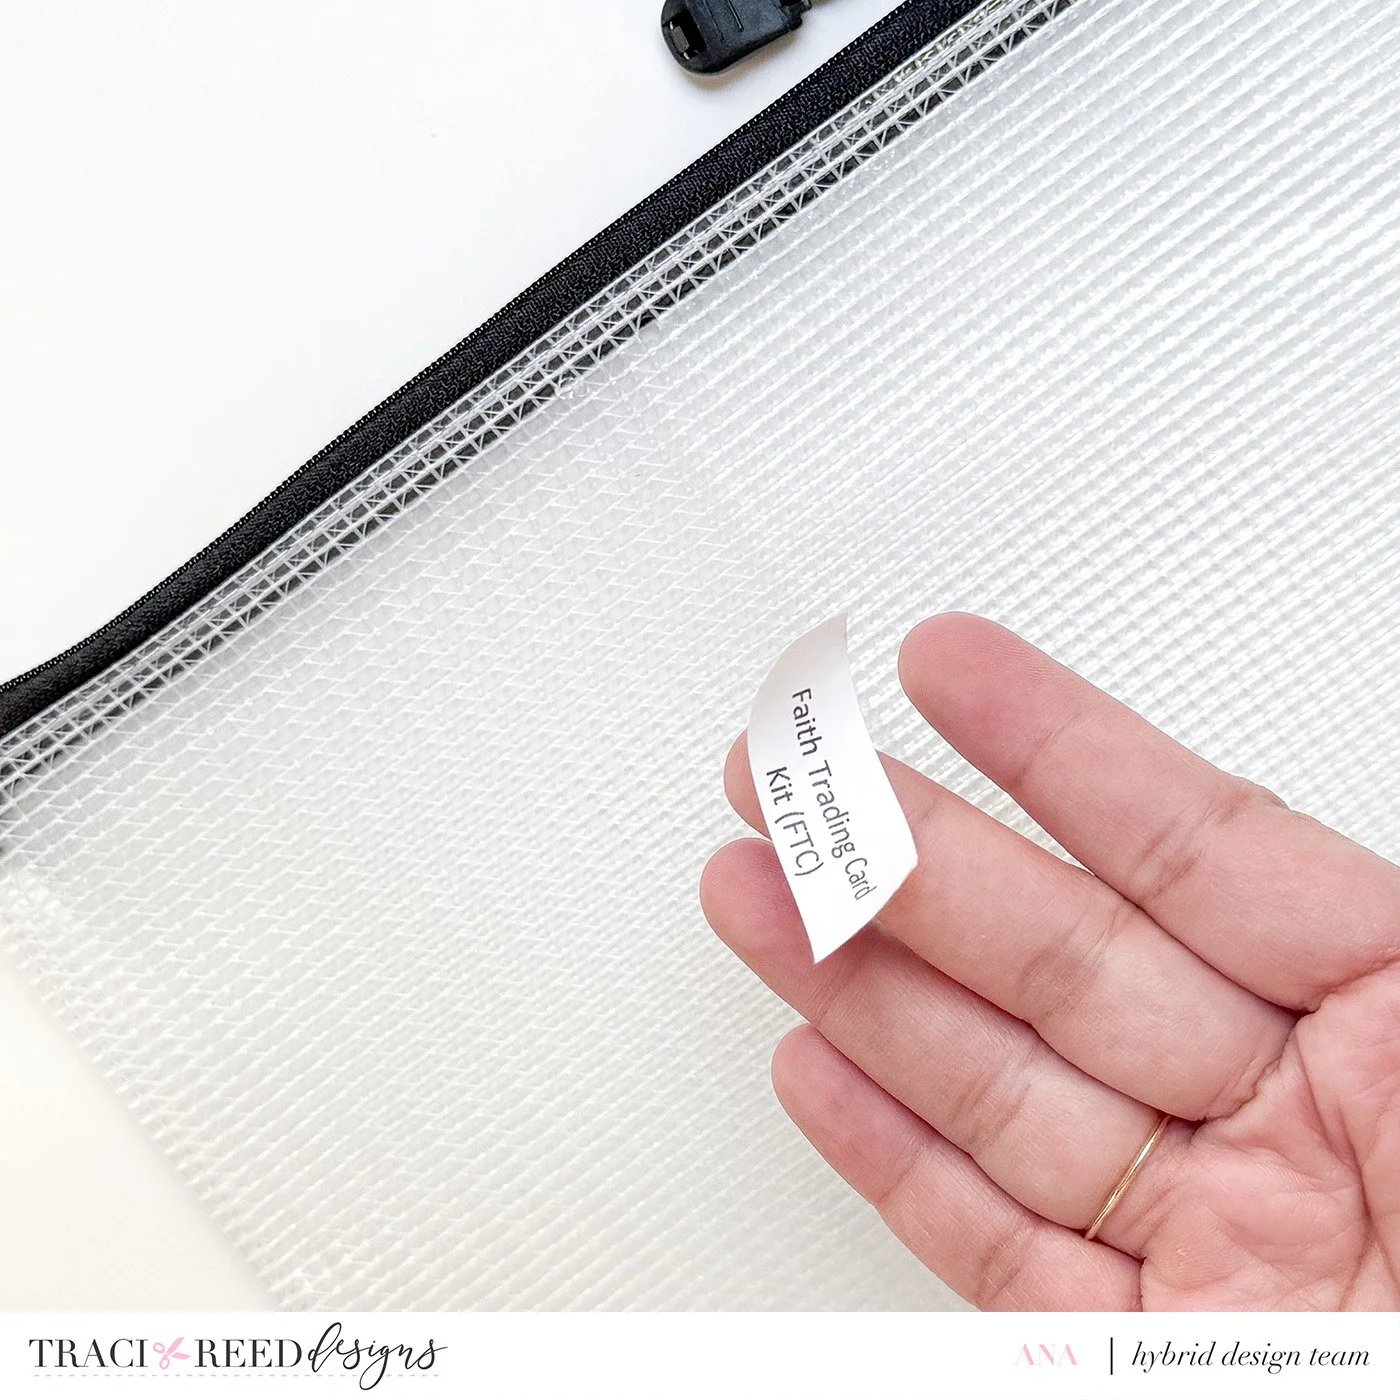
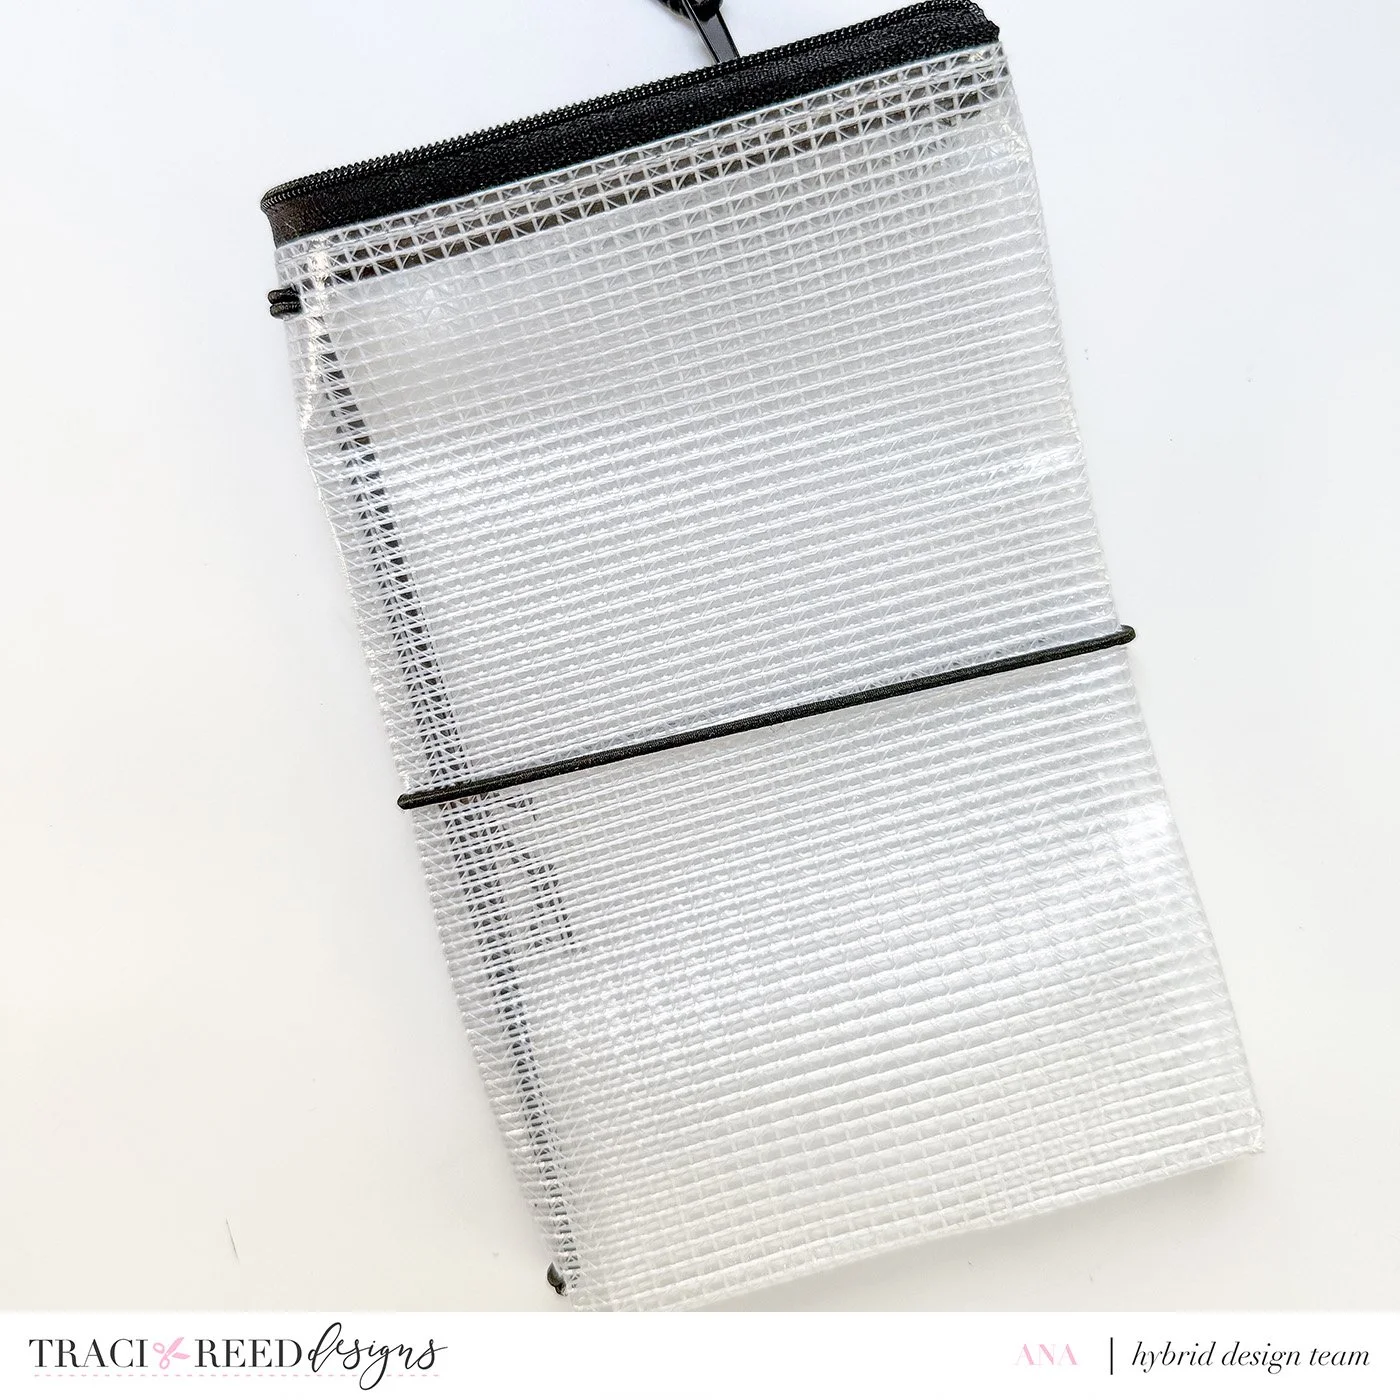
1. Prep your plastic pouch.
If you’re repurposing a plastic pouch like I did, start by removing any stickers, labels, or anything else you don’t want showing on your journal cover. If something can’t be removed, don’t worry, we can always cover it with a cute sticker later!
2. Fold the pouch.
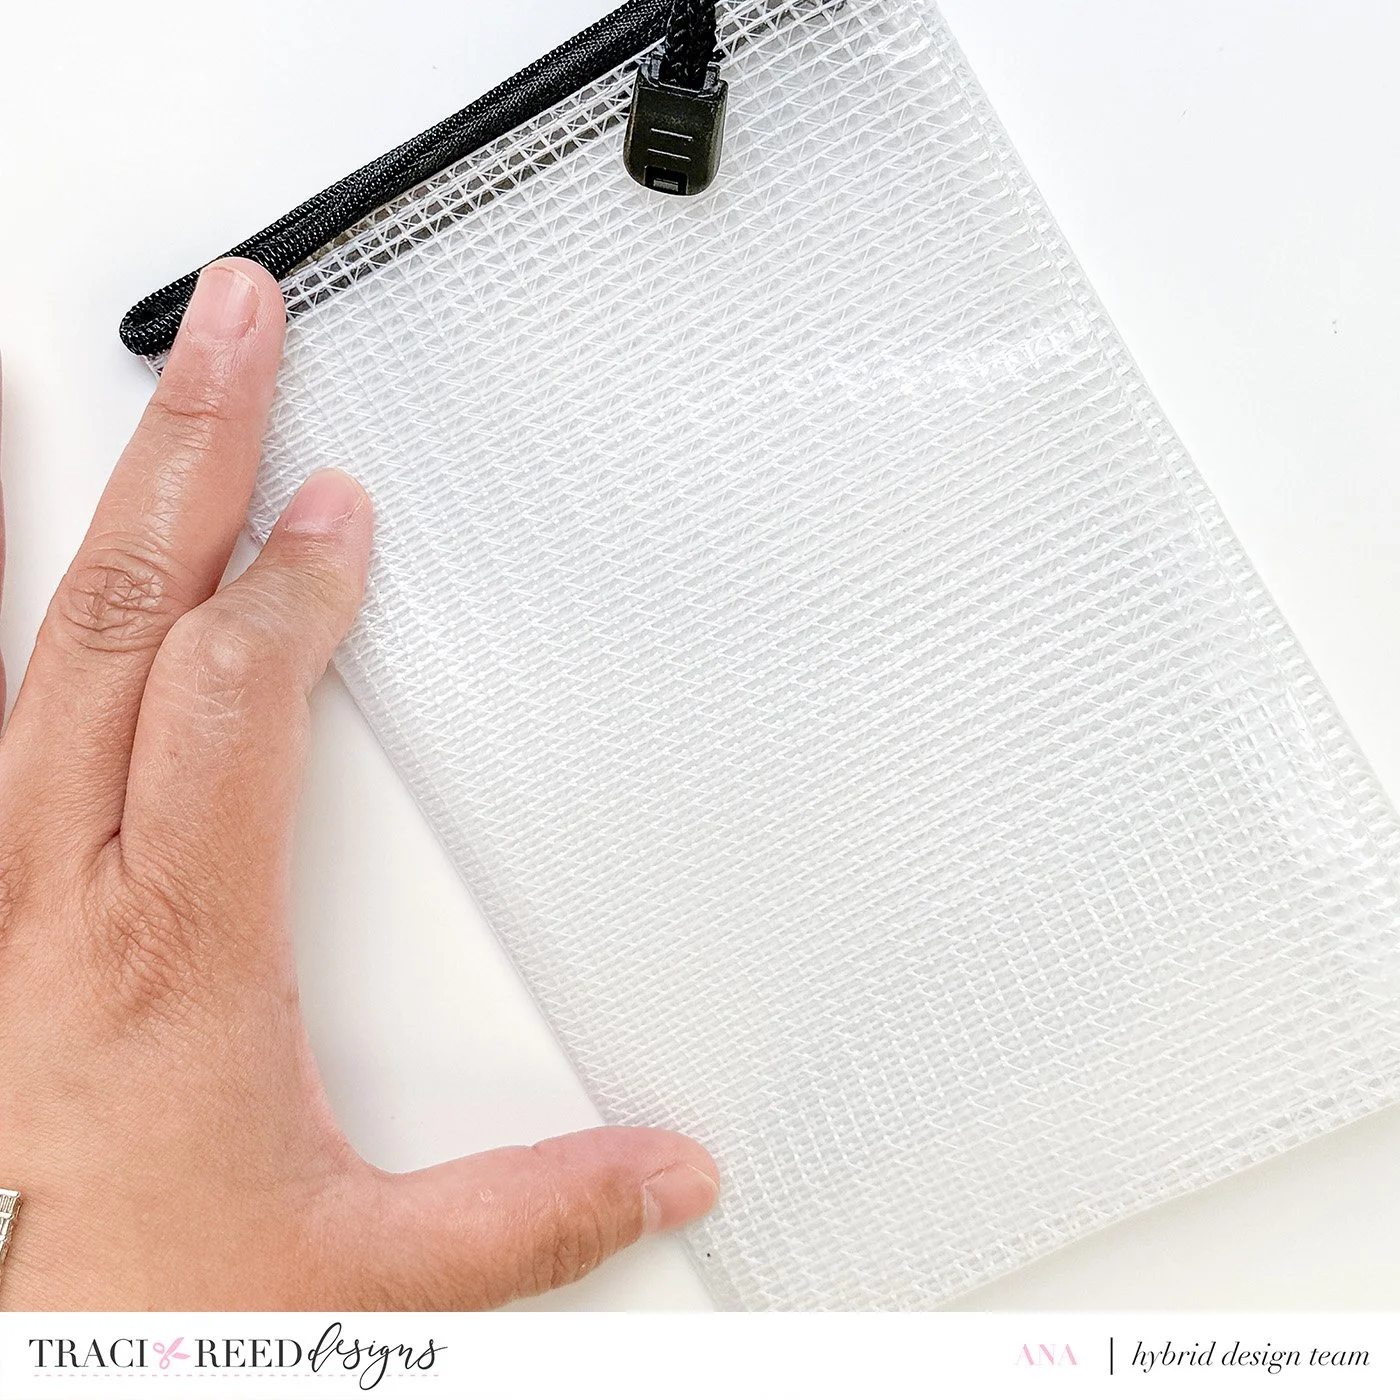
Fold your plastic pouch in half to create the shape of your journal cover.
3. Punch the holes for the inserts.
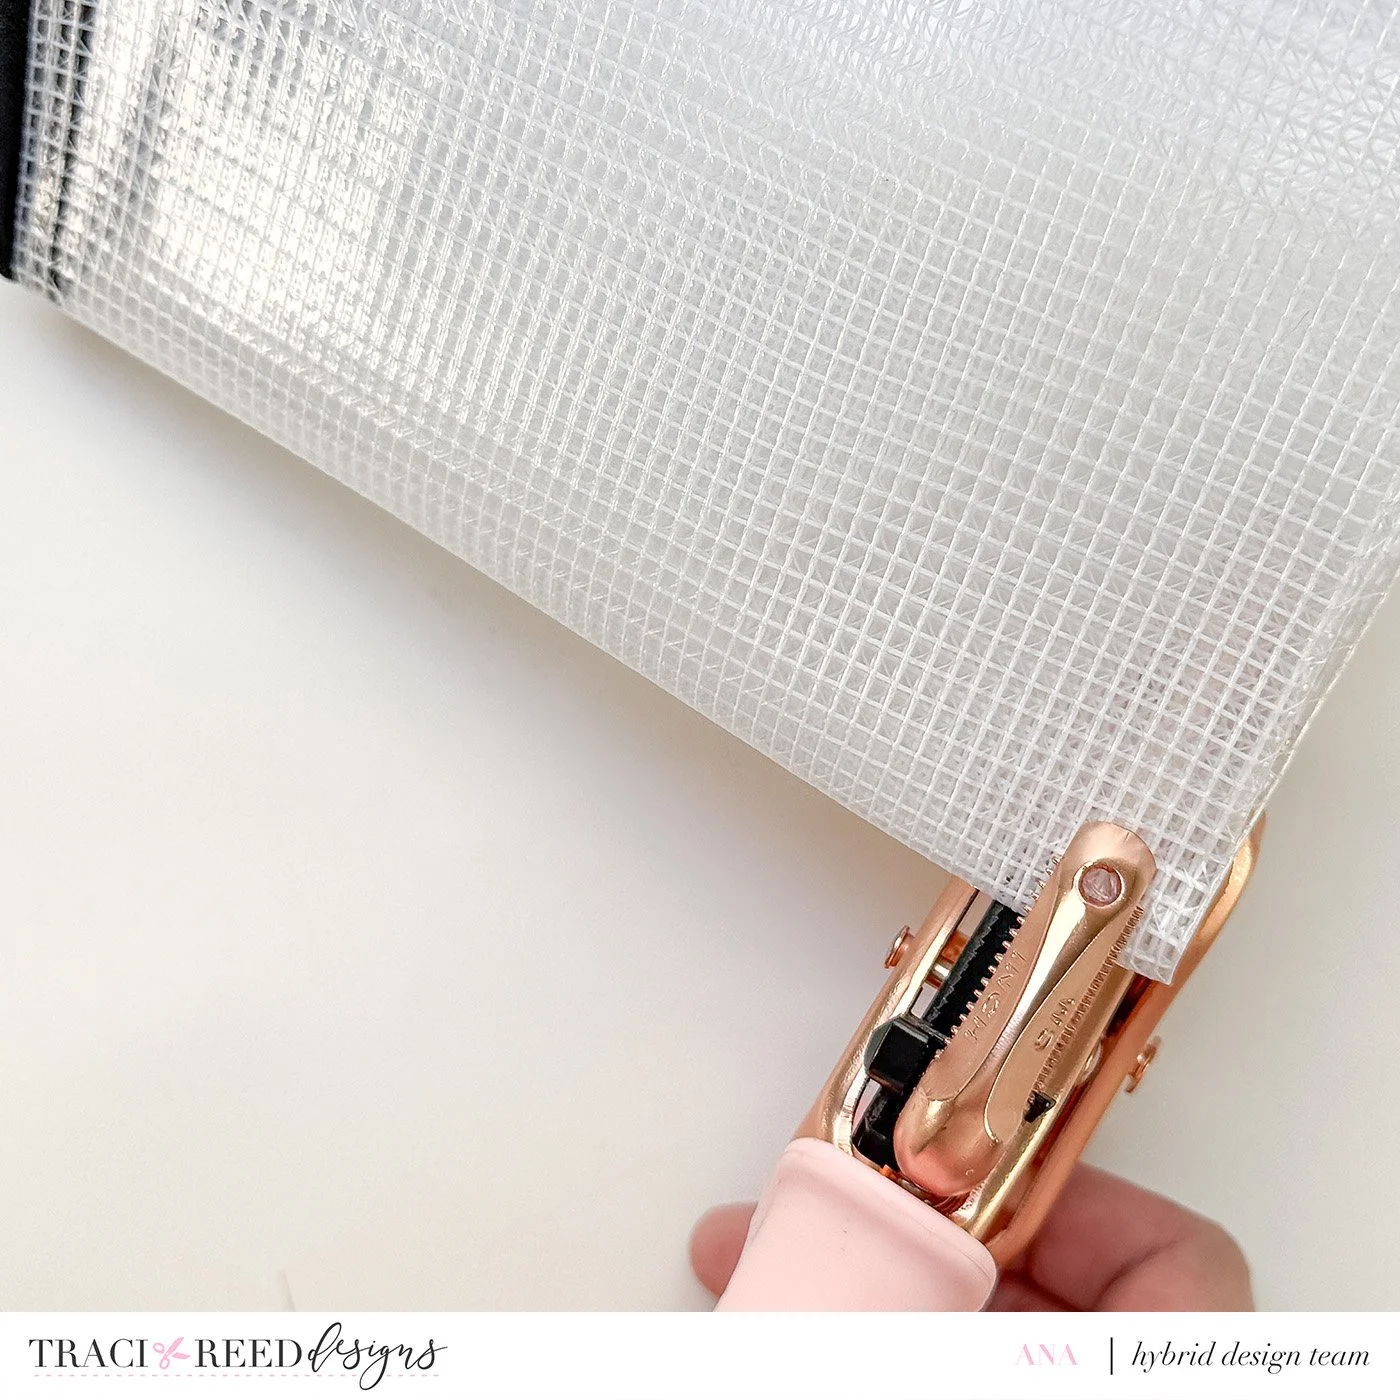
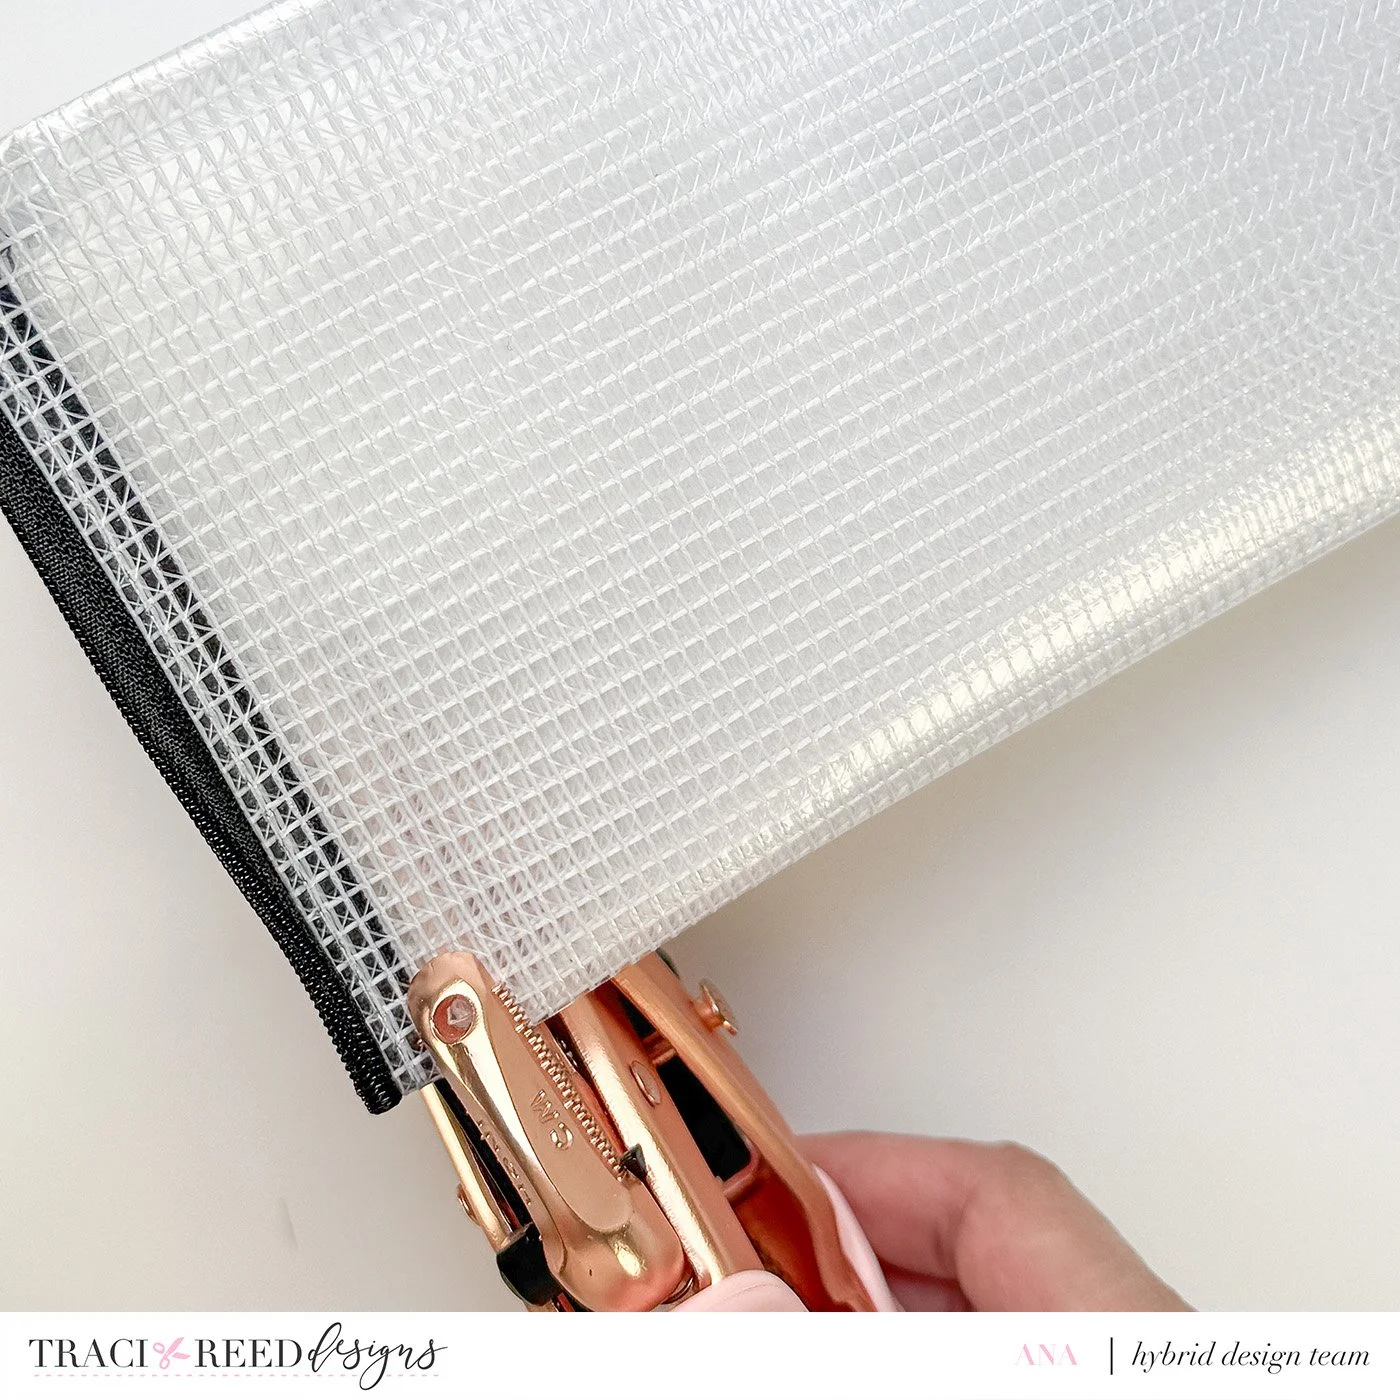
While the pouch is folded, punch a hole through the fold near the top and another near the bottom. Since you’re punching through the folded pouch, you should end up with two holes at the top and two at the bottom.
4. Start threading your elastic.
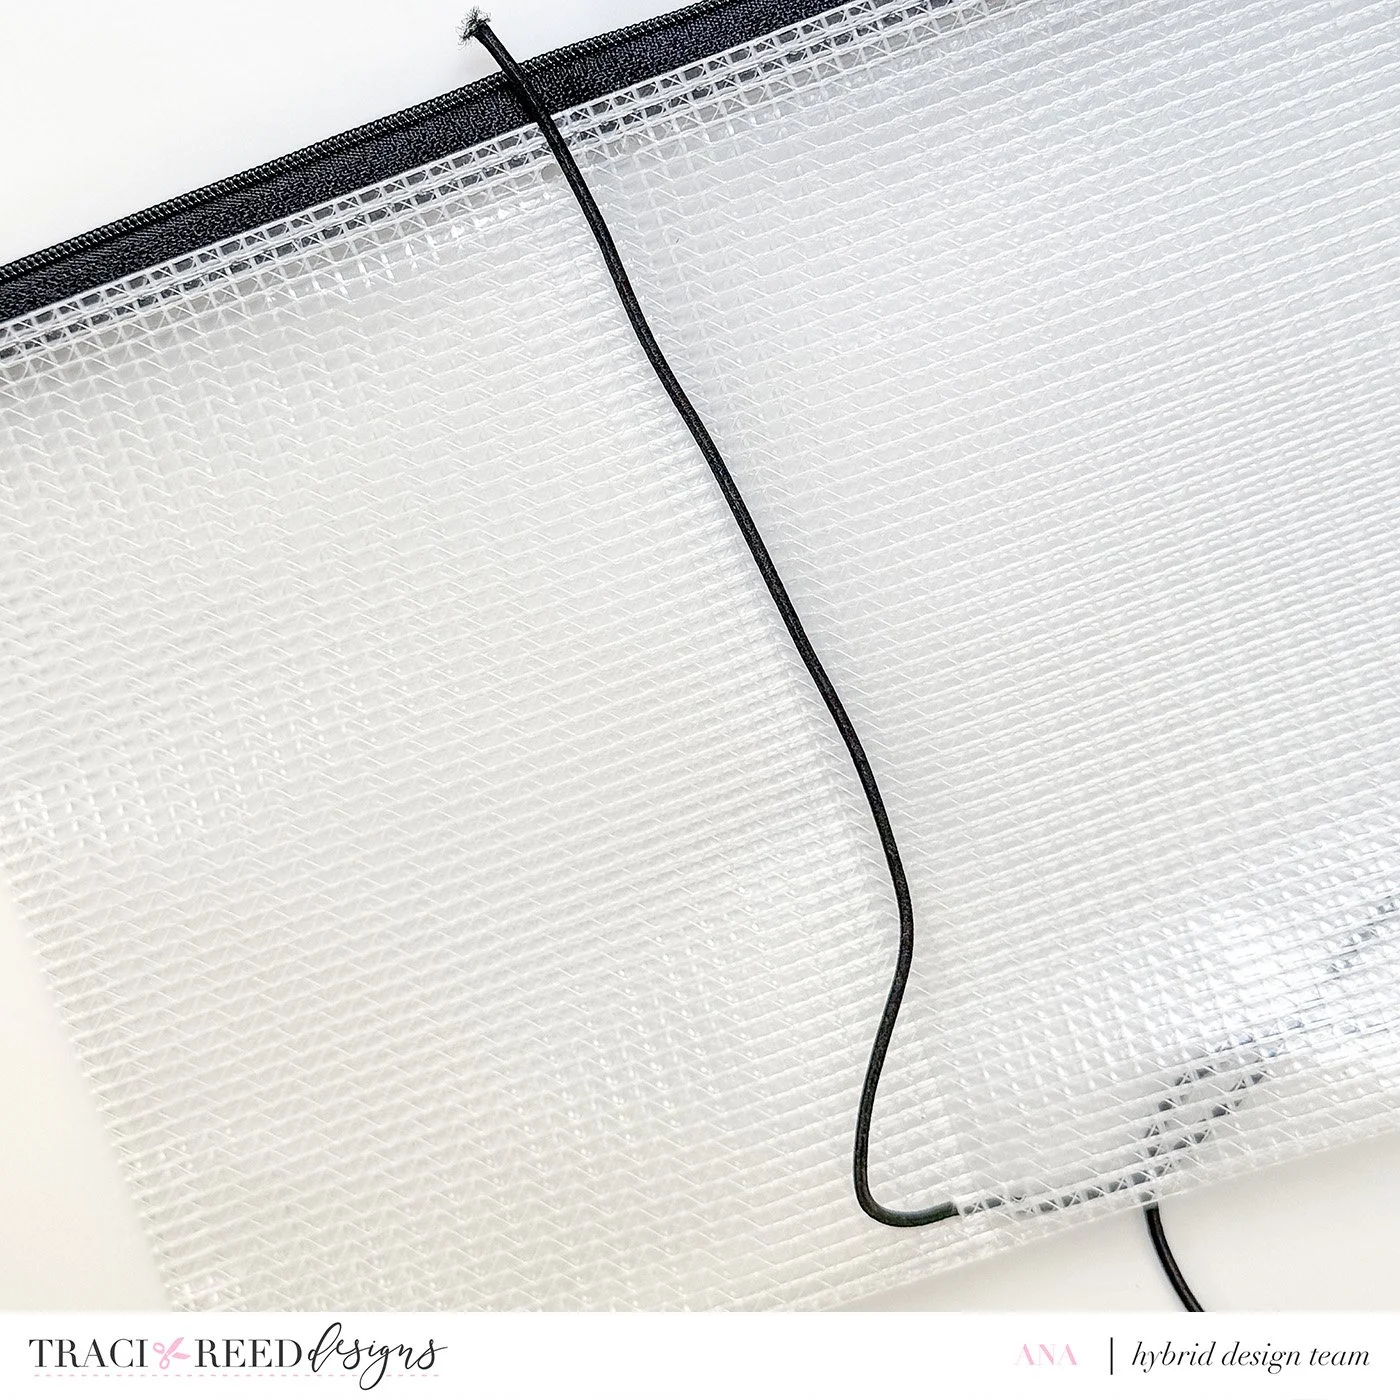
Starting at the bottom, thread your elastic through one of the holes, leaving one end of the elastic inside the journal cover.
5. Continue threading.
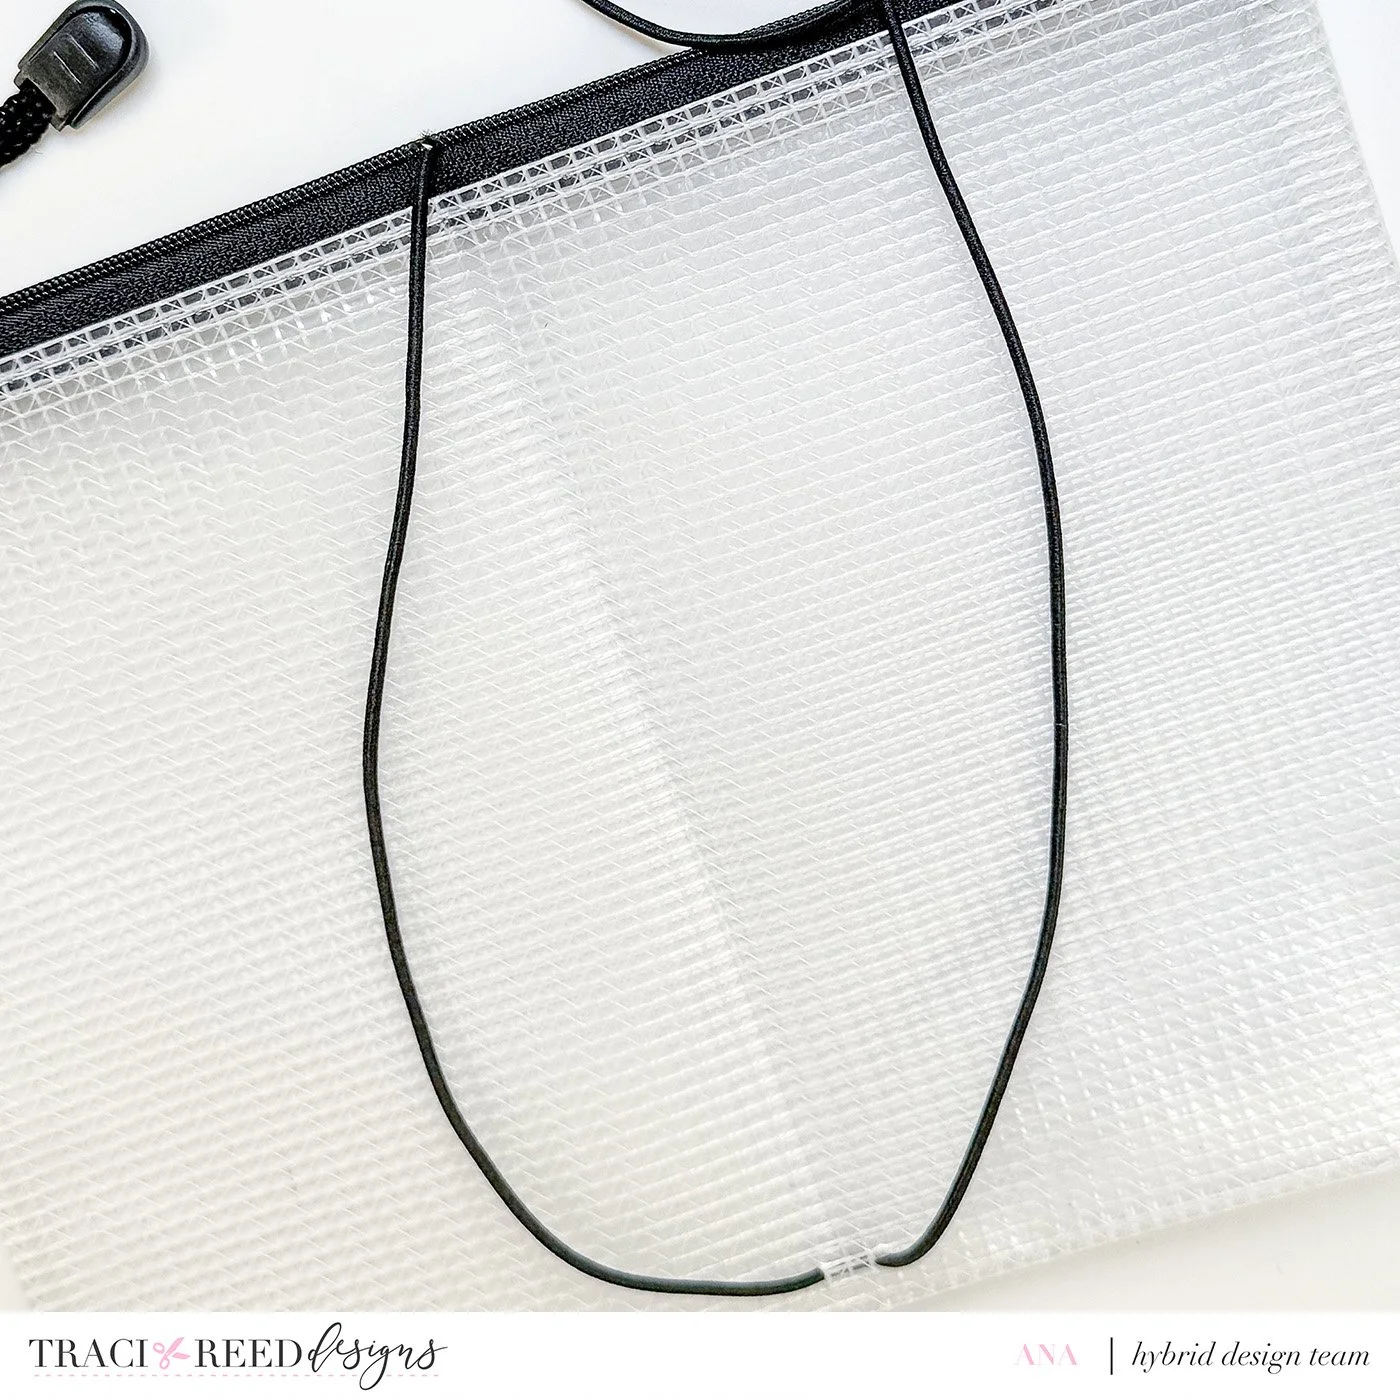
Take the other end through the second bottom hole, run it along the inside of the journal cover and through one of the top holes. Thread it back through the second top hole and bring it down toward the bottom again.
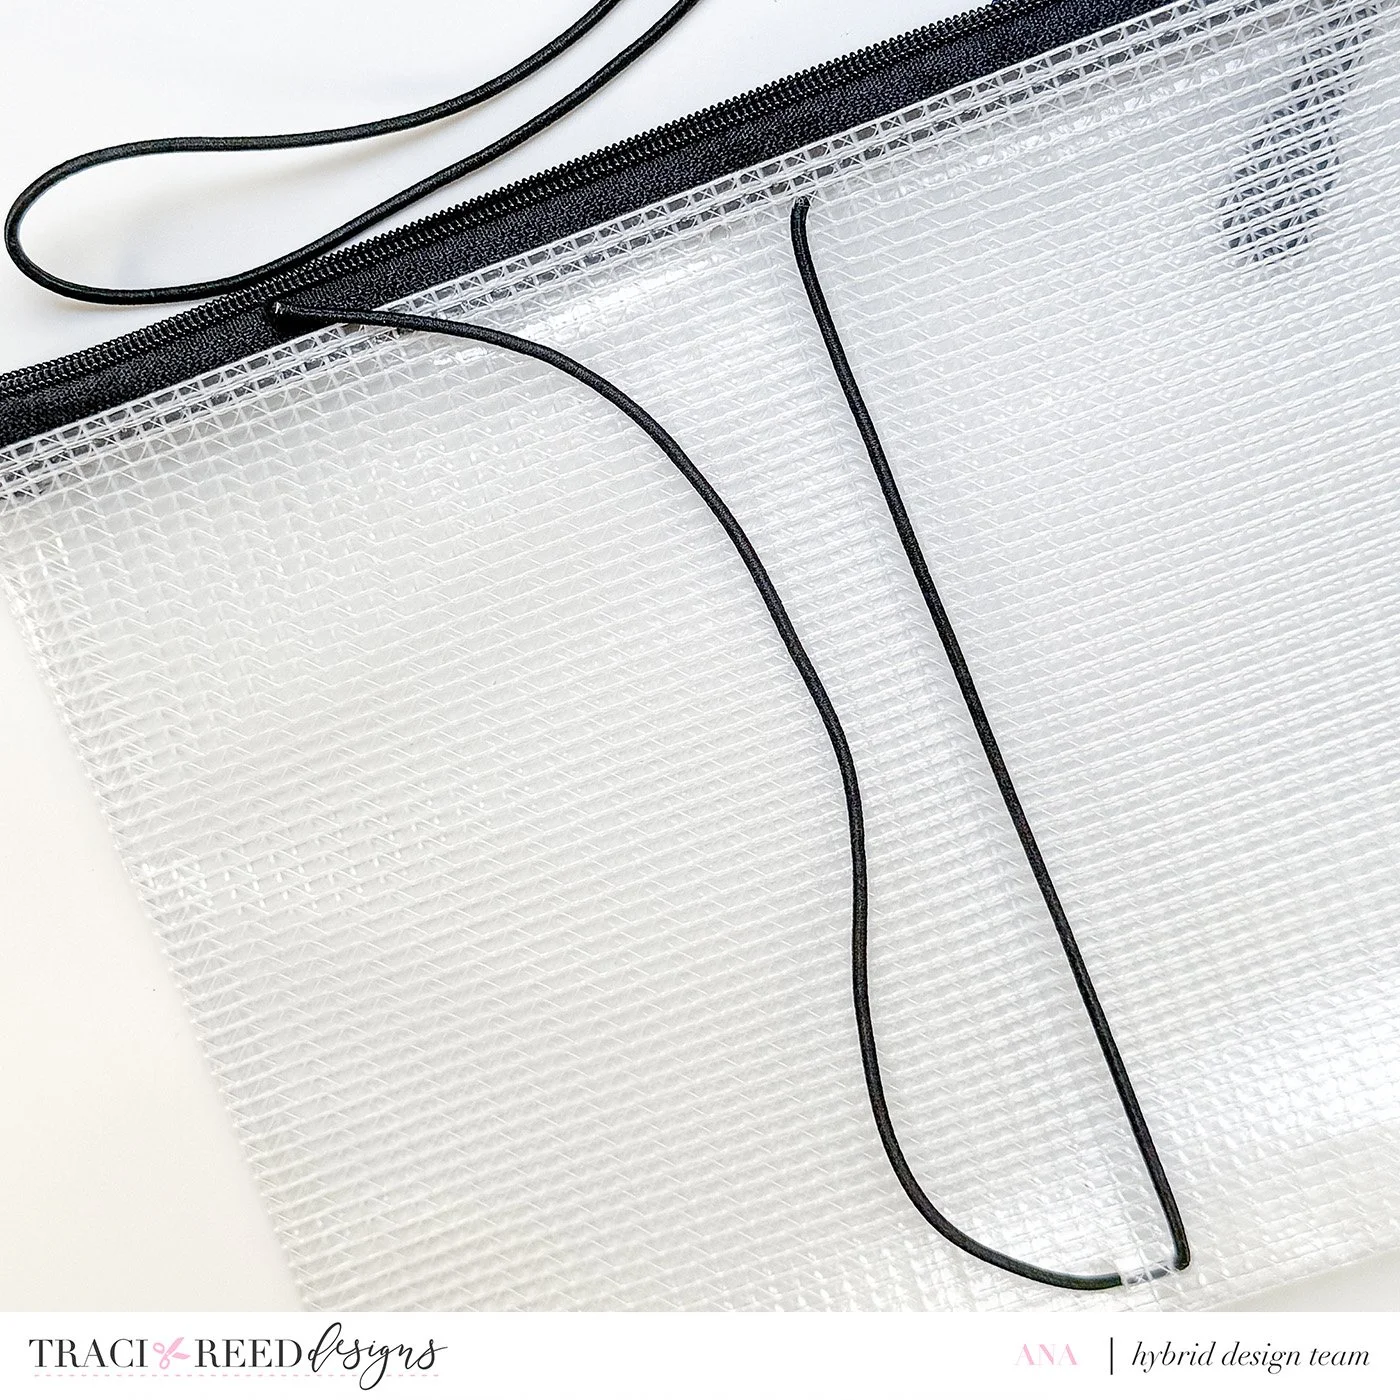
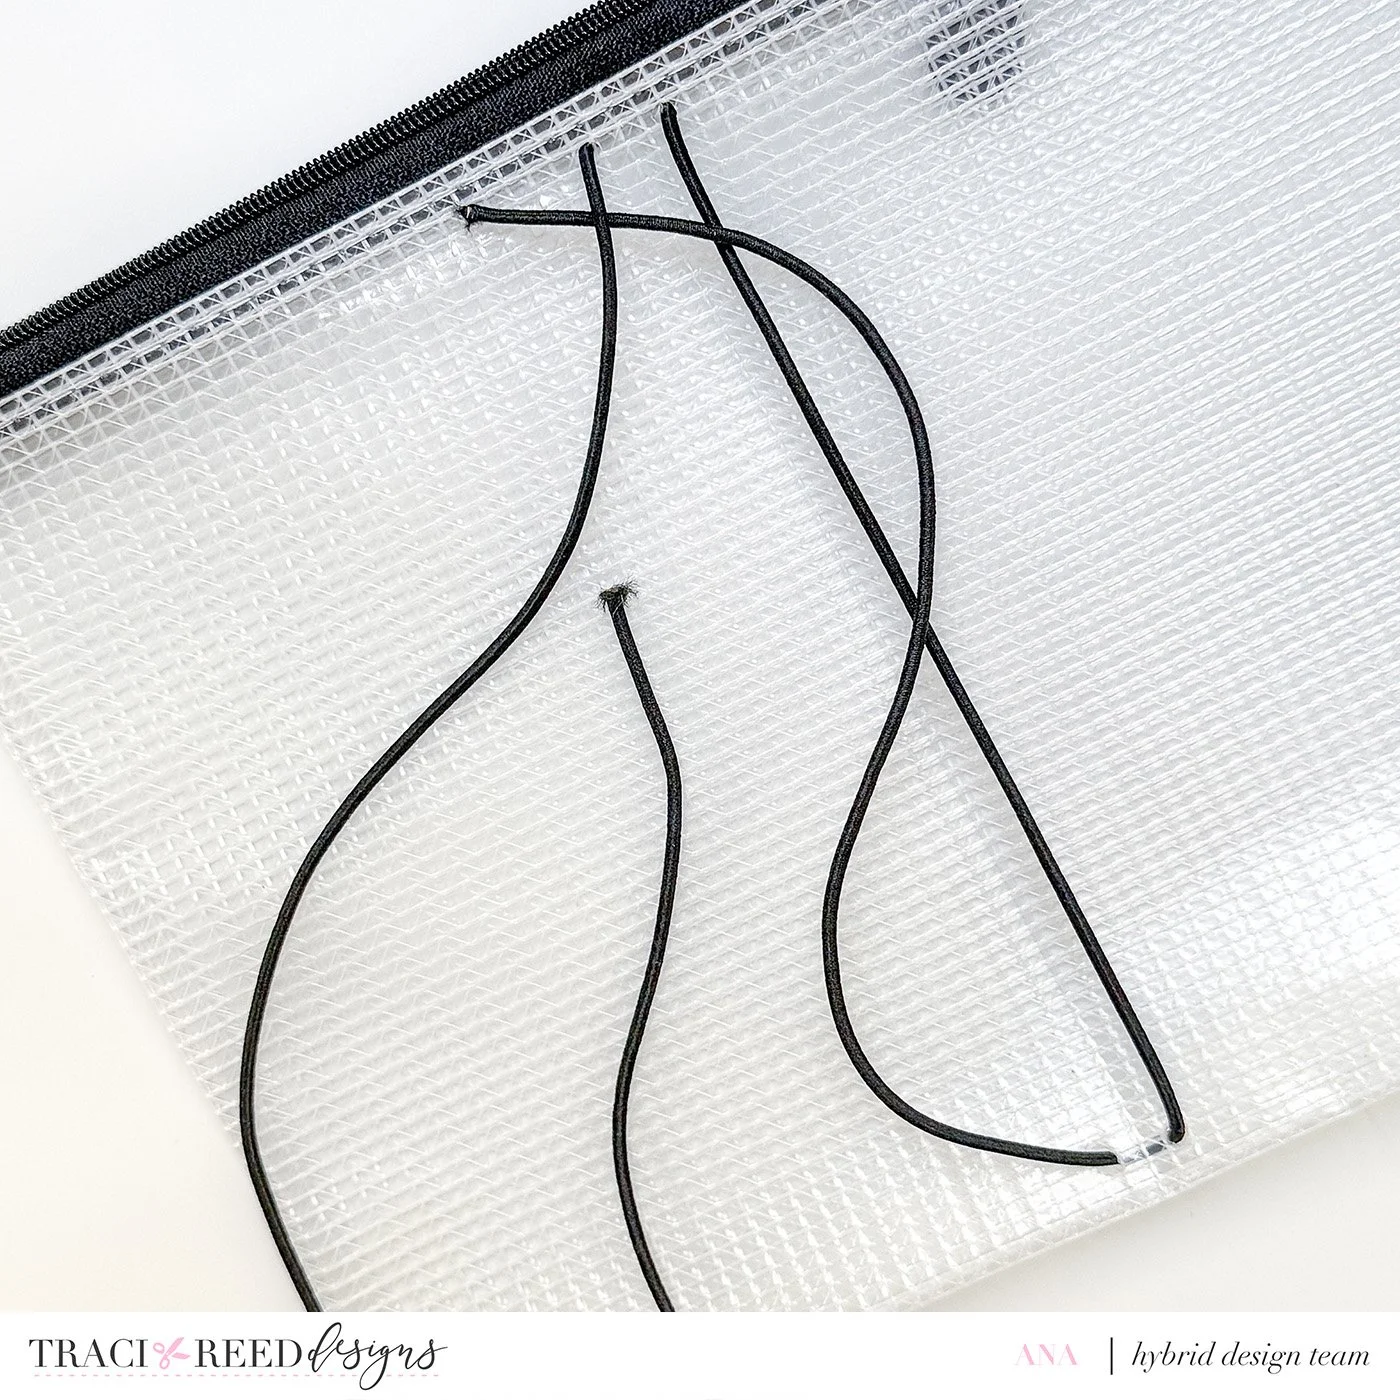
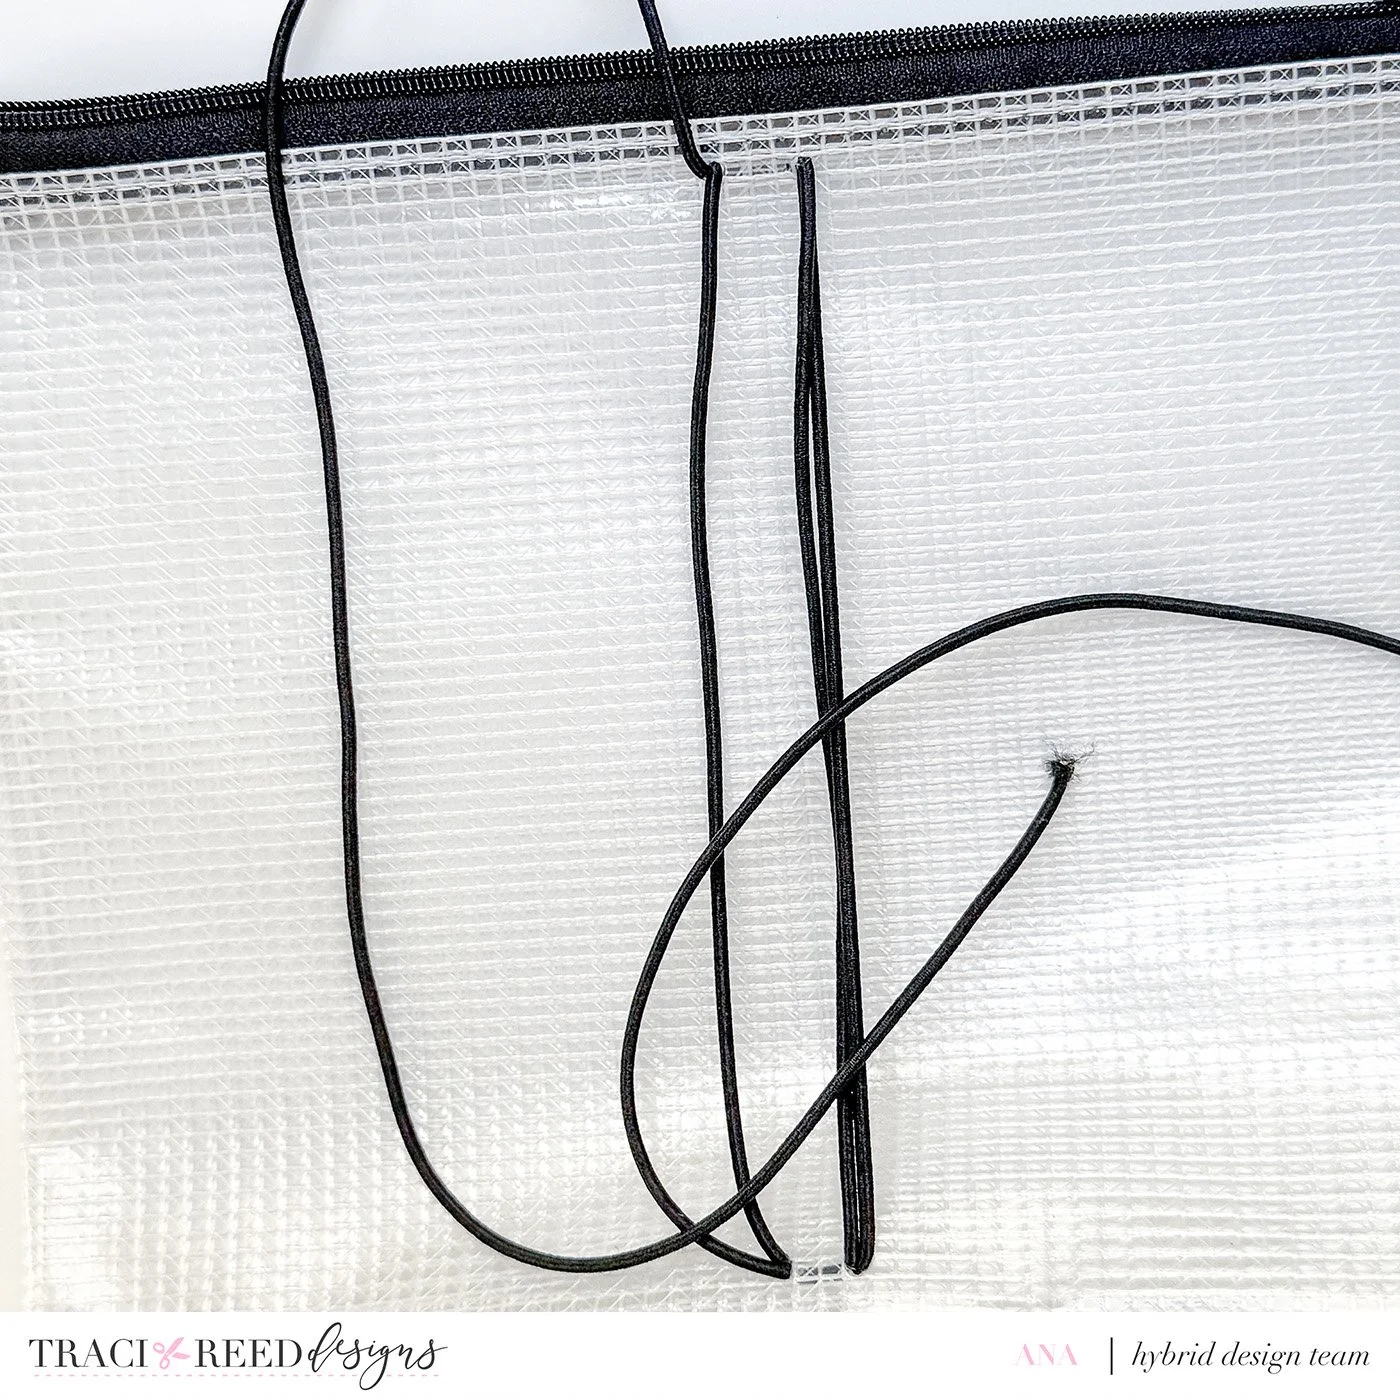
6. Create four elastic strings.
Continue threading until you have four elastic strings running vertically along the center of your journal cover. When the two ends meet, tie them securely together on the inside. These four strings will hold your notebooks or journal inserts.
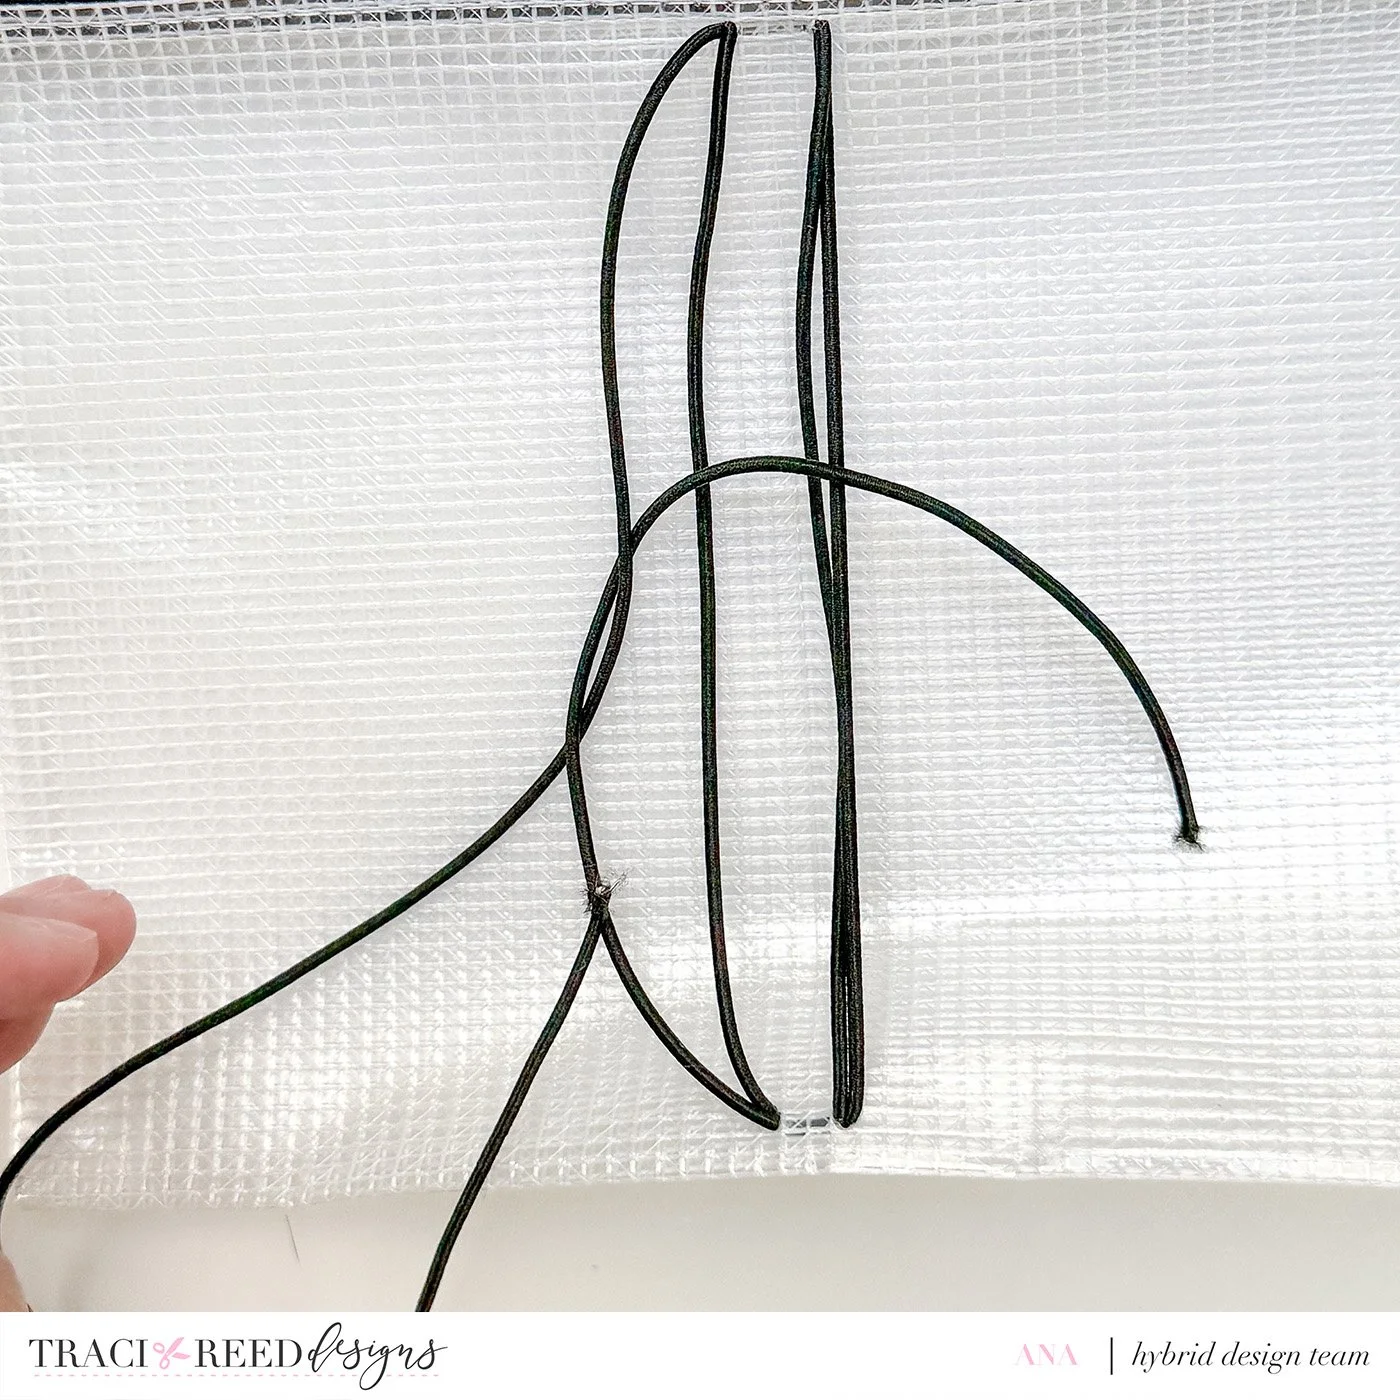
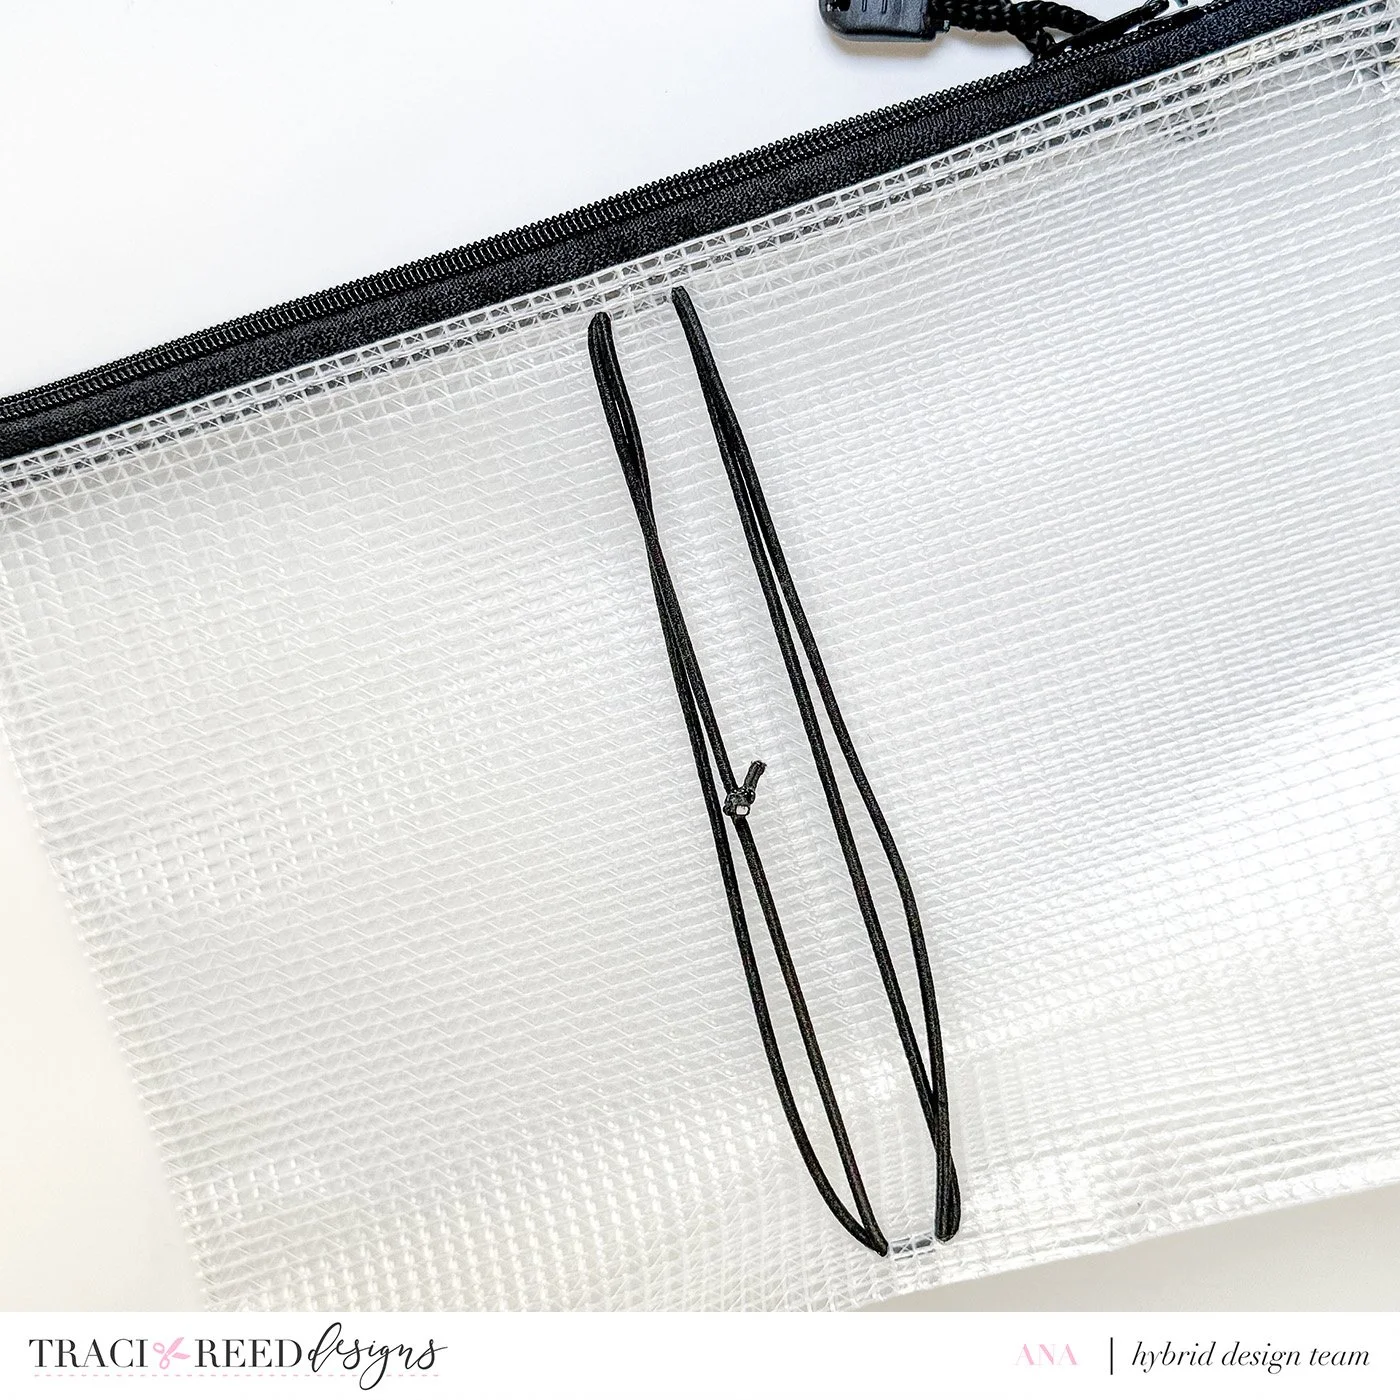
7. Add a hole for the closure.
Punch another hole right in the middle of the fold.
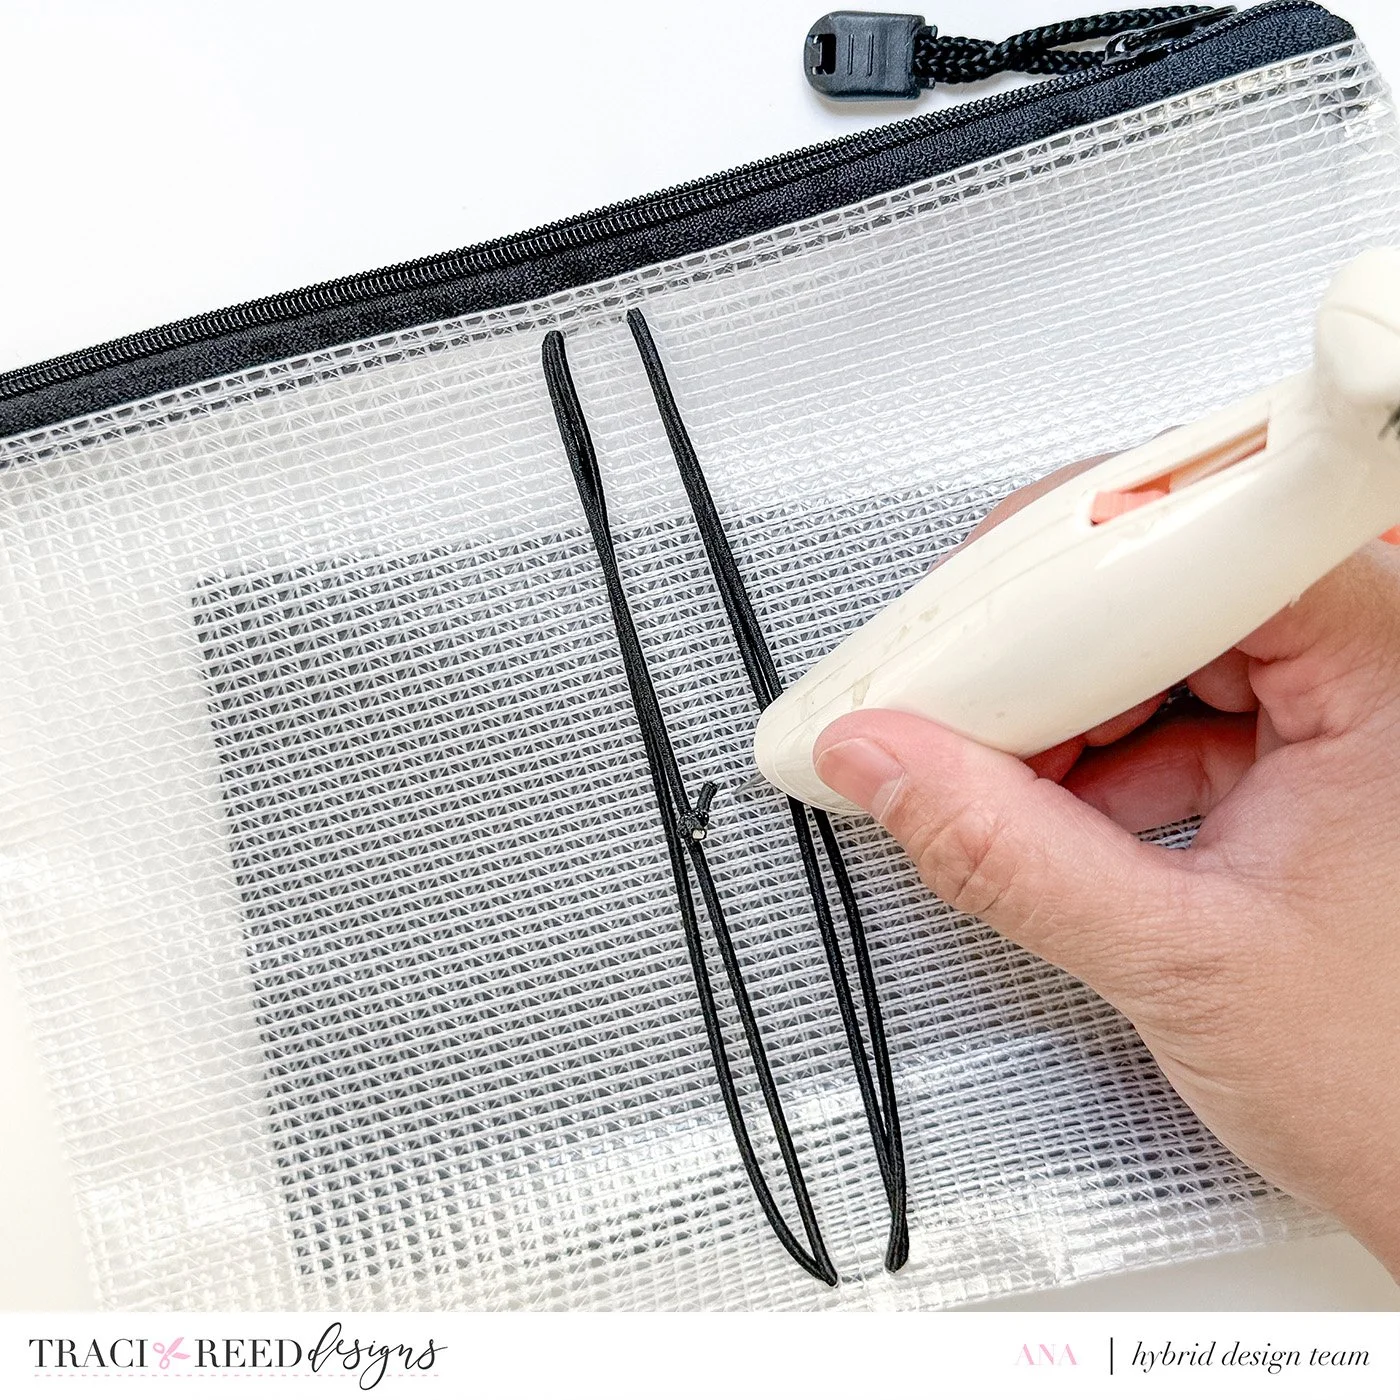
8. Make the belly band closure.
Take another piece of elastic and bring the two ends together to form a loop. Push the folded middle portion through the hole you just made. Adjust the loop until it’s just big enough to wrap around and keep your journal closed, then tie the ends together on the inside of the journal.
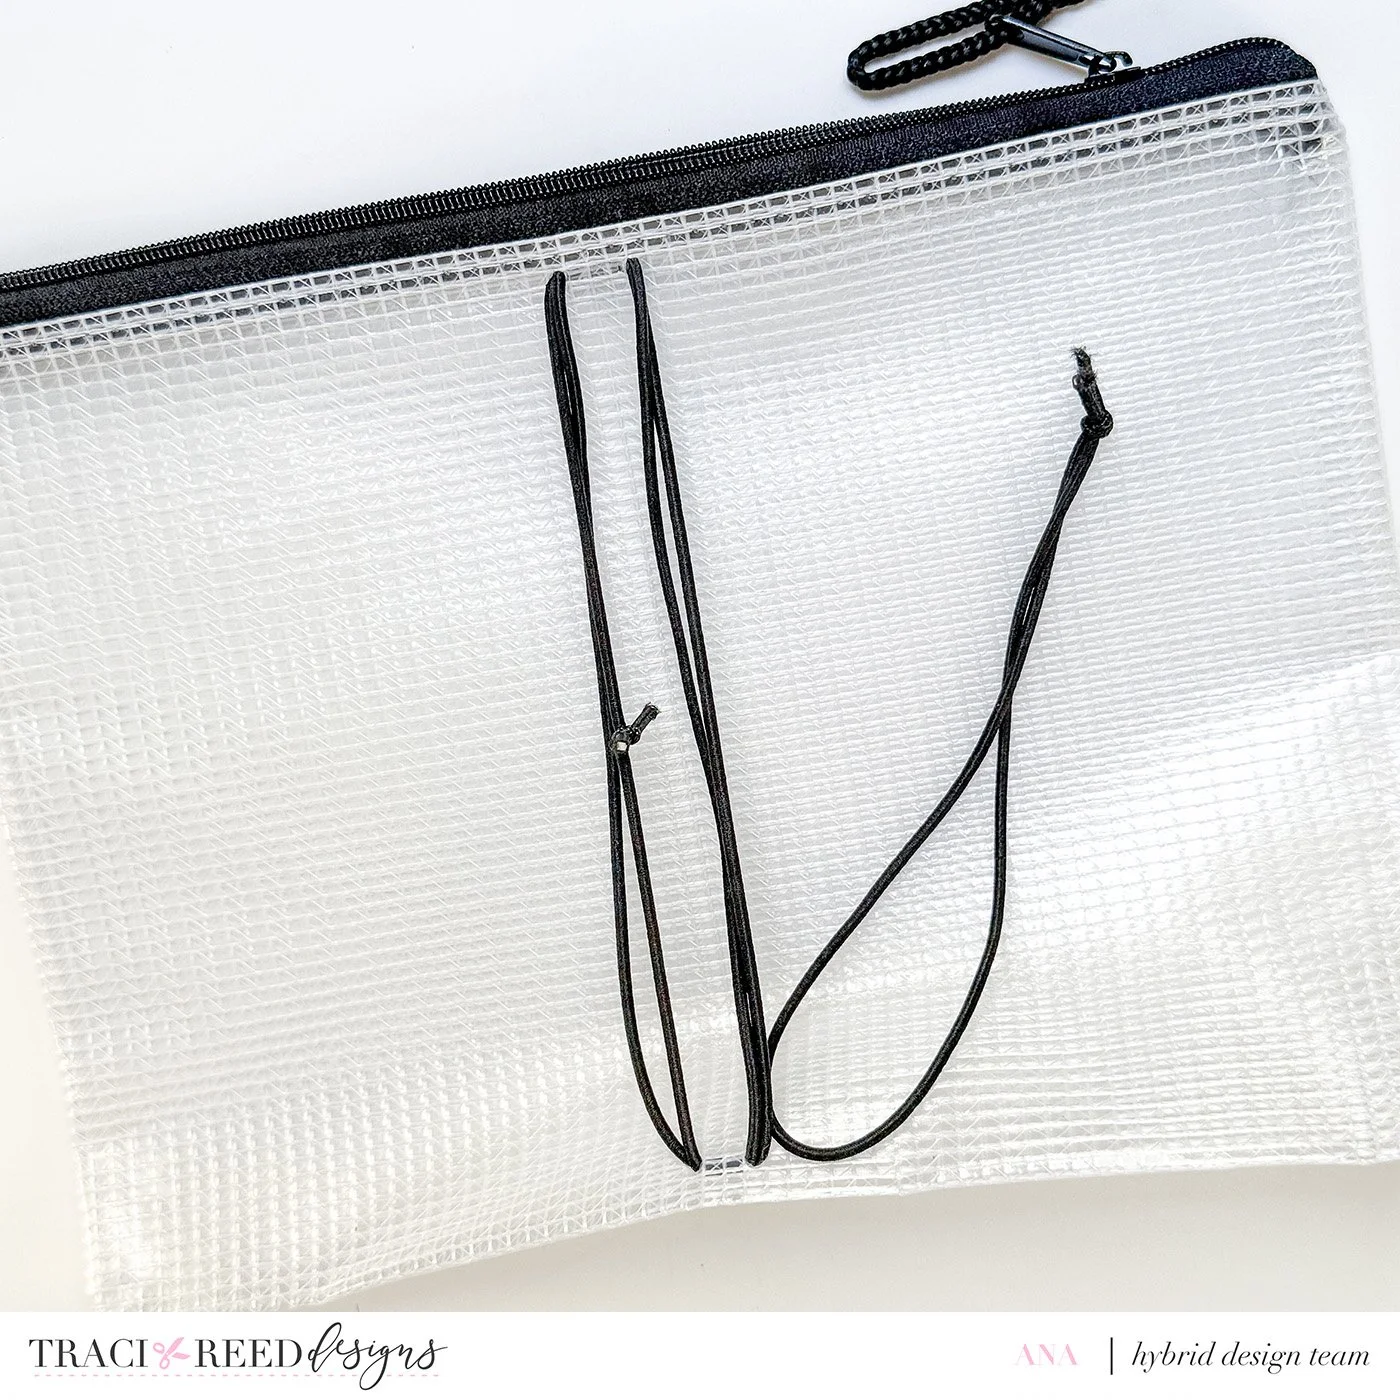
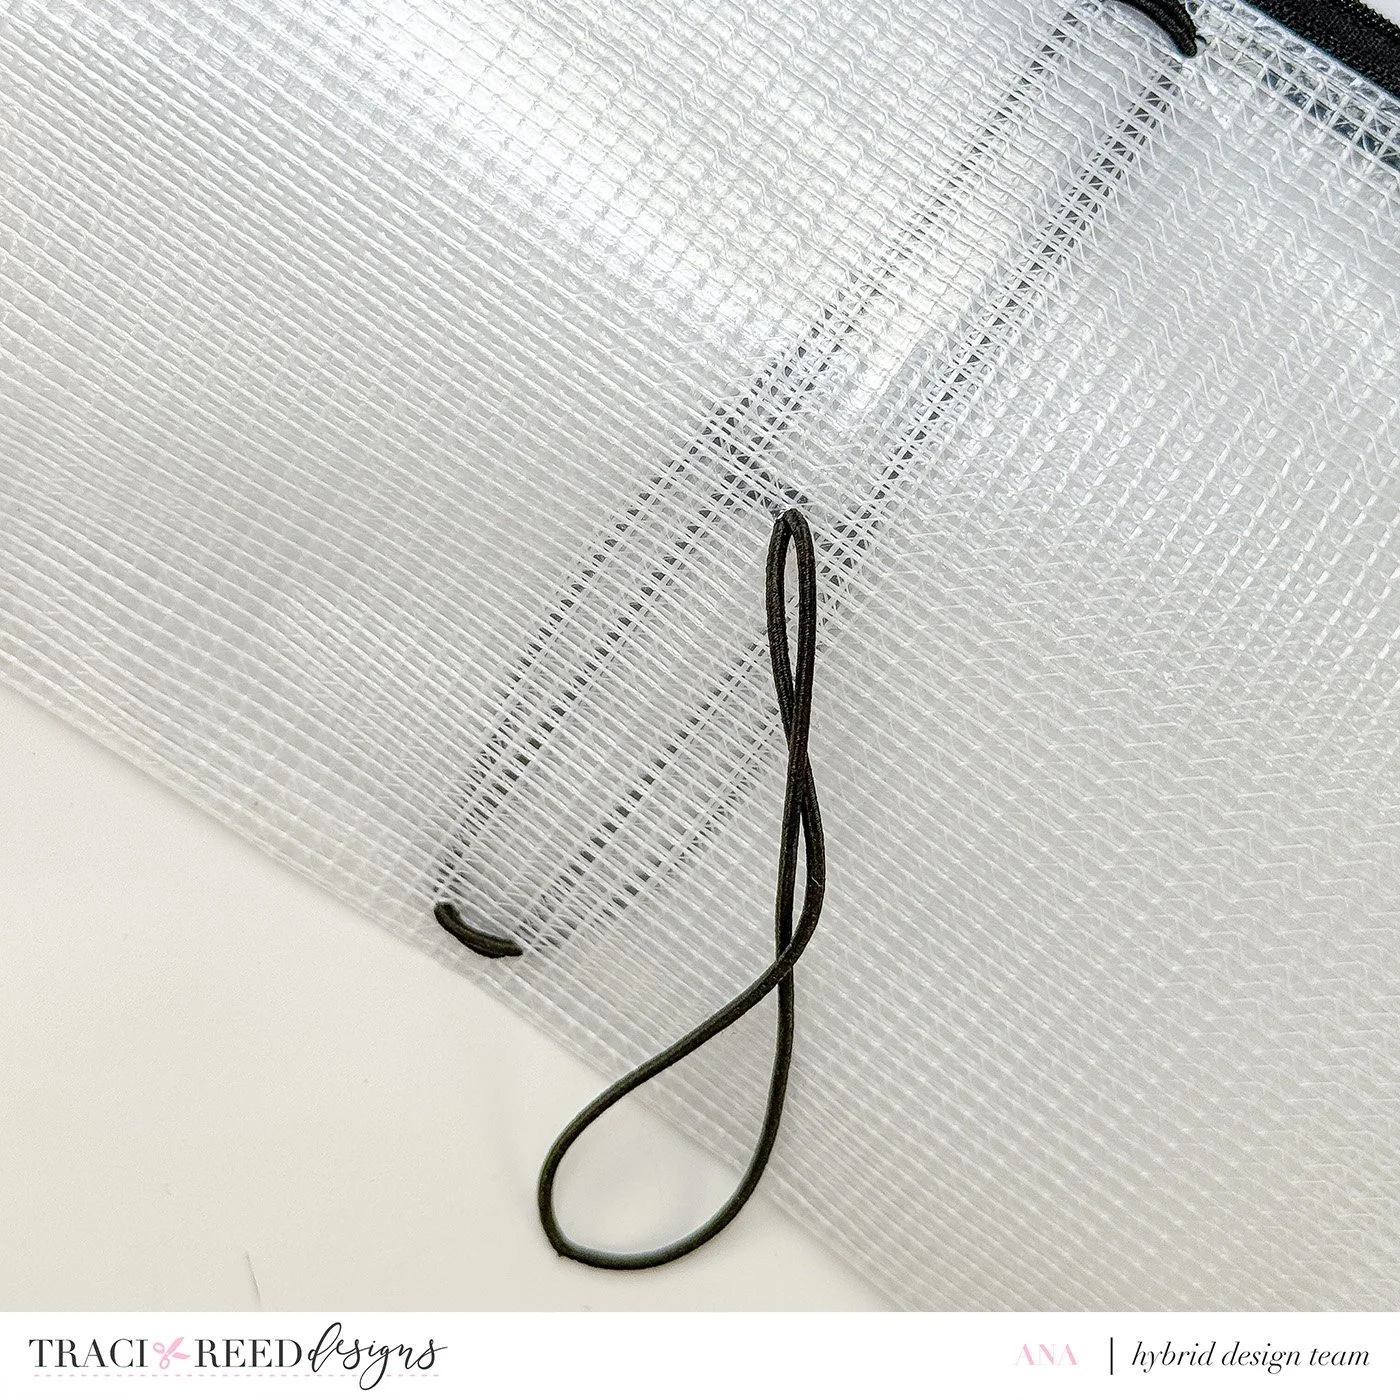
Now you have your belly band closure!
Make Your Own Notebook Inserts
9. DIY your inserts.
If you don’t have notebook inserts that fit your new journal cover, you can easily make your own like I did!
Measure the inside of your pouch to determine the perfect size for your notebooks. You can refer to my Weekender Travel Journal tutorial for instructions on making your own notebook inserts.
One of the best things about making your own inserts is that you can coordinate the notebook covers with the rest of your journal! Of course, I chose the very pretty and colorful floral patterned paper from the Carefree Days collection for mine.
Make Some Shrink Plastic Charms!
And here’s the fun part - decorating the journal with charms and stickers!
10. Choose your designs.
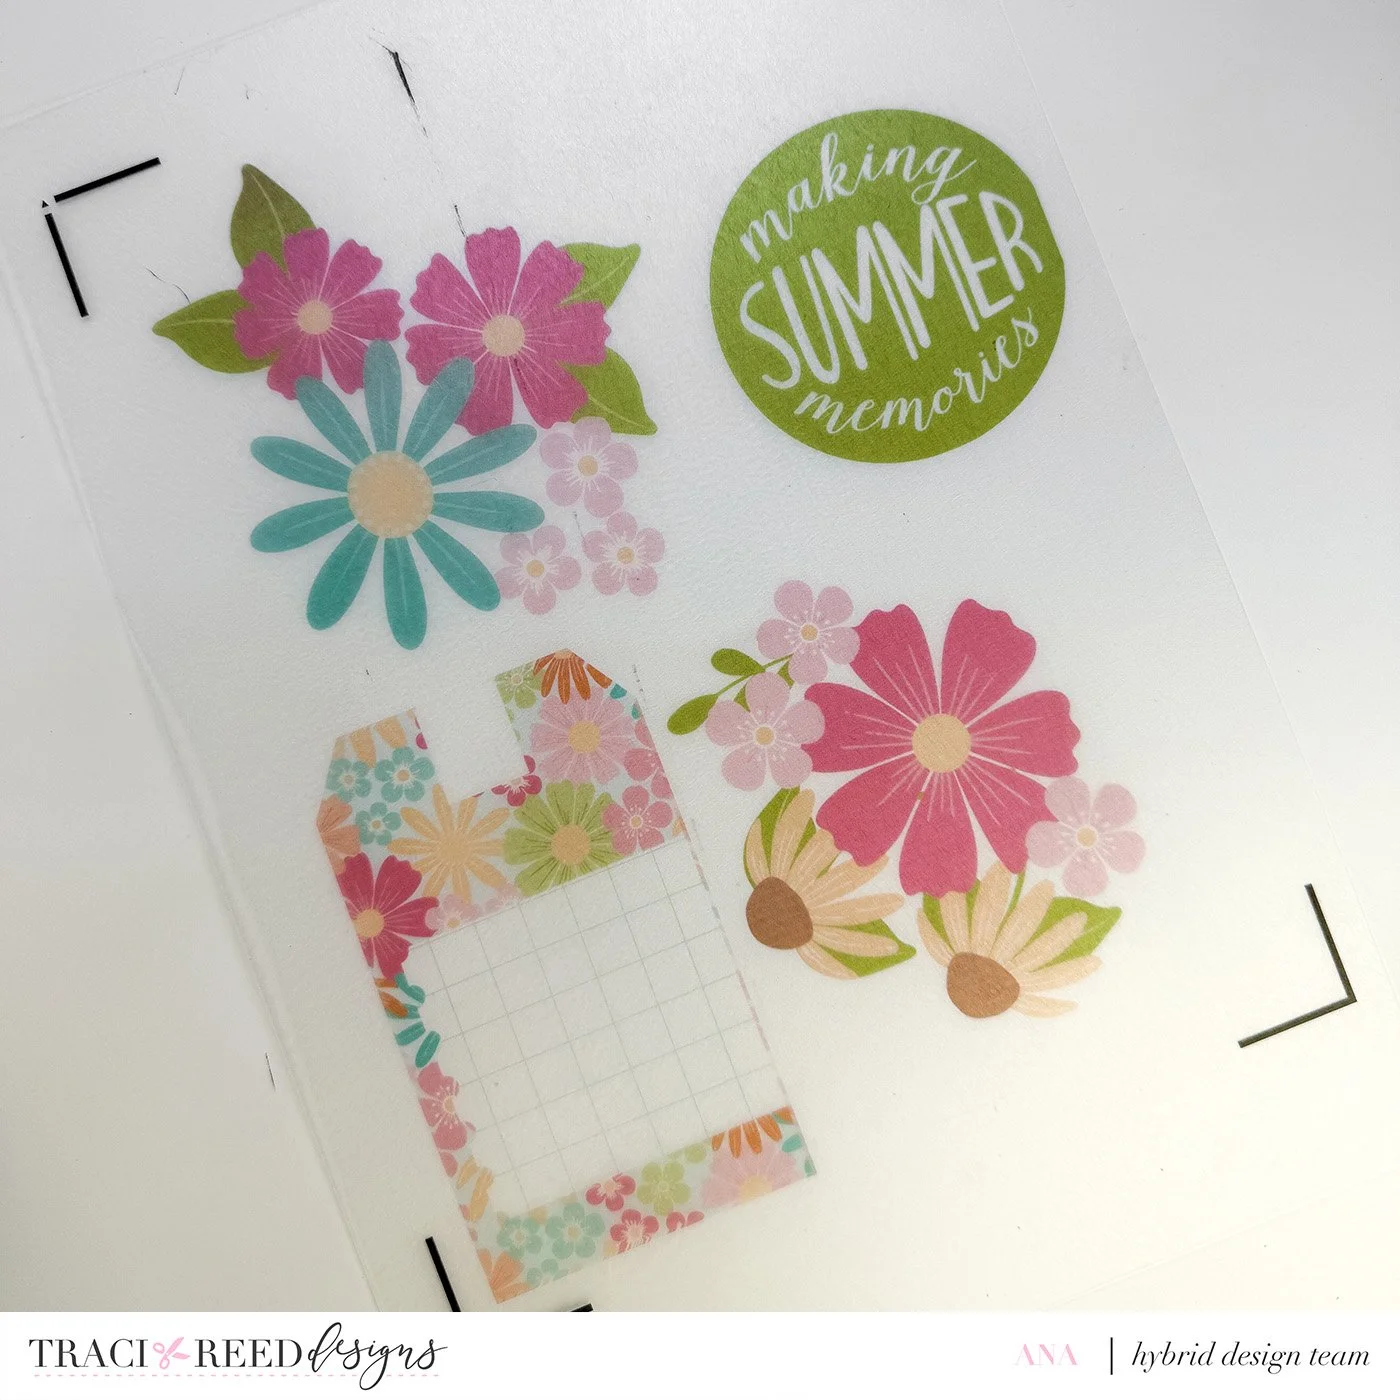
Pick some of your favorite stickers from the Carefree Days collection and print them onto printable shrink plastic. You can use your Cricut to Print Then Cut the designs or simply cut them out by hand with scissors.
11. Shrink your charms.
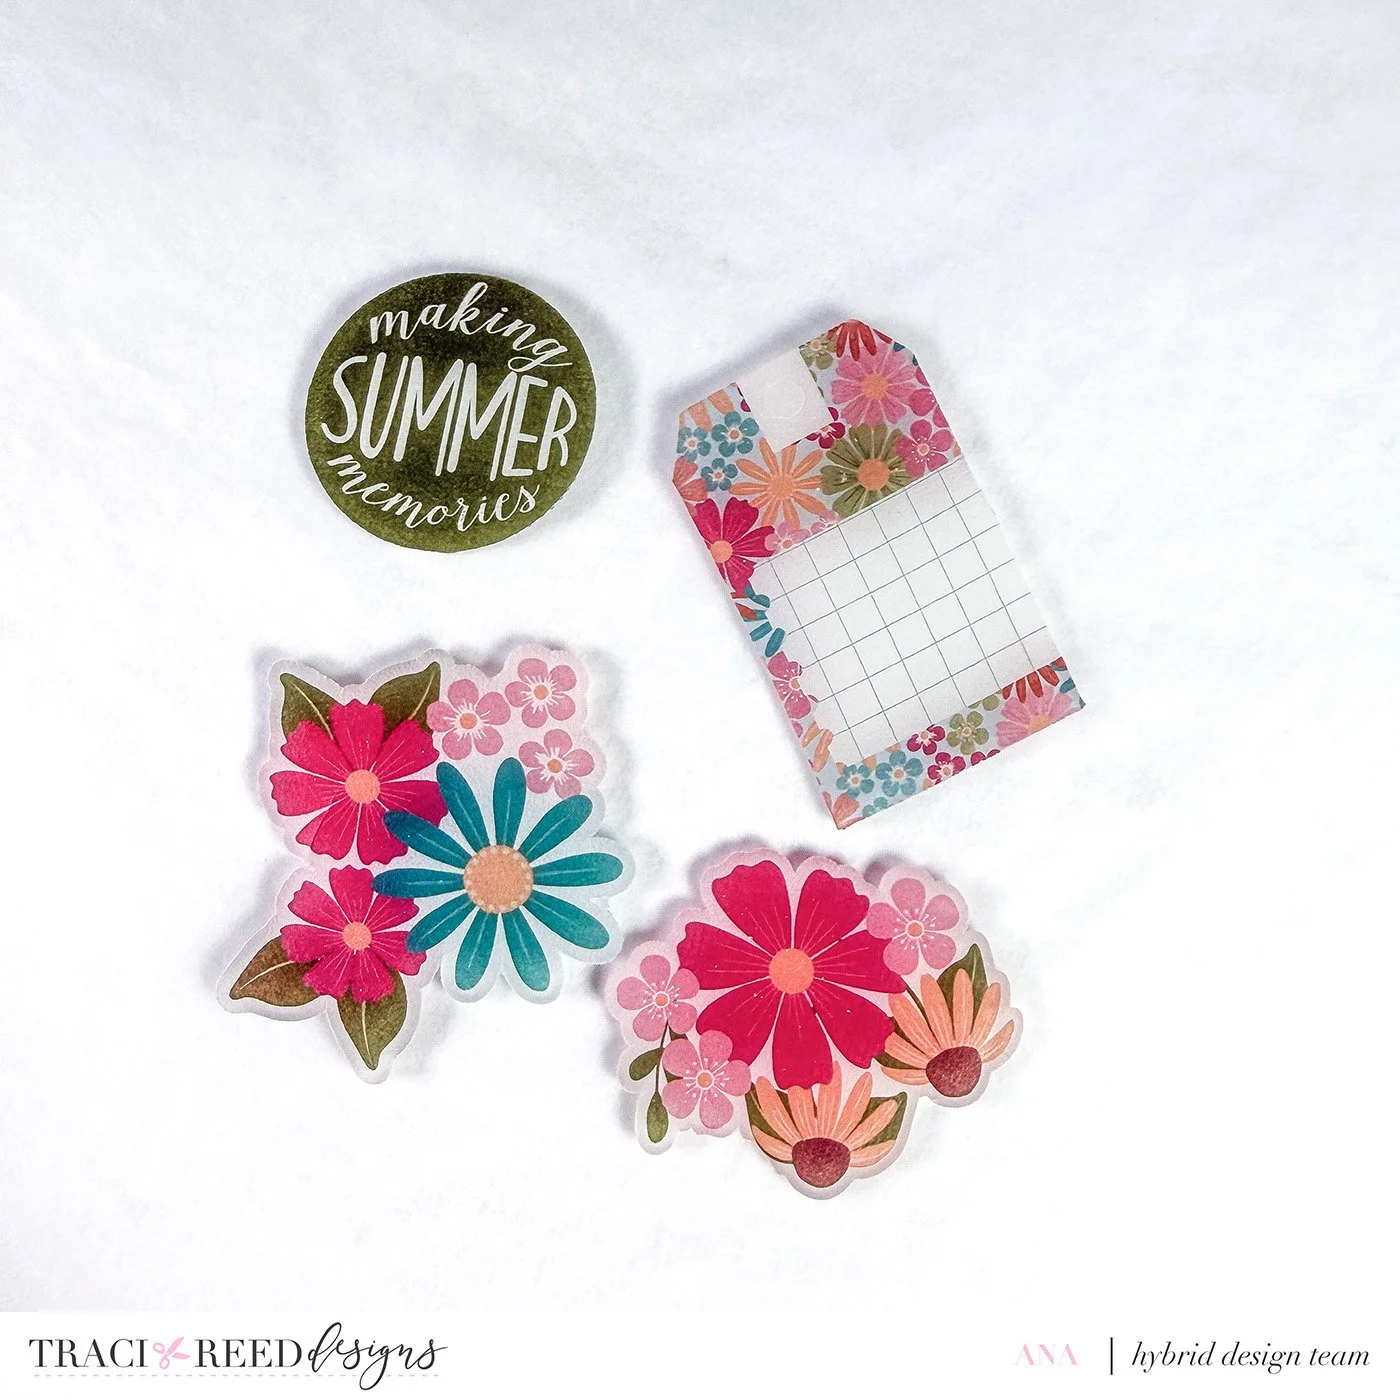
Use a heat gun or your oven, following the instructions for your shrink plastic, to shrink each piece.
12. Punch your holes.
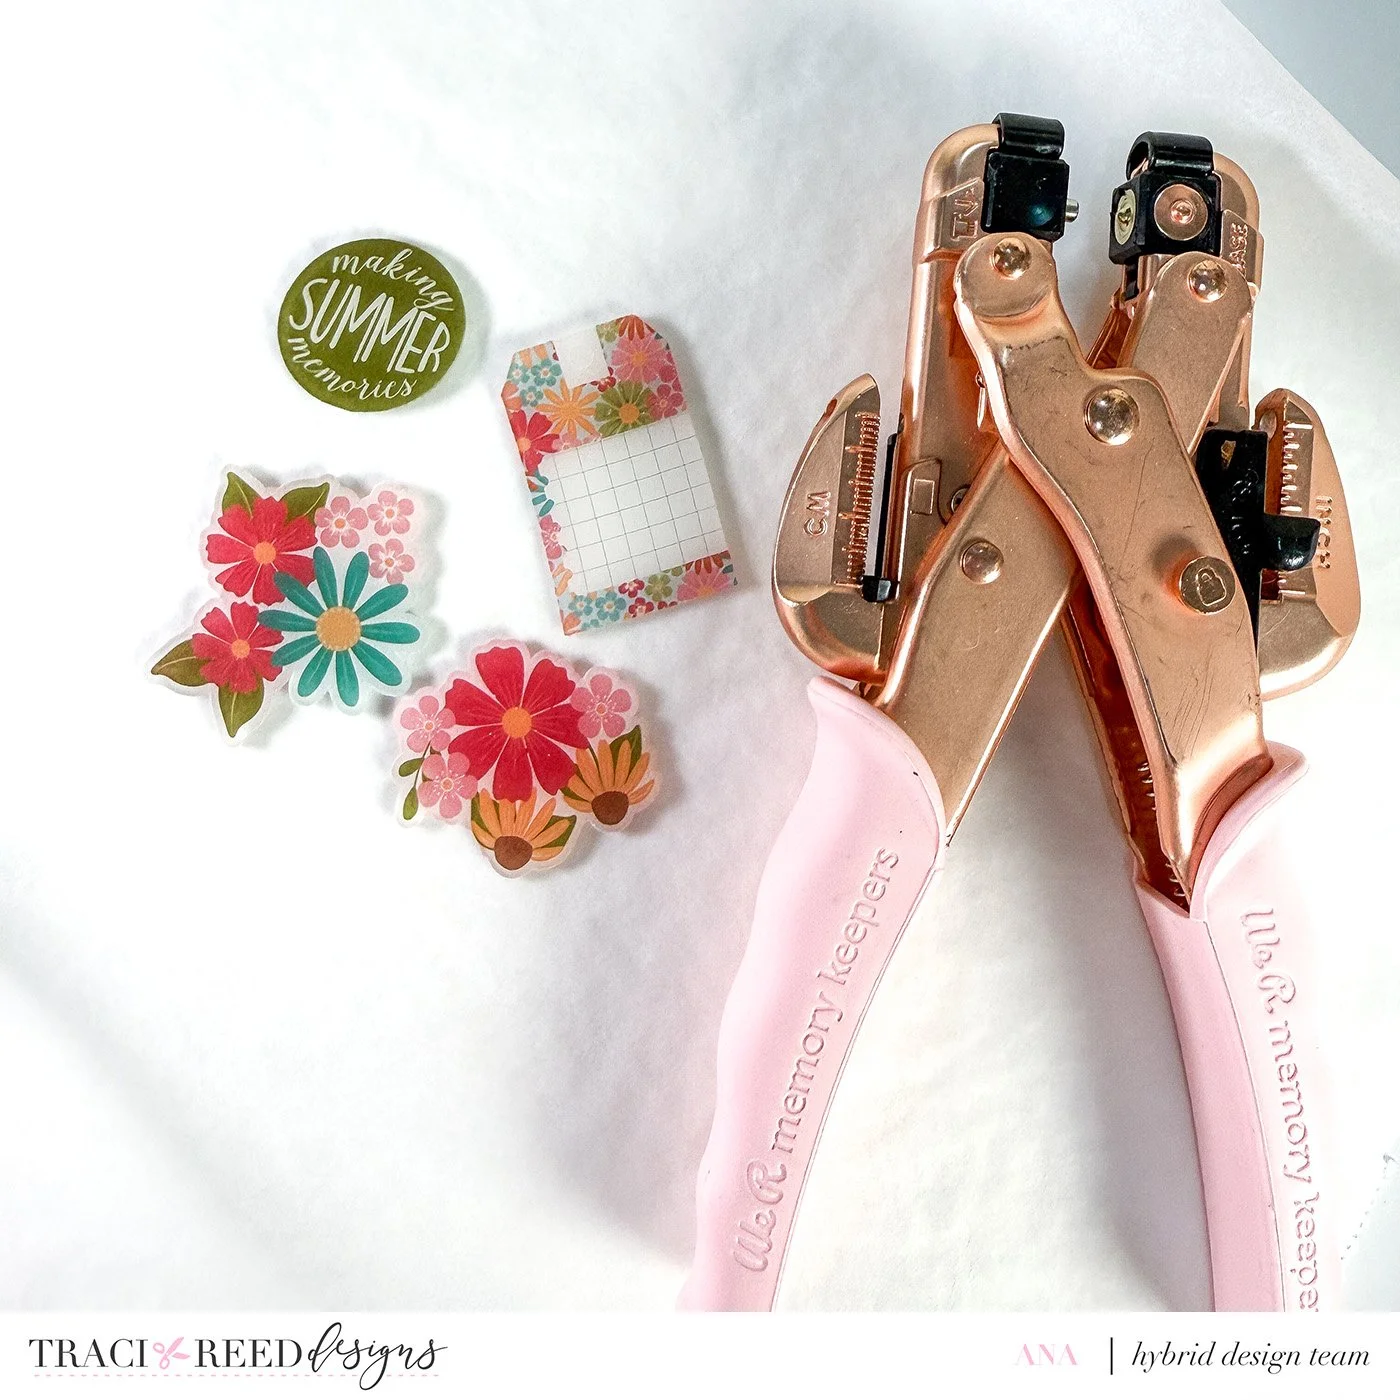
Once your charms are ready, punch holes where you want to attach your hardware.
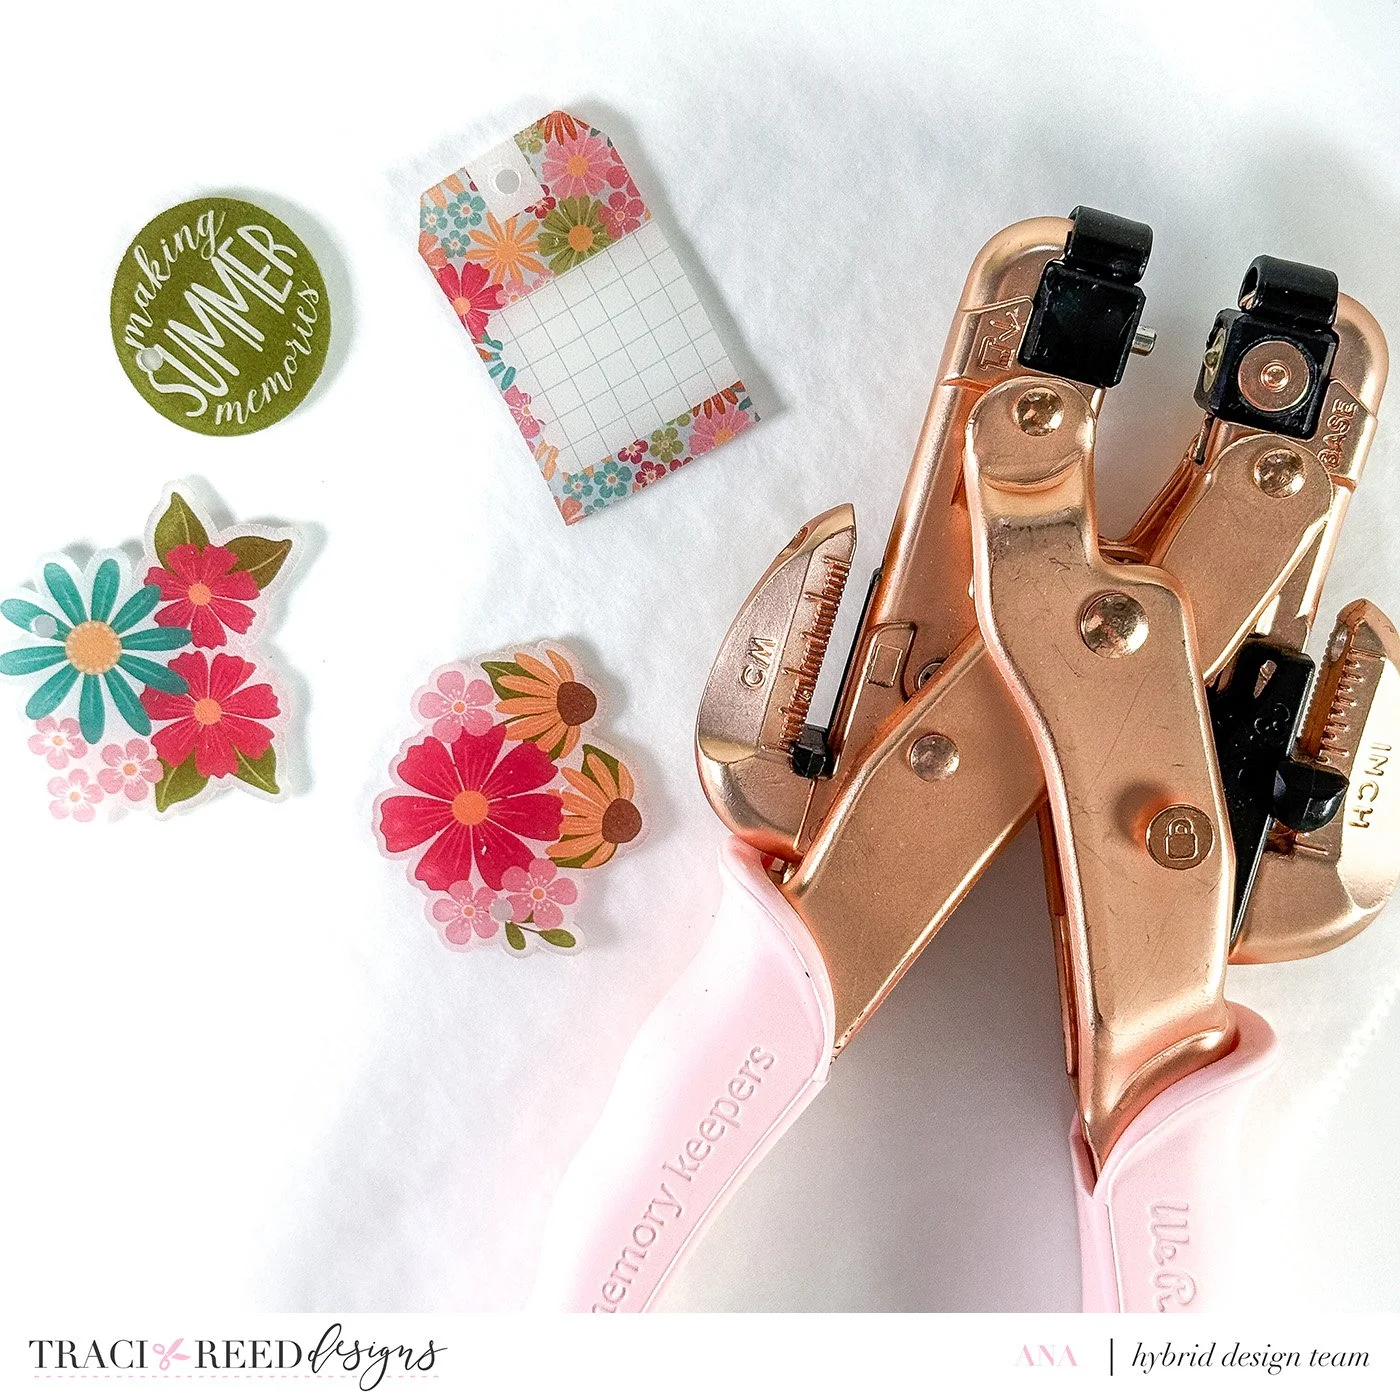
13. Add the hardware.
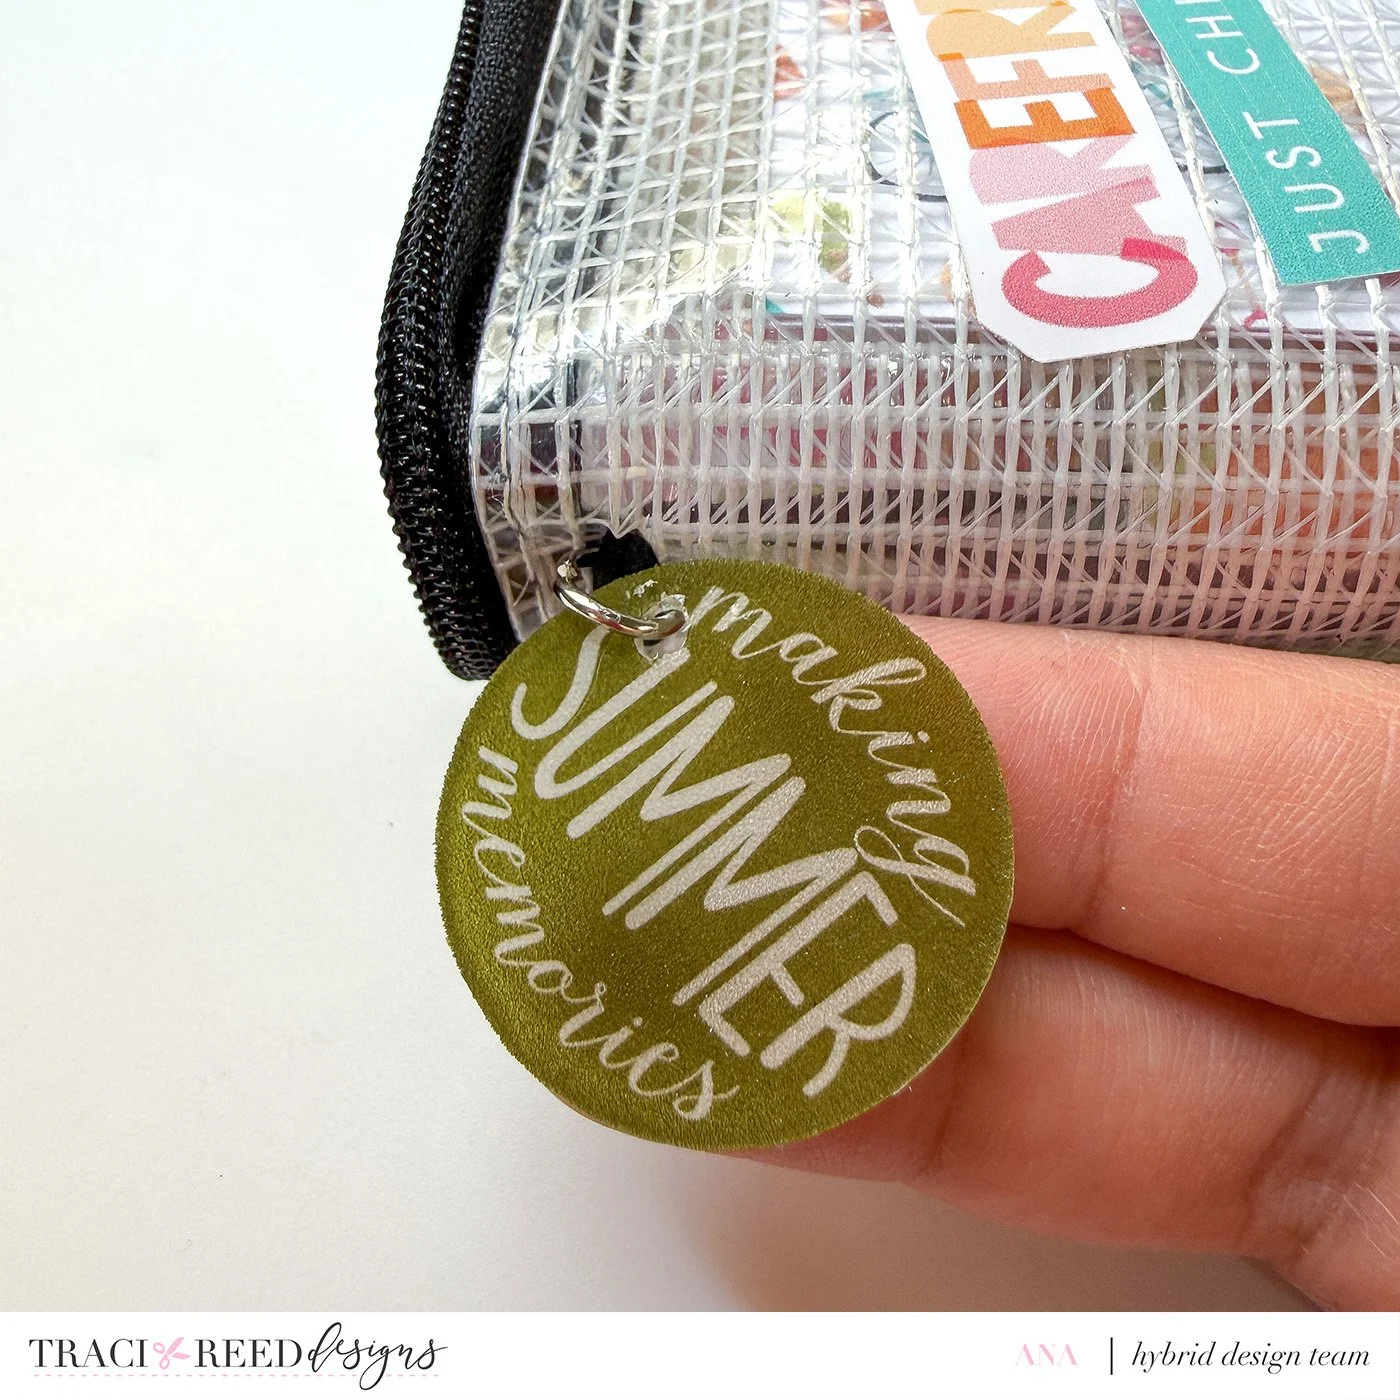
Use key rings, ball chains, hoops, or whatever you have in your stash to attach your new charms to the journal.
Time to Decorate!
14. Add stickers.
Print Then Cut some of your favorite Carefree Days stickers and use them to decorate the outside of your pouch journal.
15. Fill those pockets!
Finally, slip in your notebook inserts and fill the front and back pouches with journaling cards, ellies, stickers, and other embellishments from the collection.
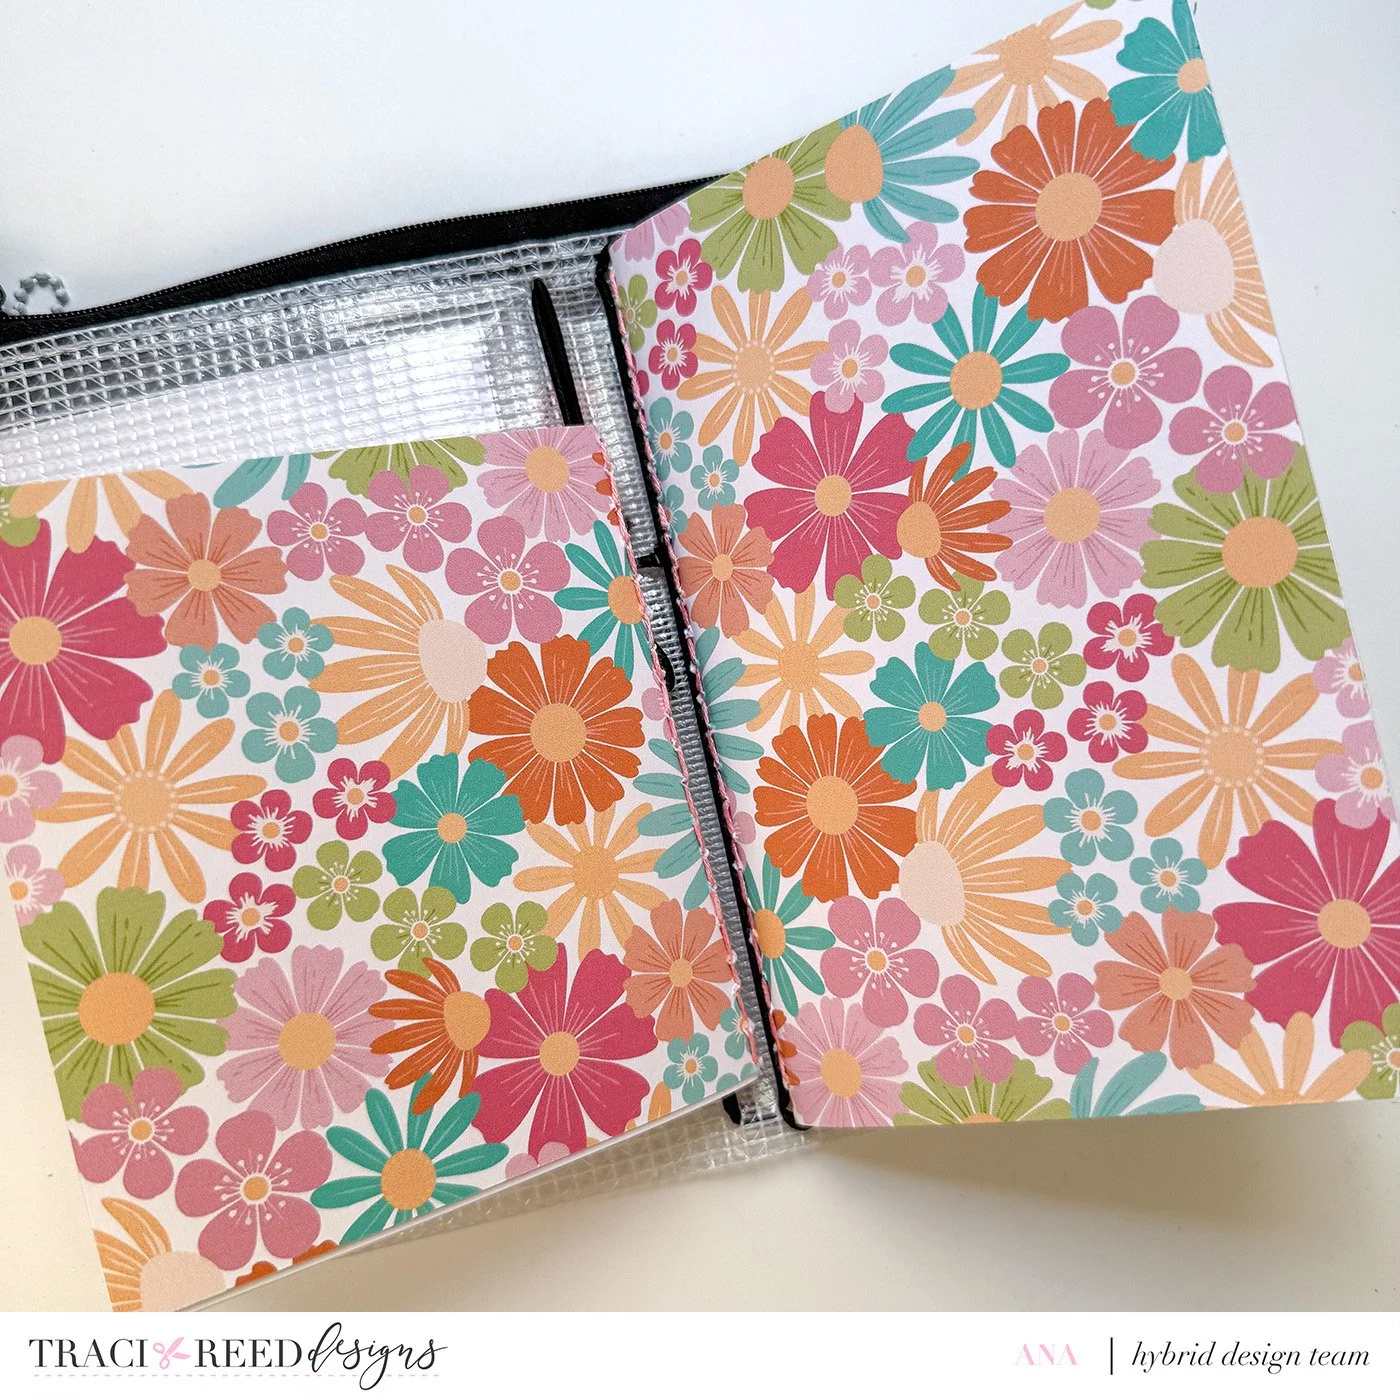
And there you go, a super easy, repurposed pouch journal cover with pockets on both the front and back!
I think the coolest part of using a transparent pouch is that whatever you tuck inside becomes part of the decoration. Those colorful Carefree Days journaling cards and die-cut embellishments can peek right through the cover, and you can switch them around whenever you feel like giving your journal a new look.
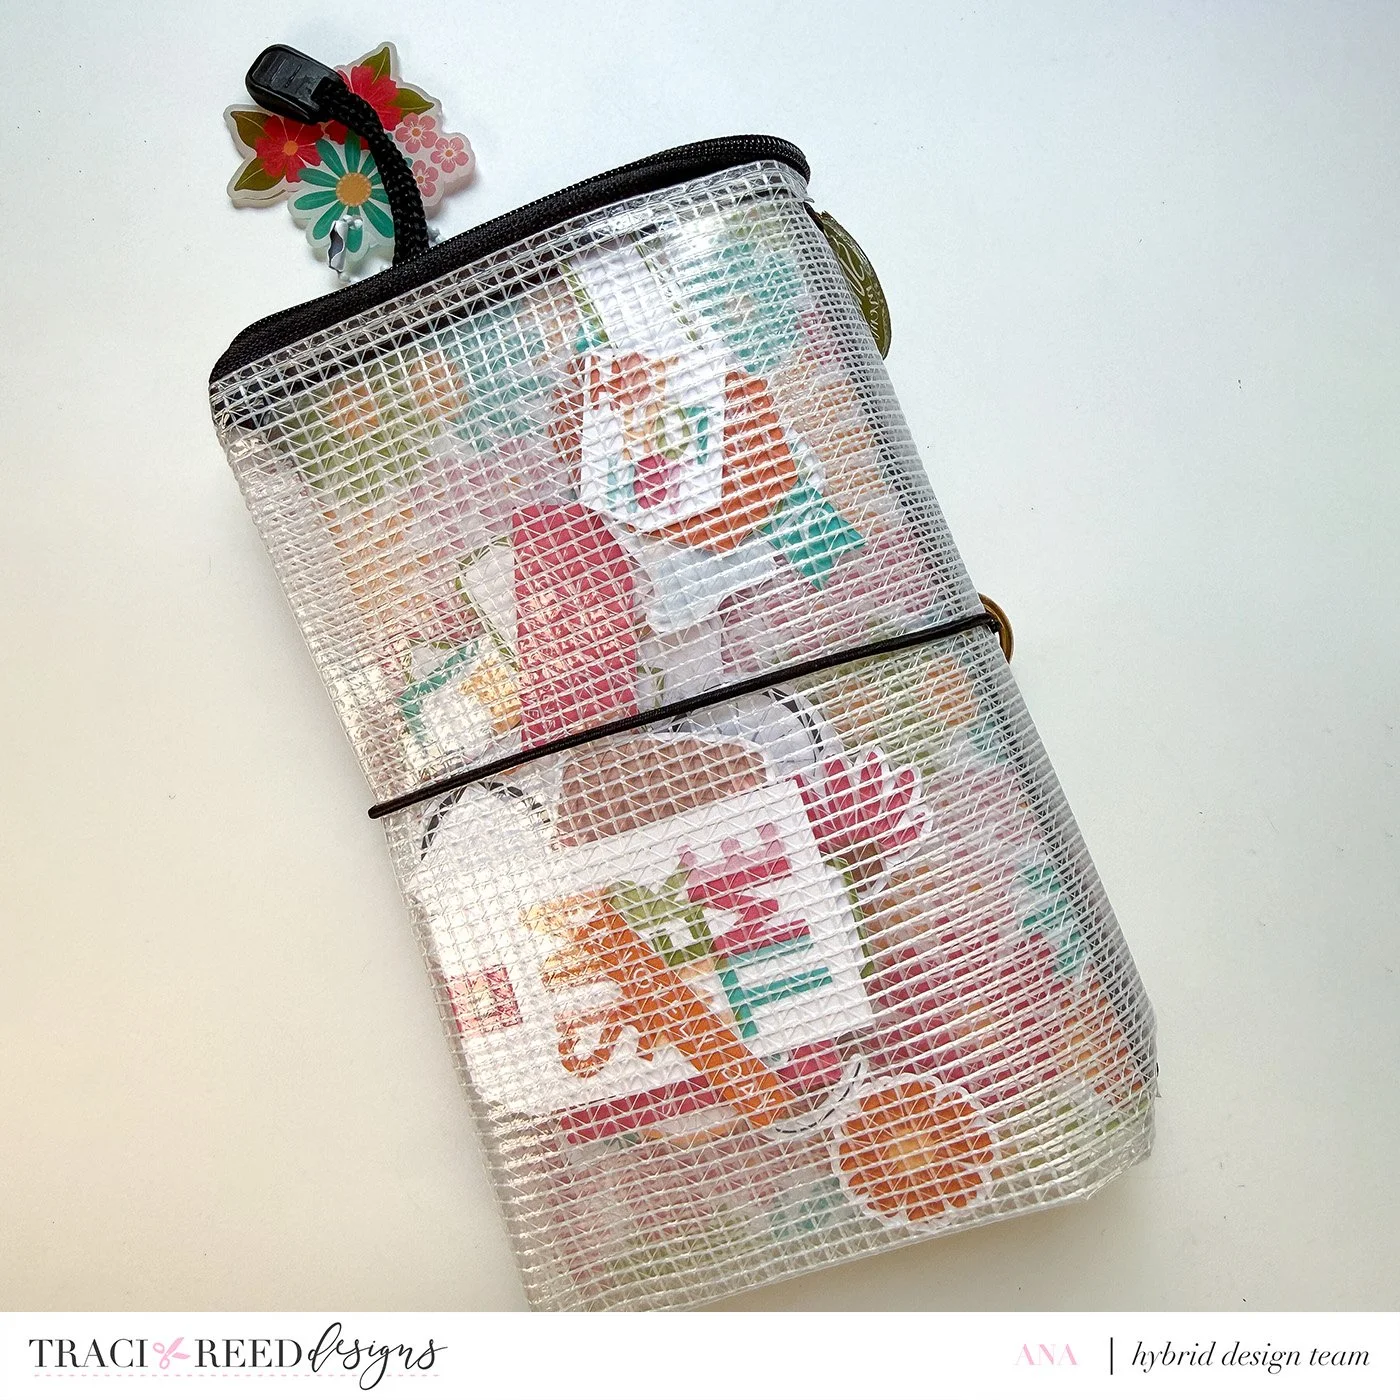
I love that I was able to turn something that had been sitting unused in my craft stash for years into a fun new journal. Add some colorful inserts, cute shrink plastic charms, and all those Carefree Days goodies, and this little pouch definitely isn’t collecting dust anymore!
Happy crafting!
Carefree Days Collection
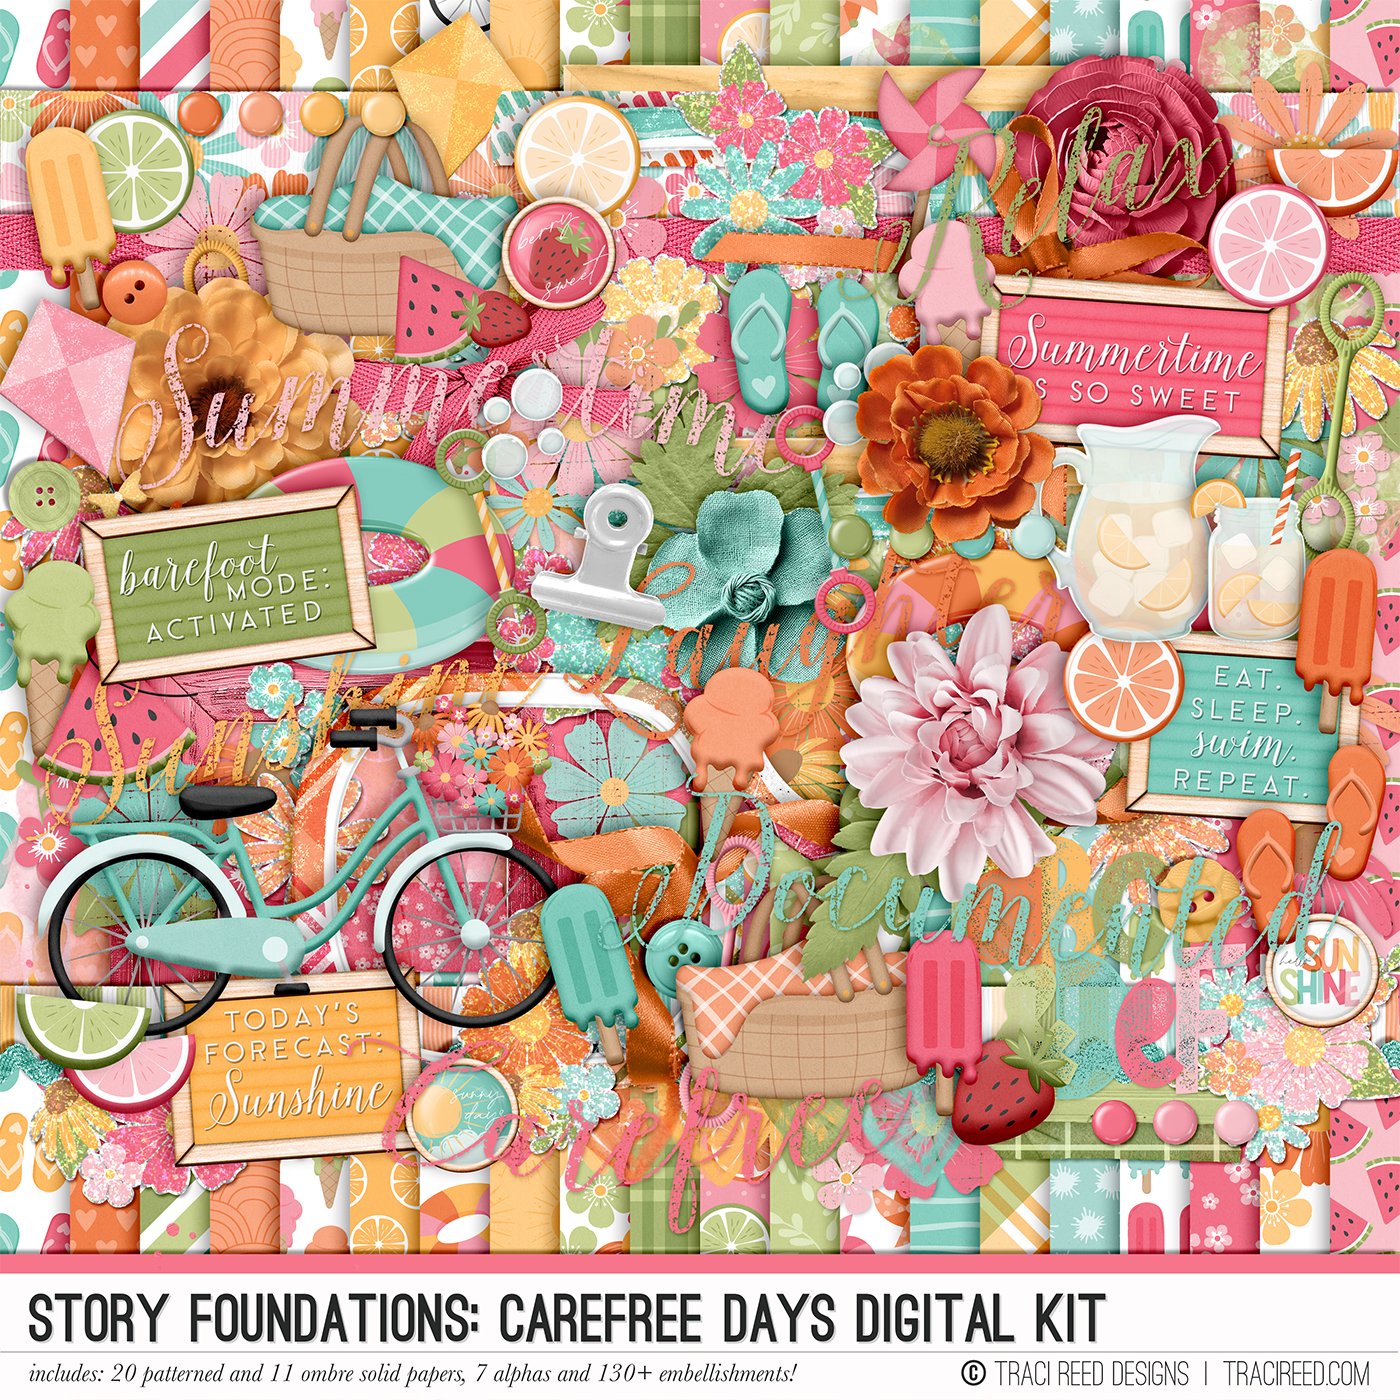
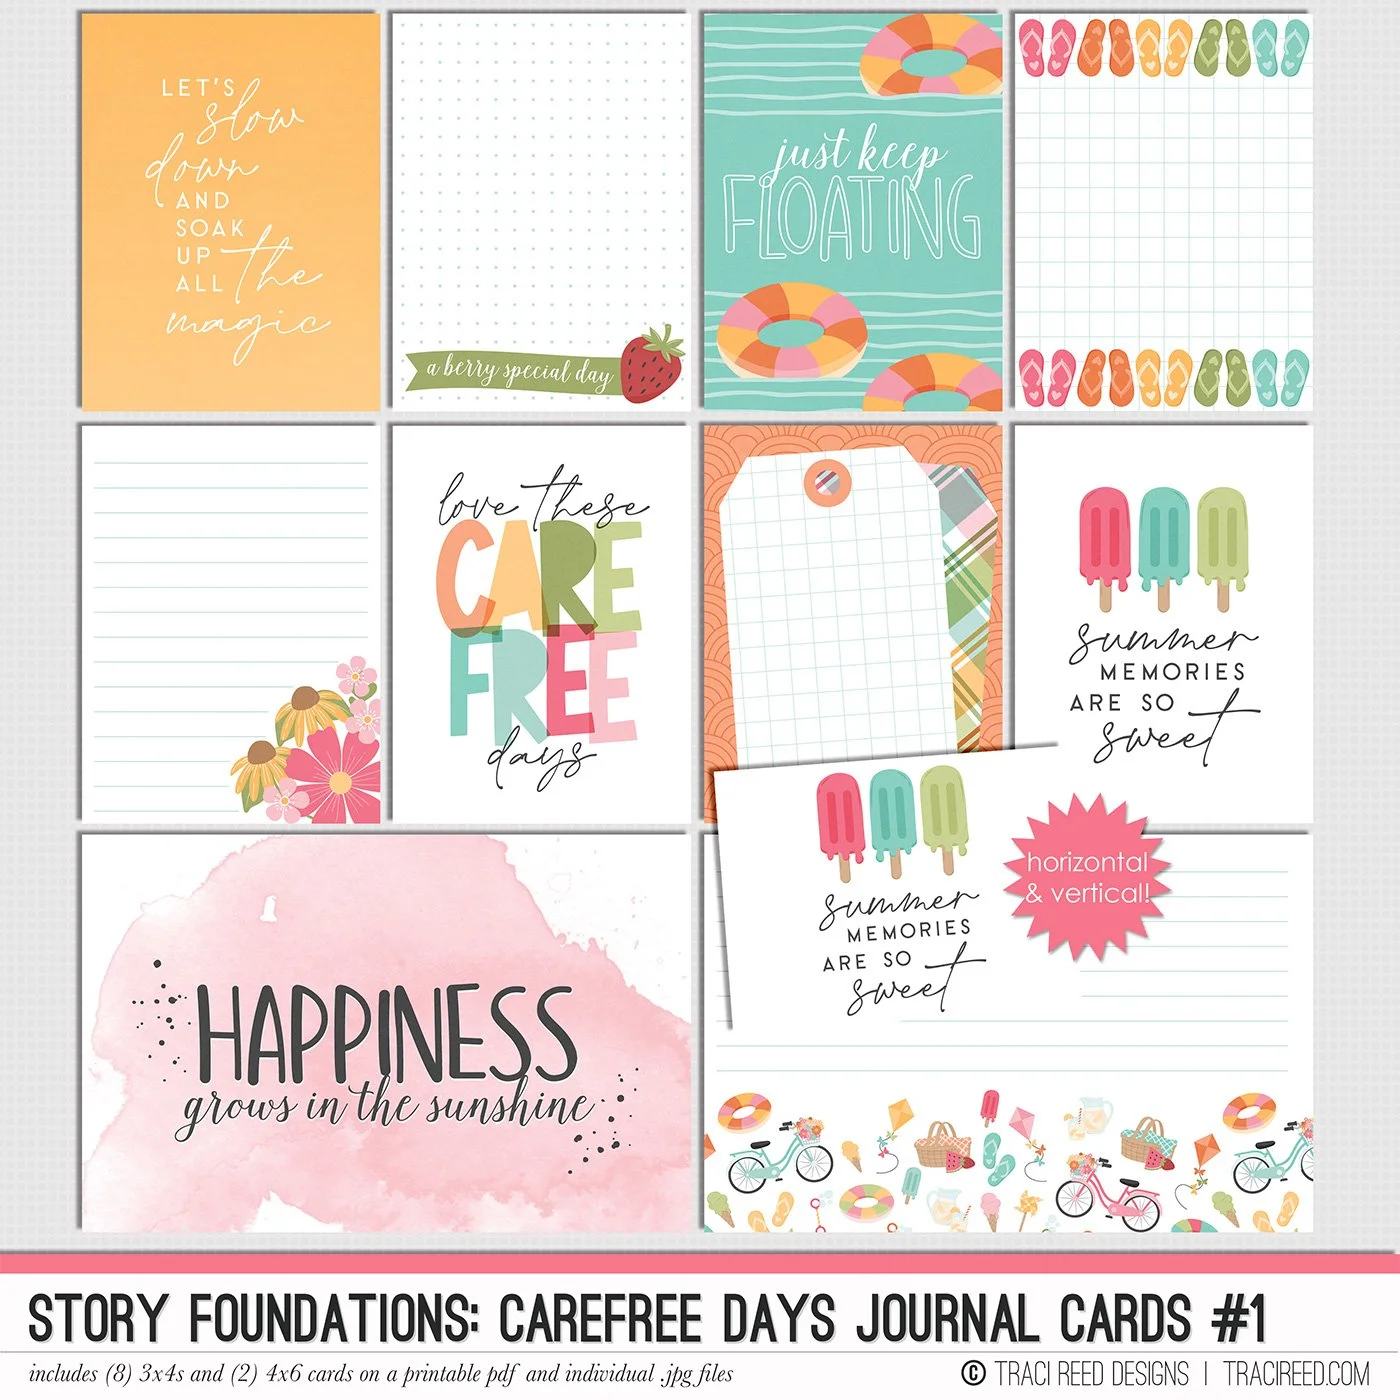
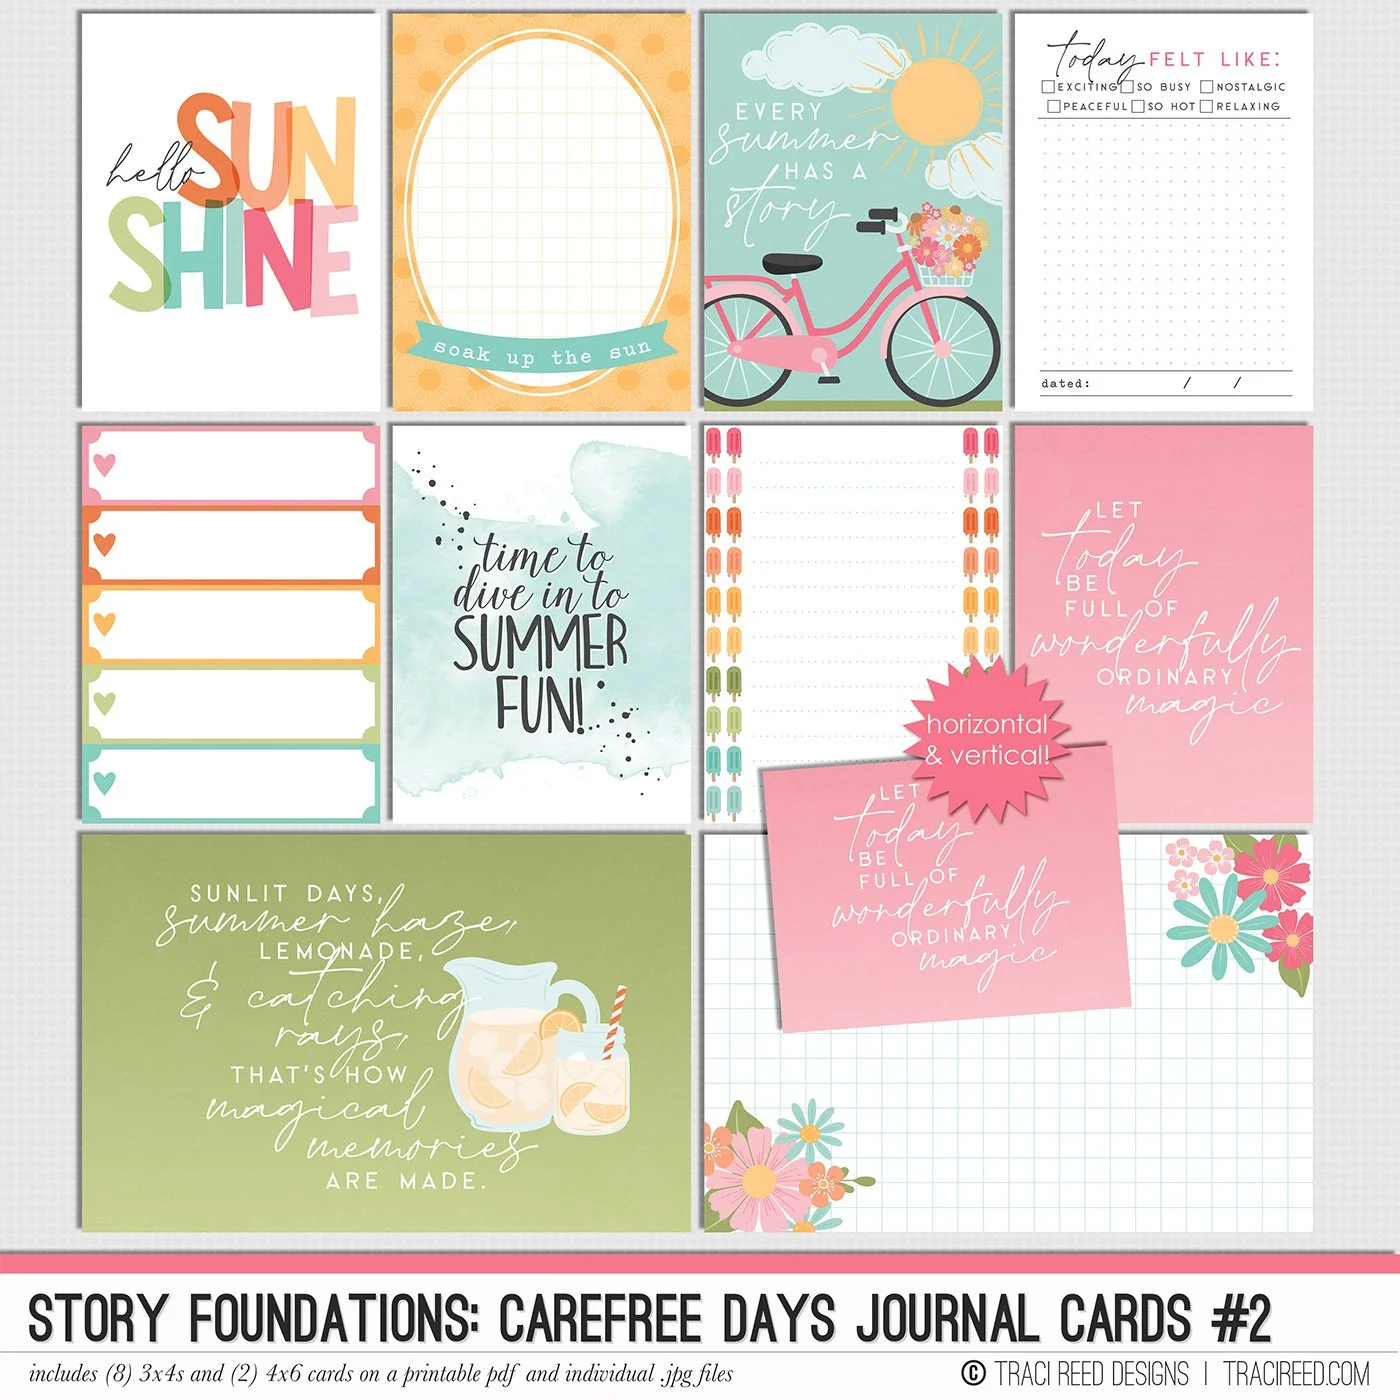
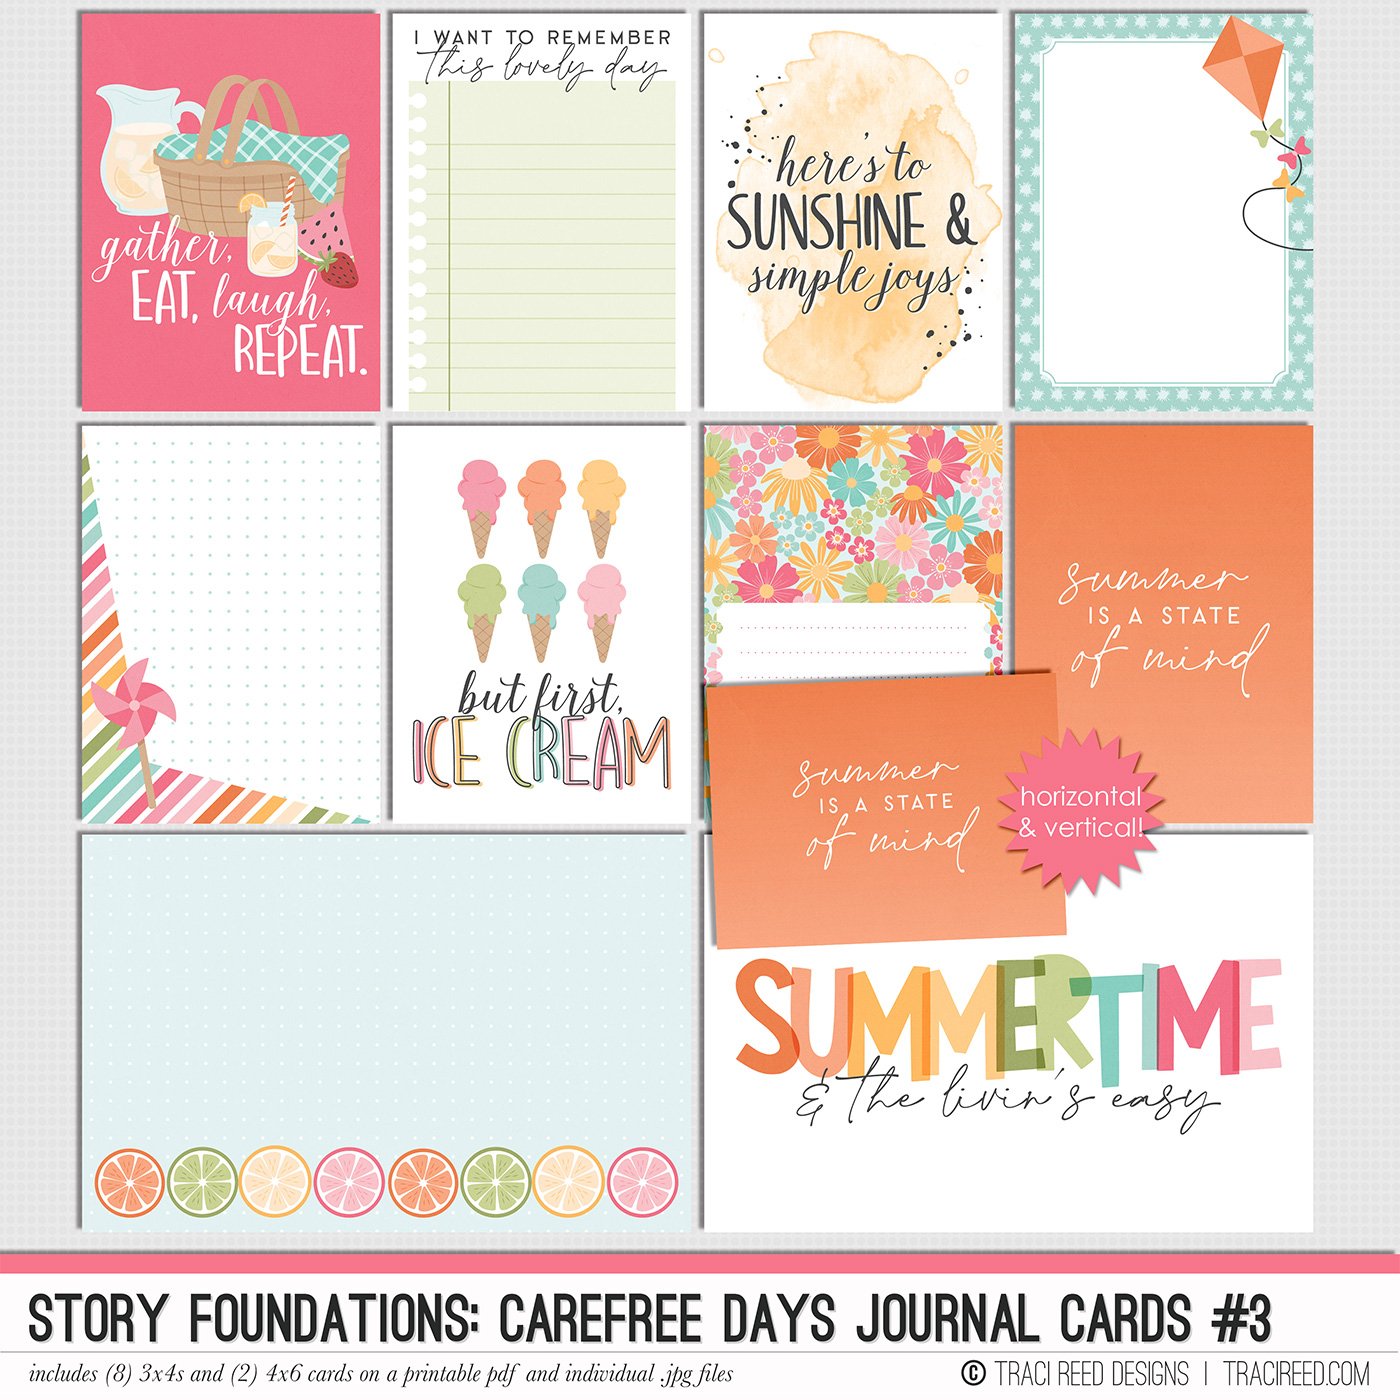
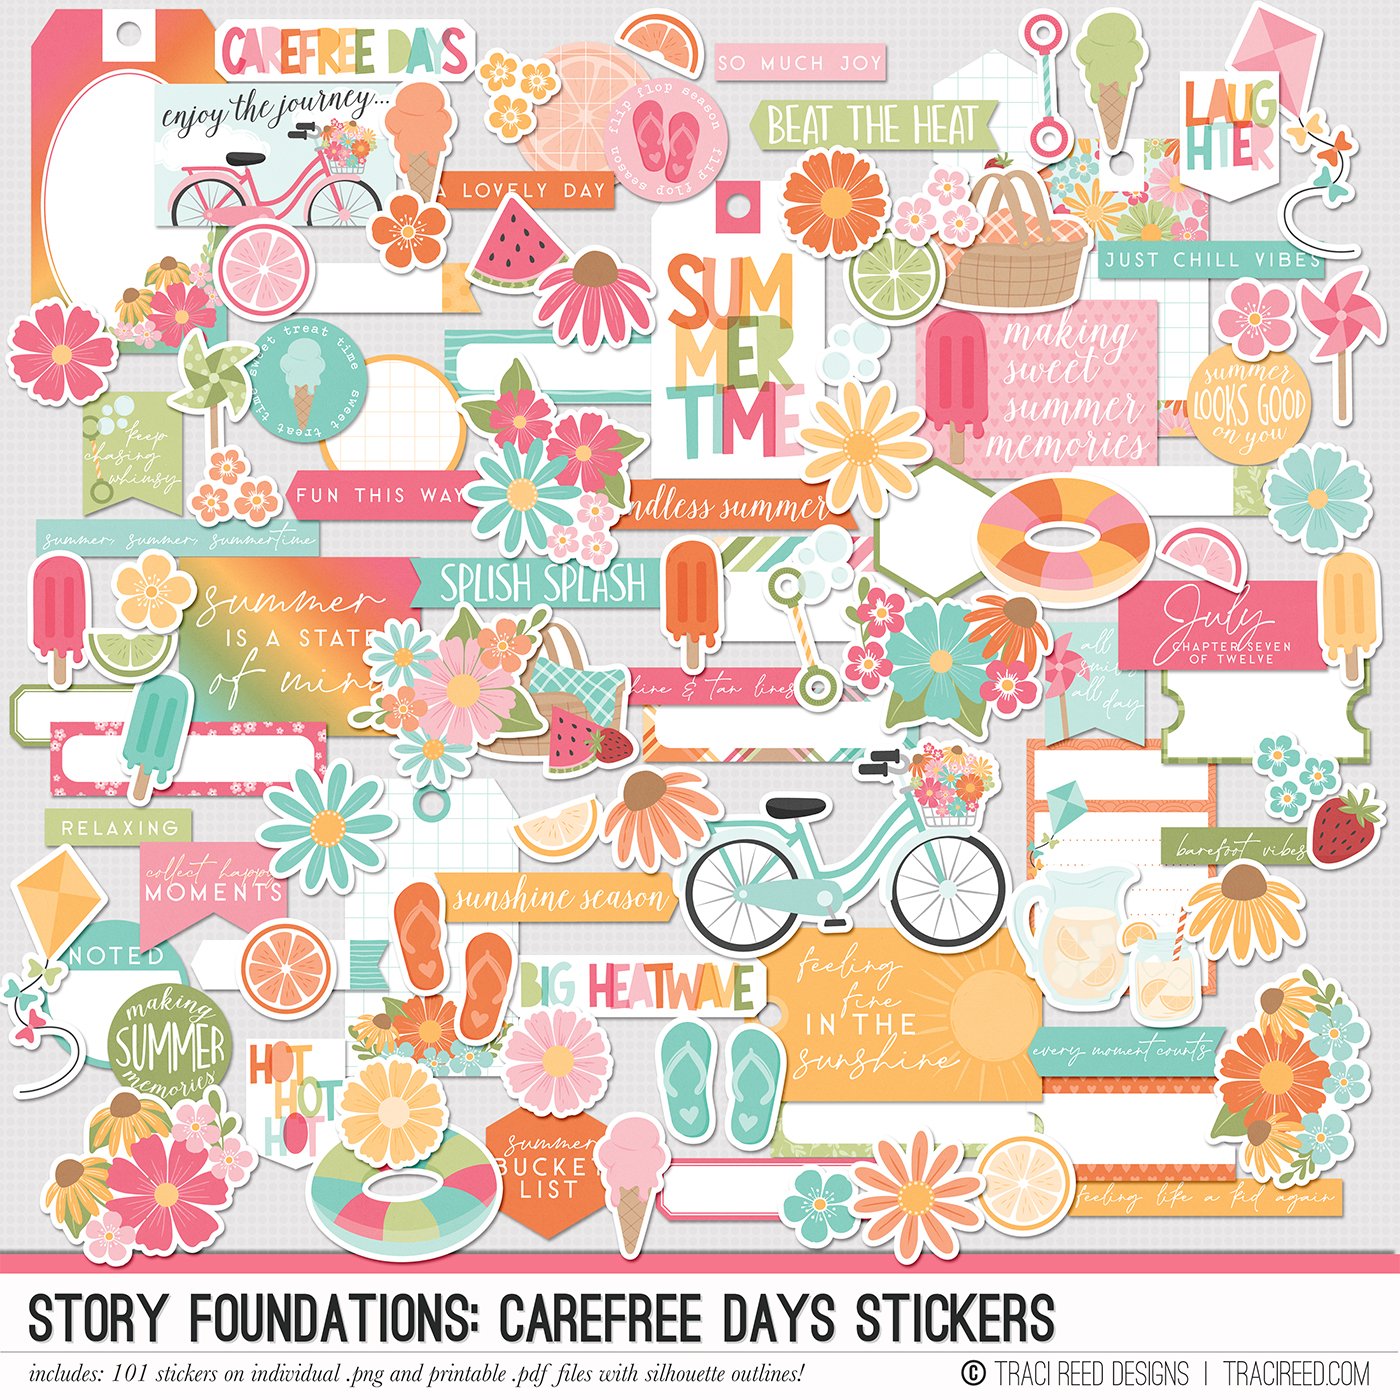
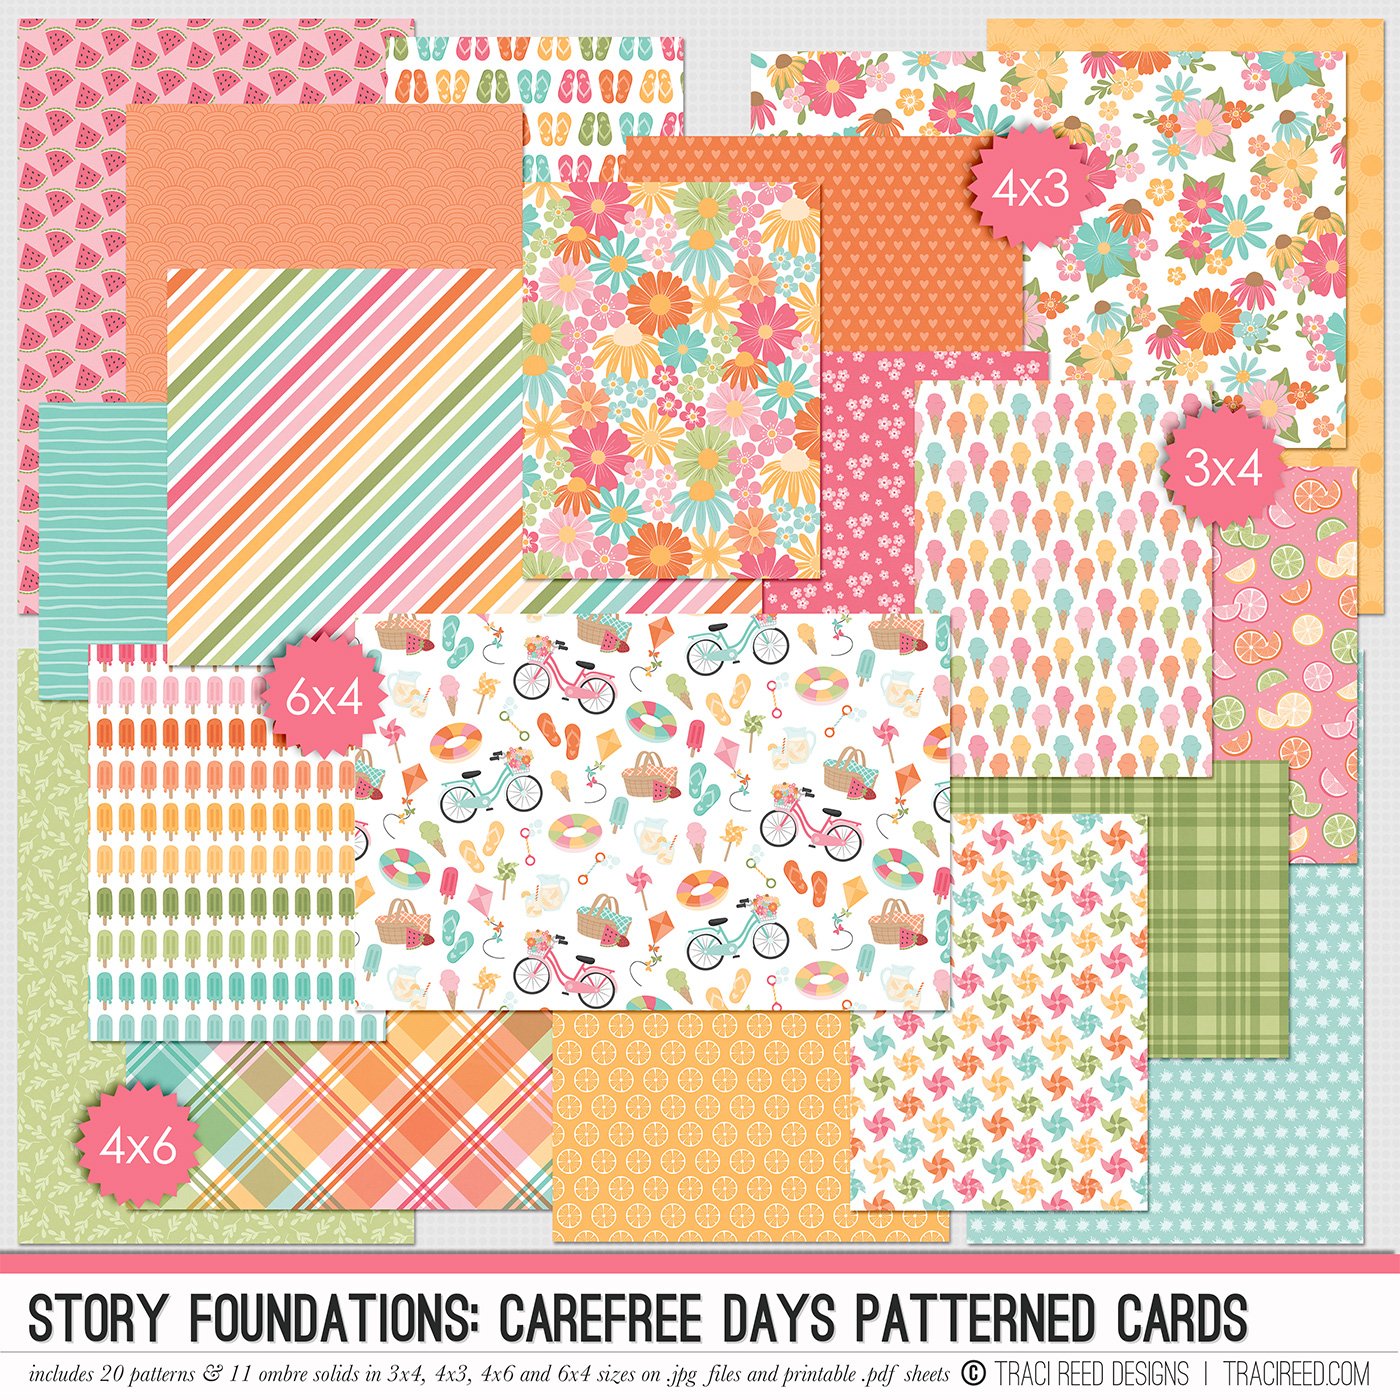
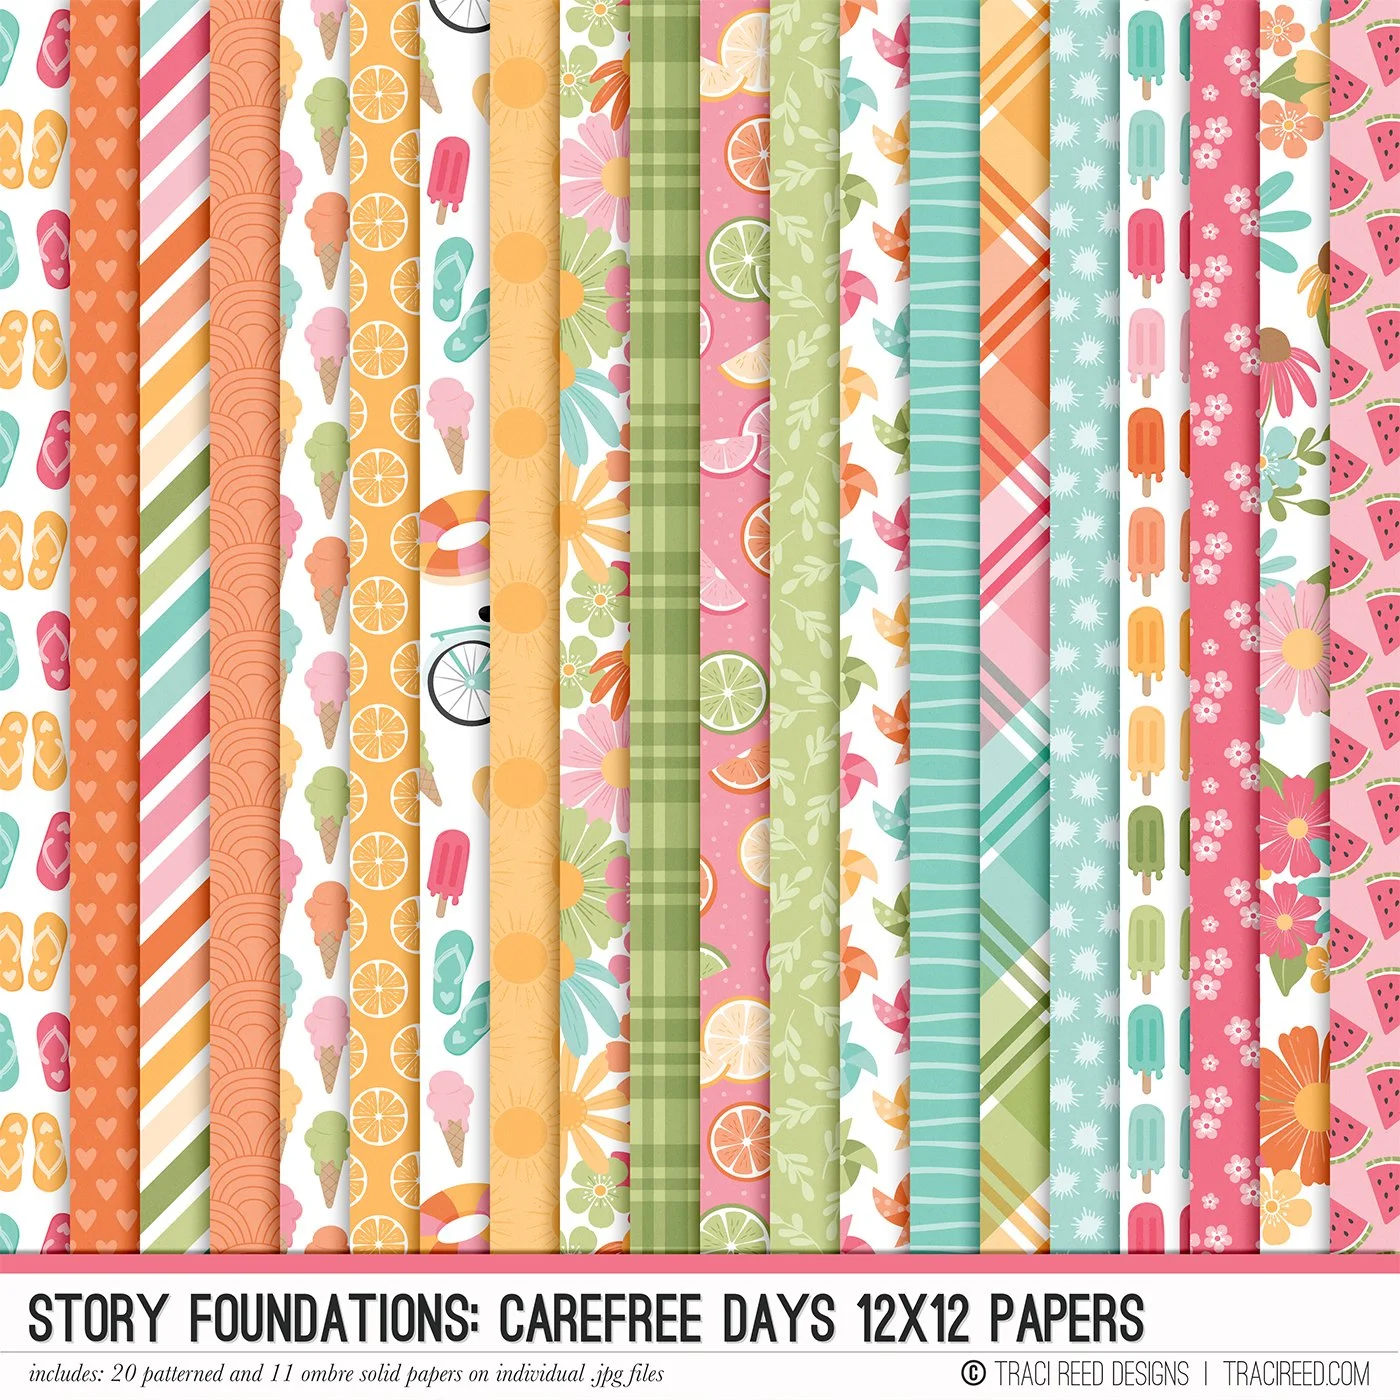
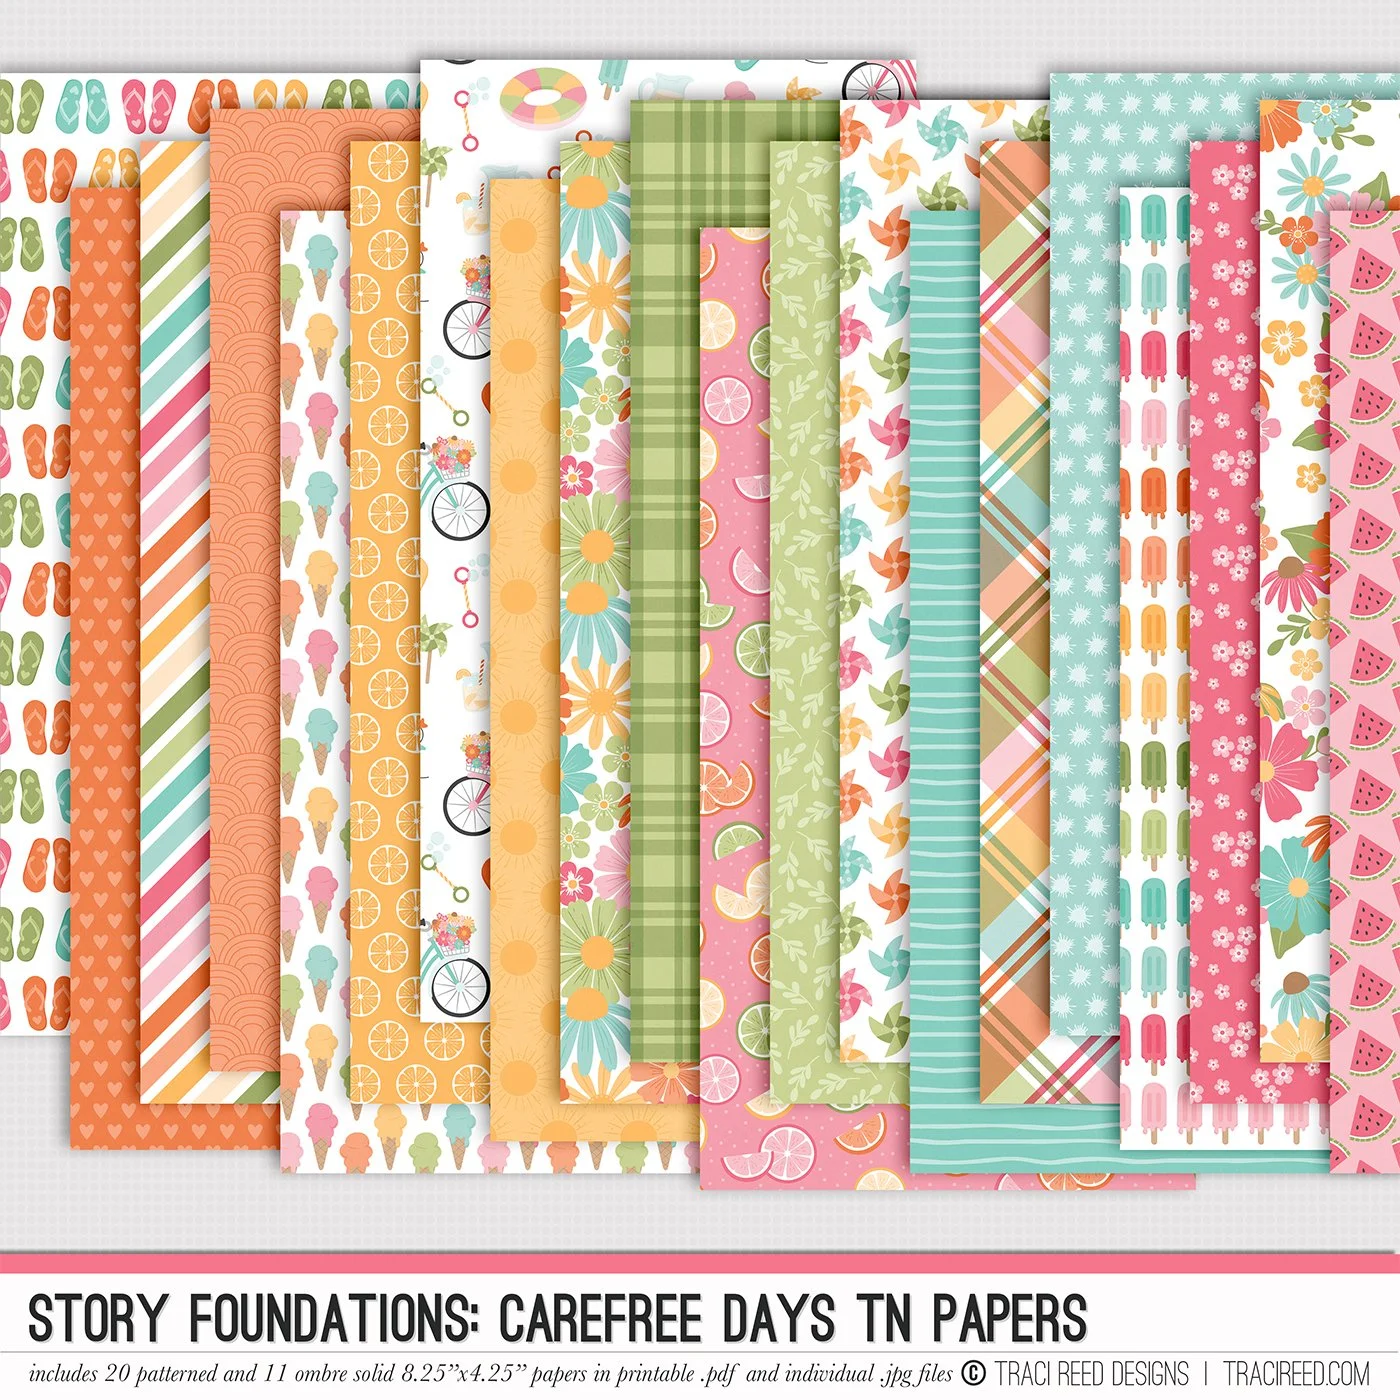
Story Foundations: Carefree Days is all about embracing the simple joys of summertime and rediscovering the wonder of the season through fresh eyes. Inspired by sunshine-filled afternoons, blooming gardens, melting popsicles, neighborhood bike rides, backyard picnics, and all the little moments in between, this chapter was designed to help you tell the stories that make summer unforgettable.
Filled with dozens of hand-drawn icons and cheerful embellishments, you'll find everything from bicycles, flowers, citrus slices, lemonade, pool floats, picnic baskets, kites, ice cream, and sweet summer treats to the everyday details that bring your memories to life. The bright, playful color palette coordinates beautifully with the rest of the Story Foundations series while remaining versatile enough to pair with your favorite seasonal collections.
Whether you're documenting family vacations, afternoons by the pool, evenings spent chasing fireflies, trips to the farmer's market, lazy weekends at home, or simply soaking up life's slower pace, Carefree Days provides a beautiful foundation for preserving every story, both big and small.
With patterned papers, journal cards, stickers, and embellishments designed to mix, match, and layer effortlessly, Story Foundations: Carefree Days makes it easy to capture the warmth, nostalgia, and simple magic of summer...one memory at a time.
See the unboxing and example images for the Story Foundations: Carefree Days collection HERE.
Don’t forget, the entire 2026 Story Foundations Collections are meant to mix and match and pair with each other! You can see all the Story Foundations Chapters HERE.
BUNDLE INCLUDES:
Story Foundations: Carefree Days Digital Kit, Cards 1, 2, &3 + Stickers!
BUNDLE DOES NOT INCLUDE:
Story Foundations: Carefree Days TN Papers, 6×8 Papers, or Patterned Cards