Tutorial: Creating Your Own Cut File in Silhouette + Titles in Photoshop with Theresa!
Hi friends, it’s Theresa here and today I am sharing a very bubbly layout with you created with the brand new Story Foundations Carefree Days collection! As a hybrid scrapbooker I am always looking for fun ways to amp up my layouts using two fabulous tools we have available: the Silhouette and Photoshop. So today I am going to share TWO tutorials with you in order to create this layout.
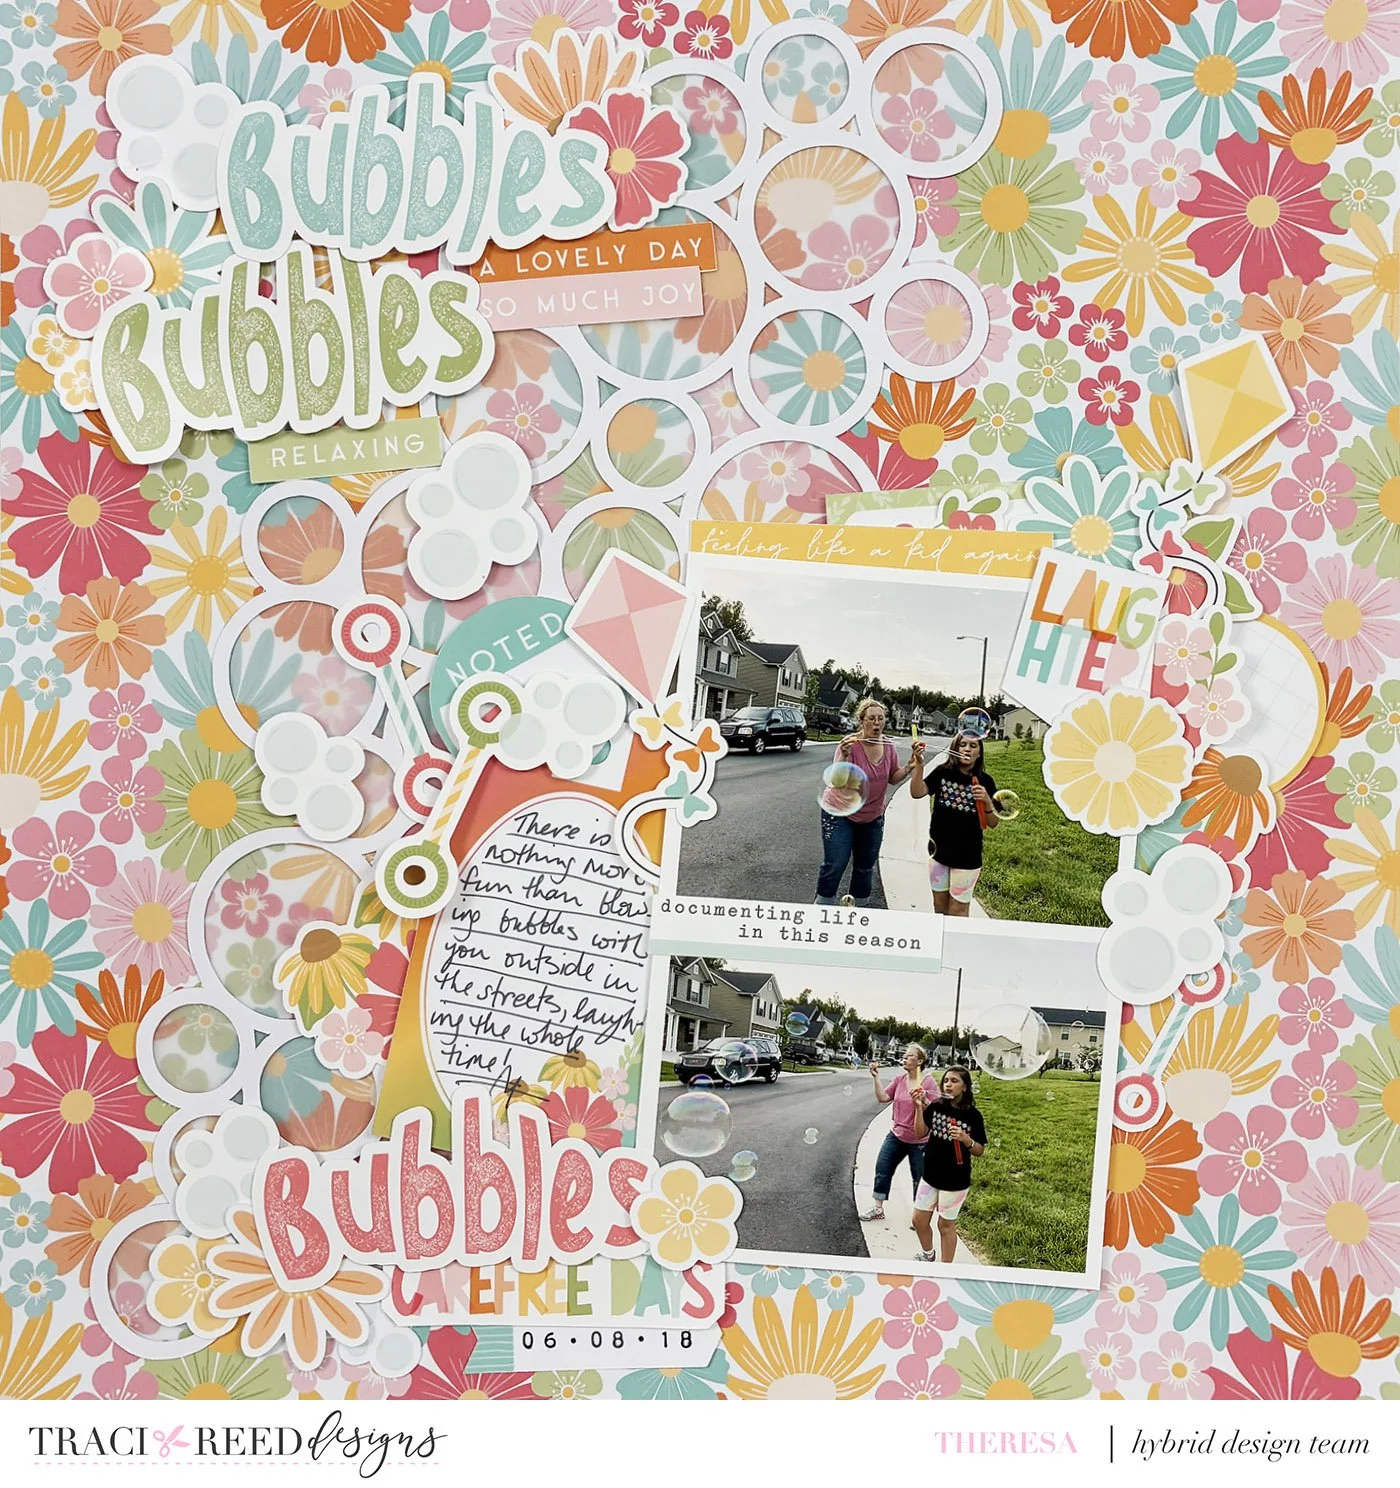
A couple of general notes about this layout:
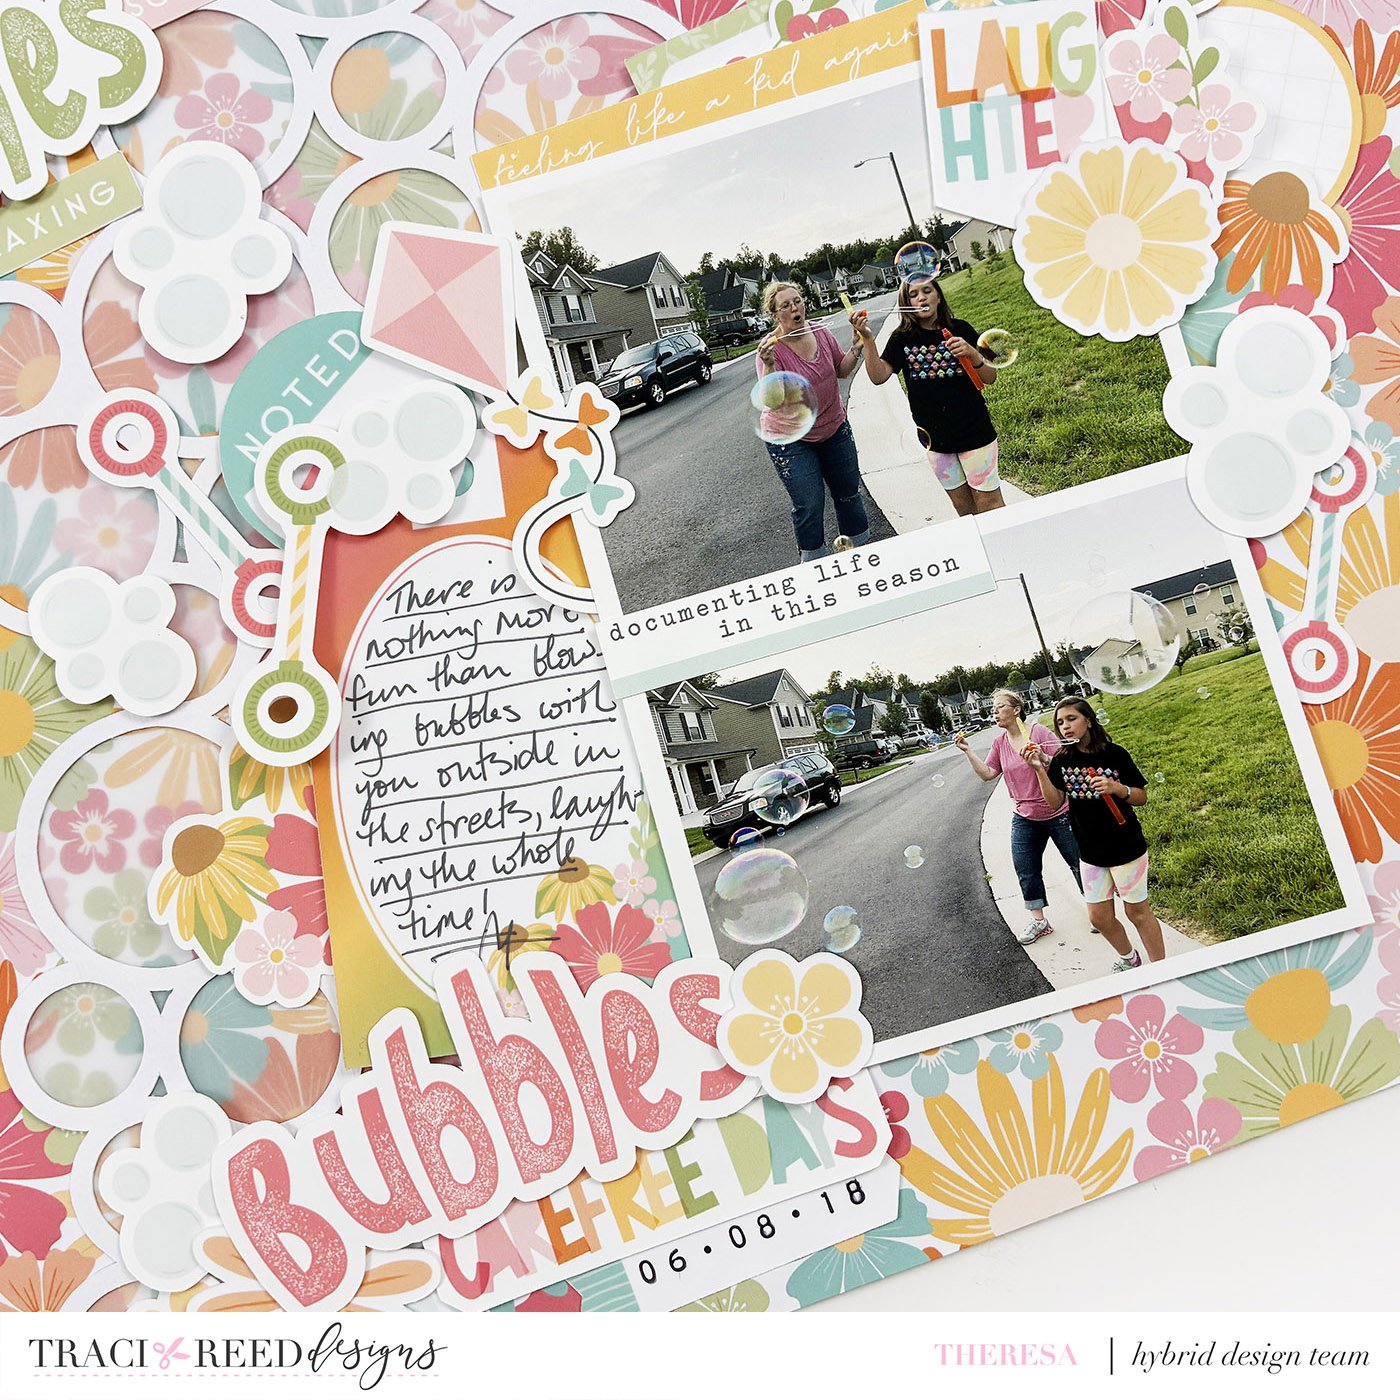
Notice how I have pulled the bubble-themed elements from the Carefree Days collection to highlight and emphasize the bubble theme of the layout! Traci’s collections always include such a great variety of hand-drawn (!!!) icons, so feel free to use those as the jumping off point for a great layout. Then add supporting elements to your layout like I have done here.
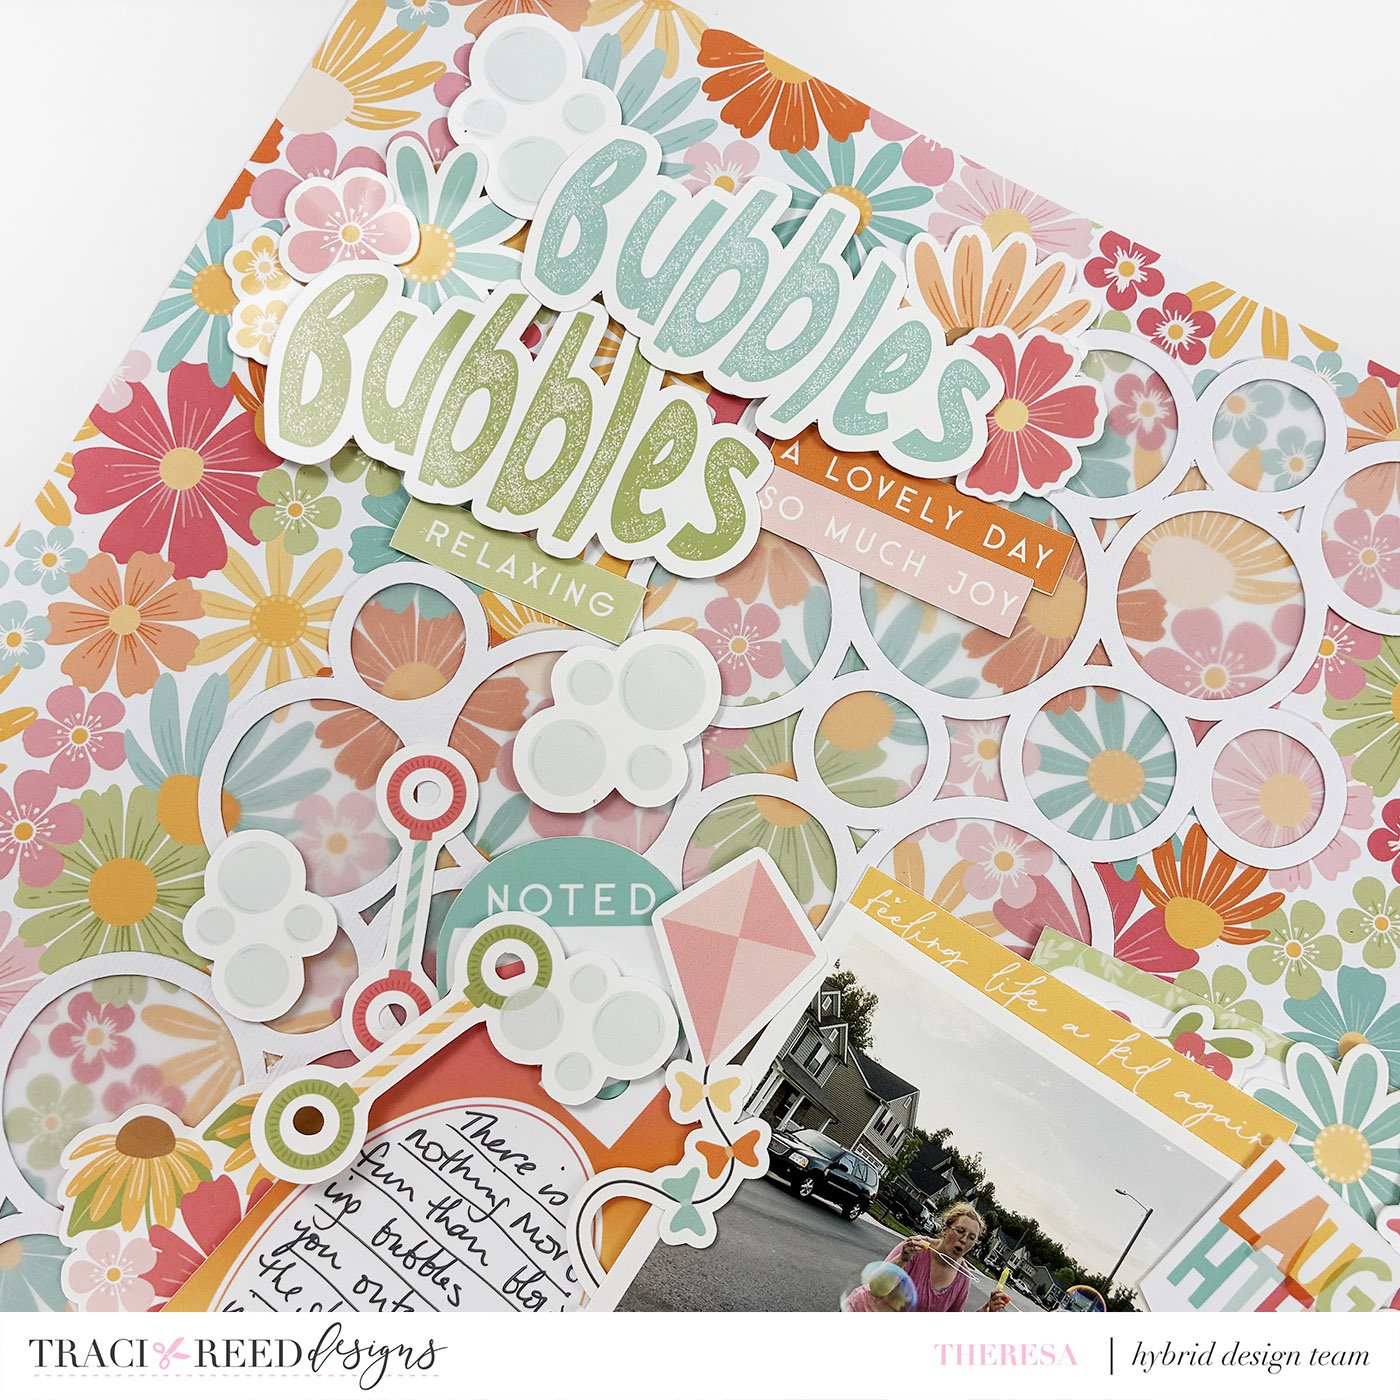
The first supporting element I have added is:
The bubble cut file! This element was created to coordinate with the bubbles in the collection. Here is how I did that using my Silhouette:
a. Open your Silhouette Studio and set your layout size to 12x12. You do not need registration marks for this.
b. Using the Drawing Tools located on the left hand side of your screen, draw about 4-5 circle shapes. I have made mine about 1” to 2”, but you can make yours larger if you’d like!
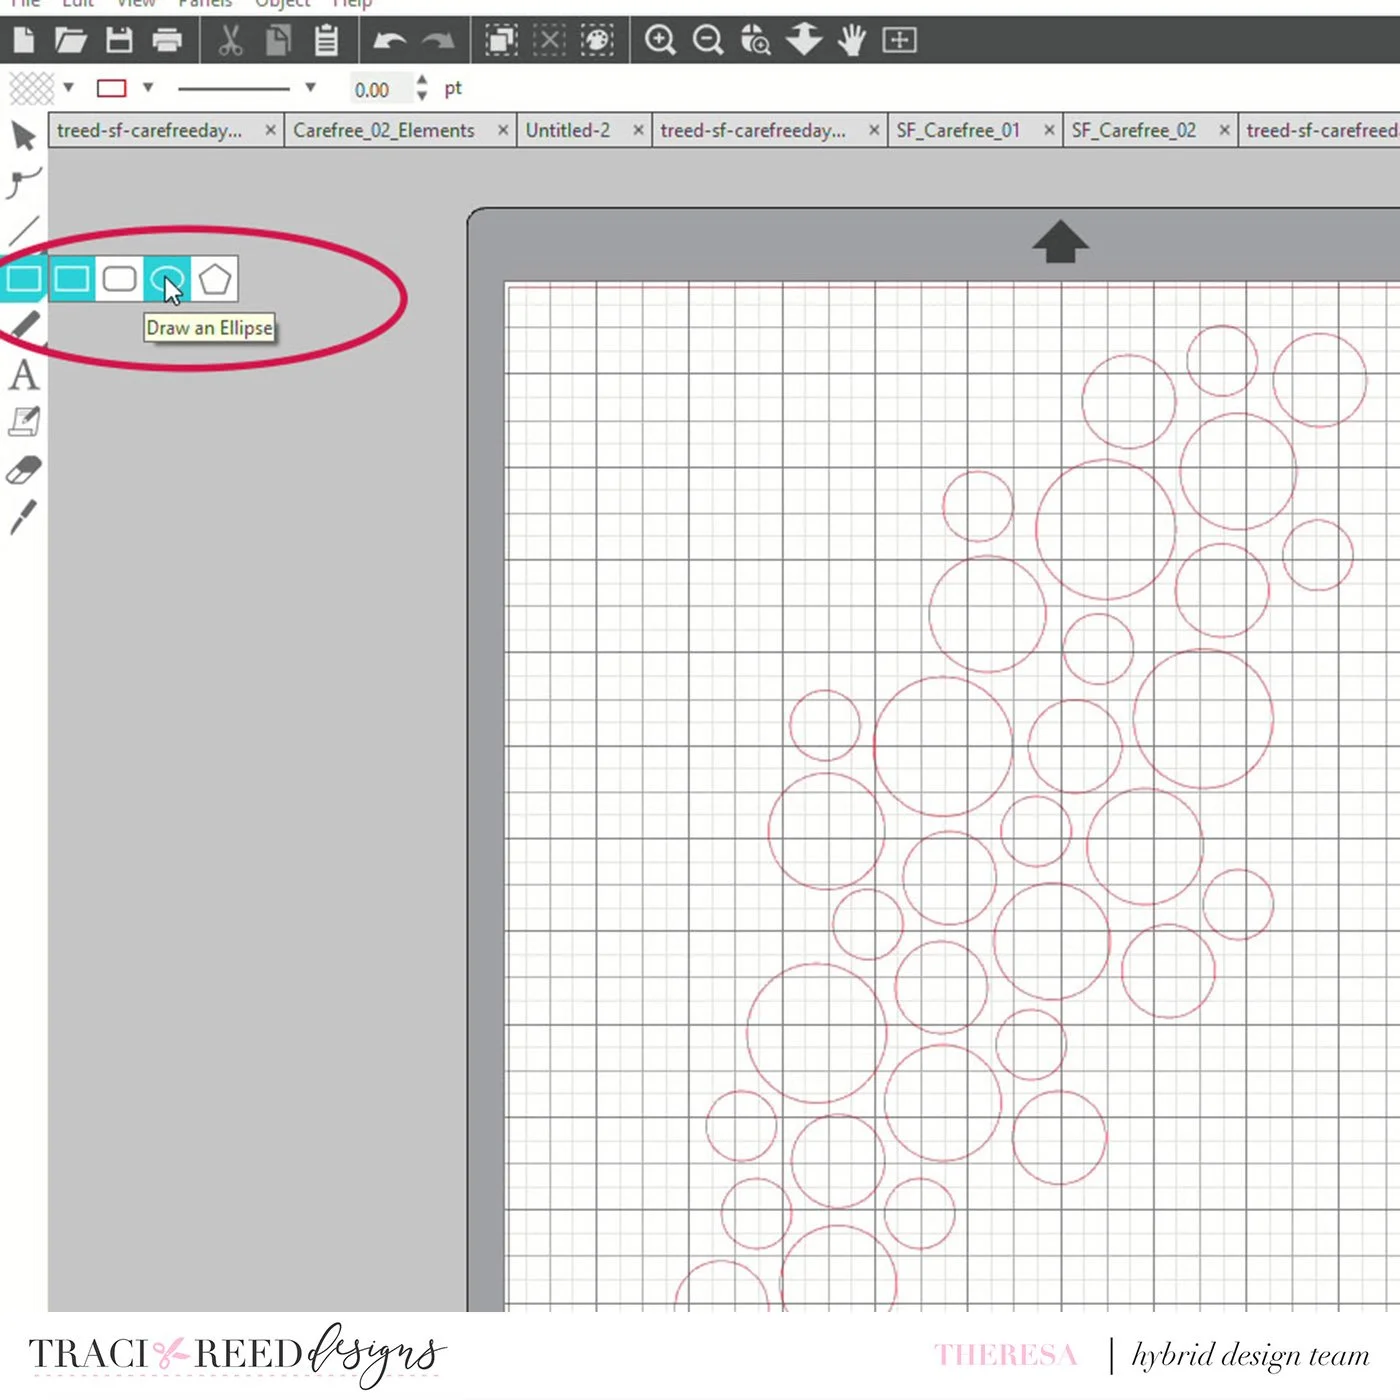
c. Layout your circles going up and down the page at a slight angle. I’ve created my circles so they will fit along one side of the layout, in order to allow space for photo and journaling, but you can fill up the page if you like!
d. Once you have all your circles in place, click and drag your cursor across all of the circles all at once. Go up to the Object tool at the top of your screen and then select Make Compound Path. This will pull all of the circles into one single element.
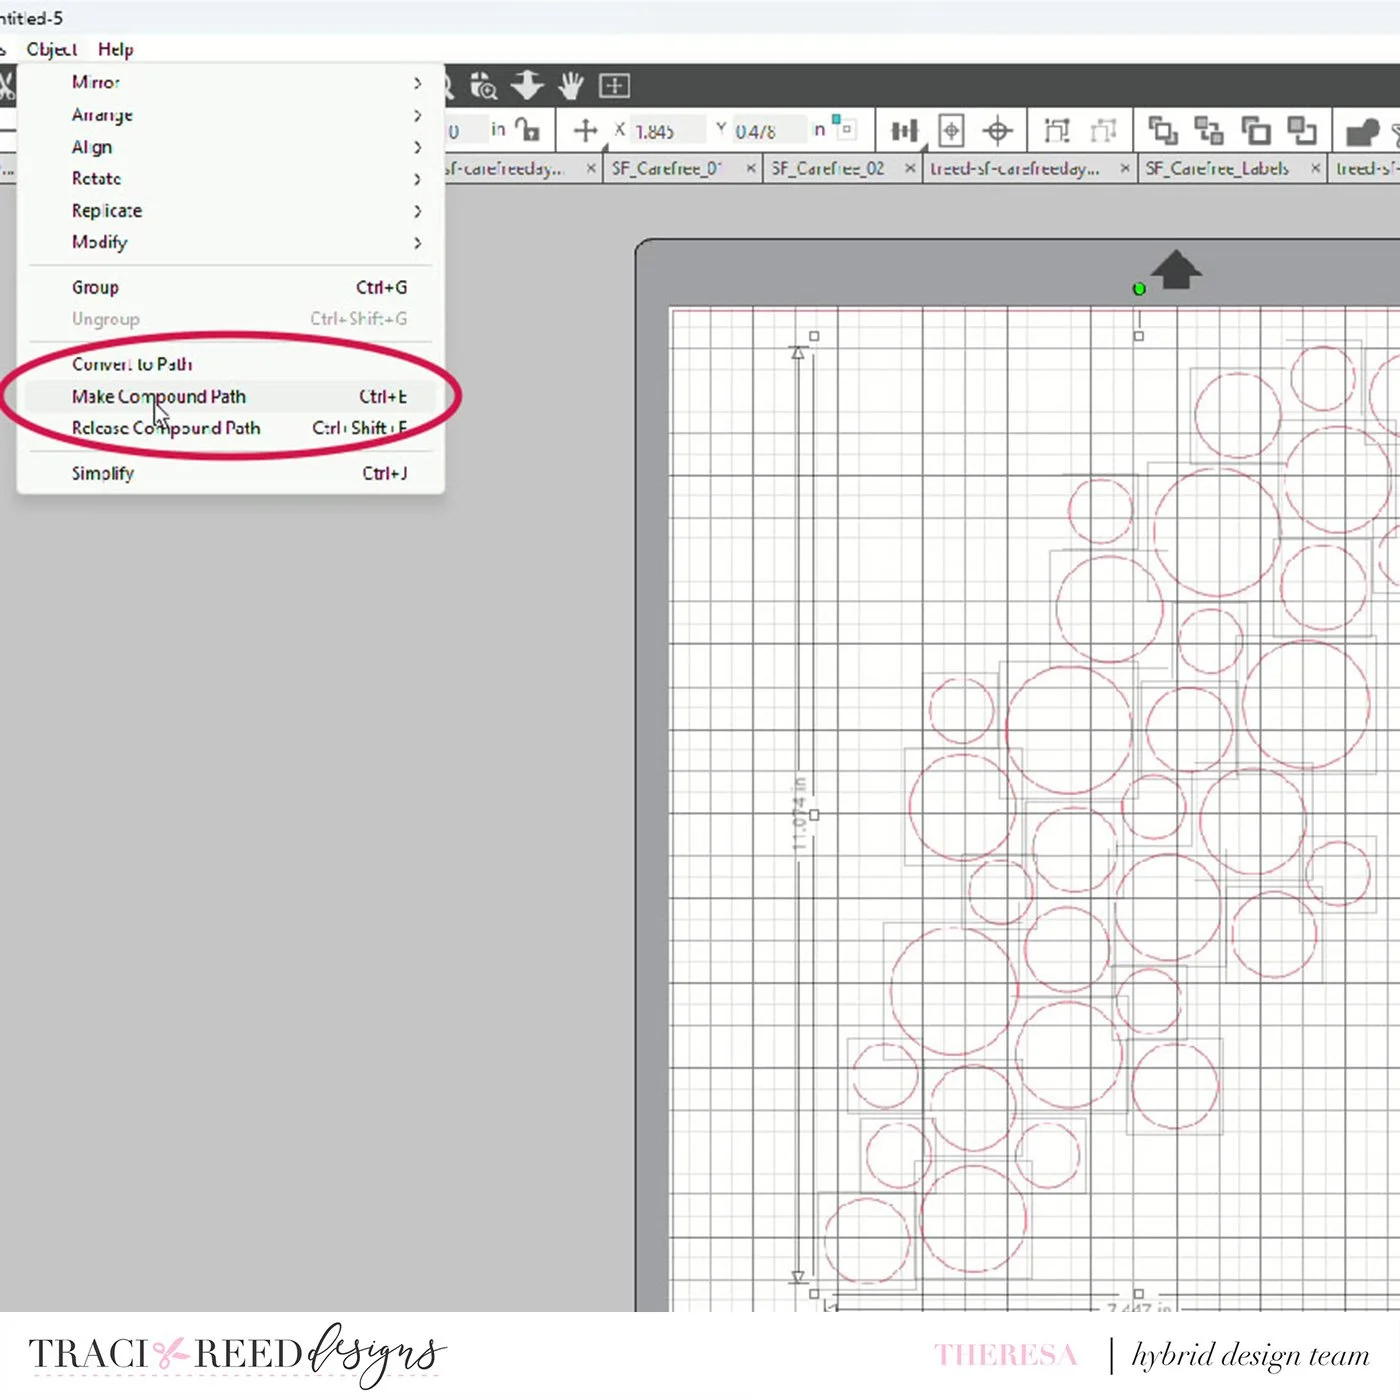
e. Now with the whole circle element selected, head over to the left side of your screen where you will find the Offset tool. Click on this tool and select Offset, then adjust the width of your cut line larger or smaller. This is now your cut file.
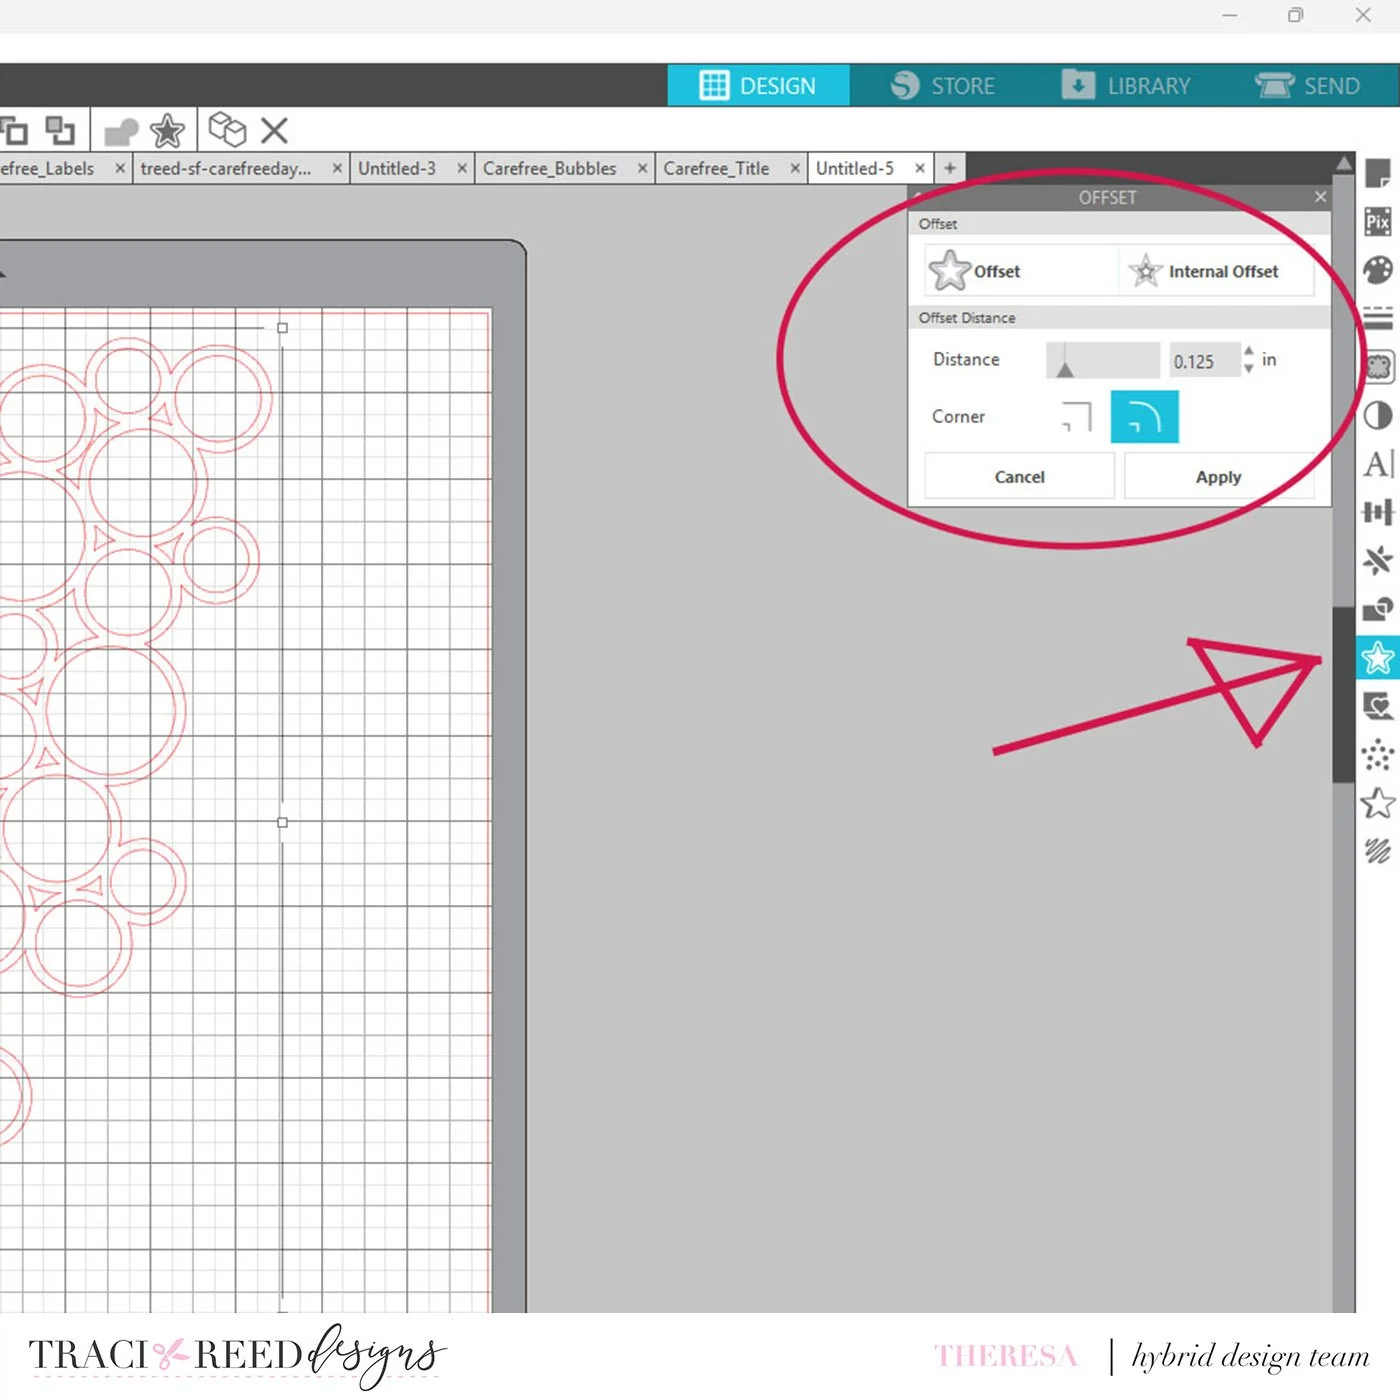
If you want to, you can take out the tiny cuts simply by clicking on them and deleting the points. This will make your cut a bit cleaner. Now load your card stock and cut away!
The second supporting element is:
The title words! I loved the alphabets in this collection and thought they would be perfect altered a bit to look like they are inside the bubbles too. Here is how I accomplished that in Photoshop:
a. Open Photoshop and load your alphabets into a stack so they are all in one tab. Go to File at the top of your screen, File > Load Scripts > Load Files into Stack. In this pop up window it will allow you to select the letters and numbers you need for your title.
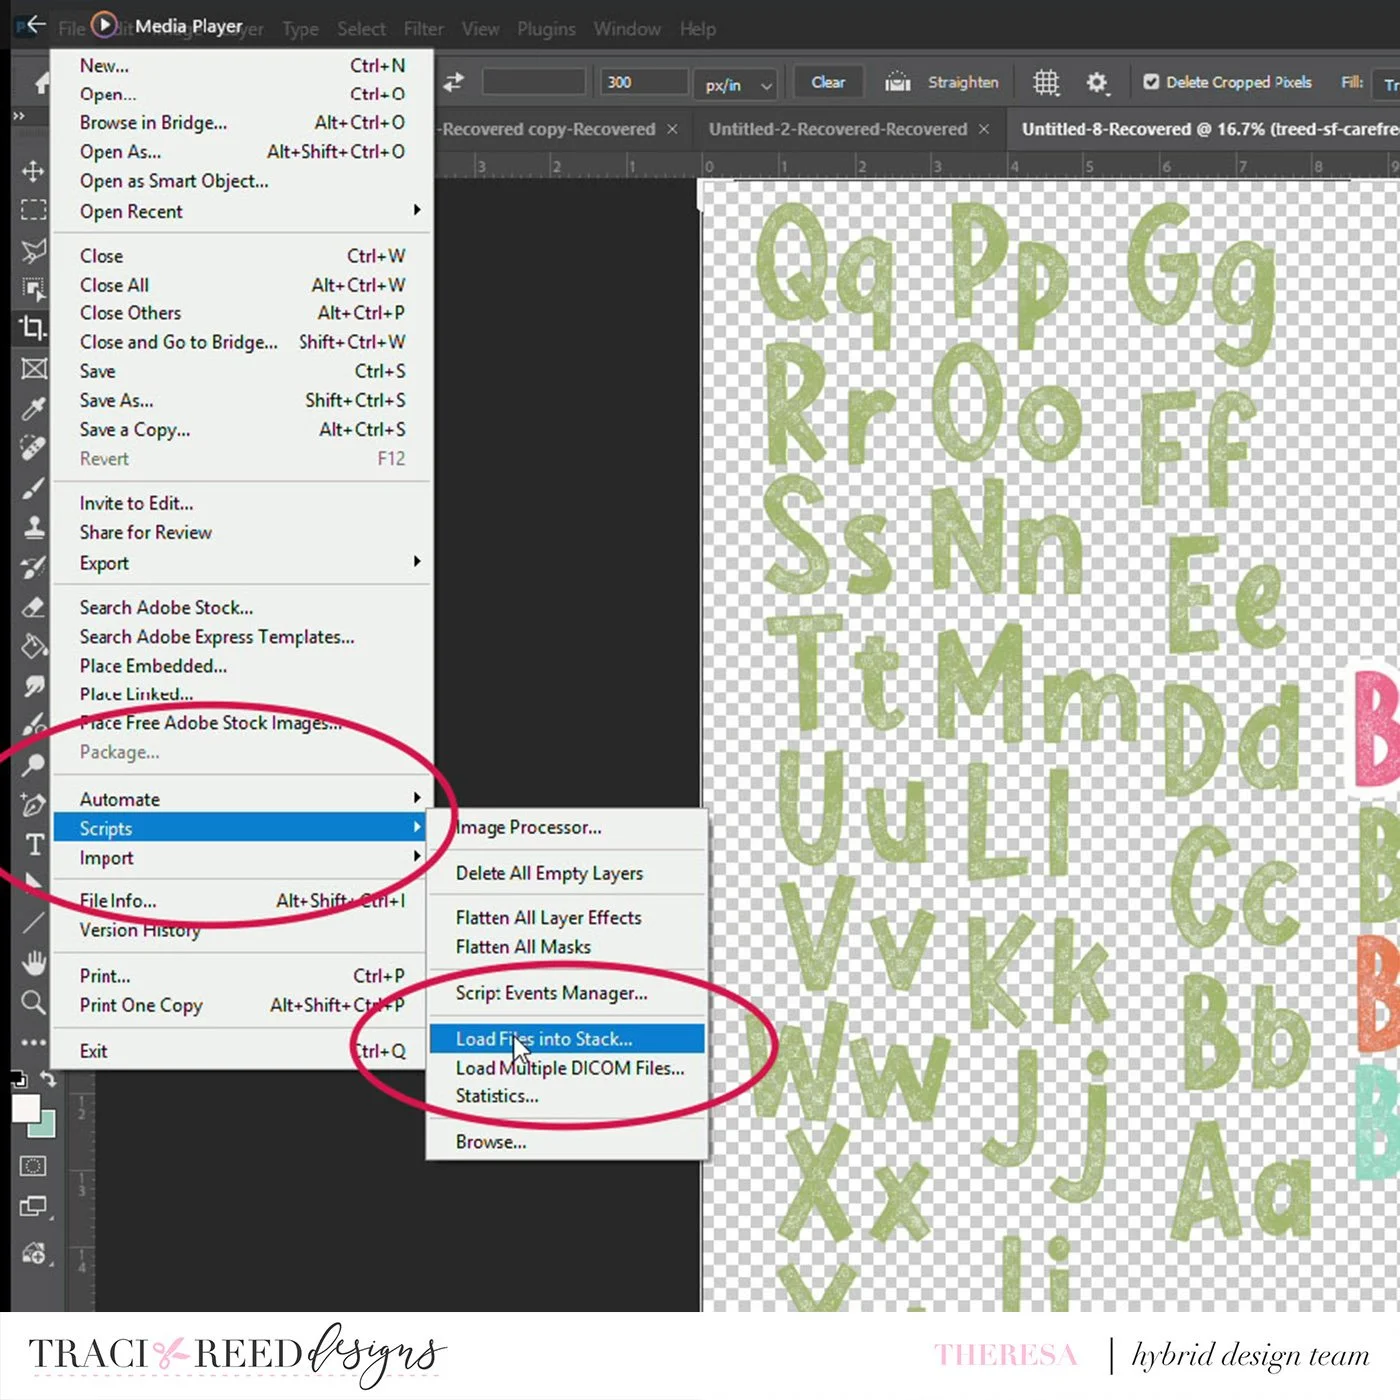
b. Select the alphabets you need and select OK. All of your letters will now load into one tab for you and you can now spell out the word or words you want to create.
c. Once you have each word created, select the layers of each word and Merge the Layers in your Layers menu. Now you will have three separate words.
d. While you are still in your Layers menu, select one of your words and click on FX at the bottom of you Layers menu.
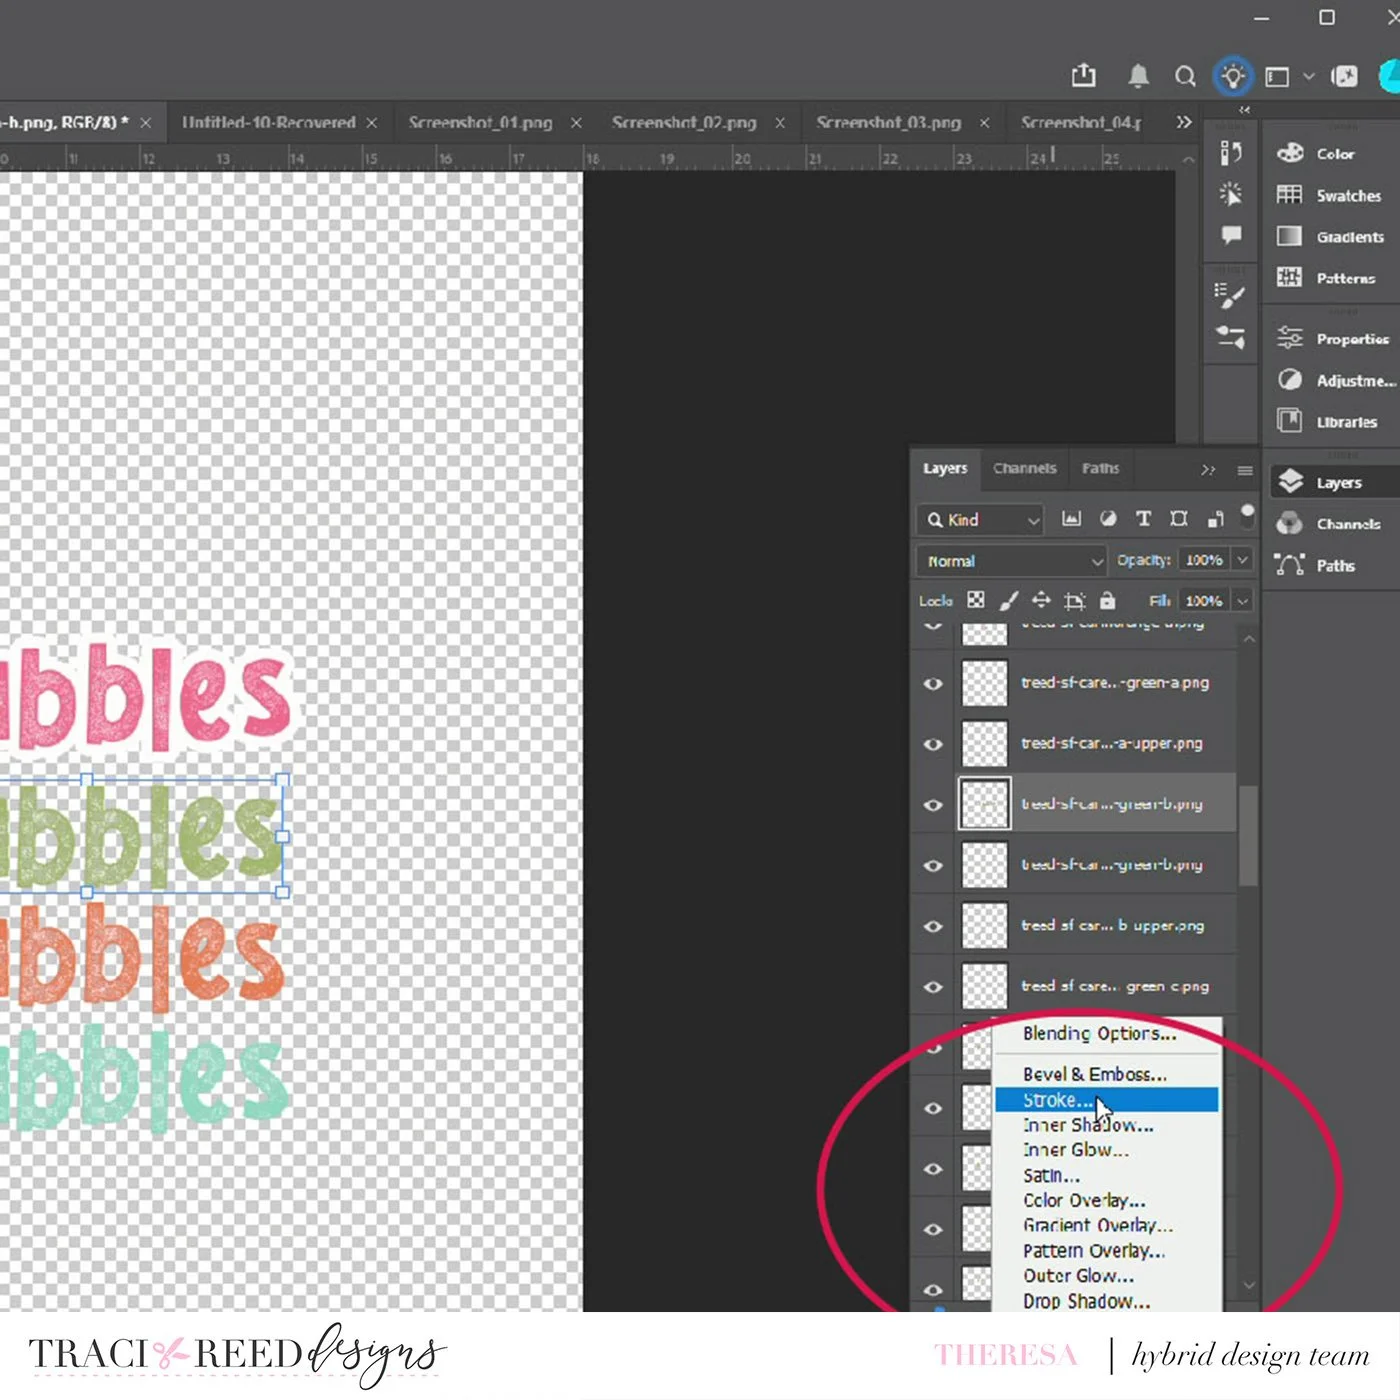
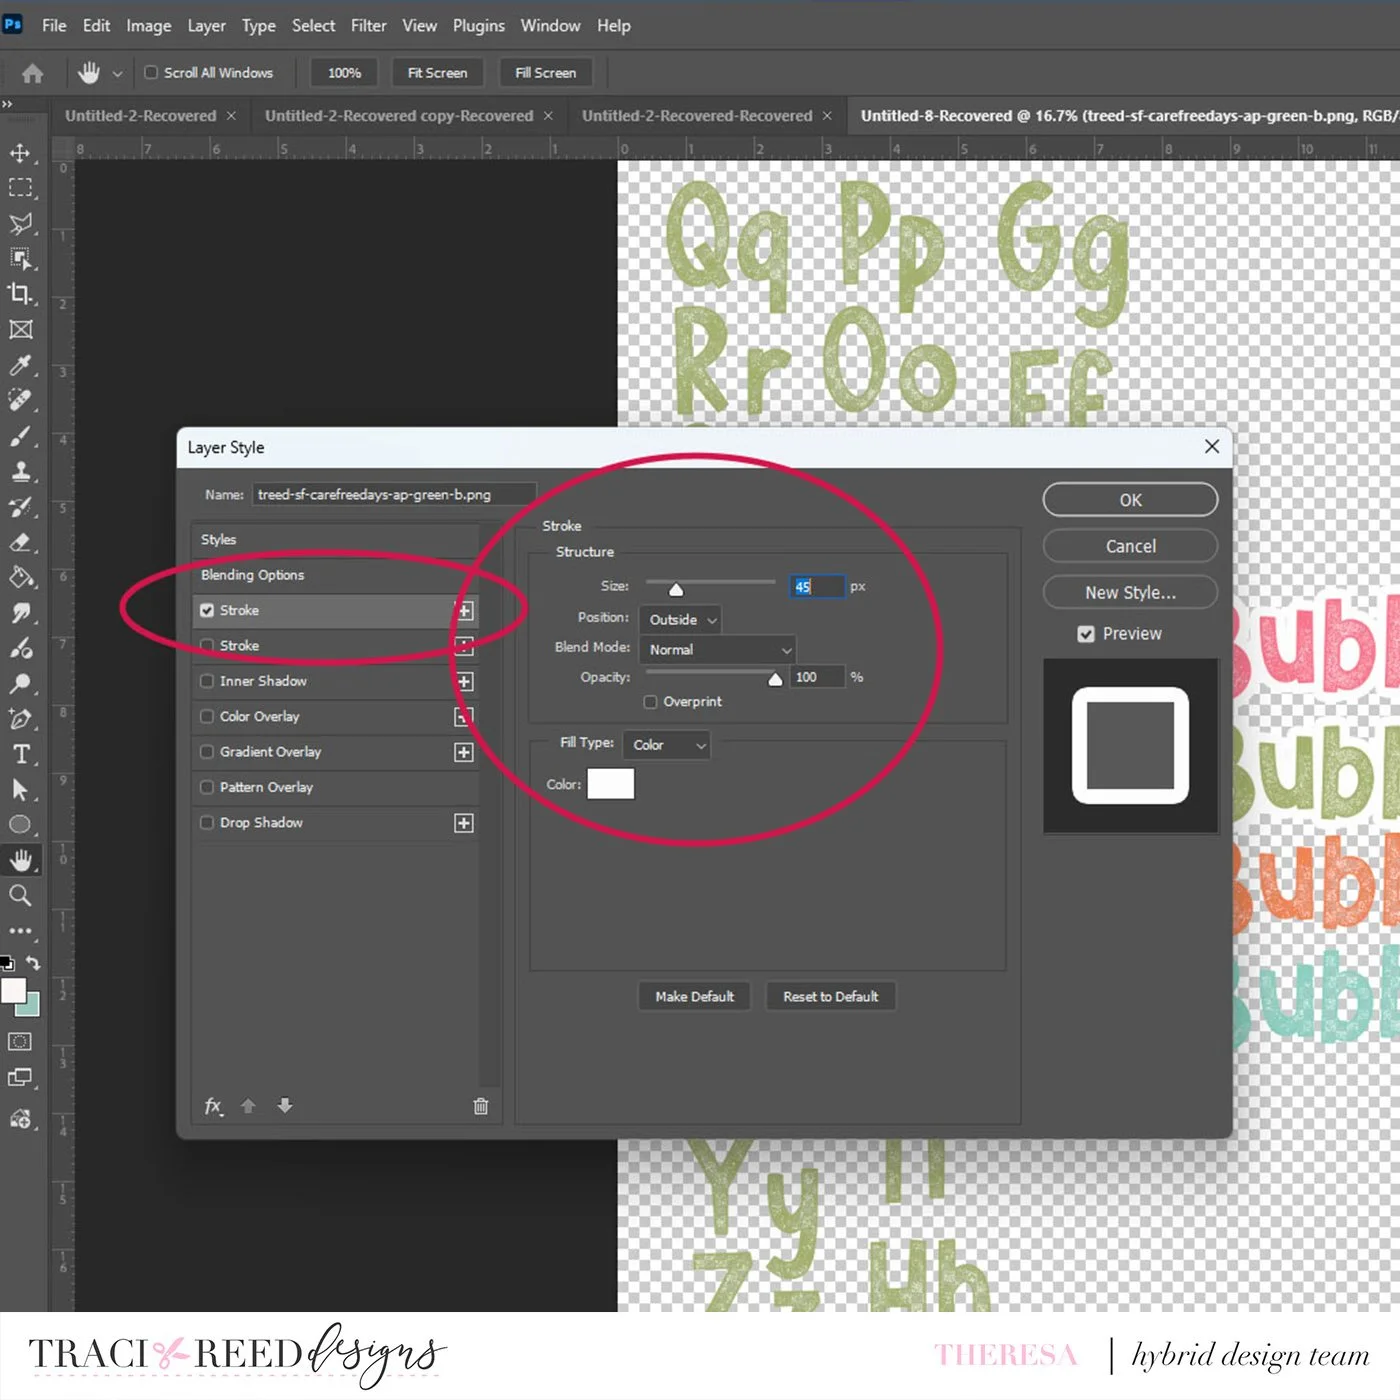
e. Click on Stroke and a new window will pop up for you. In this menu, you can add the white border to your word. I have those setting at Size: 45; Position: Outside; Mode: Normal; Opacity: 100%; Fill Type is Color; Color is White. Hit OK and now you have your white border. Do that for all of your title words.
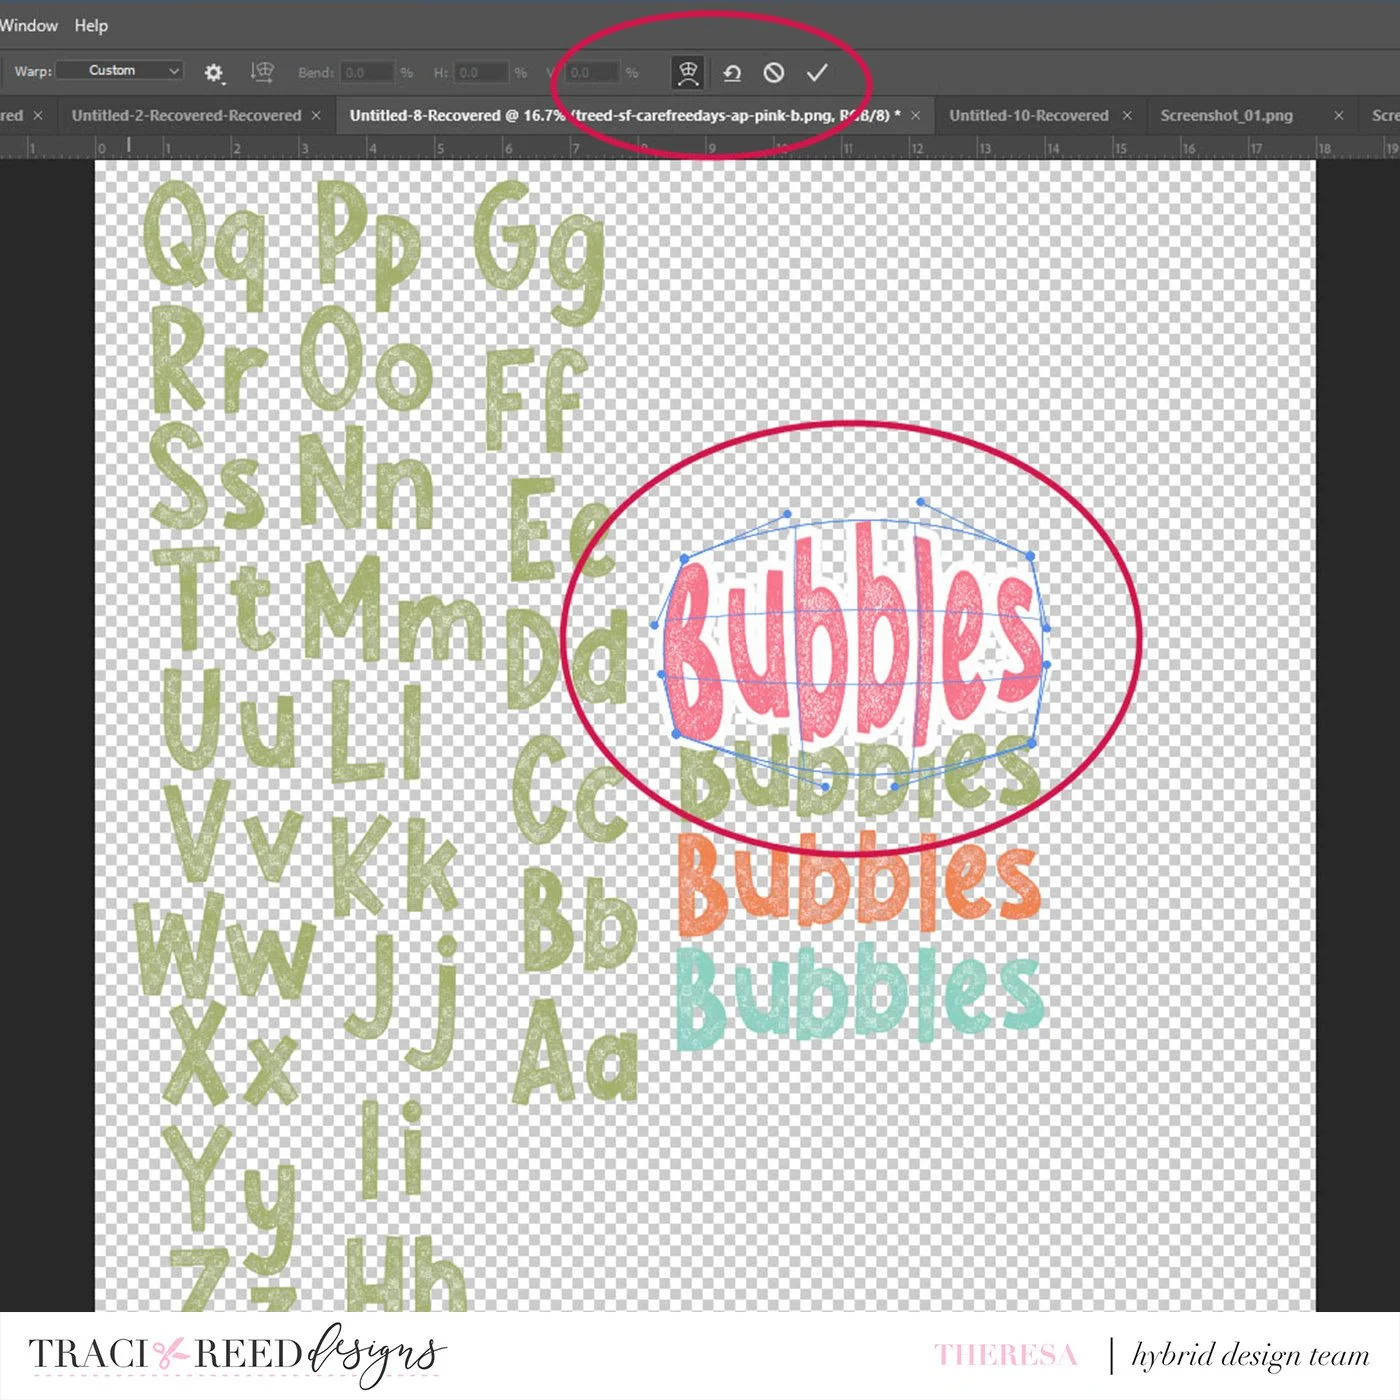
f. Now go to the Move tool and select one of your words. Click on one of the corner squares and then you will notice the settings across the top of your screen. You want to click on the Bicubic Interpolation. There is a little diagram showing an arch right next to it and that will allow you to “bend” your words into the shape you want. Round blue dots will appear around your word, and when you click on each of those dots you can move them up and down and left and right to get the shape you want. Of course for the bubble shape I moved each of the bubbles out. You can certainly make your bubbles more dramatic and I encourage you to play around with this tool! It’s really fun!
I hope this fun post has shown you some great ways to really pull a specific theme together for your next layout! You can also see my full process video for this layout here:
Thanks so much for joining me today! Happy crafting!
~Theresa Moxley
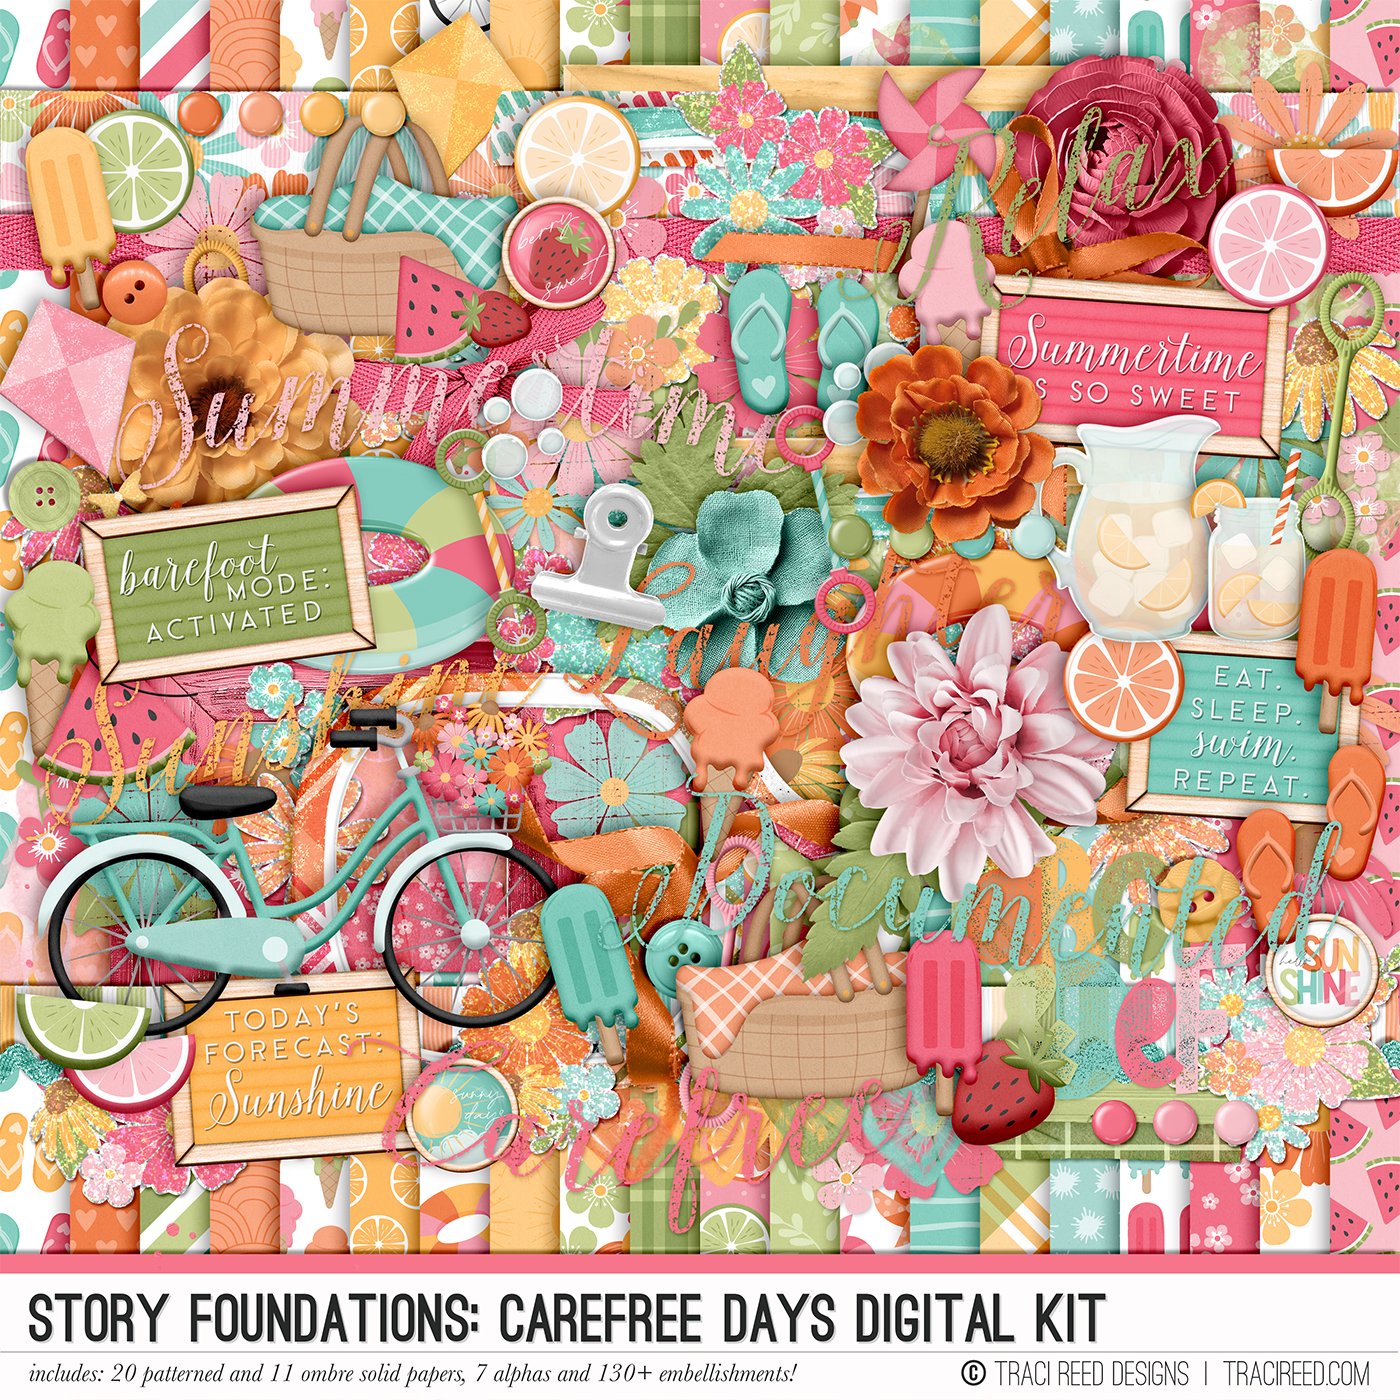
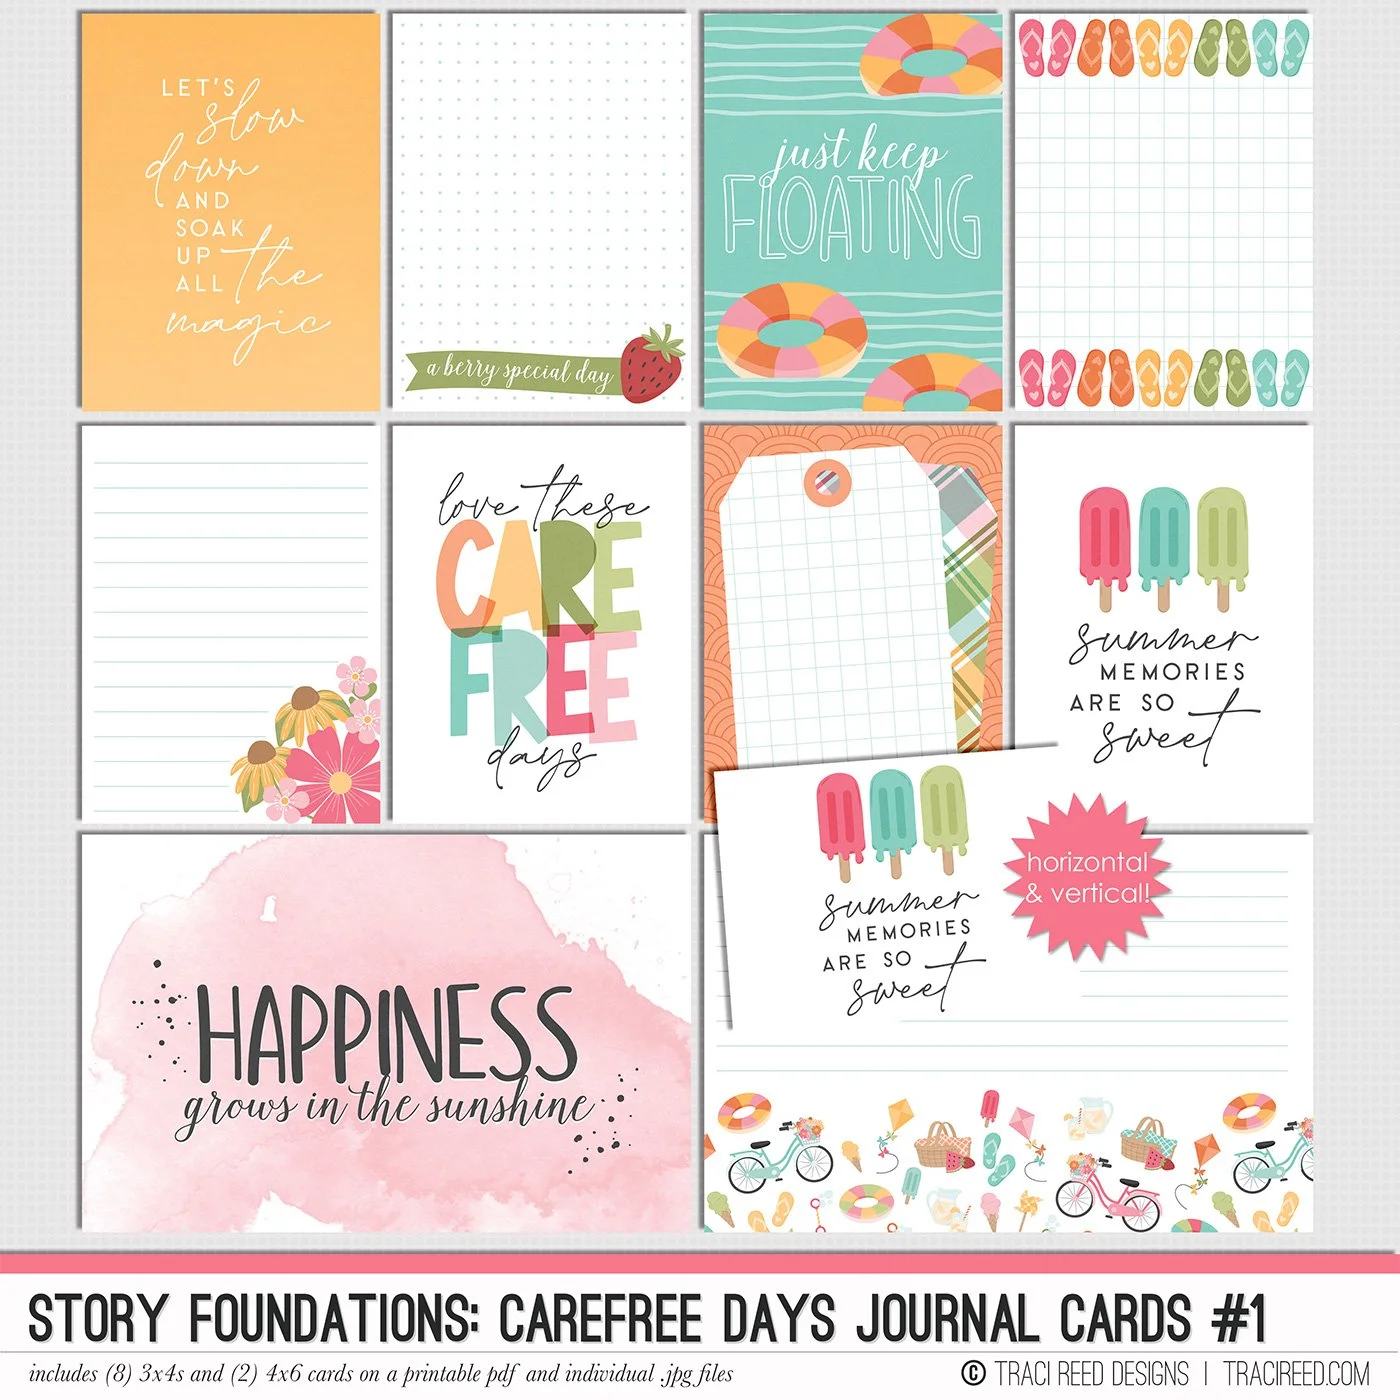
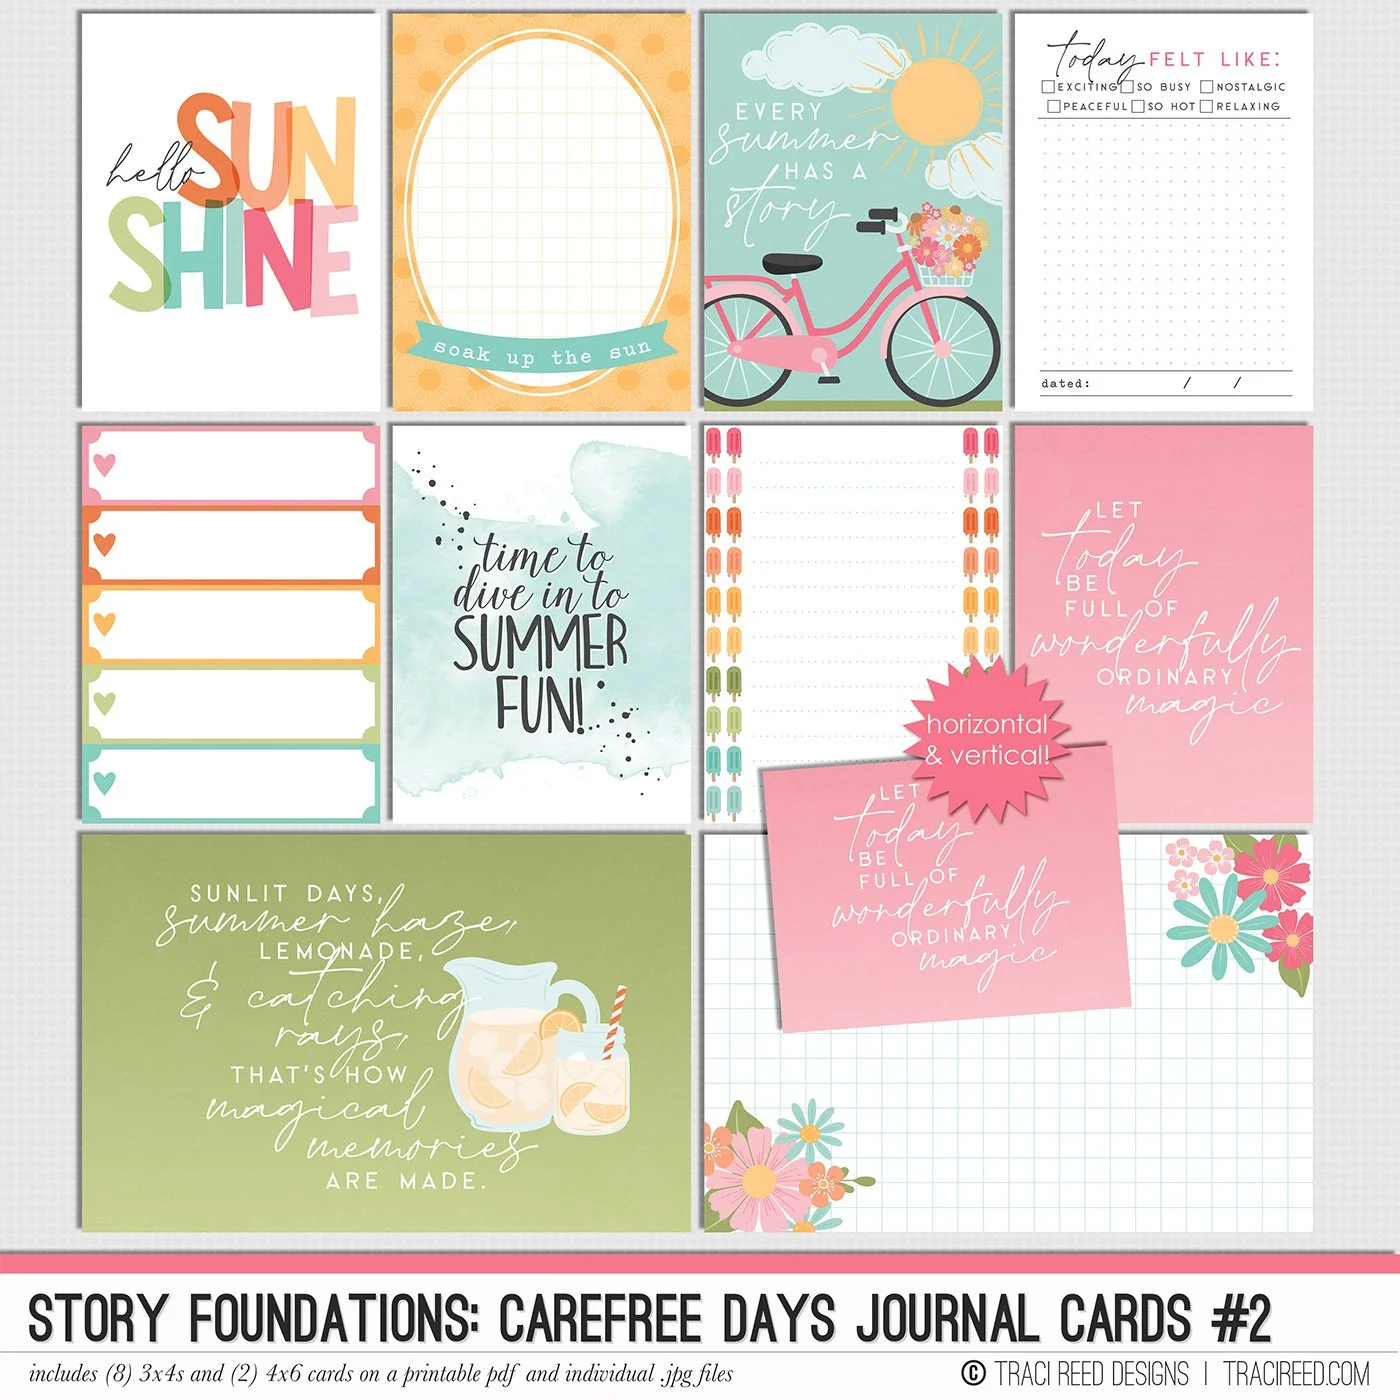
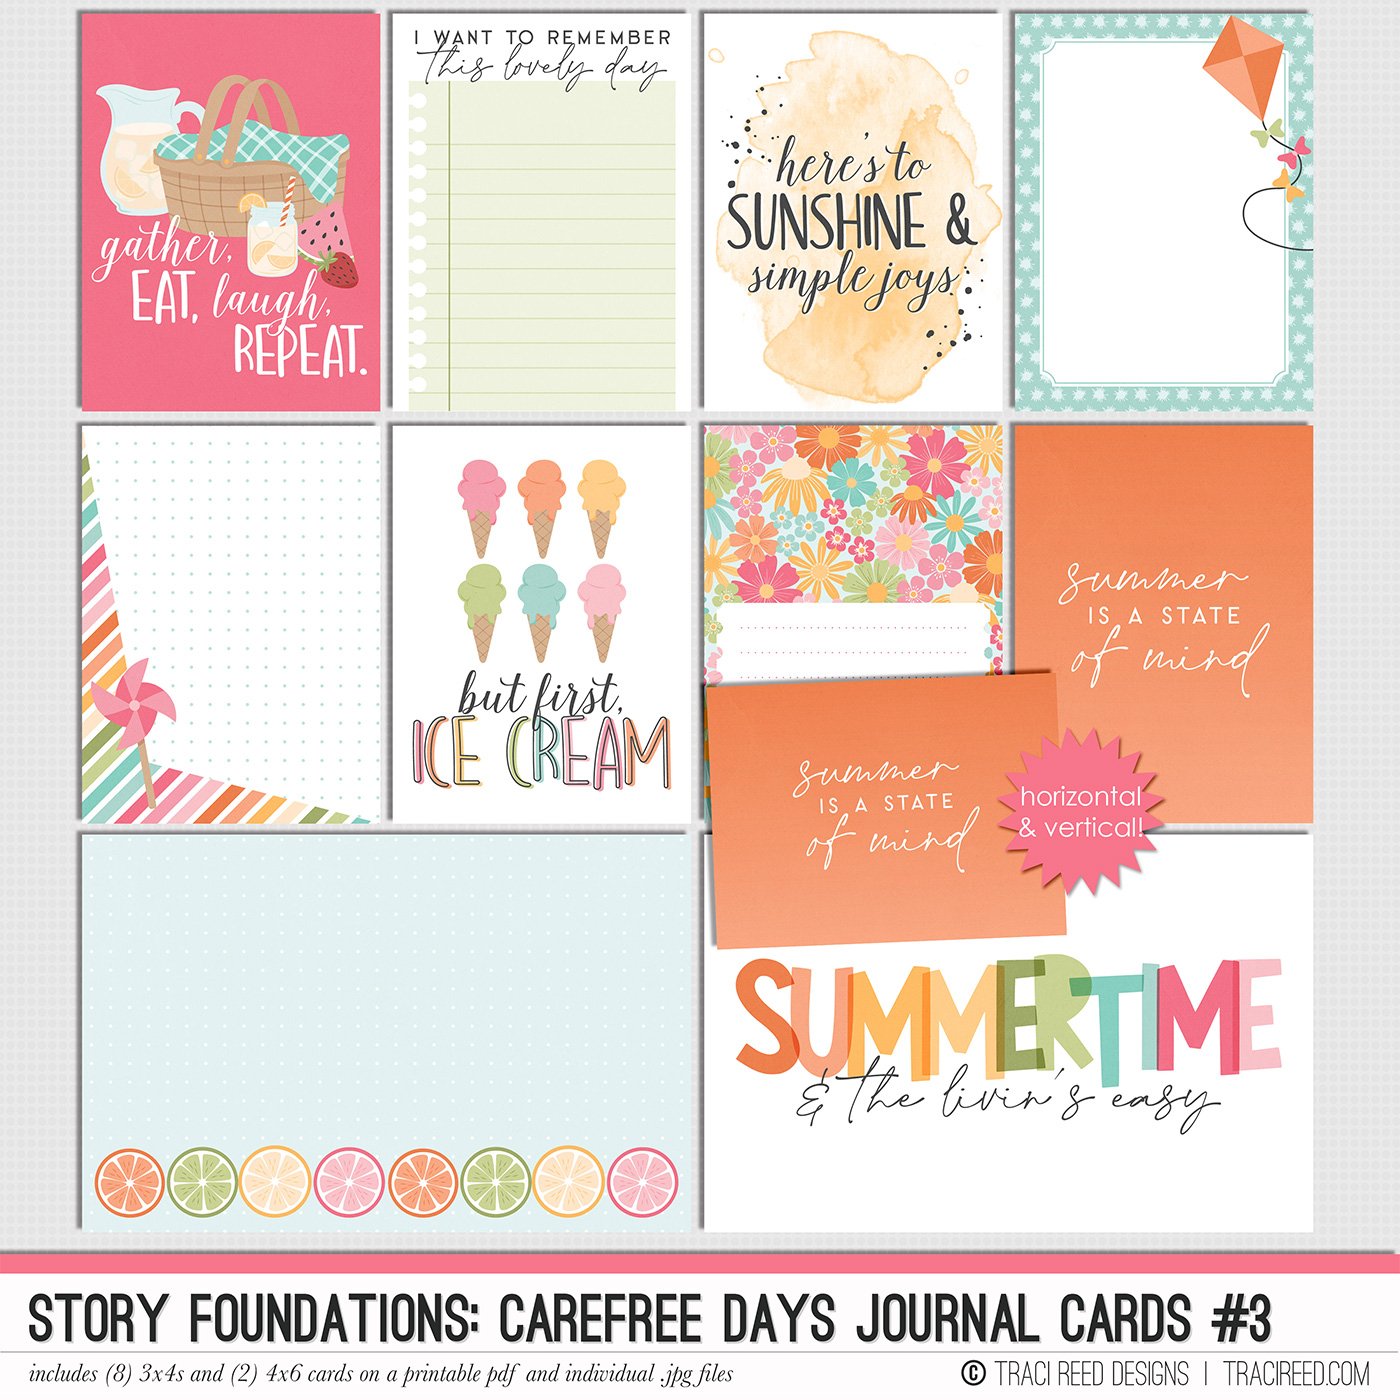
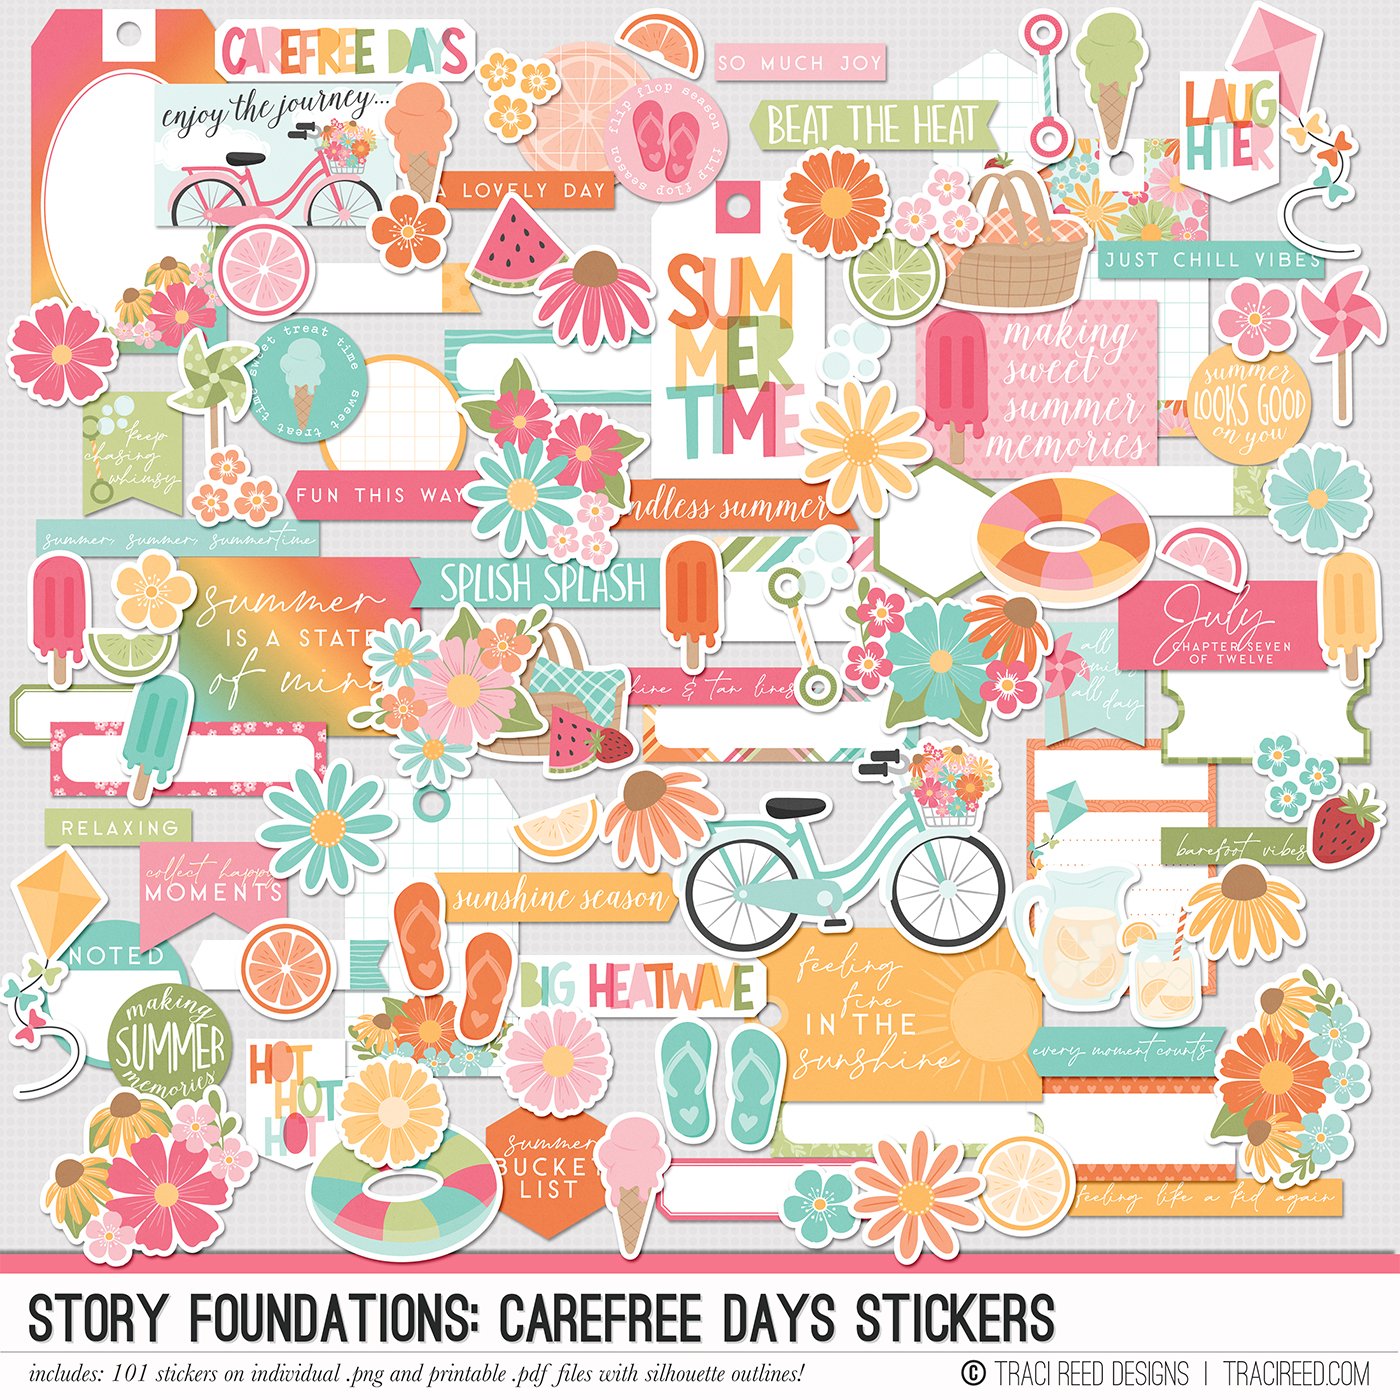
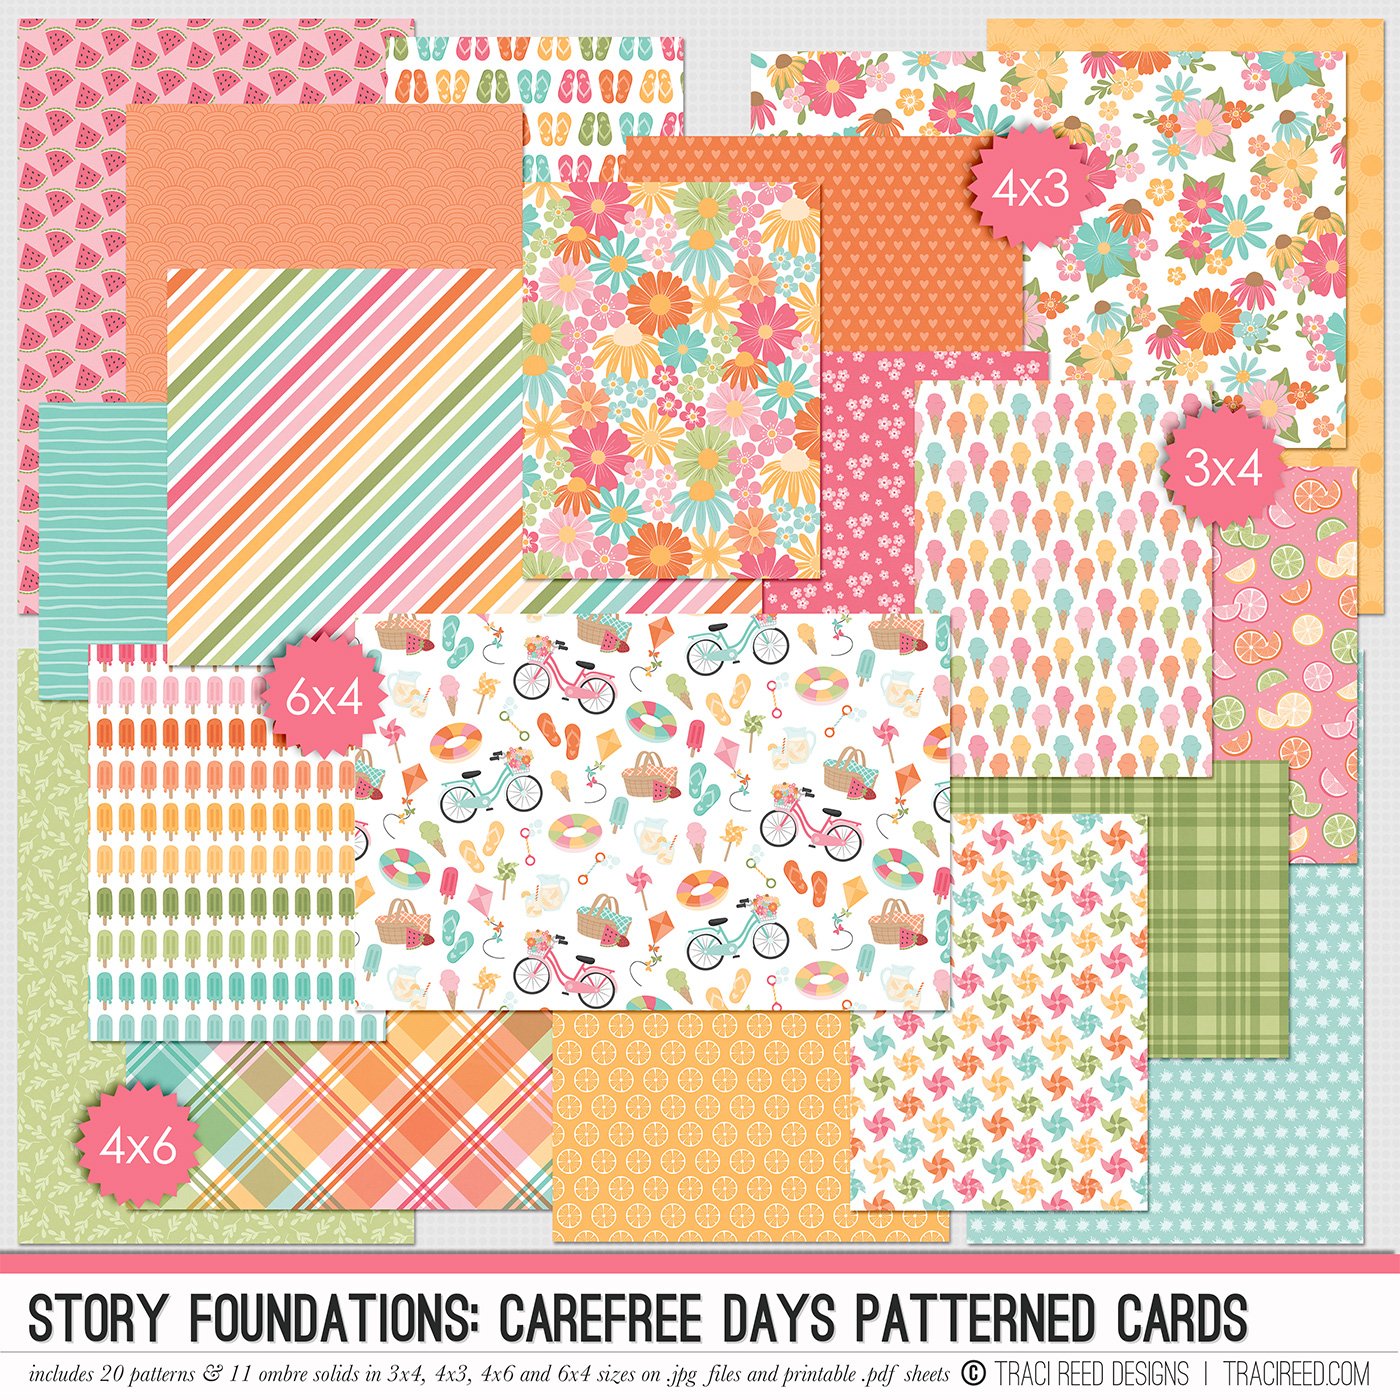
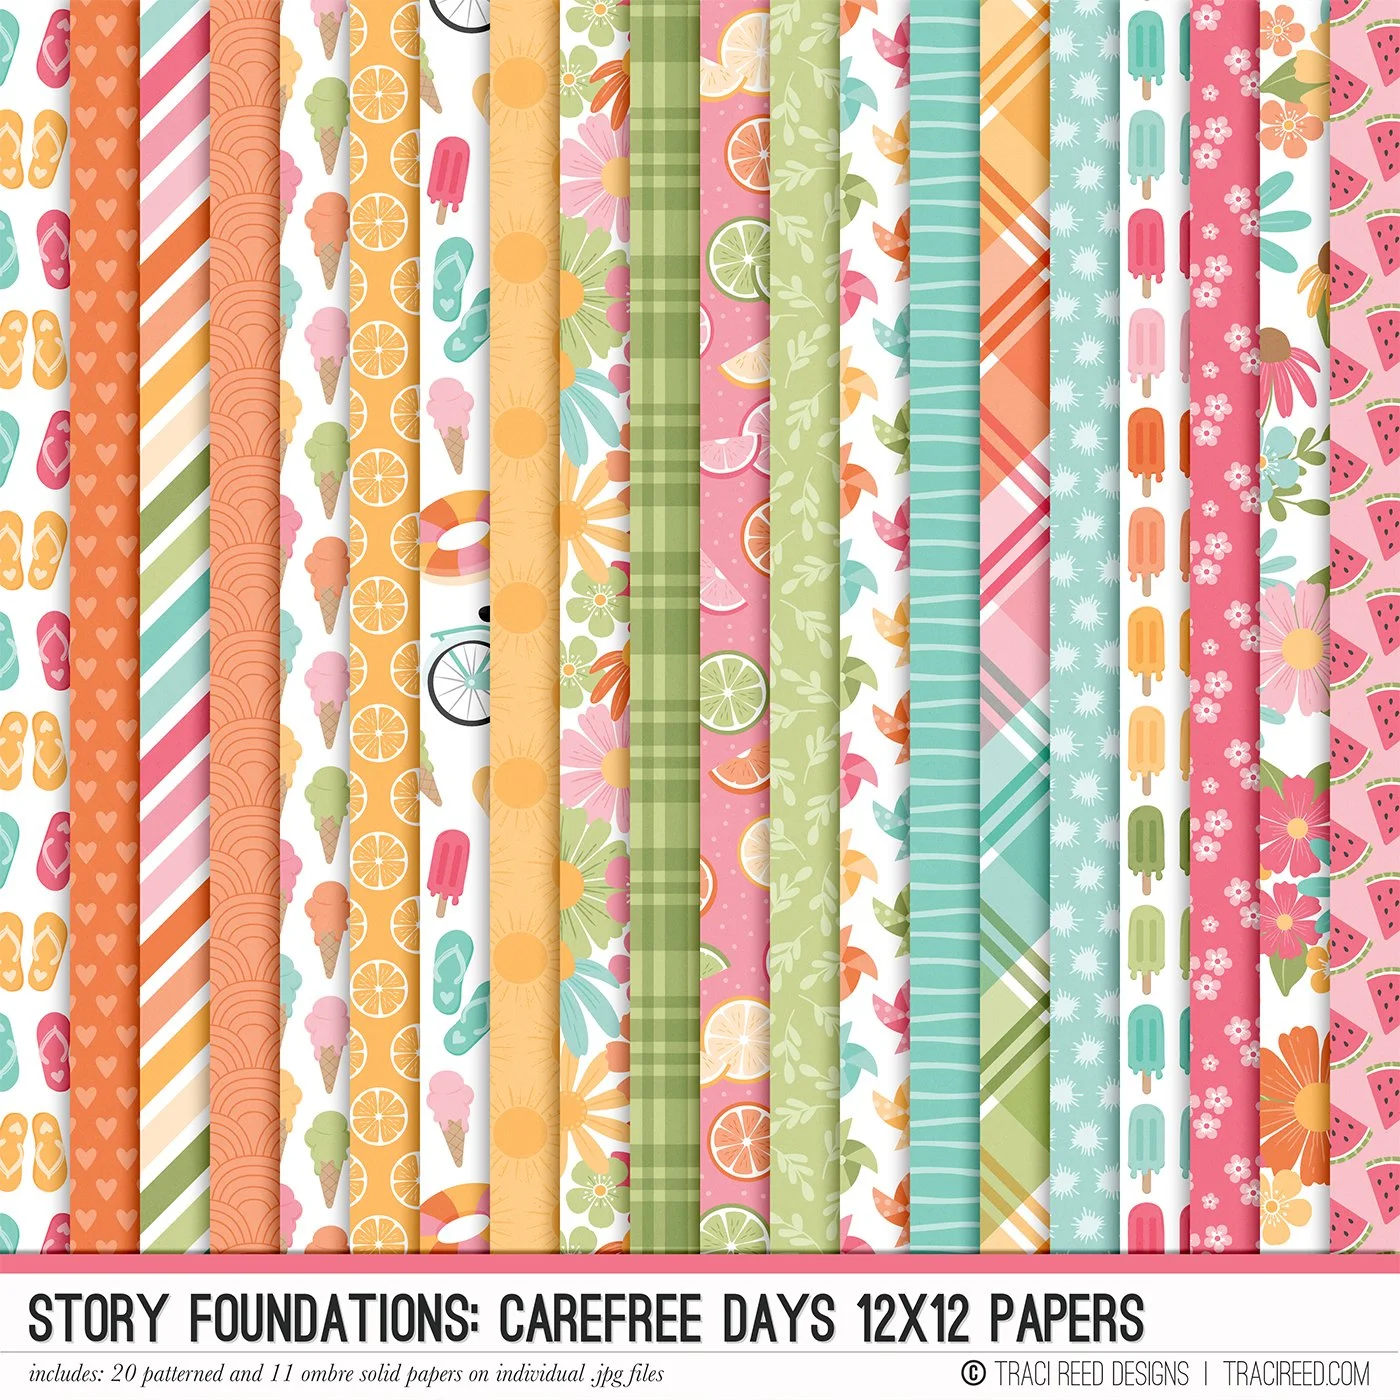
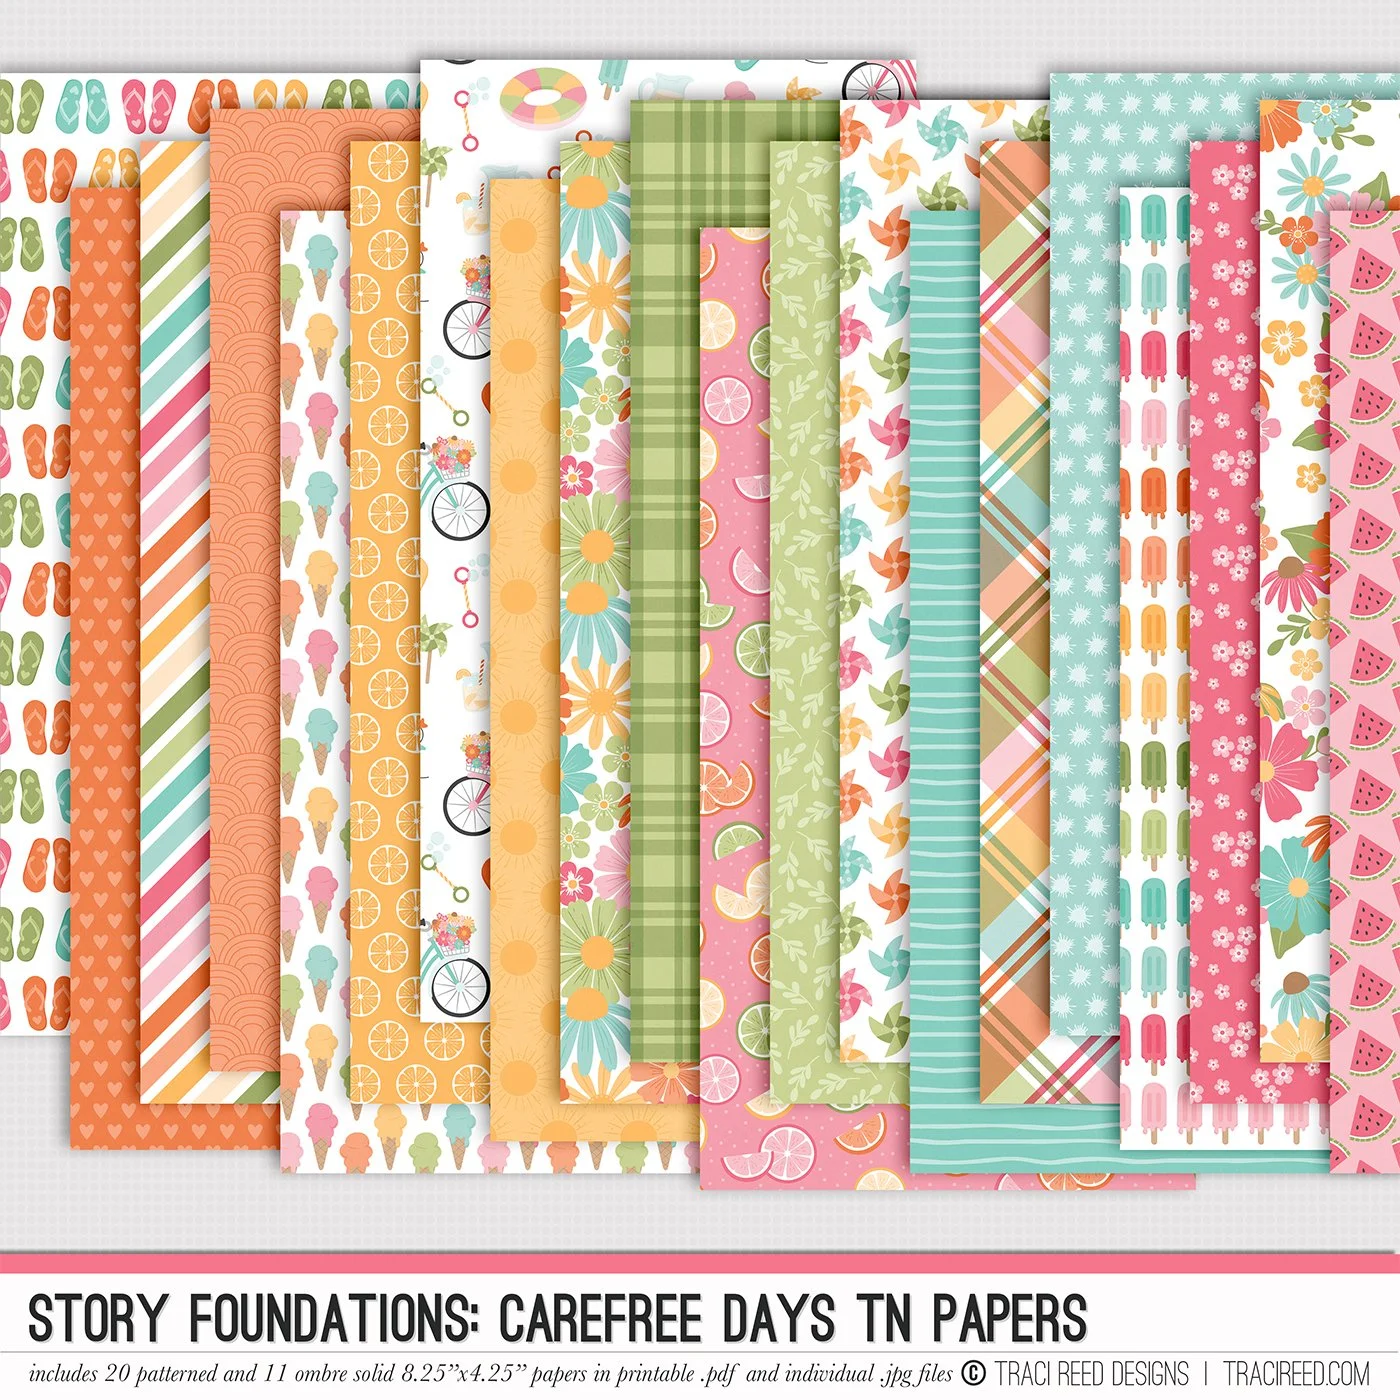
Story Foundations: Carefree Days is all about embracing the simple joys of summertime and rediscovering the wonder of the season through fresh eyes. Inspired by sunshine-filled afternoons, blooming gardens, melting popsicles, neighborhood bike rides, backyard picnics, and all the little moments in between, this chapter was designed to help you tell the stories that make summer unforgettable.
Filled with dozens of hand-drawn icons and cheerful embellishments, you'll find everything from bicycles, flowers, citrus slices, lemonade, pool floats, picnic baskets, kites, ice cream, and sweet summer treats to the everyday details that bring your memories to life. The bright, playful color palette coordinates beautifully with the rest of the Story Foundations series while remaining versatile enough to pair with your favorite seasonal collections.
Whether you're documenting family vacations, afternoons by the pool, evenings spent chasing fireflies, trips to the farmer's market, lazy weekends at home, or simply soaking up life's slower pace, Carefree Days provides a beautiful foundation for preserving every story, both big and small.
With patterned papers, journal cards, stickers, and embellishments designed to mix, match, and layer effortlessly, Story Foundations: Carefree Days makes it easy to capture the warmth, nostalgia, and simple magic of summer...one memory at a time.
See the unboxing and example images for the Story Foundations: Carefree Days collection HERE.
Don’t forget, the entire 2026 Story Foundations Collections are meant to mix and match and pair with each other! You can see all the Story Foundations Chapters HERE.
BUNDLE INCLUDES:
Story Foundations: Carefree Days Digital Kit, Cards 1, 2, &3 + Stickers!
BUNDLE DOES NOT INCLUDE:
Story Foundations: Carefree Days TN Papers, 6×8 Papers, or Patterned Cards