Mini Album Tutorial: Create a Bi-fold Folio with Ana
Hi everyone!
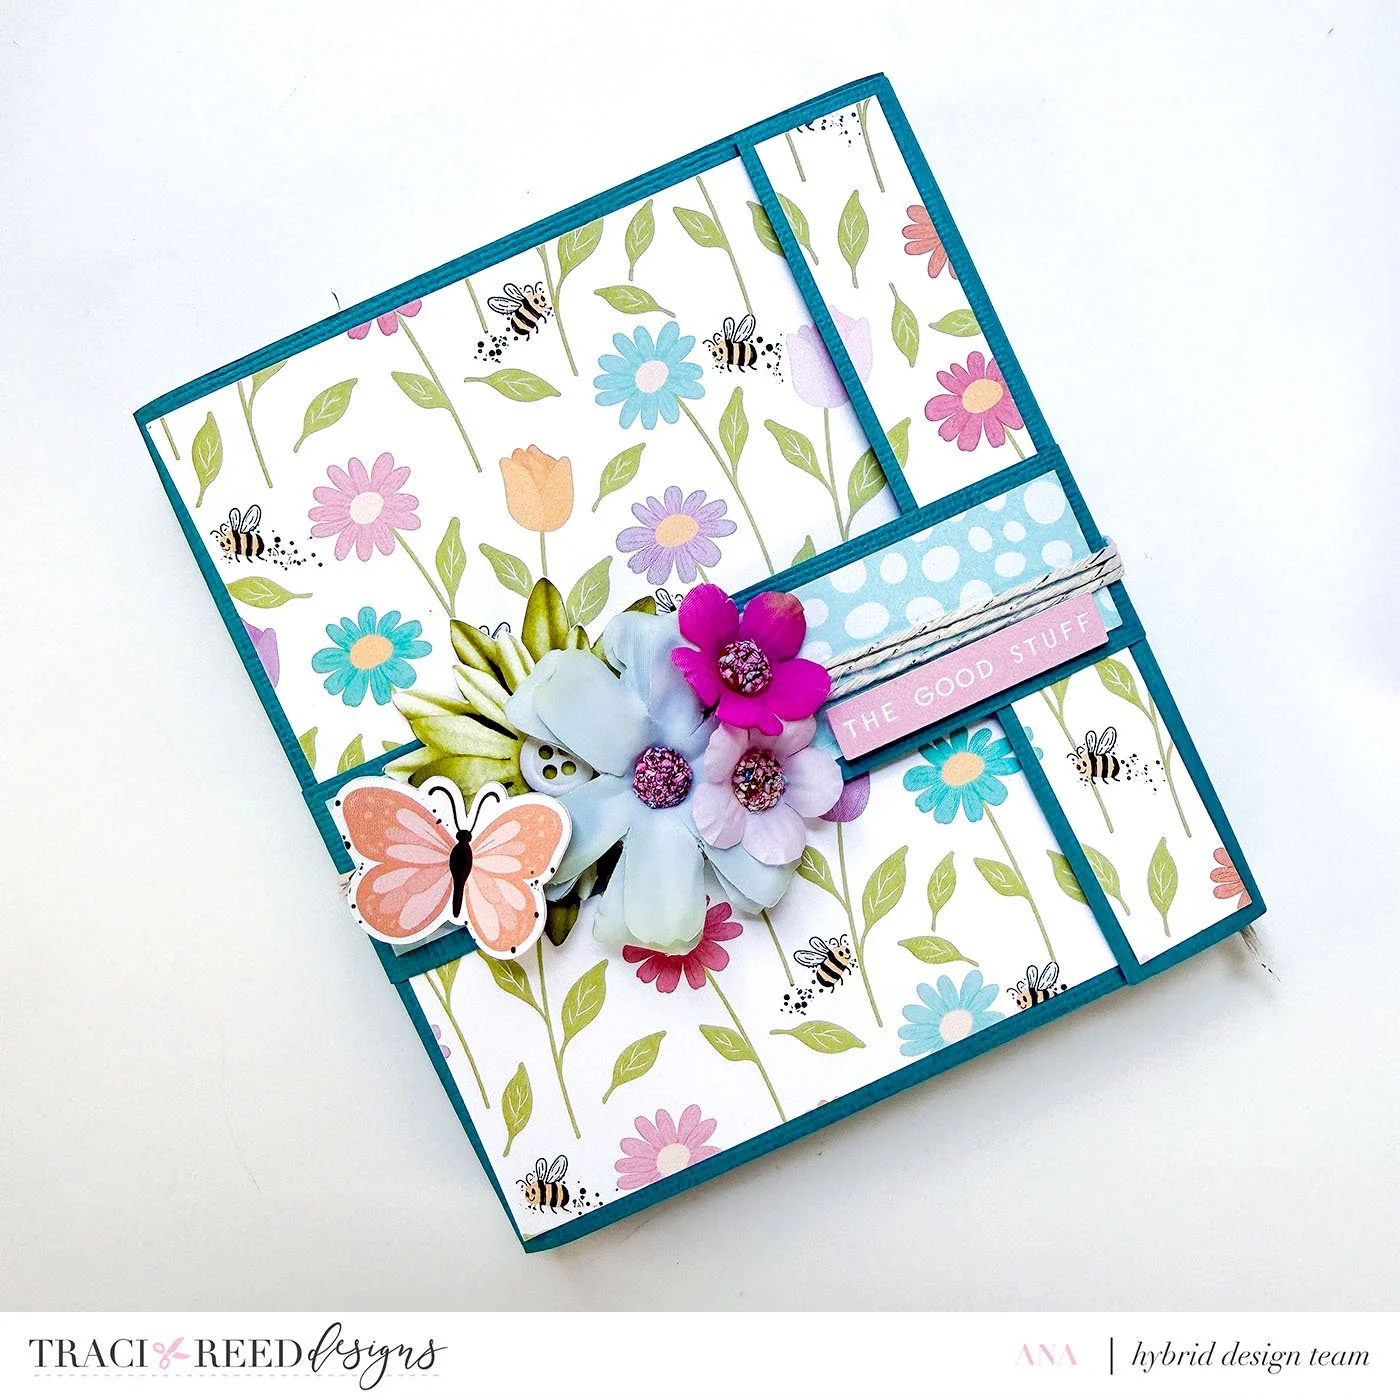
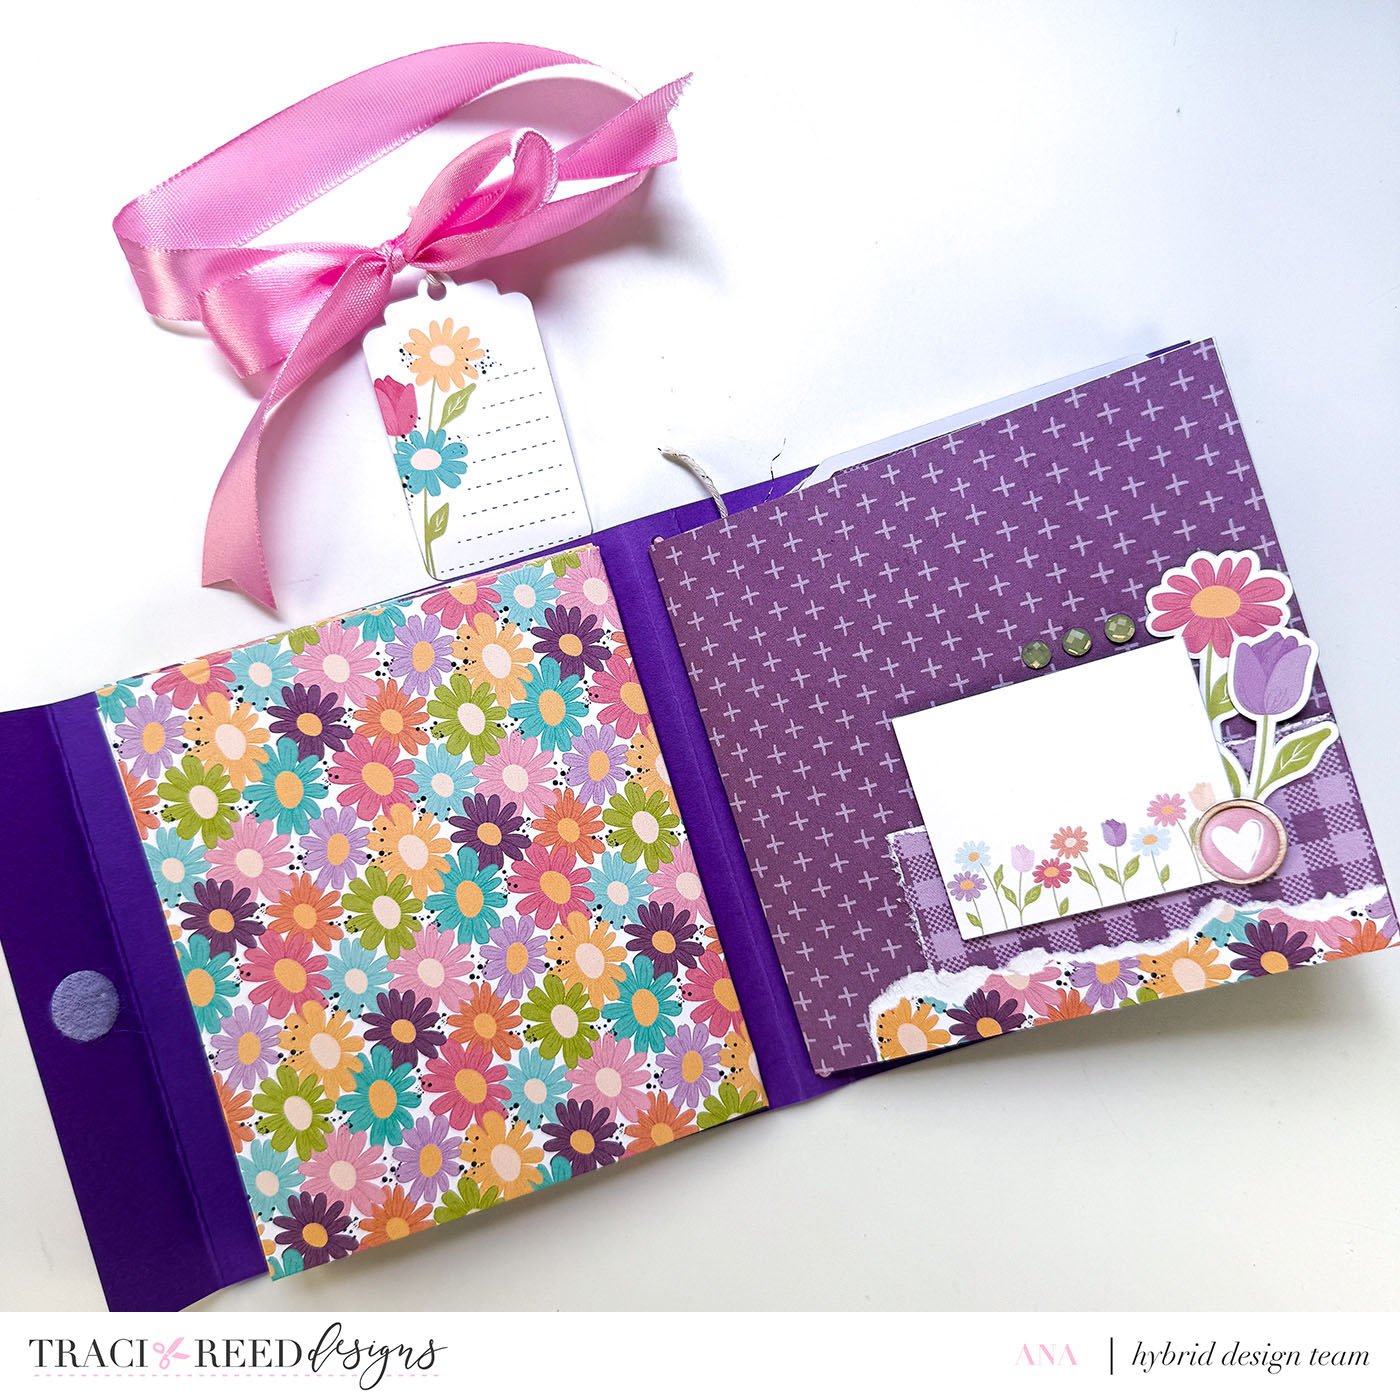
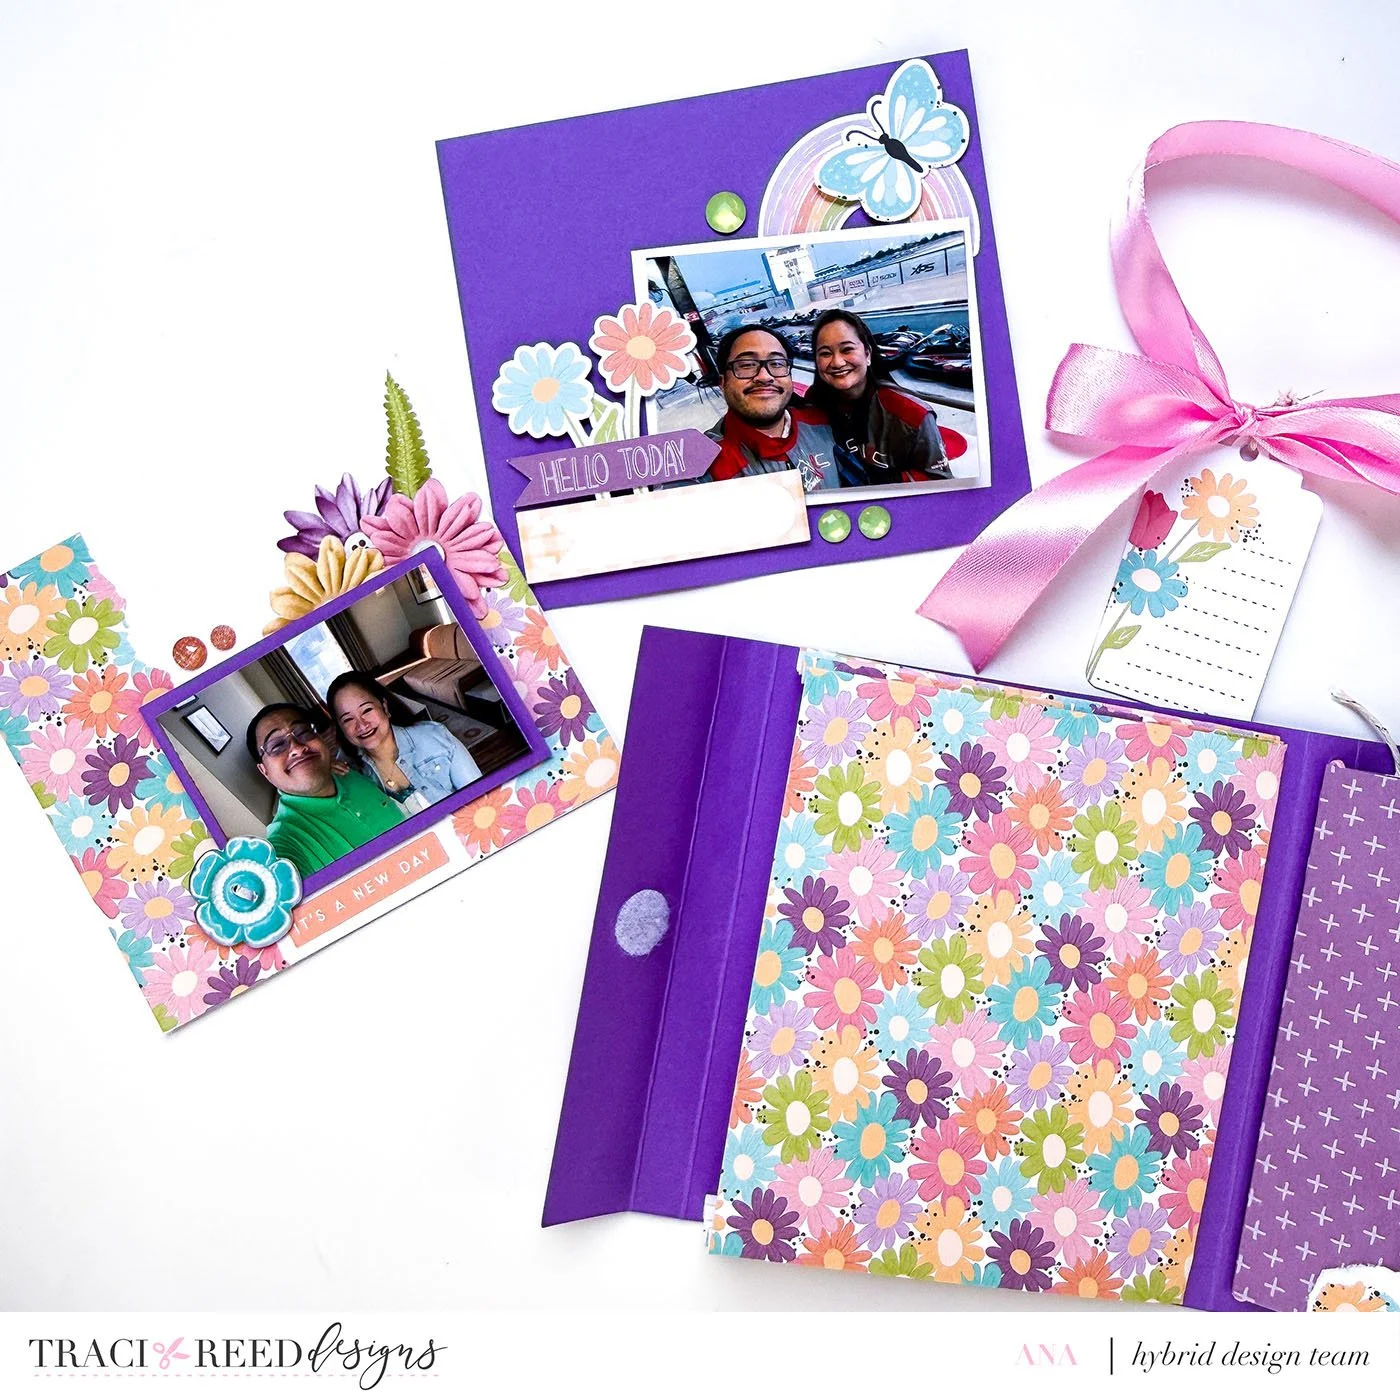
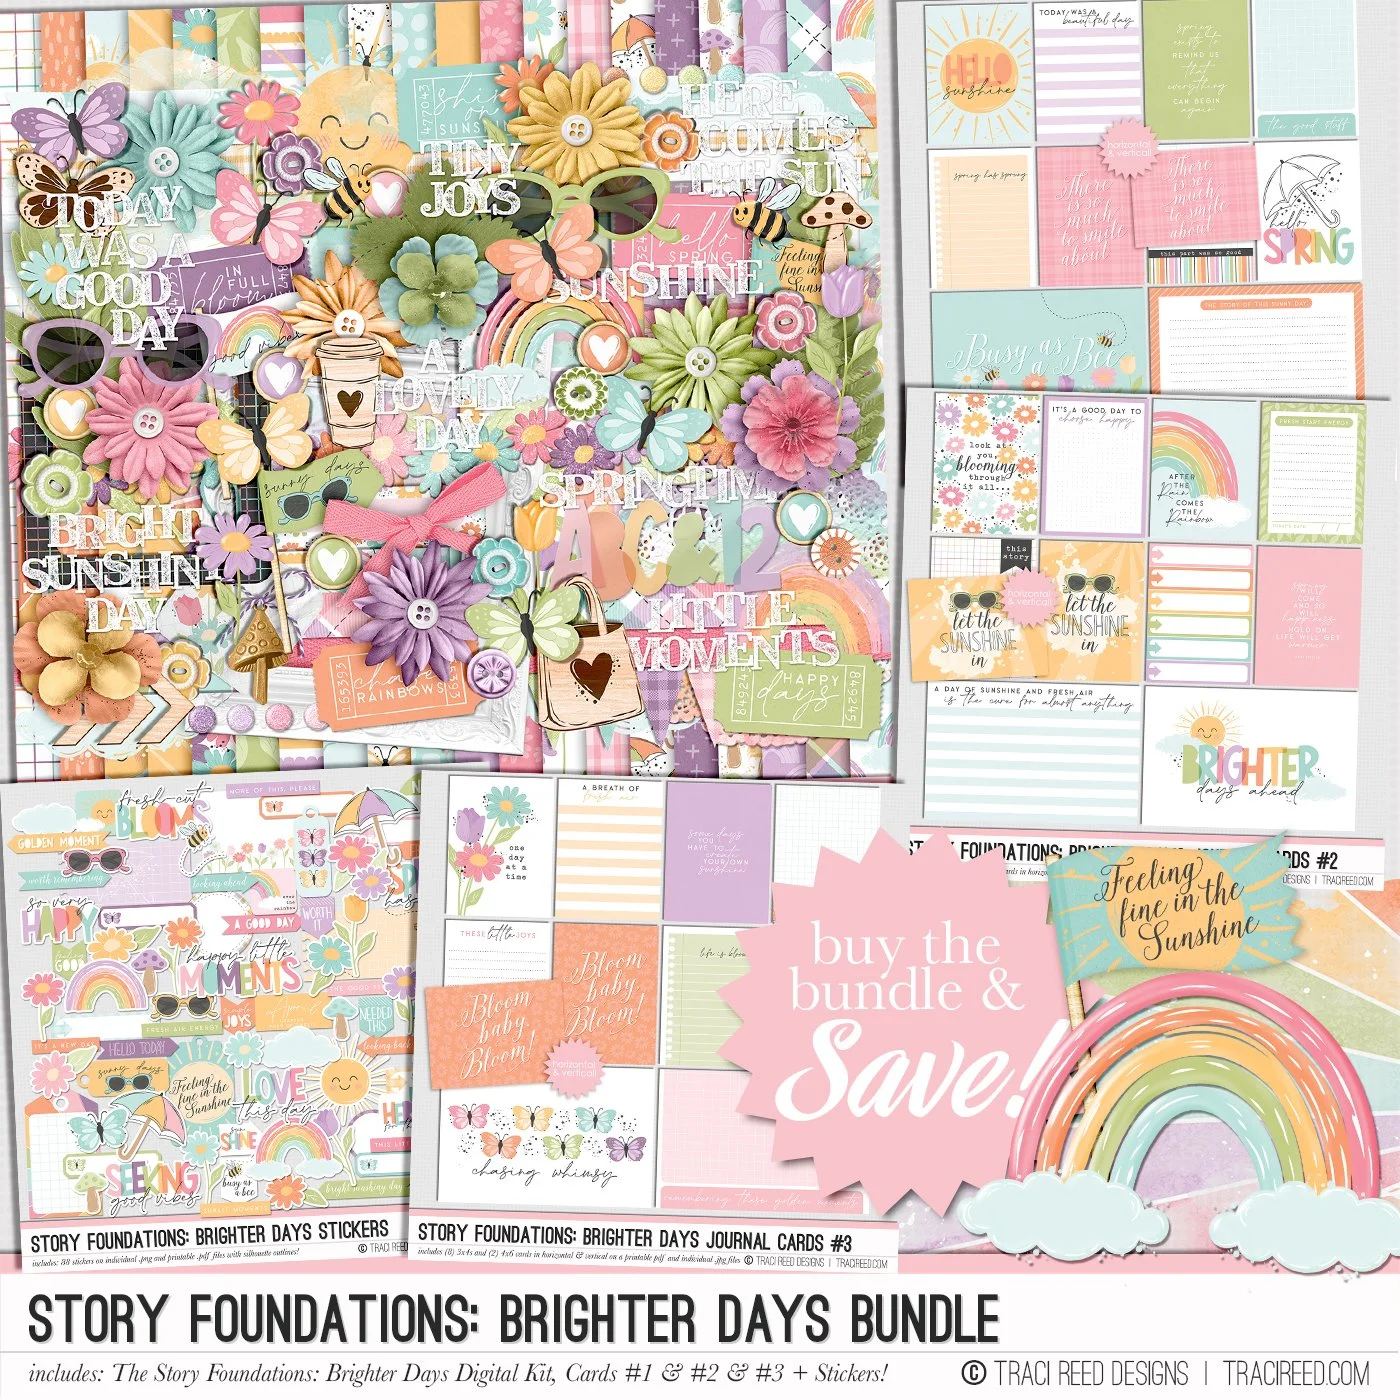
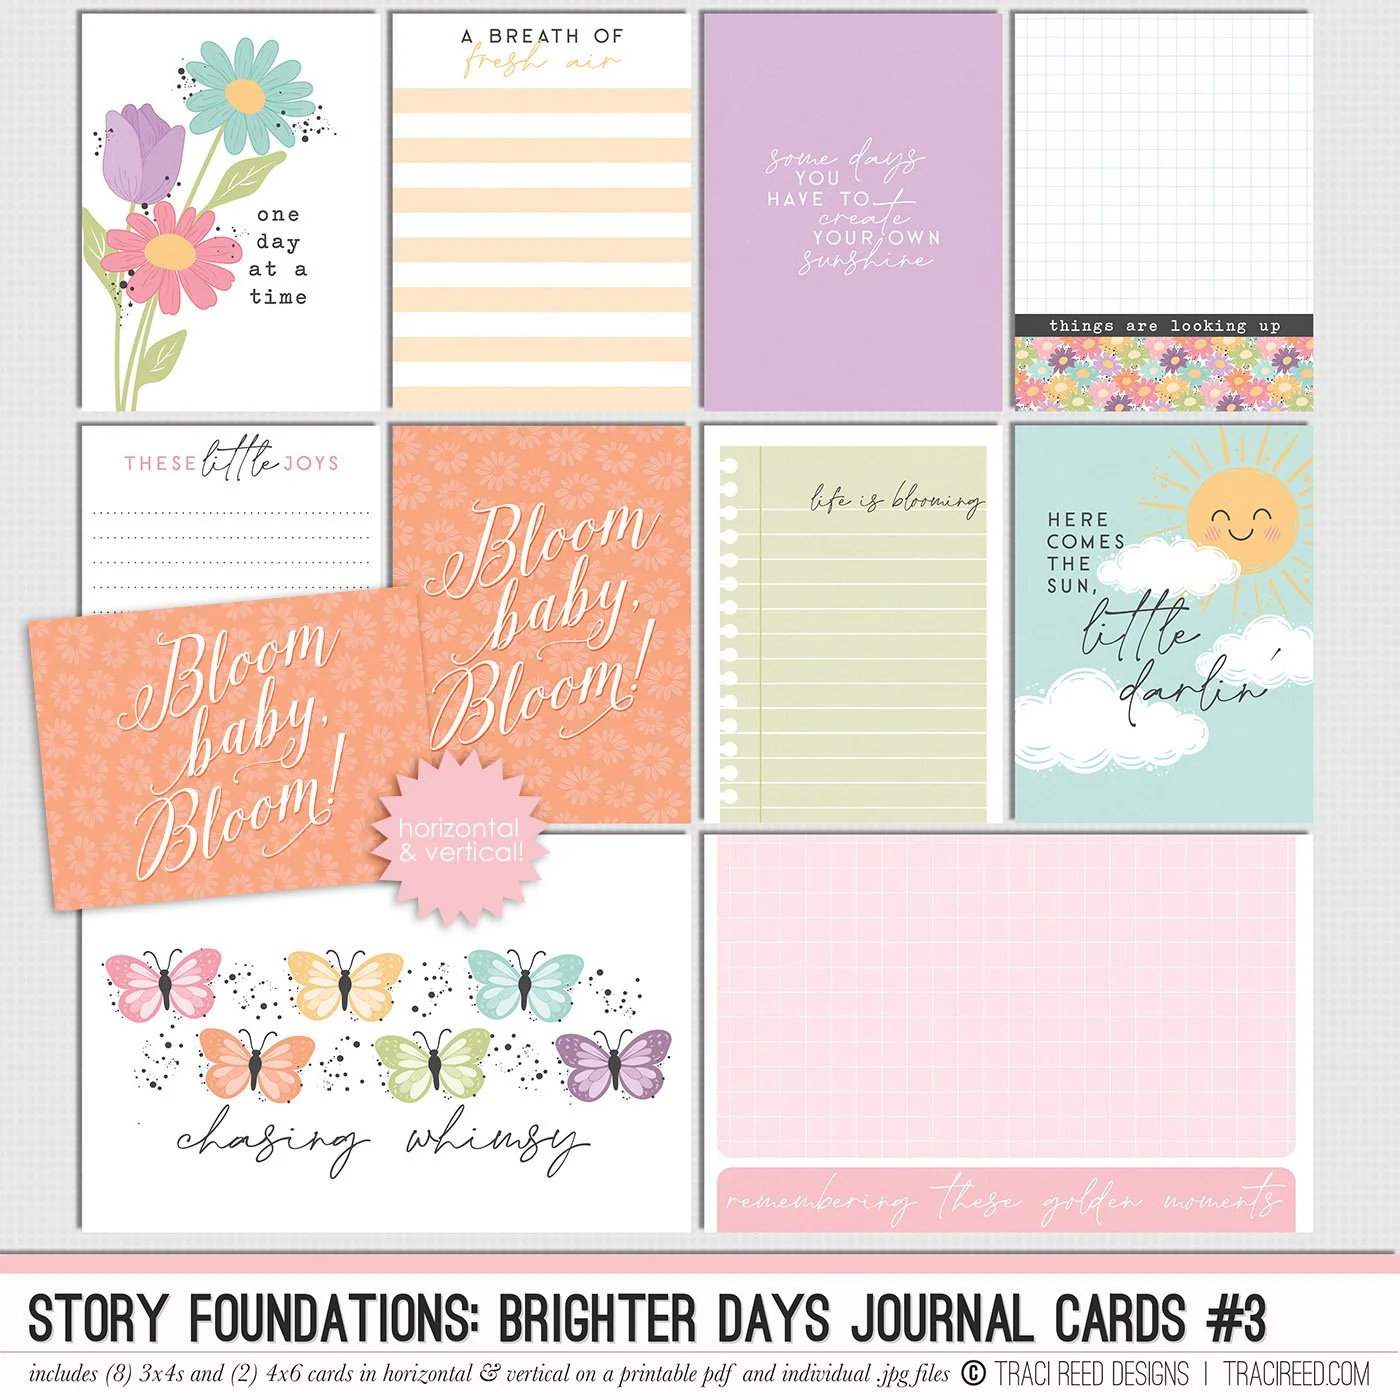
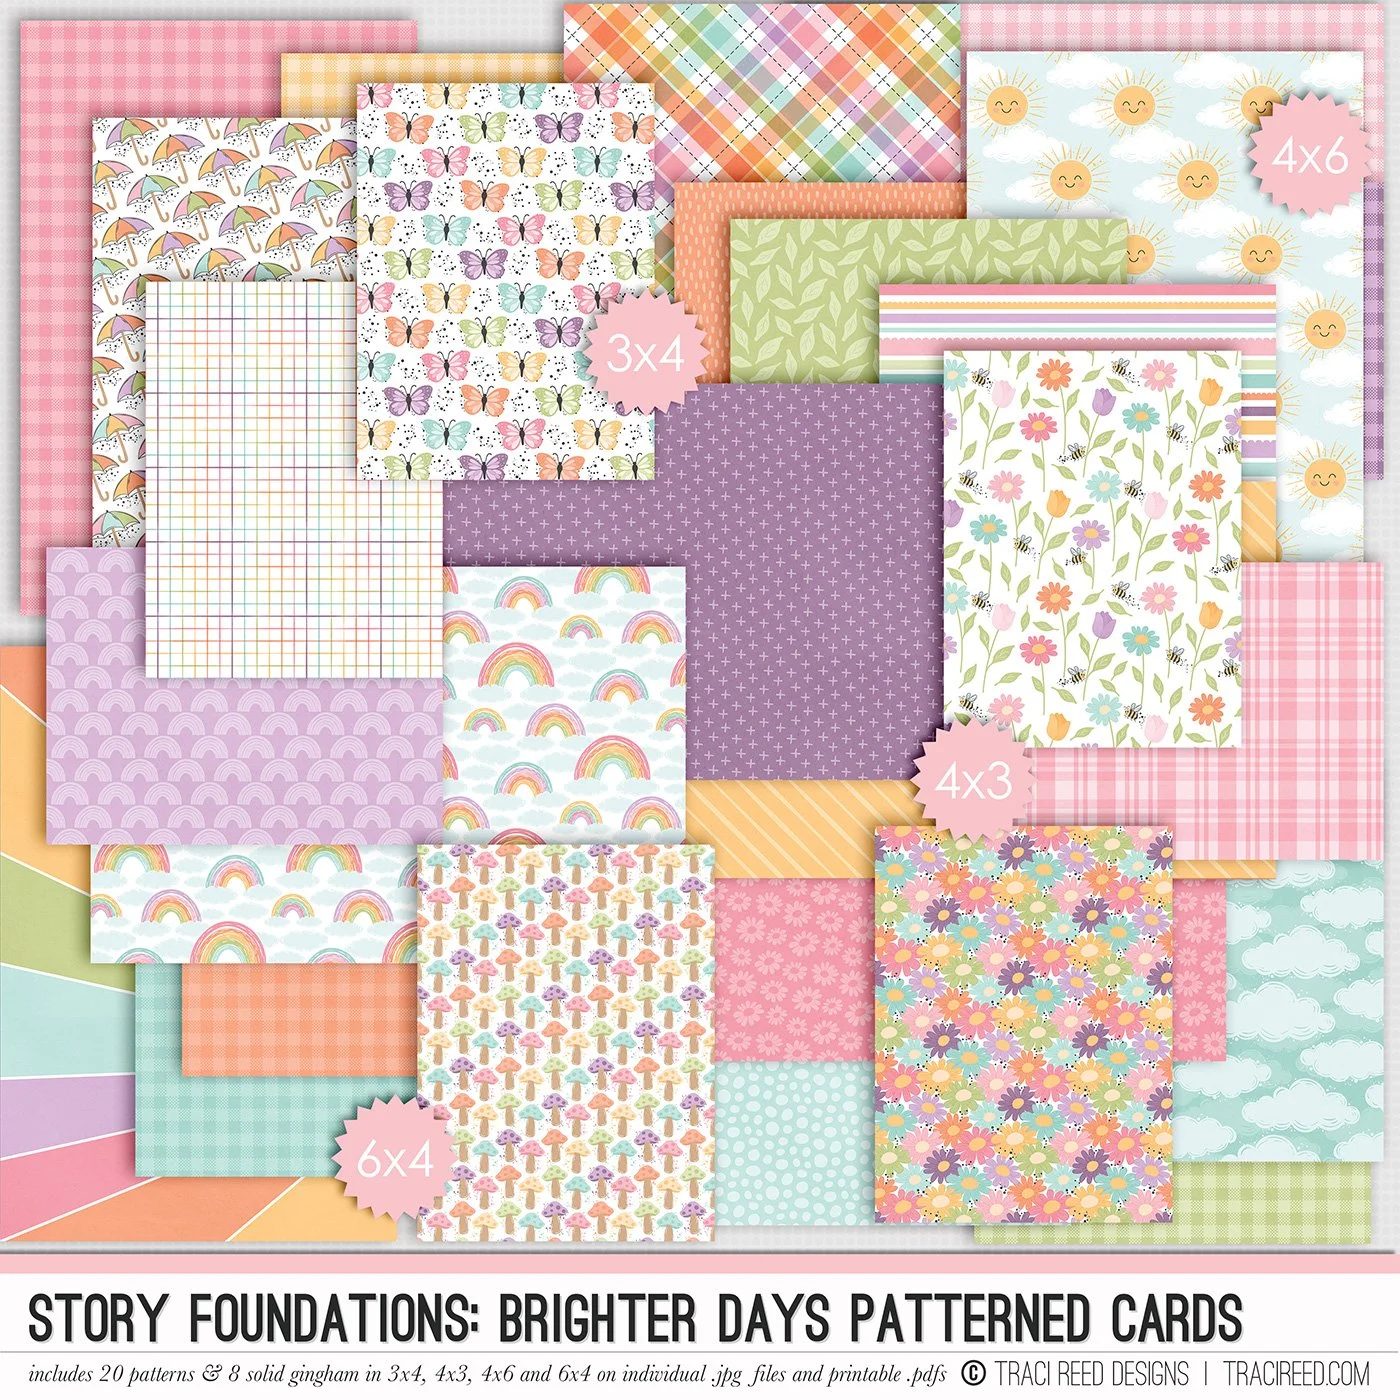
Today I’m sharing a fun and easy project, my Bi-Fold Folio using the Brighter Days Collection!
I really love this project because it’s super beginner-friendly, and once you’ve made your first one and get the hang of it, you’ll definitely want to keep making more (Trust me! I made two just for this blog and actually wanted to make more). It’s perfect to keep for yourself to store ephemera or stickers, use for memory keeping, gift to friends or family, or even sell at craft fairs!

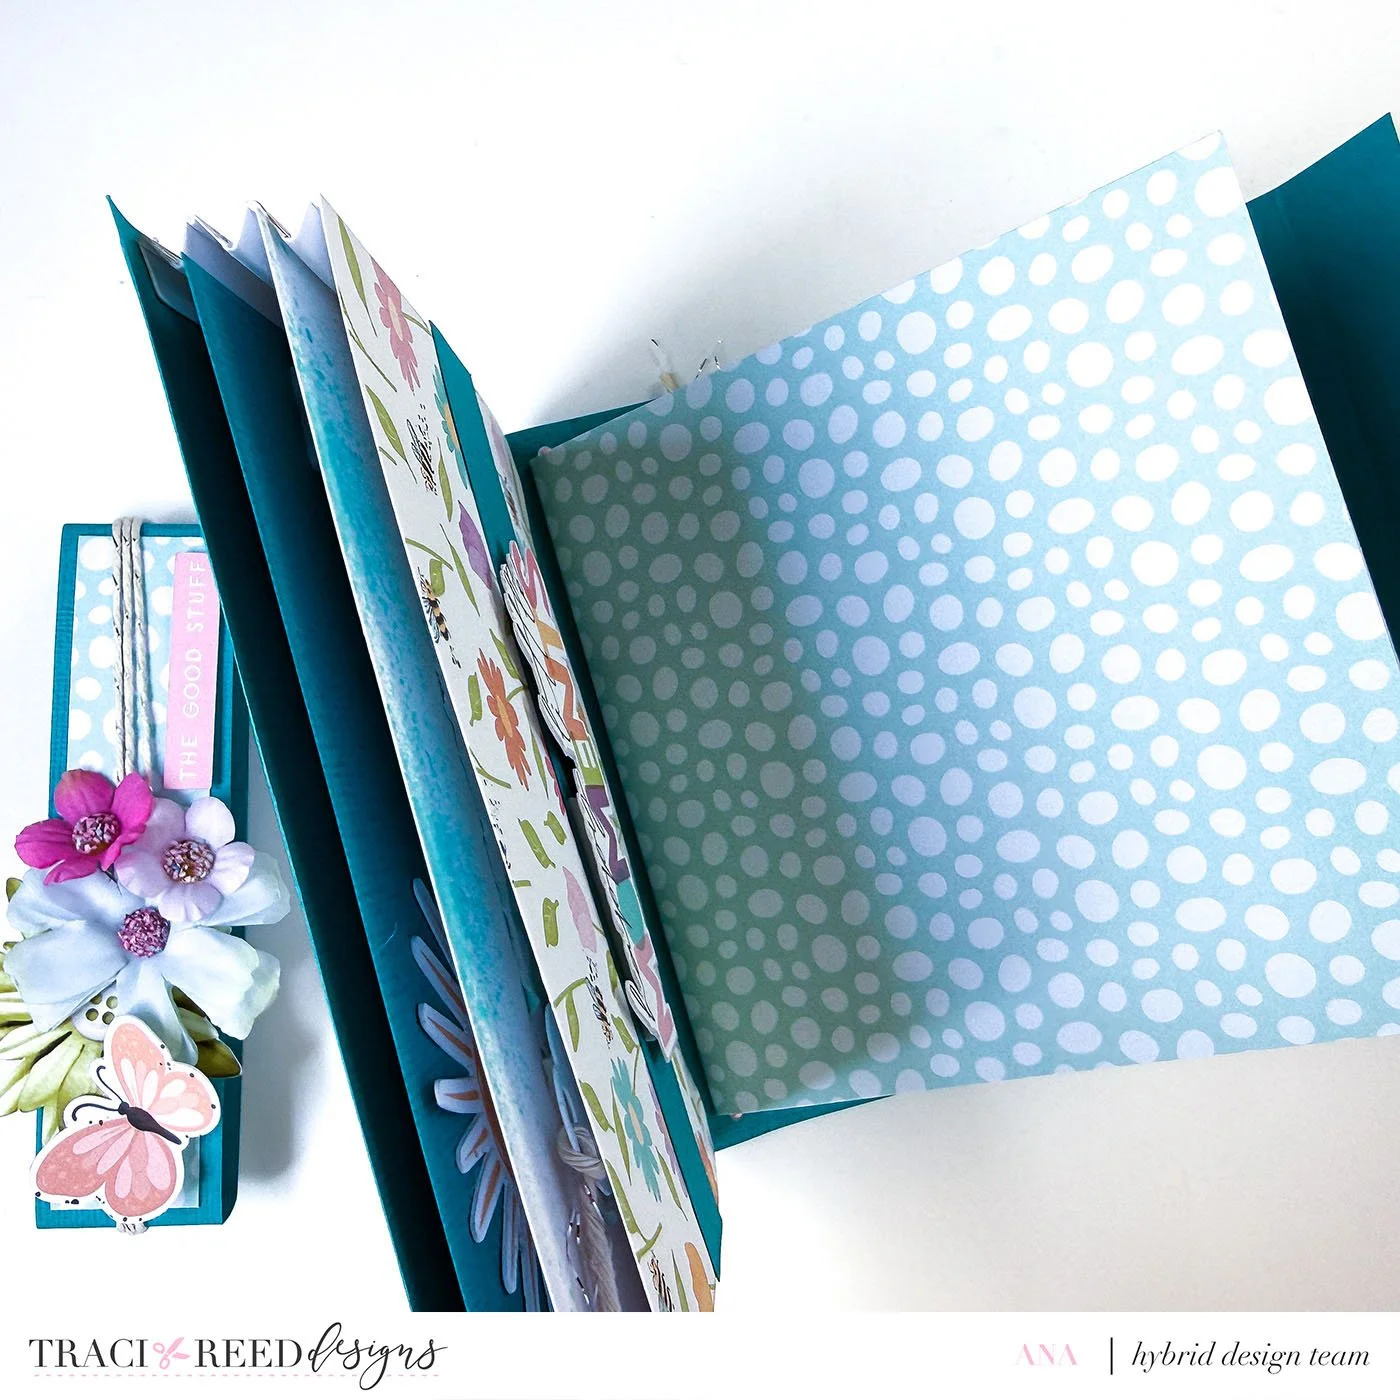
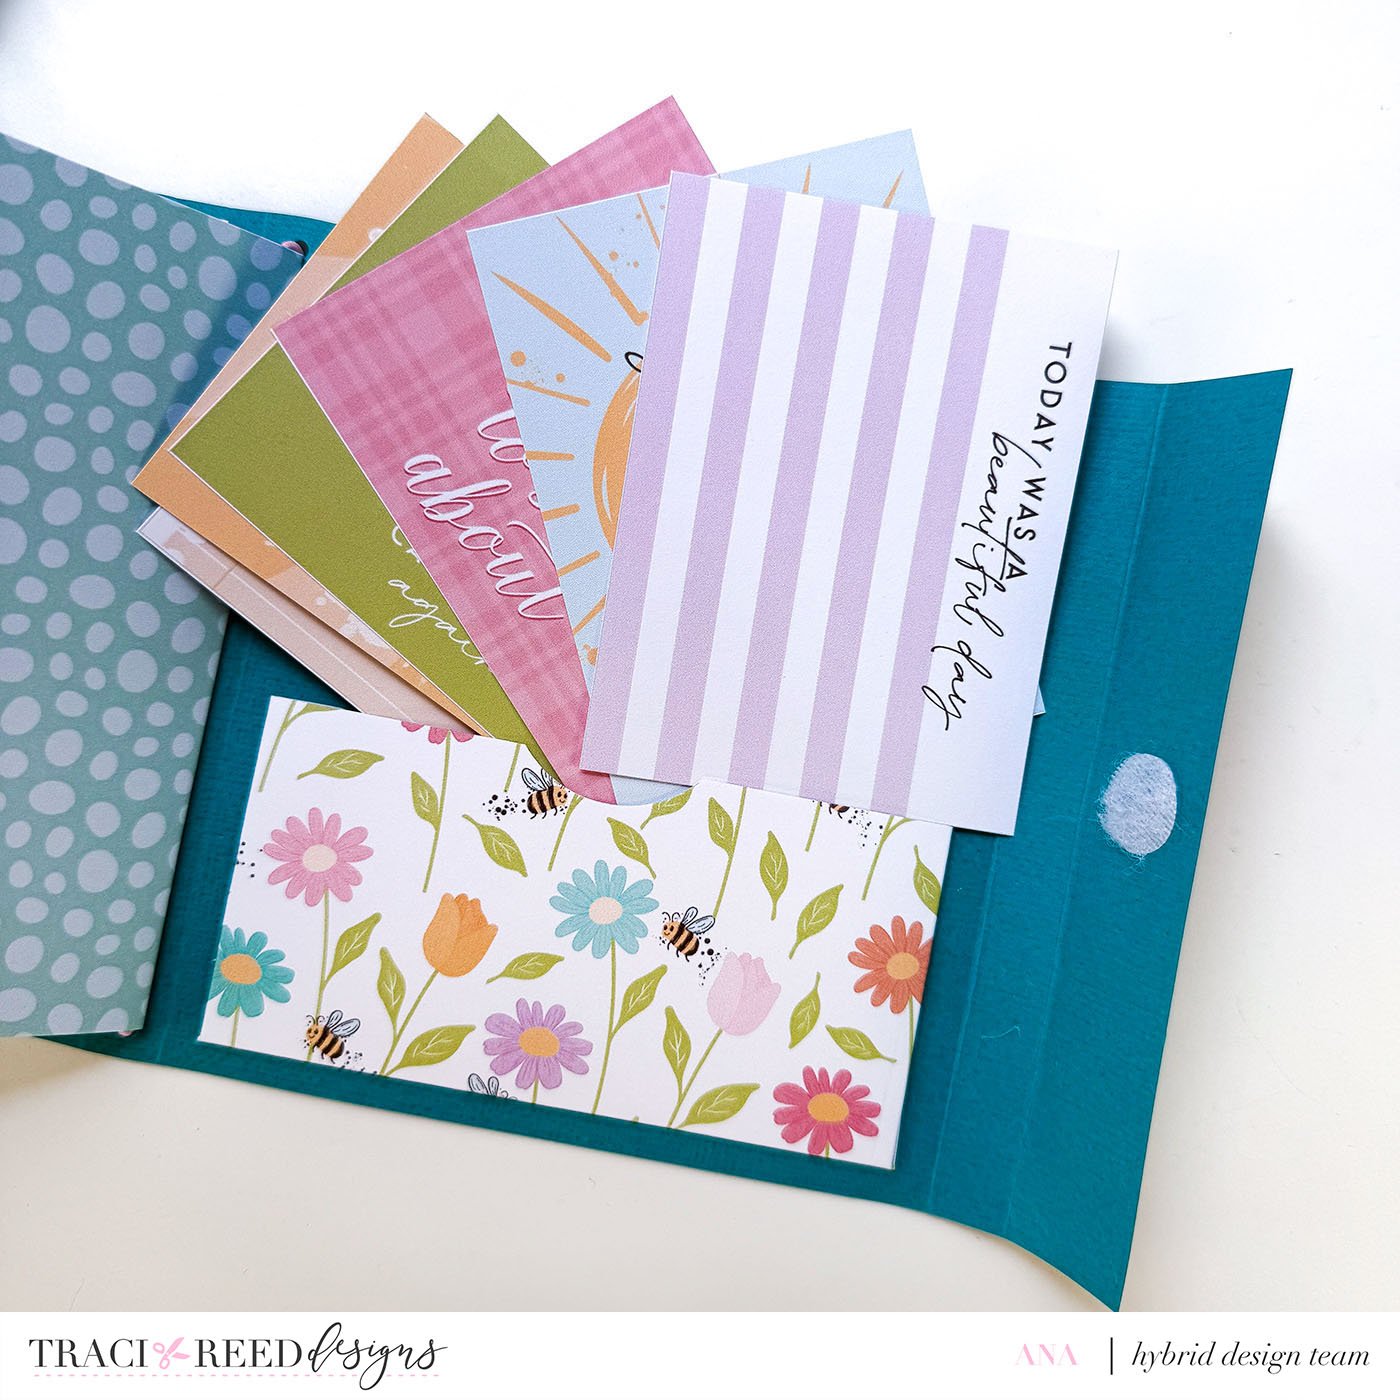
This folio includes accordion pockets, extra pockets, and pages for journaling or photos - just everything you need in one cute little project!
Materials Used:
• Plain cardstock
• Pattern paper
• Embellishments
• Ribbon
• Velcro dots
• Elastic string
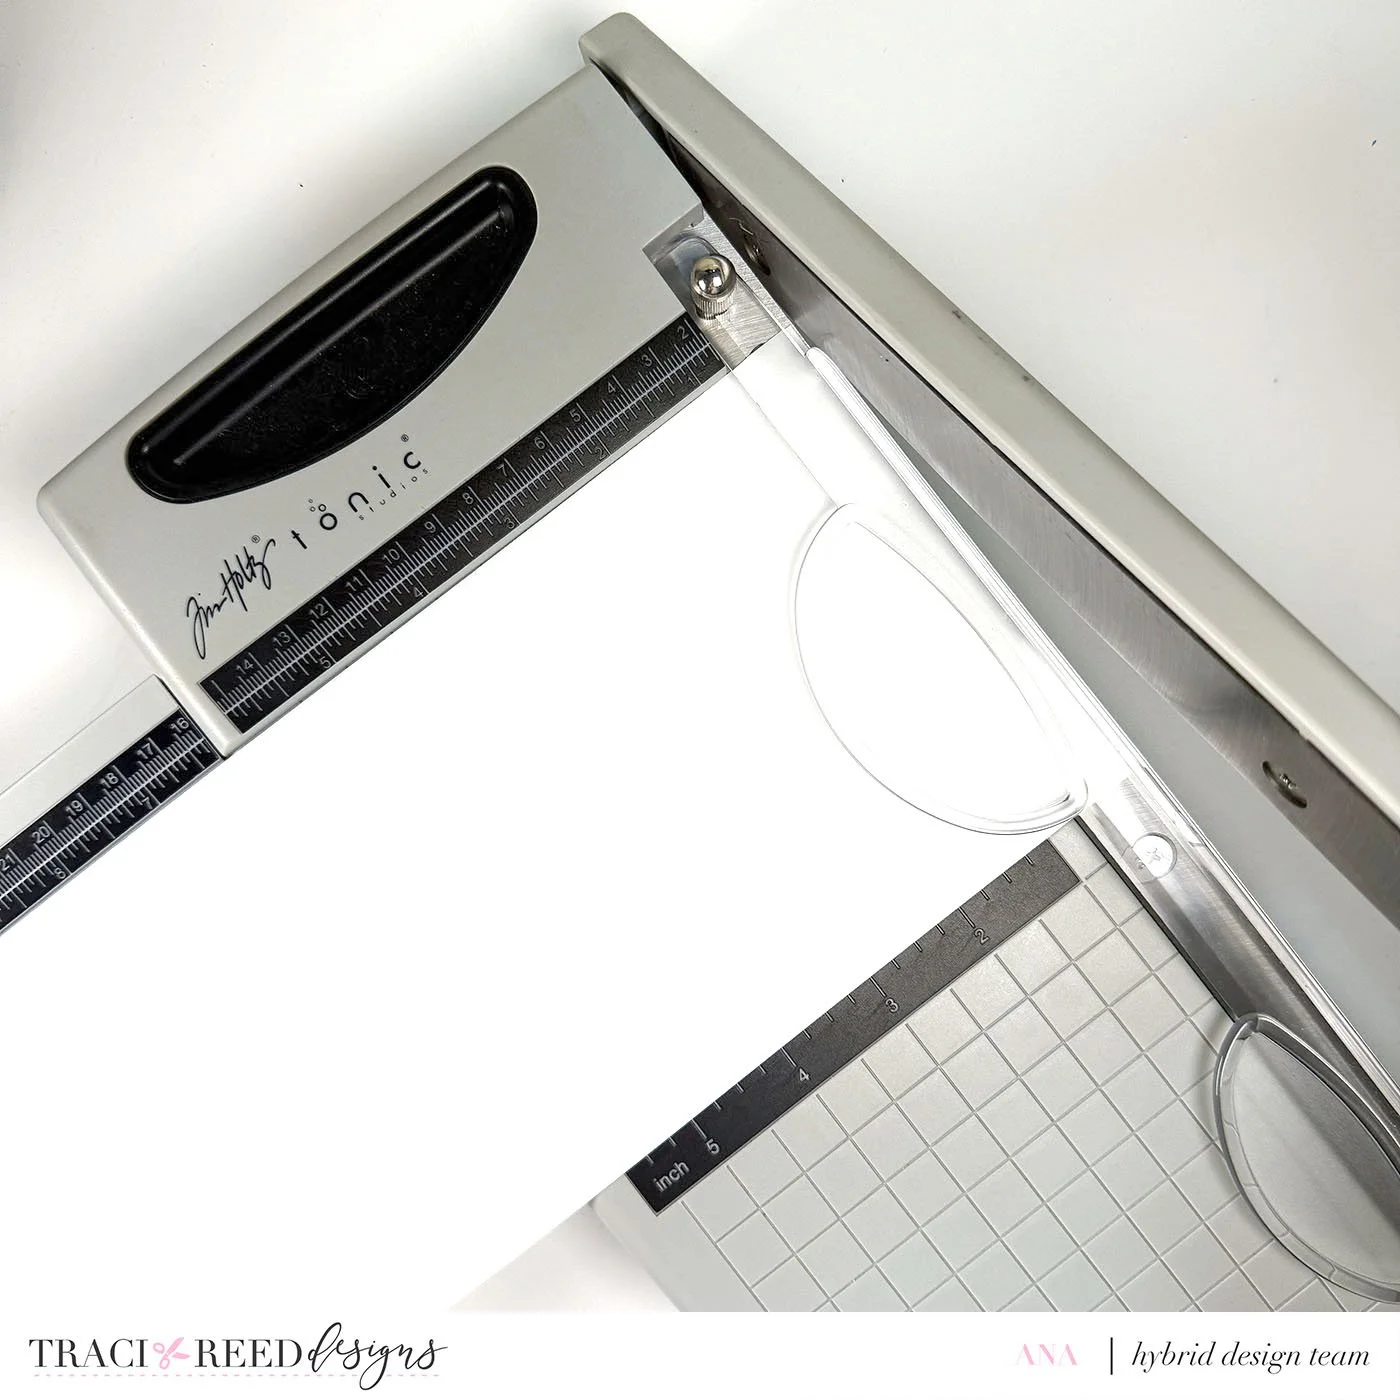
• Paper trimmer
• Glue
• We R Memory Keepers Crop-a-dile
• String
Instructions:
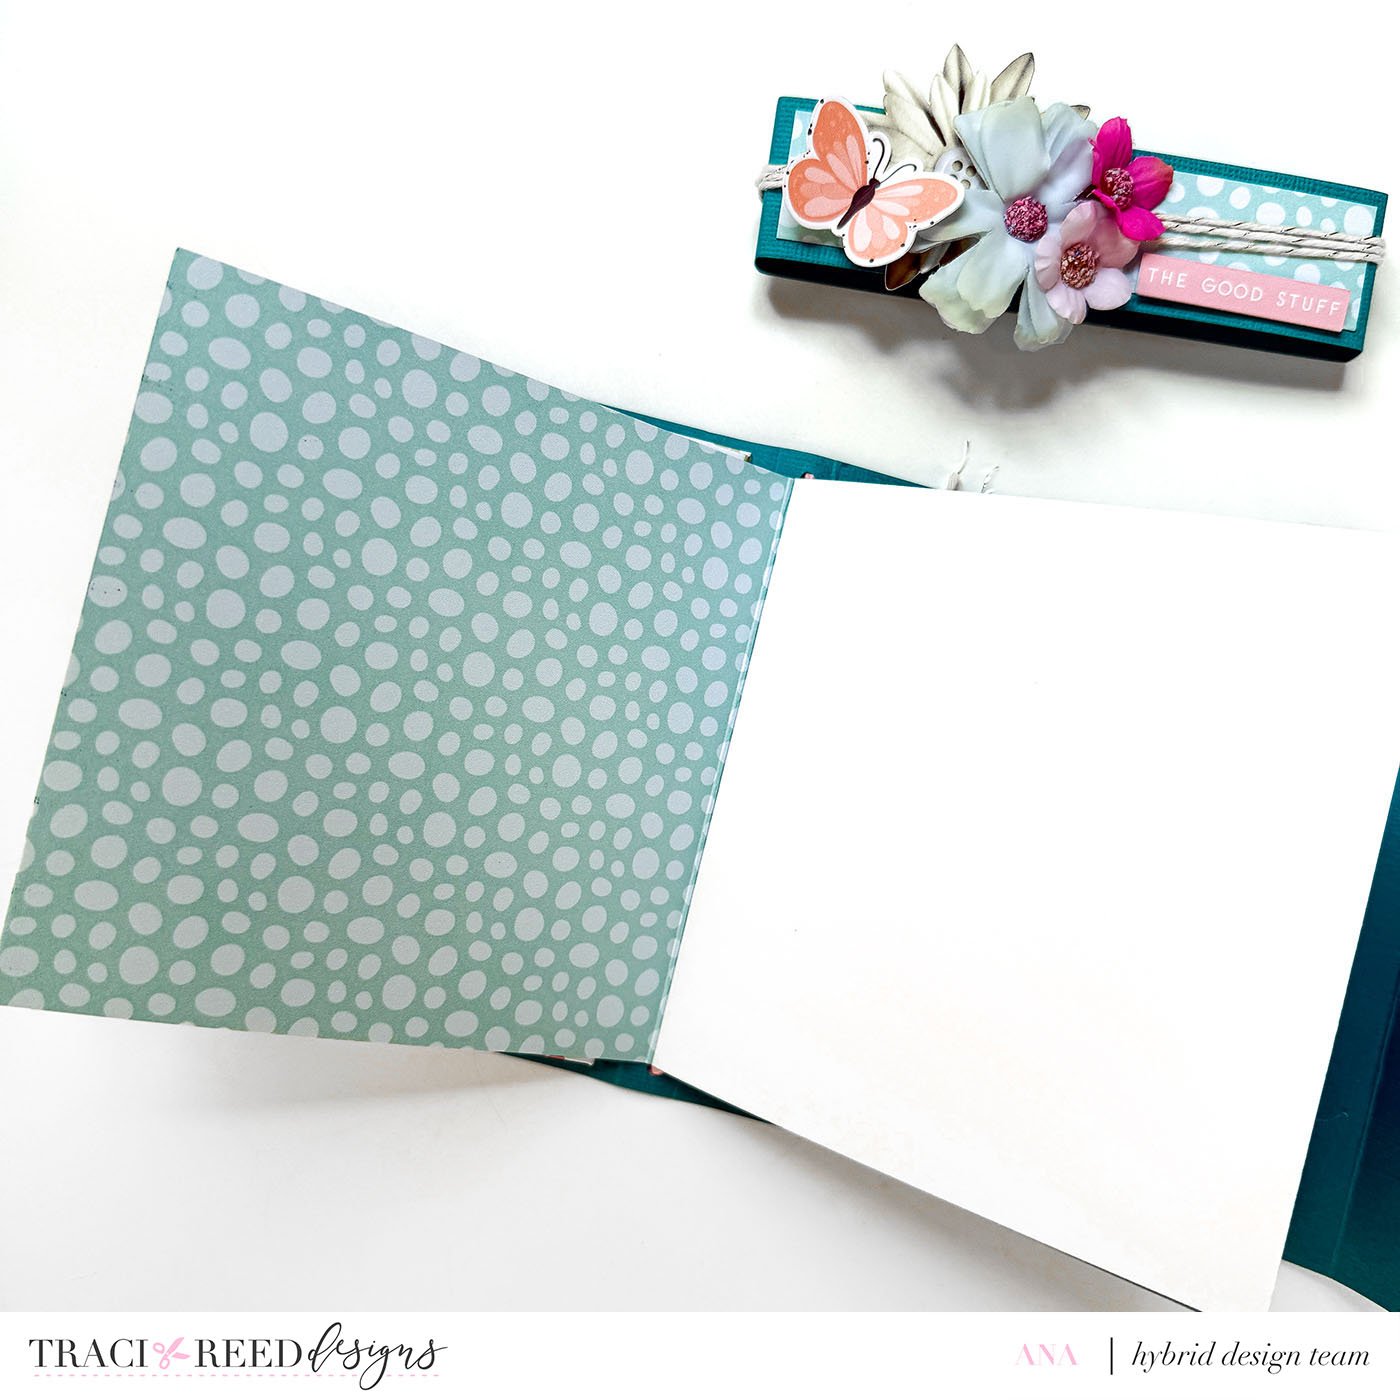
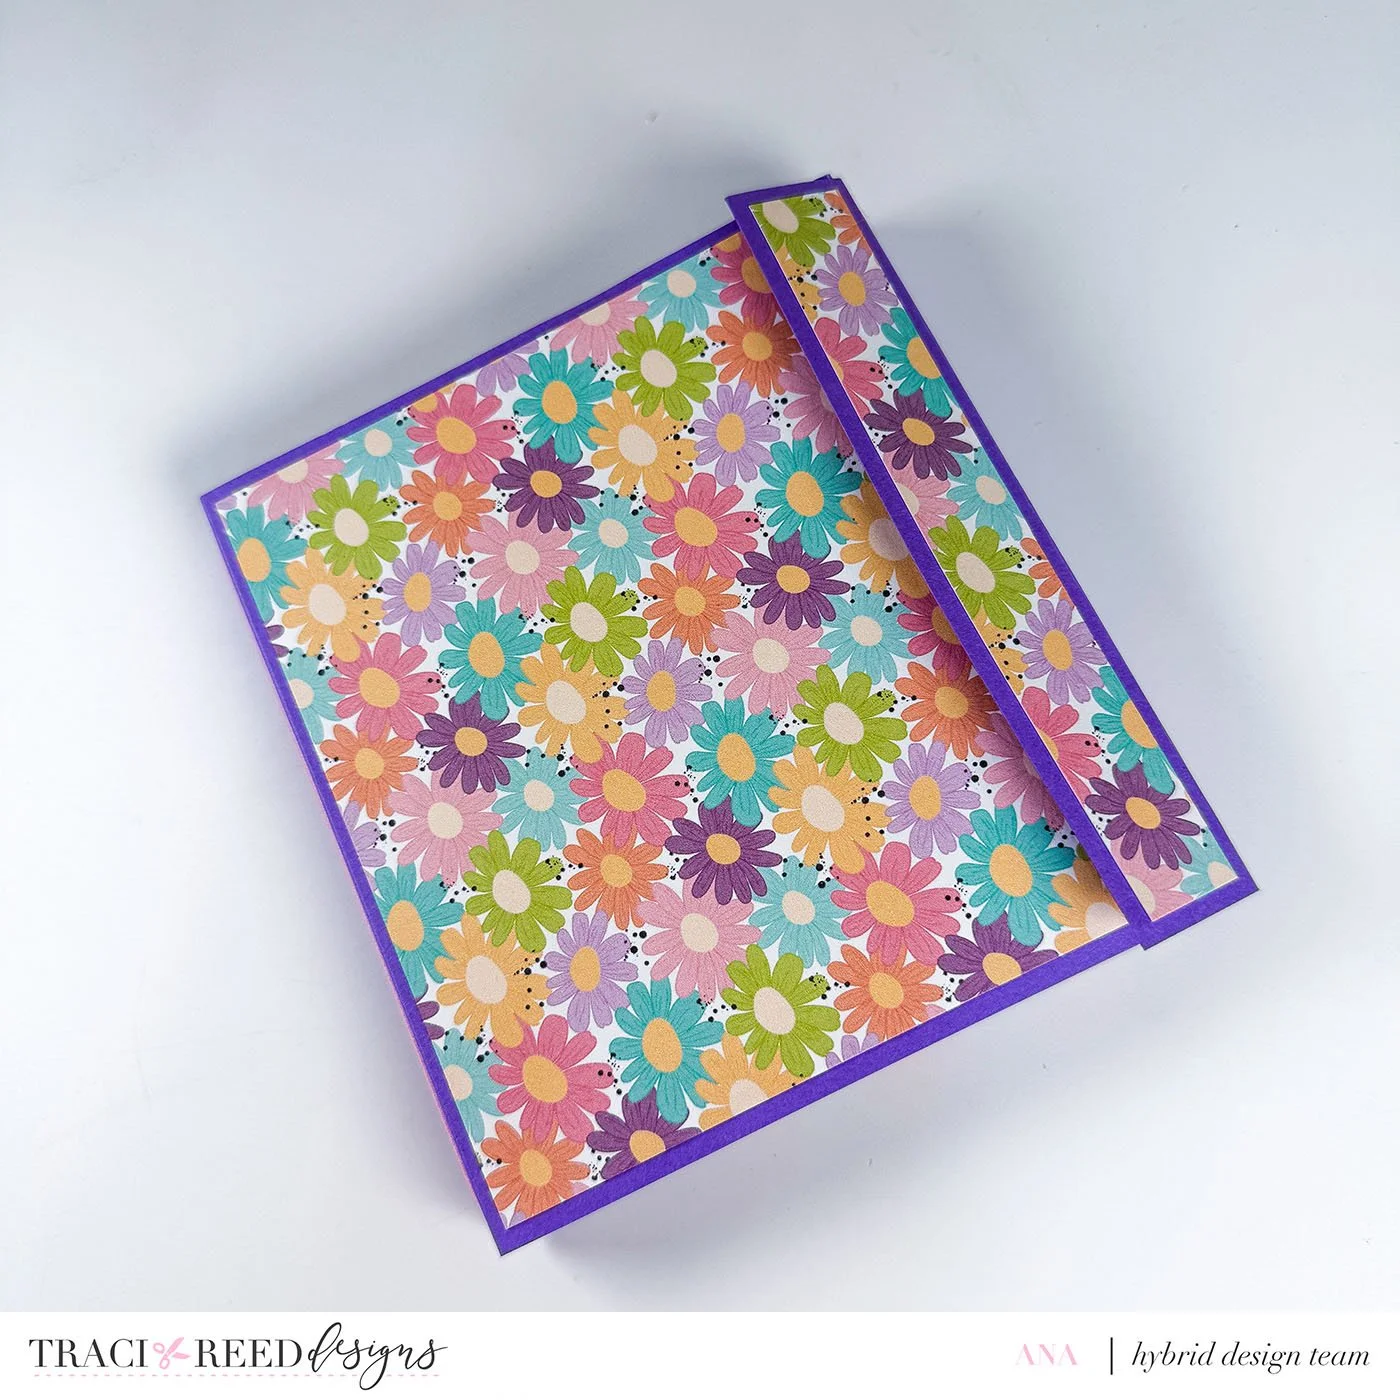
1. Create the folio base
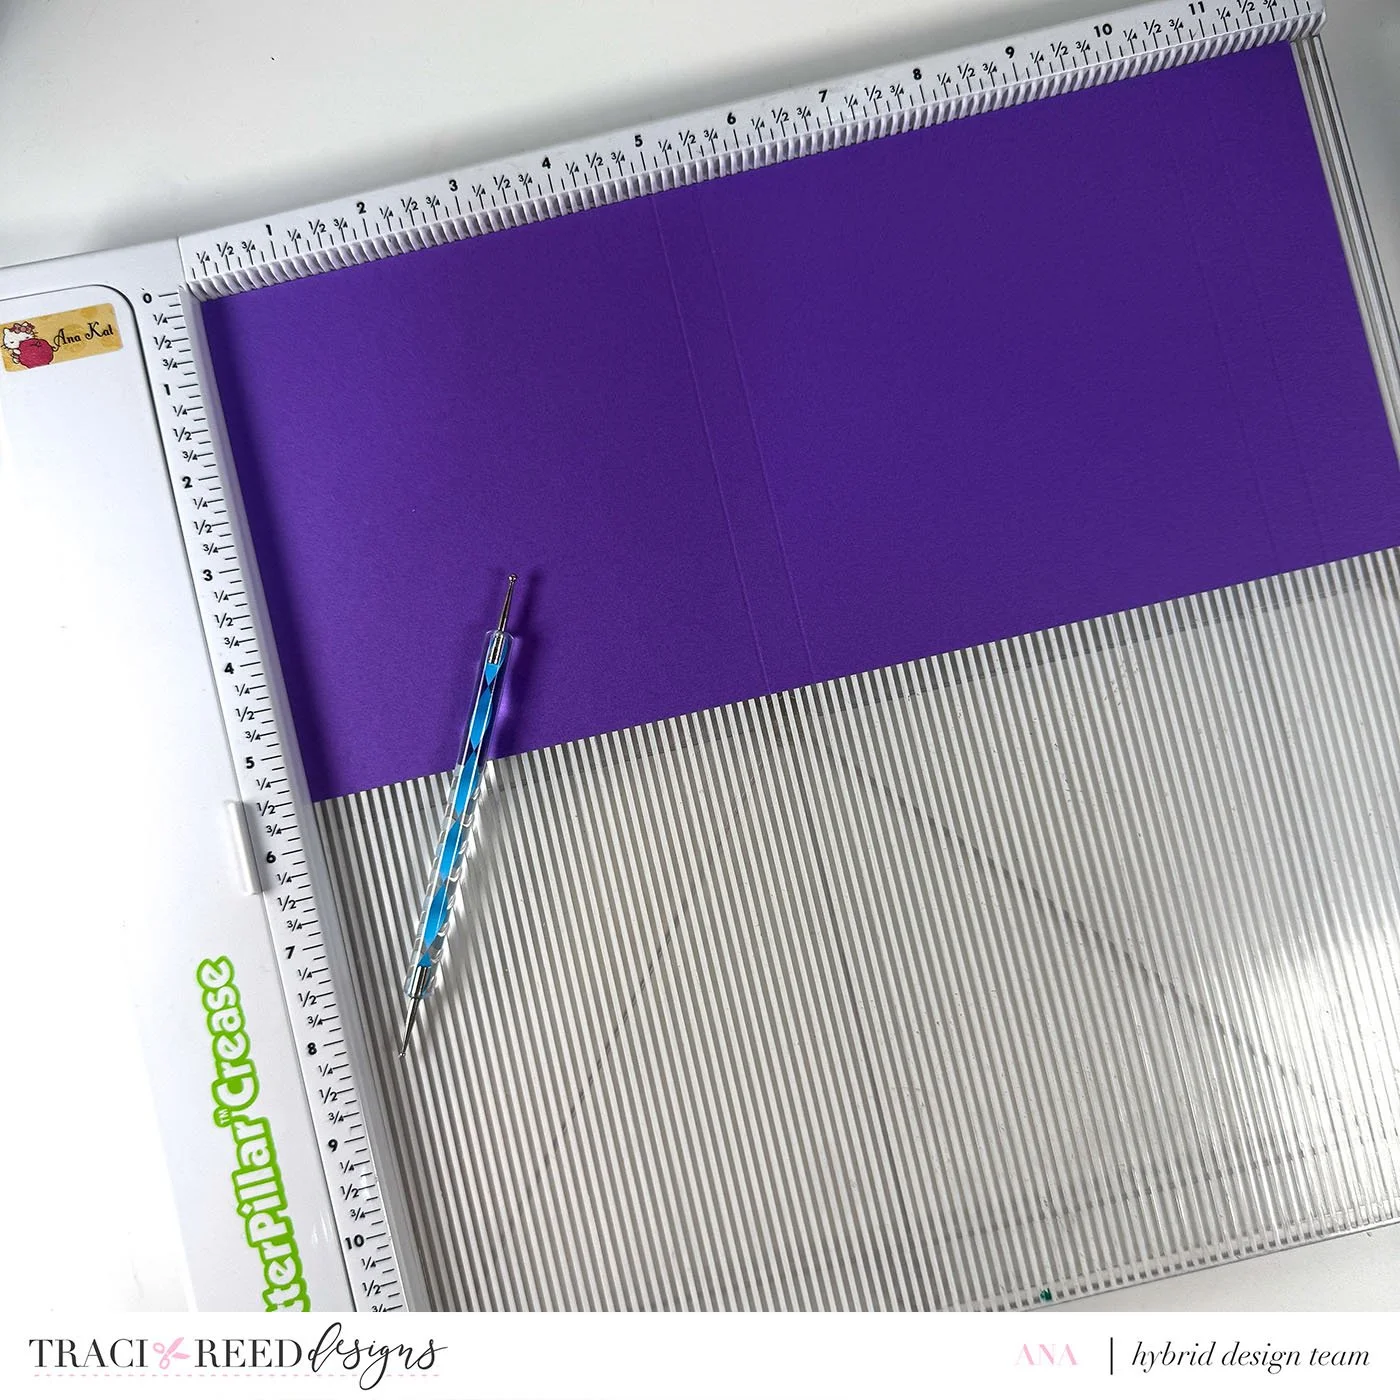
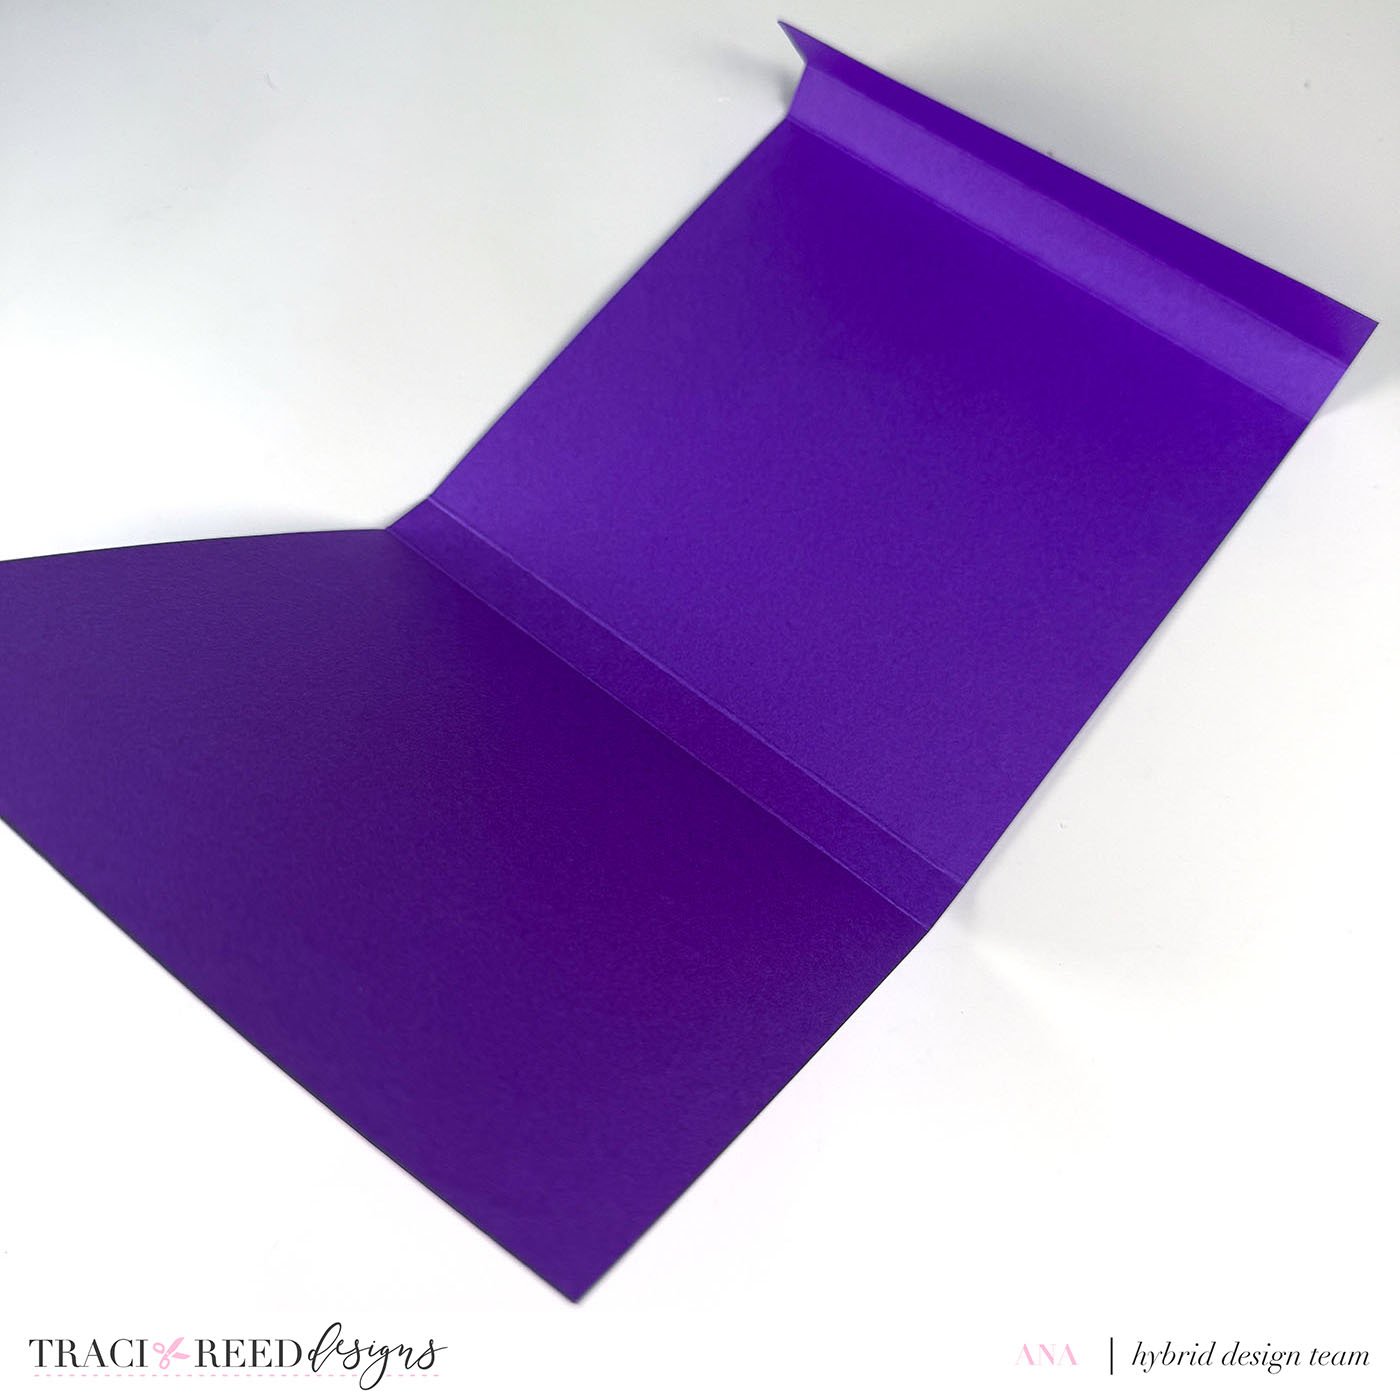
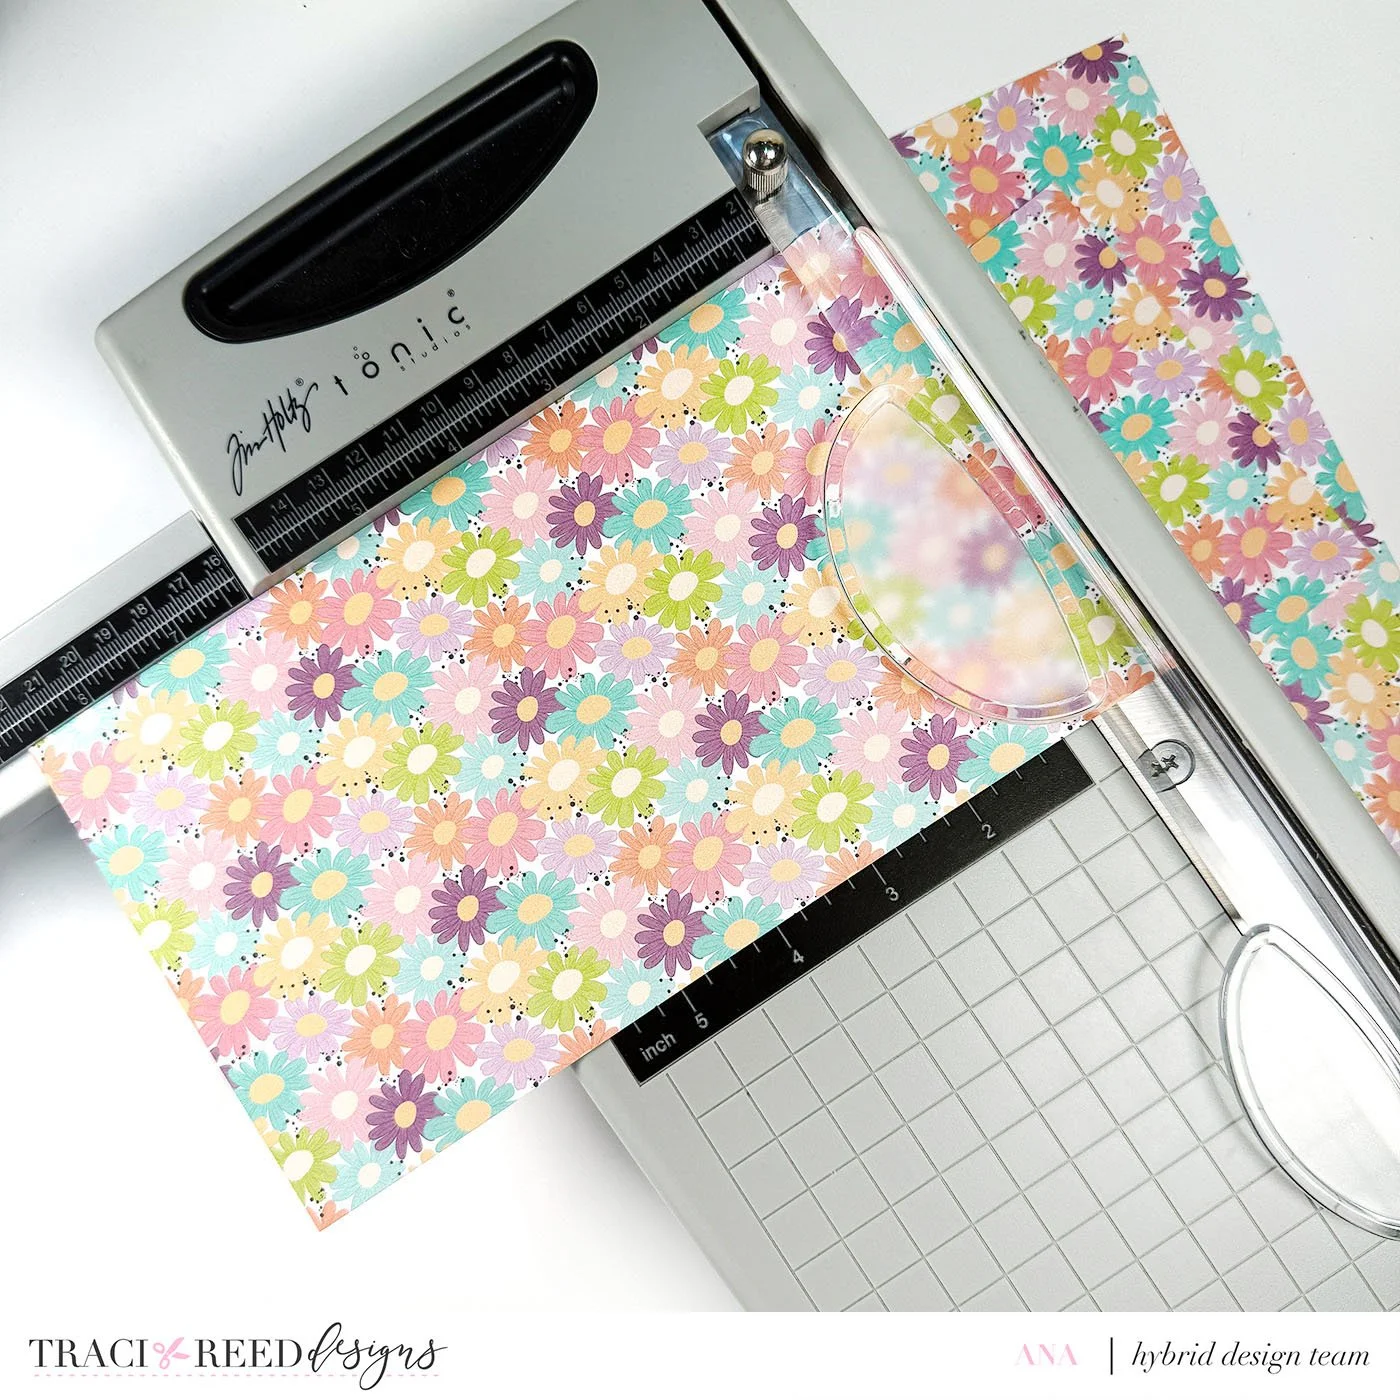
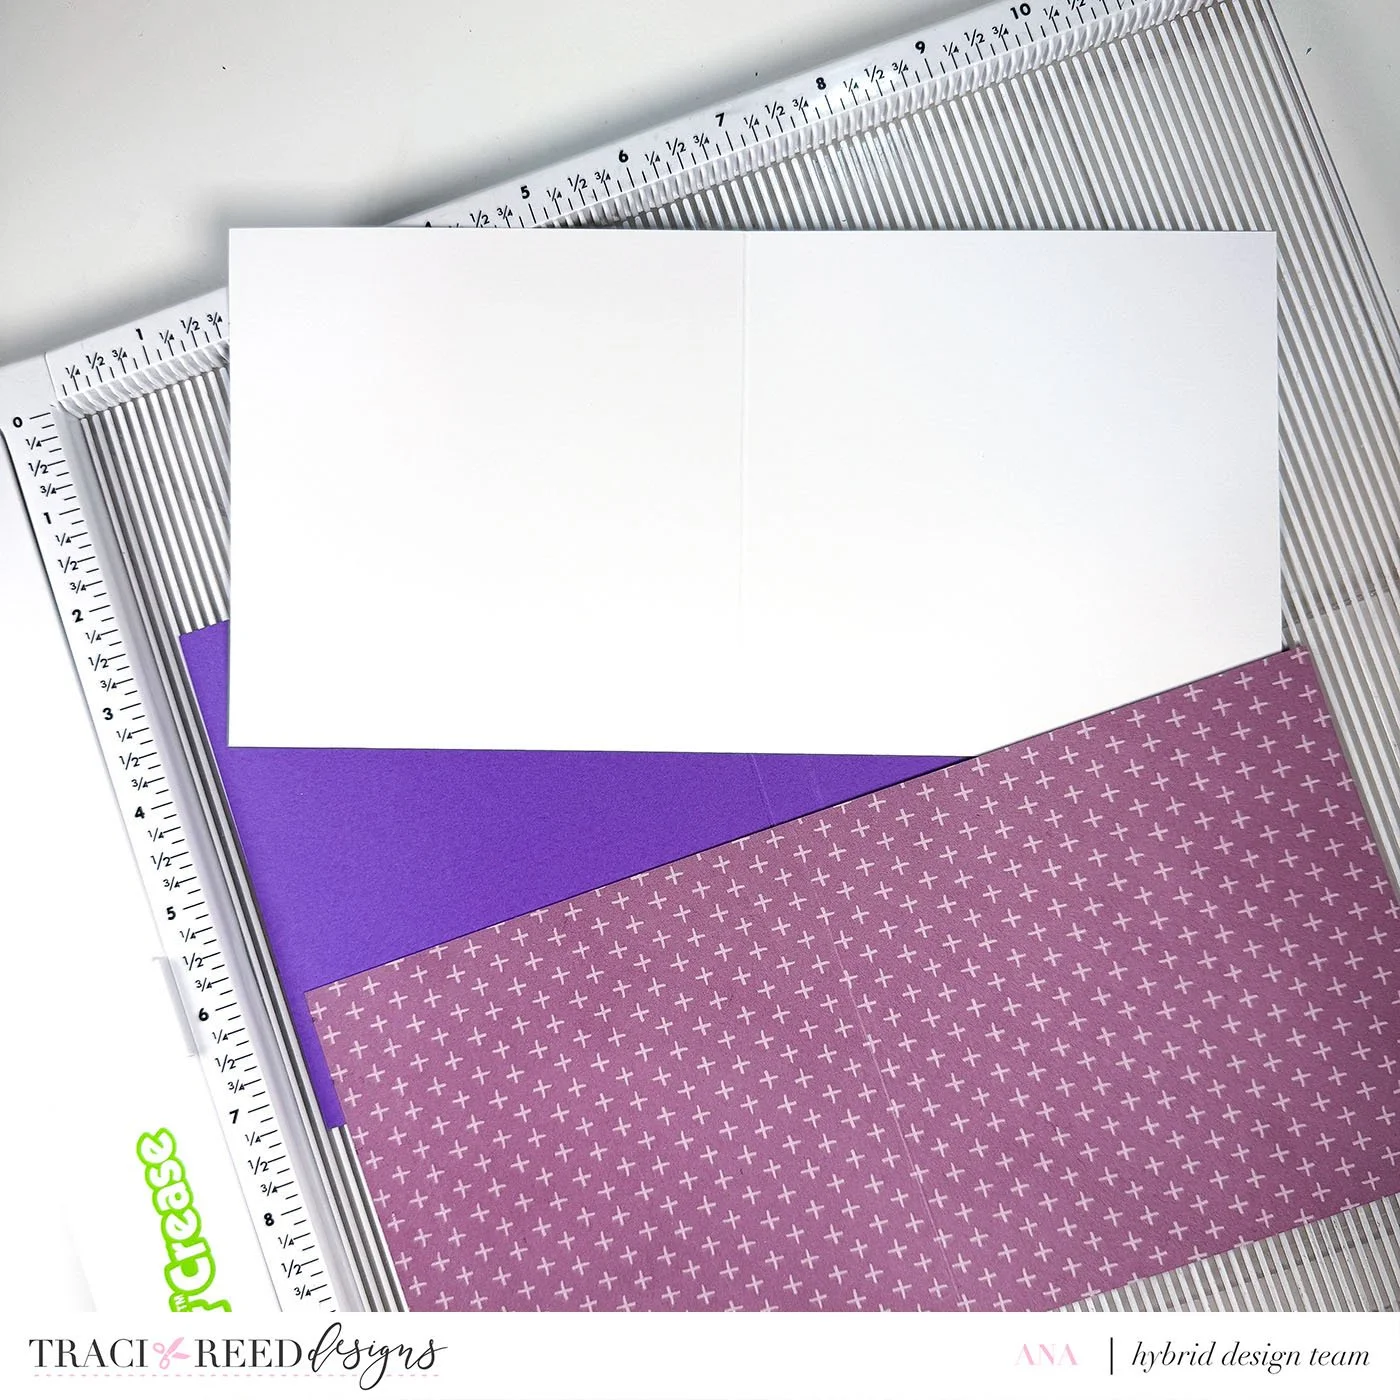
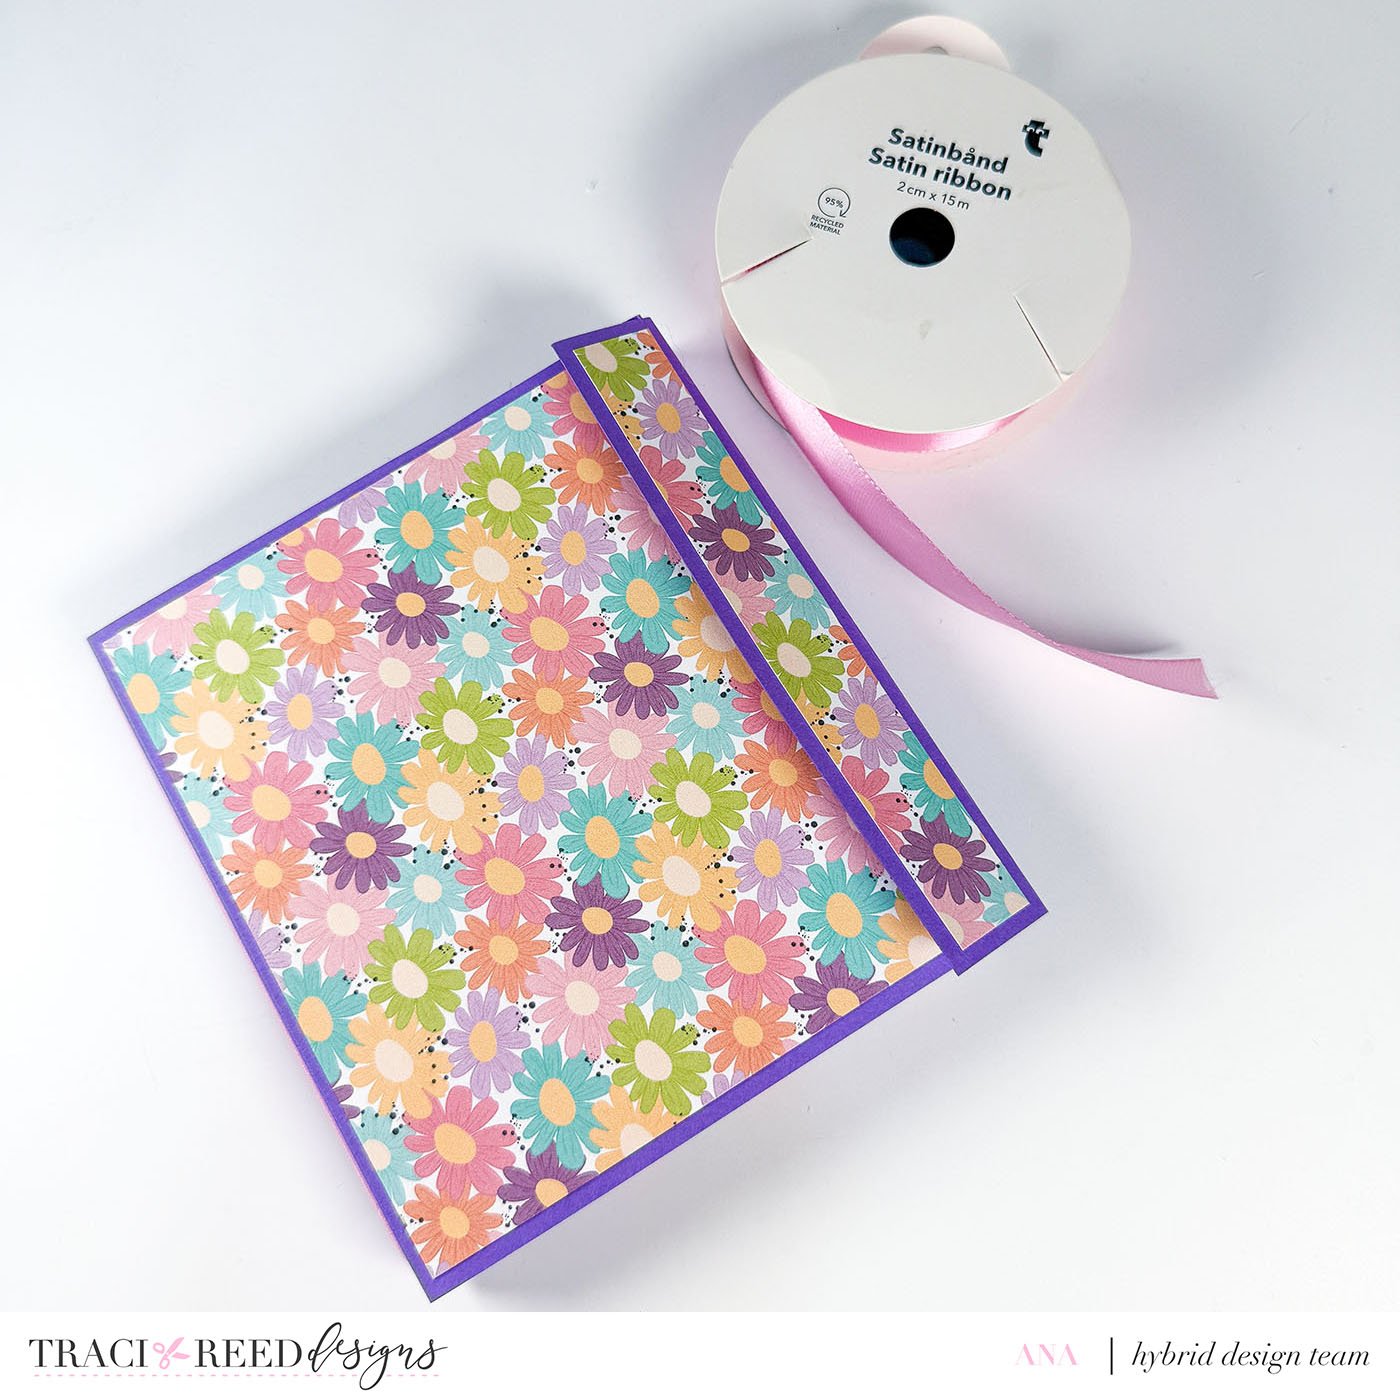
Start with a 12x12 plain cardstock and trim it down to 12 x 5.5.
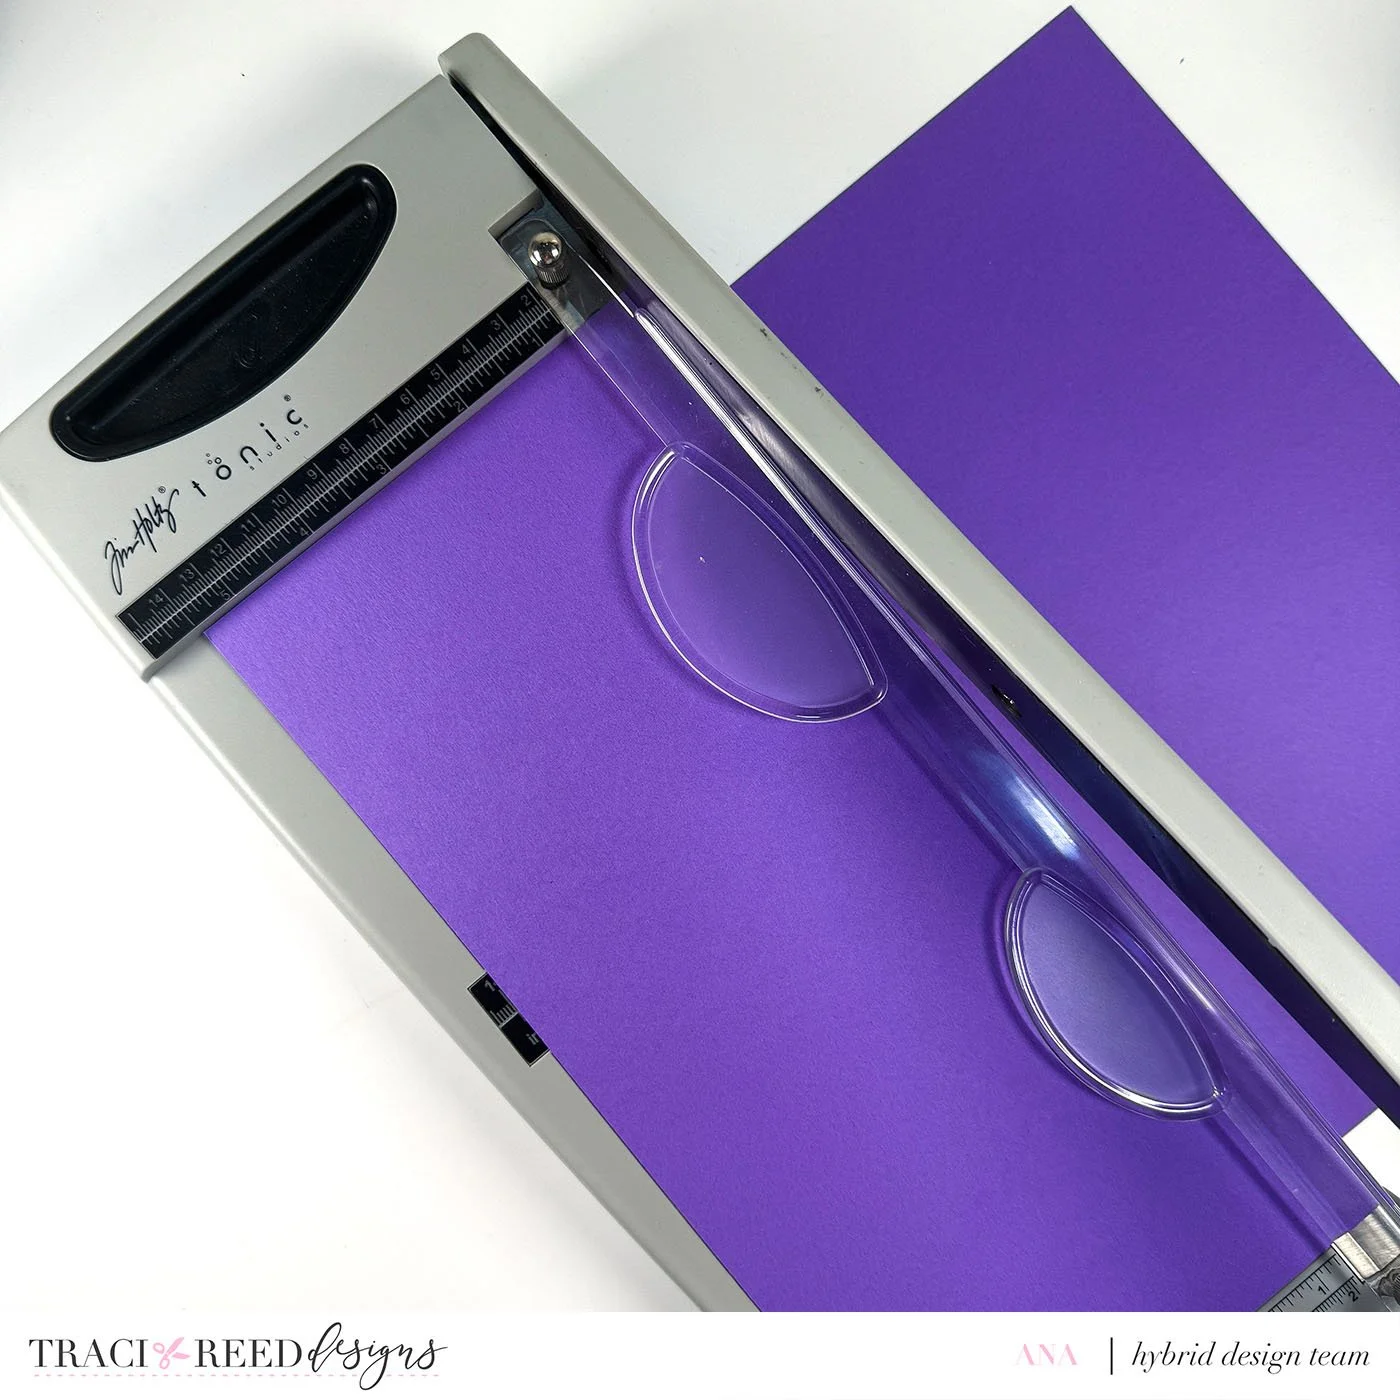
Score at 5, 5.5, 10.5, and 11 - this will be your folio cover.
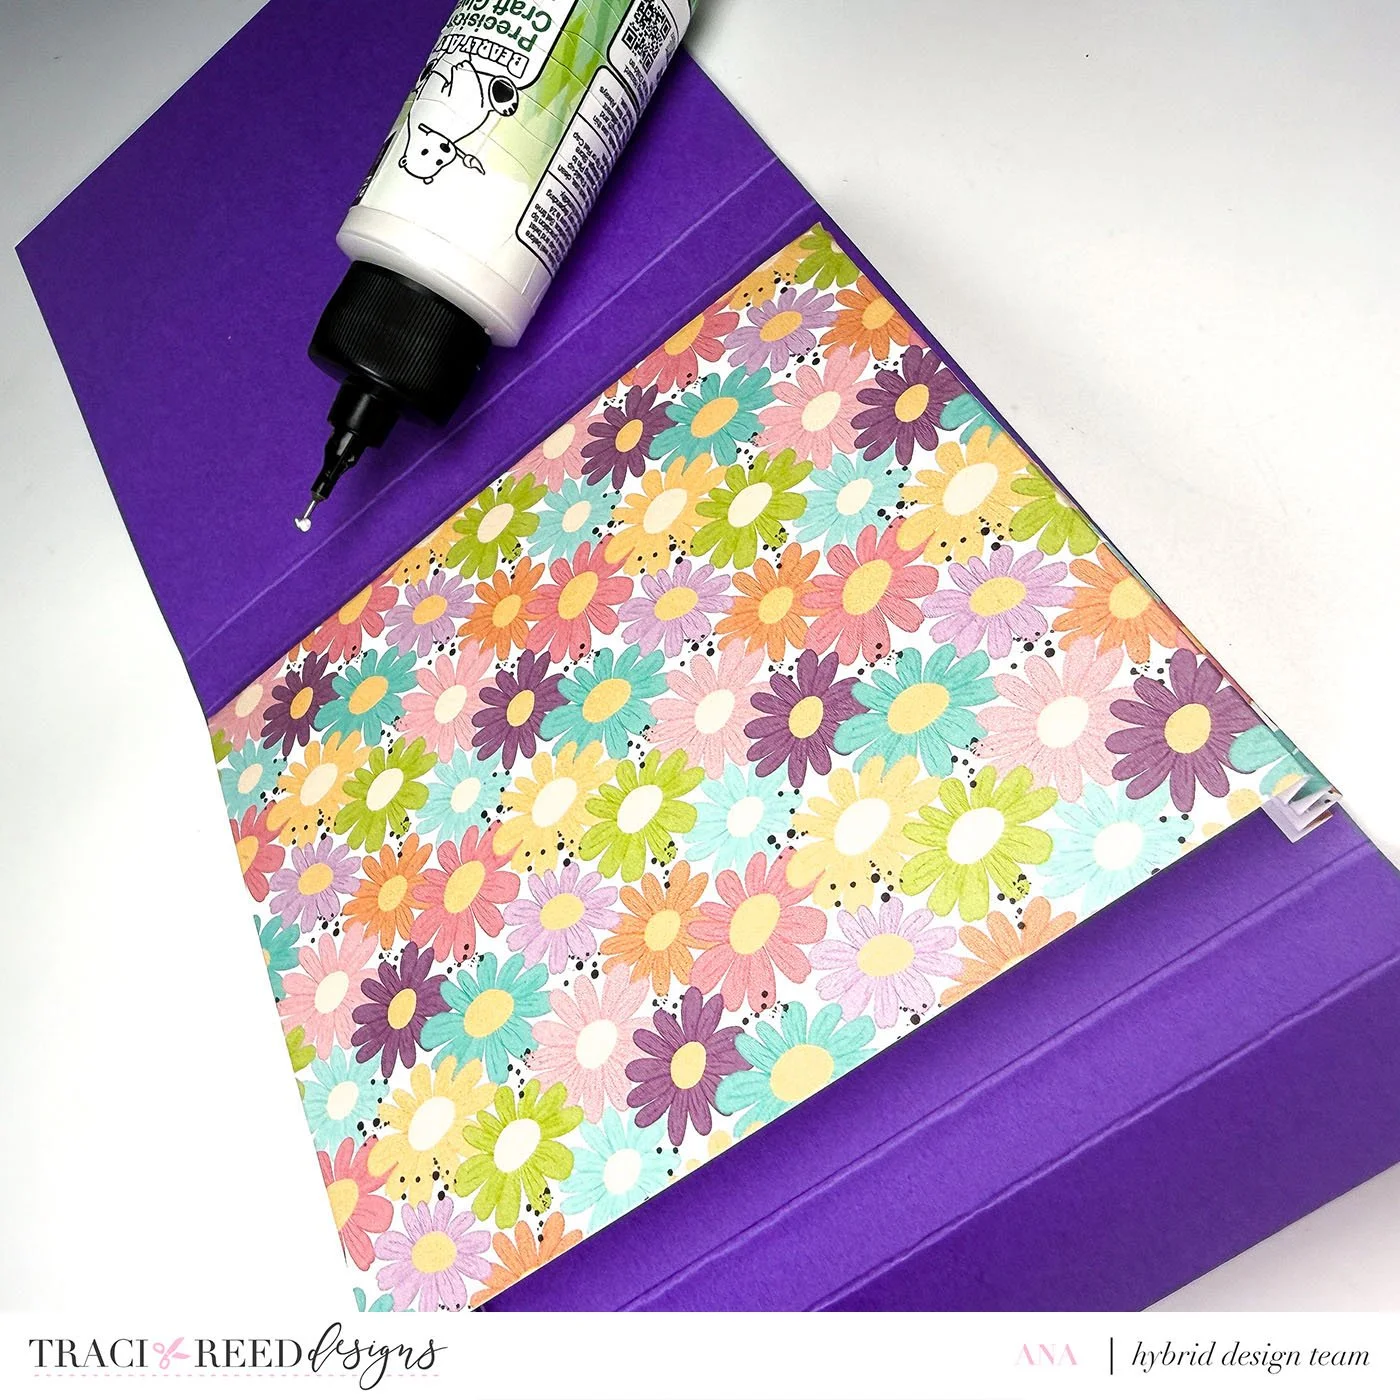
2. Make the accordion pocket
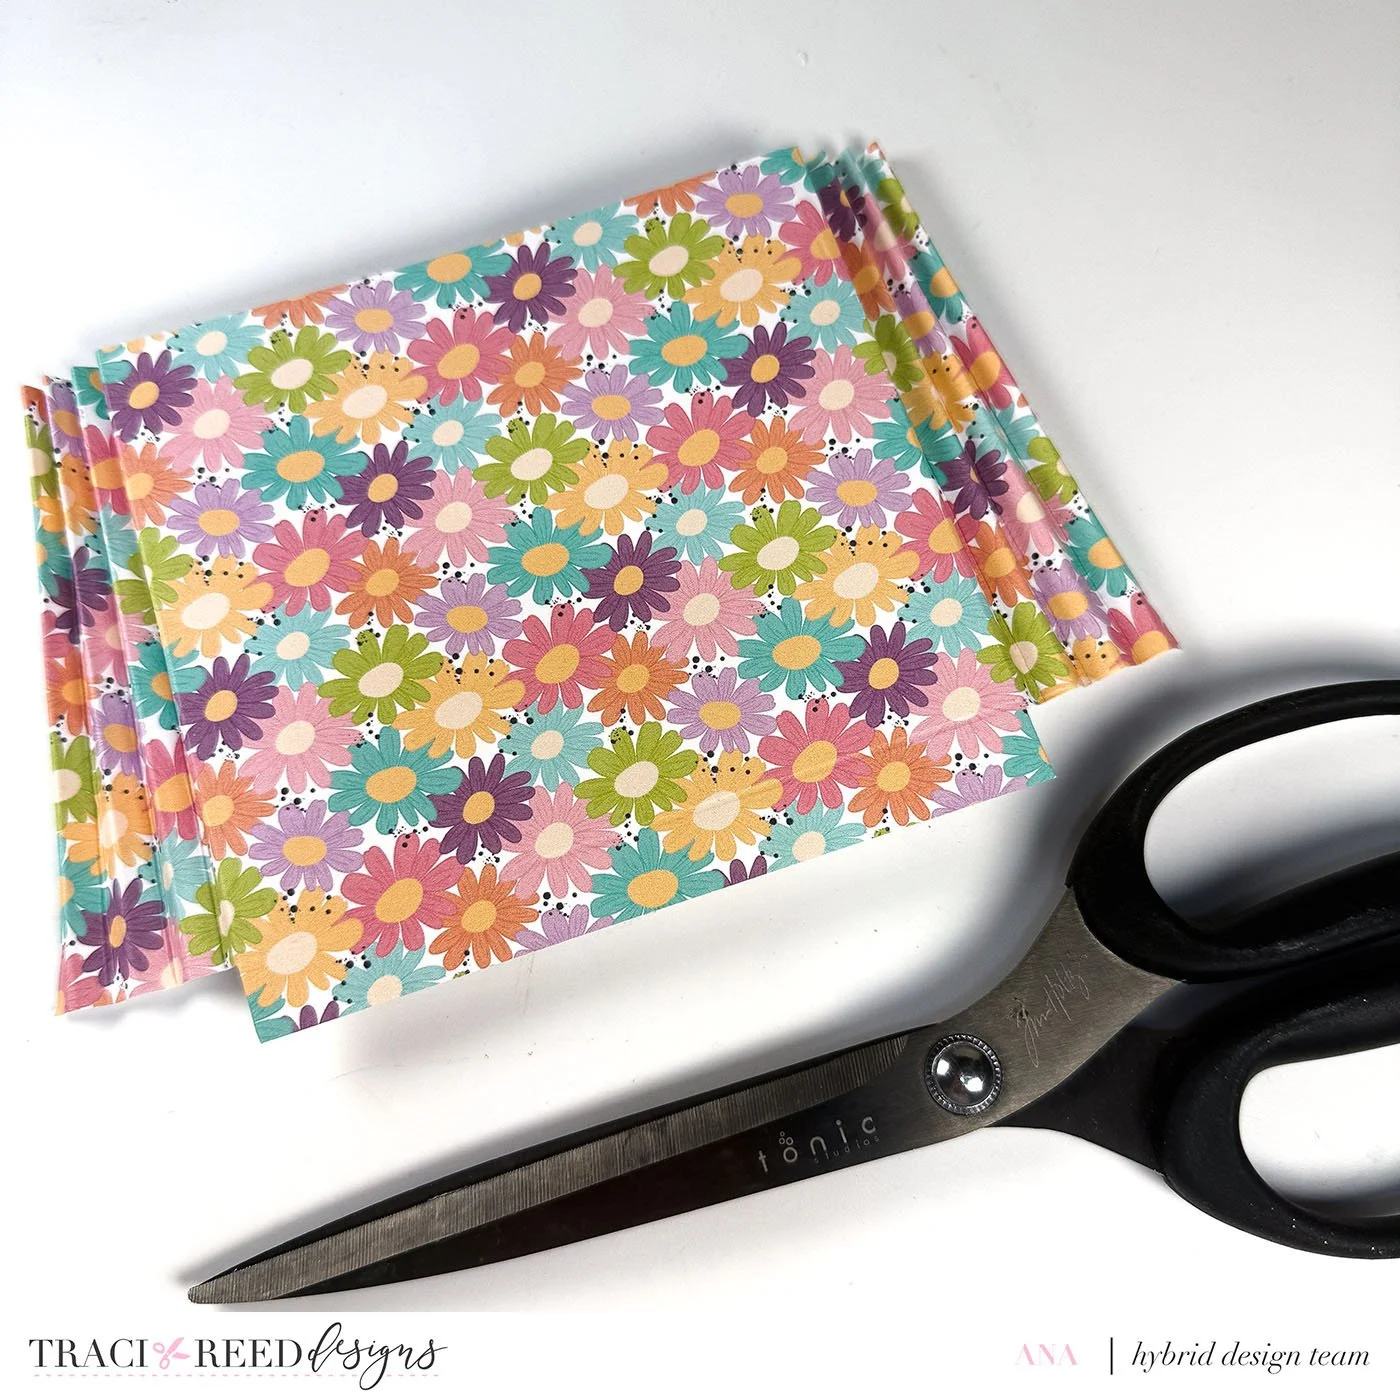
Trim pattern paper to 8.75 x 5.
Score along the long side at:
1/4, 1/2, 3/4, 1 1/4, 1 1/2, 1 3/4, 7, 7 1/4, 7 1/2, 7 3/4, 8, 8 1/4, and 8 1/2
Score at 4.5 on the short side.
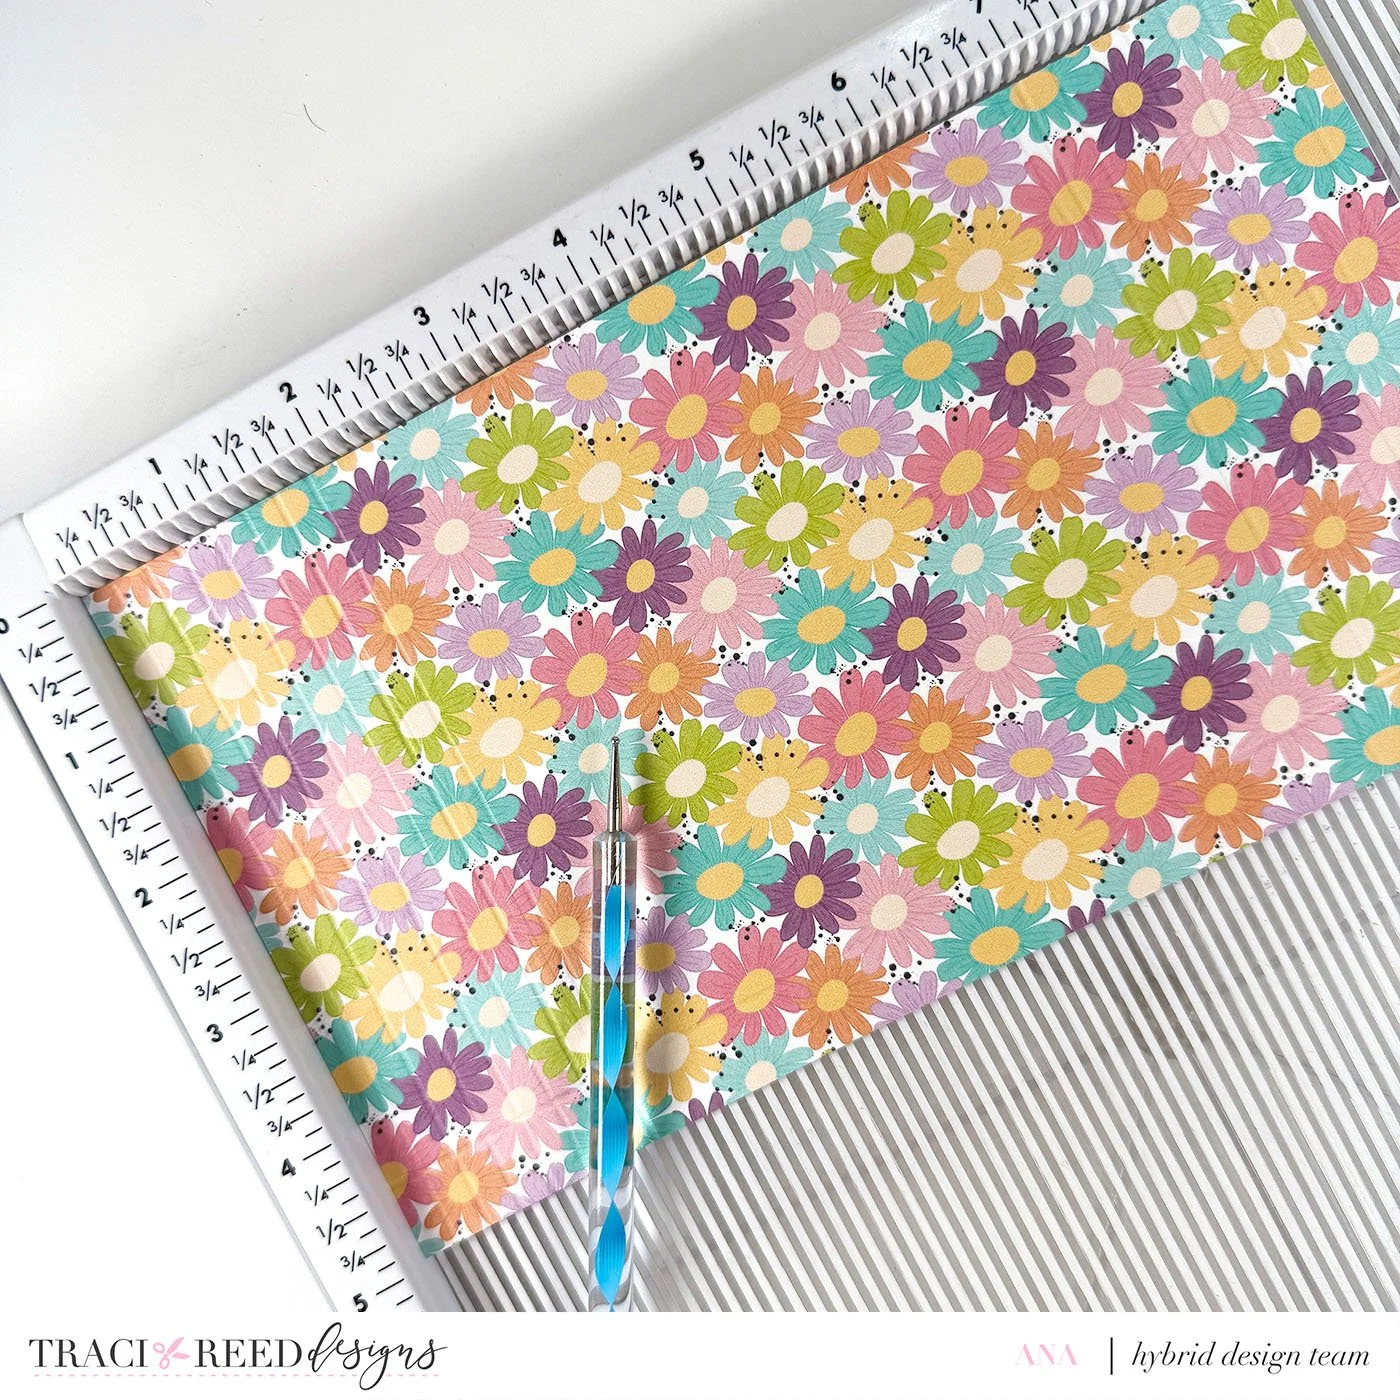
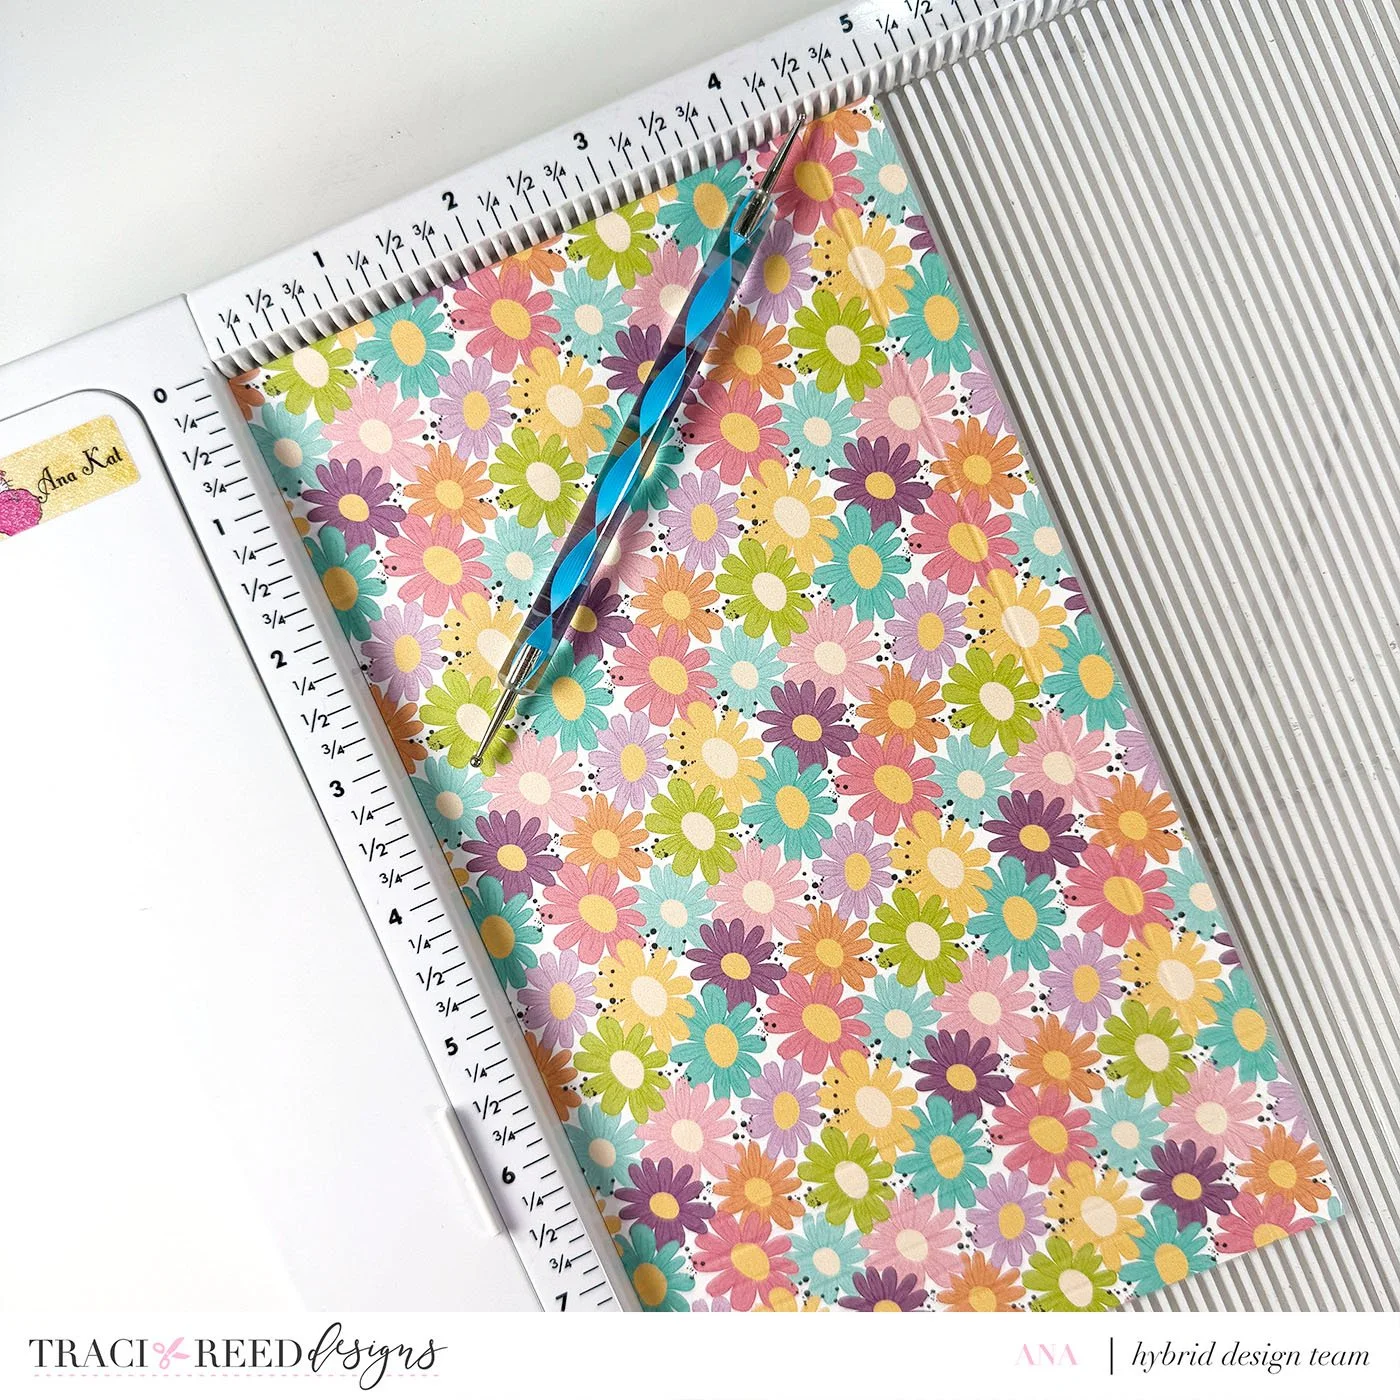
Fold accordion-style.
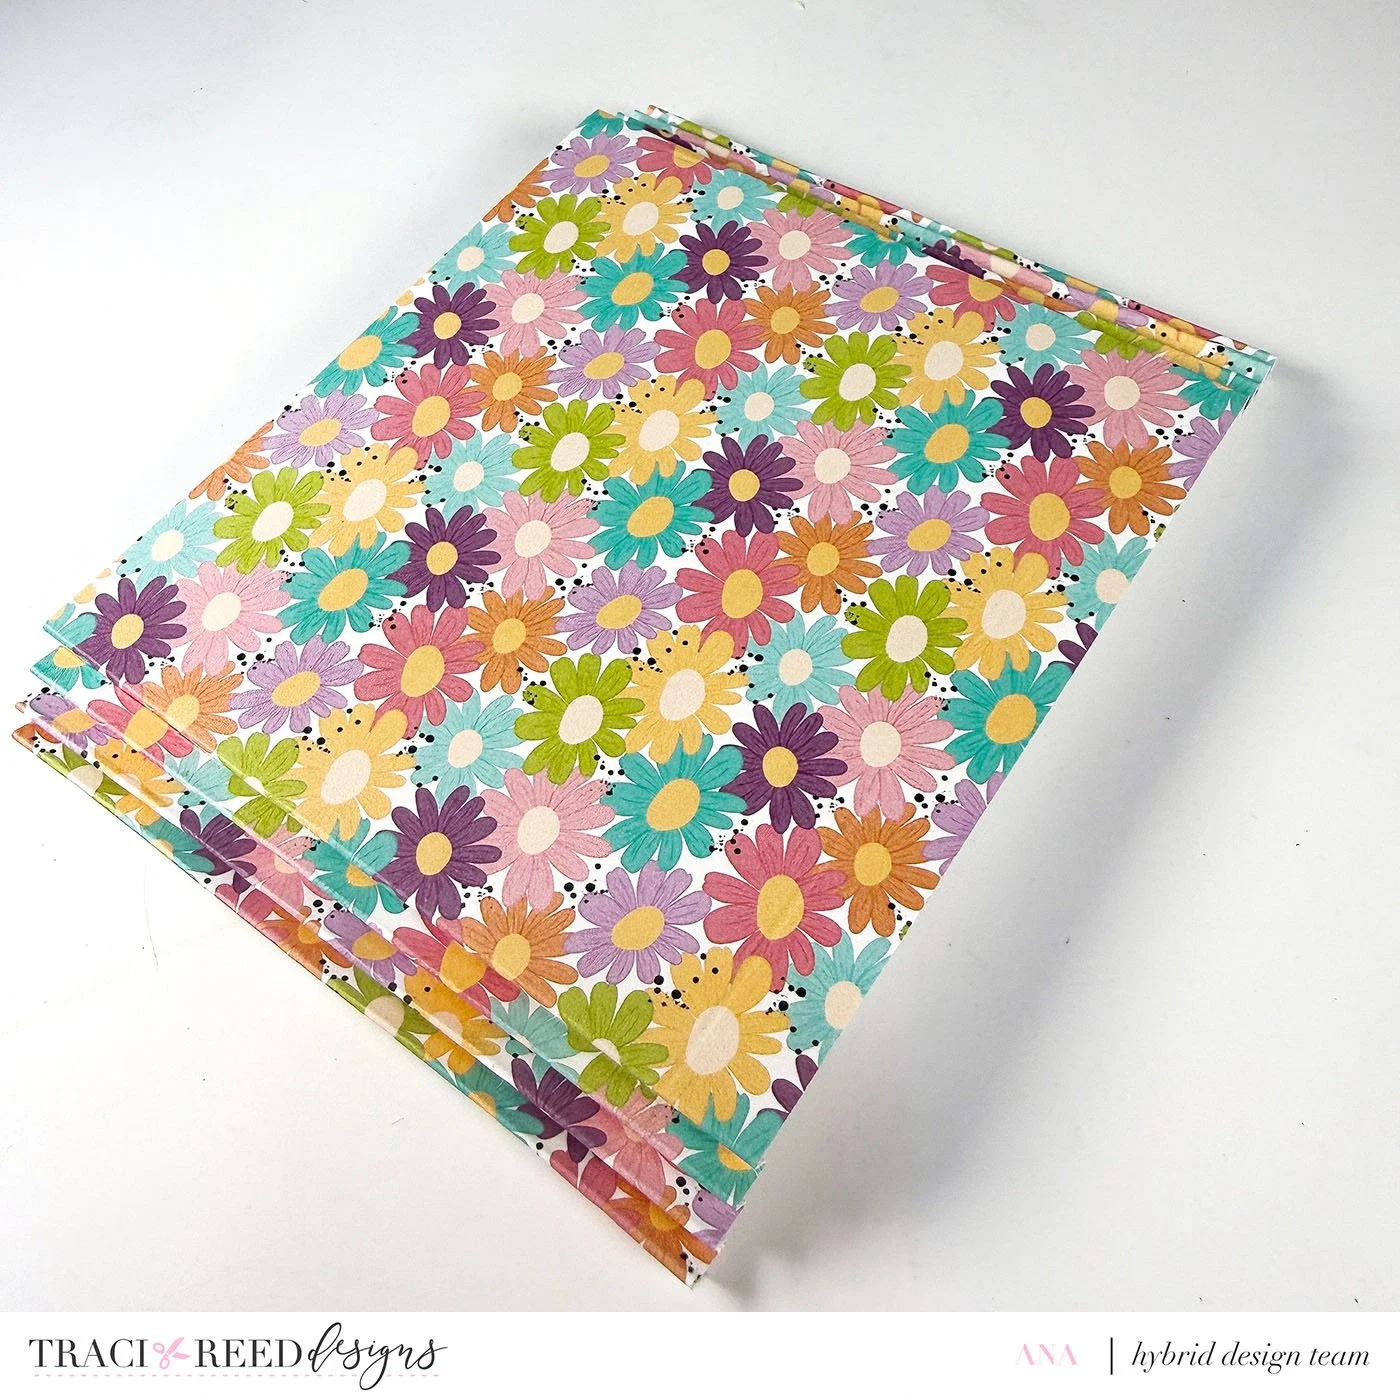
Cut the small rectangular sections on the bottom corners, then glue the bottom flap to the sides to form your pocket.
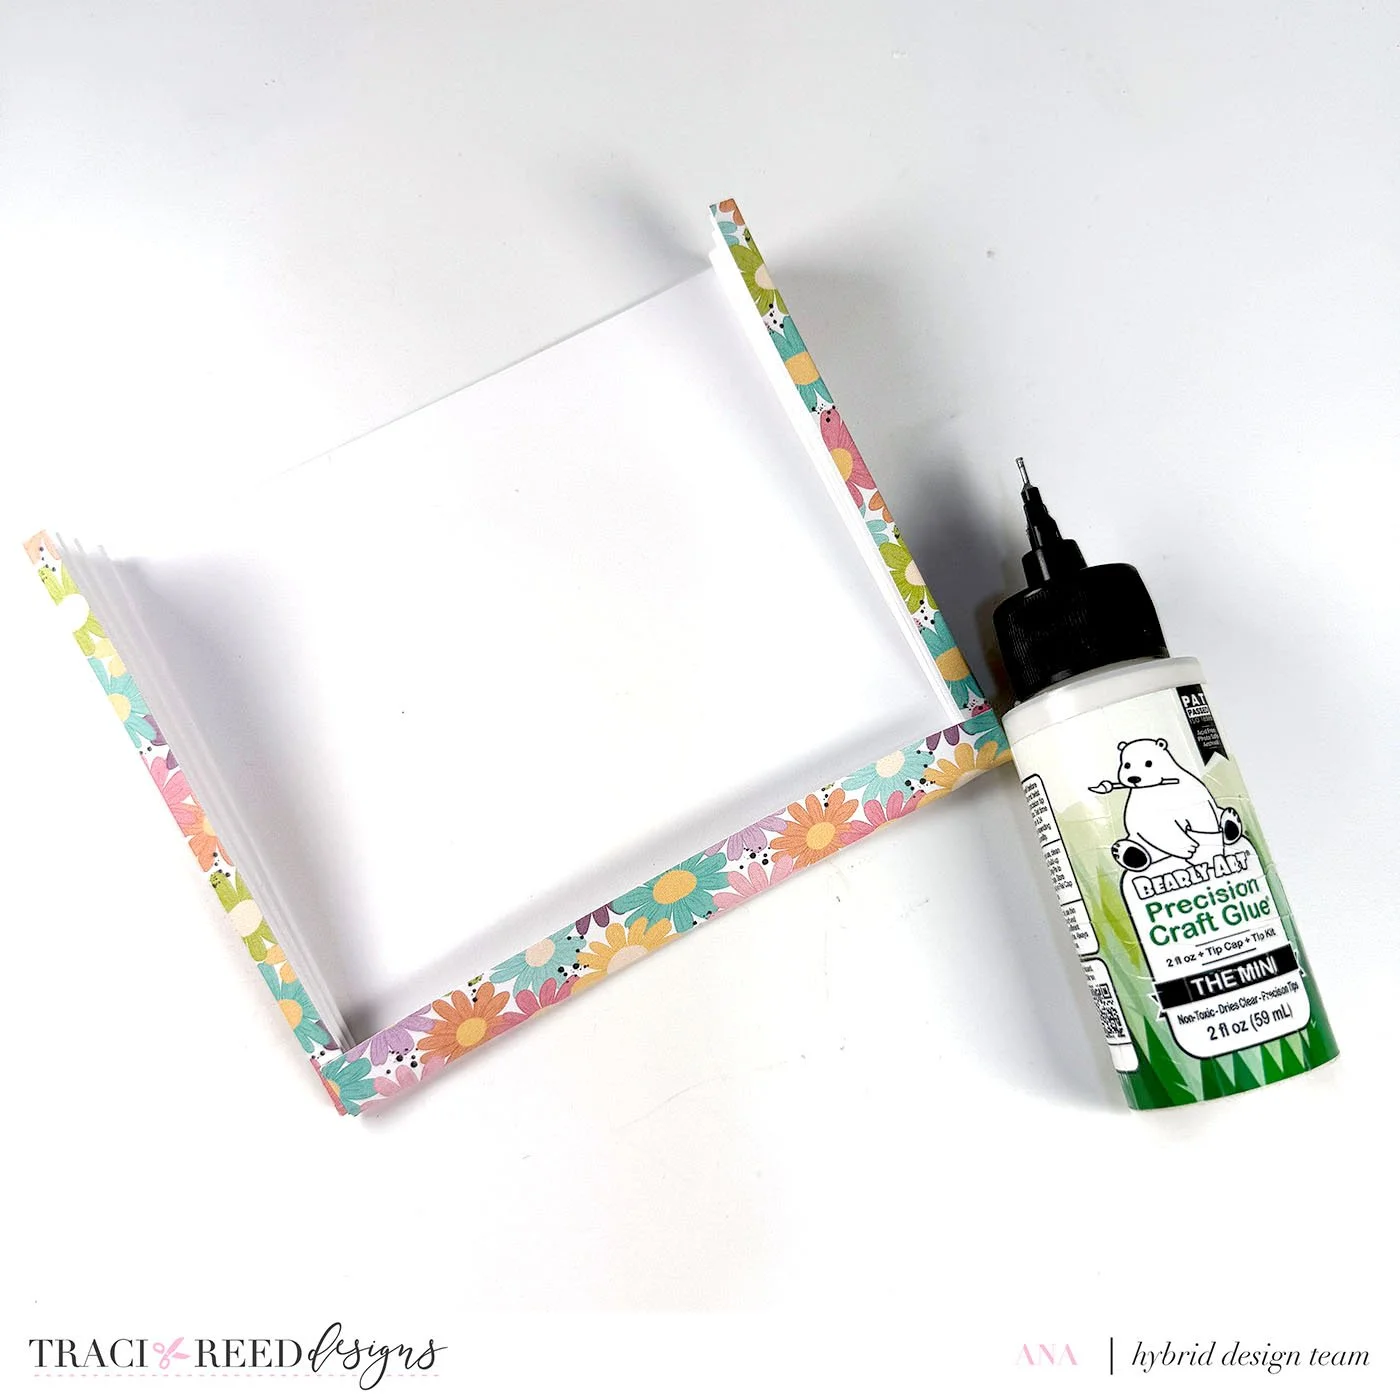
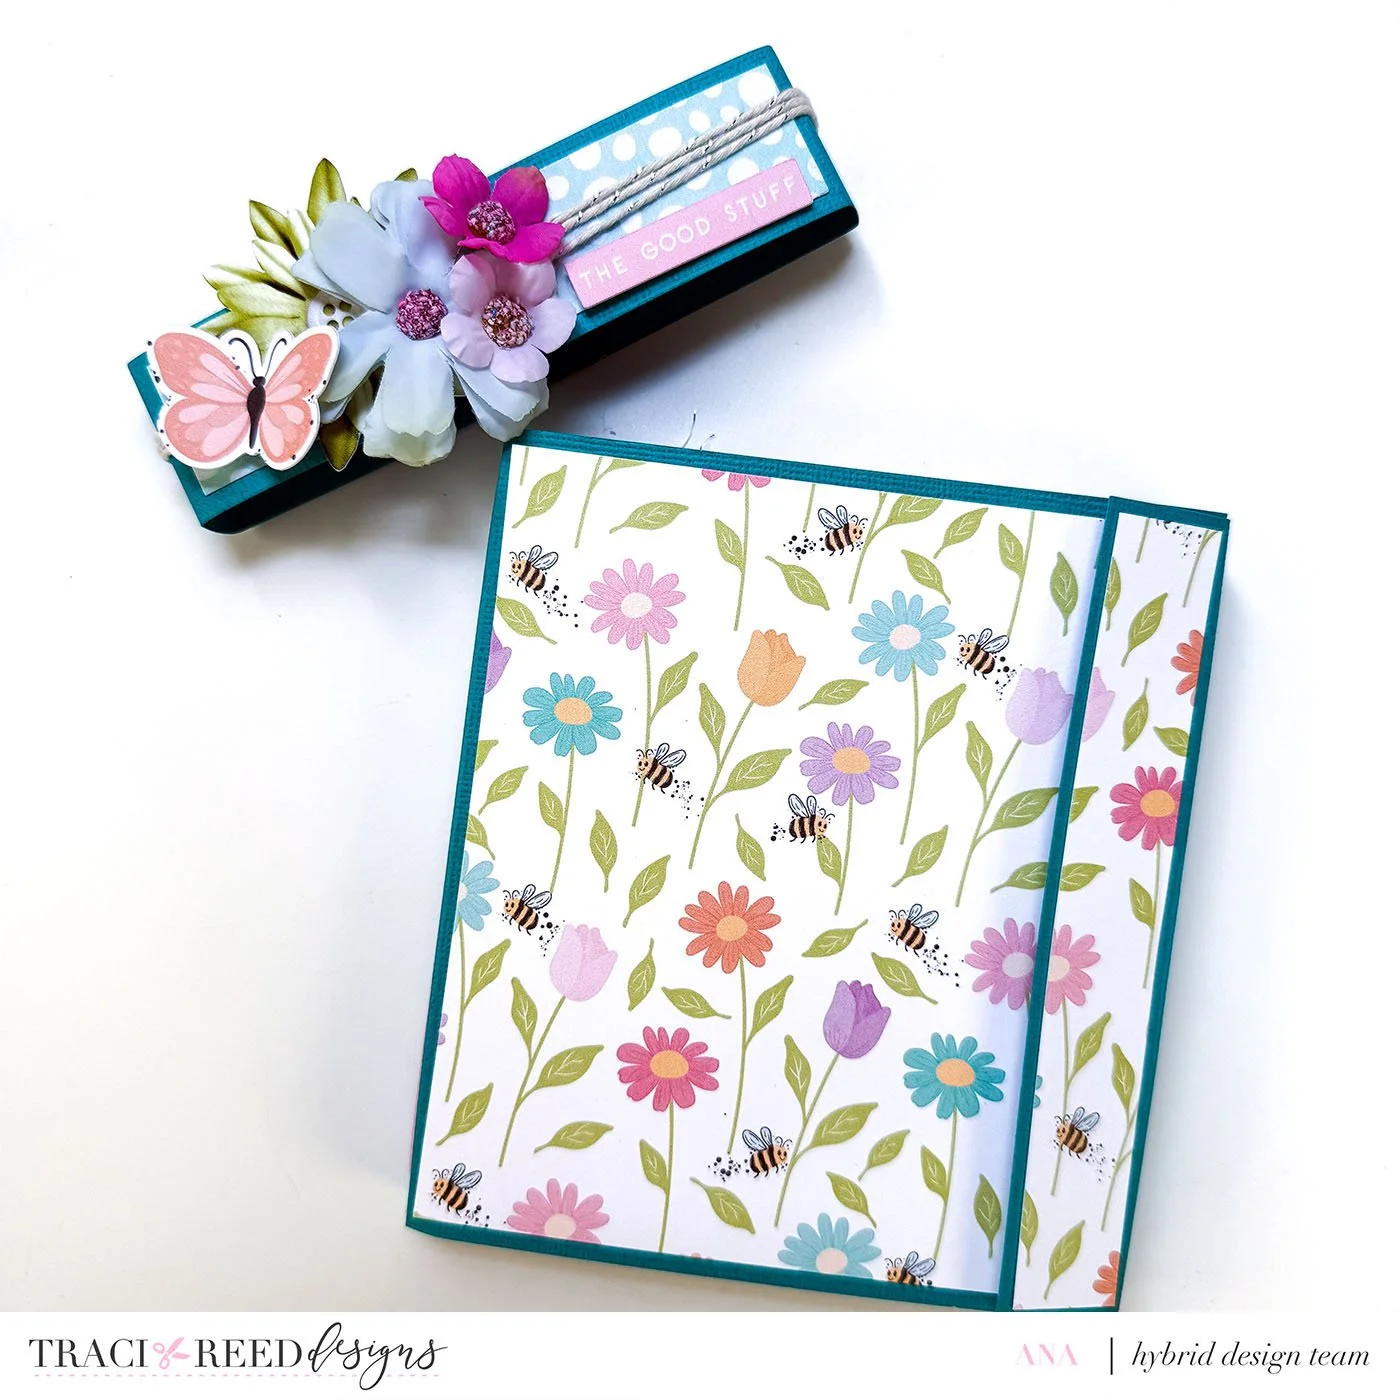
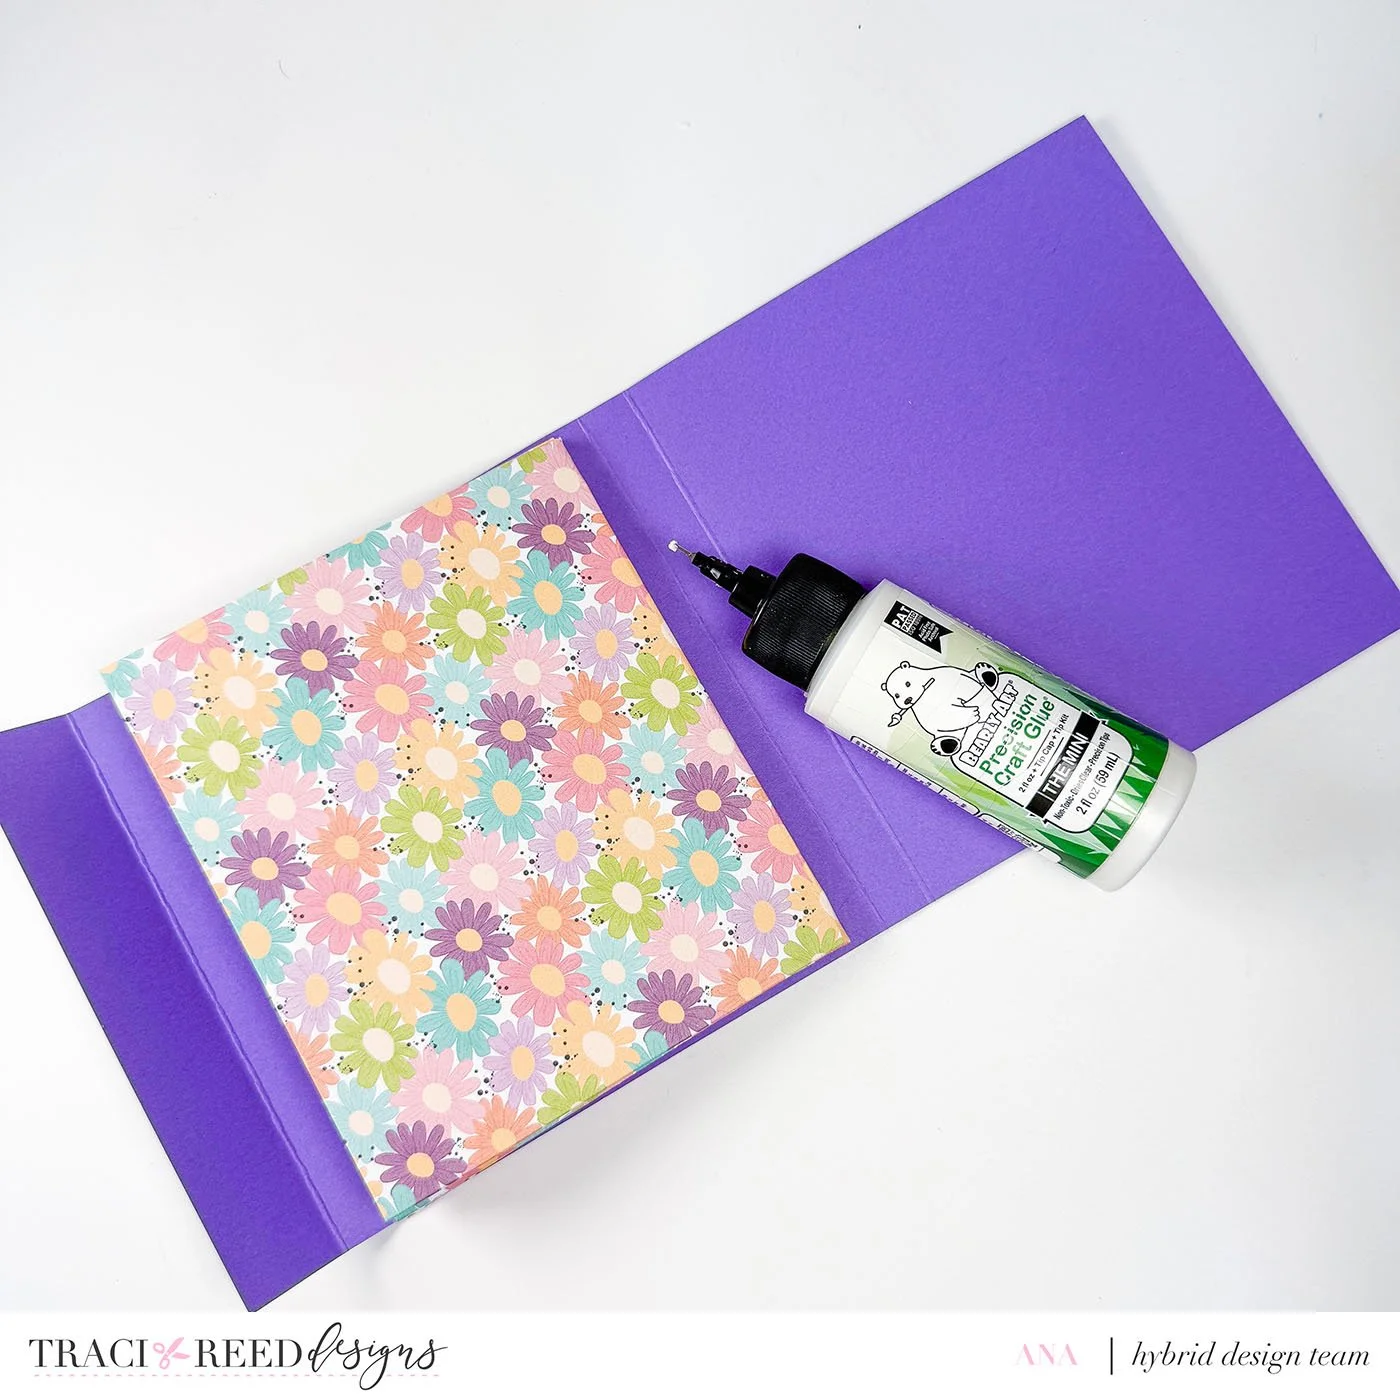
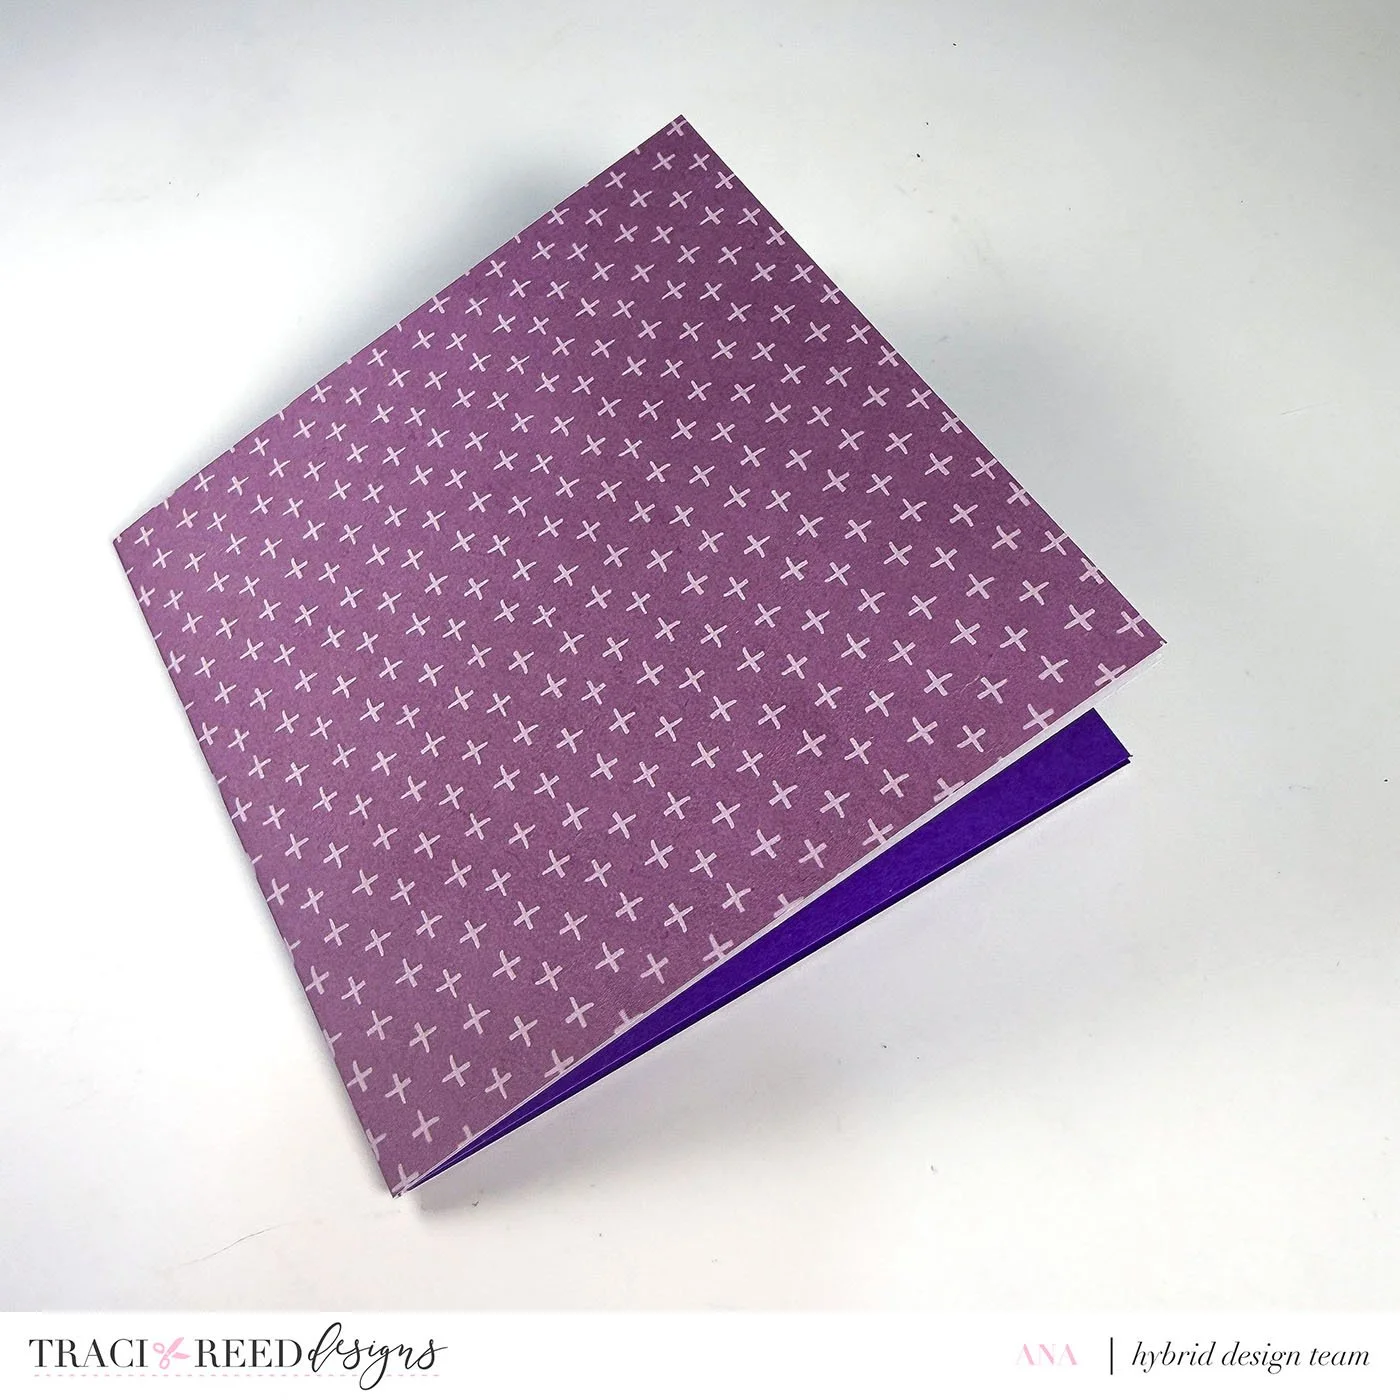
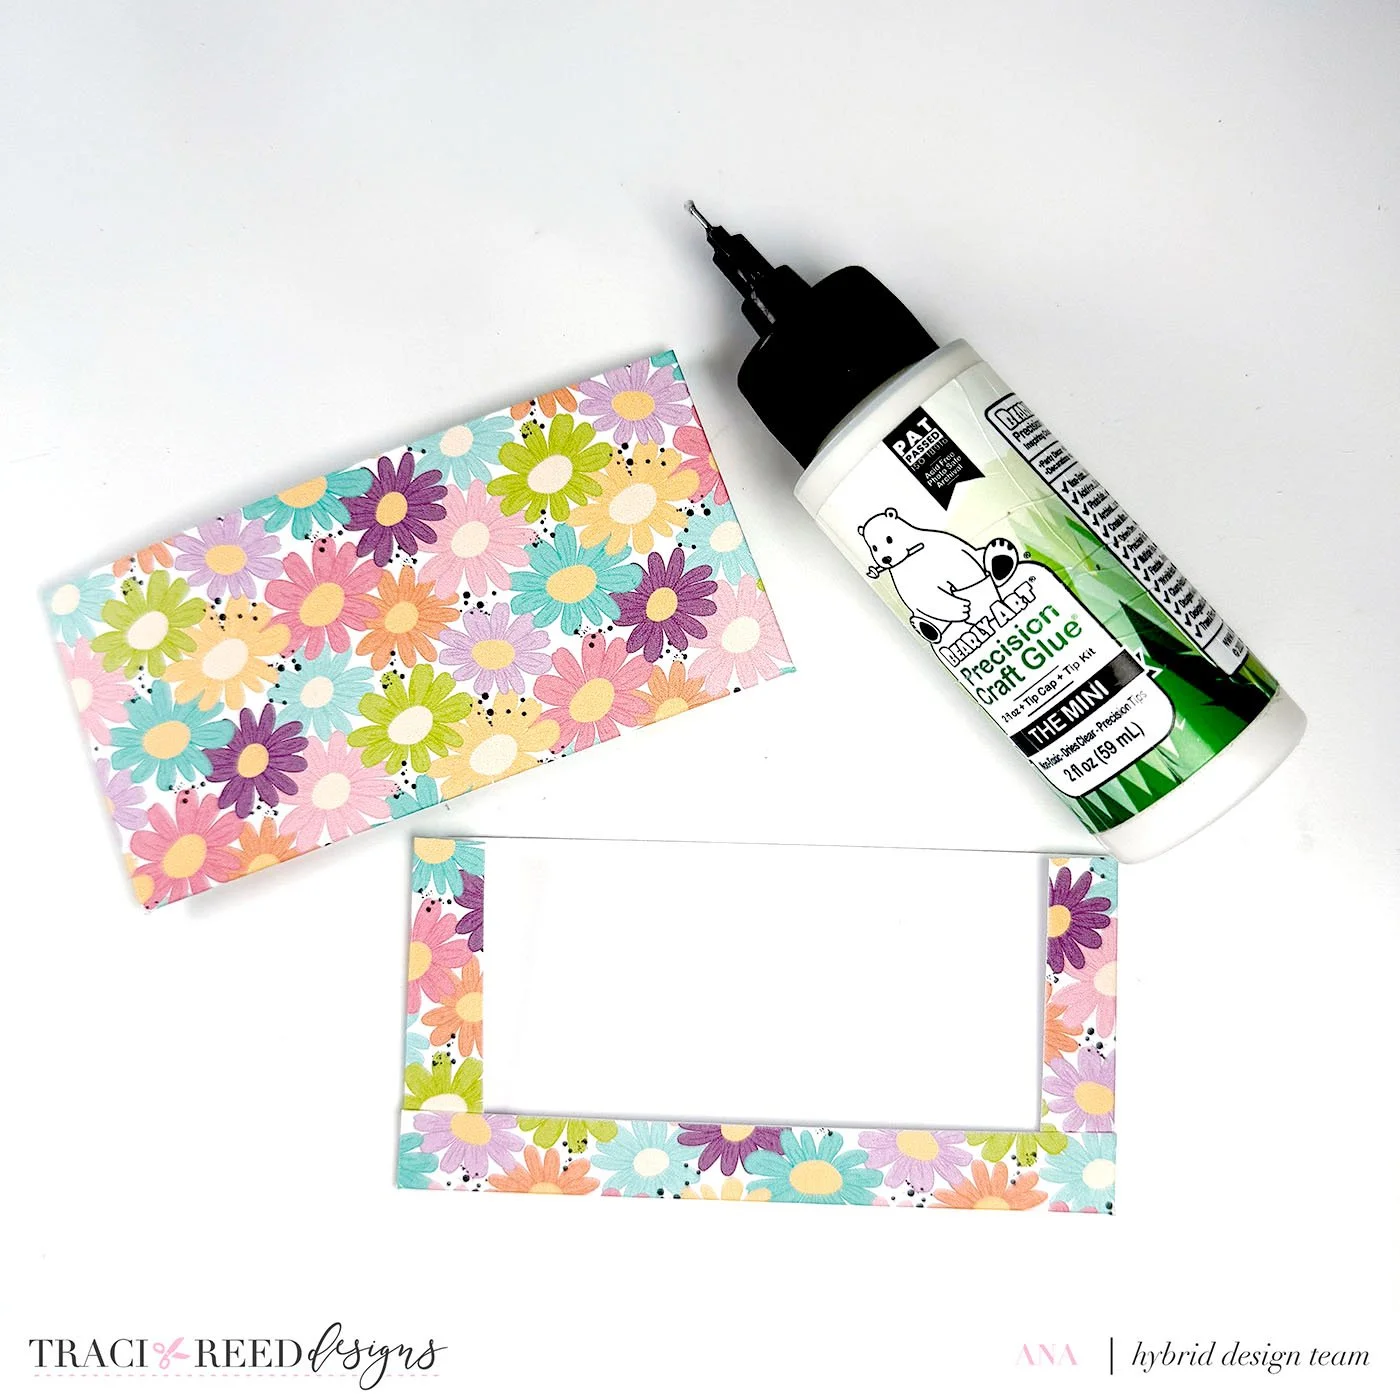
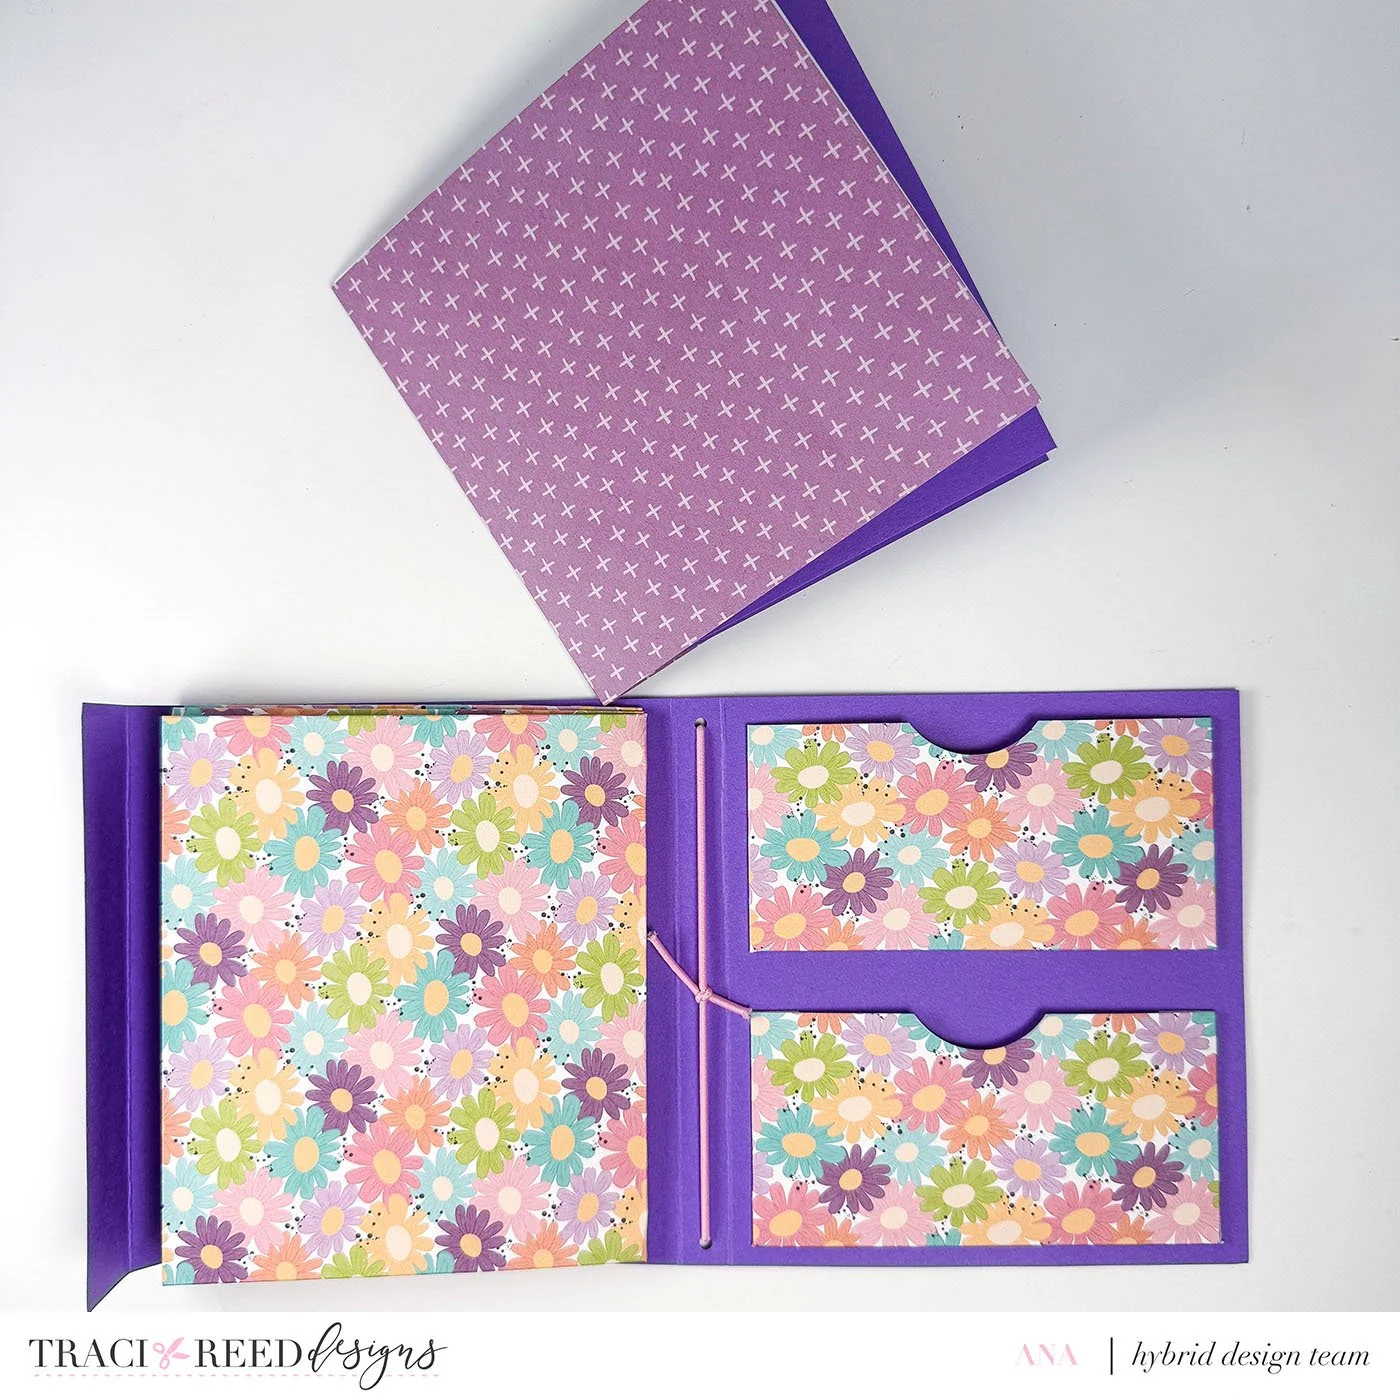
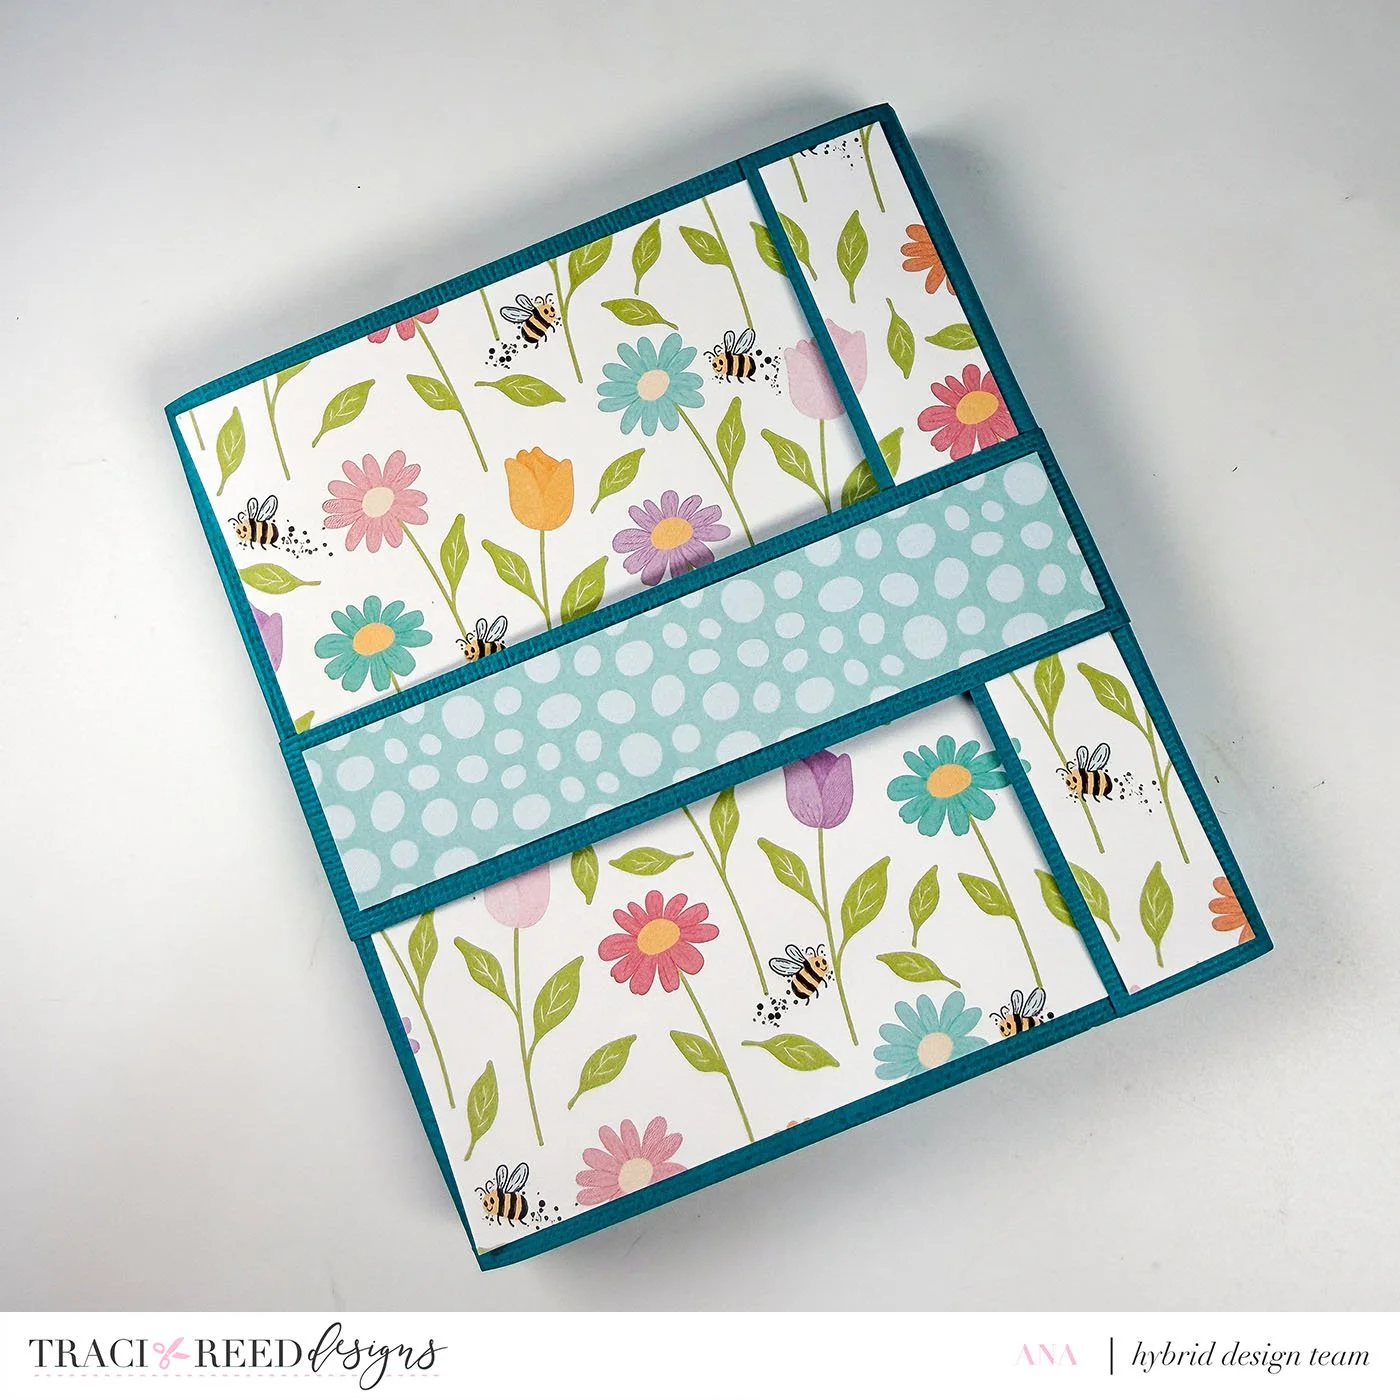
3. Cover your folio
Cut:
• 2 pieces at 4.75 x 5.25
• 1 piece at 3/4 x 5.25
Adhere these to your folio base for decoration.
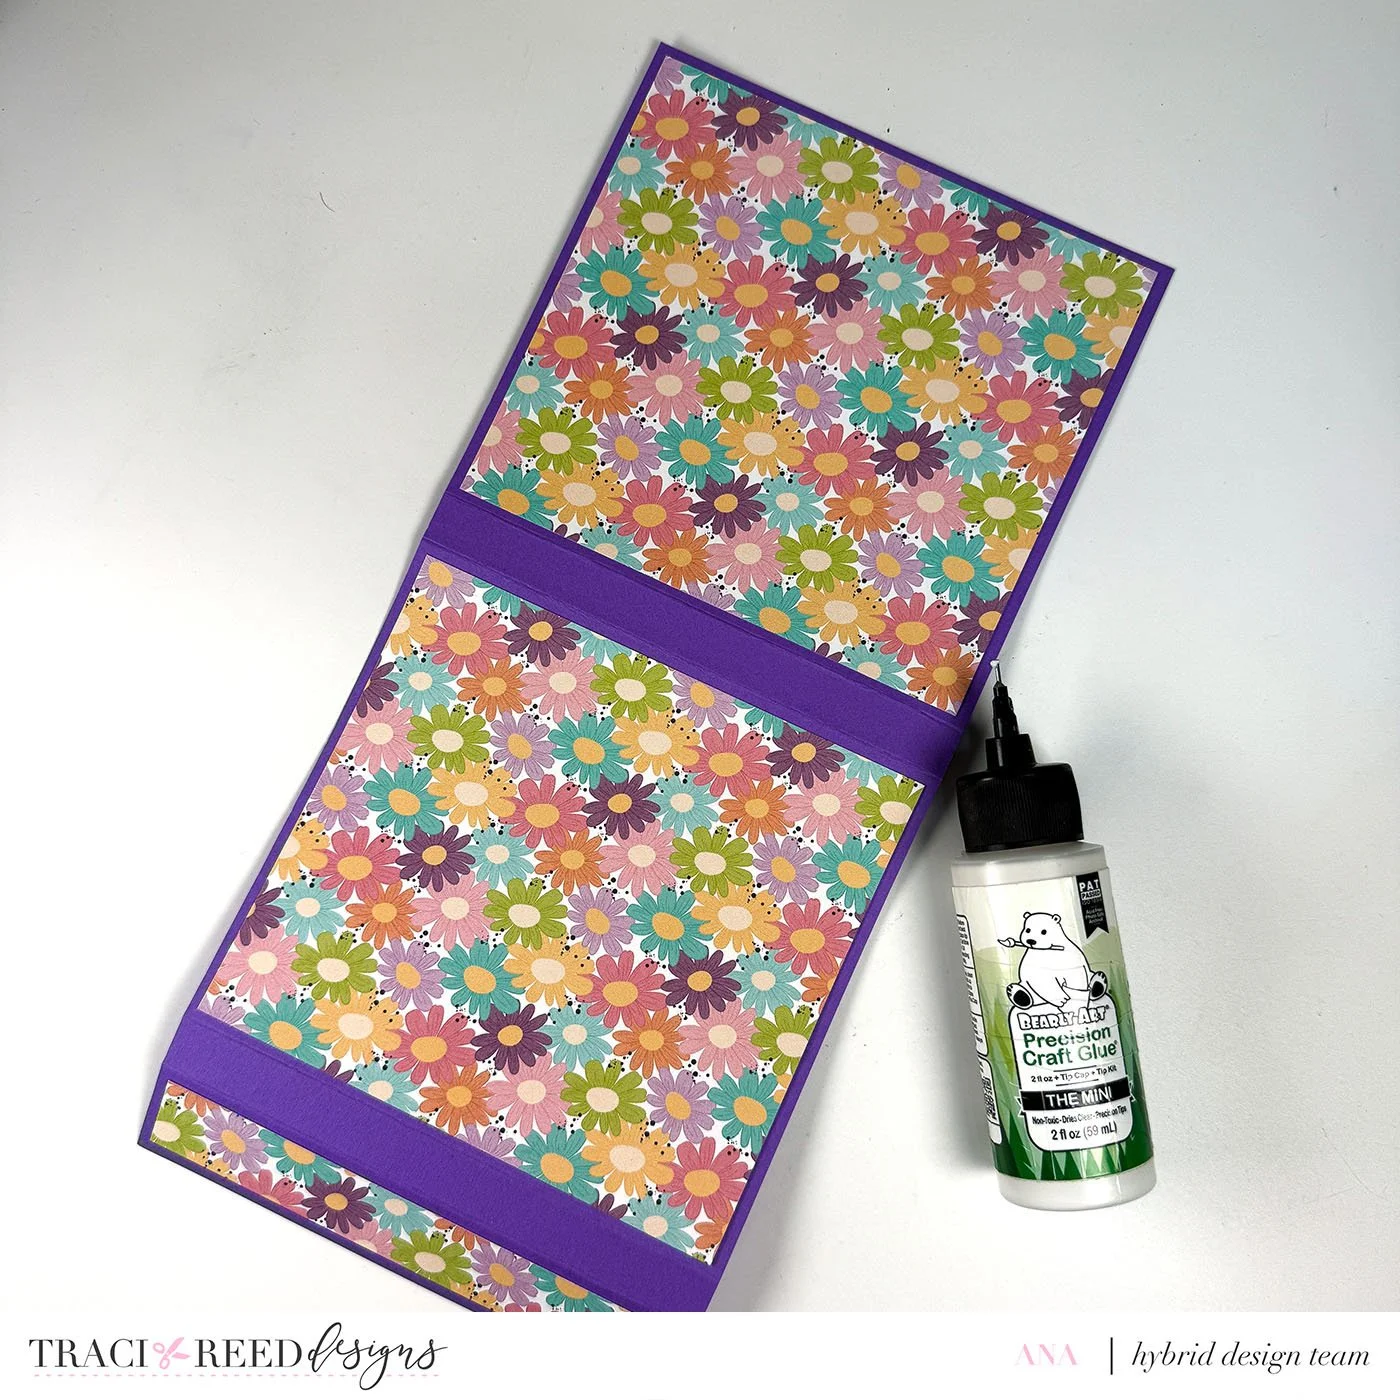
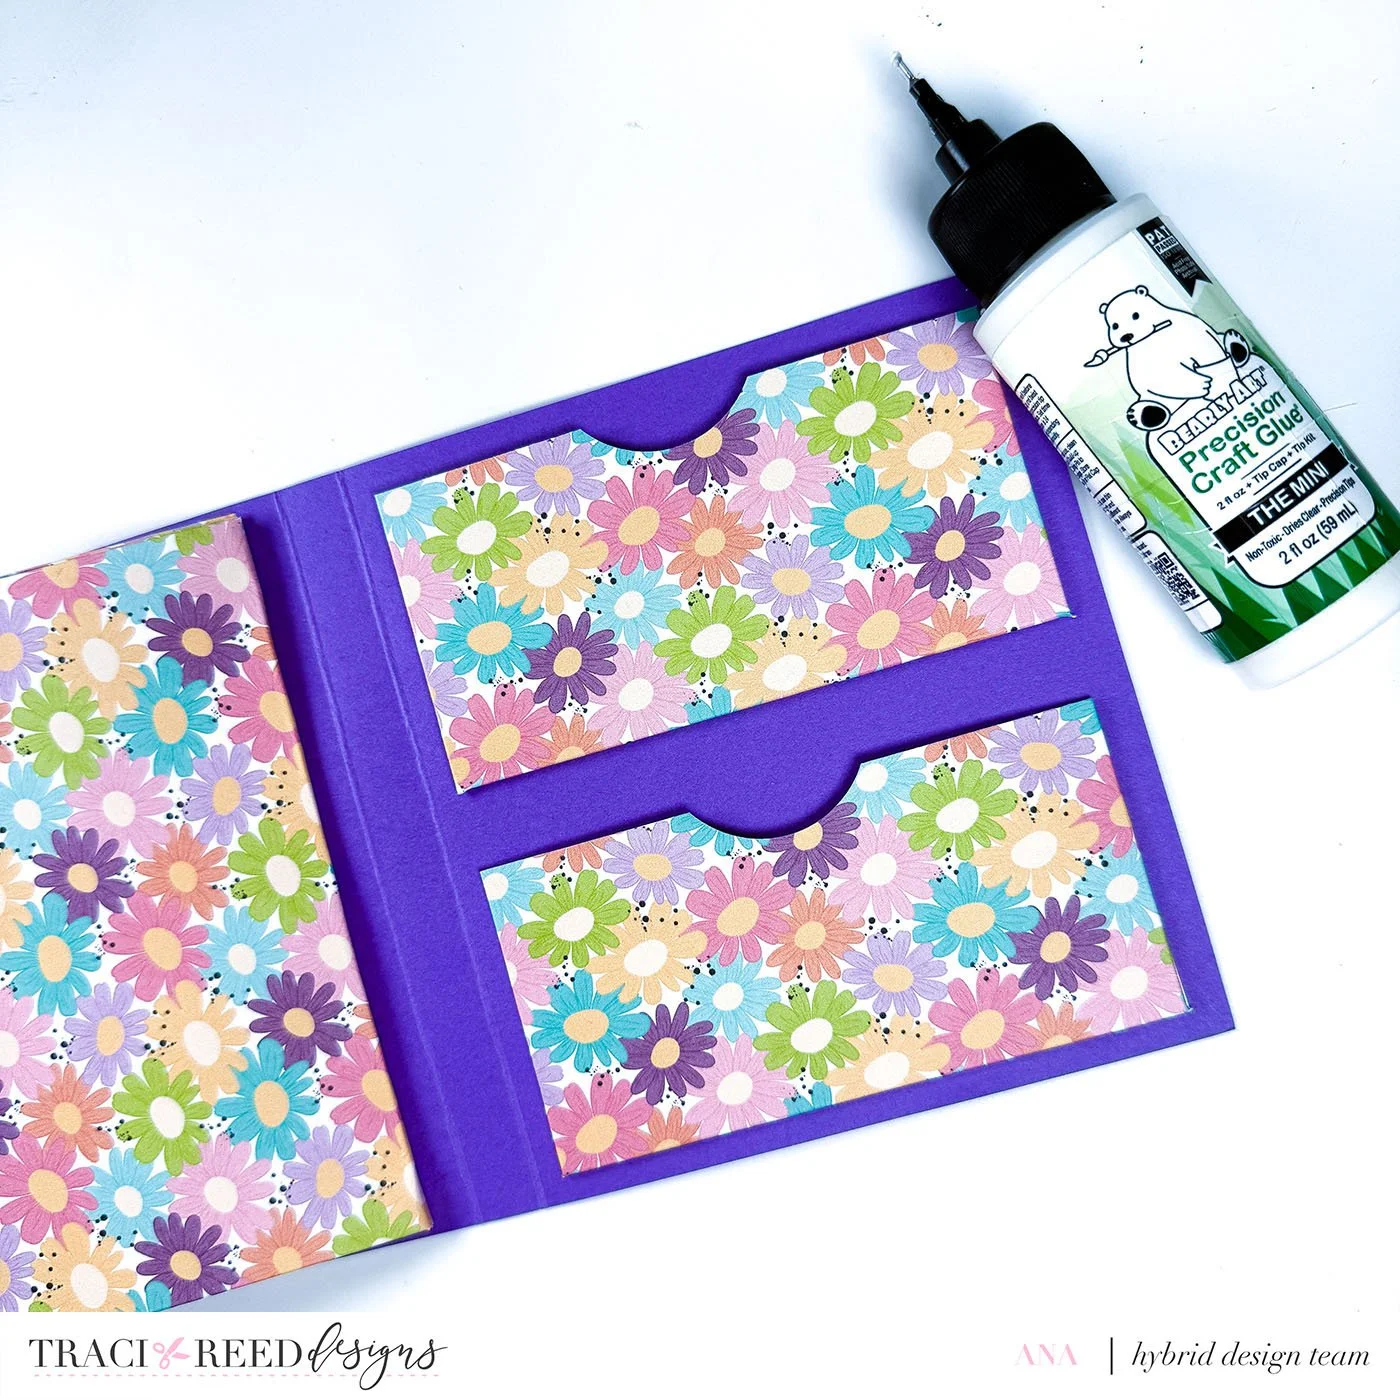
4. Attach the accordion pocket
Glue the accordion pocket onto one inside panel.
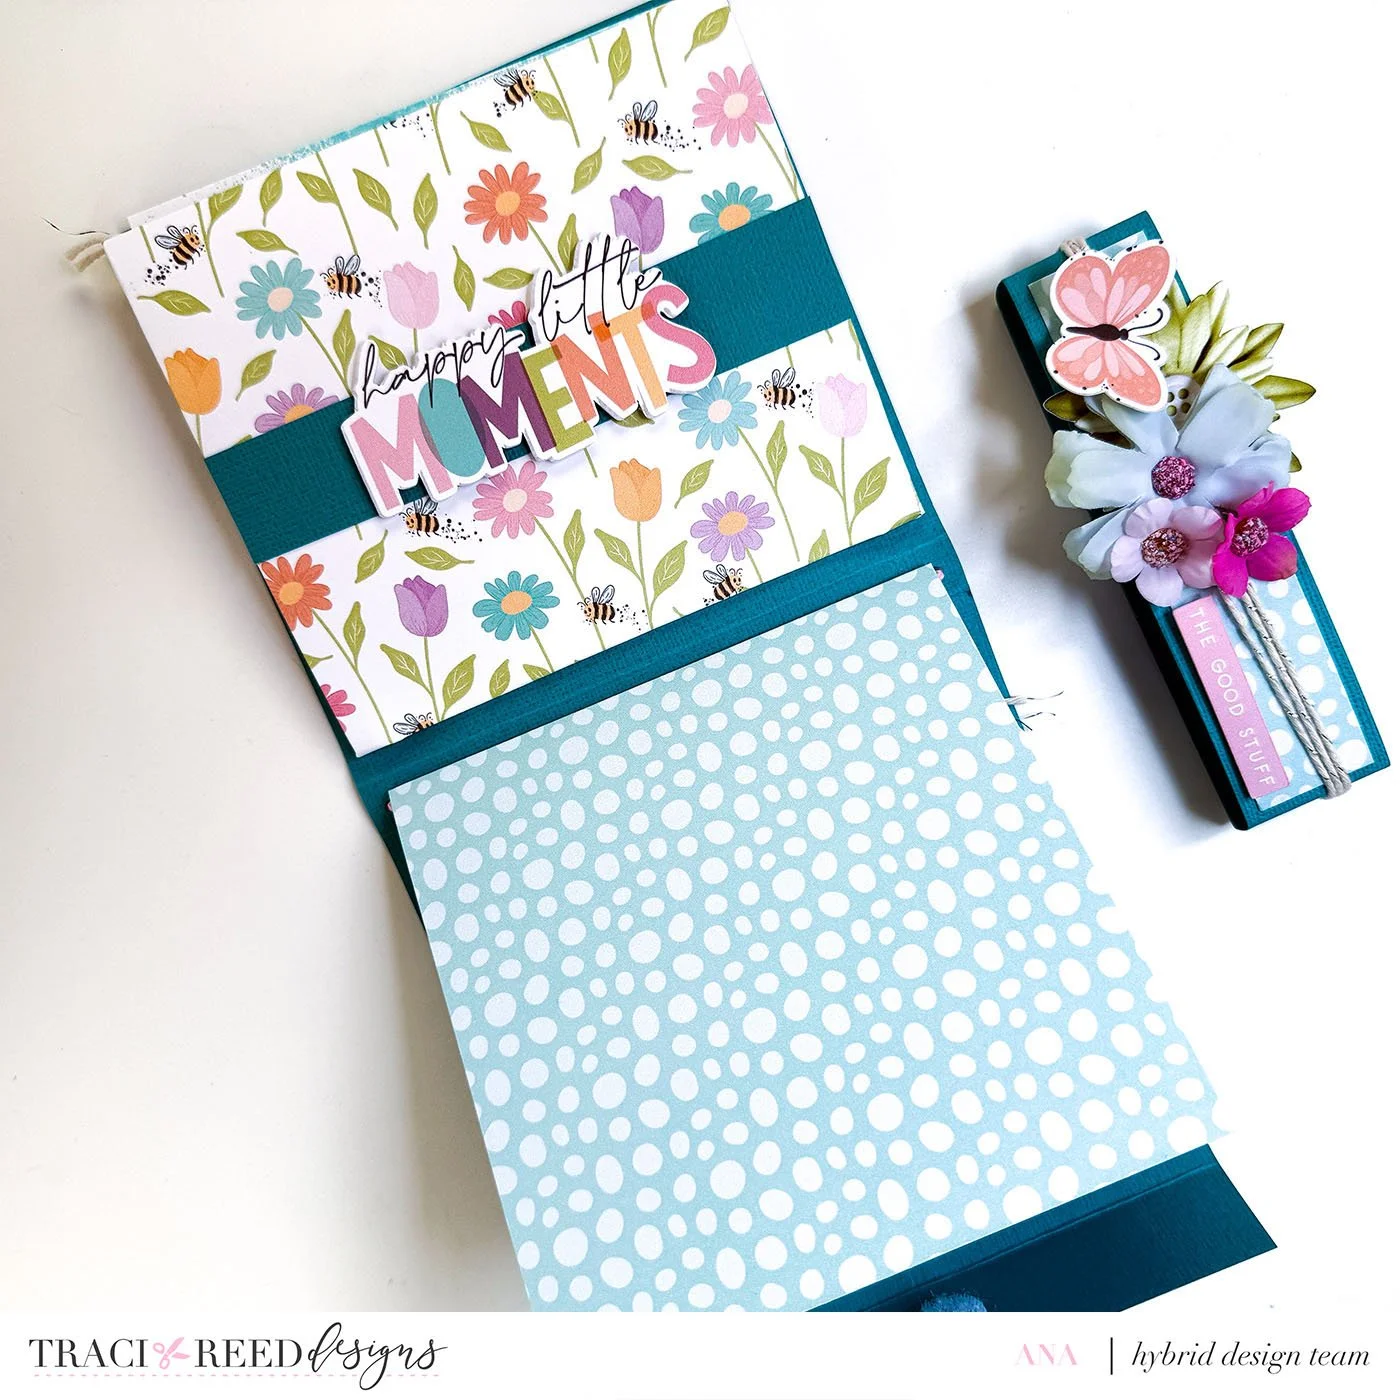
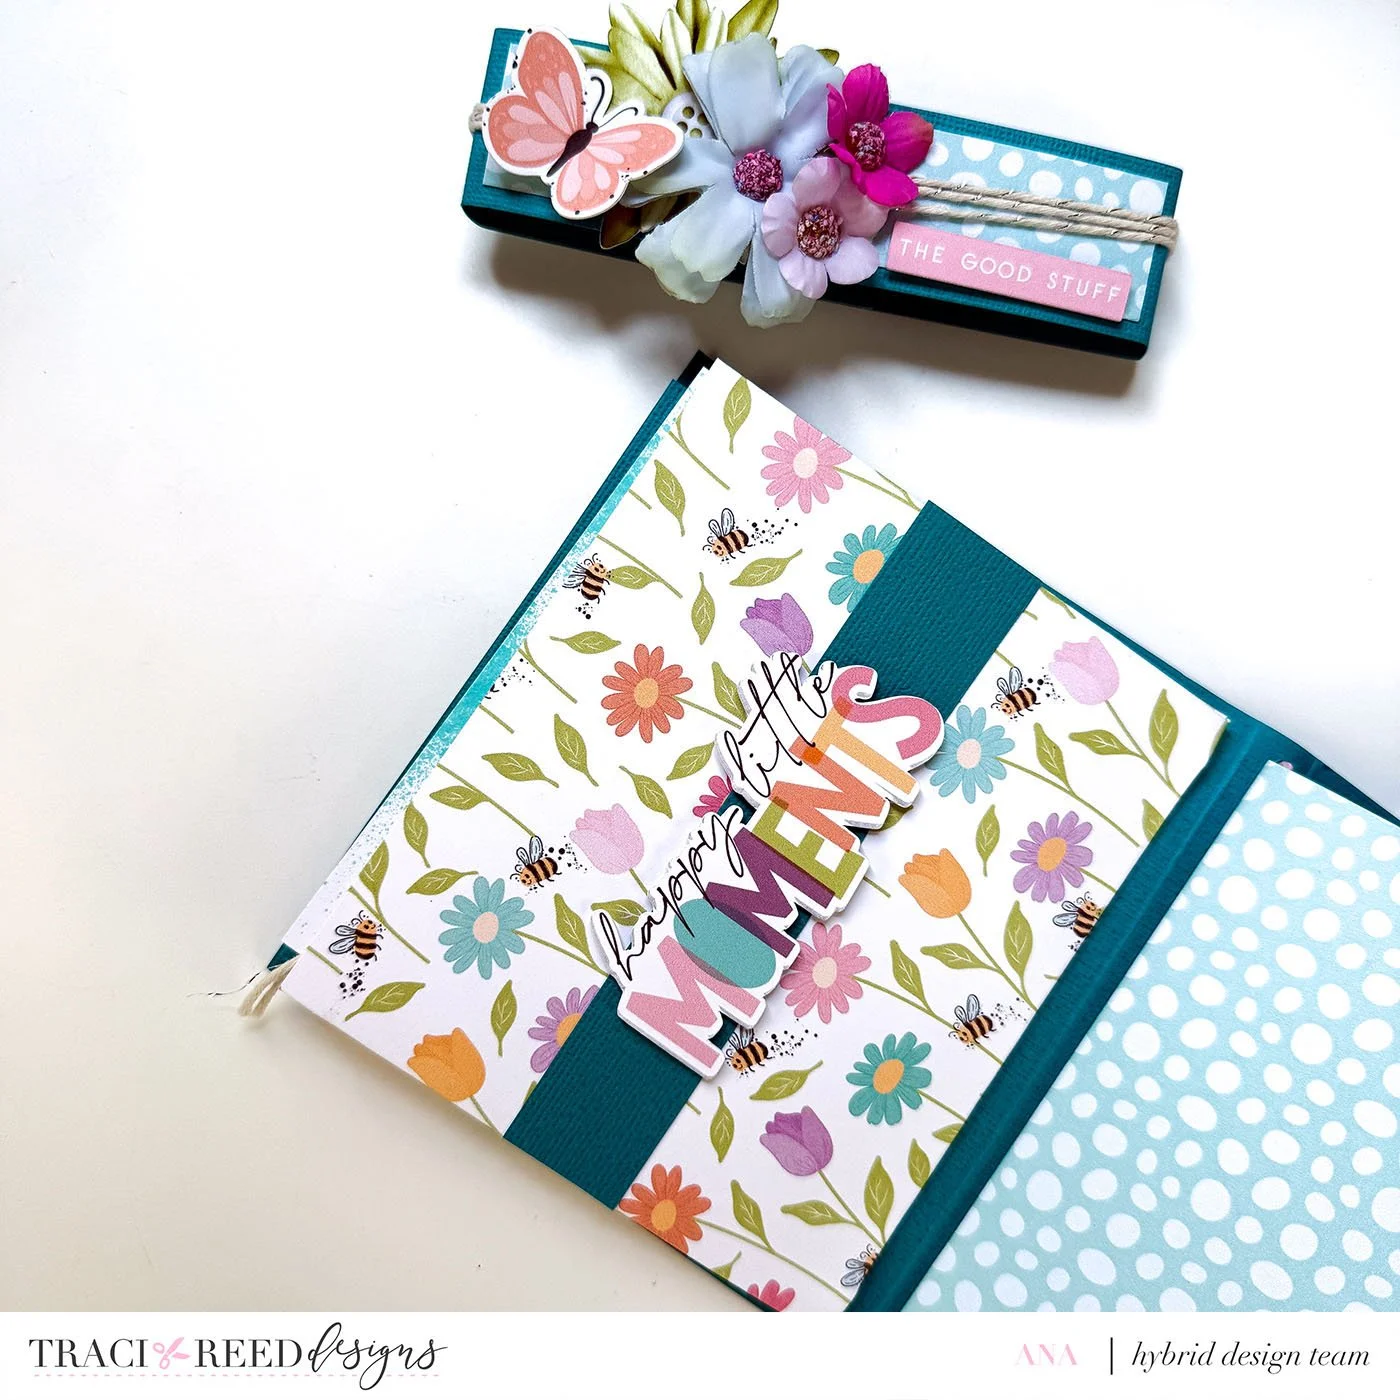
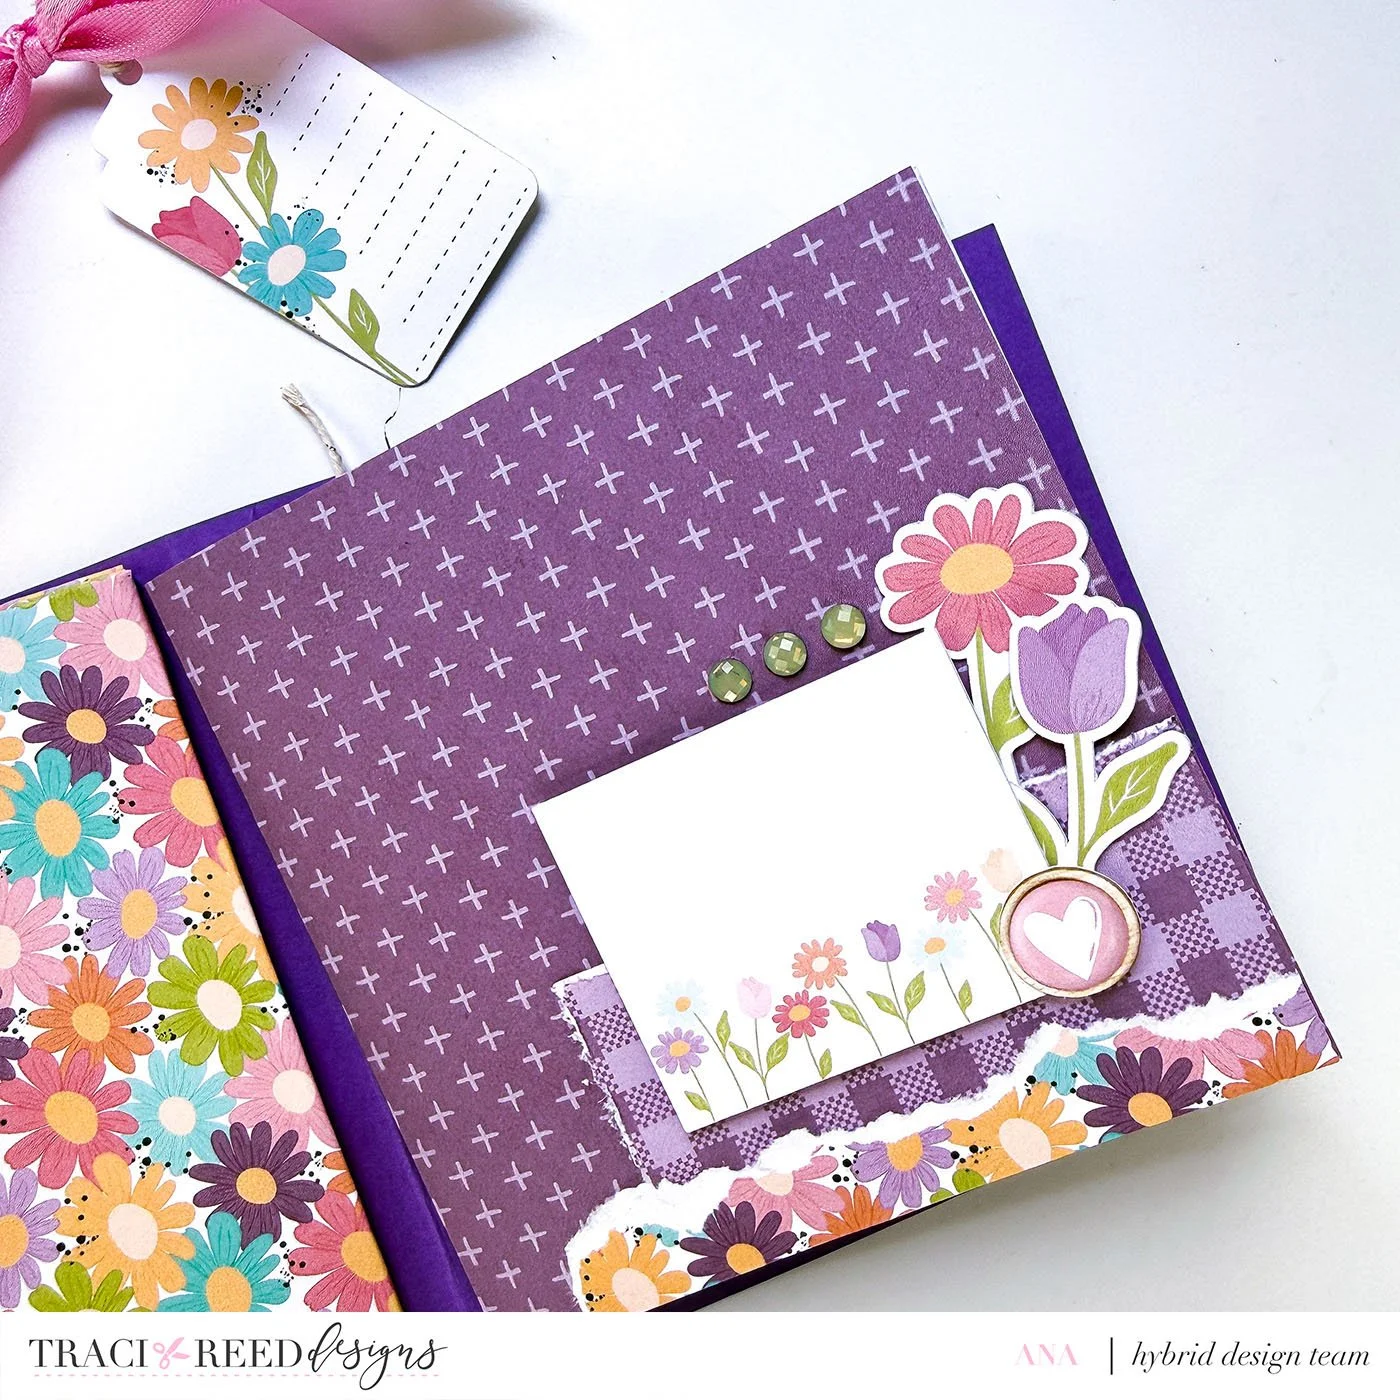
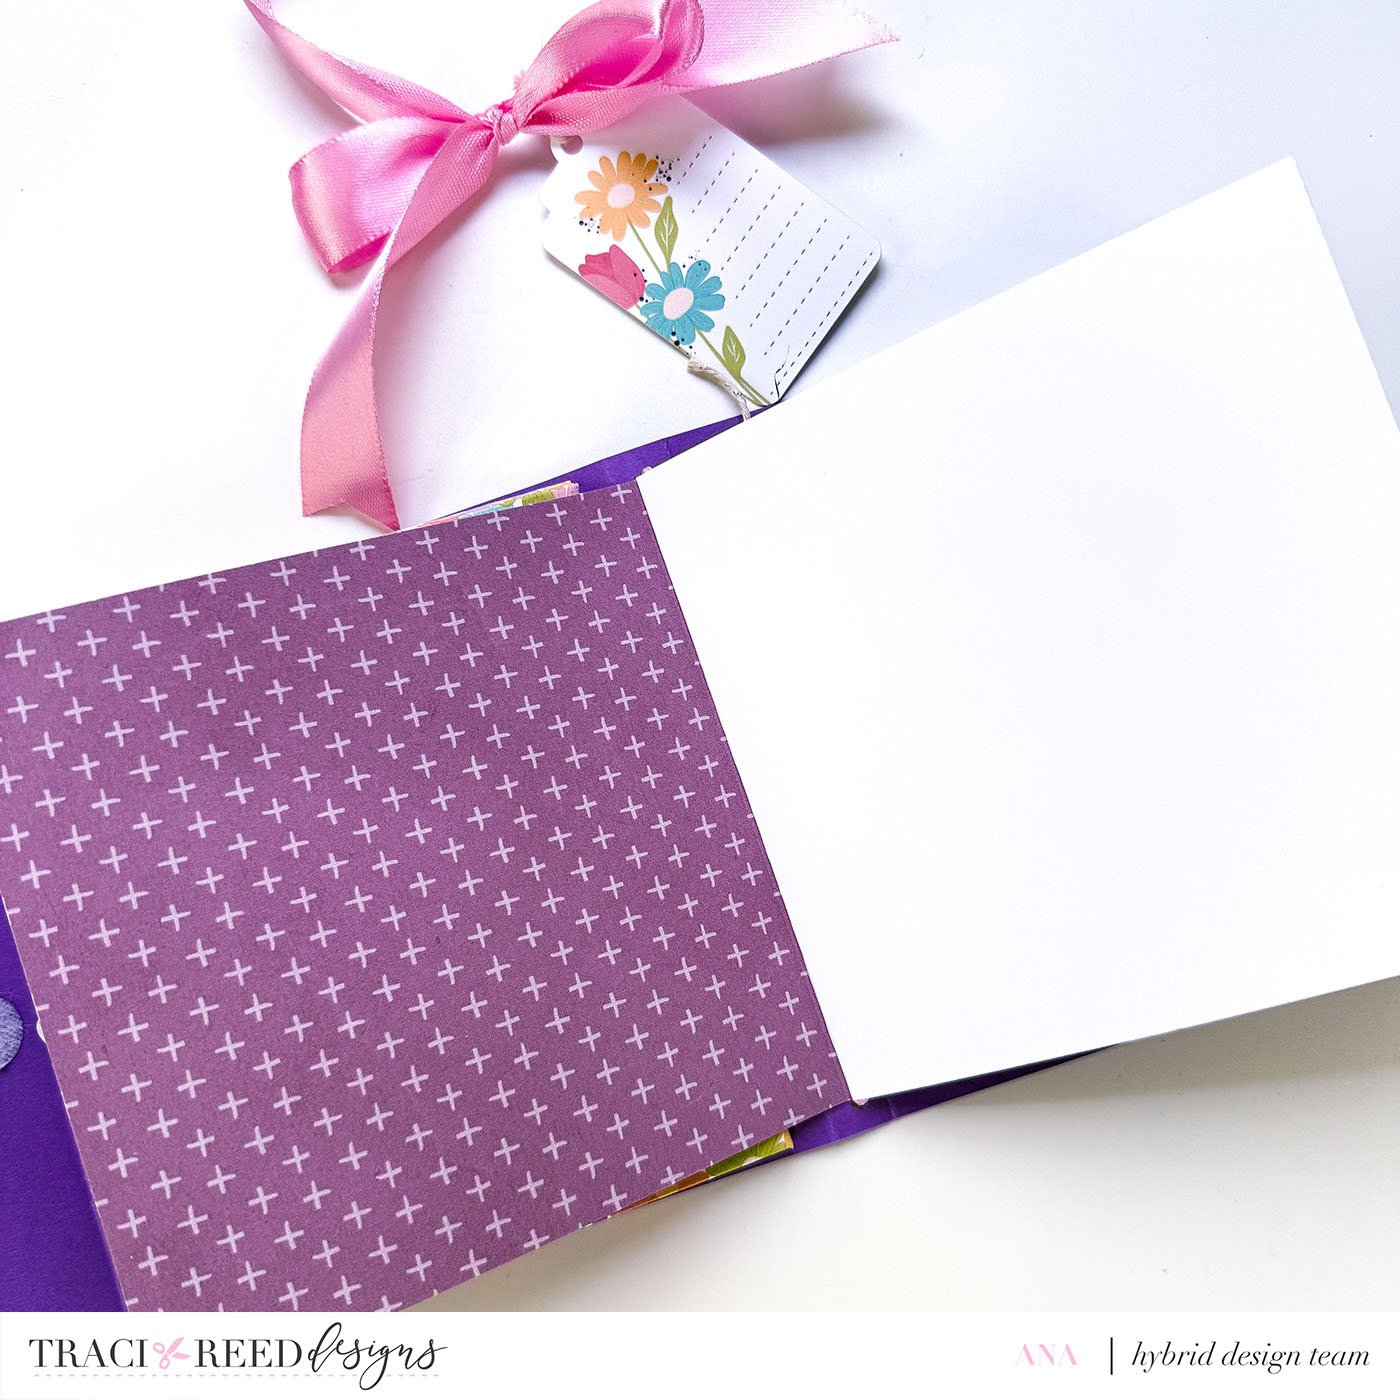
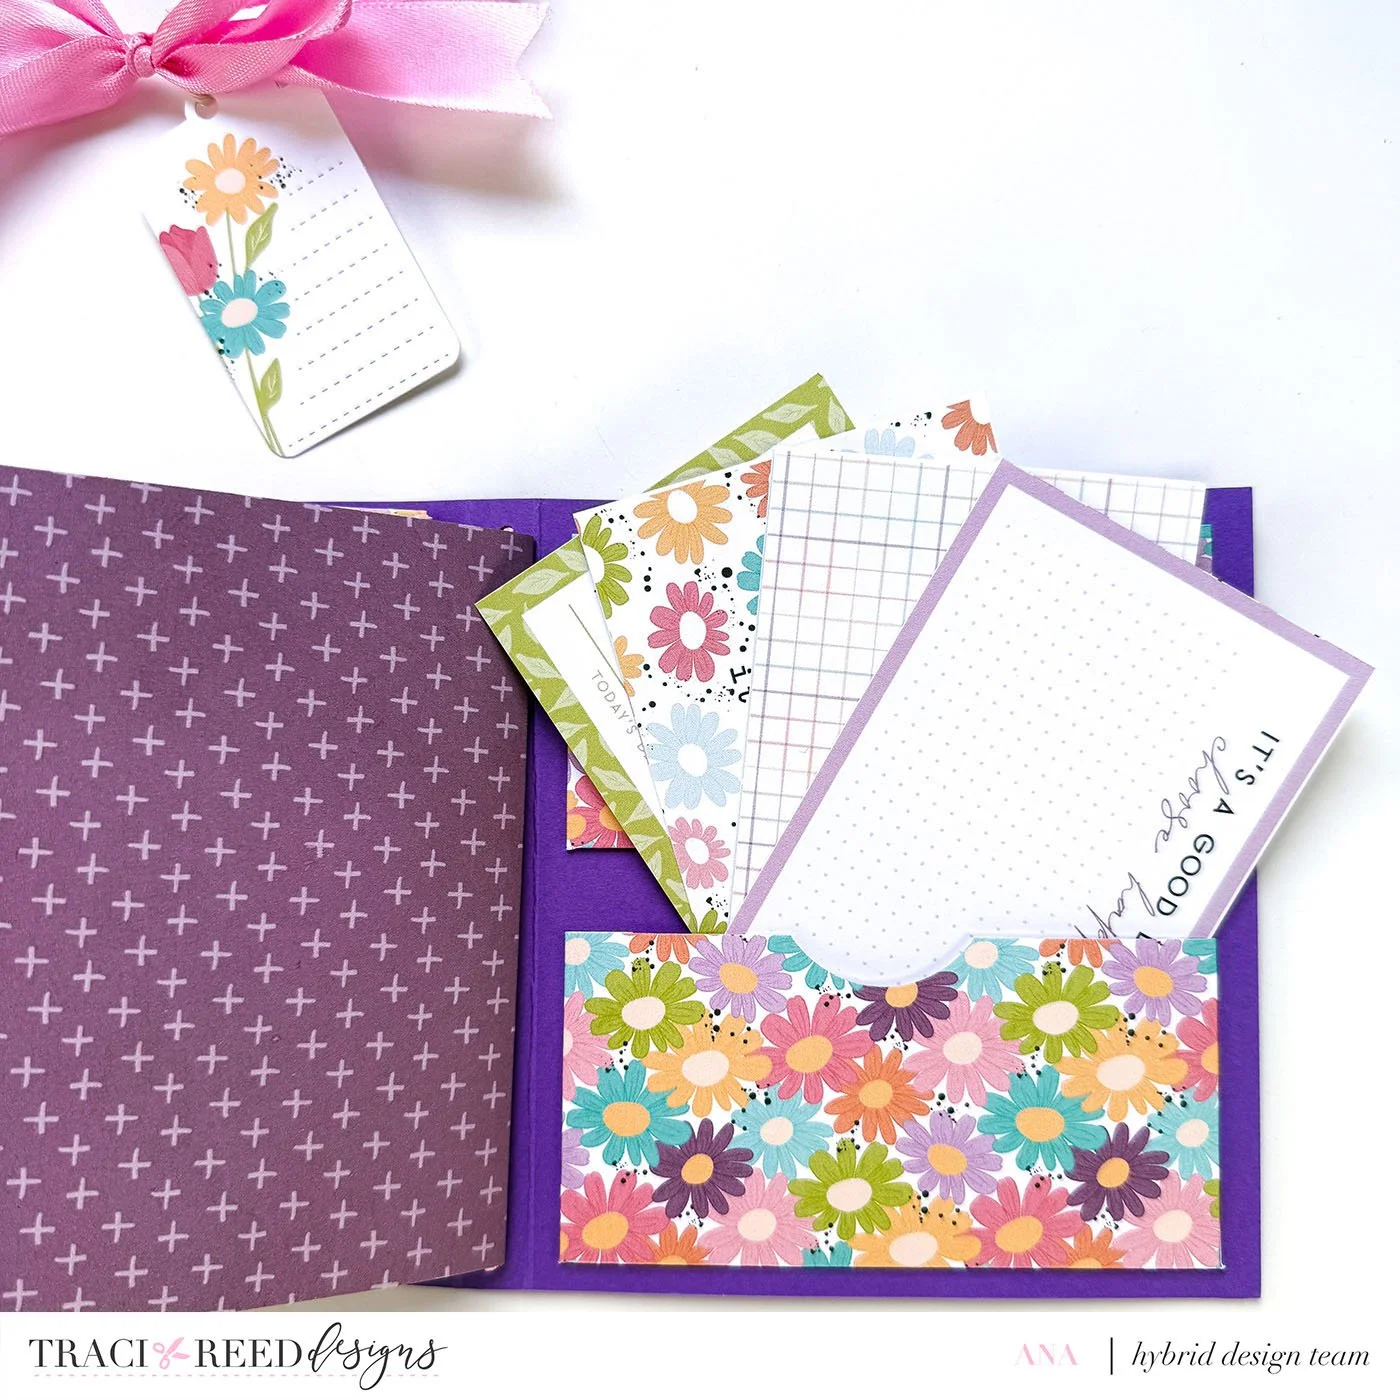
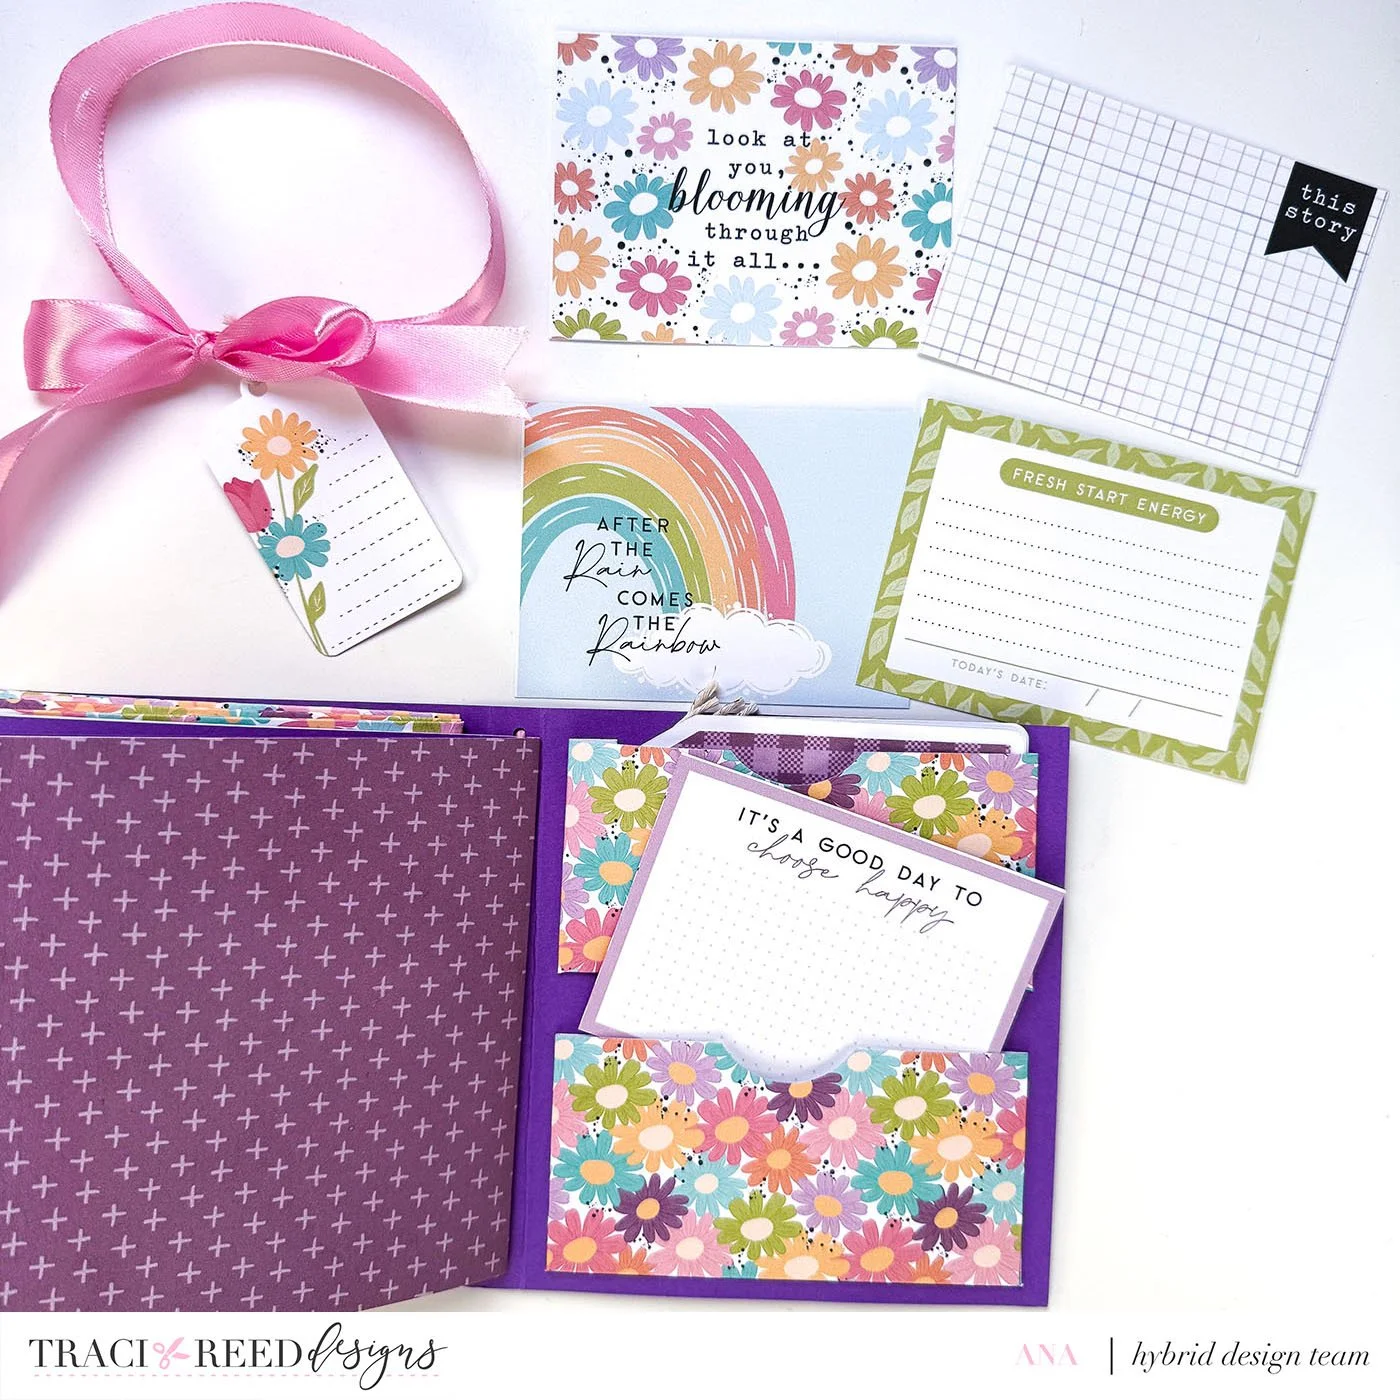
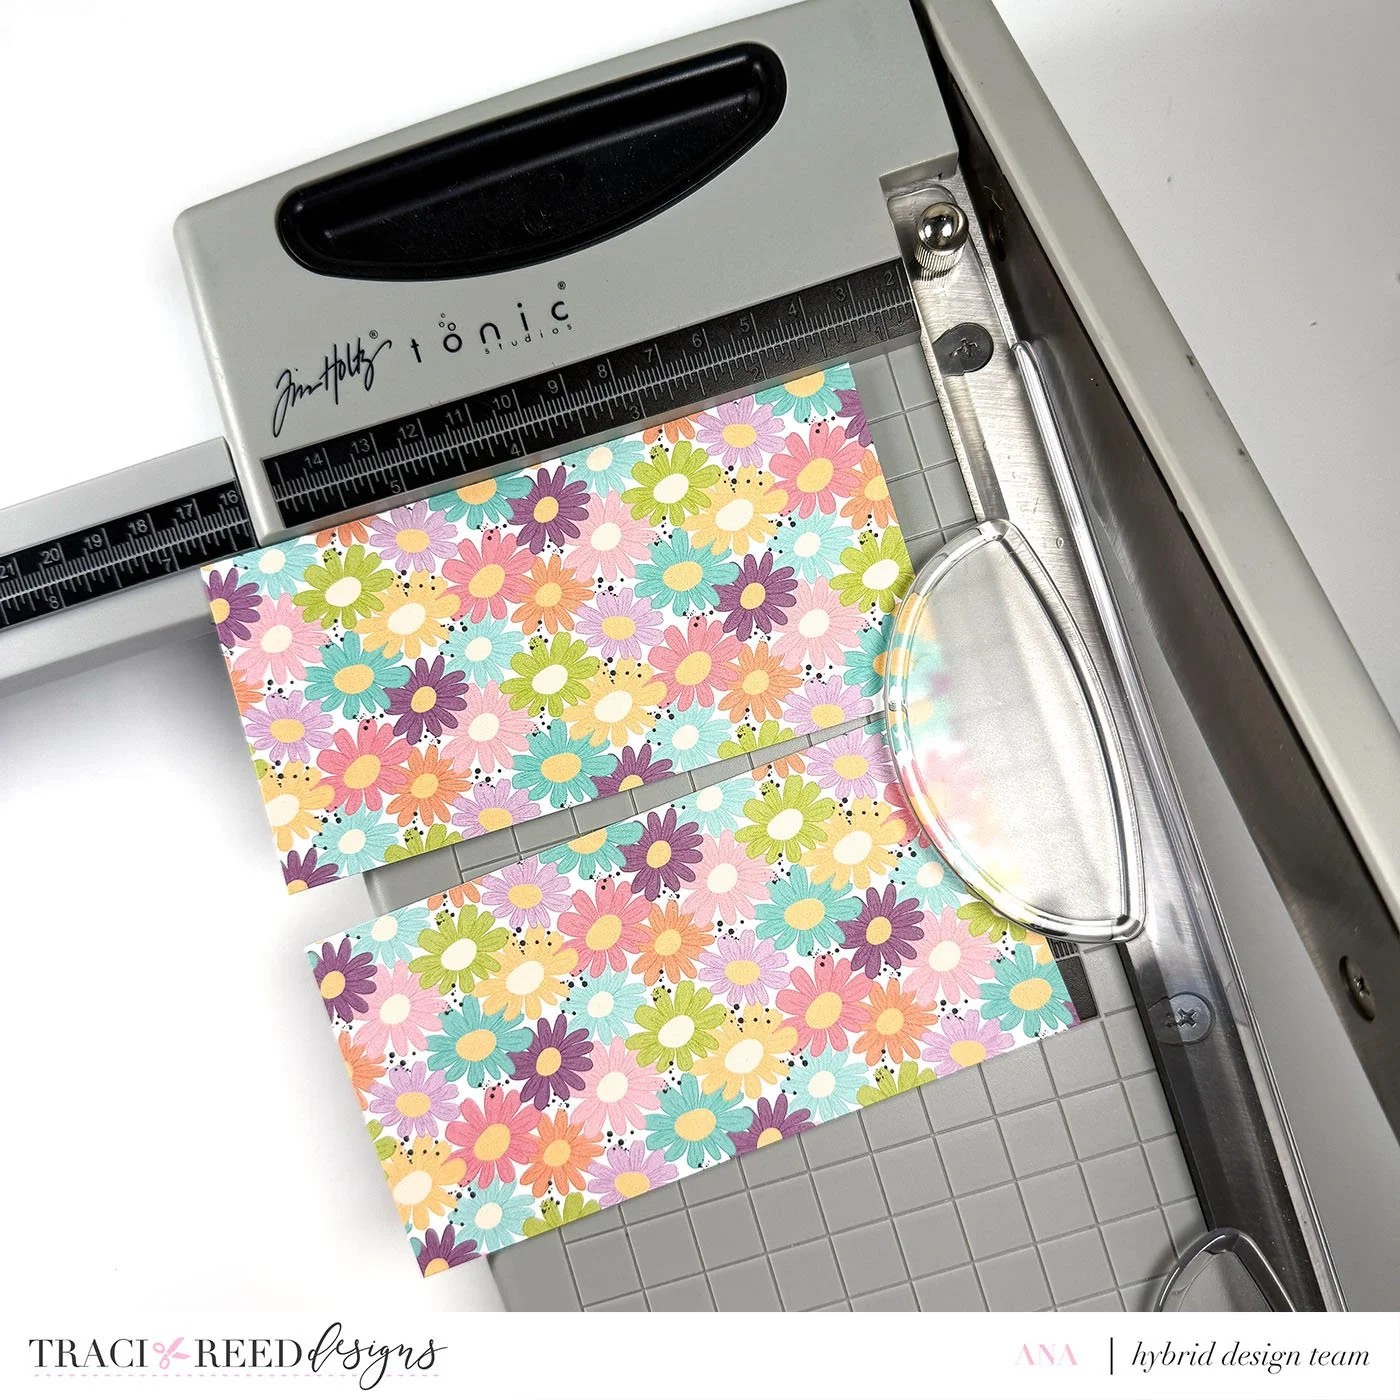
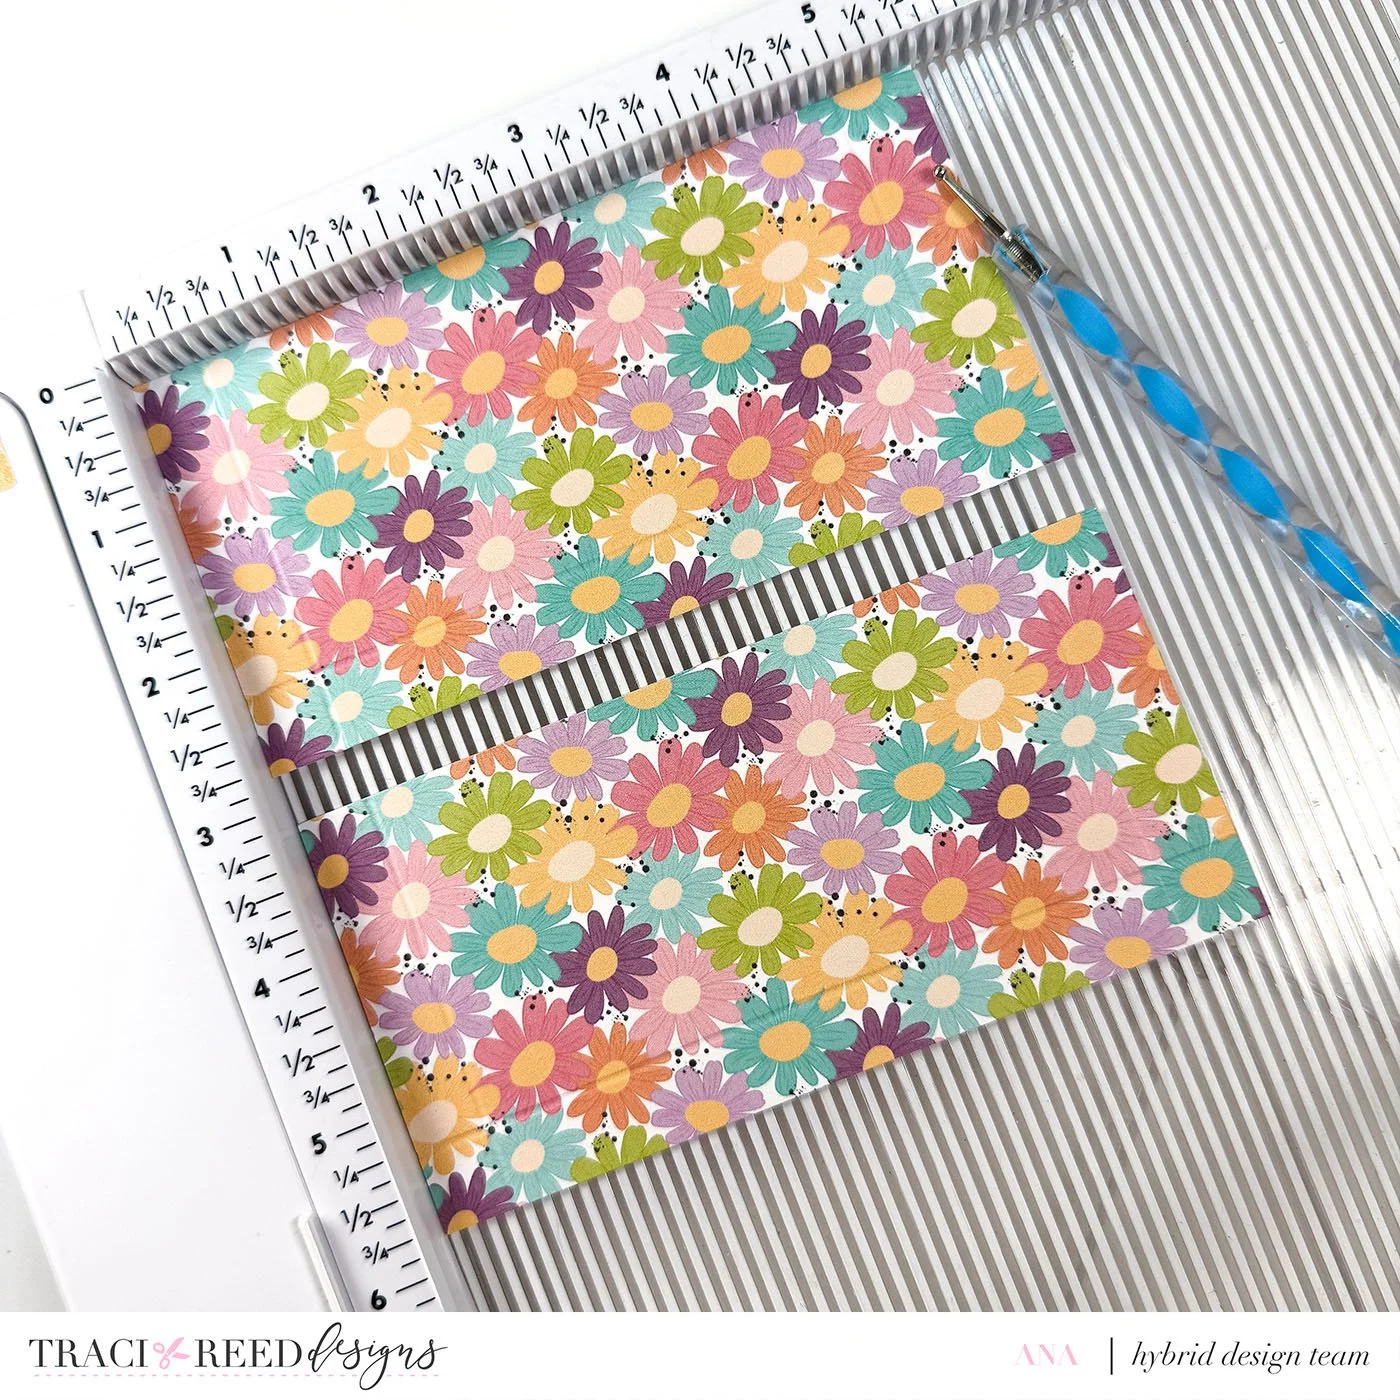
5. Create your inserts/pages
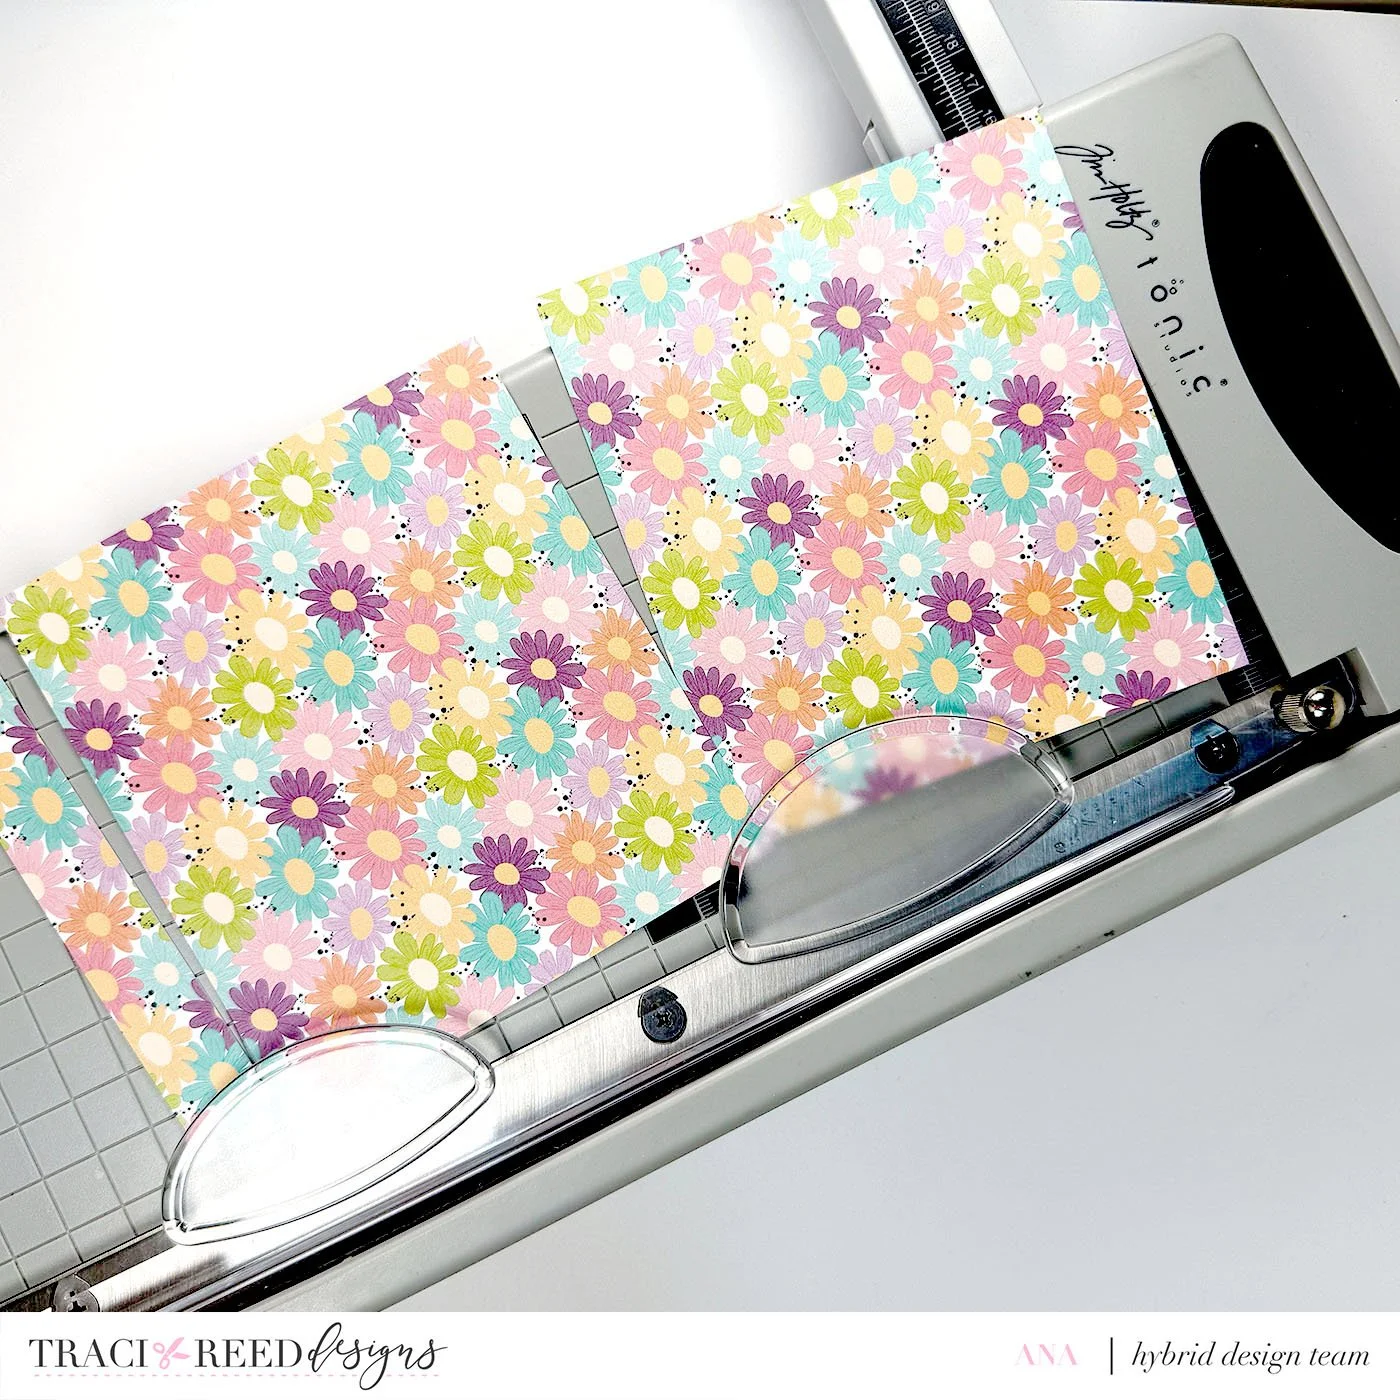
Cut different papers (cardstock, patterned, or plain) to 10 x 5.

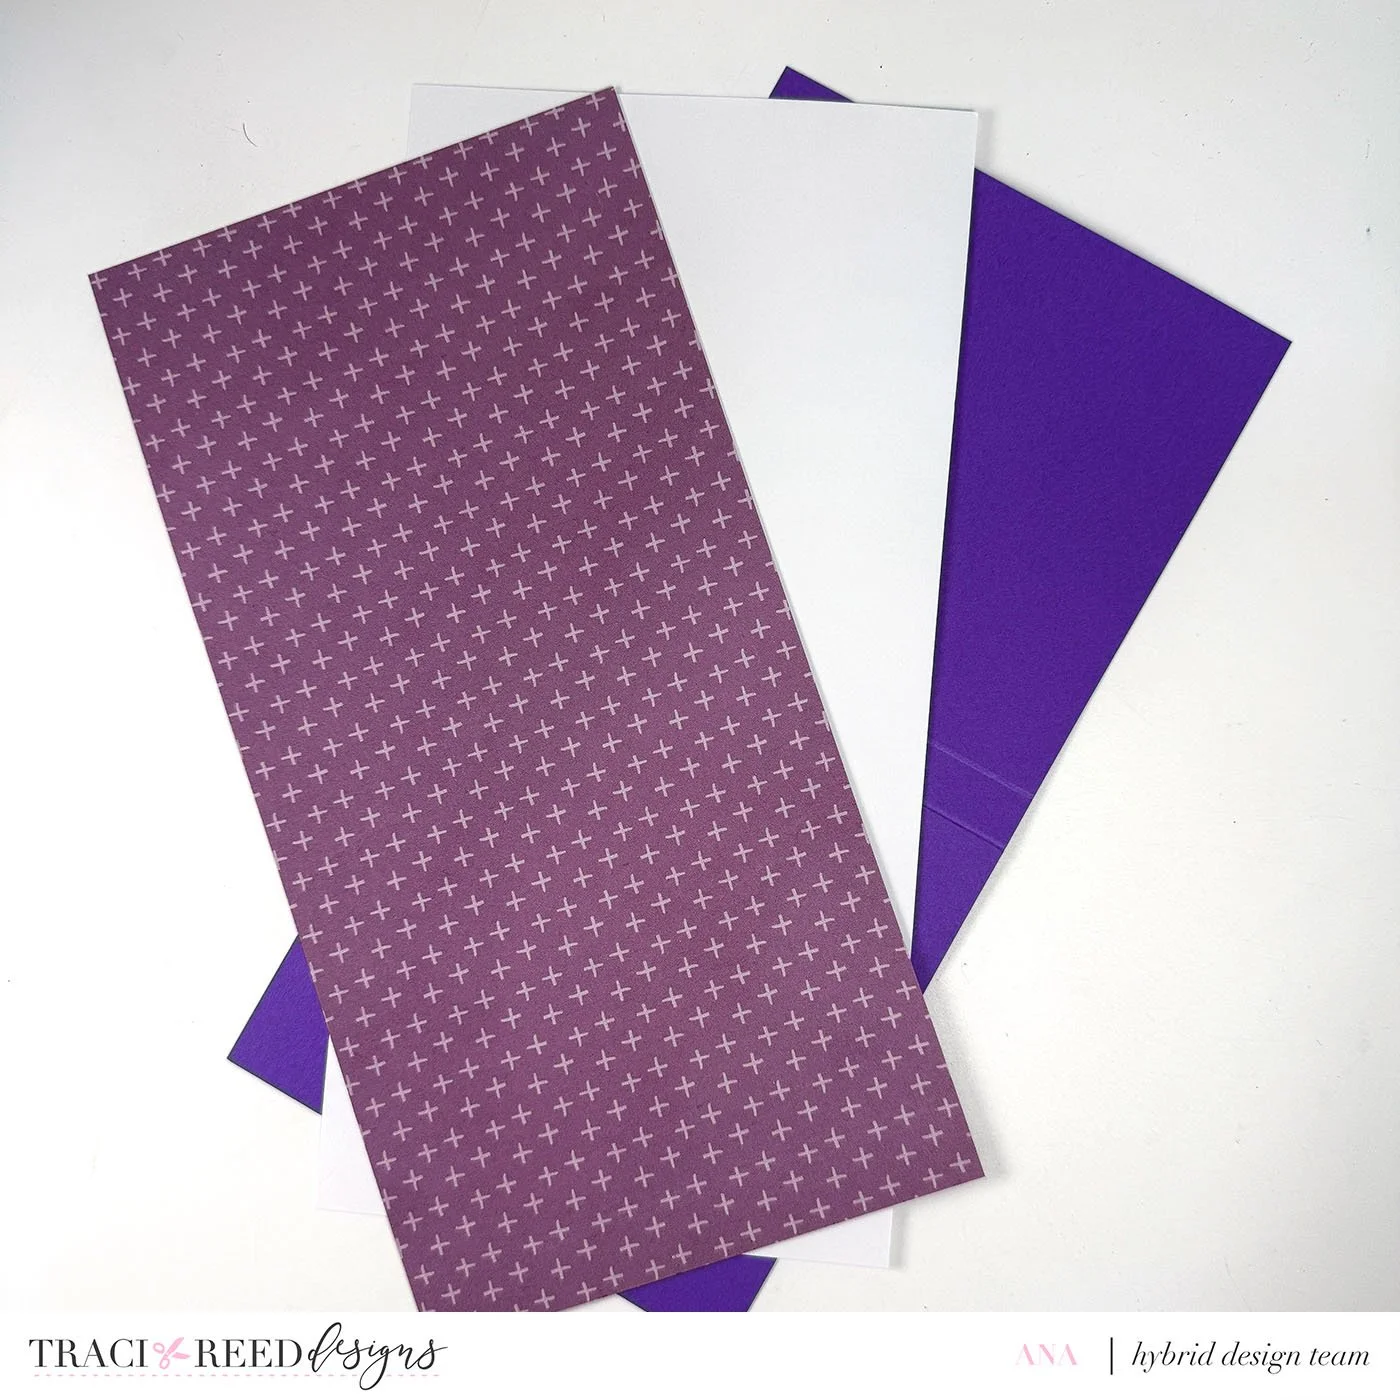
Score at 5 and fold - these will be your journaling/photo pages.
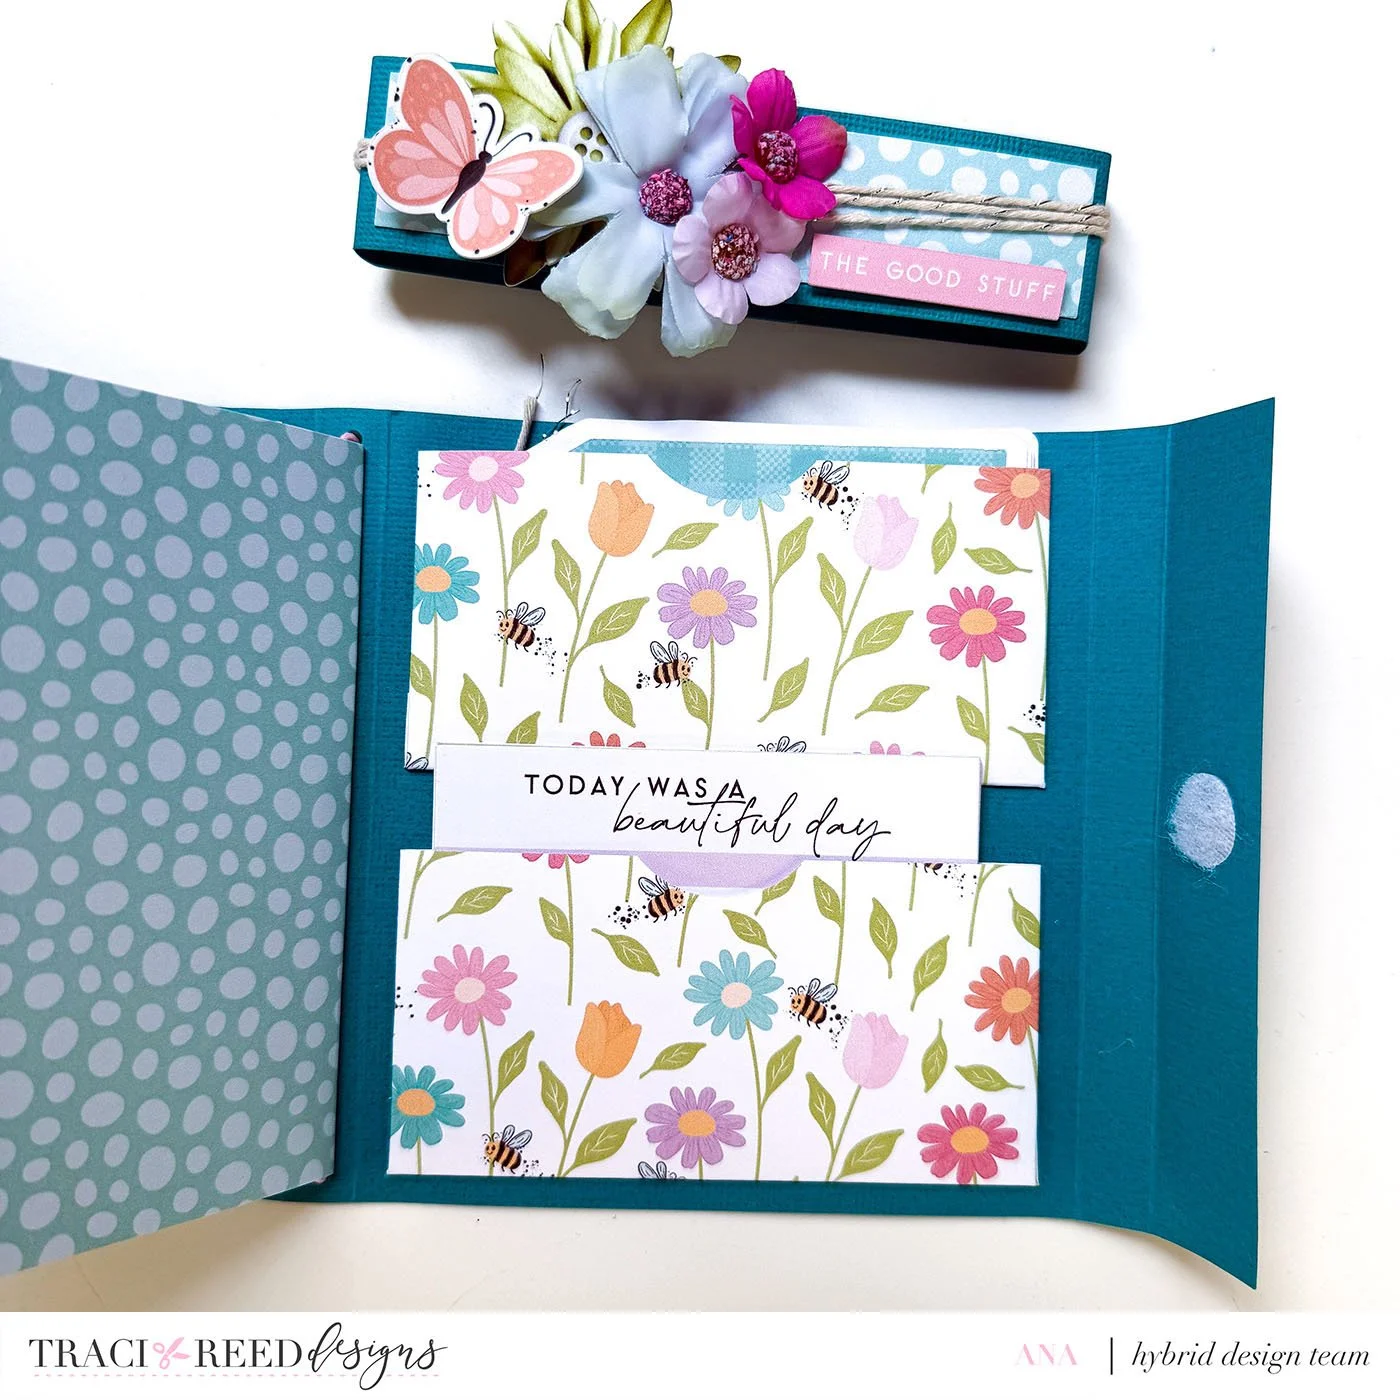
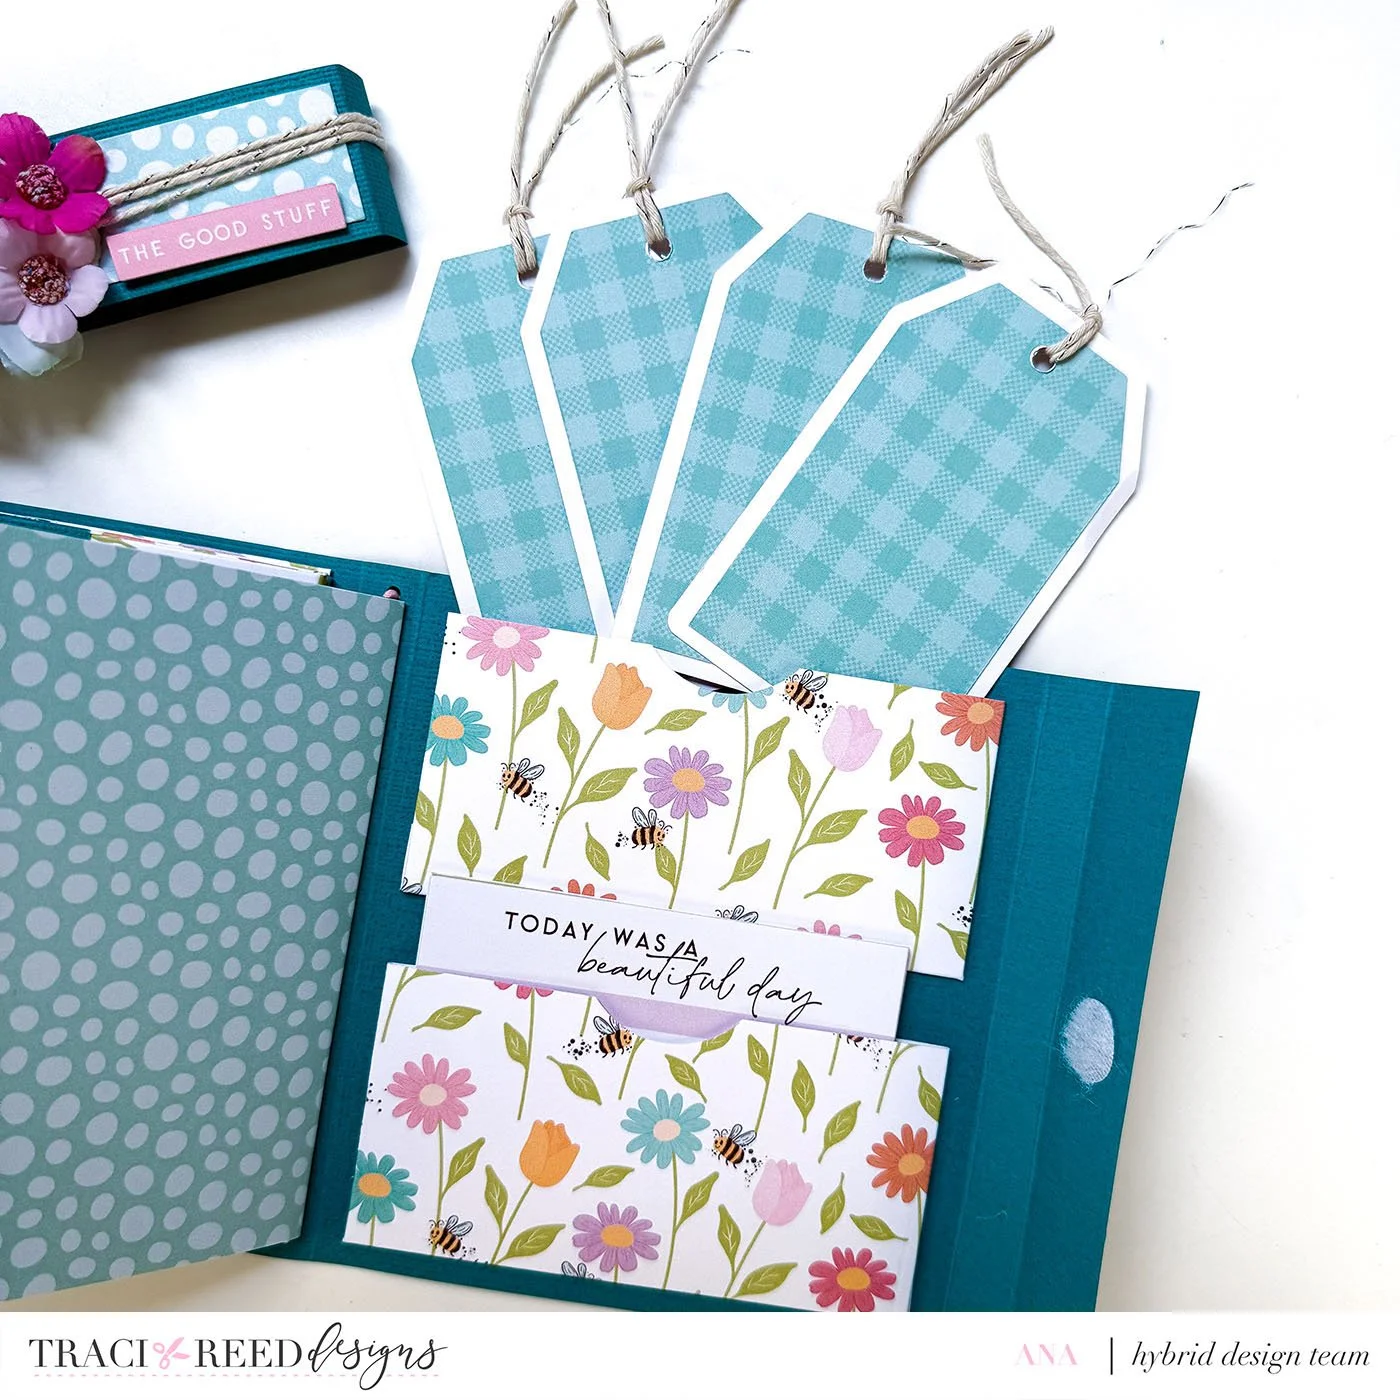
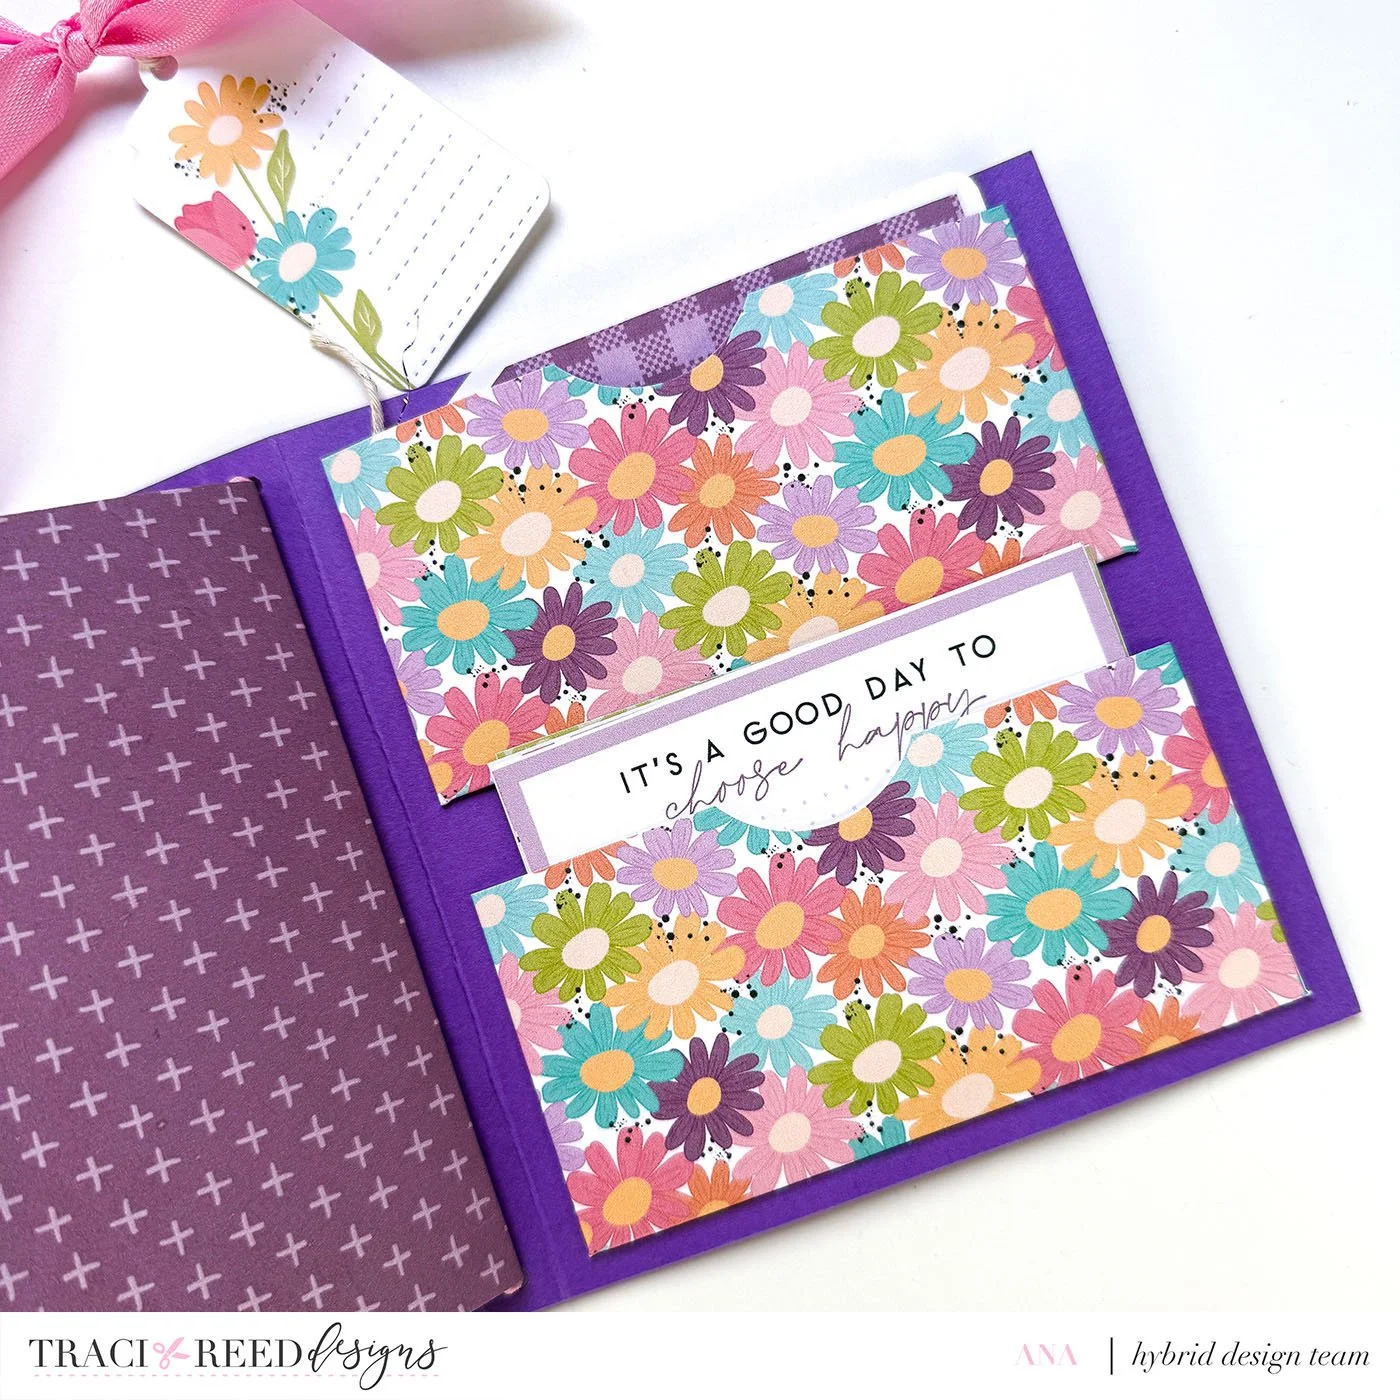
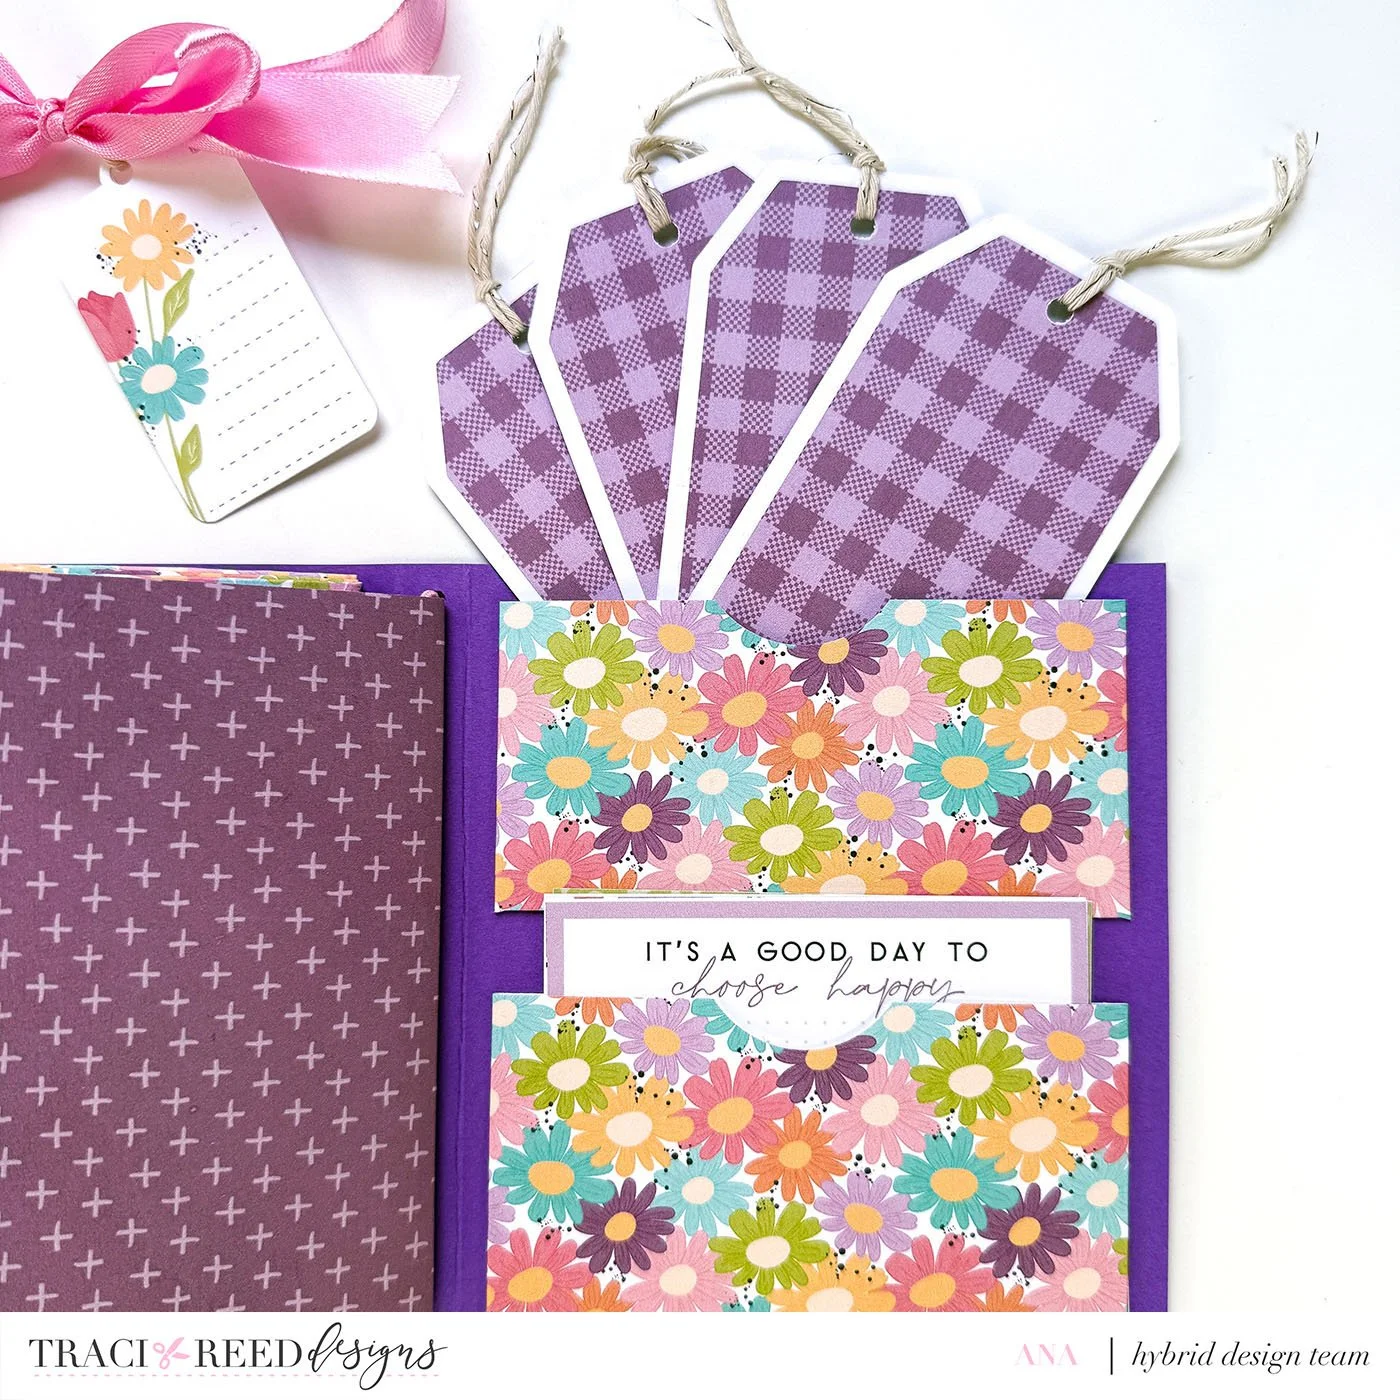
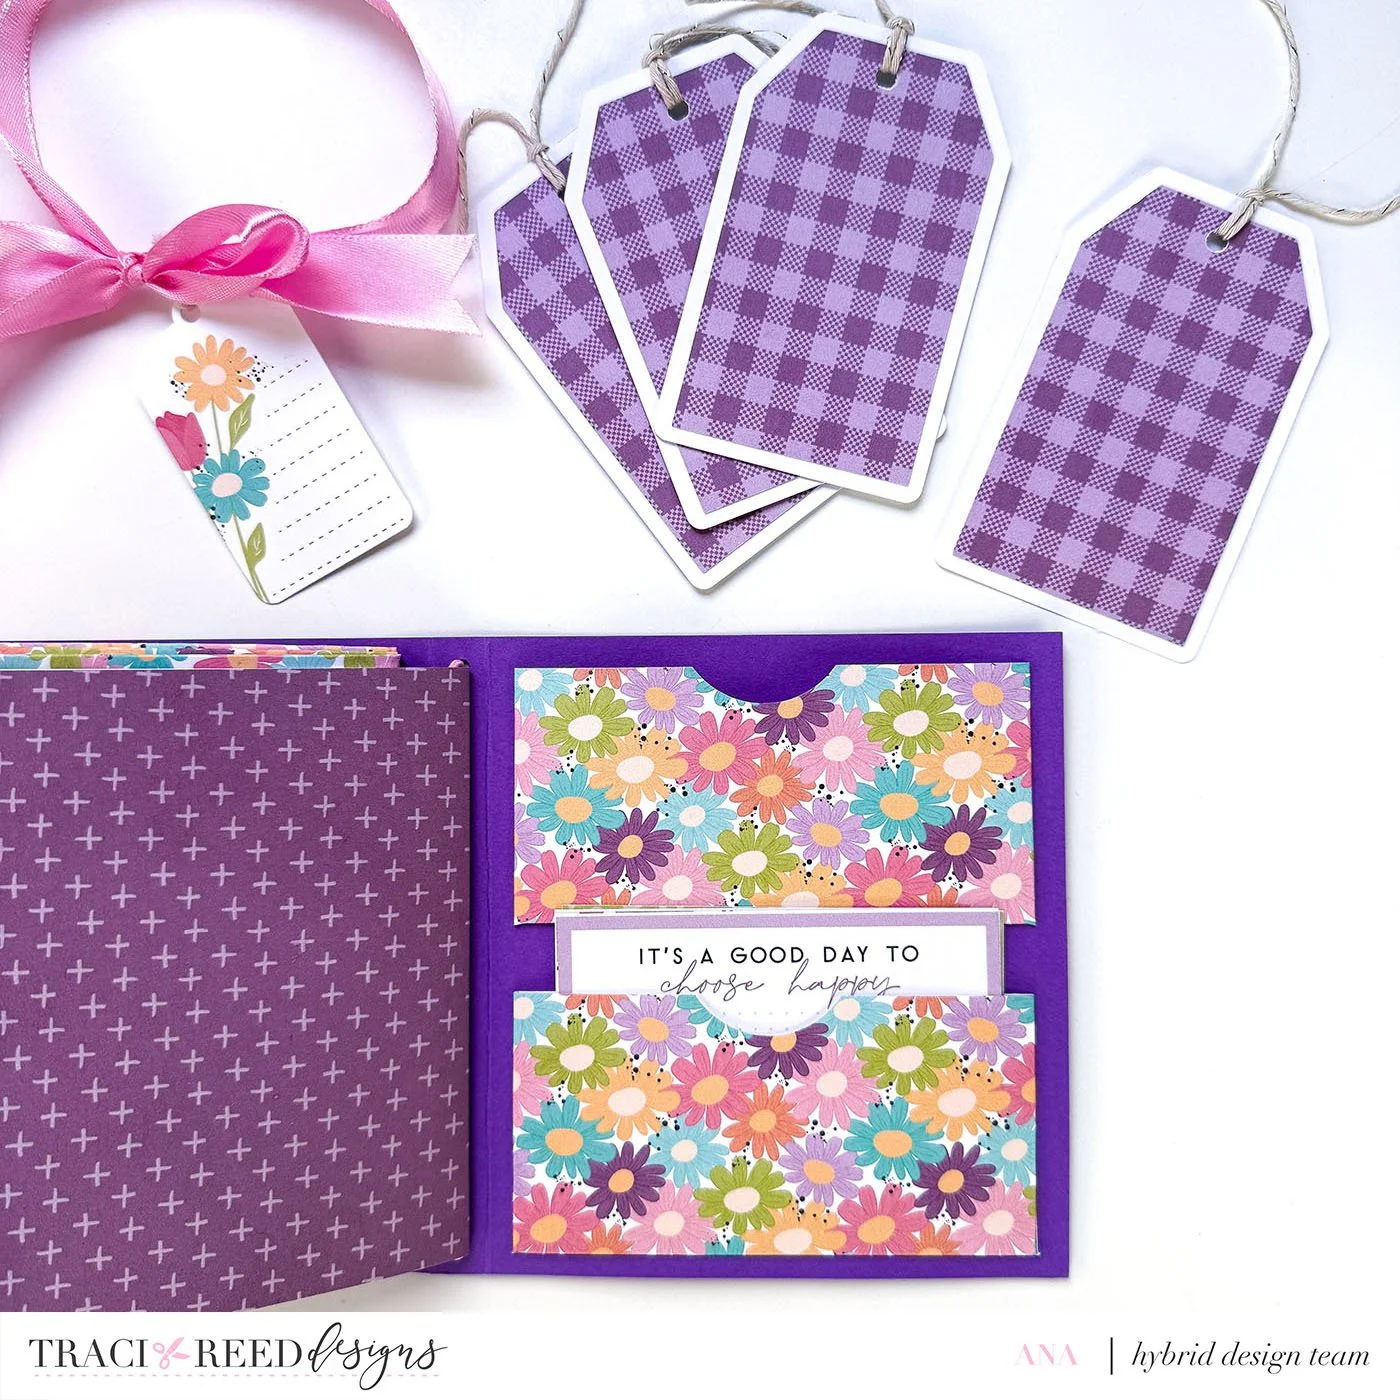
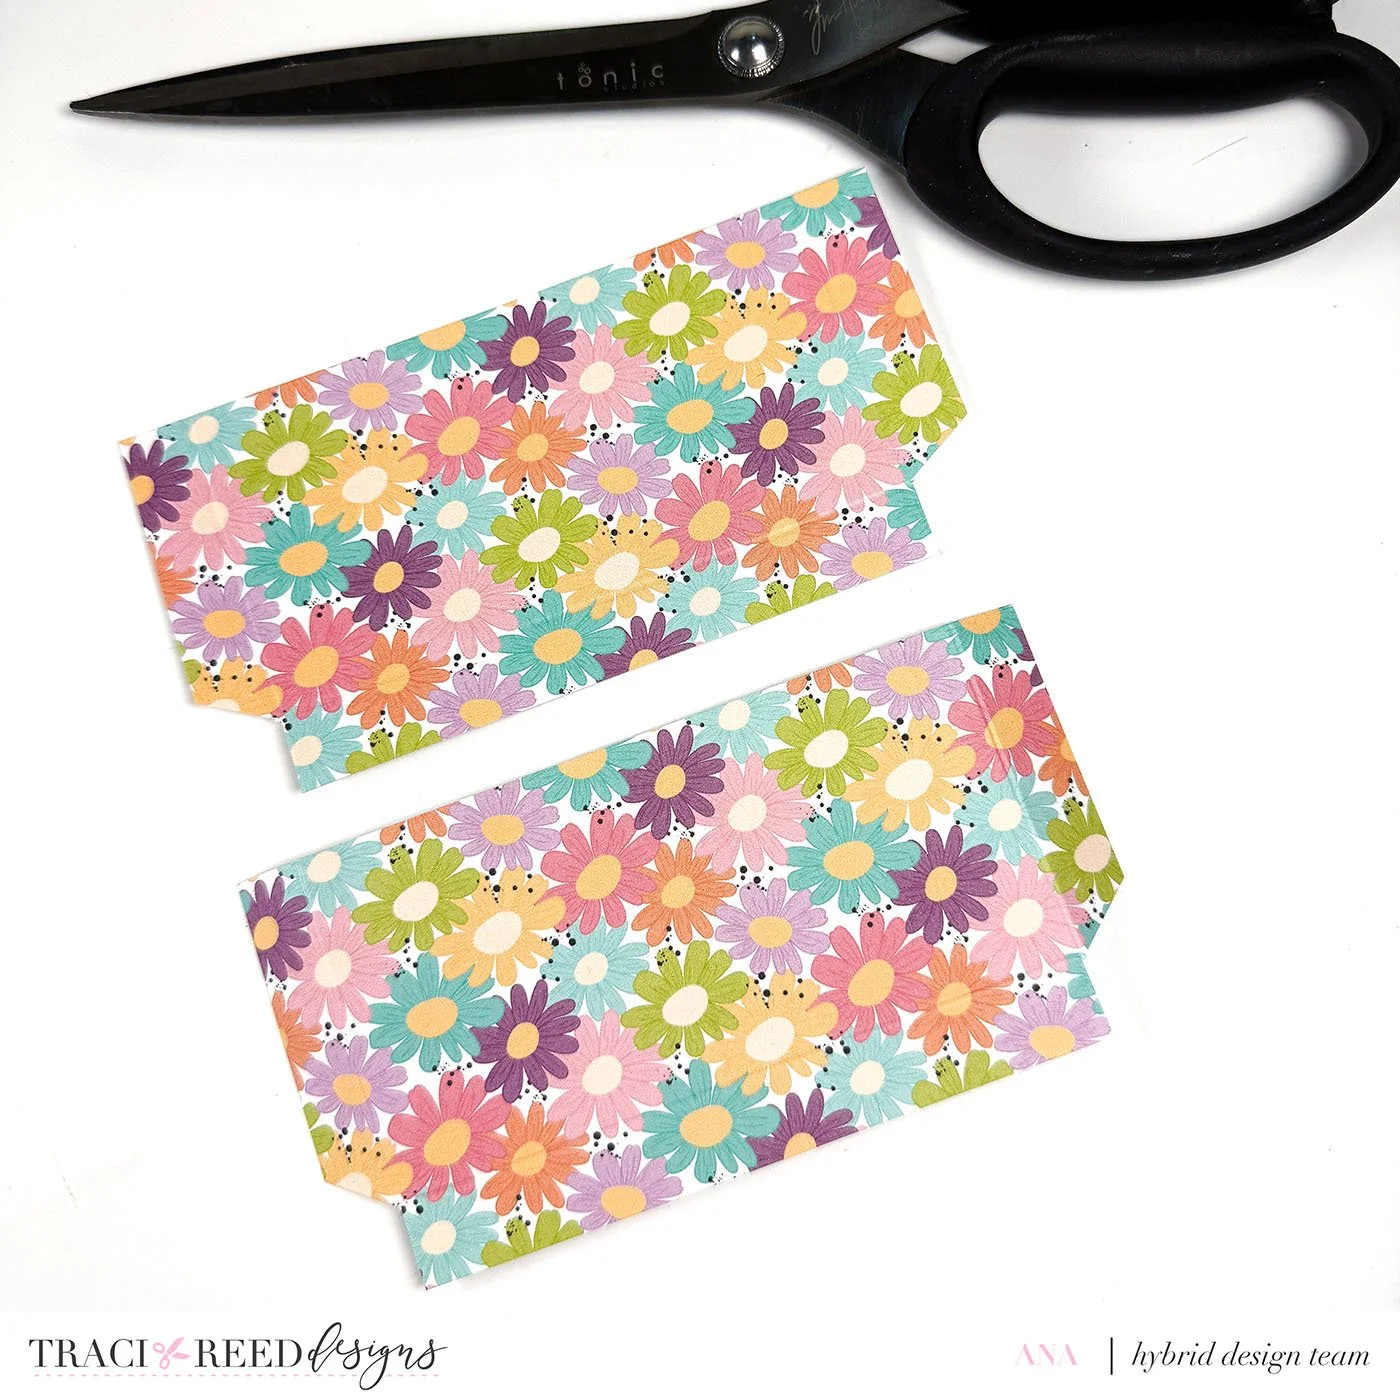
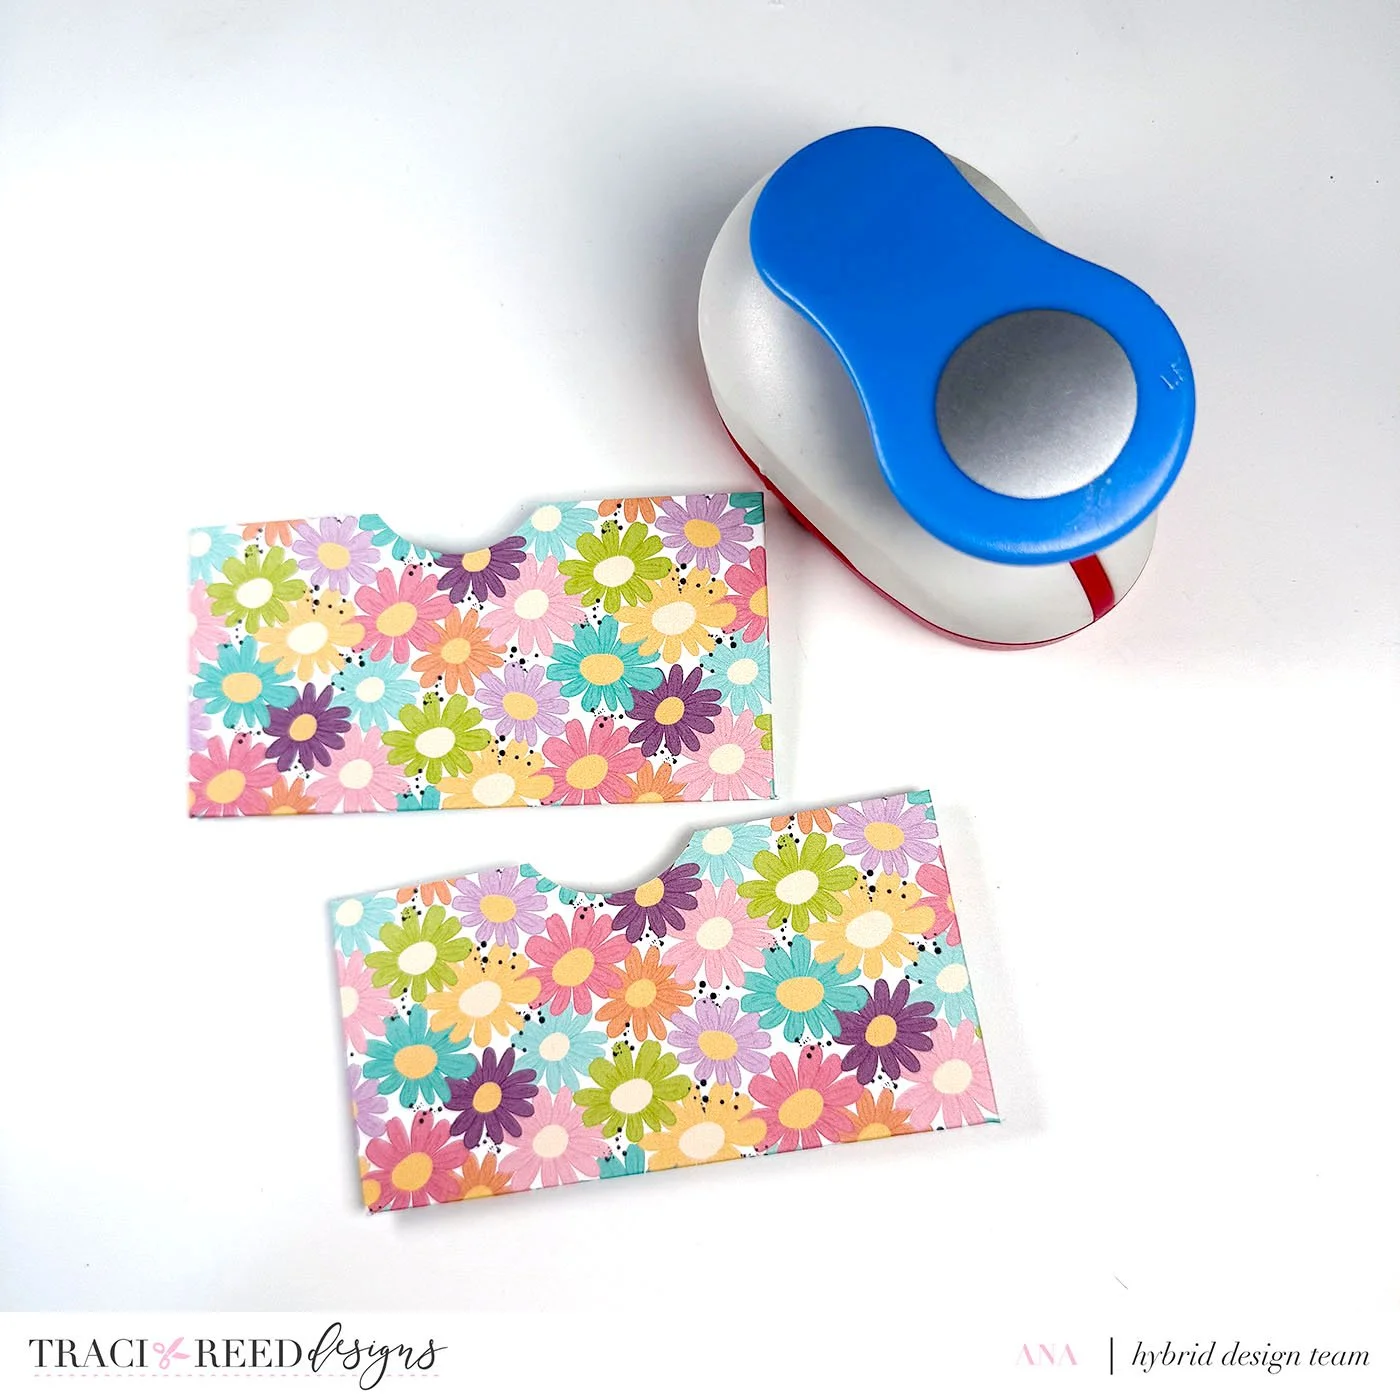
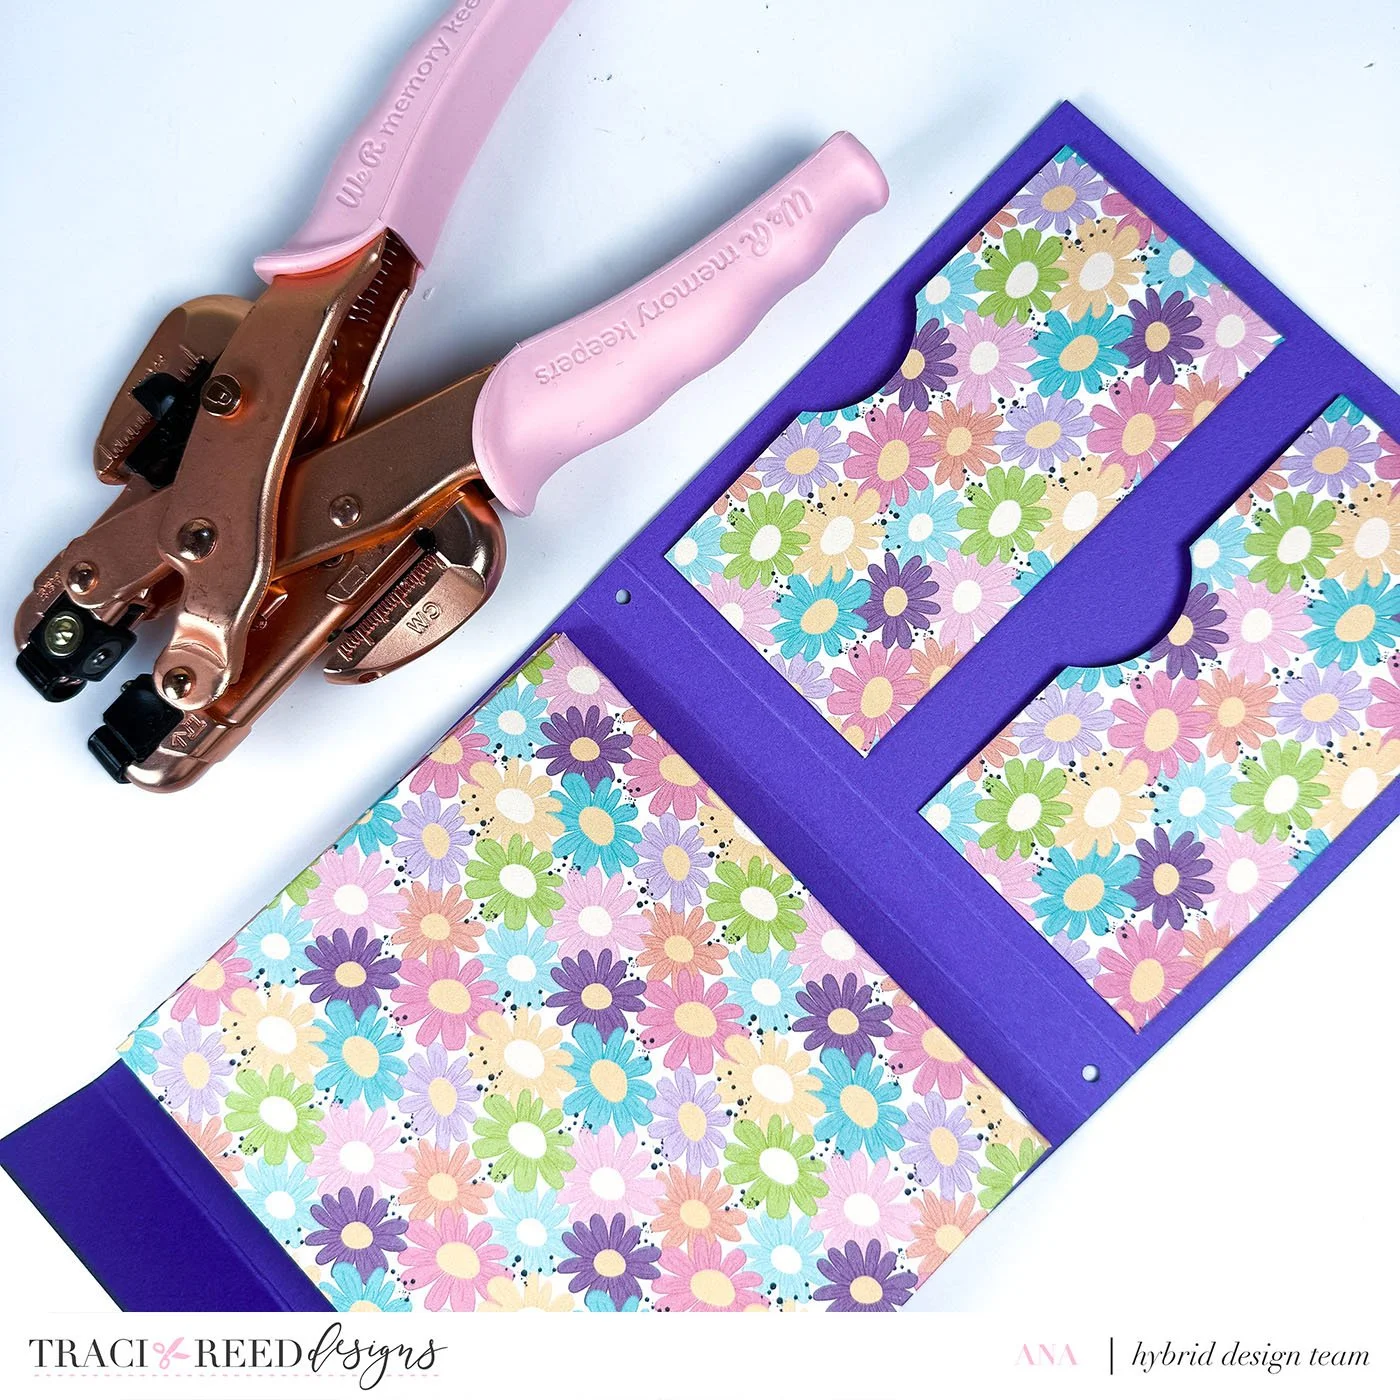
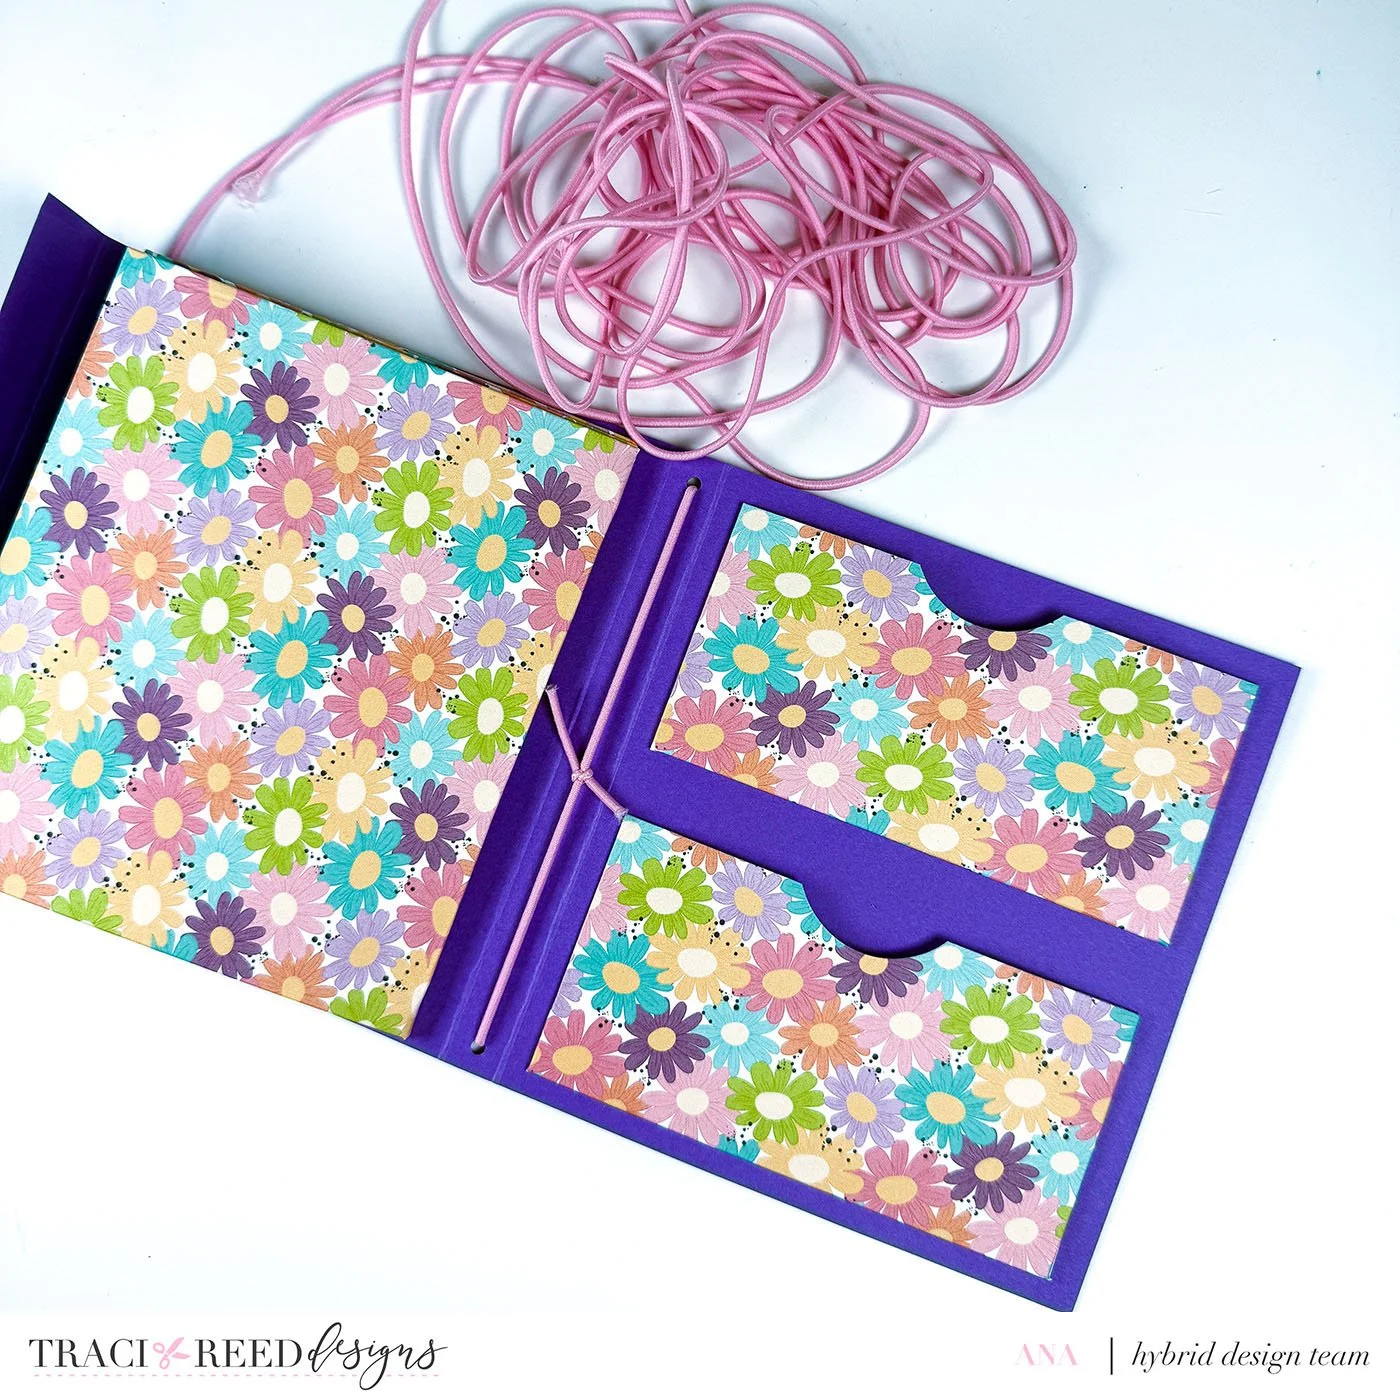
6. Make the side pockets
Cut 2 pieces of pattern paper to 5.5 x 2.75.
Score at 1/2 and 5 (long side) and 1/4 (short side).
Trim the corners, fold, and glue to form pockets.
Punch a thumb notch, then adhere them to the opposite side of the accordion pocket.
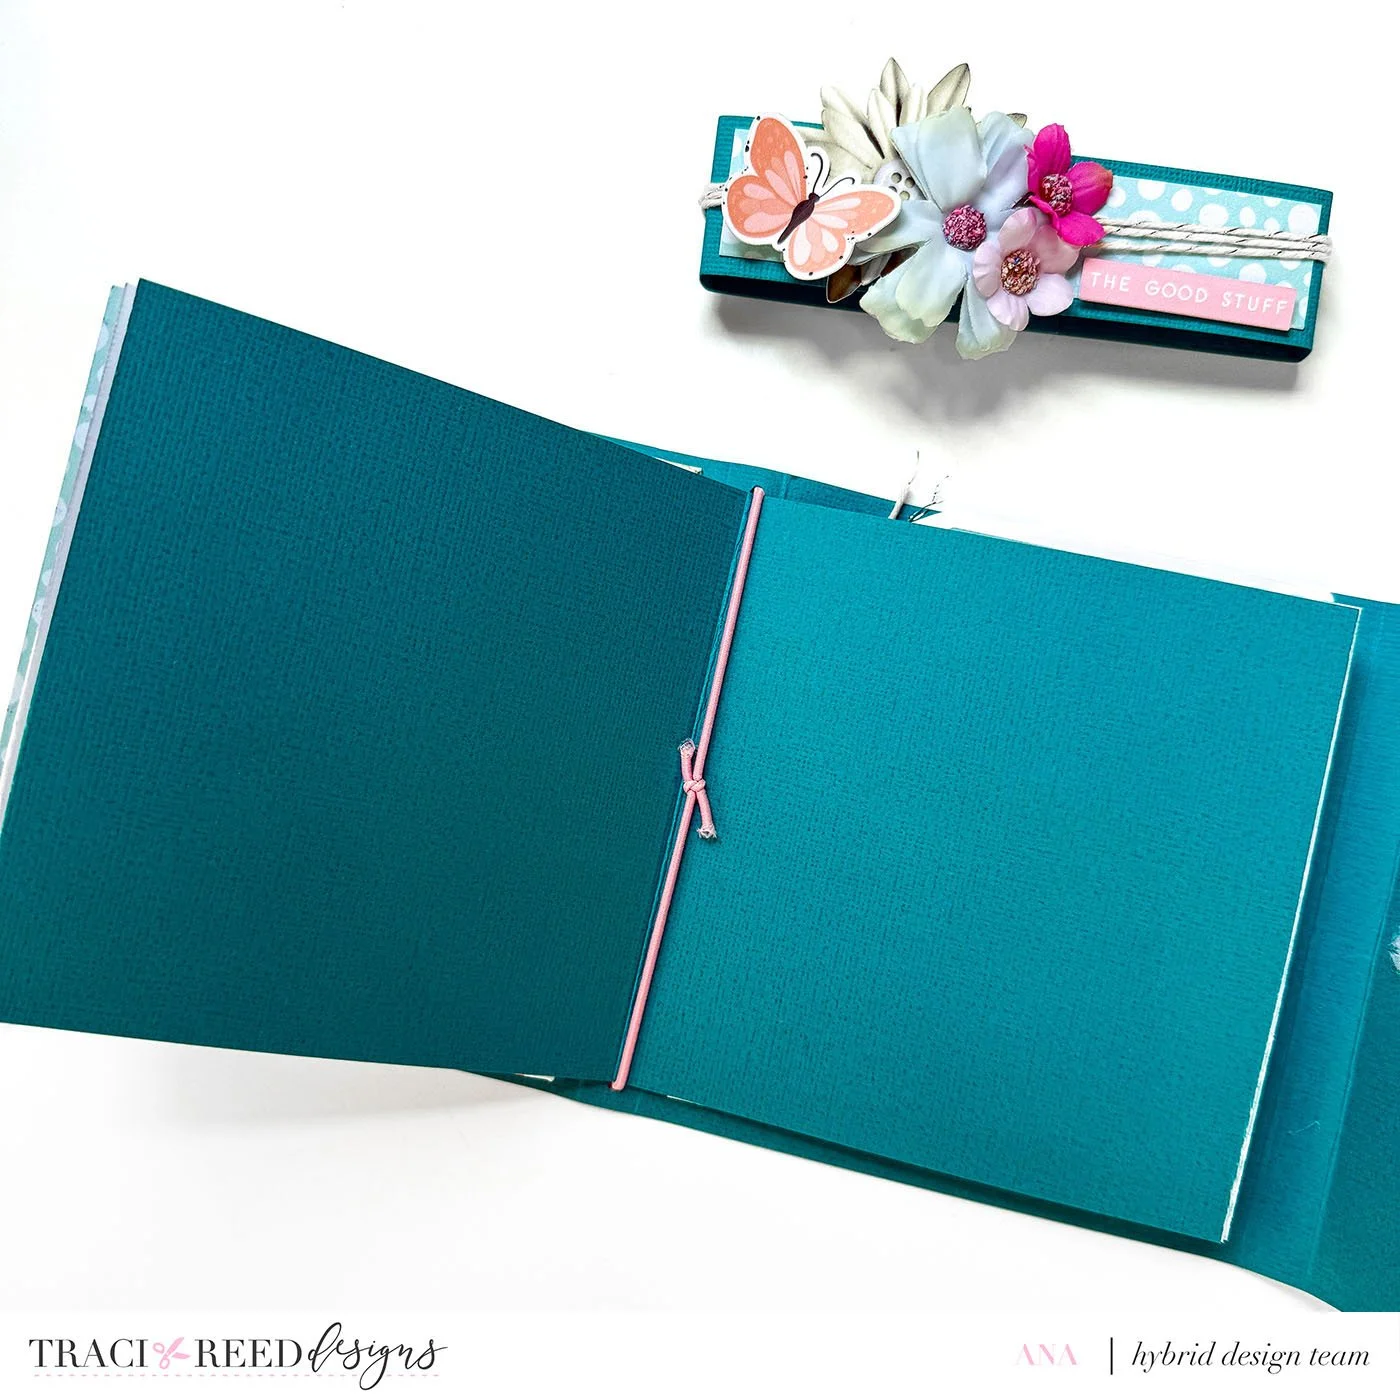
7. Add the elastic binding
Punch holes in the center panel using your Crop-a-dile.
Insert elastic string and knot it in the middle.
Slip your folded pages into the elastic.

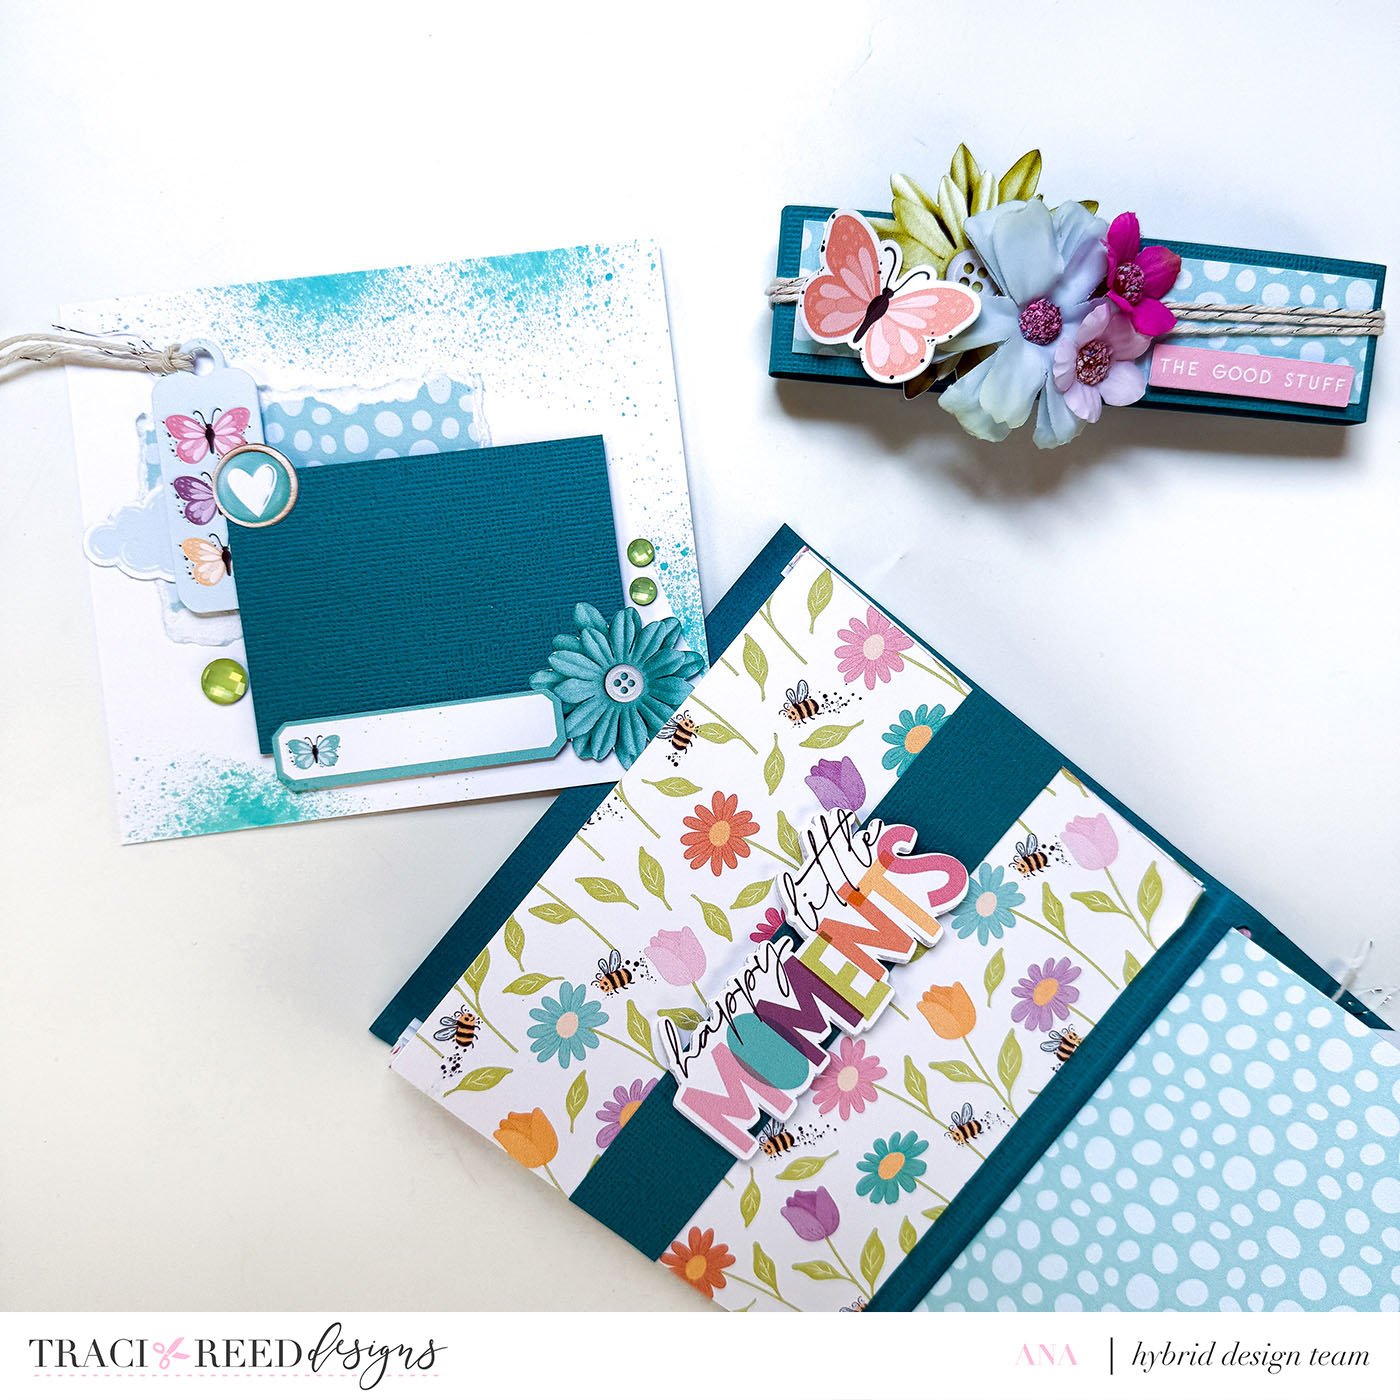
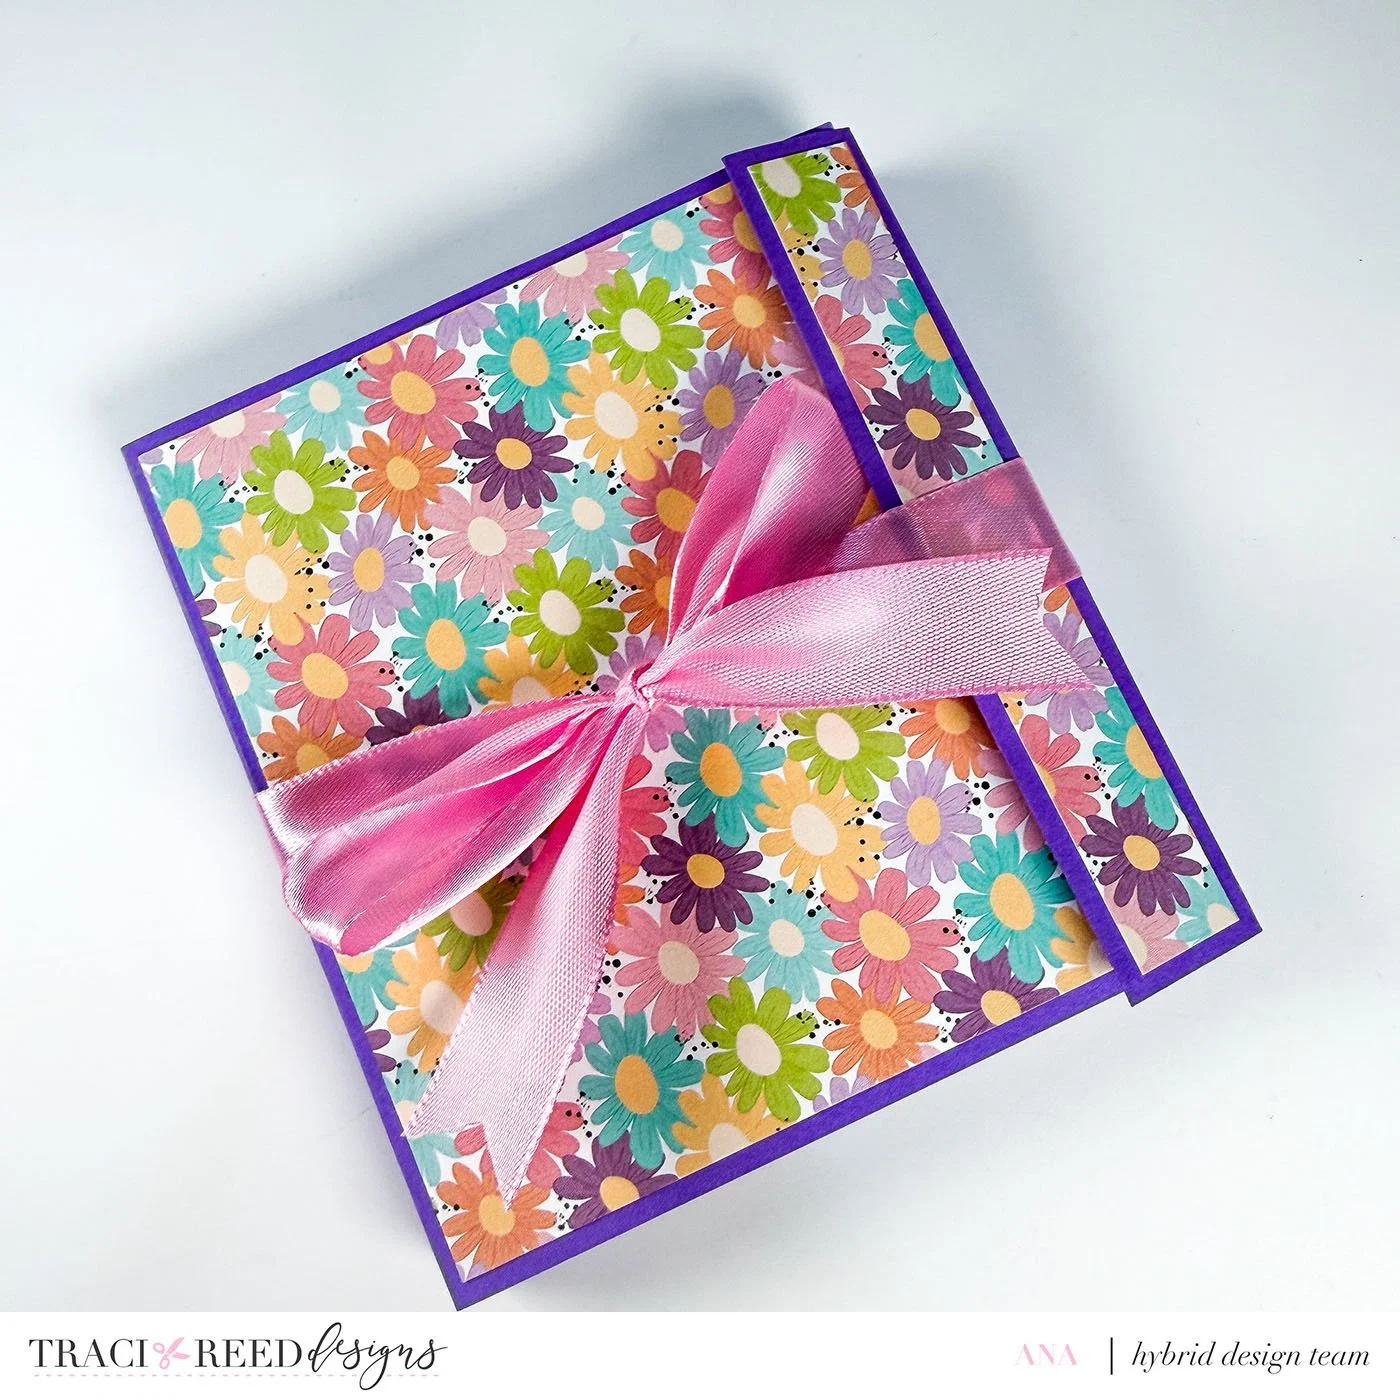
8. Closure options
Add velcro dots to secure the flap.
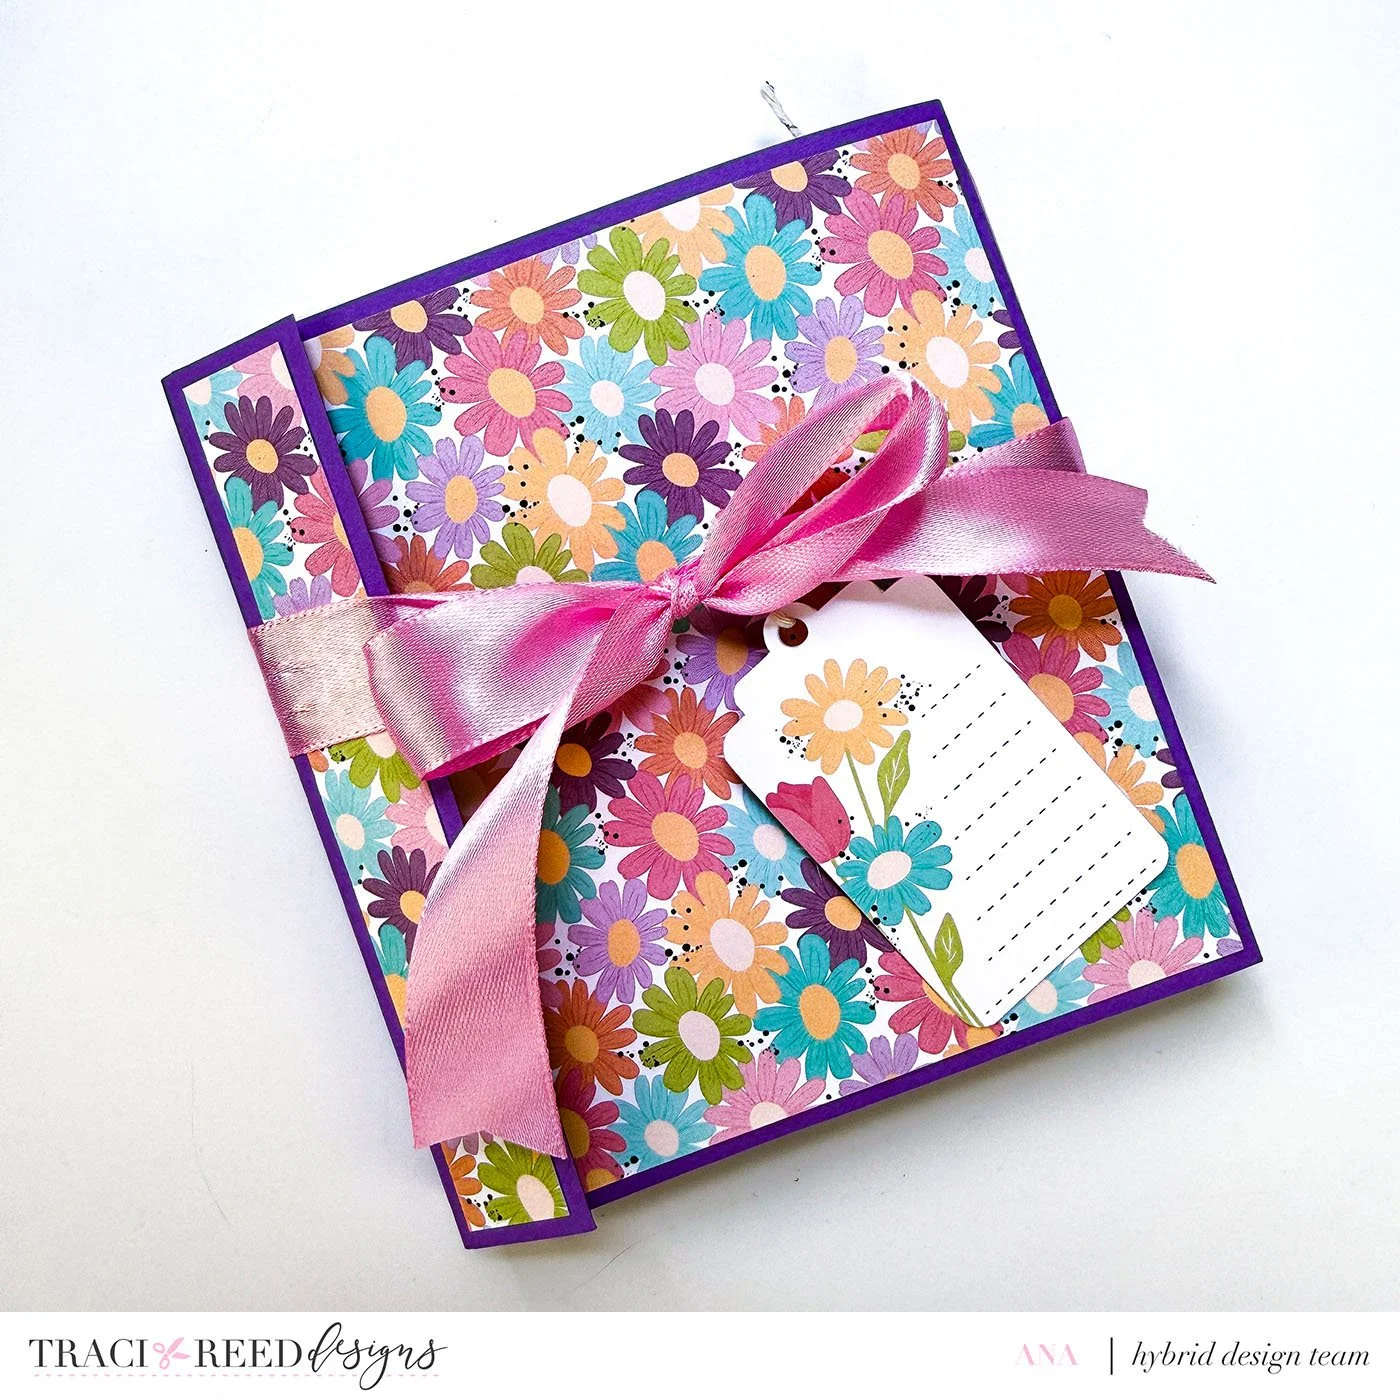
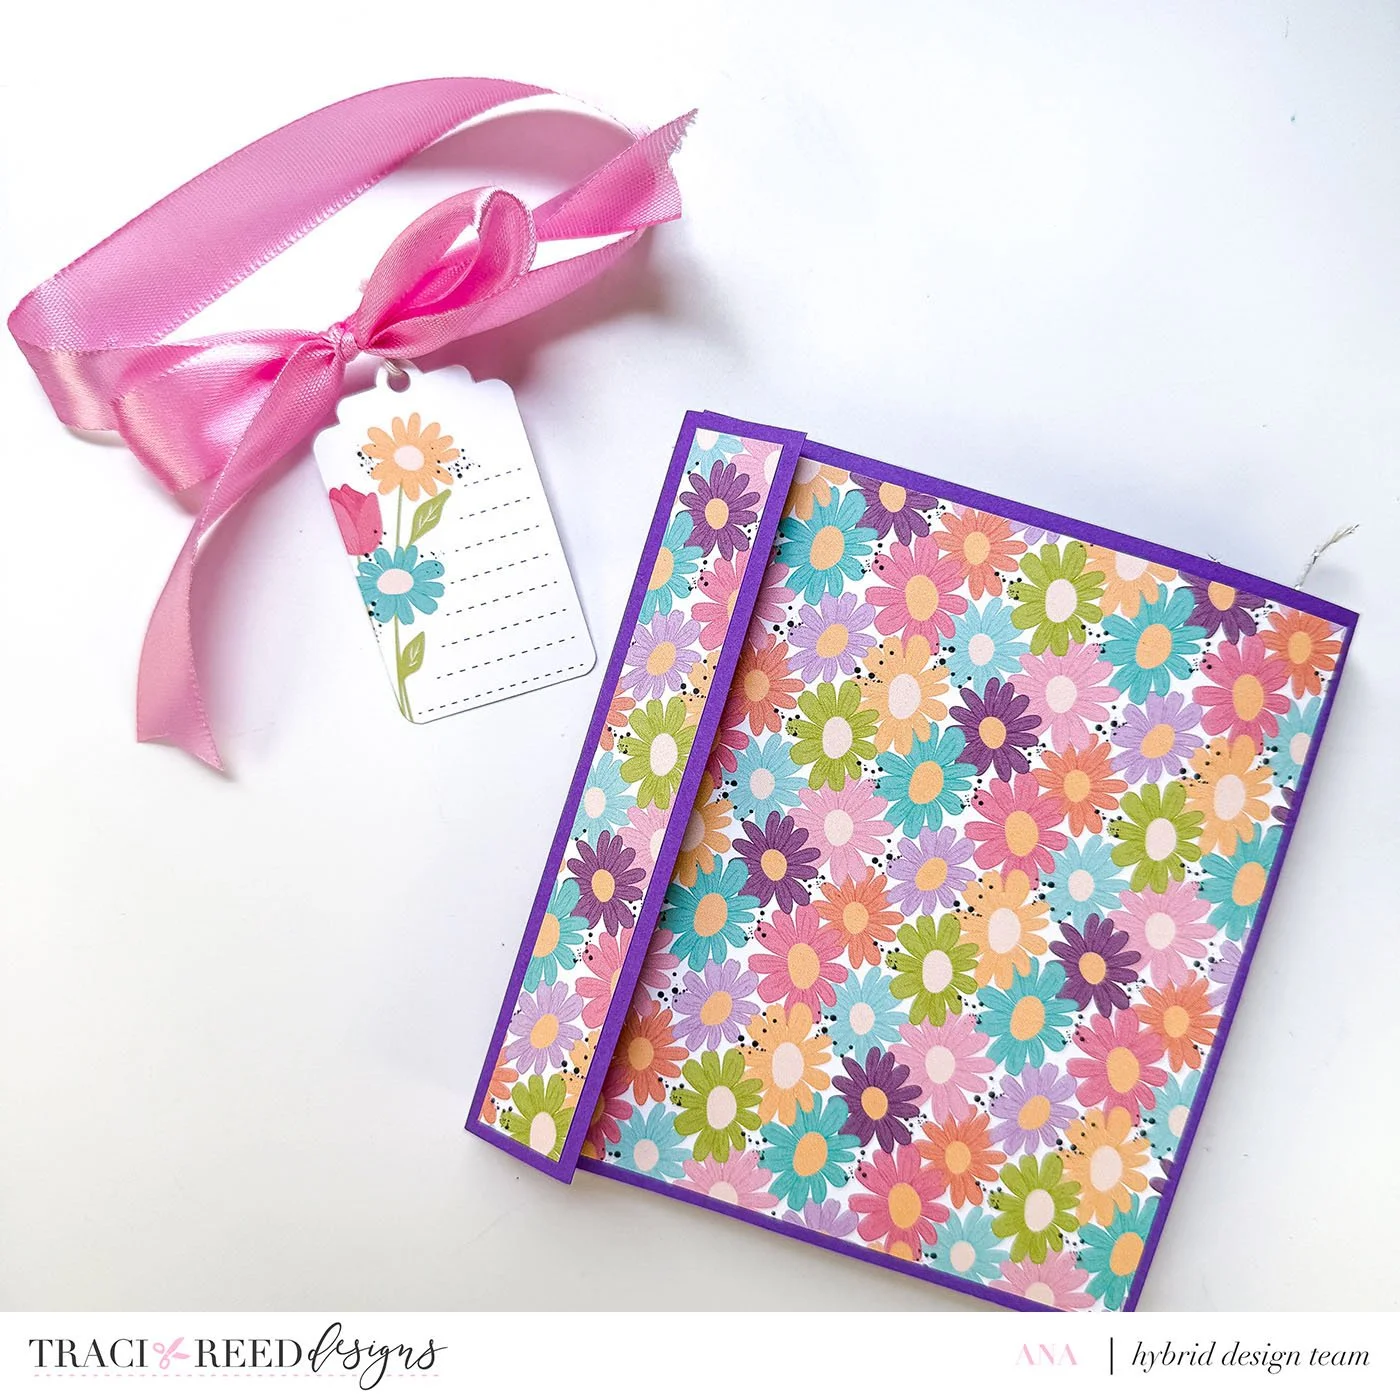
Optional: Add a ribbon or create a belly band (12 x 1.25, score at 3, 3 1/2, 8 1/2, and 9).
9. Add inserts
Cut inserts for the accordion pocket at 5 x 4.5.
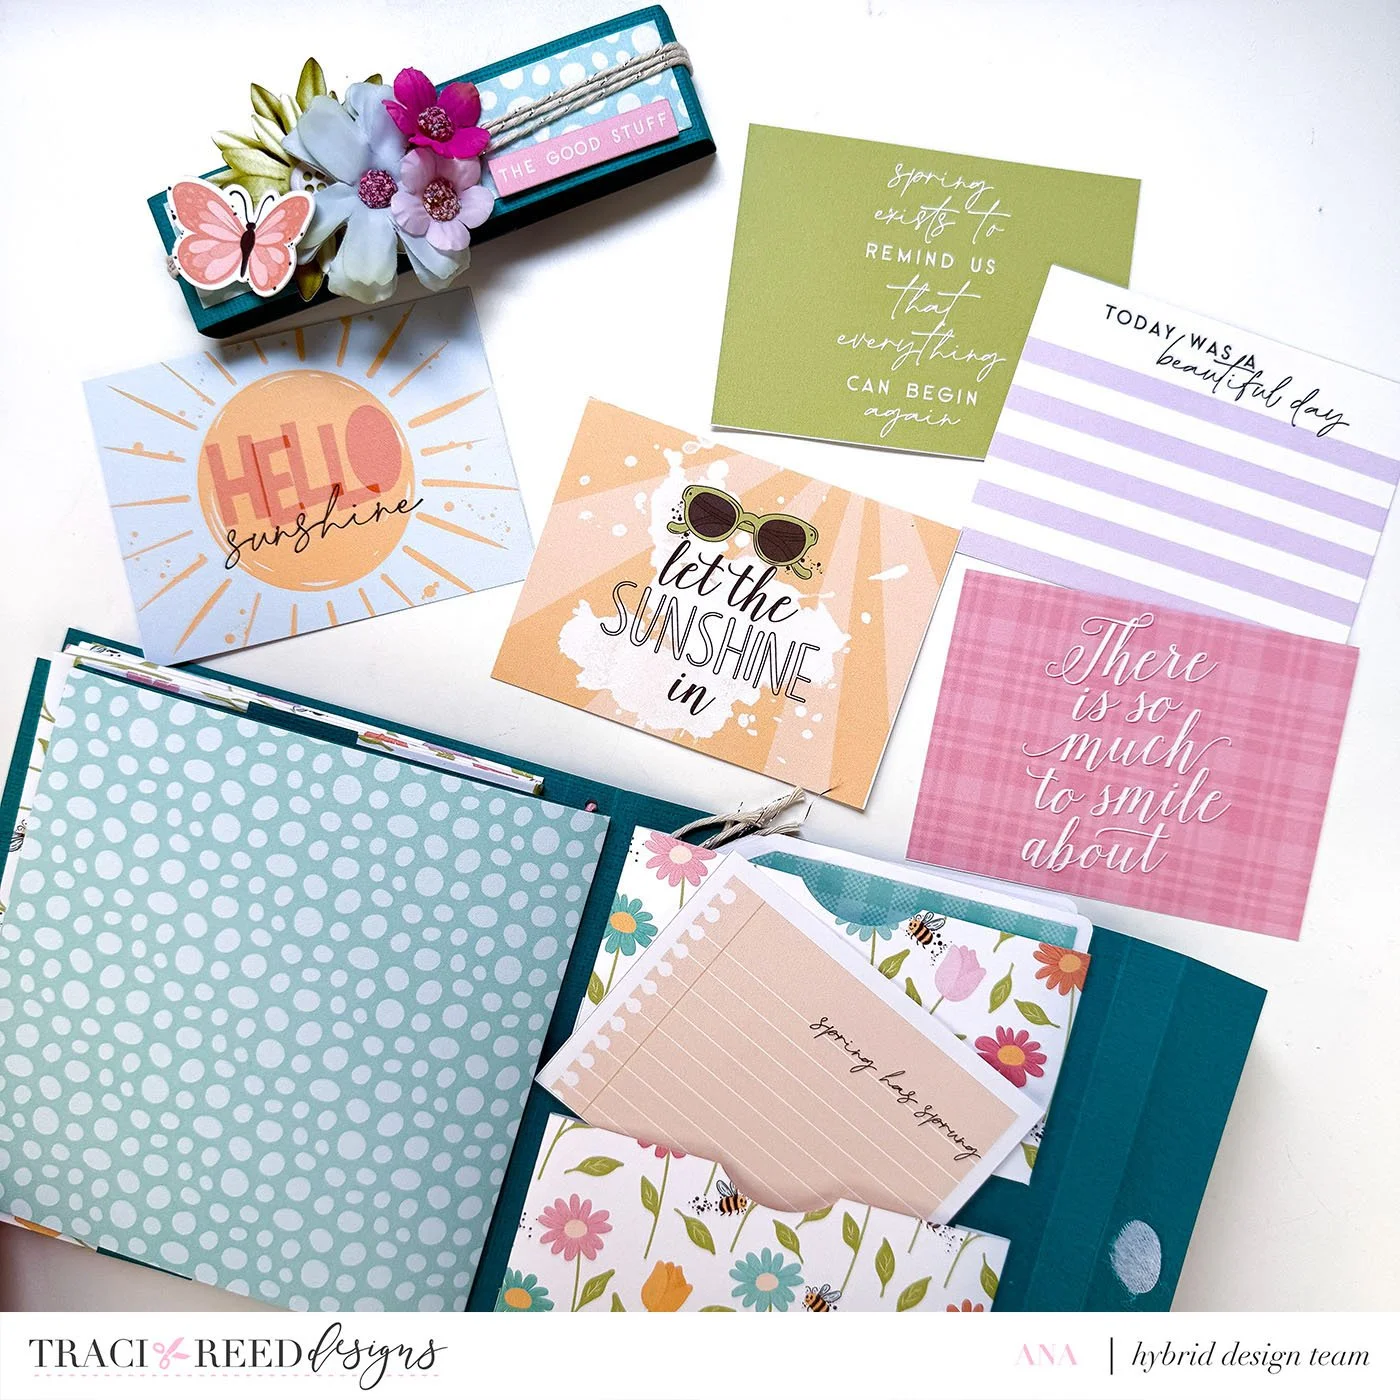
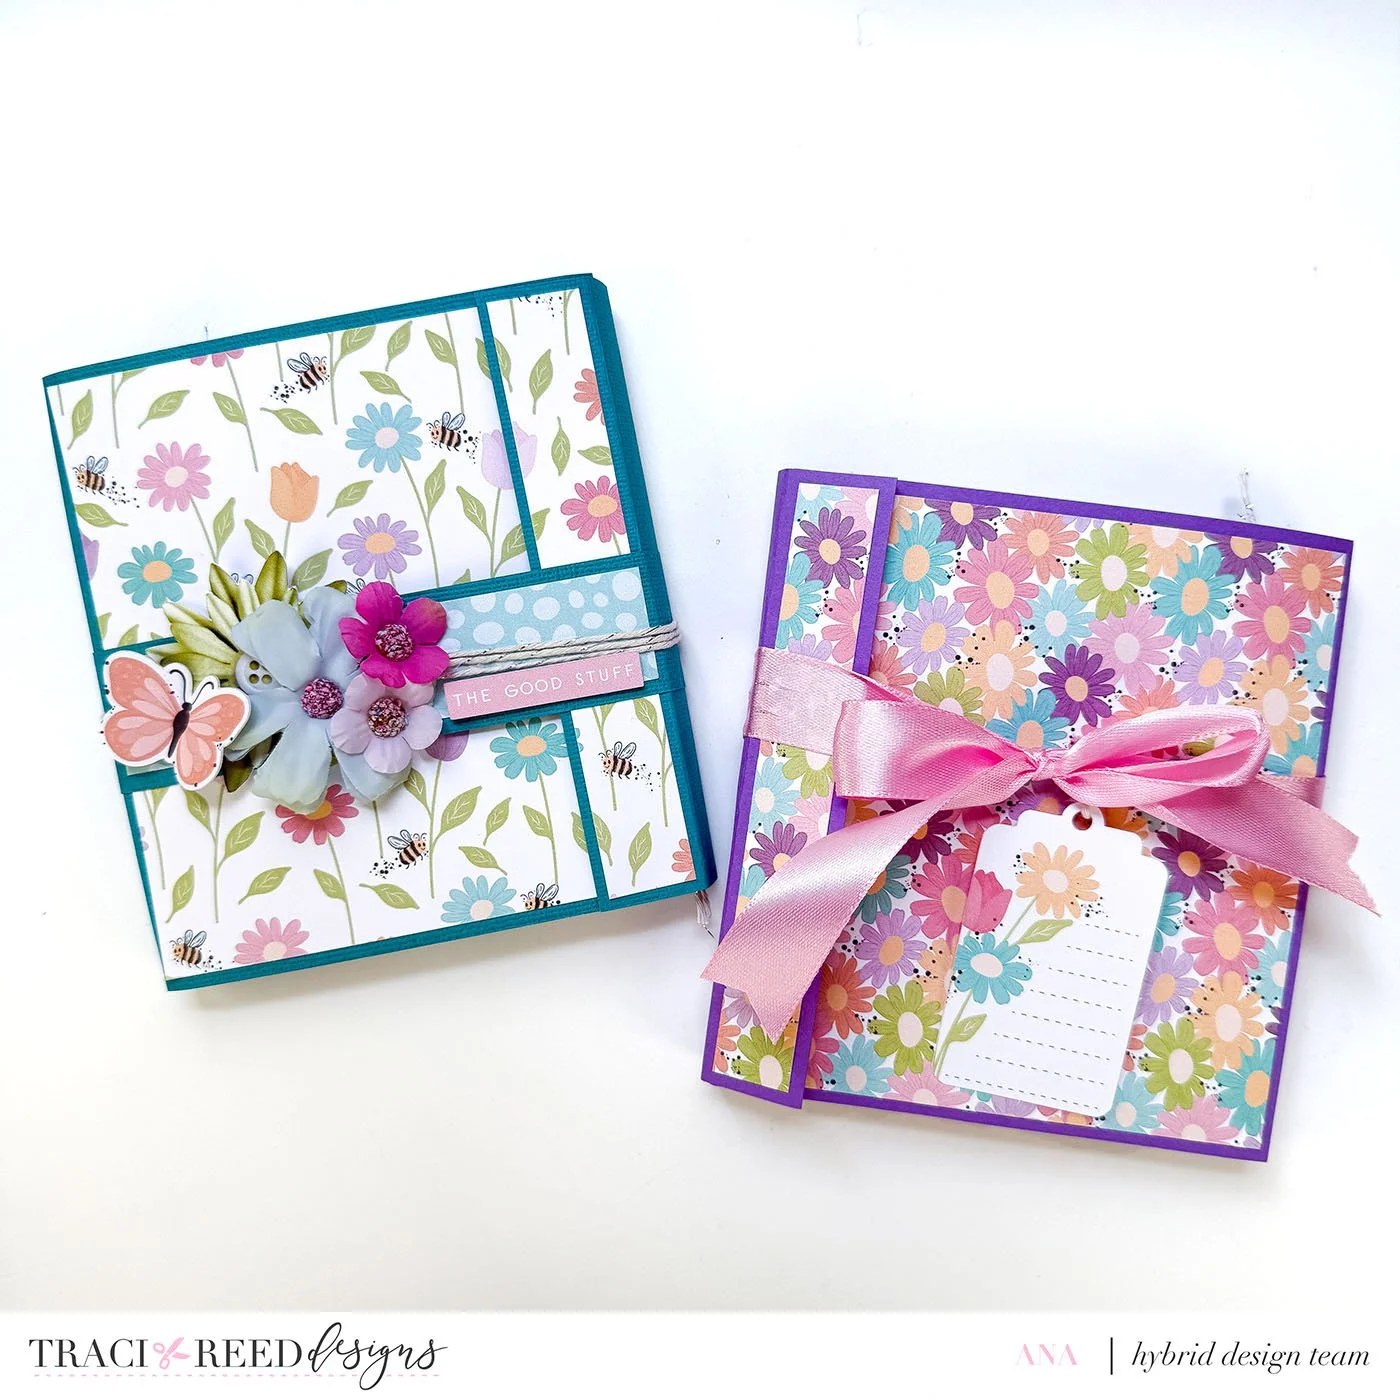
10. Decorate!
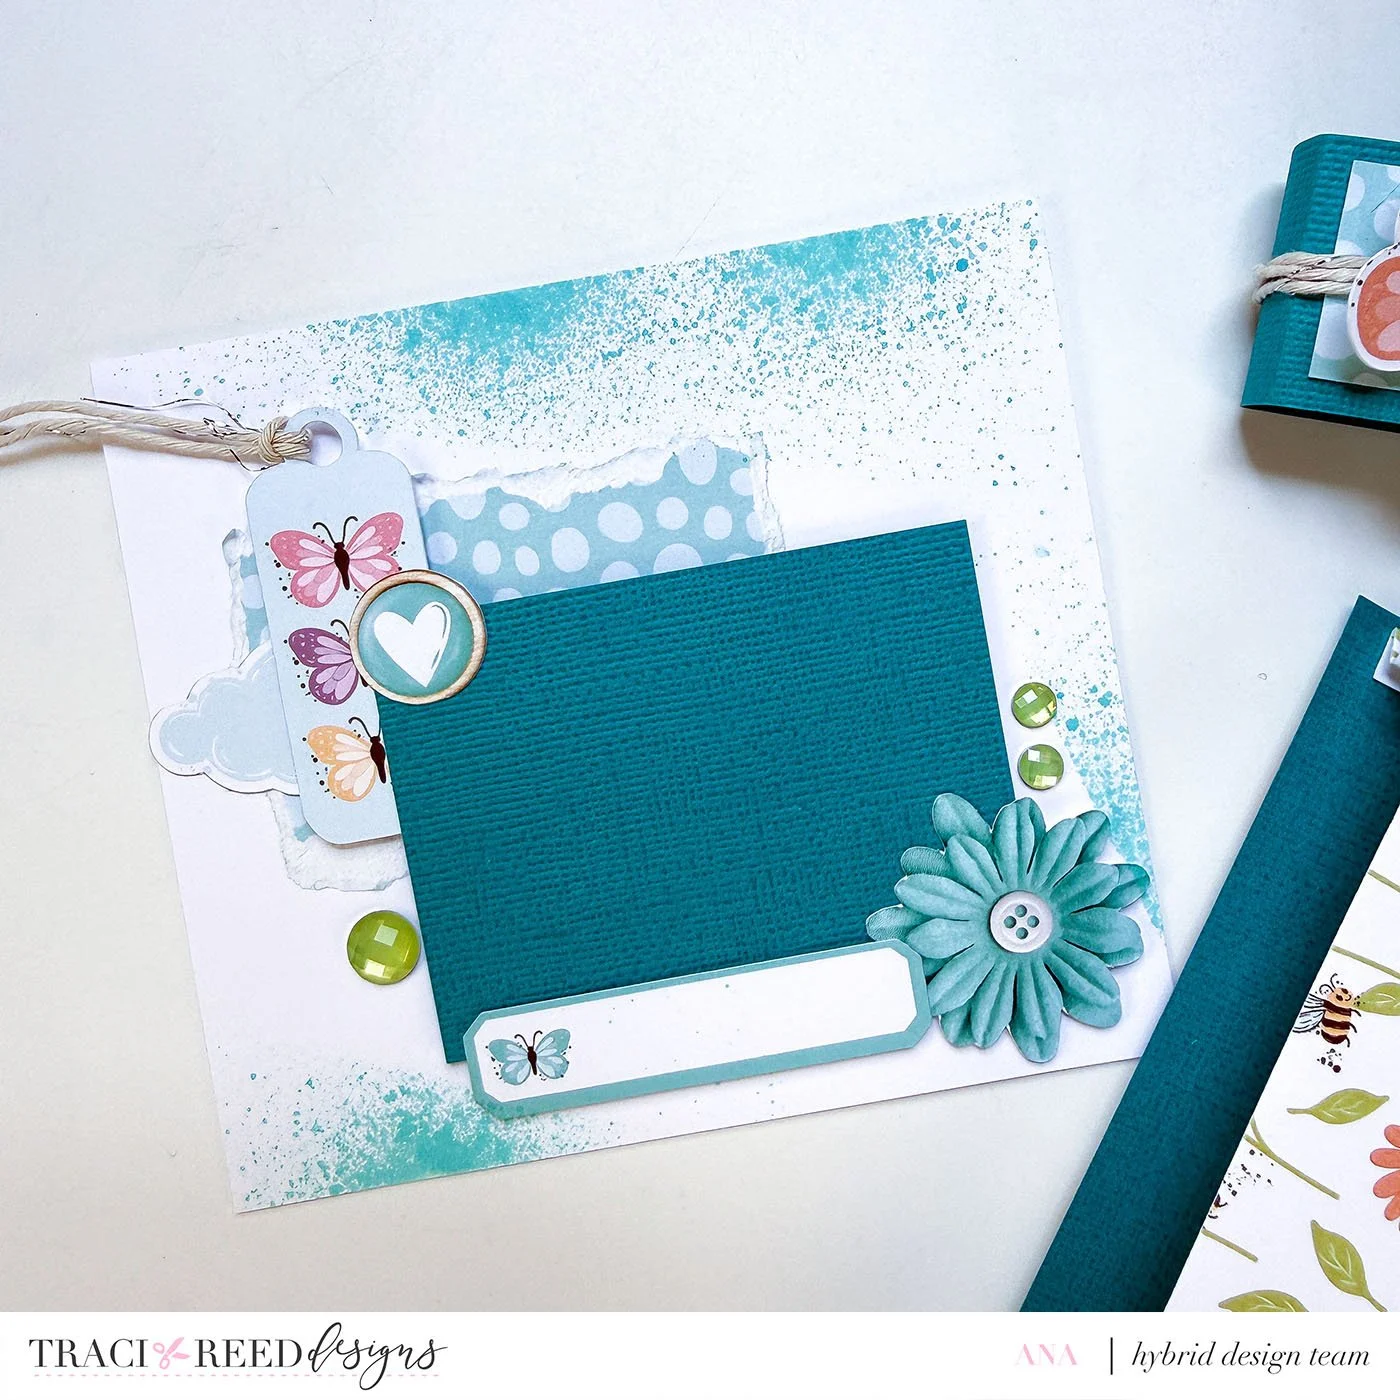
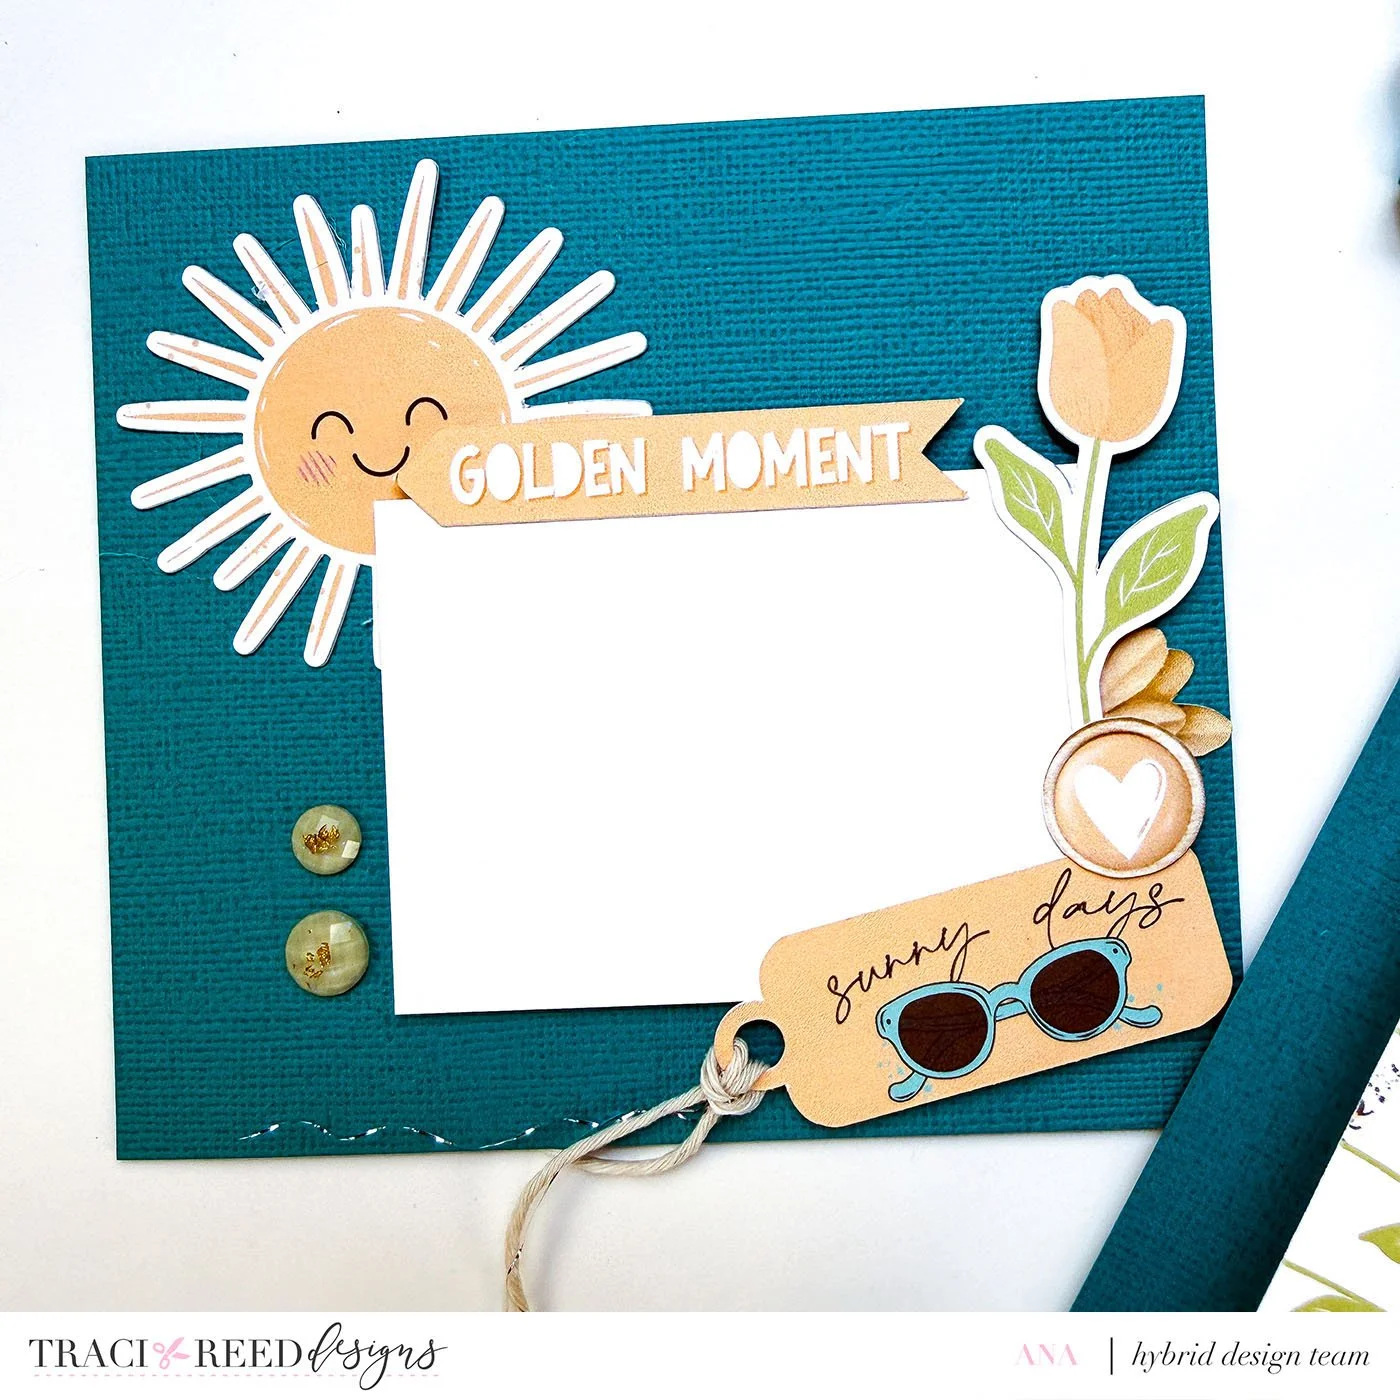
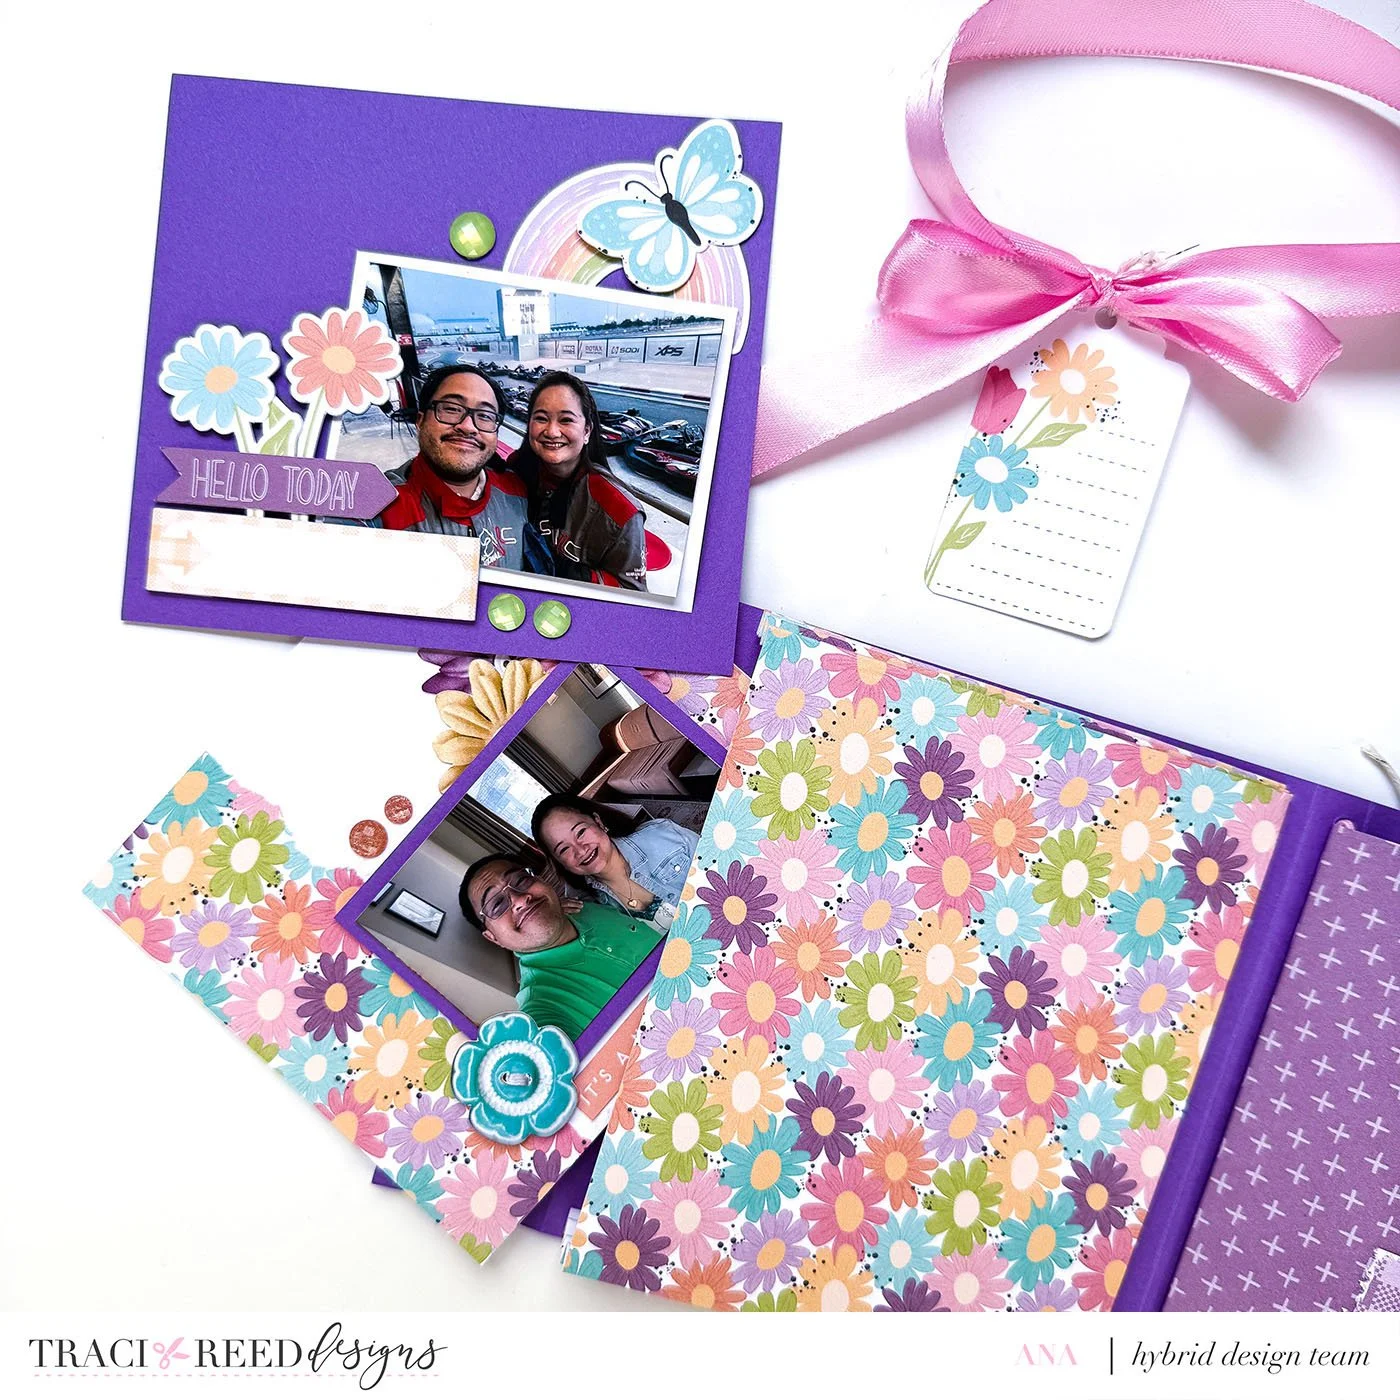
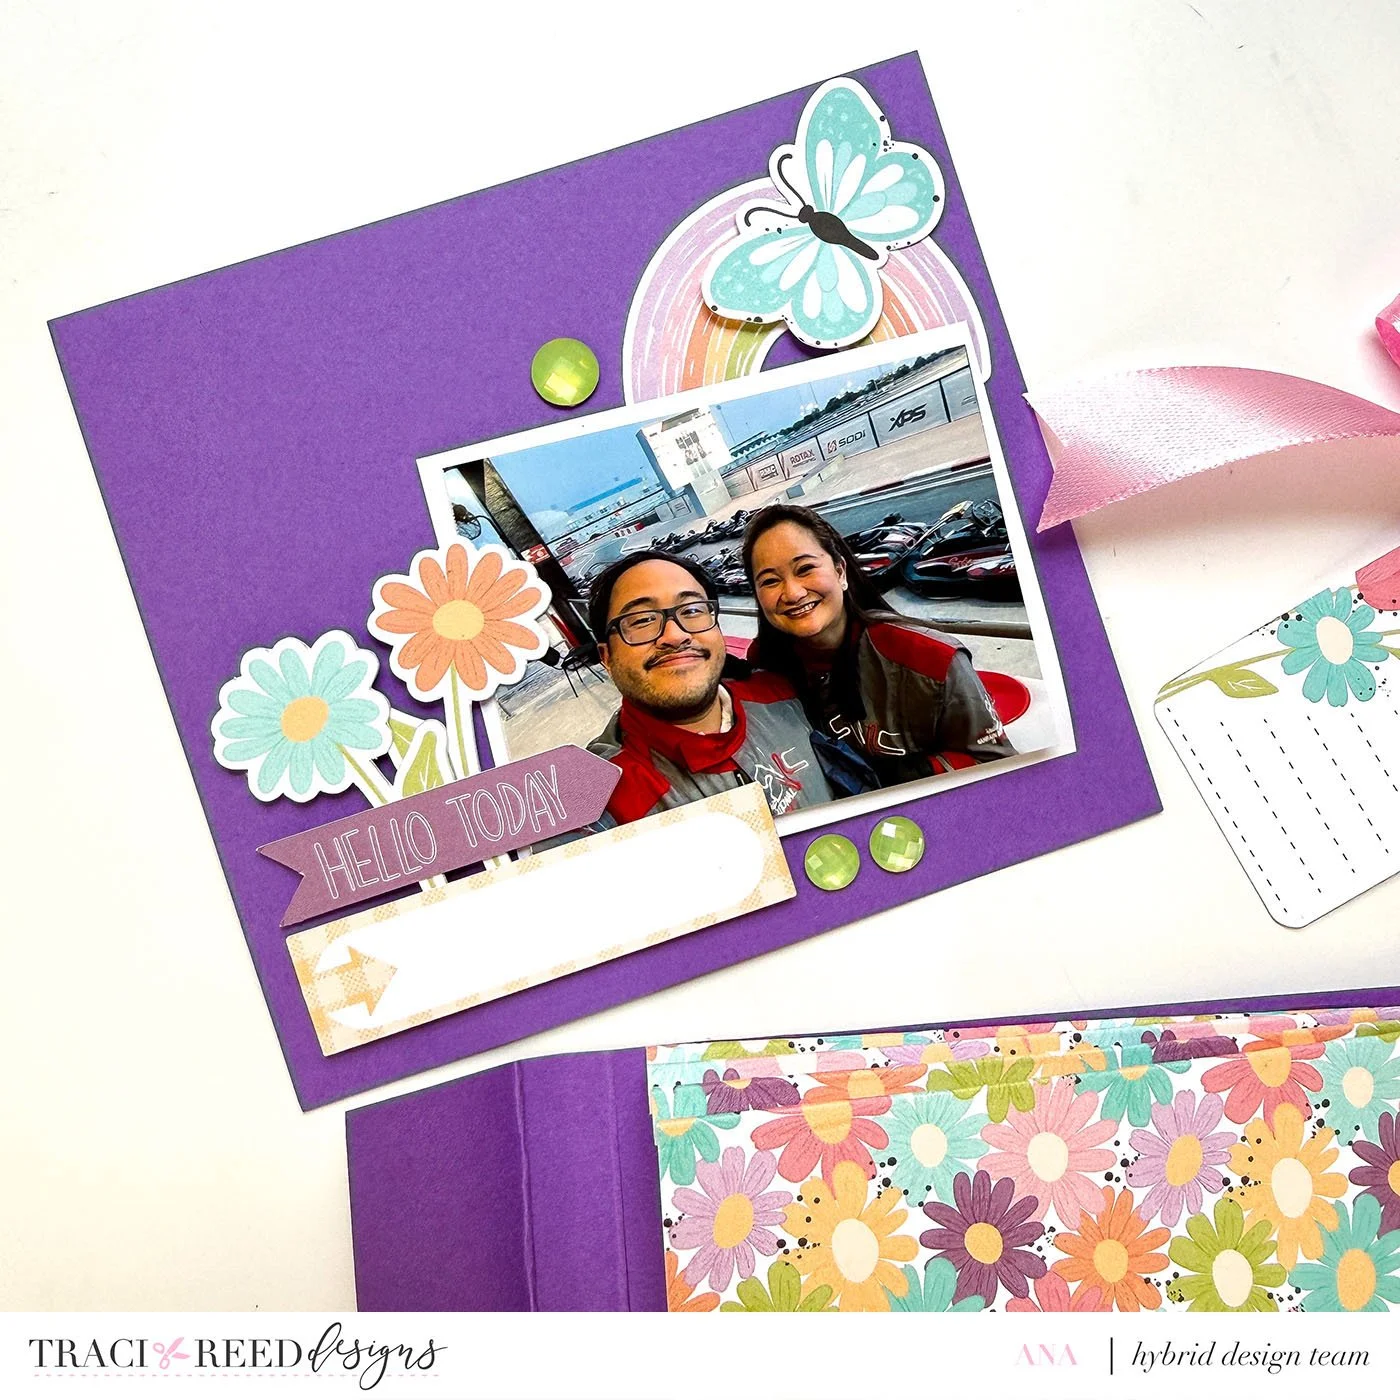
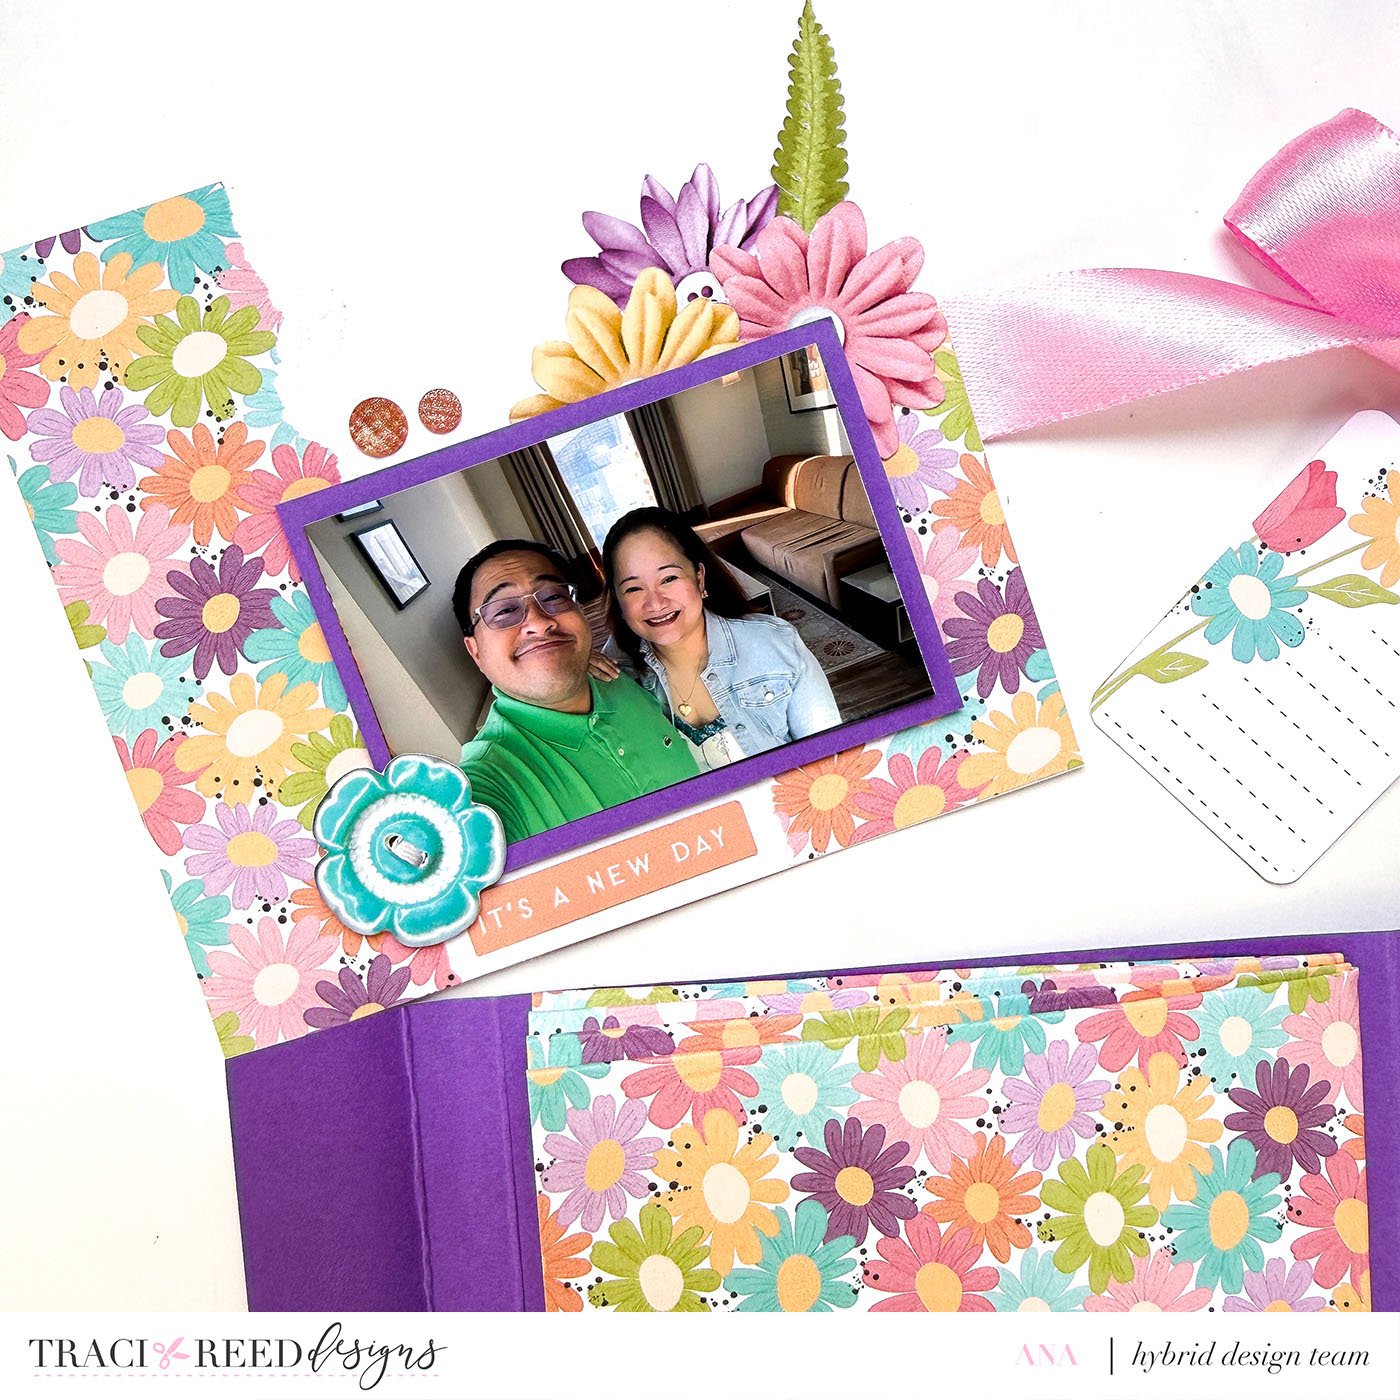
Now for the fun part - decorate your folio however you like!
I added journaling cards and tags into the pockets for extra cuteness.
And that’s it!
A simple, functional, and super pretty folio you can use, gift, or even sell. Once you start making these, it’s honestly hard to stop — they’re just that addictive and cute!
Happy crafting, and don’t forget to make it your own!