Seven Days of No Stress December Daily Prep: Day Four!
December Daily and other daily projects like it can be…stressful. The comparison is REAL and we can get lost in trying out allll the new techniques and stress ourselves out to the max trying to “keep up” with the community. I get it. I get caught up in it too. That’s why for the next 7 days I’m going to be bringing you video each day with pages using simple techniques - no special tools required - that you can add to your album to liven up your pages WITHOUT going crazy and adding stress to your already busy and stressful holiday season.
Use these ideas as-is or as a jumping off point for more complex pages if you wish!
Today I’m going to be using the Cocoa Daisy Frost and Frolic Traveler’s Notebook Memory Keeping Kit (sold out) and the Frost and Frolic Modern Memory Keeping Kit (sold out) to make five foundation pages and four 3x4 cards from the remaining scraps!
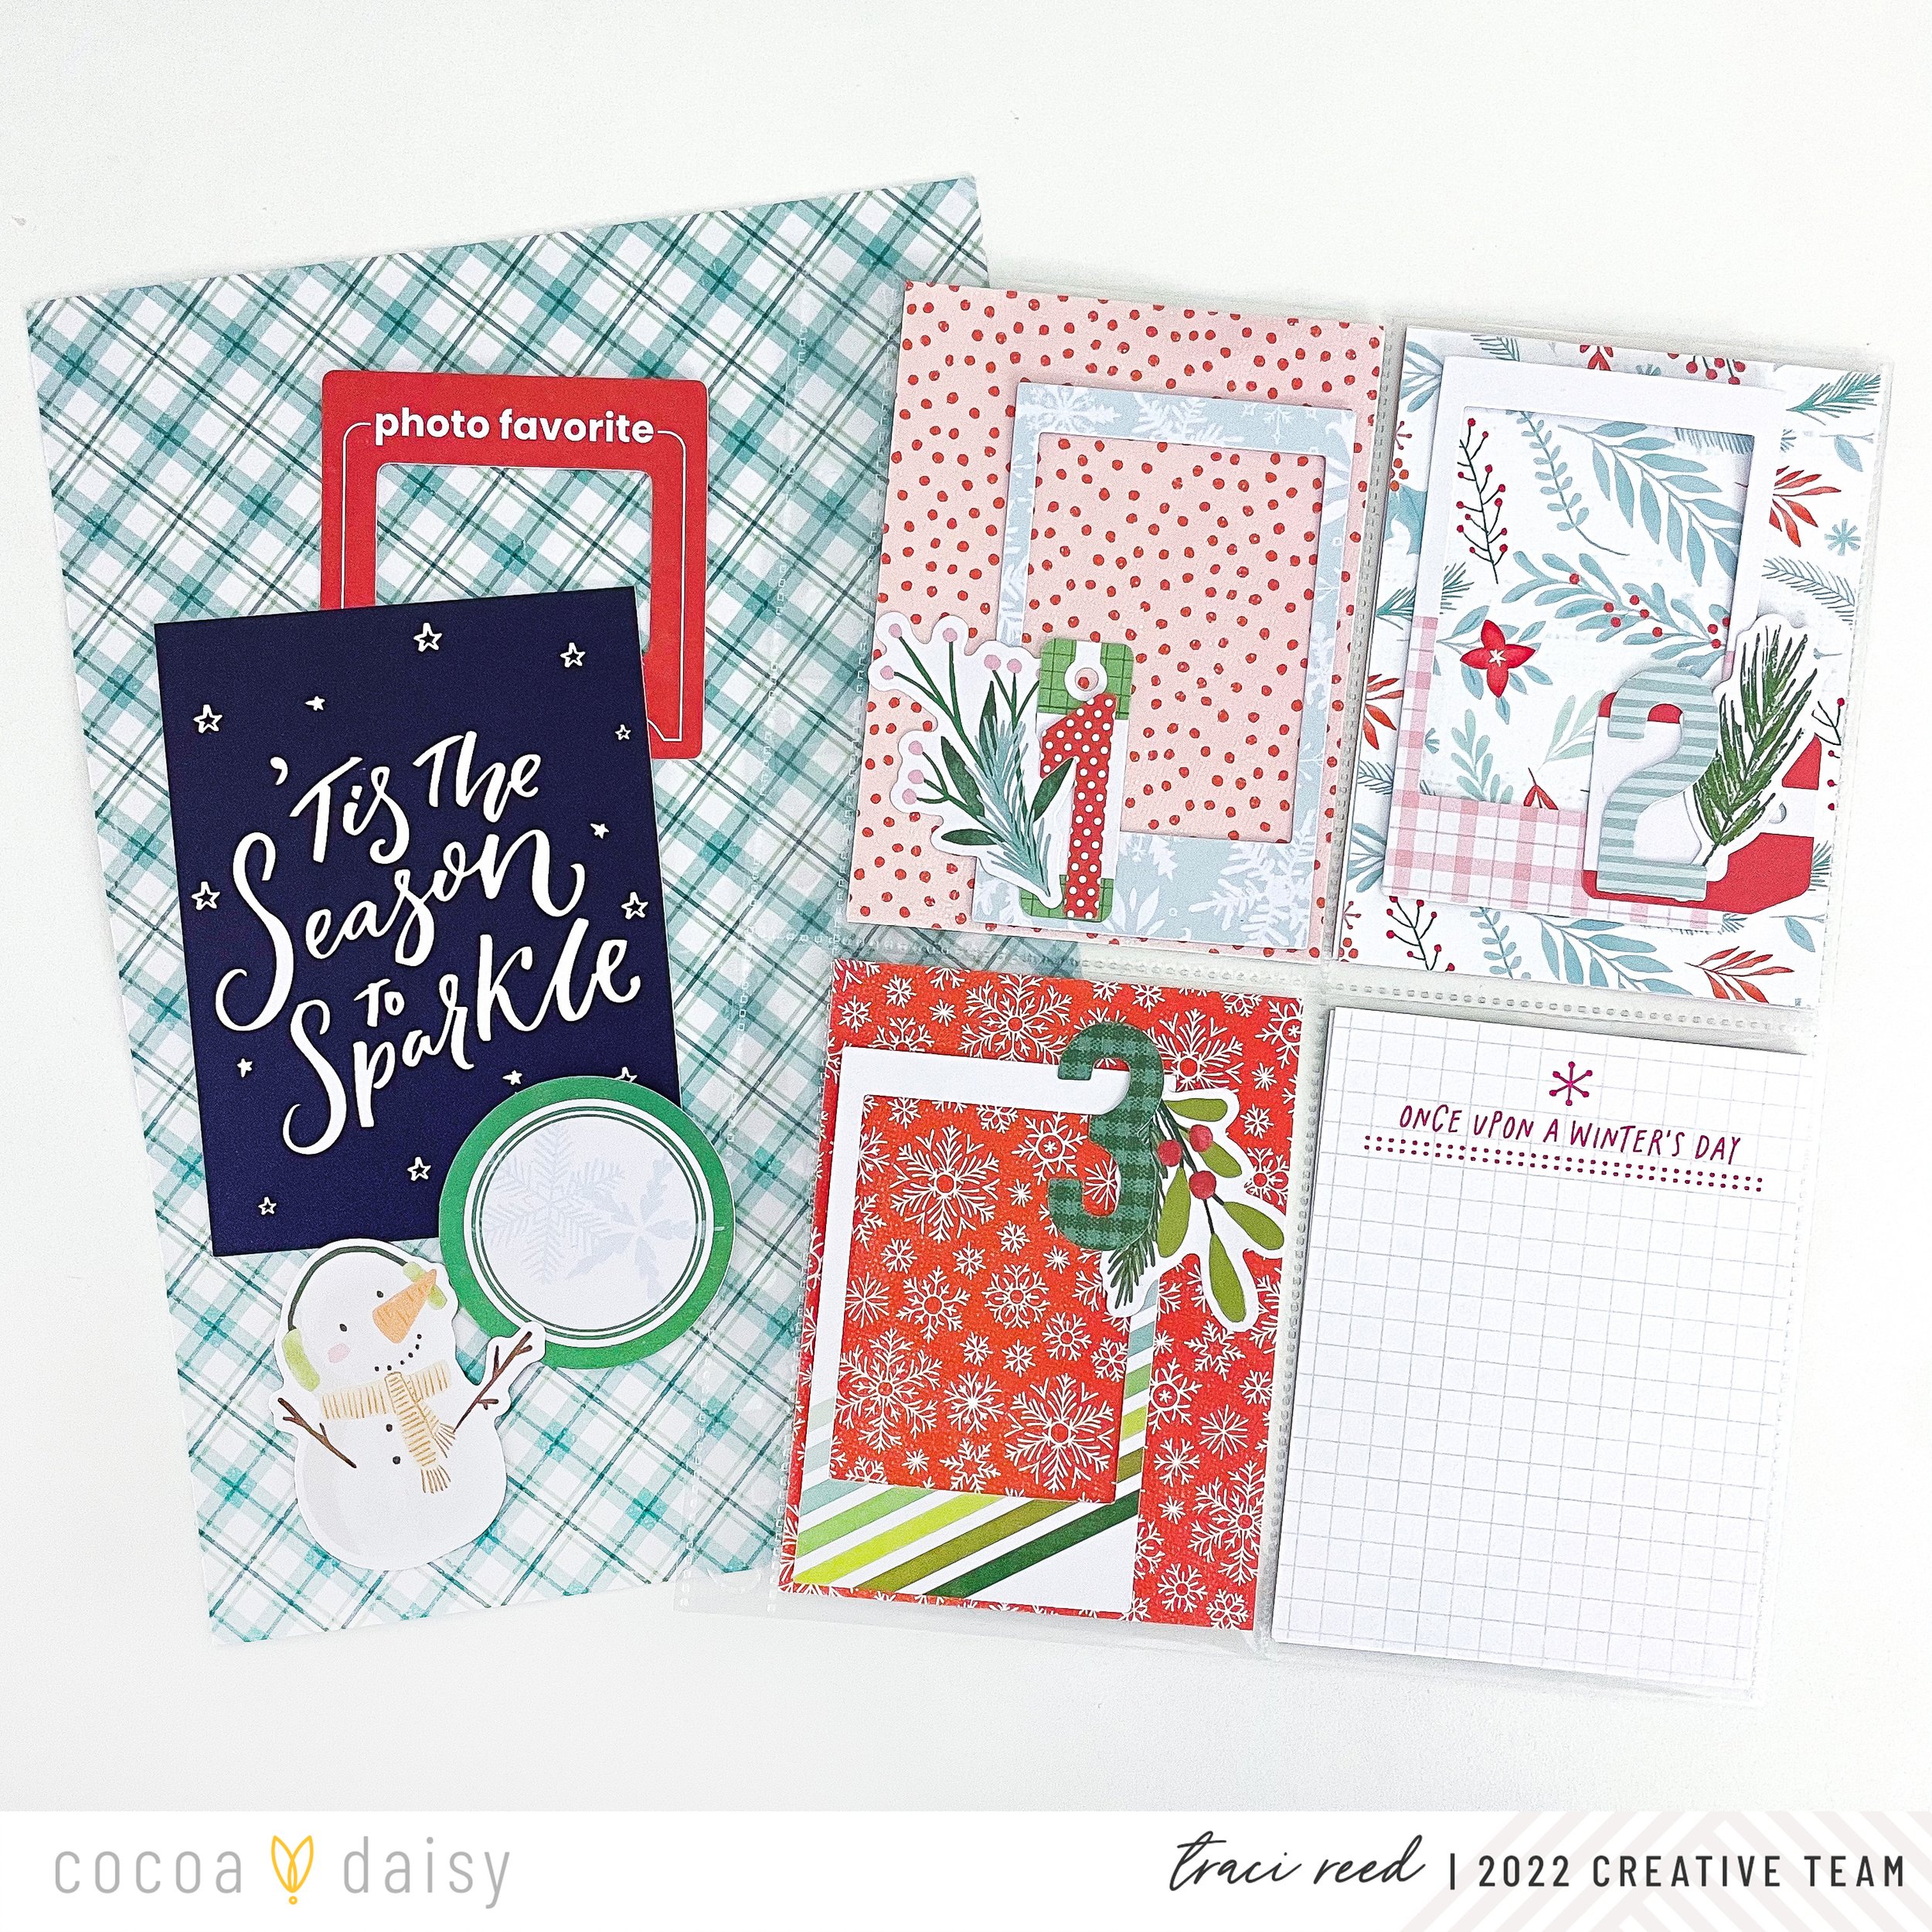
The first idea I had in my head was actually a pocket page using the frames from the kits + the 1, 2, 3 die cut numbers to create countdown. I don’t know what the countdown will be used for yet, but that’s beside the point! I made sure not to adhere the frames themselves so I could add photos later!
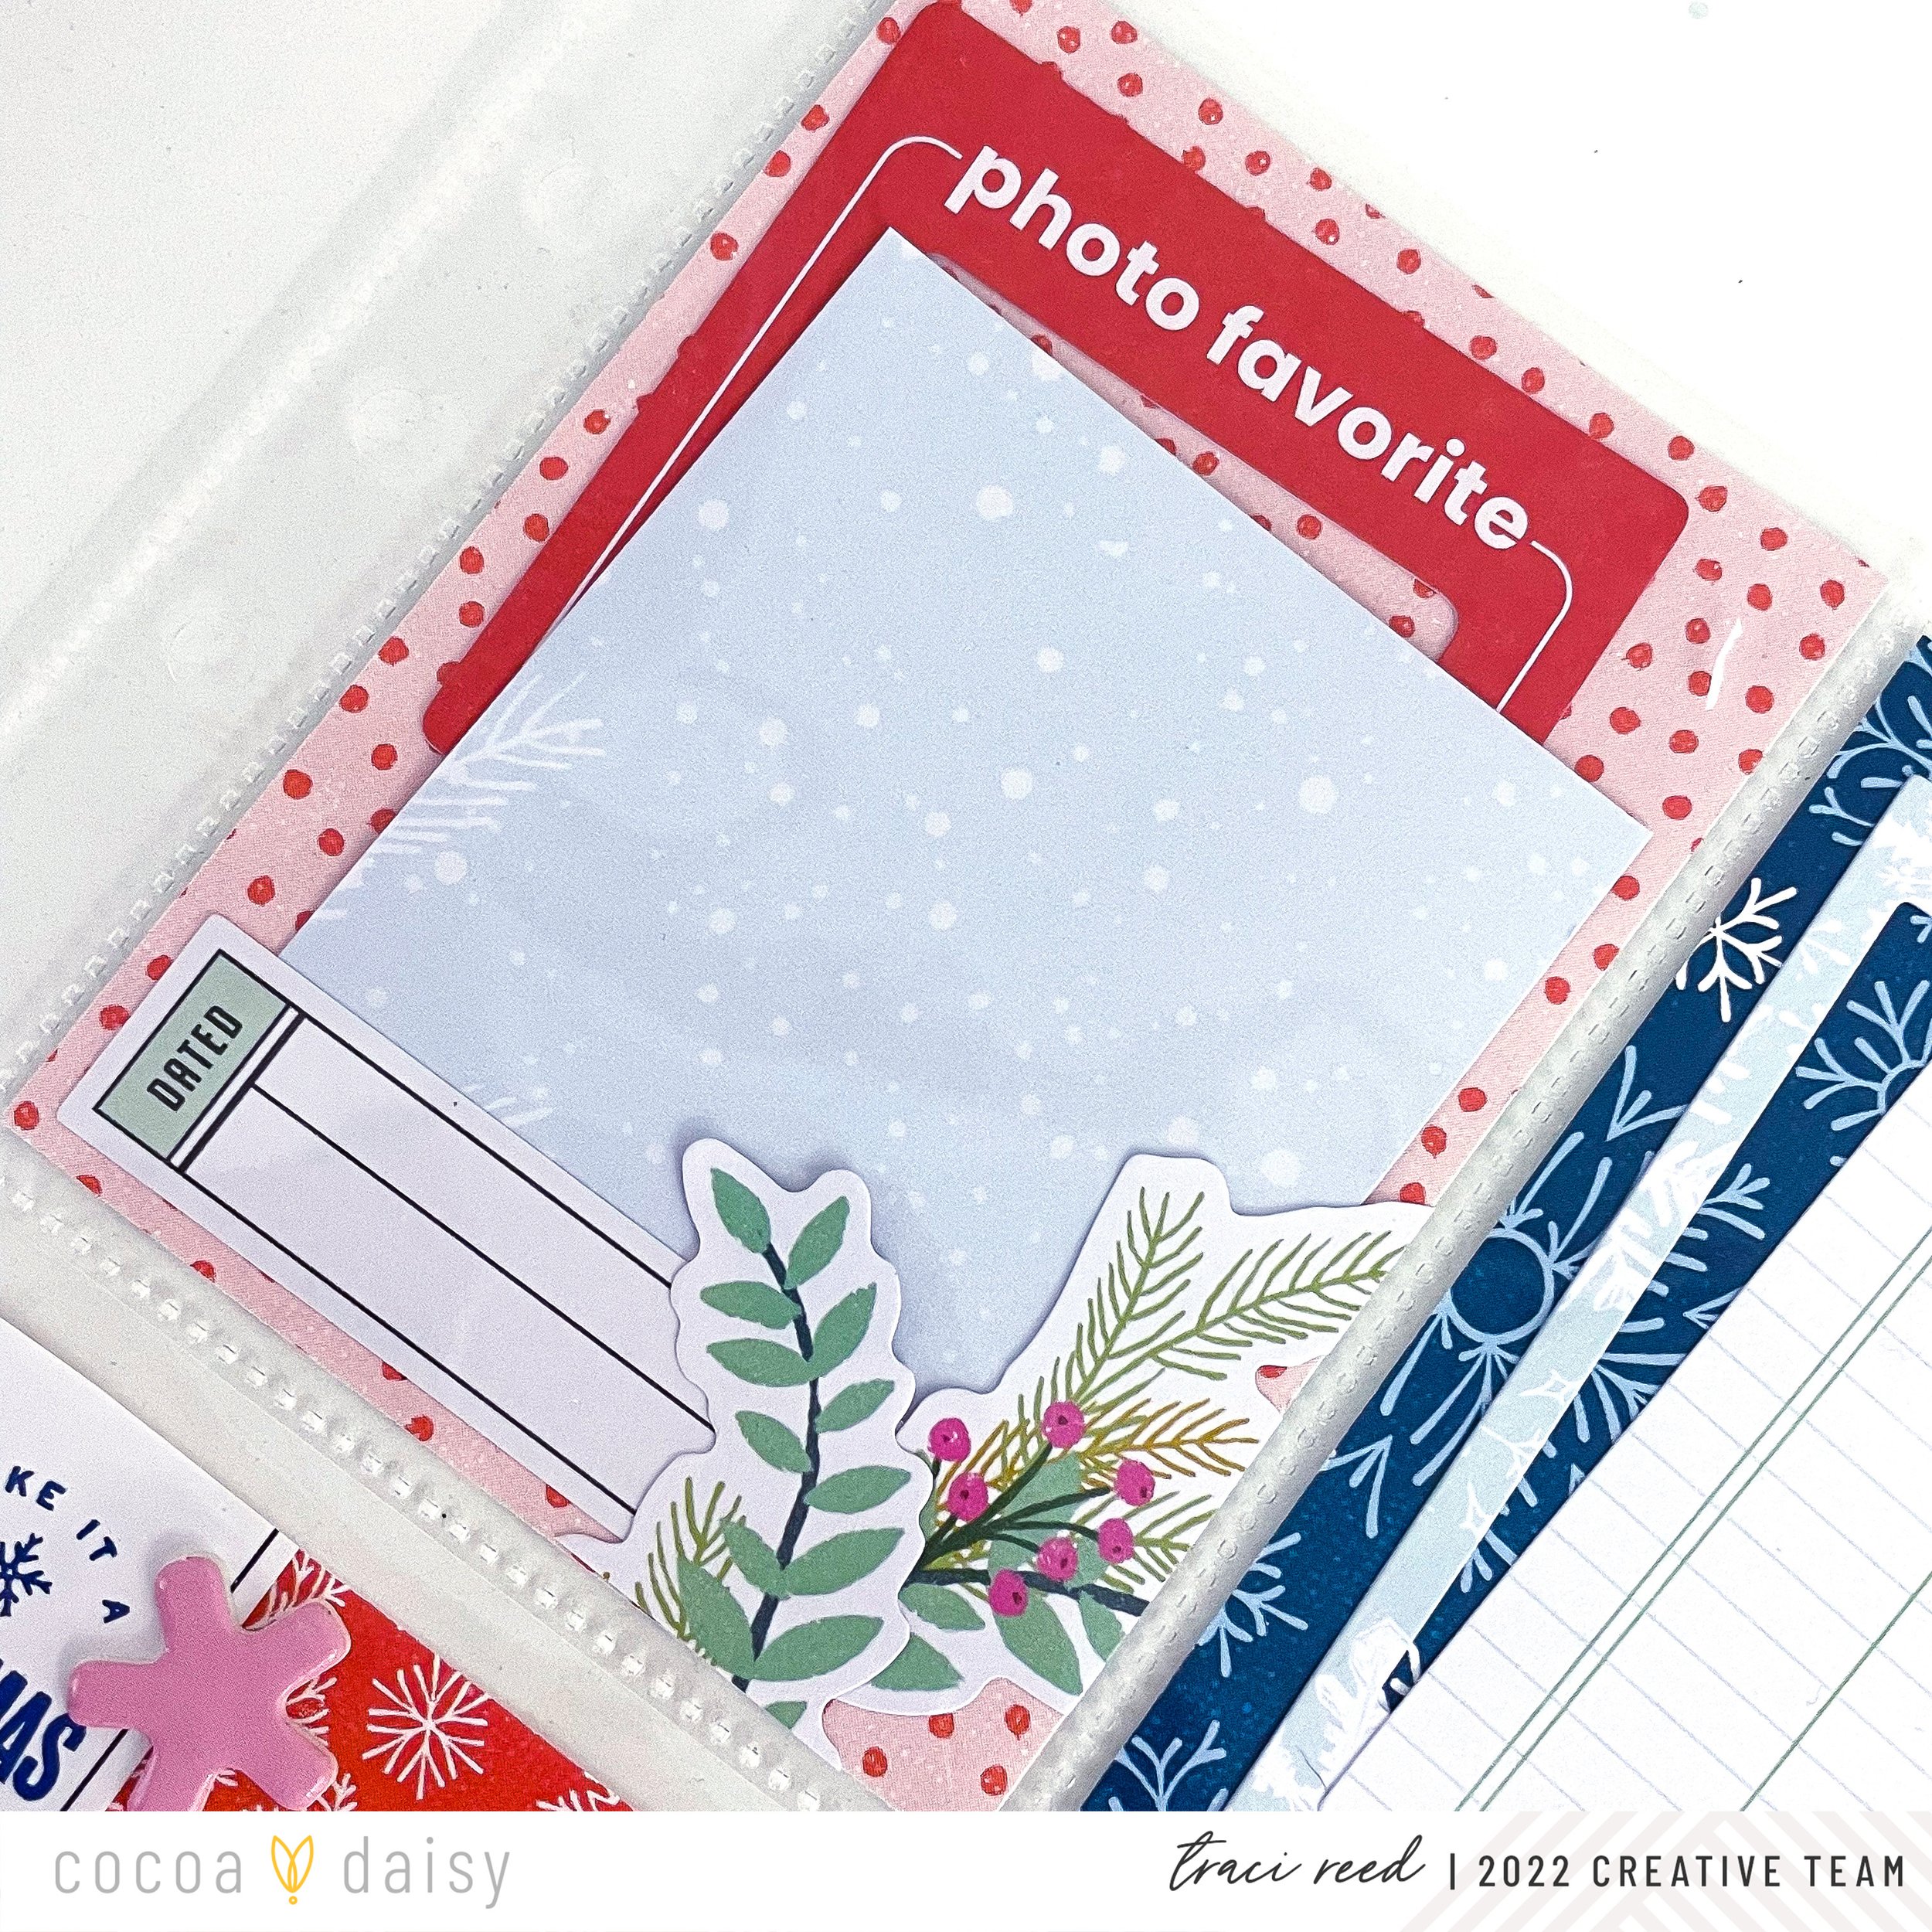
I always love pockets in my albums - anything interactive is a win! - so I created this full page pocket using one of the traveler’s notebook inserts and a 4x6 card. The TN insert didn’t really match the style of the card that I chose, so I altered it with rub ons to make it match!

Inspired by the postcard-style of the TN insert on the right, I created two 3.5x3.5” envelopes using my envelope punch board and matted them on that gorgeous navy paper from the kit!

Inside, I created a couple 3.5x3.5” cards, or I might put photos in - who knows!

Like I’ve said before, if there’s sequins in my kit, I’m going to make clear shaker pocket! For this one, I used a 3x4 piece of acetate to adhere those white glittery stickers.

The acetate becomes invisible, so they appear to “float” in the pocket. I then added sequins to the pocket and sealed with my fuse tool (you can also use tape.)

I don’t know why, but I couldn’t stop envisioning circles behind that pocket, so I made a bonus page with lightly-stuck-down circles (so they’d be moveable) to go with the shaker page! The die cuts aren’t stuck down, so I can remove them or move them as needed.

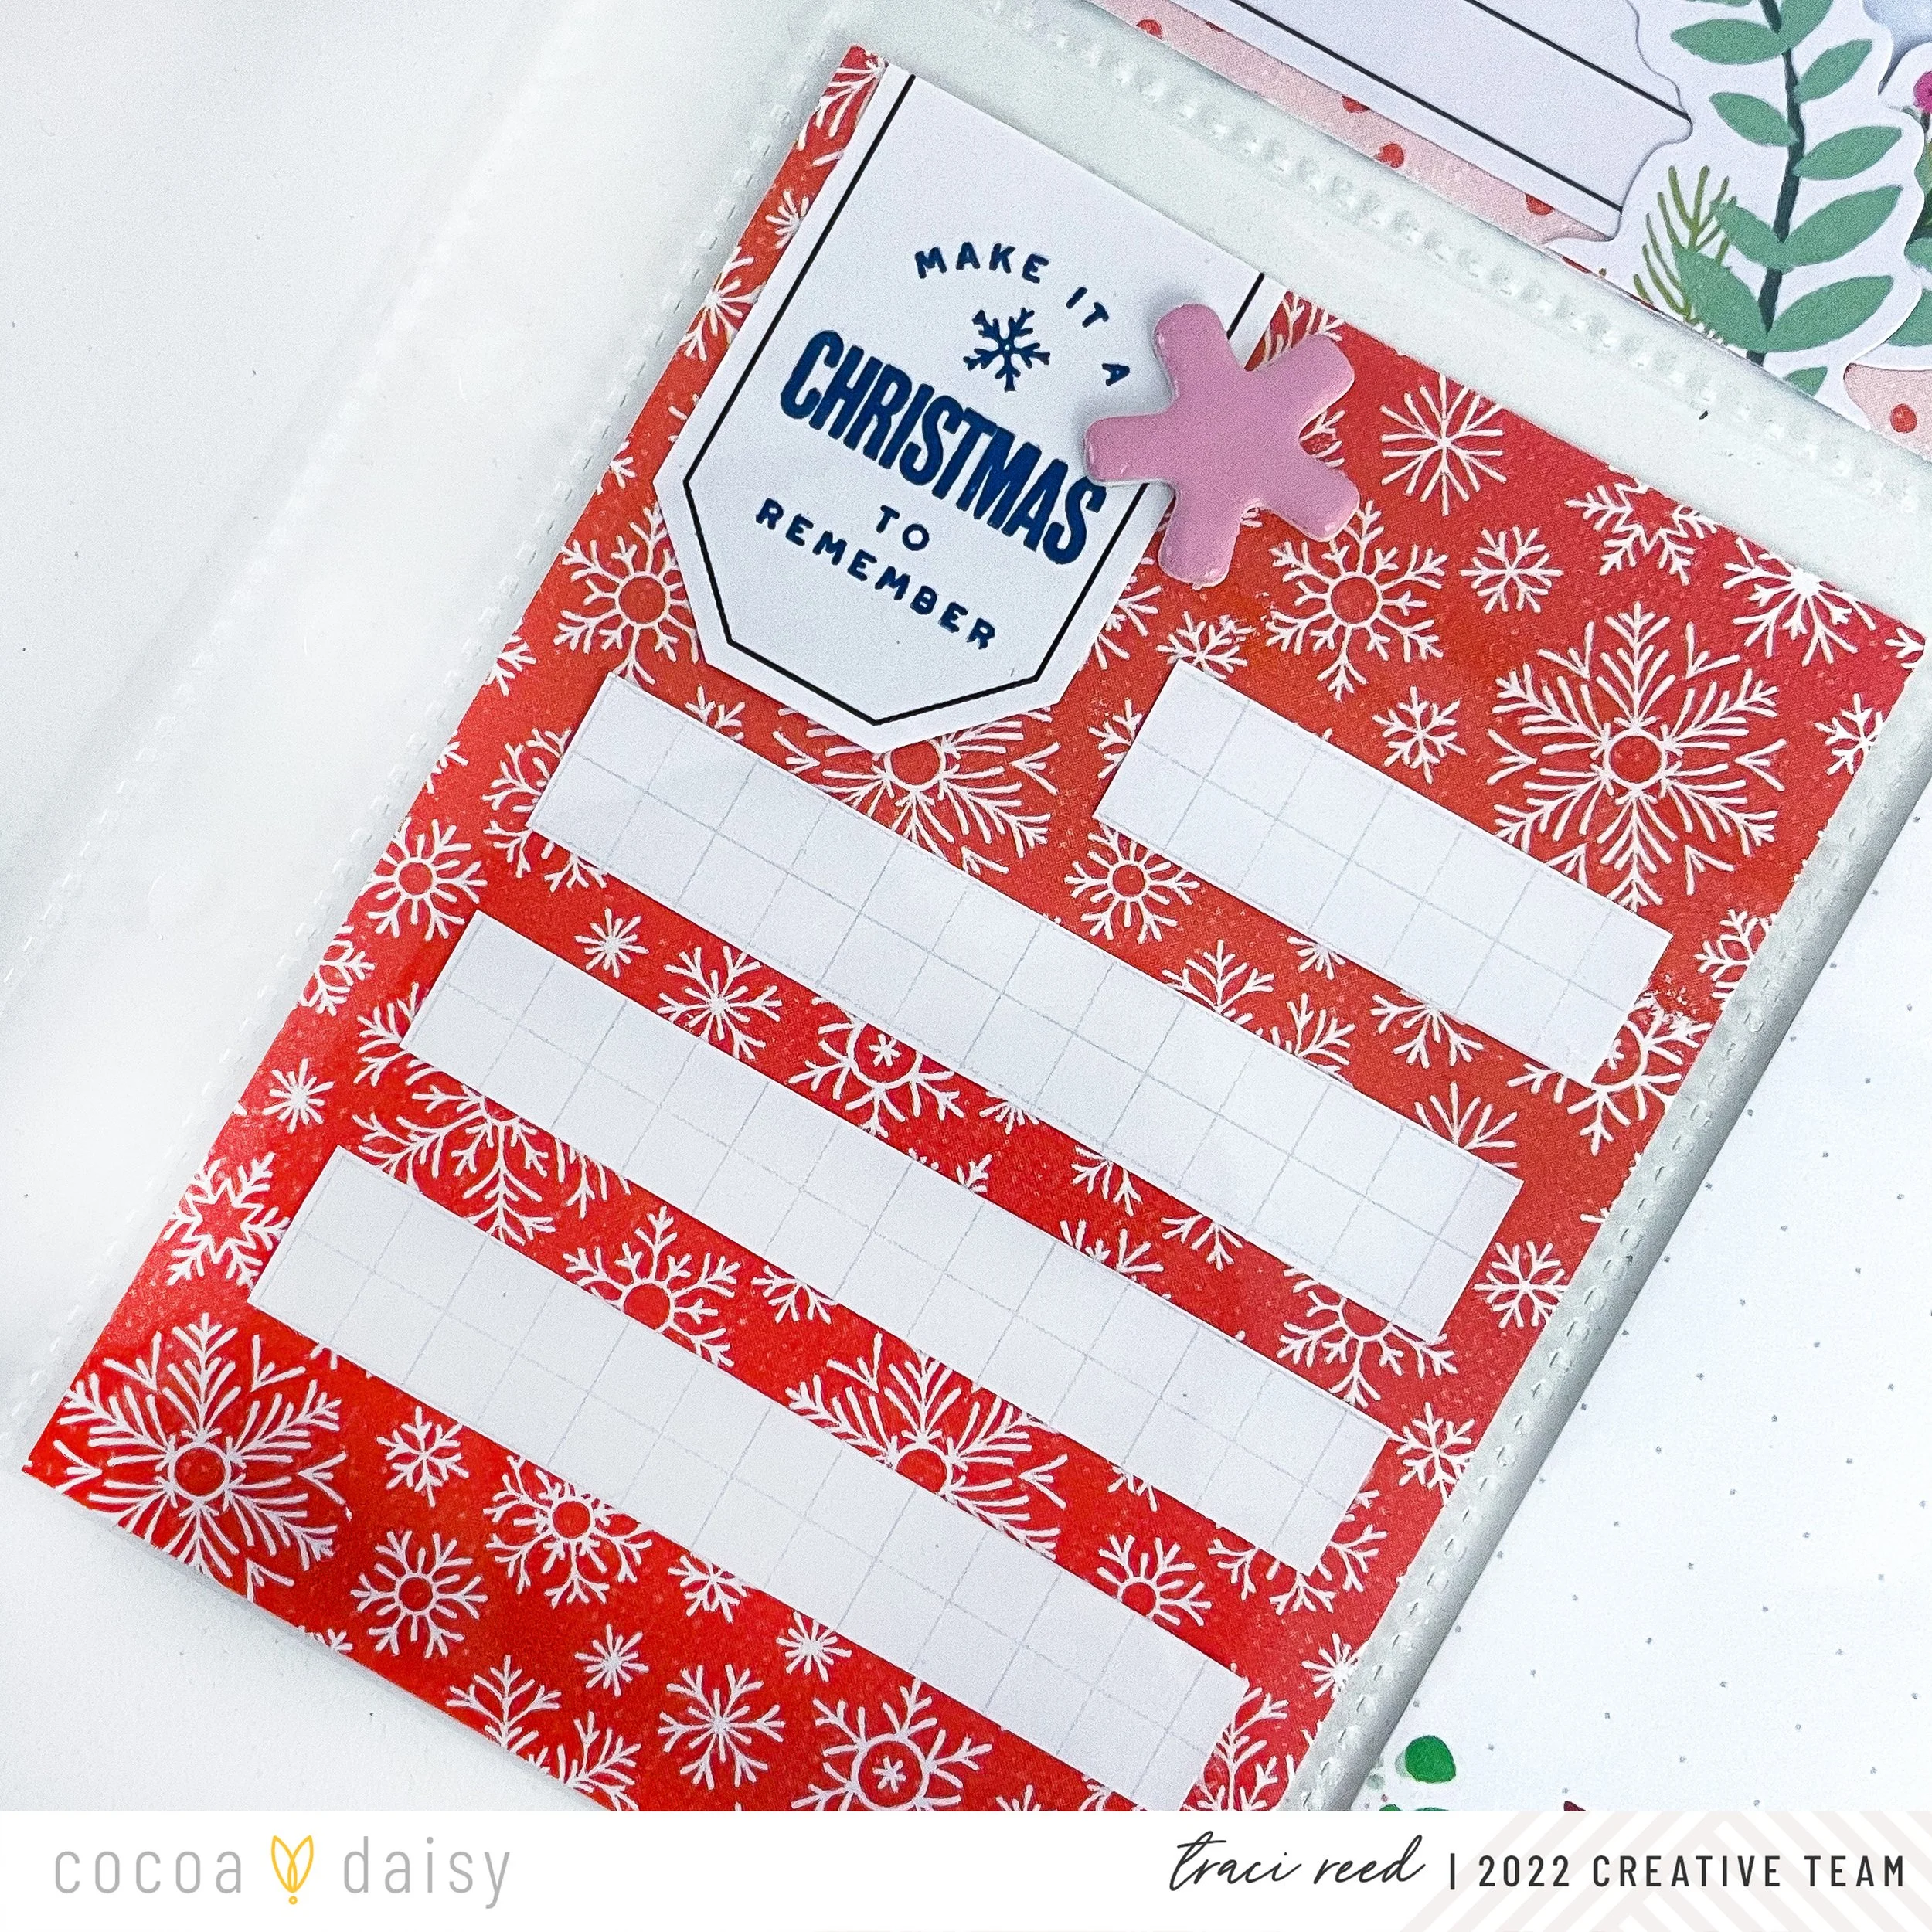
I kept playing with this tag and trying to work it into my pages, but I couldn’t make the style fit with what I was creating until I added stamped words to the bottom, which livened it up.
I paired it with another easy base page, making sure to add in that lime green paper so that the whole spread would match better.

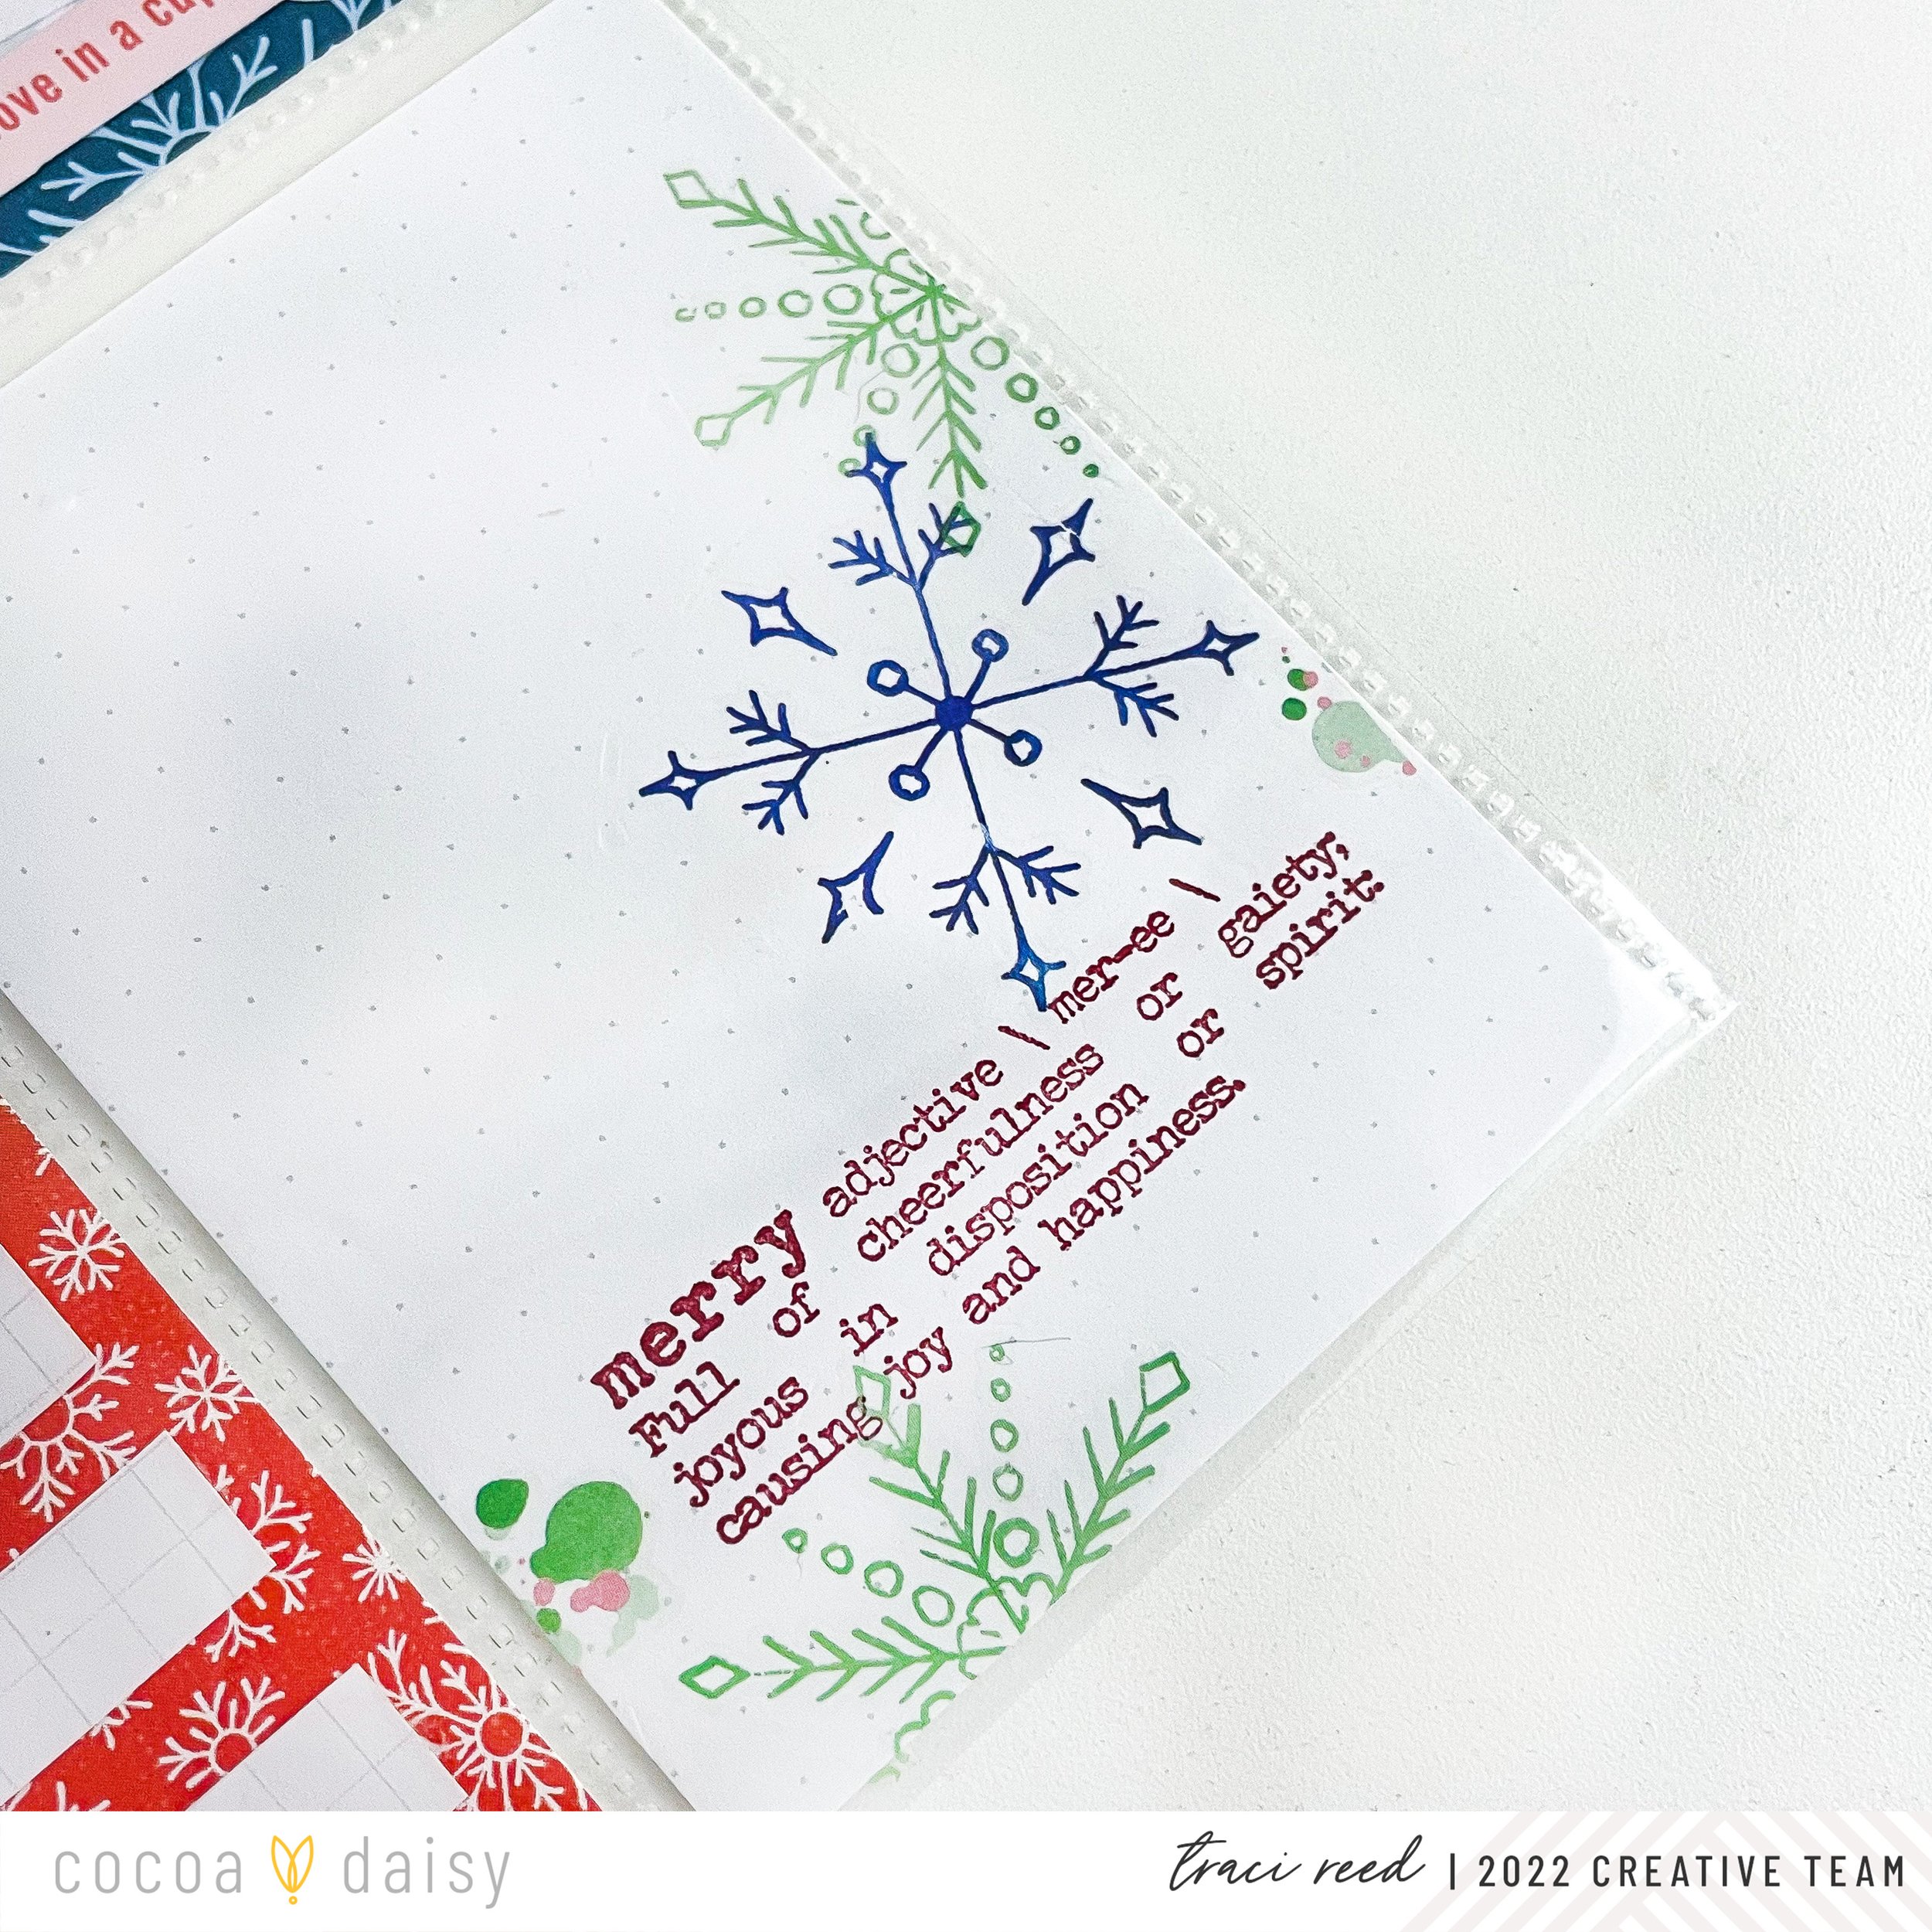
I had a lot of scraps left over from these pages, so I made four layered cards, making sure to incorporate the fantastic Cocoa Daisy stamps some more, as well as a variety of die cuts!