Seven Day Sprint: Finish Your December Daily by Focusing on One Action per Day!

Finishing a December Daily album at the end of the month can feel like trying to tidy up after a joyful storm. There are photos everywhere, half-written stories, and pages waiting their turn. This seven-day process walks you through the final stretch with a clear rhythm. Each day builds on the last so you can move from scattered pieces to a cohesive, completed album.
Day 1: Choose the Stories and Write the Journaling
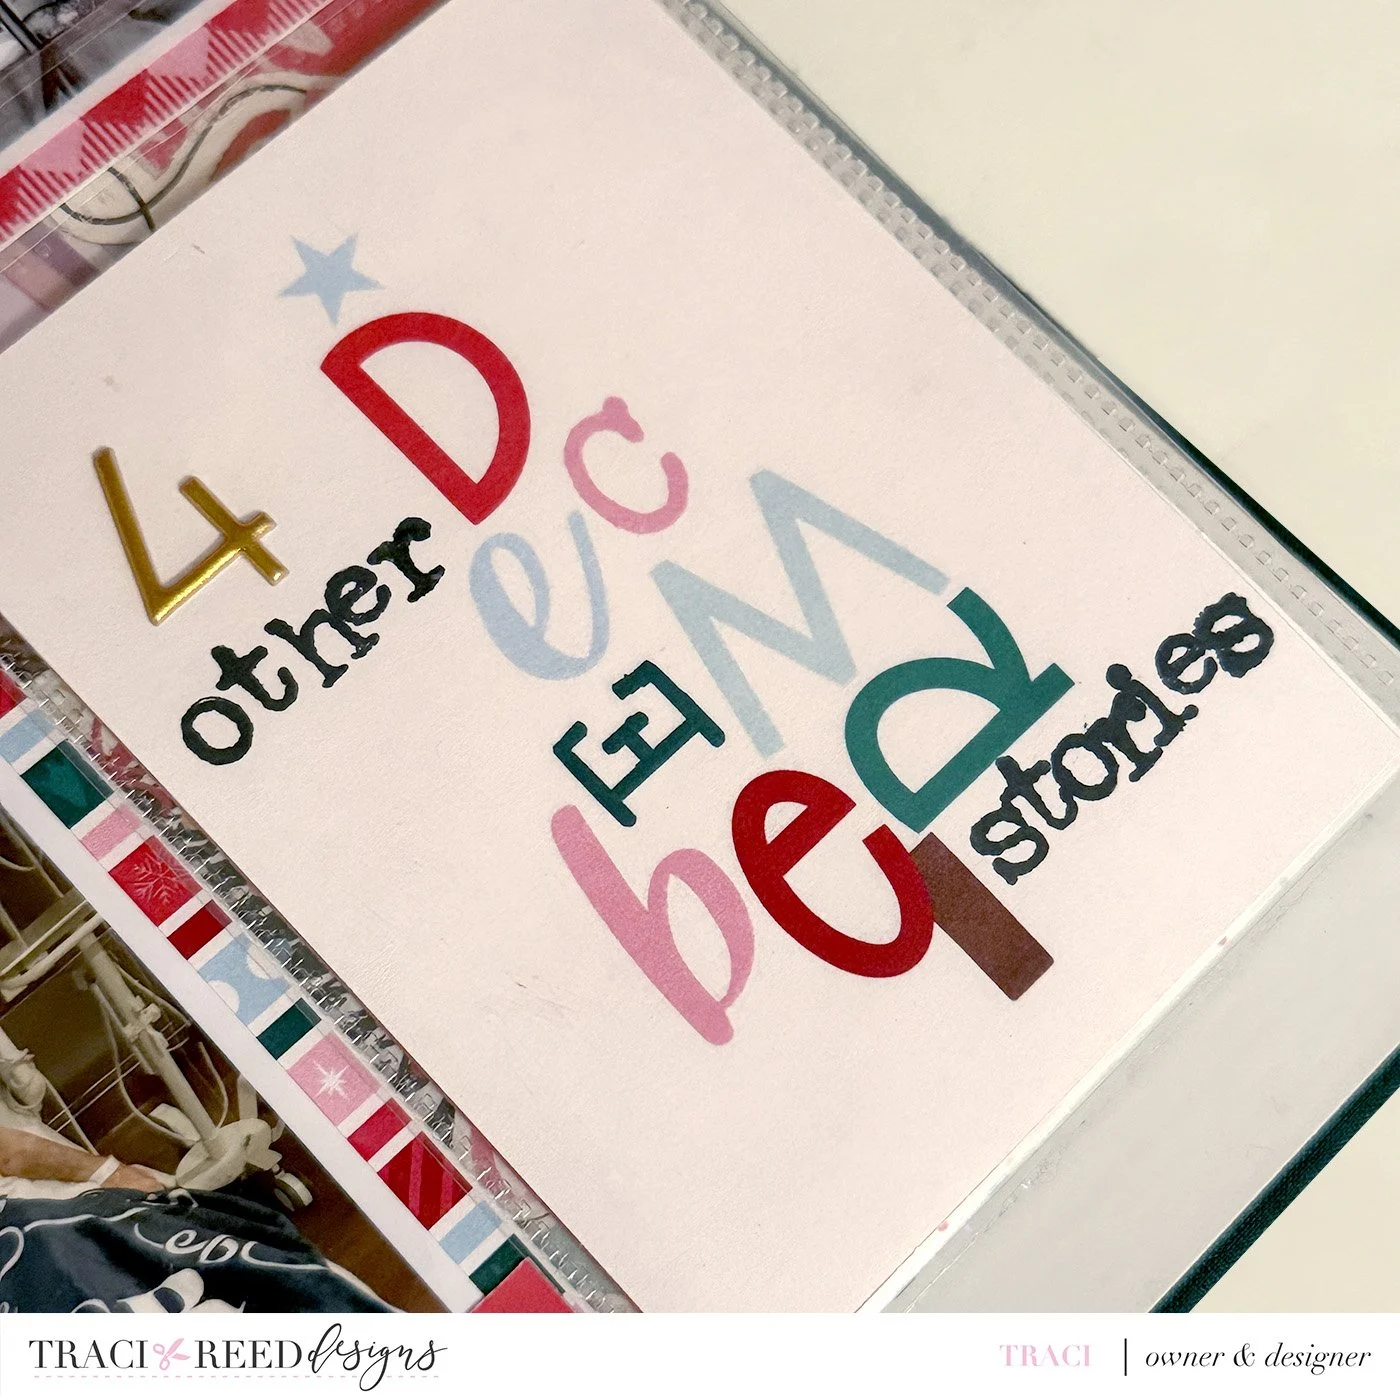
The best way to begin is with clarity. Before you pull out photos, papers, or embellishments, spend a little time listing the focus for every unfinished day in your album. Aim for a single moment or theme rather than trying to record the entire day. This keeps the project meaningful without feeling overwhelming. Start by identifying the main story for each unfinished day in your album.
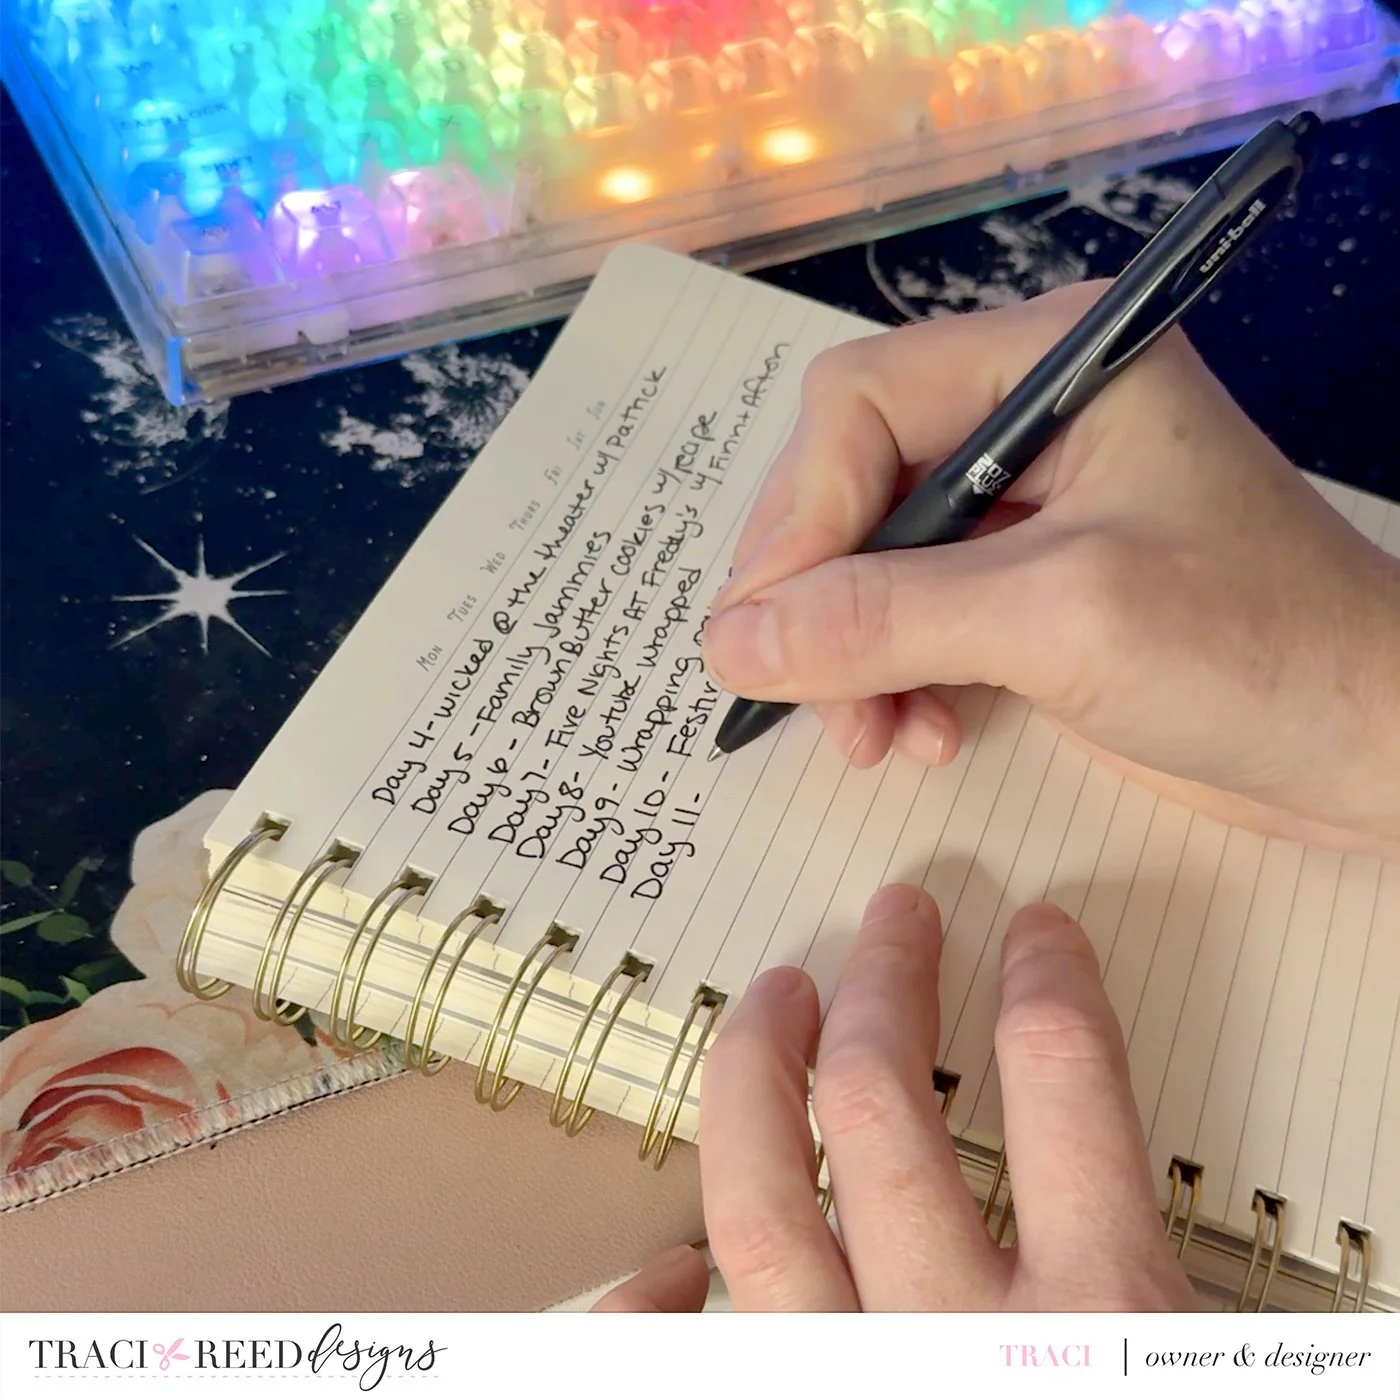
A simple way to begin is by flipping through your camera roll with a notepad open. For each date, jot down the key memory. Don’t judge it or try to make it grand. Just write what mattered. This list becomes your roadmap as you move through the rest of the project.
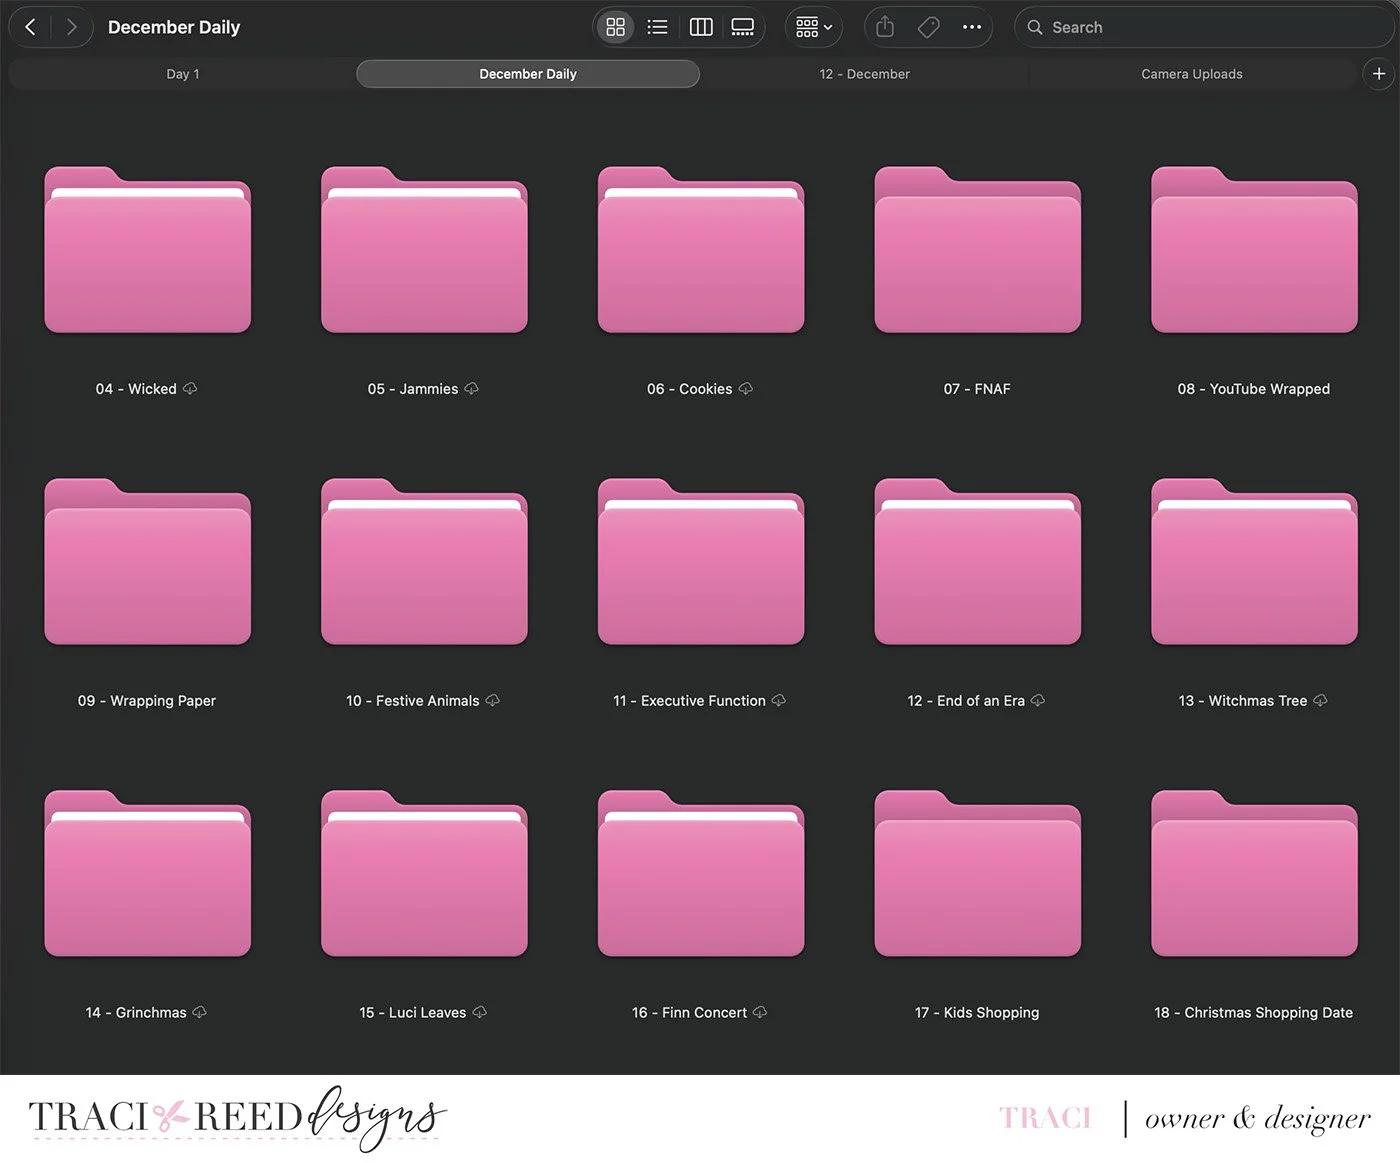
I prefer to do this on my computer and actually sort my photos into folders labeled with the day I’ll be using them and a quick note of what they are. For example, we saw Wicked on the 4th, so all my photos from that outing are in that folder. Later after I’ve printed, I’ll sort everything back into my usual long-term-storage file system.
Once the stories are chosen, write the journaling immediately. Start by opening a blank note, your album’s planning sheet, or a journaling card template. Capture the story in a few short sentences. You don’t need to make it polished or poetic. You’re focusing on preserving the memory before it fades.
I like to keep this in my Notes app, and I even include a little checklist of things I’ve done already + I put starter journaling in the app that I can copy/paste or build on later. This organizes my thoughts into one space. You can also do this on paper, I just always have my phone handy.

If you need help getting going, ask yourself small guiding questions like what stood out or who was involved. Keep the writing simple and honest. By the end of this session, you should have the full narrative arc of your December Daily laid out, which makes every upcoming step much easier and far less chaotic.
If you’re short on stories, fill in missing days with playlists, watch lists, recipes, your Spotify or YouTube wrapped results, or maybe you’ve even noticed an overarching theme for this year’s season that maybe didn’t reveal itself until after the holiday was over. Sometimes, working on the album at the end of the month can give us a perspective we would have missed in the midst of the holiday chaos.
For example, this year I’m including screenshots of each of my family’s YouTube Recaps with recent photos:

Day 2: Map Out Your Page Layouts
Before printing a single photo, it helps to know where everything is going to land. Planning your layouts in advance prevents the classic December Daily problem: printing a photo at the wrong size and having to stop your creative flow to re-print the photo. When you begin with structure, sizing becomes simple and the rest of the process clicks into place.
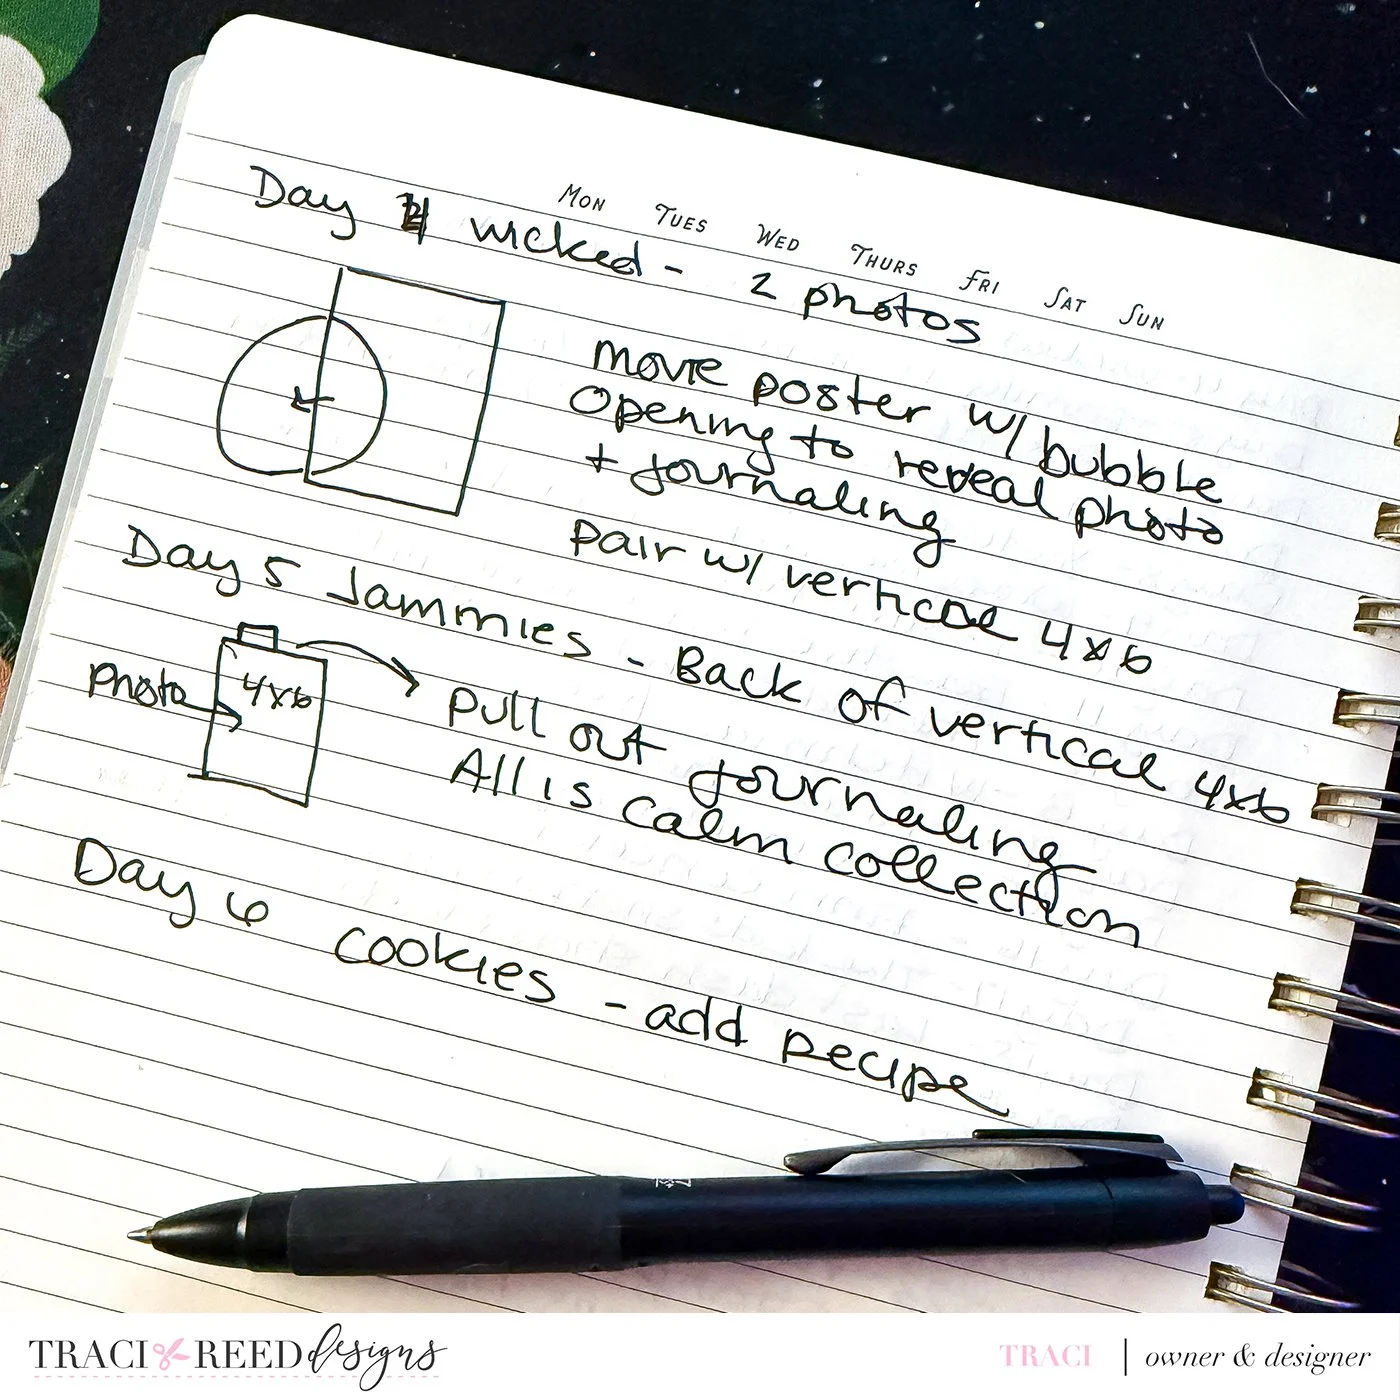
Start by flipping through the photos you’ve already earmarked for each day and decide if they’re getting the full page treatment, sliding into pockets, or perhaps you’ve already got the perfect foundation page for that story. Your foundation pages and photo choices should be considered together to save yourself the most time and decision fatigue. If you’ve already done half the work for a page by creating the foundation, you’re ahead of the game!
This step works especially well if your album mixes different page sizes or formats. Knowing what design you’ll use for each day helps you figure out how many photos you’ll need, what orientation they should be, and how much room you have left for journaling. You avoid the “cut and hope” method that often slows things down.
Mapping your layouts also preserves your energy. When you begin assembling pages later, you won’t be staring at a blank spread wondering where to begin. You’ve already made the choices that usually take the longest. Now the fun can begin!
Day 3: Select and Batch Print All Photos
With your layouts mapped, gather the photos that match each day’s story and size requirements. Work through your layout list and crop your photos to the correct sizes, adjust the lighting, and make small edits, but don’t linger. December Daily finishing is about flow, not perfection. If the photo supports the story and looks clear, it’s enough.
If you want to add journaling to specific photos, do it now before you print!
Printing in one session keeps your momentum strong. You won’t need to stop mid-layout to resize a photo or search through your camera roll. Instead, you’ll have a tidy stack of images ready to slip into pockets or adhere to pages.

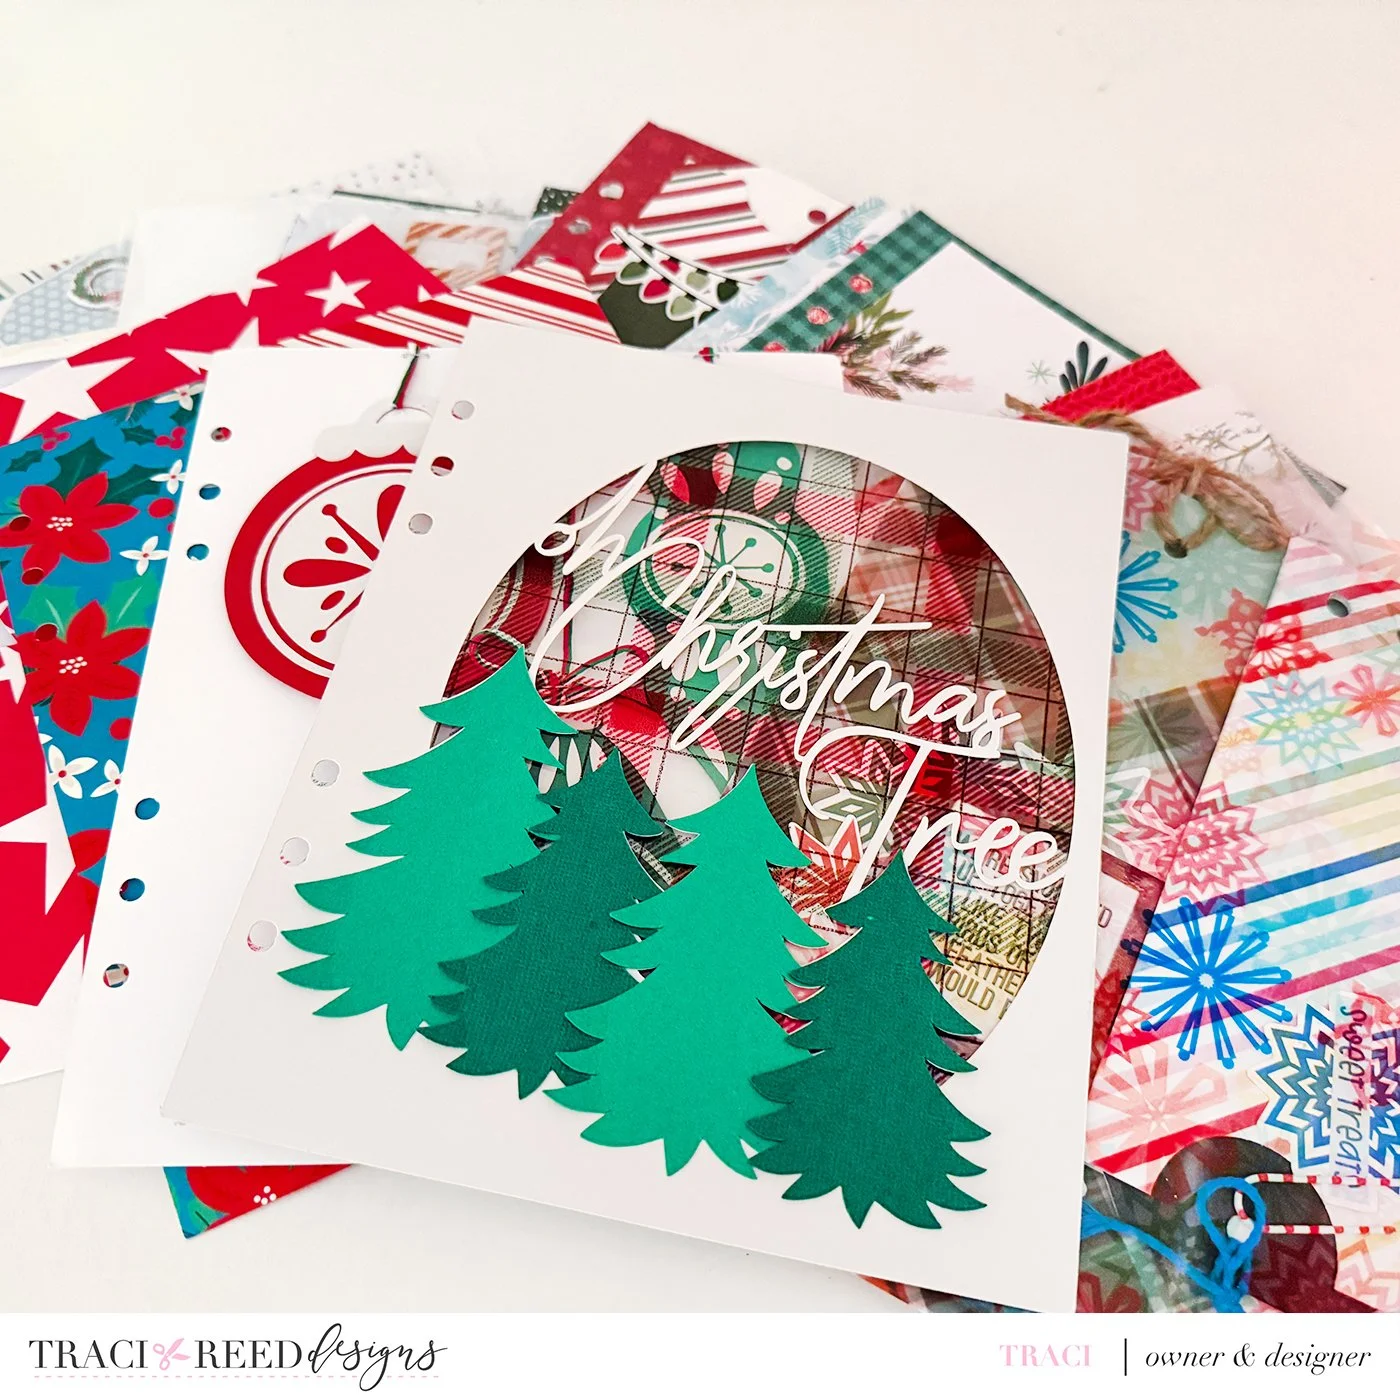
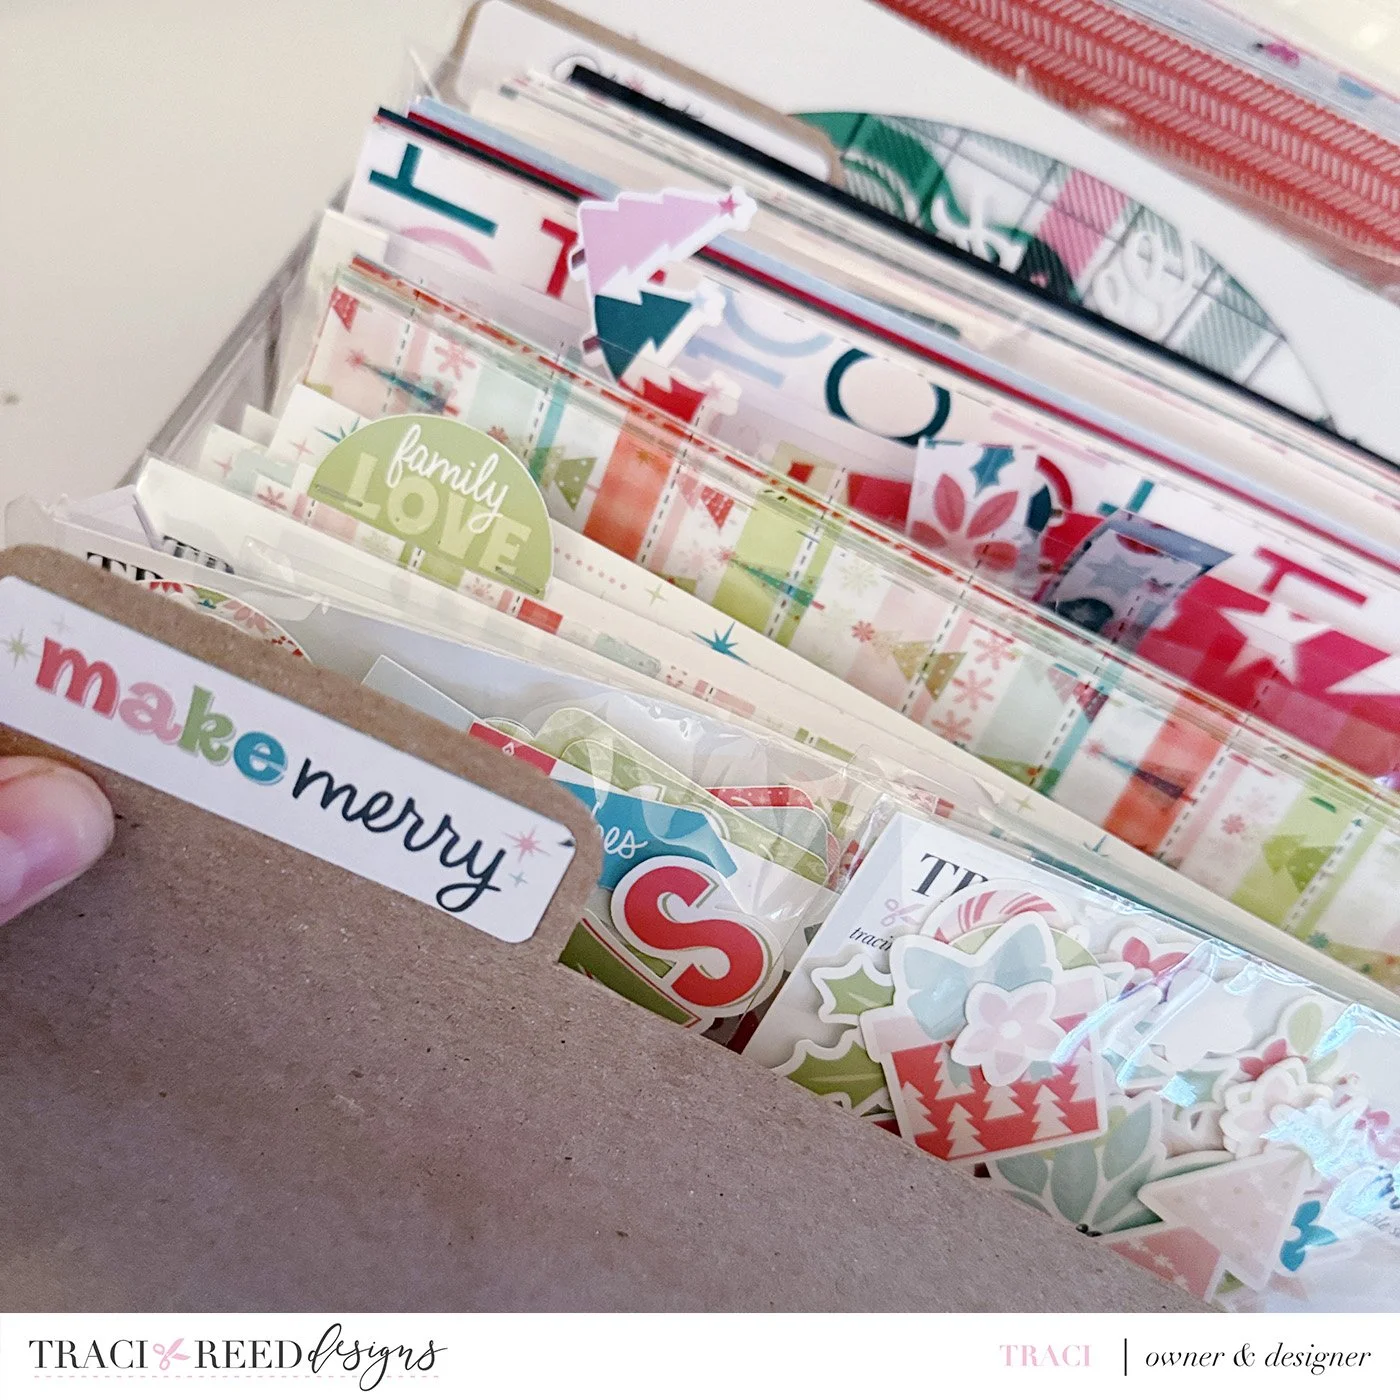
Day 4: Create a Small “Finish Kit” of Supplies
With your photos and layouts ready, it’s time to simplify your supply choices. Limiting your materials may sound counterintuitive, but it actually opens the creative floodgates. A small, intentional kit removes the mental clutter that often stalls the finishing process. You want a set of supplies that plays well together and supports your existing pages.
Start by pulling a handful of papers, a few embellishment clusters, your favorite alphabets, and your most-used accents. Choose pieces that fit the mood of your album and work across multiple days. This curated kit turns your workspace into a streamlined finishing station rather than a full-blown holiday craft explosion.
Next, gather versatile embellishments: labels, stickers, die cuts, chipboard pieces, phrase strips, and an stamp set or two. Place everything in a tray or small box to create your “finish kit.” Having a focused kit reduces decision fatigue and stops you from rummaging through your main stash. The goal is to make every choice quicker without sacrificing style.
Day 5: Build the Foundations
Now it’s time to assemble the bones of your album. Work through the days in order, slipping printed photos into pockets or adhering them to your background pages. Don’t reach for embellishments yet. This stage is simply about getting the essentials where they belong.
Begin by working day by day or in small batches. Slide photos into pockets, attach journaling cards, and secure backgrounds. If you’ve printed any specialty pages or overlays, this is the time to place them. The goal is to assemble the scaffolding of each layout without worrying about embellishments.
Add your journaling next. If you’re handwriting, do it directly on cards or pages. If you typed it earlier, print and trim it to fit the spaces you planned. Any structural elements like flip-ups, transparencies, or inserts should be added now as well.
This stage has a calming rhythm to it. You’re following the plan you created earlier, so there’s no second-guessing. You’re simply giving your photos and words a home. Once the photos and words are in place, your album will look significantly more complete, even without embellishments

Now that your album is nearly complete, there are two ways to approach embellishing. My preferred method is to go spread by spread and finish them one at a time. It keeps me focused on each individual story, giving my best to each page. However, this can take longer than the two days we have remaining in this sprint, so if your goal is speed and FINISHING, try this approach:
Day 6: Add Embellishments in Batches
Now that your foundations are set, you can bring personality back into the process. Embellishing in batches is one of the most efficient ways to keep your album consistent and enjoyable. Instead of switching creative gears every few minutes, you’re decorating with focus and flow.
Start by flipping through the entire album to get a sense of its overall mood. Then move through each page adding stickers, die cuts, tags, chipboard, or whatever your finish kit includes. When you embellish in batches, your visual style holds steady, making the entire album feel unified even if your stories vary wildly from day to day.
This method also helps you avoid overthinking. When you’re embellishing ten layouts at once, you naturally make quicker decisions. You trust your instincts. You decorate more intuitively. You’re no longer fussing with each page as if it must carry the weight of the whole album.
Day 7: Finish with Small Details
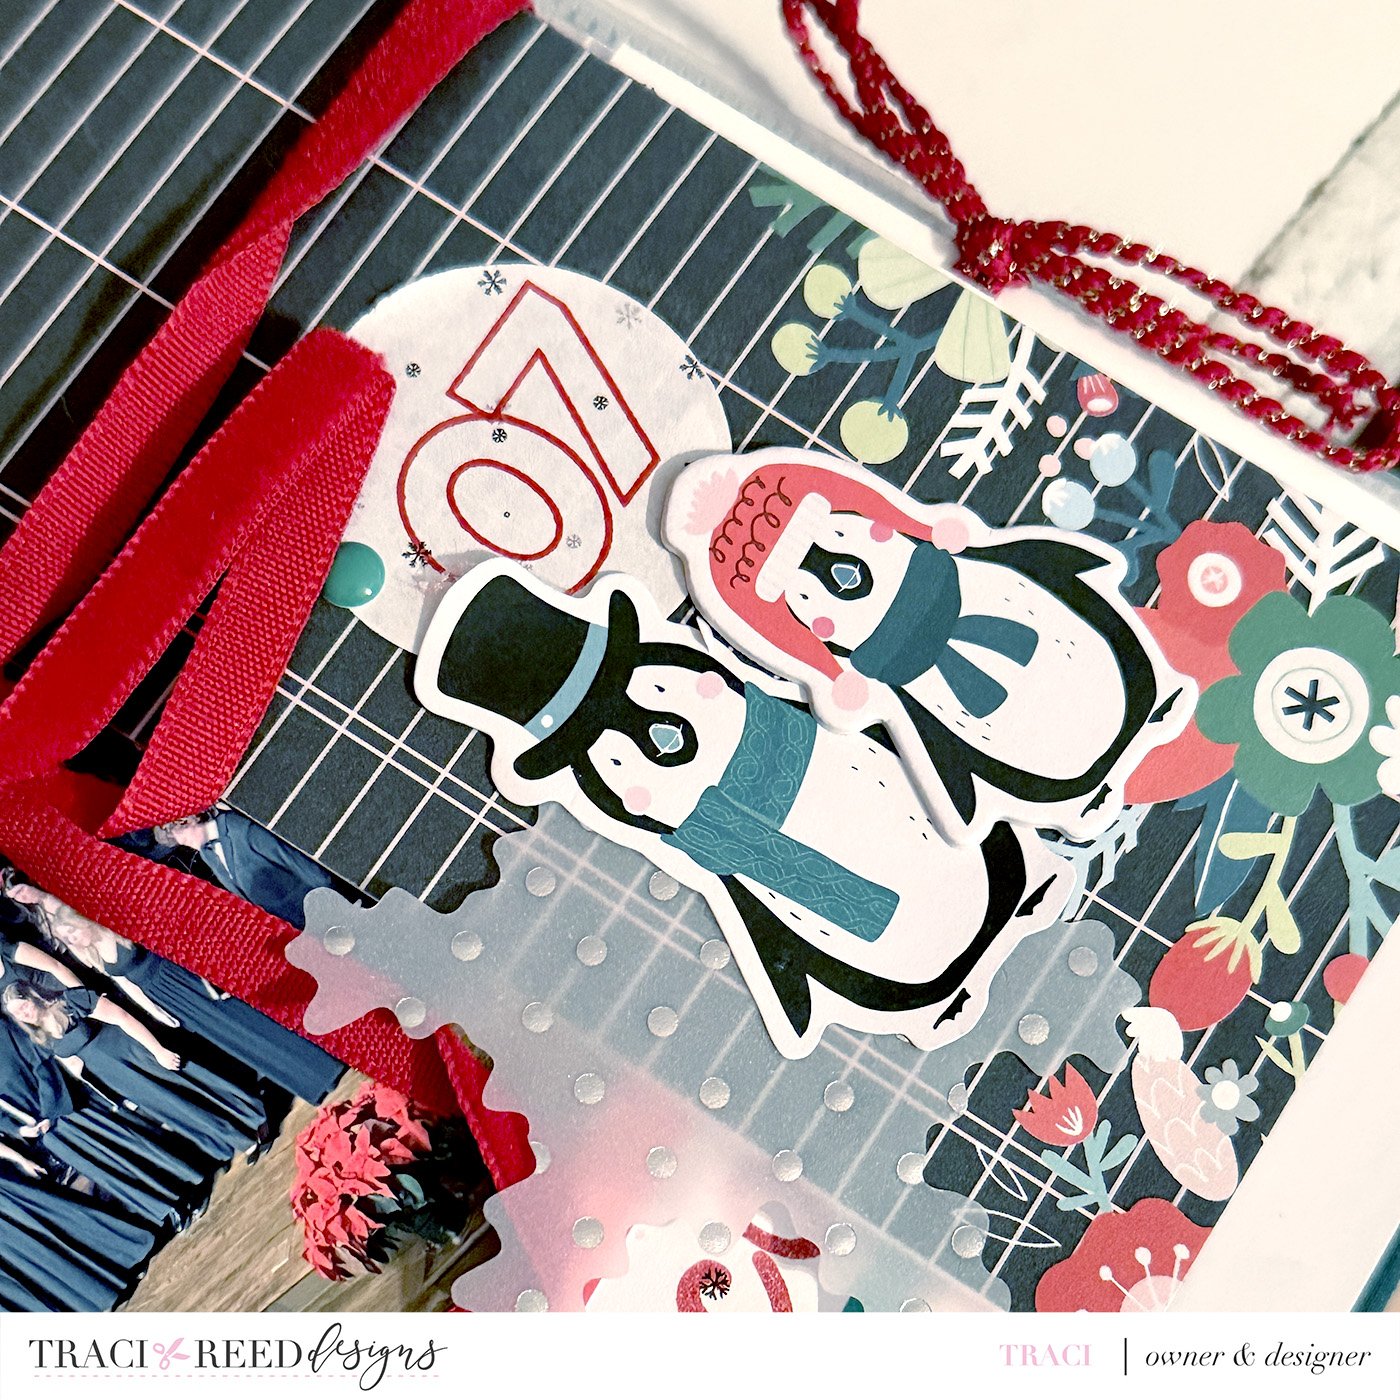
The final step ties everything together. Select a few repeating elements: day numbers, enamel dots, phrase strips, or a small icon—and add them across the remaining pages. These repeated touches create a visual thread that gives the album a finished, cohesive look.
Start by adding dates or day numbers to any pages missing them. Now look at each spread with a critical eye and ask yourself if any small touches could be added to make it shine. Perhaps some ribbon? A gem here or there? Or maybe you have room to play with an embossed word or mixed media?
Because our album is basically finished at this point, we can also go back and add some of the more fun and complex details if we like. Maybe this spread could use a shaker pocket? Or perhaps we can add a transparent divider here?
It’s all about the finishing touches at this step because, friend, WE DID IT!
Once these final touches are done, your December Daily is complete, polished, and ready to be enjoyed for years. Congratulations - you made it happen!