Technique Tips: Creating With Bold & Beautifully Bright Patterns with Tara!
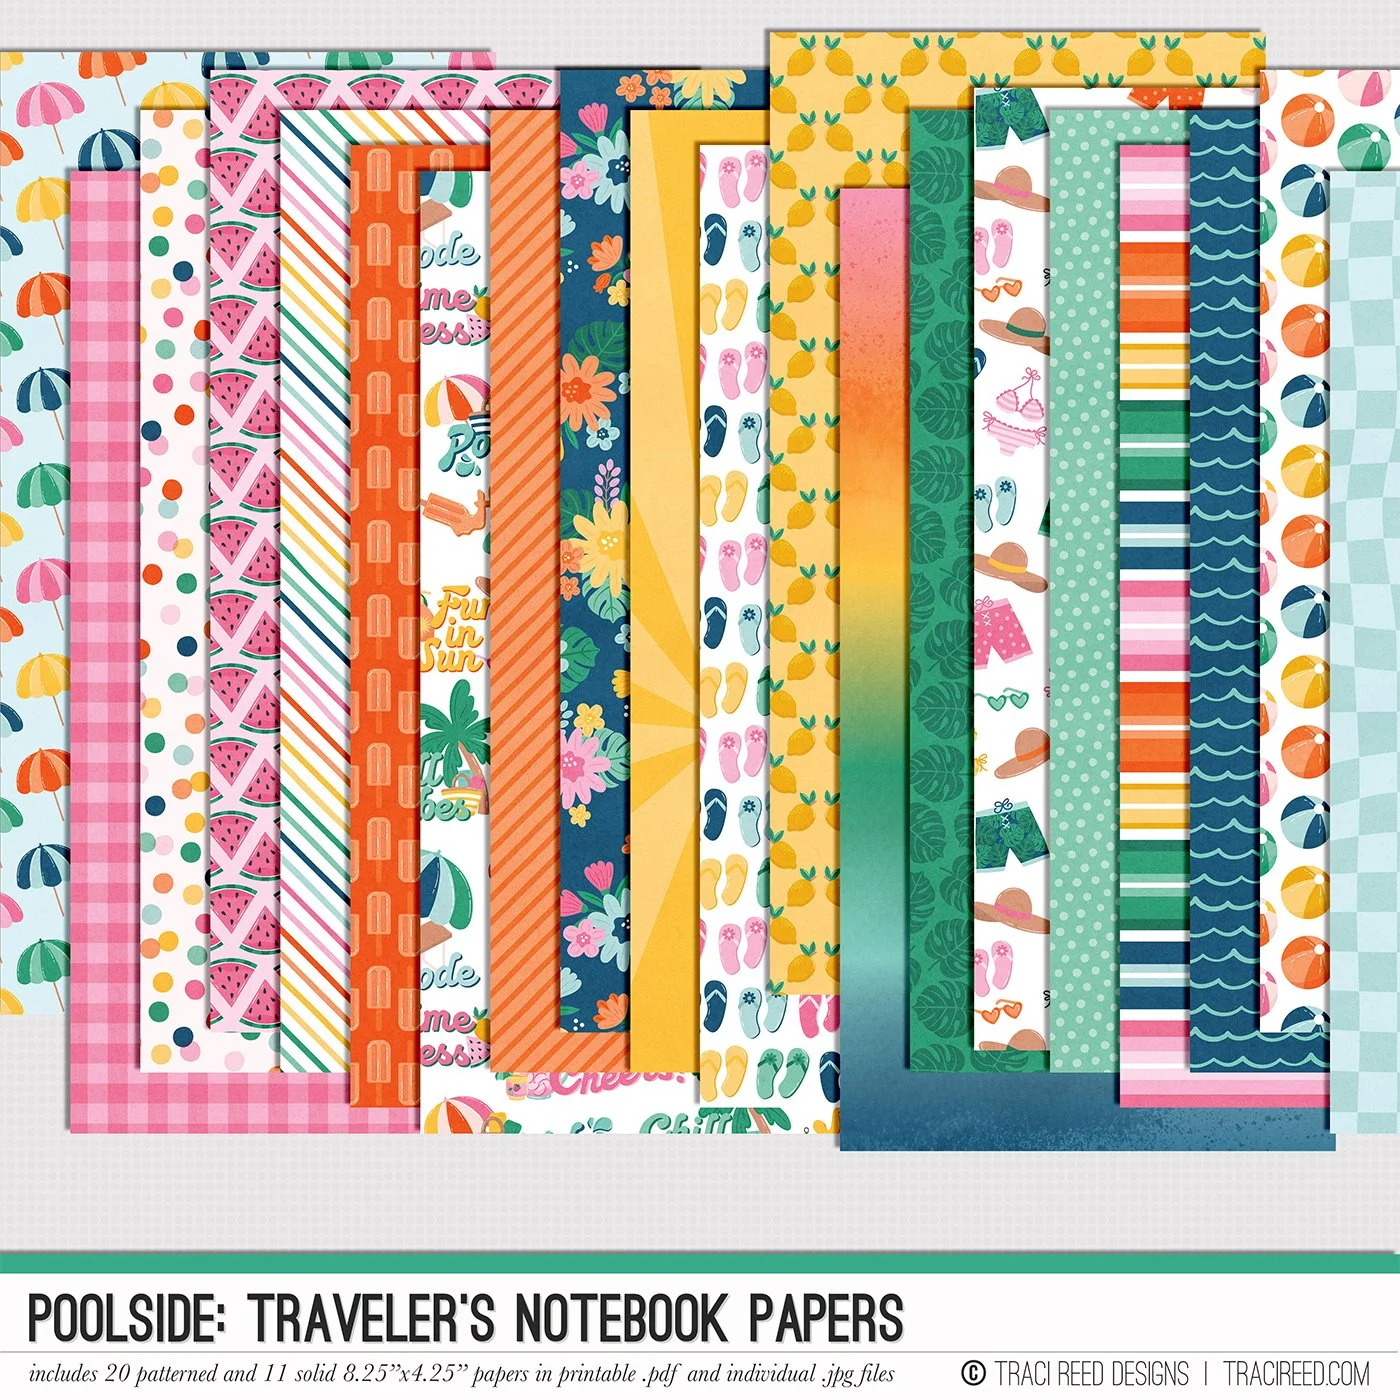
Hello! This is Tara here for the Traci Reed Design Team. I am going to be walking you through my own process of creating with bold patterned papers. I will be working with the newest release from Traci, Poolside! Have you seen this collection yet? It’s AMAZING!!

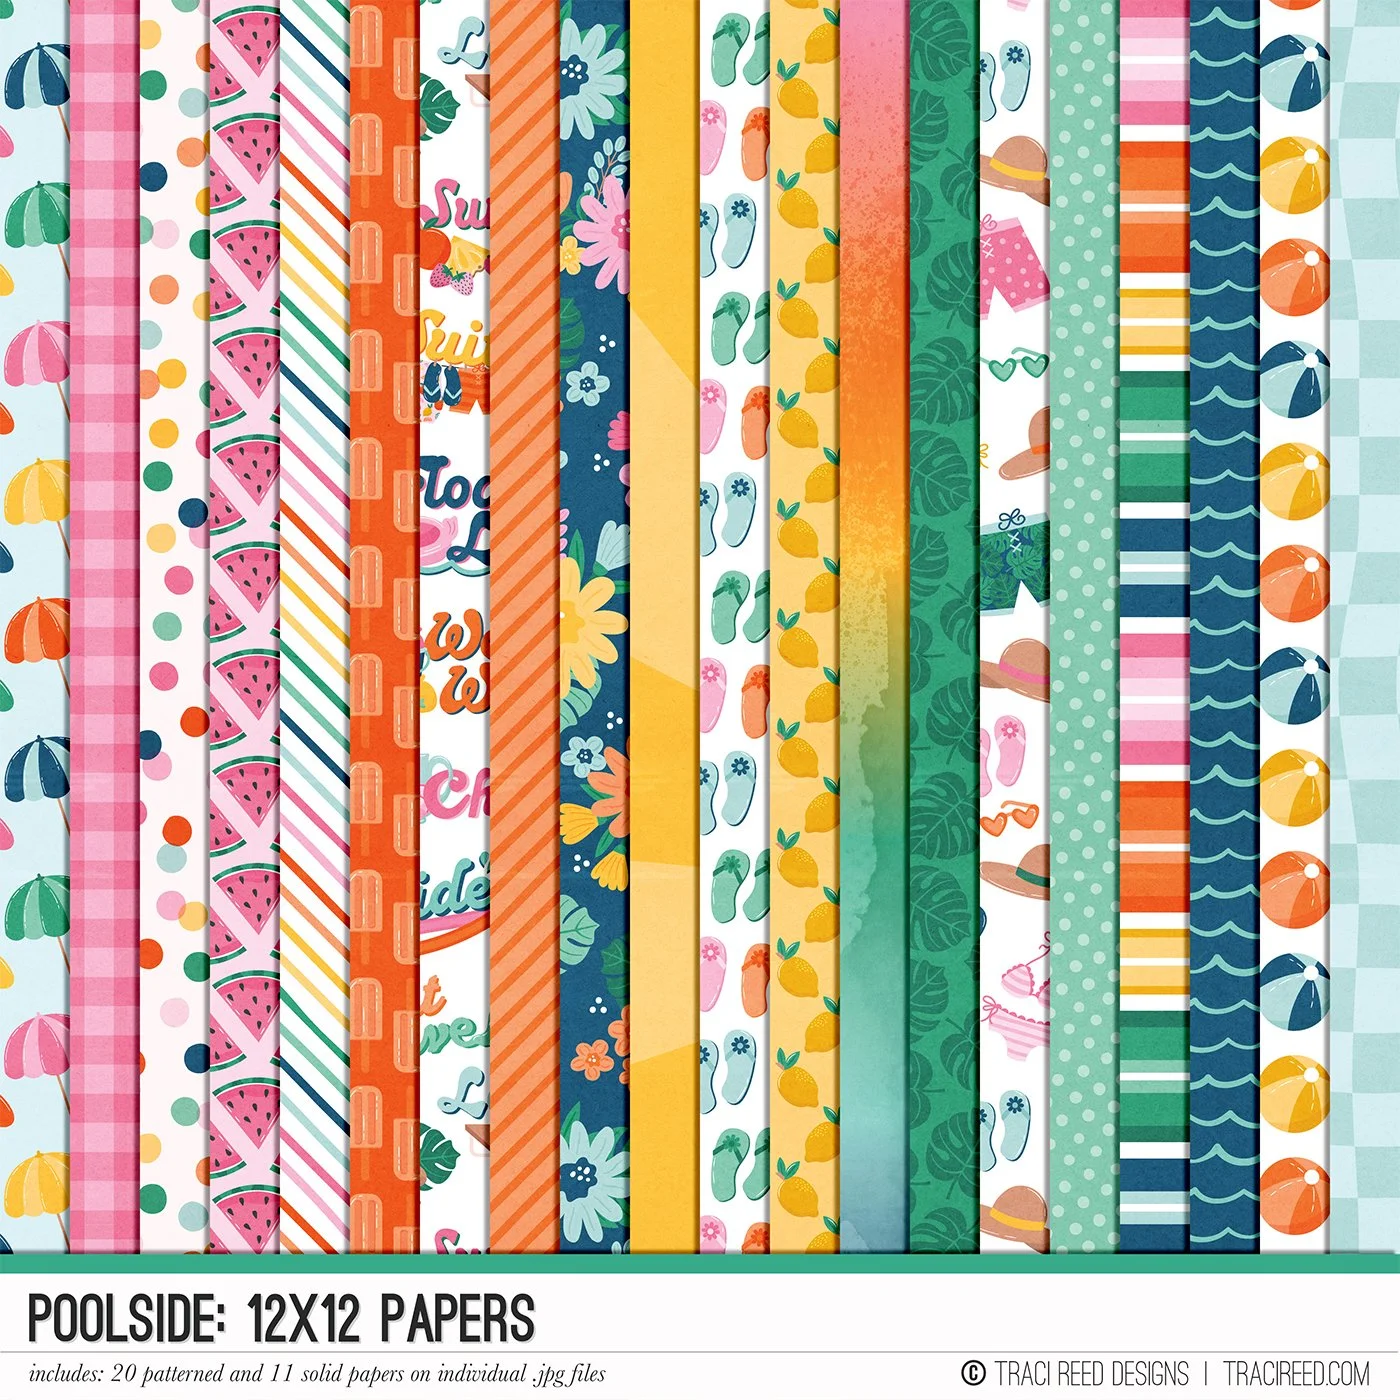
I adore patterned papers and as one of the hybrid designers for this team, I was so excited to be able to play with these papers. It’s as if Traci knew it was my birthday month and gave me a present! I know it can be daunting to work with beautiful papers! I tend to hoard them myself! The best thing about working with a digital collection is that you can print as often as you like. That takes out the worry of ruining papers!
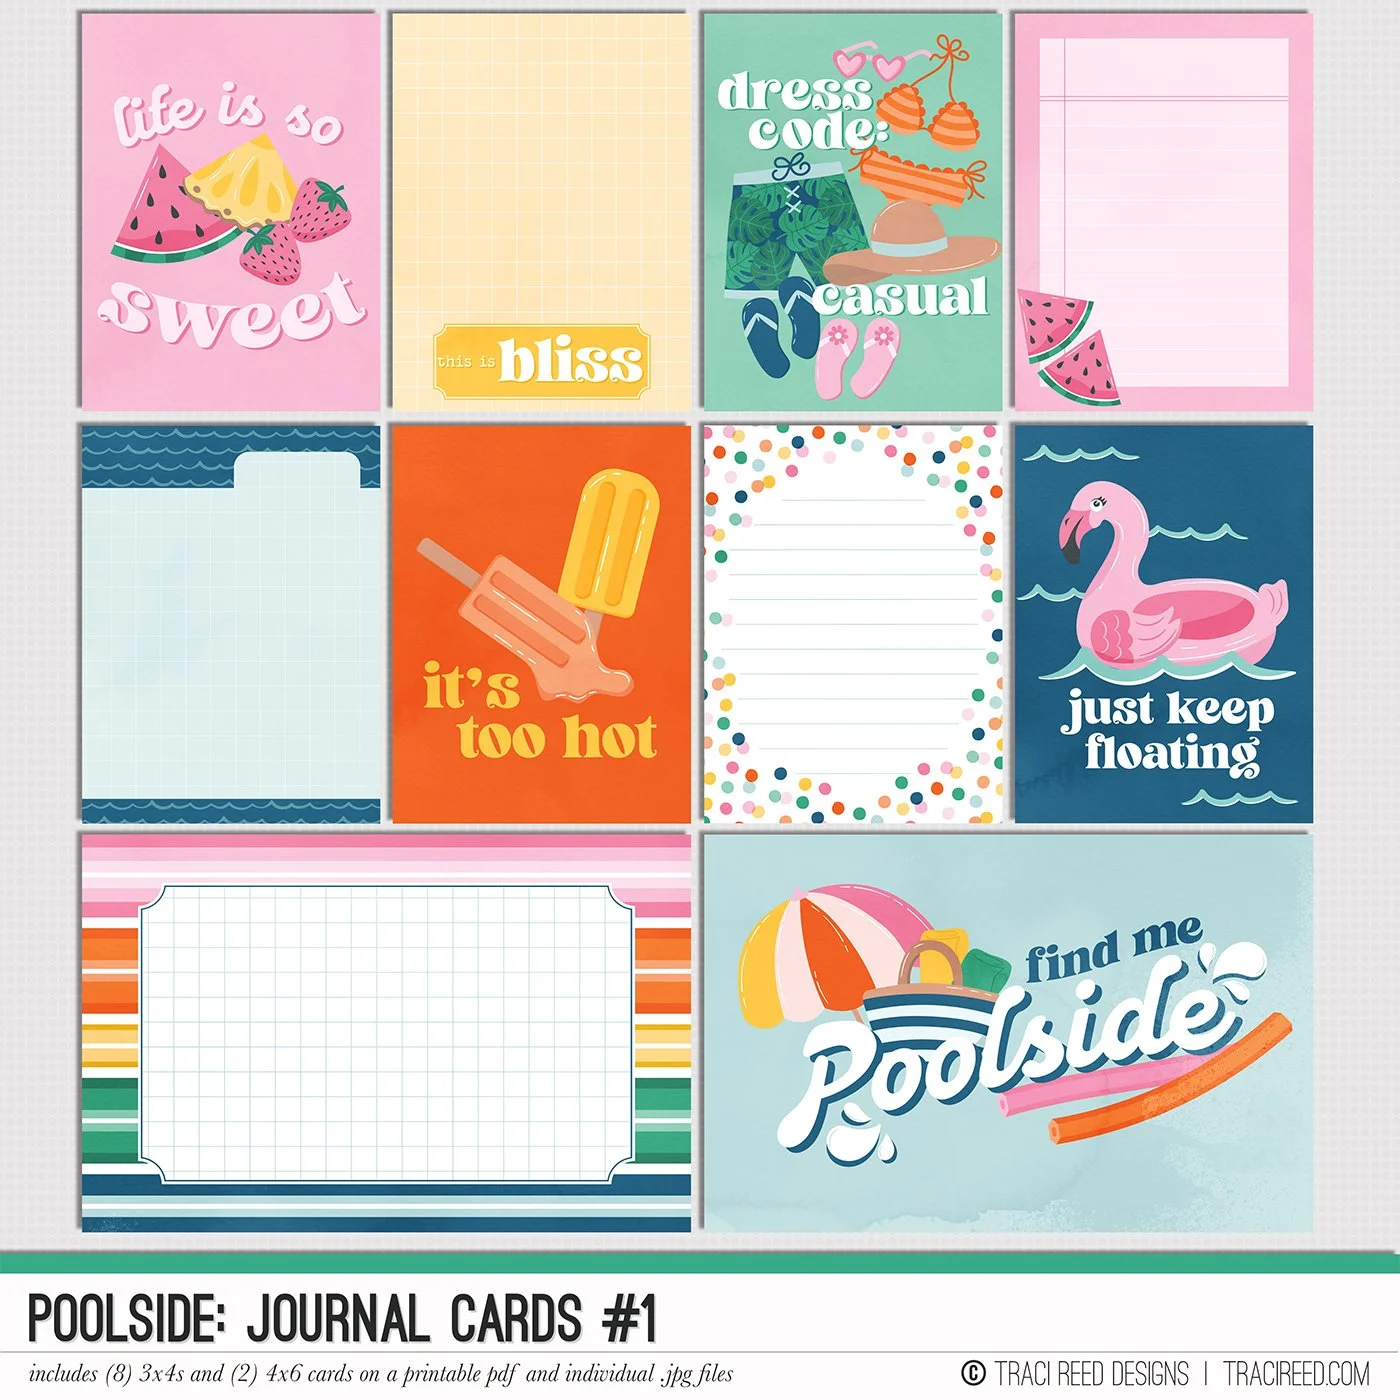
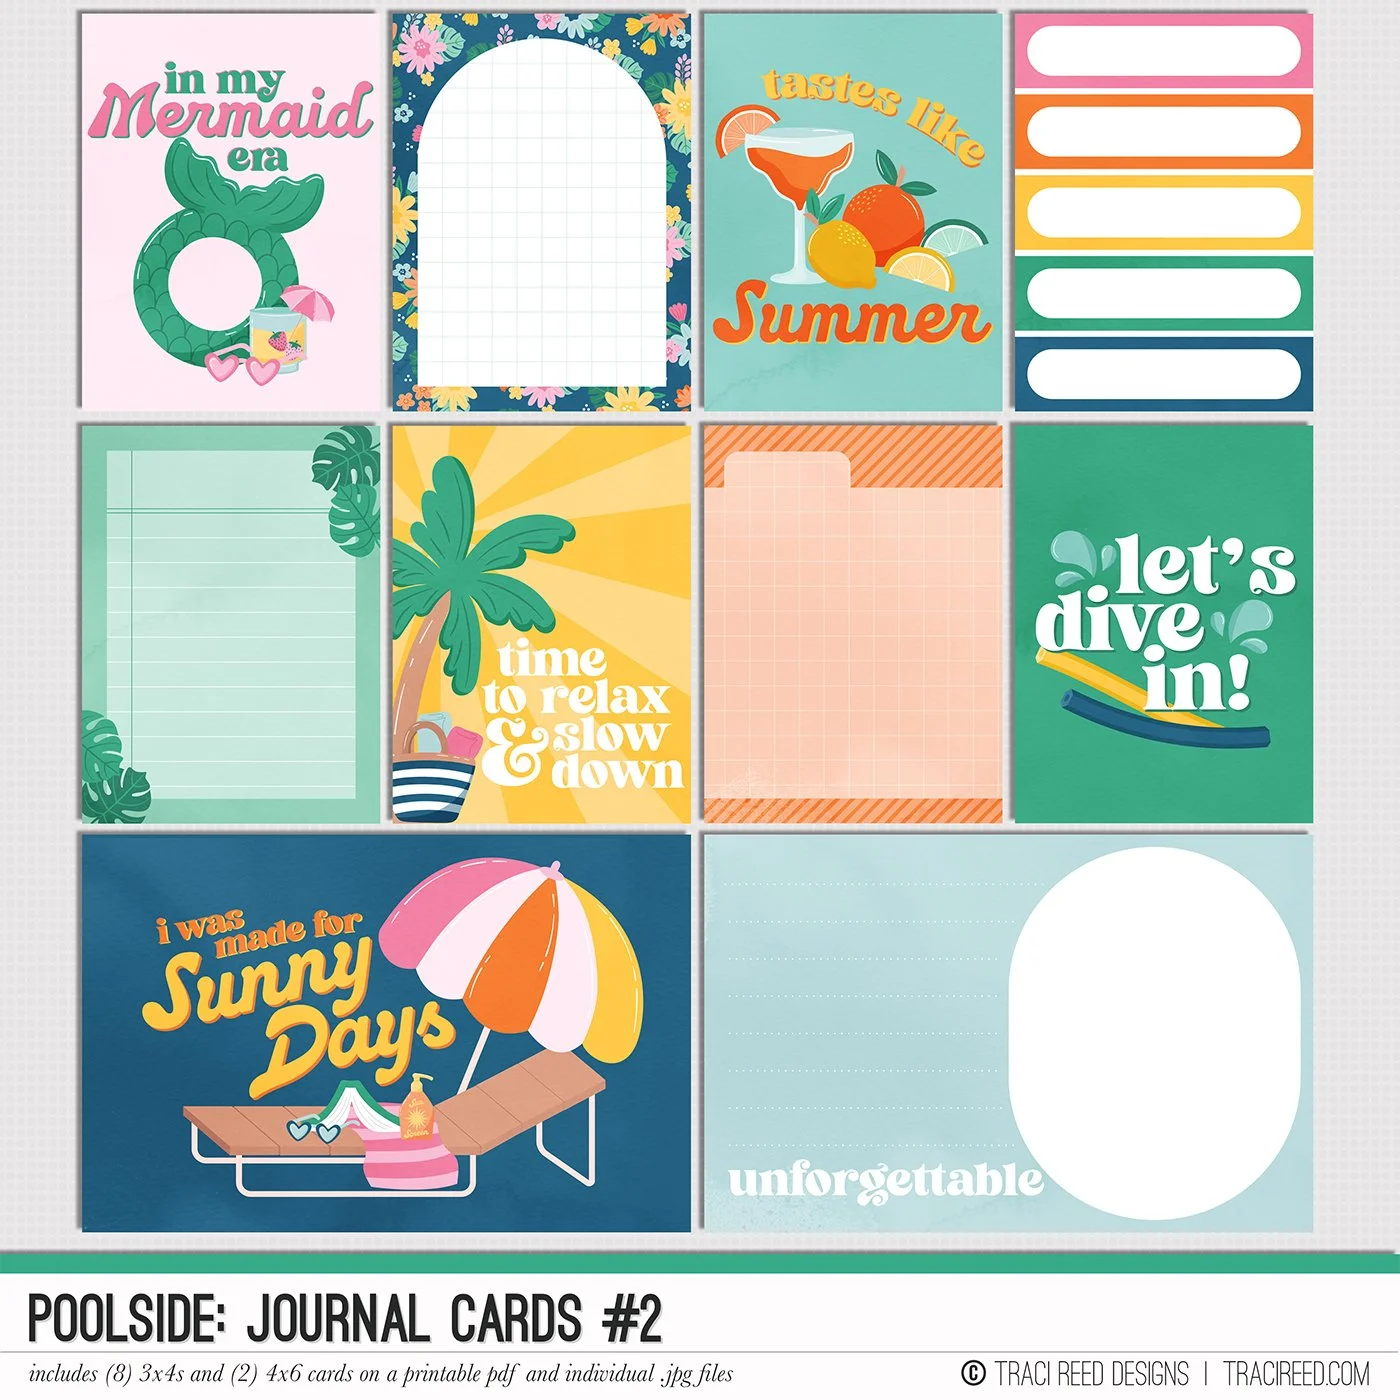
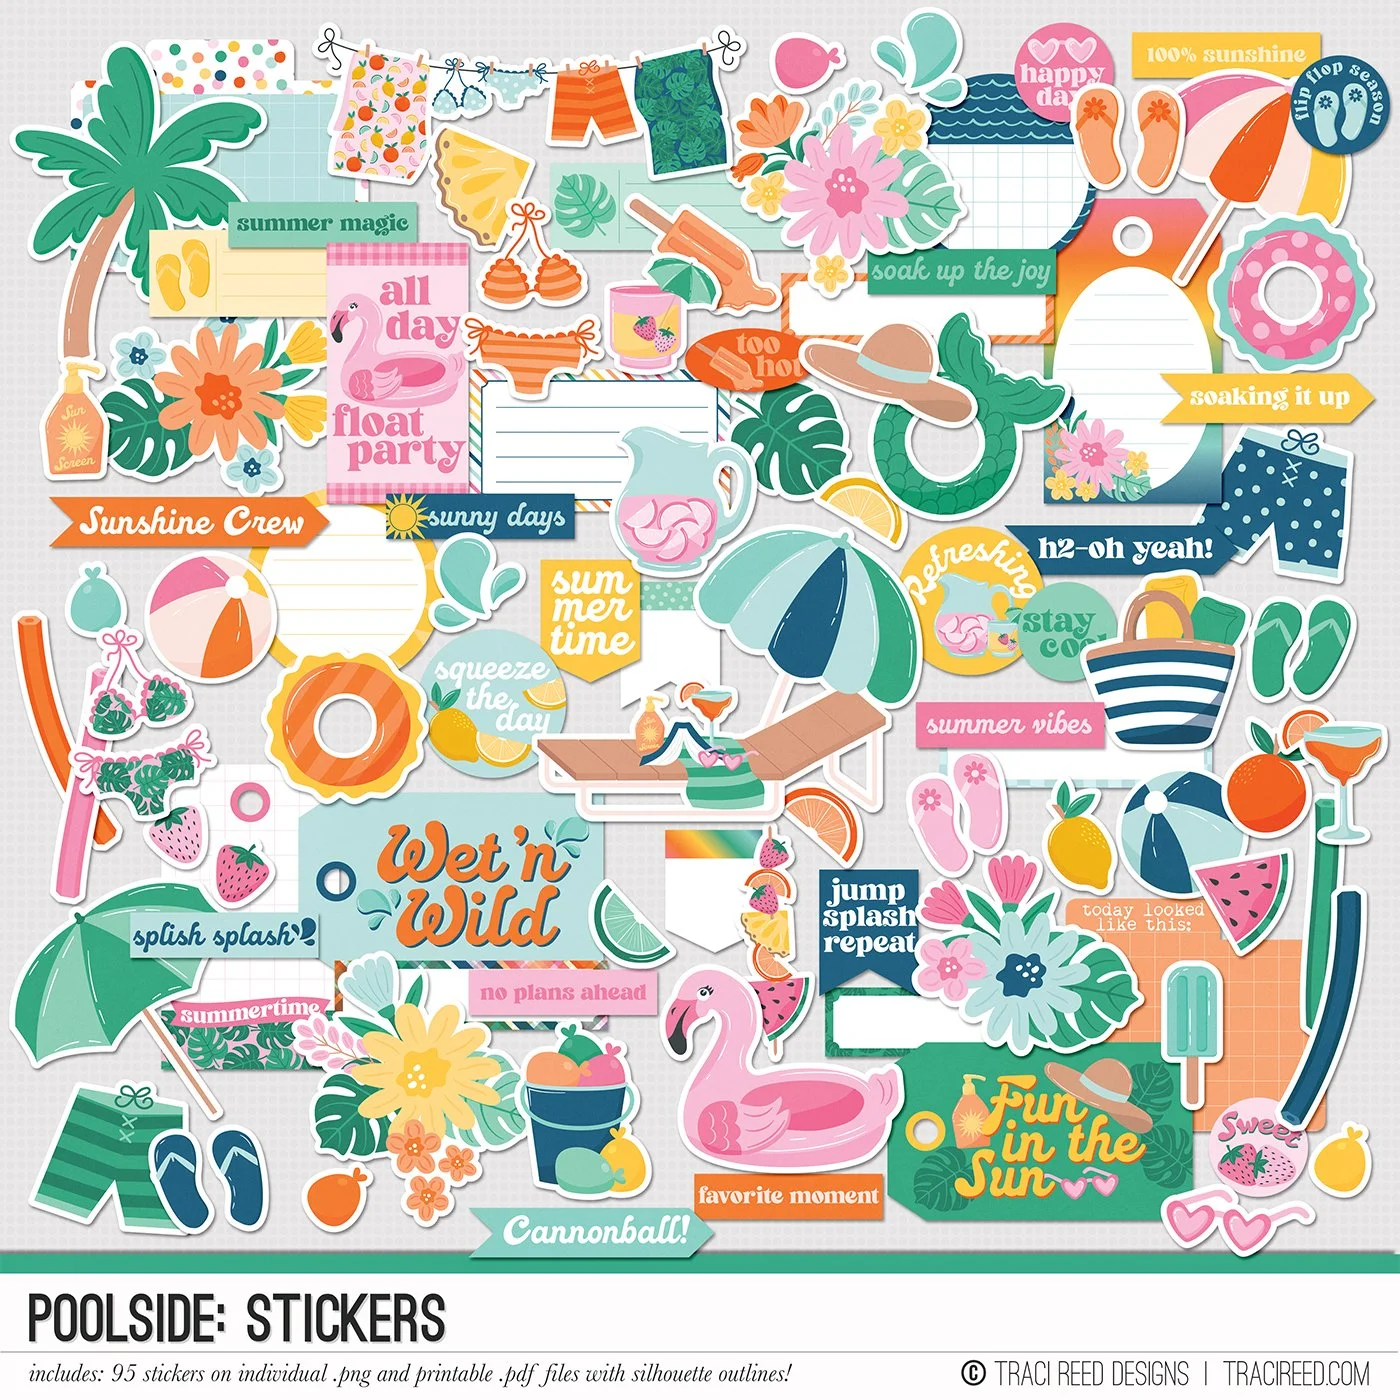
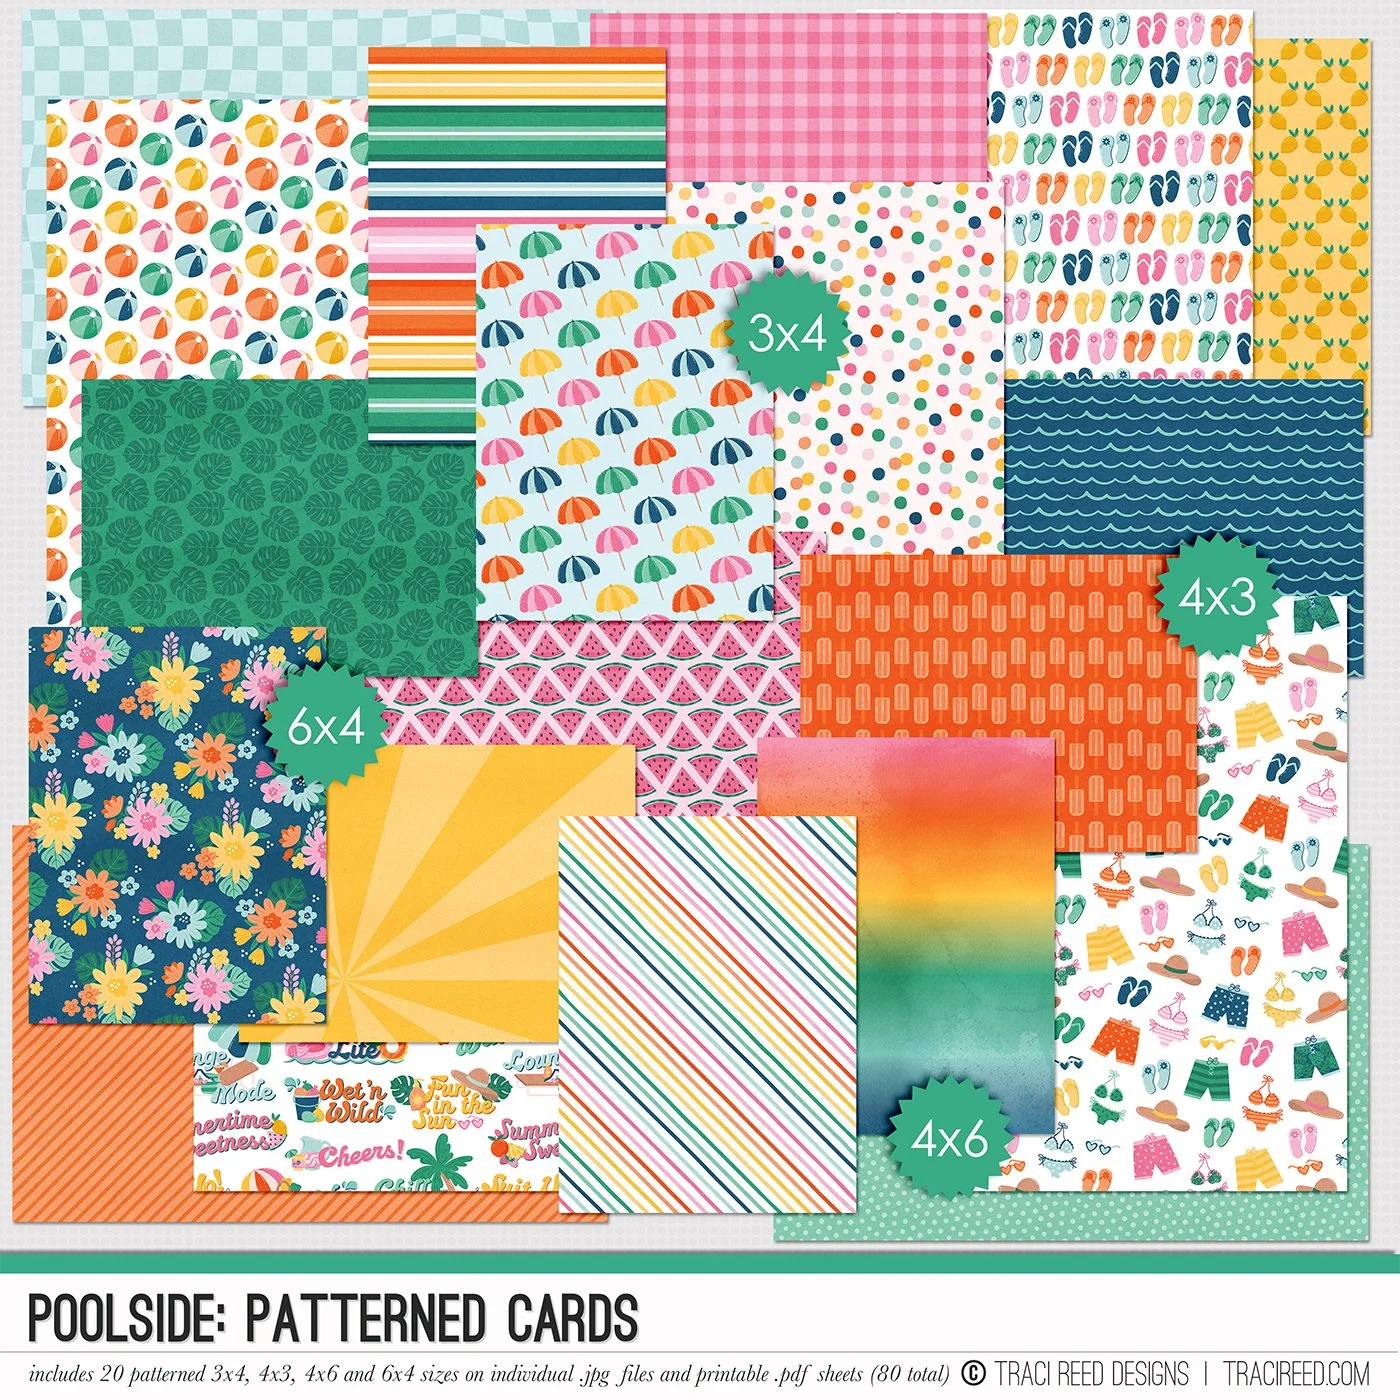
One way you can work with bold patterns is to print smaller versions and Traci has already made that easy for us by creating patterned cards! I printed these and the stickers out first. For my first layout that I created using the cards, I started with a plain sheet of smooth, white cardstock. I added a little mixed media using the ink smooshing technique and some splatters in the same color of ink. Next, I chose three patterned cards that I thought would showcase my photos well. I also used a scrap of a 12x12 pattern that I printed from the collection to mat my photos. I staggered those patterned cards in the center of my inked background and began to build embellishment clusters with the stickers and the fabulous titles that you can receive free if you buy the digital kit bundle. I layered up my embellishments with foam adhesive. I included one of the journaling circles in one of my embellishment clusters.

For my second layout, I build upon this concept a little bit. I pulled in some more of the patterns with light backgrounds and two striped patterned cards. This time I lined up the cards along the left hand side of a piece of black cardstock and pushed the striped cards inwards a bit using the stripes to anchor my photo. Again, I added one of the titles to my layout and built a visual triangle with the title and embellishment clusters. Using black cardstock as my background allows those patterns to take center stage on my layout but also gives your eyes a place to rest as well.

For my third layout, I decided to use patterned paper as my base. I chose the pink gingham and added light blue acrylic paint with a brayer and a darker blue acrylic paint with a stencil. Creating this “white space” in the middle of my background allows me to use lots of other colors to create a focal point for my photo. I anchored my photo with a 1/4” strip of the striped paper and journaled on a tag from the collection. I love to stitch on my layouts so I added a scalloped border and cut away a triangle from the top right hand side of my layout to create a cutaway cluster of the floral stickers.

I would also like to talk about the layout that I created for the Design Team YouTube Hop that took place on June 8th. I printed the sunburst patterned paper and stitched in between the rays with a matching yellow embroidery floss. I used 8 of the patterned cards to create small triangle that frame my circular photo. If you’d like to see this layout come together, here’s the link to the video. Please make sure you also watch the rest of my team’s videos, these ladies are so amazingly creative and you’ll be super inspired!

Finally, I want to share another layout with a mixed media background using this collection. You can create beautiful layouts that bring focus to your family’s memories and use patterned papers too. It’s easy enough to do when you have the right patterns that help you build the stories behind your photos. You can watch this layout come together here.

I hope my post enables you to grab this collection for yourself. It’s great for all of your summer memories and stories!! ~Tara
The Poolside Collection