Create a Colorful Make Merry Step Card with Laura
Seeing as how I am primarily a cardmaker it was a no brainer that I had to make a Christmas card using the Make Merry collection. I used a cut file for a center step card which made it easier. However if you don’t have an electronic cutting machine here is a tutorial from Wendy Crawford that shows two different versions. You can watch HERE. Making a center step card whether it’s with a machine or not is very easy. Just make sure when you’re cutting pattern paper from the Make Merry collection that it’s in the correct orientation.

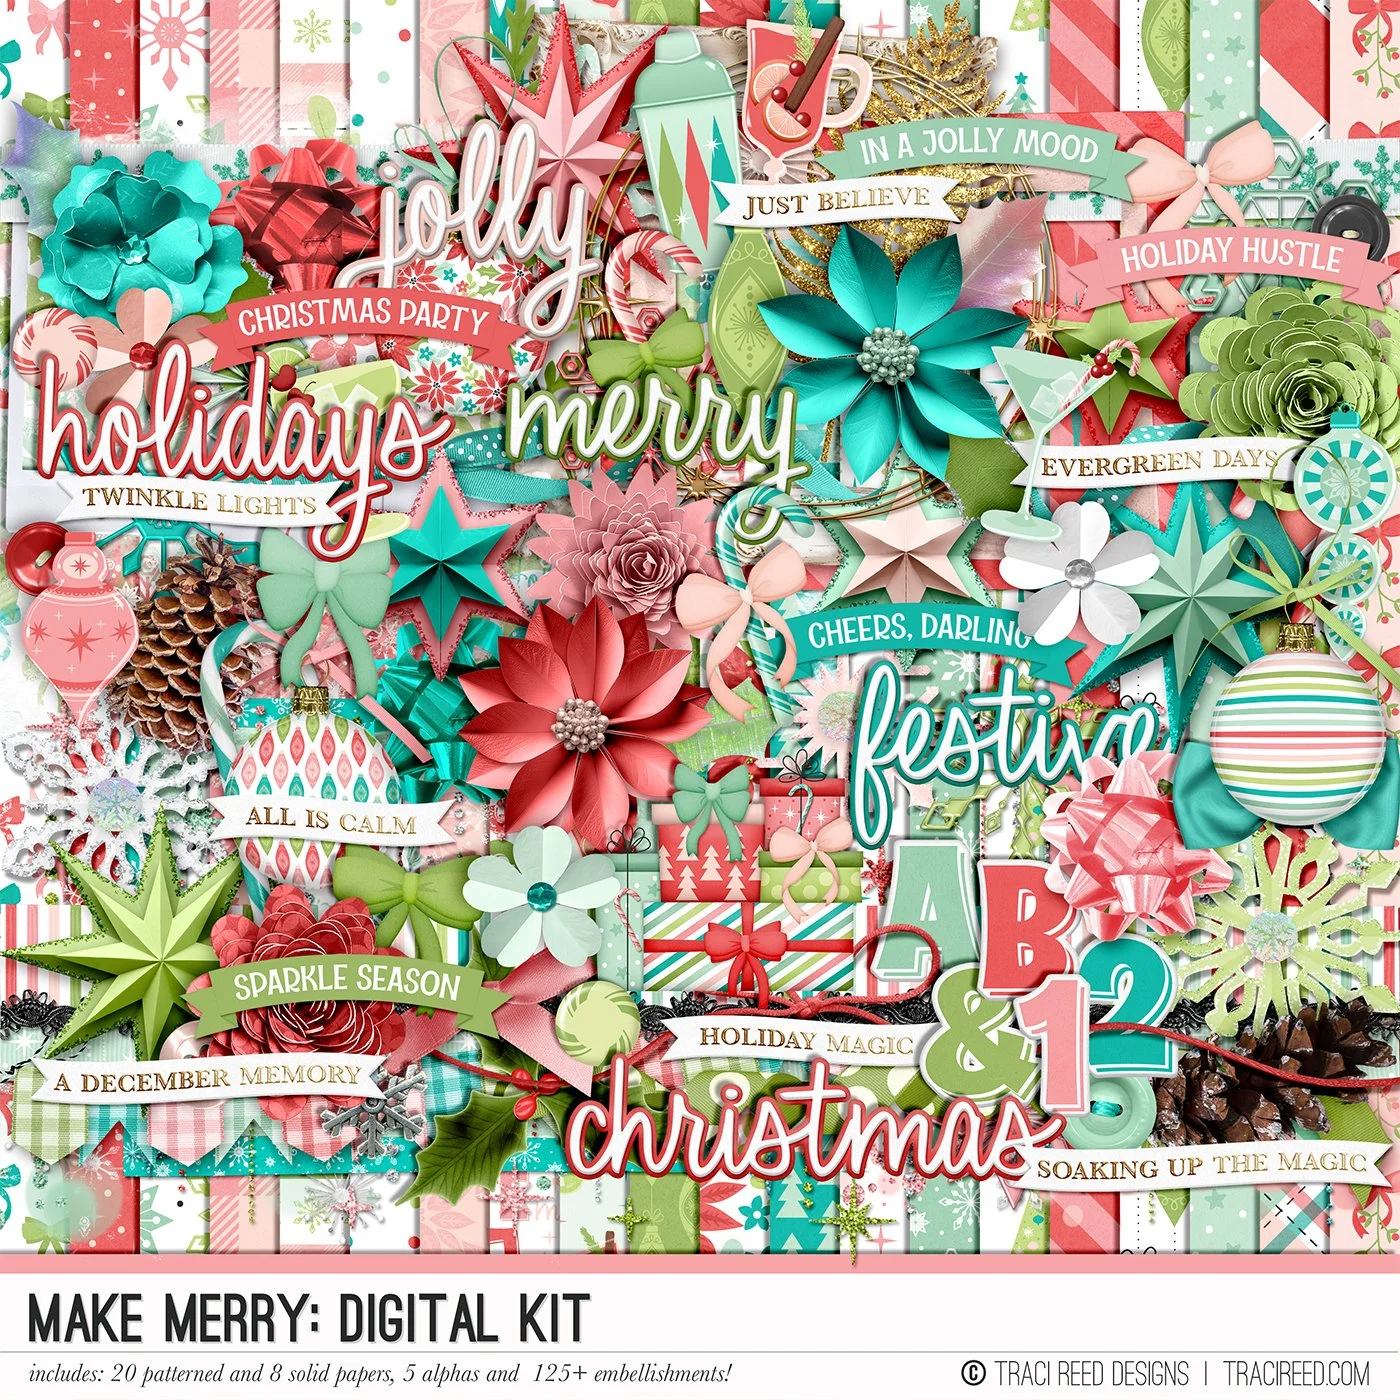
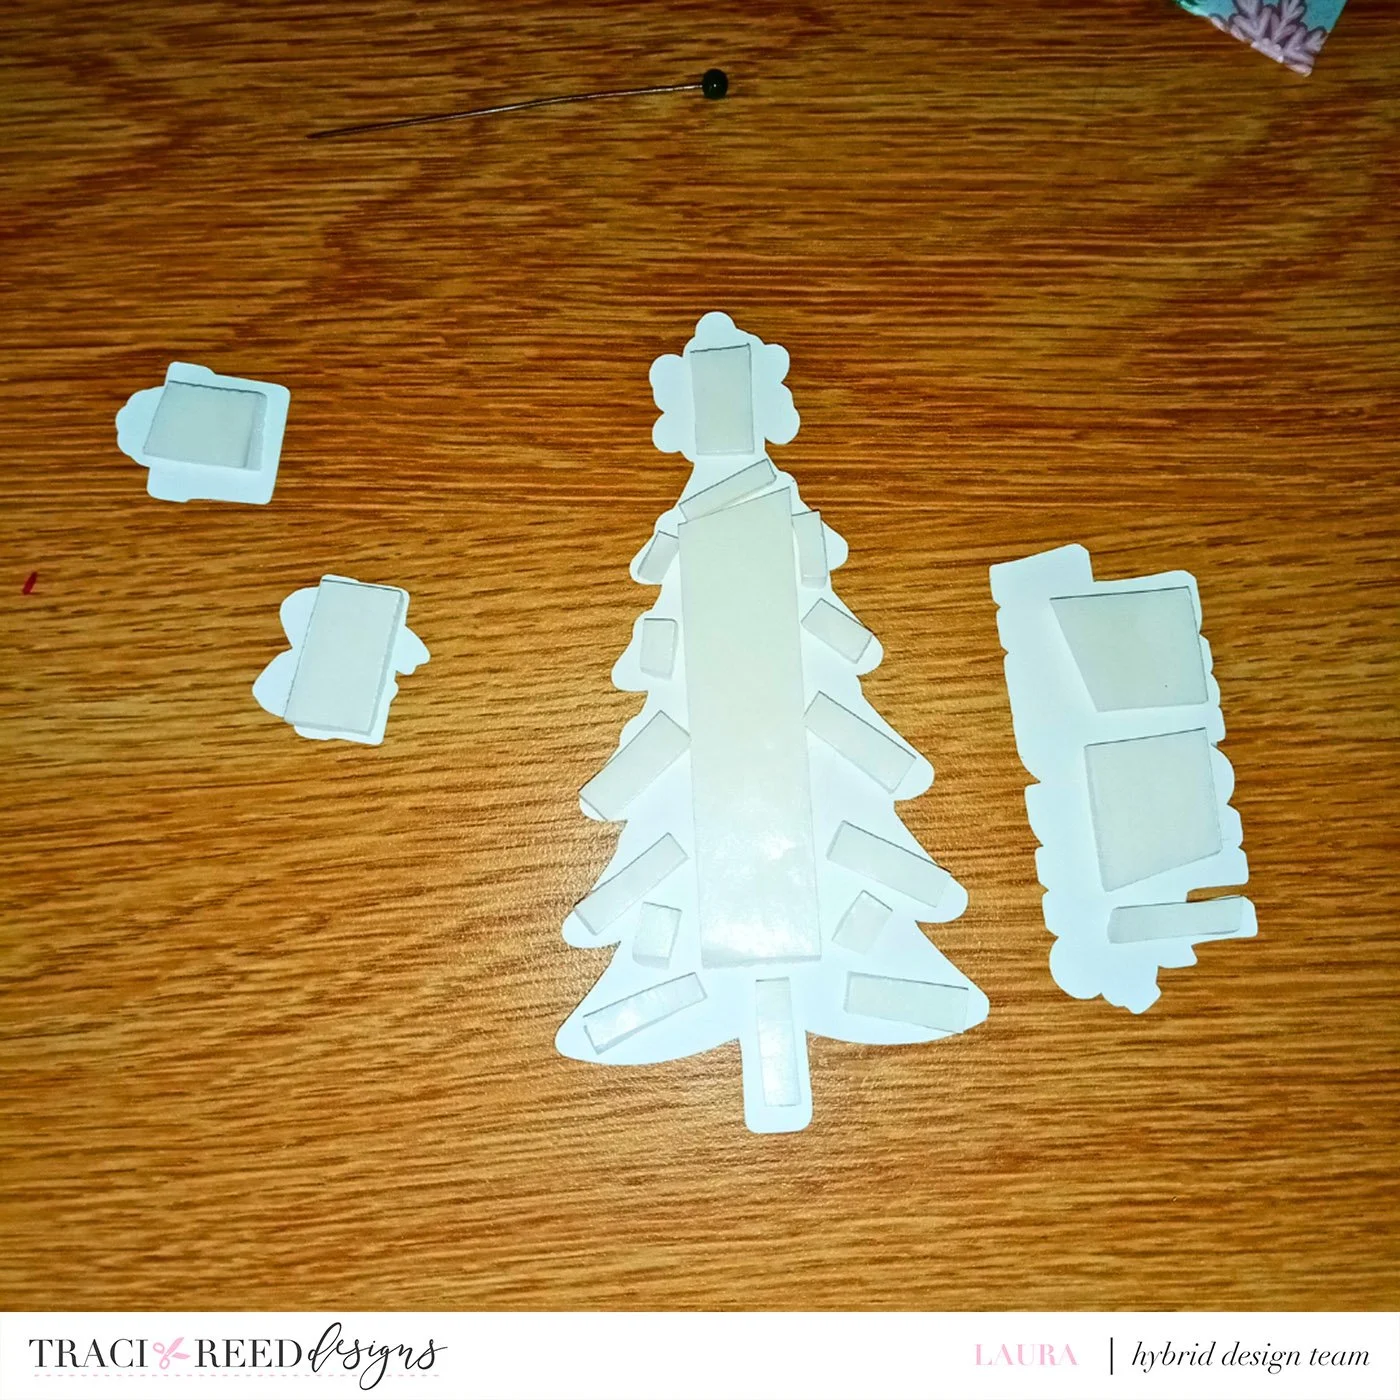
For the card base, I found colored card stock from my stash that matched closely with the dark teal that is in the Make Merry collection. I used that blue star pattern paper and dropped it in the cut file pieces. I made sure to adjust the pattern so it would match up. I like to make a mockup of my card in the design studio so I can make sure the elements are sized right.

I glued down the pieces of pattern paper in the correct spots on the card base. For the ephemera pieces I used thin foam tape to help them to stand out. This is completely optional though. For the sentiment since I wanted it to overlap the bottom of the tree I didn’t add foam tape. I used liquid glue on at the top to help secure it to the tree.
Now it just about adding the ephemera where I want them. I added the tree in the center and the presents on the front bottom squares.

At this point, I thought it looked just a little too plain for my liking. So I searched my stash for some gems and found some colorful ones that matched well with the Make Merry collection. I added them around that entire card.

So I took a step back to look at the card I just felt the tree needed a little something something. So I found these TINY red gems and added them to the dots (ornaments) and the star piece.

After that I thought why not take my clear glitter pen and go over the sparkles on the tree. This was very hard to get photographed by the way.