Make Merry Mini Album with Keepsake Box Tutorial from Ana

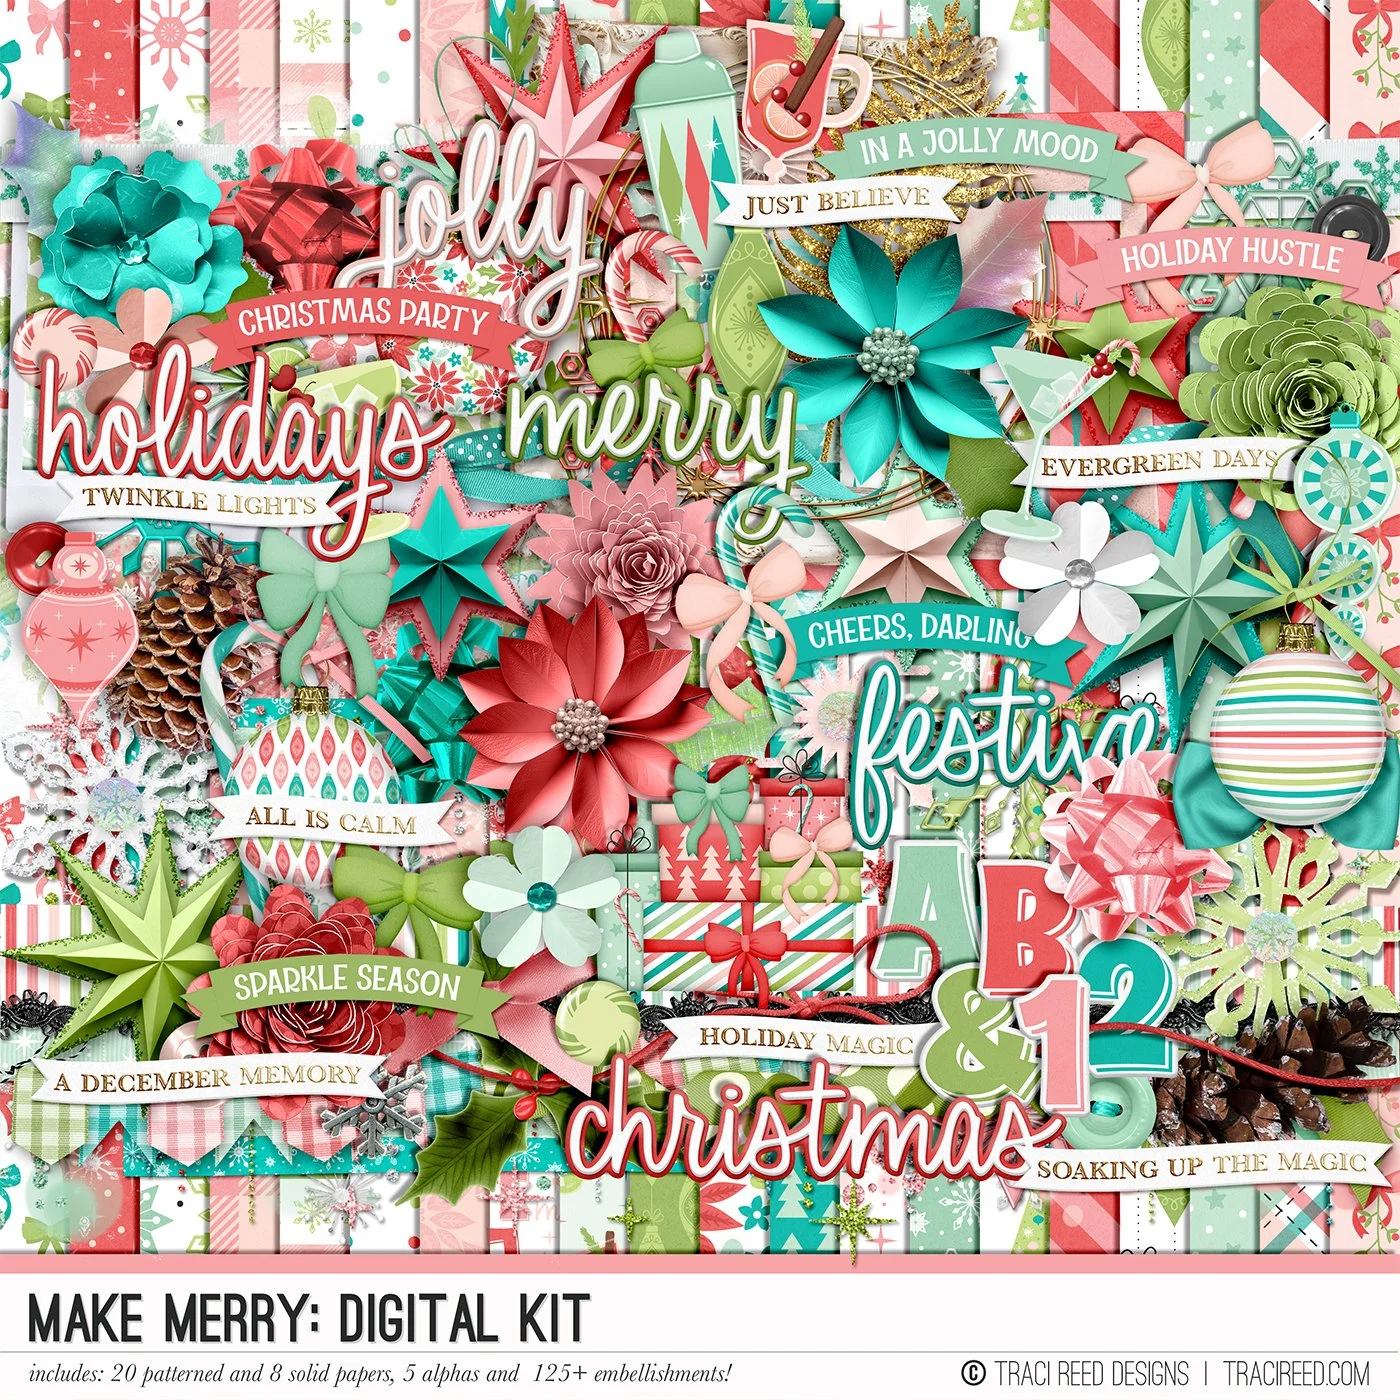
Here’s another fun little Christmas mini album packed with layers, texture, pockets, tuck spots and even a tiny keepsake box! I used my favorite 5 x 6.5 album style and filled it with frames, tags, gauze details, trims, and a shaker tree on the cover. Perfect for documenting merry memories or gifting!

I love making mini albums in different shapes and sizes, but I always circle back to this classic 5 x 6.5 style. It’s my go-to version for every collection I work with because they store so neatly and uniformly on my shelves and this is something my future self always appreciates!
This is also my favorite type of album to make because the scoring and binding are so simple. And since it’s Christmas, I made sure that this one is packed with extras!
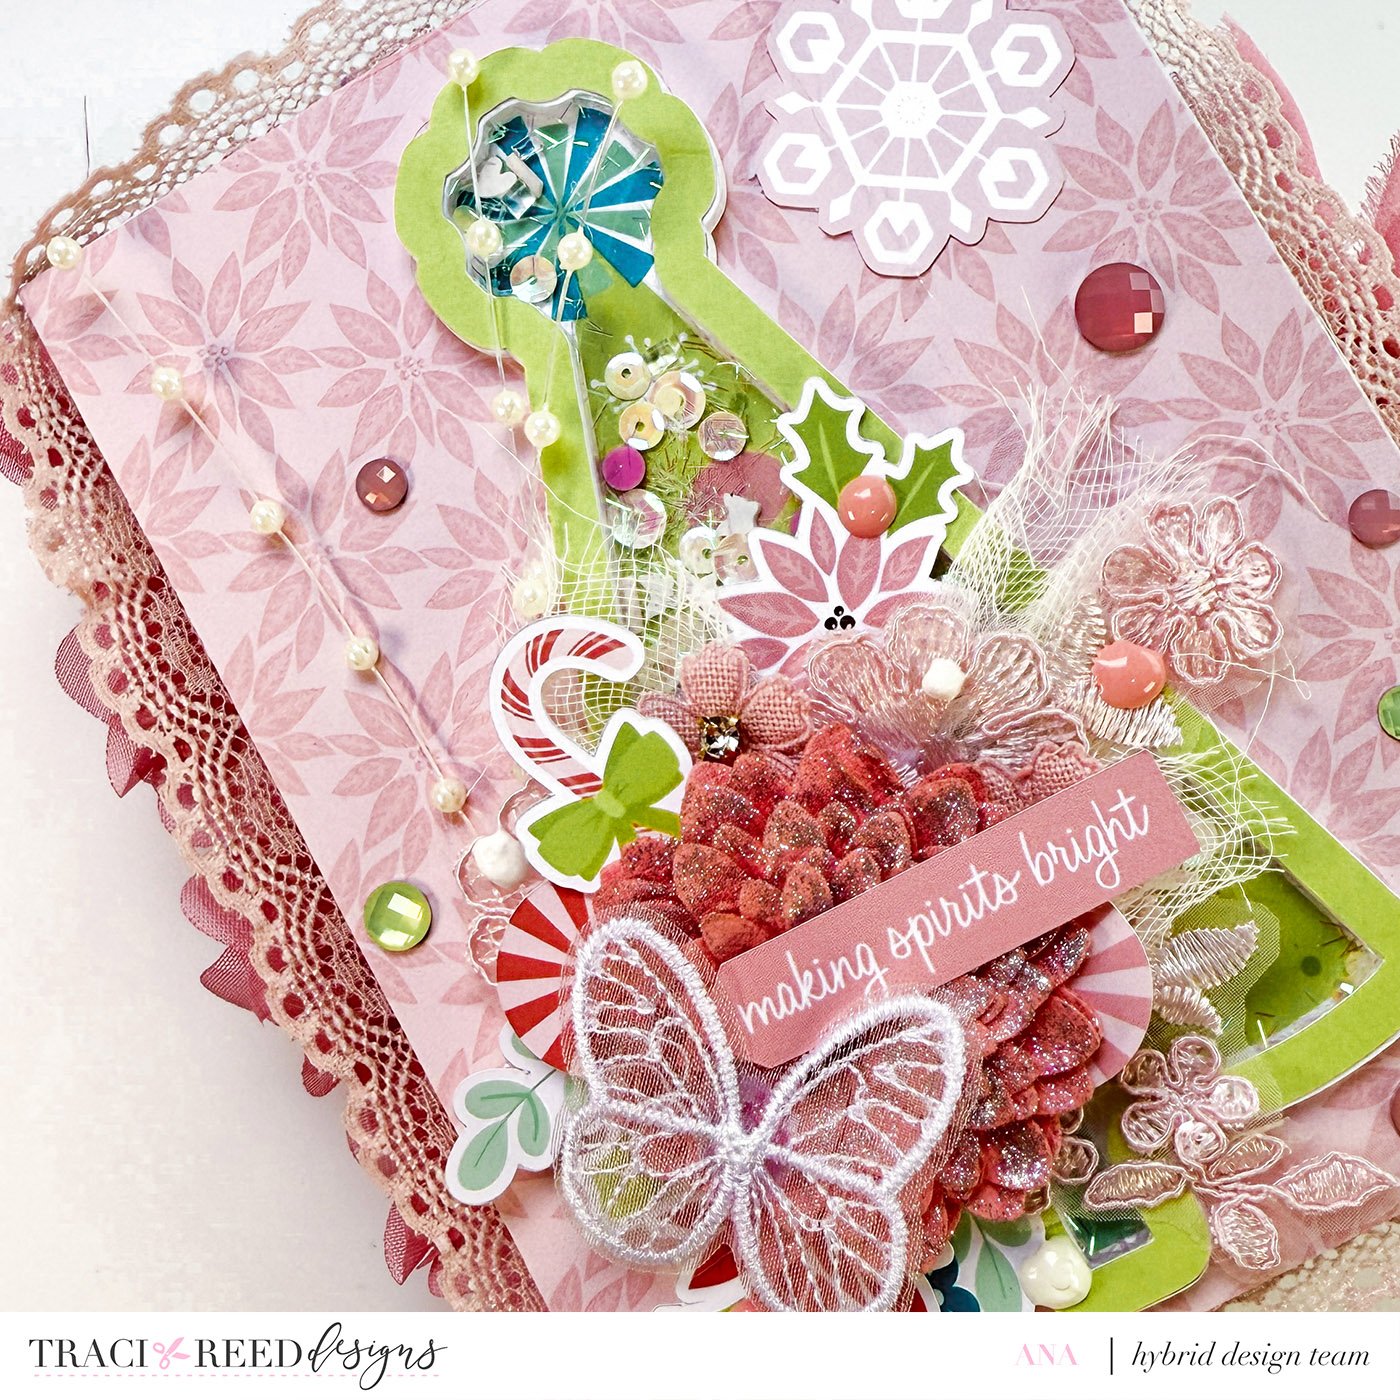
The Cover
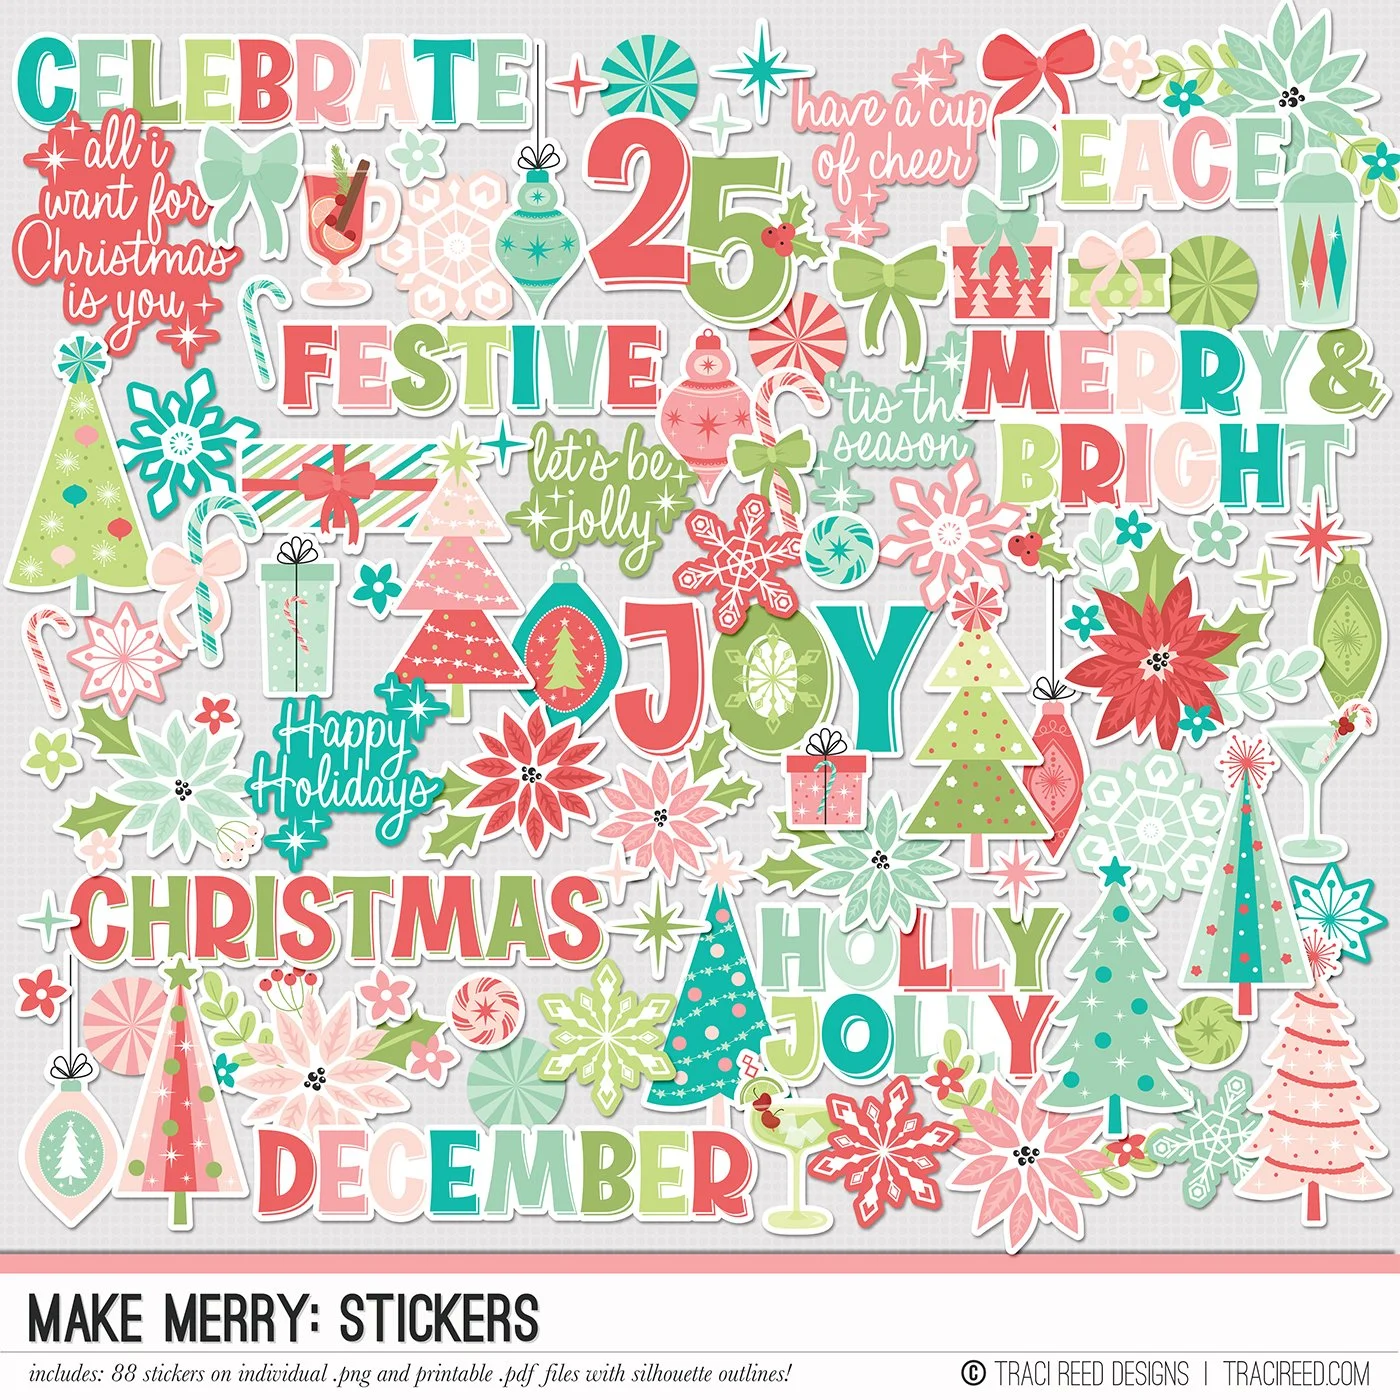
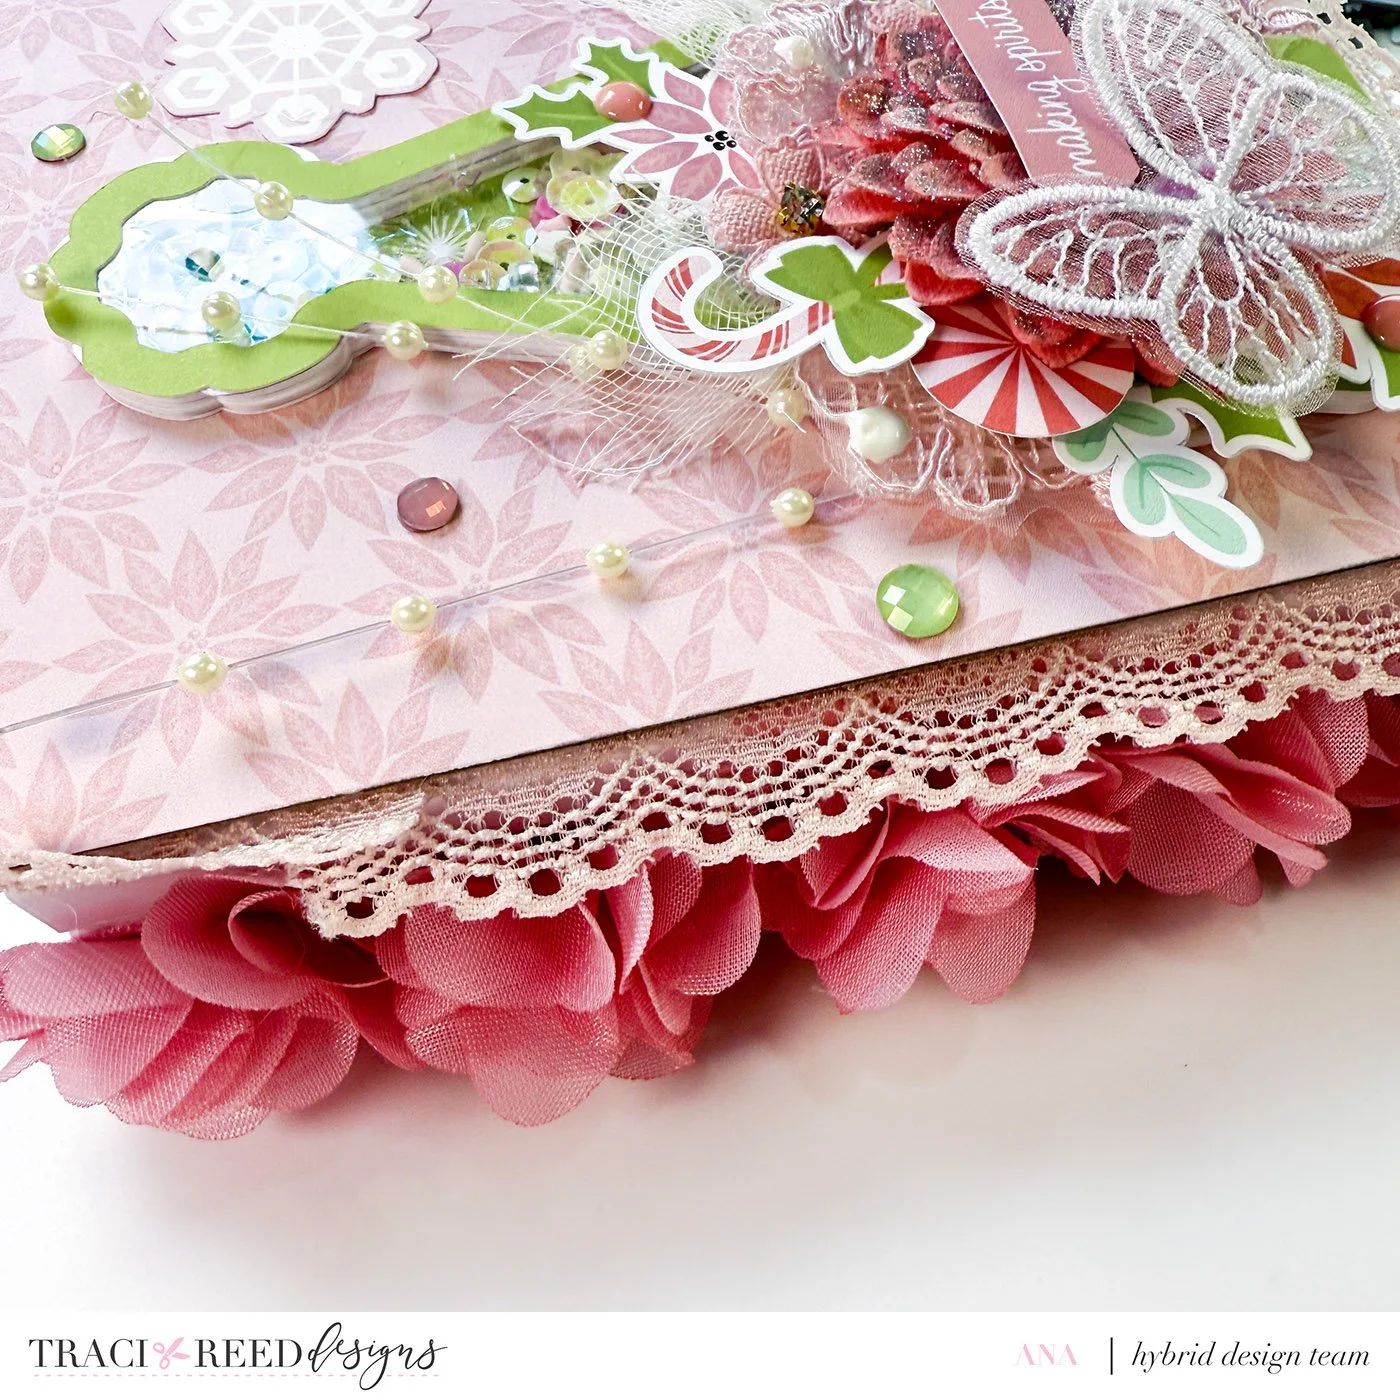
For the cover, I layered flowers, die cuts, sentiments, butterflies, enamel dots, pearl drops, and of course - a Make Merry shaker Christmas tree! I also tucked in lace and gauze for texture. Yes, gauze! A friendly reminder to check your first aid kit once in a while… expired gauze makes great craft supplies. Haha! You’ll also see little hints of gauze throughout the pages for a unified touch.
Prepping the Pages
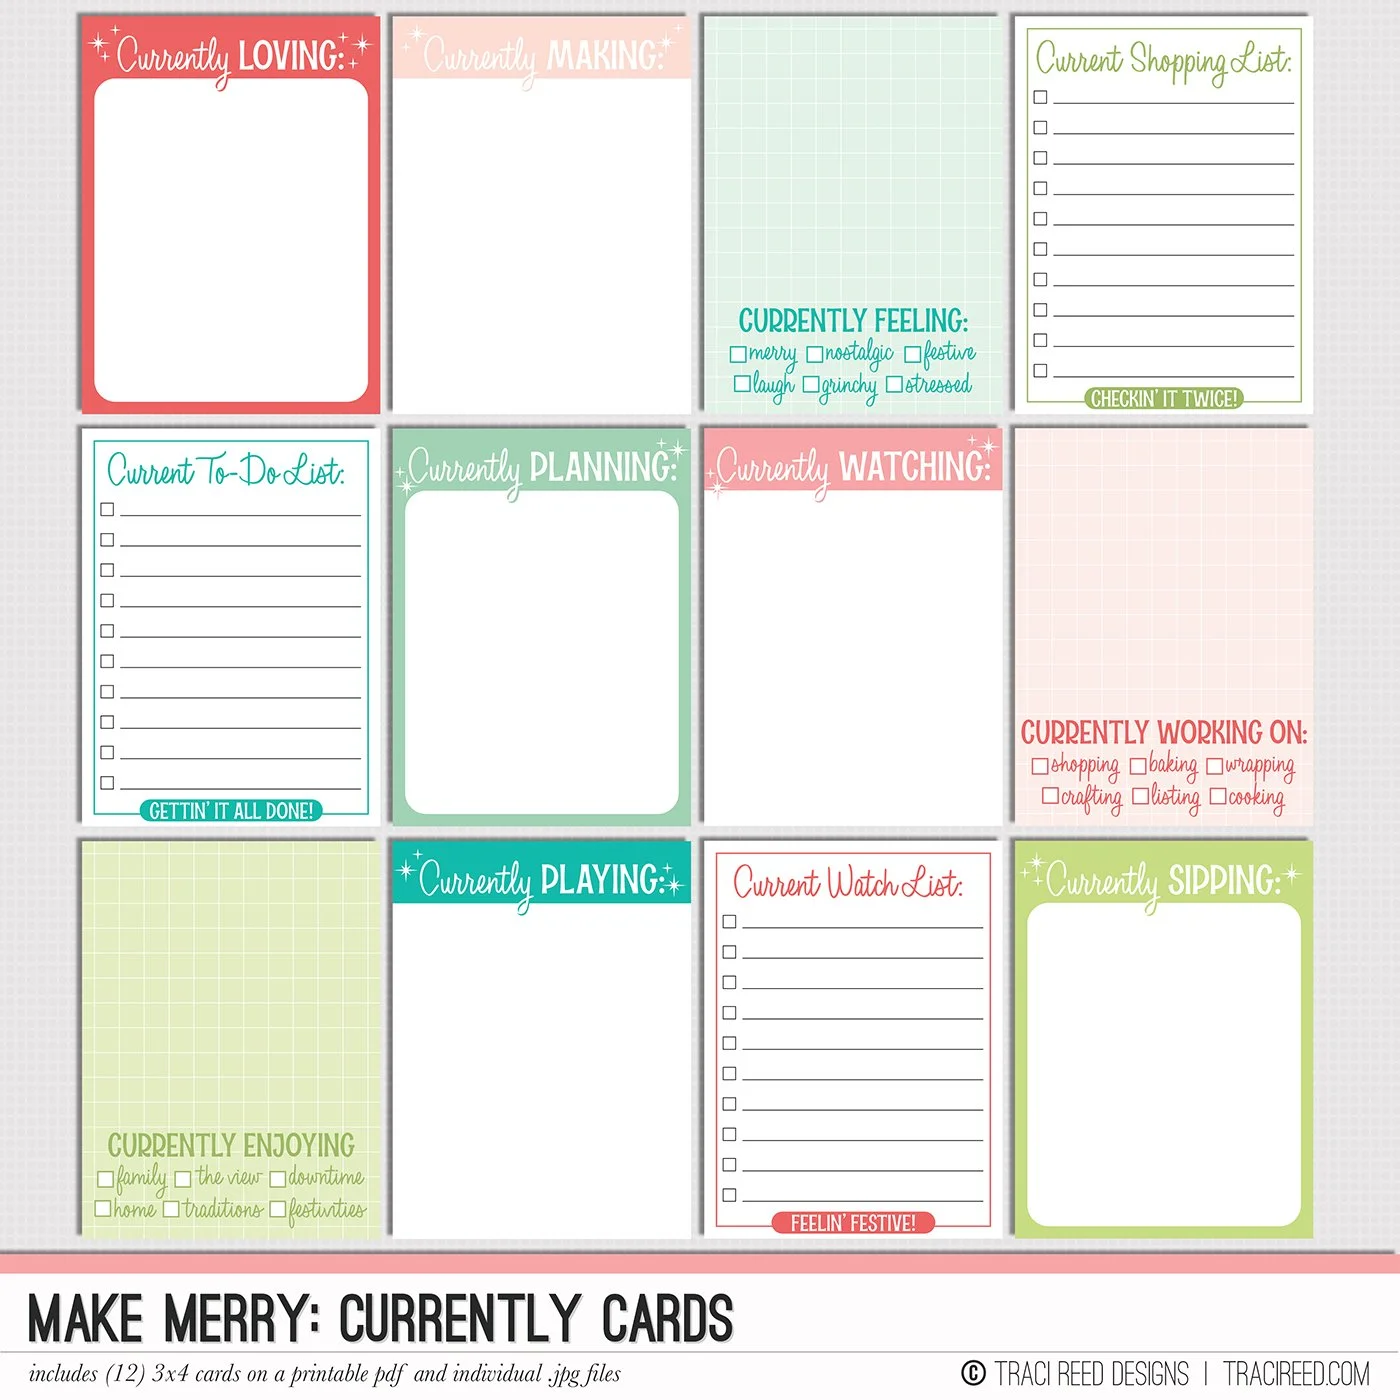
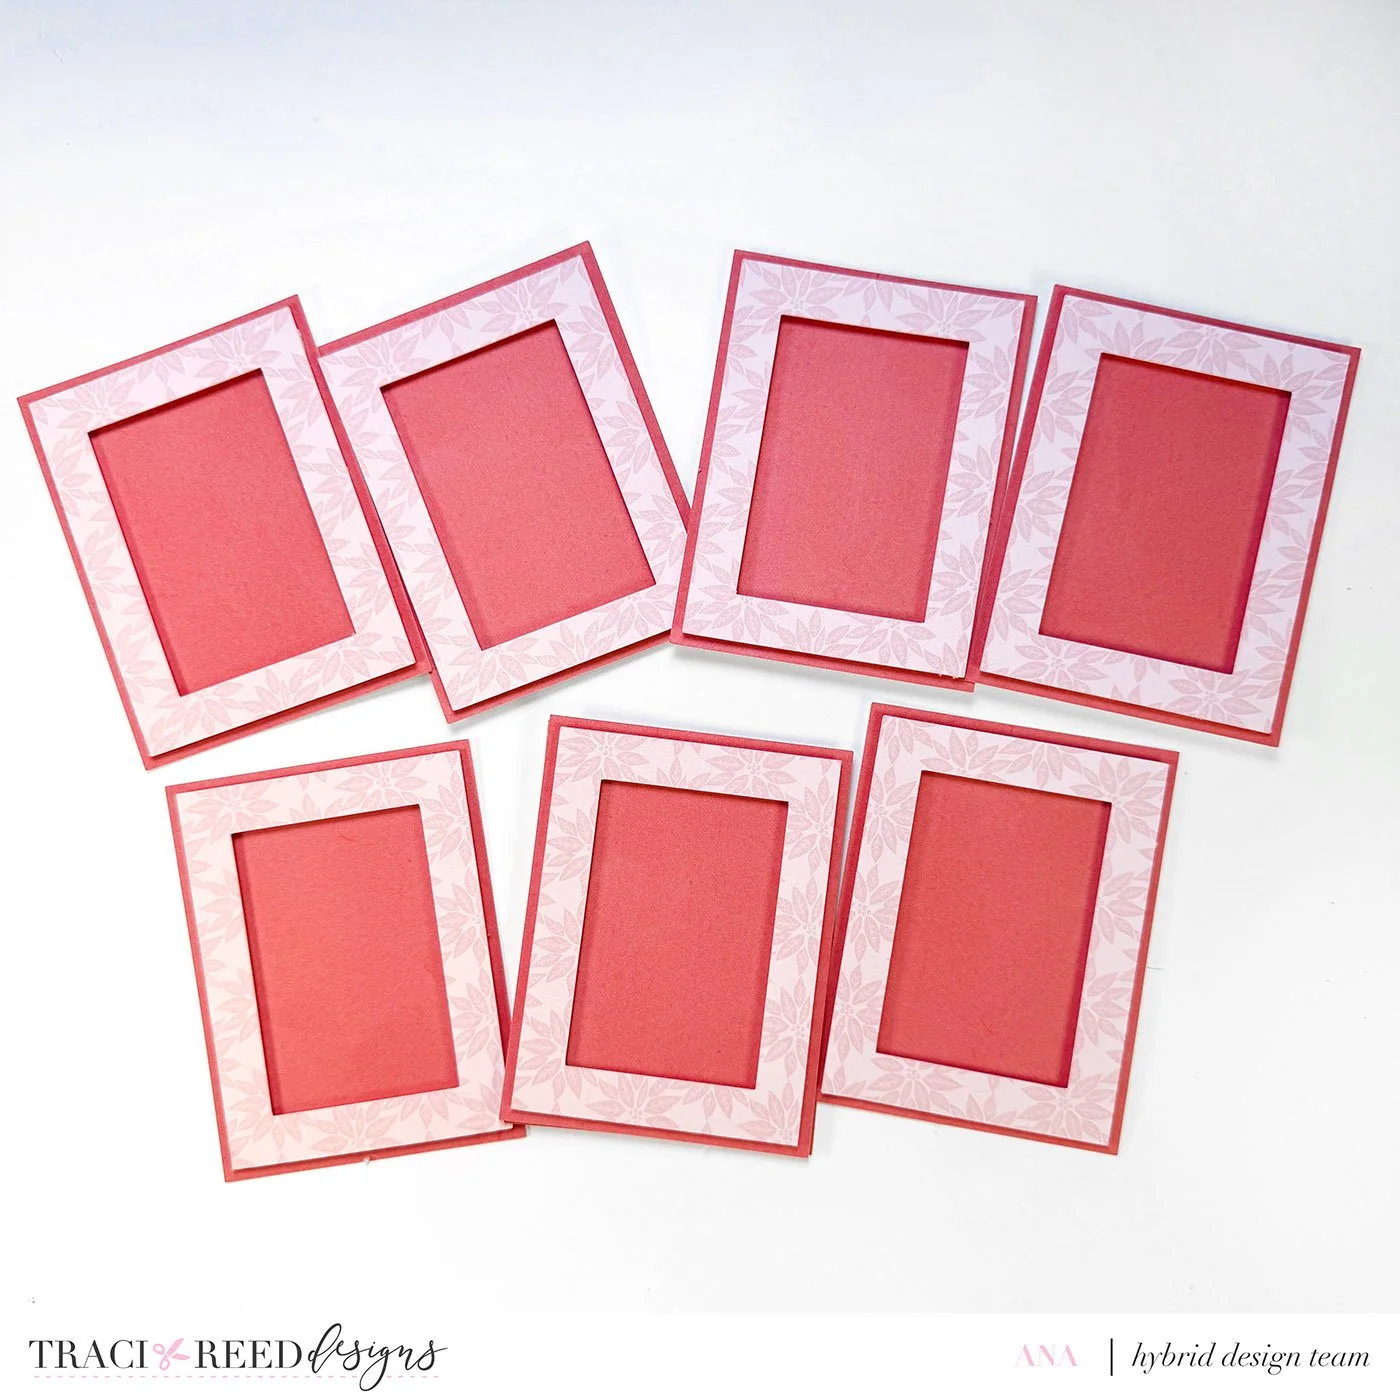
When making mini albums, I sometimes sketch my ideas, but most of the time, I like to go with the flow. I usually begin by cutting around 16 pieces of 3x4 frames using my Cricut, which perfectly fits two A4 sheets. For this album, I layered the frames onto 3.25 x 4.25 photo mats and set them aside so that they are ready to grab as I decorate.
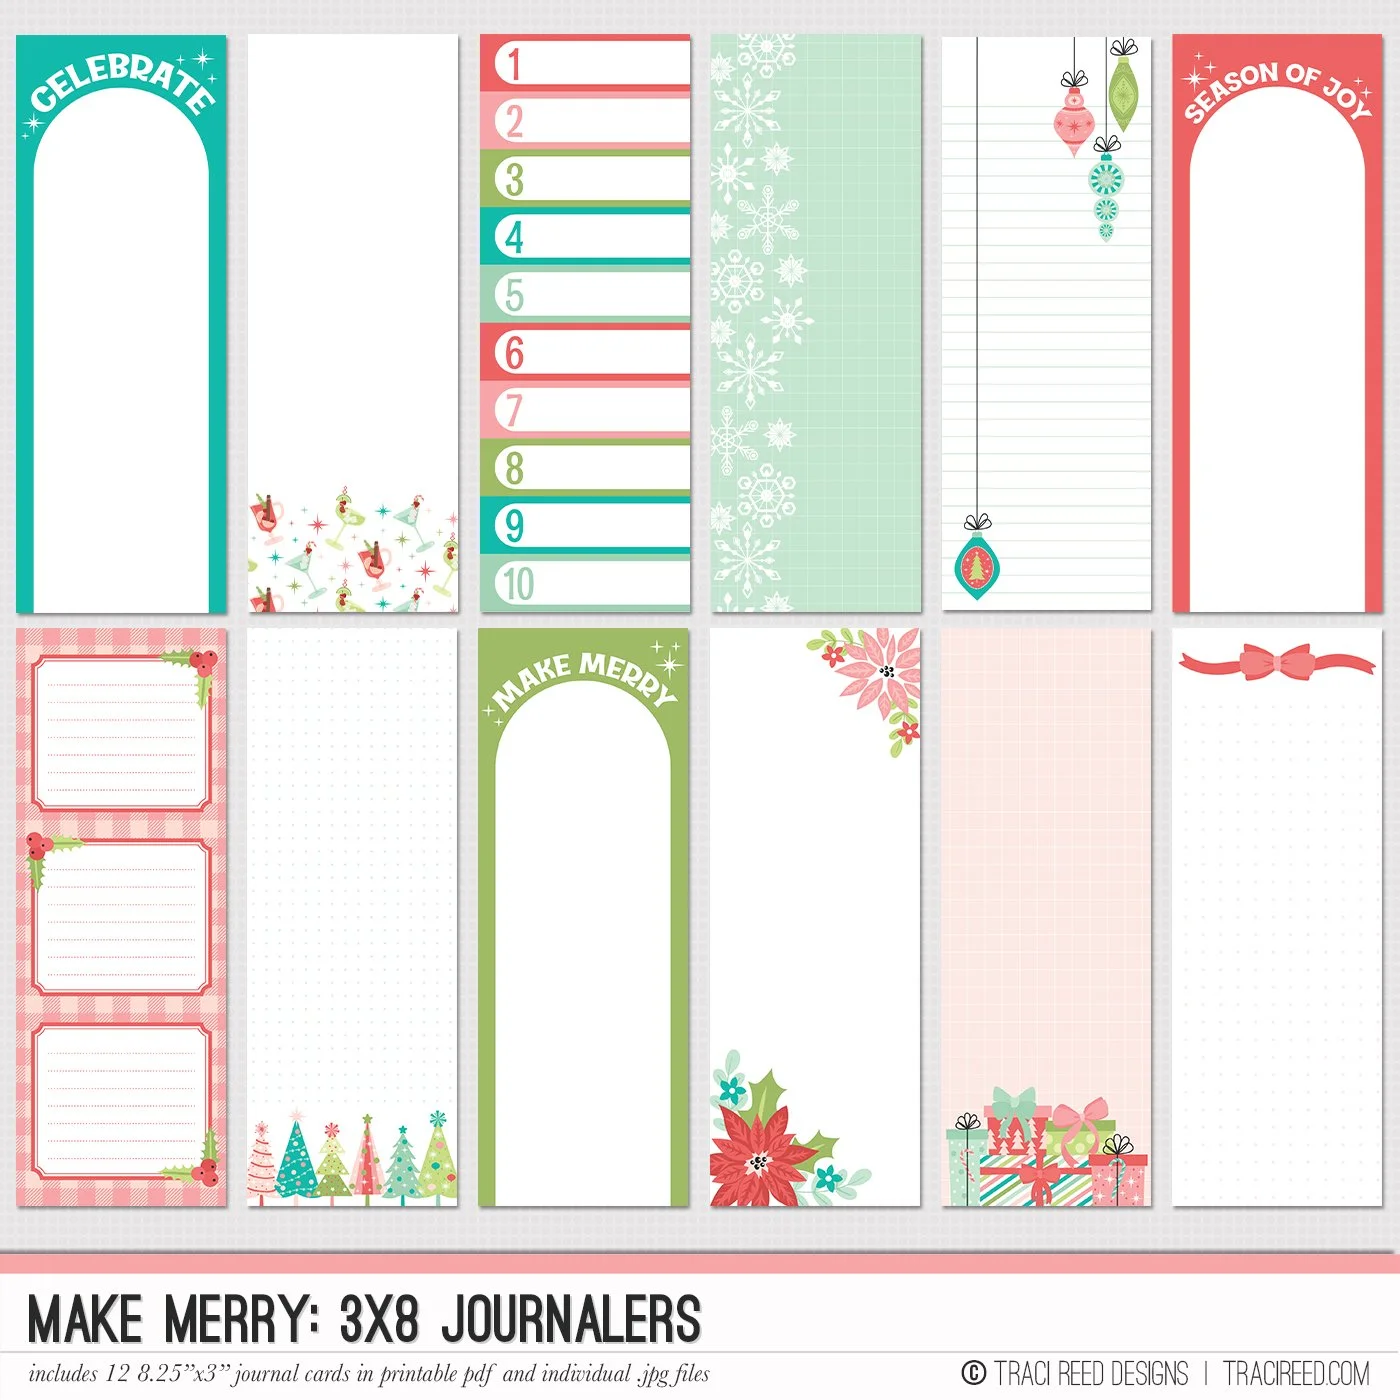
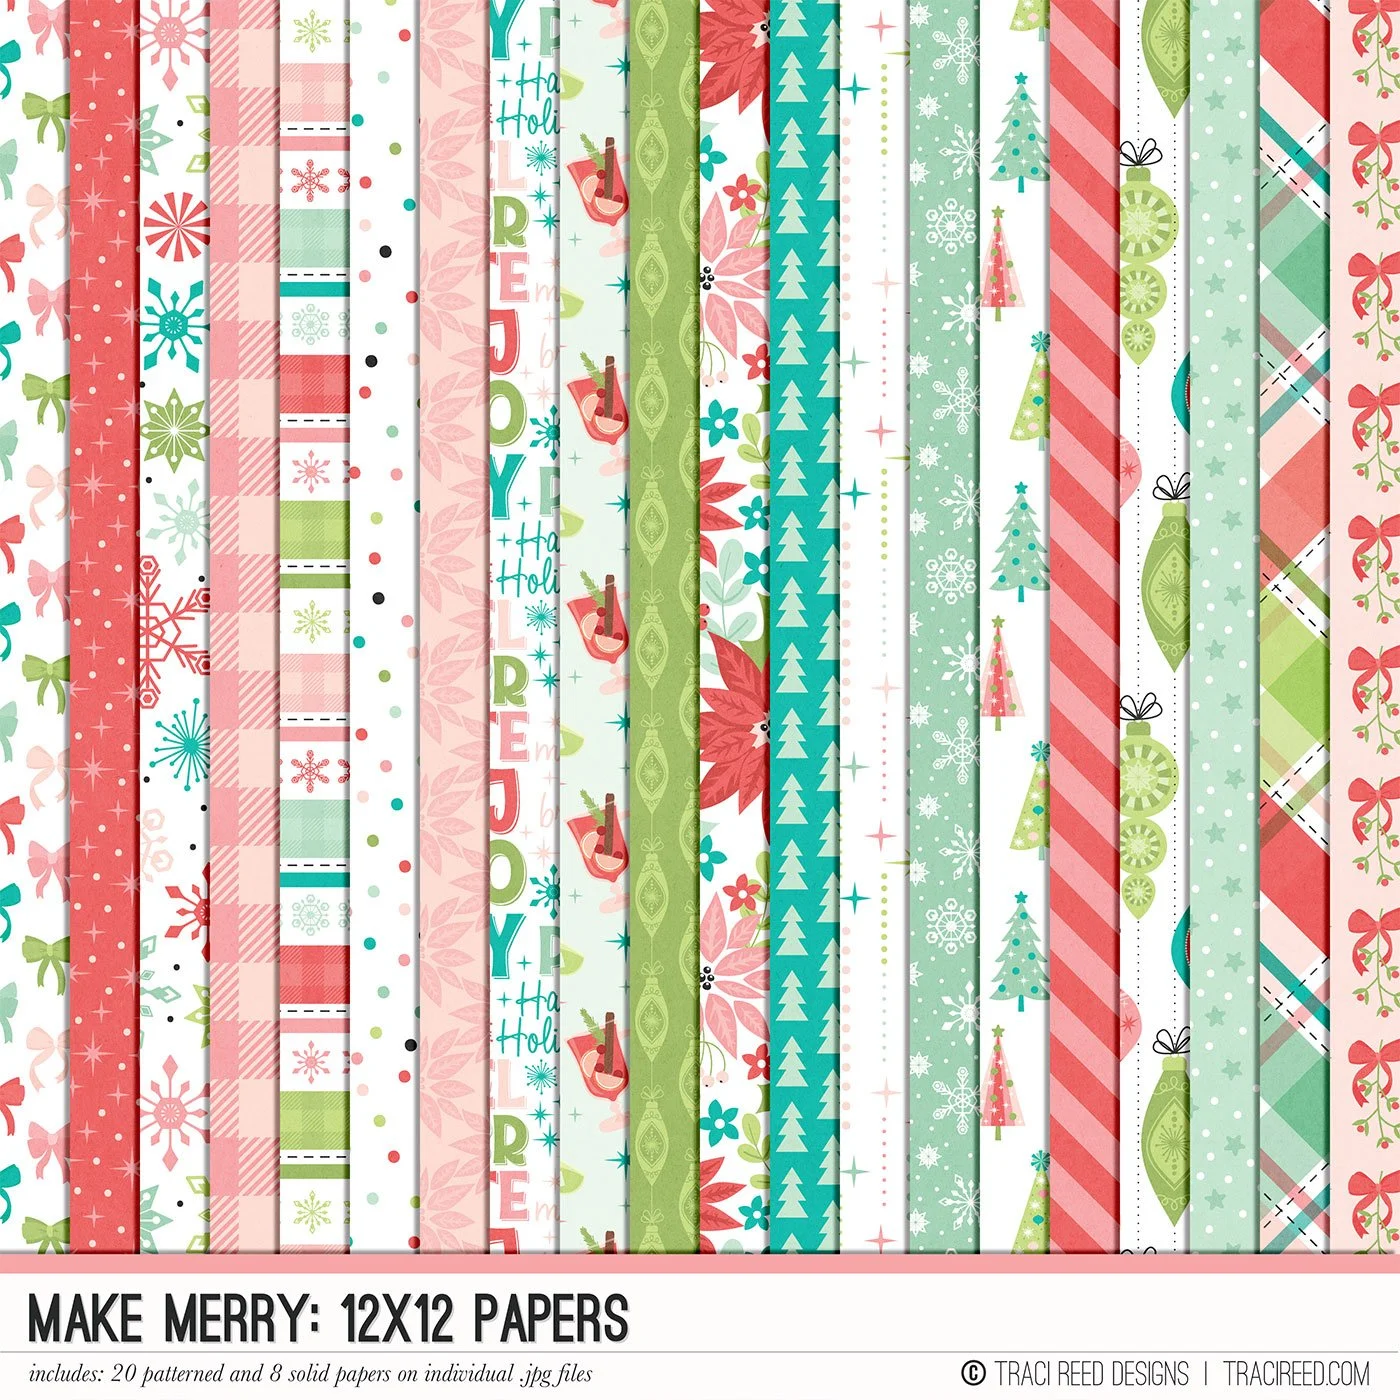
Choose 3 patterned papers and cut each to 10.5 x 6.5 inches, then score at 5 and 5.5 inches along the long side.
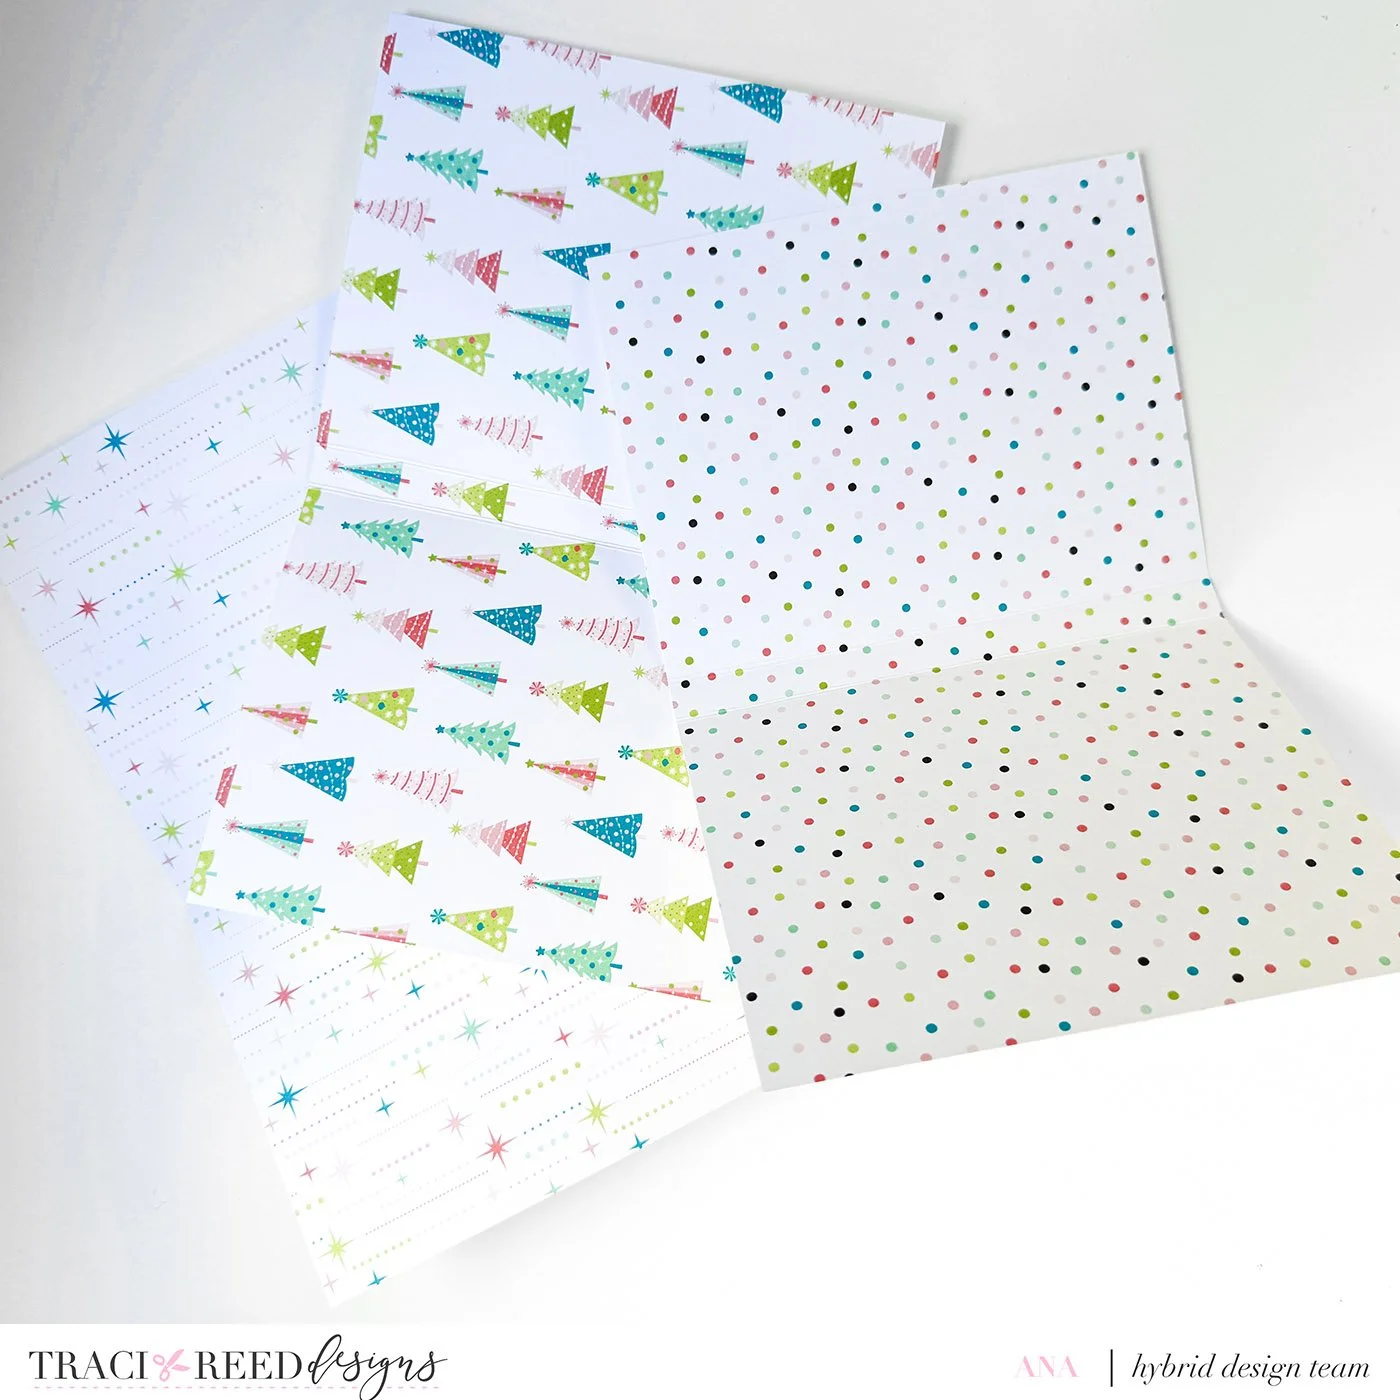
If you want to add a flap, print a back-to-back design of your chosen paper. Trim it to 6 x 6.5 inches and score at 5 and 5.5 inches on the 6-inch side. Adhere this flap to the right side of the 10.5 x 6.5 page.


Designing the Pages
When I don’t sketch, I lay out my frames and embellishments first, move things around until I’m happy, then snap a quick photo before gluing them on the pages.
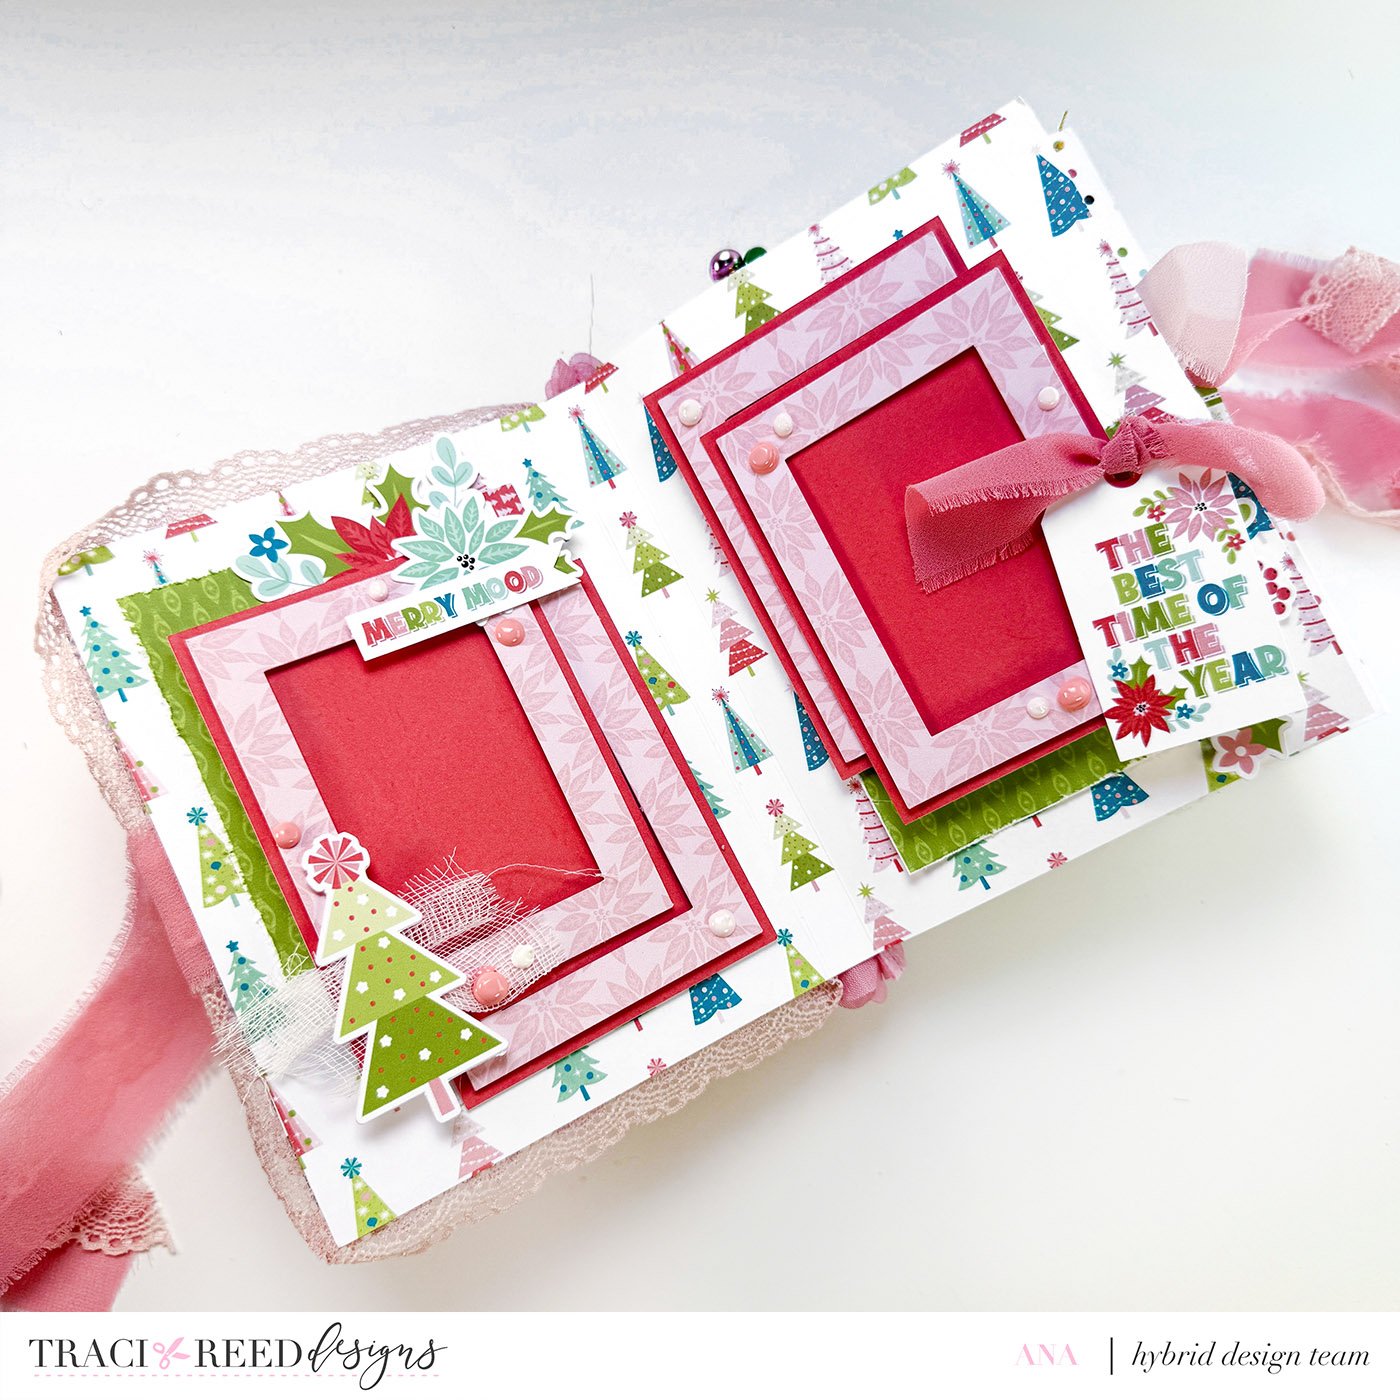
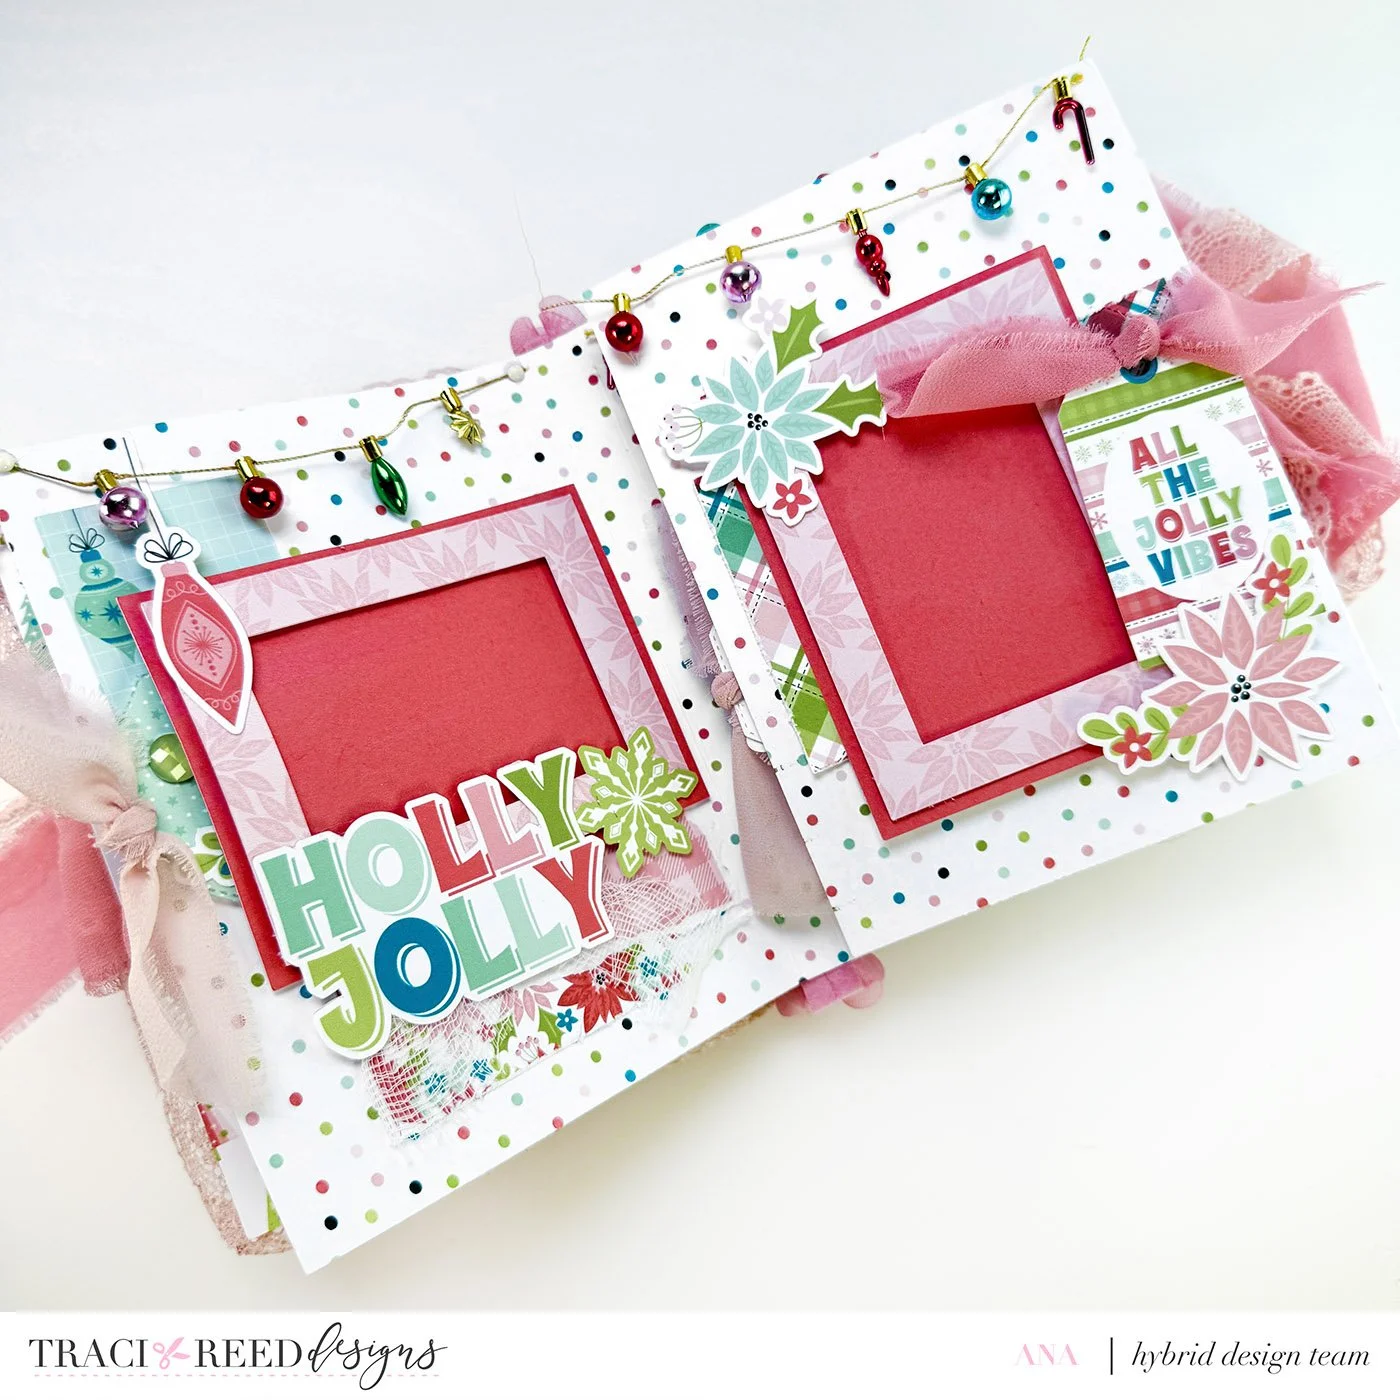
For the first two pages, I originally planned for only two frames but I wanted to squeeze in more! So I mounted the frames with foam tape on two sides only, creating tuck spaces where another frame can slide in.
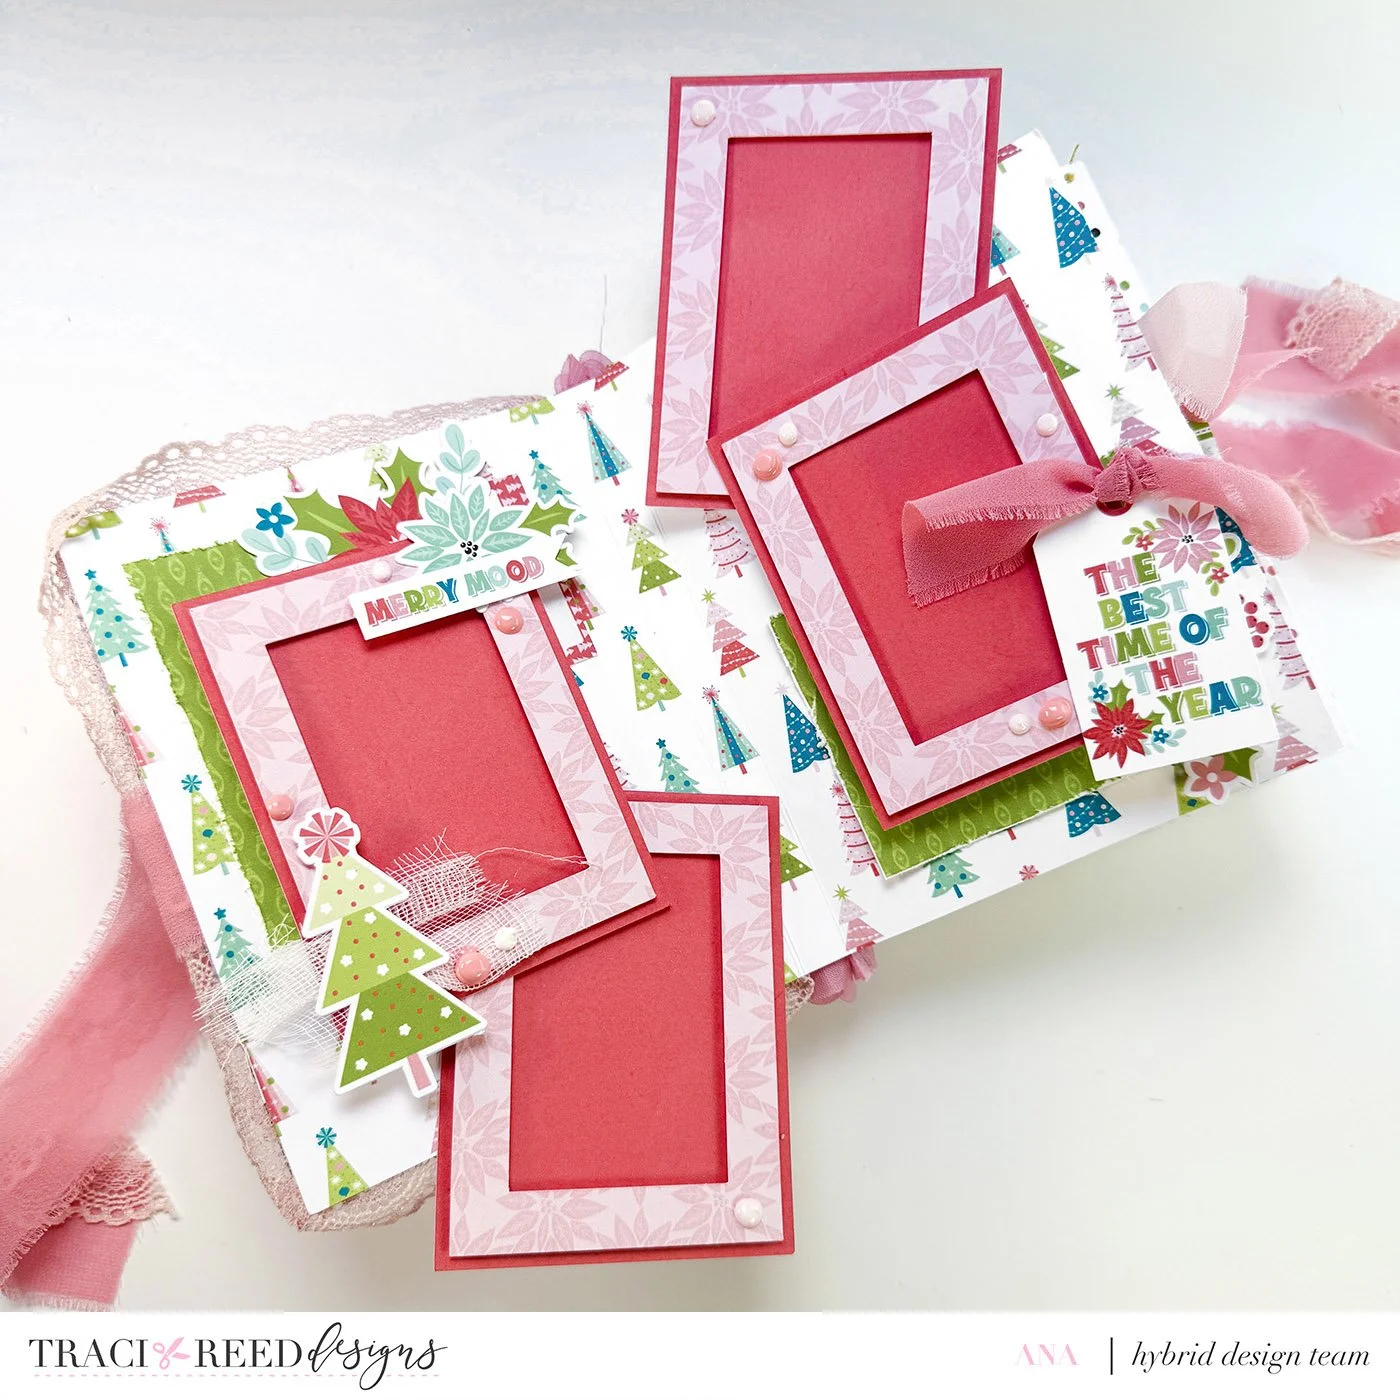
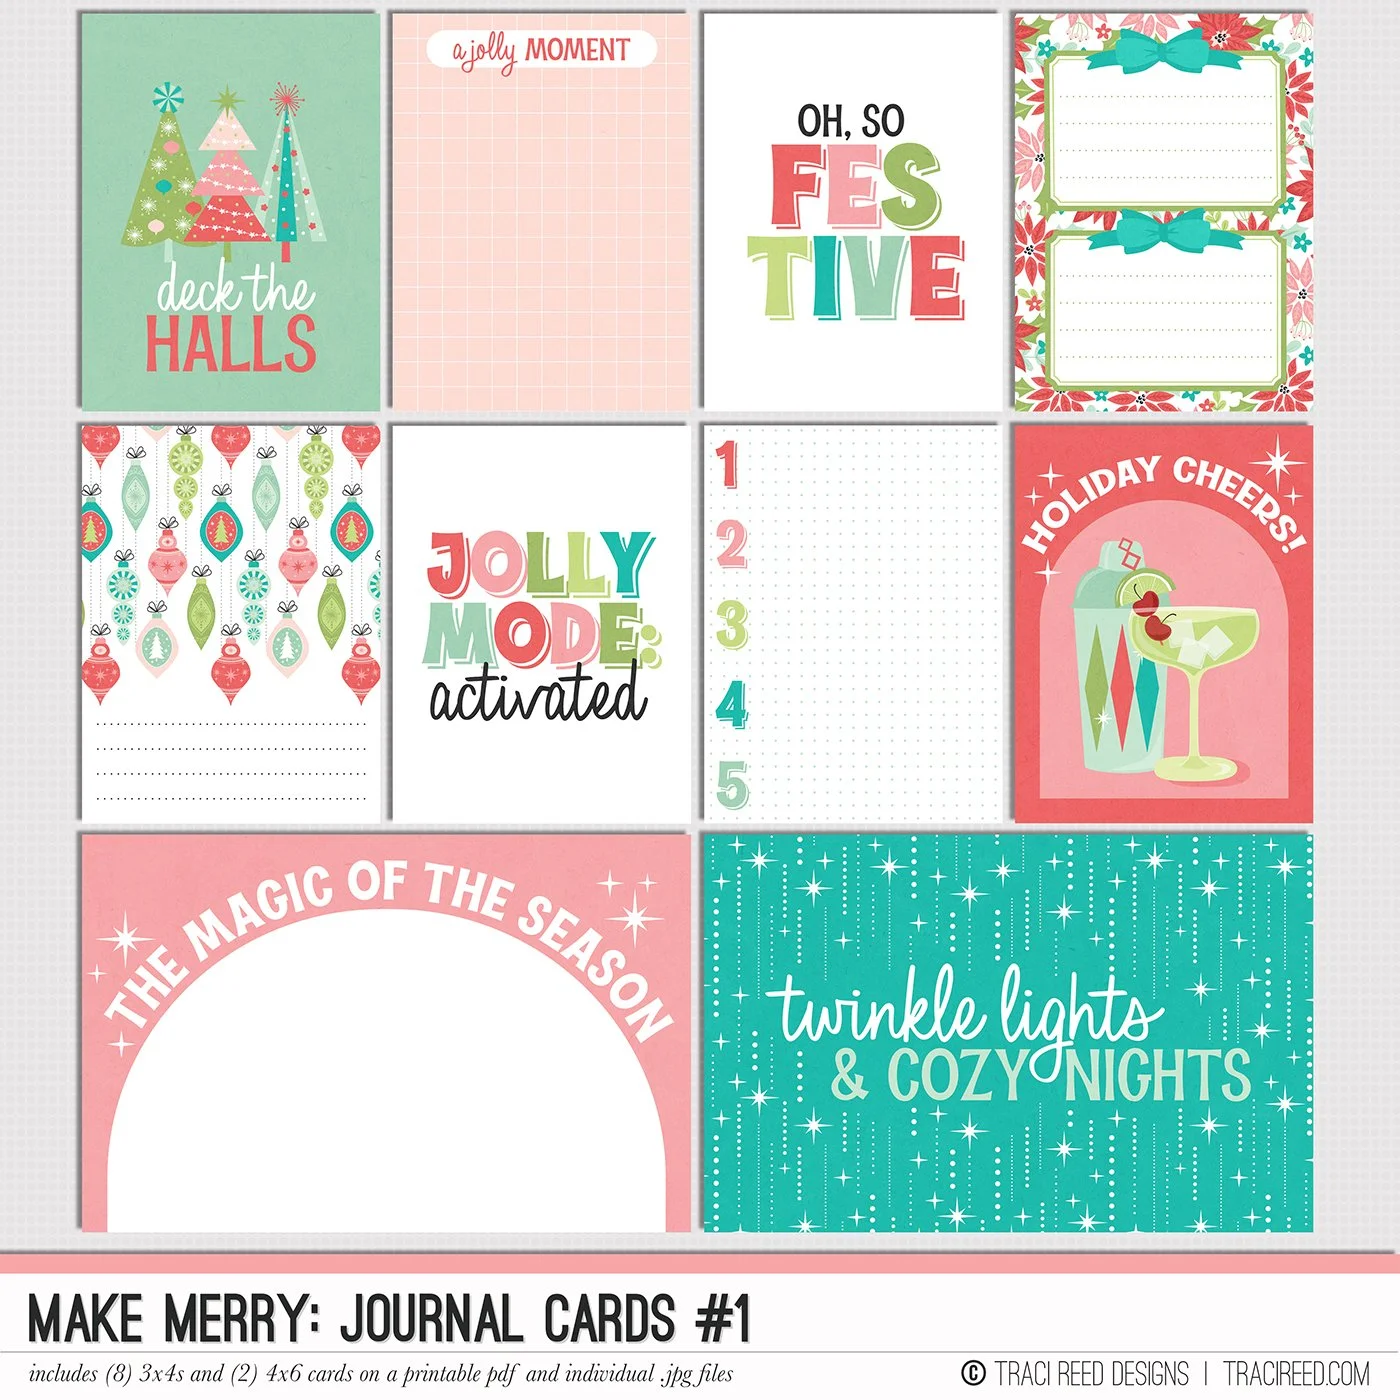
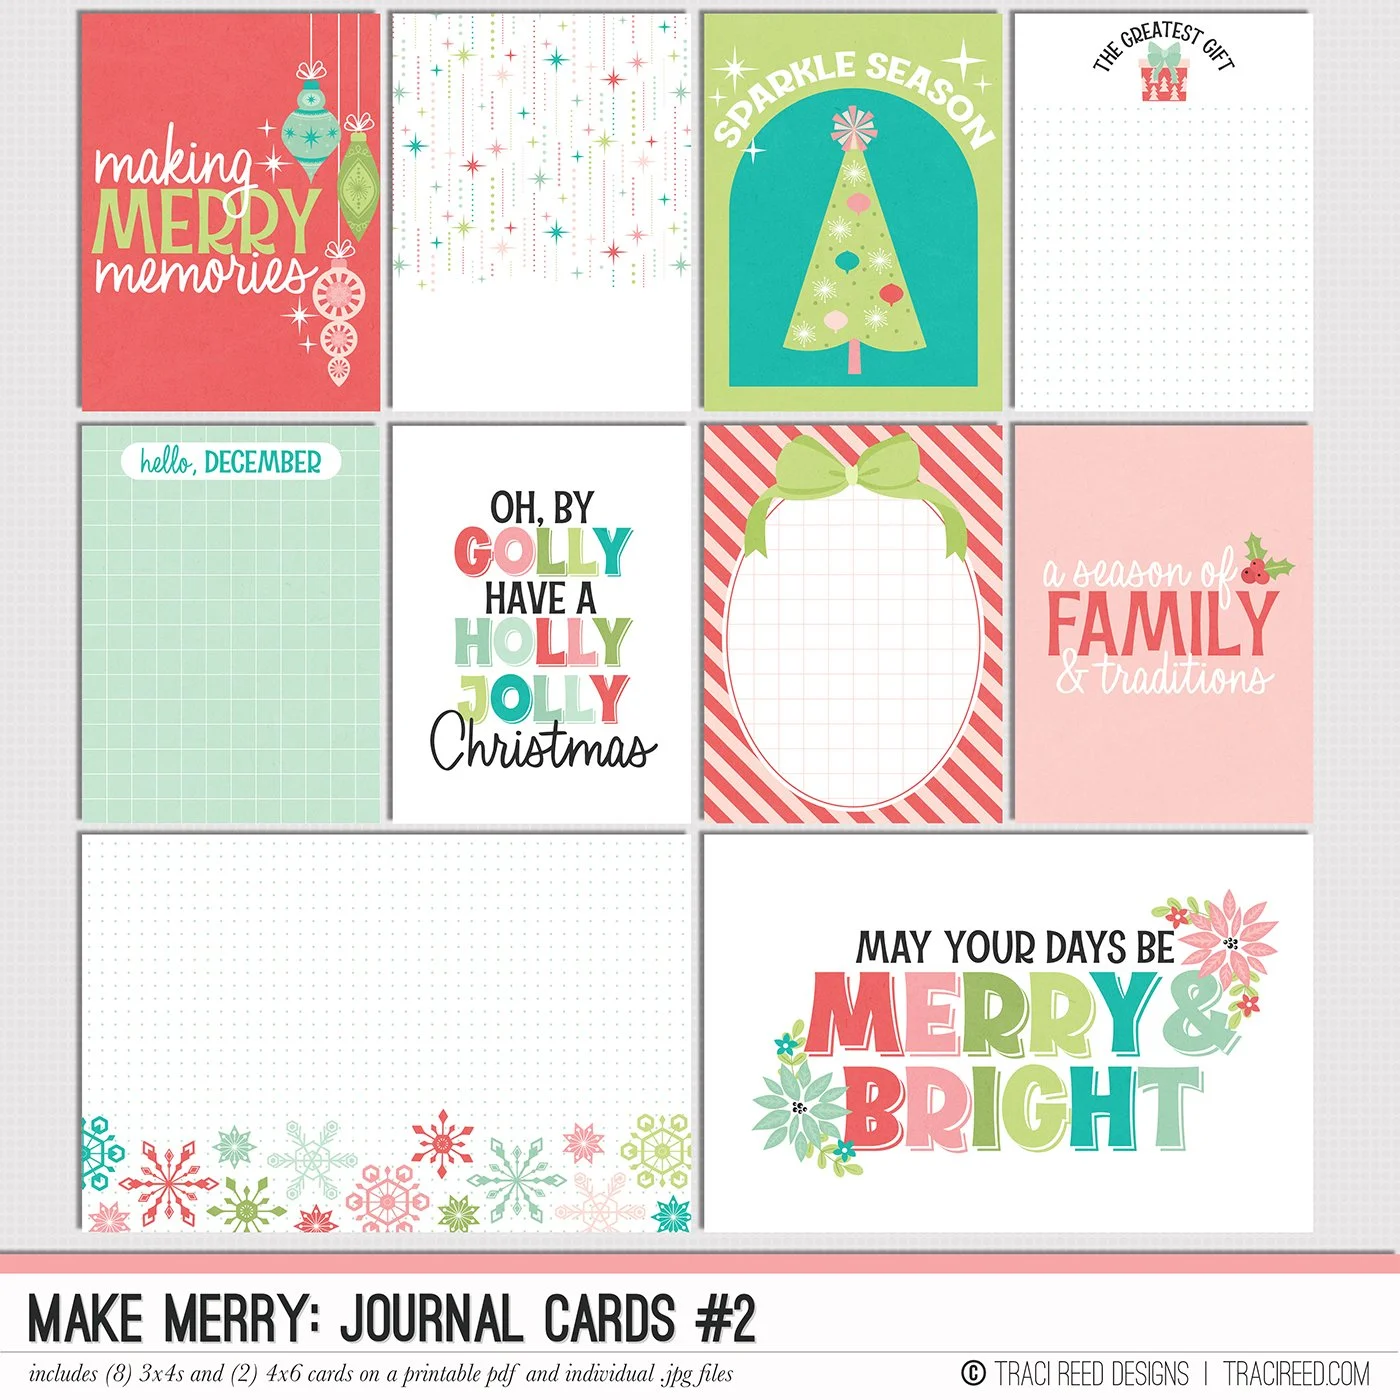
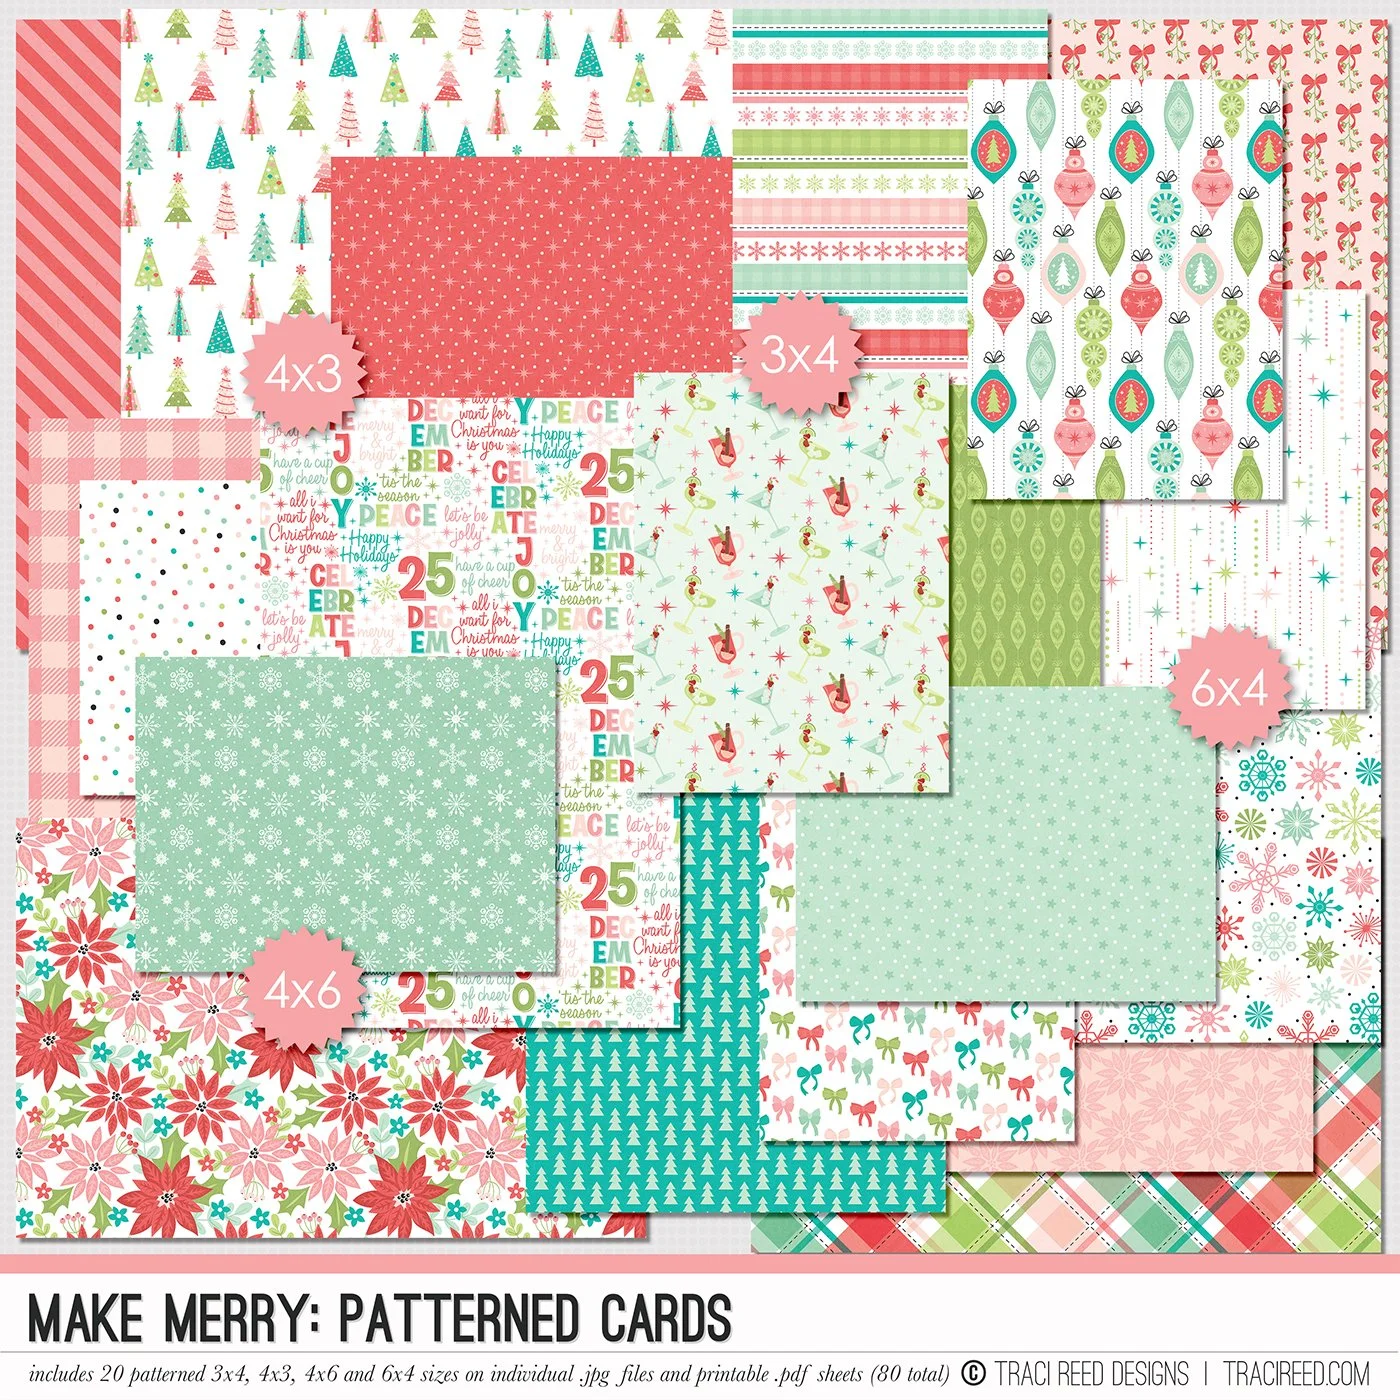
I used Patterned Paper Cards from the Make Merry collection for most of the layering since only small pieces were needed. I also distressed the edges with scissors for a textured look. Tags, flowers, and a Christmas tree help tie in the shaker tree from the cover and the background, and of course, more gauze and Nuvo Pearl Drops (make sure they’re fully dry before assembling!).
Middle Pages
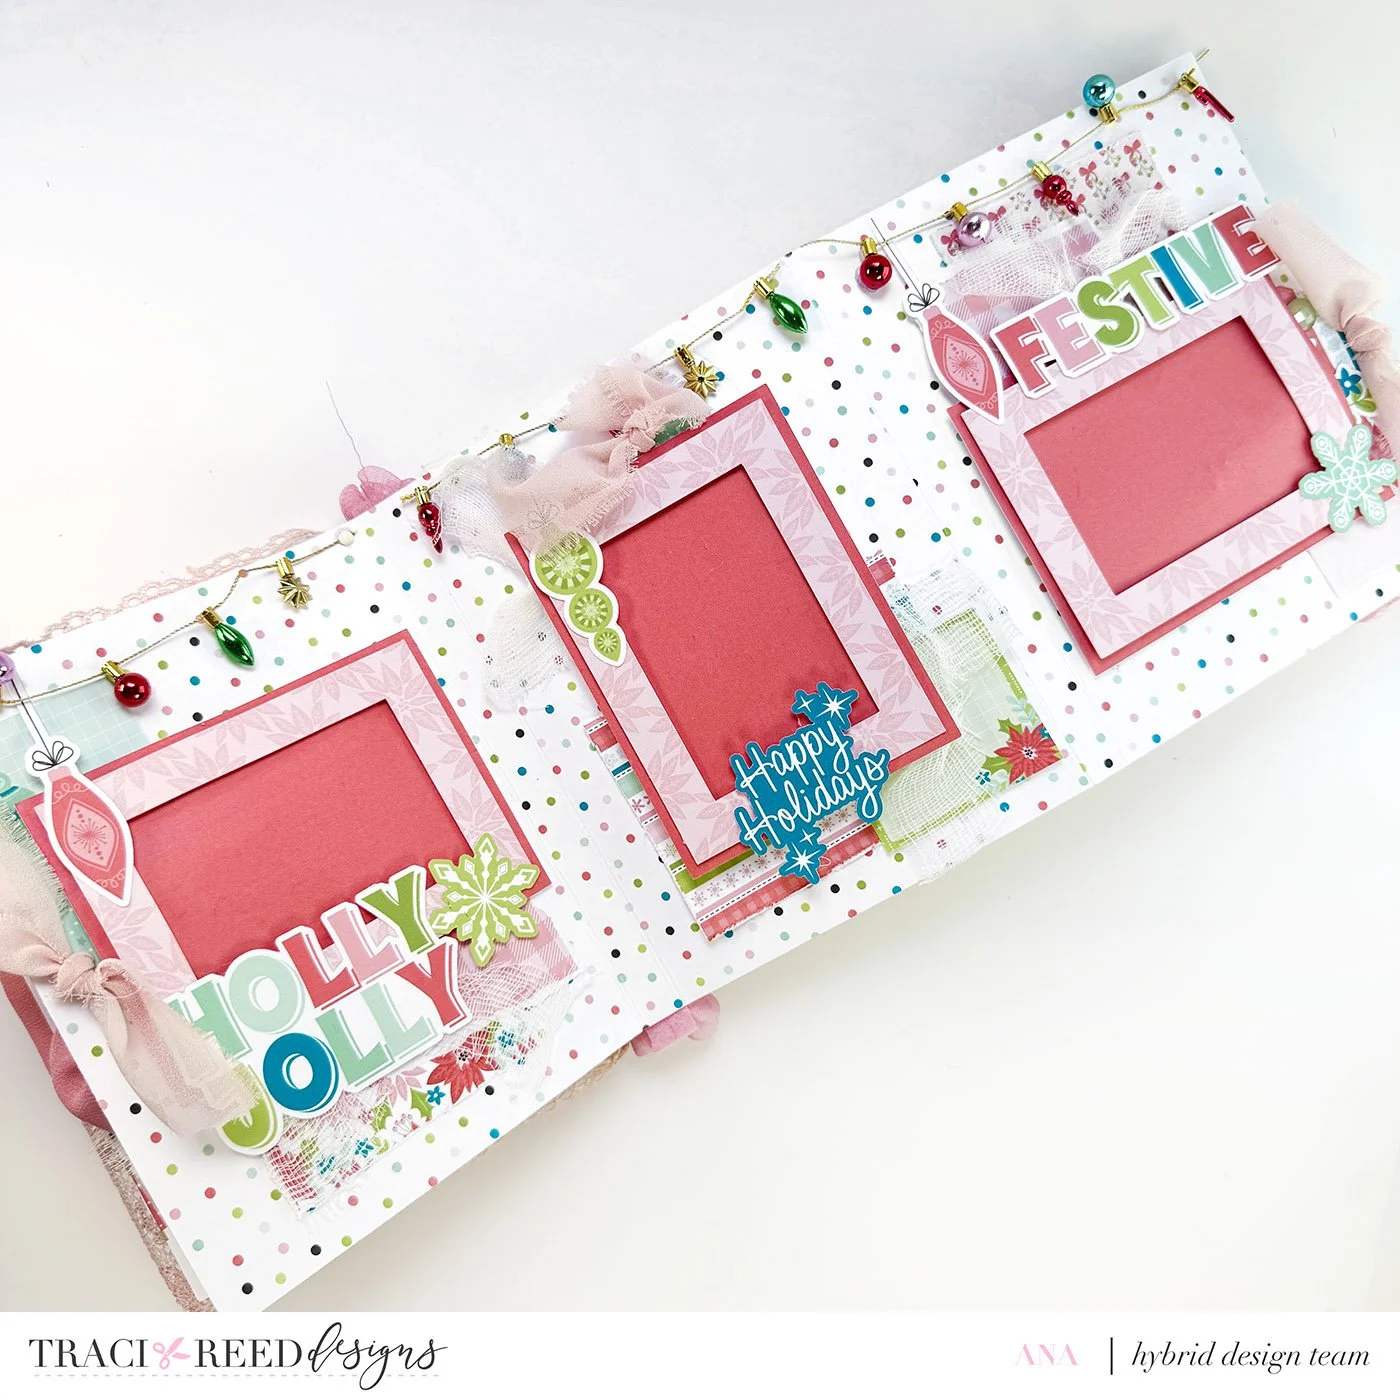
For the middle section, I added the cutest ornament string I found at Flying Tiger. Living in Saudi Arabia, spotting little bits of Christmas products in stores always makes me extra excited. So yes, I had to grab it! I’m happy it found its place in this album.


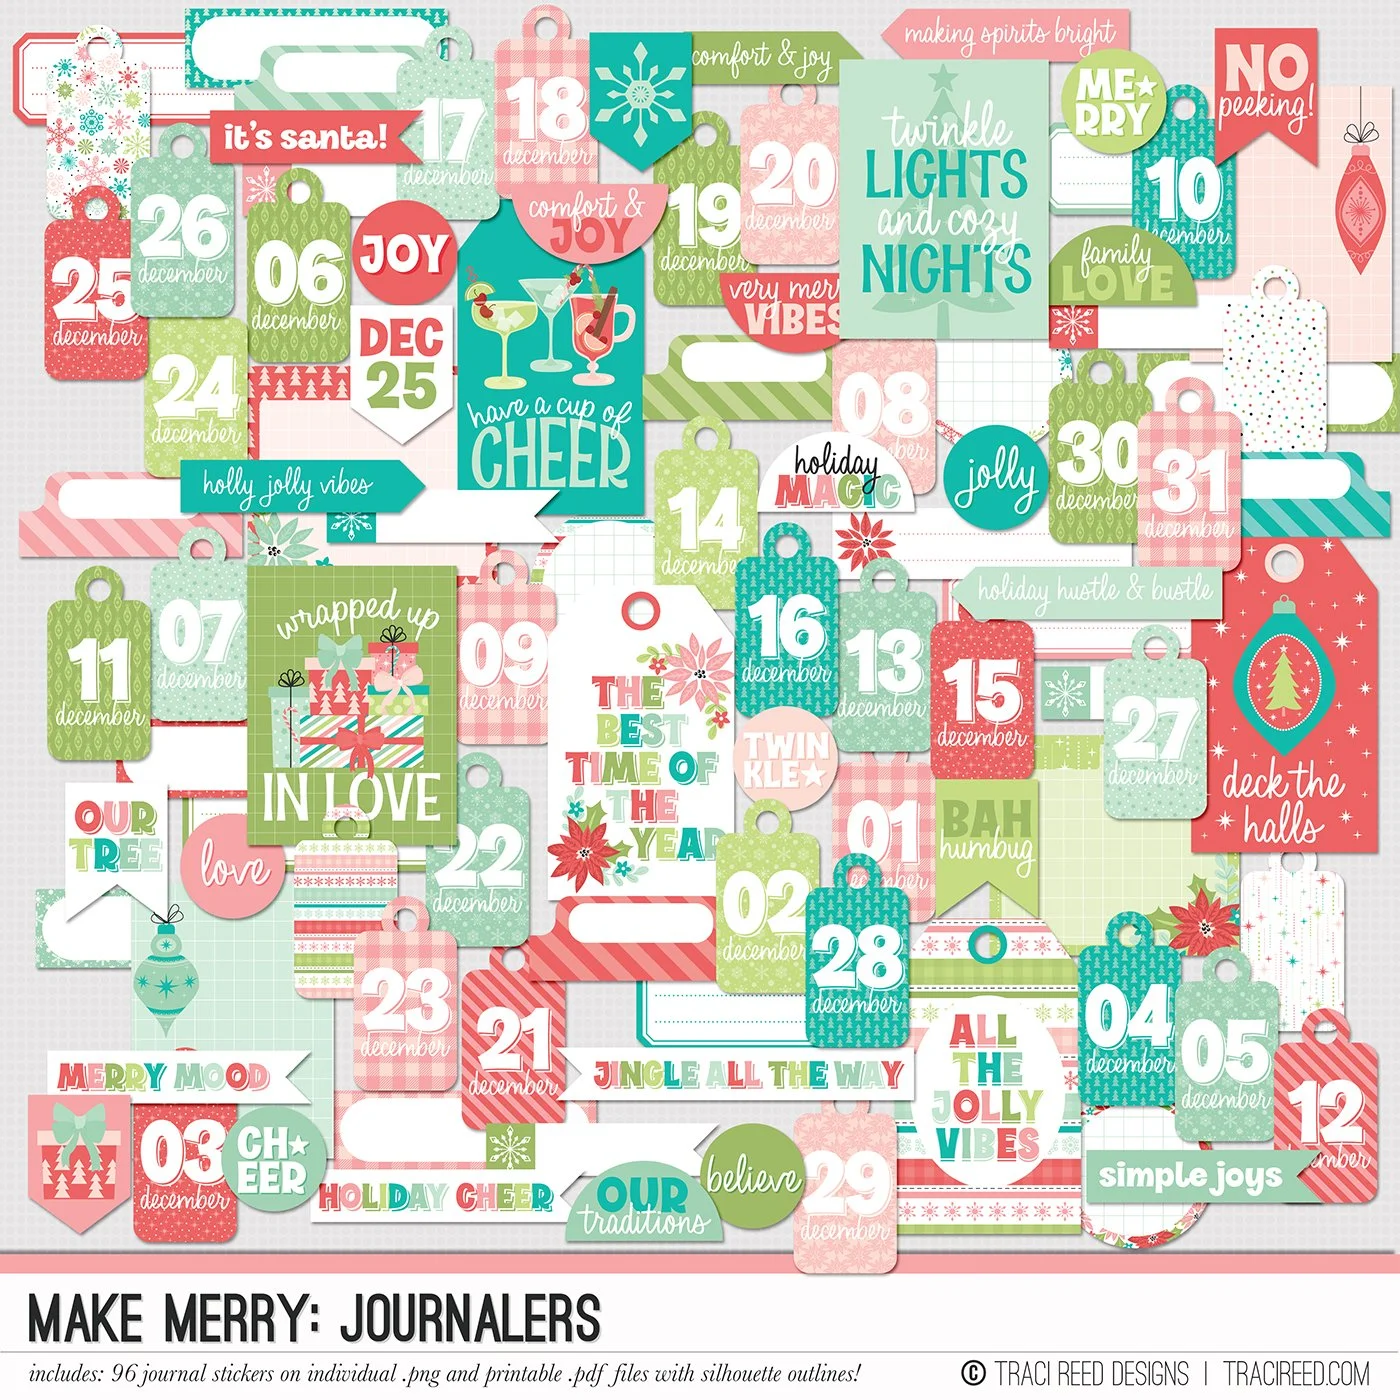
I also turned three frames into tuck spots so I could make tiny layered tags. Foam tape adds just enough space to slide them in, and I love how the ribbon ends peek out like part of the decor.


Last Pages: Little Keepsake Box

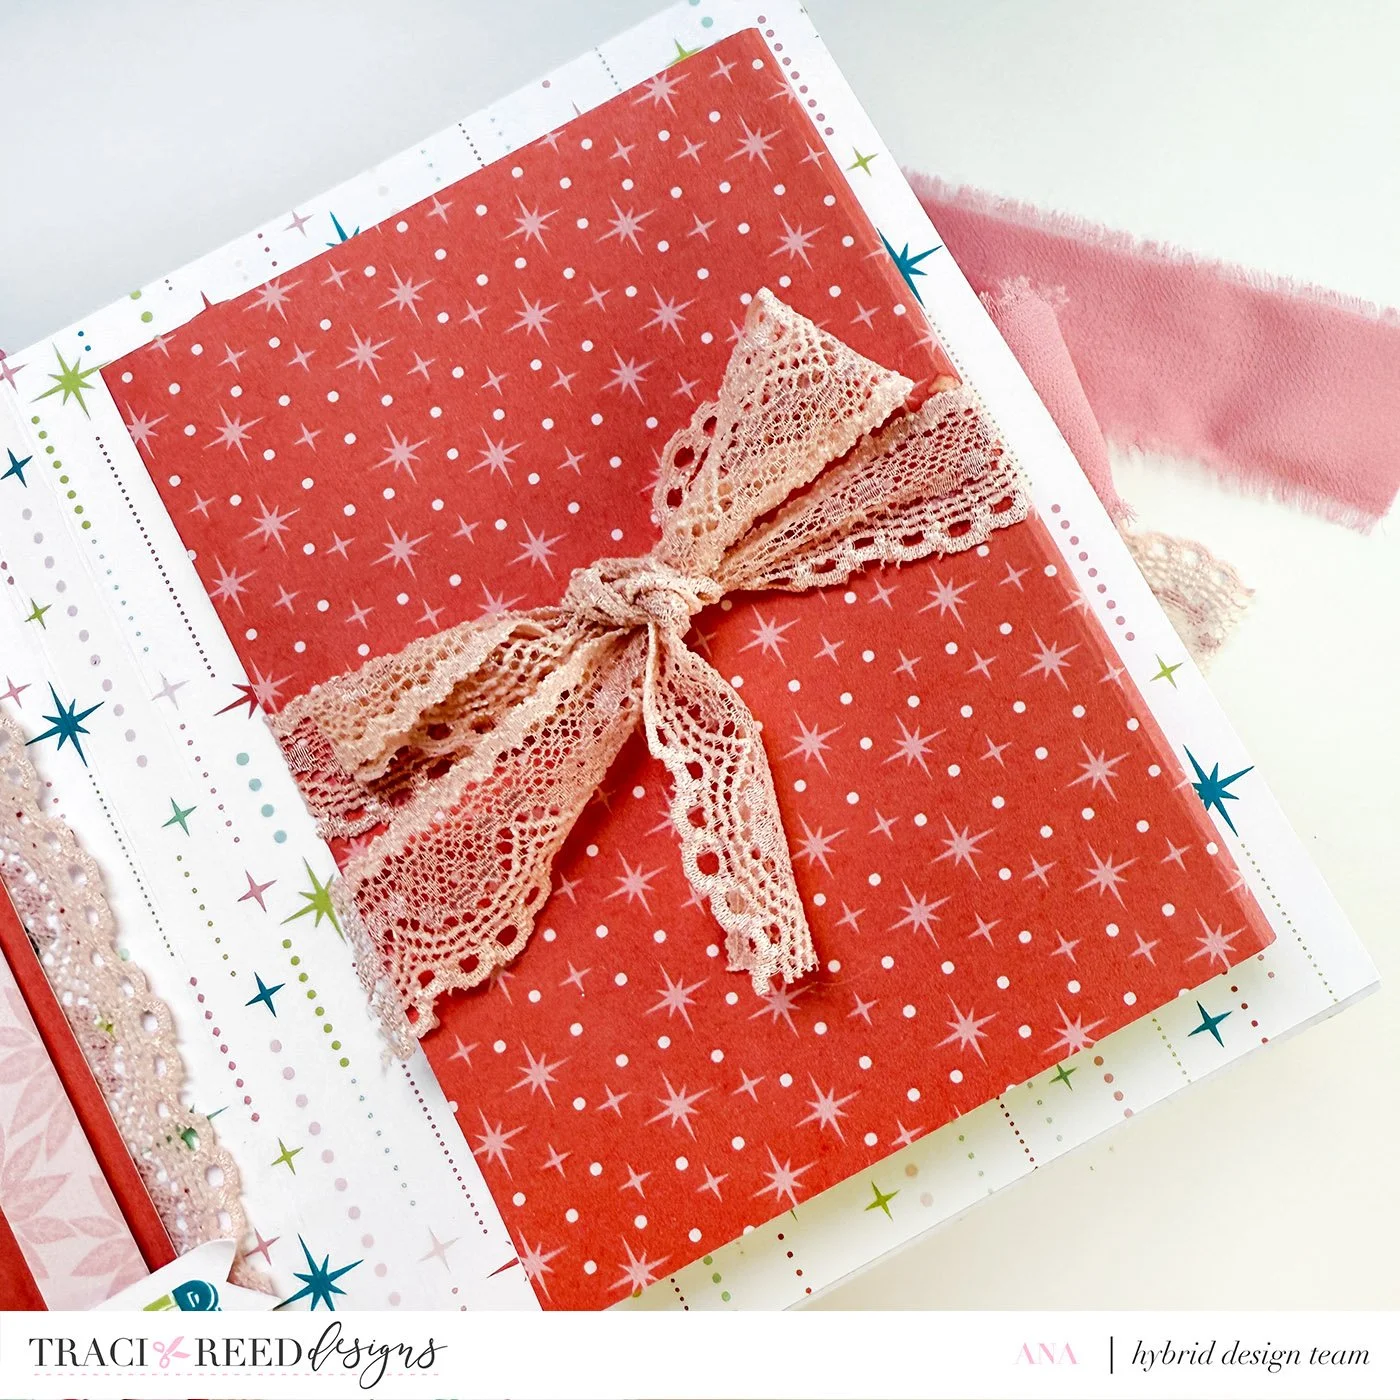
For the final pages, I added a small box for storing Christmas keepsakes. Trim cardstock to 5.5 x 7 inches and score at 0.5 and 1 inch on all sides to form the box. I added pieces of Pattern Paper Cards incase I want to do a bit of journaling or more decorating once I start to fill the album up.


Once all my pages are decorated, I go back and decide if they need an extra embellishment here or there, because why not?
Assembly
When you’re satisfied with your pages, simply glue the backs together in your preferred order.
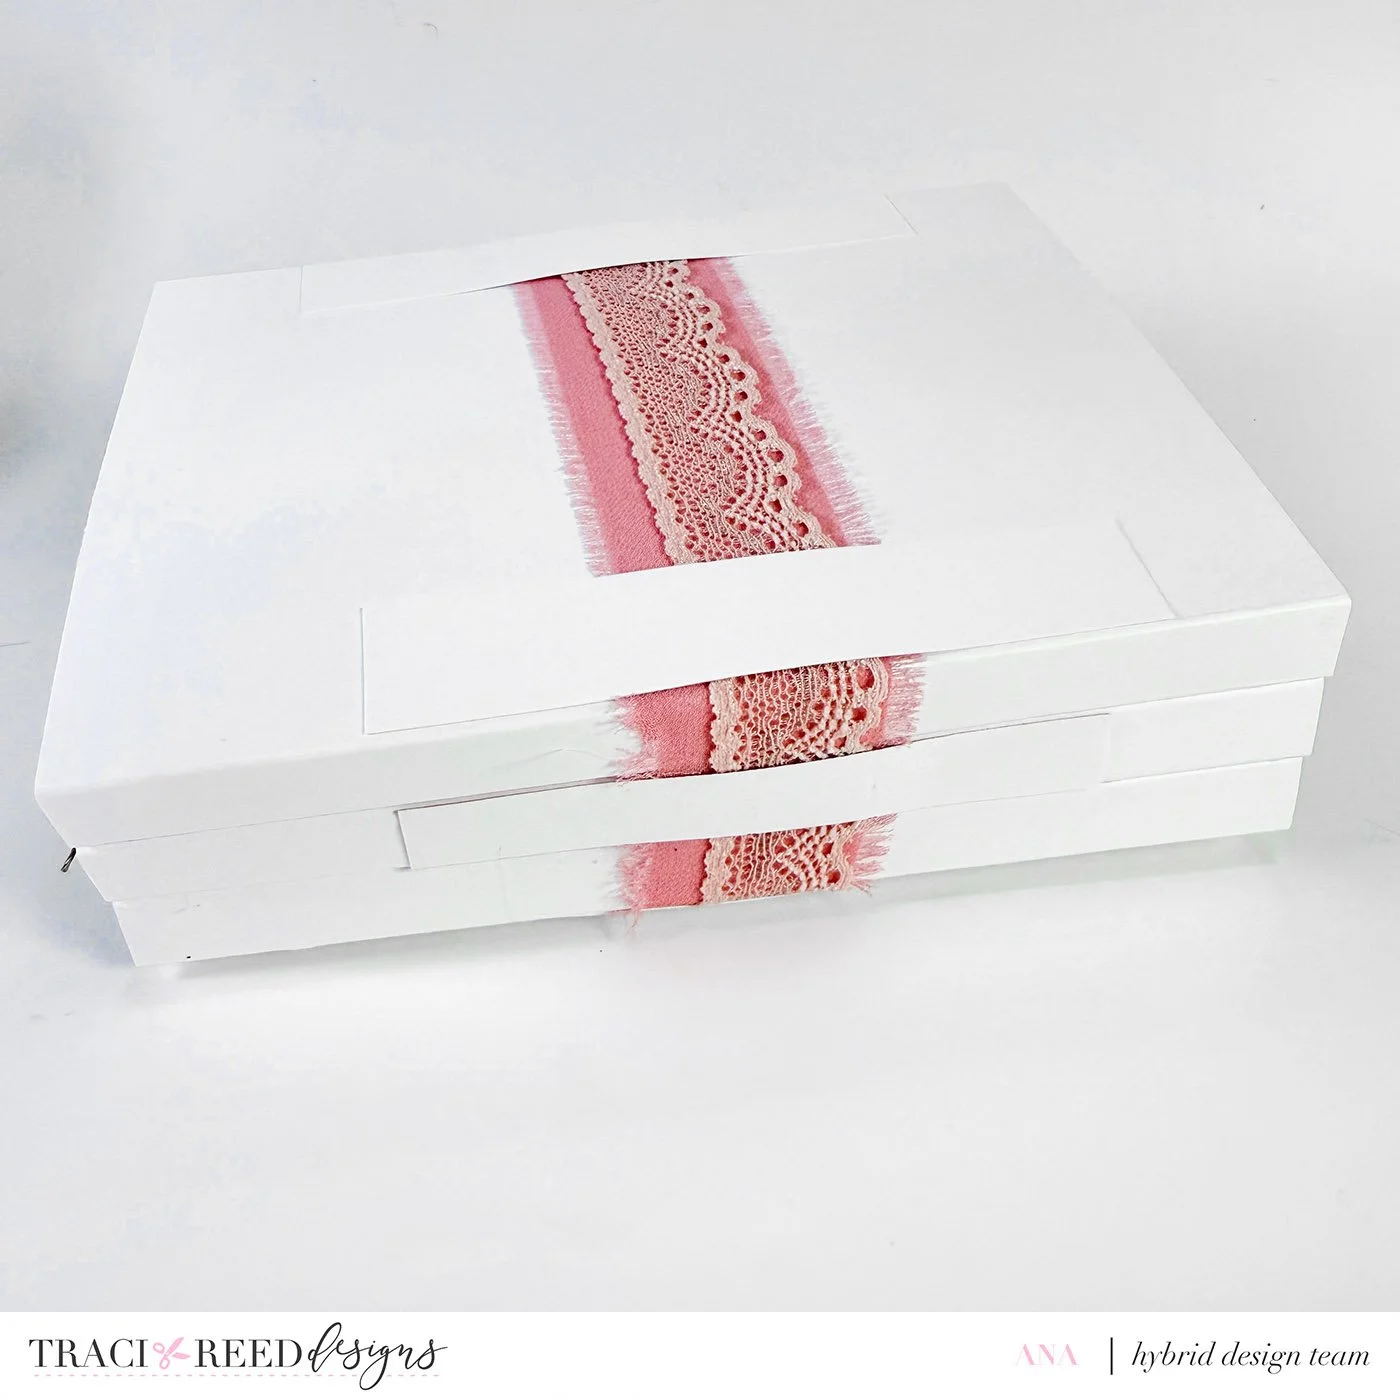
Lay a ribbon across the back, sides, and front of the stacked pages, and secure it with strips of paper and adhesive.
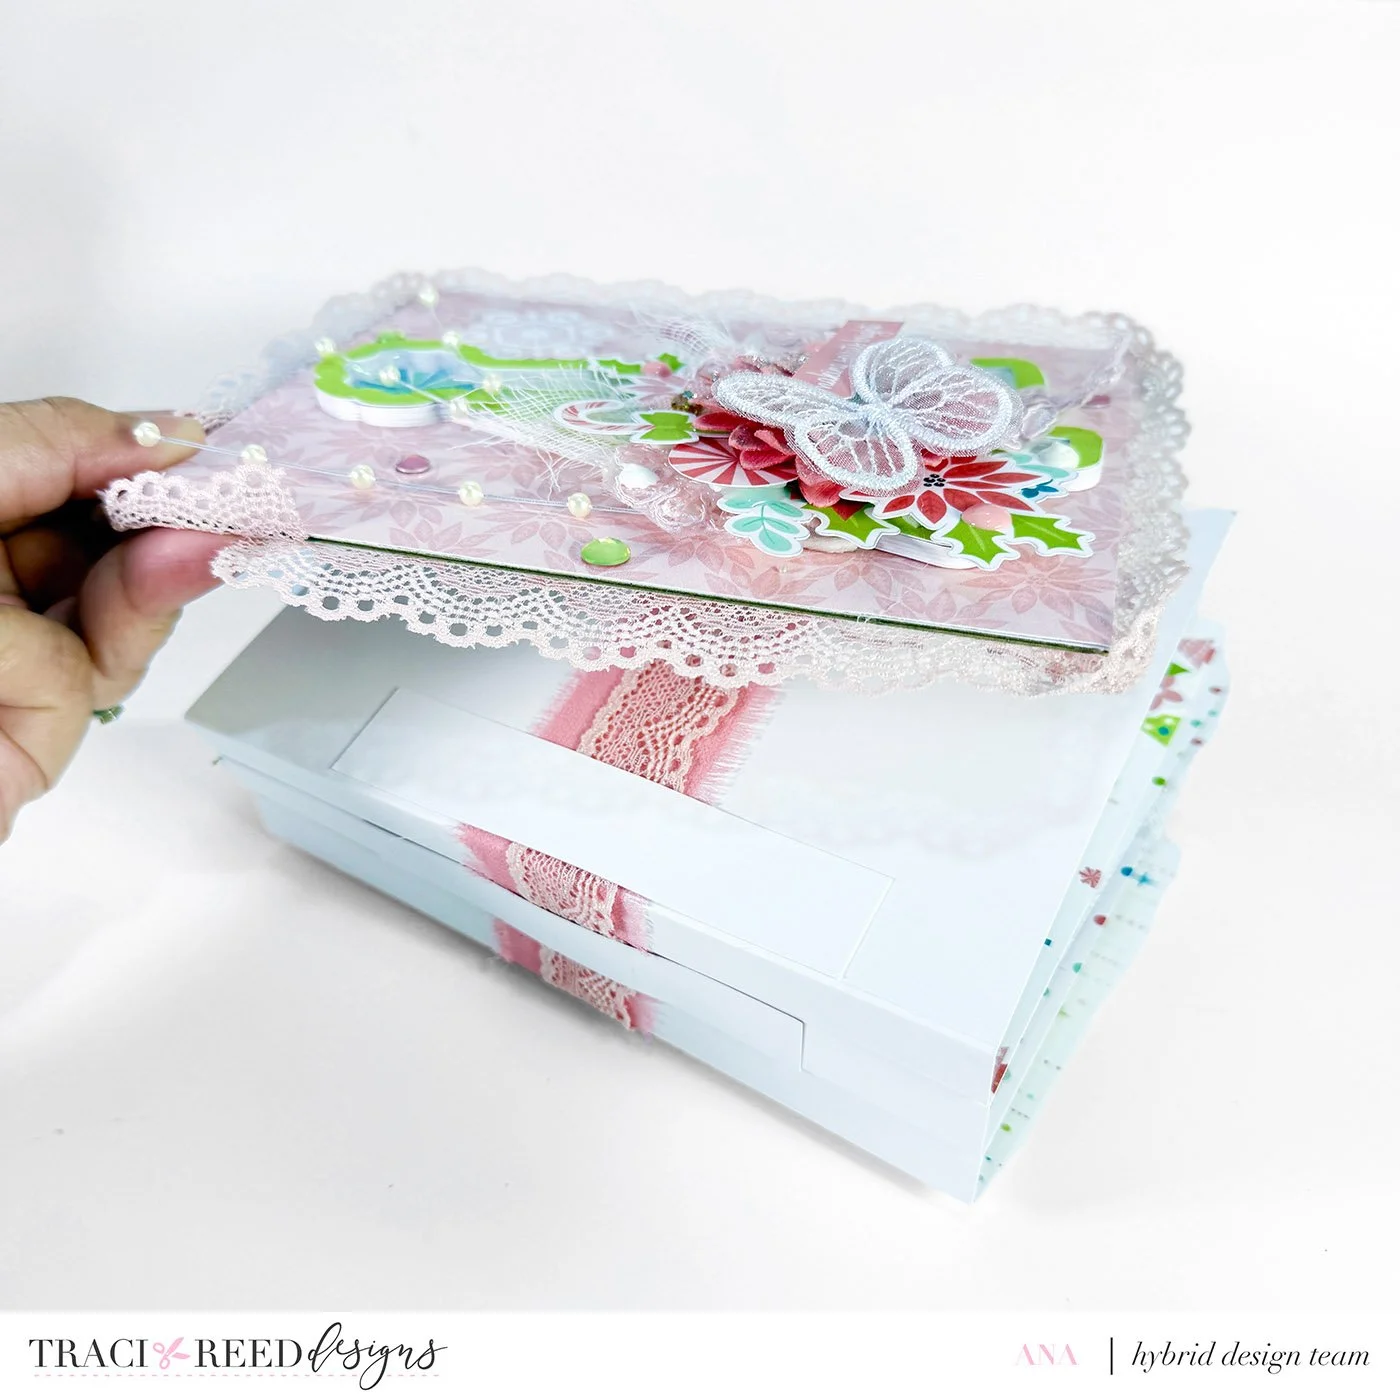
Then add your cover. Double-check the orientation - front/back and up/down because I always mess this part up! Haha! I secure mine with double-sided tape, liquid glue, and a glue gun… I definitely overkill the adhesives here just to make sure.
Finish it off by adding trims to cover the spine.
And tada! You now have a beautiful mini album ready for your Christmas memories or a handmade keepsake to gift someone special!