Create a Stunning Mini Album Using JUST 6x6 Printable Papers from the Keep Chasing Rainbows Collection!
Have you ever thought something along the lines of “I like the idea of printables, but you can’t do <insert project here> with them very easily, so why bother” to yourself? Well I’m here to show you that printables actually CAN do that!
One of the most common google searches for scrapbooking is how to “use up” a 6x6 paper pad, and while you can never “use up” printables, I wanted to attack the idea of using up a paper pad with printables, so I decided to make this darling album inspired by this tutorial I found on YouTube!

If you want a stunner of a mini album, the Keep Chasing Rainbows collection is ALWAYS a good idea! Just look at all these darling details!

Printable Supplies
To make the base of the album, you ONLY need 17 6x6 papers, but to also decorate this album, I printed the following:
All the 12x12 patterned papers from the Keep Chasing Rainbows collection at 6x6 (details on how to easily do that below)
Both sets of Keep Chasing Rainbows journaling cards.
A handful of 4x6 patterned cards and digital ellies from the Keep Chasing Rainbows patterned cards and digital kit.
That’s it!
Other Supplies
Adhesive - when using printables, I don’t advise liquid adhesive (glue sticks are ok) but rather redline tape and a tape runner.
Paper - Epson Premium Presentation Paper is great for this - it’s thick enough to be card stock, but thin enough to fold easily and not get too thick.
If you’d like, you can add wood veneer, enamel dots, and string from your stash like I did.
A decent color printer OR you can print from an office supply store via this tutorial.
Process Video
Please note, because I’m creating an album from a tutorial from another person, this is not a tutorial but rather a process video. The original video is linked above AND in the YouTube description box if you’d like to have a full tutorial!
This album is fairly simple to put together once you understand the mechanics of it and when you use a vibrant collection like Keep Chasing Rainbows, it really does come together effortlessly beautiful!
Printing a 12x12 at 6x6
To print the 12x12 papers at 6x6, no photo program required, simply open up the paper in your native photo-viewer on your computer by double clicking it, then hit CMD (CTRL) + P to print.
In the printer dialogue box, set the sale to 50% (50% of a 12x12 is 6x6 😉) and them make sure you set the settings to Photo and Best and print on good paper!
(Please Note: Your printer dialogue box might look different than mine, but these settings are standard across platforms - they just might be in a little different place!)

Spread One
The first spread has a full page pocket, a half page pocket with tag (created from a 4x6 patterned card) and then a full page.

For the orange side of the spread, I folded in half one of the 4x6 cards for journaling and then attached a 3x4 card to the outside. I wanted my album to go rainbow order, so adding the bits of yellow on this red and orange page kept that vibe going.


Spread 2 has a yellow-green pocket paired with a light stripe full page and a flap that opens outward. I added the “choose happy” journal card to the outside of the flap for both decoration and as a tab to open the flap easily.
Throughout this album, I only lightly embellished because I prefer to embellish as I use the album, rather than pigeonhole myself into a set layout.

Spread four is that gorgeous green floral pair with the light blue stripe. The hinge created on the previous page with that white rainbow stripe wraps around the green paper at the edge to form a nice built-in patterned paper contrast.
On the blue side, we have another half-page flap to which I adhered one of the darling journal blocks from the digital kit.

Spread five is a full-page rainbow pocket paired with a half-page pocket on blue. I added one of the cute clouds from the digital kit + a word banner to the outside of the pocket and slid some 3x4 journaling cards inside as placeholders, in addition to the 4x6 patterned card in the large pocket.
When I make this album, I will no doubt add photos to al the pockets and patterned cards!

Here are some looks at the “opened” version of all three of those spreads:


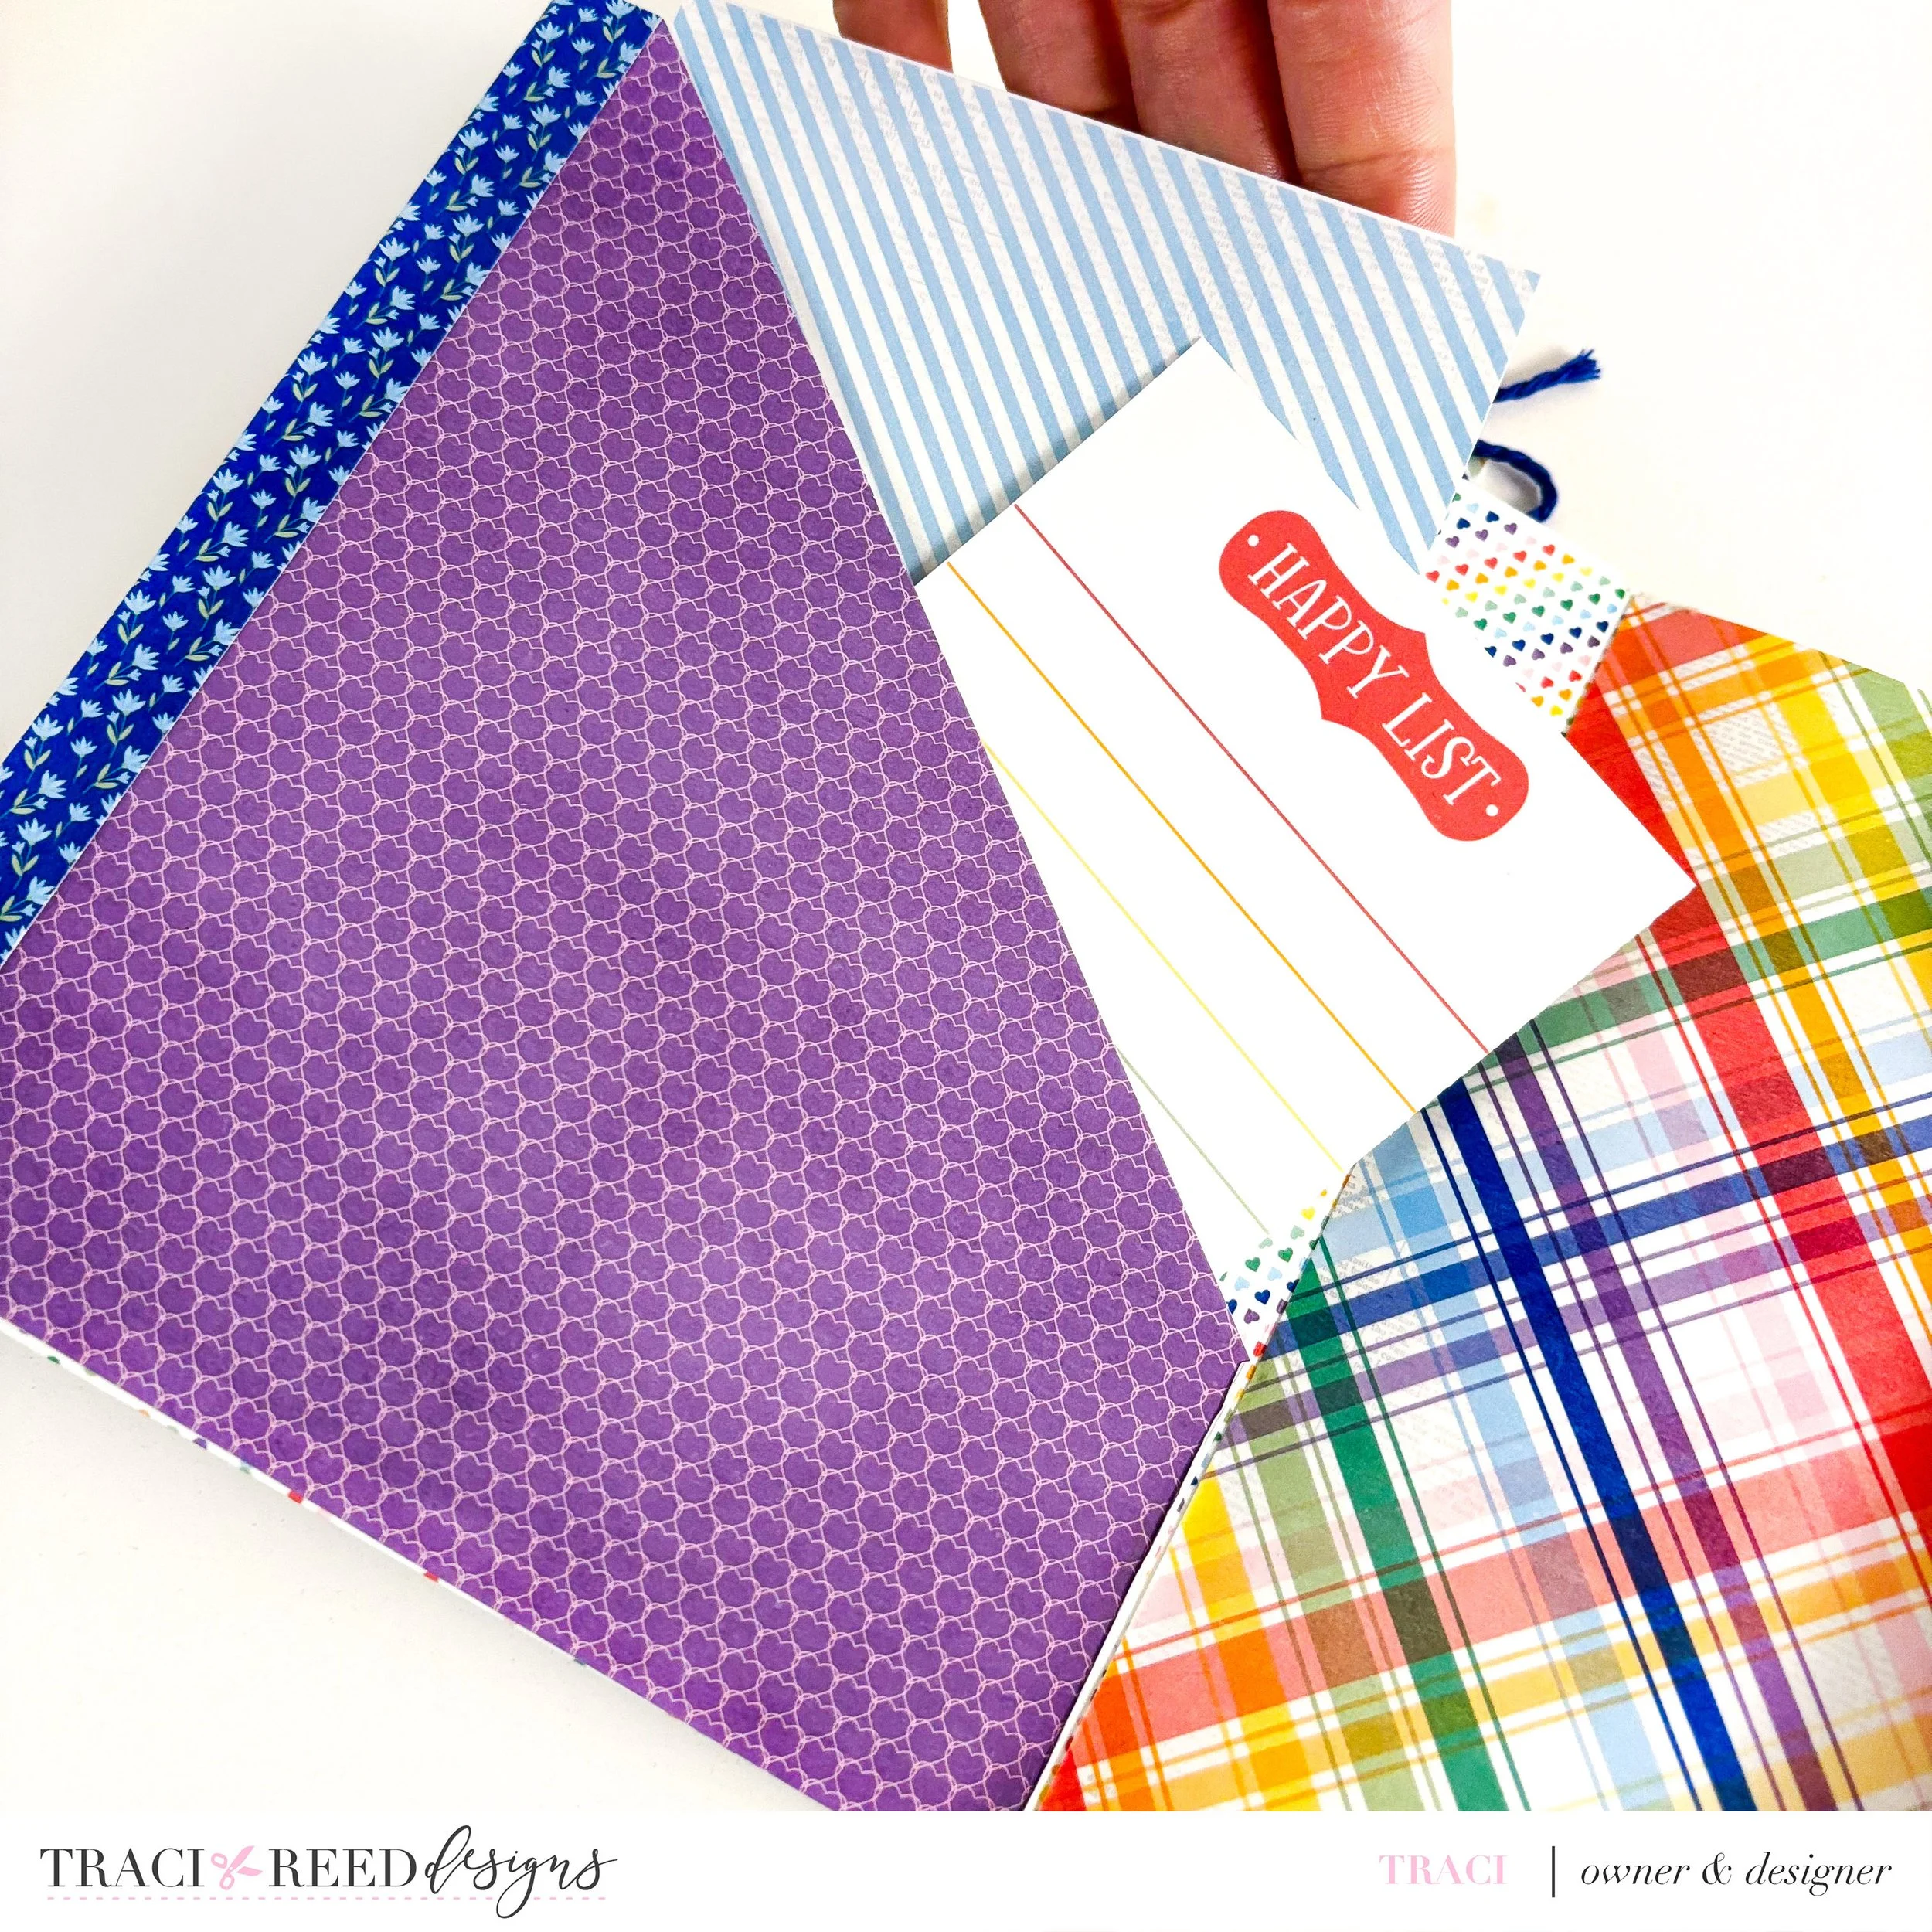
The last spread is fun and slightly diverges from the original tutorial. I added a patterned background behind the purple pocket rather than leaving it white with the hinge showing, which allowed me to have an extra “hinge” to adhere the next page too, removing the need to adhere the hinge for the plaid paper over the purple pocket (I didn’t like the idea of having two different contrasting paper strips over the same pocket.)
On the last side, there is another flap using the pink floral paper that opens up! I stapled a couple half circle word bits to the flap to give the viewer something to turn.

And here’s a view of it all opened up!

For the outside cover, I used the rainbow paper and the backside is a yellow paper, which wraps around the spine to the front to close the book. I then decorated the cover with another word bit and cloud from the digital kit as well as some wood veneer and enamel dots from my stash!

The album is now beautiful and ready to use!

TRD Products Used In This Article
