6 Easy Ways to Level Up Your Hybrid Page After Printing!
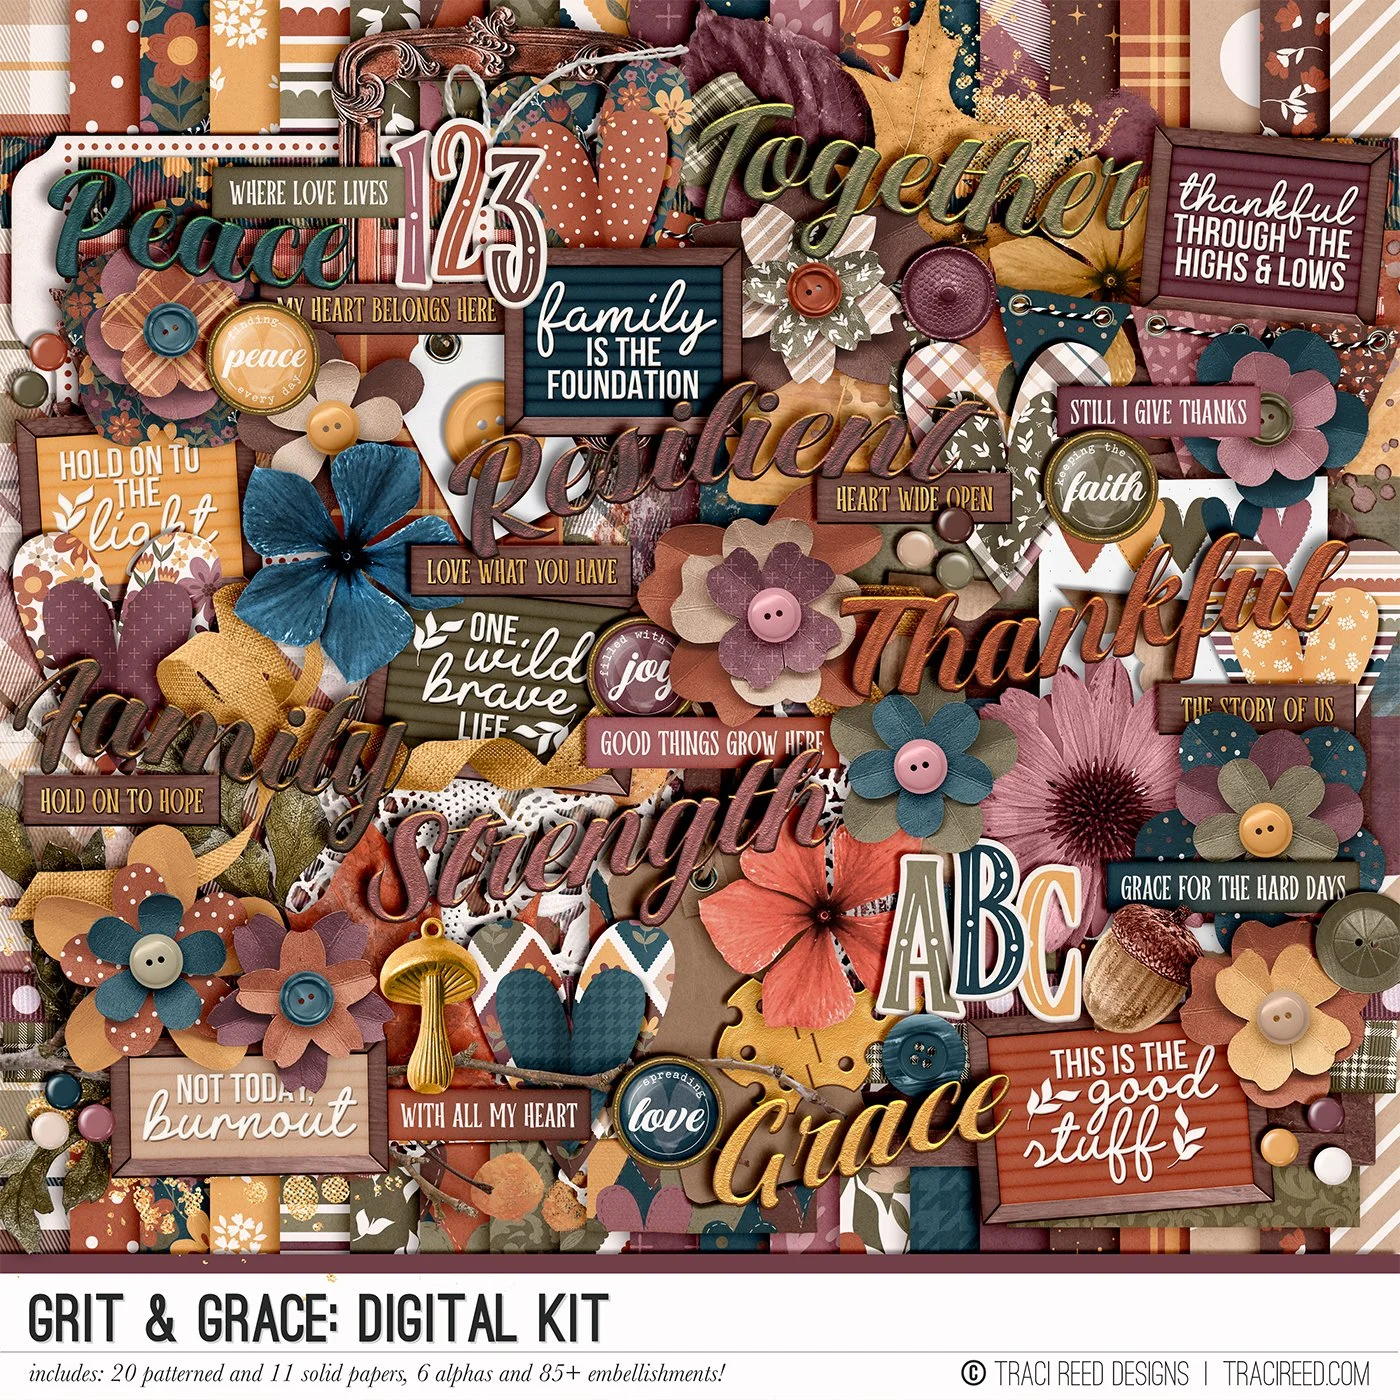
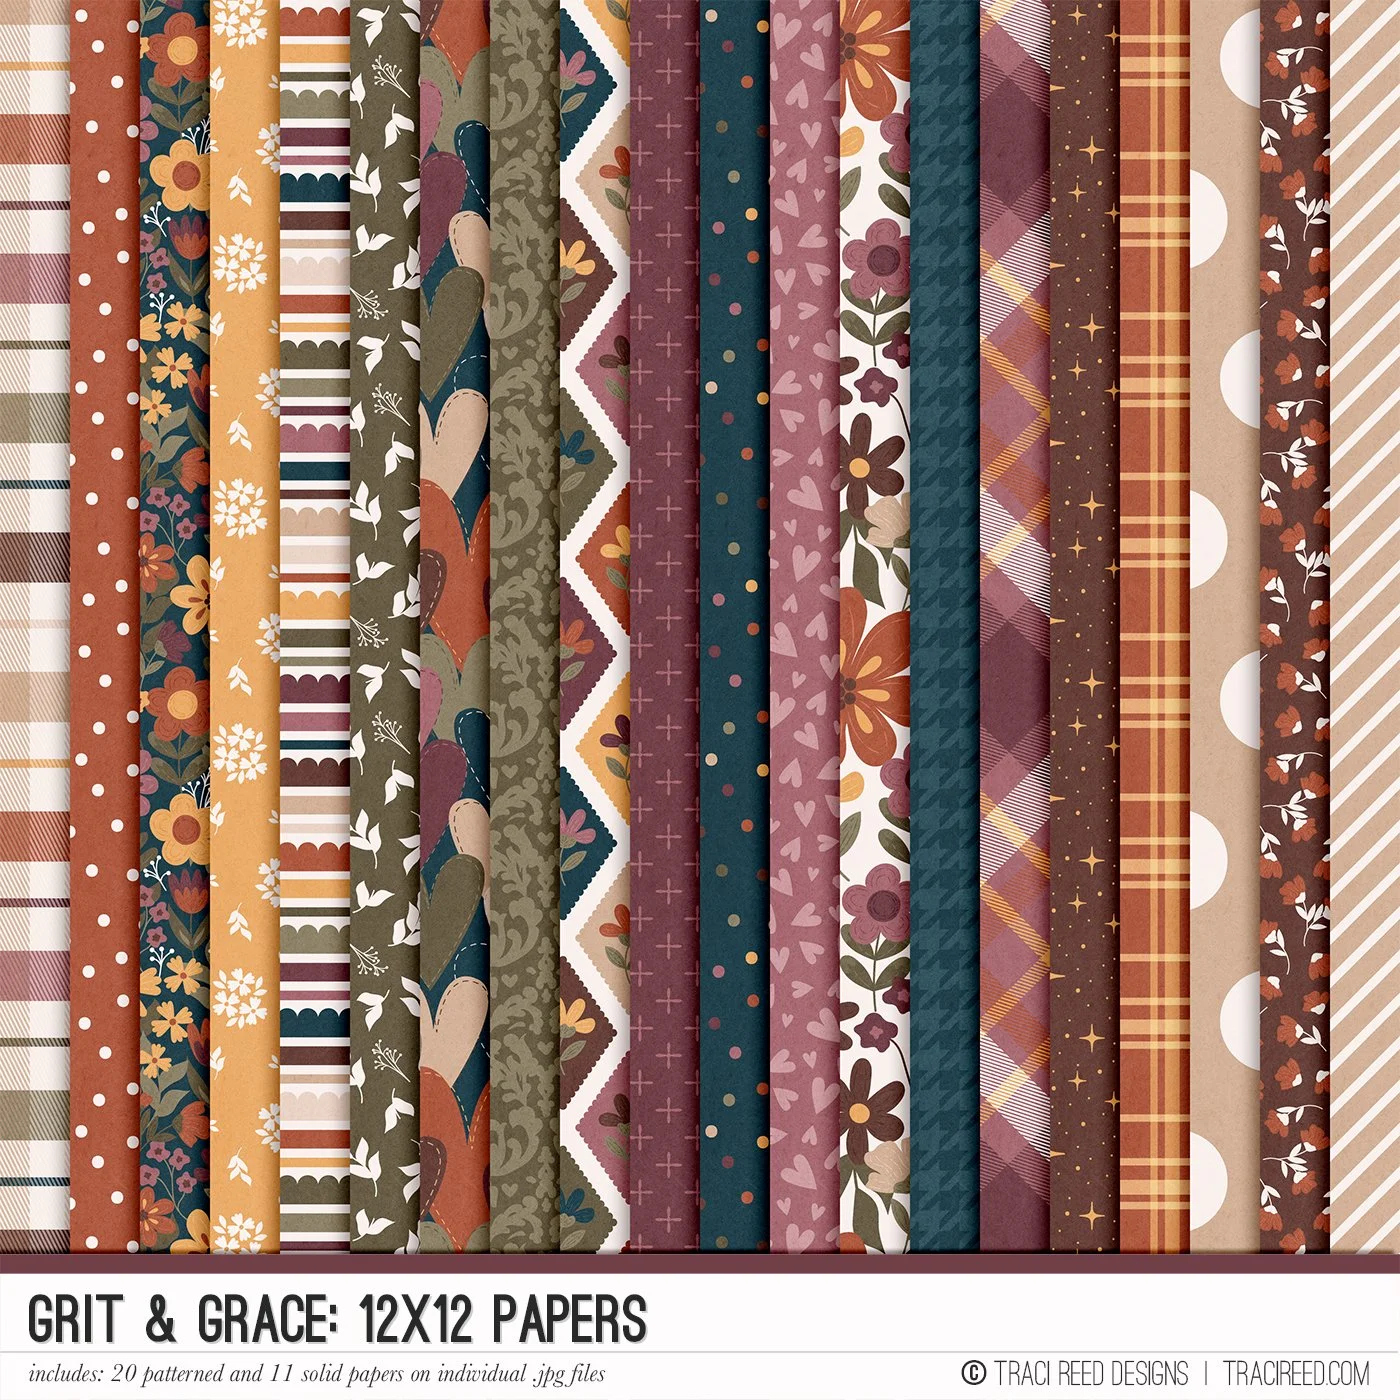
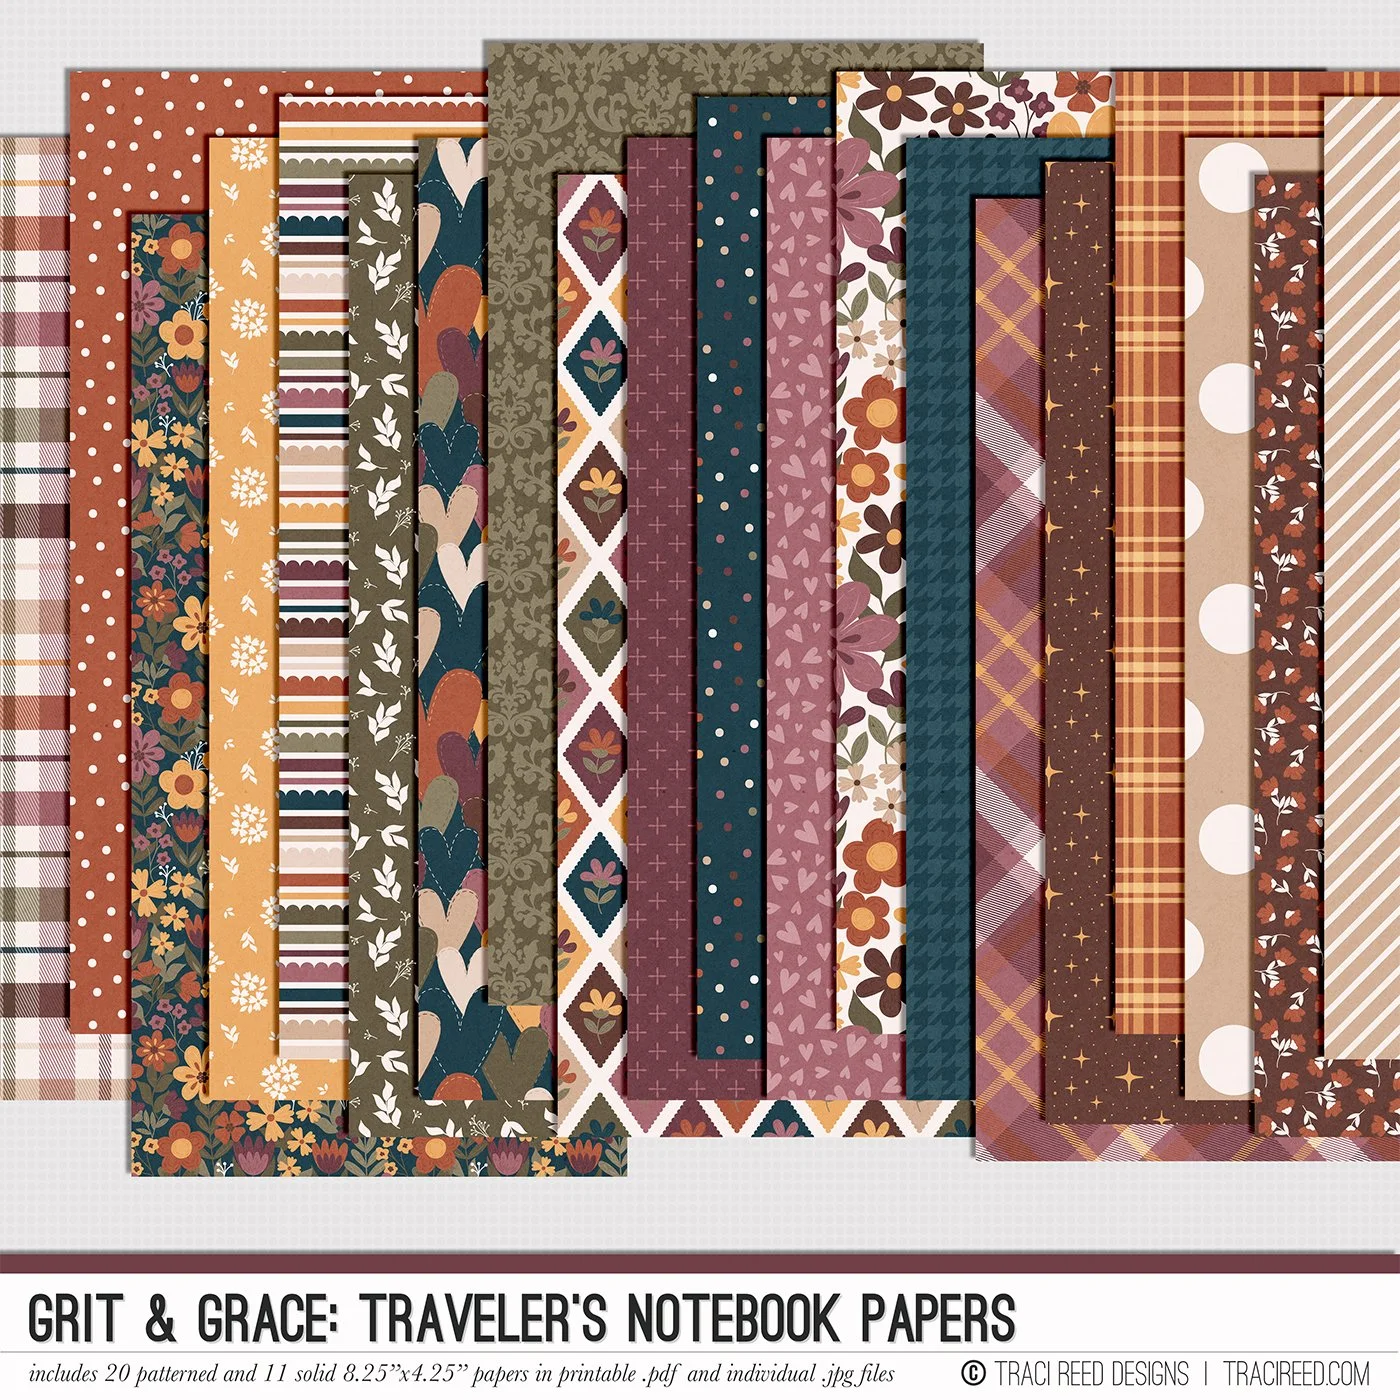
Hey, hey! Traci here today to talk about how three ways I leveled up this hybrid layout AFTER I printed it! I have this perfectly gorgeous digital layout that I created with the Grit & Grace collection and a background template from Designed by Soco.

It’s a beautiful layout that I’m very happy with and I could just print it all as one piece or even in layers to reassemble and be happy with it. But as I like to do, I instead went the extra mile and added even more to my final hybrid layout, after I sent it to print!
Here is the final hybrid/paper layout with the added details:

The first thing I did was ink the edges of both my paper pieces and my background paper with brown ink. This added some much needed grounding to the layout and visual interest. I also added ink blotches in a deep navy with a dropper and distressed the edges of my paper pieces. All three combined added to the digital mixed media already on the background in a fun way.

When printing, I printed two copies each of the digitally layered hearts and cut the top heart out of the second copy to actually layer them in real life. I added a fine line of glue to just the center of the top heart so that the edges of the heart would fold up and lift away from the bottom heart.
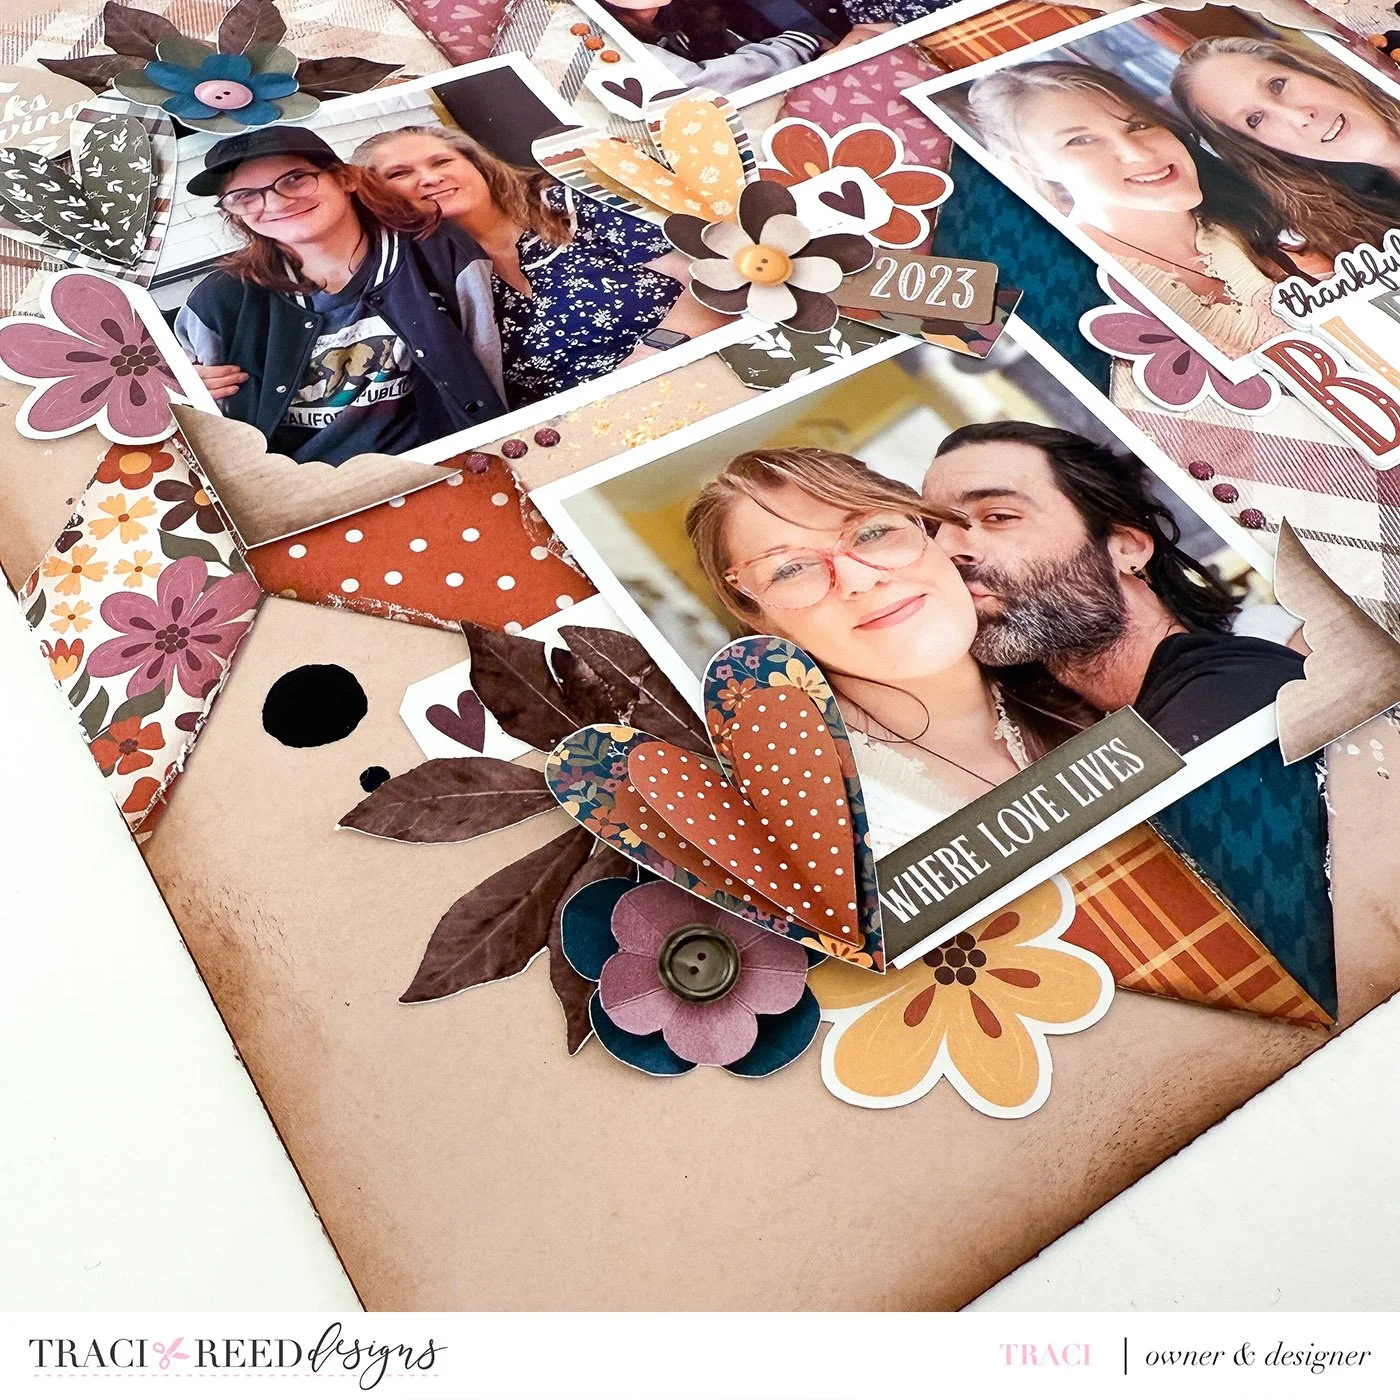
I also printed multiple copies of both my title and the letter board to make them thicker like chipboard.

Lastly, the only additional product I aded to my page were rows of glittery enamel dots along the edges of each photo for just a little pop of bling!

These subtle changes from the original digital layout subtly leveled up the layout for the viewer and added some fun to the process after printing!
If you want to see this layout come together, check it out here: