Create Your Own Butterfly-Shaped Mini Album with Noemi!
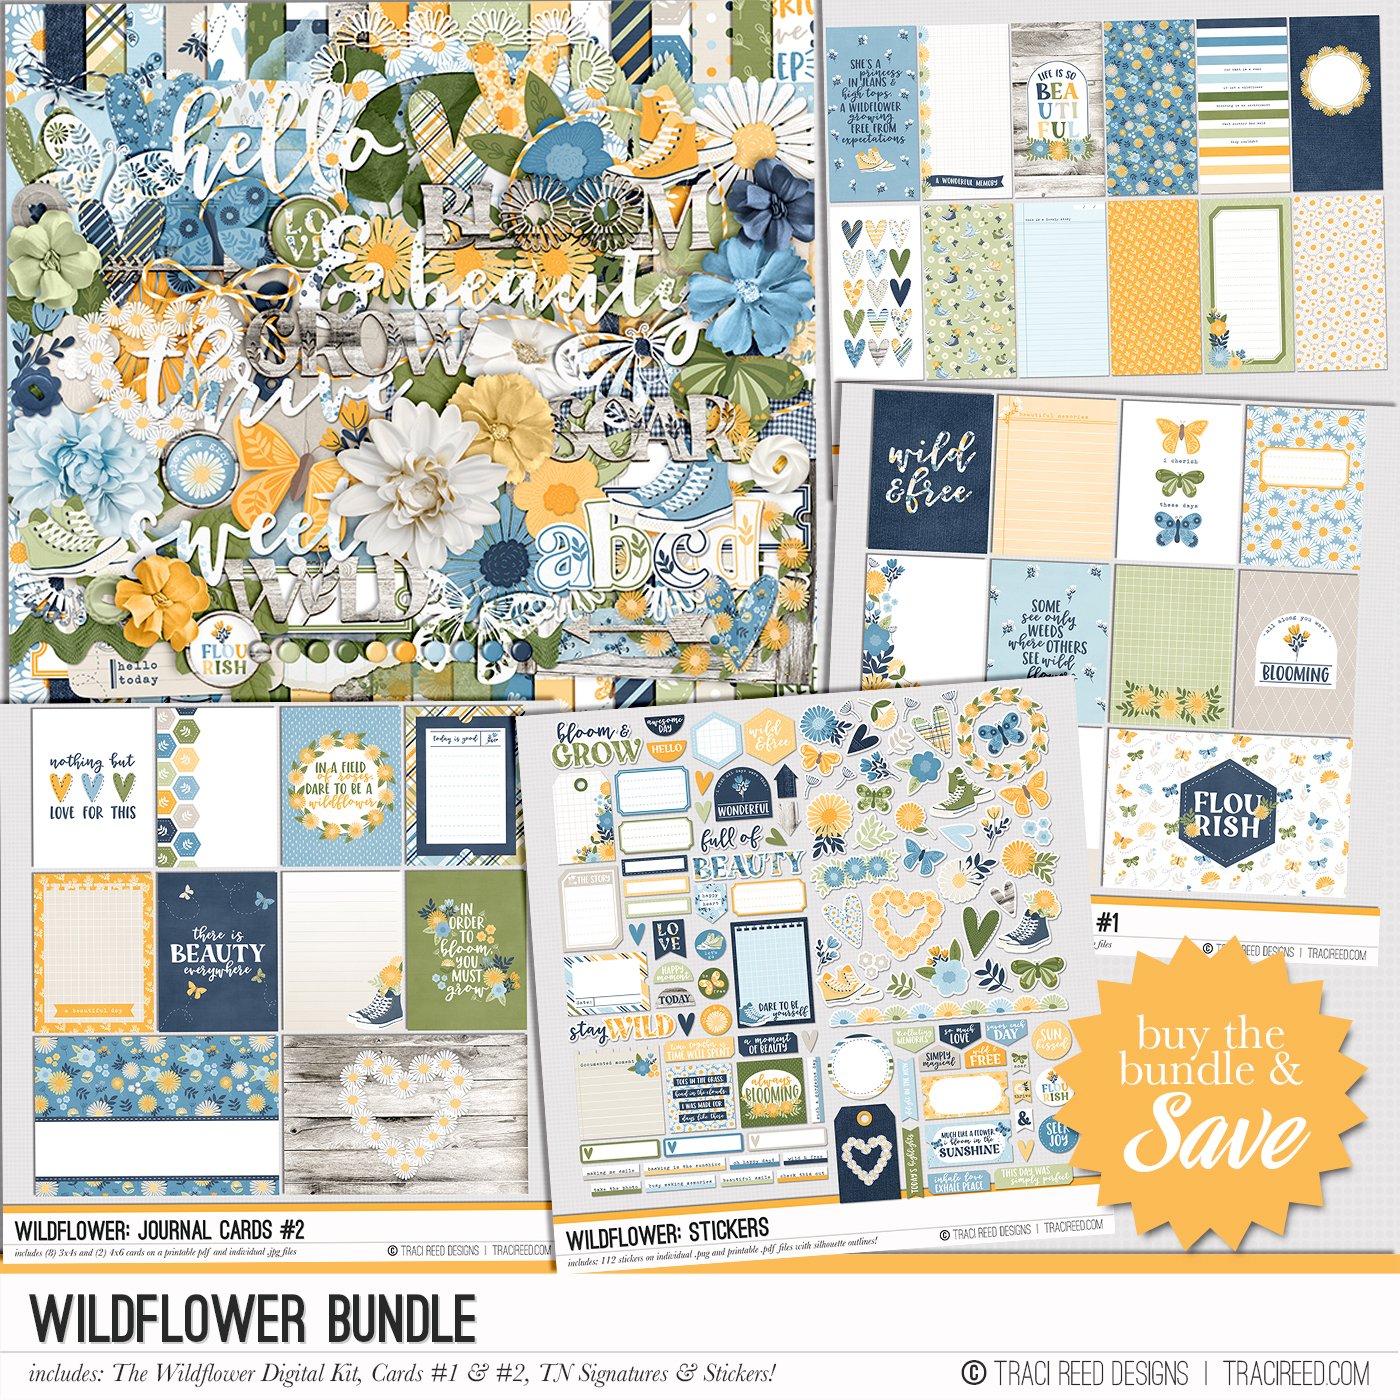
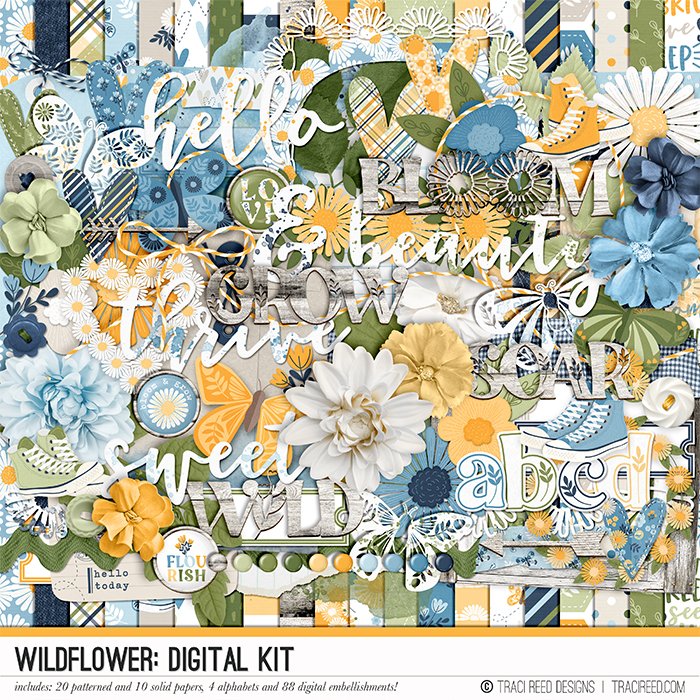
Hello, spring! This is my favorite time of year because you can find flowers everywhere, and I am filled with inspiration. Recently, I went to a sunflower farm, and I thought the Wildflower collection would be simply perfect to document that little adventure.
I decided to use the cut files from this collection in a different way and designed a butterfly-shaped mini album. The structure is quite simple to assemble and is perfect for a relaxing afternoon when you want to sit down, enjoy, and complete a project from start to finish.
First, I printed three letter-sized sheets on both sides with my favorite papers from the collection. Once I had them ready, I opened Cricut Design Space and resized the butterfly cut file to 20 centimeters wide. I cut the original butterfly with the inner details in textured basic cardstock and then hid the internal contours and used the printed sheets to cut three butterfly silhouettes.
For the cover, I glued the basic cardstock cut to the butterfly silhouette with yellow flower paper to provide contrast. I used 11 round photos with a diameter of 5.5 centimeters, but you can include more photos by adding more pages. I was very excited to play with the stickers from this collection, so the ideal option was to take the ready-to-cut plotter files, resize them to fit the Cricut Print and Cut measurements, and have them ready in just a couple of minutes.
Now, onto the final step. With all the pages decorated, I used strong glue only on the body part of the butterfly, let it dry for a few minutes, and voilà! In just a couple of hours, I made this adorable mini album to remember the beginning of this beautiful spring. Welcome, warm days!


