Creating Digital Layered Project Life Cards on Your Phone with Layered Templates + the Affinity & Project Life Apps!
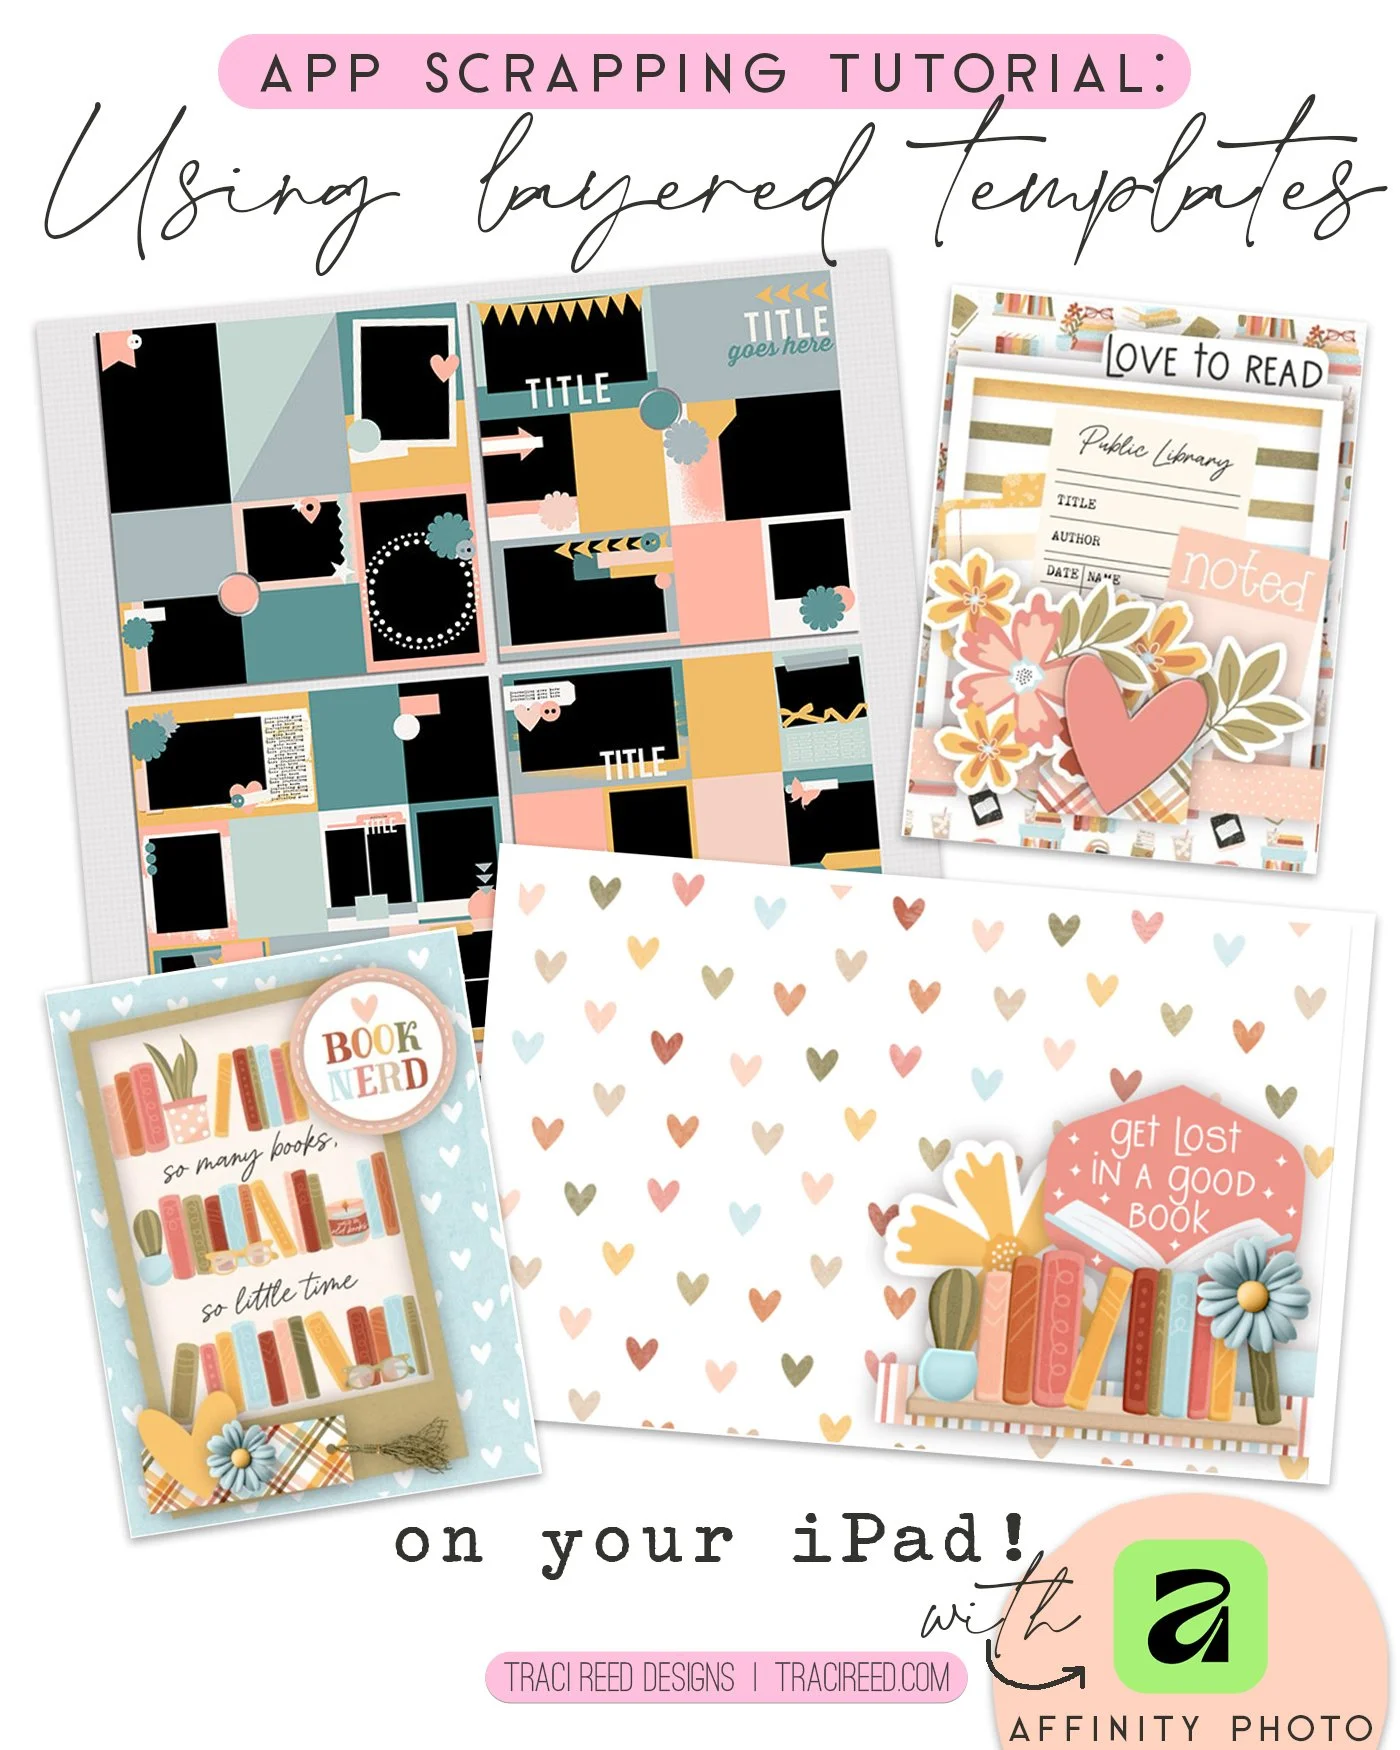
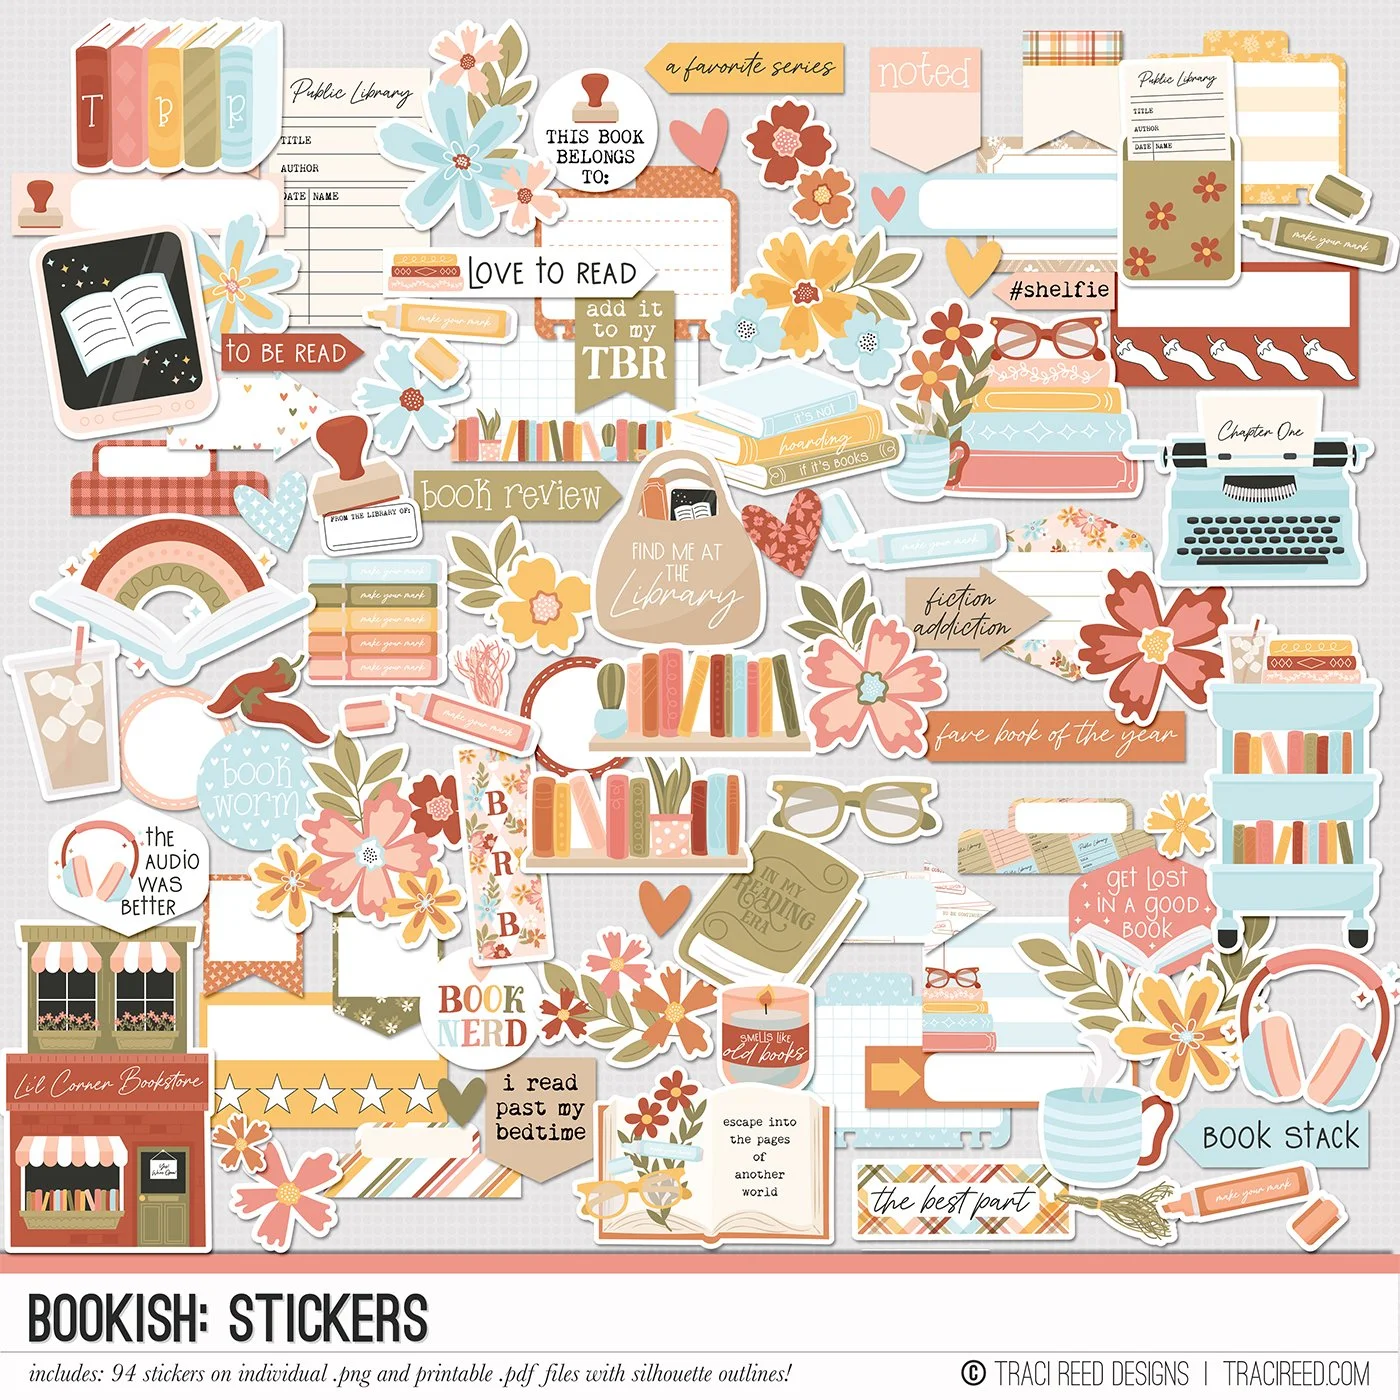
I love the simplicity of the Project Life app and the versatility of the filler cards that come in the Bookish collection but sometimes I like to play with more a more complicated design. I have found that finding parts of templates that I can turn into 4X6 cards or 3X4 allows me to play a bit, but keep the layouts organized in the Project Life app-which I consider my main organizational place for appscrapping.
The Pocket Starter templates are so easy to use and they are scaled the exact way I need to find 4X6 and 3X4 templates for using as filler cards.
I am using Pocket Starters #12 for this example, but you can see in the finished page, I used a few others.
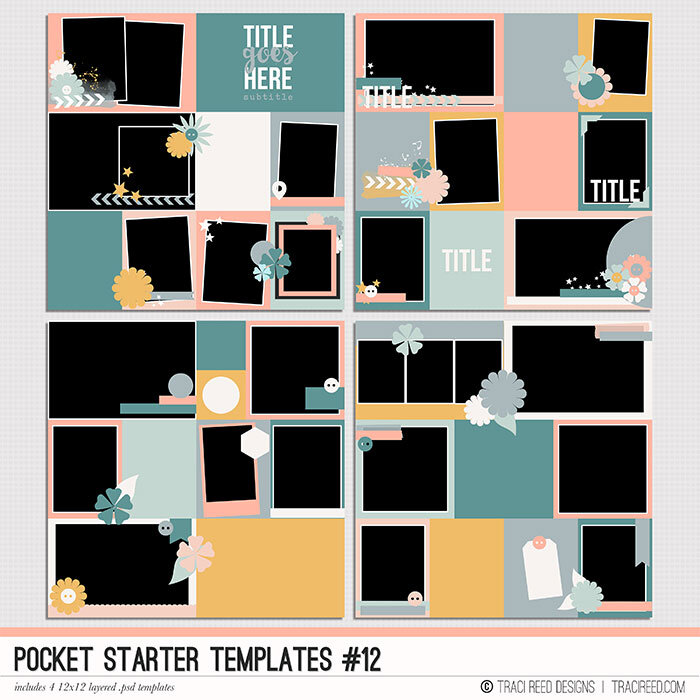
Looking to kick up your pocket pages with some fun designs? Tired of the same bland 4x6 photo + 3x4 card format? These 12x12 Pocket templates will have you collaging your photos and adding fun touches to your pages in no time!
PLEASE NOTE These templates were originally released as the Pocket Life - December ‘15 Kickstarters, please check your files before downloading!’
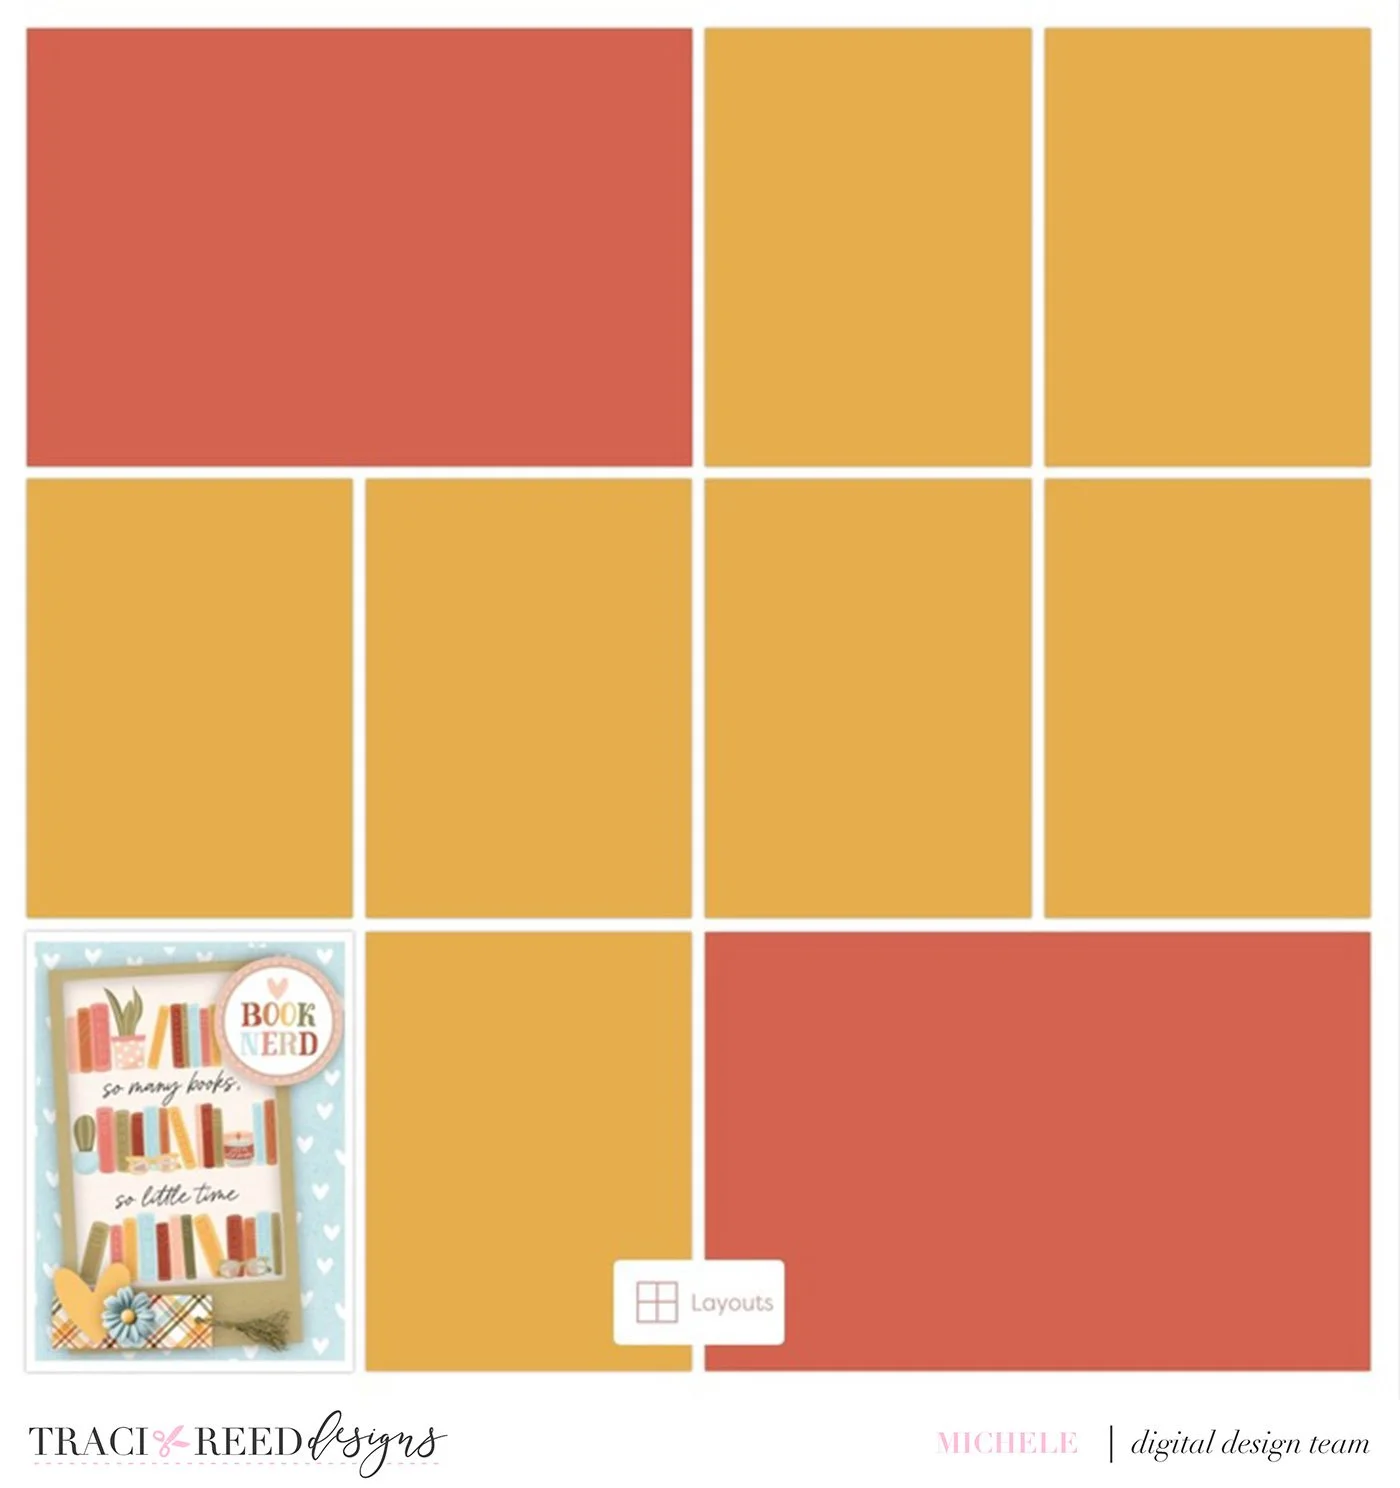
I use Affinity to make the cards. I imported the page template and determined what card I was going to make. I decided on this third space in the middle of the template.
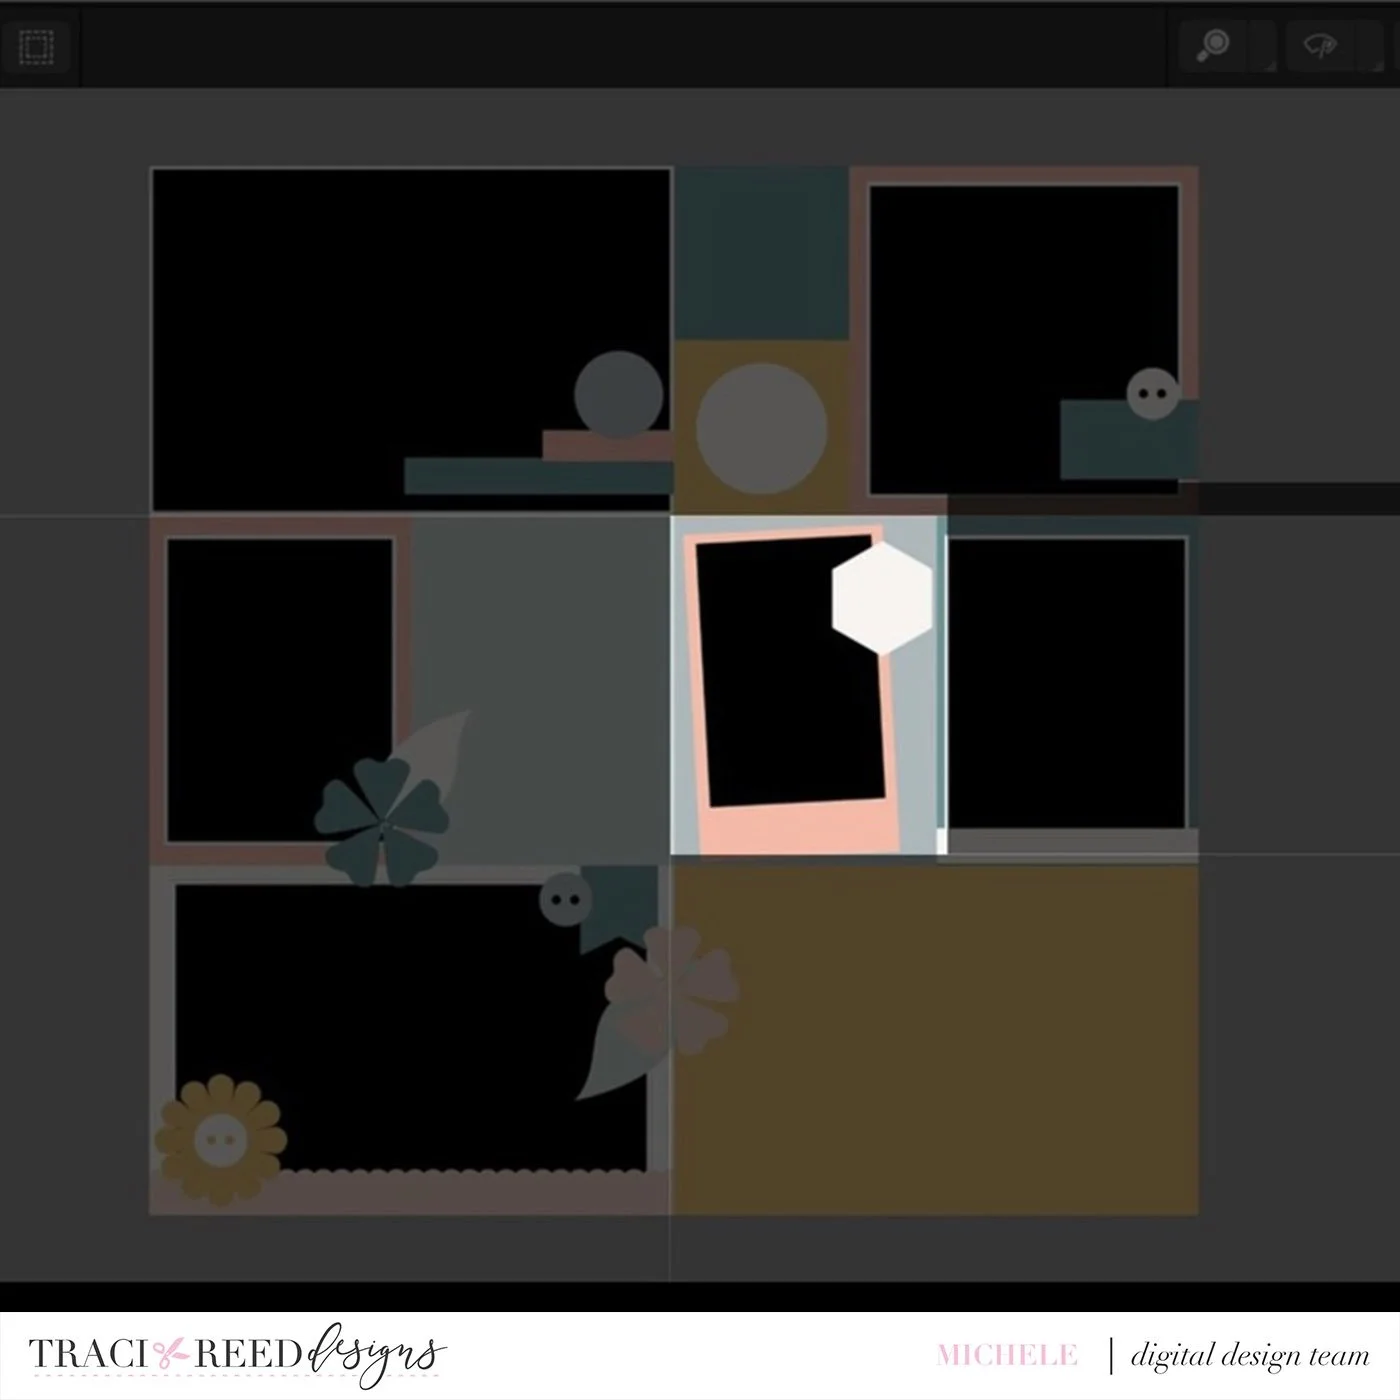
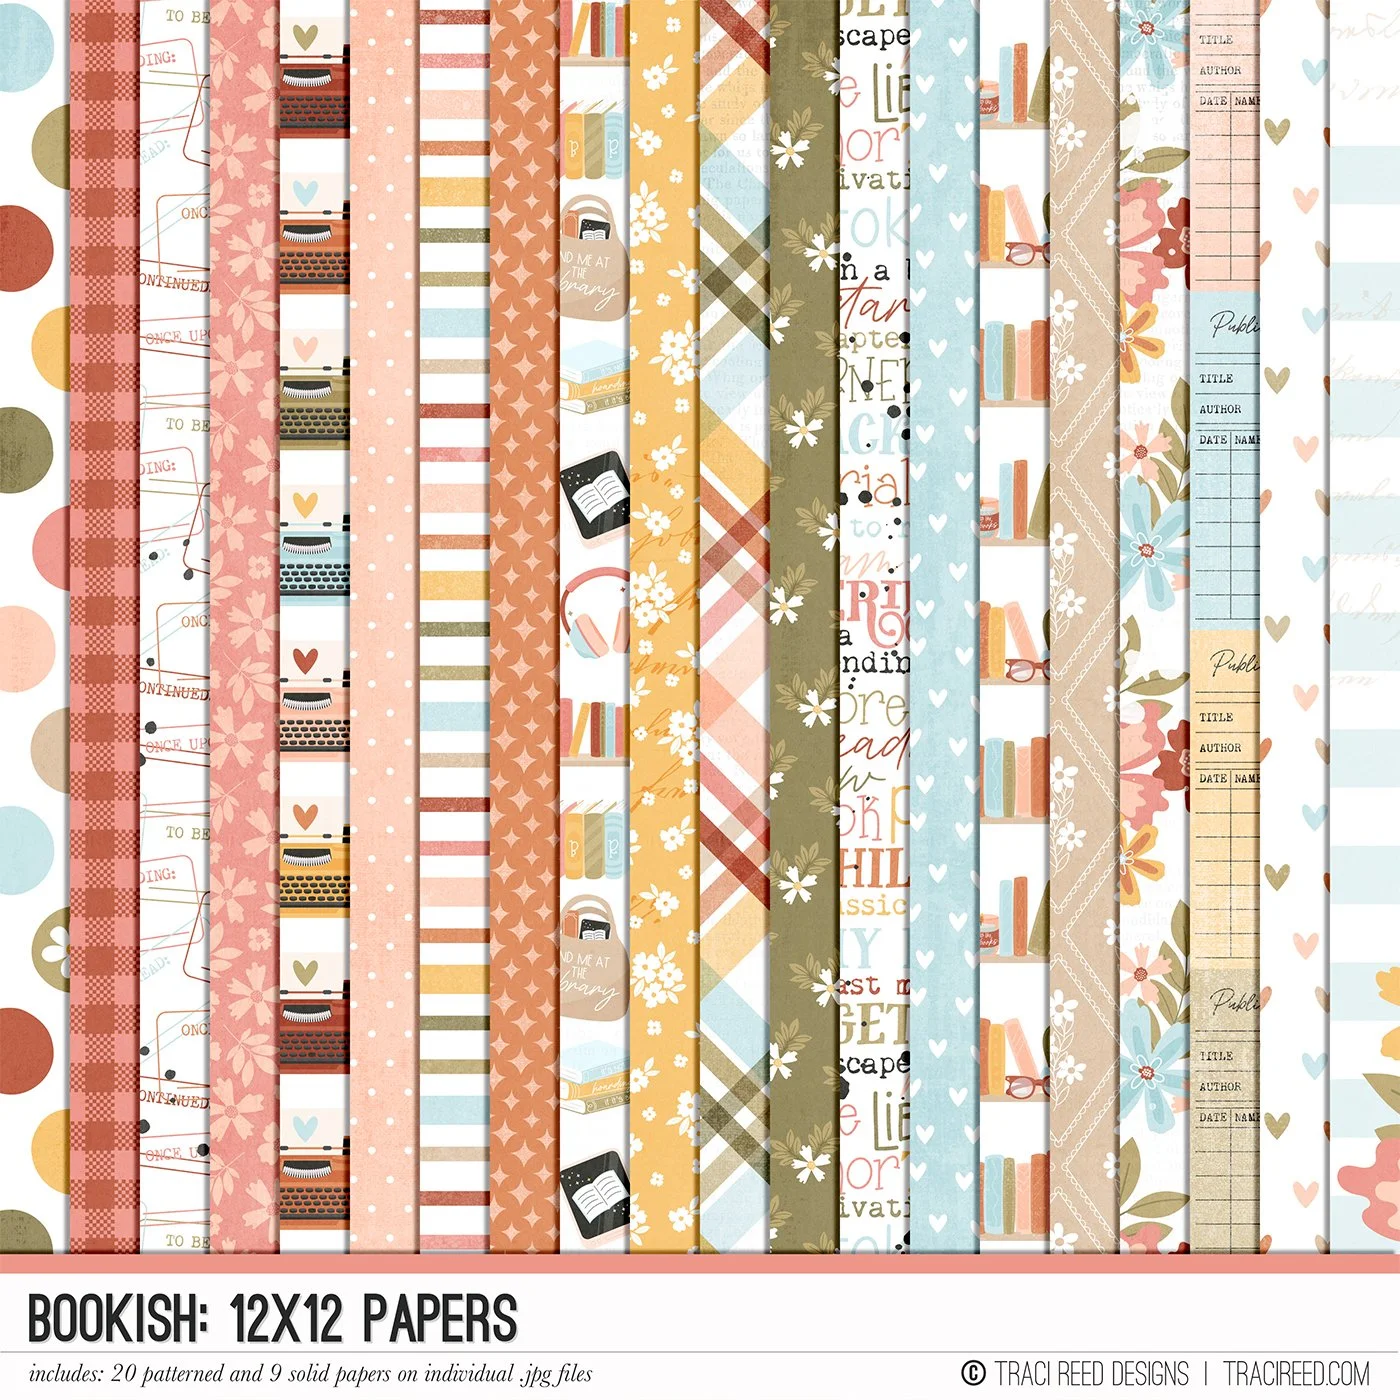
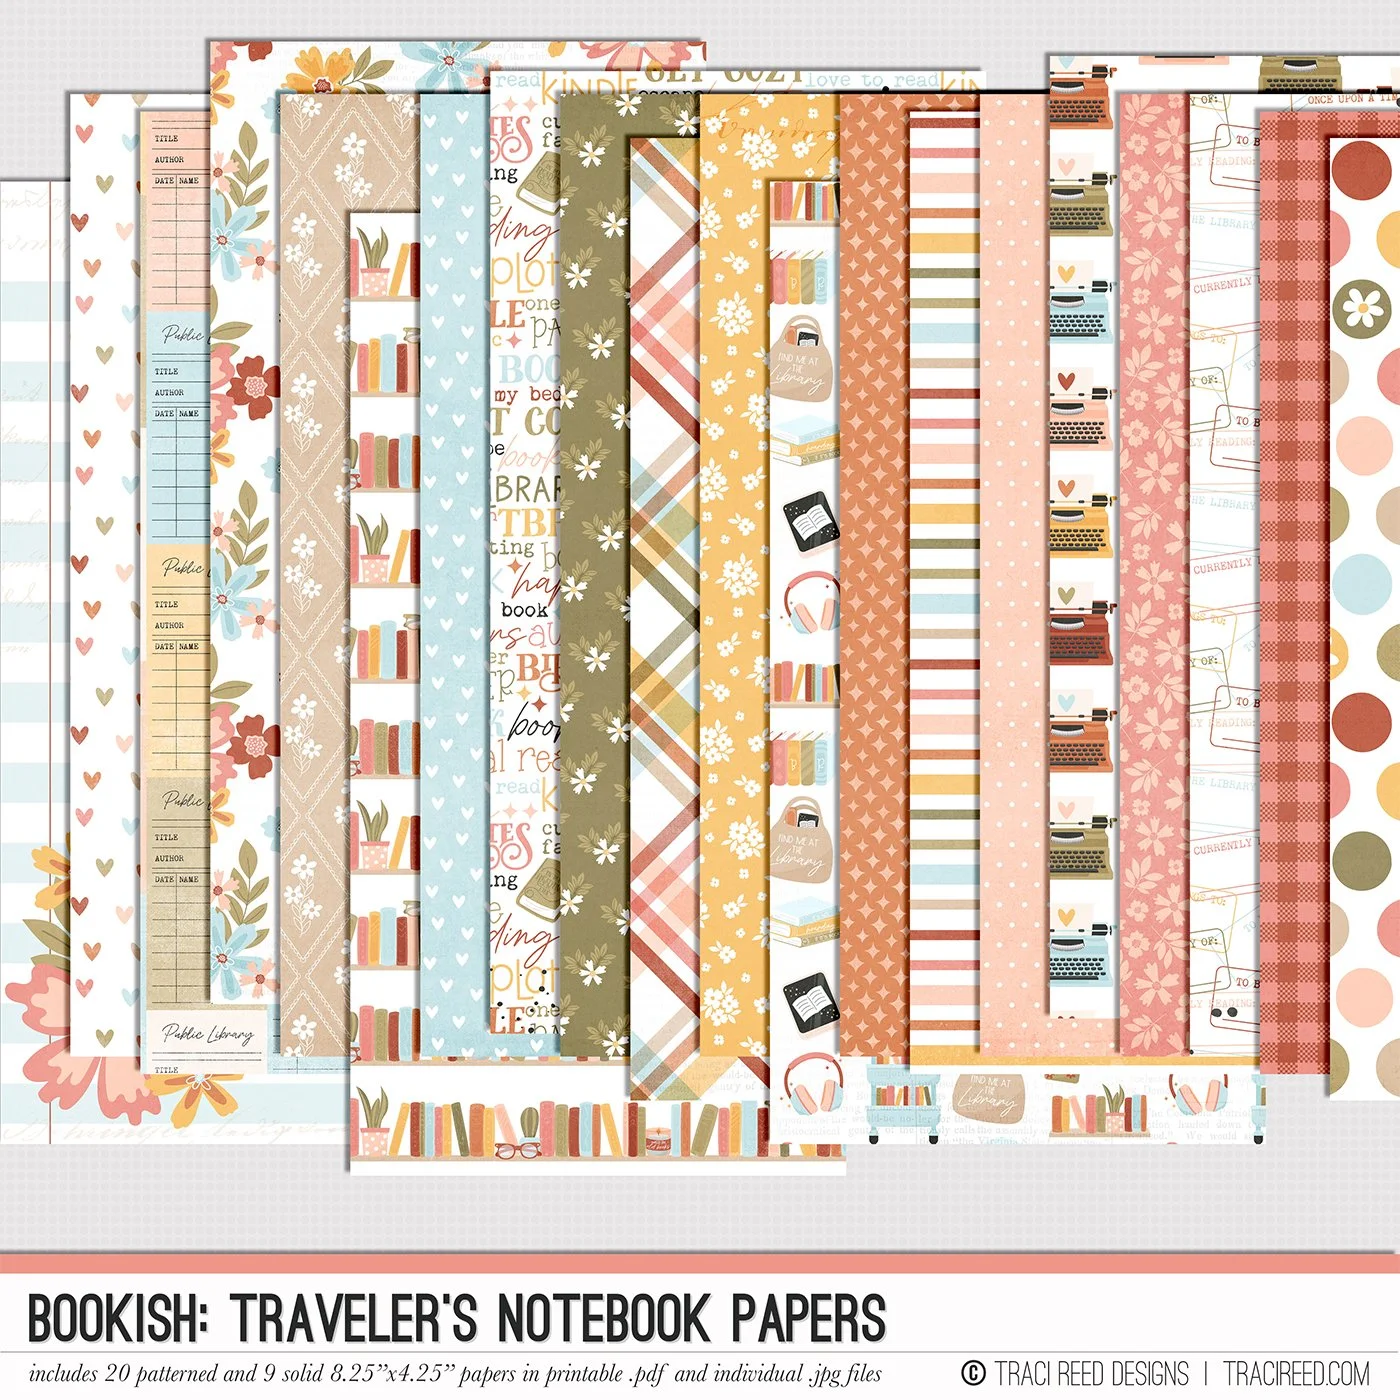
I then imported the papers, elements and a pocket card into the template.
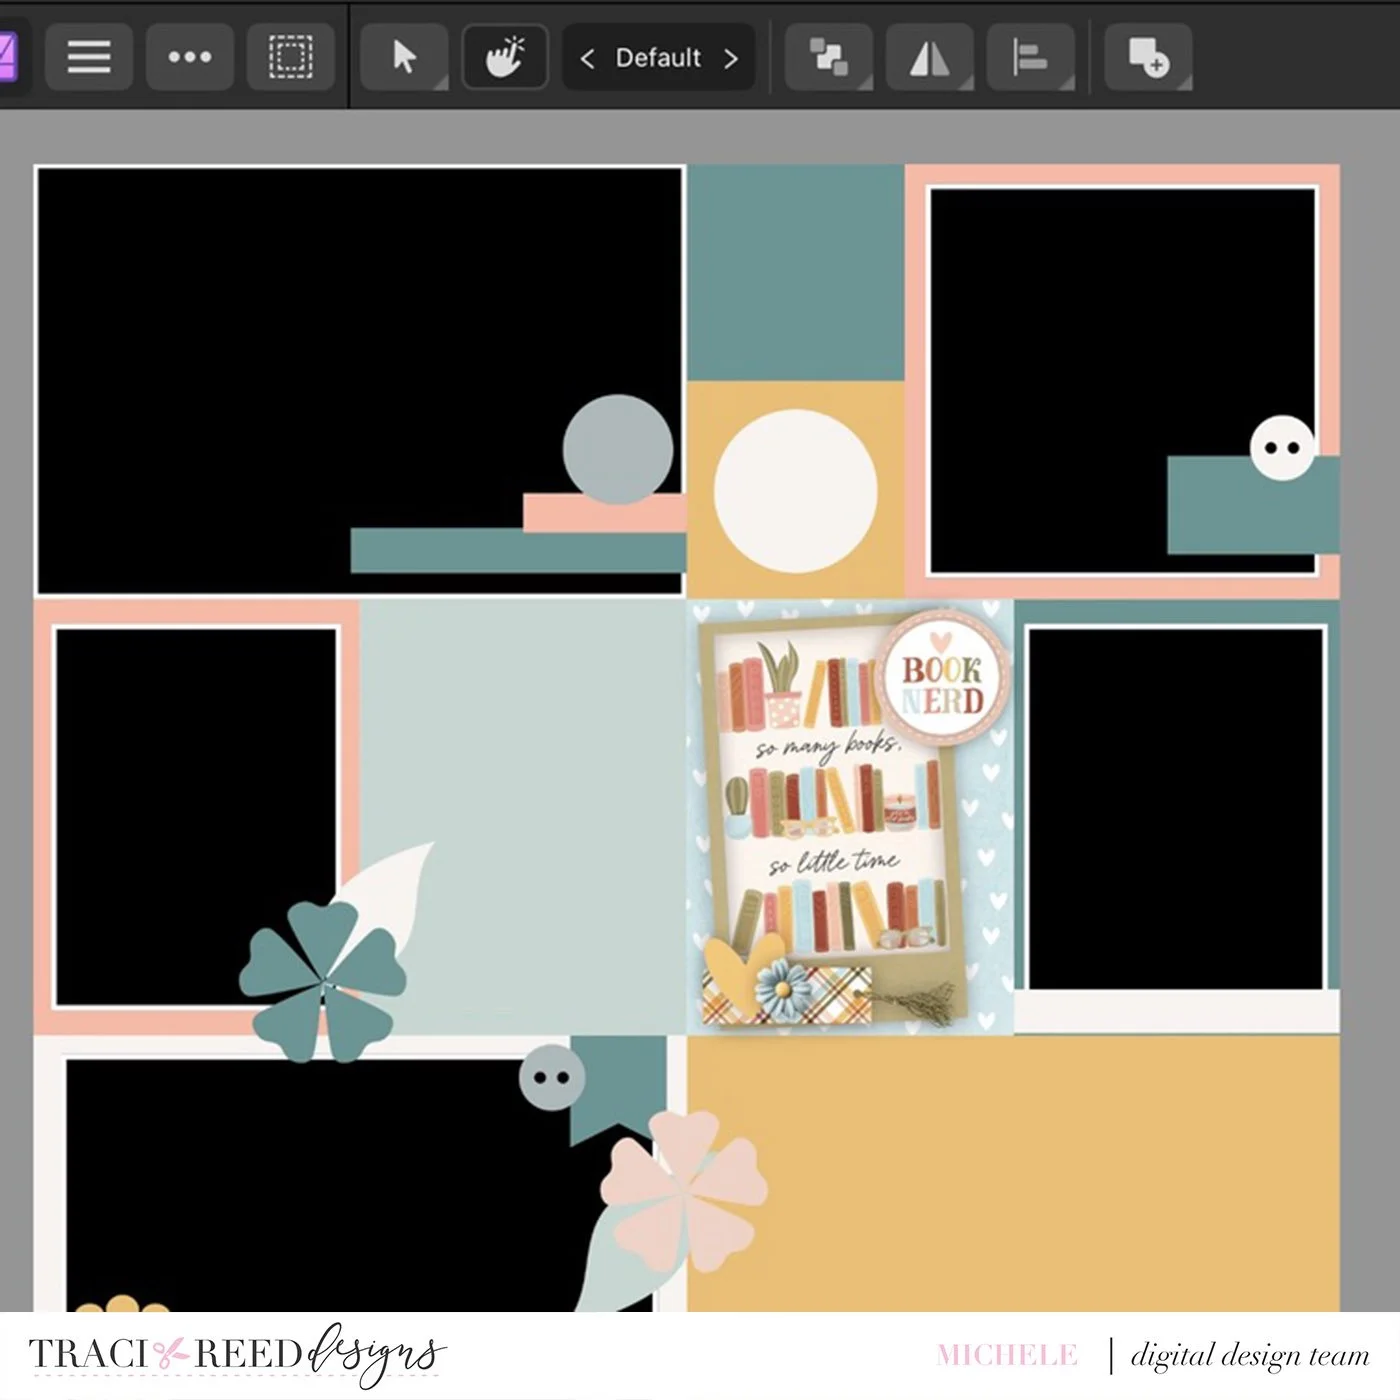
To make lining the card up easier when I put it into the Project Life app, I always pull the used layers to the top and then I put a piece of paper behind the created card that matches the background paper just so I don’t have to worry about a little line showing through.
It ends up looking like this:

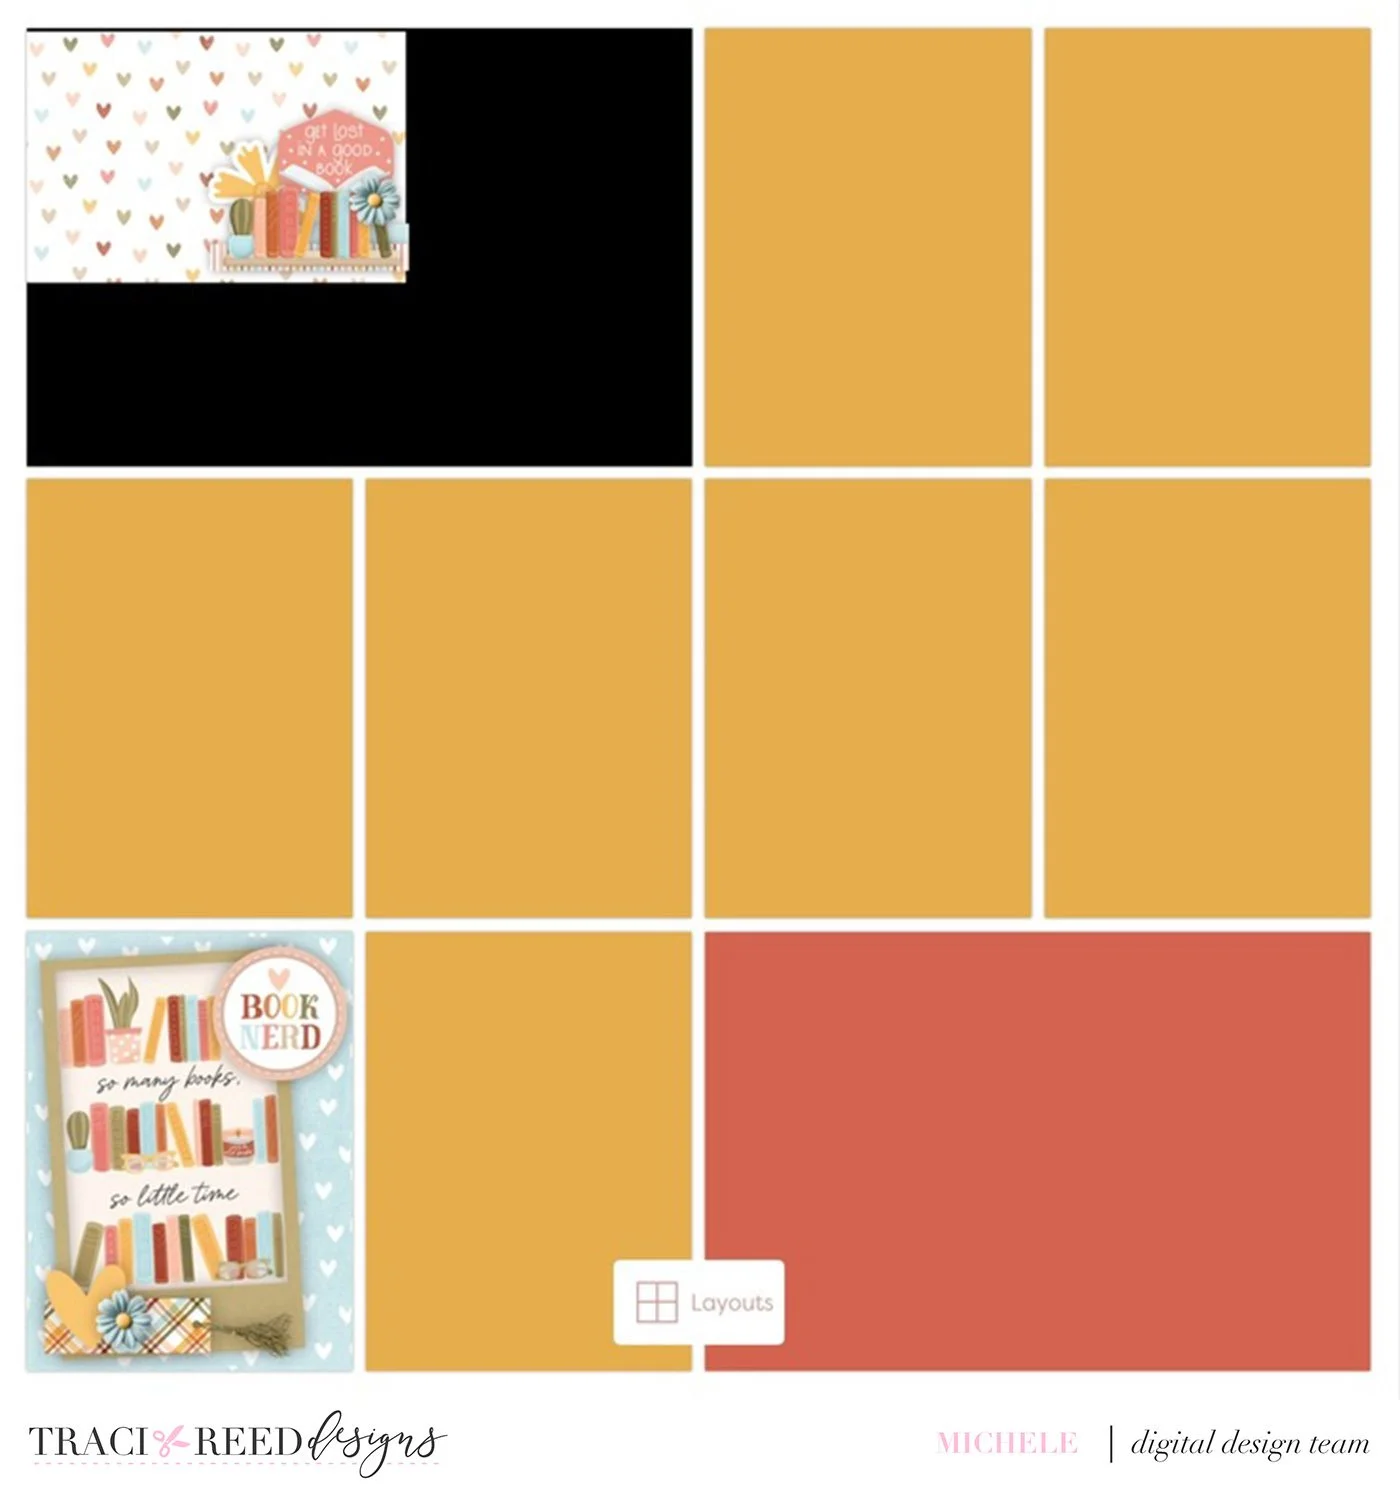
This gives me the margin of error I may end up needing. Then I export it and bring it into the Project Life App.
You can see here, I just bring it in as a jpeg file.
I created a title card too using the same system but an 4X6 orientation.
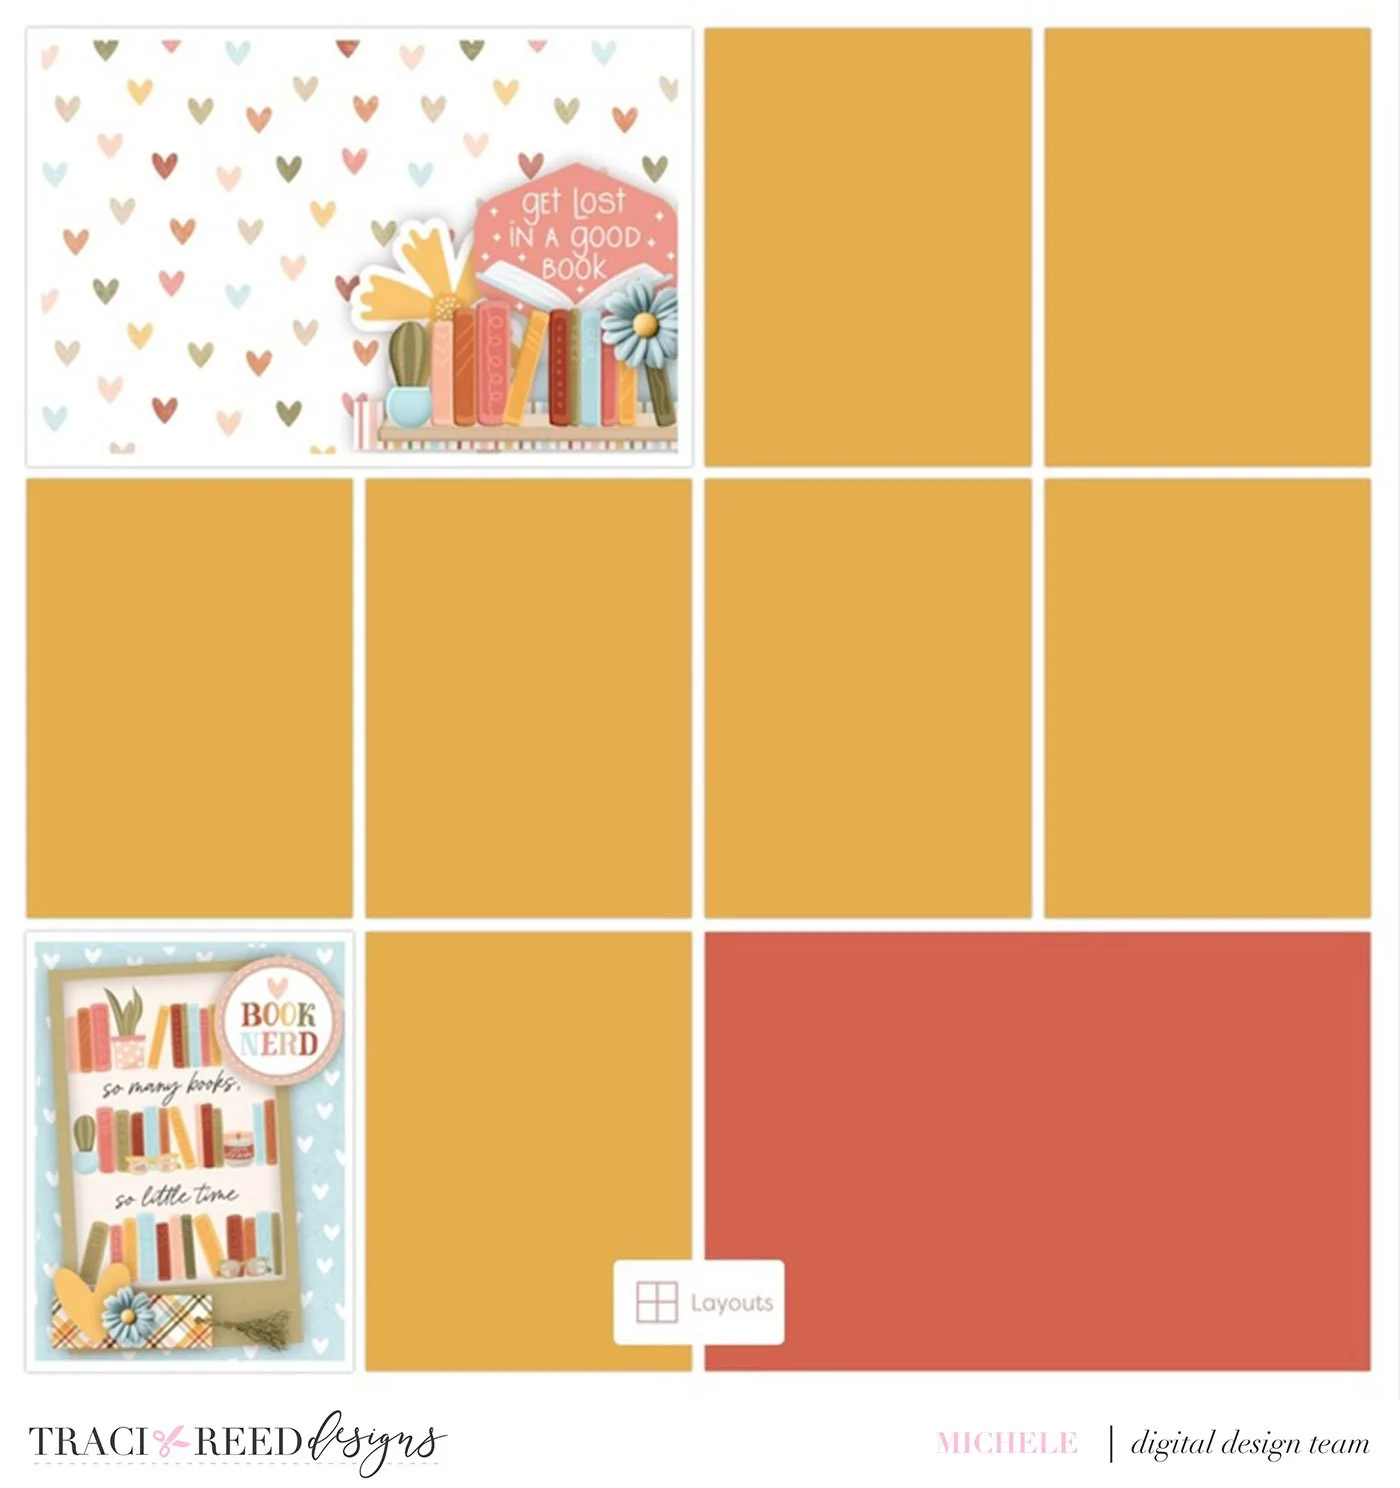
Sometimes when you bring in the page, the picture will be small. Just use your fingers to fill the image into the PL slot.
Before resizing:
After resizing:
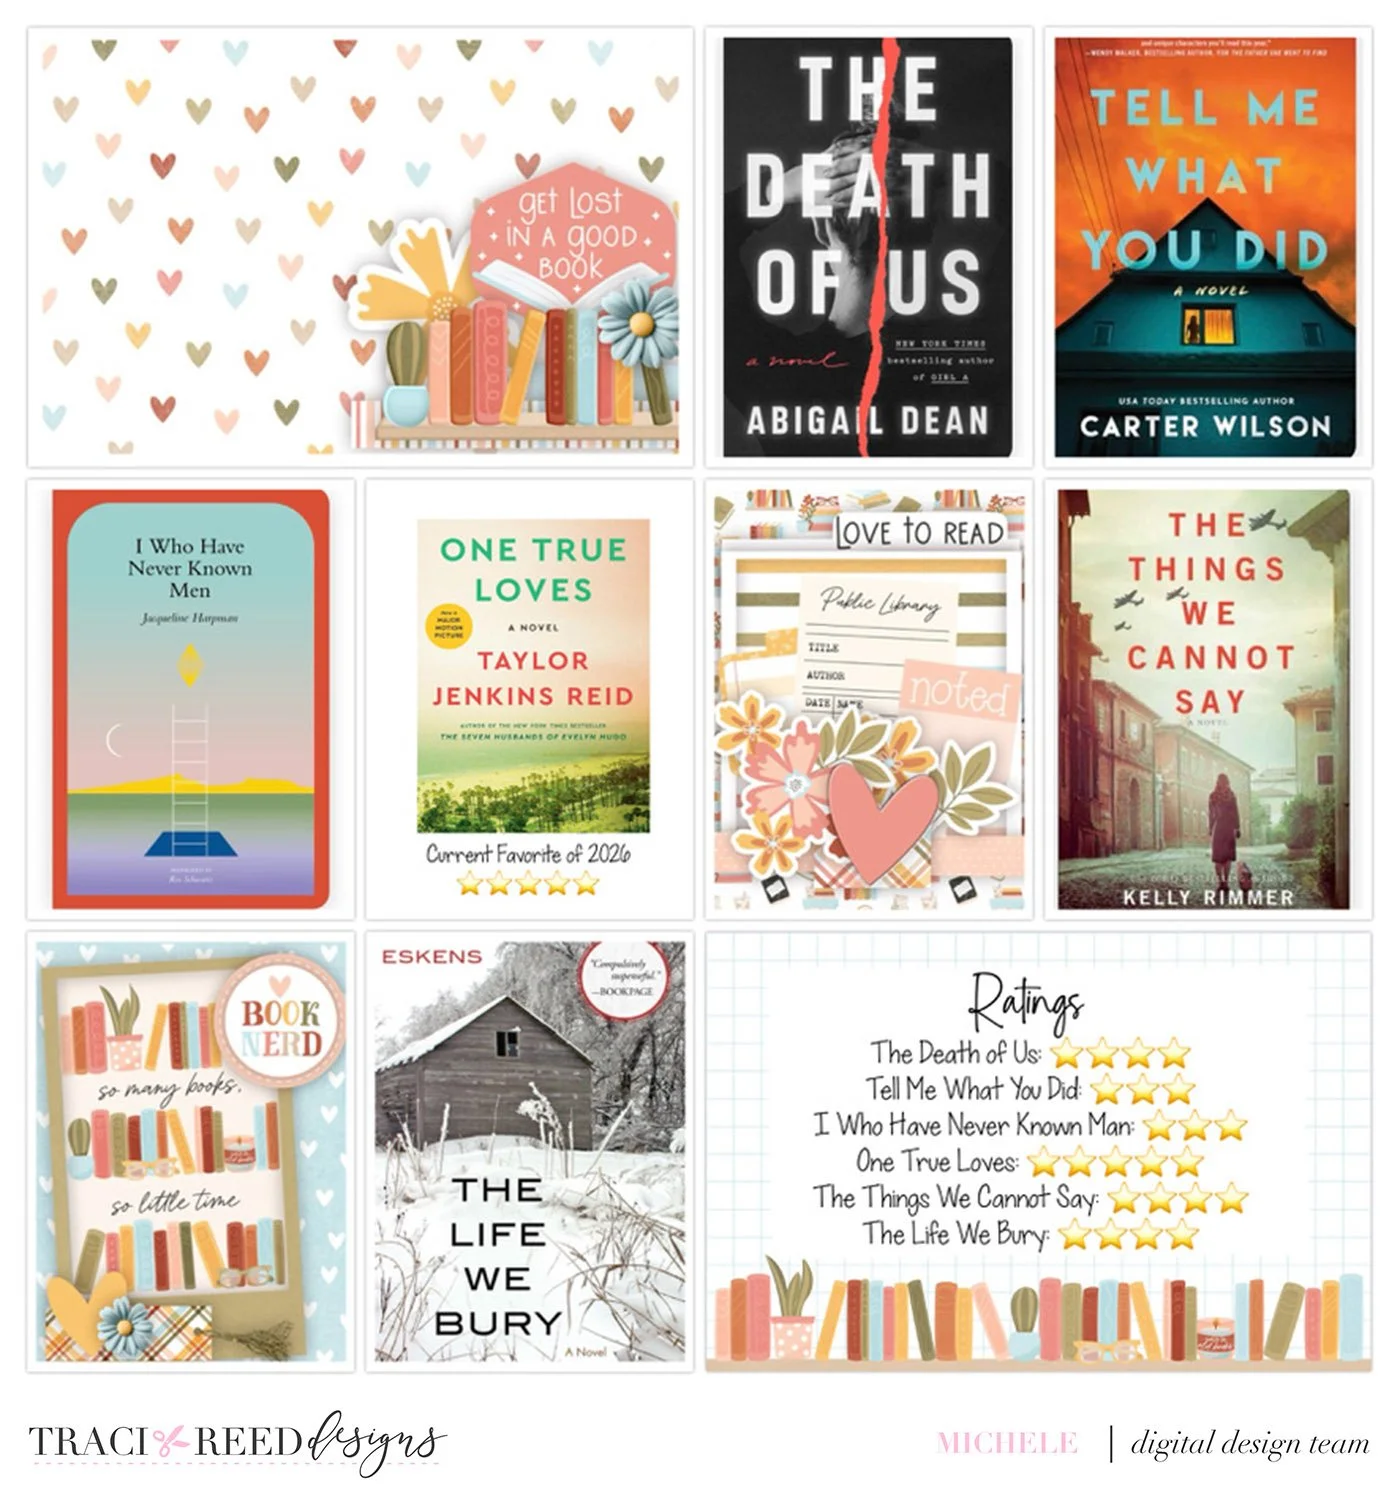
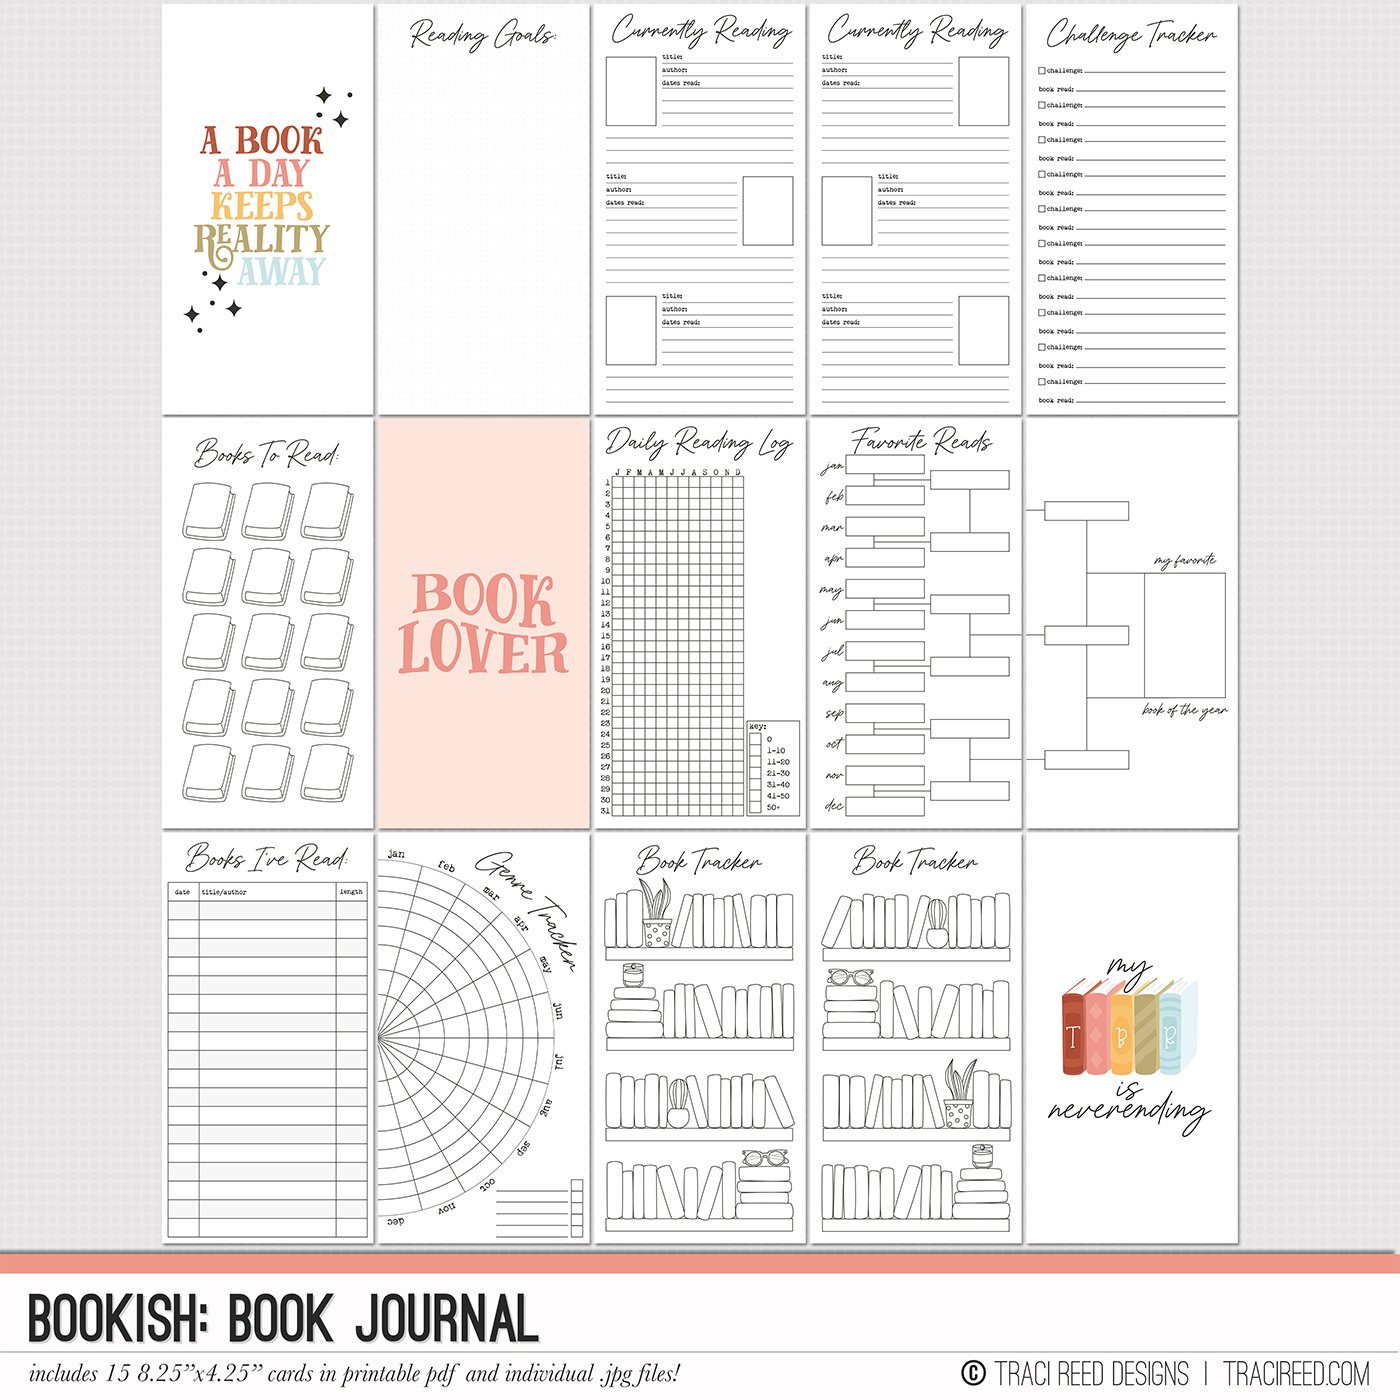
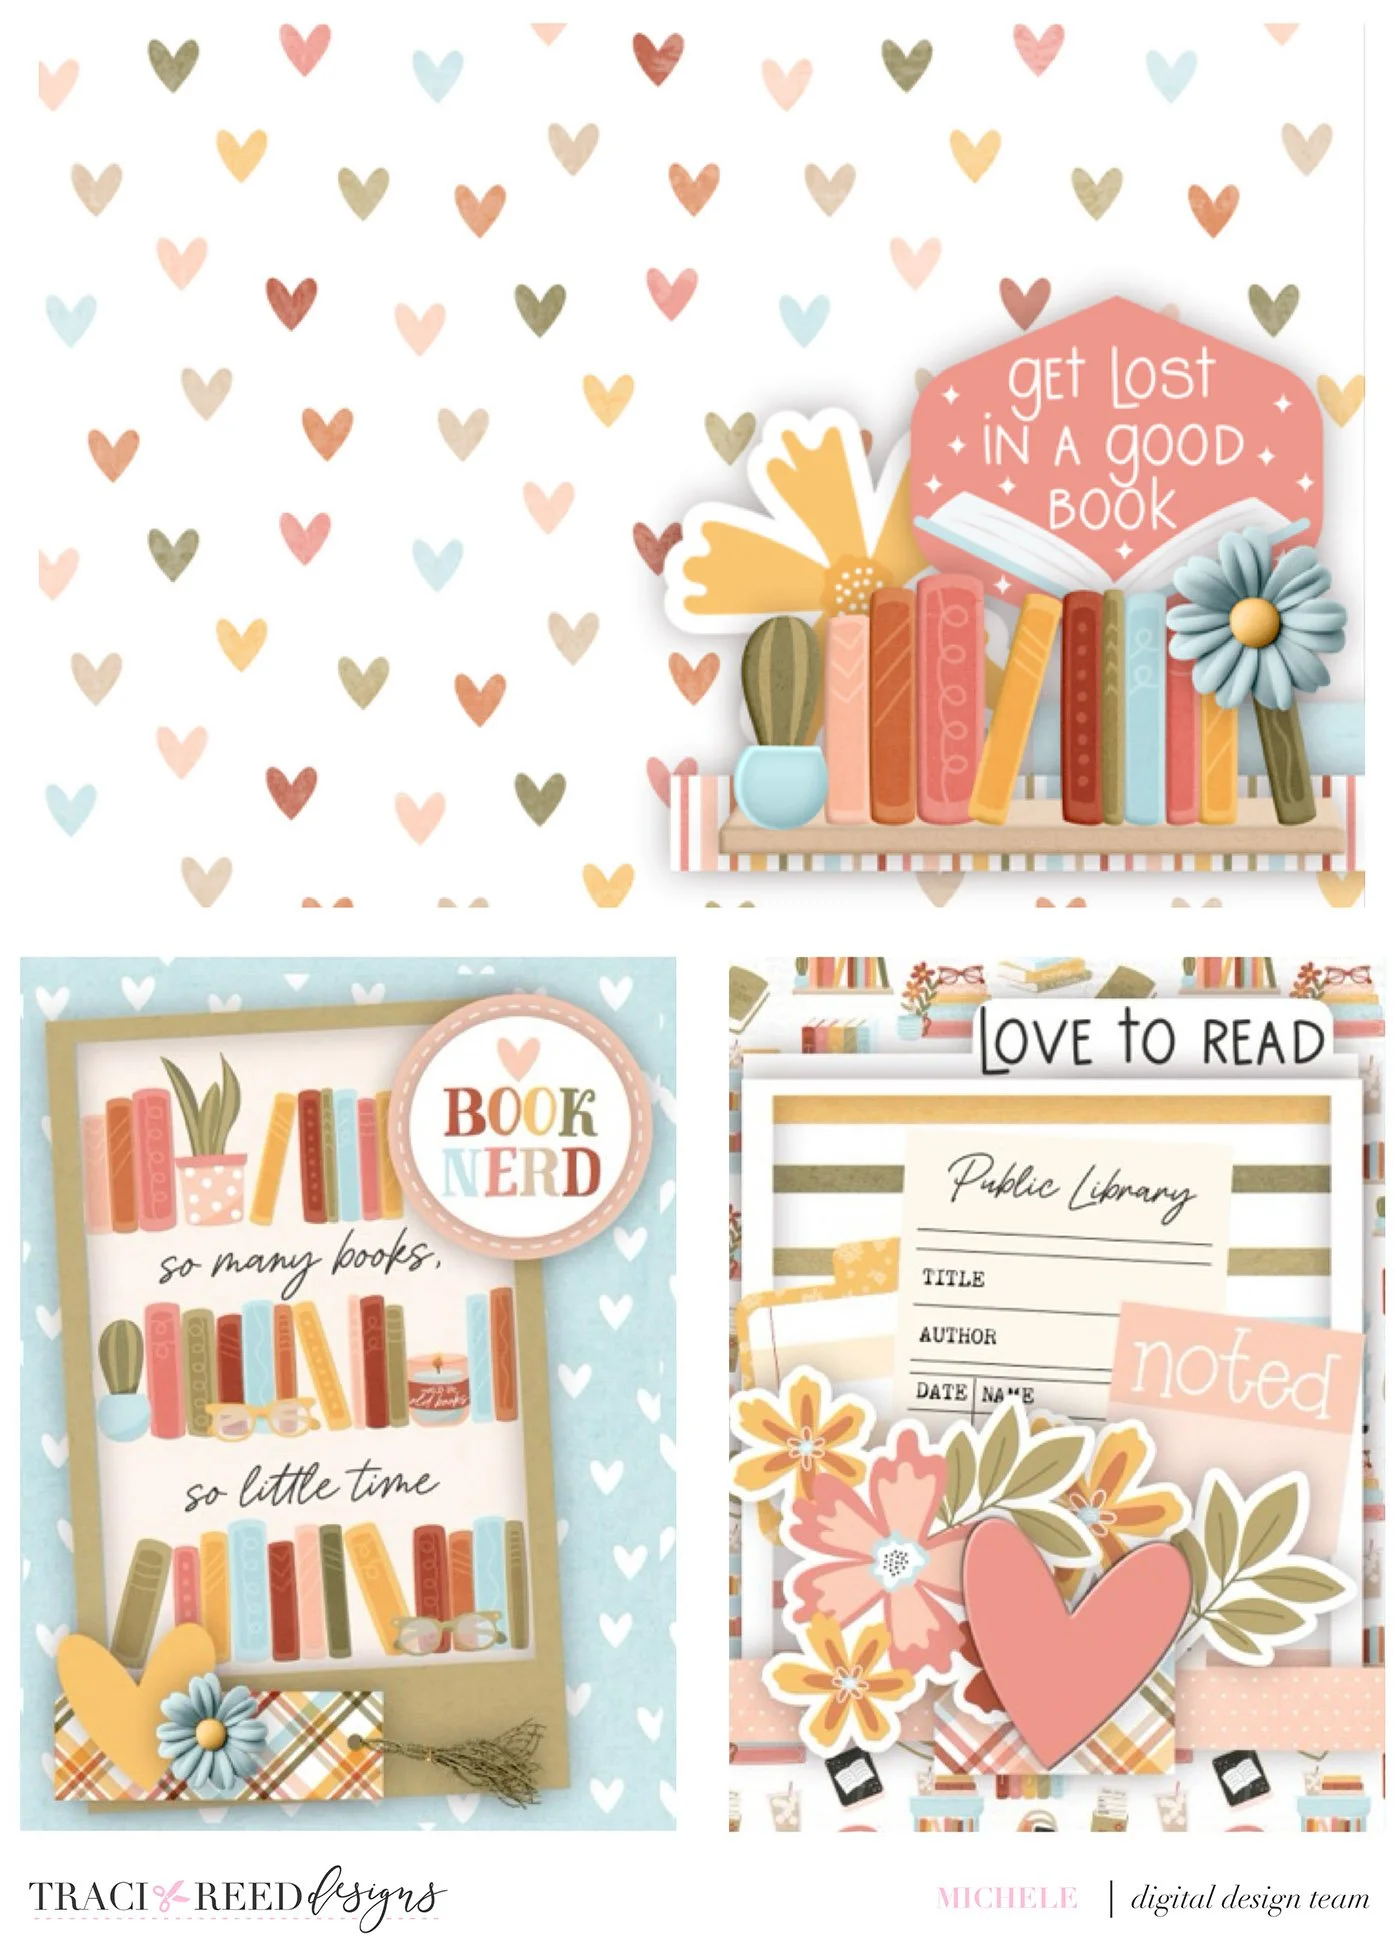
The filler cards I made in Affinity with a pocket template (2 cards with Pocket Starters 12 and one card with Pocket Starters 9). The card I put the ratings on, I just pulled directly from my Bookish file and did not embellish.
I made three filler cards for this page:
Completed page: