Using the Project Life + Studio Apps to Create Layered Journal Cards with the Story Foundations Collection!
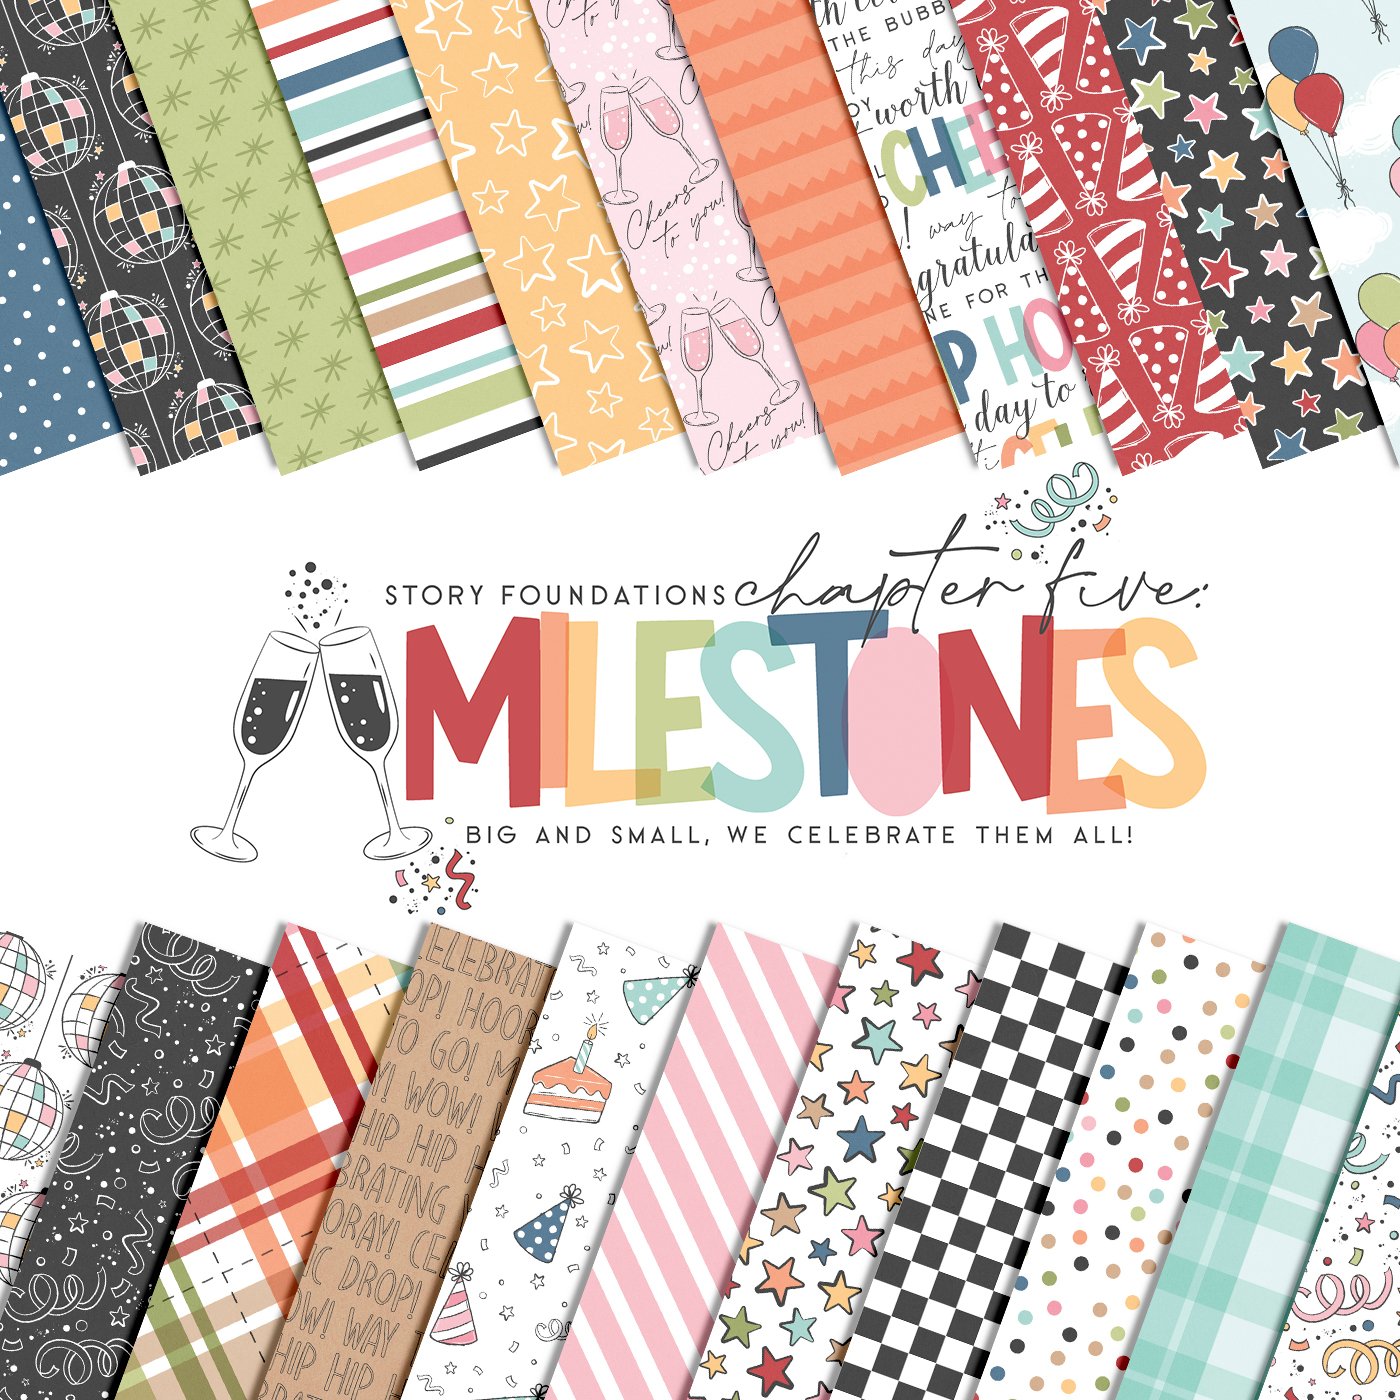
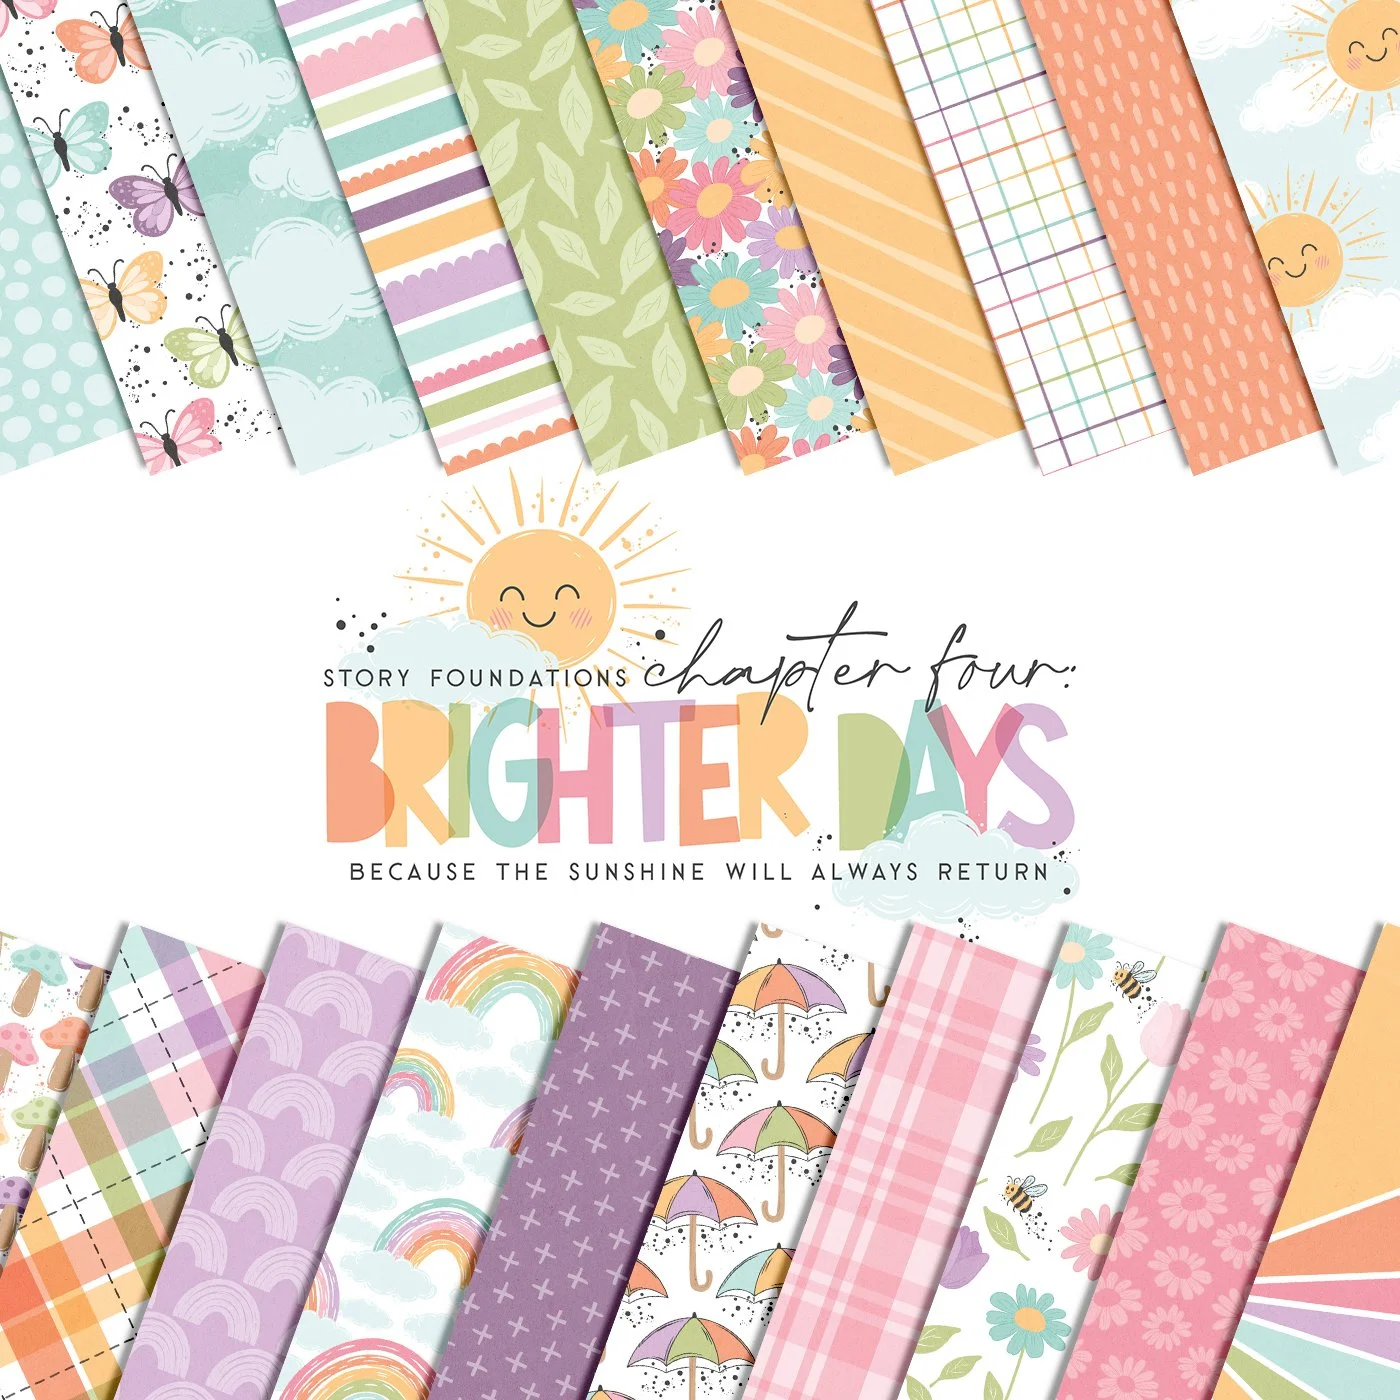
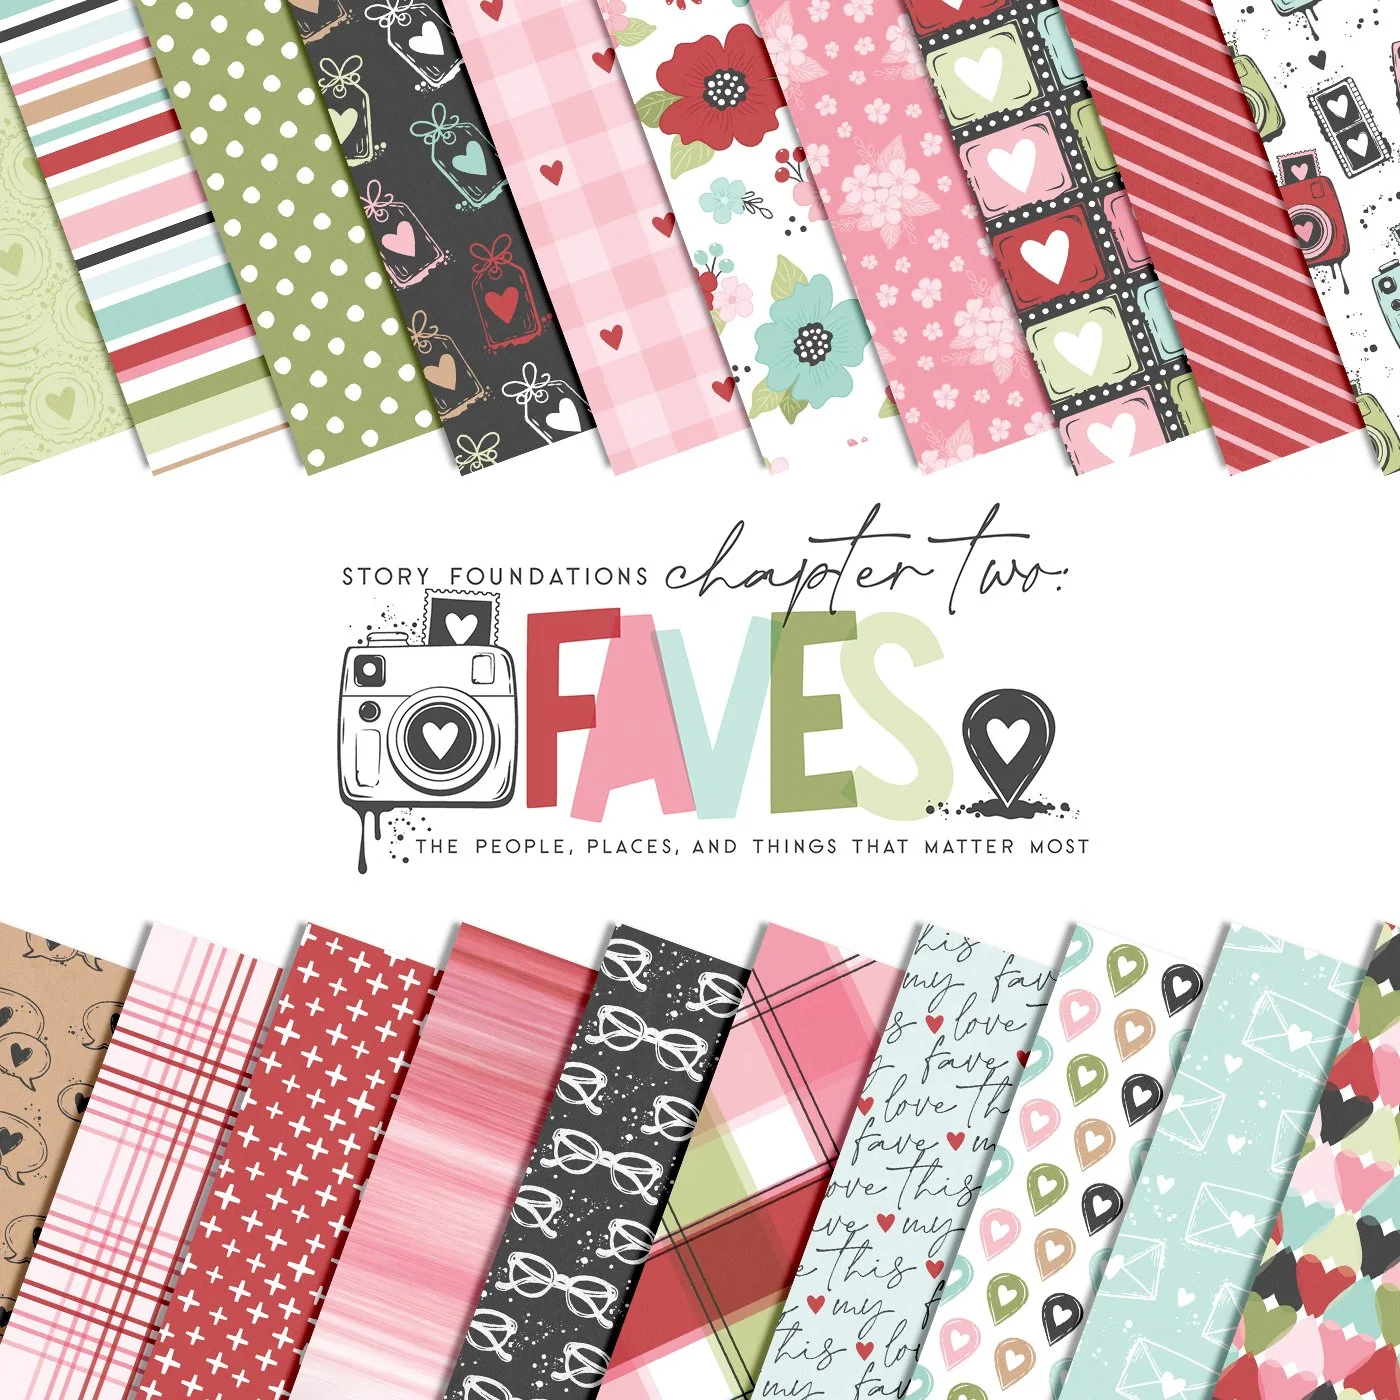
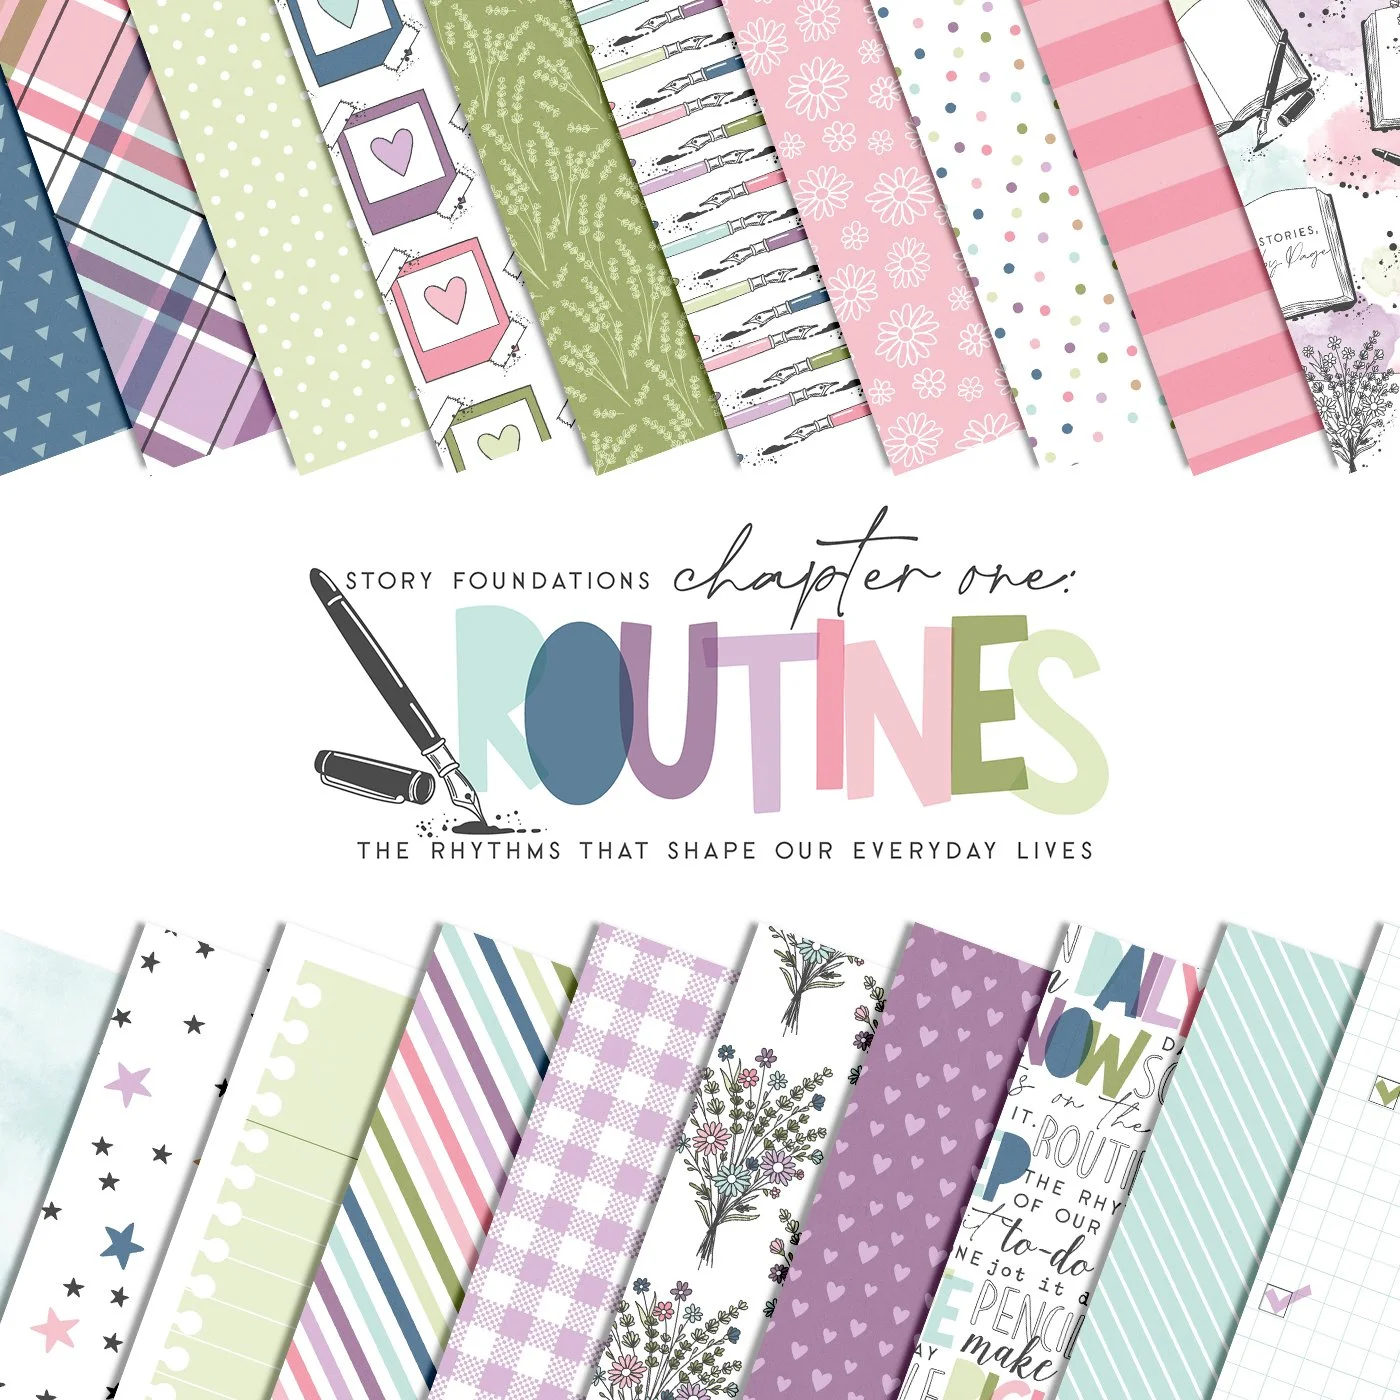
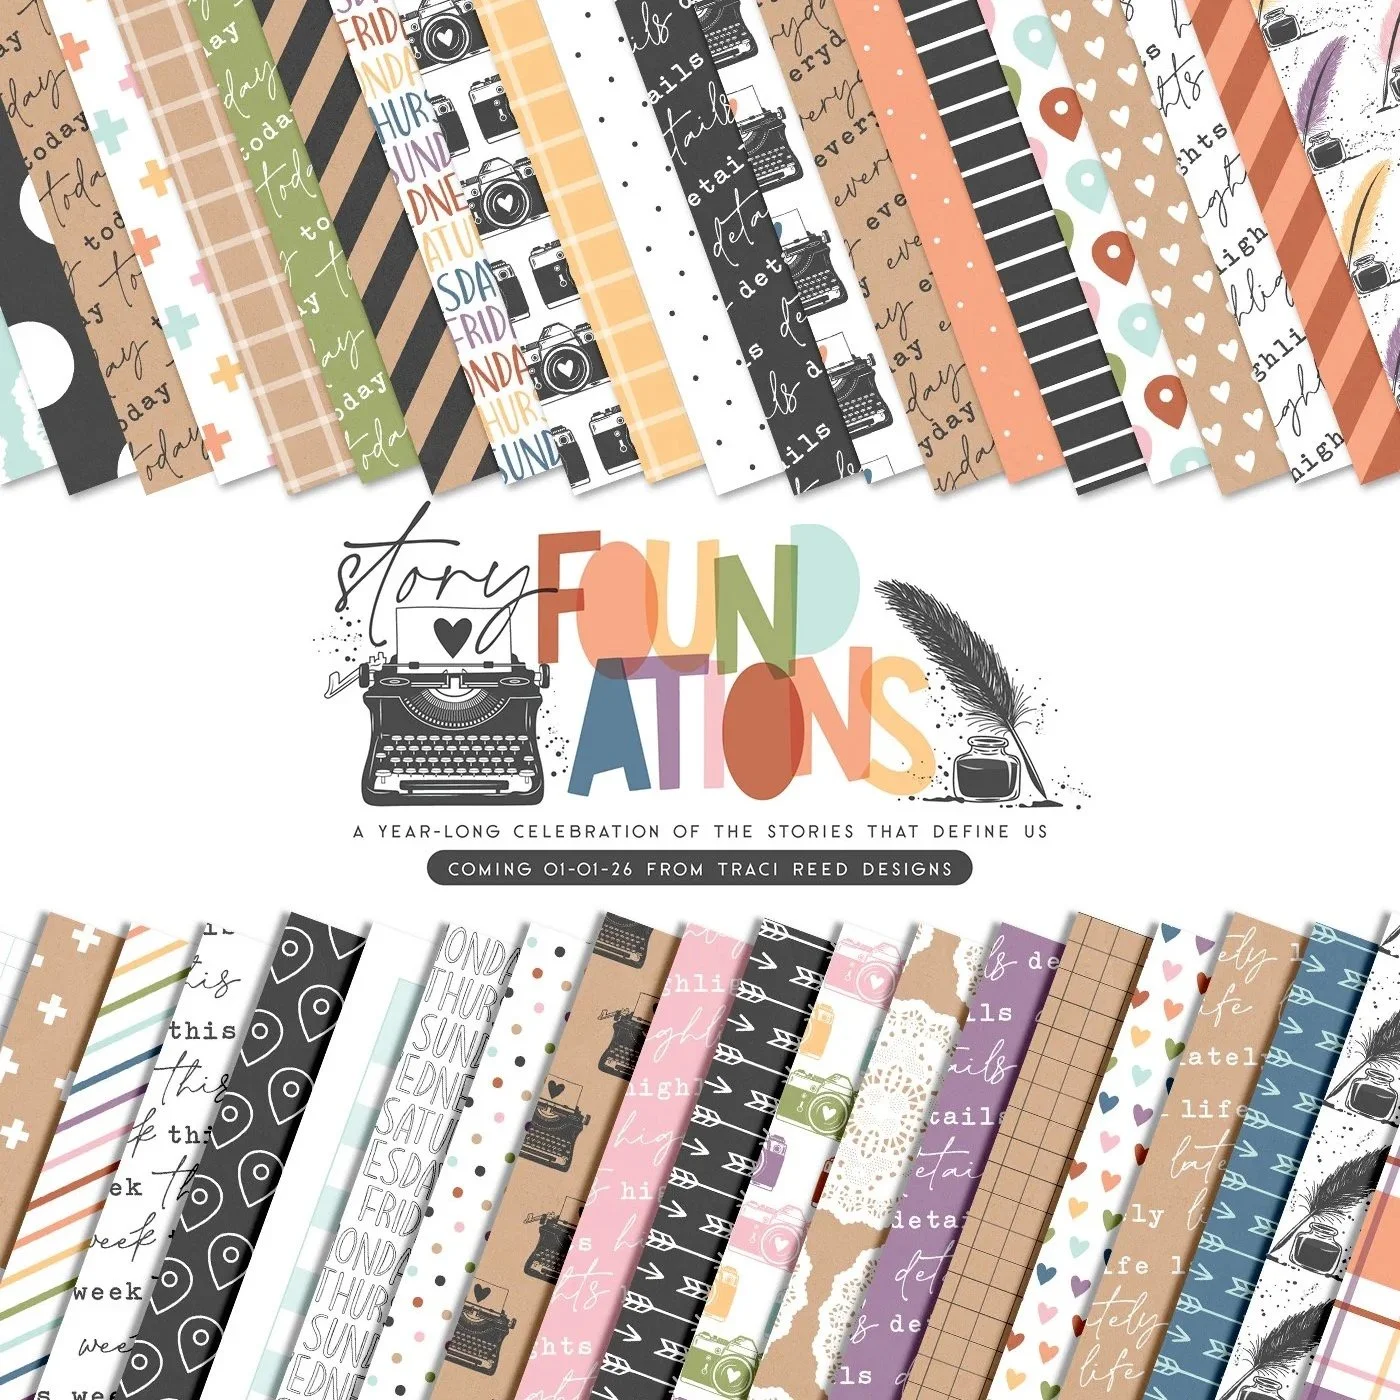
Aren’t we just loving the new Story Foundations collections this year! All the online buzz I’ve been reading is telling me people are excited for a fresh new take on their scrapbooking practices. I completely agree. To freshen up my memory keeping, I’m using the Story Foundations main collection along with the monthly collections as they come to create a 6x8 digital 2026 yearbook that I’ll print as a complete book later. Join me in creating this layout which mixes the Story Foundations main collection with January’s Chapter One: Routines.

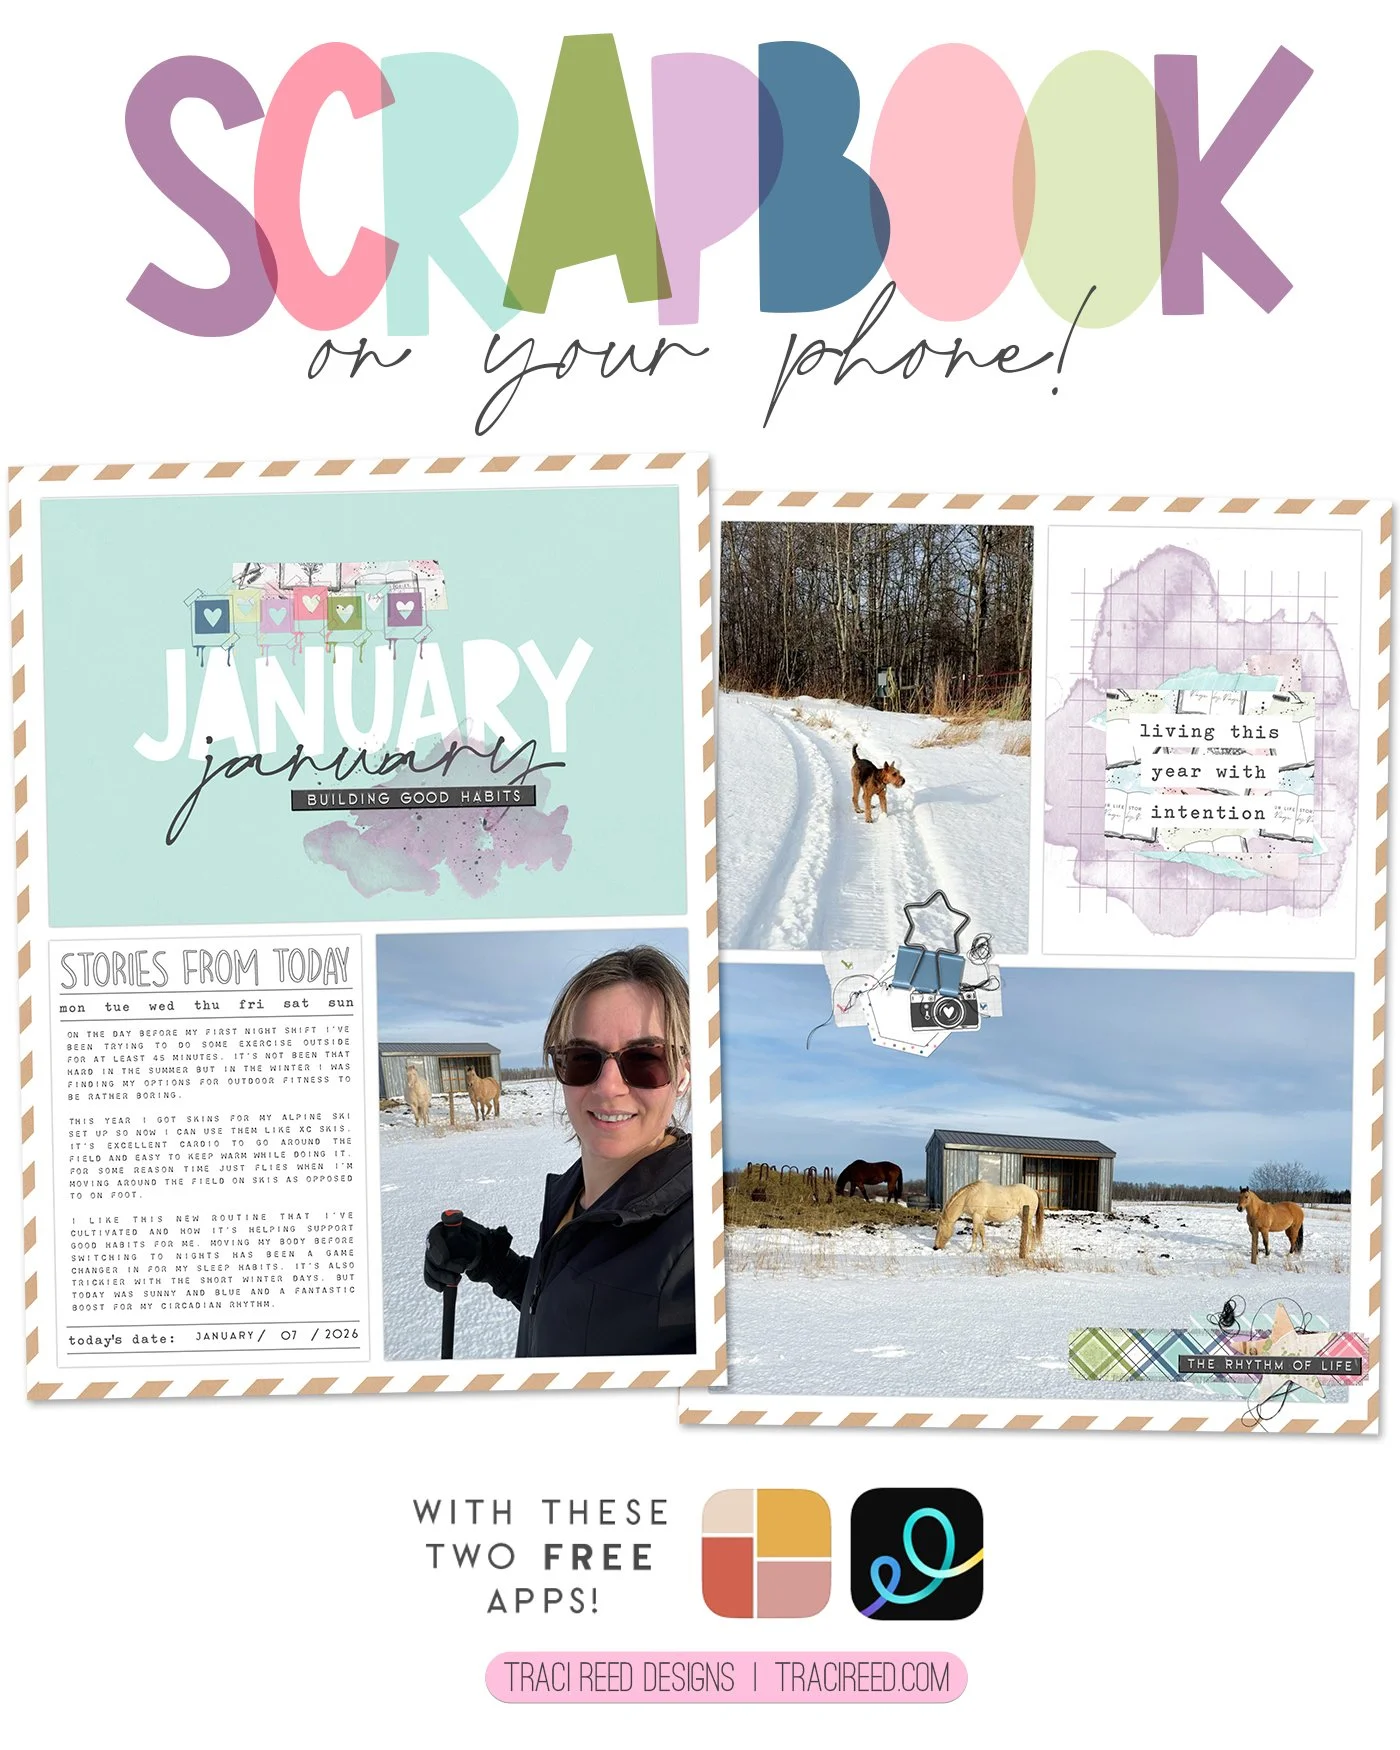
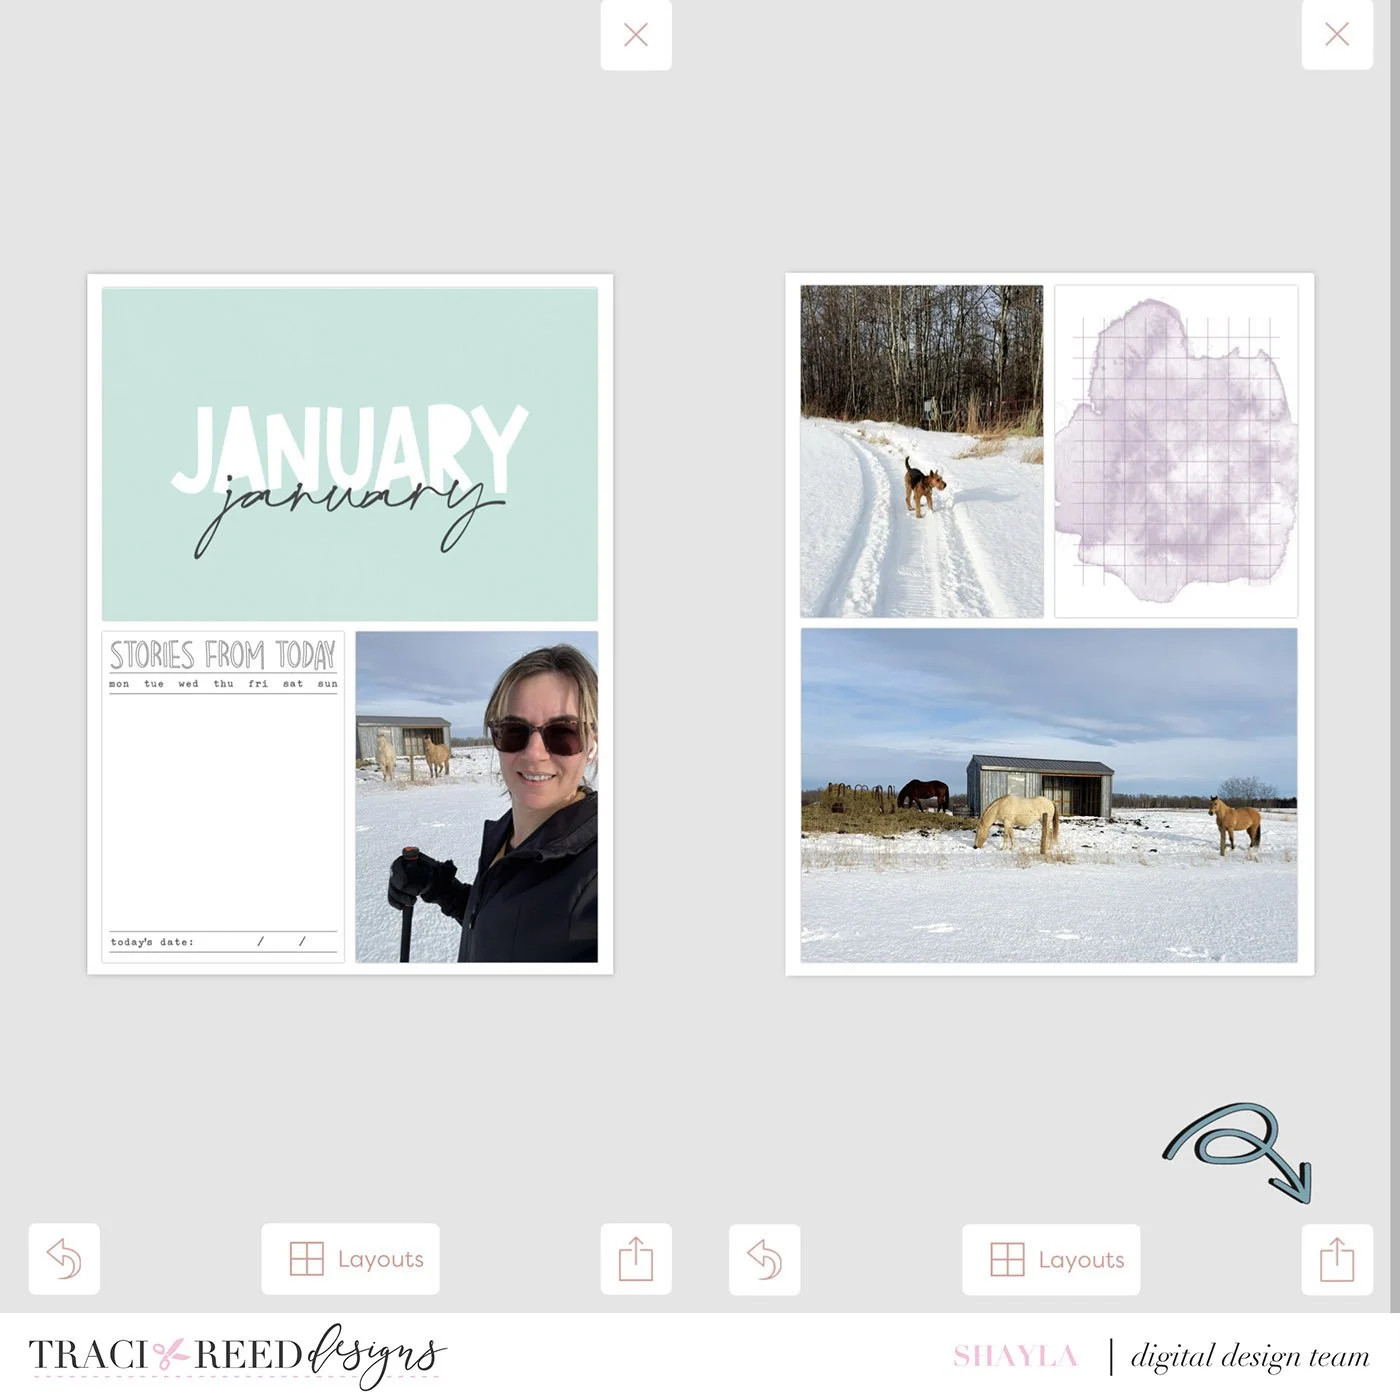
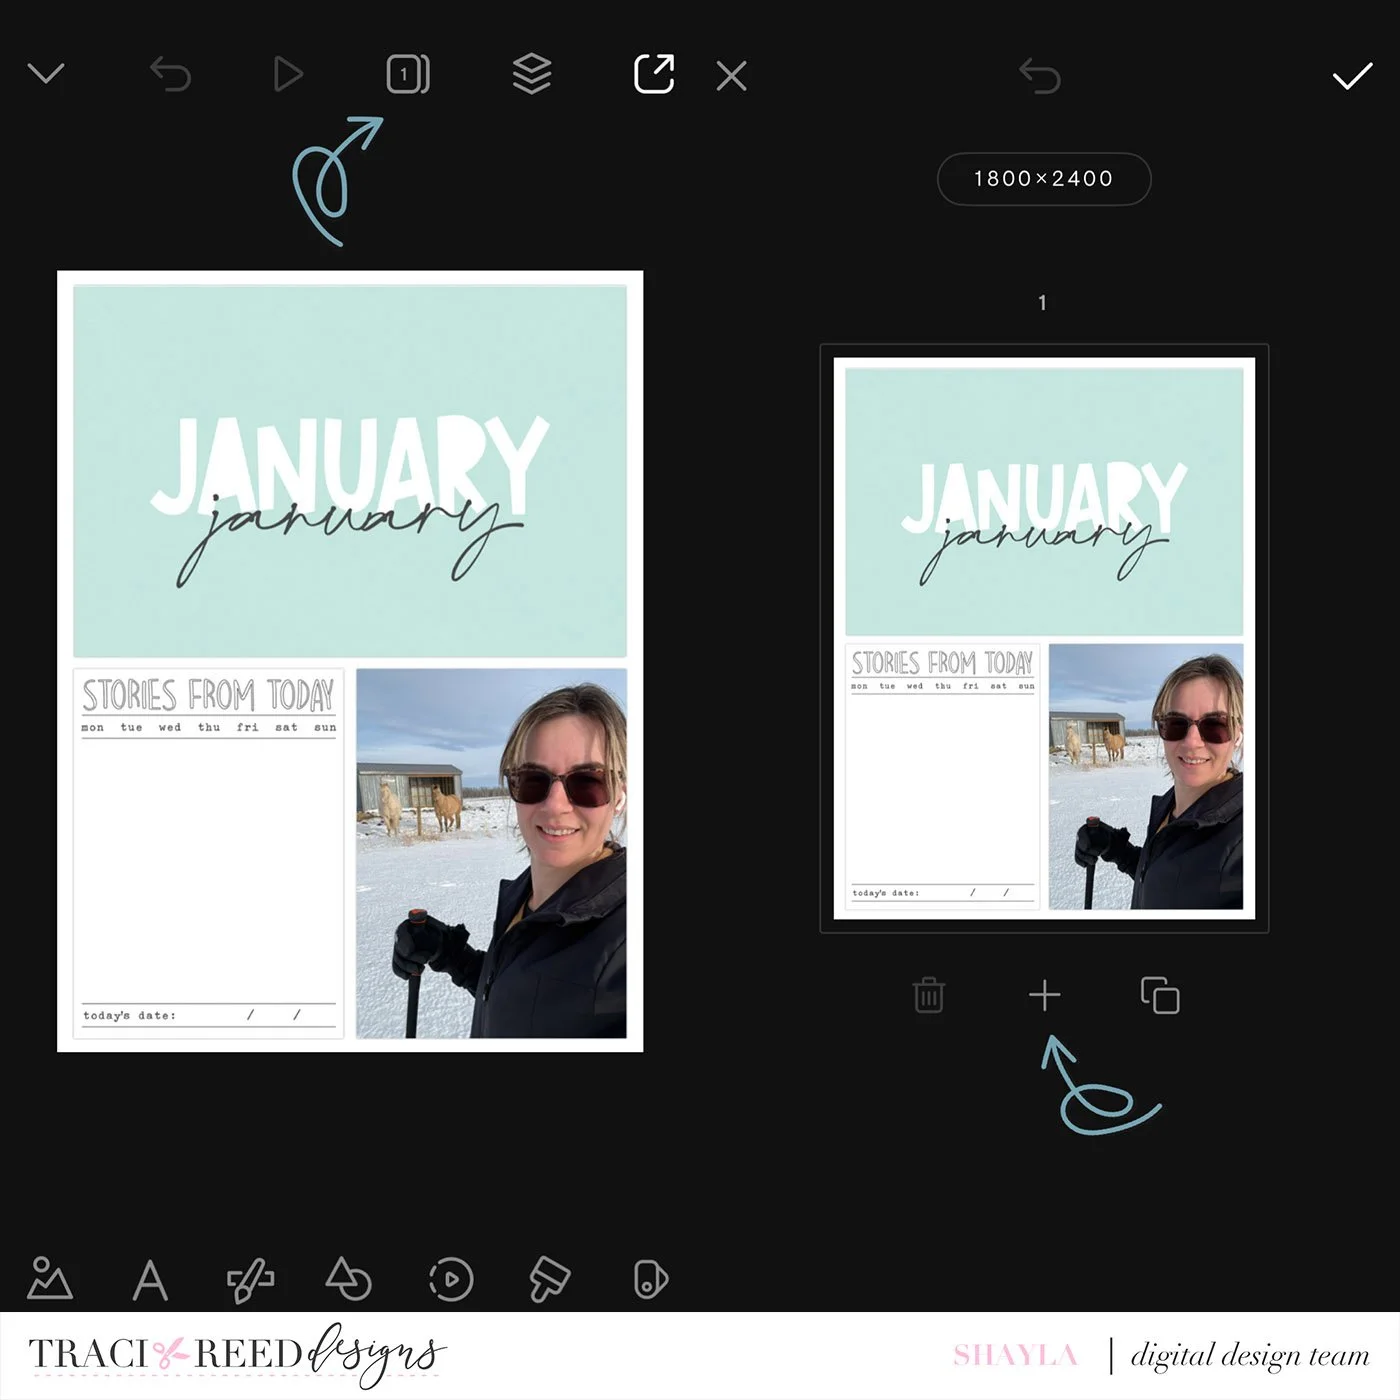
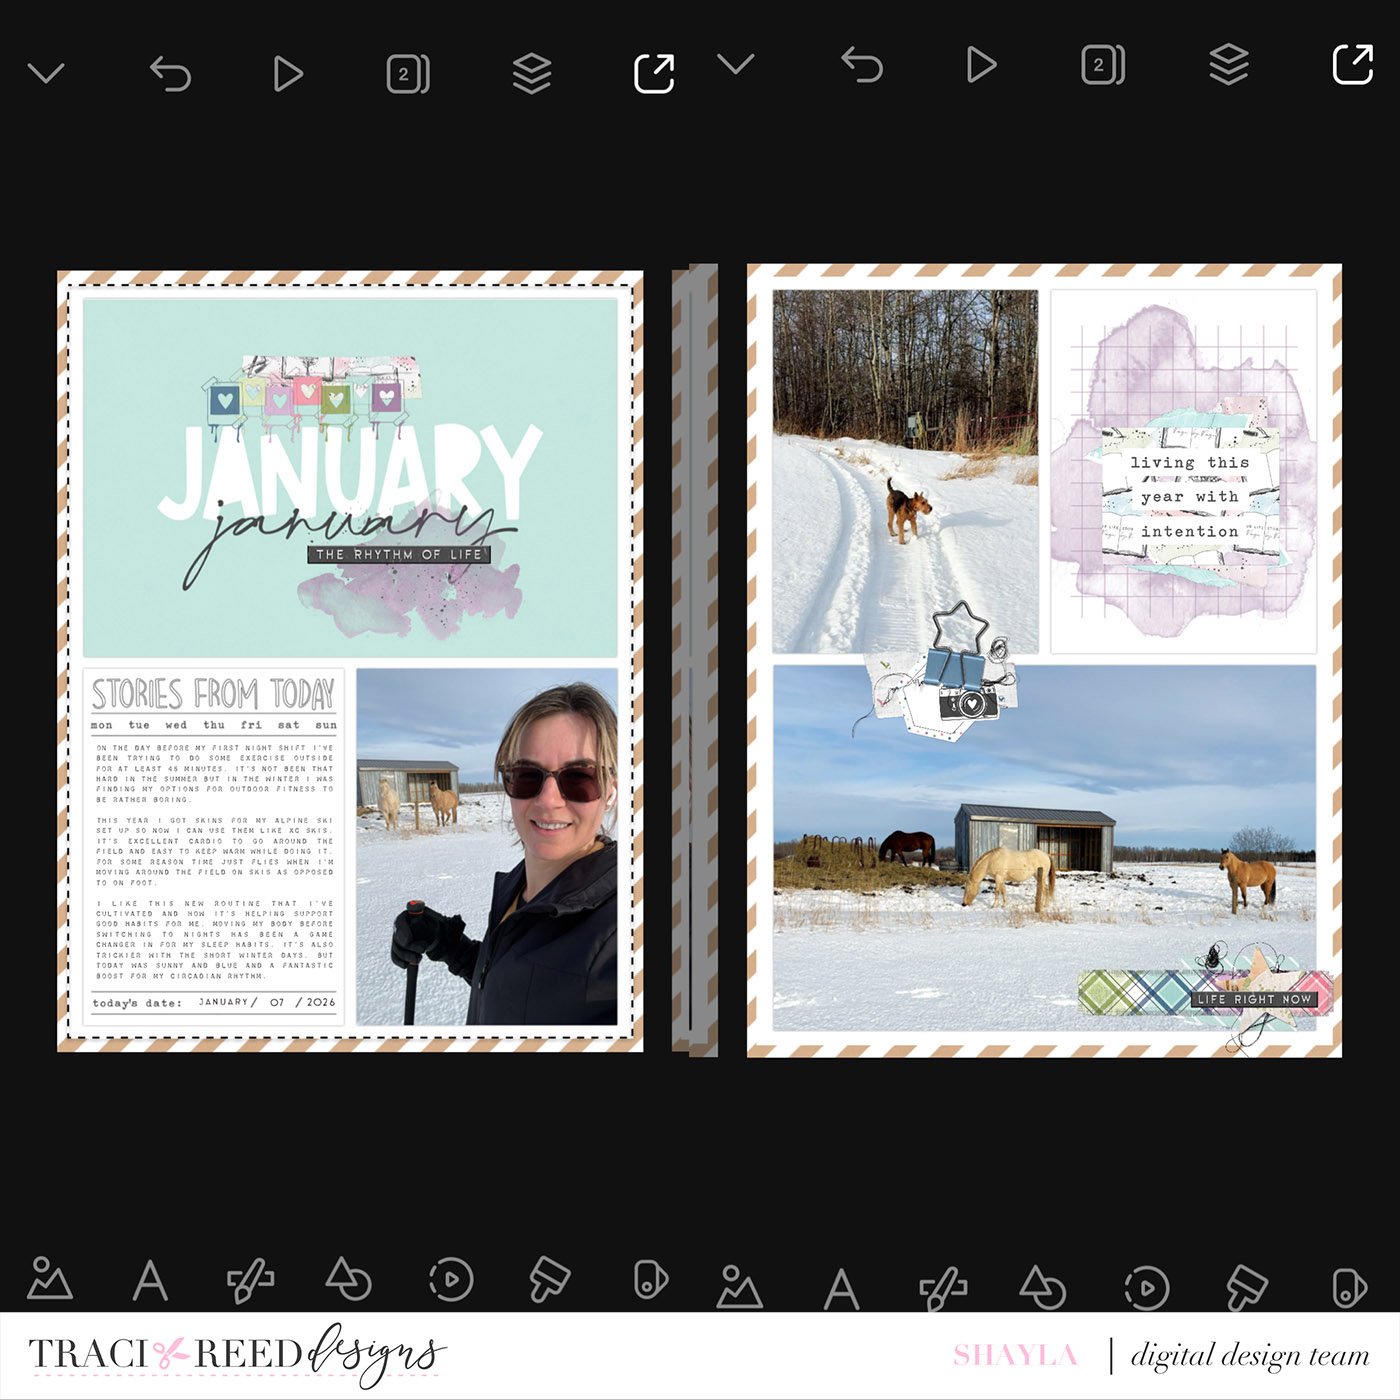
First, I’ve used the Project Life app to create two 6x8 collages with my photos and cards from the Story Foundations main collection. I chose the January monthly 4x6 title card, the Stories From Today 3x4 journal card, and a grid journal card with a purple watercolour background.
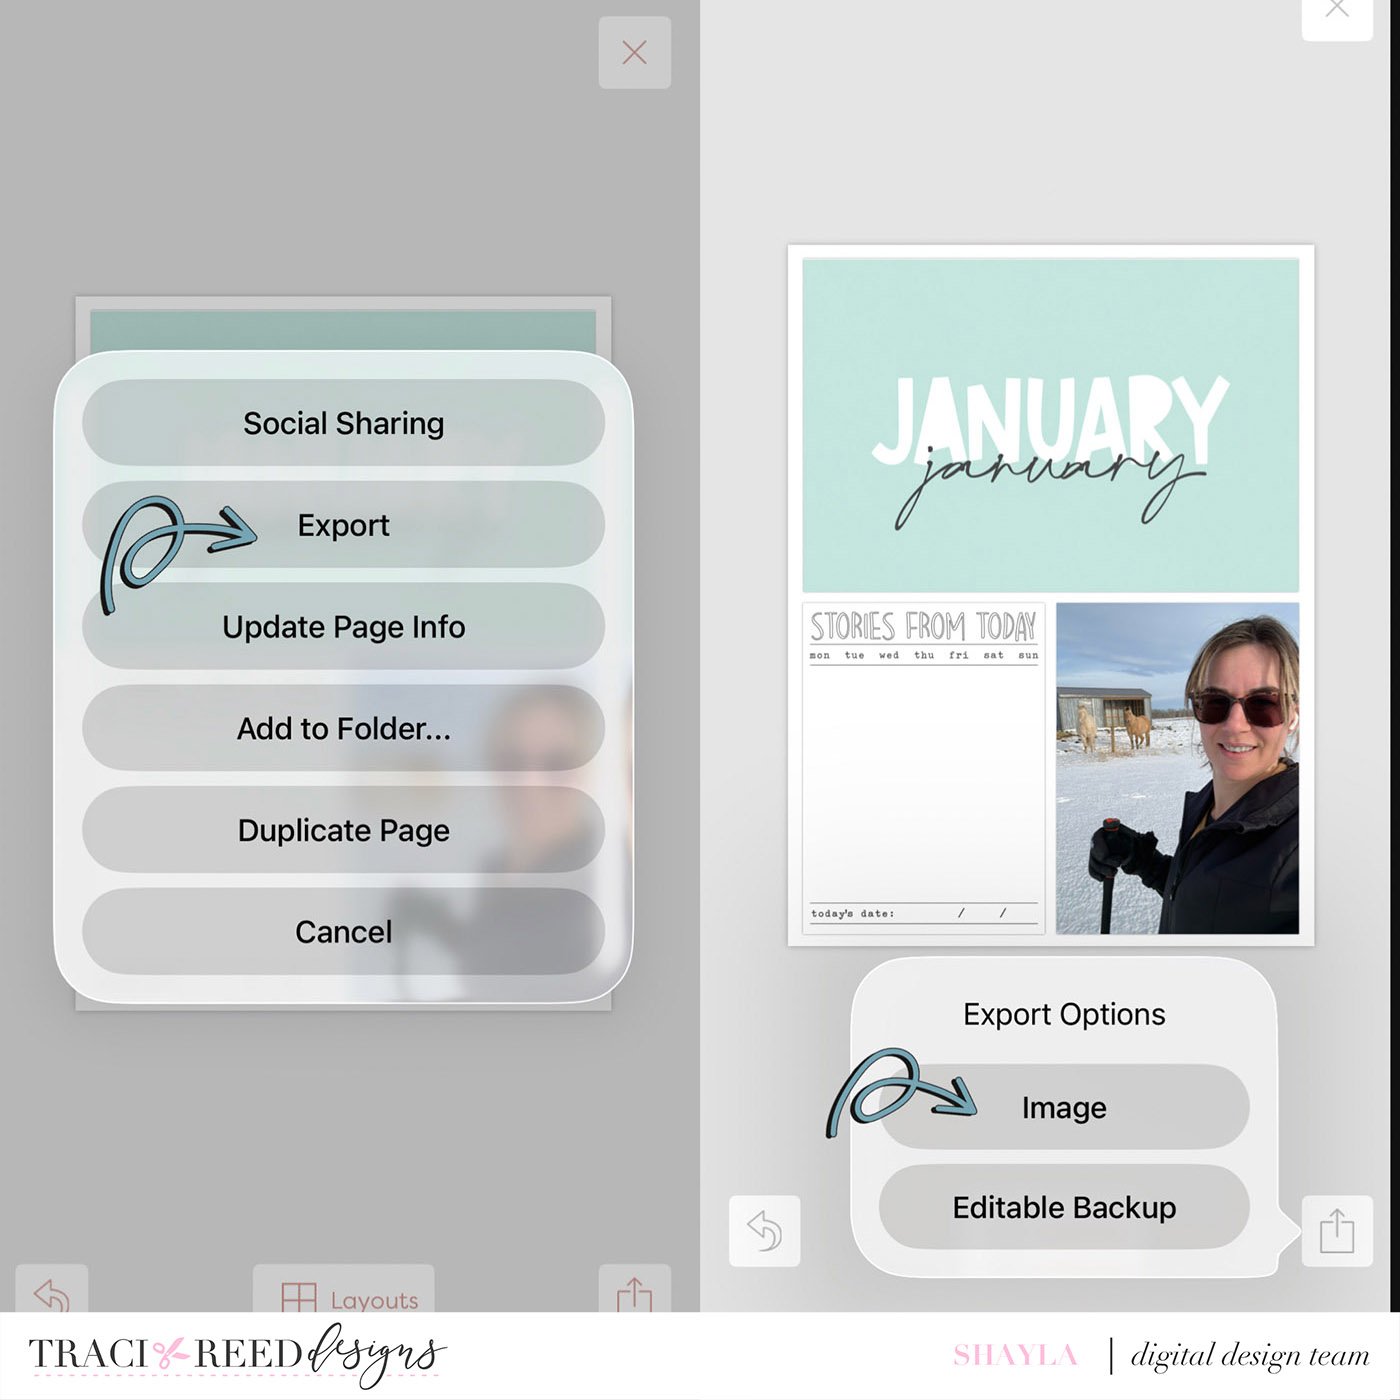
If you like the simplicity, it’s a great option to add your journaling right in the Project Life app using the Freeform text tool. But, this time I’m going to layer in some embellishments in the Go Daddy Studio app. I export my project by tapping the ‘share’ icon > export > image > and saving to my camera roll.
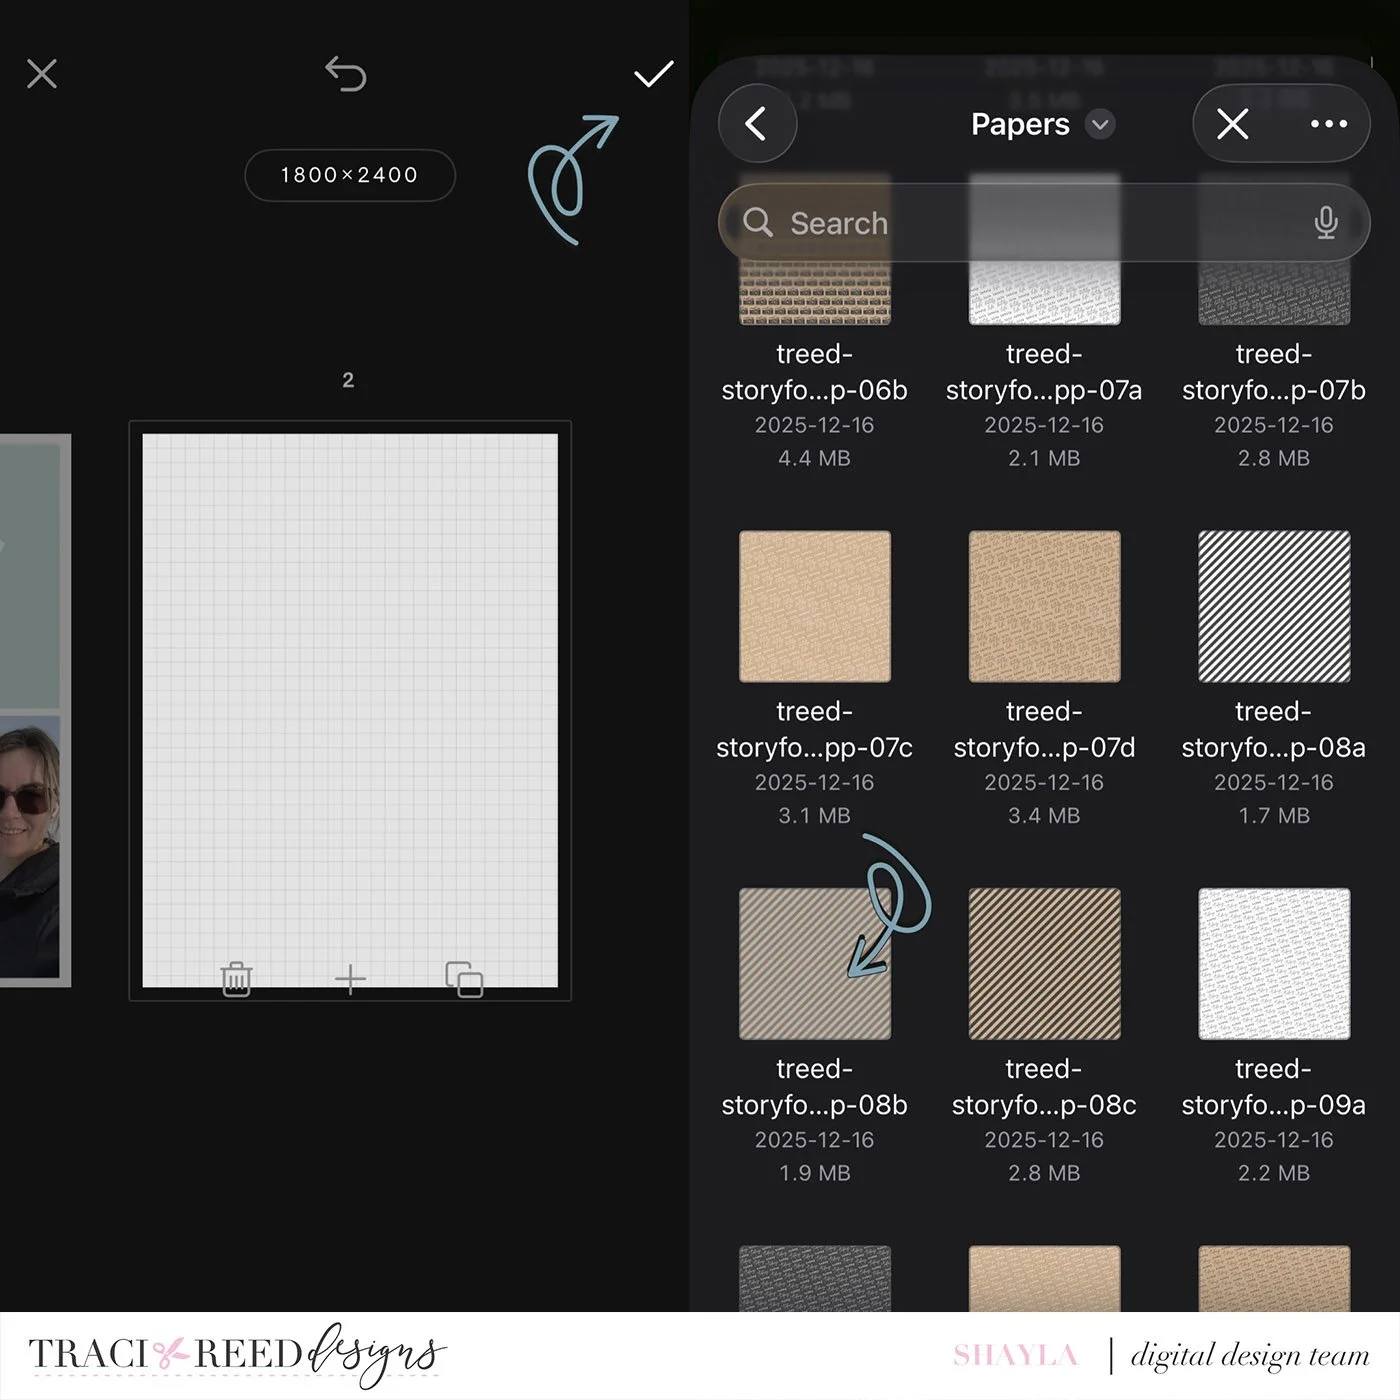
Second, I’m opening one of my exported images in the Go Daddy Studio app by creating a new project and using one of my collages as the background image. Once the project is open, I’m adding a second project page by tapping the ‘pages’icon at the top. On the next screen I’m tapping the ‘plus’ icon to add a second page.
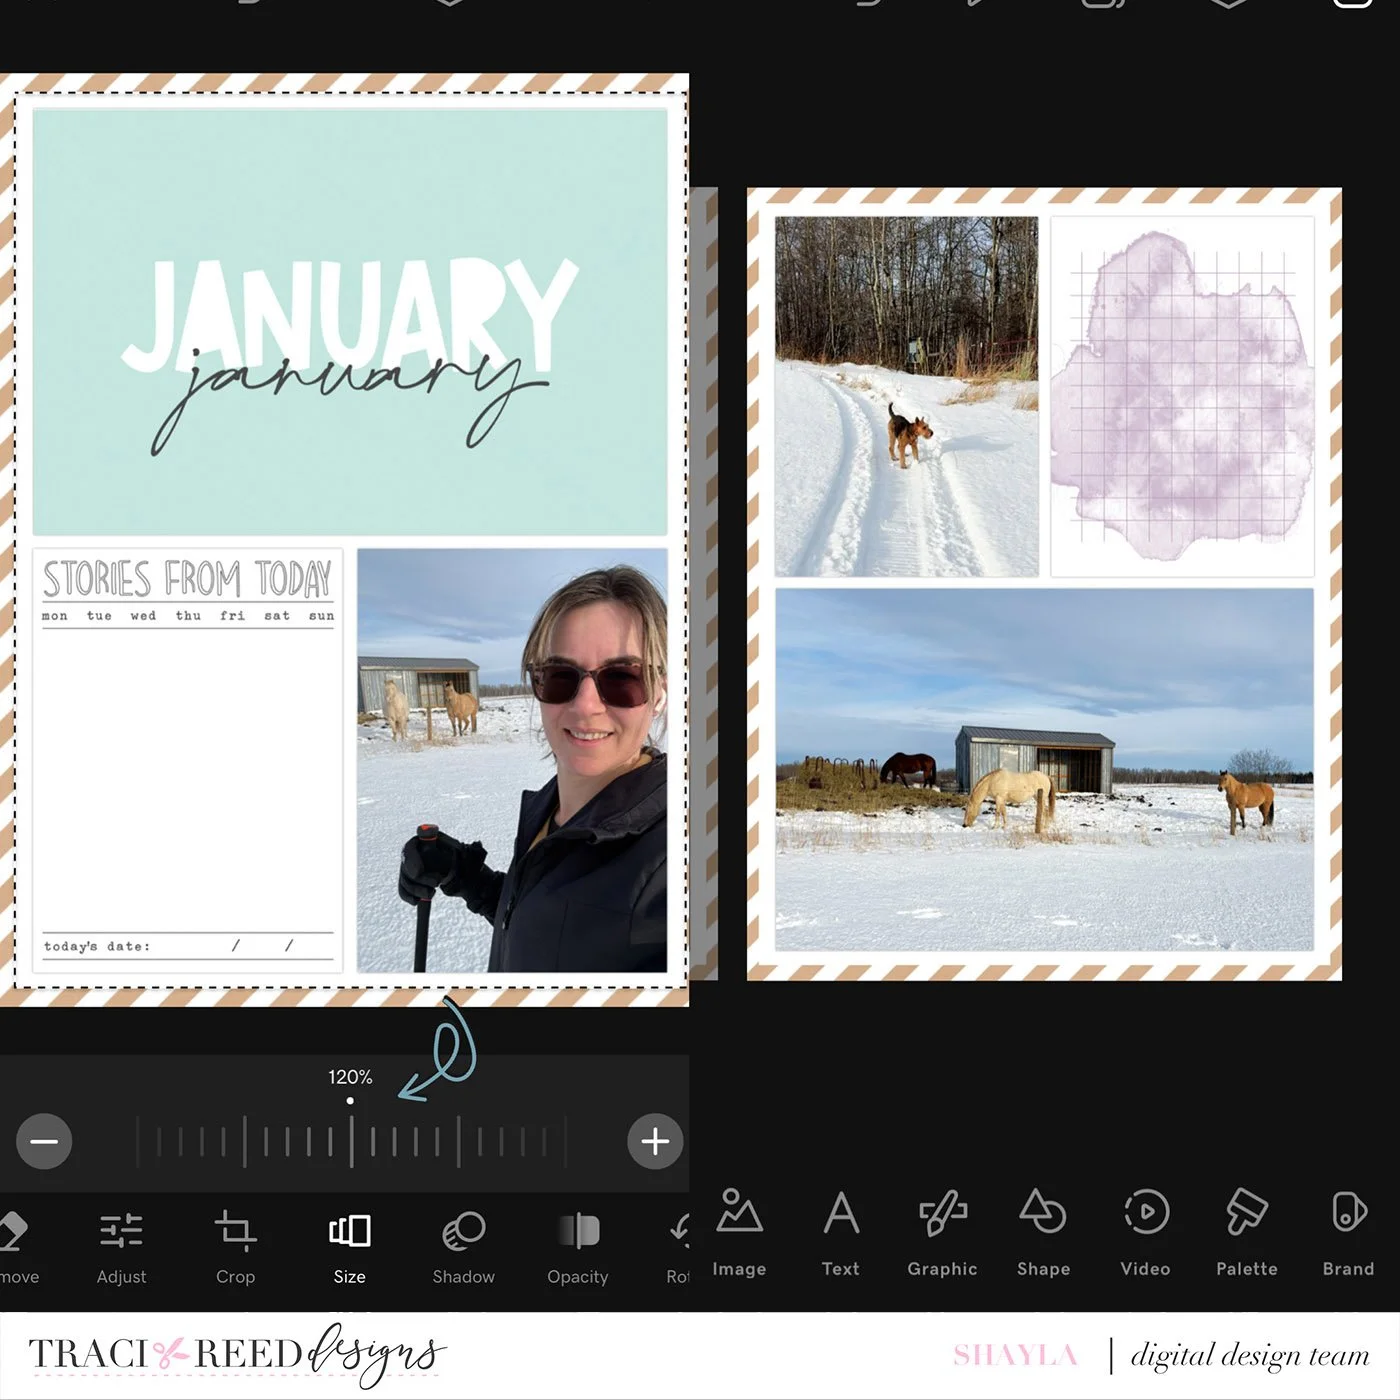
After adding the second page, I am tapping the ‘checkmark’ icon and adding my second collage to this newly added page. To add some visual interest, I’d like to layer another patterned paper under my collages. I’ve chosen the diagonal white and Kraft striped paper.
To allow the paper to show as a border, I’m decreasing the size of my collage images from 125% to 120%. I’m doing this to both pages to match. Since my photos include a lot of natural white (lots of snow where I live!) I like having the patterned paper border for added visual interest.
Third step, now it’s time to embellish! I started with a cluster of various bits and pieces from the Chapter One: Routines collection on my right hand side collage. I love the little messy thread bunch and it reminded me of the looping handwritten January on the left hand side. The star binder clip grounds the cluster and makes it appear like a 3D pocket page. This is also the time that I added my journaling to left hand side collage and I added the date using the distressed roller stamp set from the Story Foundations main collection.

In this next round of decorating, I added a washi tape to the title card and layered the colourful Polaroid banner stamp on top. I made another cluster in the corner on the right hand side collage with more washi and a ribbon that mirrors the colours I just added to the left hand side. The cluster is finished off with more thread bunches, a mixed media star, and a word strip.
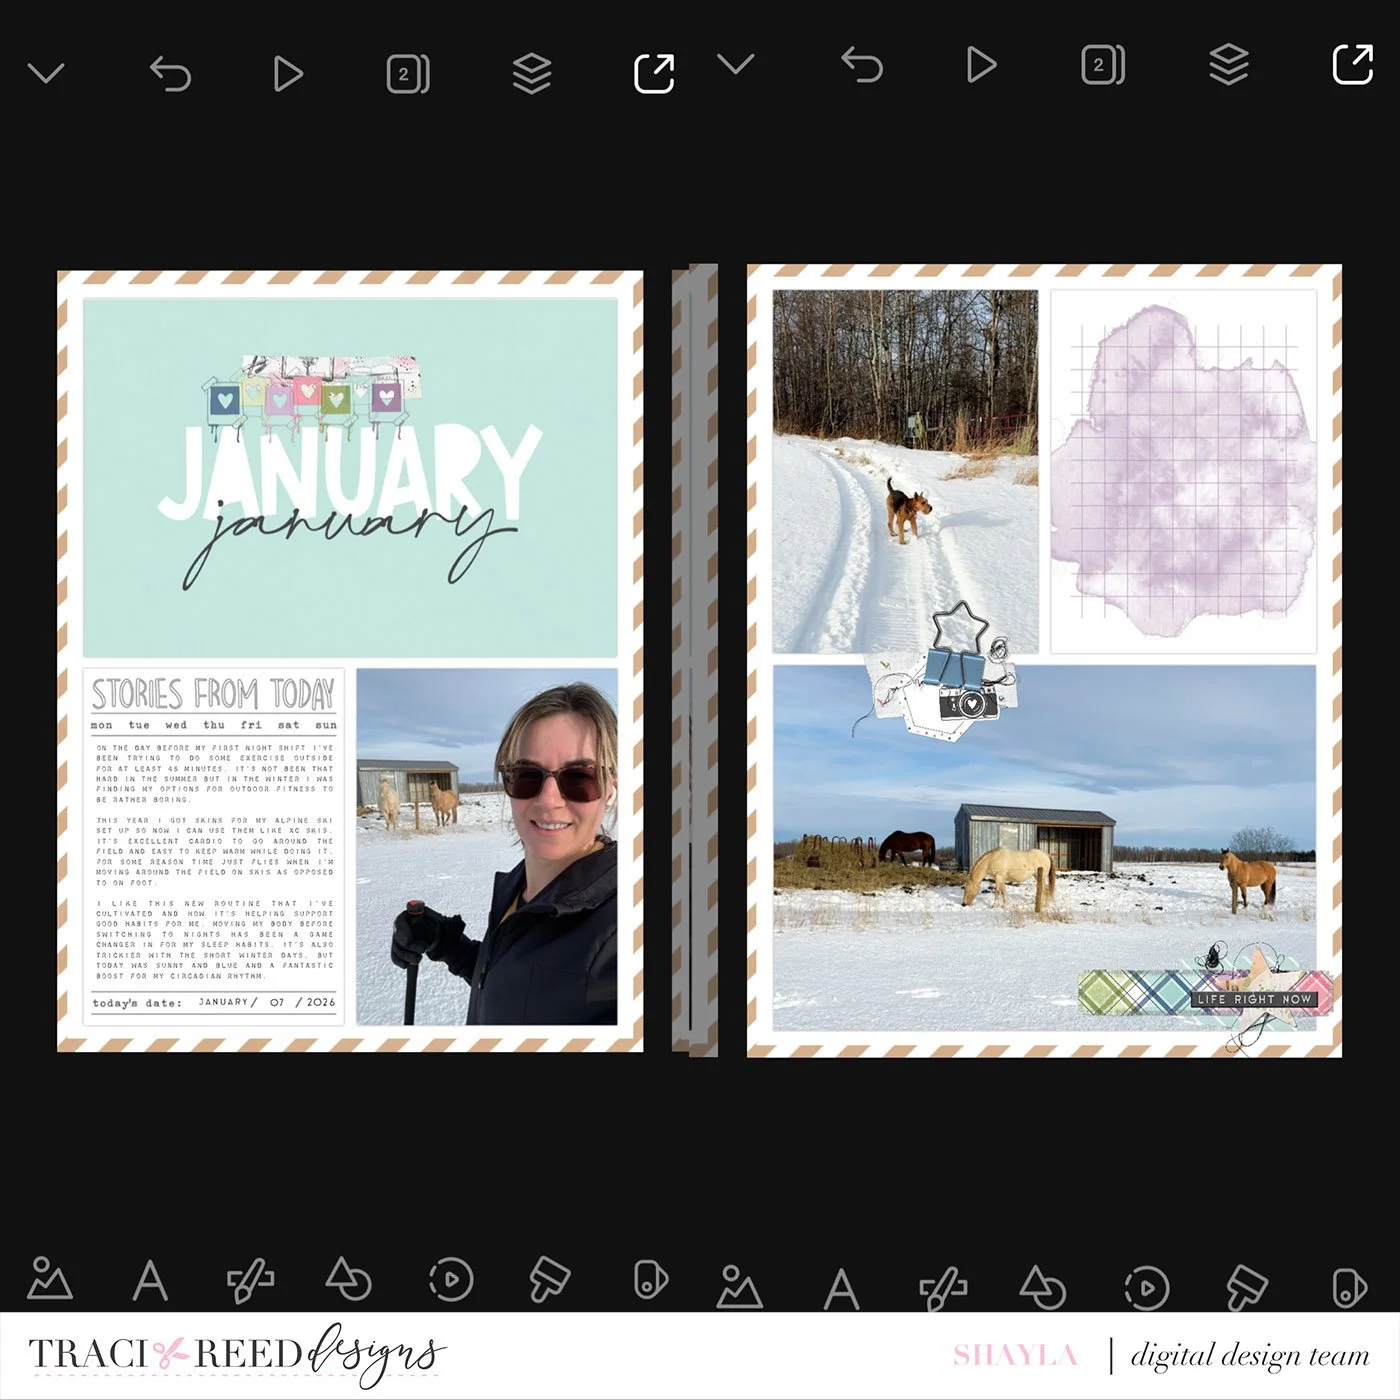
Now for my finishing touches! Over my blank journal card on the right hand side I layered various torn paper pieces with a sentiment on top. To balance the purple on my layout I layered the purple watercolour mixed media over my title card, playing with the opacity to allow ‘January’ to show through. I topped that with another word strip and this layout is done!
Thanks for joining me as I walked you through my process for creating a monthly spread mixing the Story Foundations main collection and the newly released Chapter One: Routines collection. I’m looking forward to working on a layout for February using the next month’s instalment of Traci’s fresh new collections!
The Story Foundations Collections