2 Ways to Create Your Own Custom TN Signatures from Journal Cards
Hey everyone,
I am super excited to be here on the blog today sharing my process for creating something that I am excited to craft with in the coming weeks.
My hubby and I are planning some extended trips out in our campervan here in the UK and the season has certainly shifted into Autumn now. I am excited to snap lots of photos as the leaves turn even more and want to scrapbook when I am out on the road as much as possible.
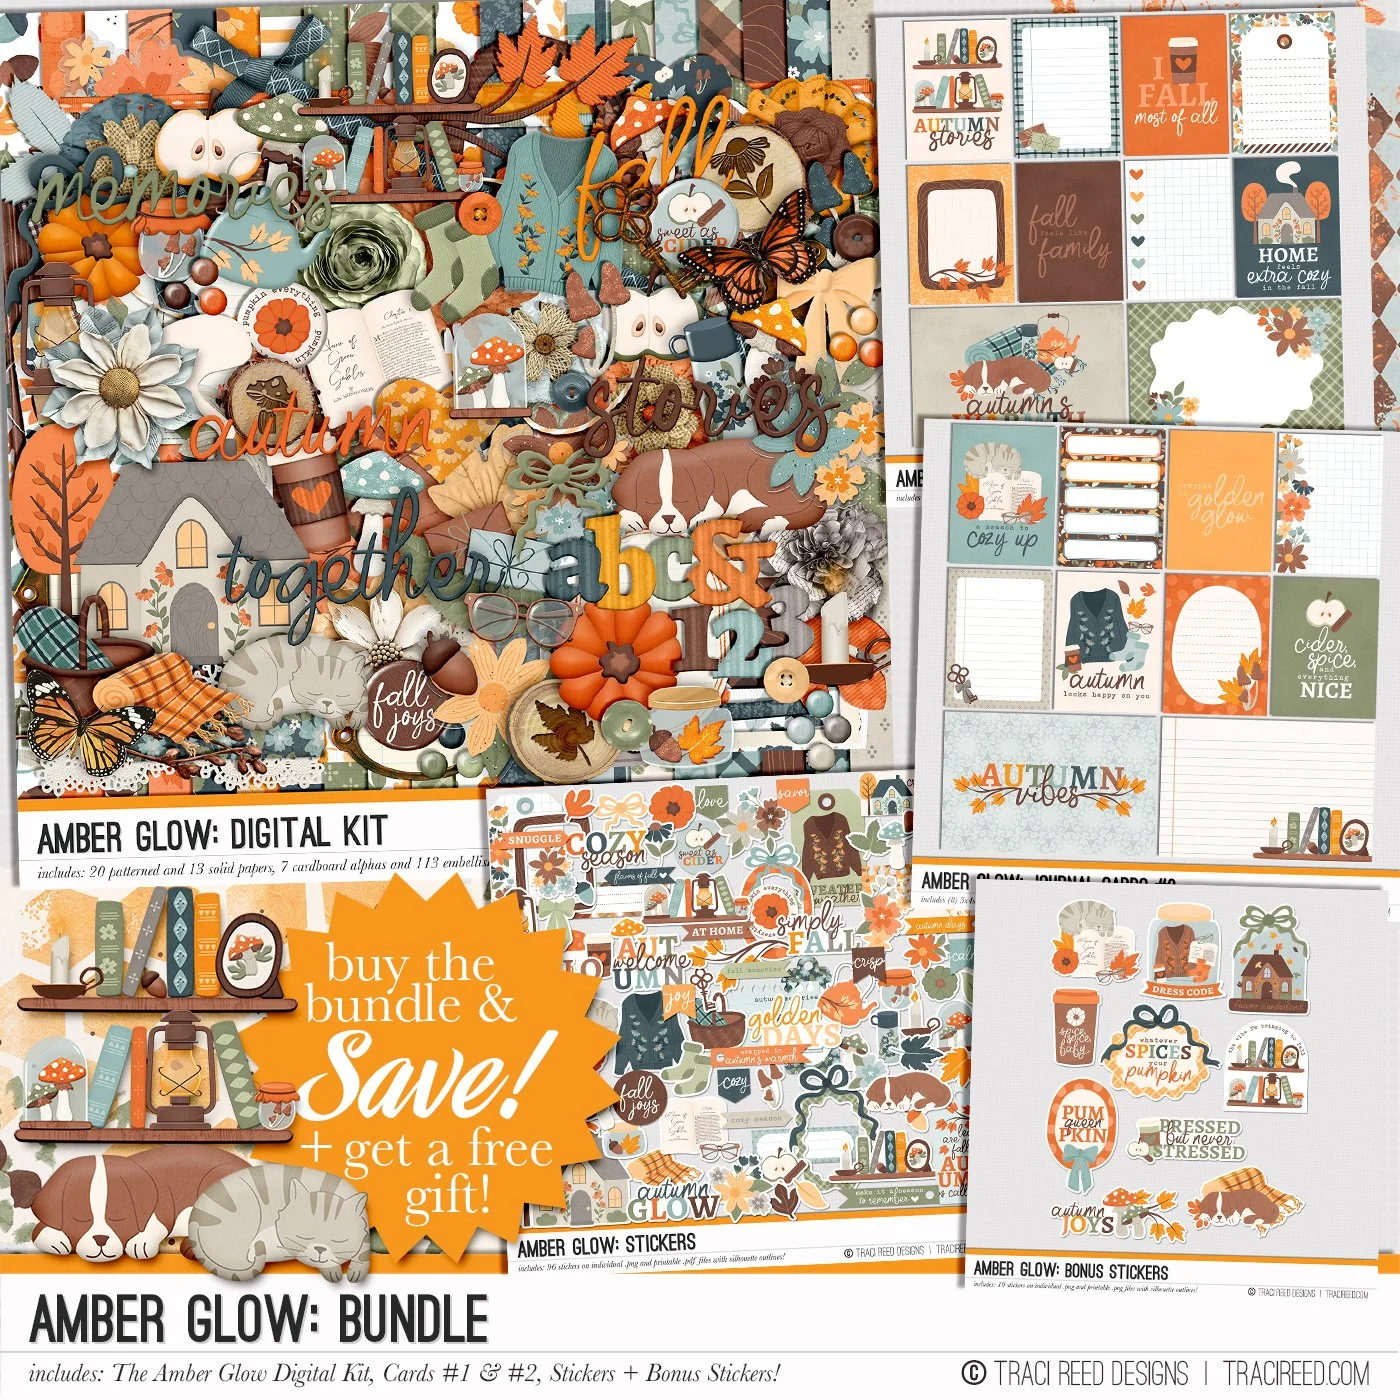
As you can imagine, space (and time) is limited, so I have had lots of fun creating myself some premade Travellers Notebook Signatures working with the amazing Amber Glow collection.
I’m sharing my process below using Canva, you can re-create what I have done with the free version of that and all you need other than that … Amber Glow!
If you want to create Traveler’s Notebook Signatures similar to these I would really recommend that you treat yourself to:
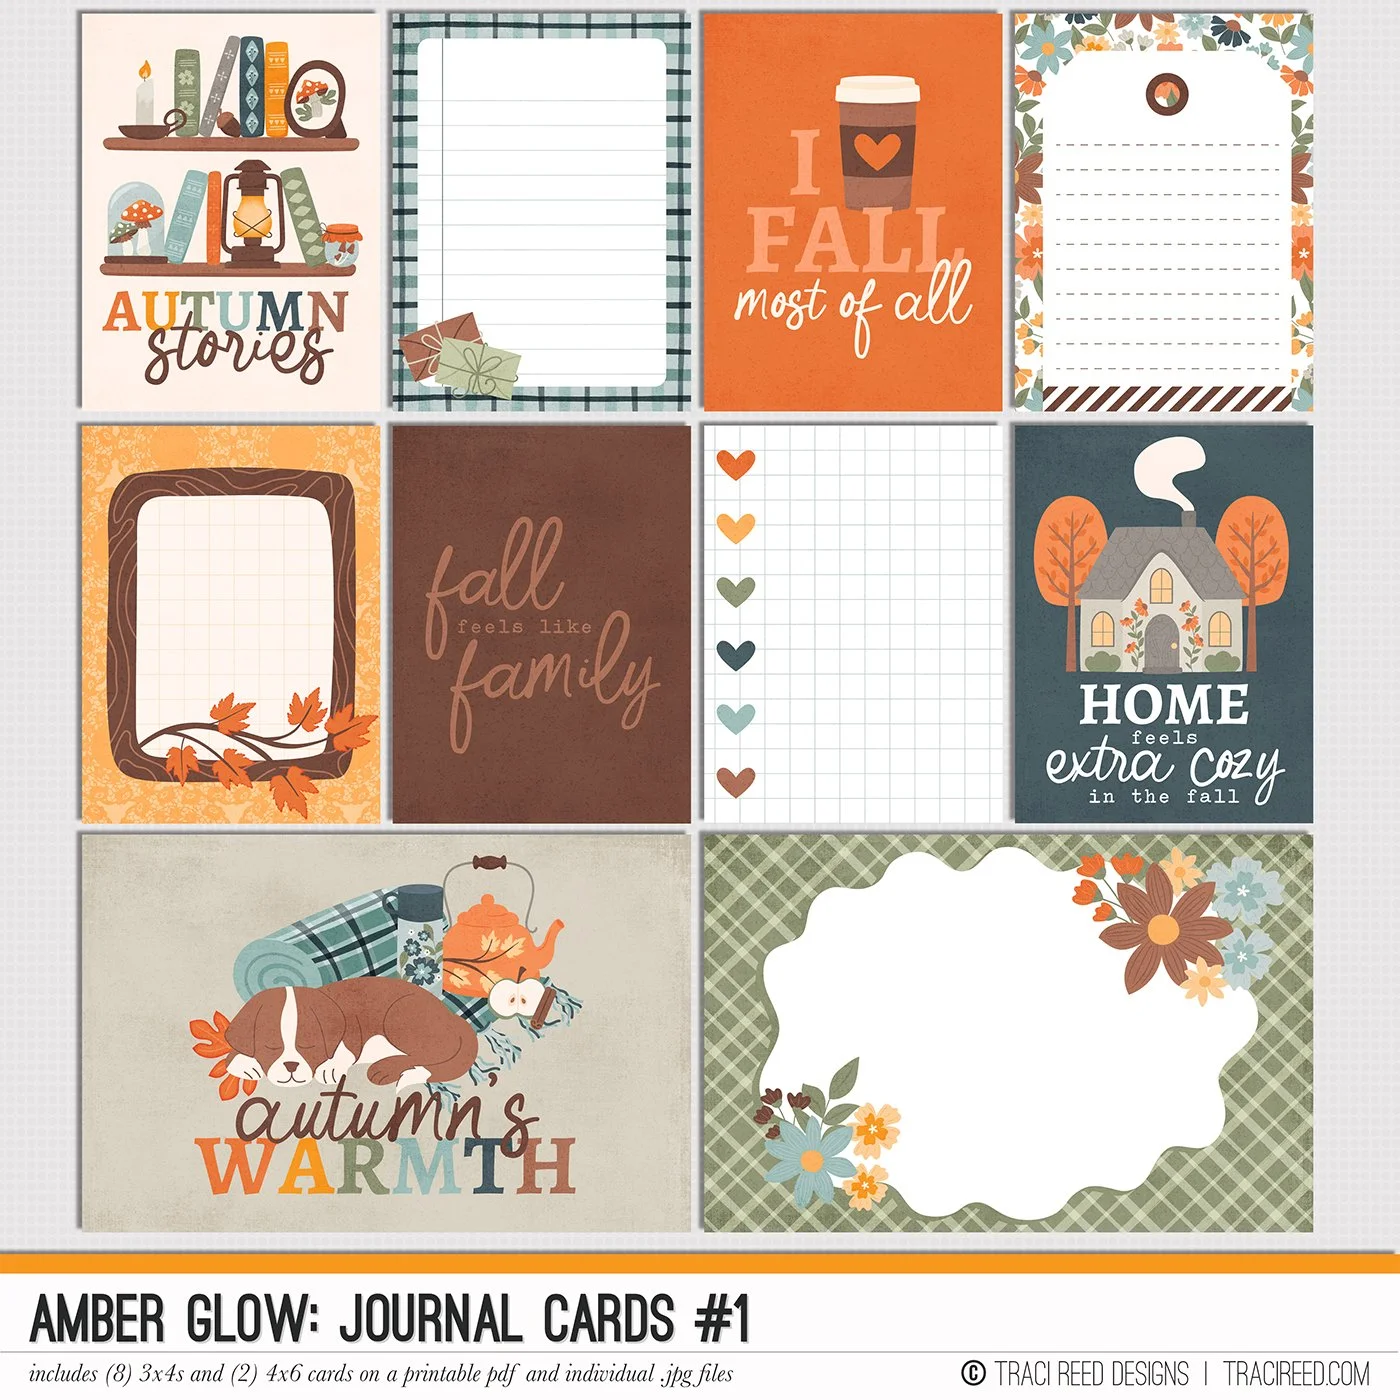
One (or both) journal card packs
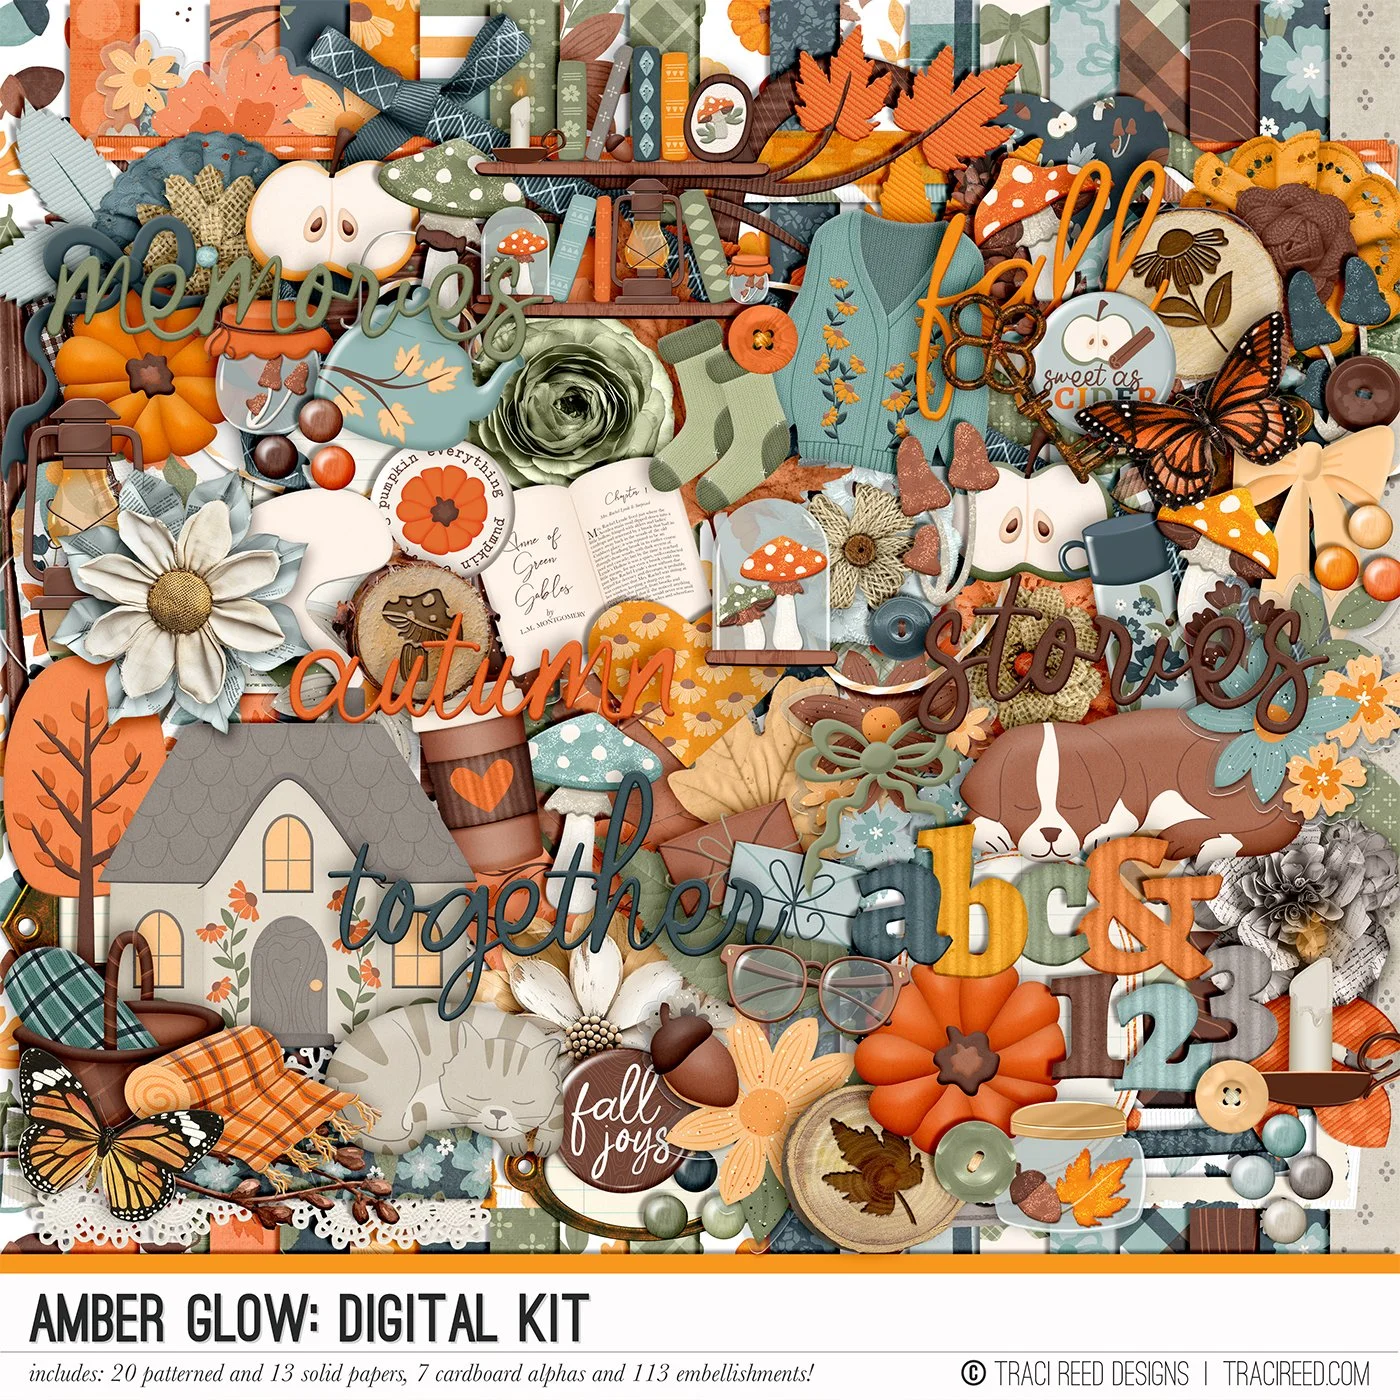
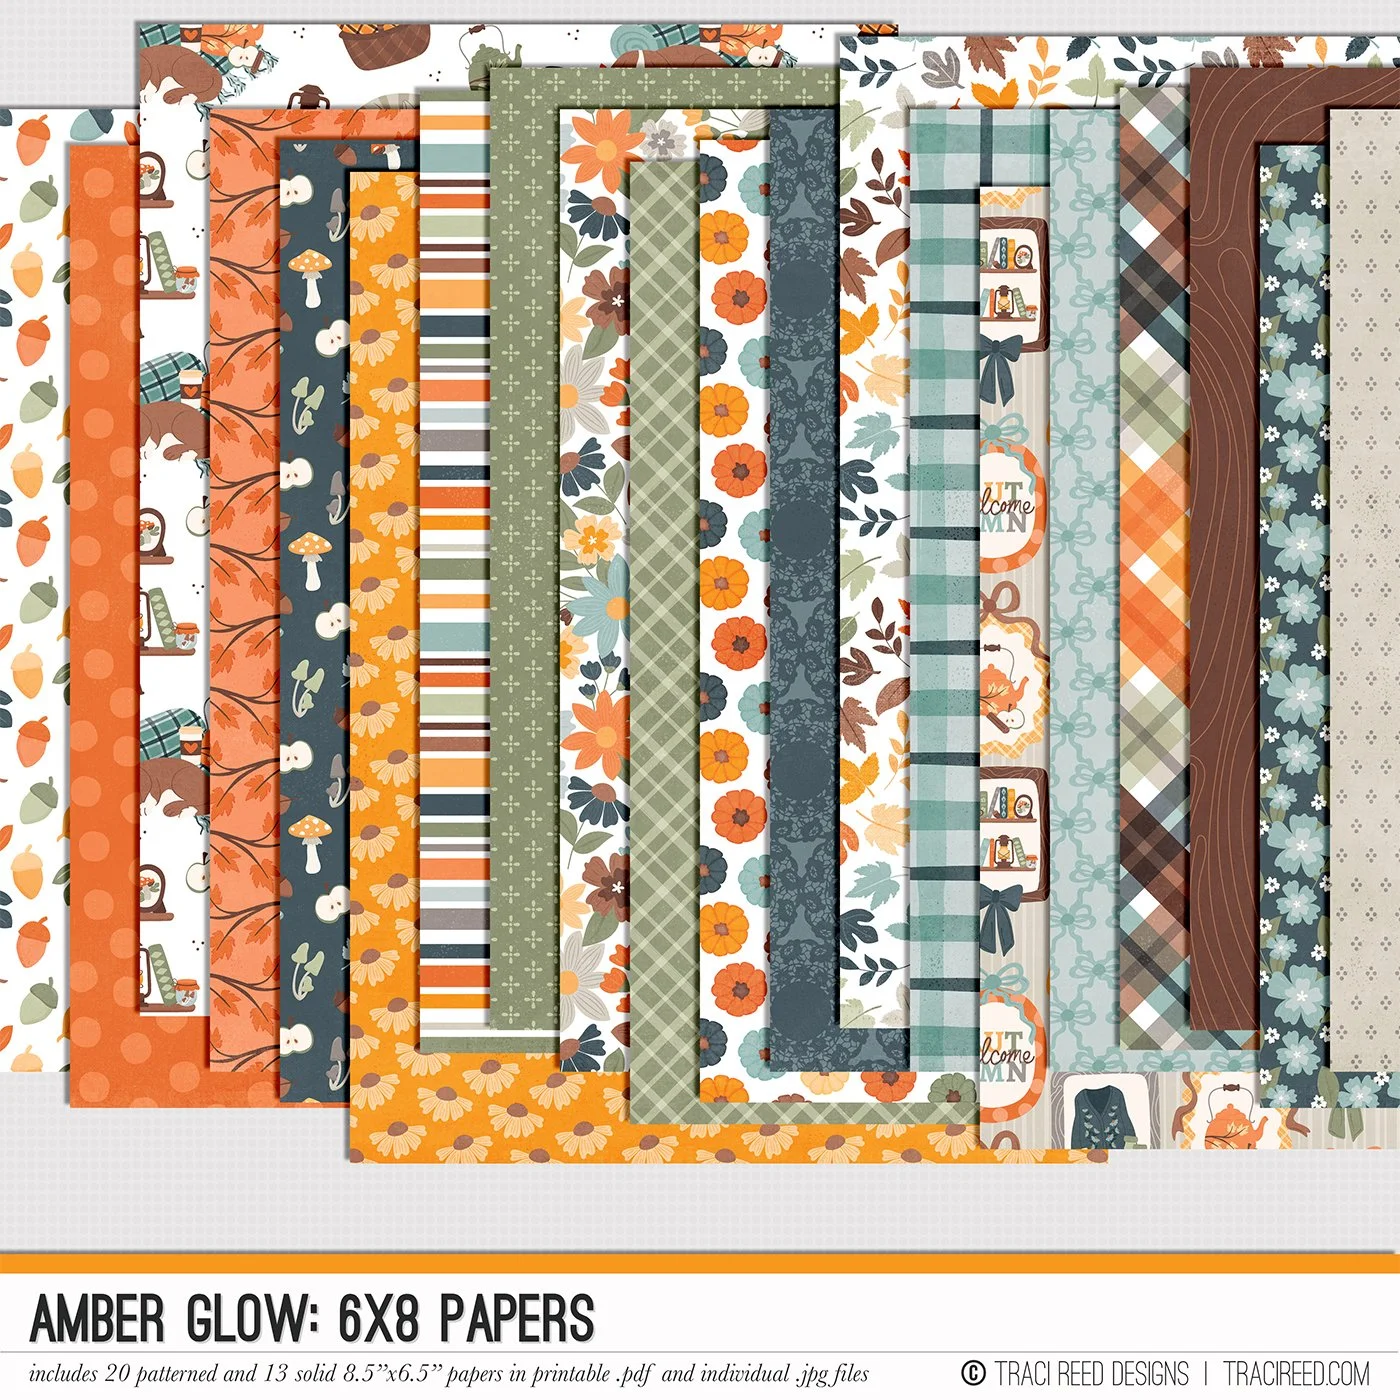
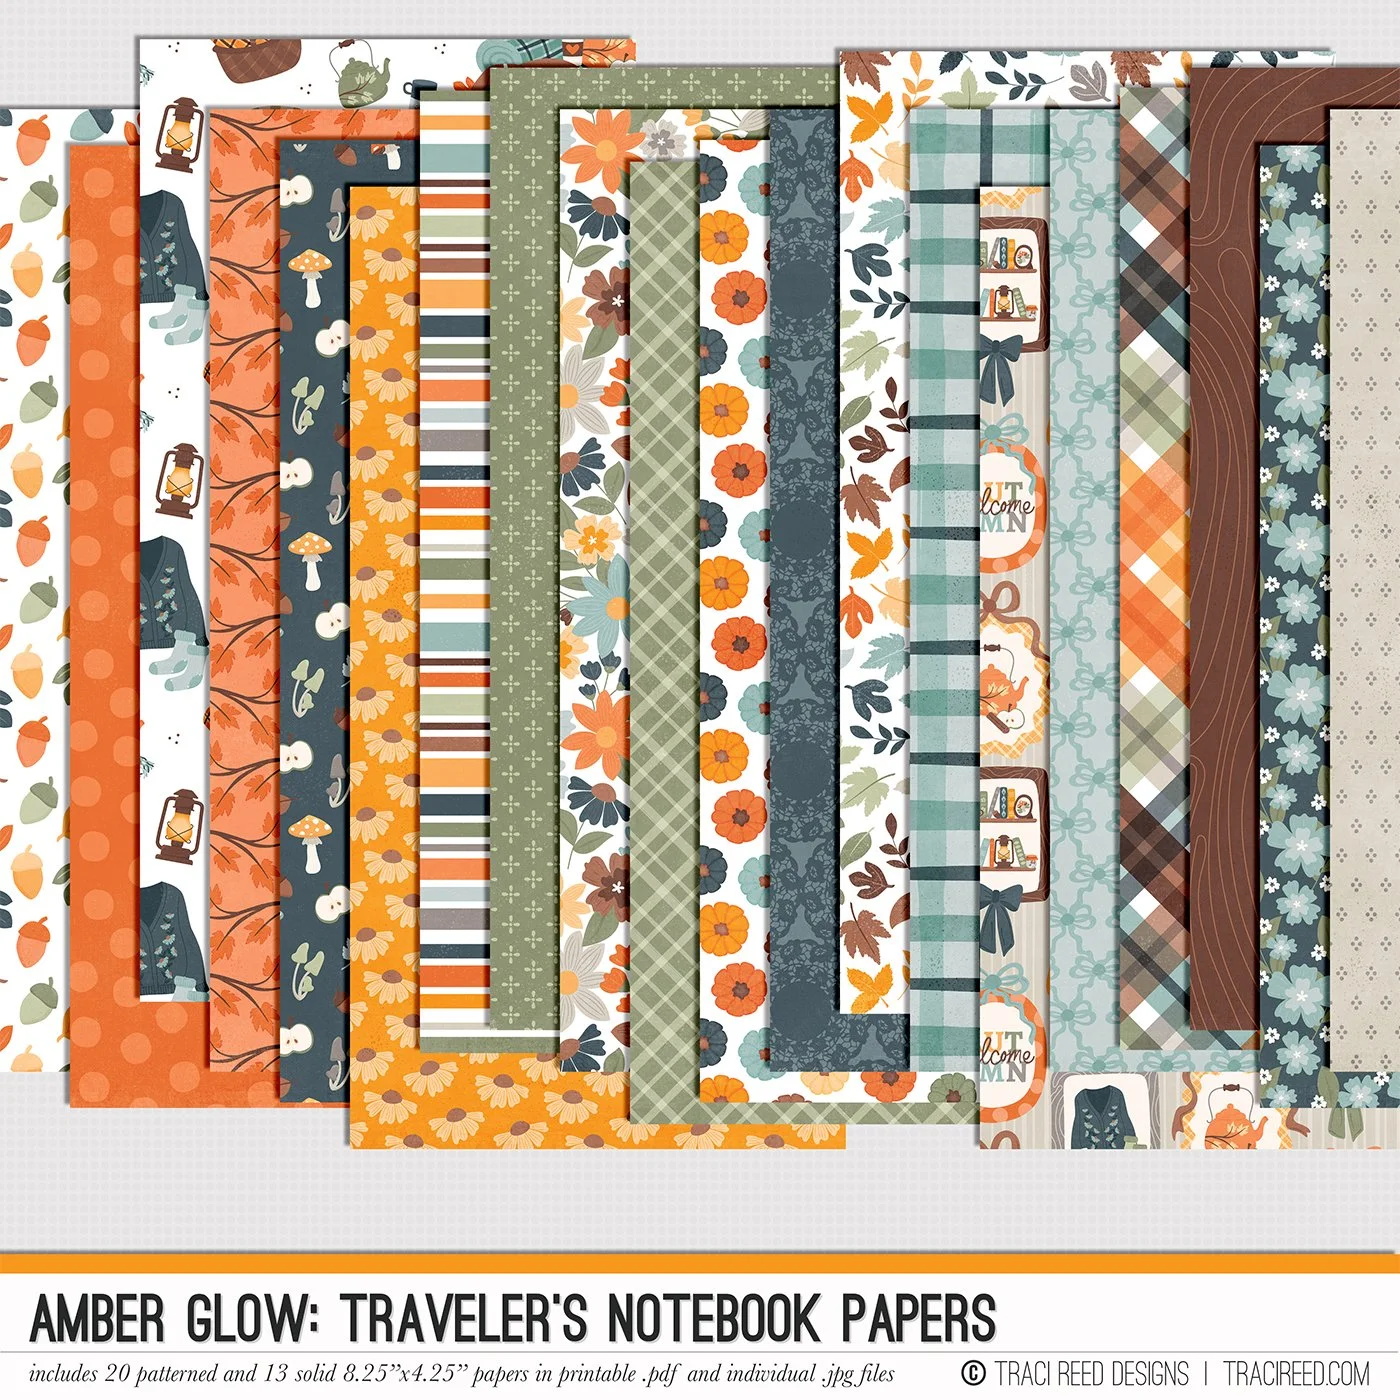
The patterned papers (The TN or 6x8 size are perfect for this)
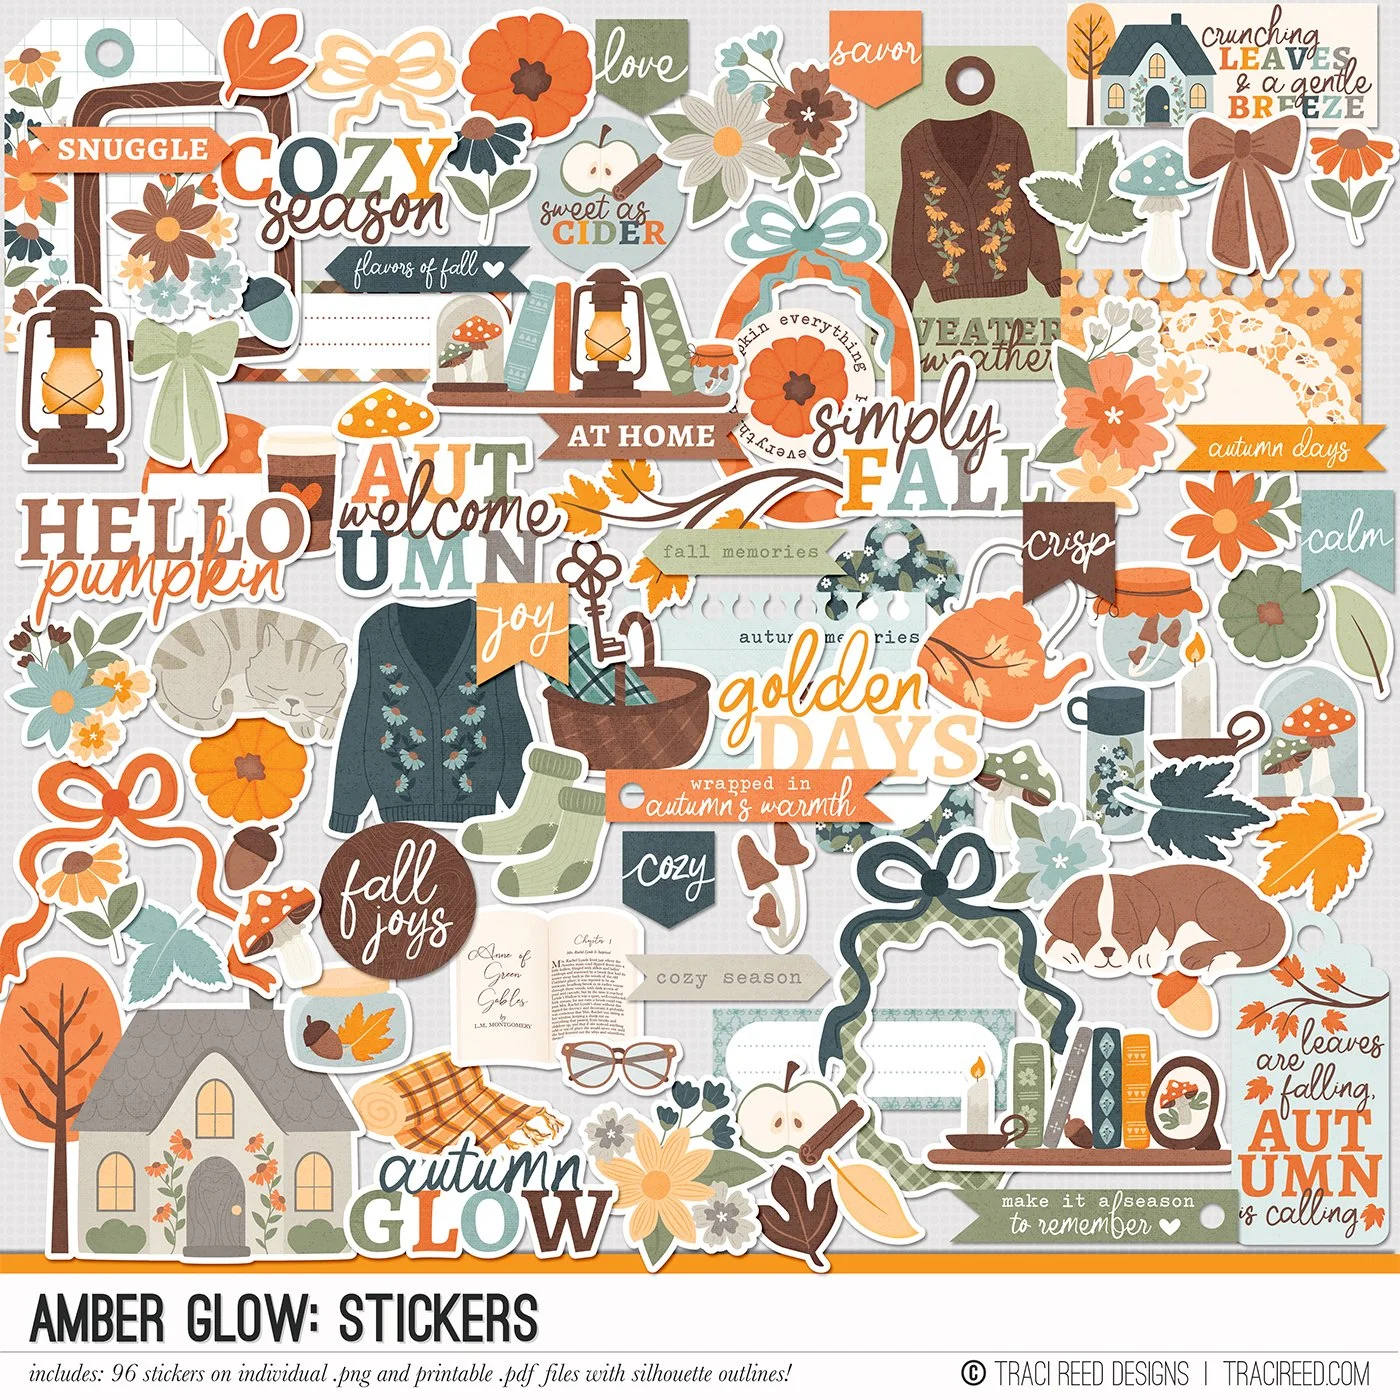
The sticker pack
Optional: the digital kit (the embellishments are perfect for the technique I am going to show you)
Process 1
Create a custom size in Canva (I work at 4.25” wide x 8.25” tall)
Drag a 3x4 card onto the canvas
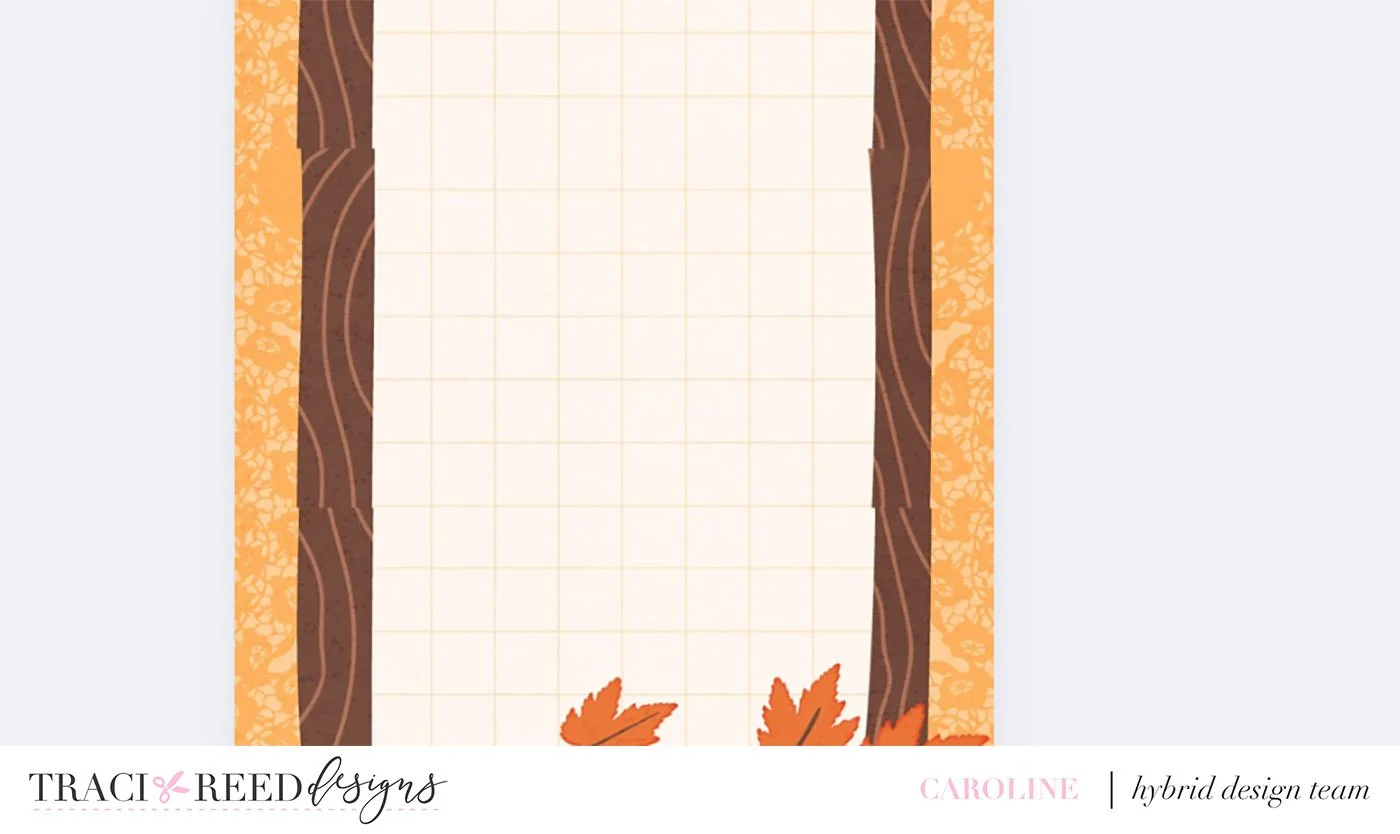
TIP: work with something that has a plain area to hold your photos and journaling or a small, repeating pattern - I am working with a grid cardExpand the card to fill the width of the canvas
Duplicate so you now have two:
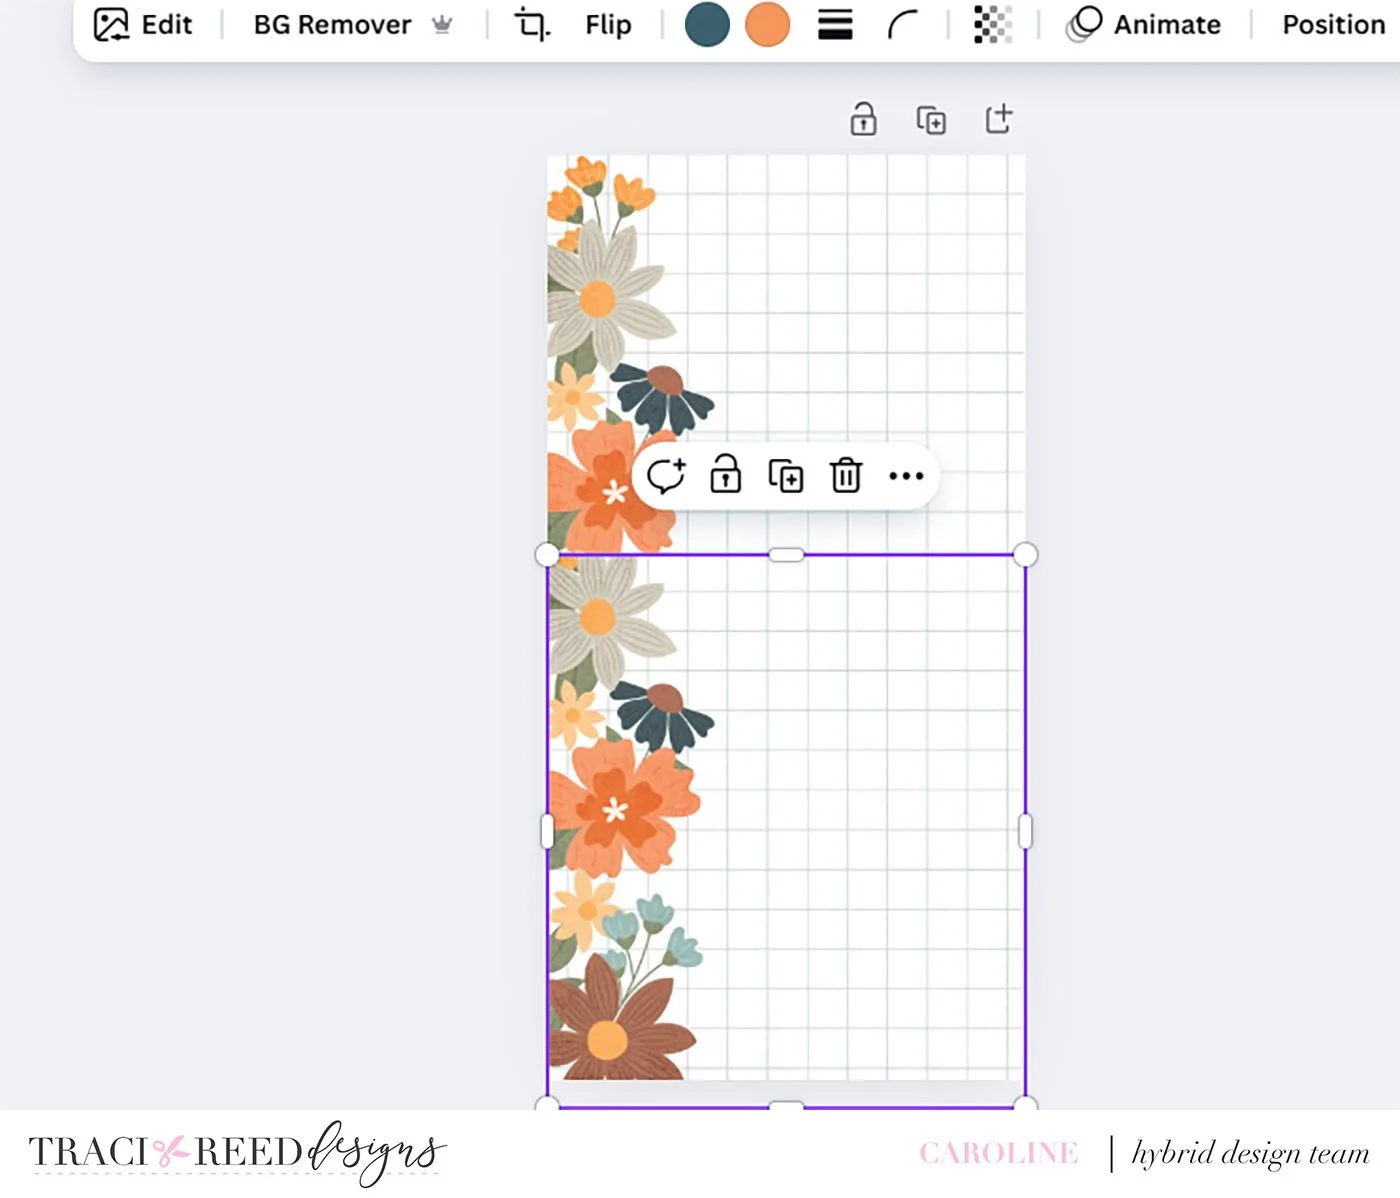
Move the one card up and down until you can match up the repeating pattern (here the grid) as much as possible. Sometimes you may need a third or even fourth card layered on top to hide where the joins are. There are likely to always be some joins showing, but thats OK, we can hide them with embellishments!!
Process 2
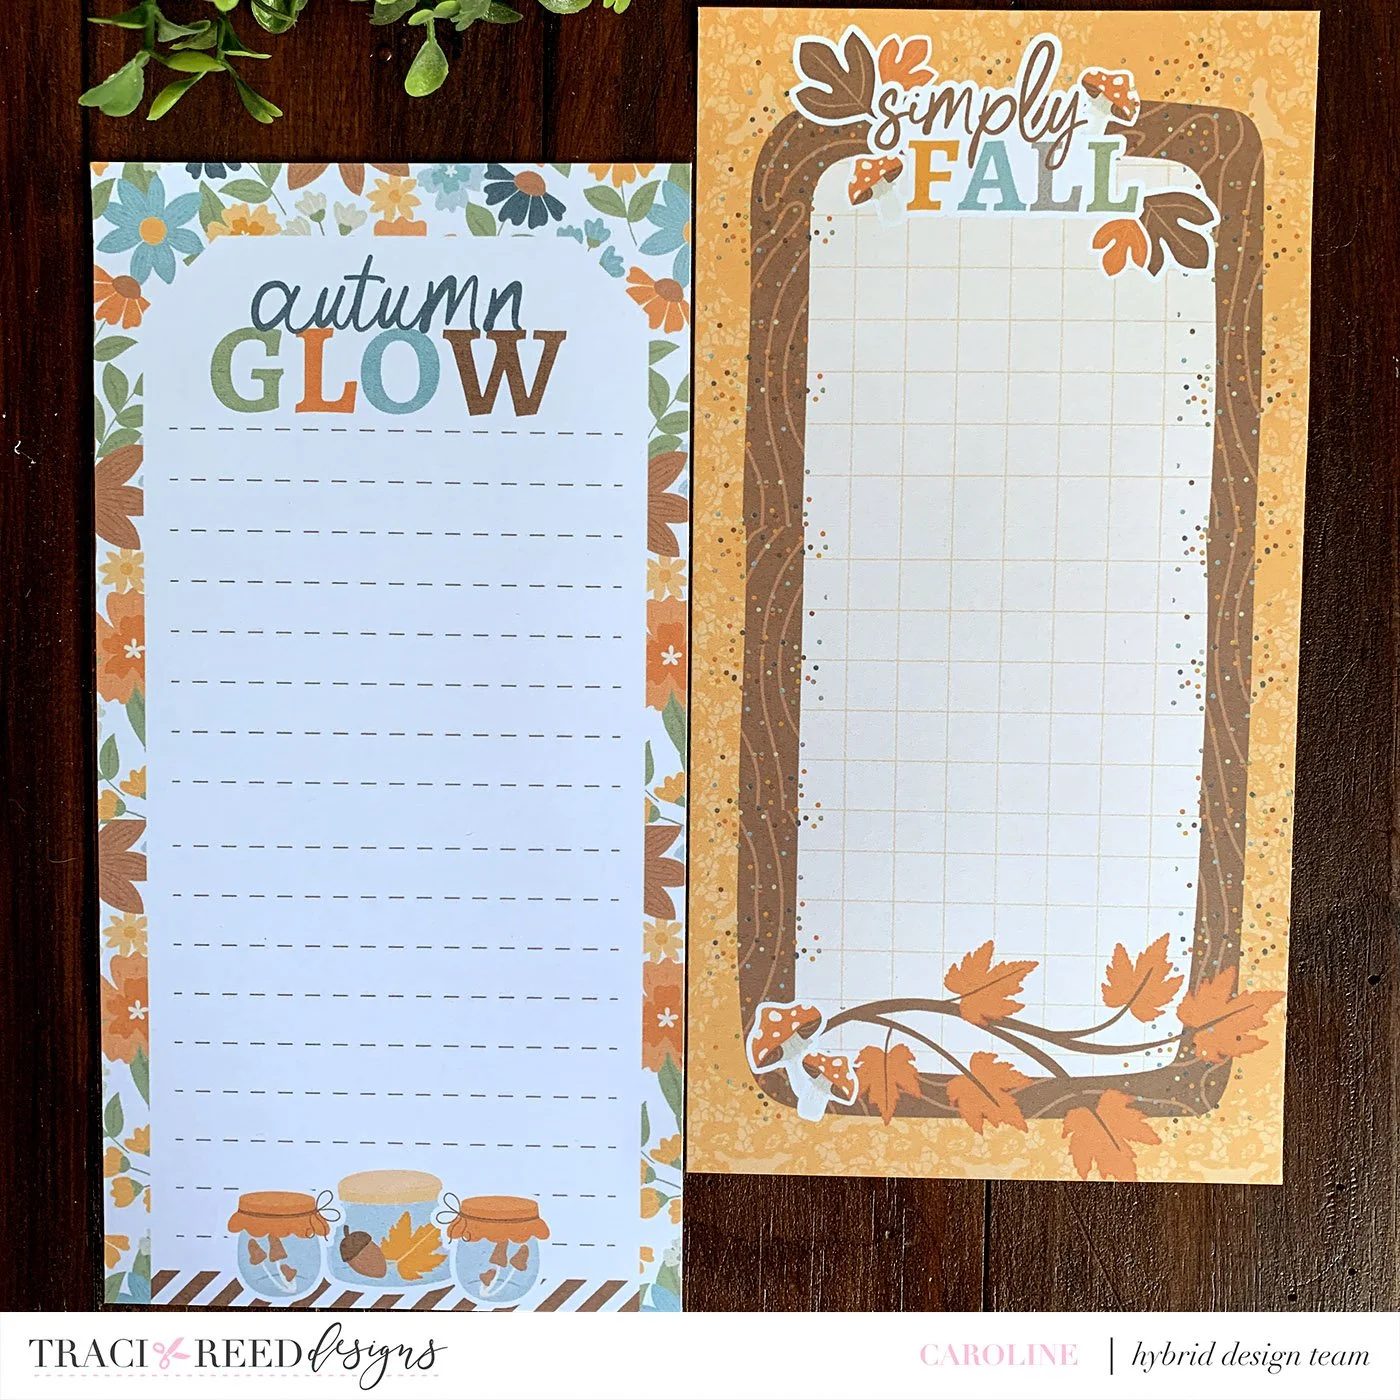
Again working at TN size, for this signature I am wanting a title card (so it's really easy) I’ve dragged in one of the sentiment journal cards and resized that to the width of the canvas. I want to cover the white that remains.
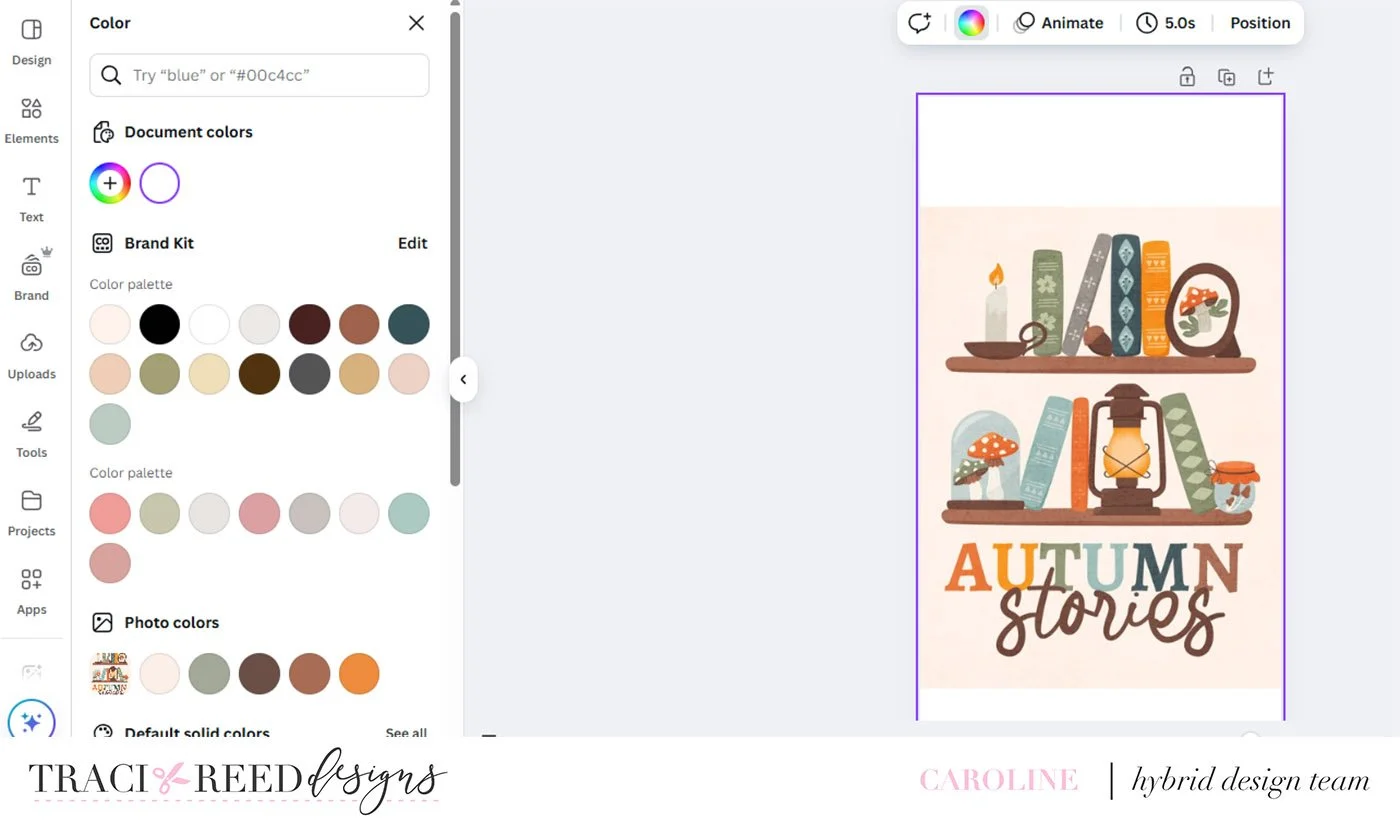
When I click on that background, and then the colour wheel at the top, you’ll see that over on the left it shows me the colours from the image. All I need to do is select the background colour, and the background is filled and there are no joins!
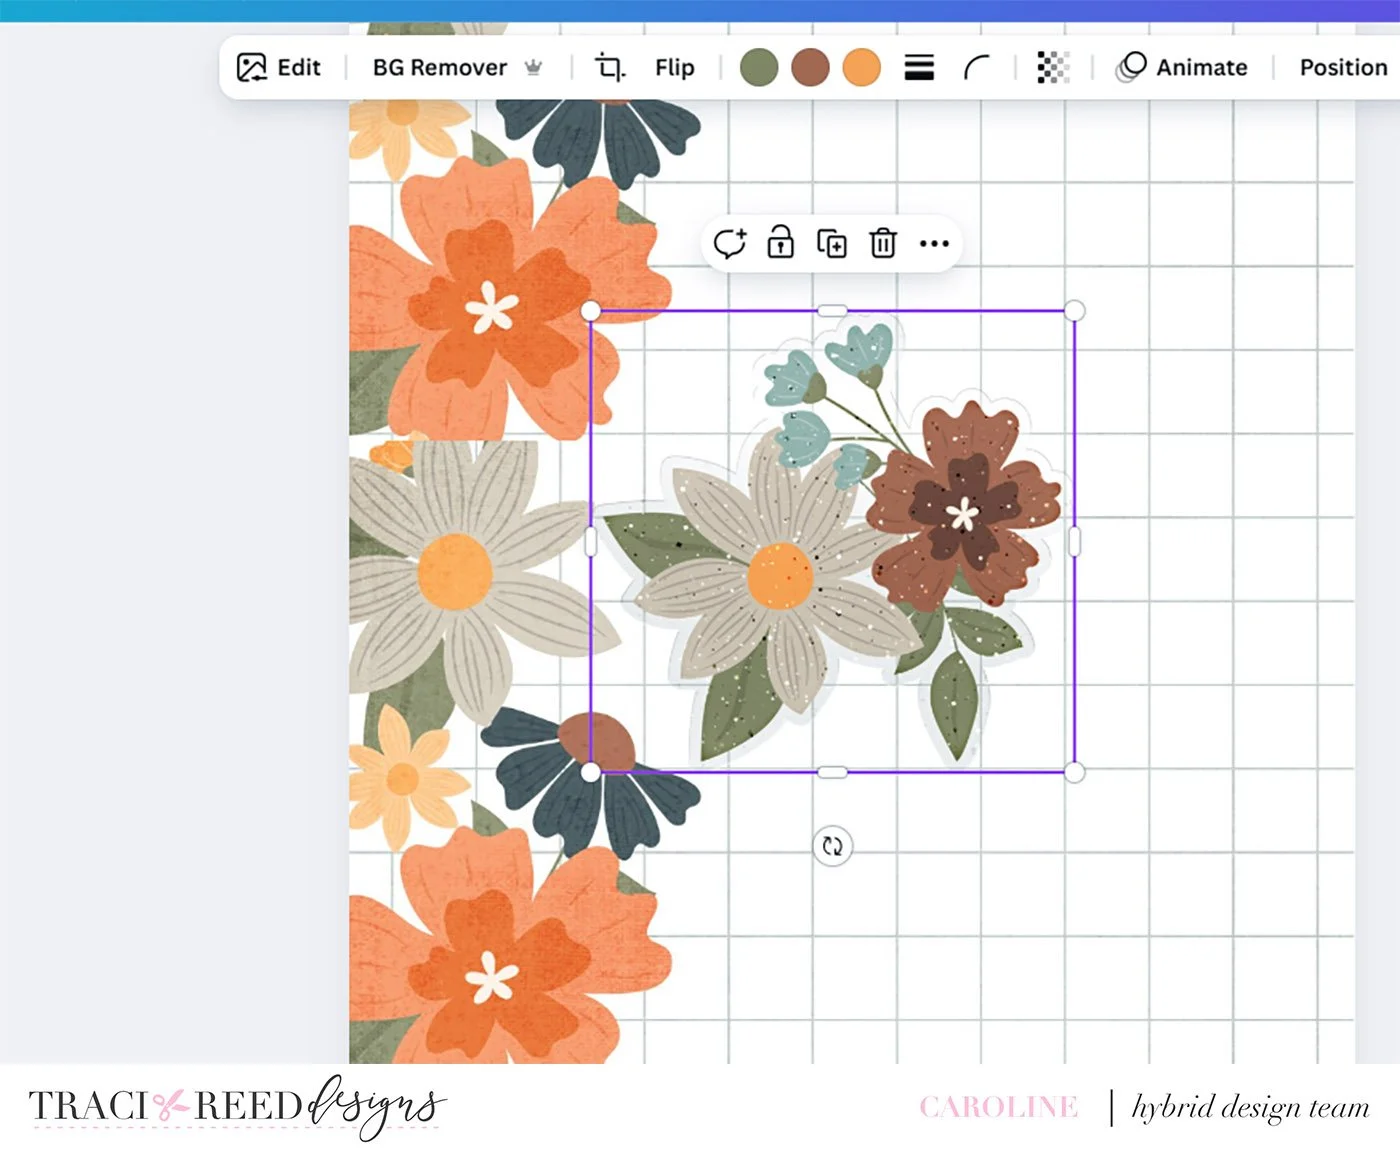
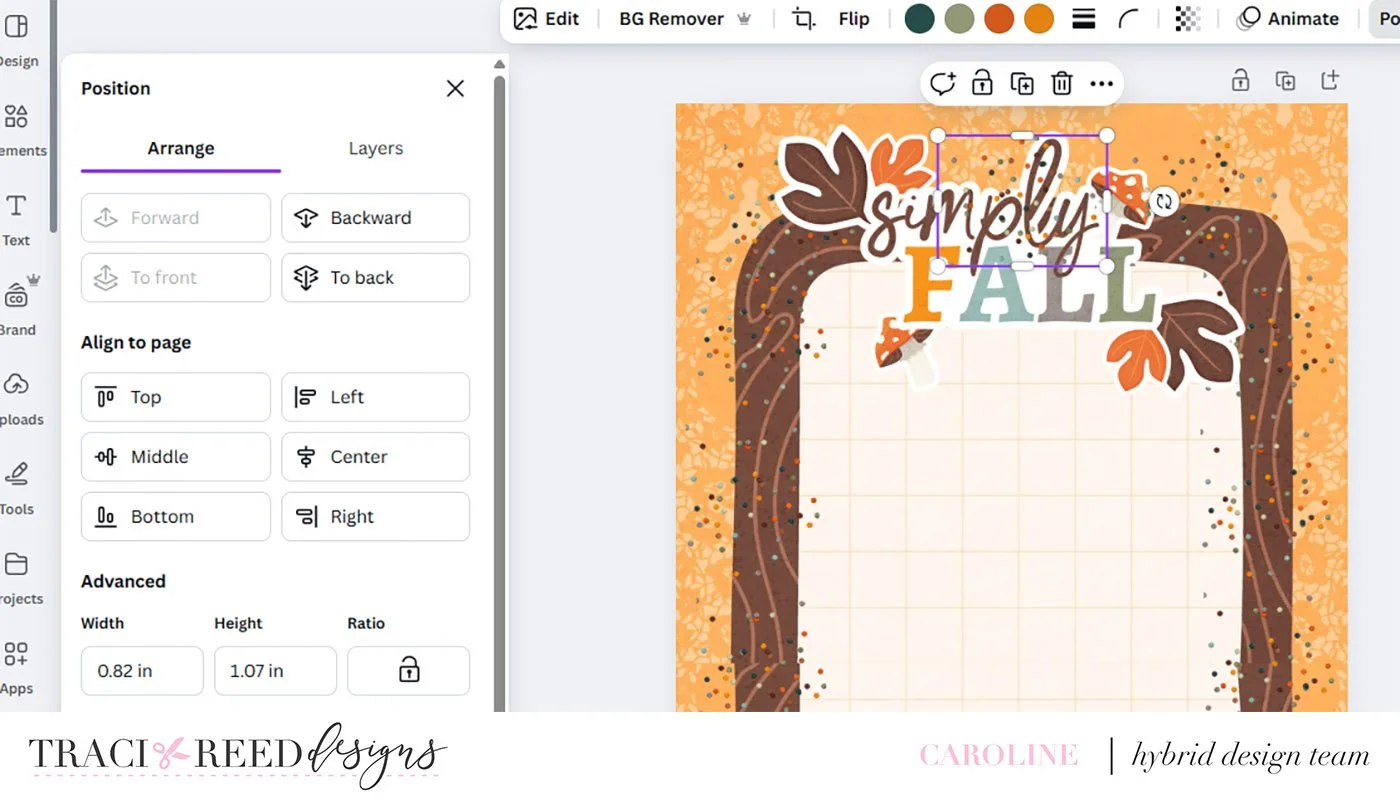
Now when I come to craft with this I will be able to hide those joins with some paper embellishments, or offset my photos… but I want to hide them a little bit before that.
I am again turning to the digital embellishments … this time the confetti!
I have created (and printed) 6 Travellers Notebook signatures to add in to my Campervan Crafting Kit. I have added all the papers from the collection (printed) the stickers (printed and cut) and the journal cards too.
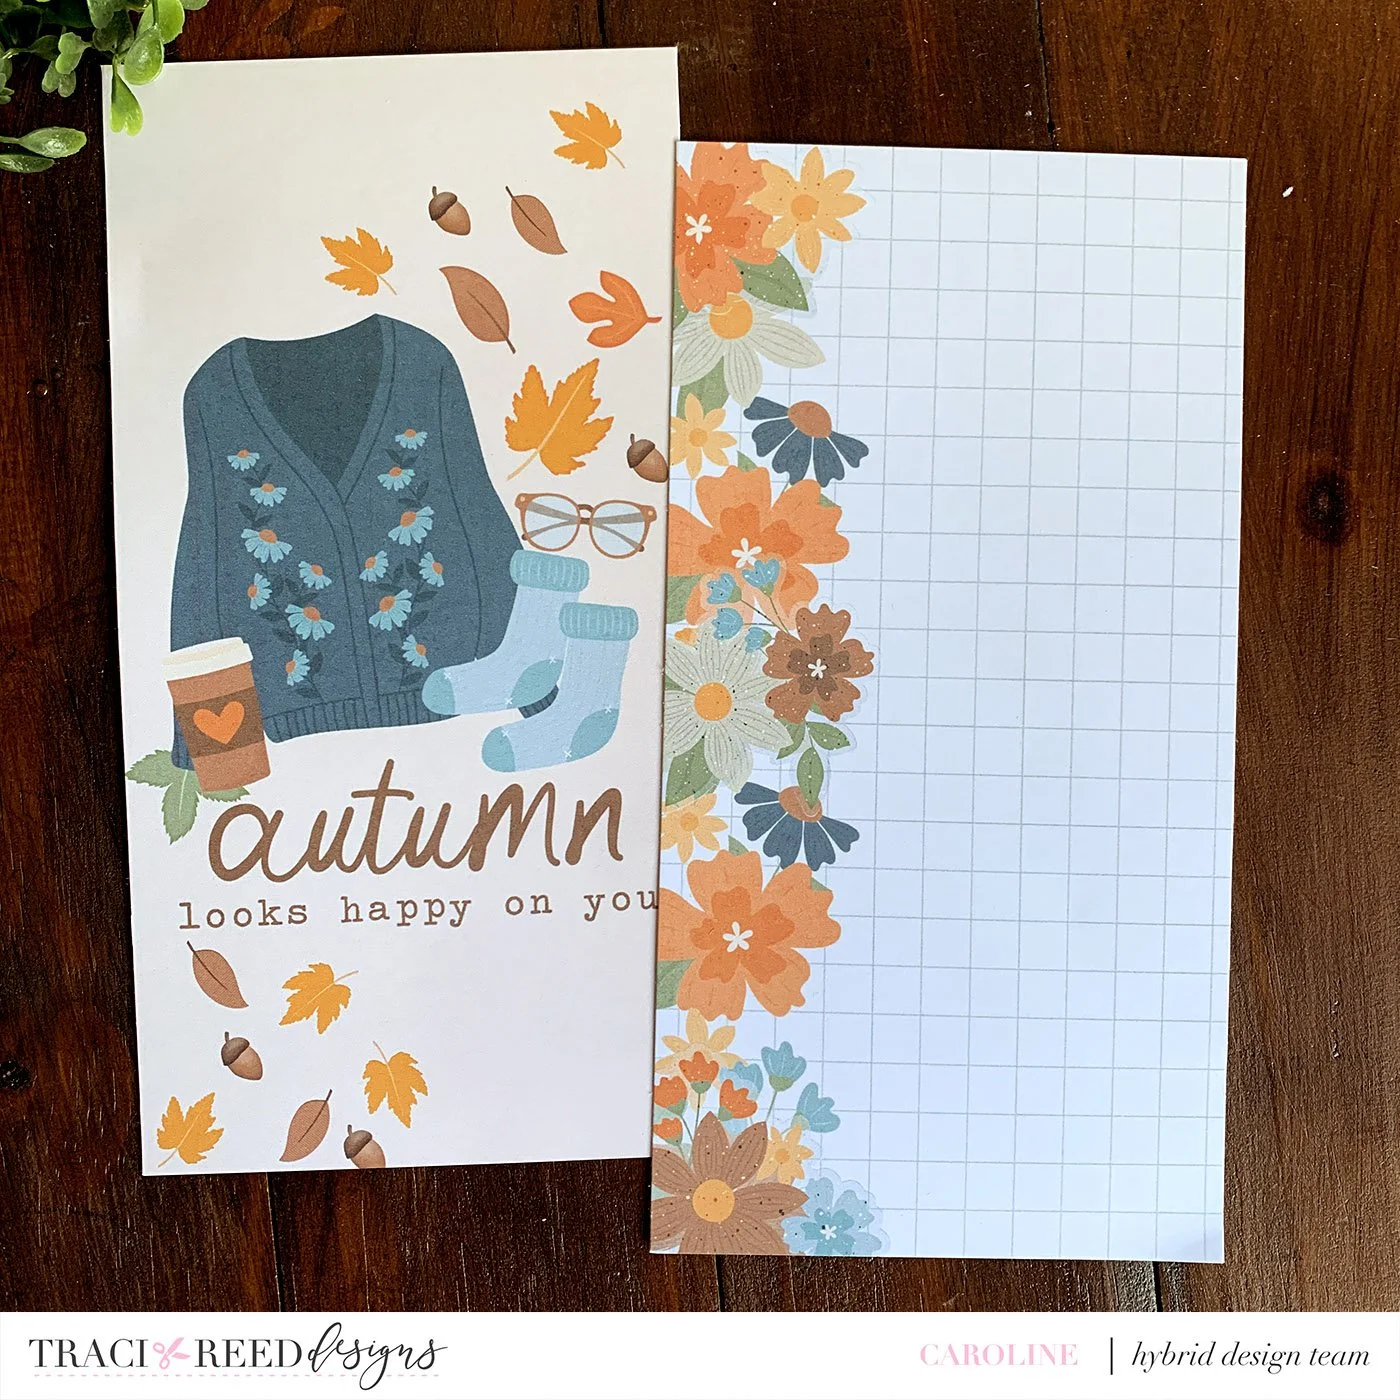
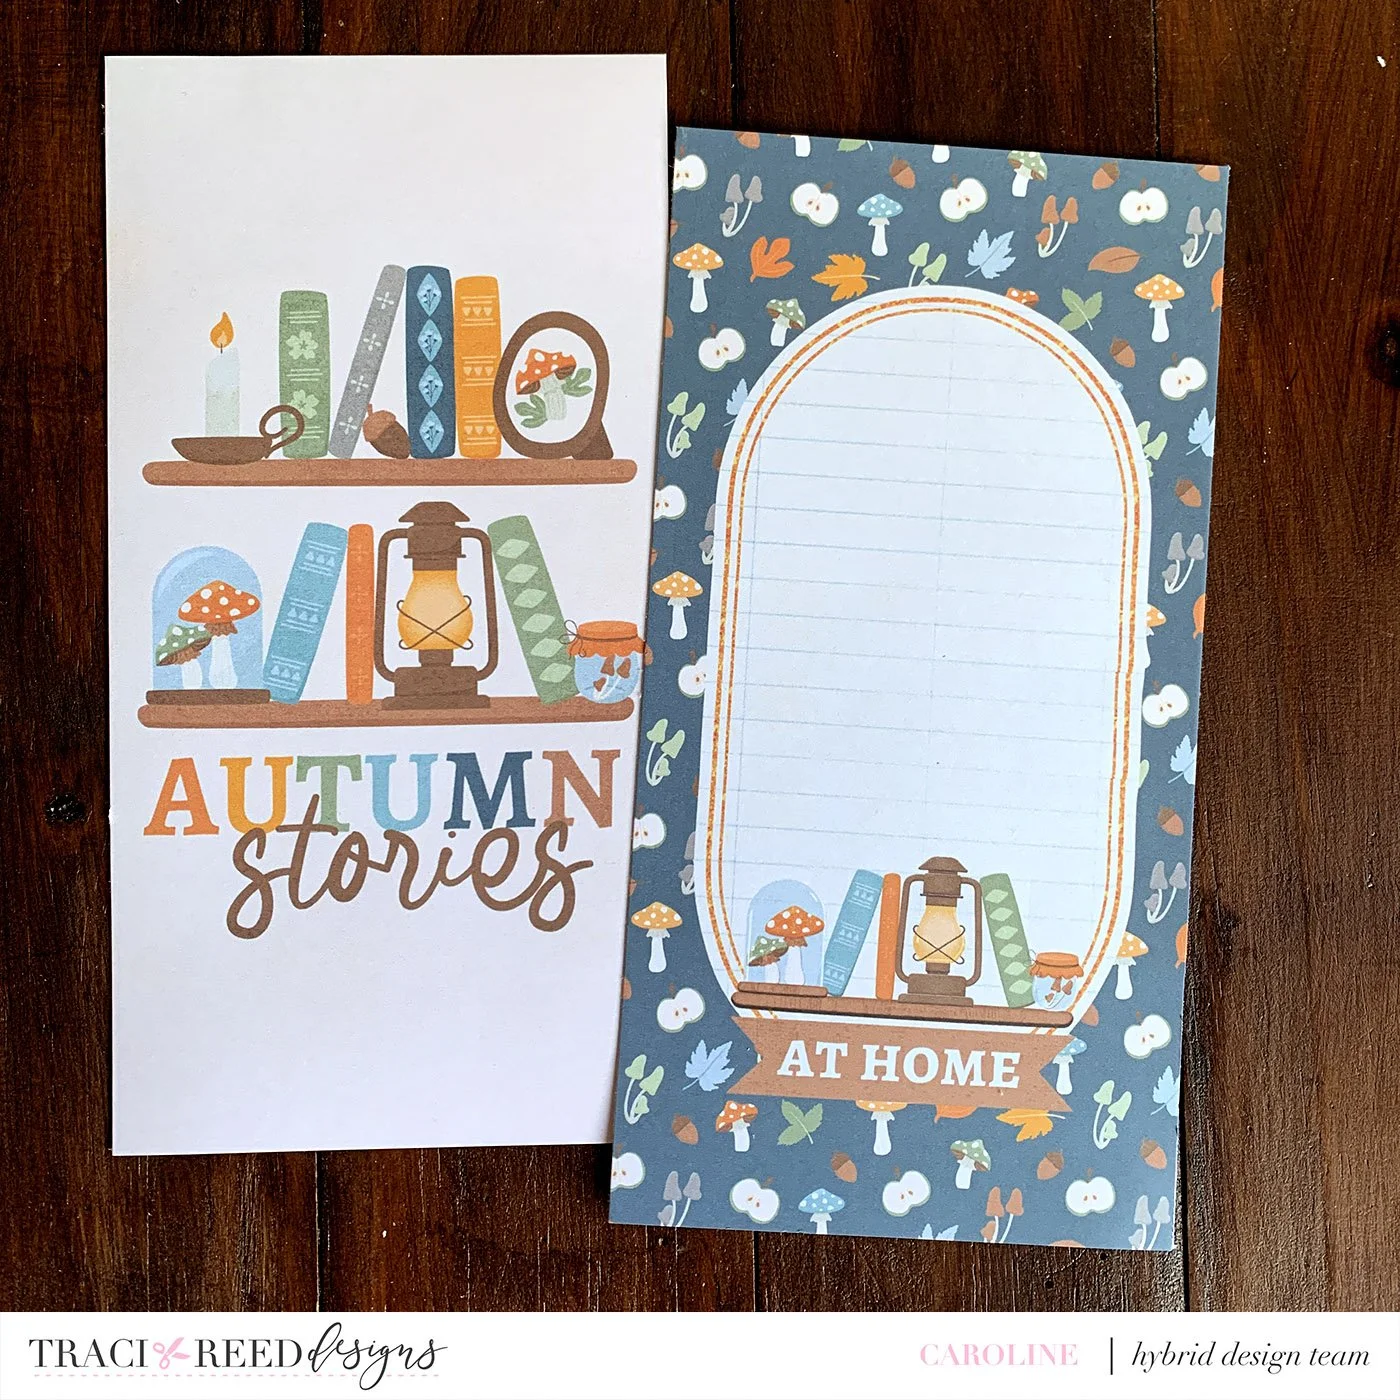
These 6 pre-made pages will be perfect for days when I want to craft but I have little time. I can print my photo, add it to the page, write on the background, and if I want to, add a couple more embellishments! I’ll be sharing the projects I created with them on my instagram so be sure to follow me to see those finished pages. (@carolinescreativehealing)
This is going to save me so much time that I am planning on doing the same with the October collection when that launches … a perfect way of creating some foundation pages for my October Daily album!!!