
Create an Album from a Coffee Sleeve with Ana!
I have a little project to share today inspired by something I'm very guilty of - keeping "junk" because I think I can make something out of it someday. And if you’re like me, you know "someday" usually turns into not anytime soon.
Well, today, someday finally arrived.
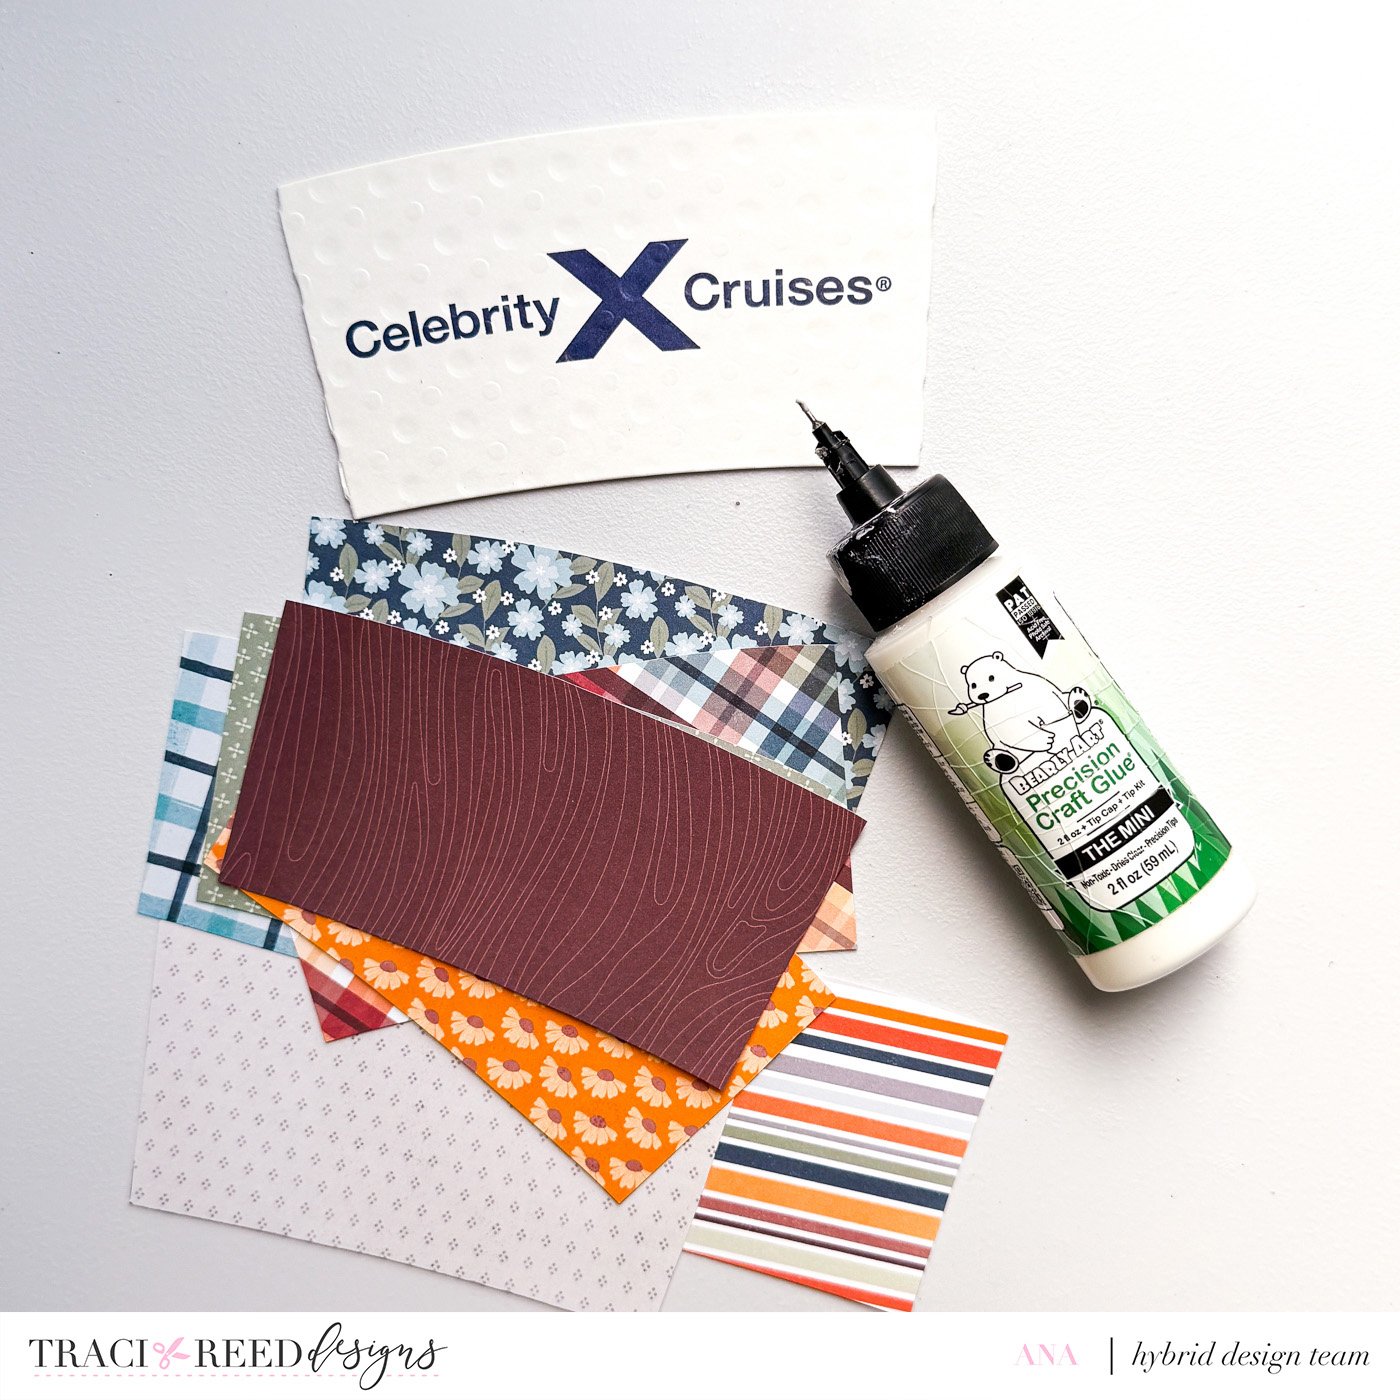
I turned five coffee cup sleeves that I collected during our cruise back in August 2025 into a fun little mini album for autumn memories and gratitude journaling. And yes, I've been holding onto these coffee sleeves for more than a year!
If you also need to know another little secret, the chipboard I use to make my mini albums sturdy usually comes from the cardboard inside Lucky, my cat’s wet cat food boxes. So yes, this household keeps all sorts of "future craft” supplies. One person's (me!) trash is definitely another crafter's (still me!) treasure!
I had fun making this project and I actually felt proud too! Proud that finally, I’ve used the coffee sleeves! Haha! And well, I think this turned out pretty cute too! The coffee cup sleeves will become pockets, and if you've followed my projects for a while, you probably noticed that I love pockets! They're perfect for tucking in photos, tags, journaling cards, little keepsakes, or anything you want to save without permanently attaching it. Plus, it makes anything more interactive which I really really like!
So if you've been collecting coffee sleeves with plans to use them one day, consider this your little sign.
Someday is today.
Materials Used
Amber Glow 6×8 Papers
Amber Glow Stickers & Die Cuts
Amber Glow Journaling Cards
5 coffee cup sleeves
Cardboard
Floral embellishment
String
Mini Cinch
Binding wire
Glue gun
Bearly Art Glue
Tim Holtz Scissors
White cardstock
Foam tape
Corner punch
Instructions
Trace a coffee cup sleeve onto a piece of cardboard.

Cut just inside your traced line so the cardboard is slightly smaller than the sleeve. This creates a nice border once everything is layered together. How much smaller you cut is completely up to you and depends on how much of the coffee sleeve you'd like to show.
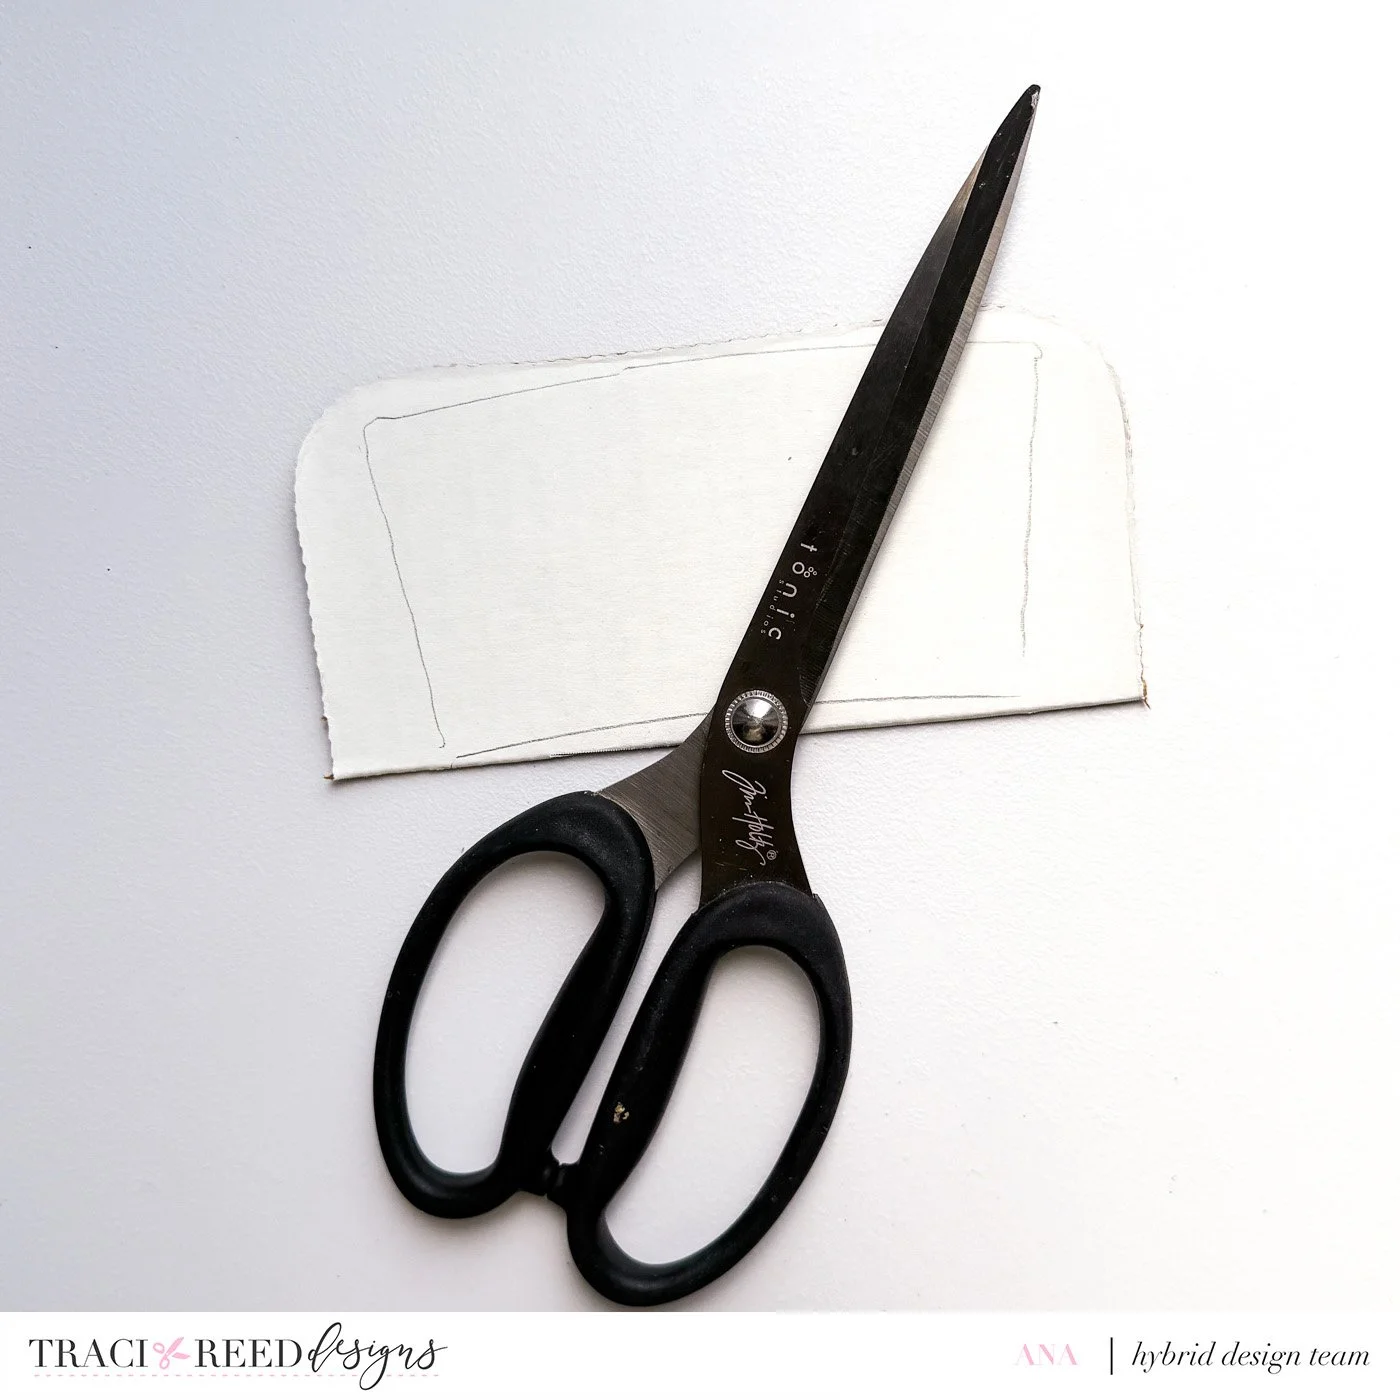
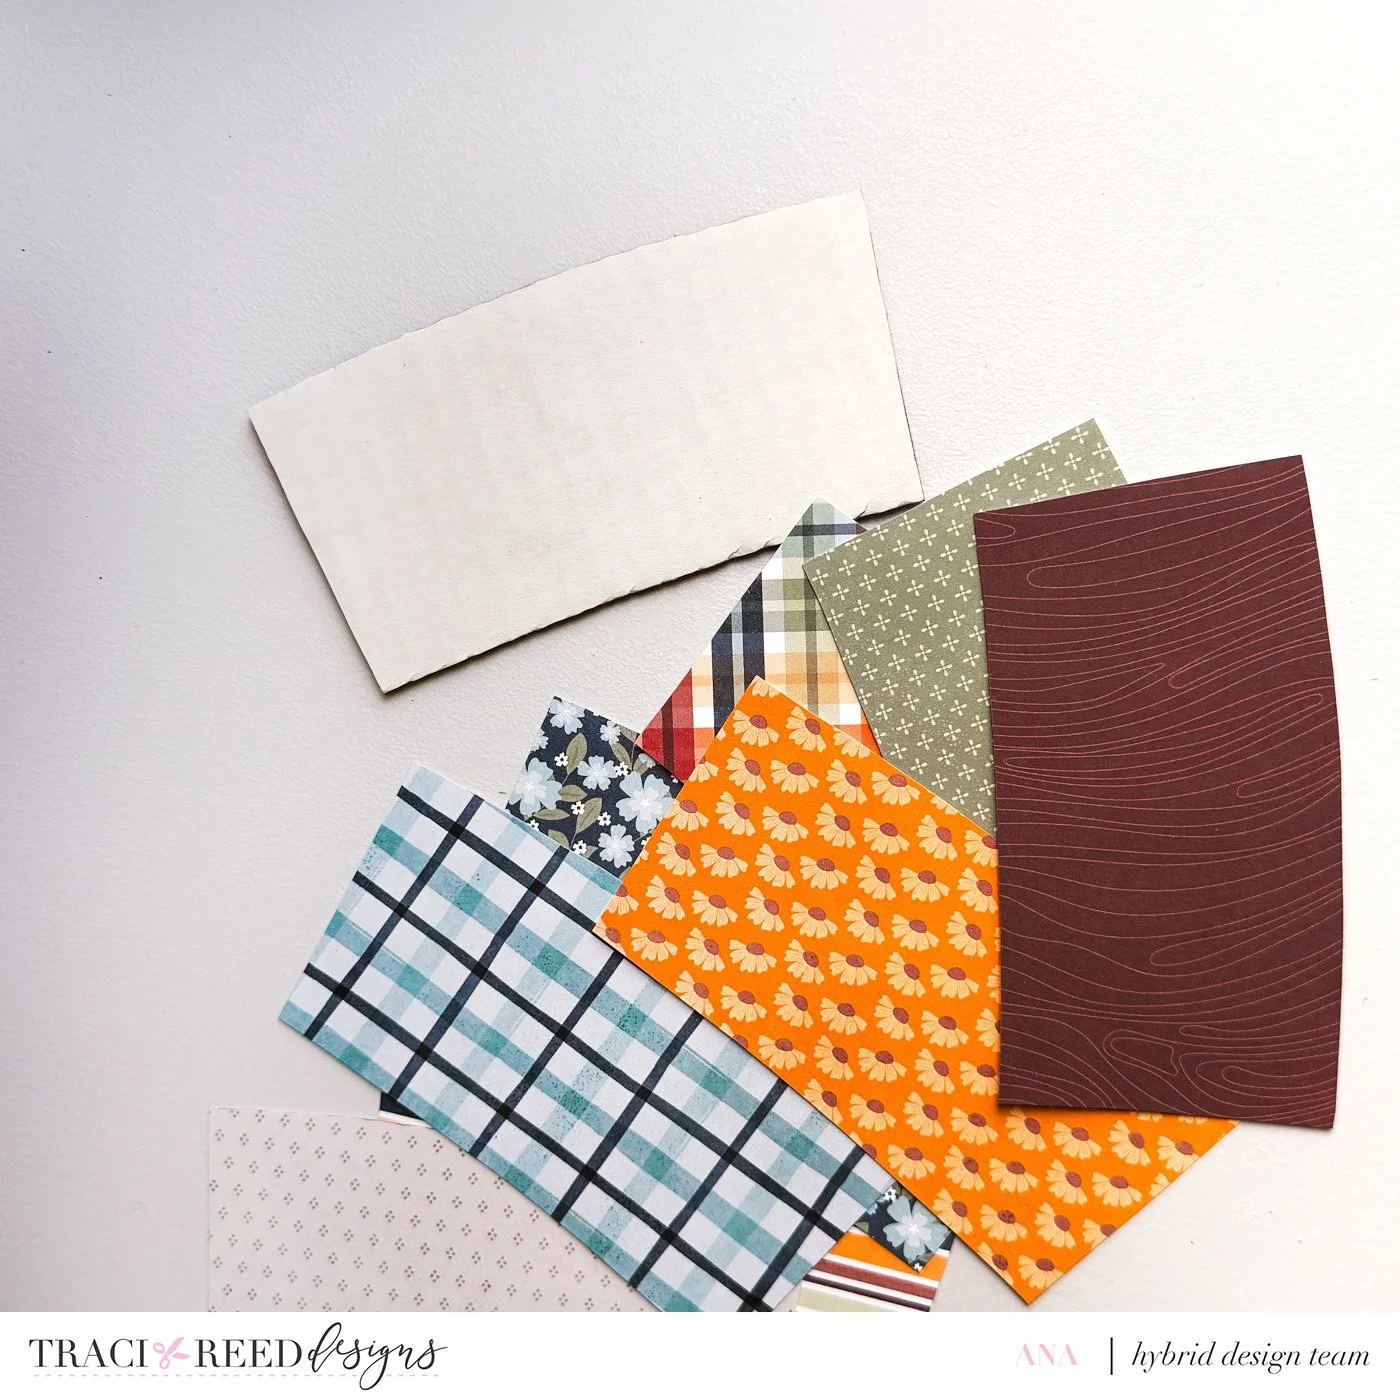
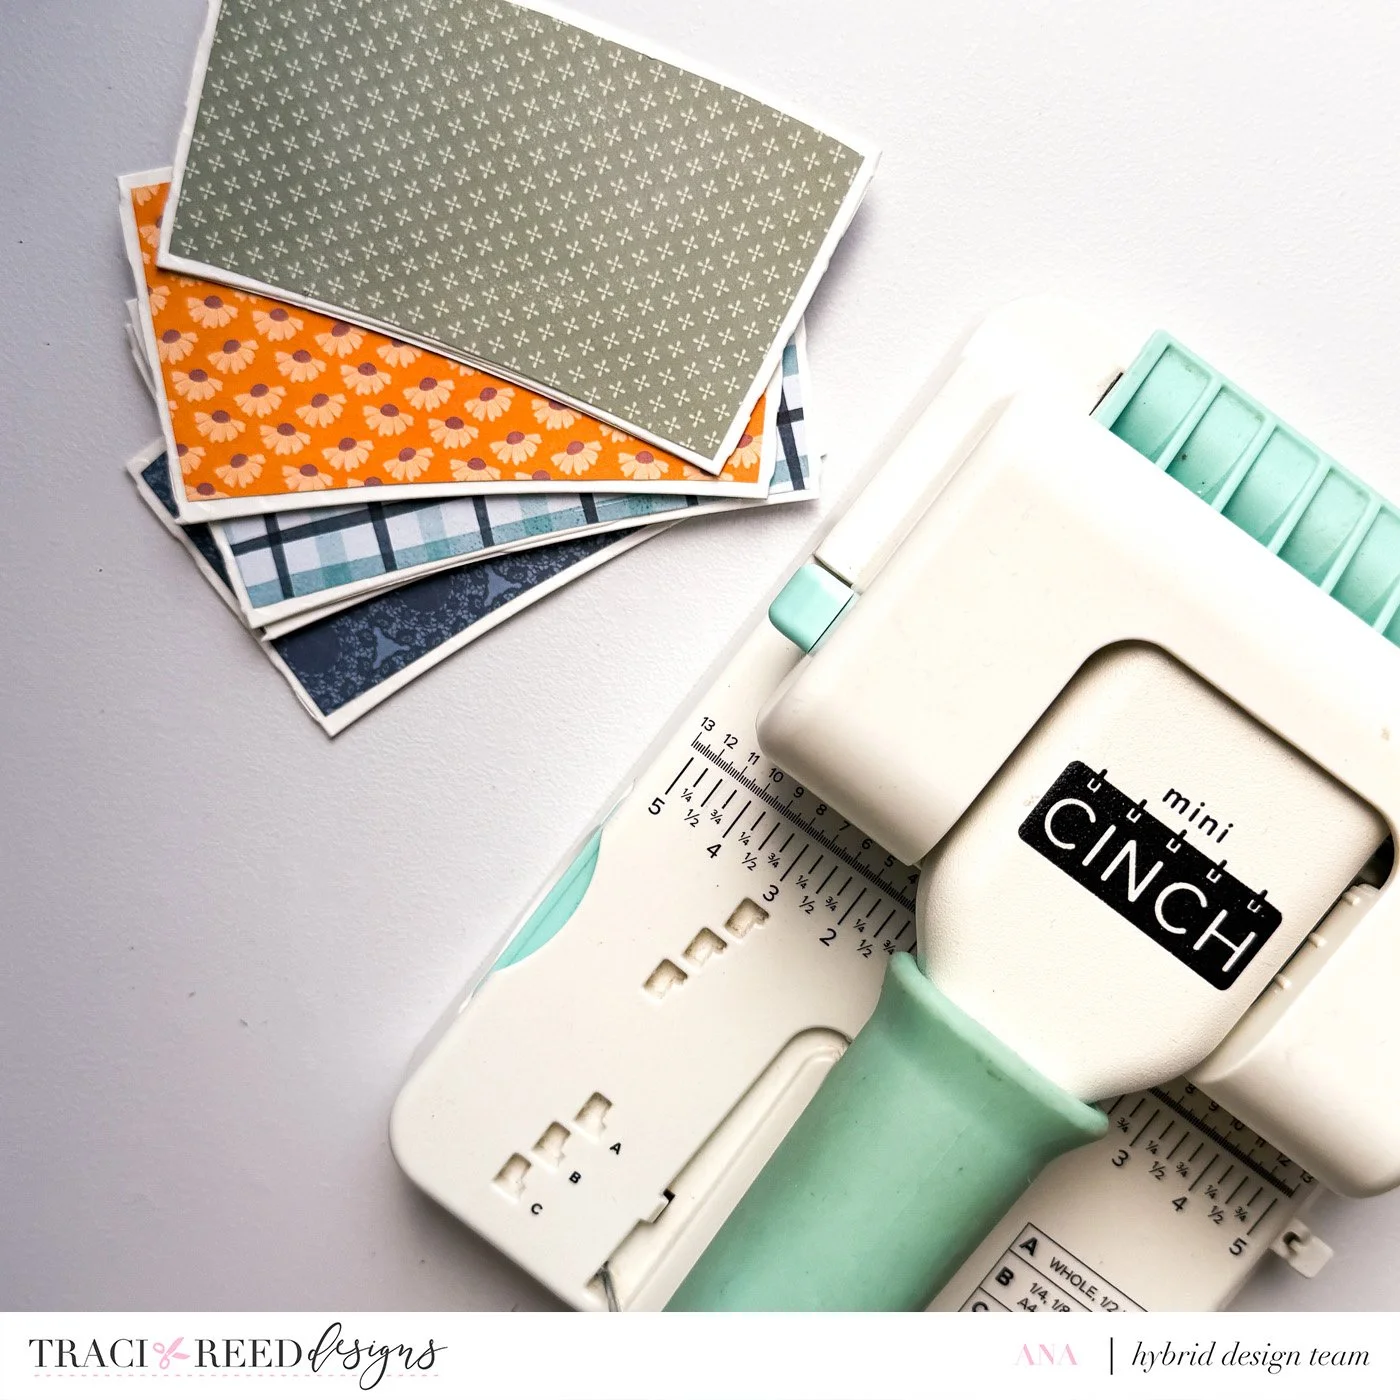
Use the cardboard piece as a template and trace it onto your pattern papers. Cut out all of the patterned paper pieces.
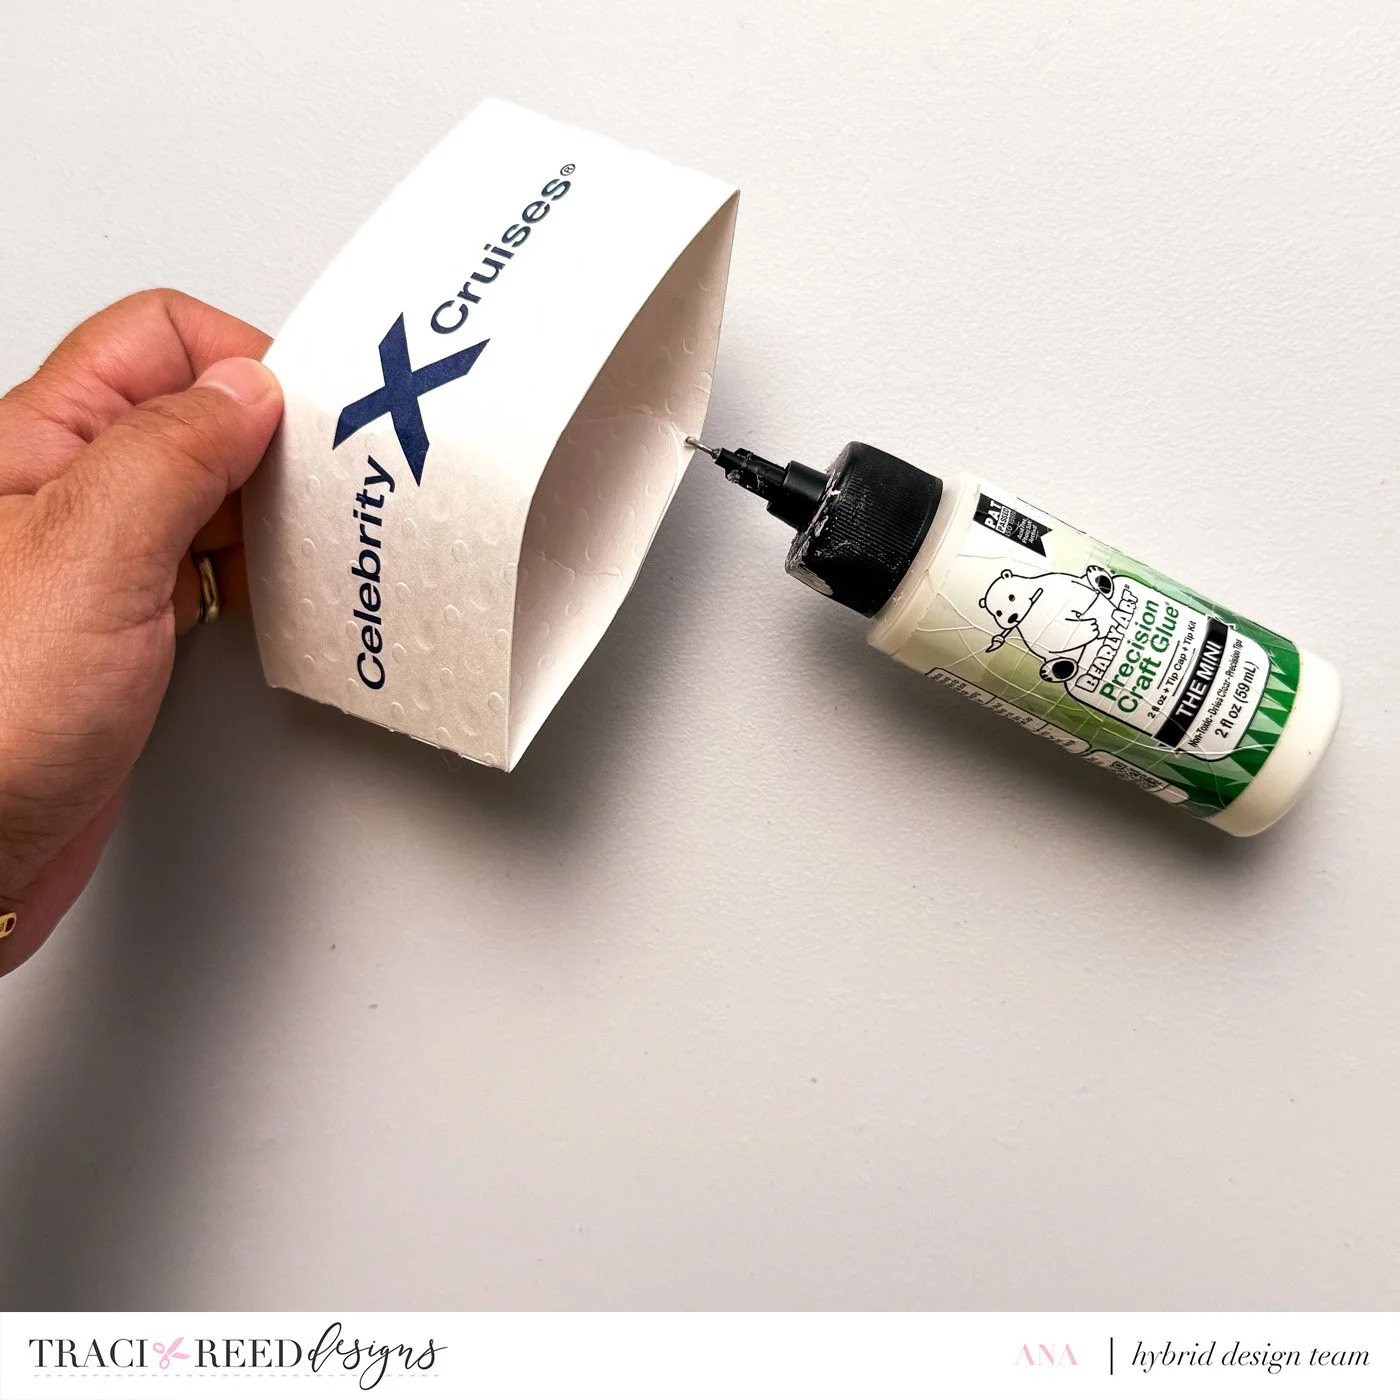
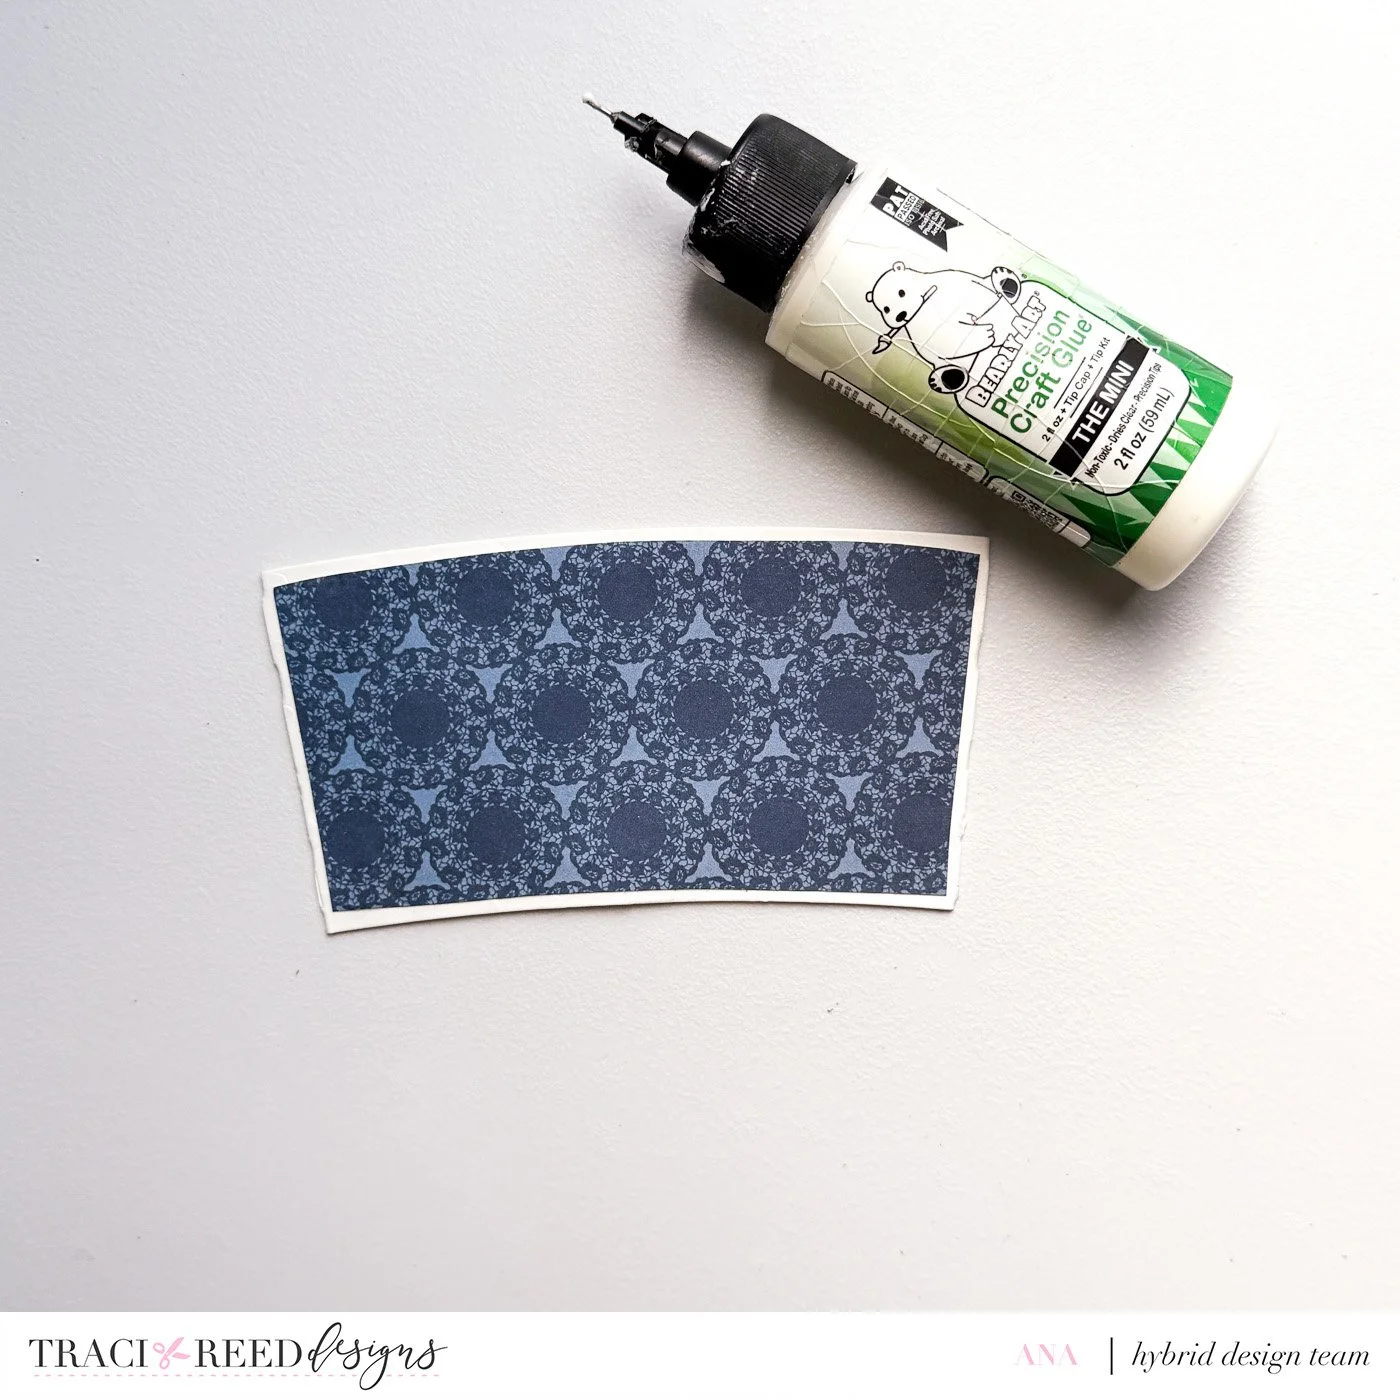
Glue the bottom edge of each coffee sleeve closed to turn them into pockets.
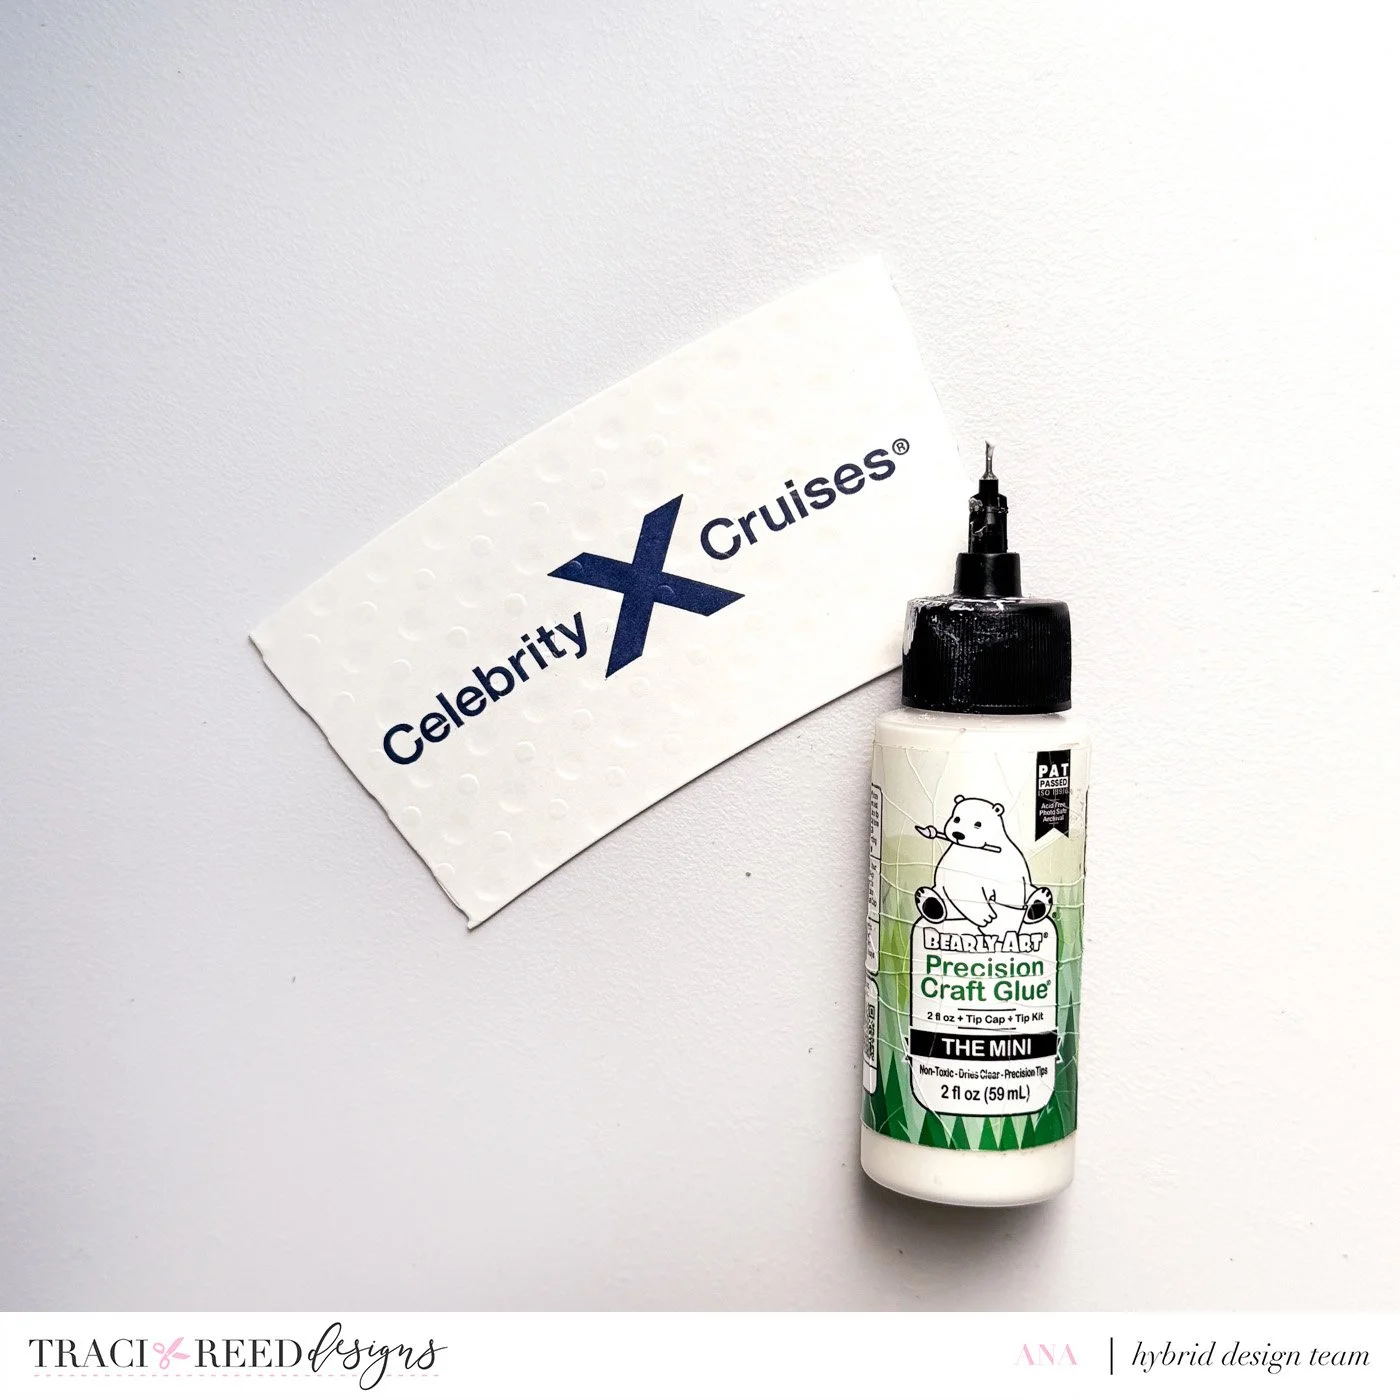
Adhere the patterned papers to each sleeve. Decide which sleeve you'd like to use as the cover before gluing so you can arrange the patterns exactly how you want them.
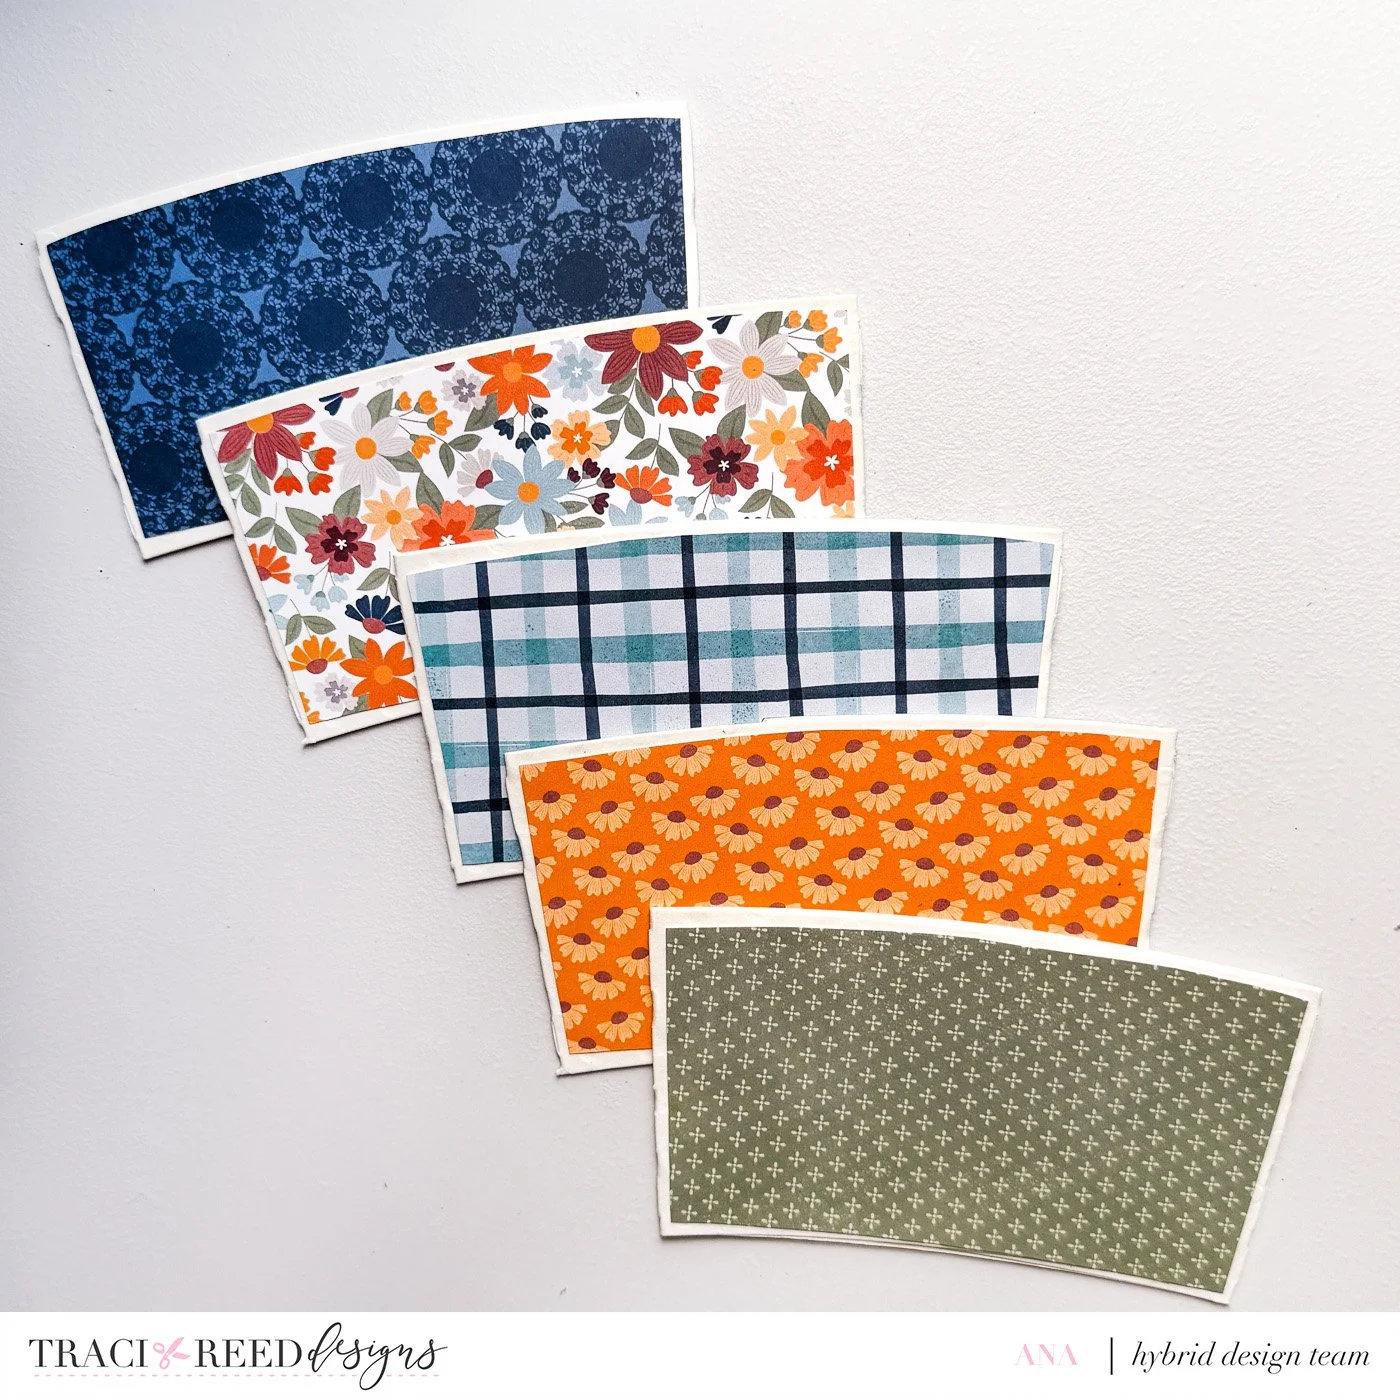
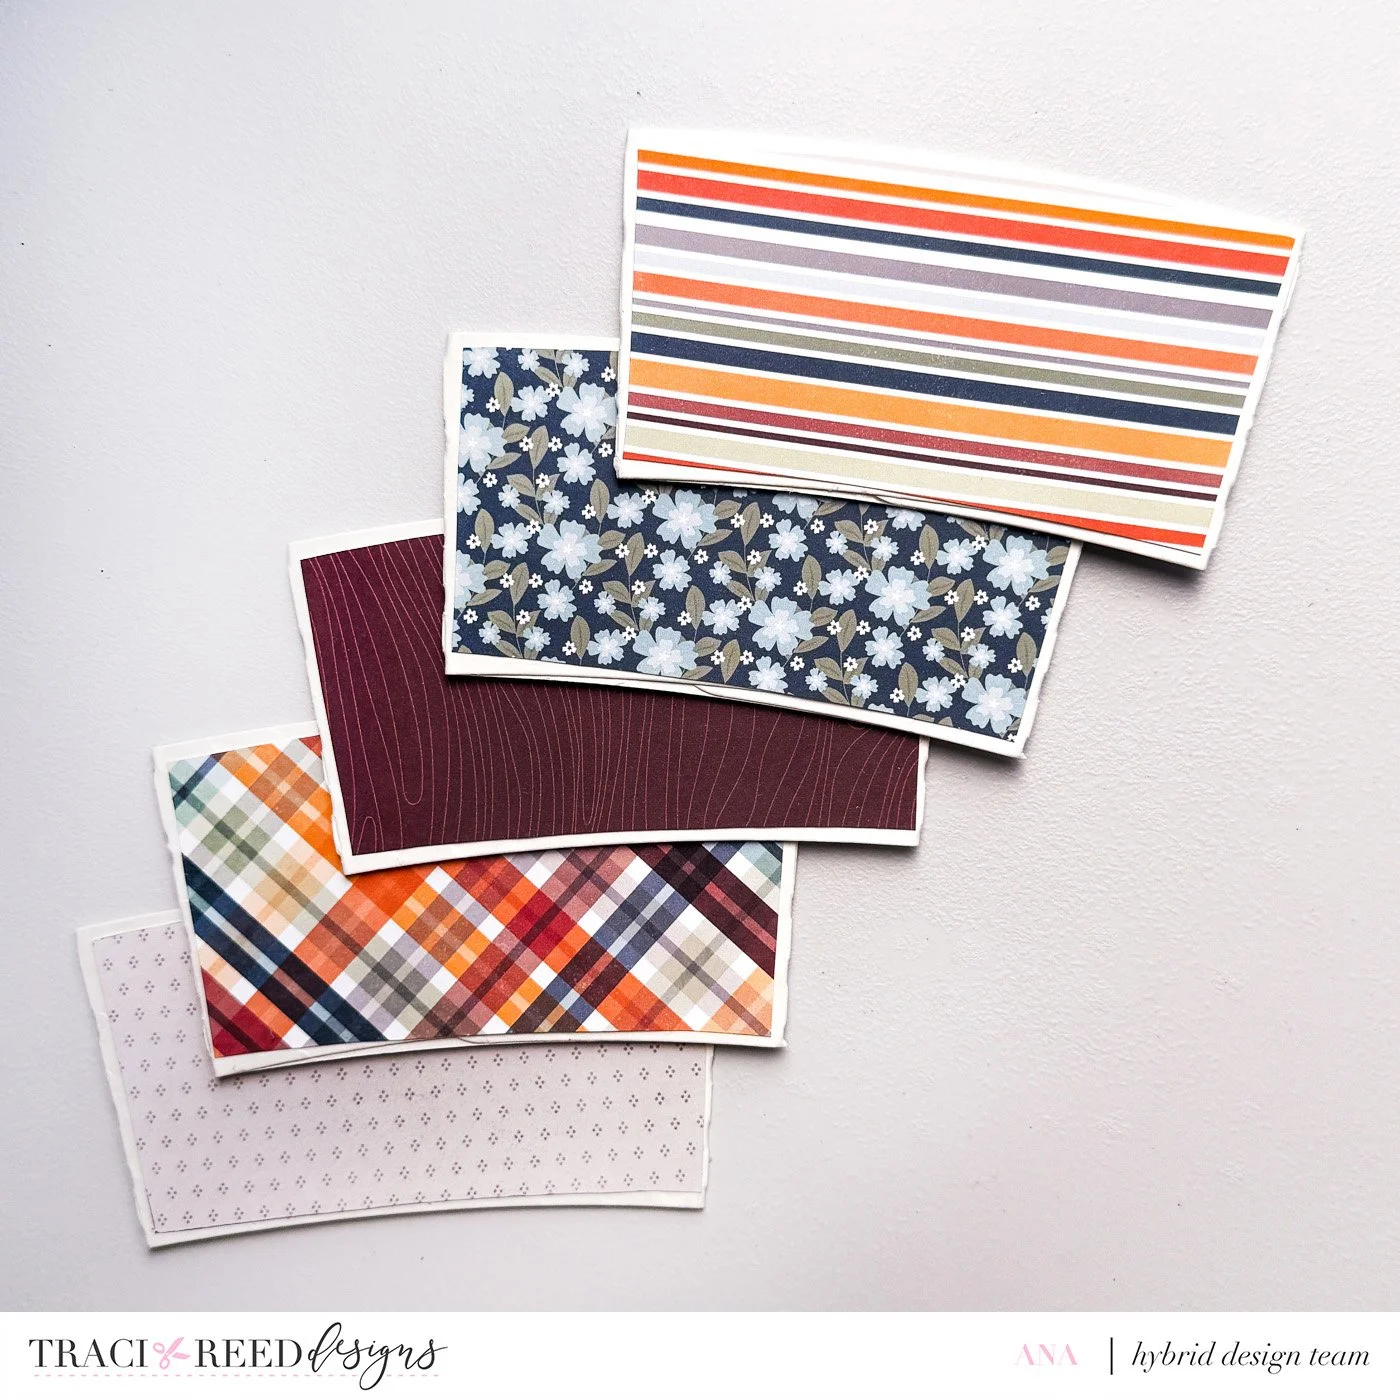
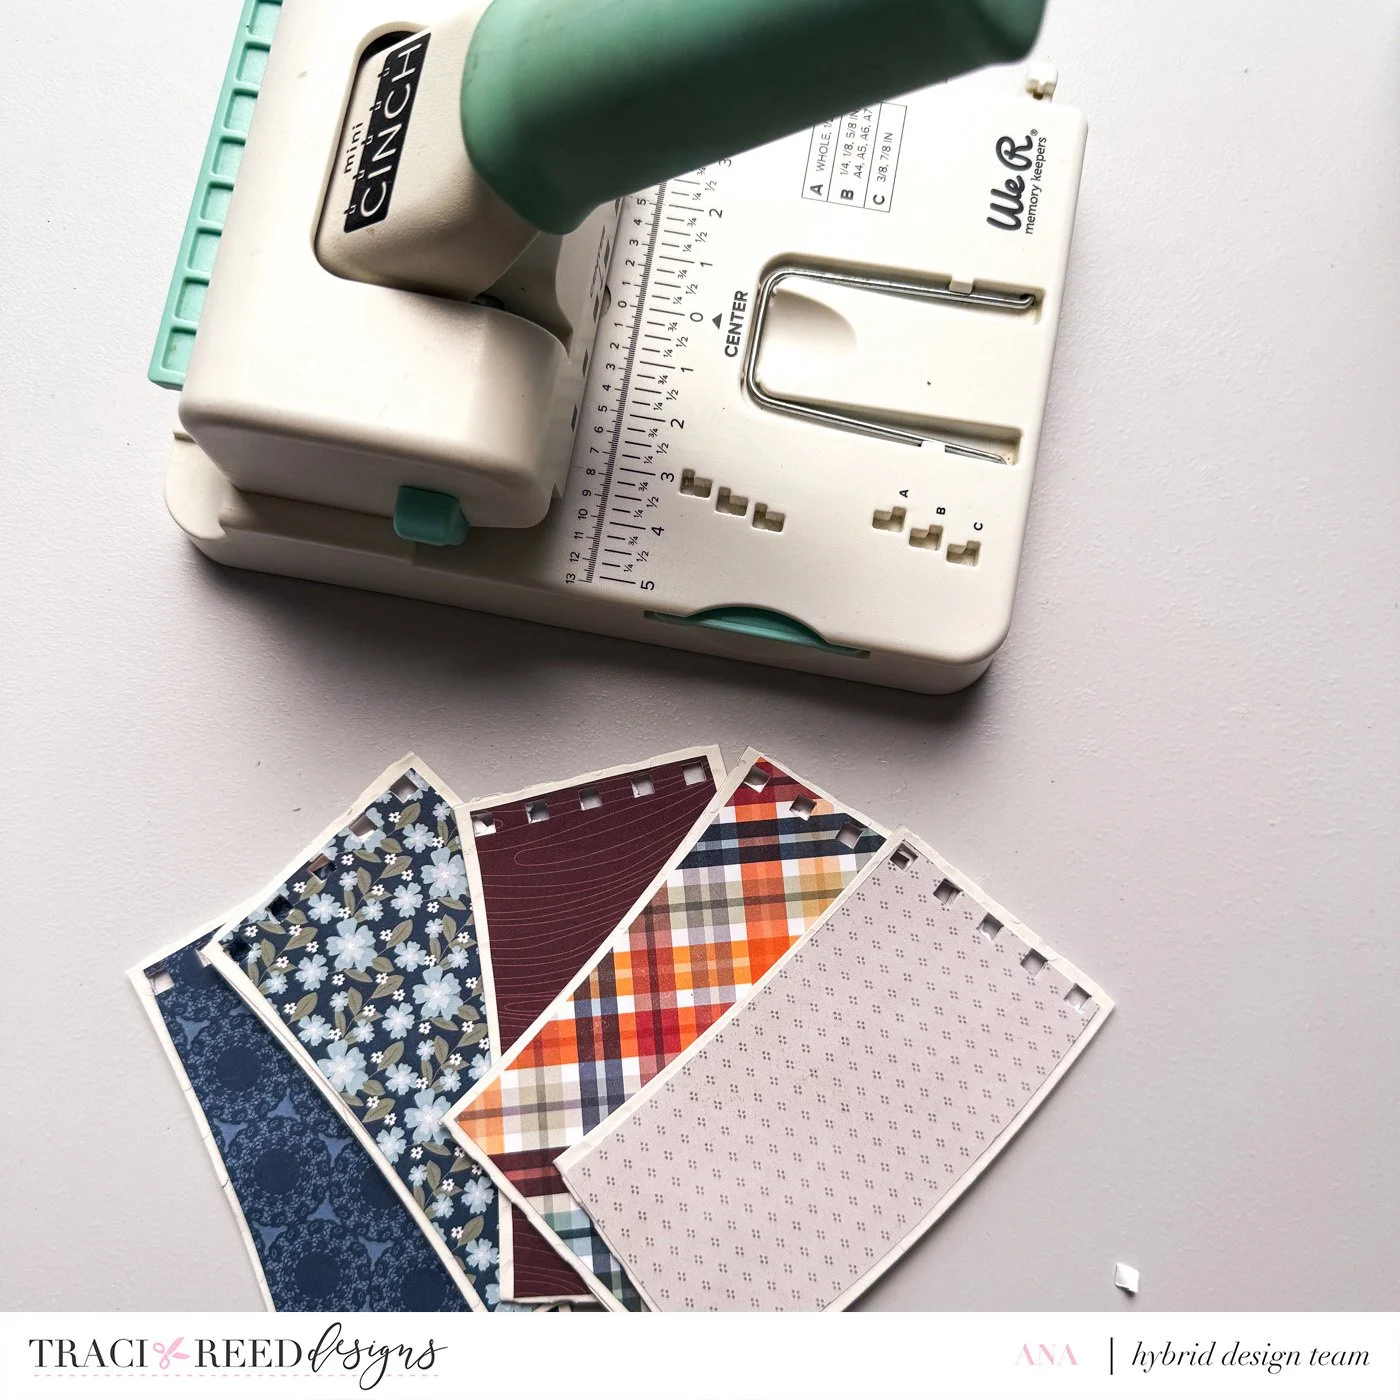
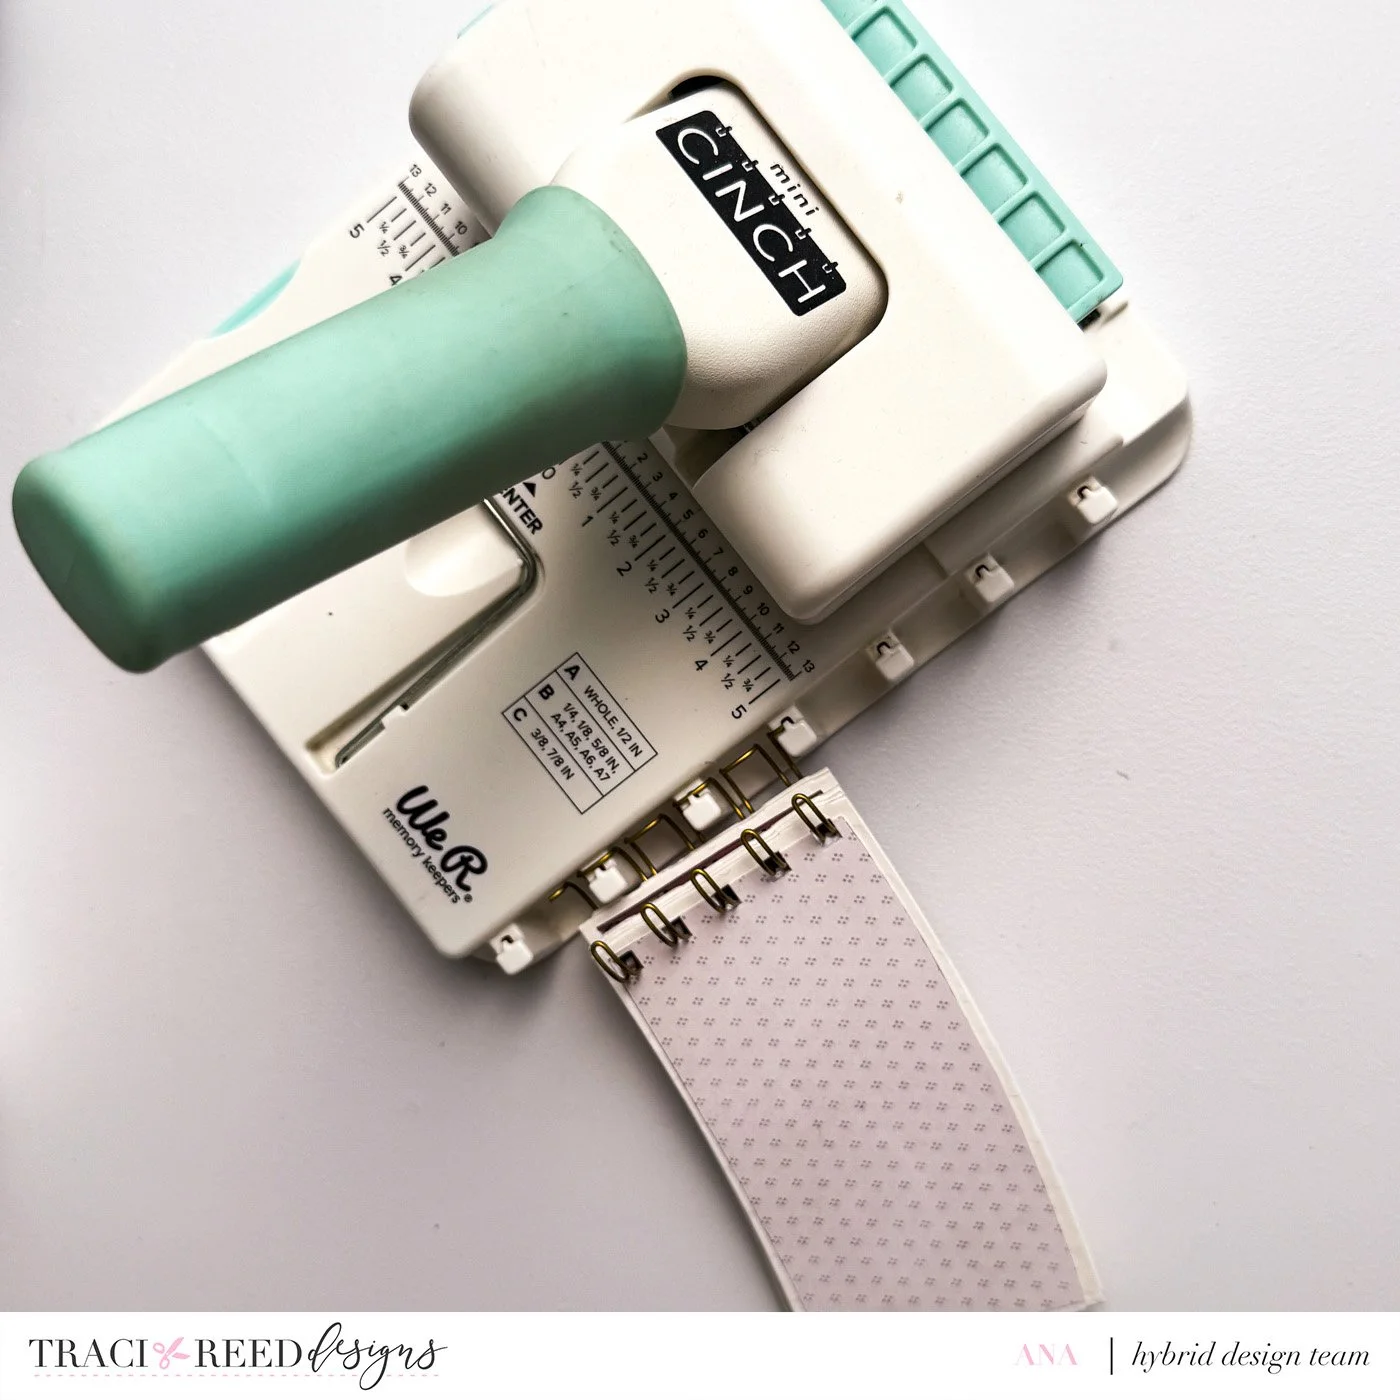
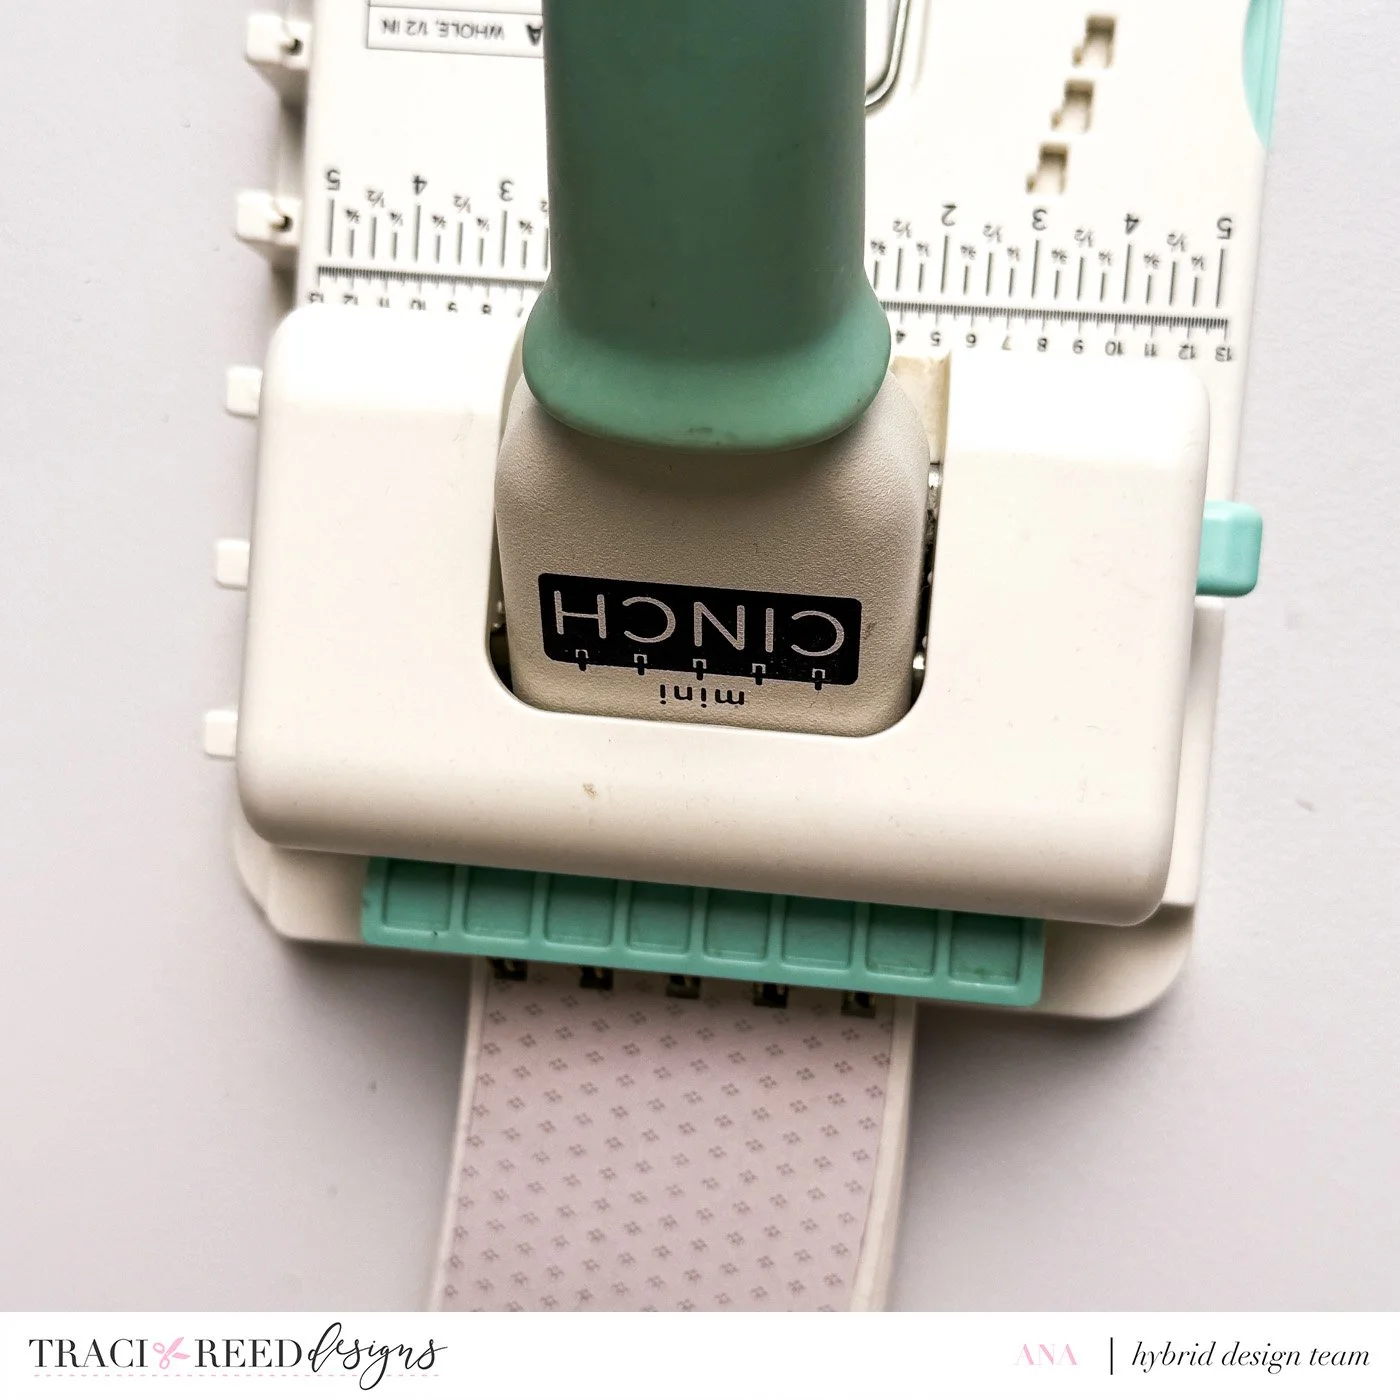
Punch binding holes using a Mini Cinch or your favorite binding tool, then bind everything together with binding wire. No binding machine? No problem! A simple hole punch with string, ribbon, or binding rings works just as well.
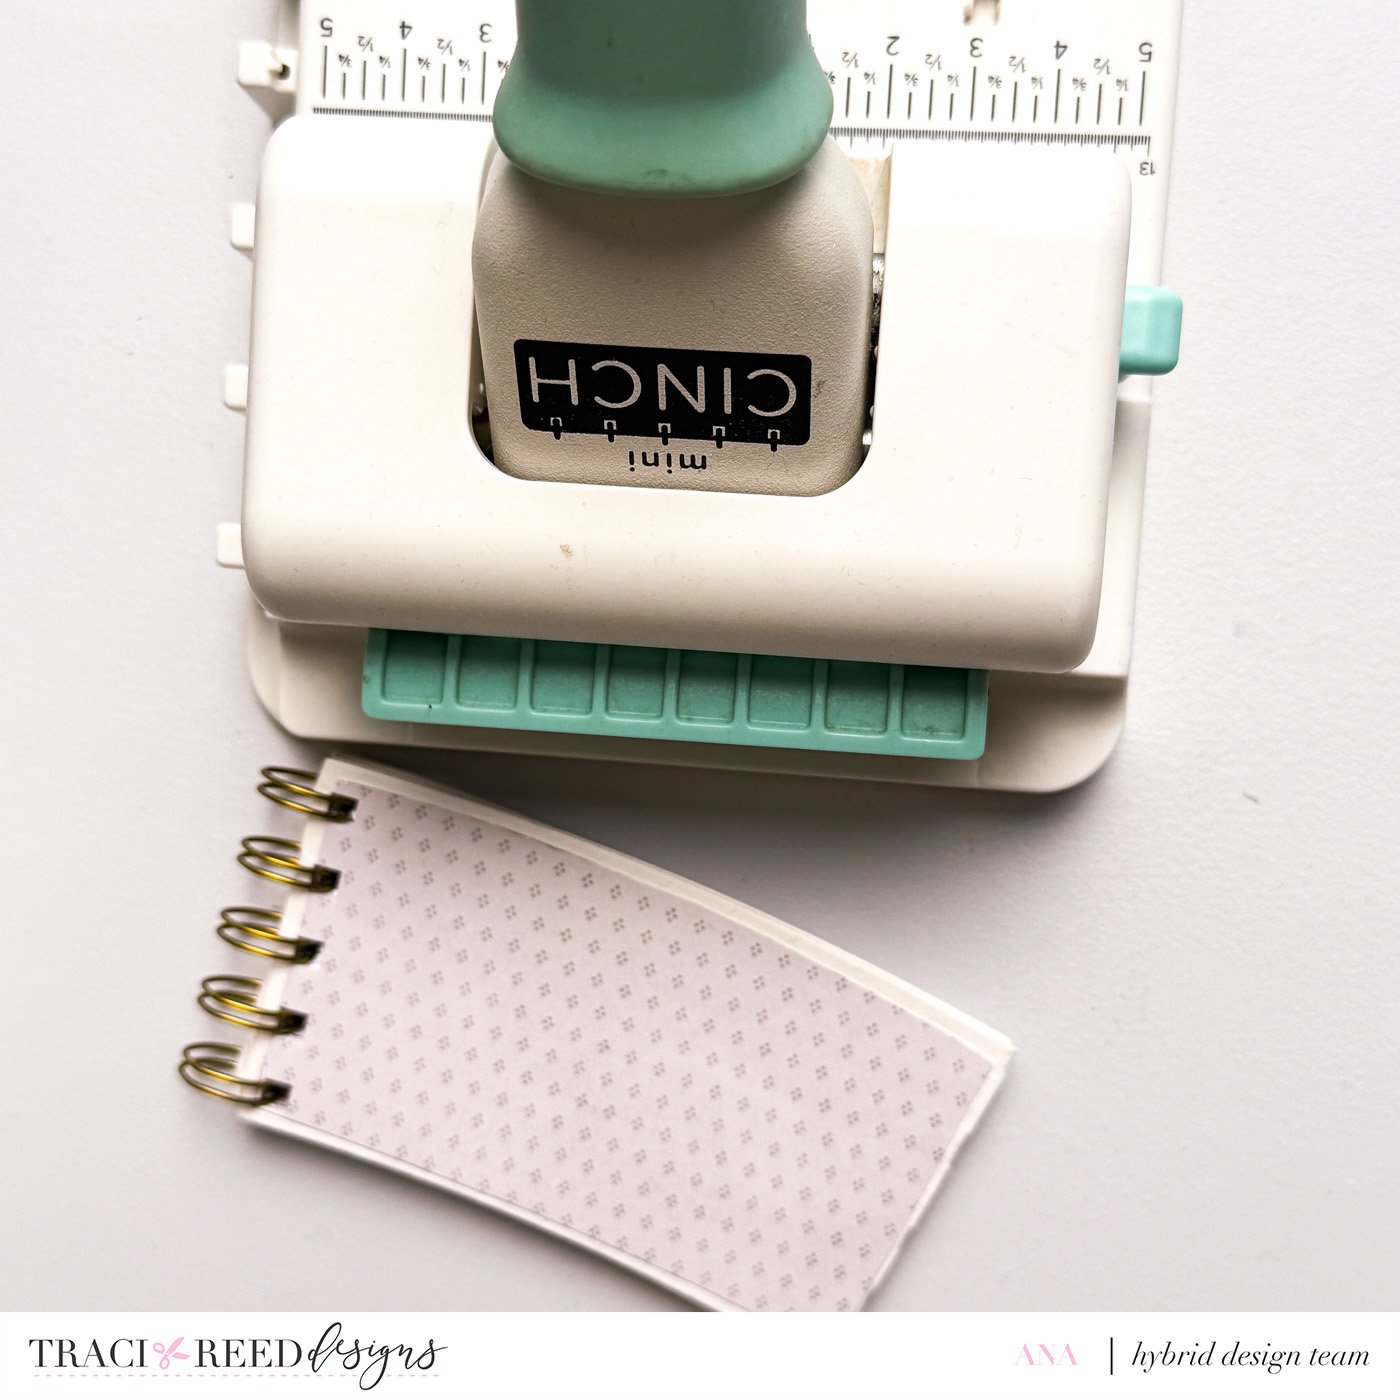
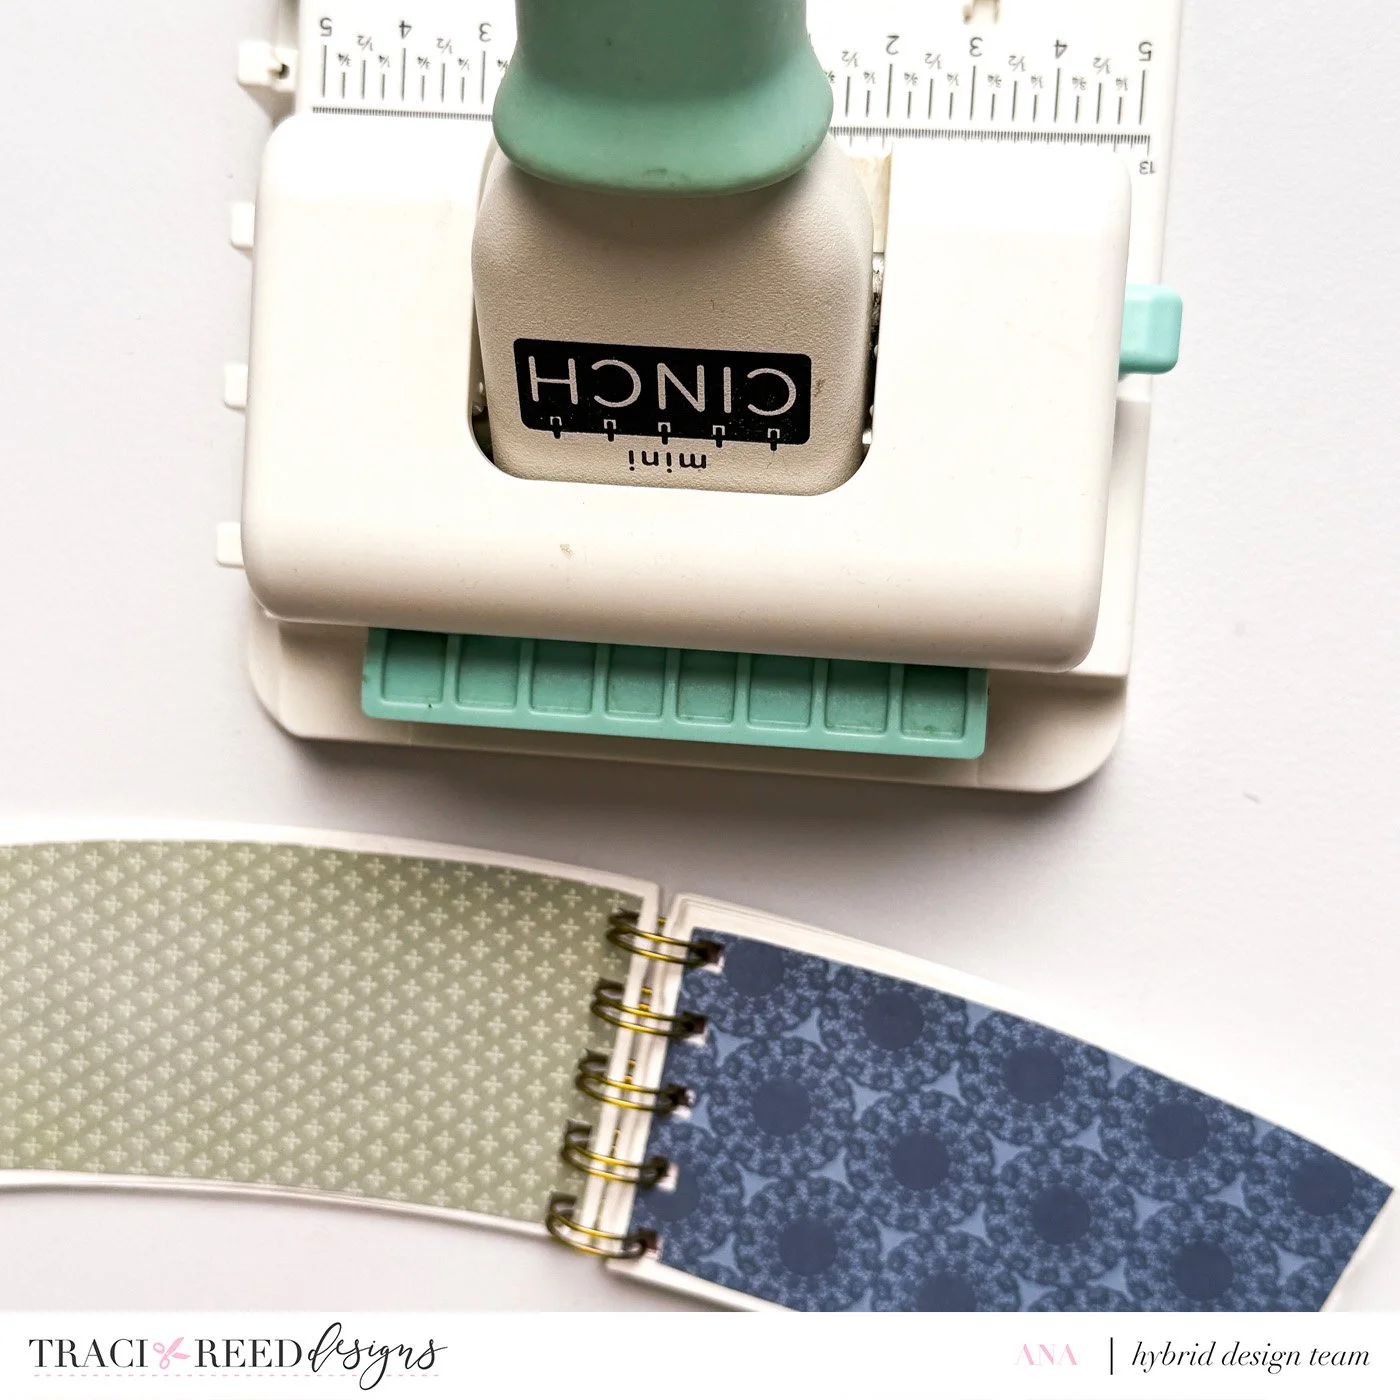
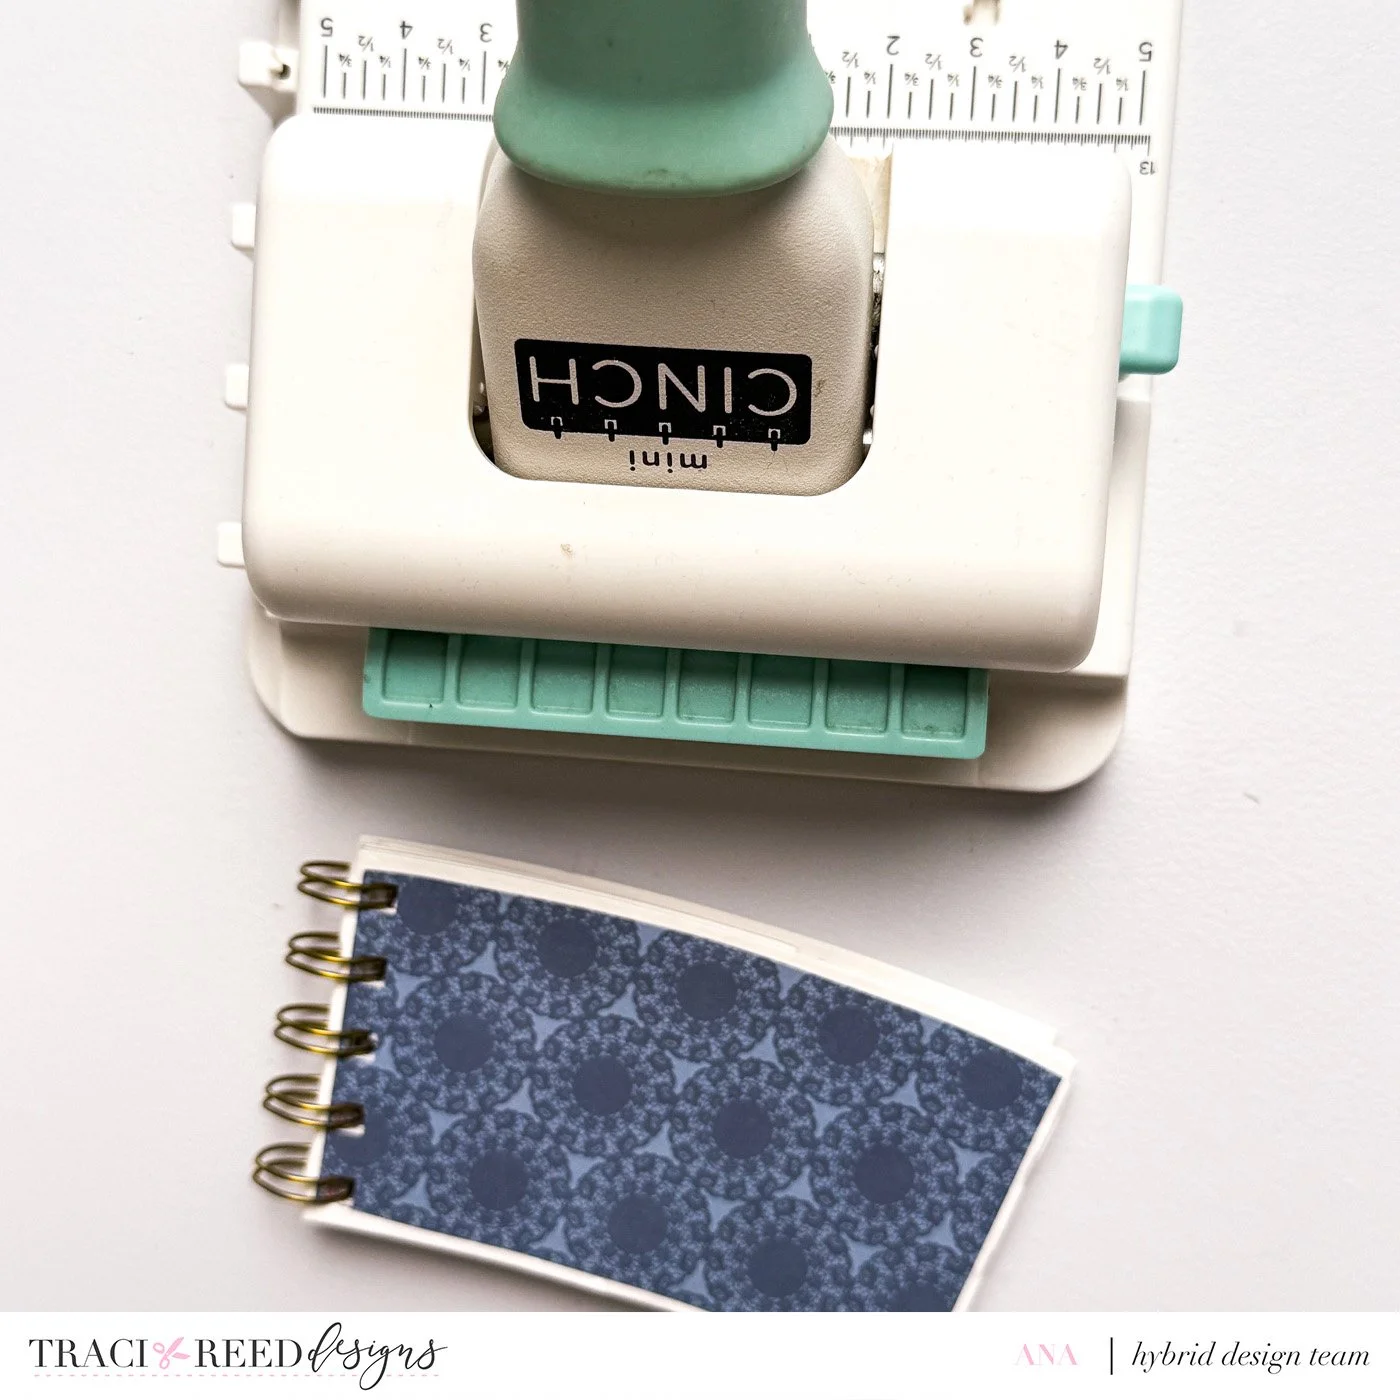
Now for the best part, decorating!
Slide journaling cards into each pocket.
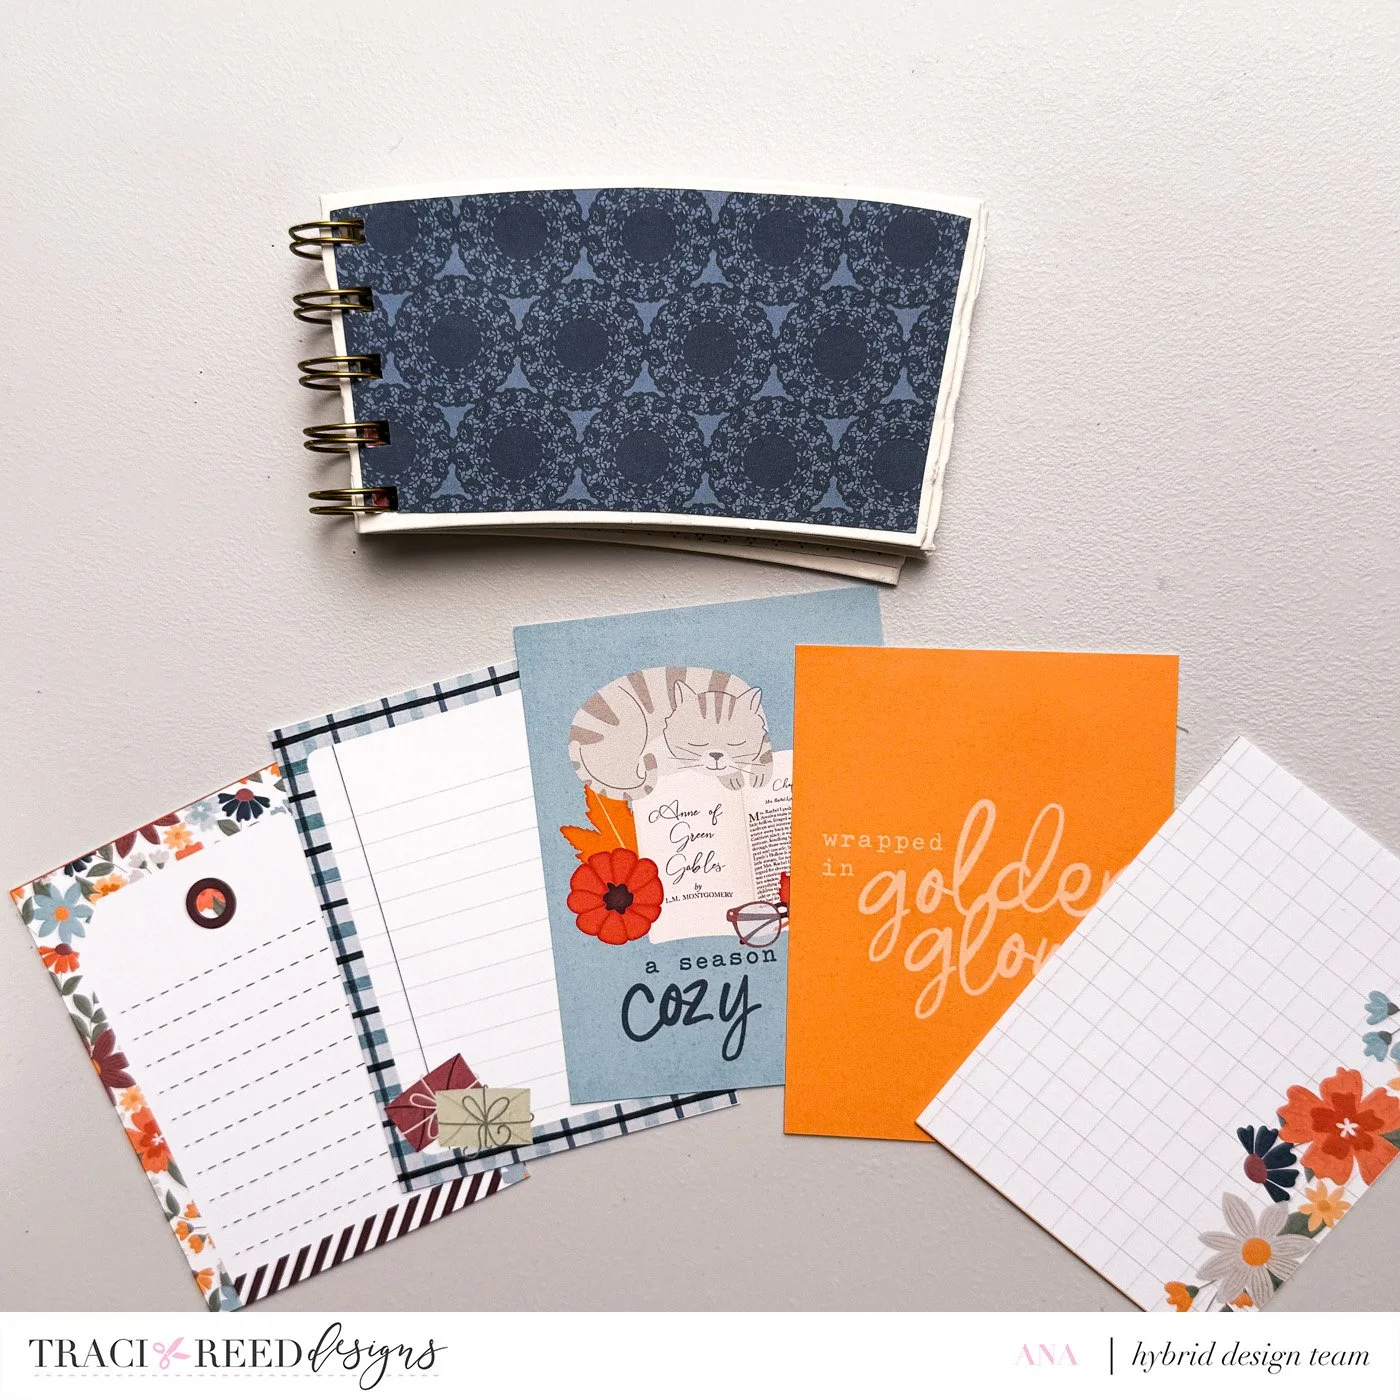
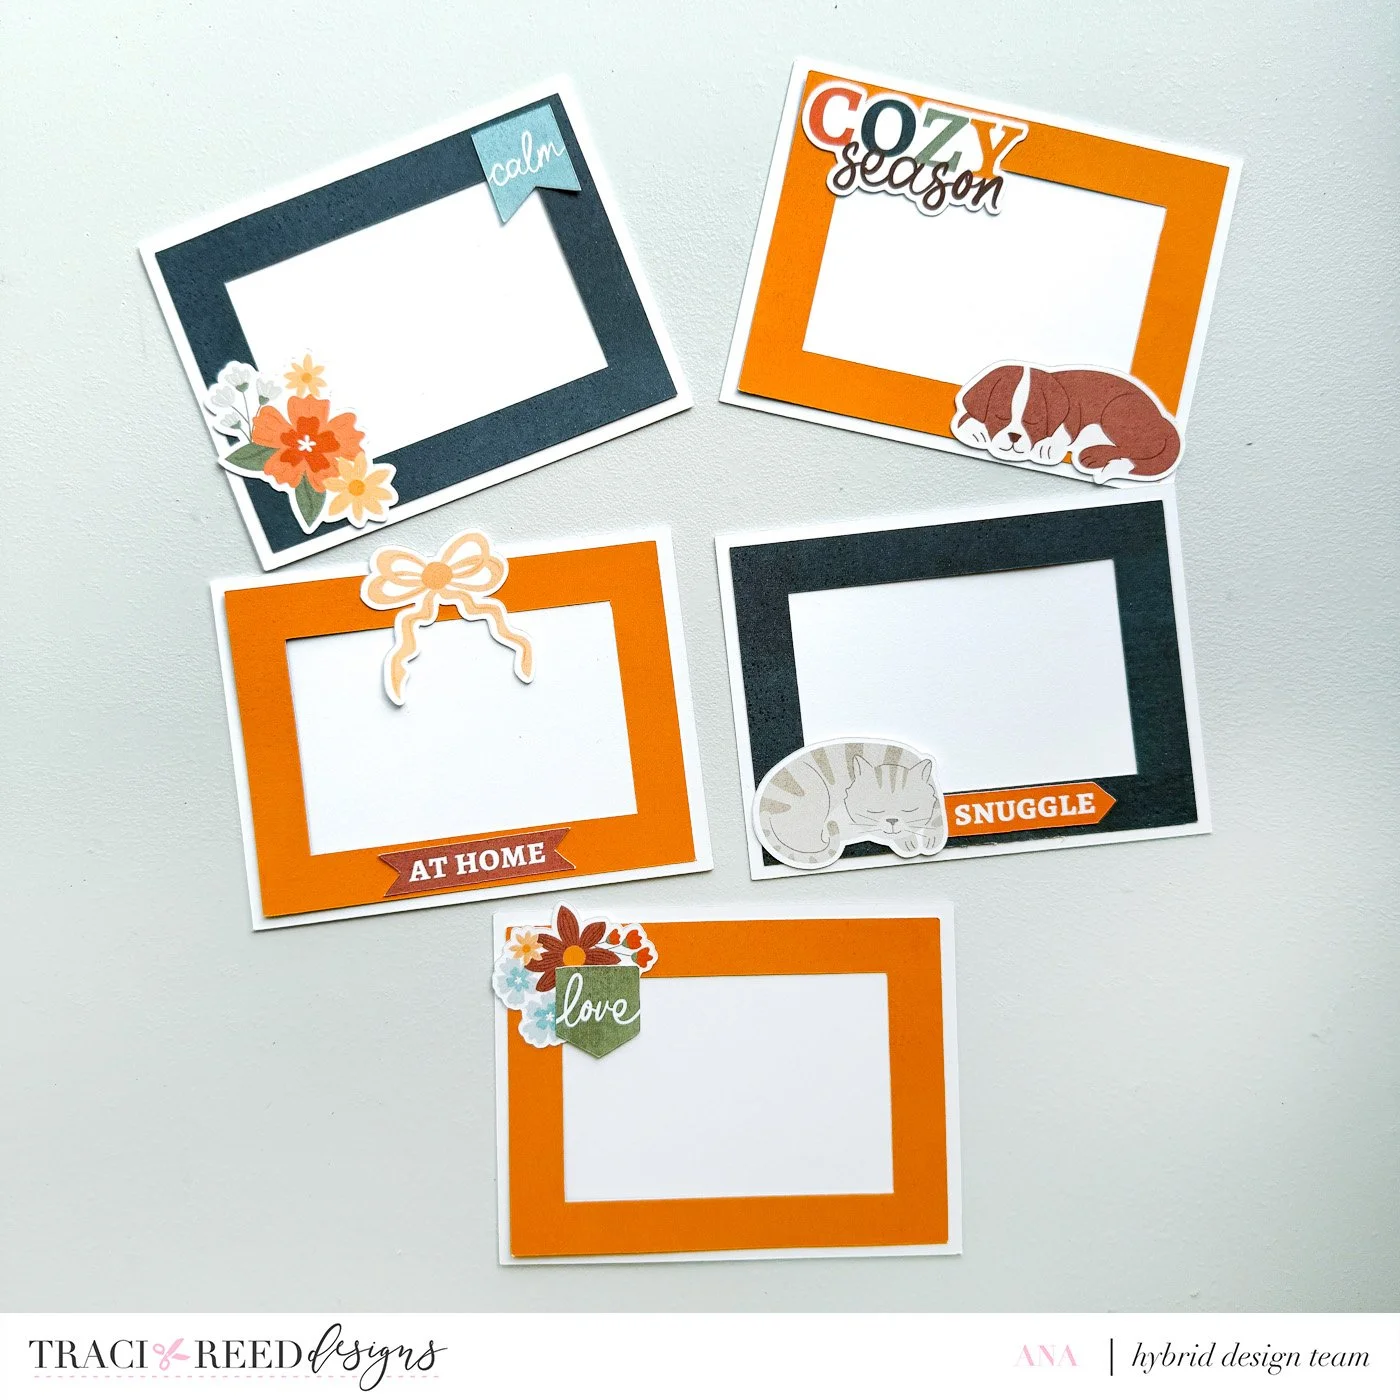
Create simple photo frames just like I use in my other mini albums. I cut a 3 × 4-inch opening with a ½-inch frame, then adhere it to one side of a 3¼ × 4¼-inch piece of white cardstock. This creates an easy little frame where photos can simply slide in. Decorate the frames with die cuts before placing them into the pockets.
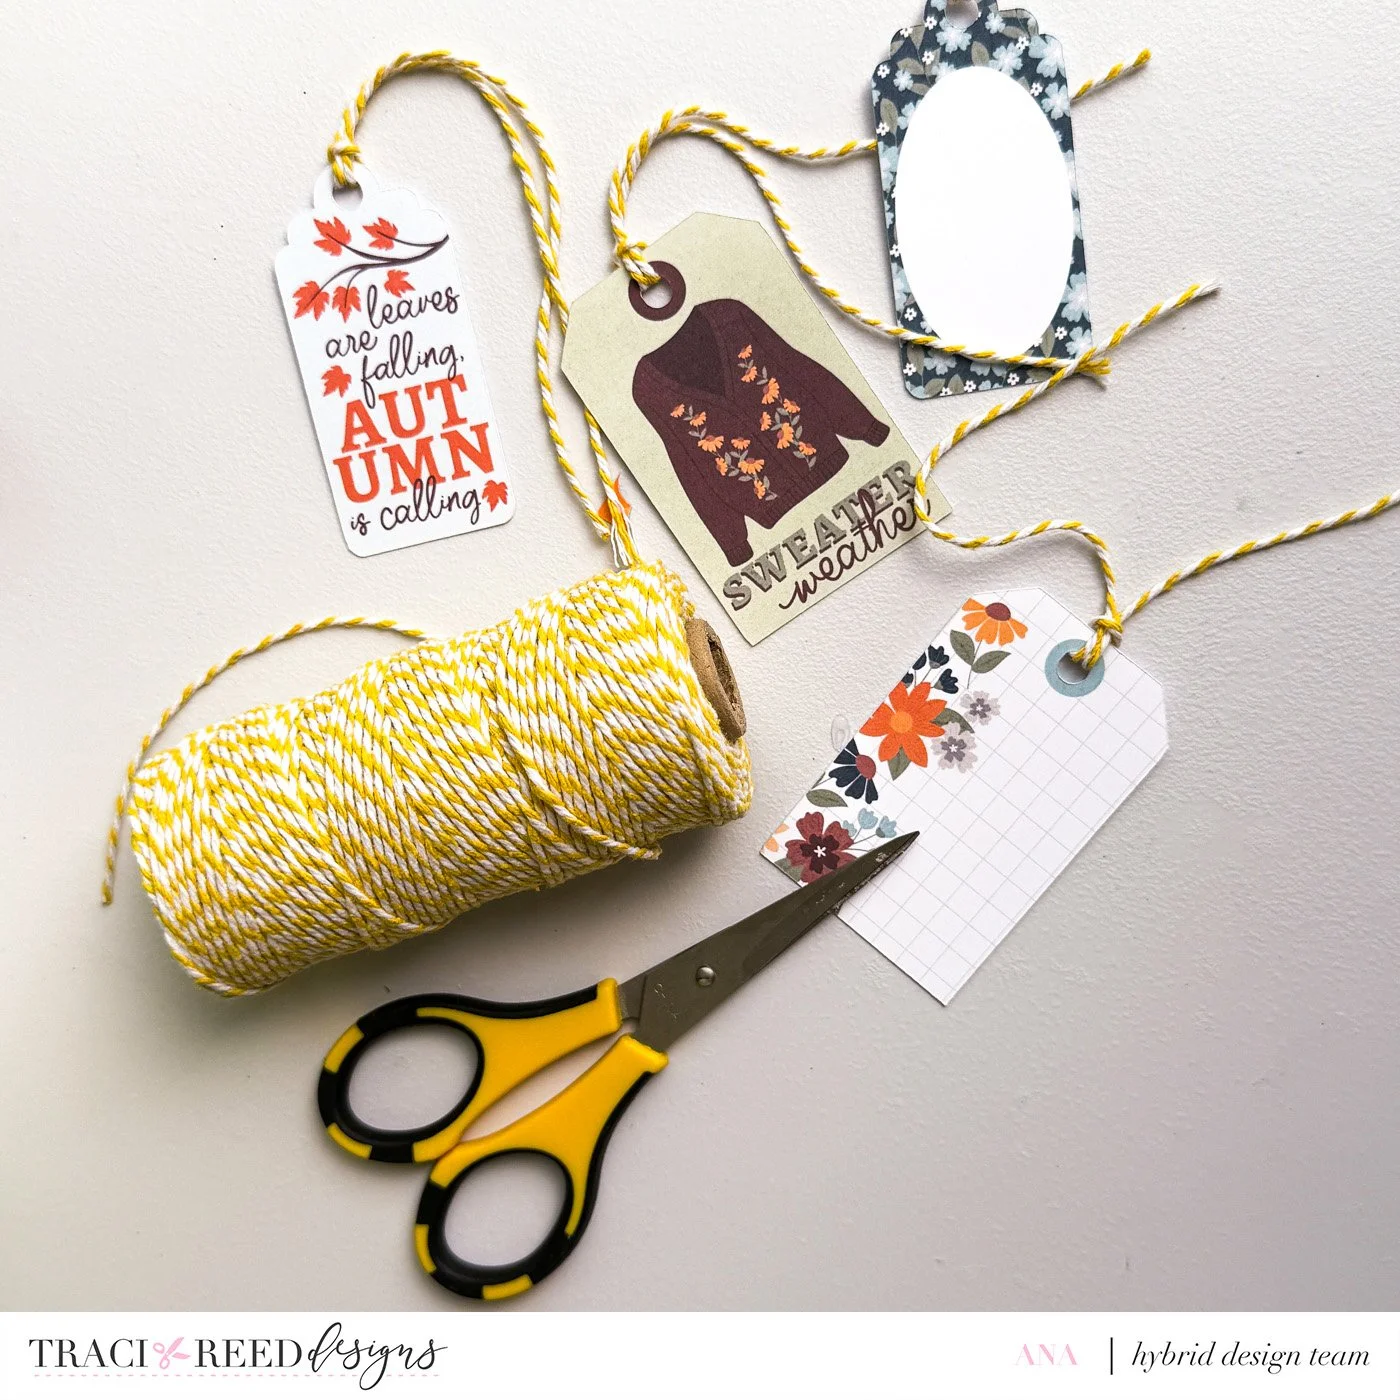
Add string to the die-cut tags and tuck those into the pockets too. This instantly makes each pocket feel full, interactive, and fun, which is exactly why I love them so much!
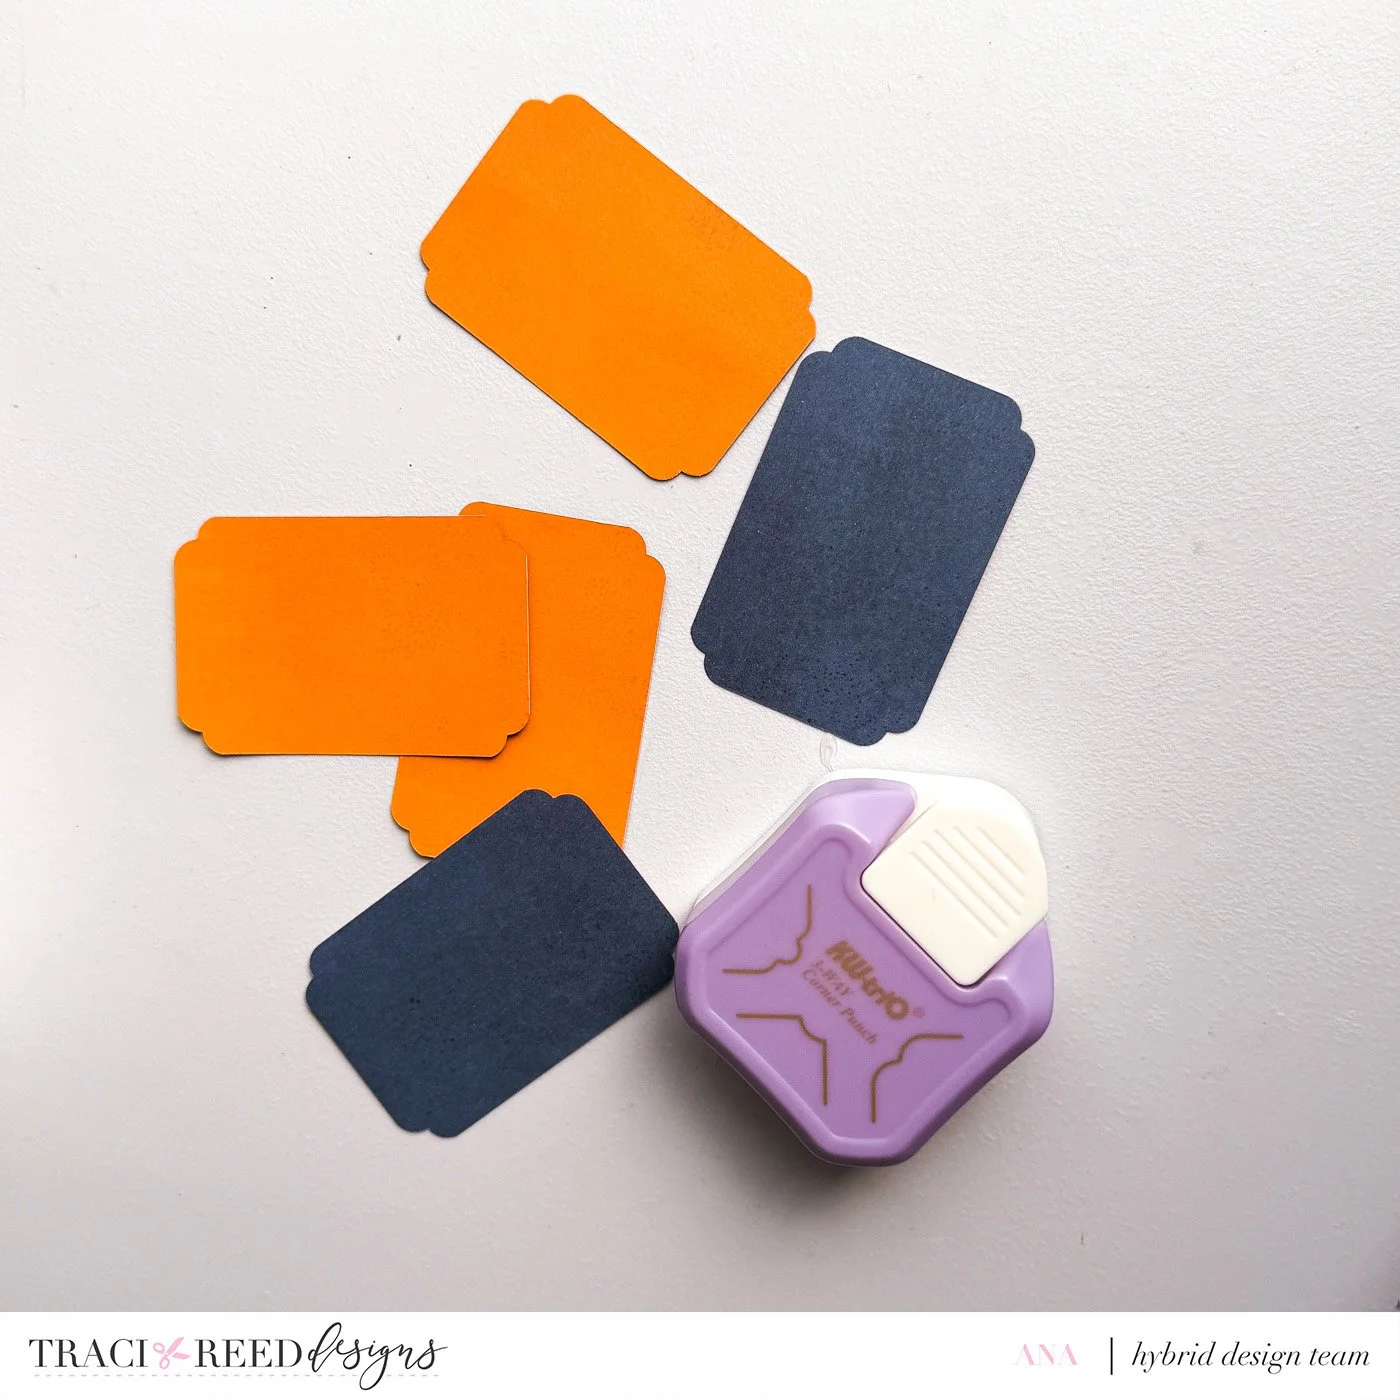
Don't throw away the inside rectangles from your photo frames! I like to round the corners with a corner punch and use them as little journaling cards or photo mats.
Decorate the album pages with die cuts. If you'd like to tuck the cards from Step 12 behind your embellishments, simply add glue only along one side or the bottom of a die cut to create an adorable little tuck spot.
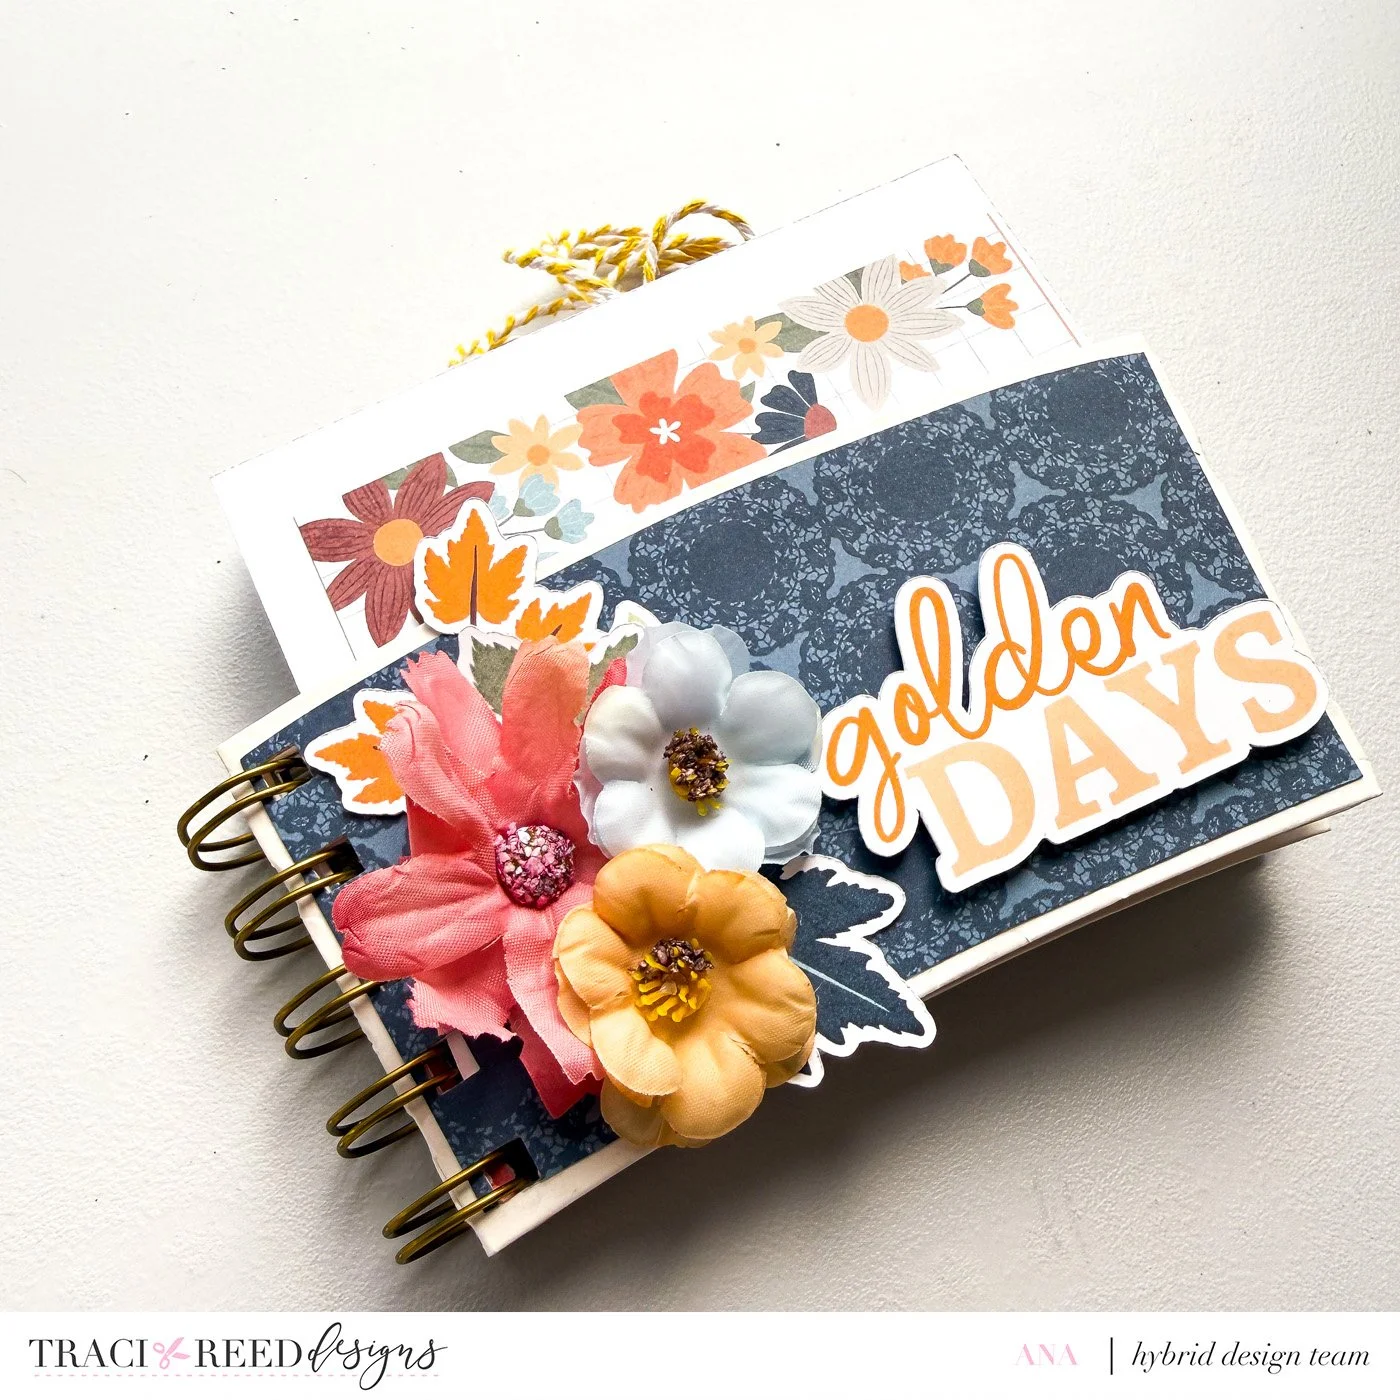
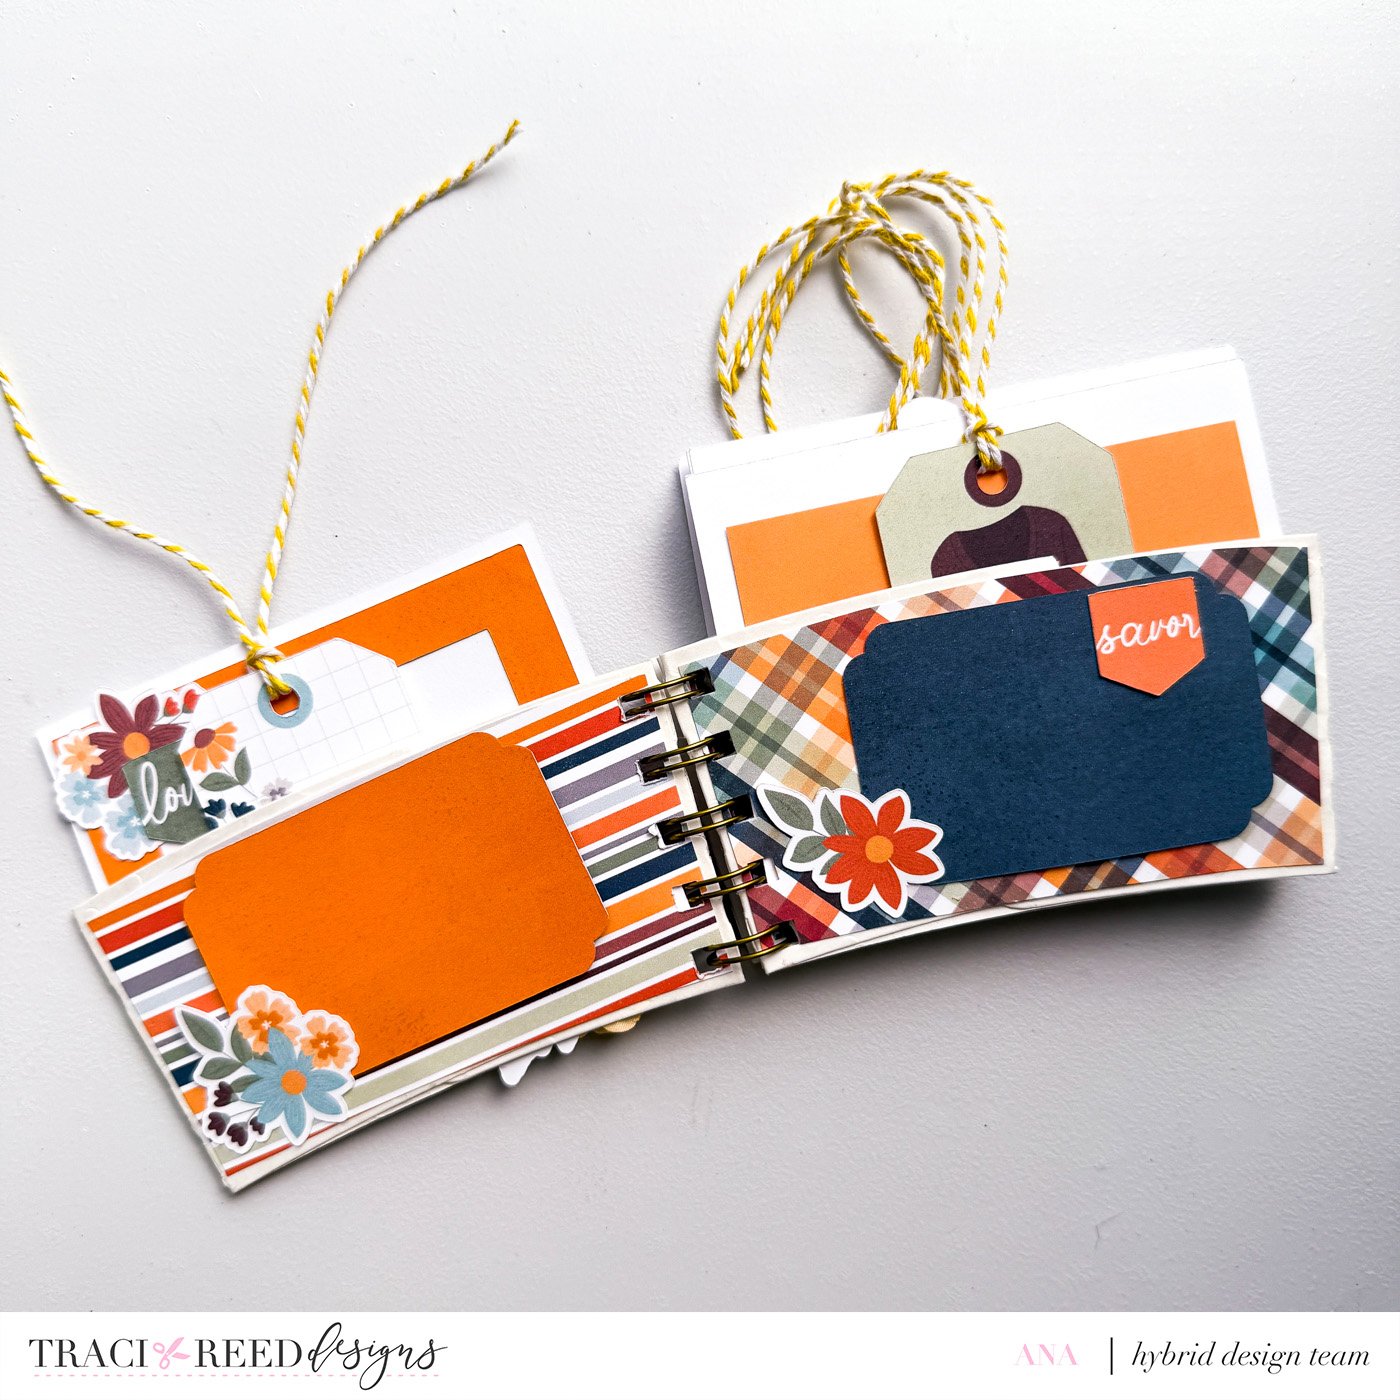
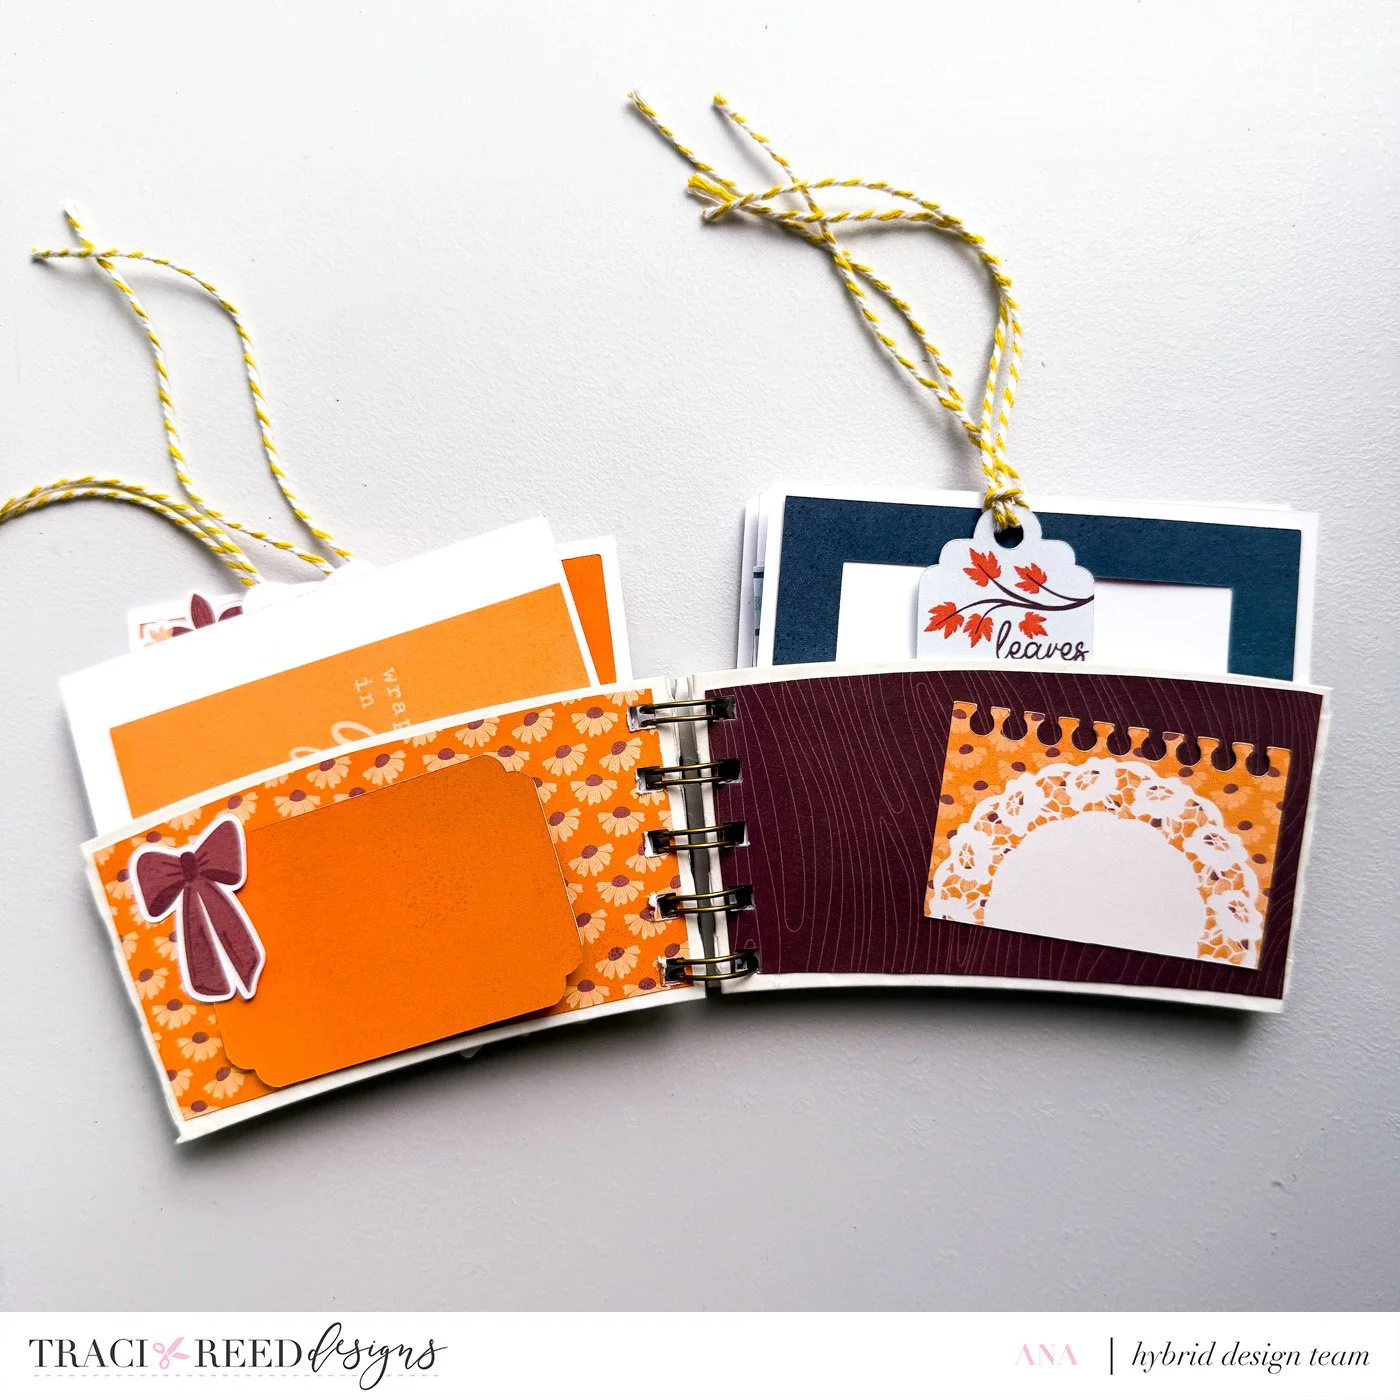
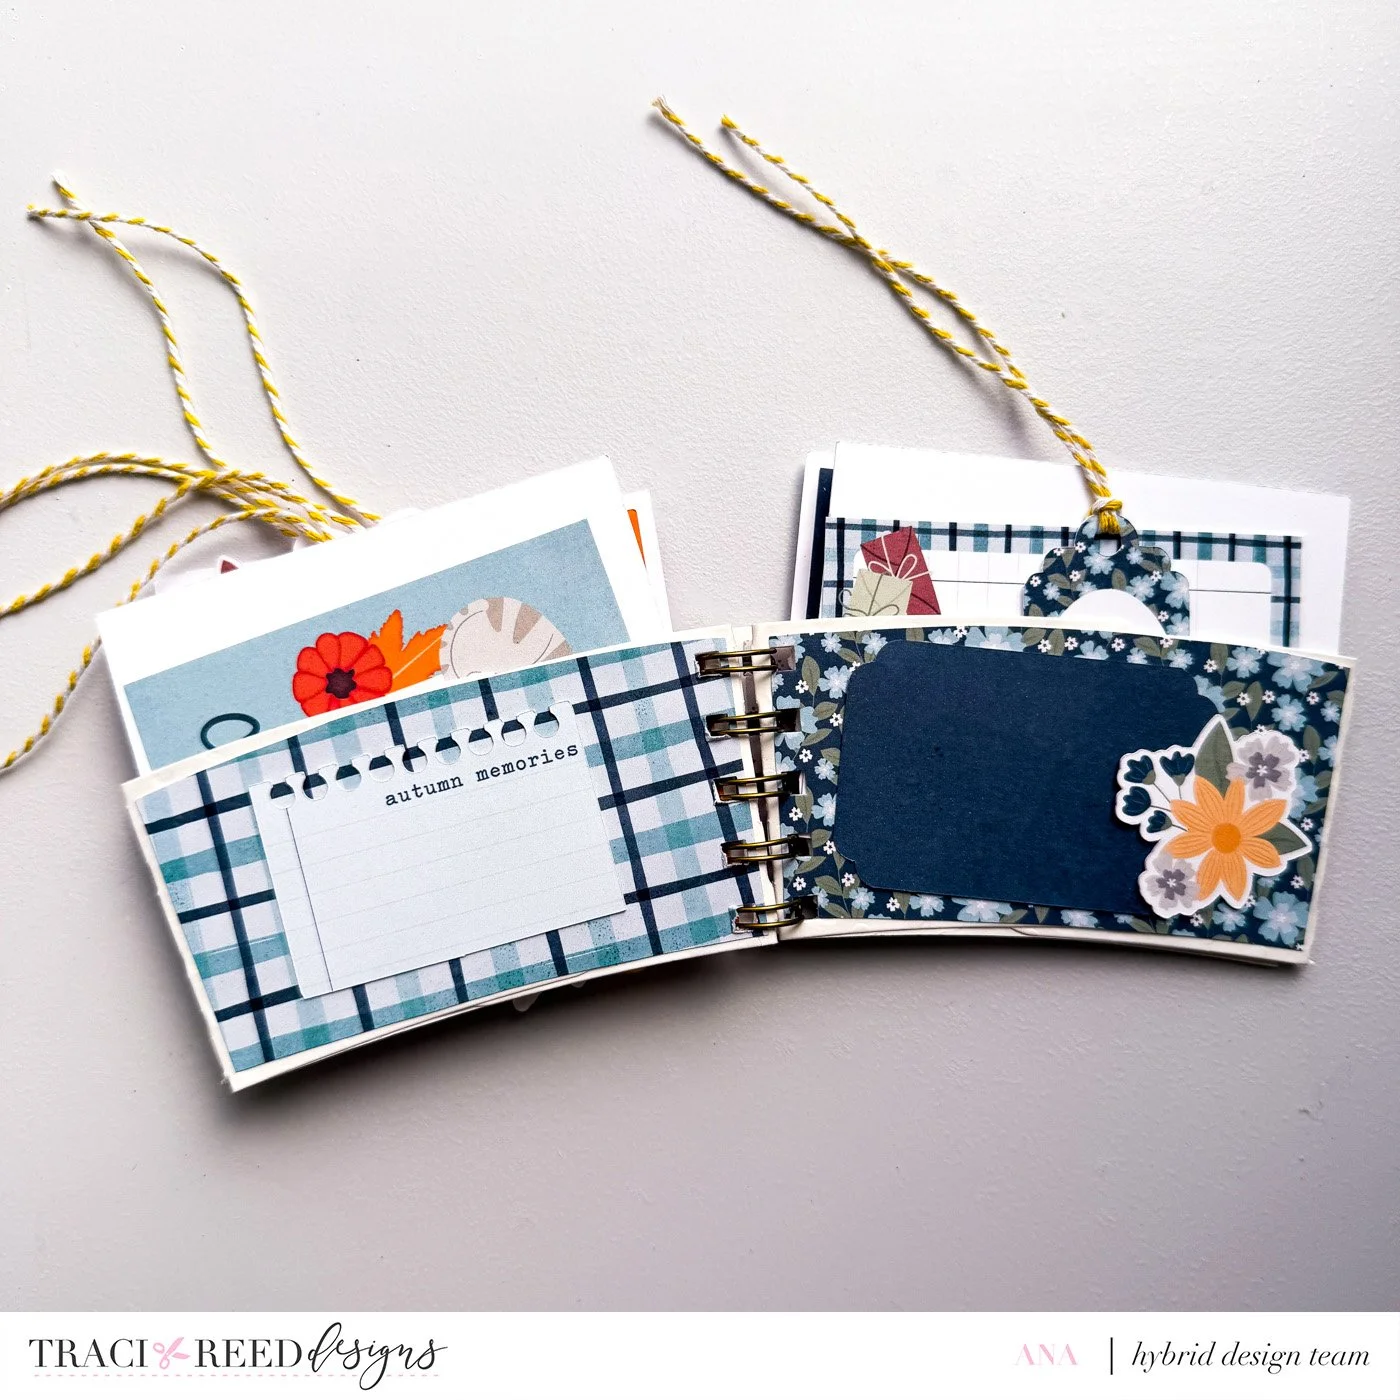
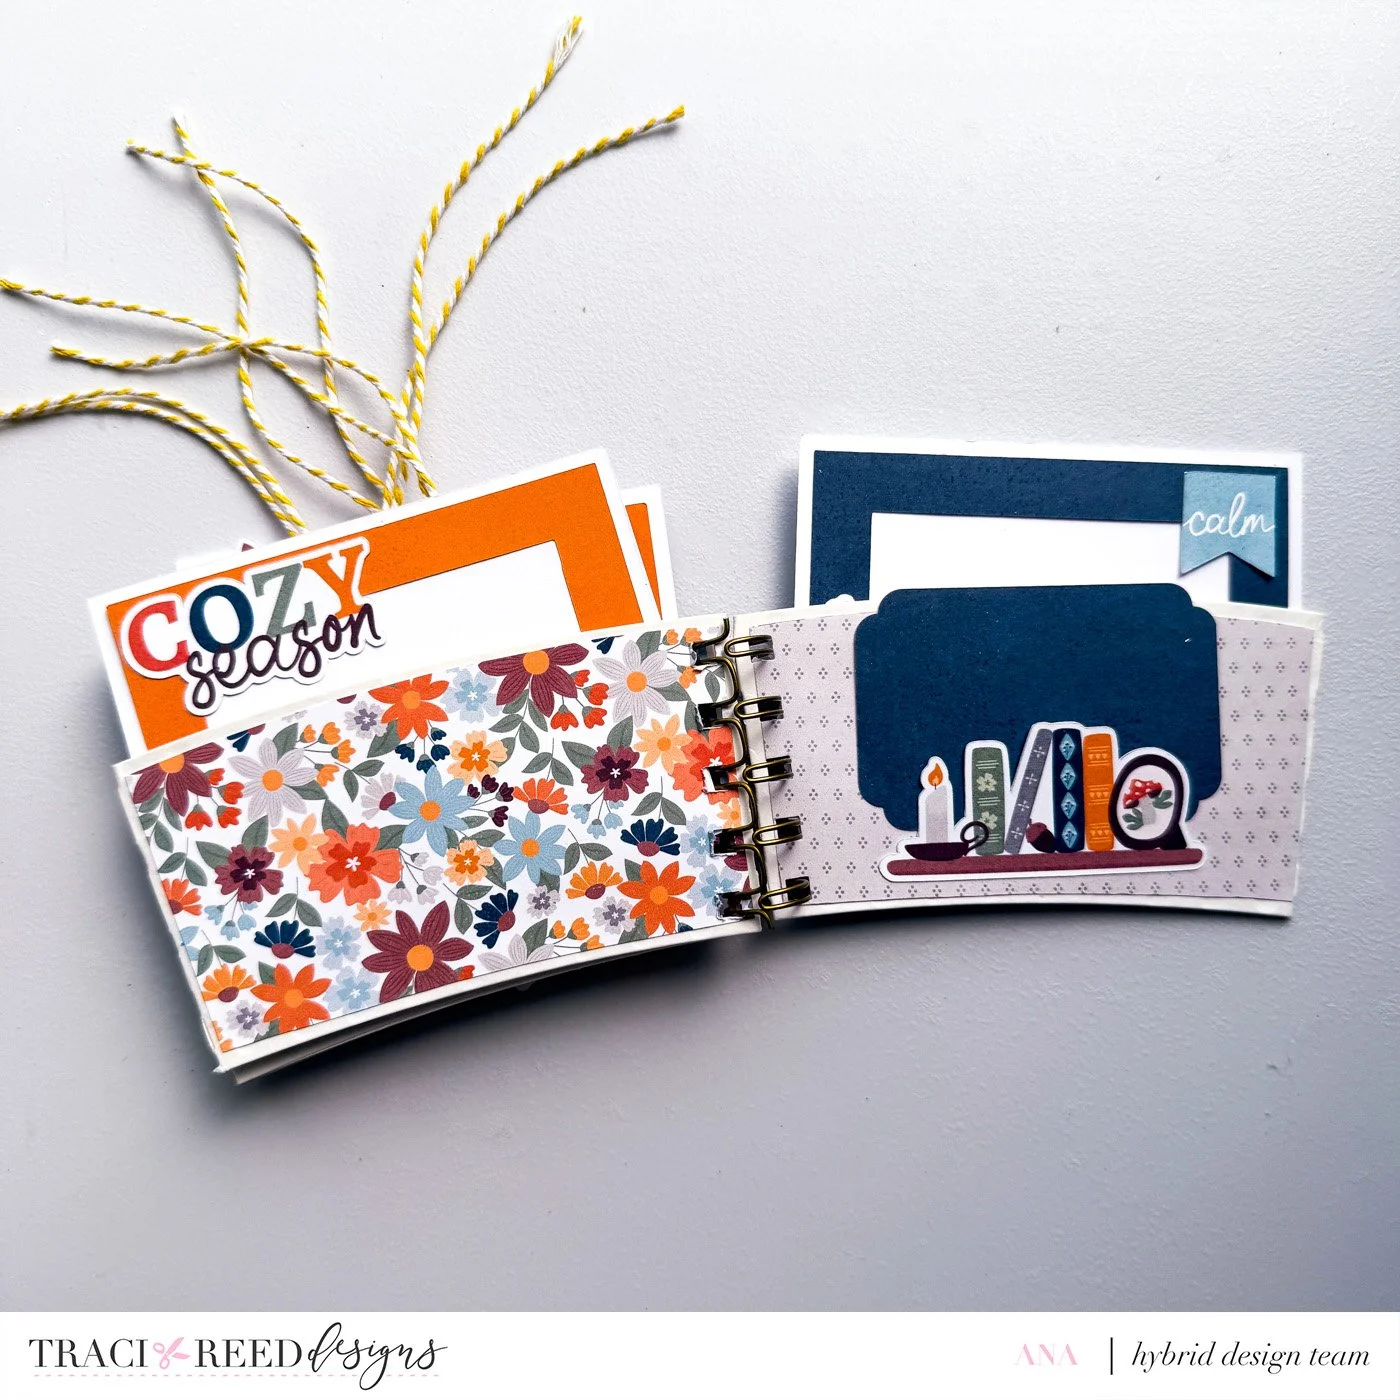
Finish by decorating the cover. I added some dimensional flowers, tucked in a few leafy die cuts from the collection, and completed everything with the "Golden Days" sentiment, adhered with a foam tape.
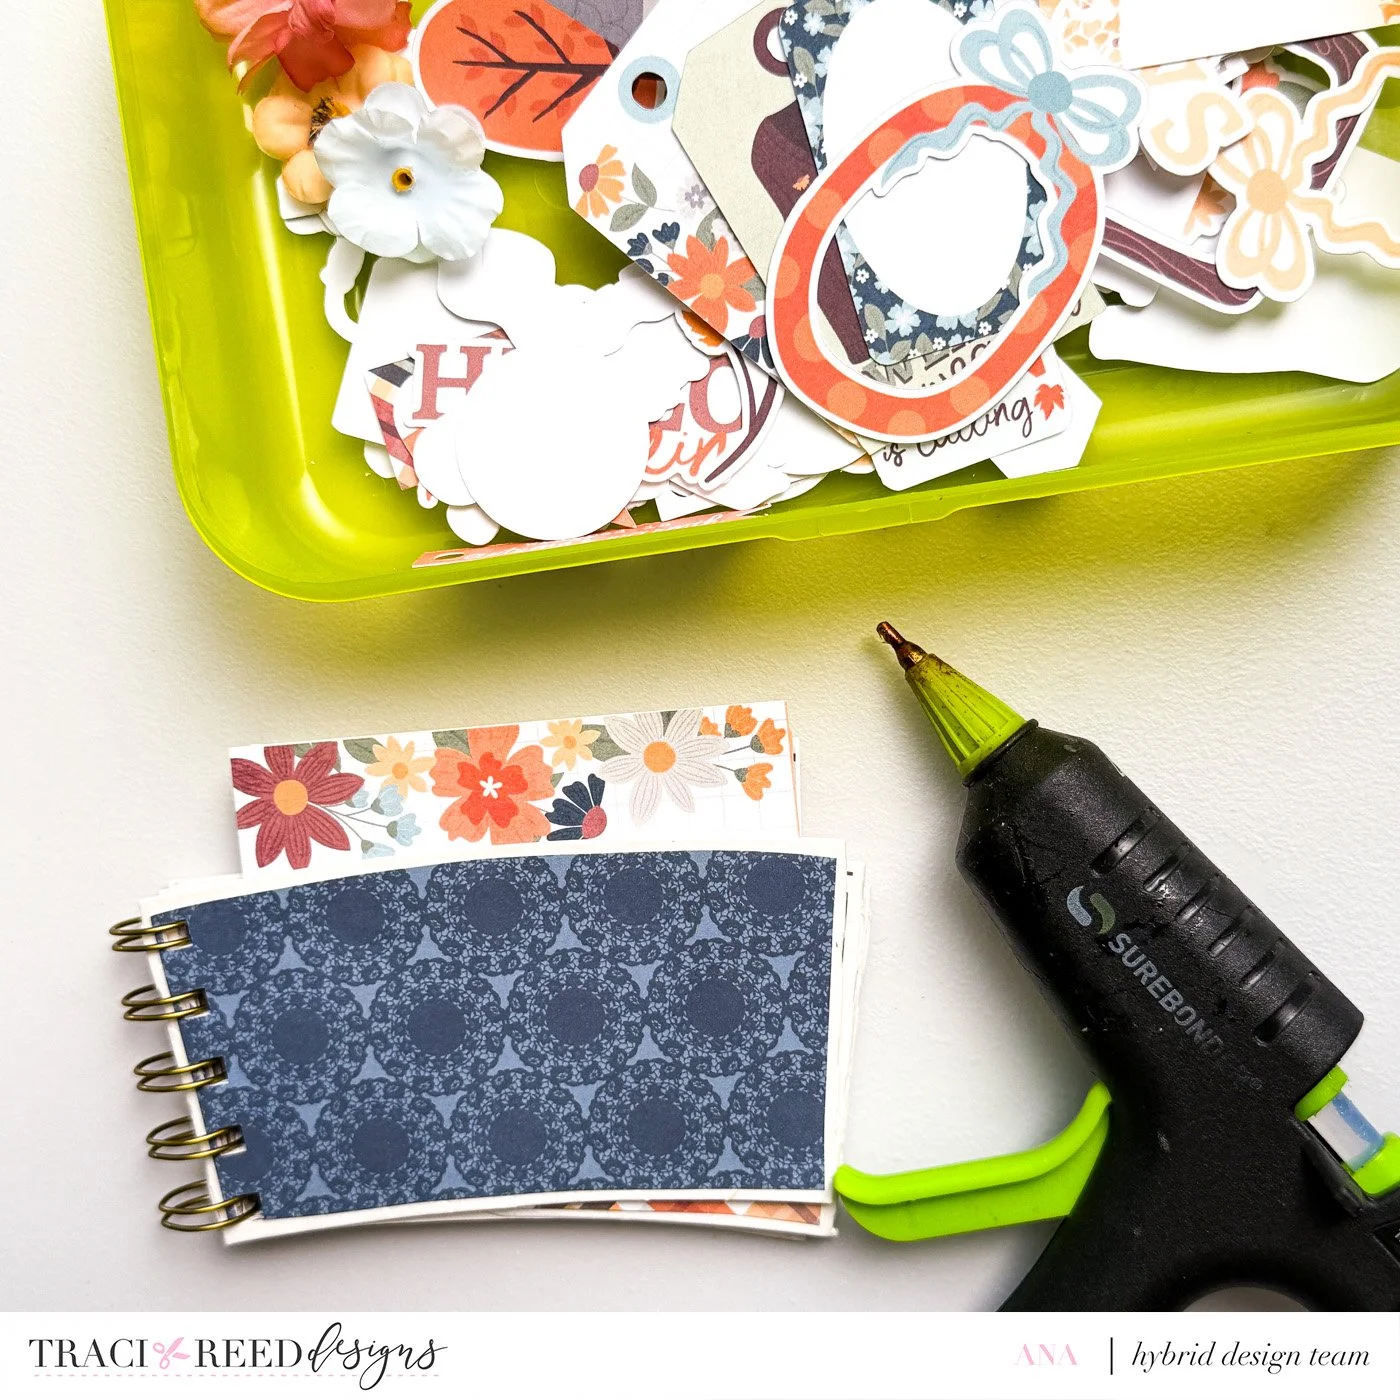
I hope this little project inspires you to dig through that stash of "I'll use this someday" treasures. You never know what they might become so take this project as a sign to make someday, today!
Happy crafting, and remember, the best supplies are the ones we almost threw away.
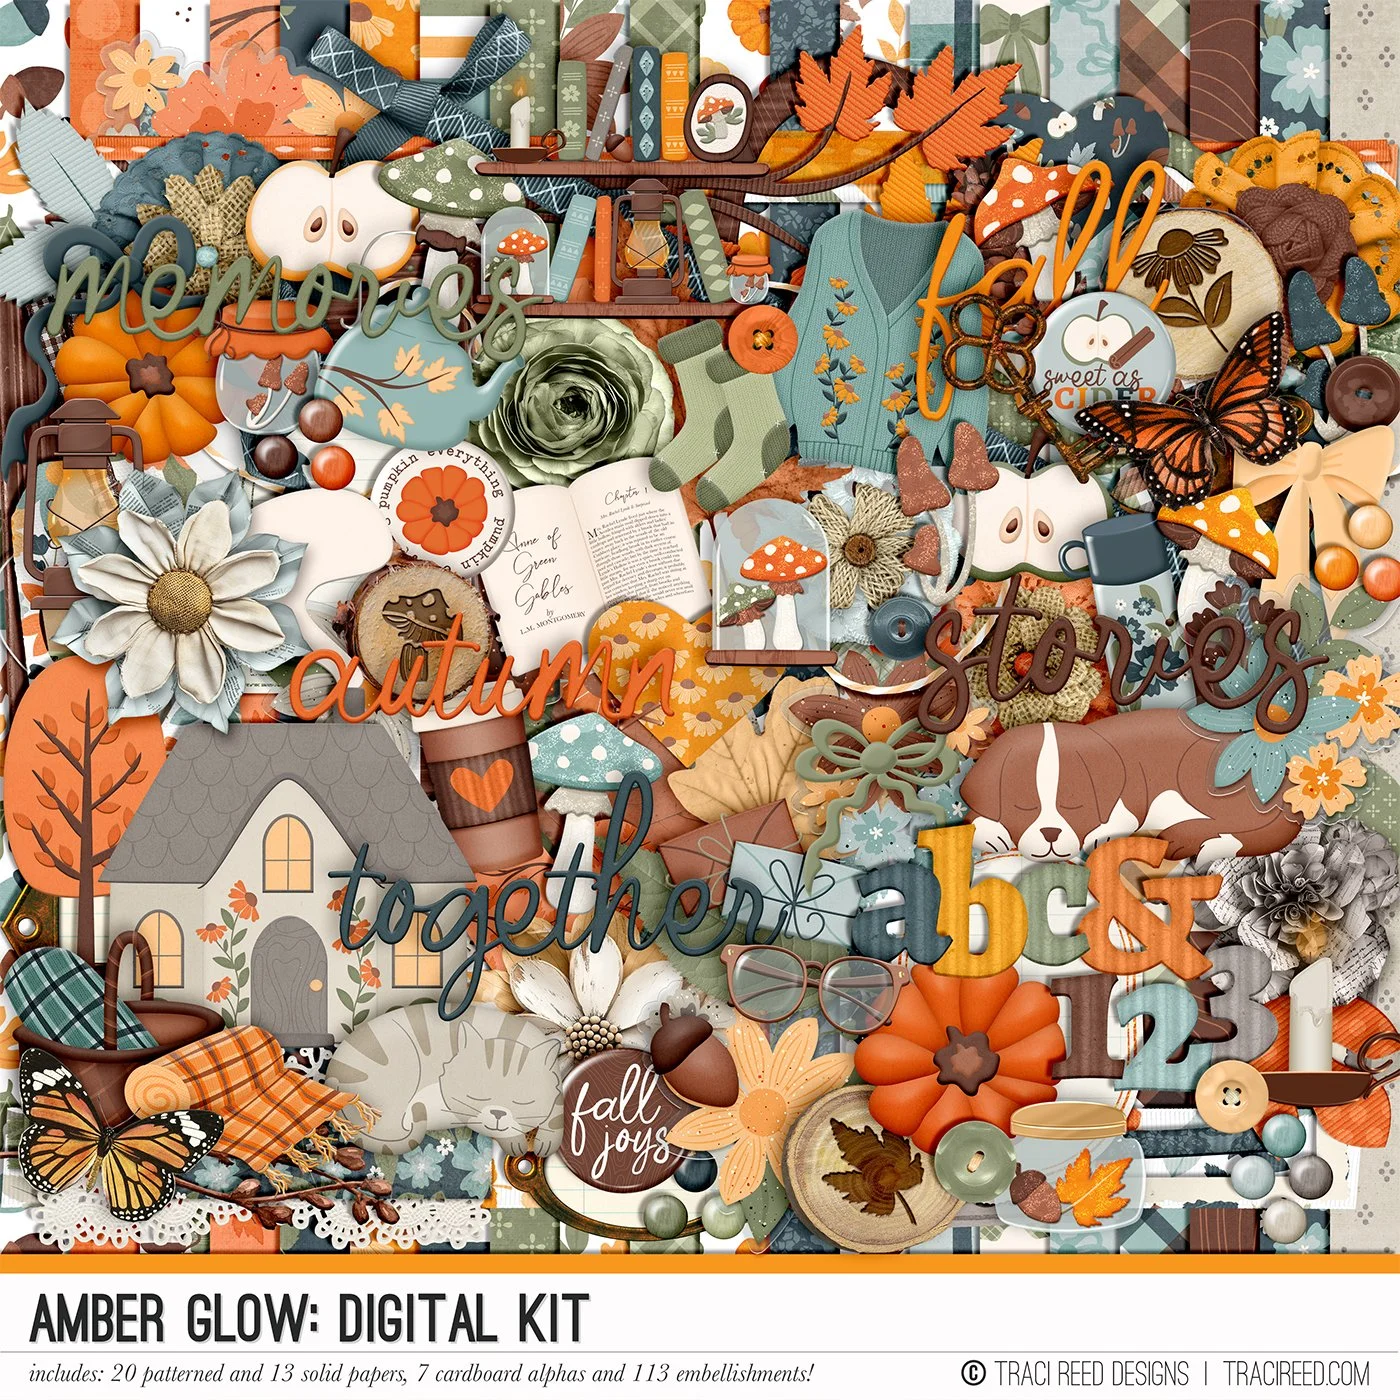
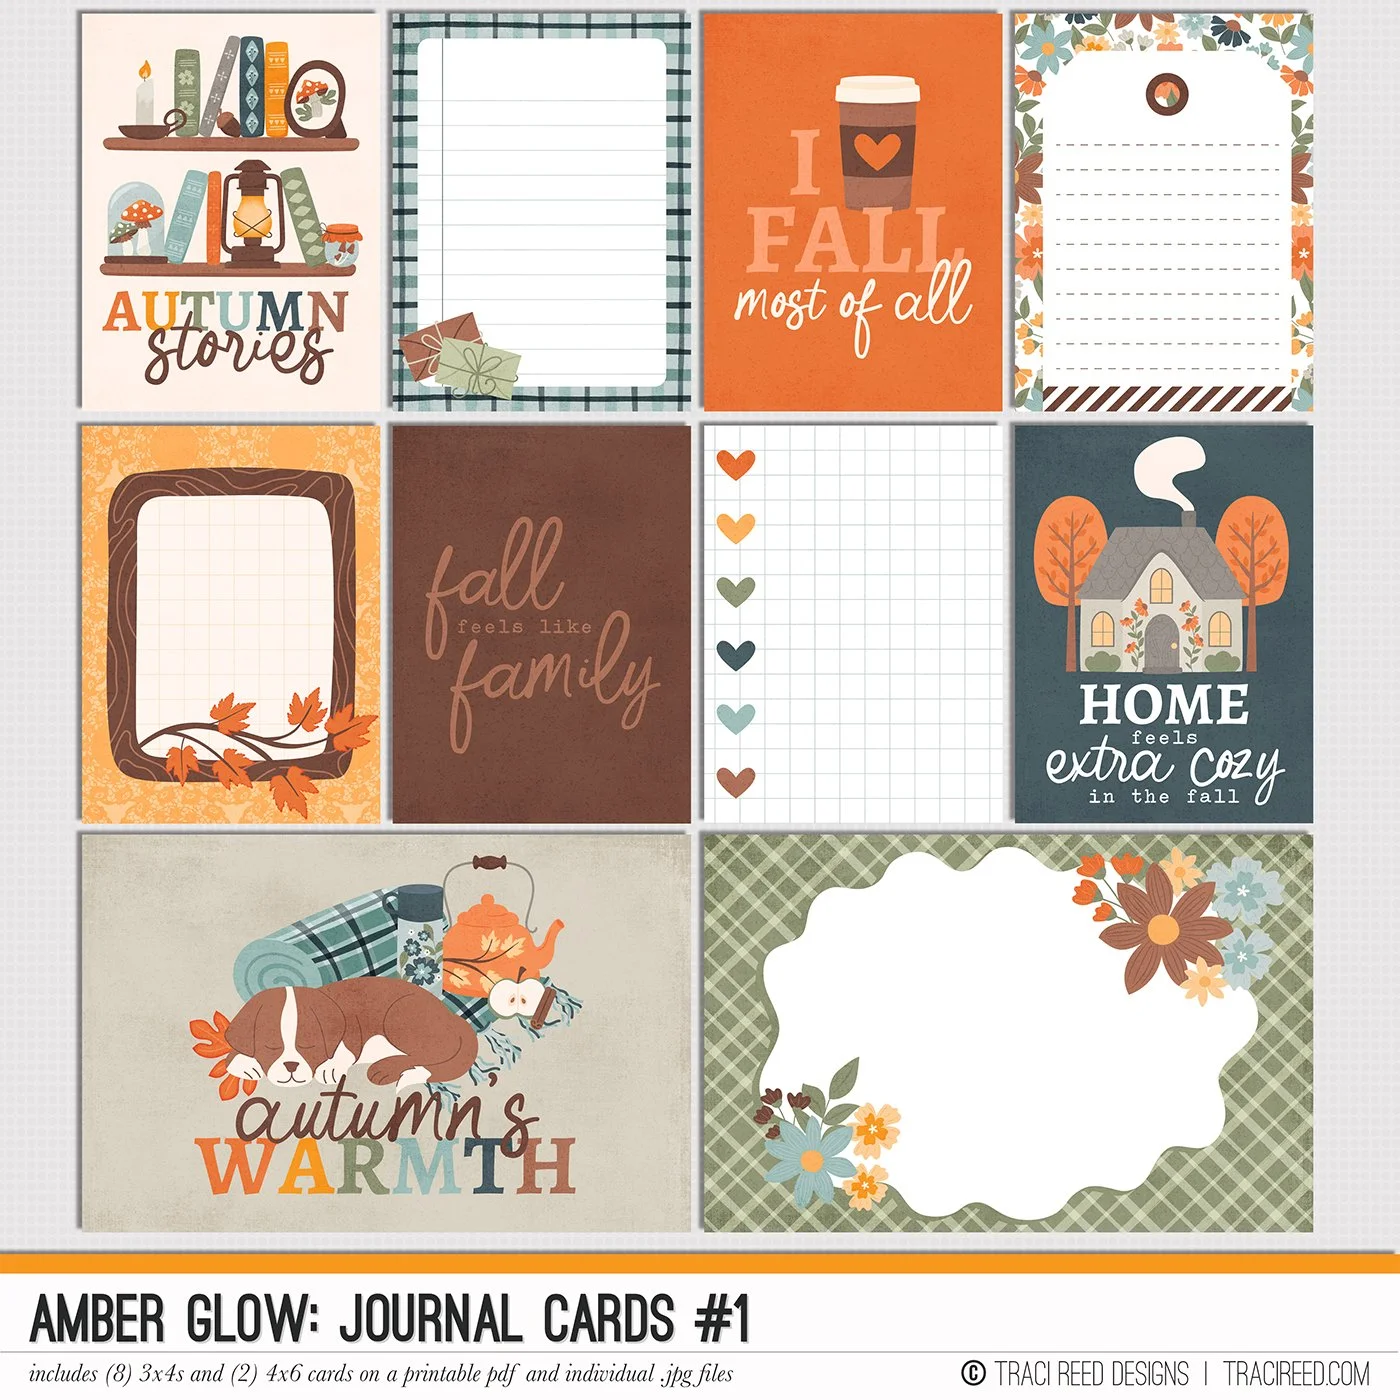

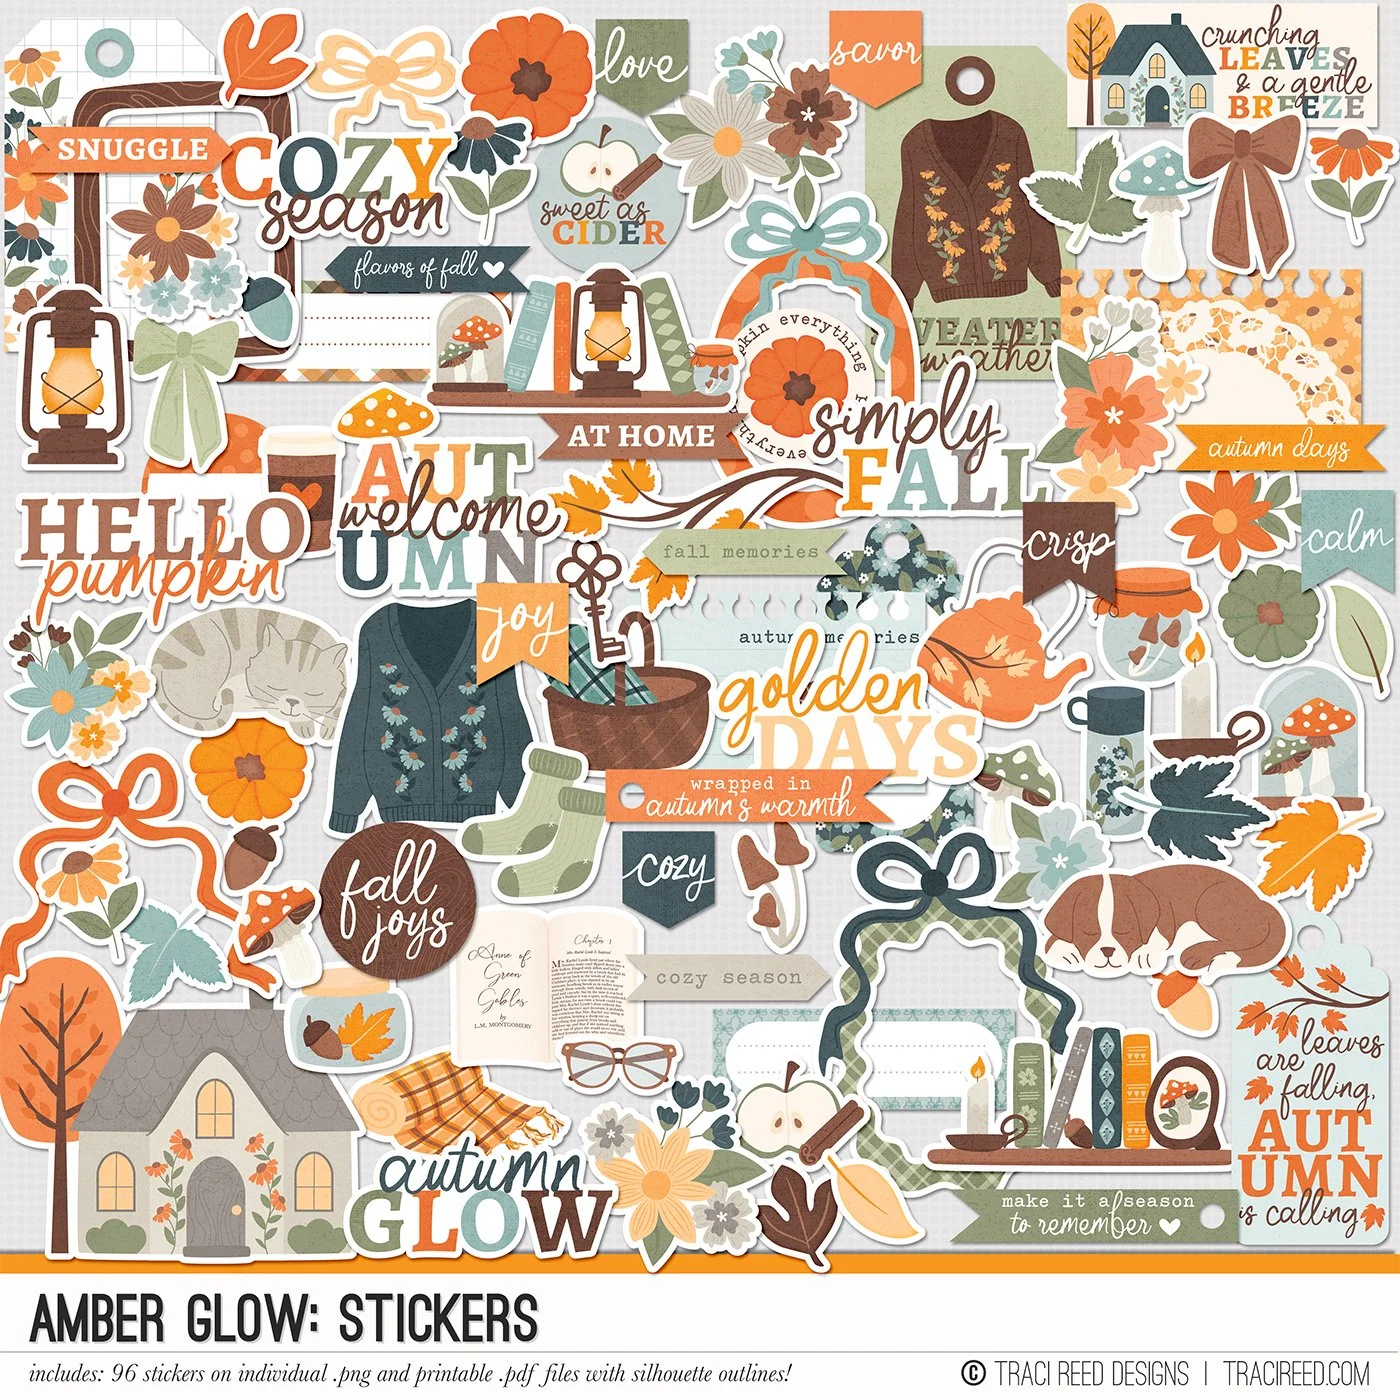

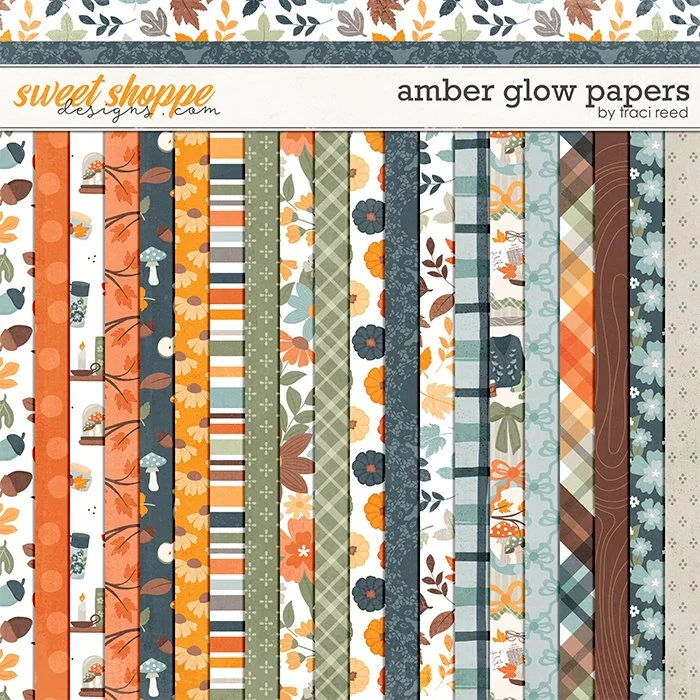
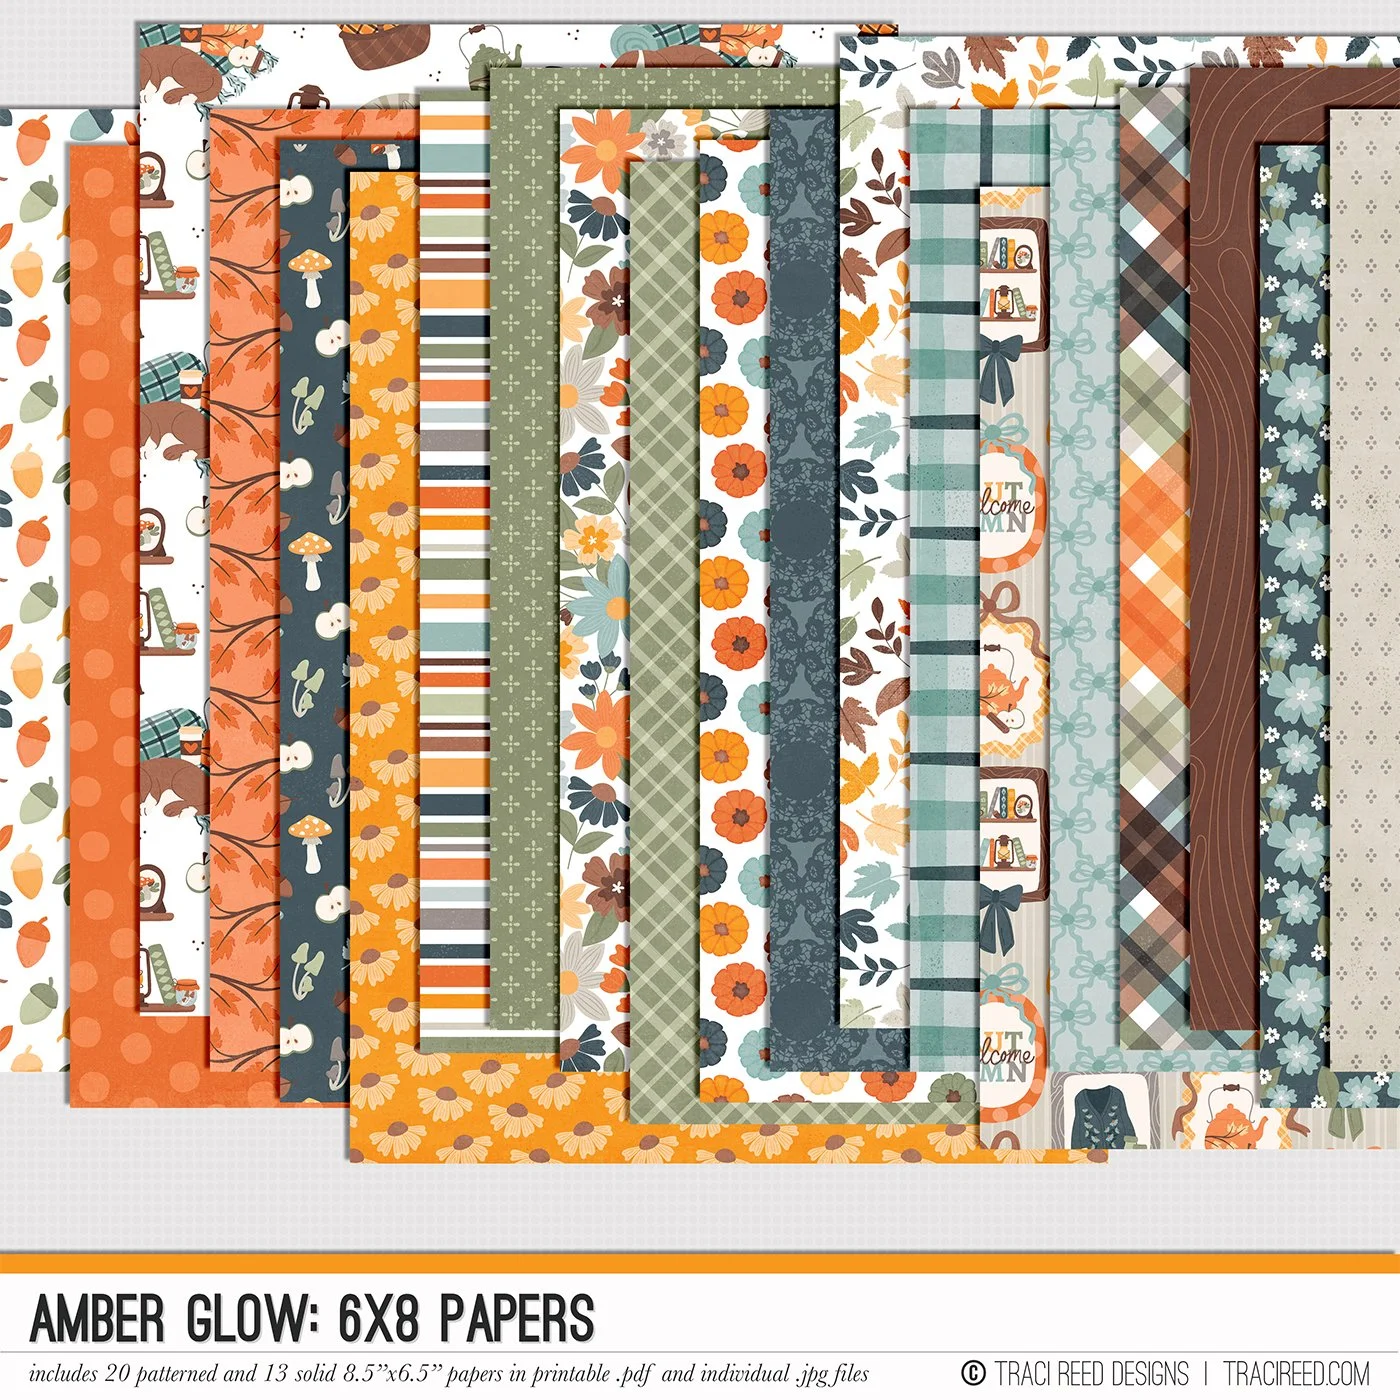
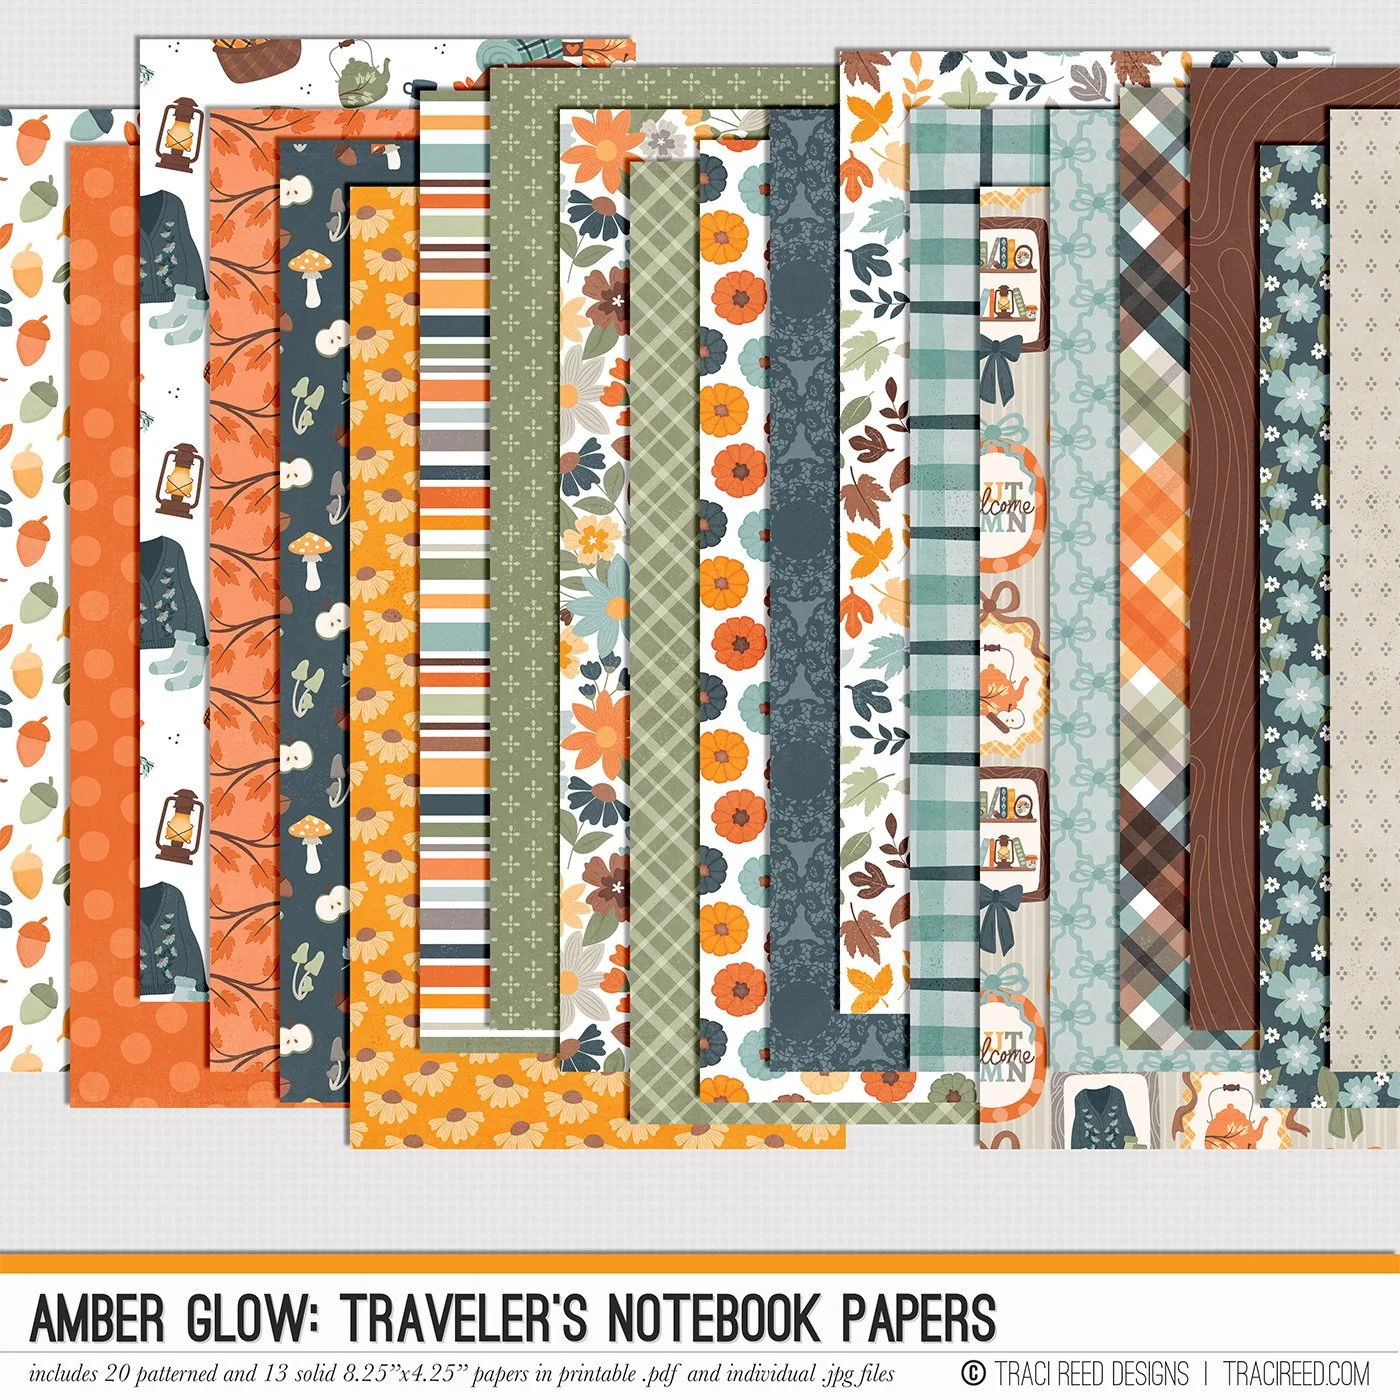
Bring the warmth of the season to your stories with Amber Glow, a printable collection designed to capture everything we love about fall. From the first crisp breeze to the last glowing sunset, this collection wraps your memories in a palette of golden ambers, soft blues, earthy greens, and rustic oranges that feel just like home. It’s the perfect blend of cozy comfort and autumn charm.
Inside, you’ll find patterned papers, journaling cards, and illustrations that celebrate all the little joys of the season — lattes, sweaters, falling leaves, and afternoons curled up with a blanket (and maybe a furry friend). Thoughtful phrases and autumn icons make it easy to create layouts filled with warmth, gratitude, and seasonal magic.
Whether you’re documenting family gatherings, pumpkin patch visits, or simply the beauty of an ordinary fall day, Amber Glow gives you the tools to tell those stories beautifully. Cozy, versatile, and full of heart, this collection will help you preserve your autumn memories with all the glow they deserve.
To see example layouts, the unboxing, and more, check out the Amber Glow Blog Post
BUNDLE INCLUDES:
Amber Glow Digital Kit, Amber Glow Cards #1 & Amber Glow Cards #2, Amber Glow Stickers, BONUS Stickers Free Gift
BUNDLE DOES NOT INCLUDE:
Amber Glow Patterned Cards, Amber Glow TN papers, Amber Glow 6×8 Papers