Ways To Work It Wednesday - Stars
Hey Hey! It’s Ways to Work it Wednesday, the day we bring you an article on how to take something “ordinary” and turn it into something extraordinary!
Today, the team is bringing you some jaw-dropping ways to work with a shape you may already use often: stars! Stars are ubiquitous in scrapbooking, and you may think to yourself, what can I even DO with a star that’s out of the ordinary, so we’ve got some mind-blowing inspiration ahead for you to work outside the box!

Larissa - Adventures Together
Sometimes I have too many photos to document, and wanting to have them in the same spread/layout might be difficult. Using a star template, I decided to add every photo I could fit in this pocket pack documenting my birthday trip last year to the Aquarium.
The outline of the shape makes it easy to identify it, specially adding just the photos to it. I chose to use neutral patterned papers from the Adventures Together collection so it wouldn’t be too busy, since the photos already have tons of strong colours.

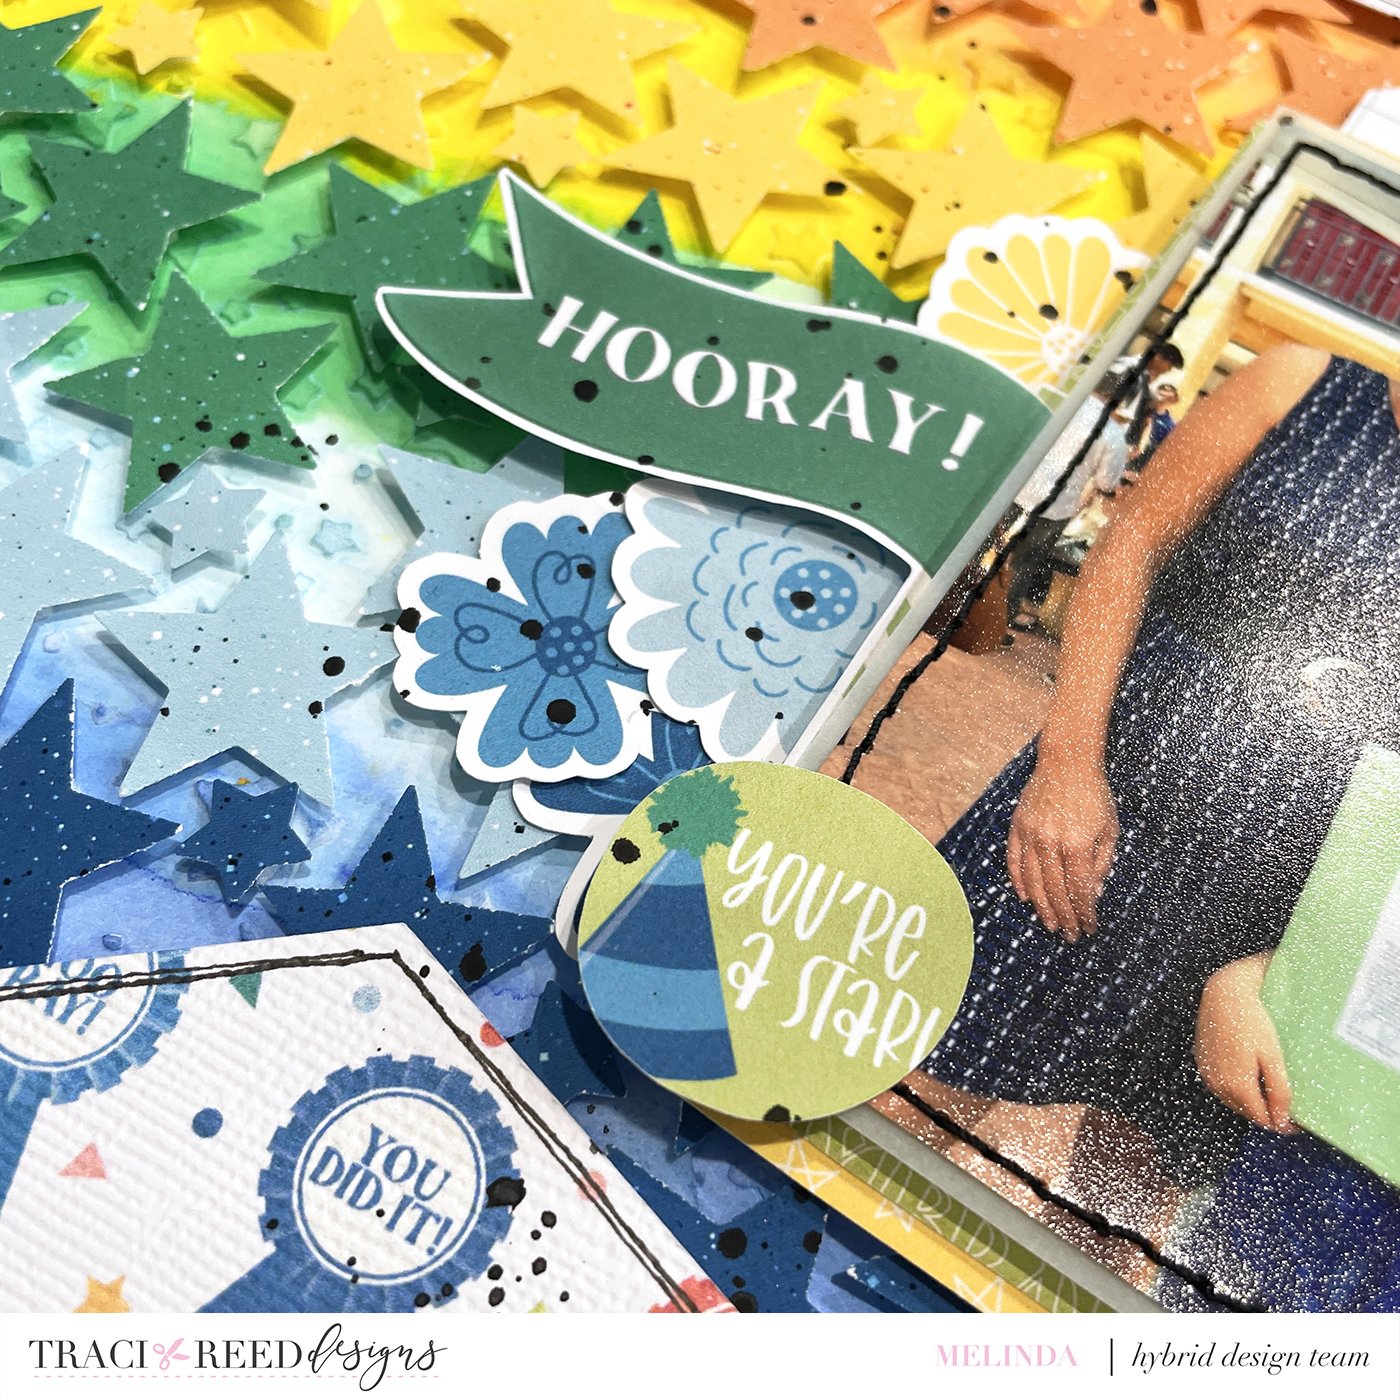
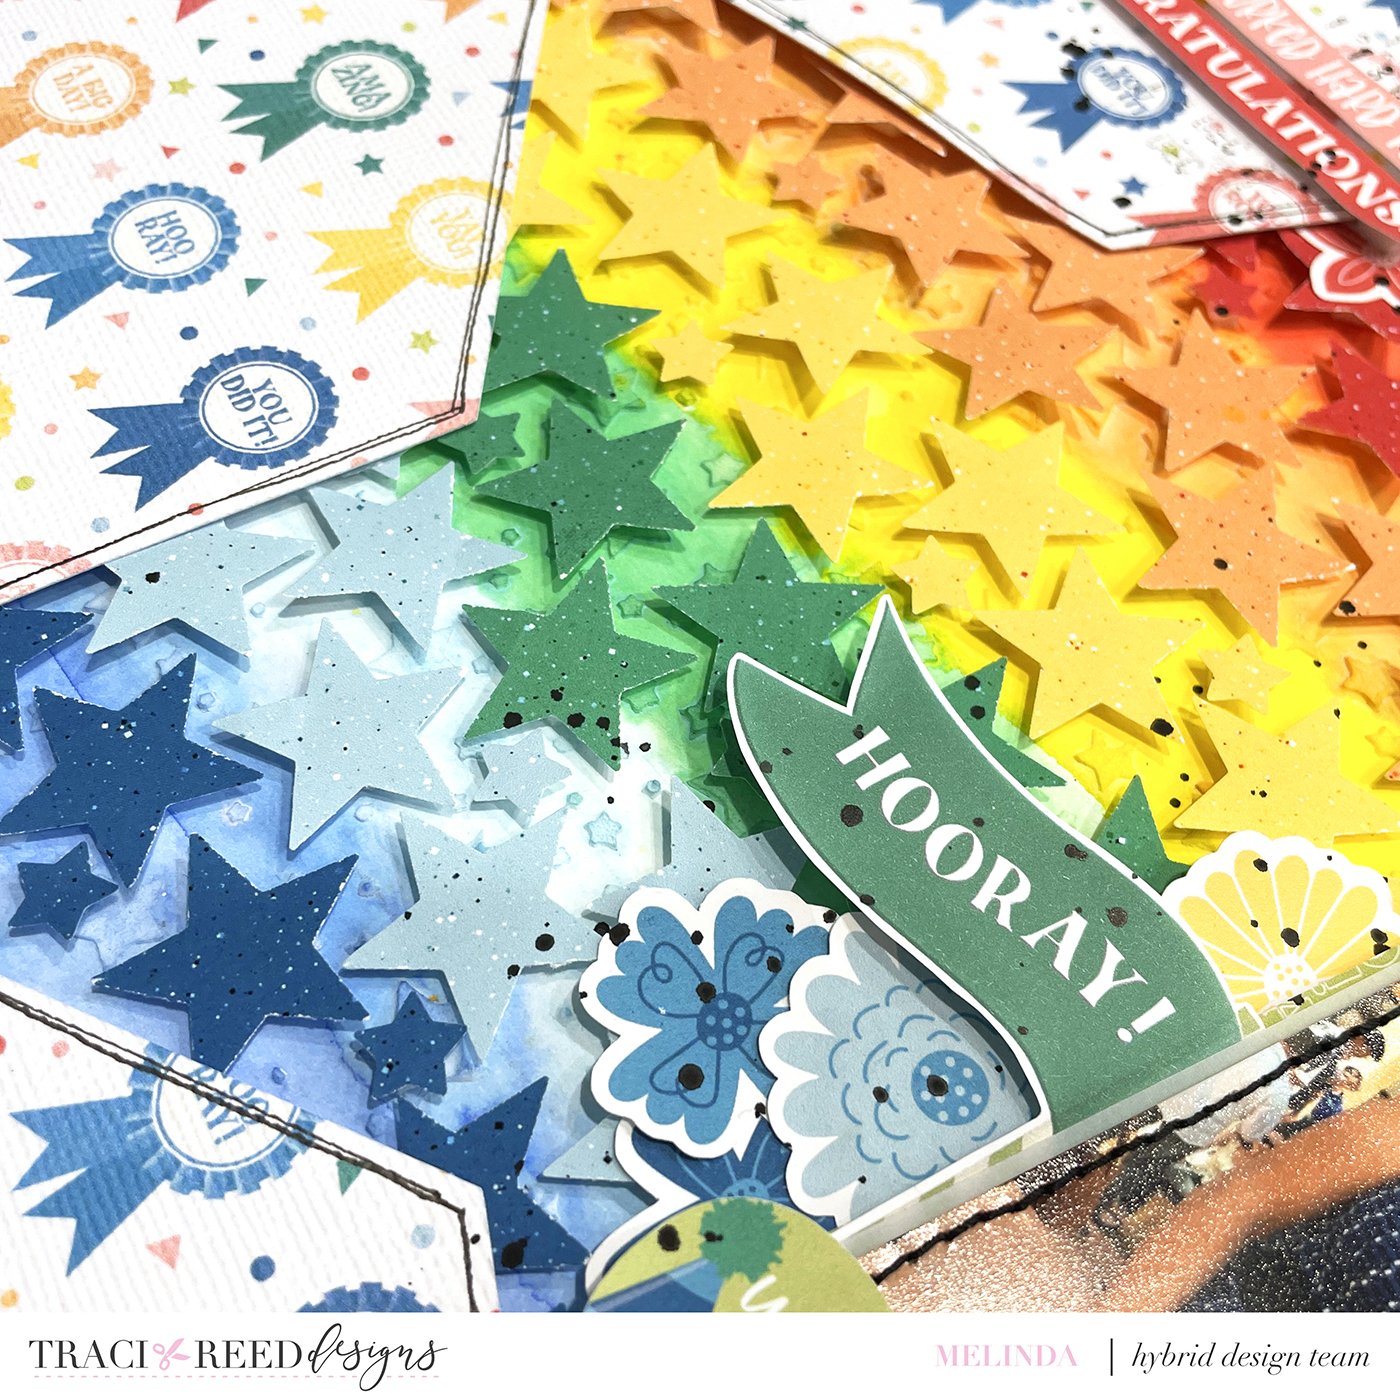
Melinda - Happy Day
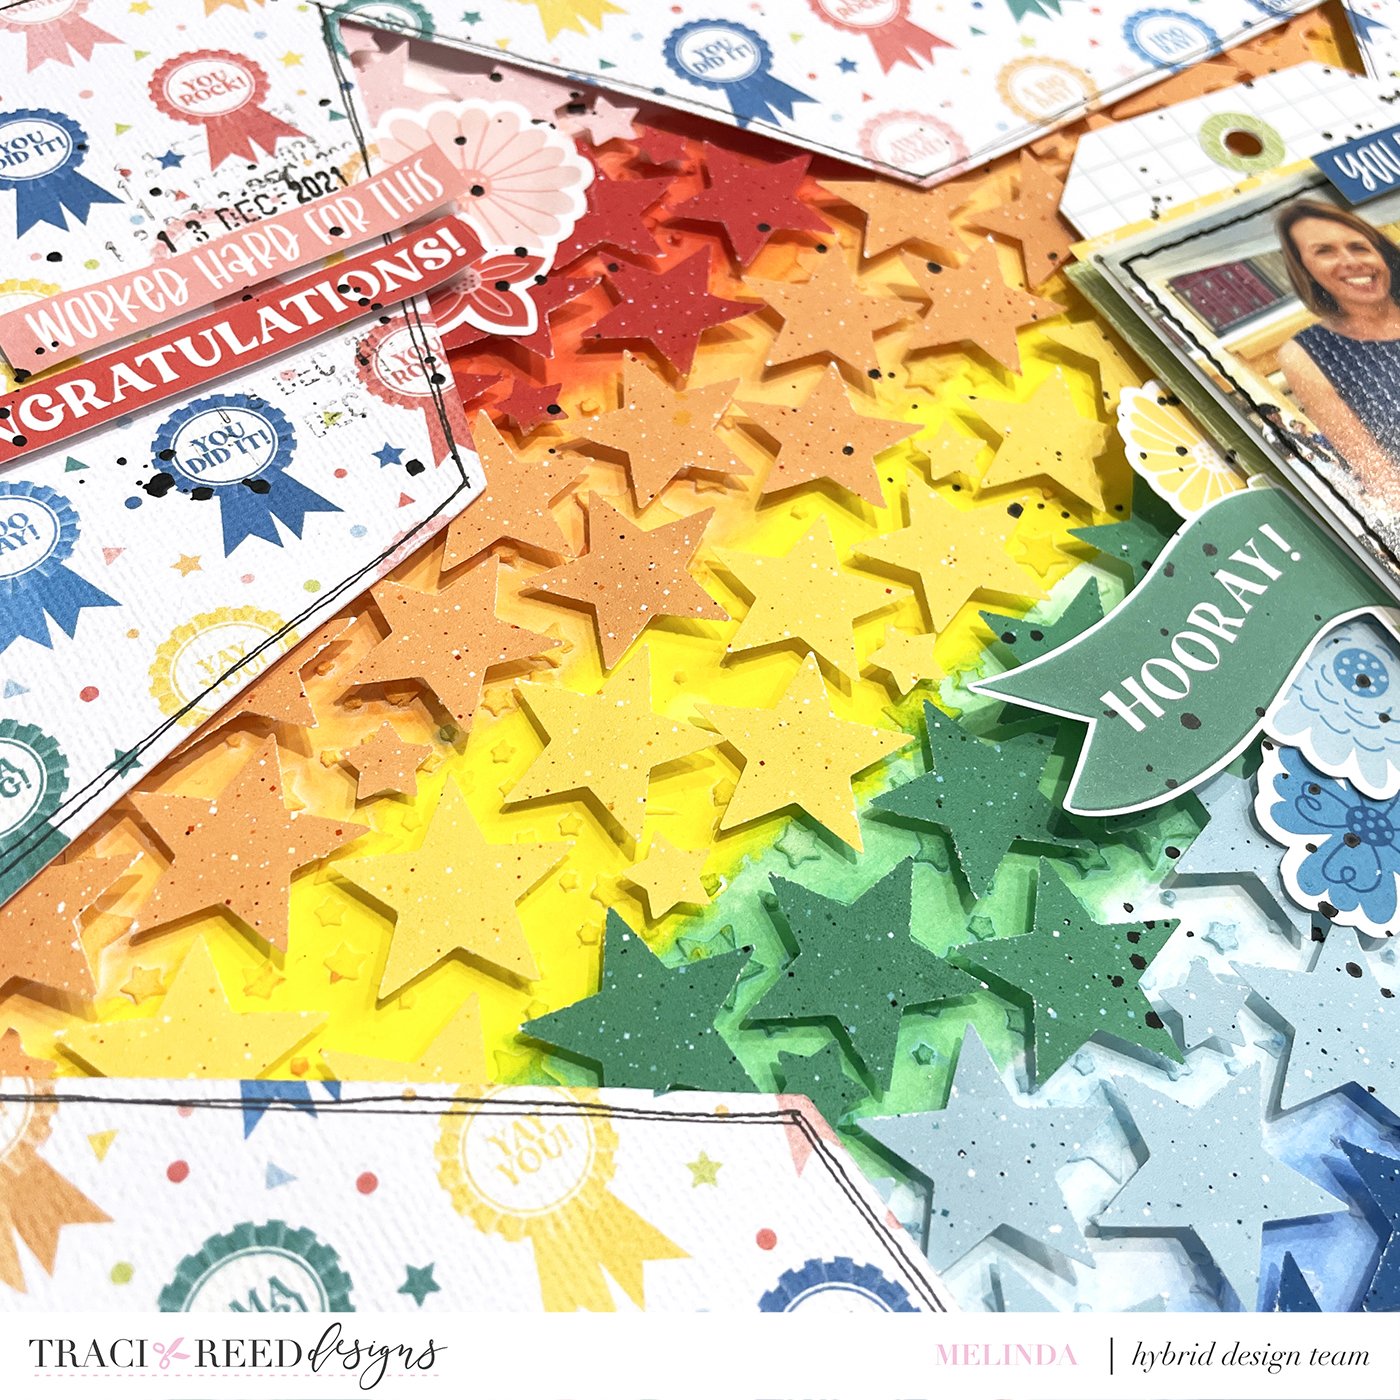
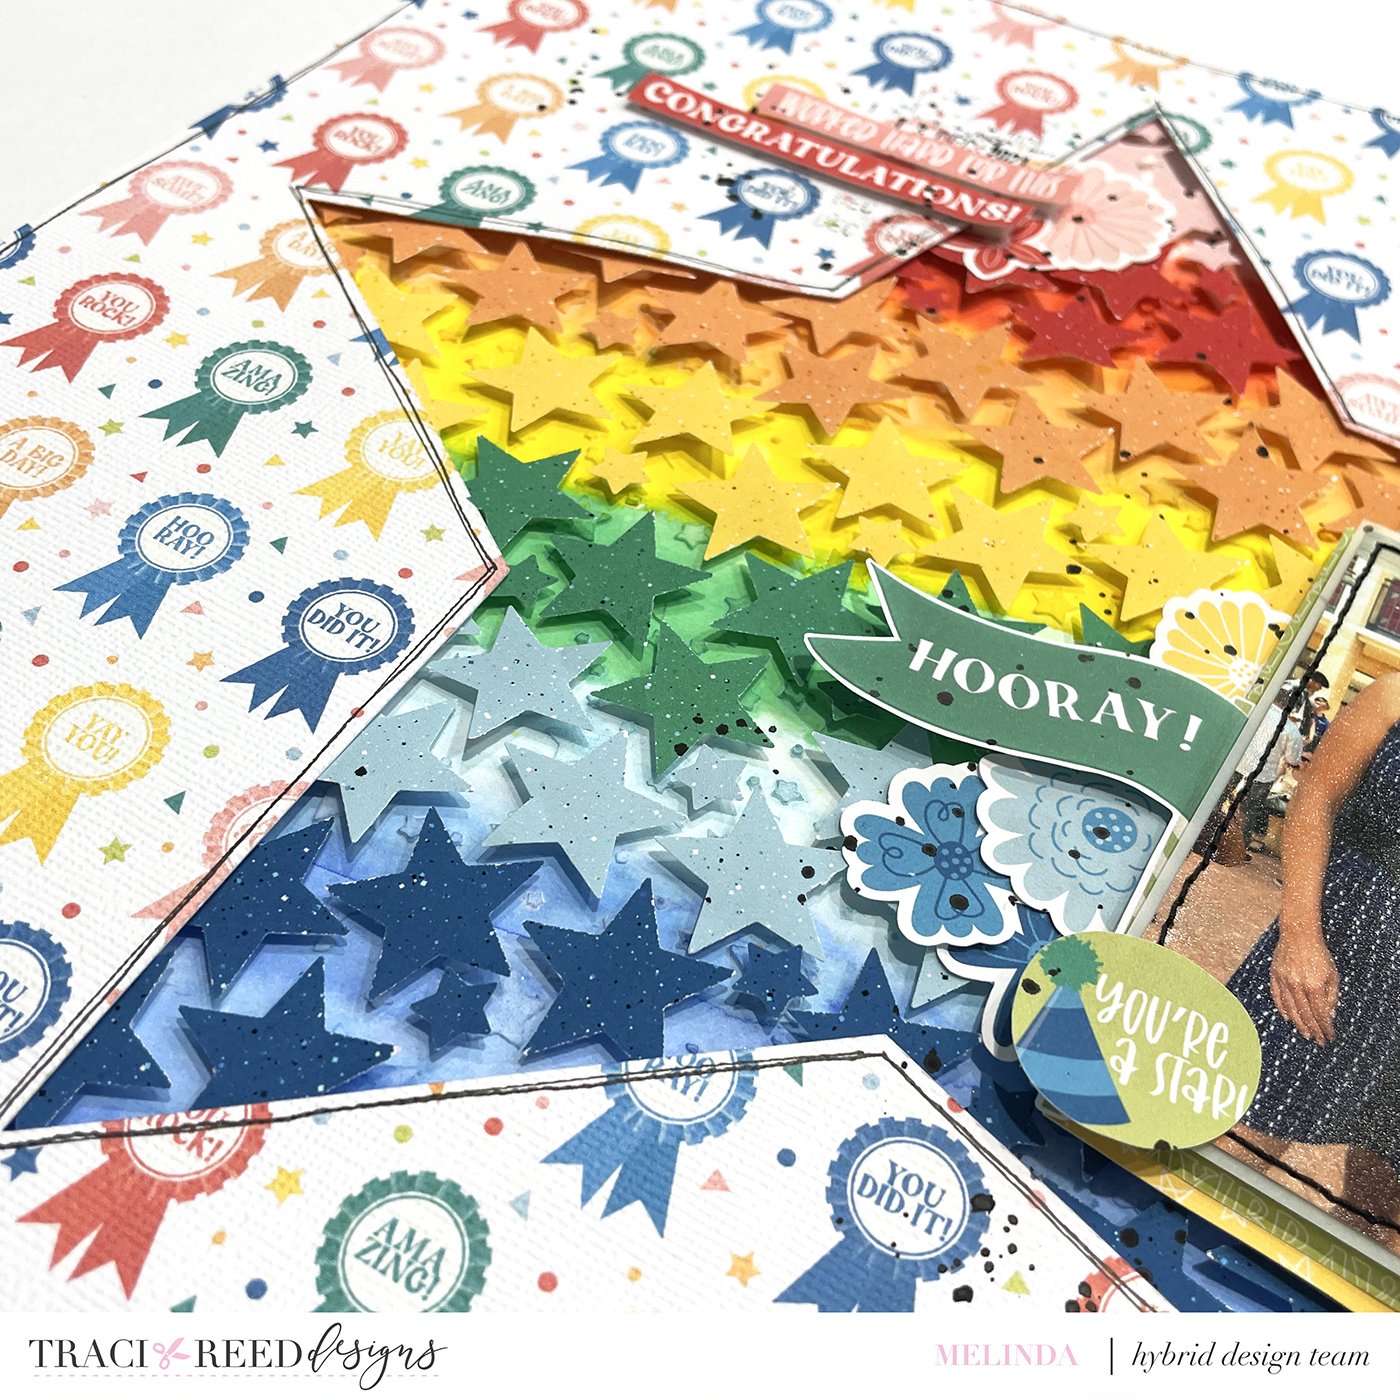
Stars are my favourite shape, so when this Ways to Work It Wednesday popped up I just HAD to play along!!
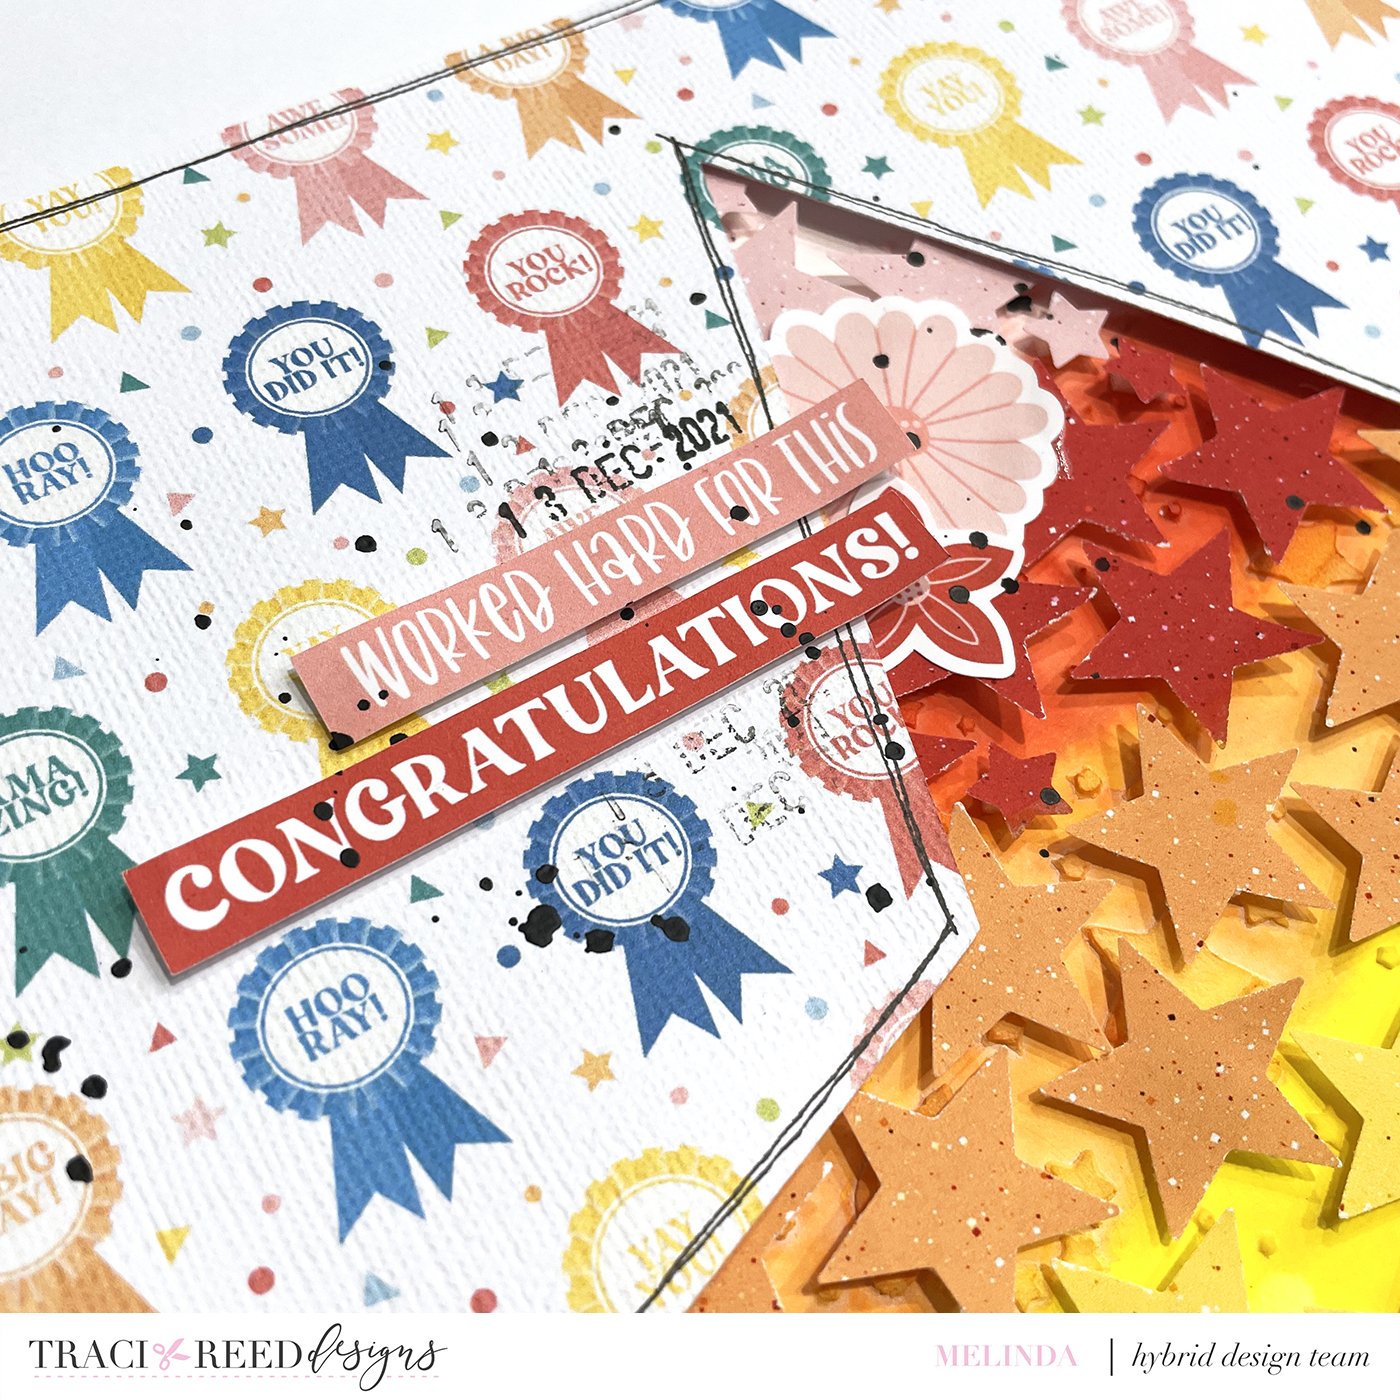
I've totally gone with ALL the stars and just love my fun, bright & celebratory page! I've used the Happy Day and Happy {Birth}Day collections for this one as I just couldn't not include the glittered papers from the Happy {Birth}Day collection.
If you take a good look, you can see the stars in the background that were stencilled on and then painted over in "matching" Distress Oxide rainbow colours. Then the paper stars punched out using the TN papers that I co-ordinated the inks with. And finally the giant star shaped cut out from the background paper!
Oh, and I finished off with the title "You're a Star!"
I had so much fun creating this page!!

Details
Process Video
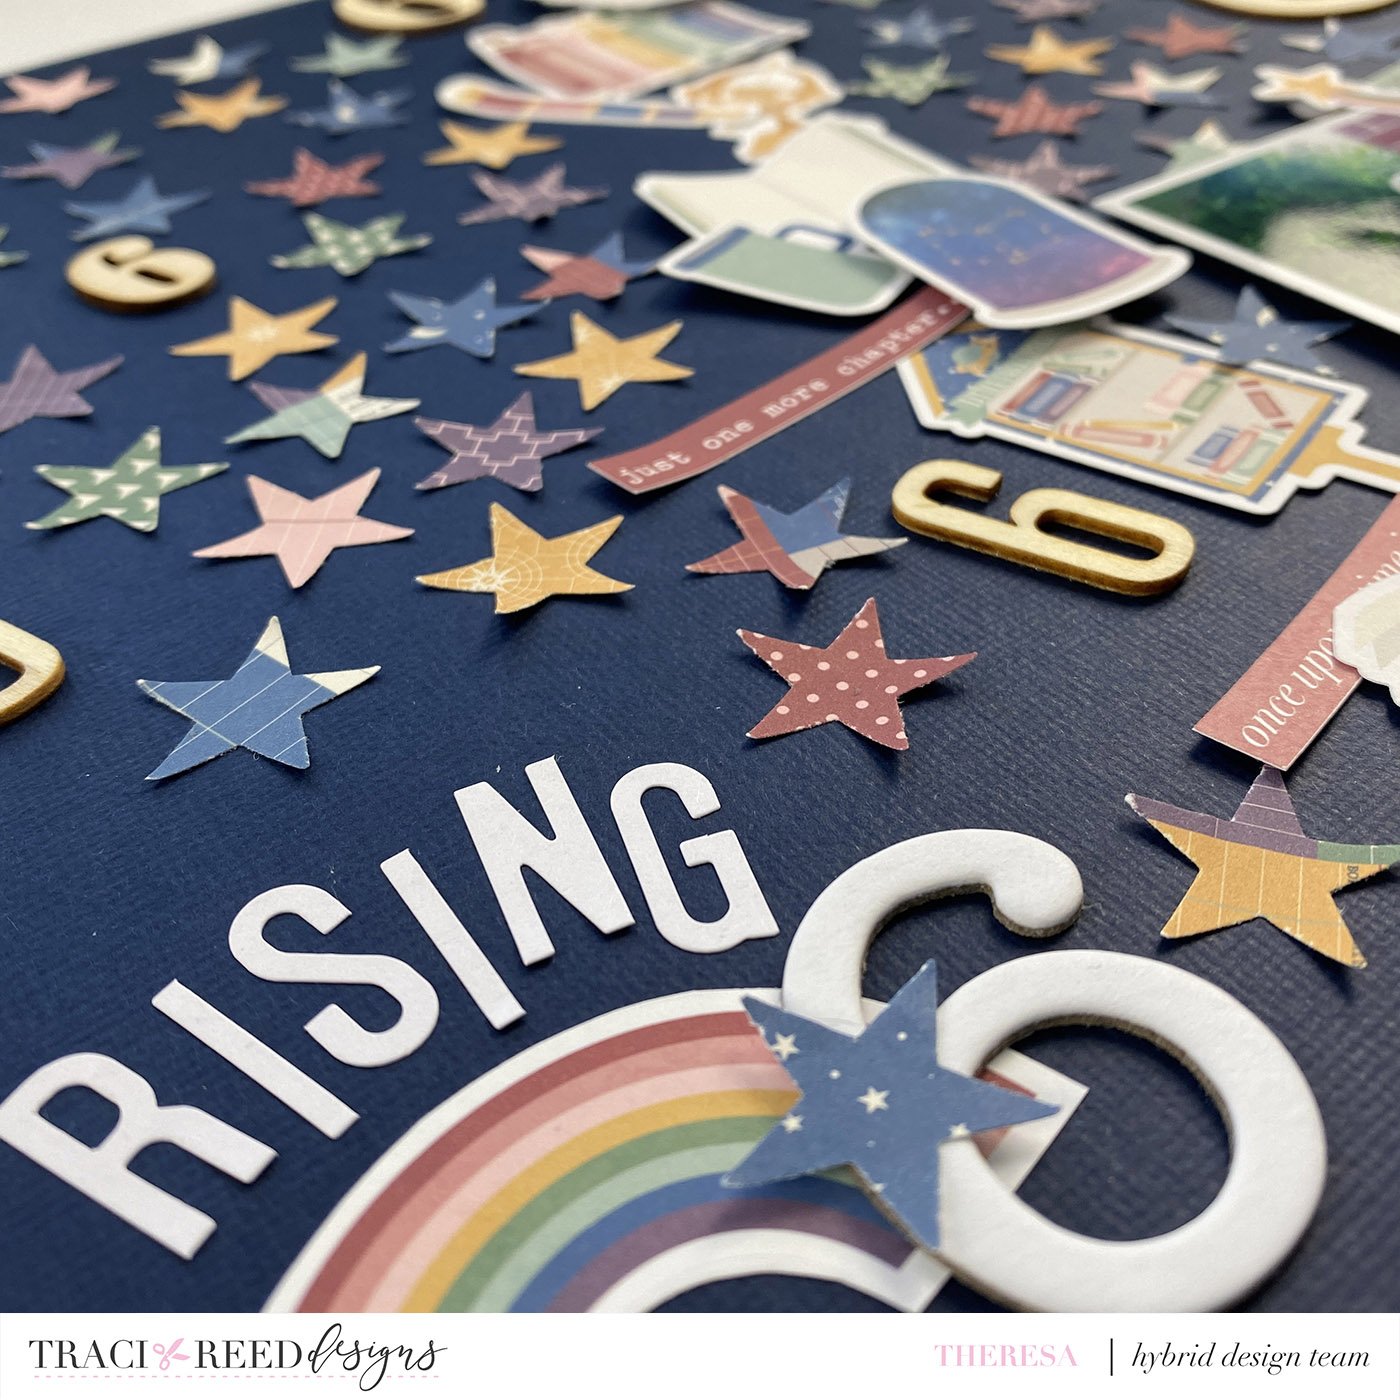
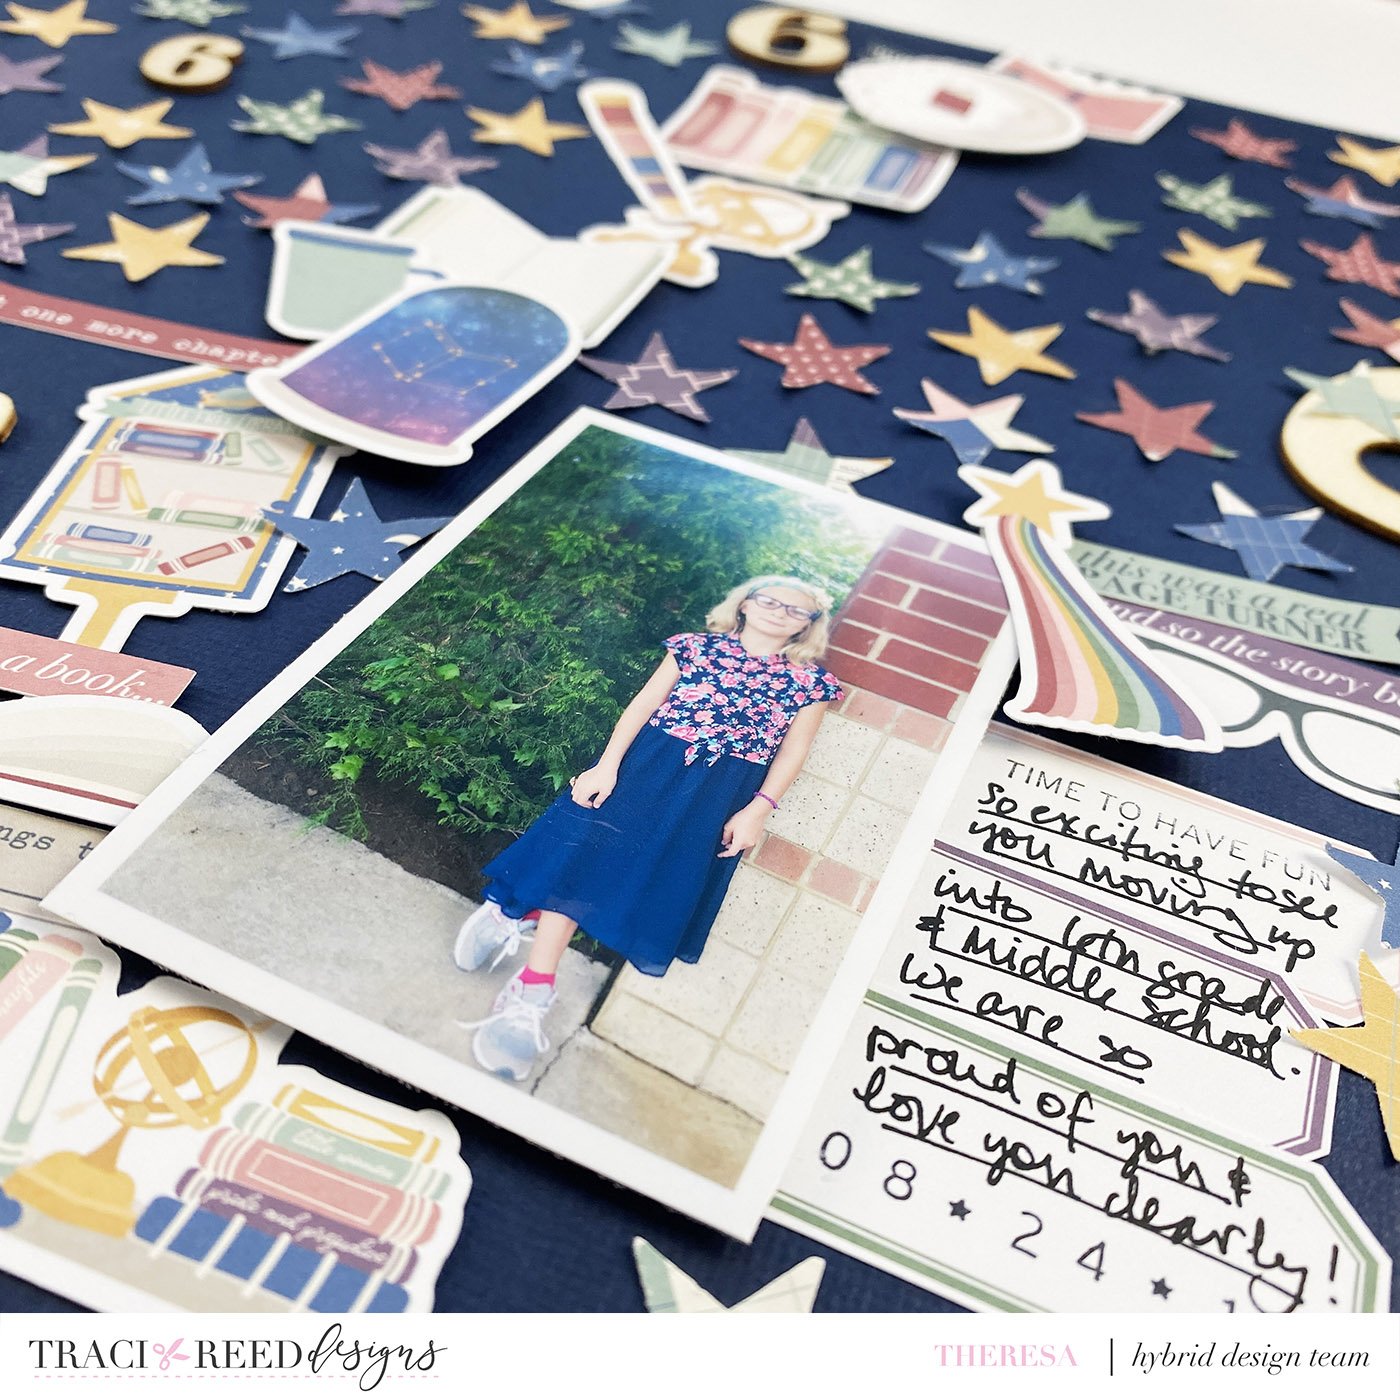
Theresa - Ex Libris Galaxias
Have you ever had a layout that didn’t really come together until the very end?! This was just that kind of layout – I tore it apart and put it back together and it still didn’t look right until the very last thing, the title! So this page is for you if you’ve ever had that happen. Since we were working with a star theme, I chose the Ex Libris Galaxias collection. Originally, I wanted the stars to look like they were falling out of the sky, so I printed my favorite papers from the collection and I punched about a million tiny stars. At first I had the stars laid out horizontally on white card stock, but when I tried to add my photos + embellishments, it just didn’t work.
At that point, I grabbed this piece of navy blue card stock (Bazzill) and pulled all the stars off the white card stock to start over again. At this stage, I had the idea to place the embellishments like they were cascading from the sky (the top of the page), and I re-adhered those million stars around them. I also added my photo at the bottom, and honestly at this point I really thought the whole page was just ready for the trash! Gah!
But then I was deciding on my title and where it should go. The bottom corner still had this space where I added the rainbow – because you always need a rainbow. And I grabbed some of my number 6’s from my stash to notate our child going into 6th grade. And then I created the title to say Rising Star, and at that point the whole layout finally made sense! They are all rising stars on the page! And I hope with that you are inspired to keep going even if the layout doesn’t feel like it’s coming together just yet, and also, just have a blast with the stars! Happy creating!

Details

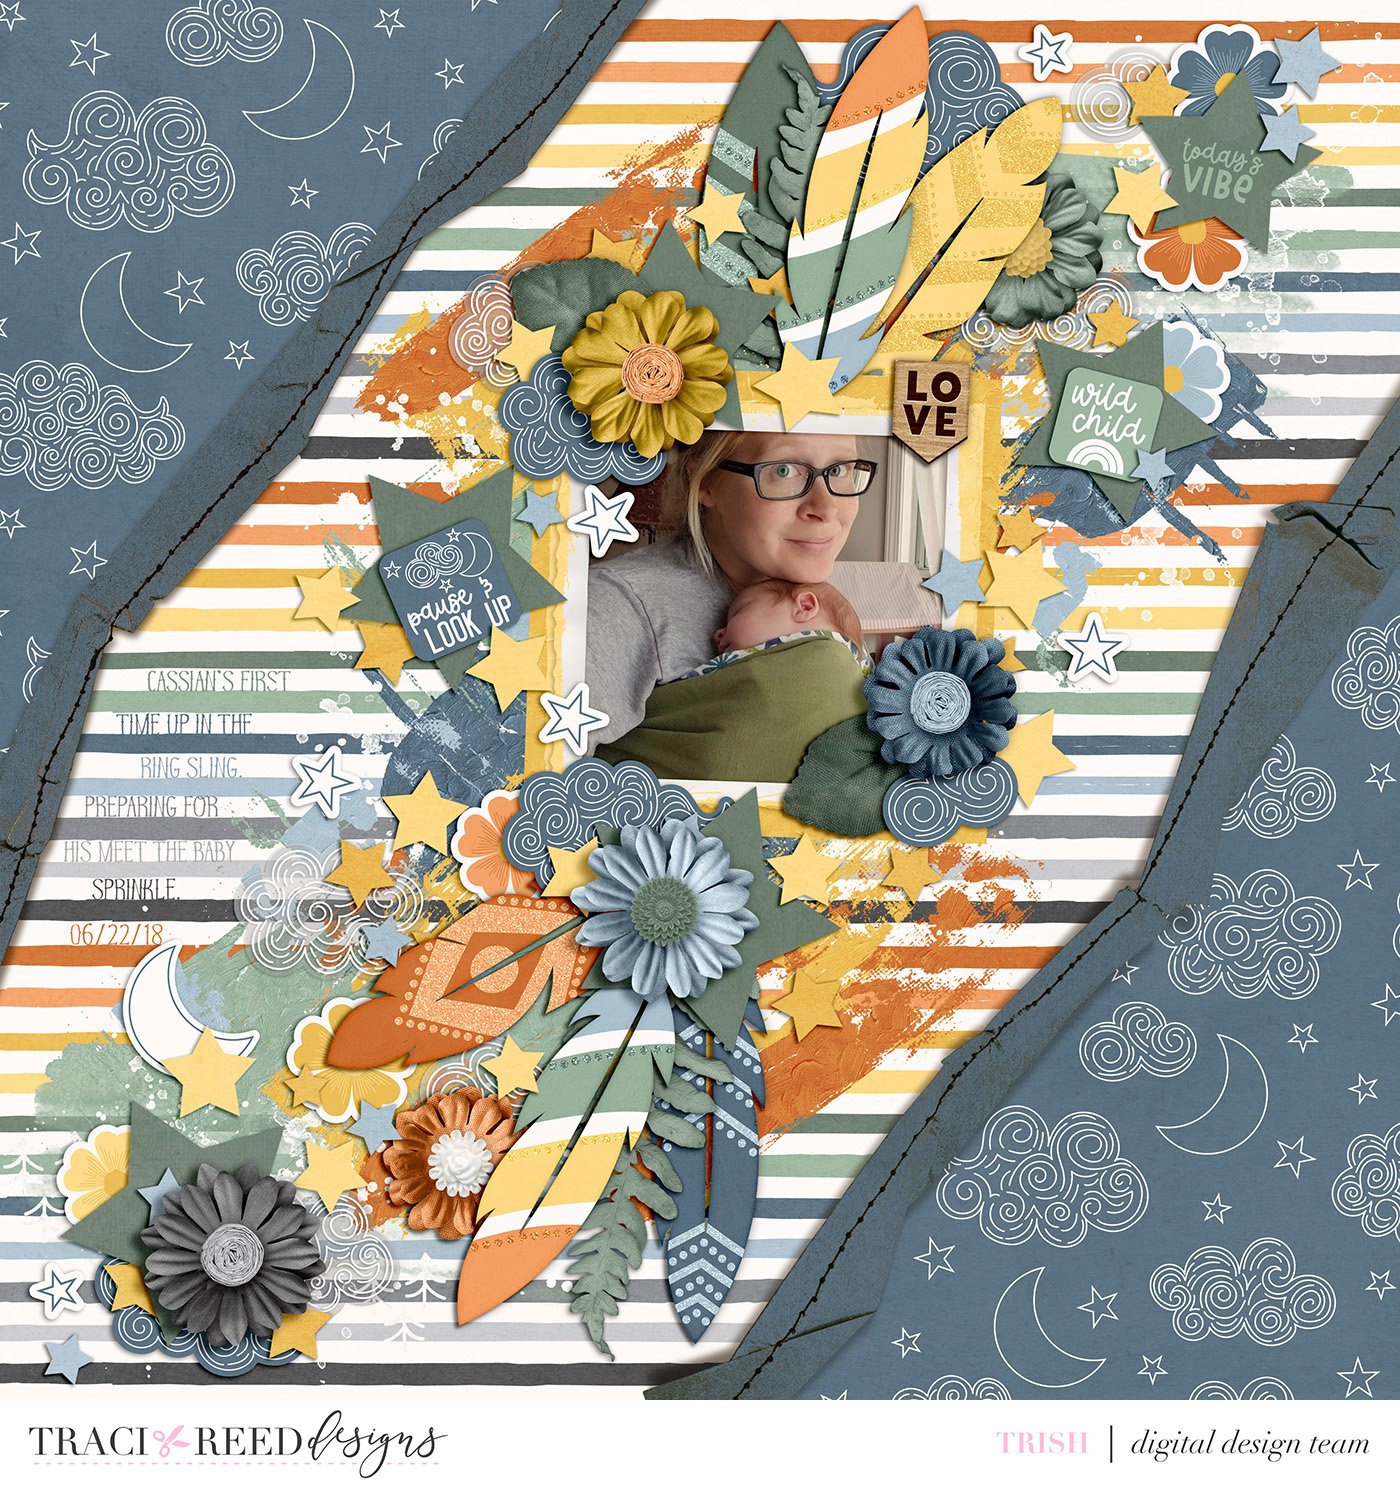
Trish - Summer Camp
A fun way to use a shape on your page digitally is to create a brush with it that lets you scatter the shape. I usually create the black shape at 900x900 (3 inches), then you go to edit>create brush preset. Then you go into your brush settings and you can adjust the scatter amount, size, and rotation. You then just use the brush to scatter them around your page! It is way simpler than you would expect and really a lot of fun.