Think Outside The 12x12: Scrapbooking 12x12 Layouts with 8.5x11 (or smaller!) Printables: Lesson Six!
No 12x12 Printer? No Problem! In our “Think Outside the 12x12” series, we’re showing you how to scrap 12x12 layouts with TRD printables, even if you don’t have a 12x12 printer!
When it comes to scrapbooking, using smaller pieces of paper can present a creative challenge, and one bar to printables I often see presented by my customers. But fear not! In this blog series, we'll explore an techniques for using non-12x12 papers on your 12x12 layouts that still have that POP that you want for your large layouts!
Lesson Six: It’s Hip to be Square!
In this blog post, we'll explore another ingenious solution that allows you to print and utilize your hybrid patterned papers on a 12x12 layout, even with just an 8.5x11 printer. Today we’re embracing 6x6 (or smaller) patterned paper squares arranged in a grid design as the foundation for your page. Let's dive in and discover how to make the most of these petite papers!
While working with smaller patterned paper squares may seem daunting at first, they offer a unique opportunity to get creative with your layout designs. Embrace the charm and versatility of these mini patterned papers, as they open doors to endless possibilities for grid-based designs.
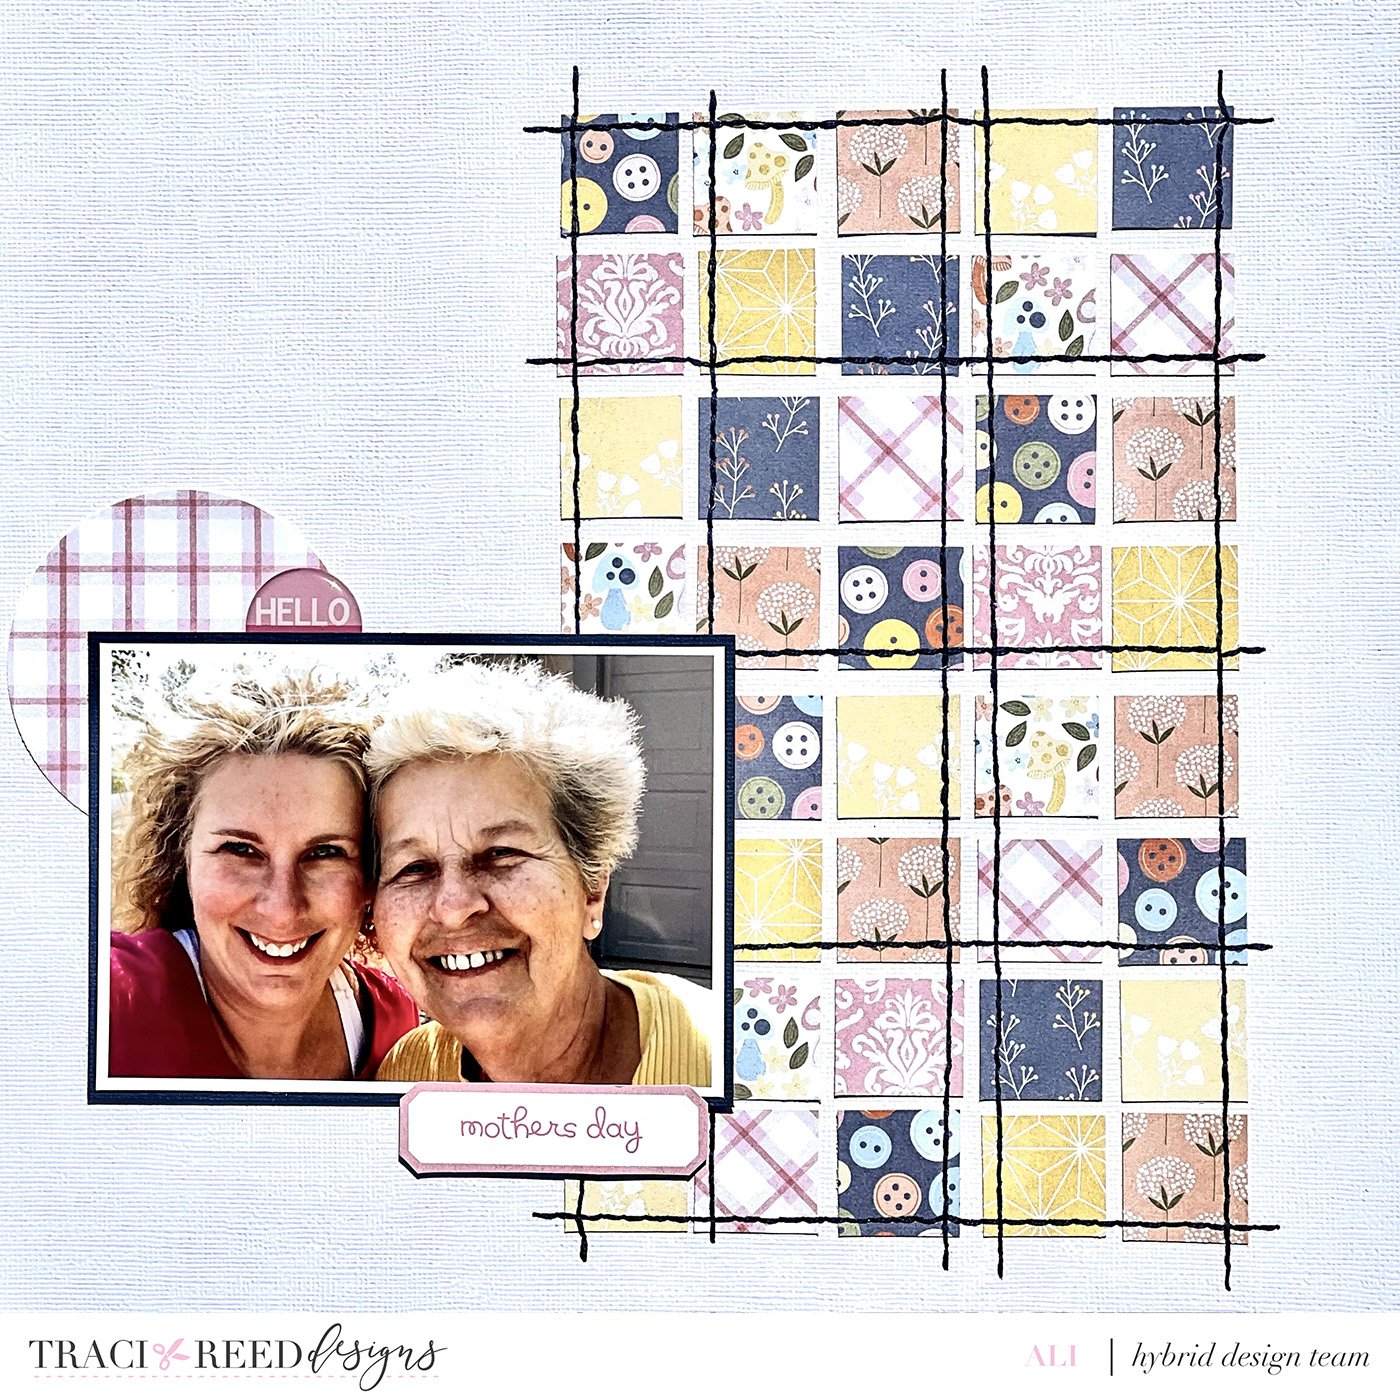
Begin by selecting a variety of 6x6 (or 4x4, or 3x3, etc) patterned papers that complement your desired theme or color scheme. If you don't have pre-cut 6x6 papers, you can easily trim down larger patterned papers to size.
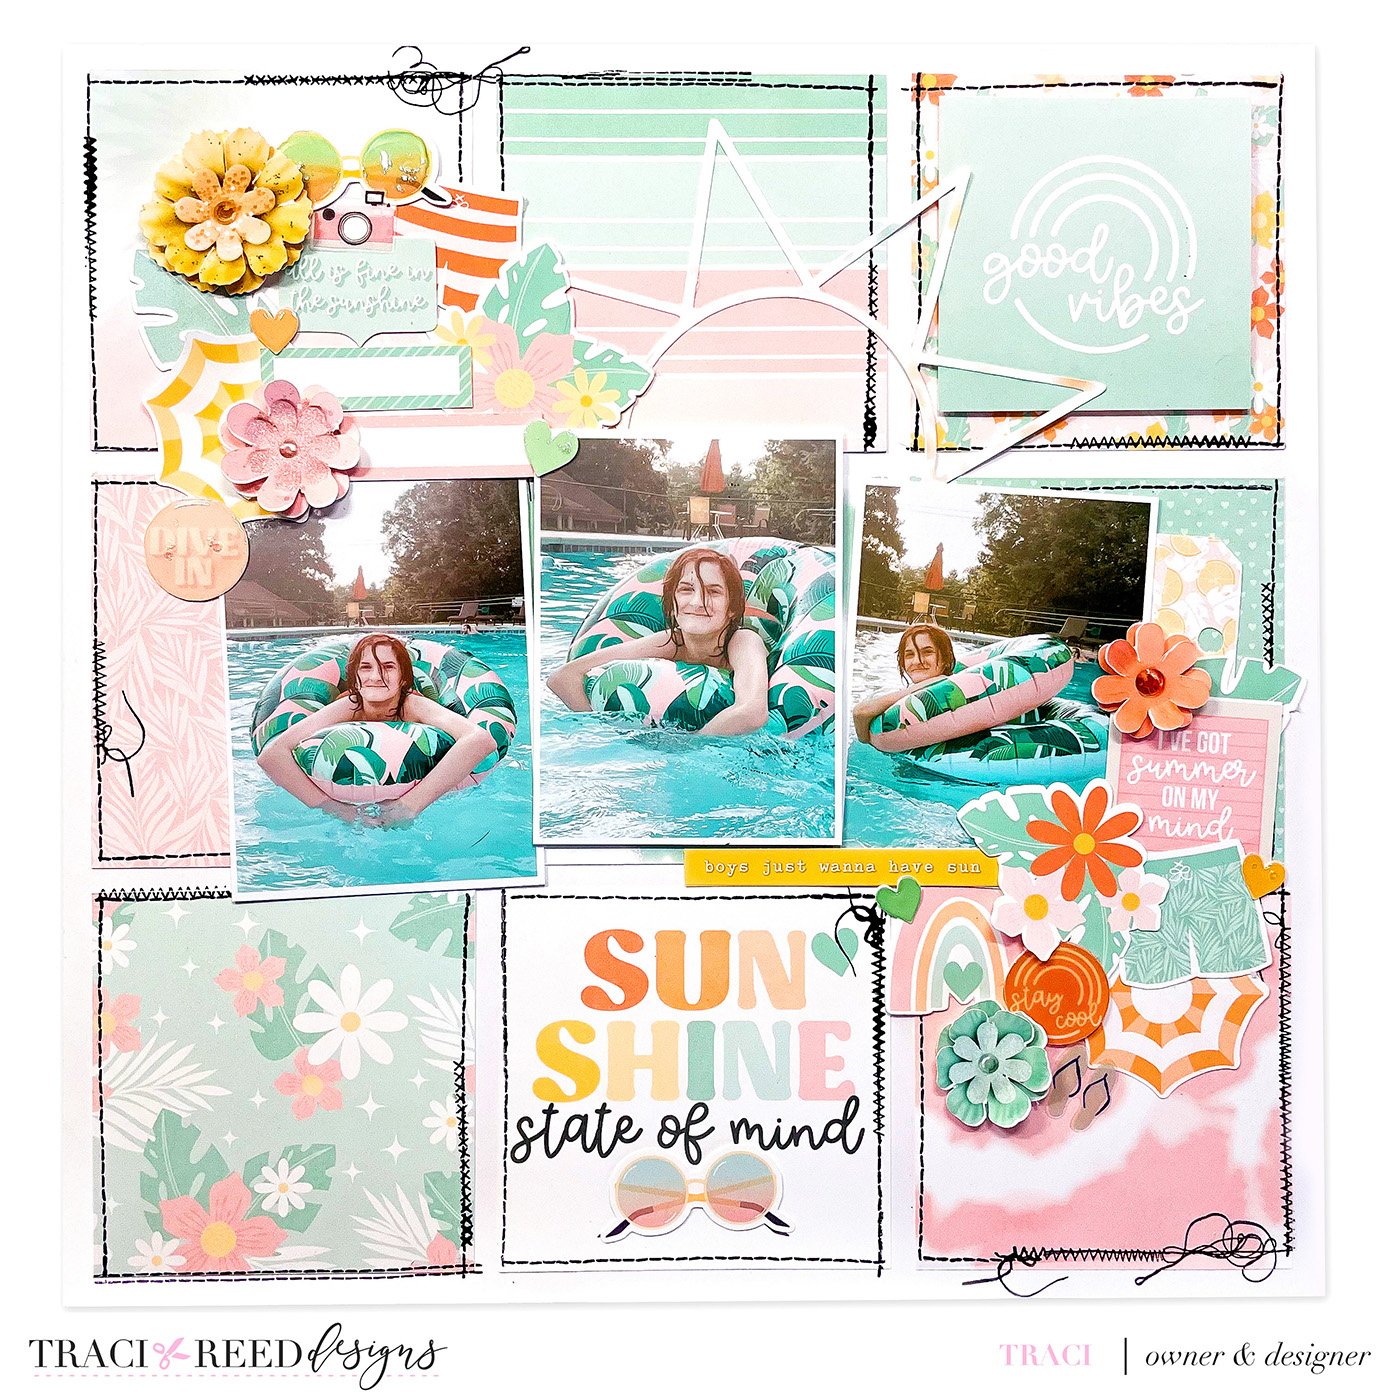
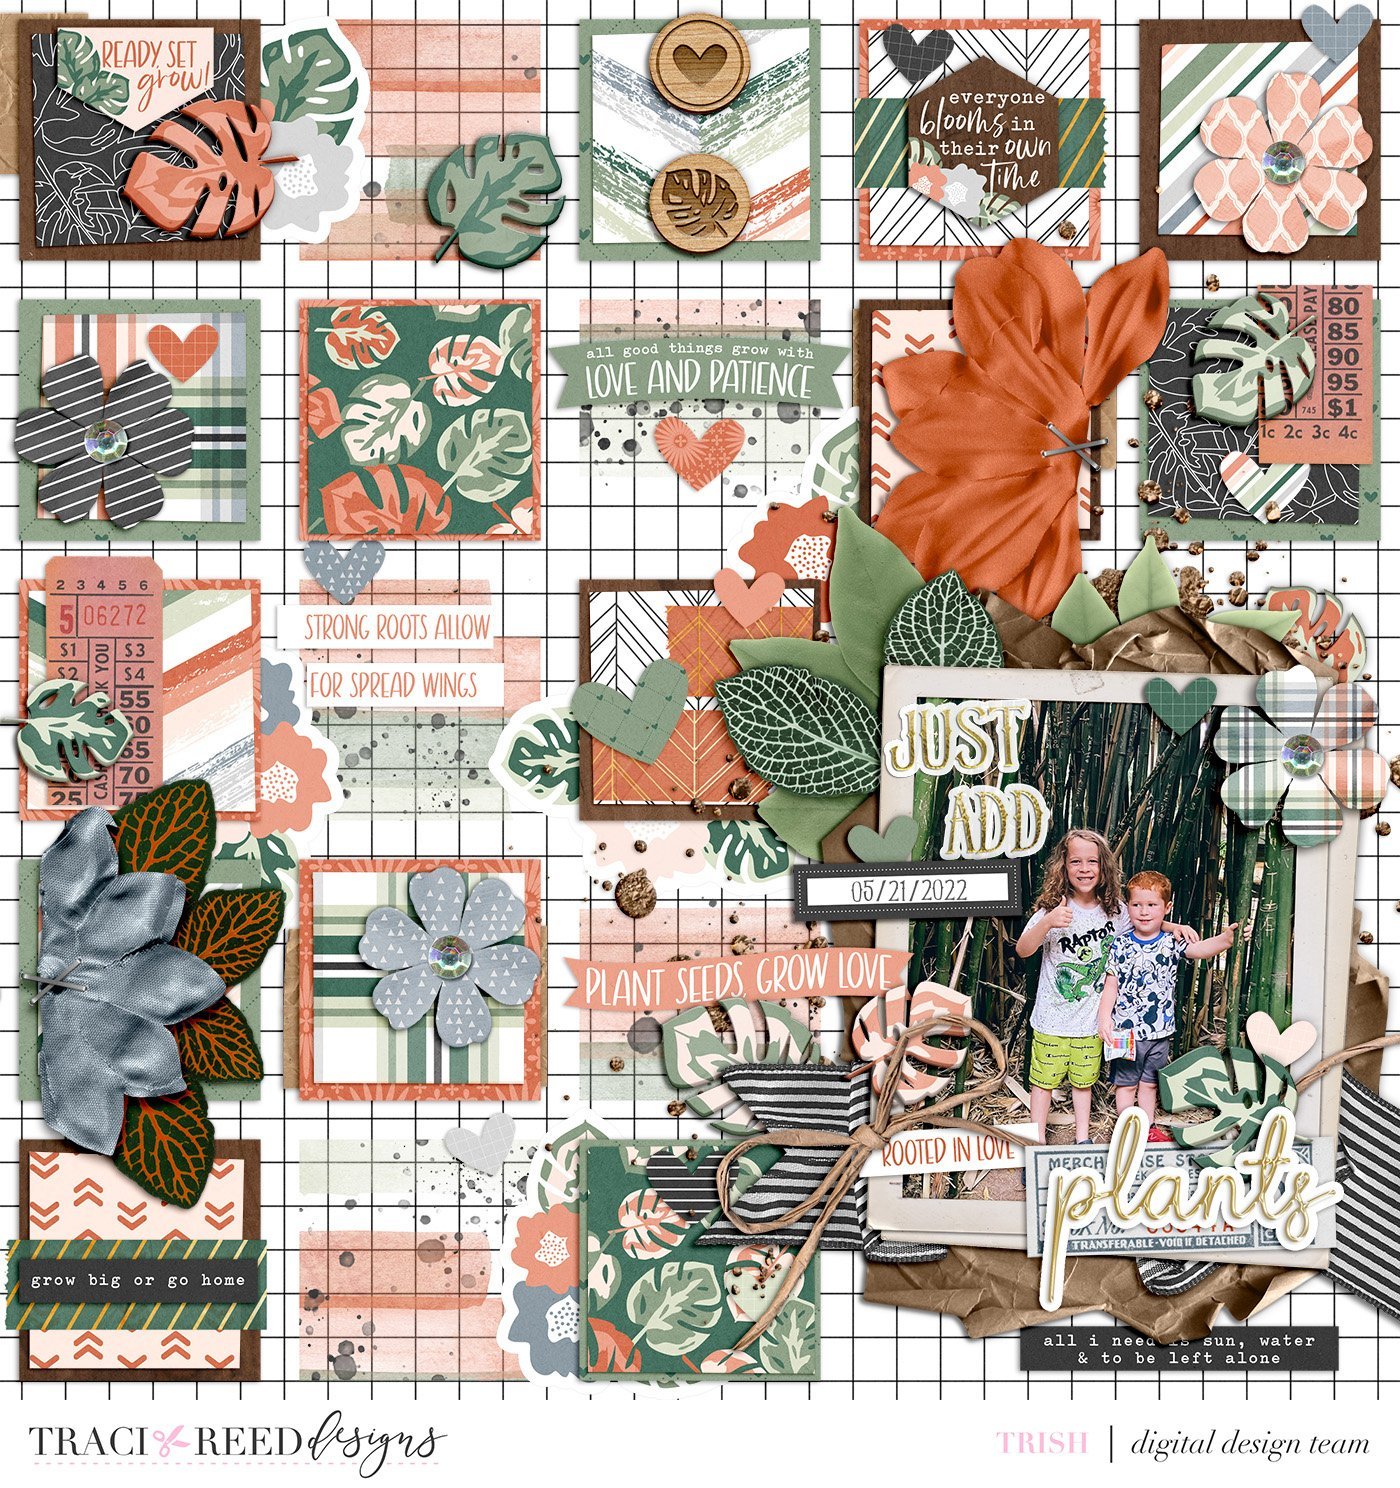
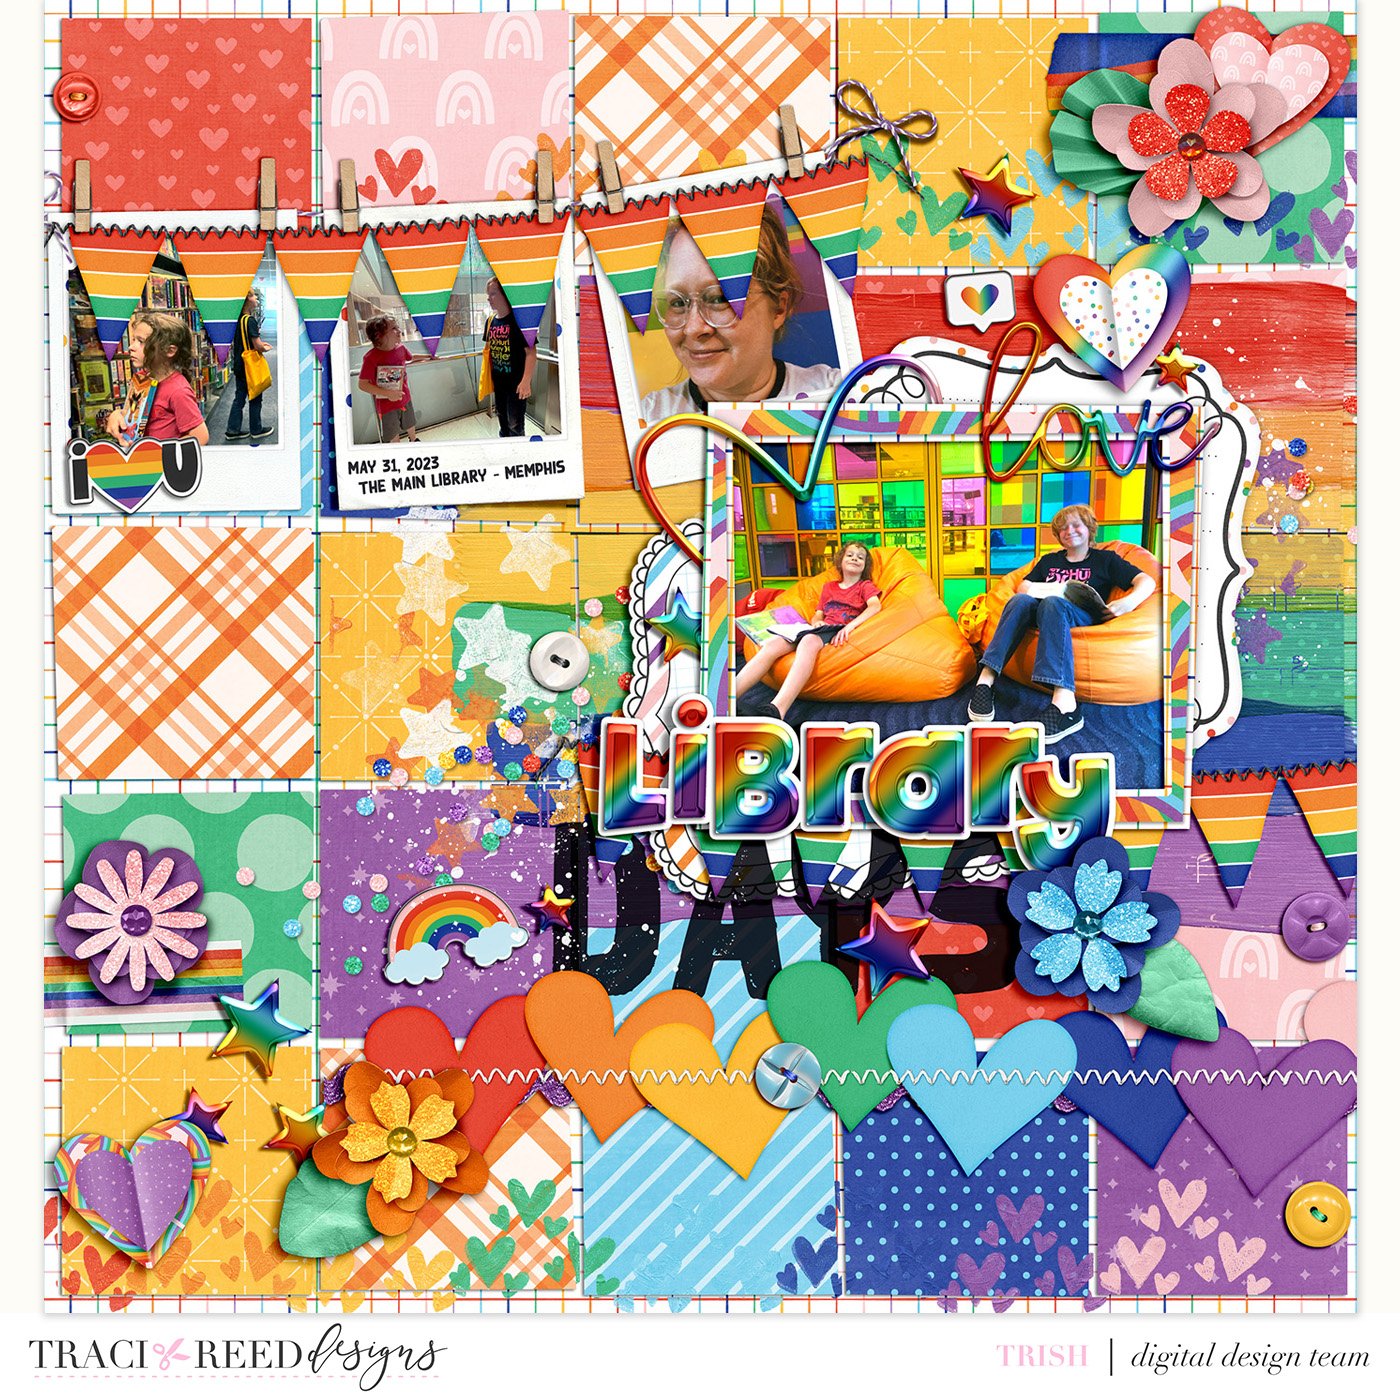
For my layout, I used slightly-smaller-than-4x4 patterned papers so that I could have a nice 1/4” gutter in between my papers and a border around my page. I used Cocoa Daisy Stamps to stamp the messy stitching to “muss up” the flow of the grid and make it a little more freeform. You can do the same with doodling in the gutters or even hand-stitching!

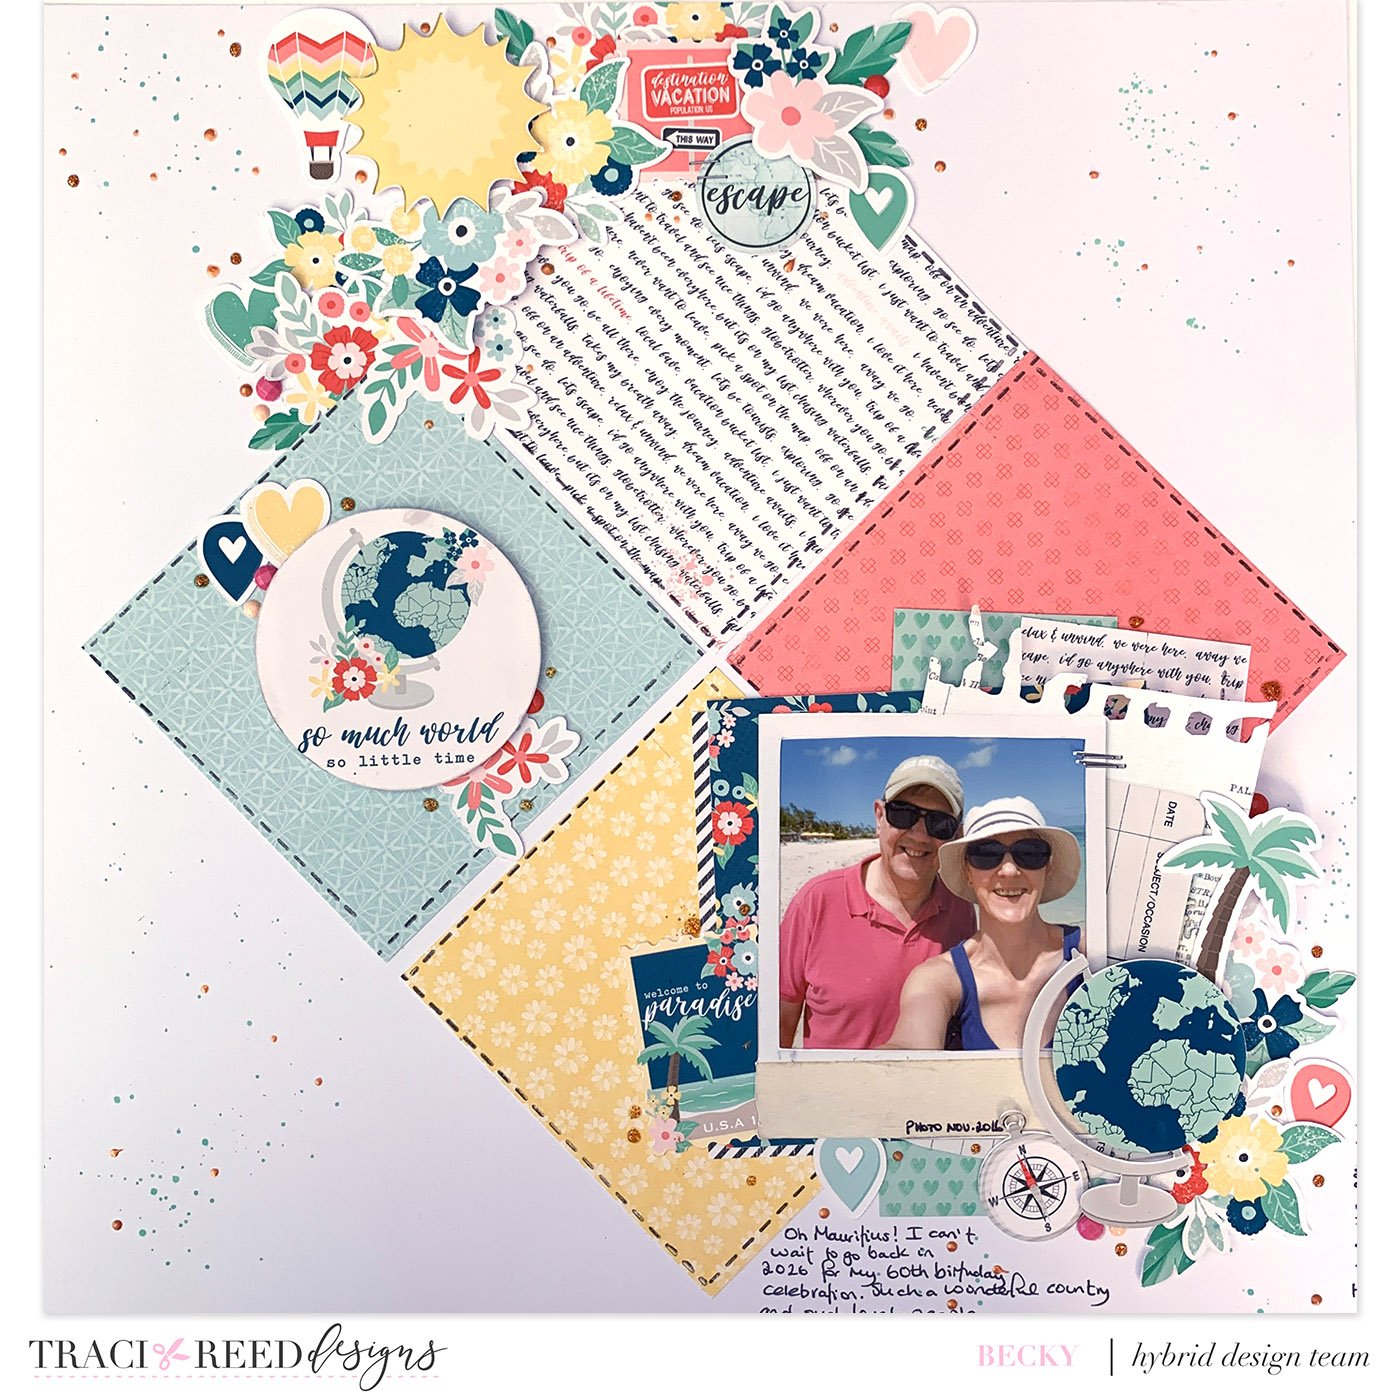
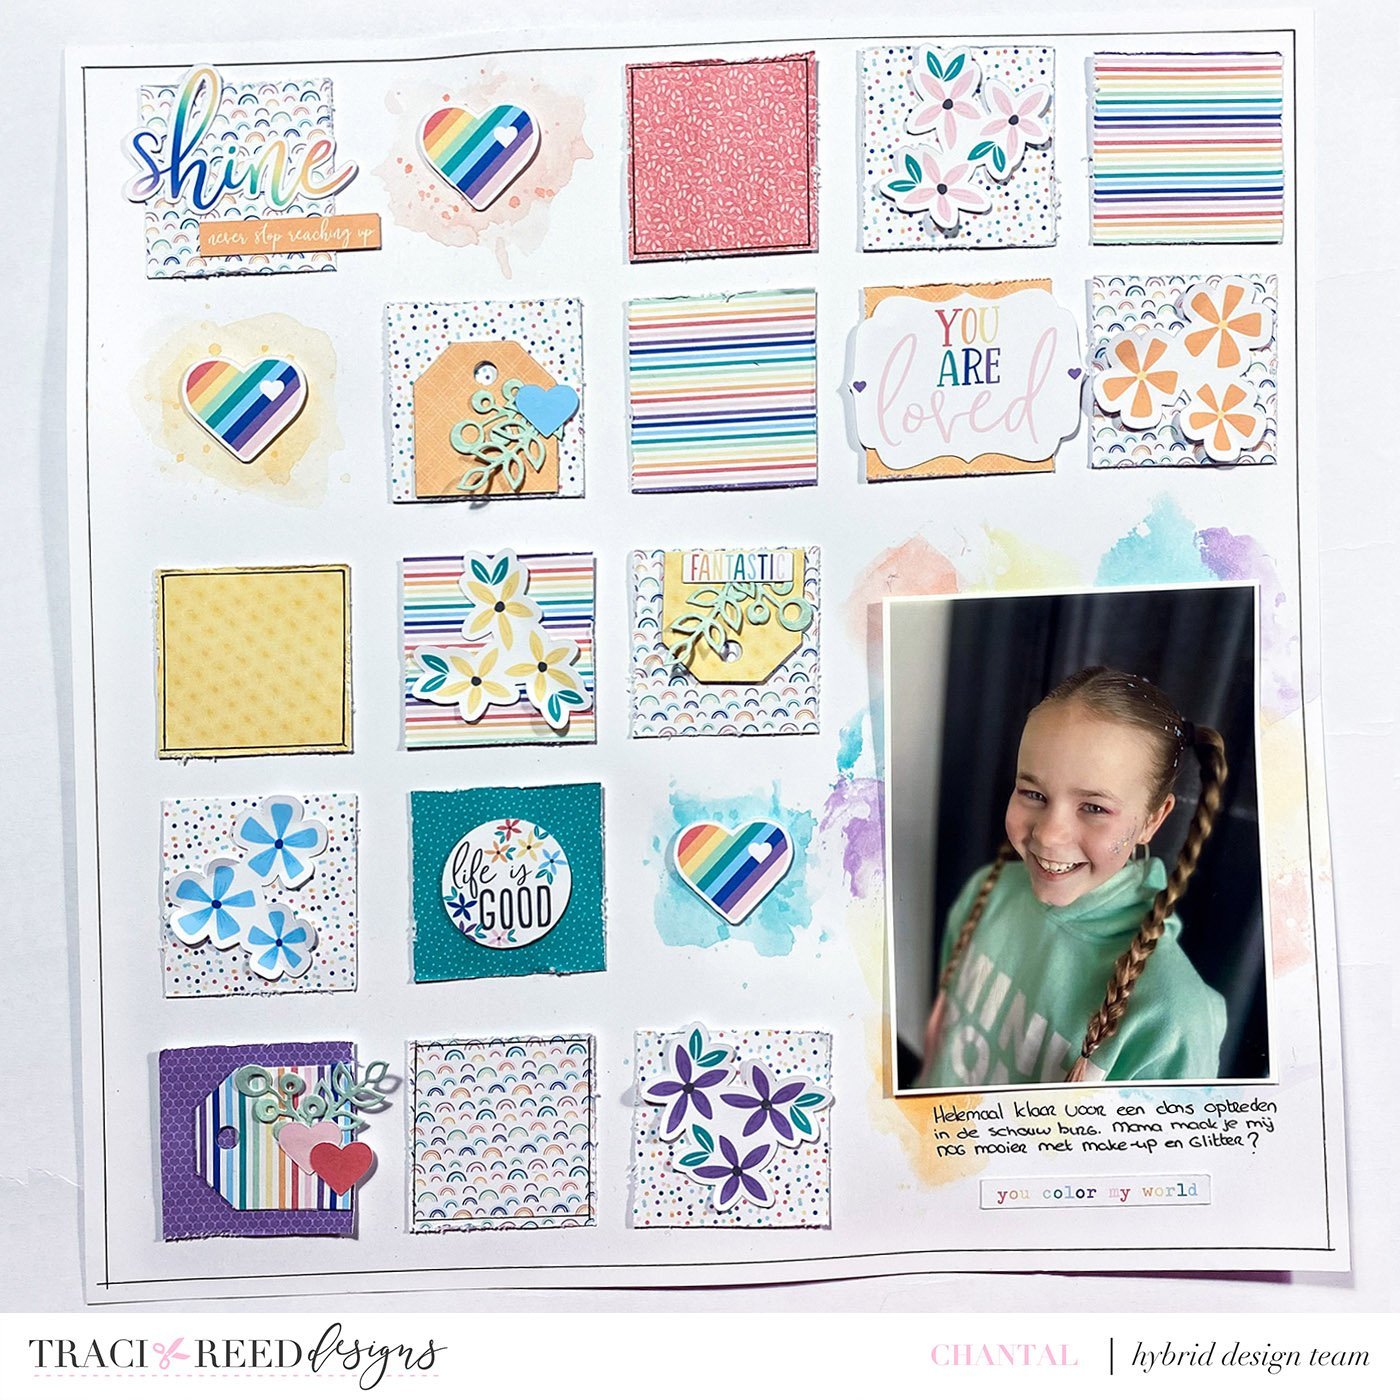
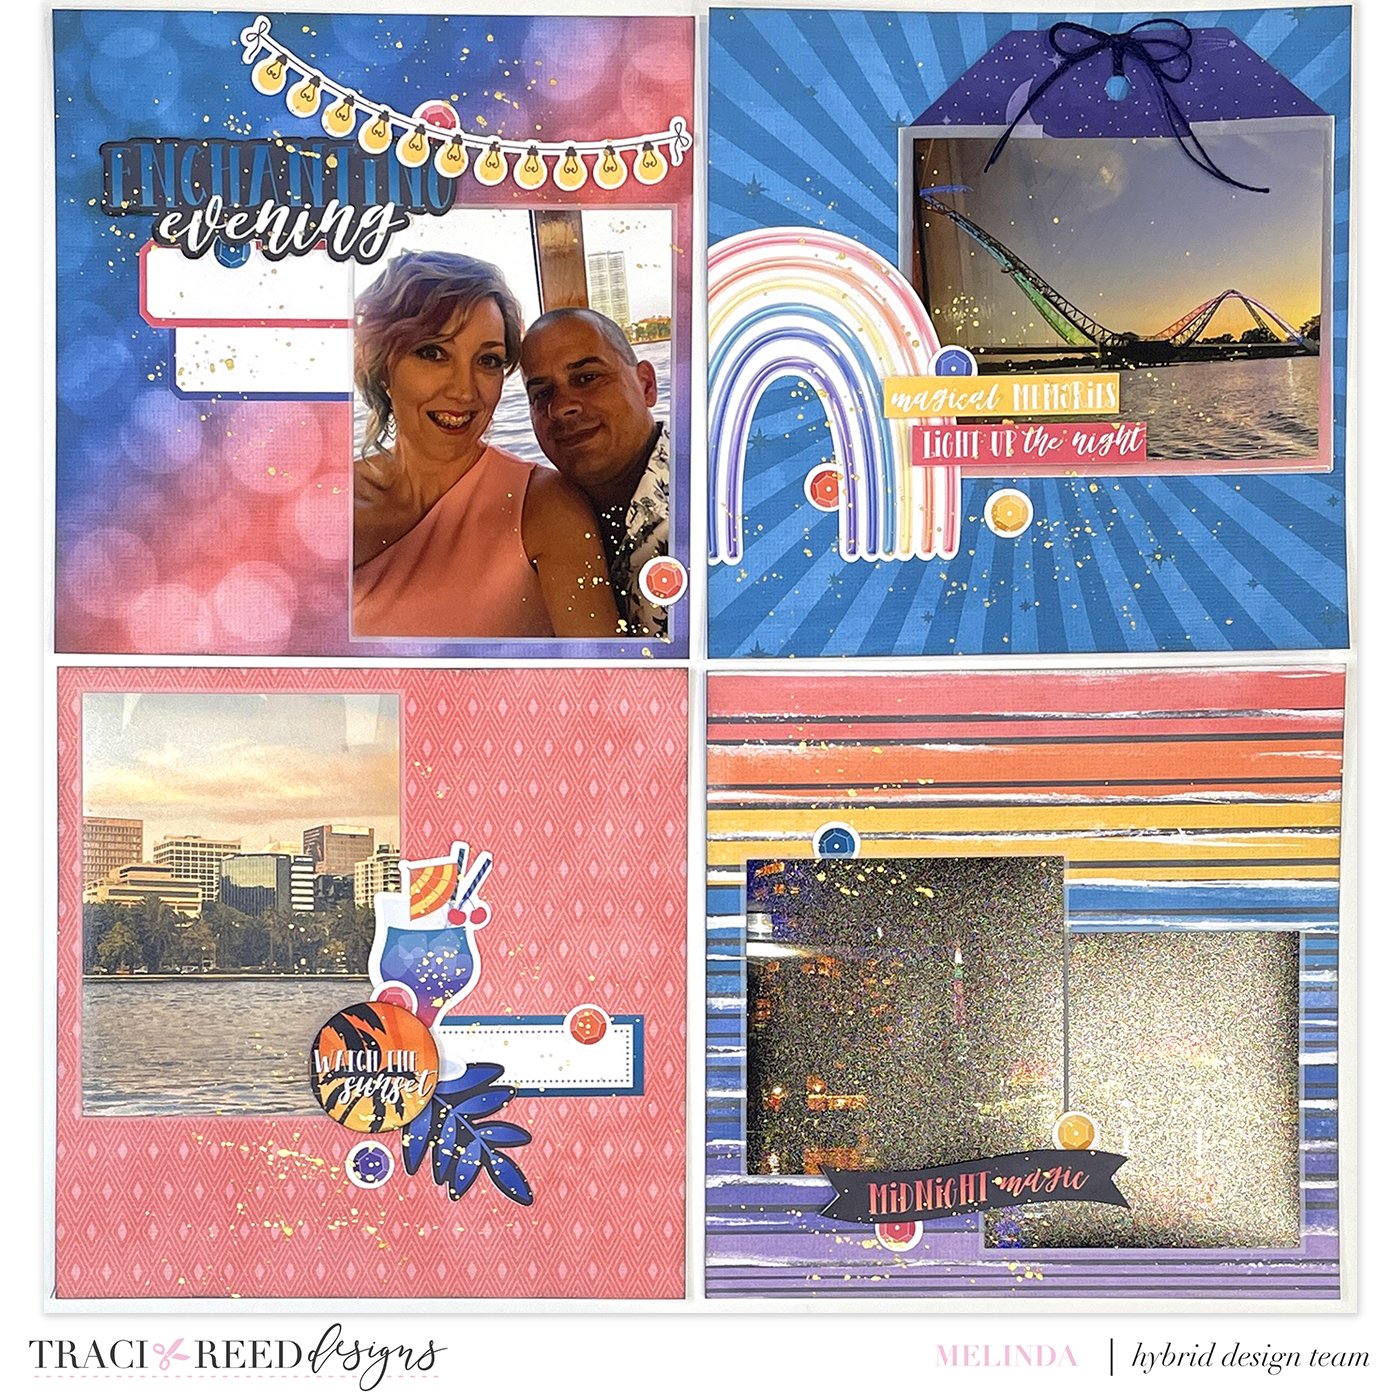
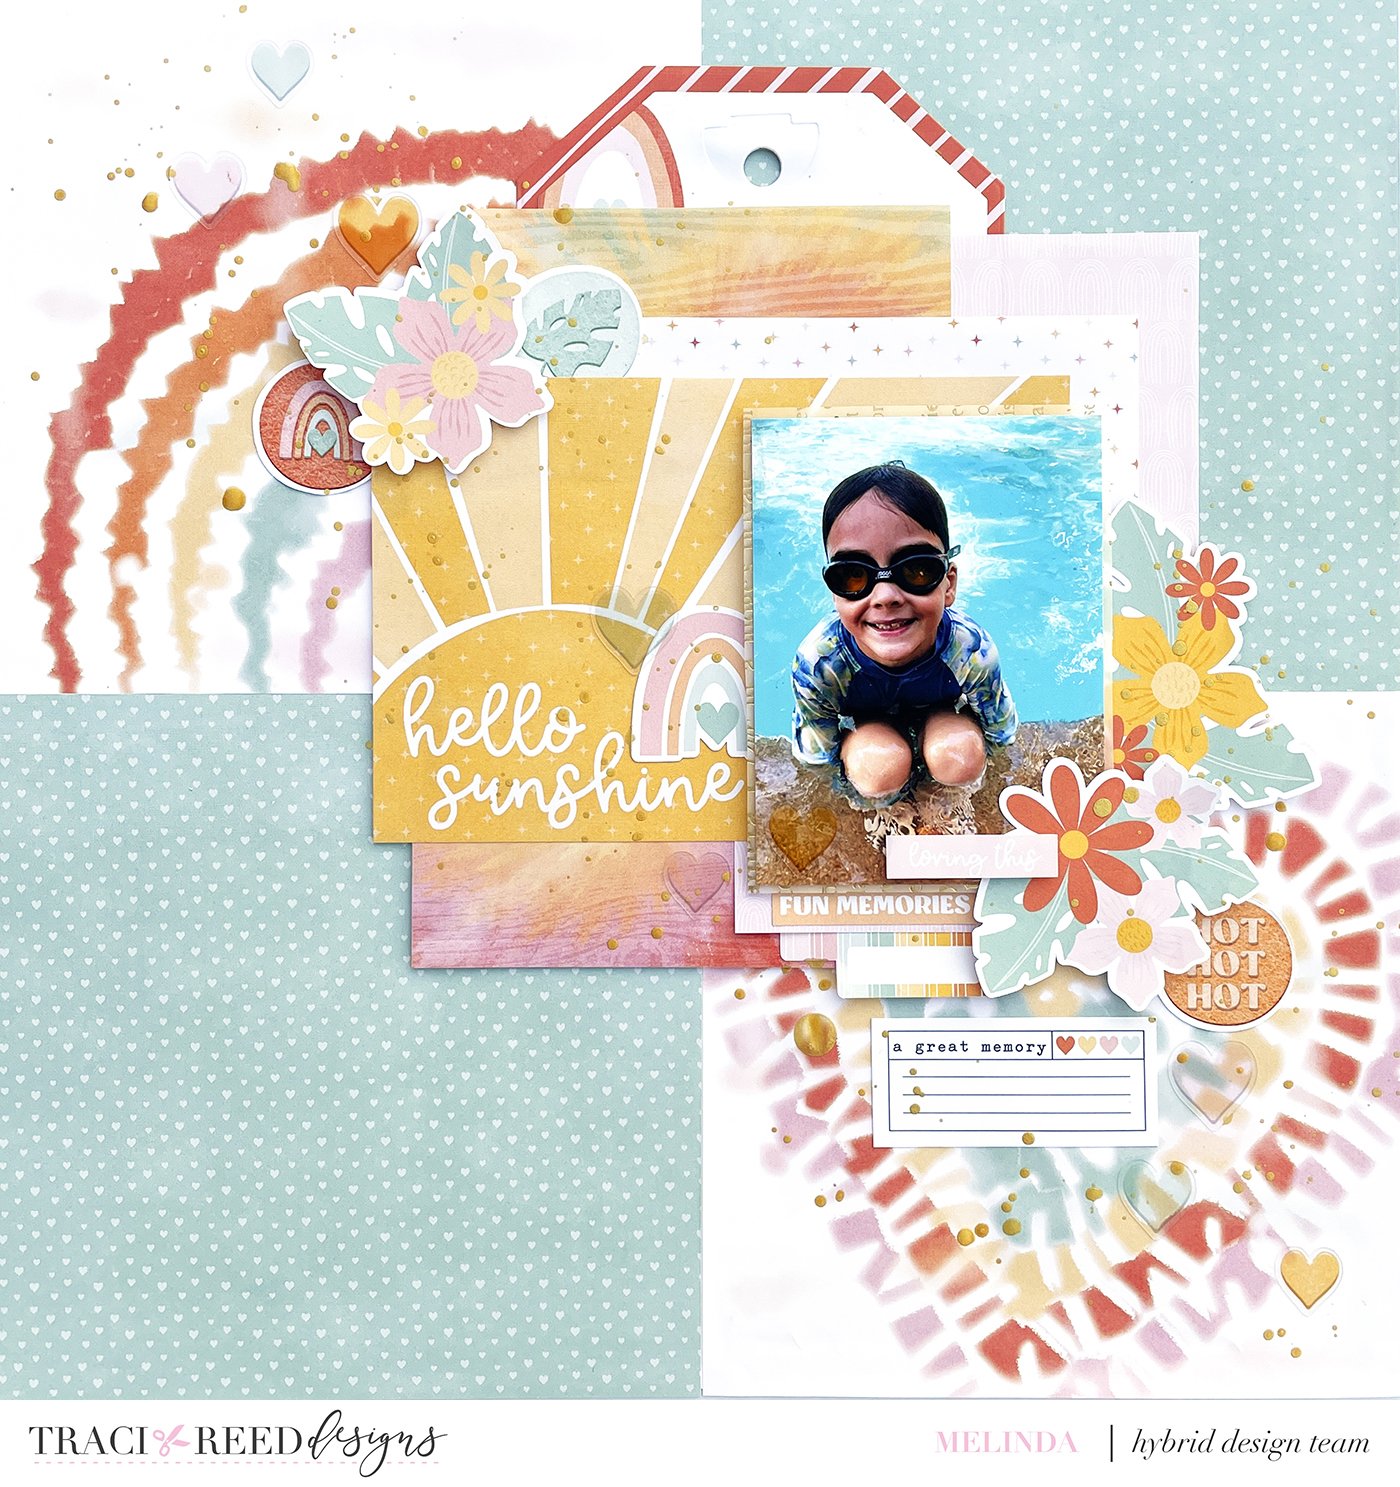
Now comes the fun part—composing your photos, journaling, and embellishments within the grid squares. Treat each square as its own canvas like some of the team examples below OR compose over the top of the grid so that it fades more into the background rather than becoming the composition. Experiment with various combinations, sizes, and orientations to create a balanced and visually appealing composition.
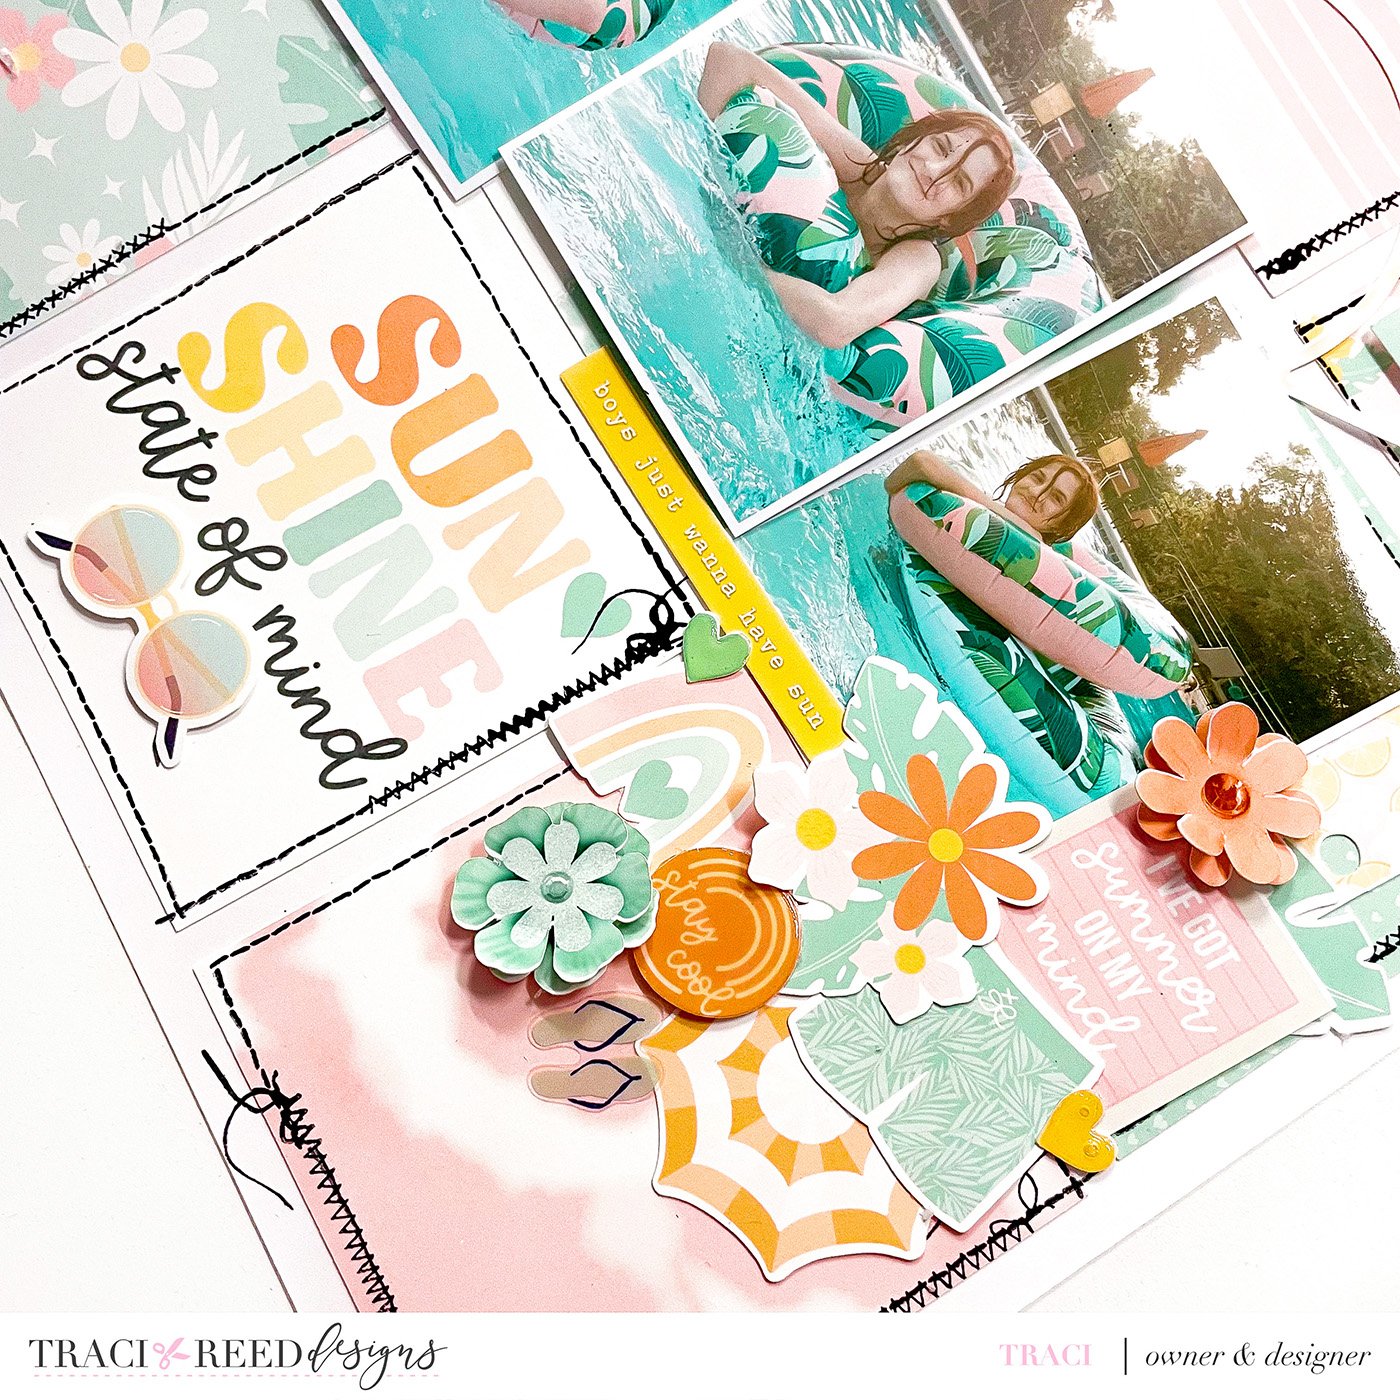
To add depth and dimension, consider layering elements both within and around the grid squares. Use stickers, die cuts, ephemera, or even hand-cut shapes to embellish and personalize each square. These additions will further emphasize the themes and aesthetics of your layout.

Complete your layout by adding a title that ties everything together. Play with fonts, colors, and placement to make it stand out within the grid design. Finally, evaluate your composition and make any necessary adjustments. Don't be afraid to add extra details, such as ink splatters, doodles, or stitching, to add an extra touch of creativity.
By creating a patterned paper grid, you can turn 6x6 or smaller patterned paper squares into a captivating foundation for your 12x12 layouts, even with limited printing capabilities. Embrace the unique possibilities that these petite papers offer, and create stunning designs through grid-based arrangements. The grid not only provides structure but also invites creativity as you compose and embellish within each square. It's time to let your imagination soar and make the most of your hybrid patterned papers with this innovative approach. Happy scrapping!
Process Video
Team Examples With Paper Strips:
Blog Posts:
TRD Sketchy Sunday #22, TRD Sketchy Sunday #28 and TRD Sketchy Sunday #39 have great paper blocking examples


TRD Products Used In This Post


Other Products Used In This Post:
Stitching Stamp is (retired) from Cocoa Daisy (aff link)
Clear stickers are from Maggie Holmes Sunny Days