Think Outside The 12x12: Scrapbooking 12x12 Layouts with 8.5x11 (or smaller!) Printables: Lesson Two!
No 12x12 Printer? No Problem! In our “Think Outside the 12x12” series, we’re showing you how to scrap 12x12 layouts with TRD printables, even if you don’t have a 12x12 printer!
When it comes to scrapbooking, using smaller pieces of paper can present a creative challenge, and one bar to printables I often see presented by my customers. But fear not! In this blog series, we'll explore an techniques for using non-12x12 papers on your 12x12 layouts that still have that POP that you want for your large layouts!
Lesson Two: Embrace Cut Files + Your Silhouette’s Print & Cut Feature!
In this blog post, we'll explore an exciting method that involves using 8.5x11 prints for your 12x12 designs, thanks to the amazing print and cut feature of Silhouette Studio software. This approach allows you to maximize creativity while optimizing your resources. Get ready to discover how to make the most of your prints and create stunning layouts effortlessly.

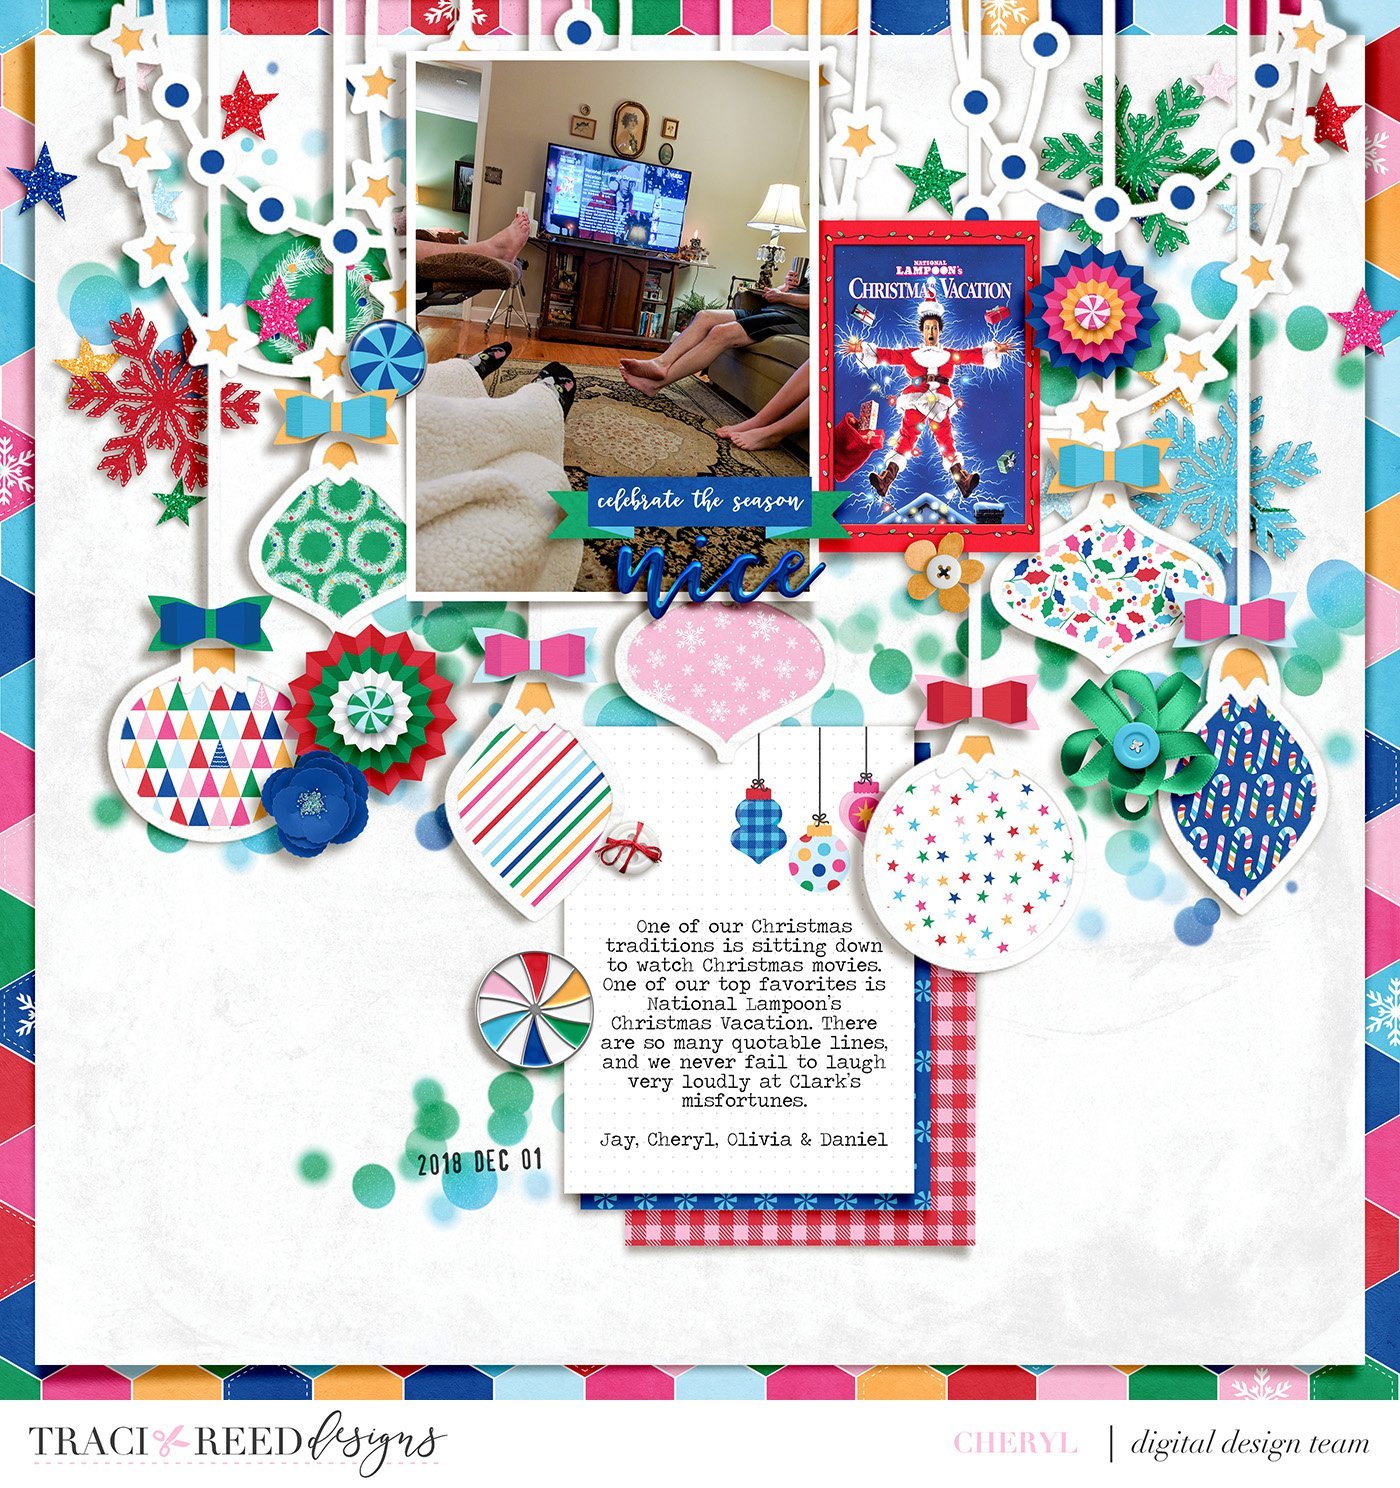
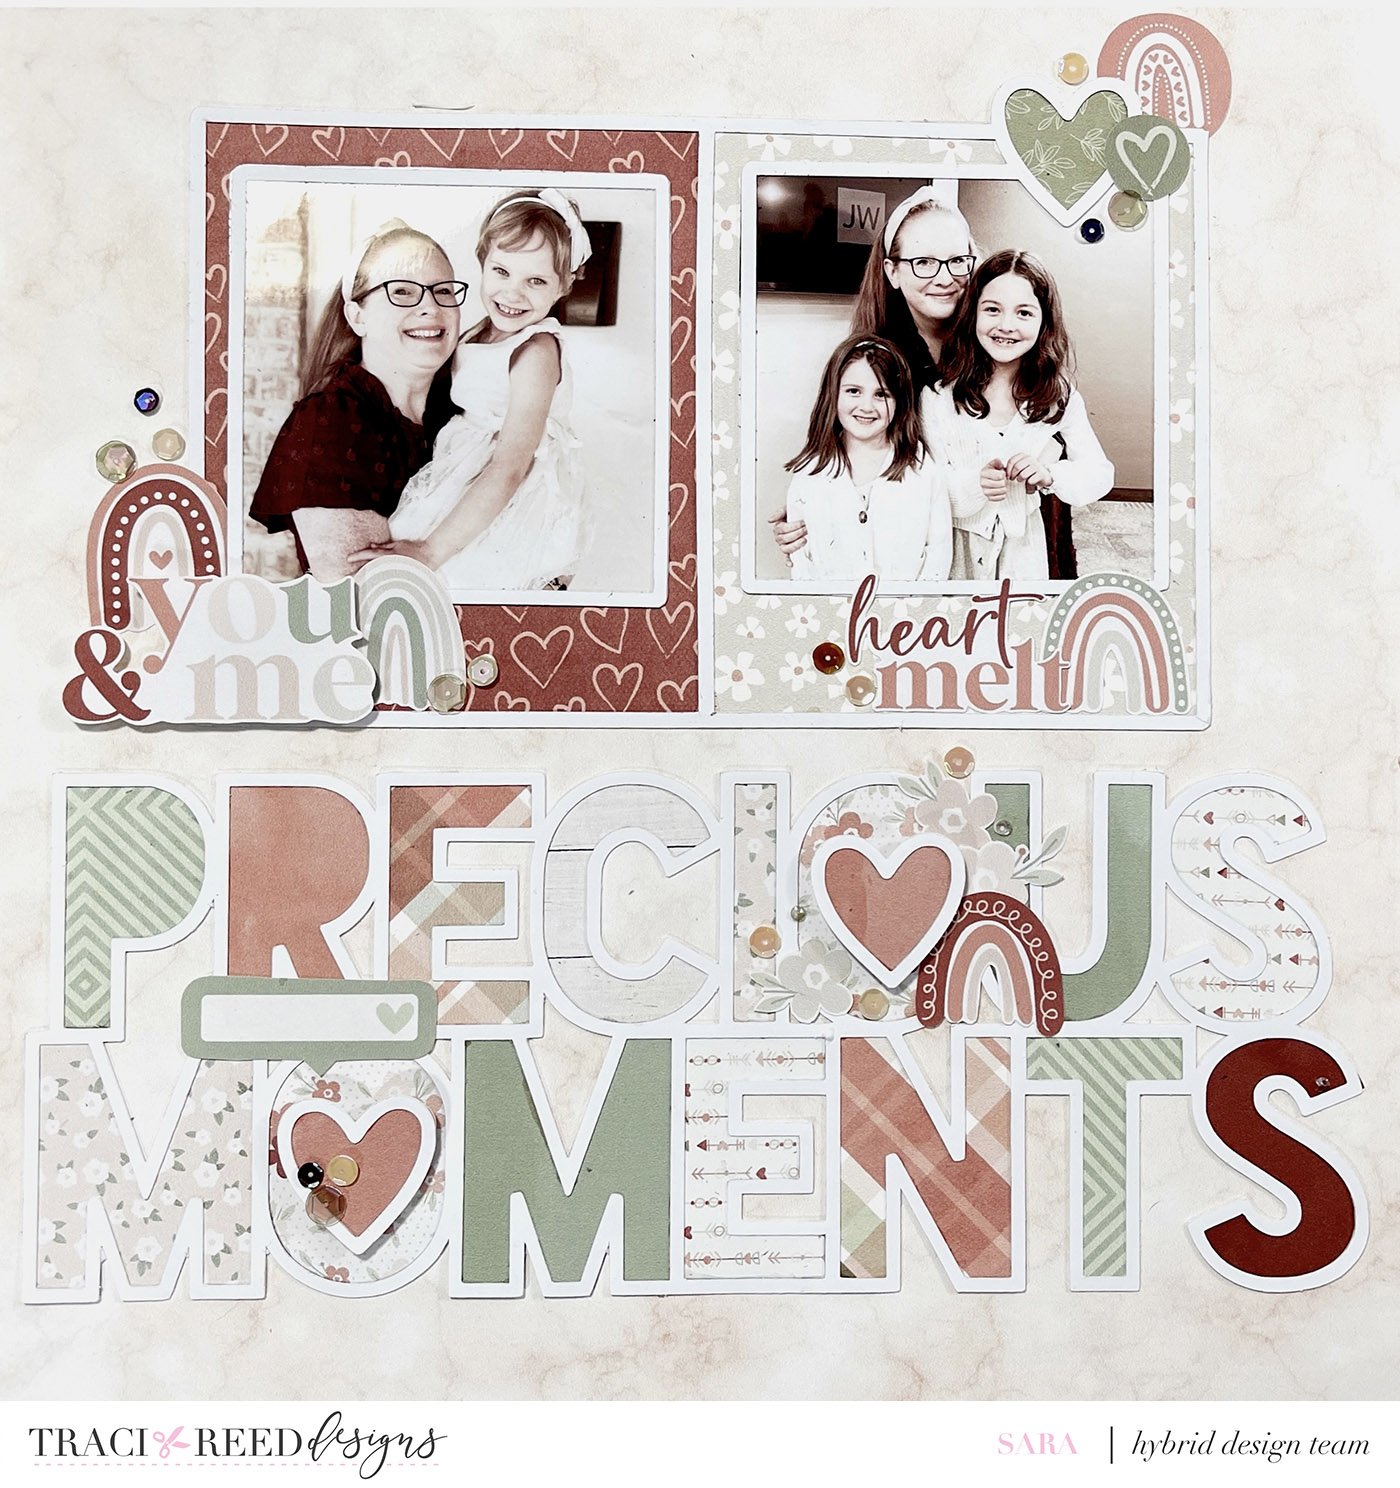
Let’s be real, other than your base layer of paper, how often do we truly NEED a full 12x12 sheet of paper? We’re always cutting them into smaller pieces, right? Well today I’m using my Fierce collection and a cut file in my Silhouette Studio software to print and cut ONLY what I need for my page!
Introduction to Cut Files and Silhouette Studio:
Before we get started, let's familiarize ourselves with cut files and Silhouette Studio software. Cut files are digital designs that can be imported into cutting machines such as the Silhouette Cameo. Silhouette Studio is the software that allows you to manipulate and customize these designs before cutting. It offers a variety of tools and functions, including the powerful print and cut feature.

Selecting the Perfect Cut File:
Browse through online marketplaces, download one of my free cut files, or design your own cut file using software like Adobe Illustrator or Silhouette Studio's design tools. Look for a cut file that suits your layout theme and preferences. There are endless options available, from intricate mandalas to whimsical shapes and delicate florals. Choose a design that speaks to you and complements the photos or story you want to showcase.

Preparing the Cut File in Silhouette Studio:
Import the chosen cut file into Silhouette Studio. Resize and position it on the 12x12 workspace to fit your layout. With the print and cut function, you can add my digital patterned papers to the design before printing and cutting. If your cut file doesn’t come with the pieces to “fill” the design separated already, simply duplicate the cut file and then right click and “release compound path.” This will turn all the “inner” pieces into their own cuts that you can now fill in with patterns.

Printing and Cutting:
Once you've filled your cut file with desired patterns, it's time to print and cut. Create an 8.5x11 canvas with registration marks turned on and at their smallest settings, then fit your patterned pieces together like a puzzle to make sure you optimize your printed space and use the least amount of paper possible! Make sure to adjust the print settings to photo and best quality. I prefer to print at home on Epson Premium Presentation Paper. Once printed, load the paper into your Silhouette cutting machine and let it work its magic. The machine will precisely cut out each element based on the registration marks printed by the software.

Assembling the Layout:
With your paper pieces beautifully cut, it's time to assemble your layout. Adhere the printed and cut elements onto your 12x12 base paper, following the design and arrangement of the cut file. Pay attention to layering, dimension, and composition as you bring your layout to life. Consider adding additional embellishments, journaling, or title to complete the story and enhance the overall design.

By harnessing the power of Silhouette Studio's print and cut feature, you can take your scrapbooking layouts to new heights of precision and artistry. Cut files offer endless design possibilities, while the print and cut function ensures accurate and detailed results. Whether you're a seasoned pro or a beginner, exploring the world of print and cut will unlock a realm of creativity that will leave you inspired and amazed. Let your imagination soar and create layouts that showcase your memories in stunning precision. Happy crafting!
Process Video


TRD Products Used In This Post


