December of Memories 2021: Texture Class with Caroline
Hi Everyone,
I hope you had a wonderful Christmas. I’m excited to be here on Traci’s blog to show you why I absolutely love adding texture into my memory-keeping projects. My December Daily album is no different. Some people are under the impression that working with printables means you simply print out some cards and add them into pockets. You certainly can do just that (and I do that a lot – especially when I am wanting to capture something but don’t have a lot of time to be creative). There are also LOTS of way you can add texture into projects using printables. So many that I found it difficult to limit myself in the projects I created for this blog post!! I have worked with Traci’s Candy Coated Christmas collection in all of these projects. IT is ADORABLE!!
I’ve tried to incorporate a few different techniques to appeal to different approaches in December Daily (and of course other memory keeping projects). I’ve added a couple of walk throughs of two techniques you may not have tried below. I’ve also included two additional projects to show you my favourite techniques. I hope you give some of them a go.
The great thing about adding texture into your projects it is makes them super tactile. You’ll find yourself wanting to stroke your pages a lot!! Be warned!
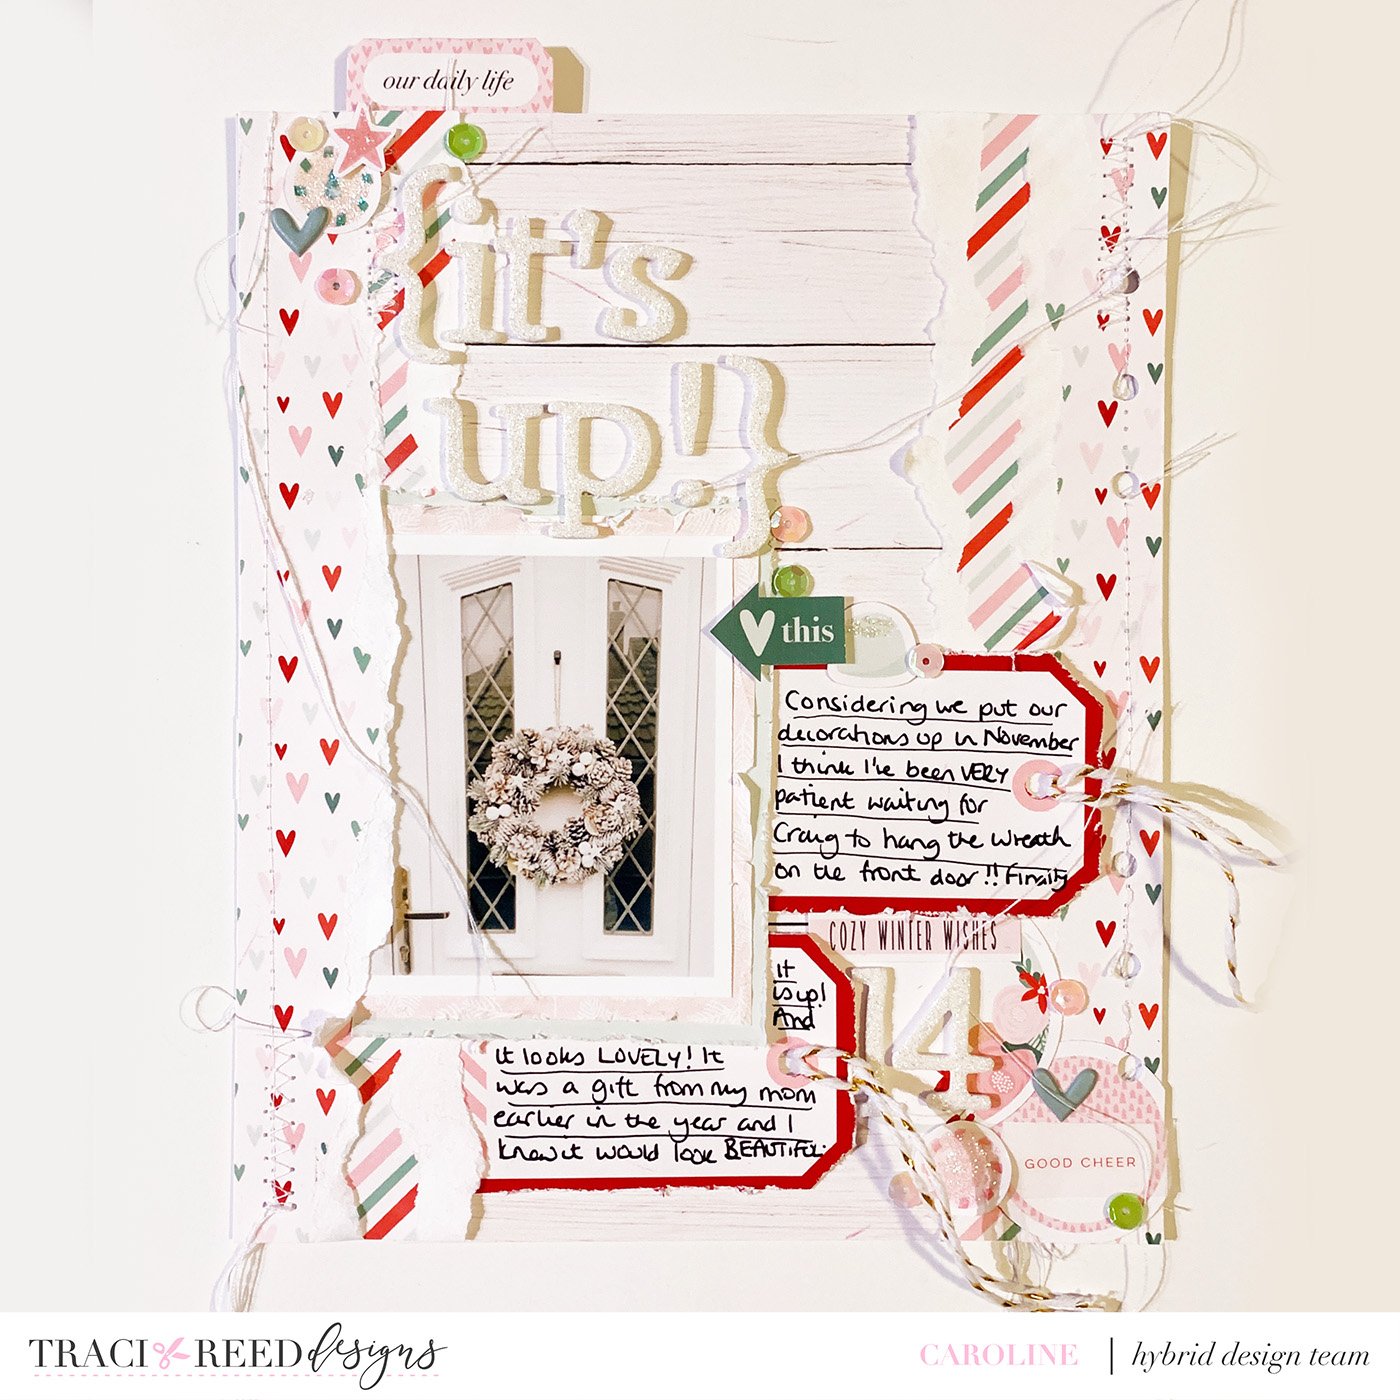
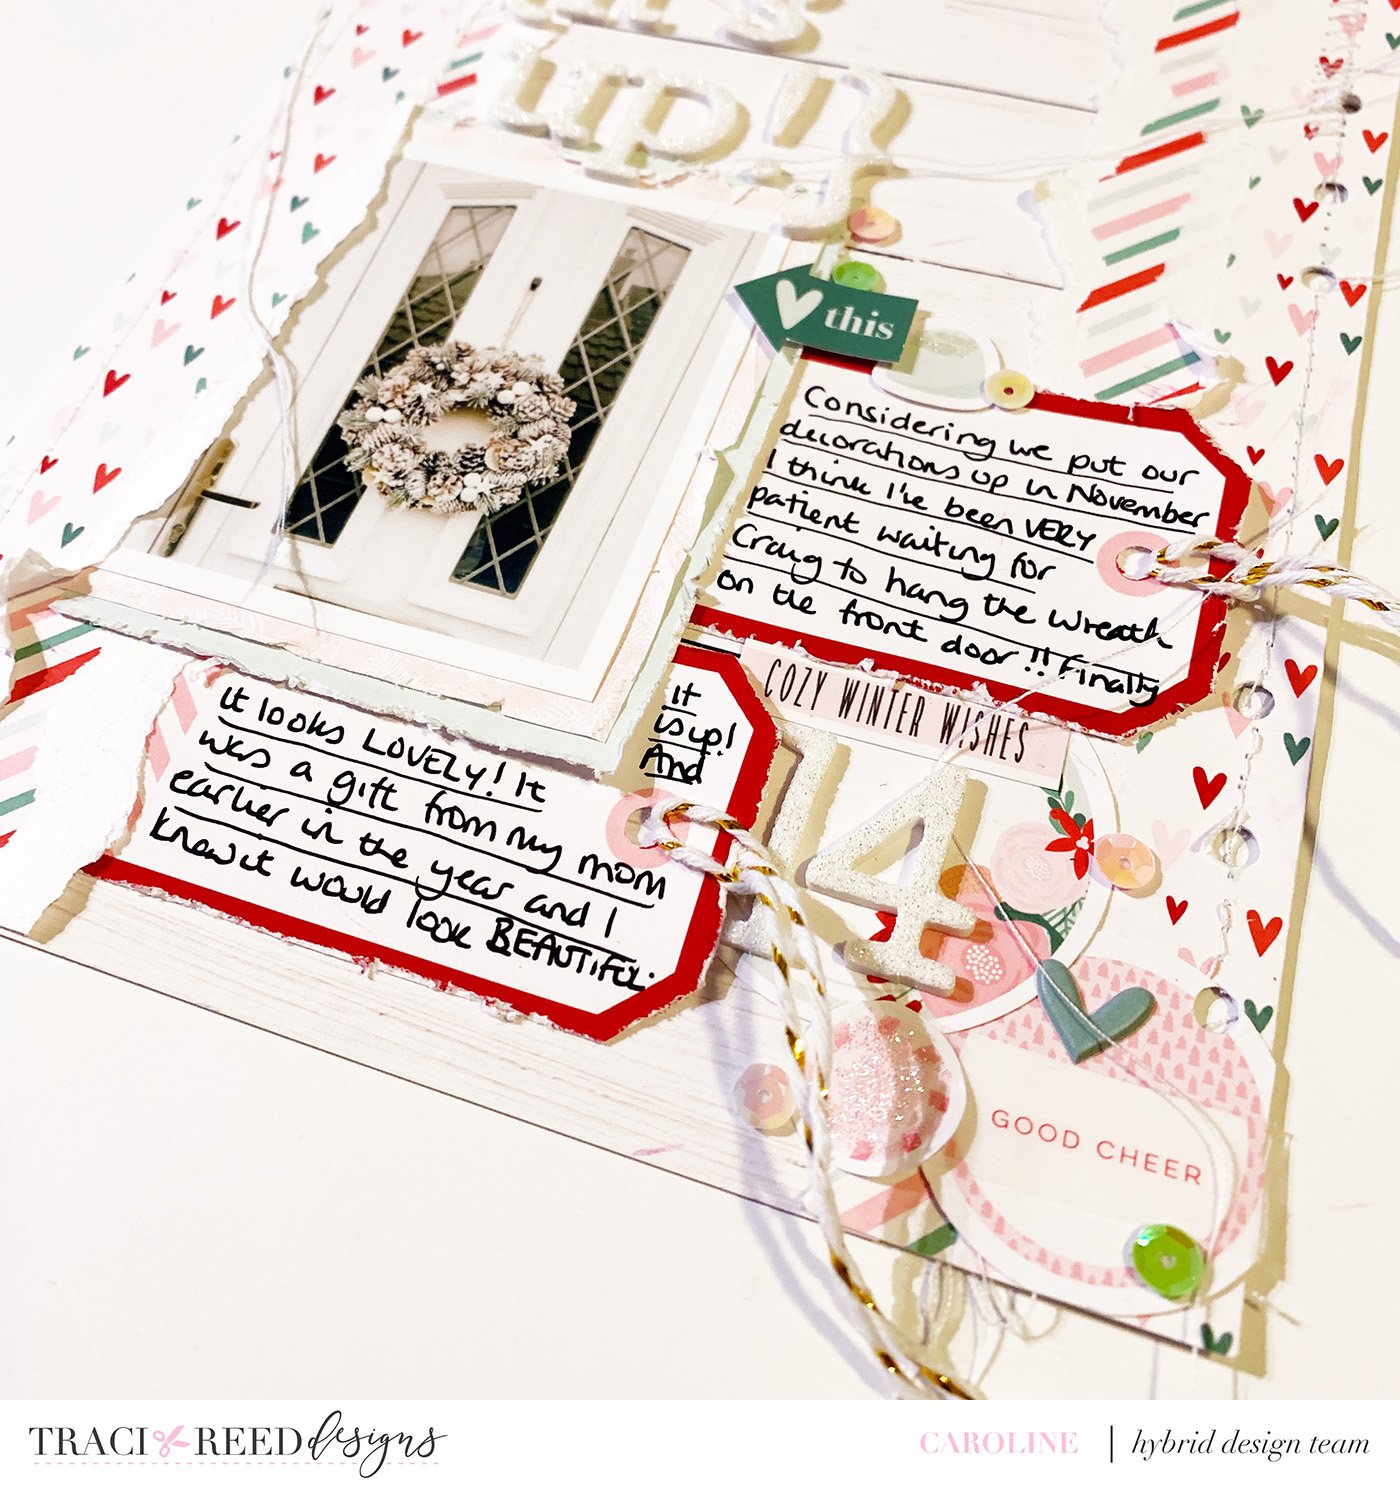
Project One – Paper Fringe and Transparency
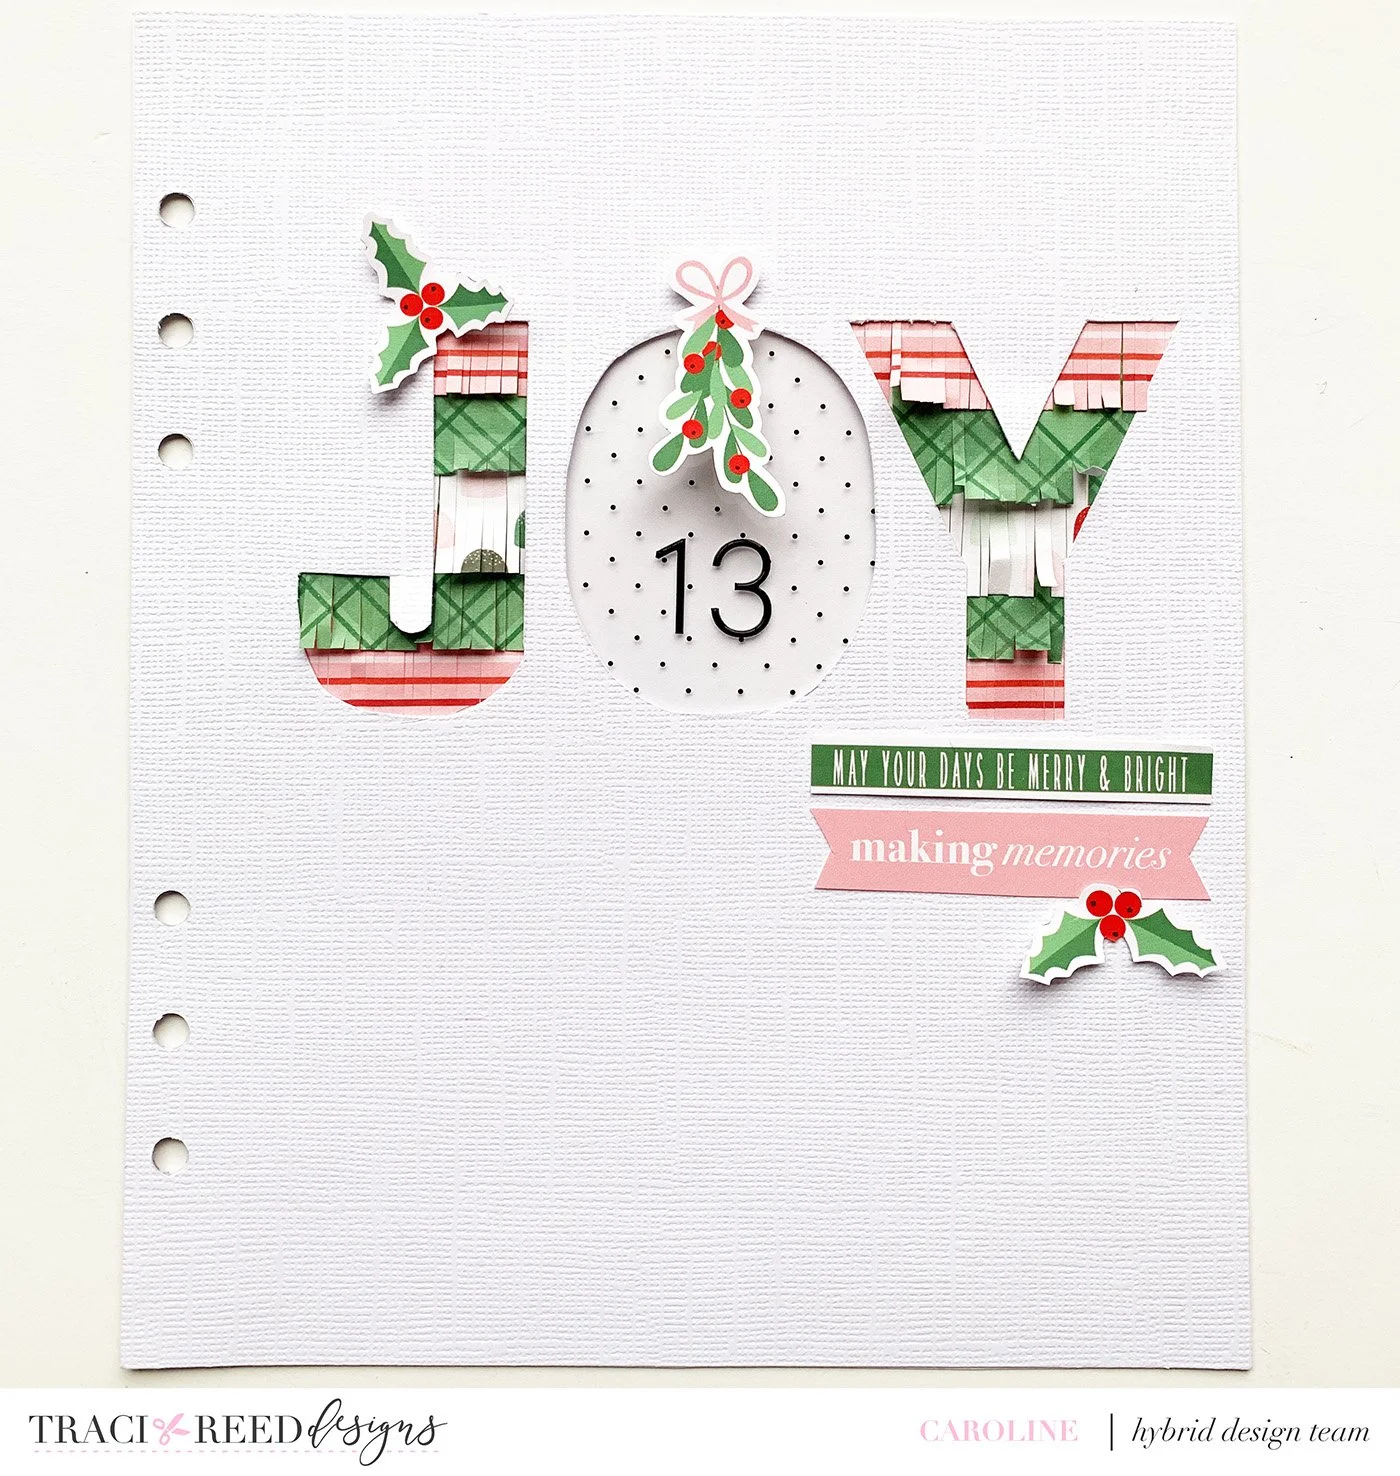
Creating paper fringe is a great wat of adding texture into your pages without adding too much bulk too.
Interactive pages also adds to the tactile nature here.
Pick a simple word and create a cut-file (or fussy cut as I did)
Print patterned papers
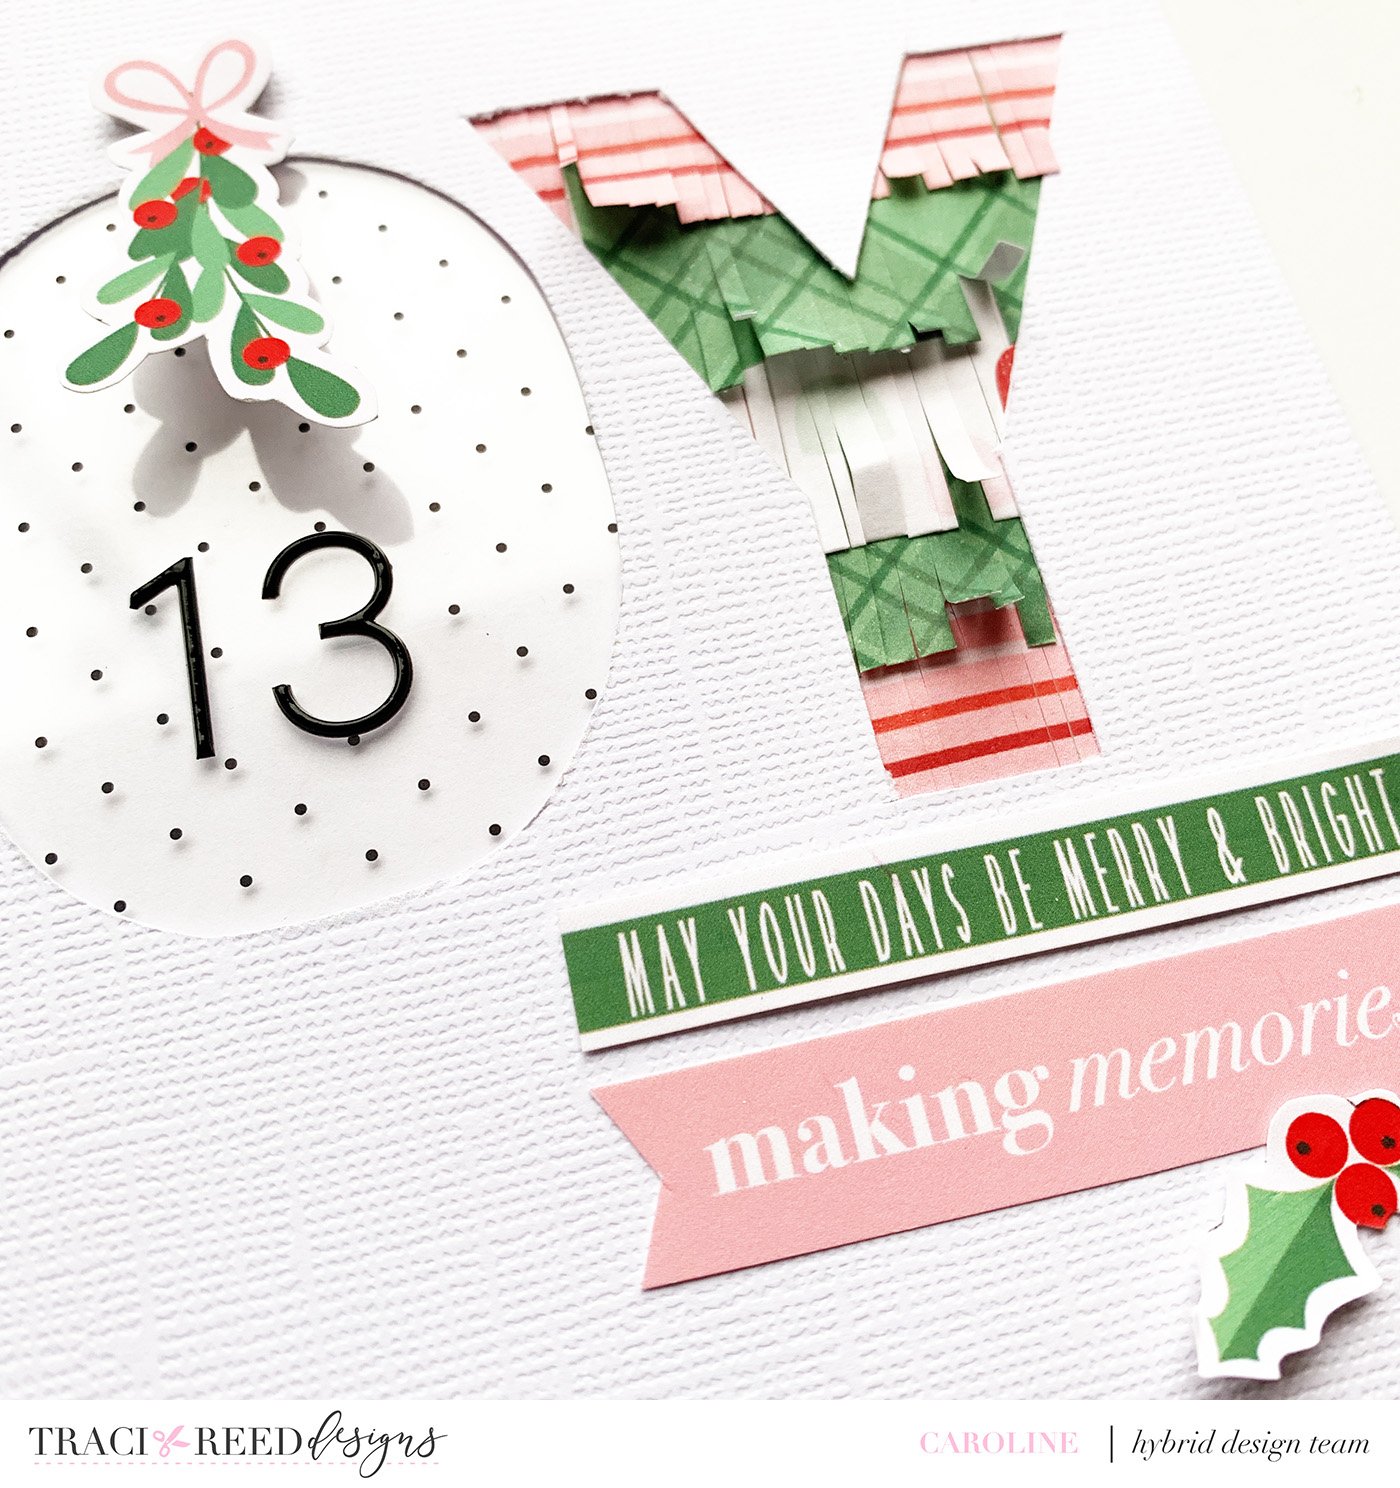
Trim paper into 1 inch strips and cut each into a fringe (leaving a ¼ inch uncut at the top of each strip)
Start with the top fringe and adhere until the letters are filled in
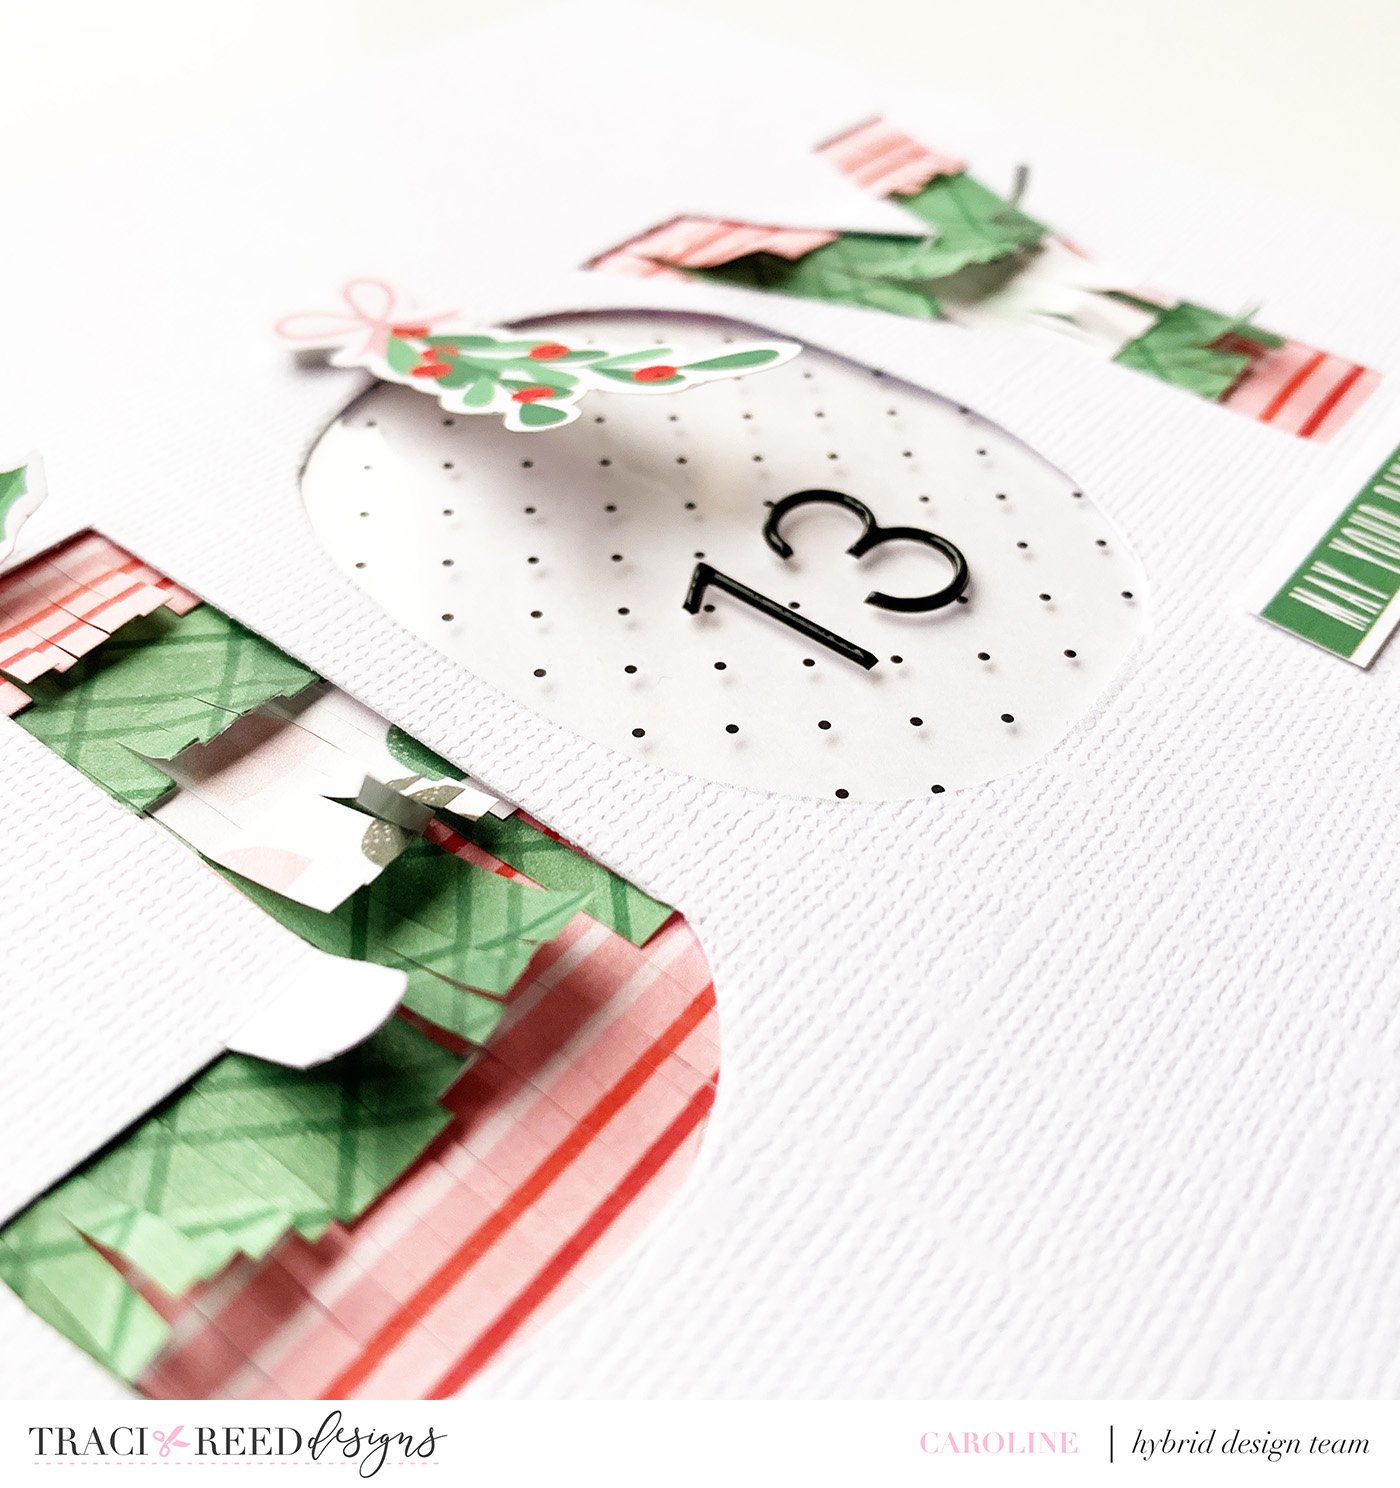
Leave one letter empty and adhere transparency behind this one
Add embellishments using pop dots for added texture and dimension
Adhere second piece of paper behind this securing 3 edges only to create a hidden (full-page) pocket
Create journaling and/or photo to tuck into the pocket. You will see it peeping through the transparency.
Project Two – Using Vellum
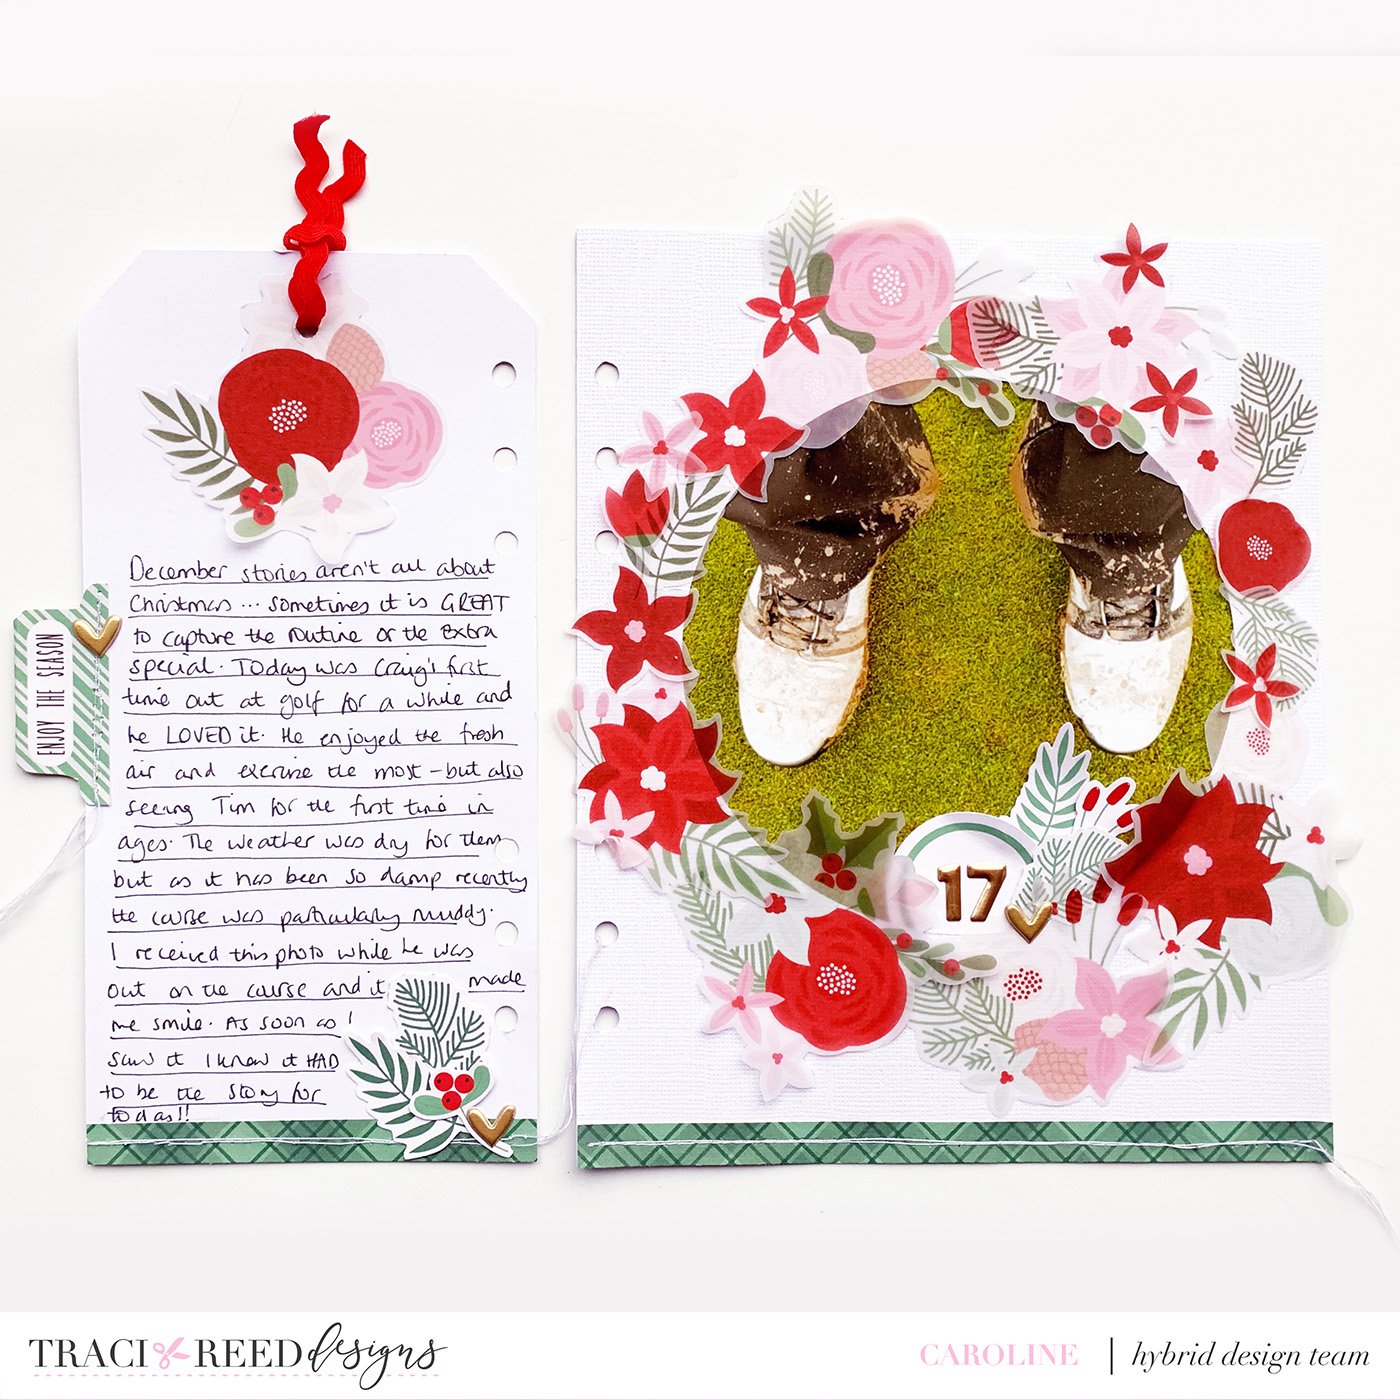
Using vellum to print your printables onto can be another great way of adding texture without adding too much bulk to your projects.
Here is printed all of the floral stickers from Candy Coated Christmas onto vellum.
Cut a circle from your background paper (I used white cardstock to showcase the florals)
Adhere LOTS of vellum florals using vellum adhesive for a layered look without adhesive showing through
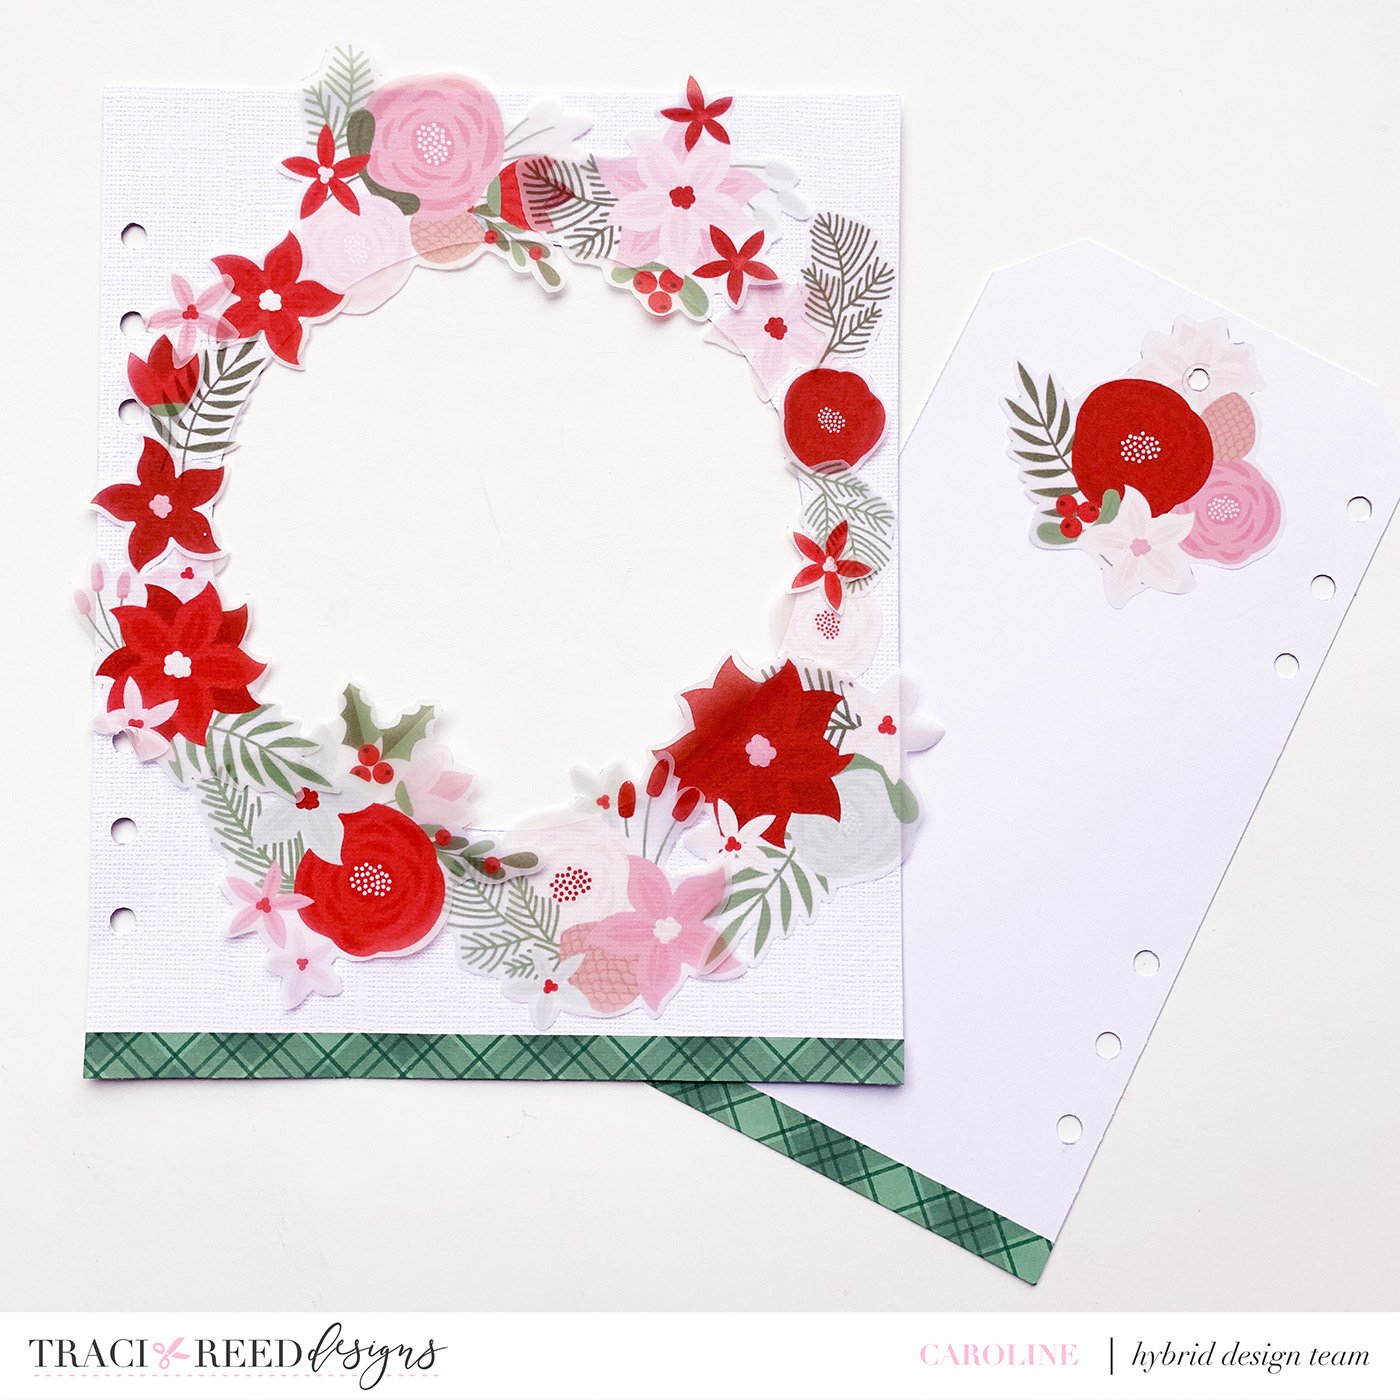
Add a strip of patterned paper to ground the page
Run through sewing machine for extra texture and because … why not?!
Adhere photo behind the vellum ‘wreath’
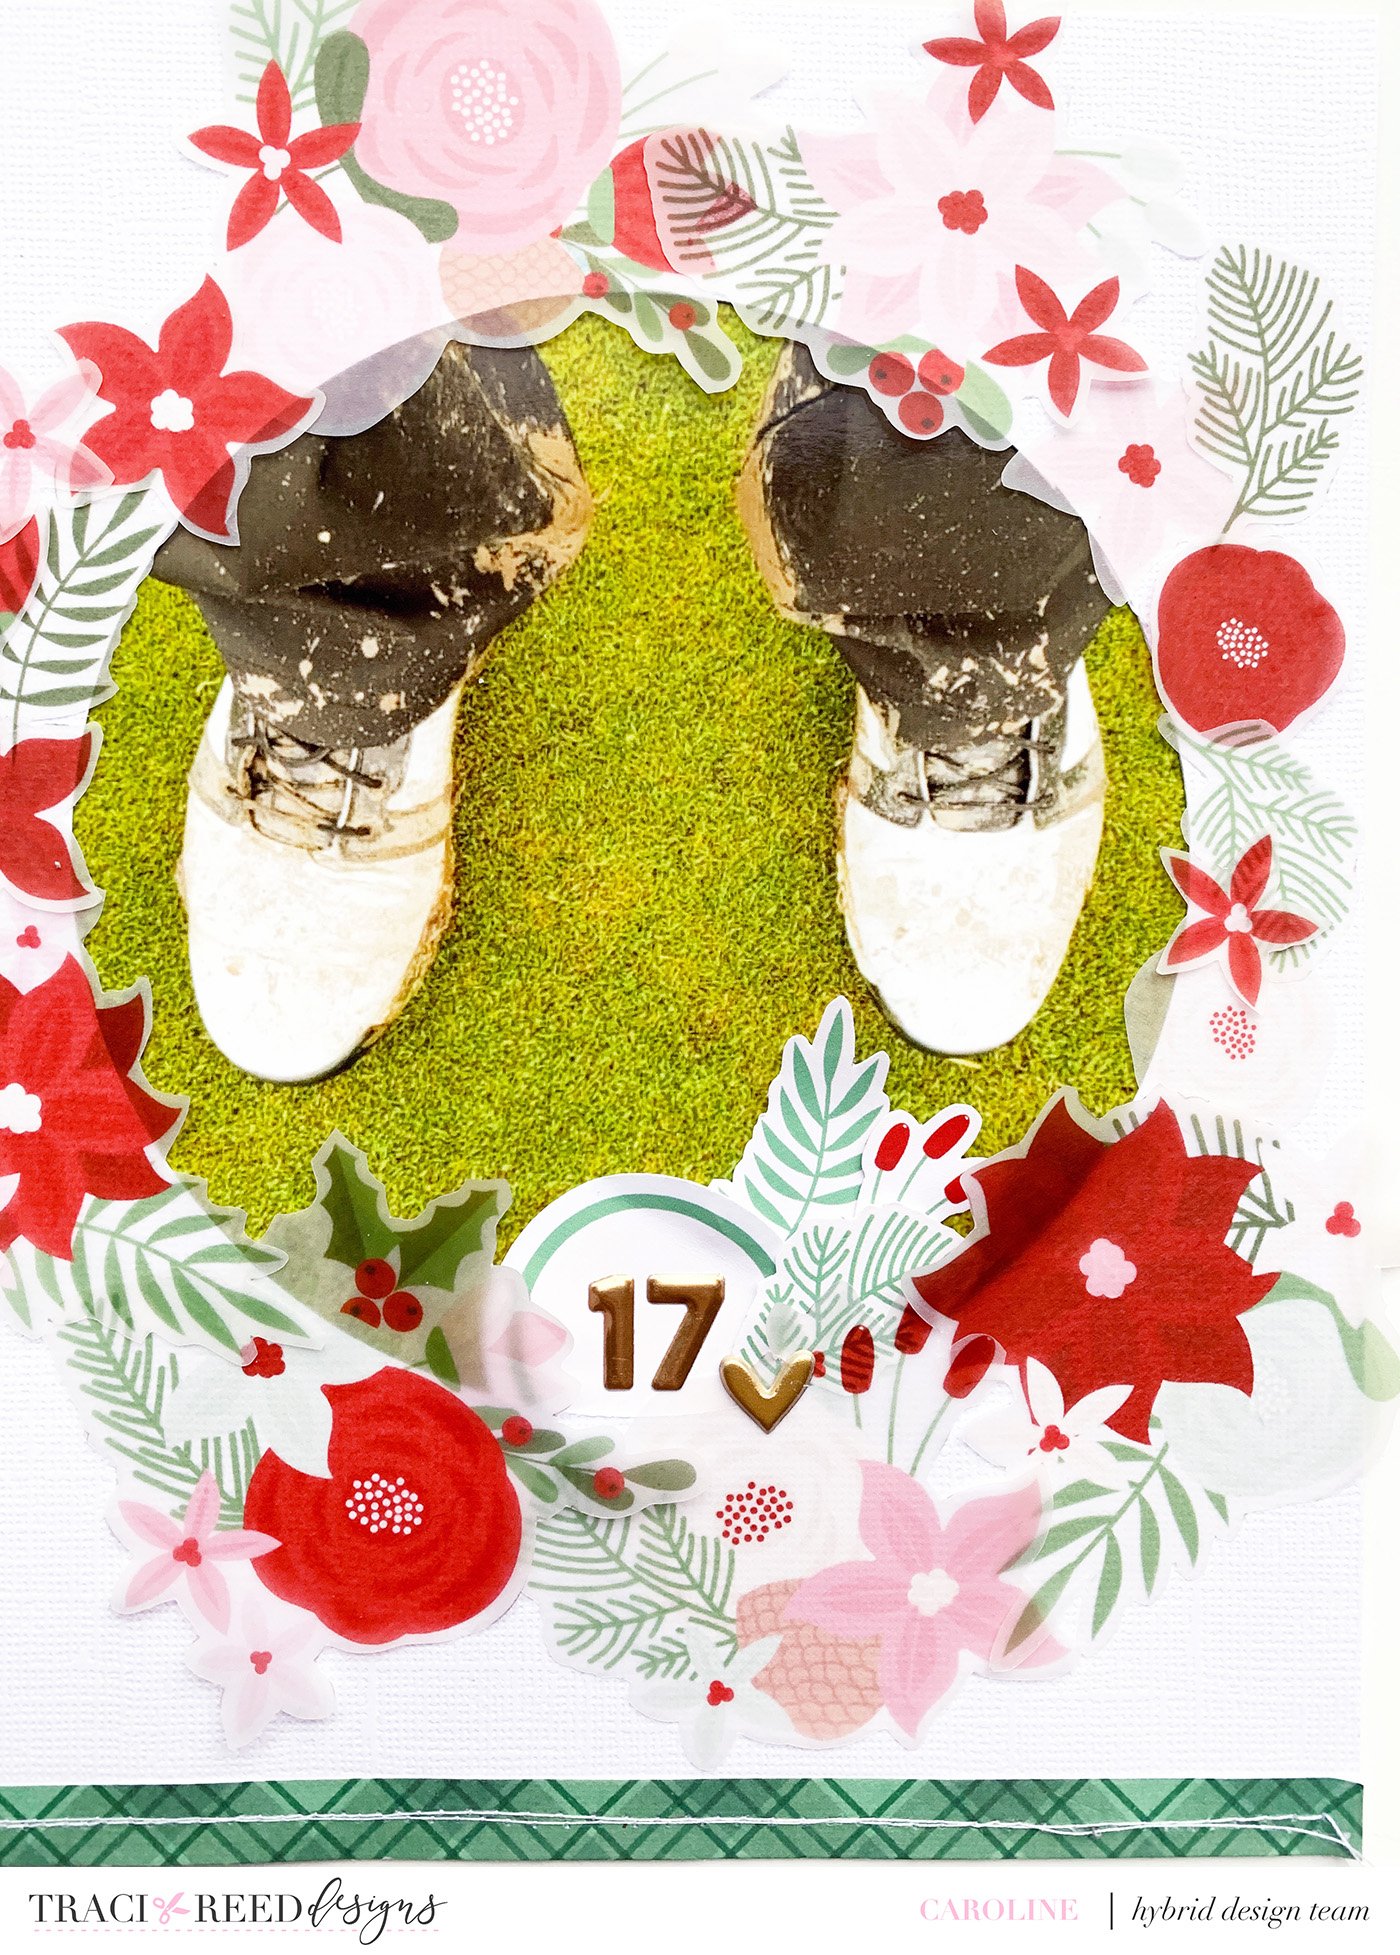
Add extra printables on cardstock for additional texture and variety (Layering is your friend where texture is concerned)
Add your journaling to your page (in my case I created a tag to match)
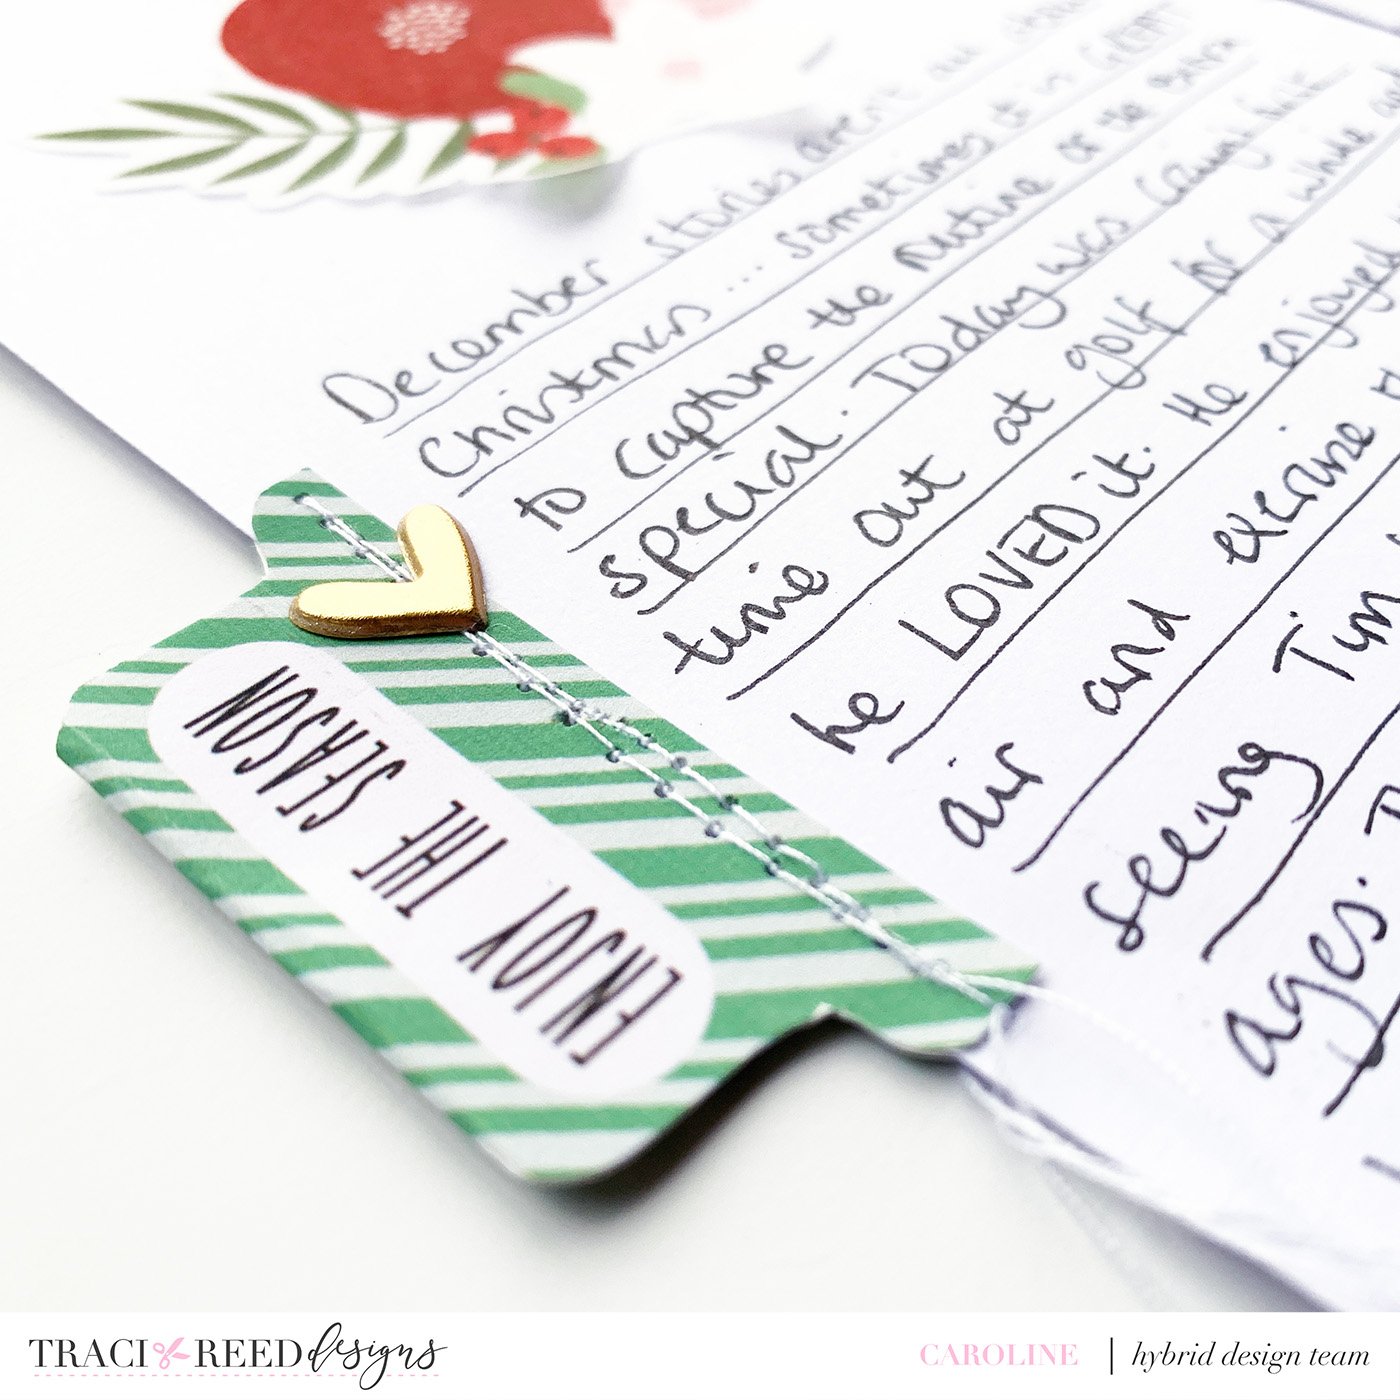
Project 3- Distressed Edges and Stitching
I have to be honest, the techniques in this page are my ABSOLUTE favourite. I love printing beautiful pattered papers and then … tearing them!! Sounds odd but it is fab to be able to create in such a tactile way without worrying about ‘ruining’ a precious piece of paper that you only own one sheet of! The beauty of printable paper is that if your ripping goes a little wrong you can always add it to your scrap basket and print another copy to work with!!
This is exactly the same for sewing… with printable paper I always feel more open to try new techniques and experiment – including with stitches. I give myself permission for things to NOT be perfect when I am working to showcase texture and like to leave the ends of my threads for added texture.
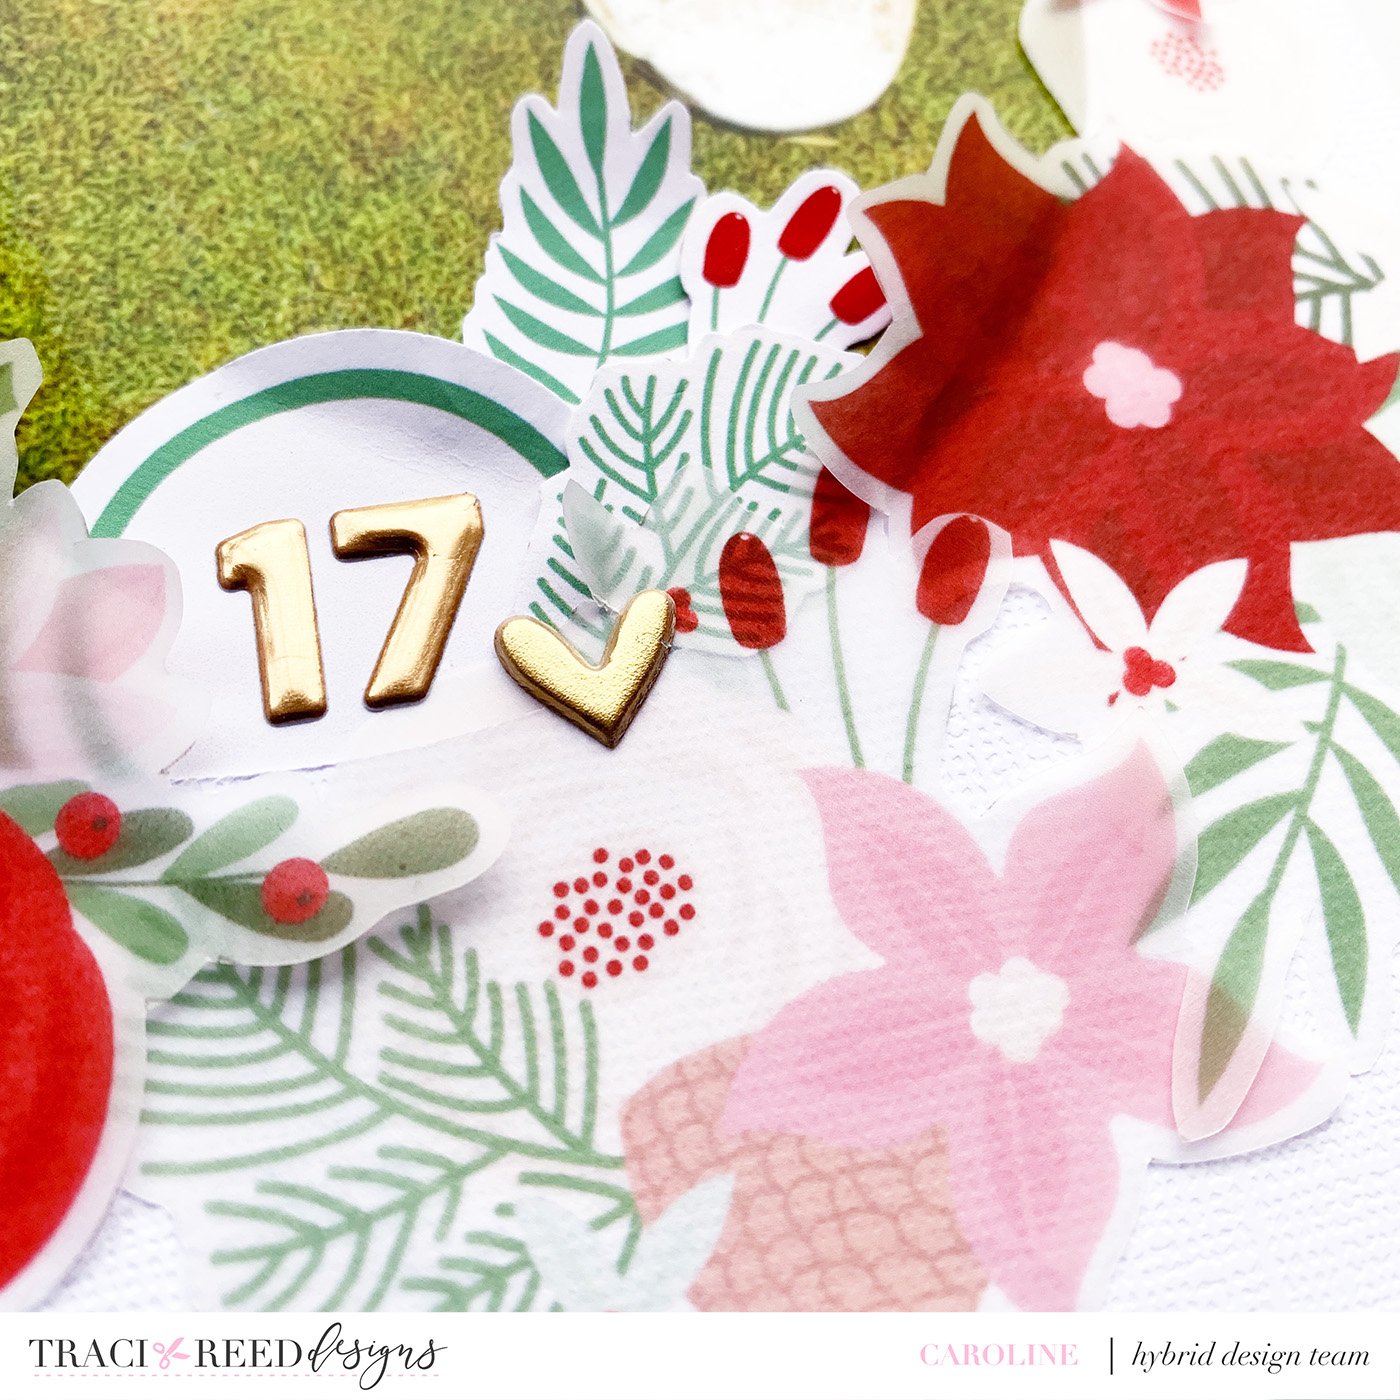
I also feel more playful with printable embellishments and love to add texture to the top of them with glossy accents, glitter glue or texture paste. It really helps to make the colours pop even more.
Project 4 – Working on top of the page protector
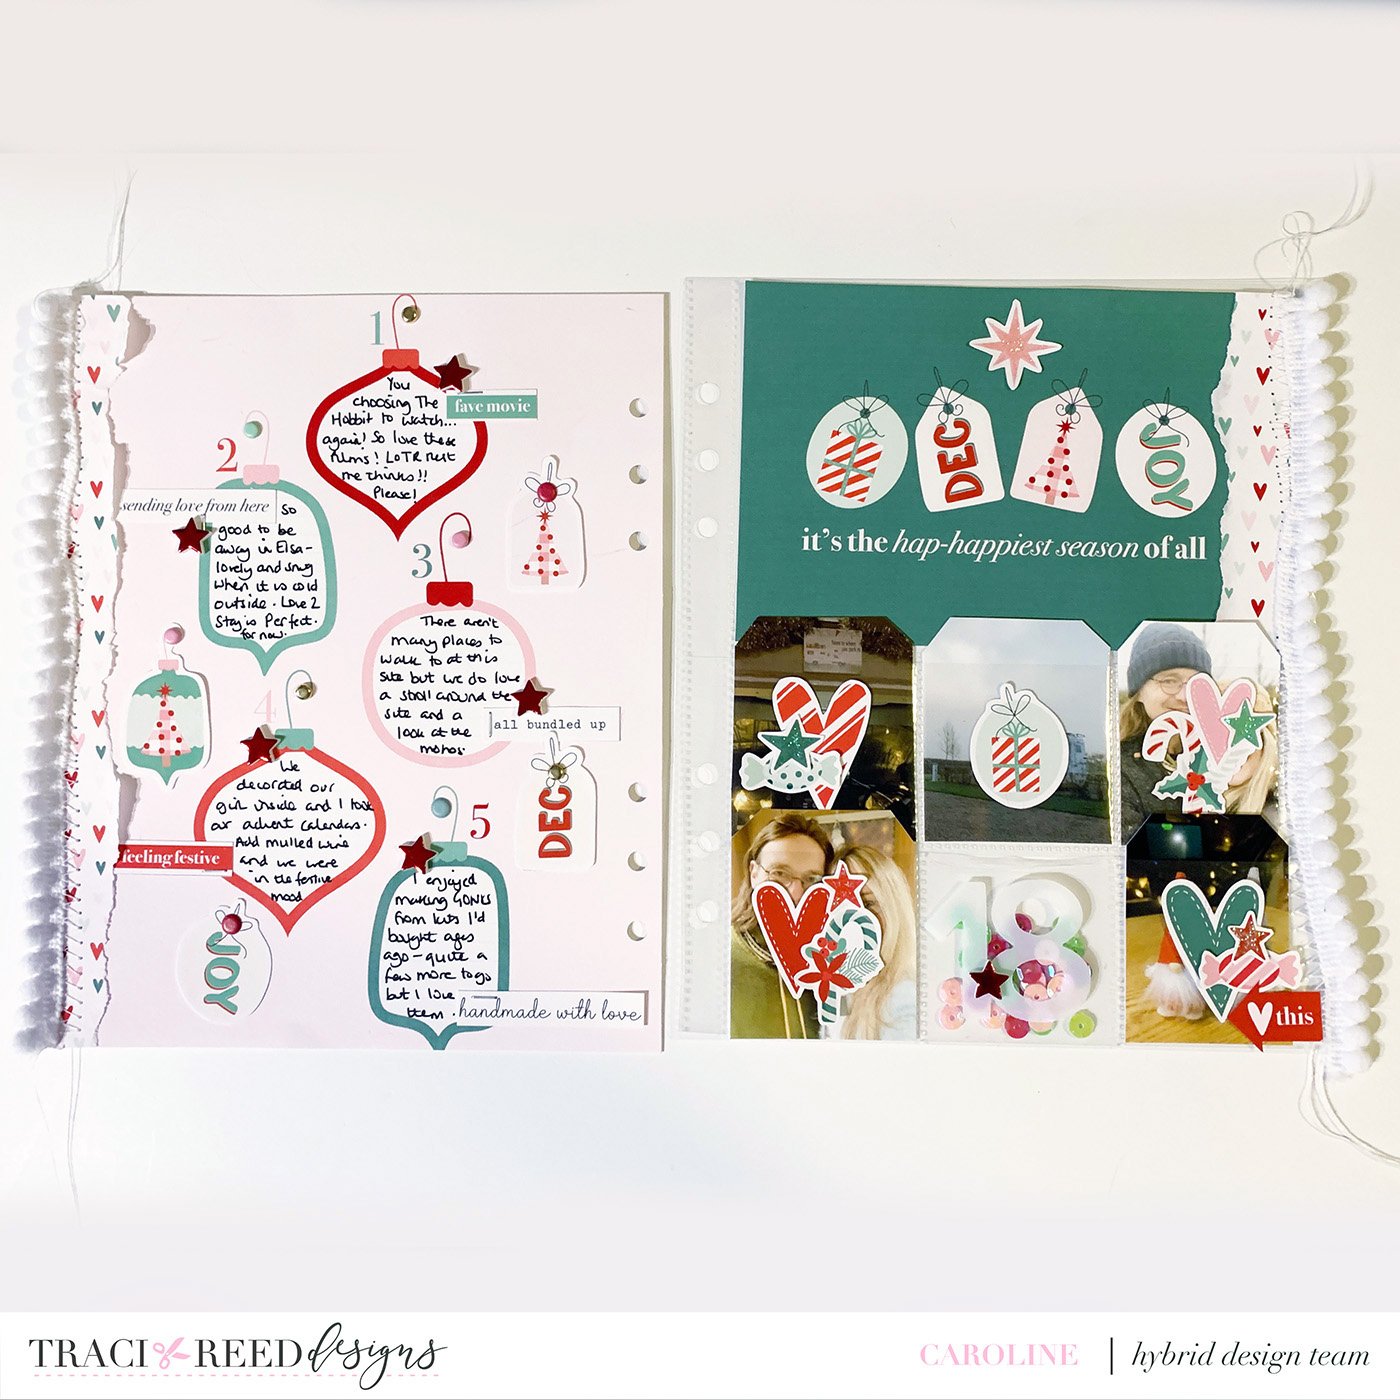
I’m conscious that all of my projects above involve working outside of the page protector and not everyone likes to do that. If you are someone who loves working with page projectors (and therefore think you are unlikely to add texture into your album) then THINK AGAIN! Try working ON TOP of the page protector!!
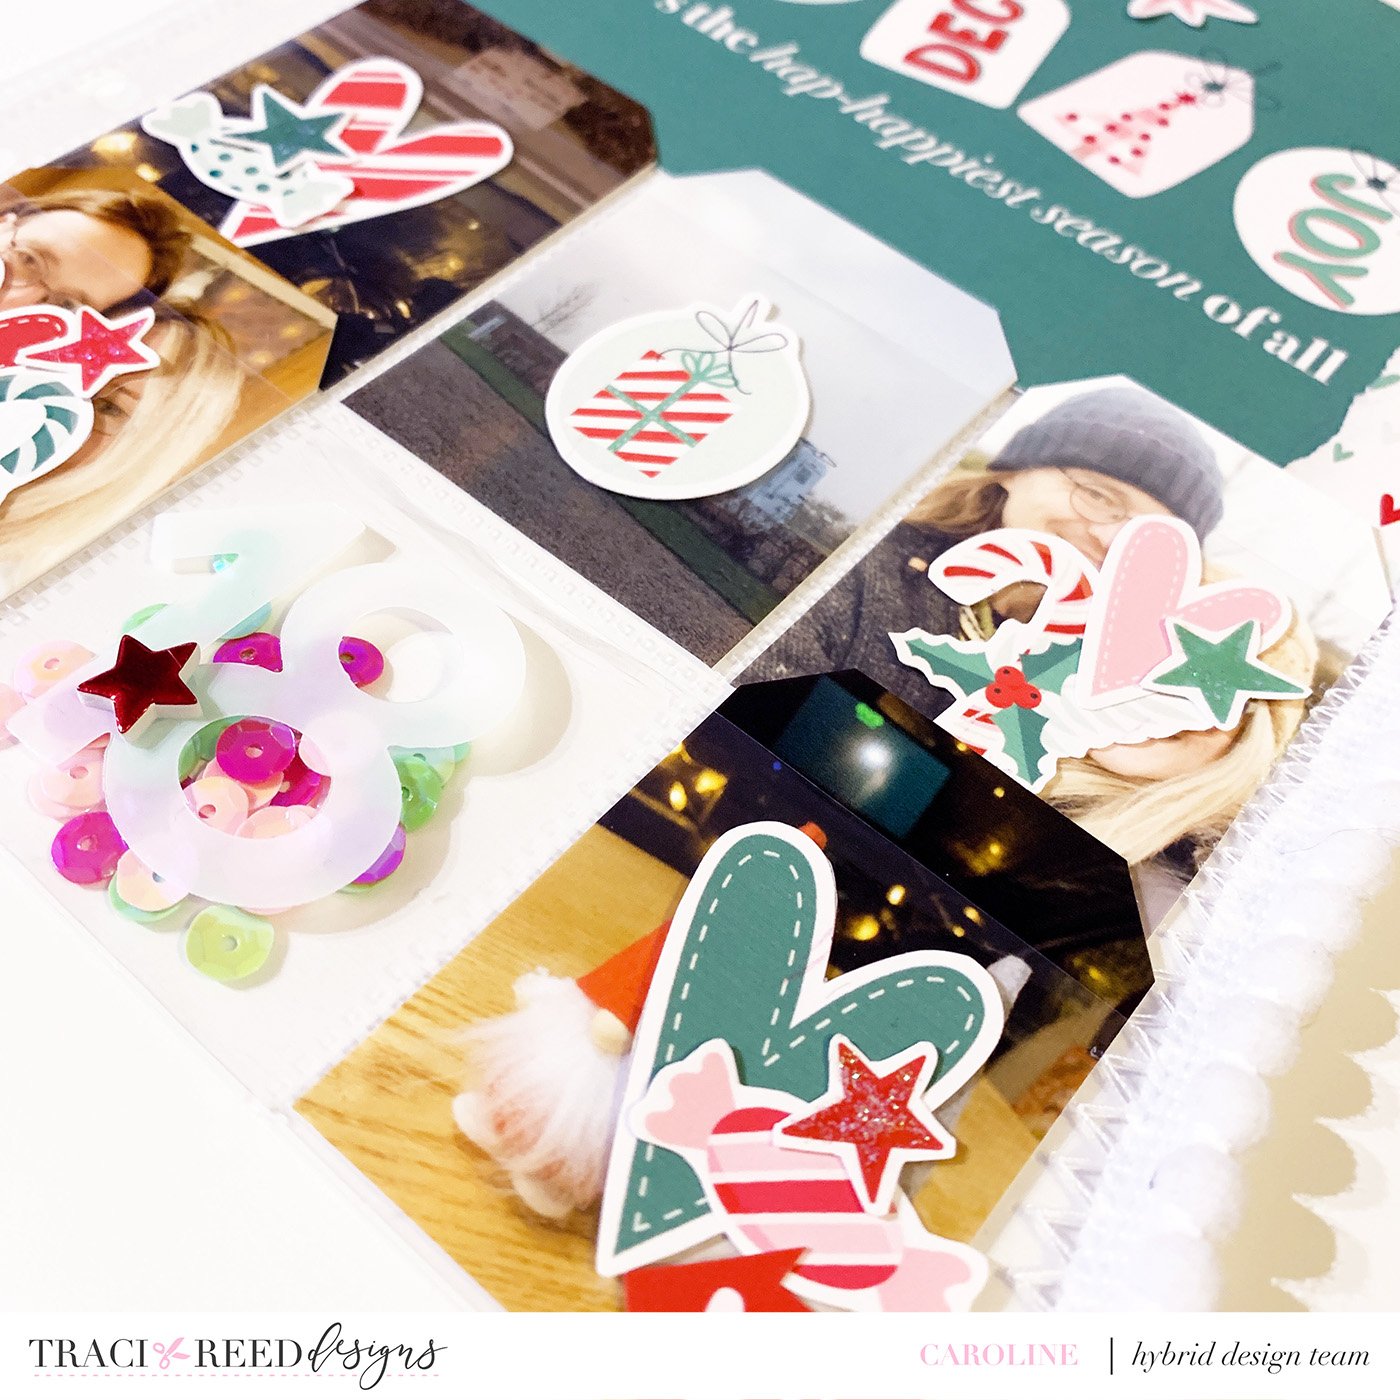

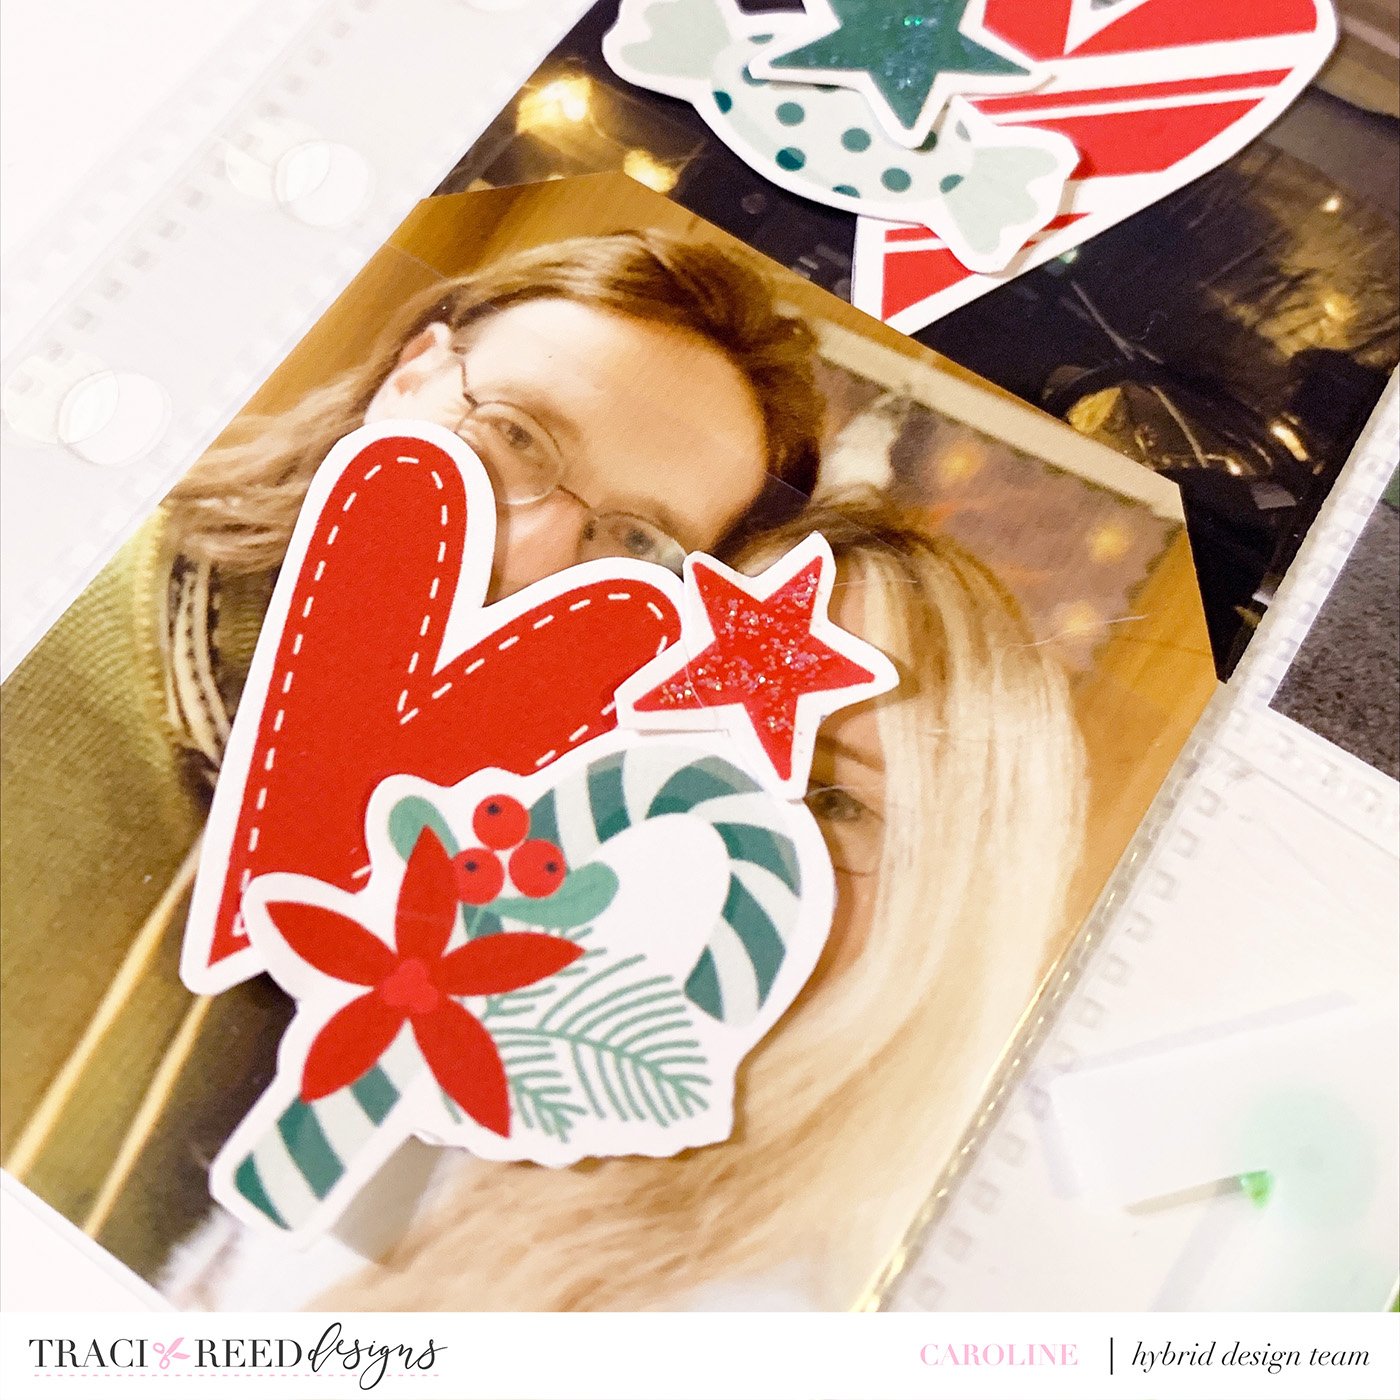
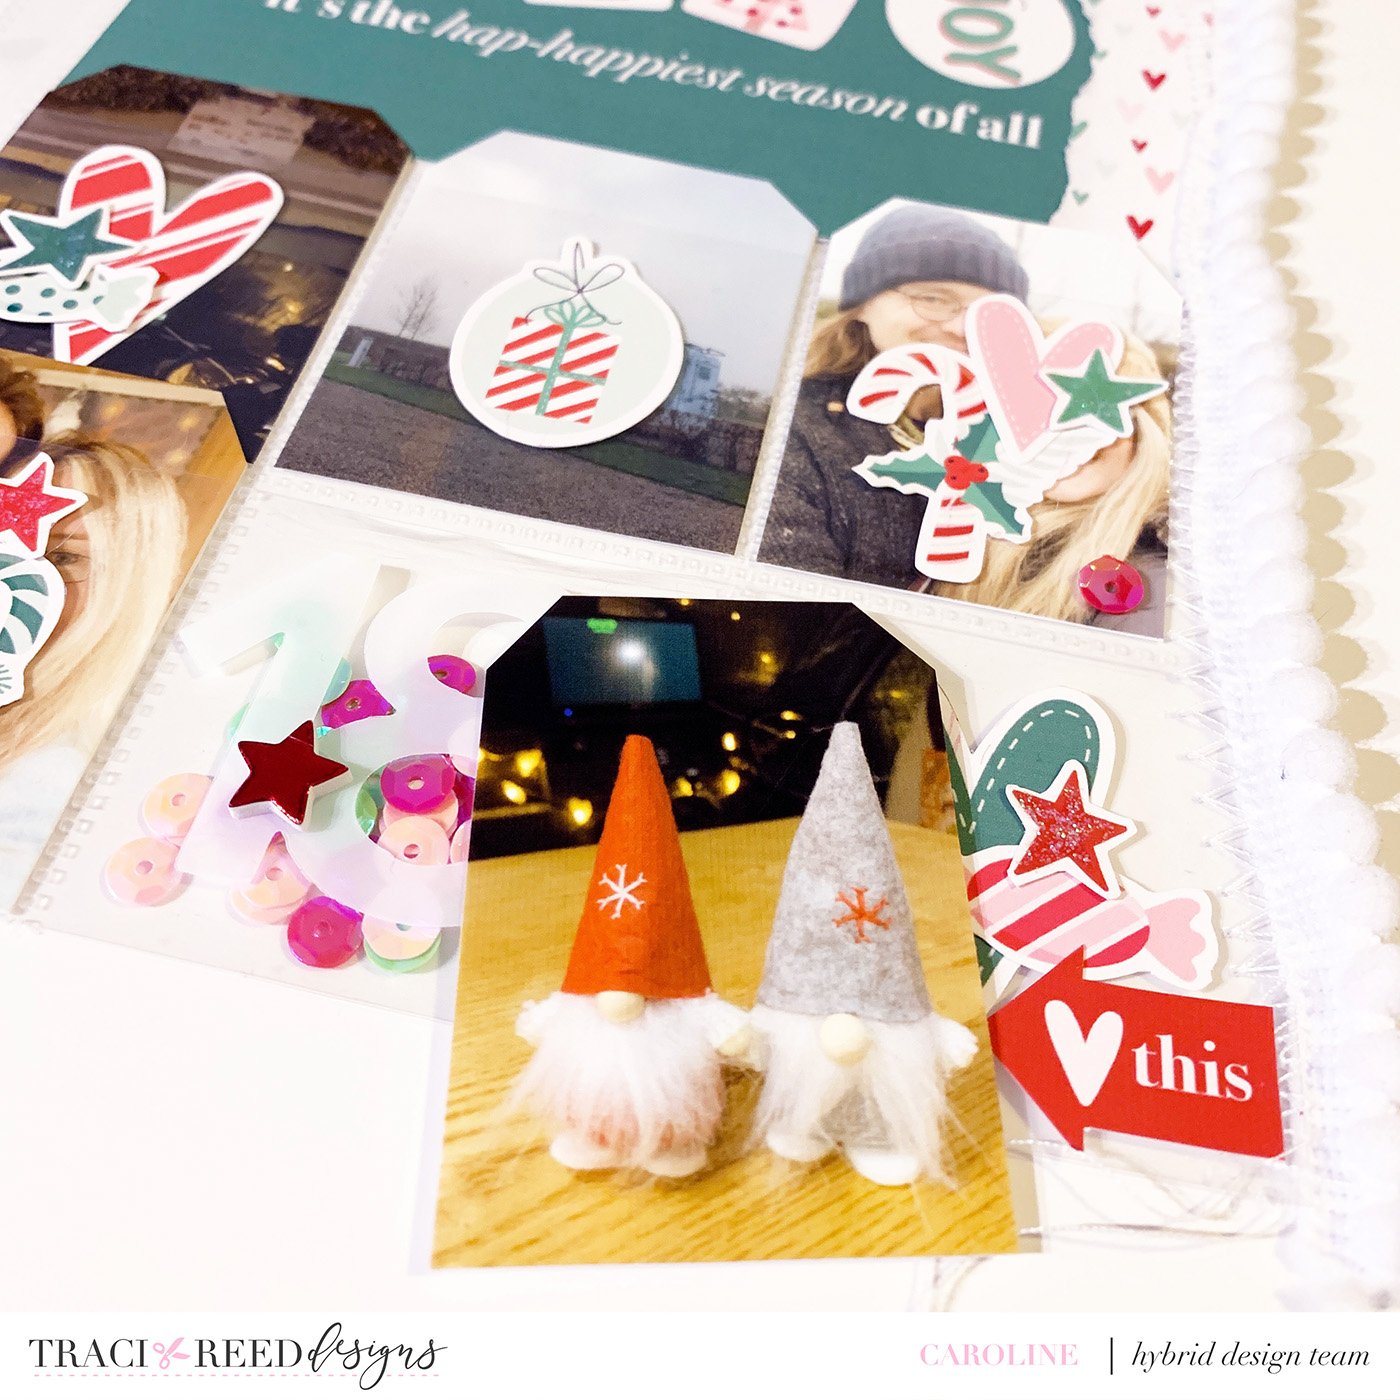
This is an easy way to create tactile projects. It also leads to more interactive pages and interactivity means texture in my scrapbooks!!!
As I love to work outside of the page protector I combined this page with one on the left hand side that sits directly in the album. I added some torn paper, trim and stitching to the outside edge and then added some metallic texture onto the page with brads and staples (I love to add staples from the tiny attacher on my projects!)

I wanted the spread to feel cohesive and so I moved the 6x4 card in the right hand page and adhered it to the outside of the pocket. This enabled me to add more torn paper and stitching. Finally I decided to go wild and attempt to sew trim to the outside edge of my page protector. I’ve tried this before and it worked fine, this time it was a little off but I actually like the wonky look as the over stitching just adds more texture to the page and so win-win!!
I hope I have won you over with adding texture into your projects. I really recommend printing out some of Traci’s papers and giving it a go. There’s nothing to lose and sooooo much to gain!!
Thanks for looking
Caroline