Teach Me Tuesday: Incorporating Mixed Media and Digital Mixed Media Into Your Projects!
Happy Tuesday Everyone! It’s Teach Me Tuesday here on the blog and below I have some AMAZING techniques and tips for you when incorporating mixed media (digital or otherwise) into your hybrid pages! The team went all out to bring you a fantastic article today, so read on!

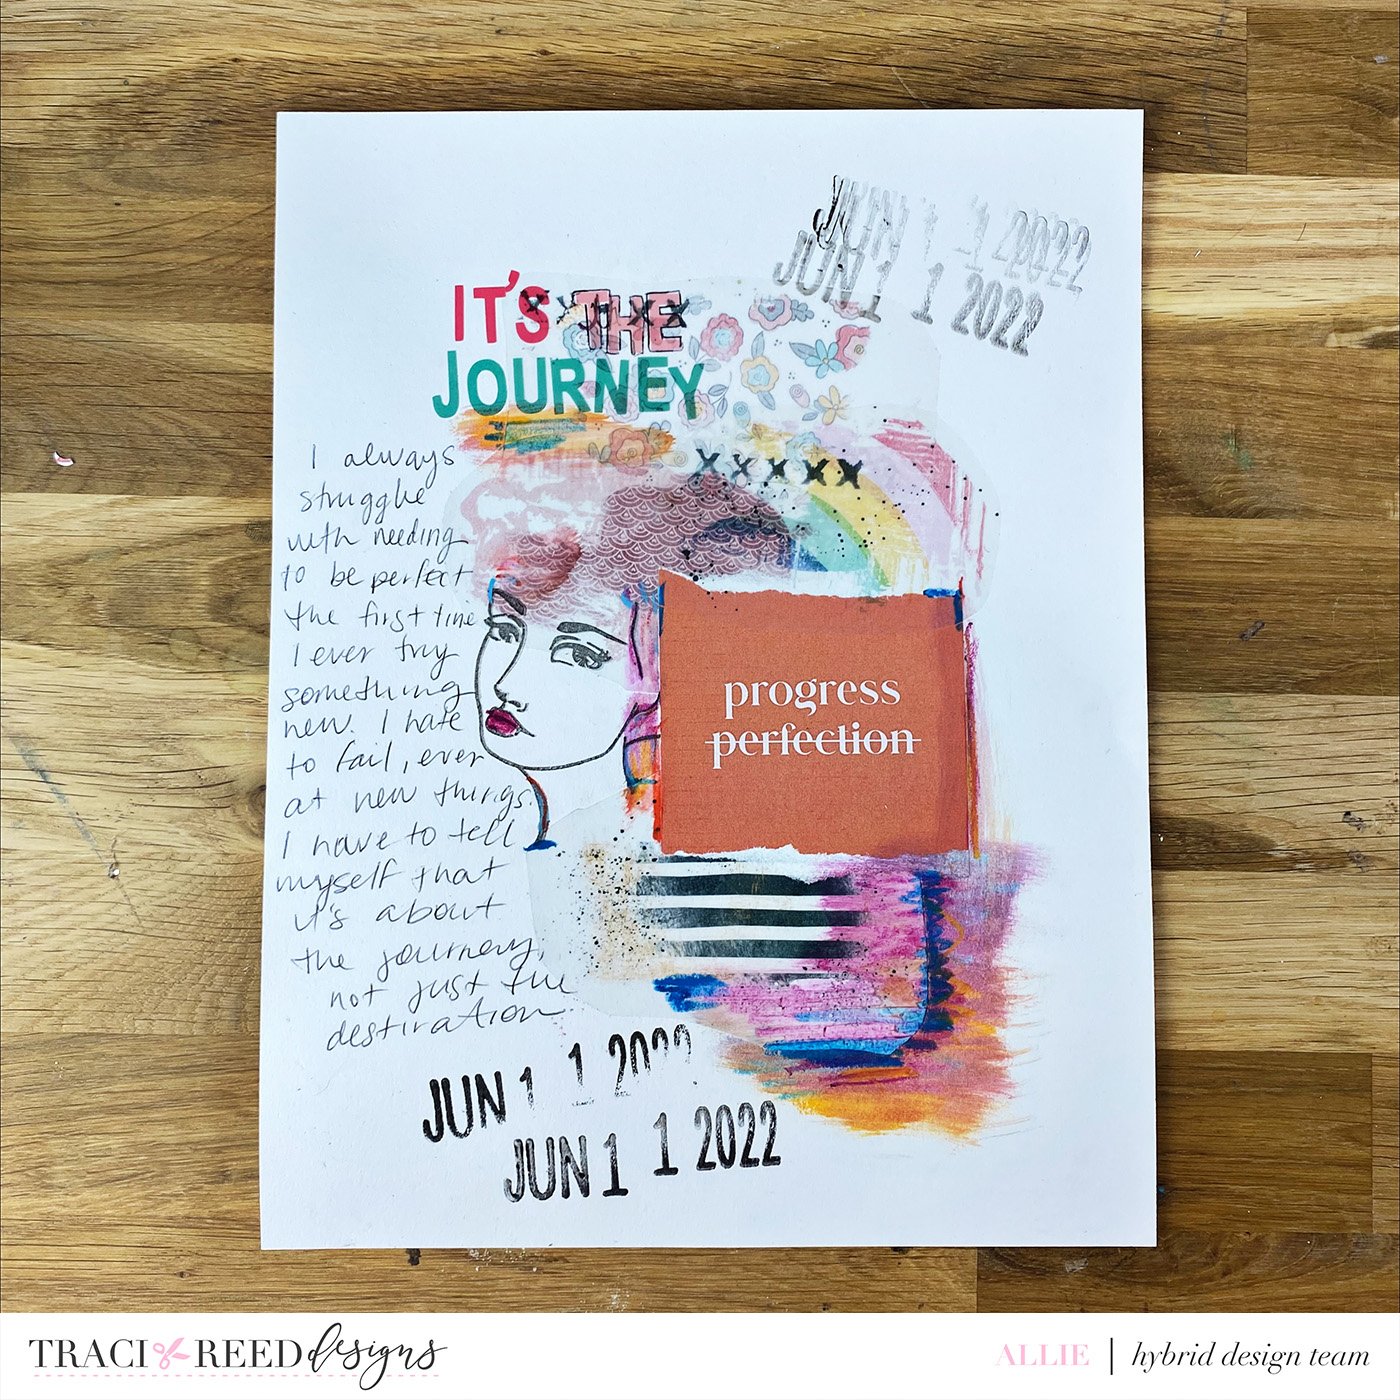
Allie - Multiple Collections
Pro Tip - Print digital mixed media on clear sticker paper for easily re-positionable “paint”, then add “real” mixed media over the top to blend the stickers together!
For this mixed media art journal page, Allie took a collection of painted elements from several of Traci’s kits (Traci spots: The Love List and Here Comes The Sun with a card from Filled With Intention) and printed them on clear sticker paper. She used a white piece of cardstock and a base and just layered the printed paint bits, along with some stamps, a ripped journal card, some NeoColor crayons, and some extra alpha stickers. They add a nice “messy” mixed media touch… without needing to be TOO messy with all those paints! Be sure to check out the video for a full step by step over Allie’s shoulder!
Detail

Process Video
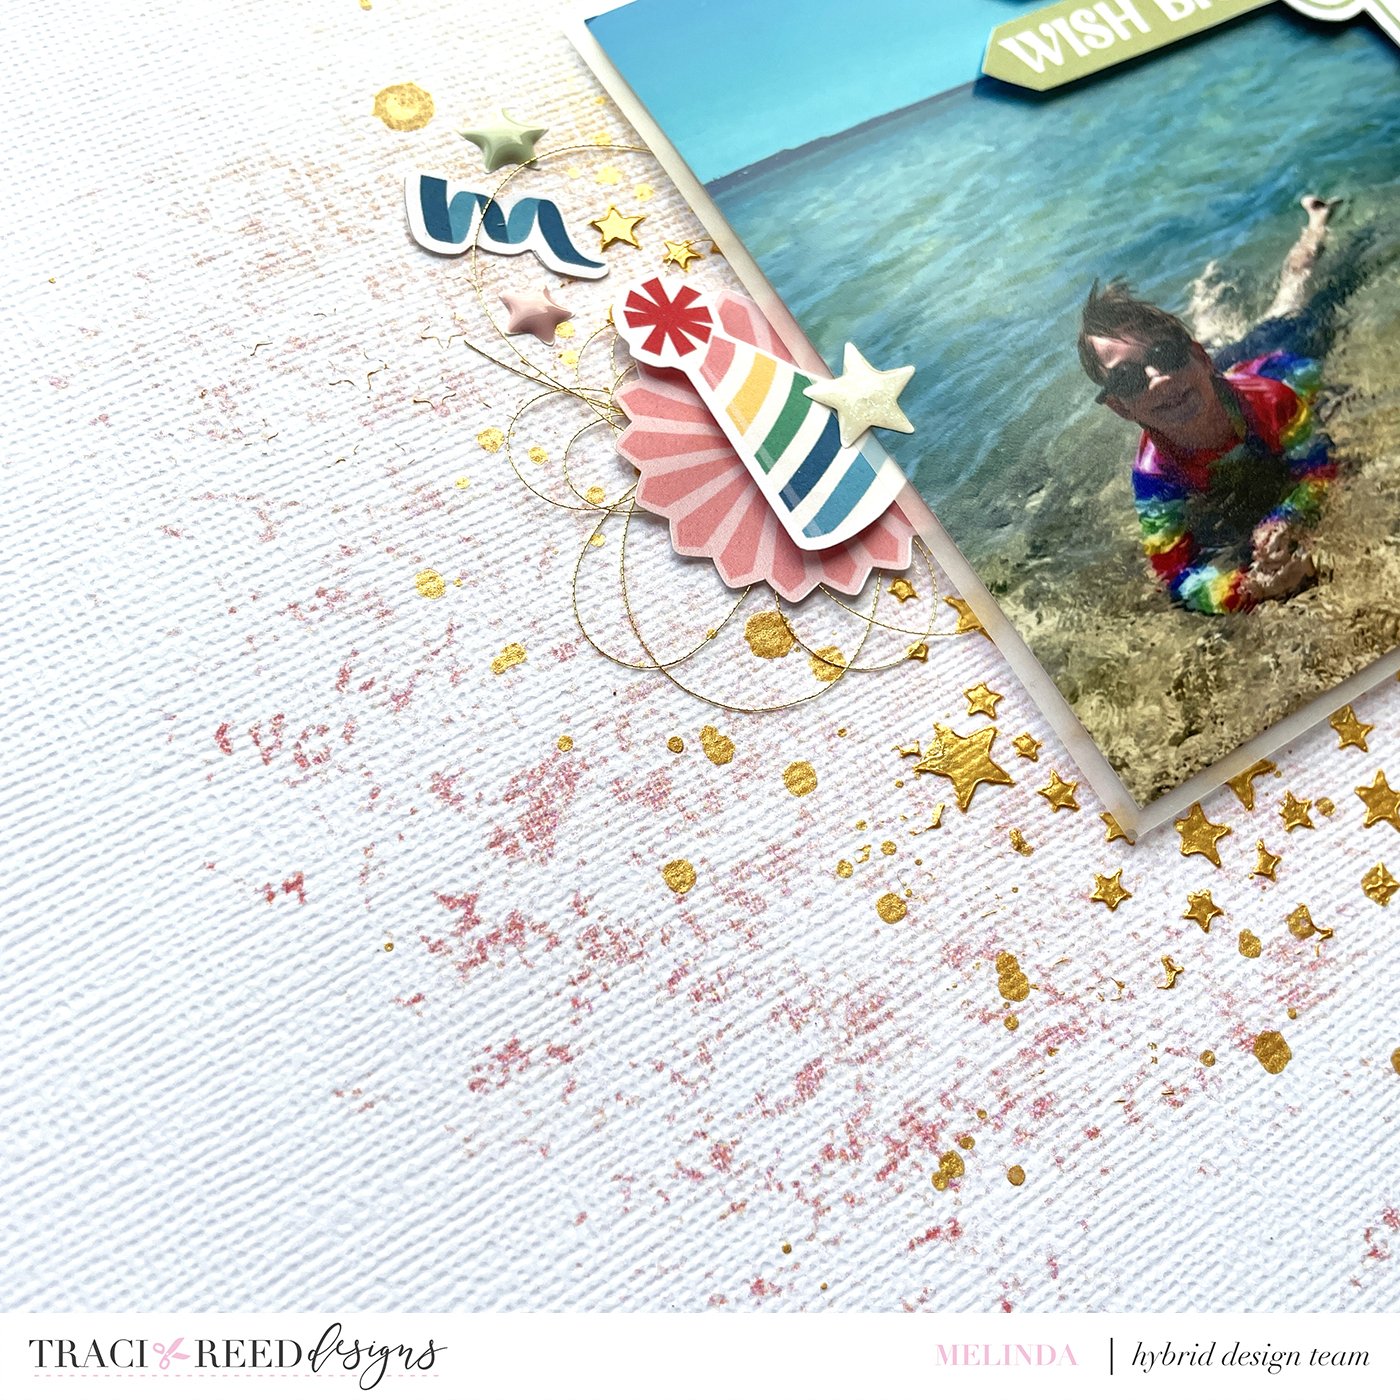
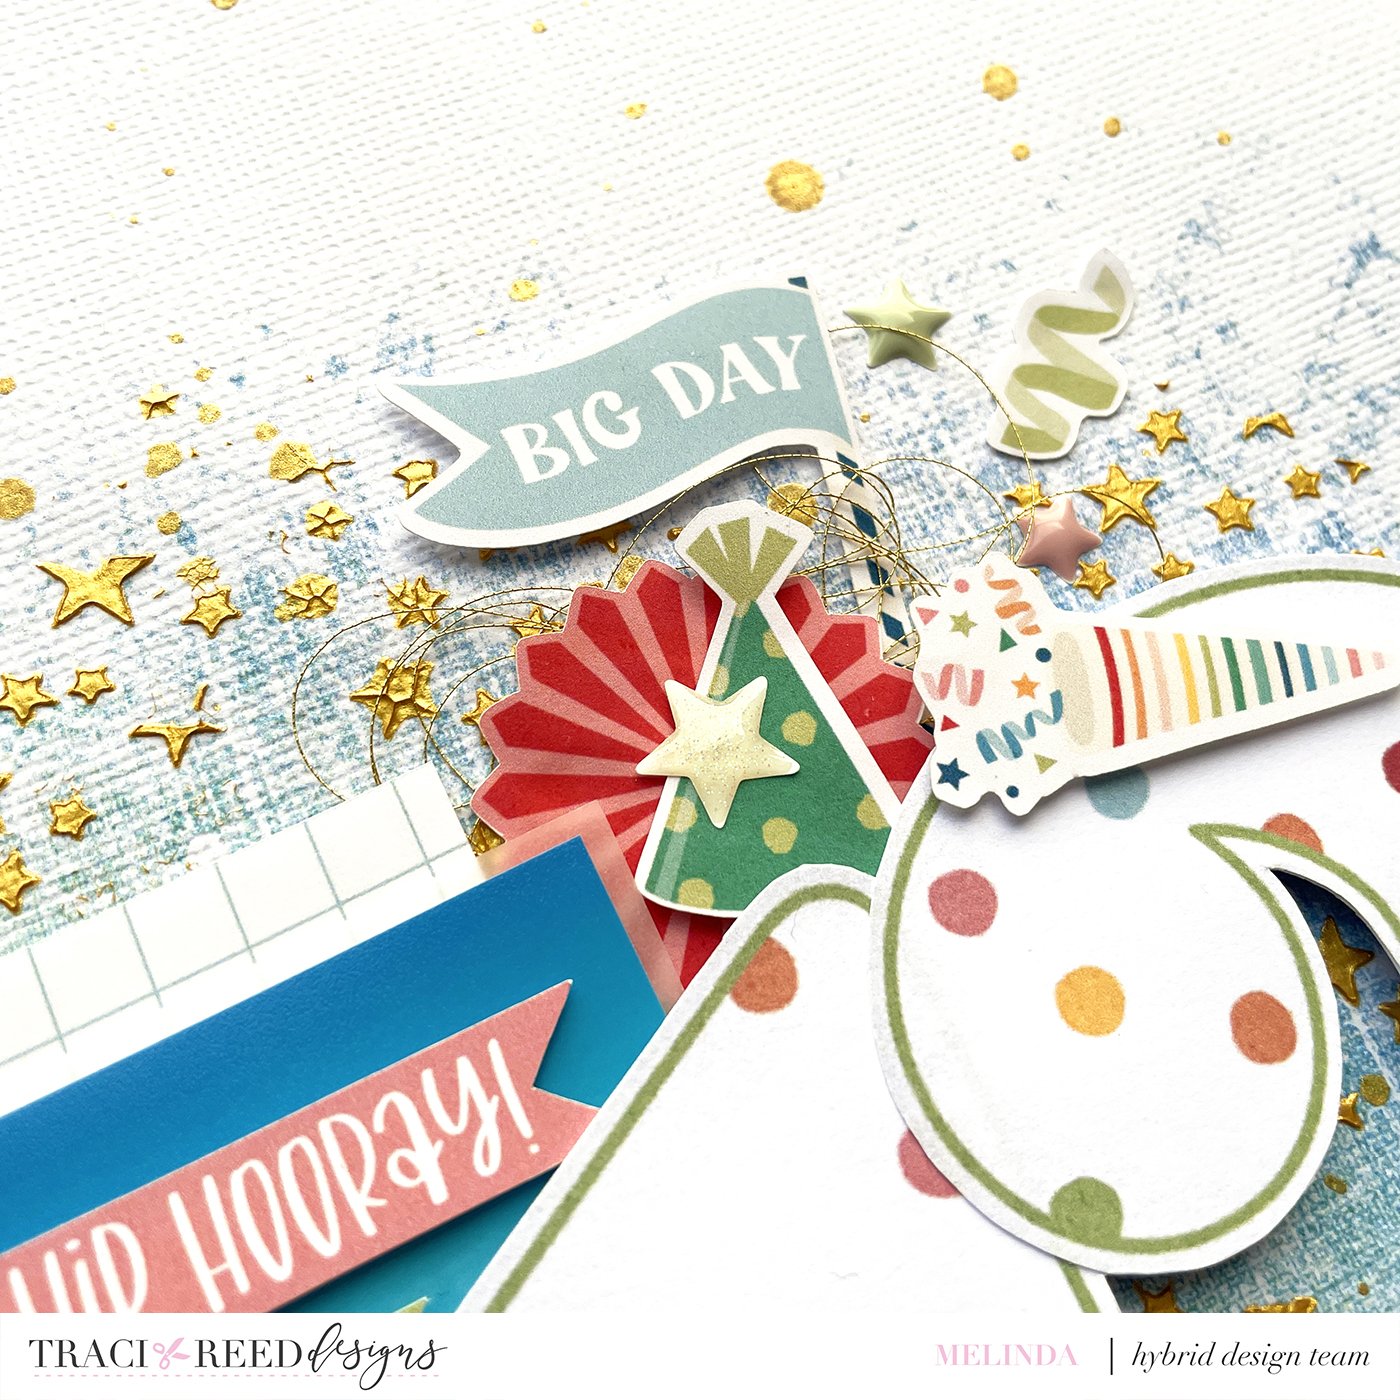
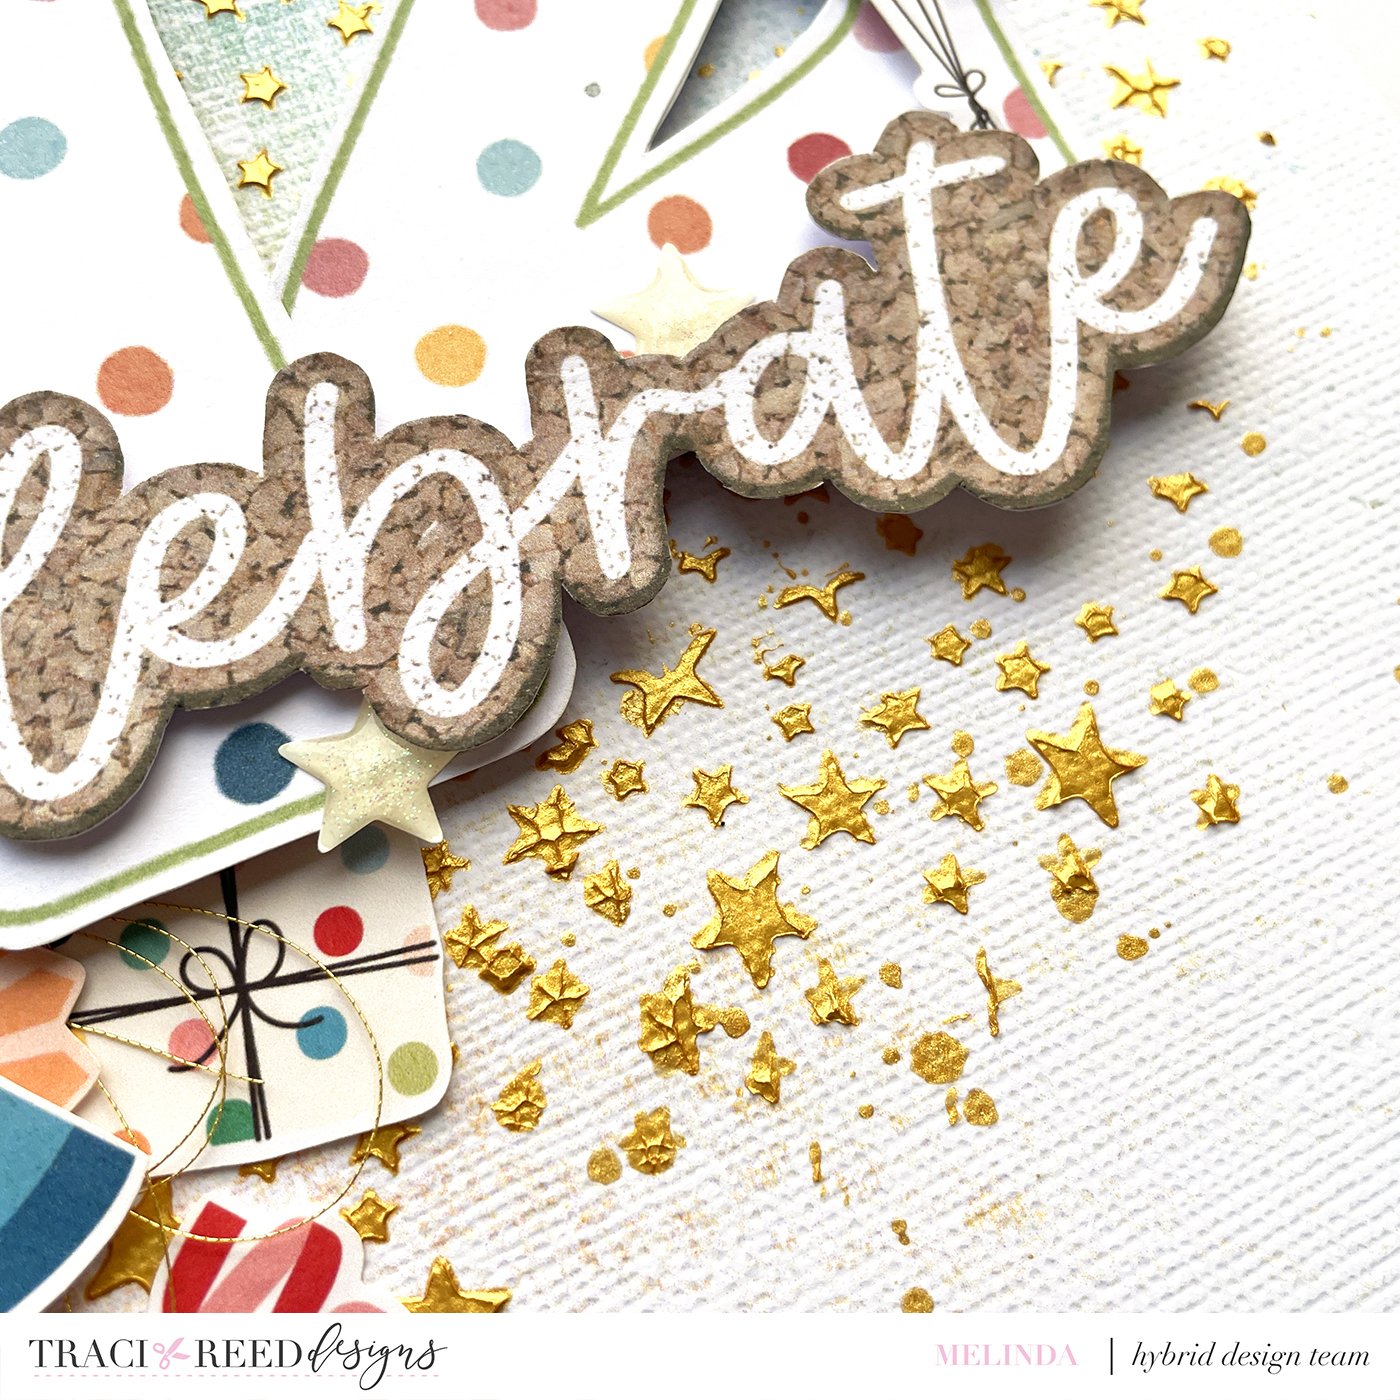
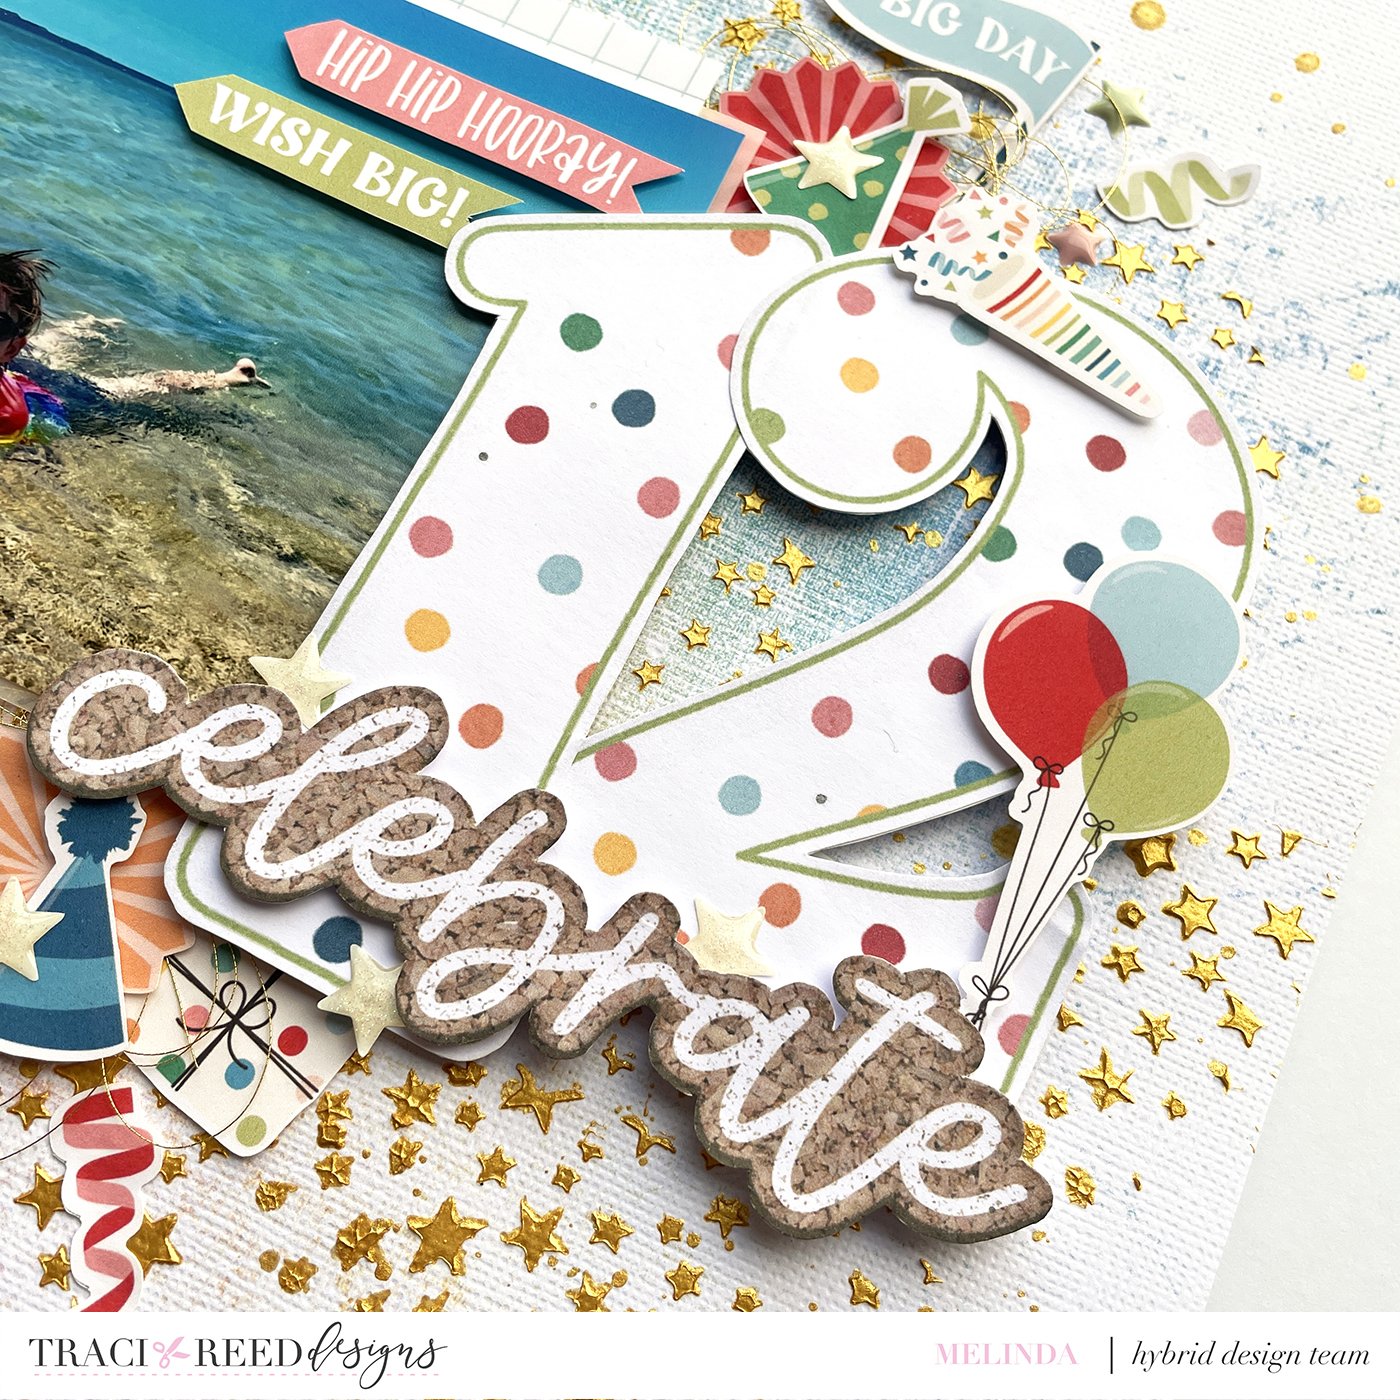
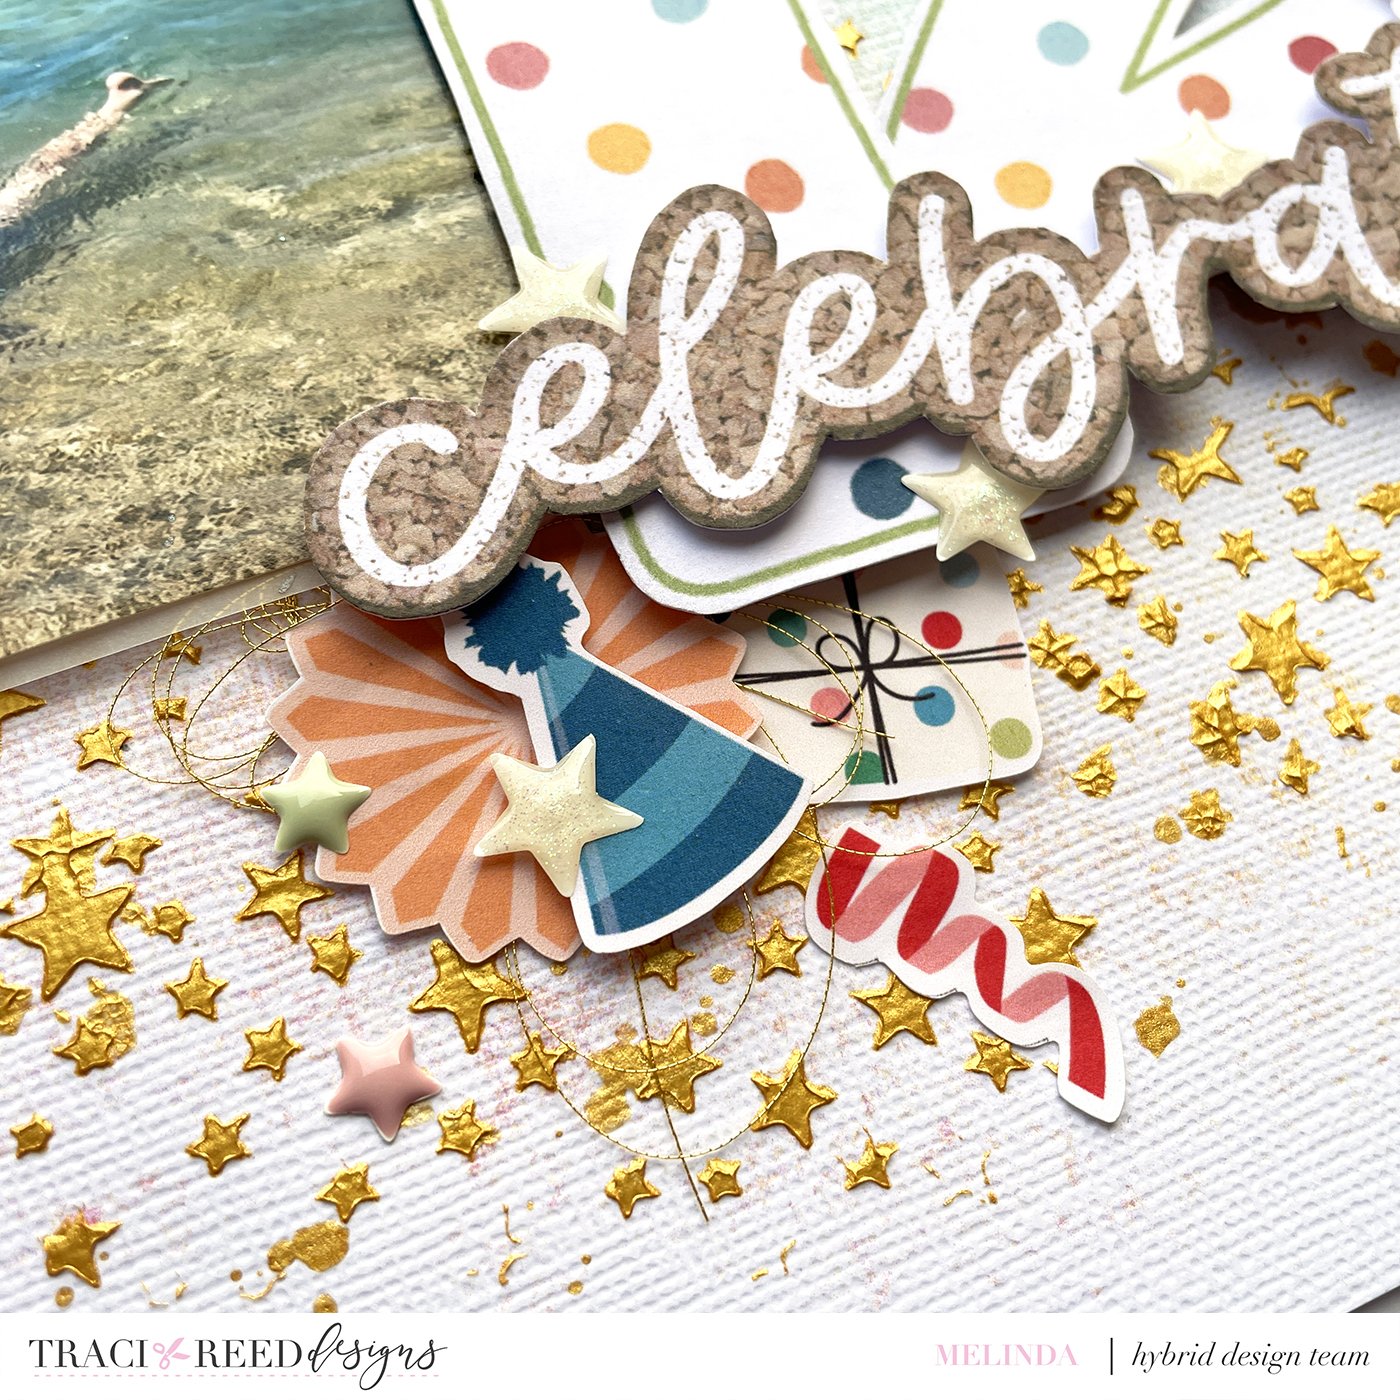
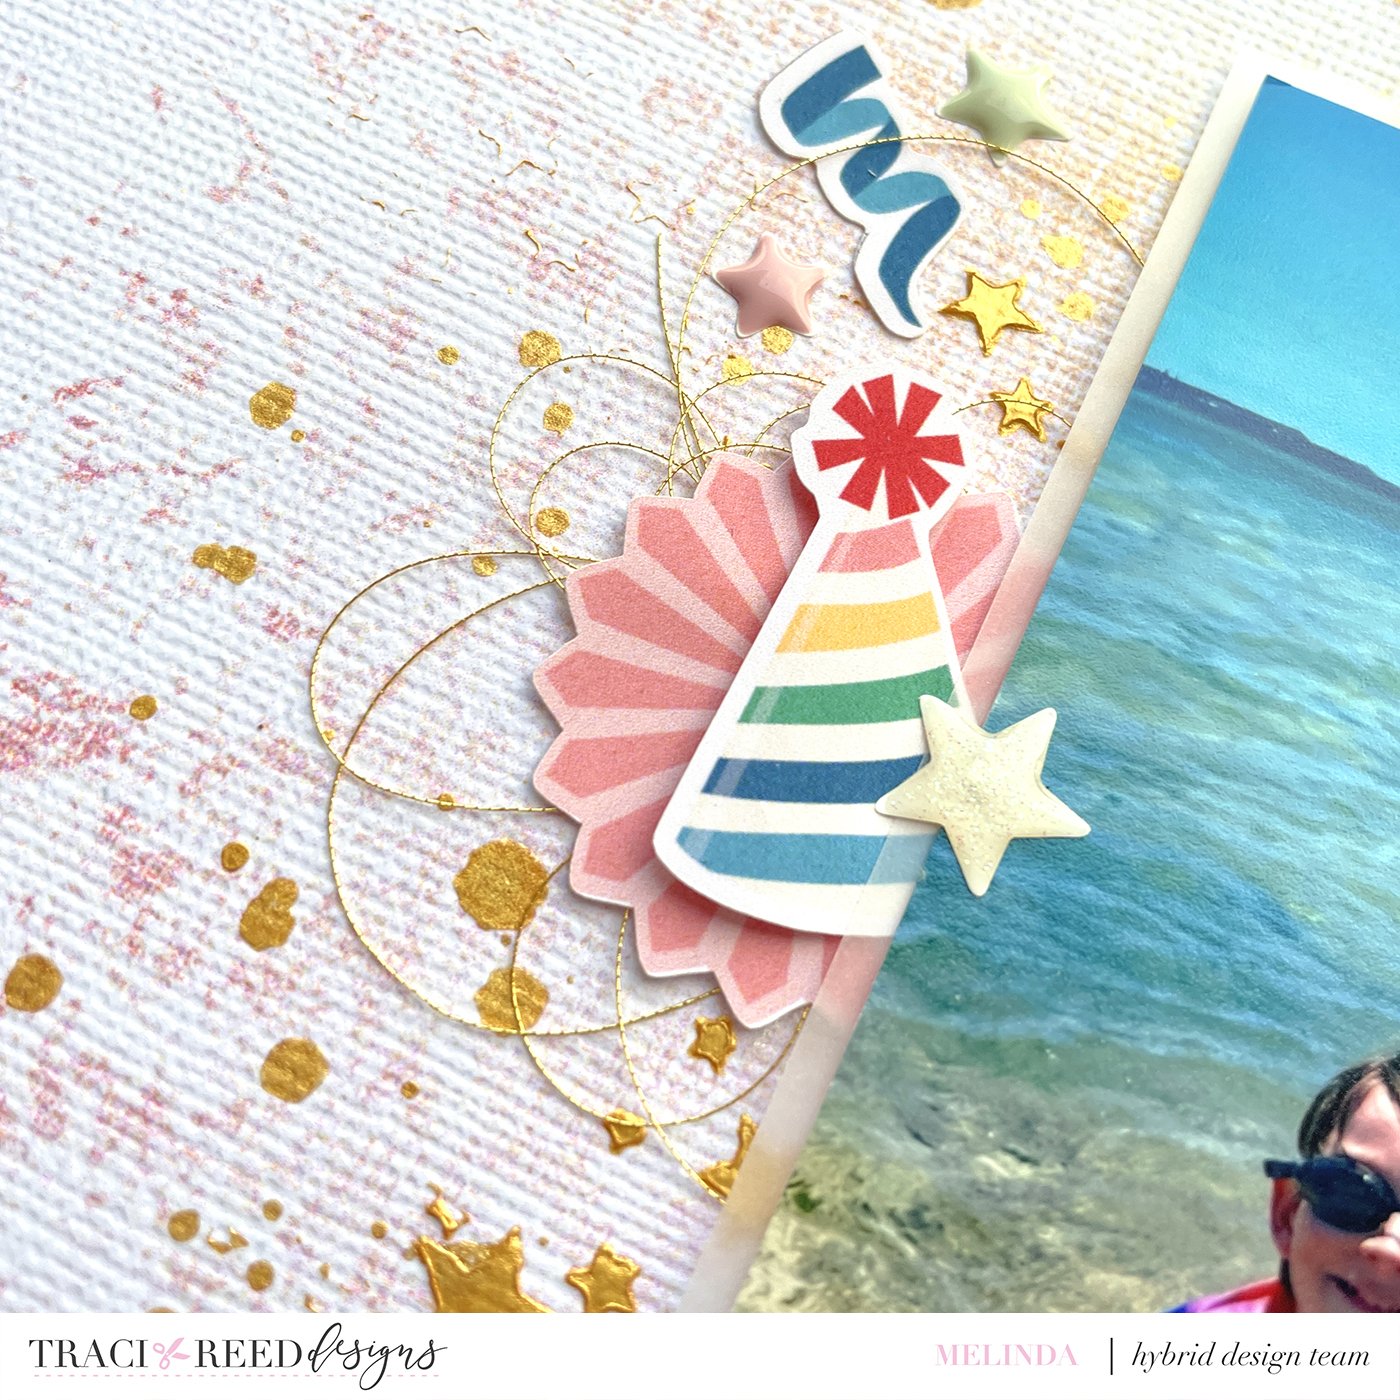
Melinda - Happy Day
Pro Tip: Print digital mixed media directly on card stock, then add more over the top like she did with the gold texture paste stars here!
Mixed media is definitely my happy place when I’m creating!! I’m pretty new to digital mixed media, however!! I’m still having fun & thought for this layout I’d use both digital (from the Happy Day collection) & physical mixed media.
Along with those, you can see I’ve also added other “media” in the form of thread and enamel shapes. I often hear “but mixed media is hard/messy” or “I don’t use mixed media” to then see a project that’s been created with more than just paper and point out “that IS mixed media!” So, wherever you in your mixed media journey, enjoy the process!!

Details
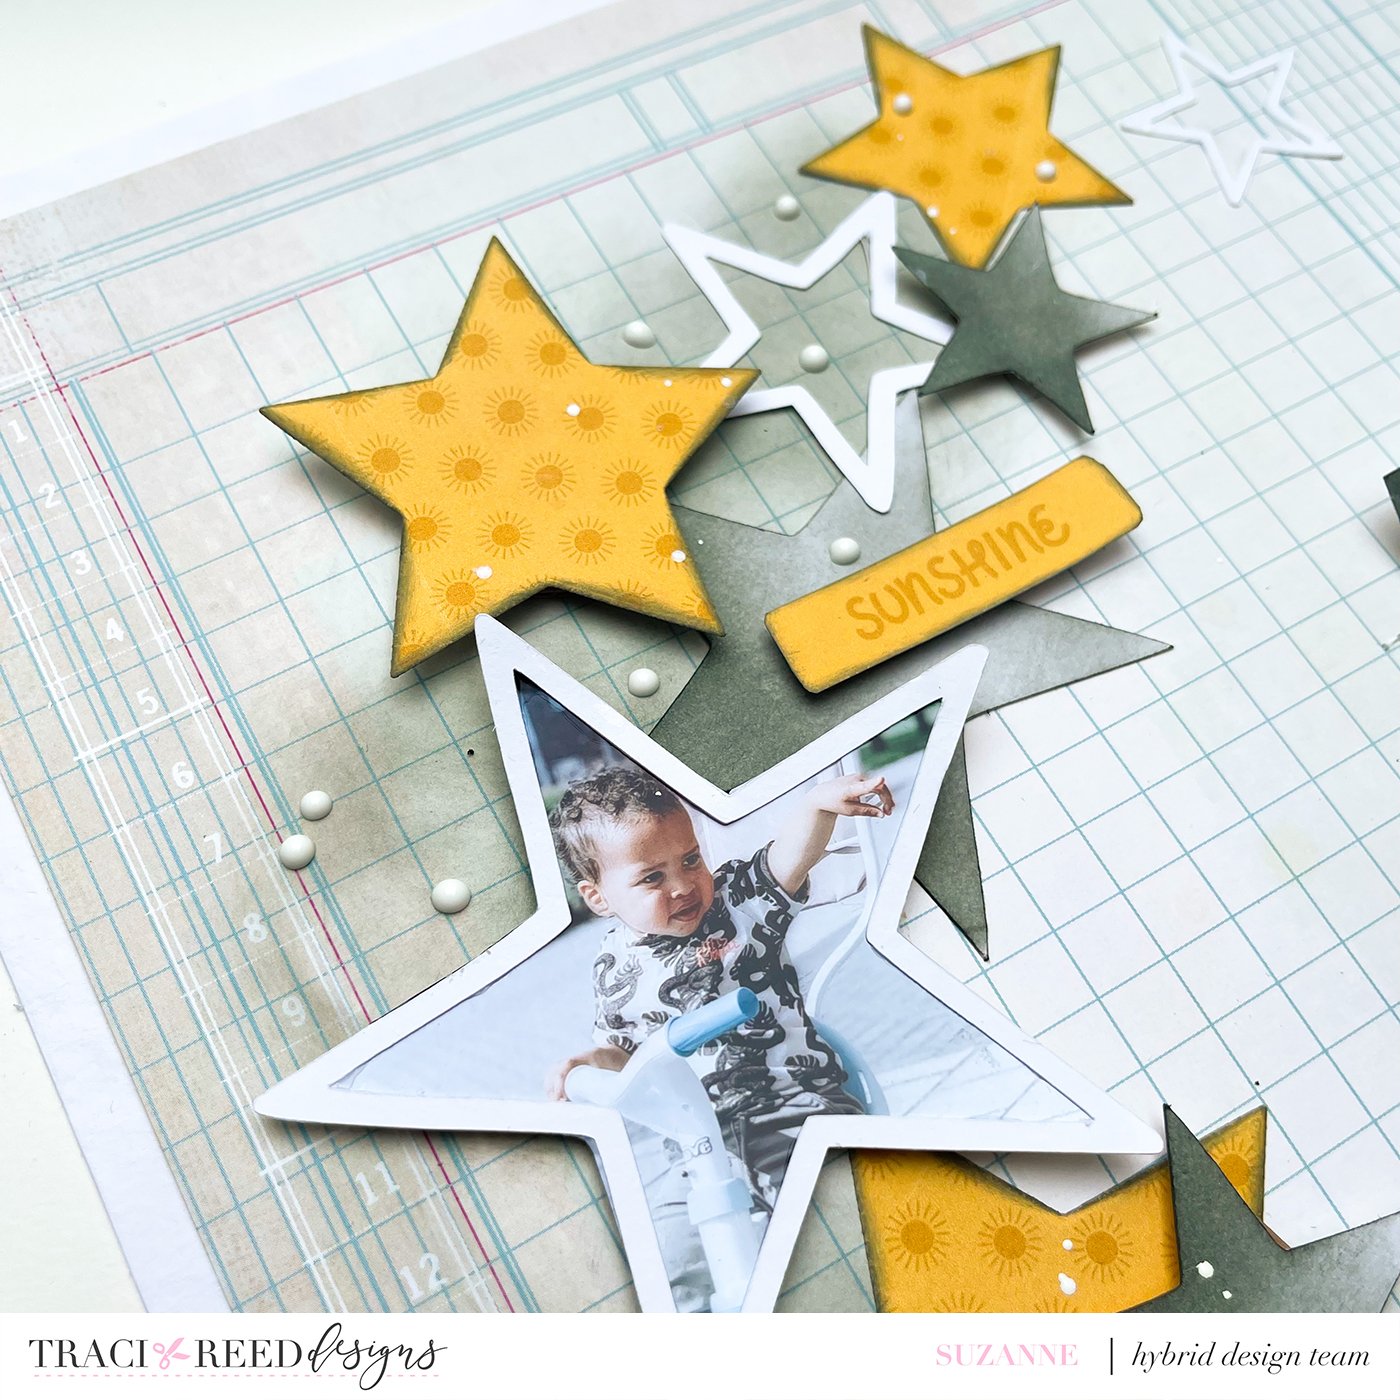
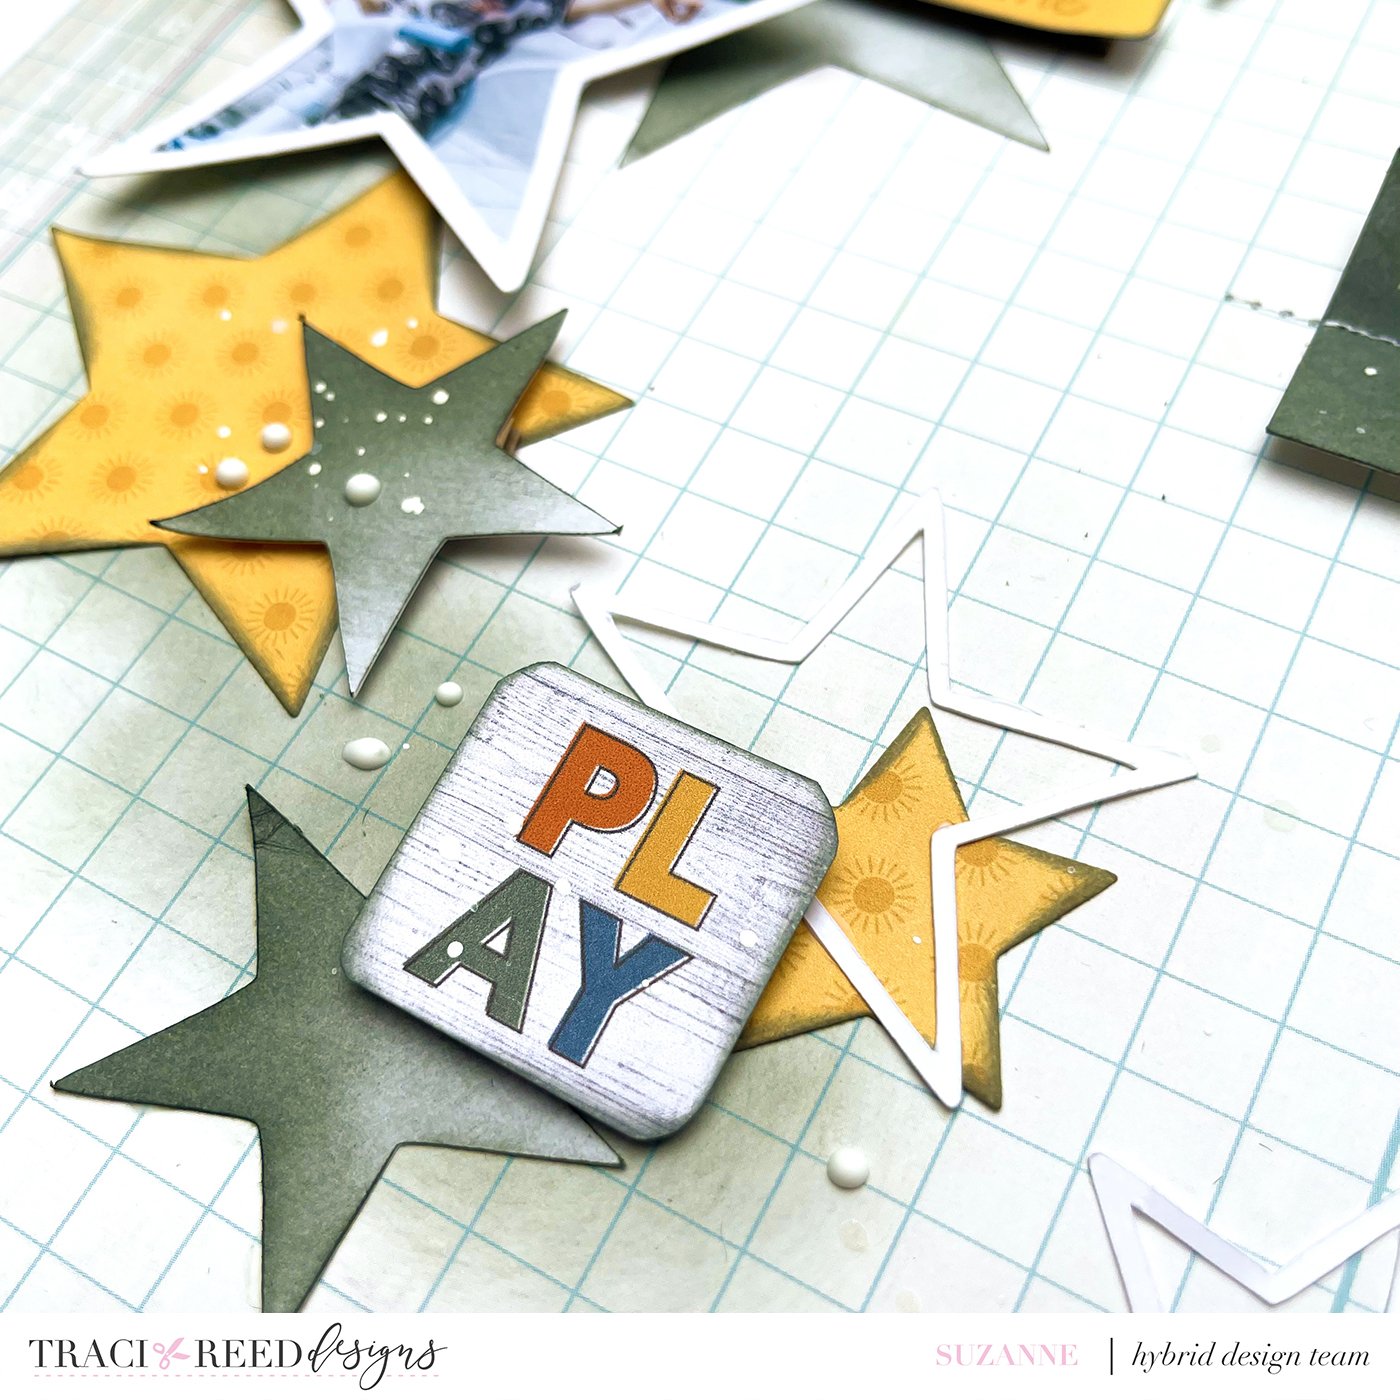
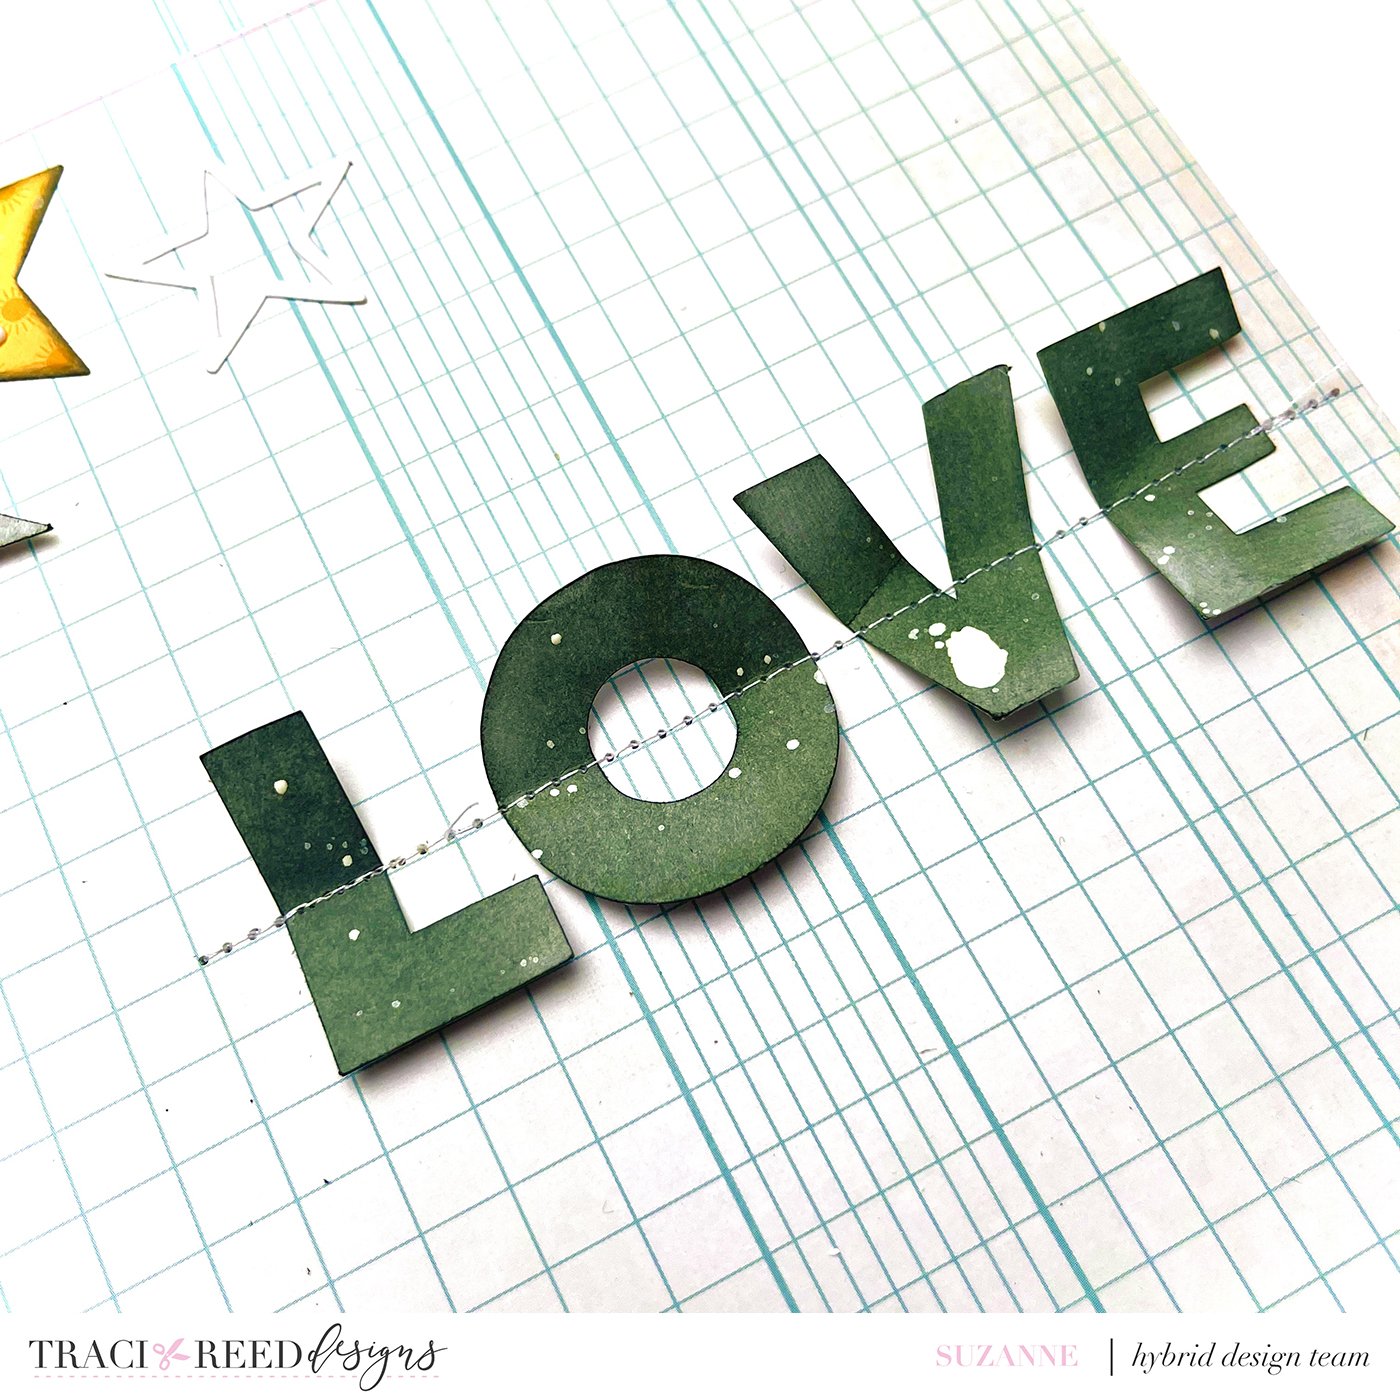
Suzanne - Summer Camp
Pro Tip: Use digital stamps as cut files, then ink them to match!
I have made my own embellishments using the stars from the Summer Camp digital stamps and used distress oxide to color them. I also cut the “love” letters from another digital stamp and rearranged them for my title, inking them as well and stitching it down with thread, bending up the edges around the stitching for texture.
I then used my die cutting machine to add some extra stars with the papers from the Summer Camp collection and inked the edges of those to match.

Details
Trish - Wildflower
Pro Tip: Get flexible with your digital mixed media because it doesn’t always have to look “real” to look fantastic.
There are three things to remember when you are creating a digital mixed media page:
1. If you are wanting your page to feel “real” (or like paper) shadowing, layering, and how you have your mixed media elements interact with your digital elements is important. Studying paper mixed media scrapbook pages is a great place to start. Look at how everything overlaps and interacts with each other, and then practice getting those effects digitally.
2. Sometimes you just need to let go and embrace the mess and chaos. Sometimes the “rules” for making it look “right” aren’t going to look best on your page, and when that happens just ignore the rules. I use paint to anchor and build up and cover areas that it would never actually work on with a paper page.
3. Have fun. This is your scrapbook page and the most important thing is that YOU love it. Don’t stress it because the magic of digital is that you can keep trying and trying and nothing is permanent.
