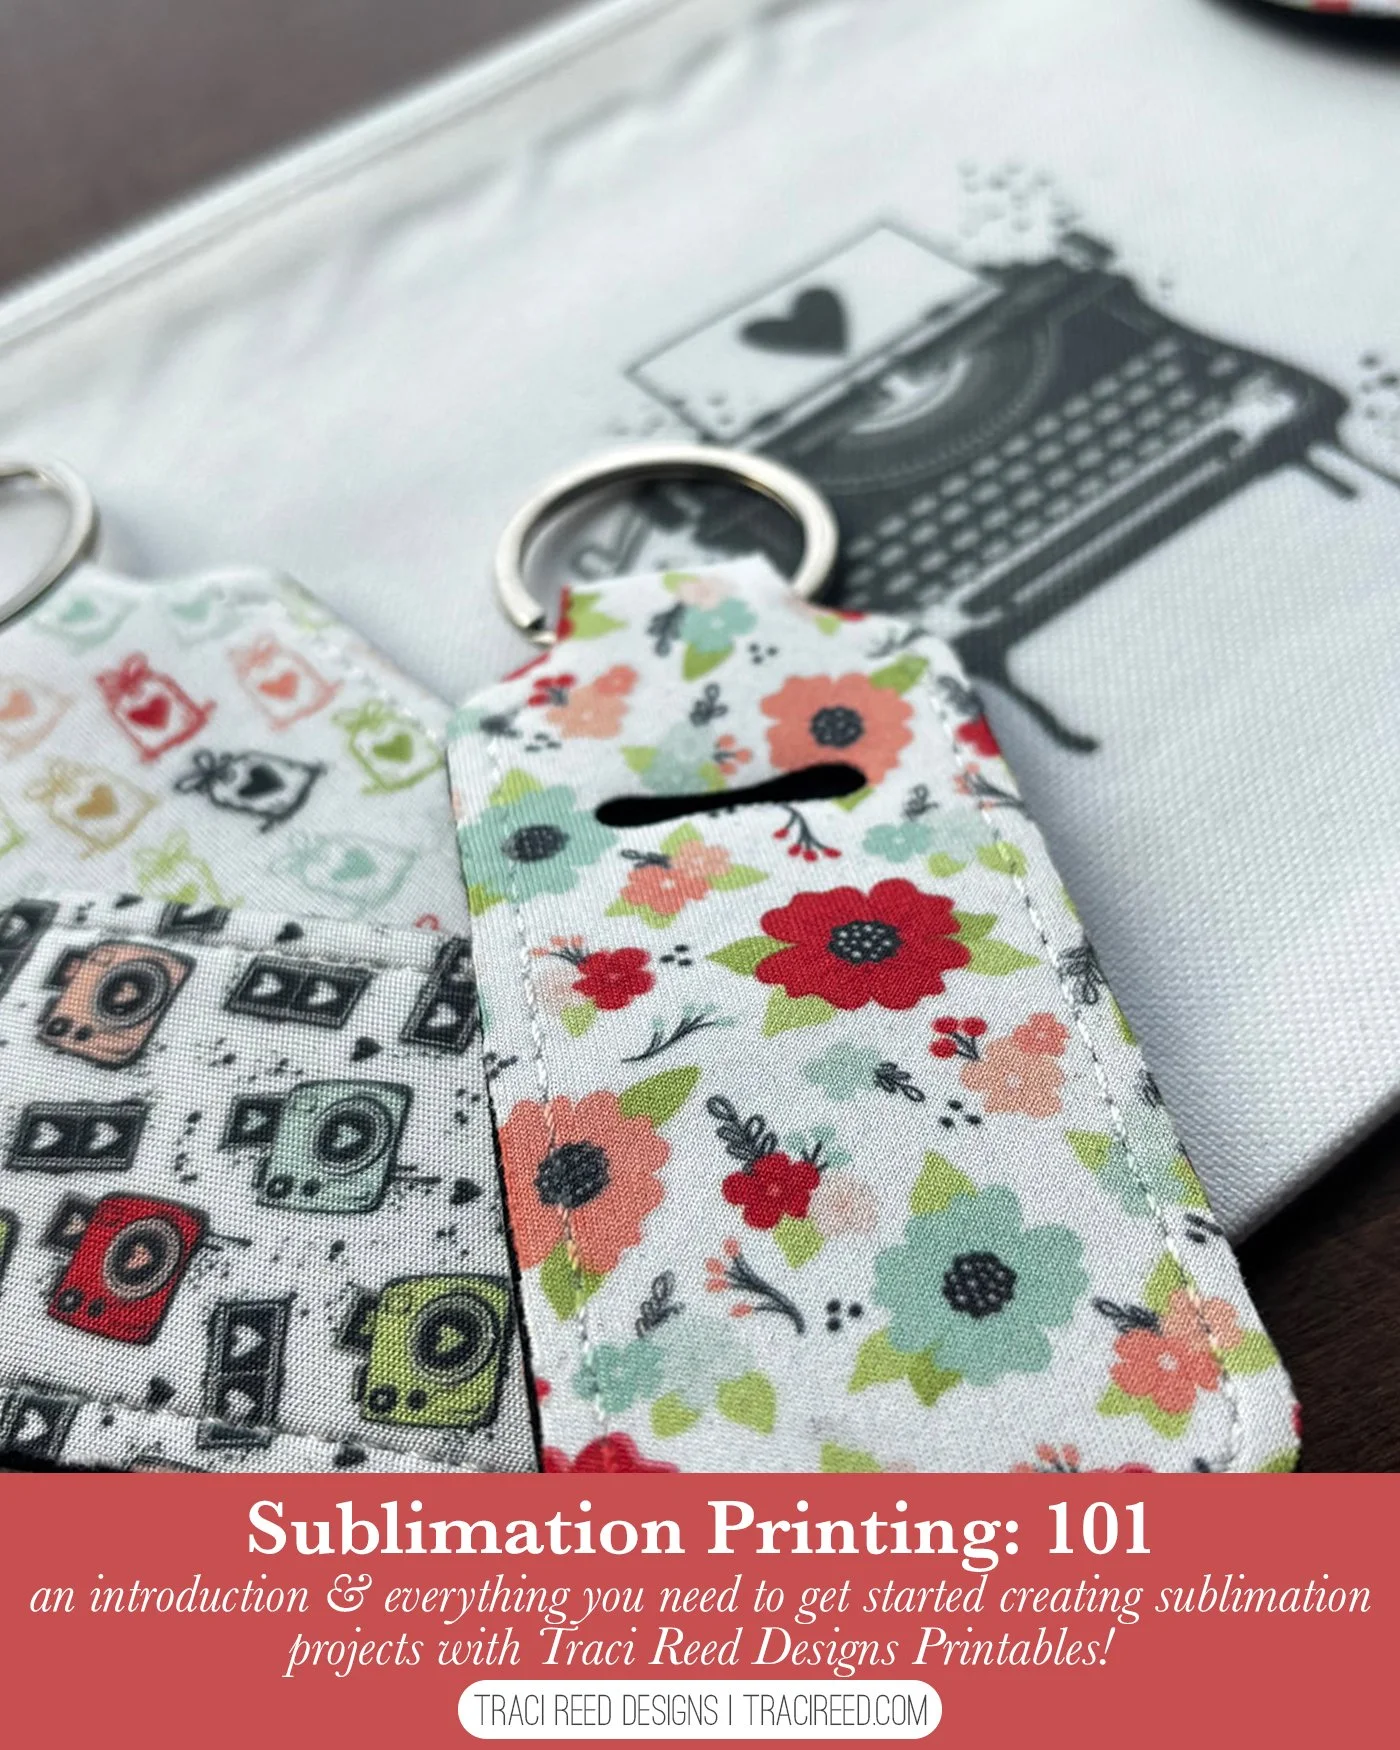
Getting Started with Sublimation Printing: A Guide!
Hey friends, it’s Allie here to talk about how you can use some of your digital scrapbooking “stash” for actual useful things -- like Lip Balm holders/keychains that are CUTE!
For my birthday in September 2025, my husband surprised me with a heat press -- he saw how annoyed I was getting with just using household irons and the small heat presses for my Cricut projects…and then he started requesting more custom t-shirt designs that I just couldn't do with my Cricut and HTV… and that very quickly spiraled into us getting an ecotank printer and converting it into a sublimation printer… and the world has just opened up like crazy! I think it would be safe to say 90% of our family and friends got at least ONE sublimated gift this year for Christmas. We’ve gone crazy!
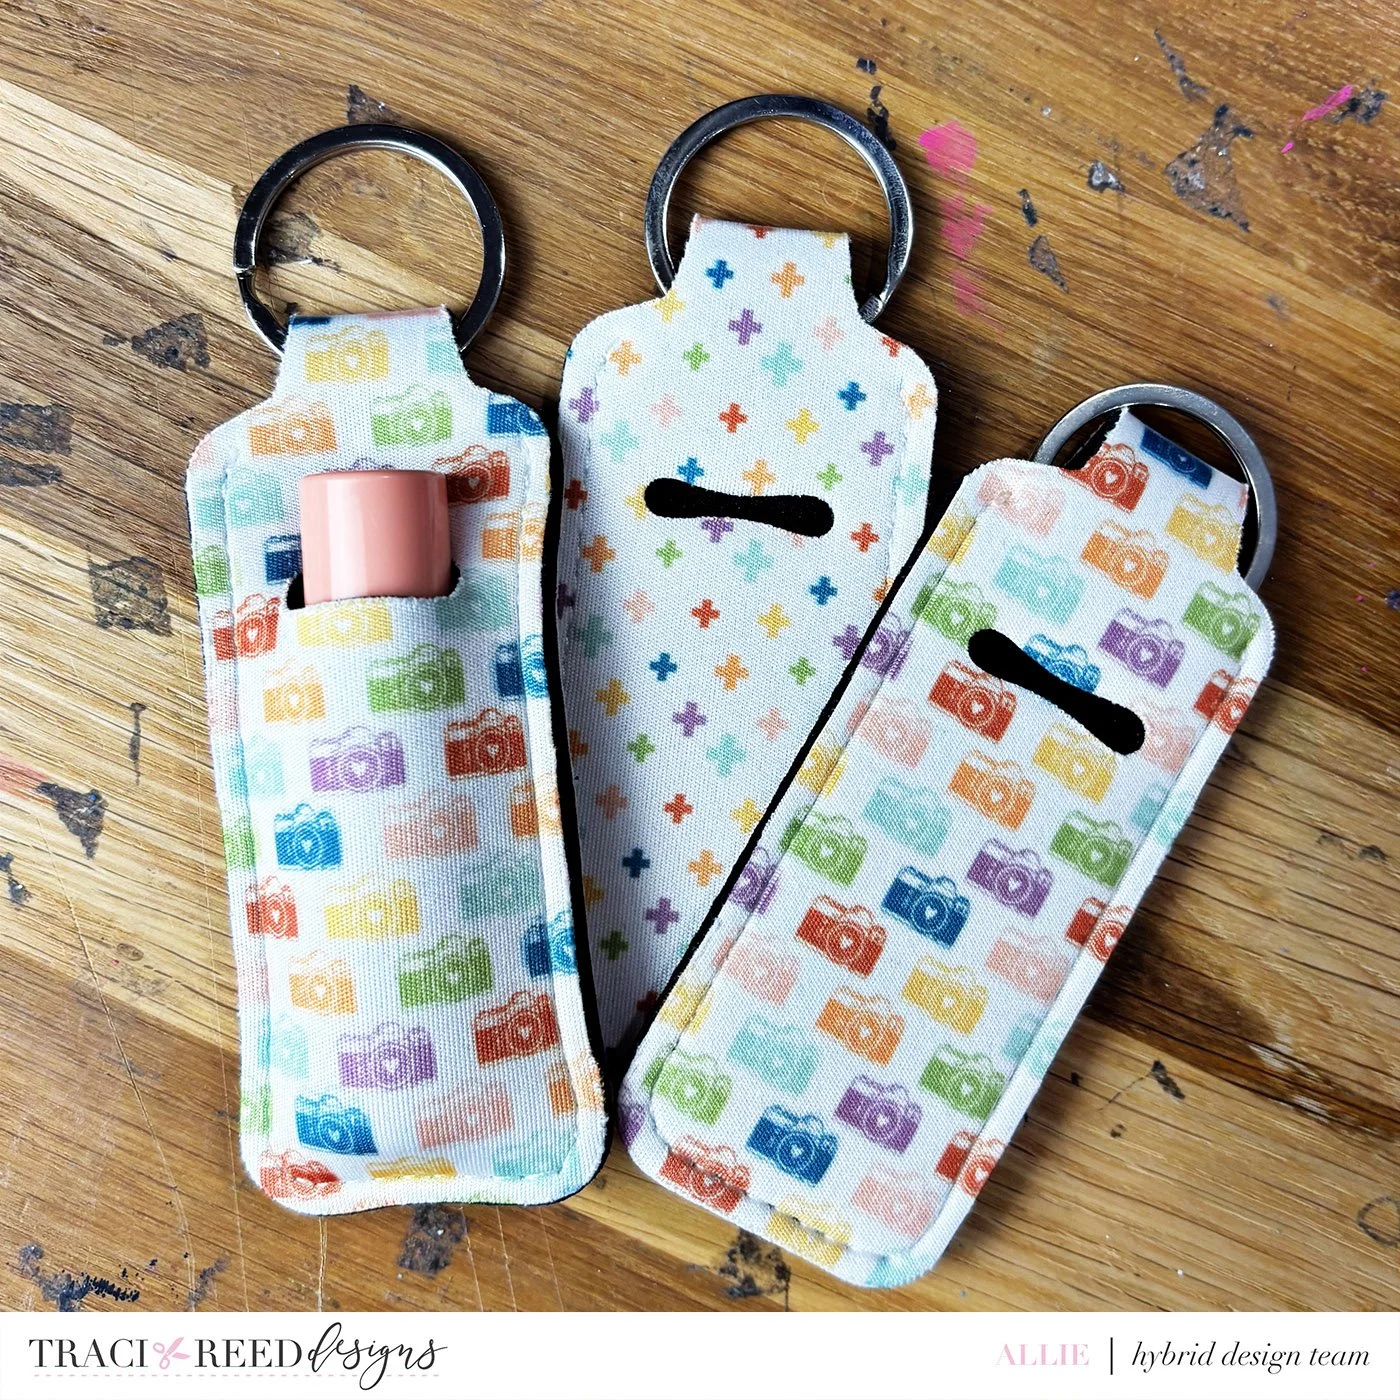
One of my favorite parts of having access to sublimation stuff “on demand” now is that I can use my …*cough* EXTENSIVE collection of digital scrapbooking supplies to make some really fun, usable or wearable things. It’s been so great to figure out how I can get some of these elements “off the page” and onto things like bags, bookmarks, or, my favorite, lip balm holders! I’m going to share a few “tips and tricks” that I’ve learned over the course of making nearly 100 of these lip balm holders over the past few months… most of them with Traci Reed Designs digital products! Let’s get started!
First, let’s talk about equipment --
(Side note: I know that we, as crafters, love to collect new toys and equipment… and then never use them. I was afraid that this would be an expensive version of that.. But I find myself using these WAY more than expected, so it turned out to be a great little hobby to start investing in! But there’s NO REASON you have to go all in if this sounds interesting to you-- you can purchase sublimation prints through Jiffy Prints and they are great quality!)
Here’s an amazon collection with all of my favorite sublimation lip balm holder “supplies” but I’ll detail them out a little more below as well.
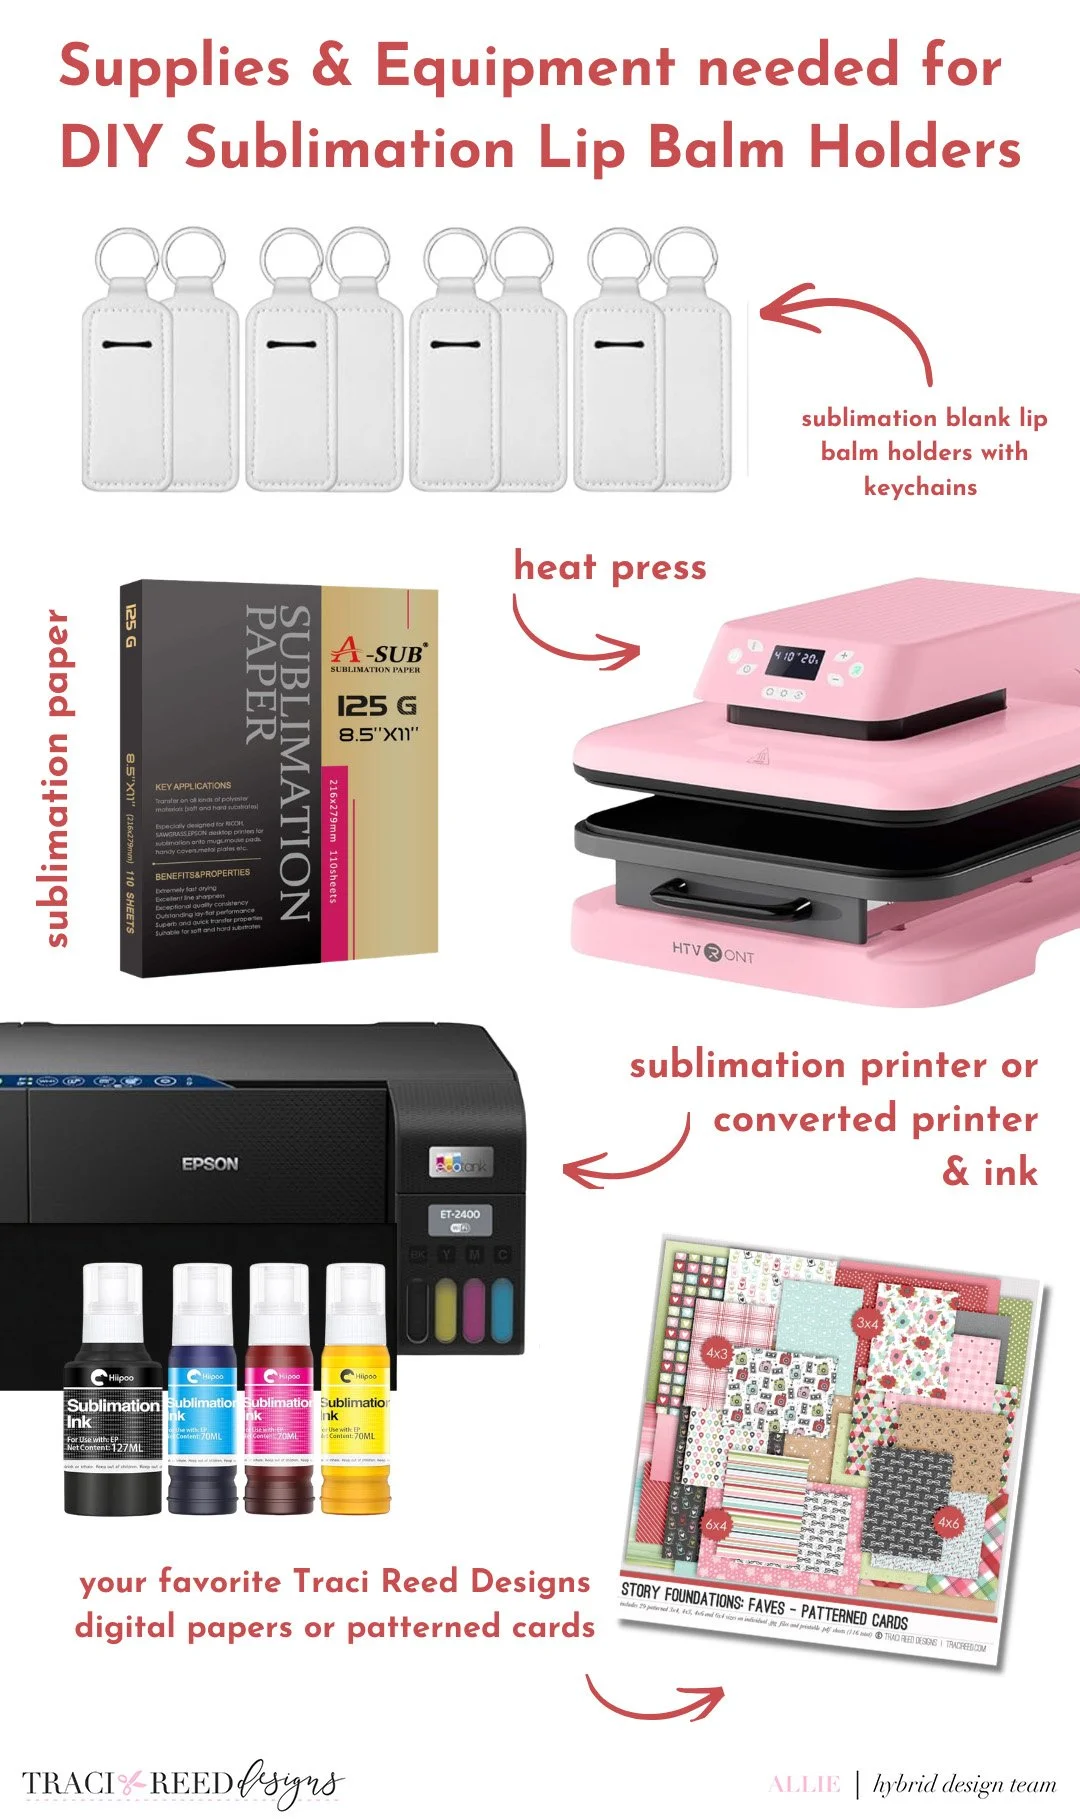
A Heat Press: As I mentioned, I got a heat press for my birthday -- I have an “auto press” which is great because I don’t have to use my little arms to PRESS it all down-- I can push a button and it does the correct amount of pressure -- heat, time, and pressure are all important things to do correctly with sublimation, and it’s why a lot of just “household irons” don’t work for sublimation.
Sublimation Printer: I also have an EPSON EcoTank ET-2400 that I bought brand new (important!) and converted to sublimation ink -- you have to do this before you EVER add “regular” ink to it, otherwise the sublimation ink will not work.
Sublimation ink: I like the HIPPO brand -- I haven’t had to purchase any refills since my initial purchase in November, and I’ve done a LOT of printing for gifts etc.
Sublimation paper: Yep, you need special paper too! I like the A-Sub brand, and they carry it at Amazon and I’ve found it at Hobby Lobby too!
Your favorite digital papers or cards! Obviously, I love Traci’s patterned papers, but her patterned cards in the collections (especially the 4x6 ones!) are the PERFECT size for a double sided lip balm holder, with some extra wiggle room for overprints.
Blank Lip Balm Holders or Zipper Pouches: I like these holders from Amazon, and if you want to do zipper pouches or Car Coasters, Hobby Lobby has a great selection of sublimation blanks.
Ok, so let’s move on to some more “practical tips” I’ve discovered while doing nearly a hundred of these cute little guys as gifts.
(Obviously, this is not a fully “how to sublimate everything" blog post-- I’ll share some of my favorite resources at the end from people who know more than I do… but this is what I’ve learned about this particular project over the last few months!)
Quick Tips for Sublimating Lip Balm Holders
Always Mirror Your Image Before Printing
This one is non-negotiable. Sublimation prints have to be mirrored before you print them — otherwise your design will press backward. It’s the same concept as screen printing: what you see on the paper will flip during transfer. If your text looks correct on your screen before printing, it’s wrong. Reverse it first.
Don’t Panic if Your Print Looks Dull
Sublimation prints look washed out and muted on paper. That’s normal. Once pressed, the colors become dramatically more vivid. The difference is honestly shocking — especially with patterned papers. So if you print something and think,“Hmm… this is not as bright as I hoped,” just wait until it’s pressed.
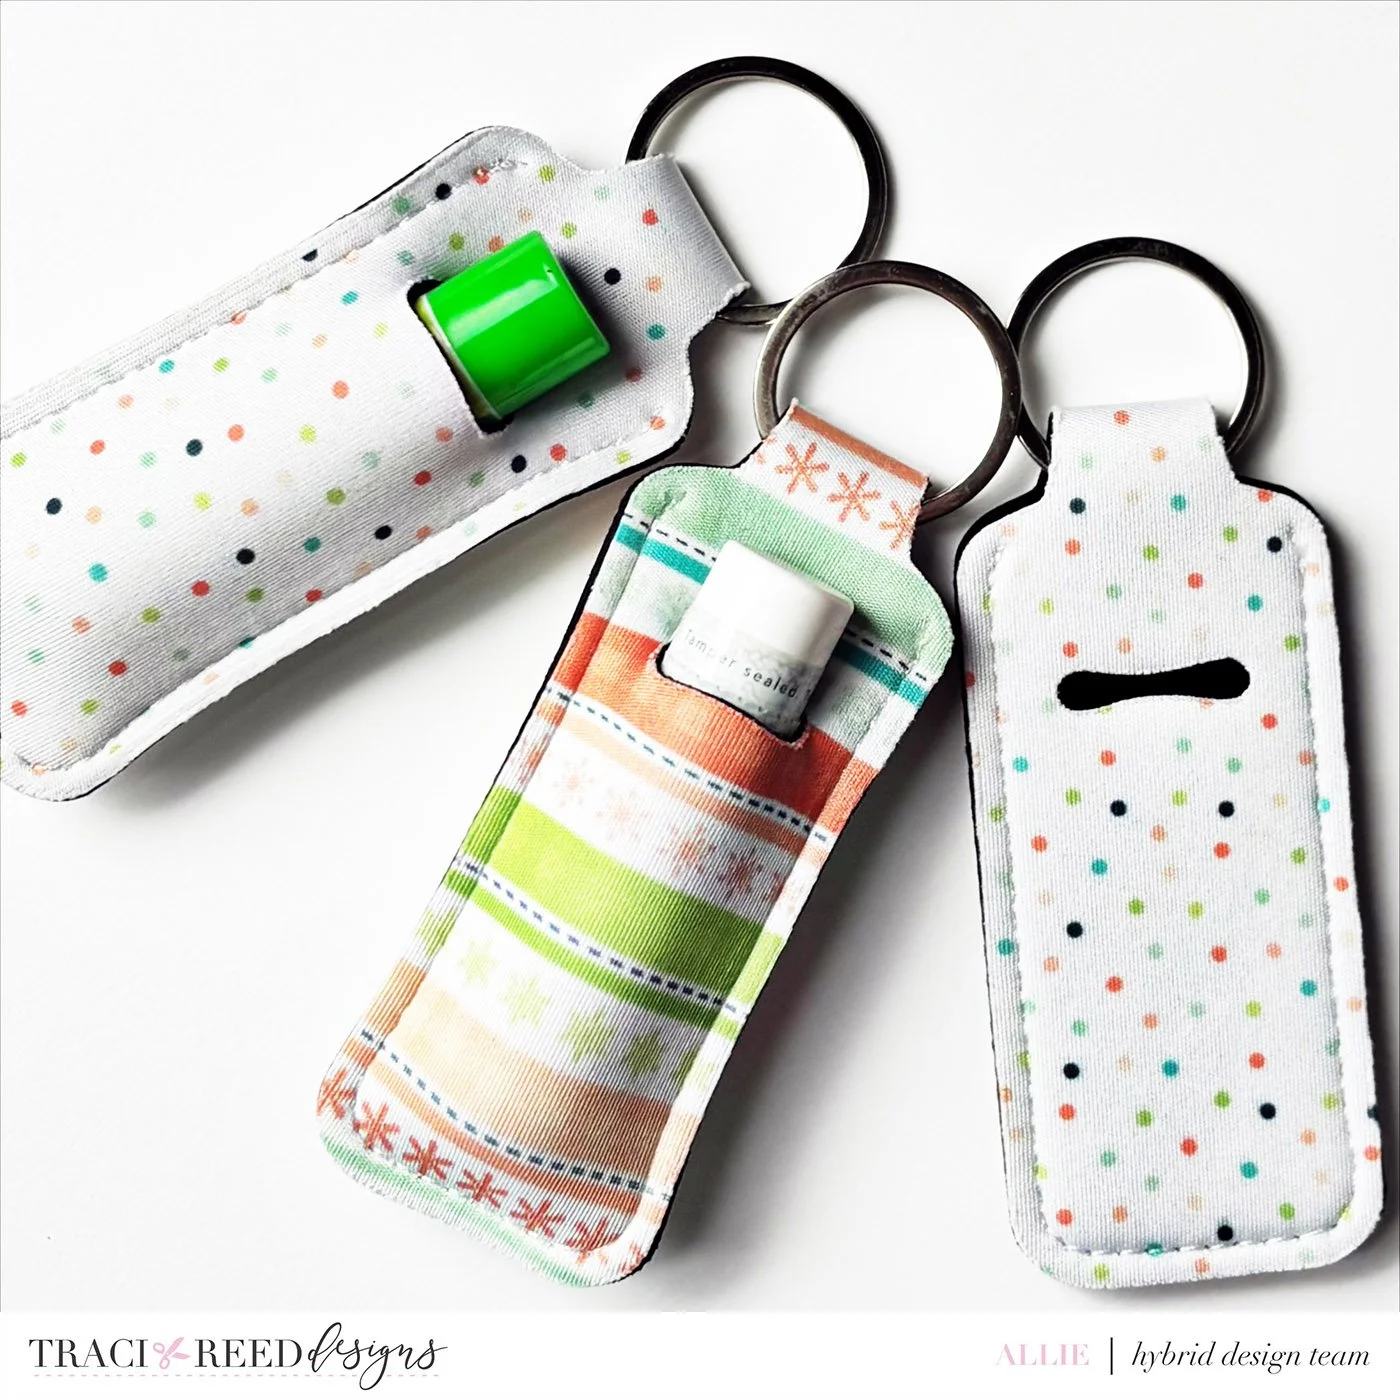
Use Light or White Backgrounds (Trust Me on This)
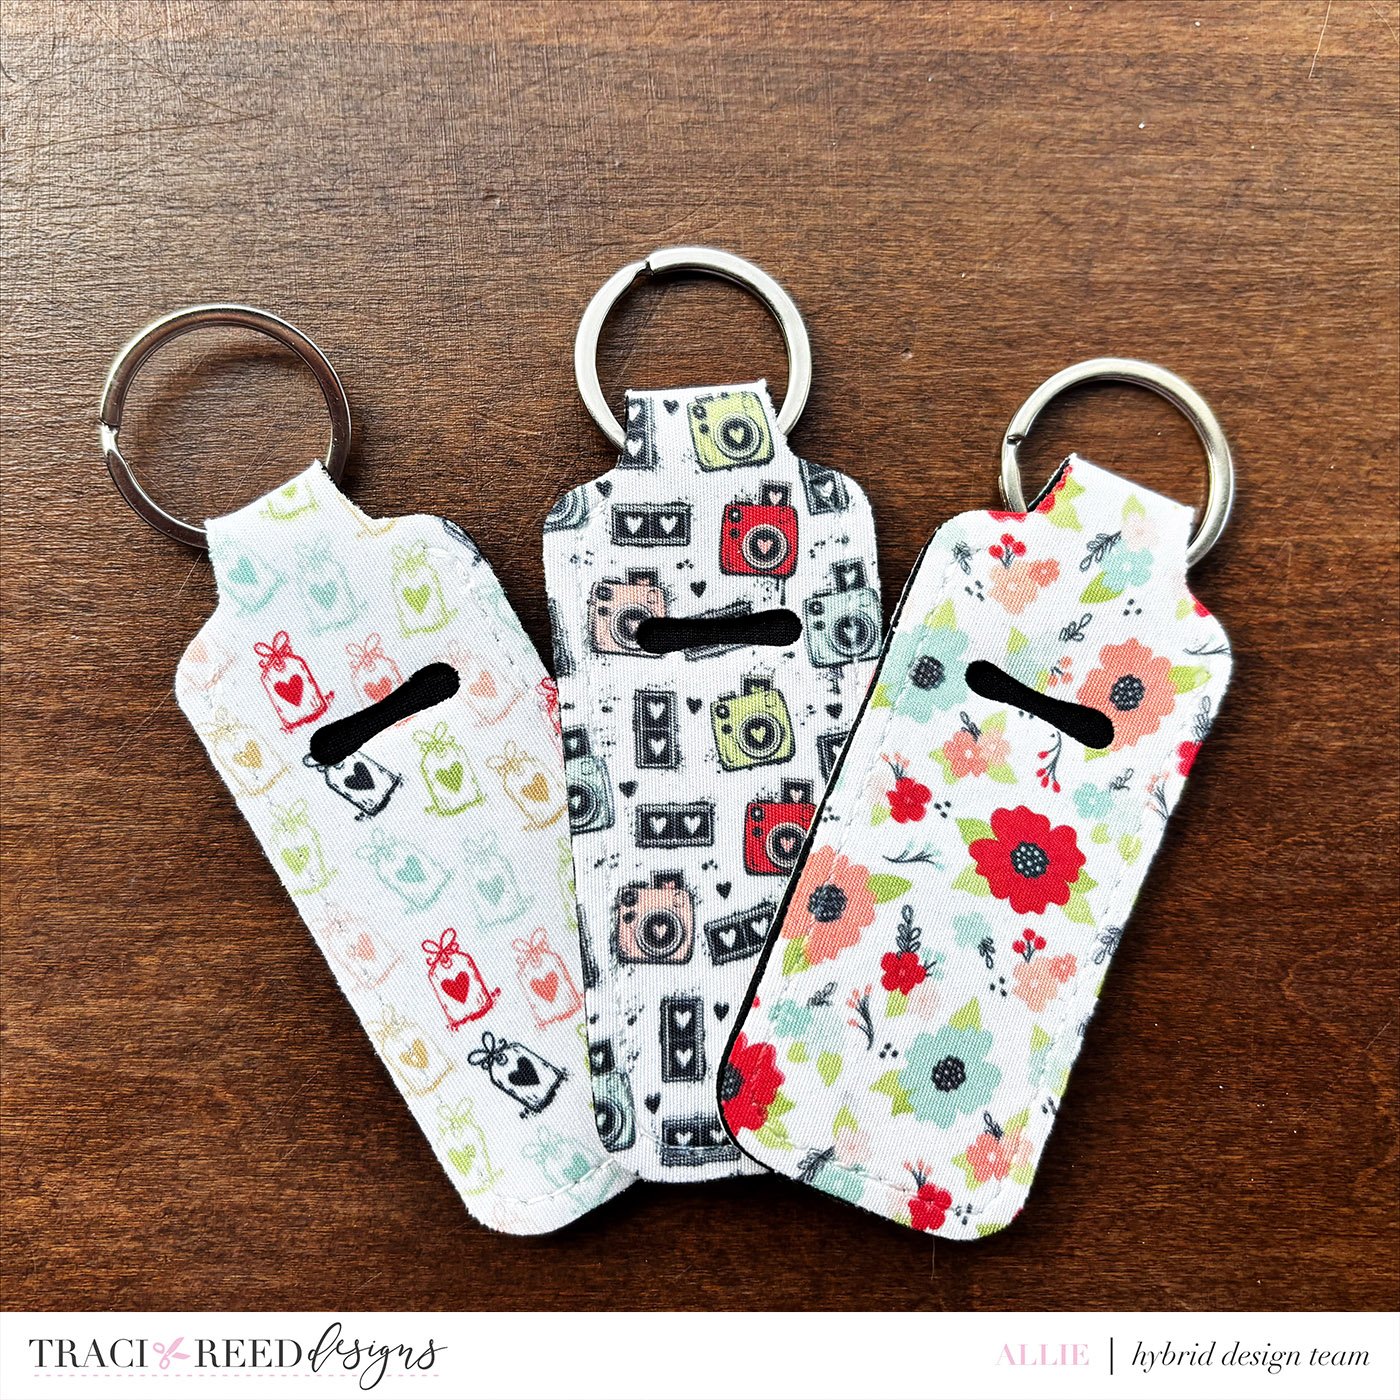
This might be the biggest lesson I’ve learned after making nearly 100 of these. Because lip balm holders have raised seams, a thick top edge where the keychain attaches, and slight curves and folds, it’s almost impossible to get a perfectly seamless wrap around the top. If you use a bold, dark, or fully saturated background, you’ll see a very obvious line where the print stops. But when you use white backgrounds, light patterned prints, or designs with negative space, the seam practically disappears. You still get fun patterns (especially with 4x6 digital cards), but it’s way more forgiving with white backgrounds. This is why I love using Traci’s lighter background cards for these. They give you personality without the seam stress.
Bright Full-Color Backgrounds Are Advanced Mode -- Can it be done? Yes. Is it harder? Also yes. If the design is fully saturated and wraps all the way to the top edge, any slight misalignment becomes obvious. You can try pressing multiple times carefully, coloring the seam edge with acrylic markers, or trimming aggressively. But if you want a more foolproof result, stick to lighter backgrounds.
Leave Wiggle Room on the Sides
Pre-sized Canva templates for these holders never worked quite right for me. Instead, I leave a little extra space on the sides, trim after positioning, and adjust slightly based on how the holder folds. That extra margin gives you flexibility and helps prevent awkward white edges.
Protect Your Heat Press (or You’ll Regret It)
Because these holders have little edges and folds, ink can transfer beyond the design area. I always put butcher paper (or plain paper) underneath, put another sheet on top, and use heat-safe tape to secure everything. This prevents ghosting and keeps ink from transferring to your heat press, which could ruin your next project.
You Don’t Have to Do Both Sides the Same
You can use the same design on both sides, mix coordinating patterns, or do a bold front and subtle back. All of them look cute. When I’m batch-making gifts, I usually keep both sides the same to make it easier, but switching it up can make them feel extra custom.
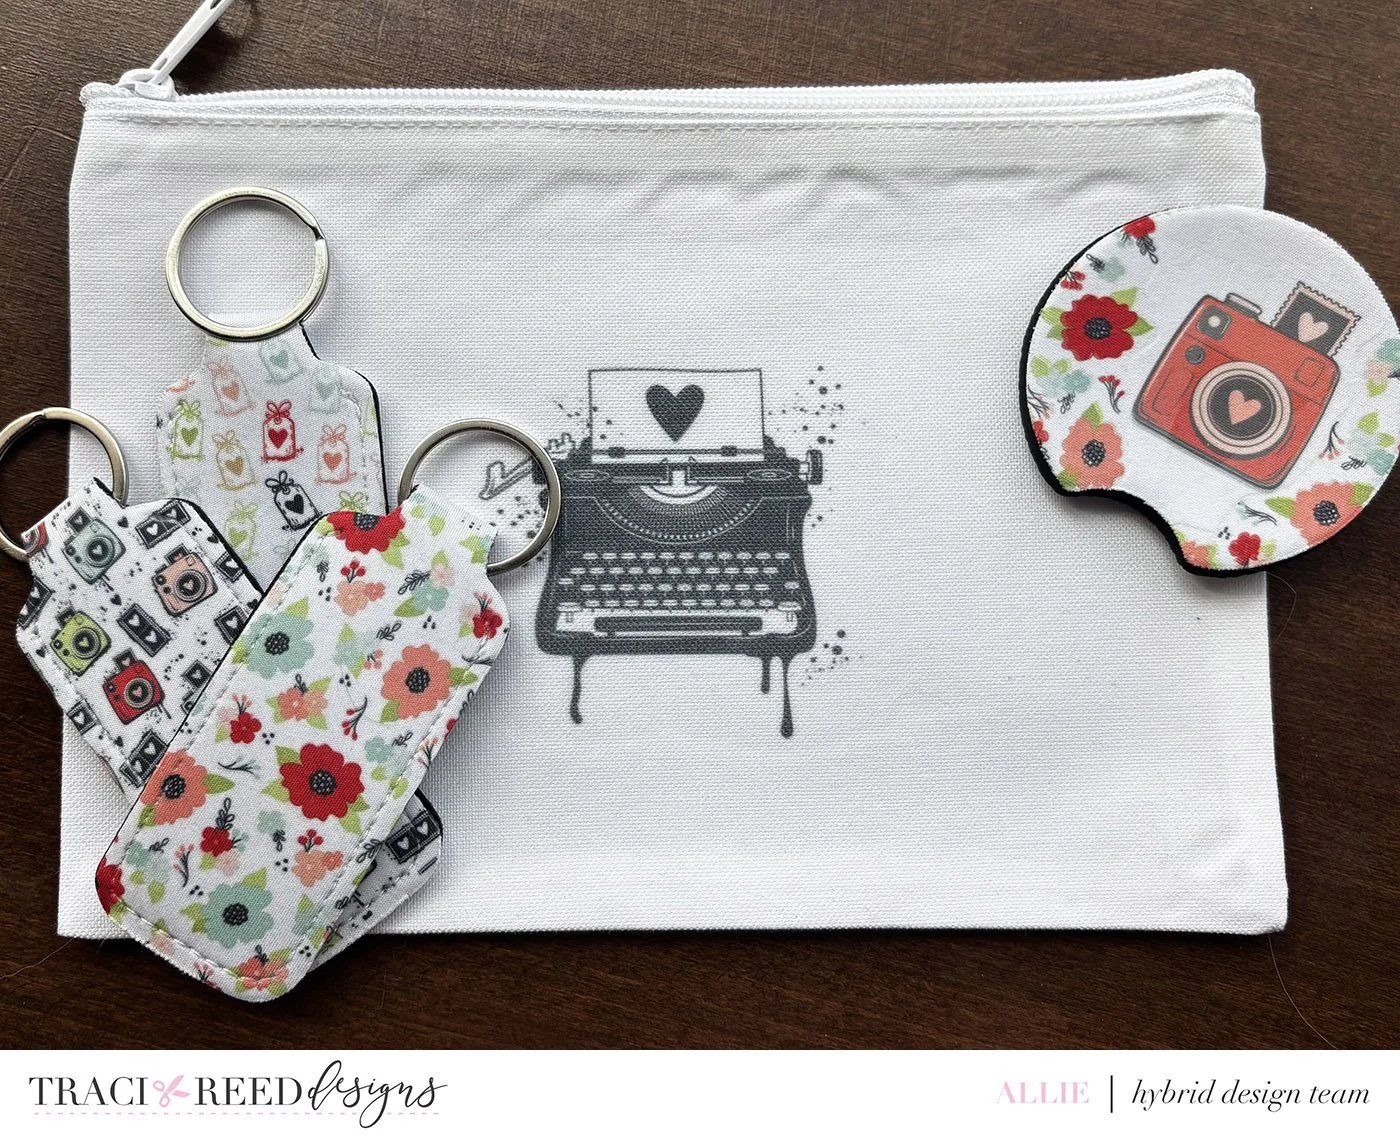
Once You Start… It Spirals (In the Best Way)
After lip balm holders, I ended up making car coasters, small zip pouches and Christmas presents for basically everyone we know. Sublimation plus digital scrapbooking supplies is honestly such a fun combination. It’s the easiest way to get your favorite papers off the page and into real life.
I hope this gave you a ‘boost” of inspiration on how to use some of your digital supplies in a fun, new way! I can’t wait to see what you make!
- Allie
P.S. For more on sublimation -- from getting started to what presses and paper and blanks are the best, I love Jennifer Maker’s blog and Cori from Hey Let’s Make Stuff!