Create a Quick and Easy Interactive Pocket for your Scrapbook Pages!
When I was looking for inspiration for a project I came across this video from Pinkstrawberryz on Youtube. I thought that would be great way to showcase this new collection SF Golden Days. This is a super easy project that anyone can do.
So I decided to use various pattern papers from the Golden Days collection to cover the pocket, but it’s totally OPTIONAL. You can just use one pattern for the base and another one for the middle pocket. But if you want to I have done the measurements for you. They are easy measurements.
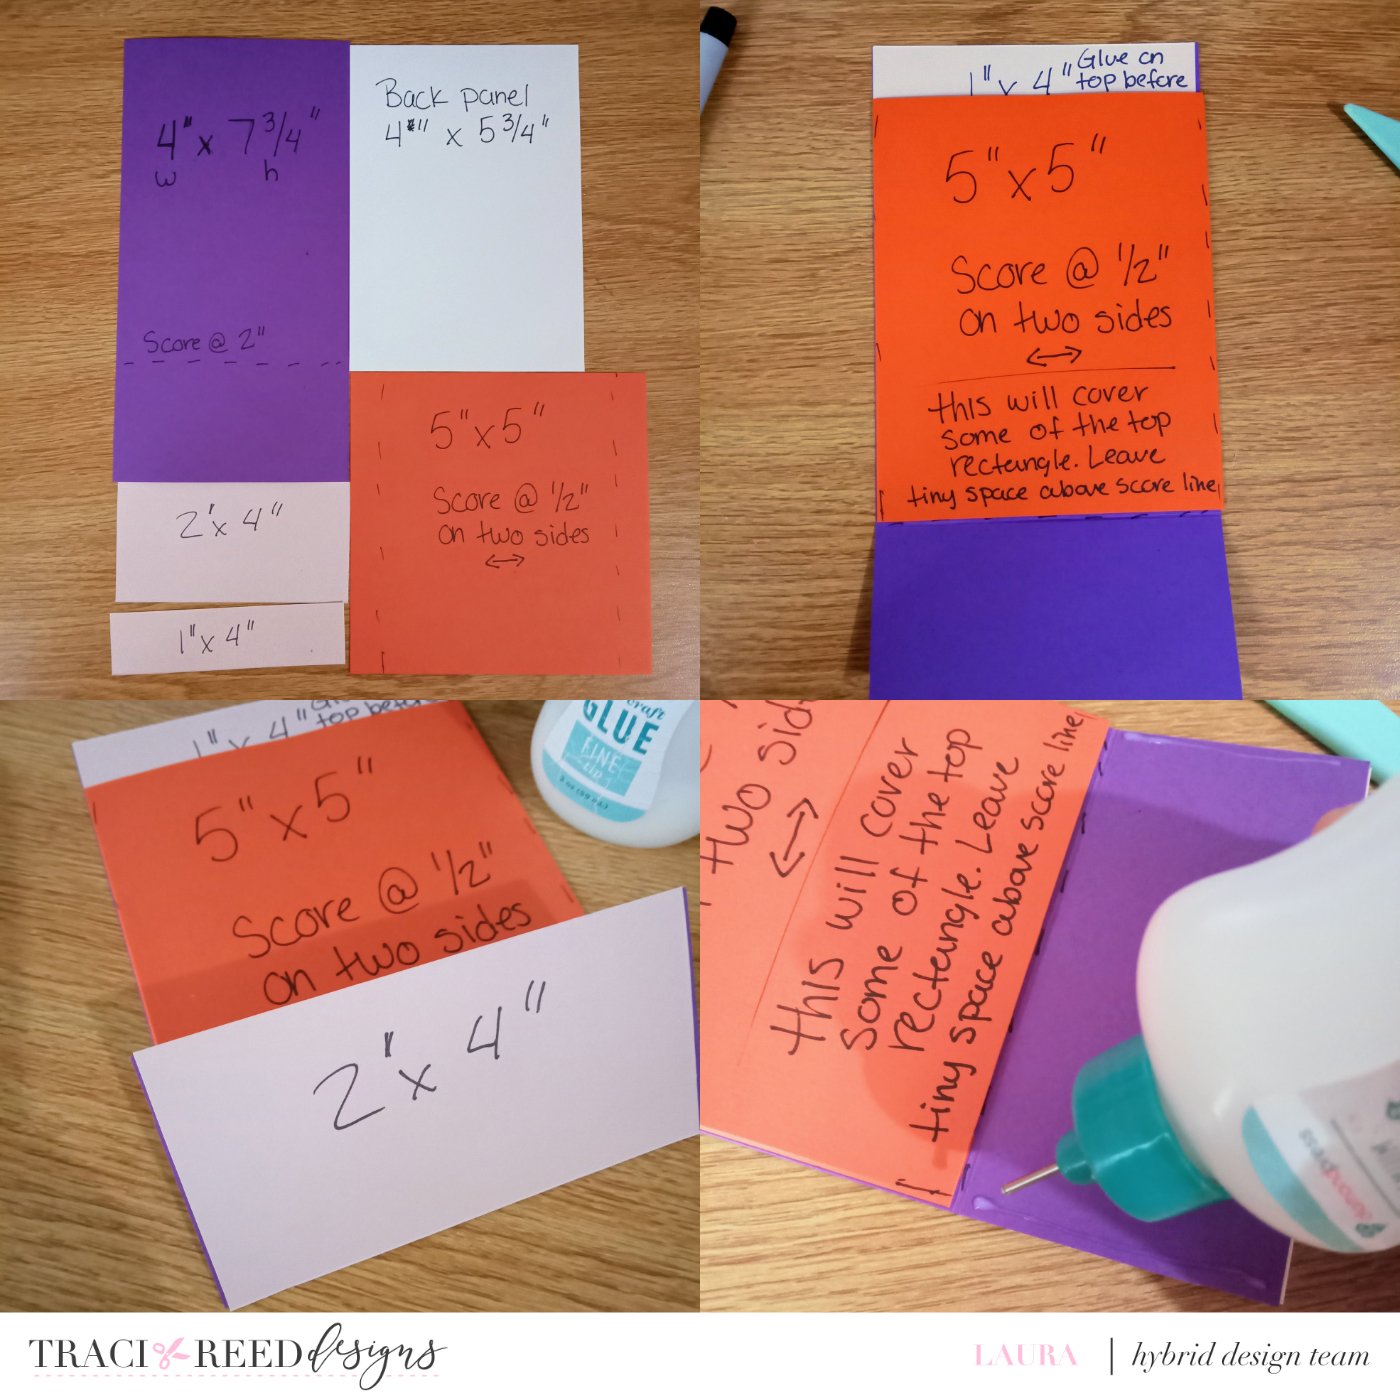
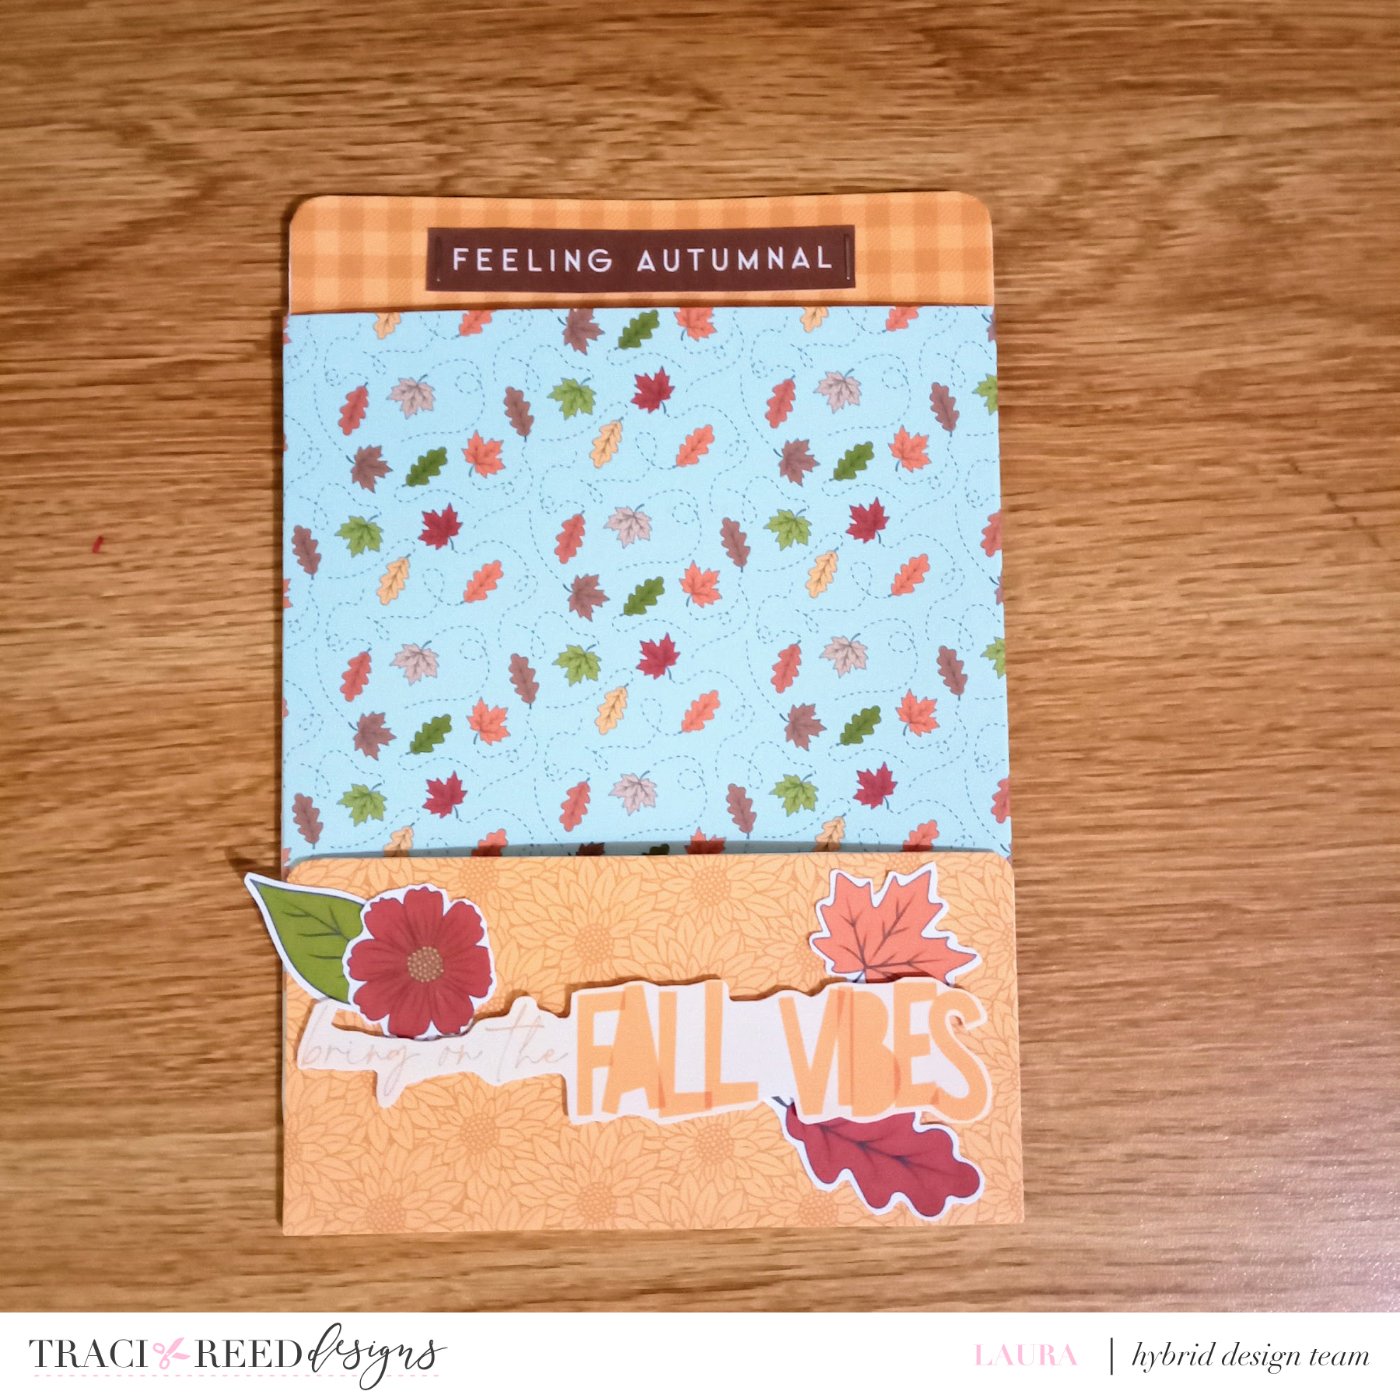
The two main measurements you need for this double pocket is: main panel 4” x 5.75” and 5” x 5” for the big pocket. On the main panel turn it the long ways and score at 2 inches. You fold that upwards. For the big pocket (5” x 5”) on two sides score at 1/2”. Fold backwards. Glue the flaps on to the main panel leaving just a tiny gap above the two inch score line. Now the two inch front flap and a thin line of glue on the two sides and adhere upwards to the big pocket. Now you have a double pocket! Now if you want to use multiple patterns like I did the 1” x 4” panel you would glue BEFORE you add the 5” x 5” pocket. The pocket will cover a little bit of it up. The small front pocket is 2” x 4”. For the back it’s 4” x 5.75”.
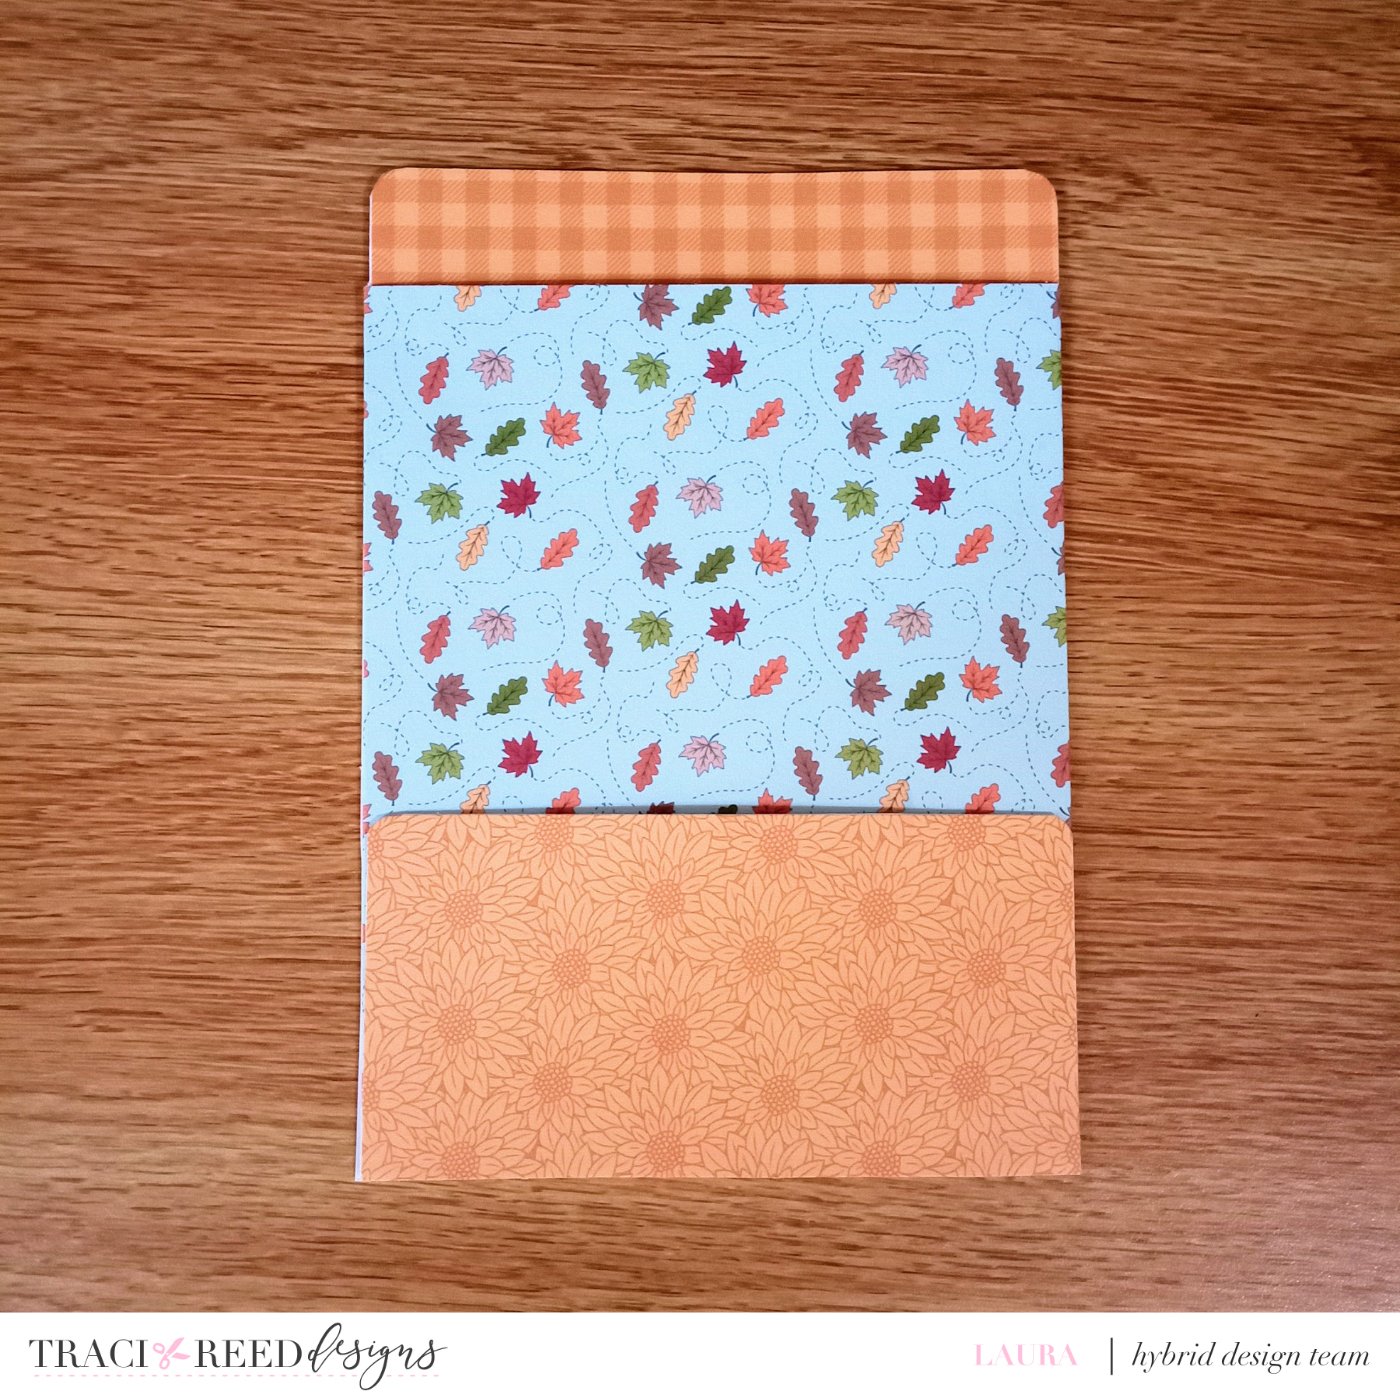
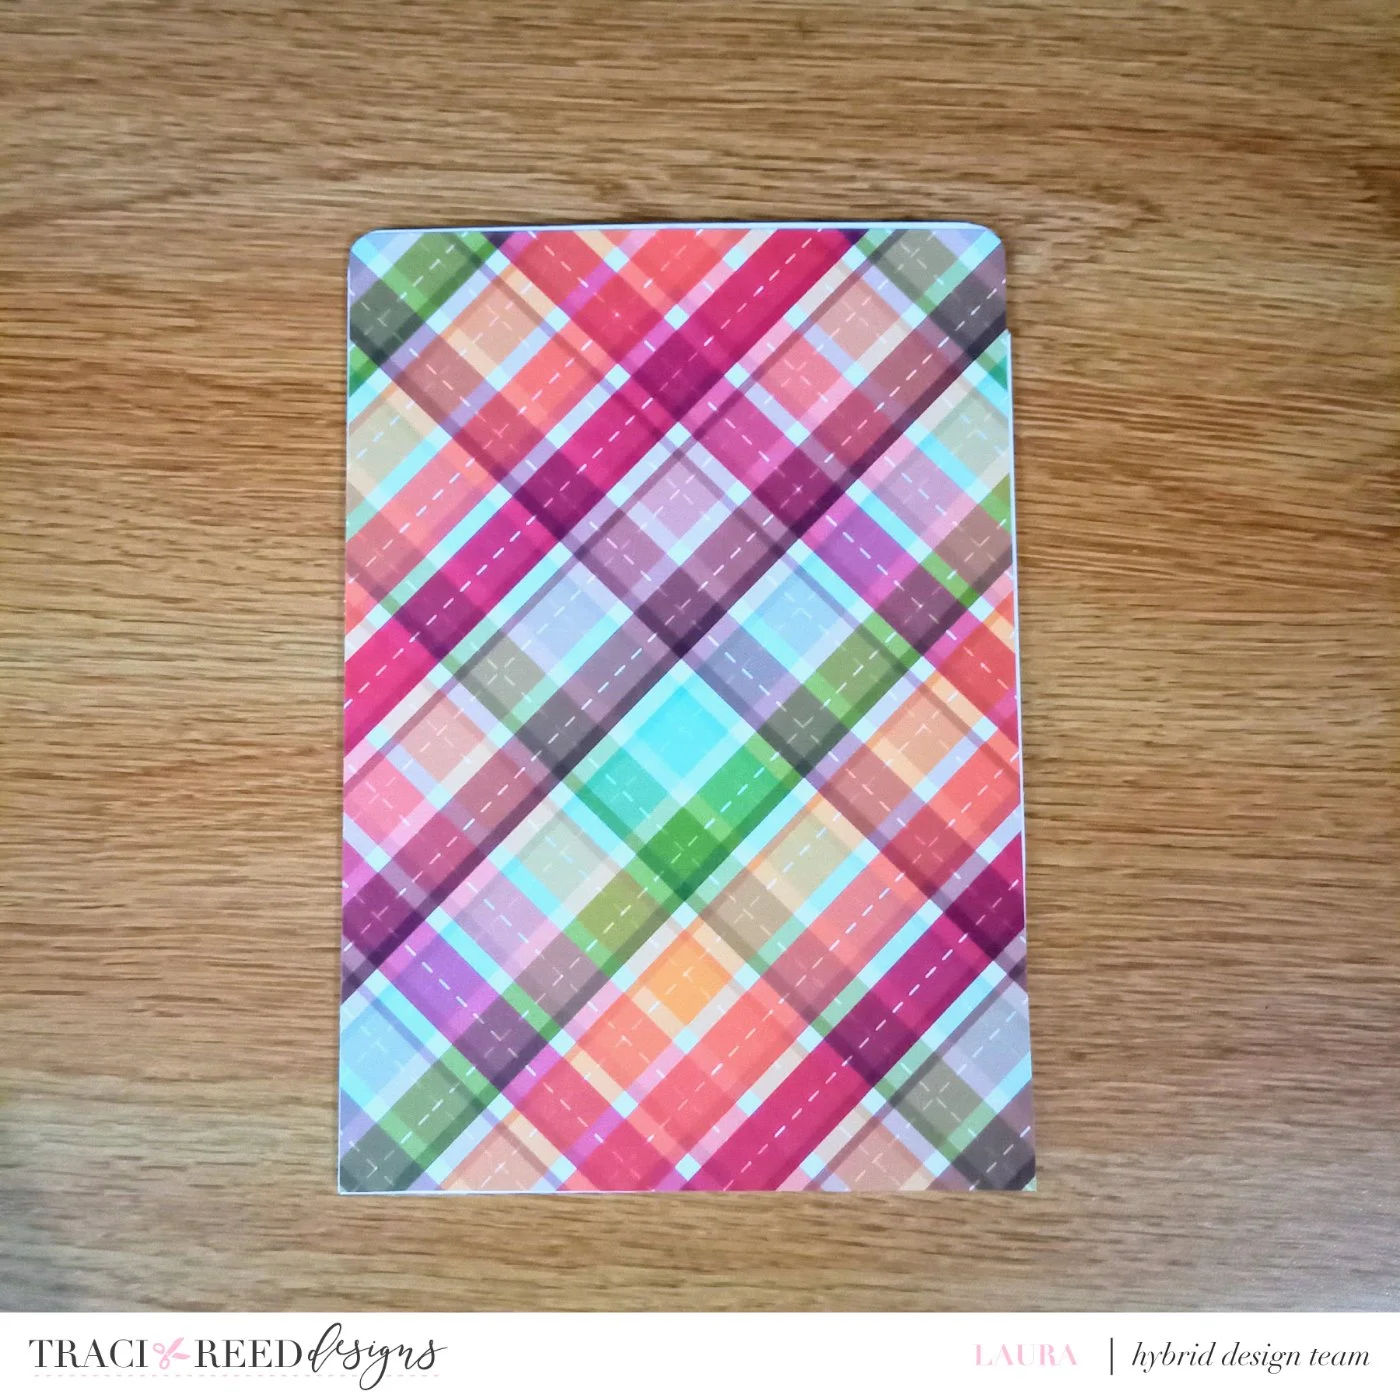
Now this is where the fun part comes in. Time for decorating! For the front of the small pocket I cropped a journaling card for just the sentence. I fussy cut it out and added some bits behind it to help frame it. At the top I added one of the word strips and used my tiny attacher for added texture. That word strip does get covered up when things are in the big pocket, but I don’t mind. The big pocket I would resize the height of the papers that are going in to under six inches. Because it’s about 5 1/2 inches high and 4 inches wide.
So I found some fall photos that I wanted to document. I will explain from top left on what I used for my pieces.
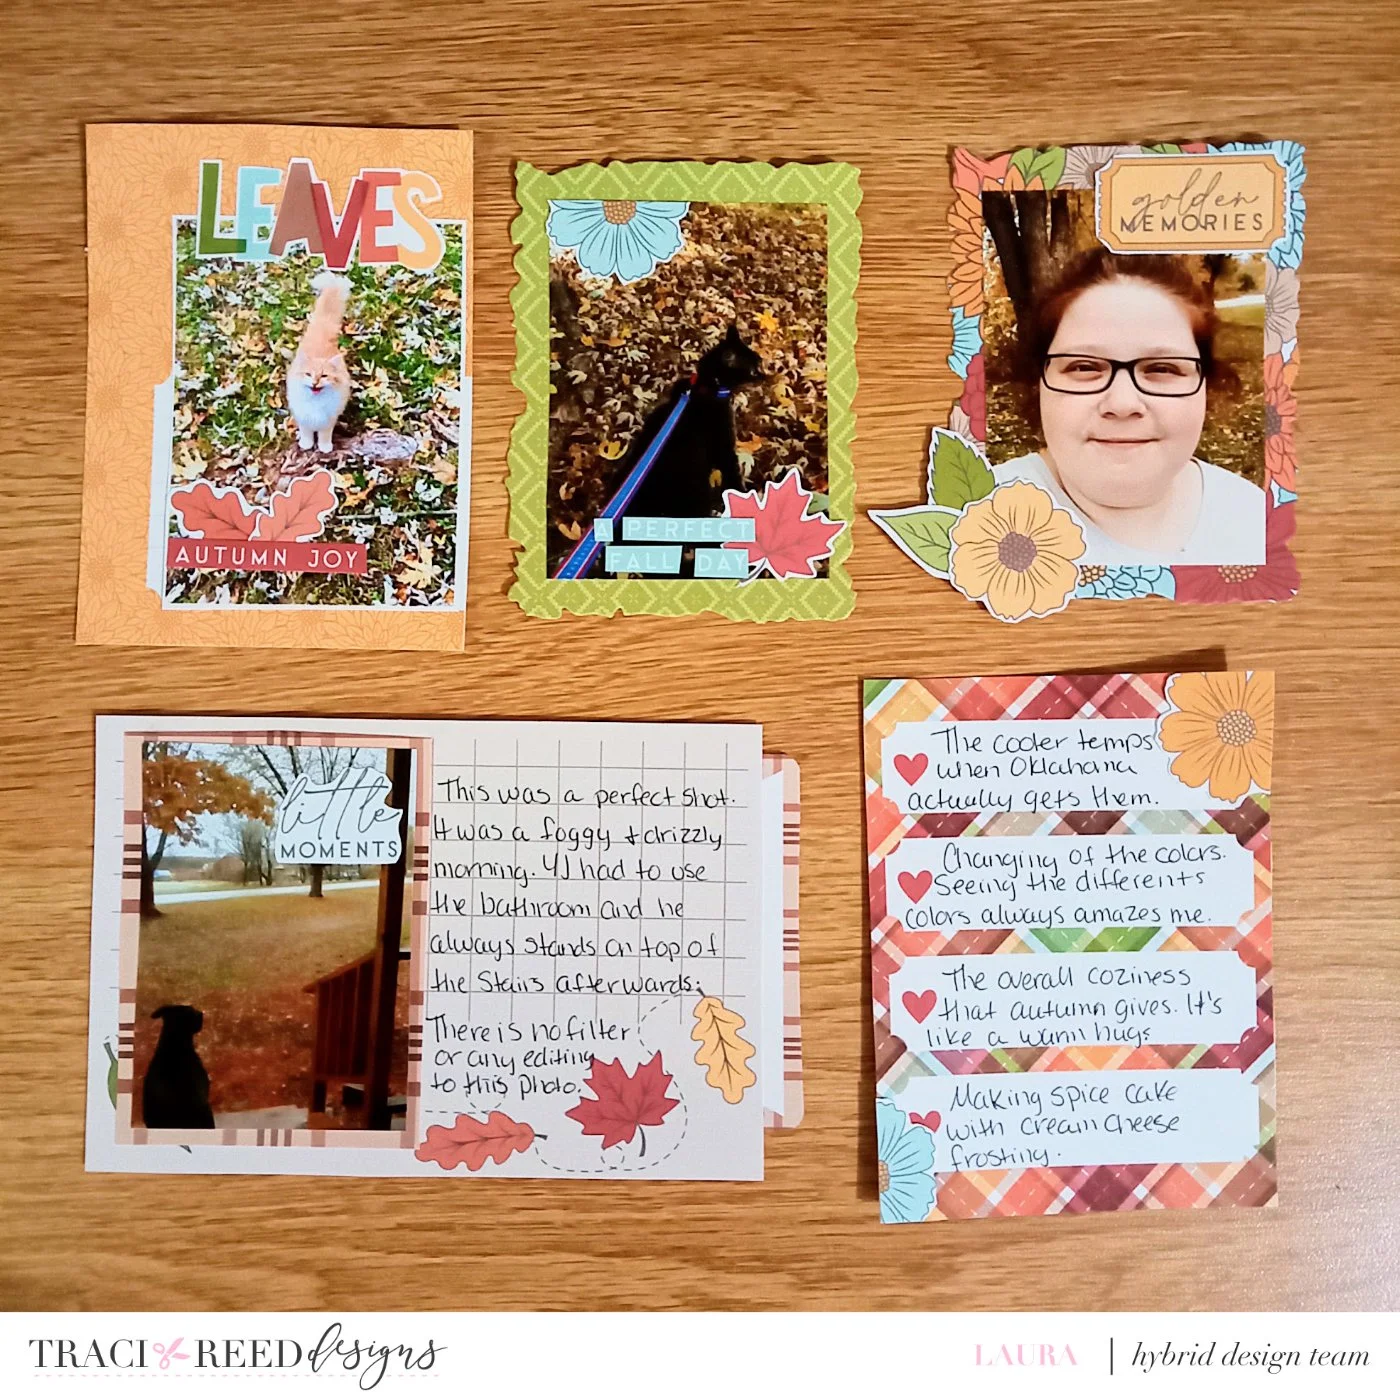
1. I used one the photo of Zoomie as a flap over the journaling I did. I just added a small amount of glue to the top of the photo and made sure that it was over the journaling. Added one of the titles to the top and couple of leaves and word strip.
2. and 3. I used a deckle edge die and cut out some of the pattern paper to back my photos. Added some of the stickers to the photos. On the back of those I did add journaling.
4. I used one of the 4x6 cards and sized it down to a little bit to for the height of the big pocket. I backed my photo with the brown plaid pattern paper and added journaling to the side. I did add one of the labels, that I cut in half, that matched the pattern paper to the end to help pull it out.
5. I listed some of my favorite fall things.
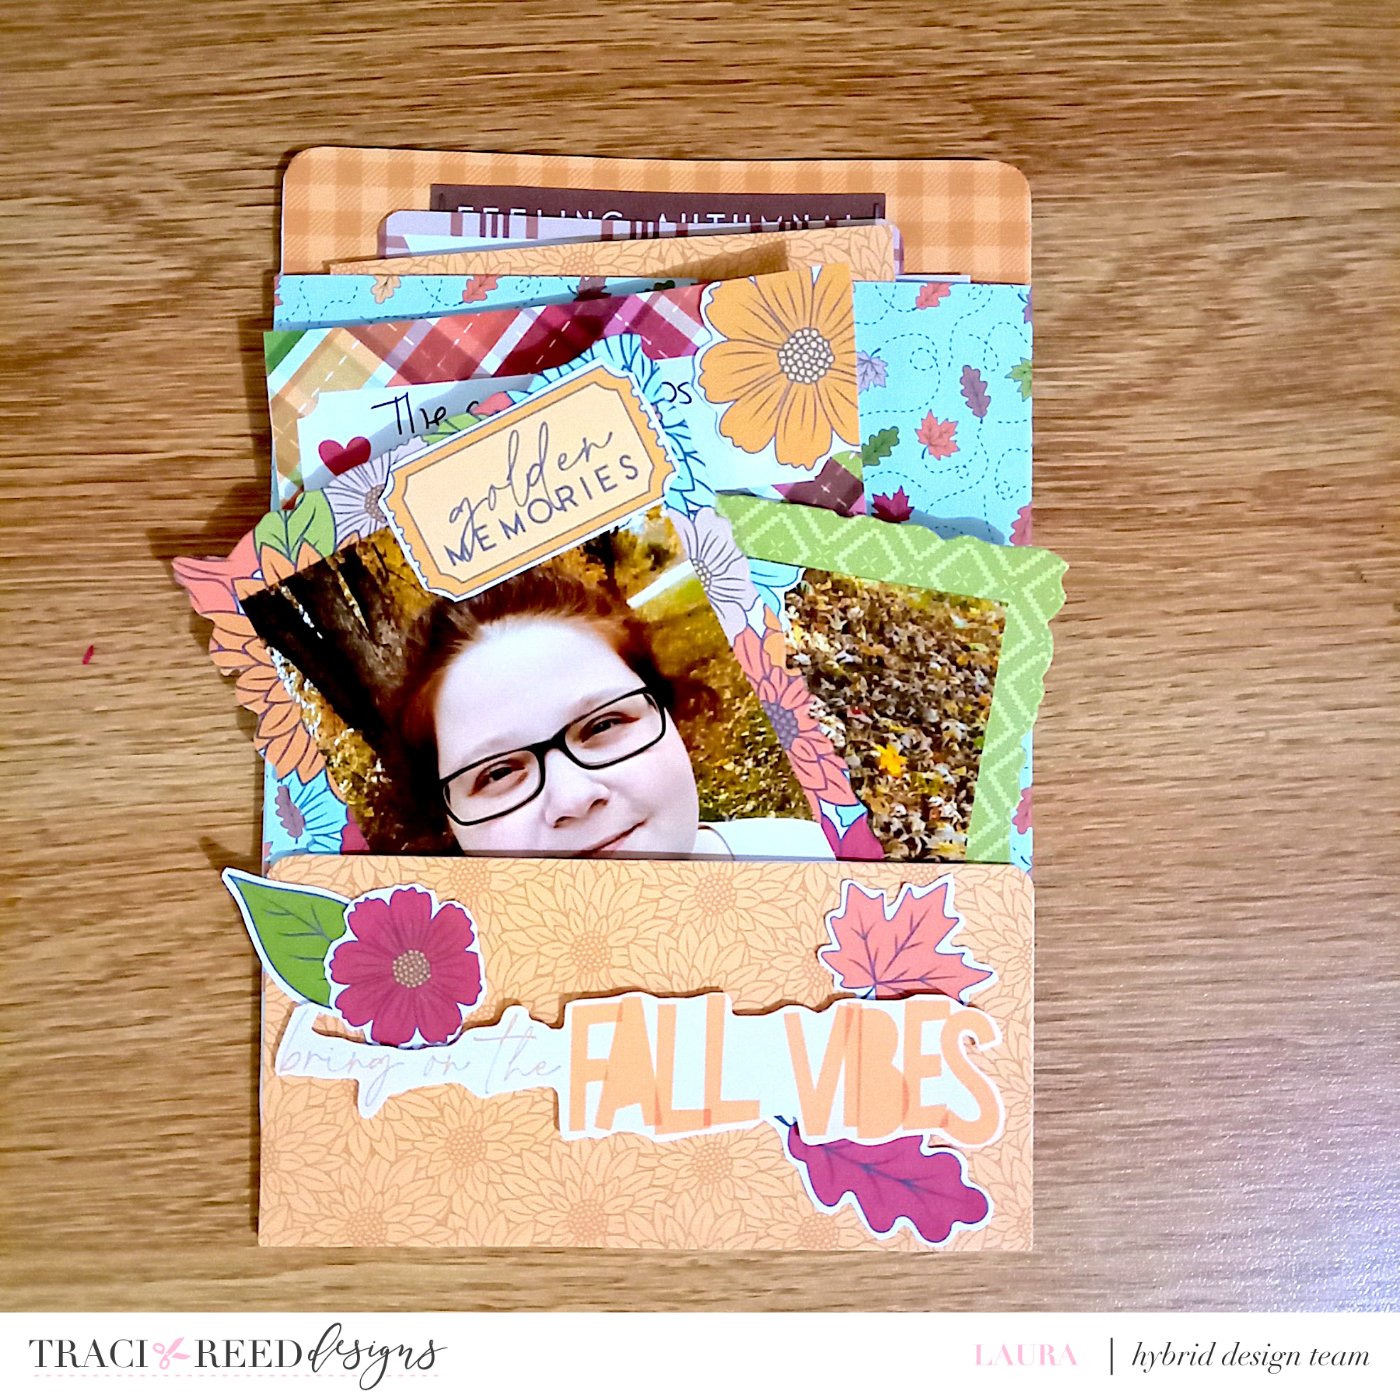
This is a great project to do for any collection. It can hold several pieces inside the pockets and they stay in since the pockets are a little snug. Make sure to pick up the newest addition to the Story Foundations called Golden Days. This is perfect for those fall memories.


Golden Days is here to celebrate everything we love about autumn, with a fresh and colorful take on the season! From falling leaves and pumpkin patches to apple picking, cozy sweaters, good books, and crisp autumn days, this collection captures all those little moments that make fall feel so special.
Rather than leaning into the traditional rustic or farmhouse side of fall, Golden Days brings a brighter palette to the season with warm oranges and golds mixed with unexpected greens, soft aqua, rich reds, and cozy browns. The result is a collection that feels unmistakably autumn while still fitting right in with the colorful Story Foundations palette.
Whether you're documenting a trip to the pumpkin patch, the first signs of cooler weather, back-to-school memories, afternoons spent apple picking, or simply the everyday moments that happen during your favorite season, Golden Days has plenty to help tell those stories. And yes, whether you're team apples or team pumpkins, you don't have to choose. This collection has room for both!
Like all Story Foundations chapters, Golden Days is designed to work beautifully on its own while also coordinating with the rest of the series. Mix and match papers, cards, stickers, and embellishments across collections to create pages that tell your stories your way.
See the unboxing and example images for the Story Foundations: Golden Days collection HERE.
Don’t forget, the entire 2026 Story Foundations Collections are meant to mix and match and pair with each other! You can see all the Story Foundations Chapters HERE.
BUNDLE INCLUDES:
Story Foundations: Golden Days Digital Kit, Cards 1, 2, &3 + Stickers!
BUNDLE DOES NOT INCLUDE:
Story Foundations: Golden Days TN Papers or Patterned Cards