Tutorial: Using Photoshop to “Lift” a Title From a Journal Card
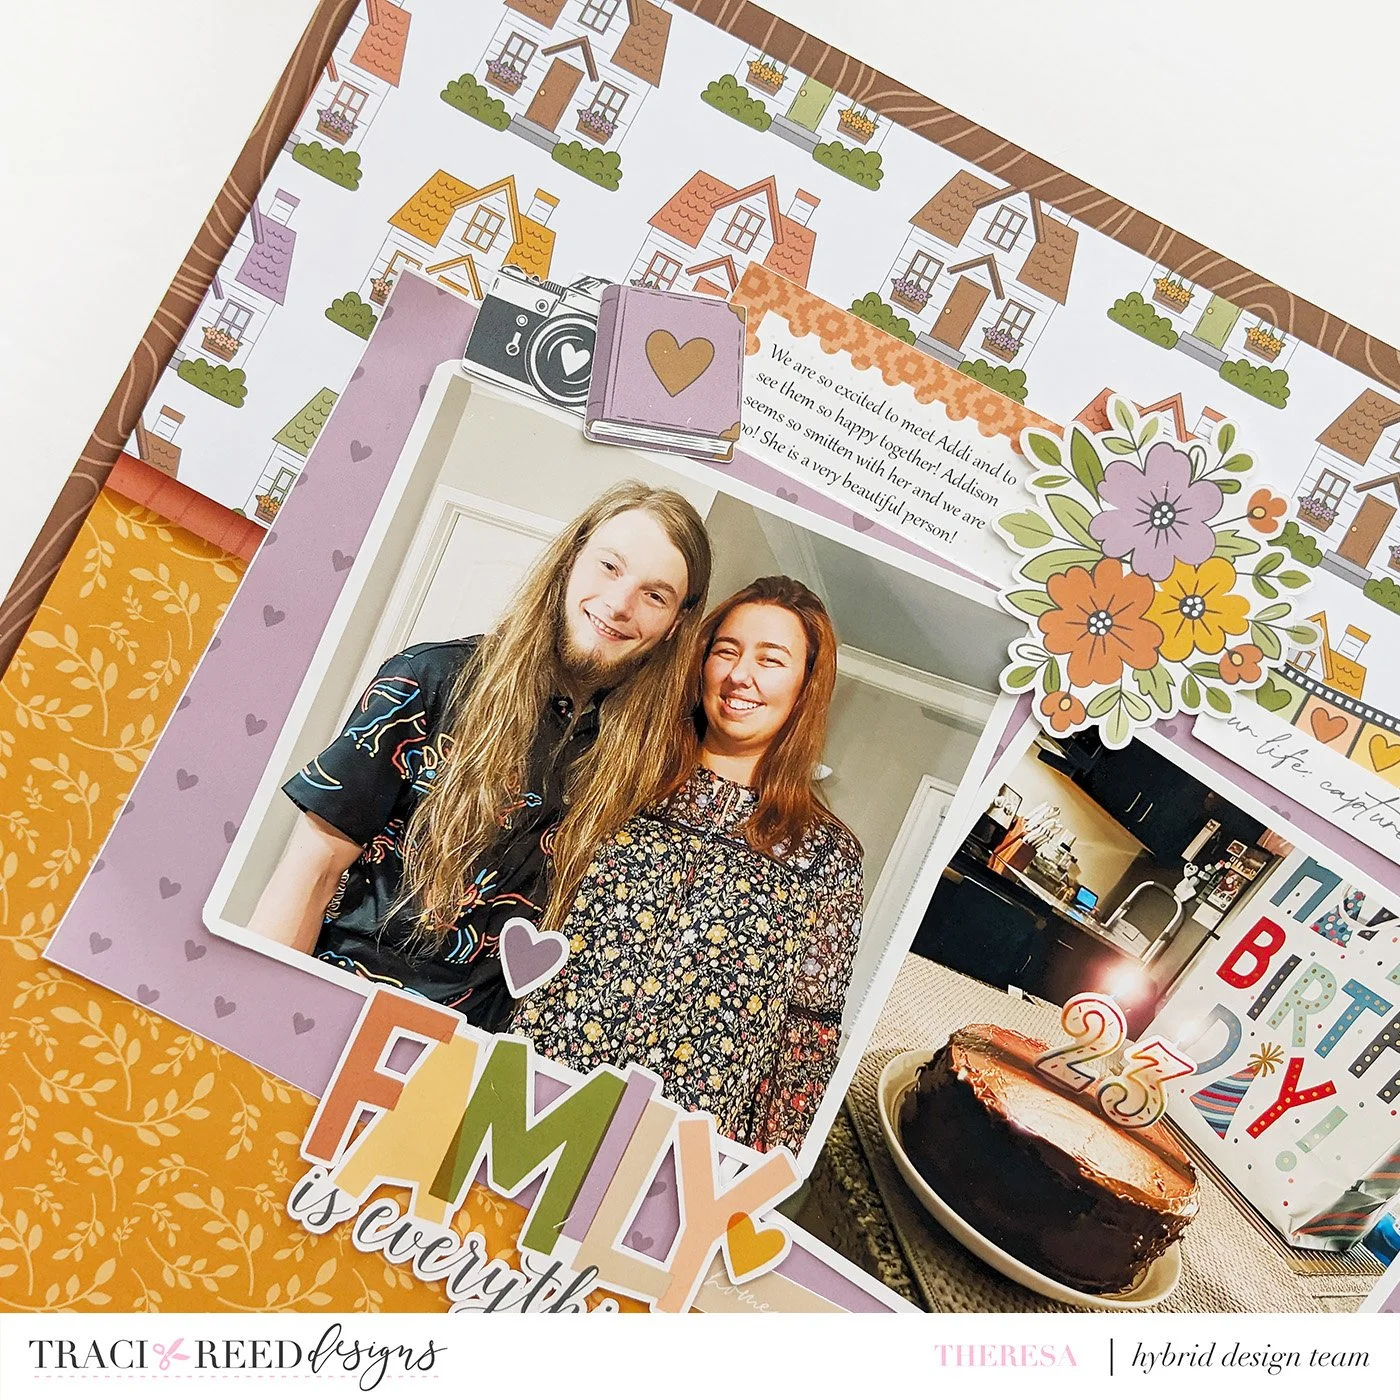
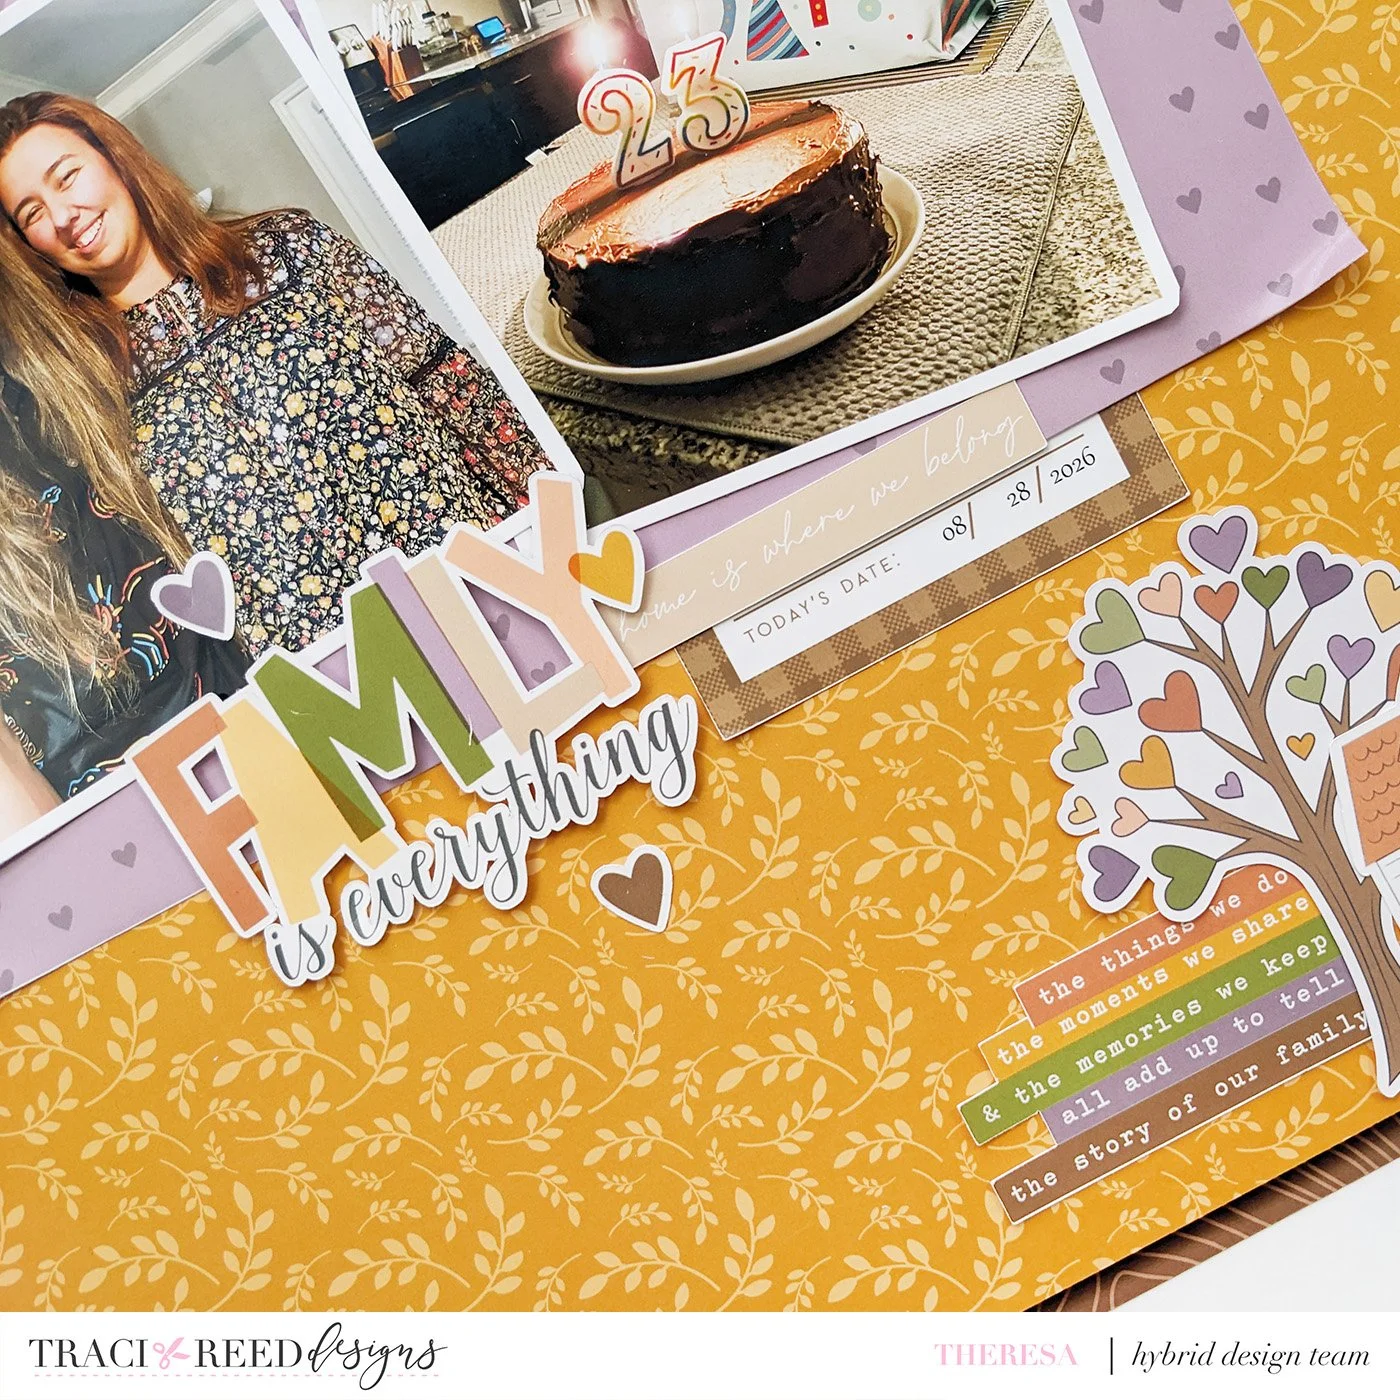
Hi friends, it’s Theresa here with a fun and quick Photoshop Tutorial for you! I am working with the Story Foundations: Family Ties collection, which has this fantastic journal card included, but I wanted to use it for my title as you can see in my layout here.
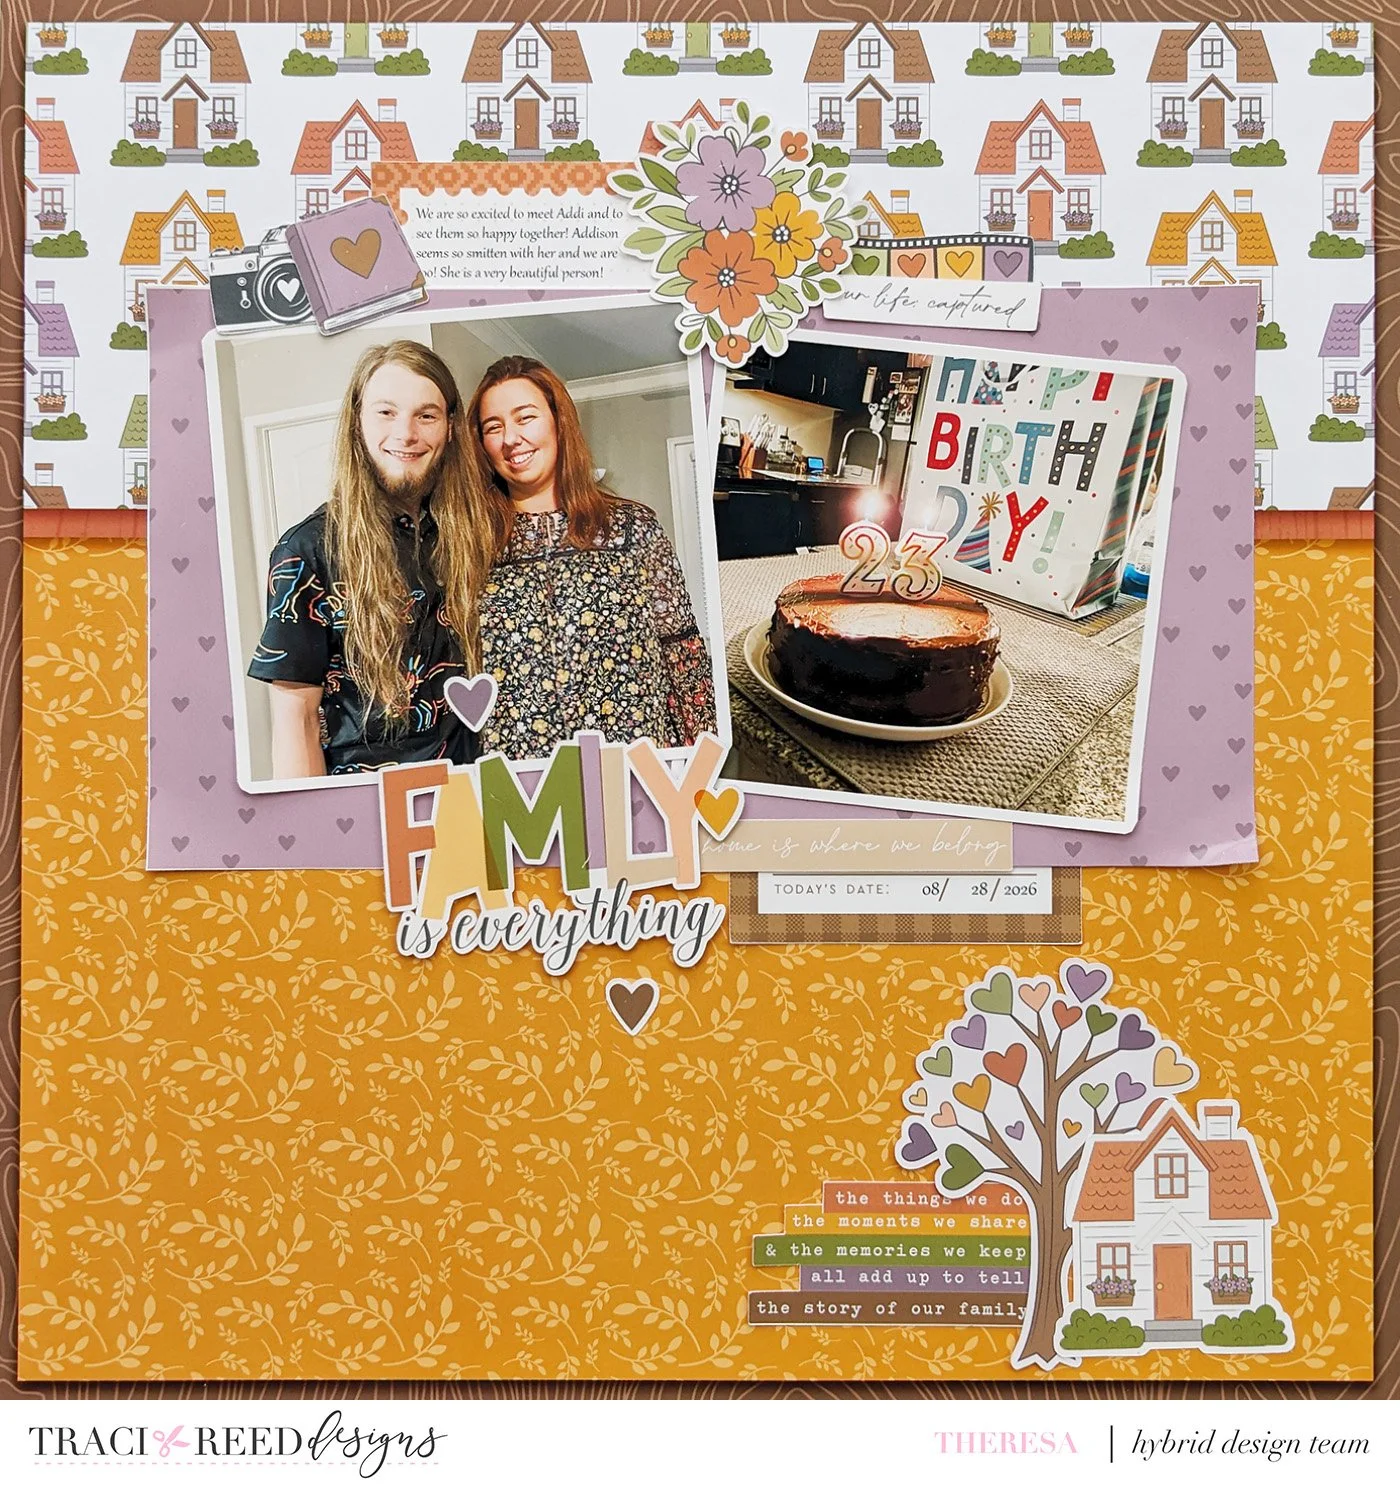
Recently our oldest son Addison started a new life with his girlfriend. She held a lovely birthday celebration for him and this was our first time meeting her, so of course this needed to be documented in the scrapbook. We are so excited to welcome Addi into our family!
Here are the steps you can take to lift this title from the journal card:
Open Photoshop and open your journal card.
In the Layers menu, double click on the Background Layer so it can be edited.
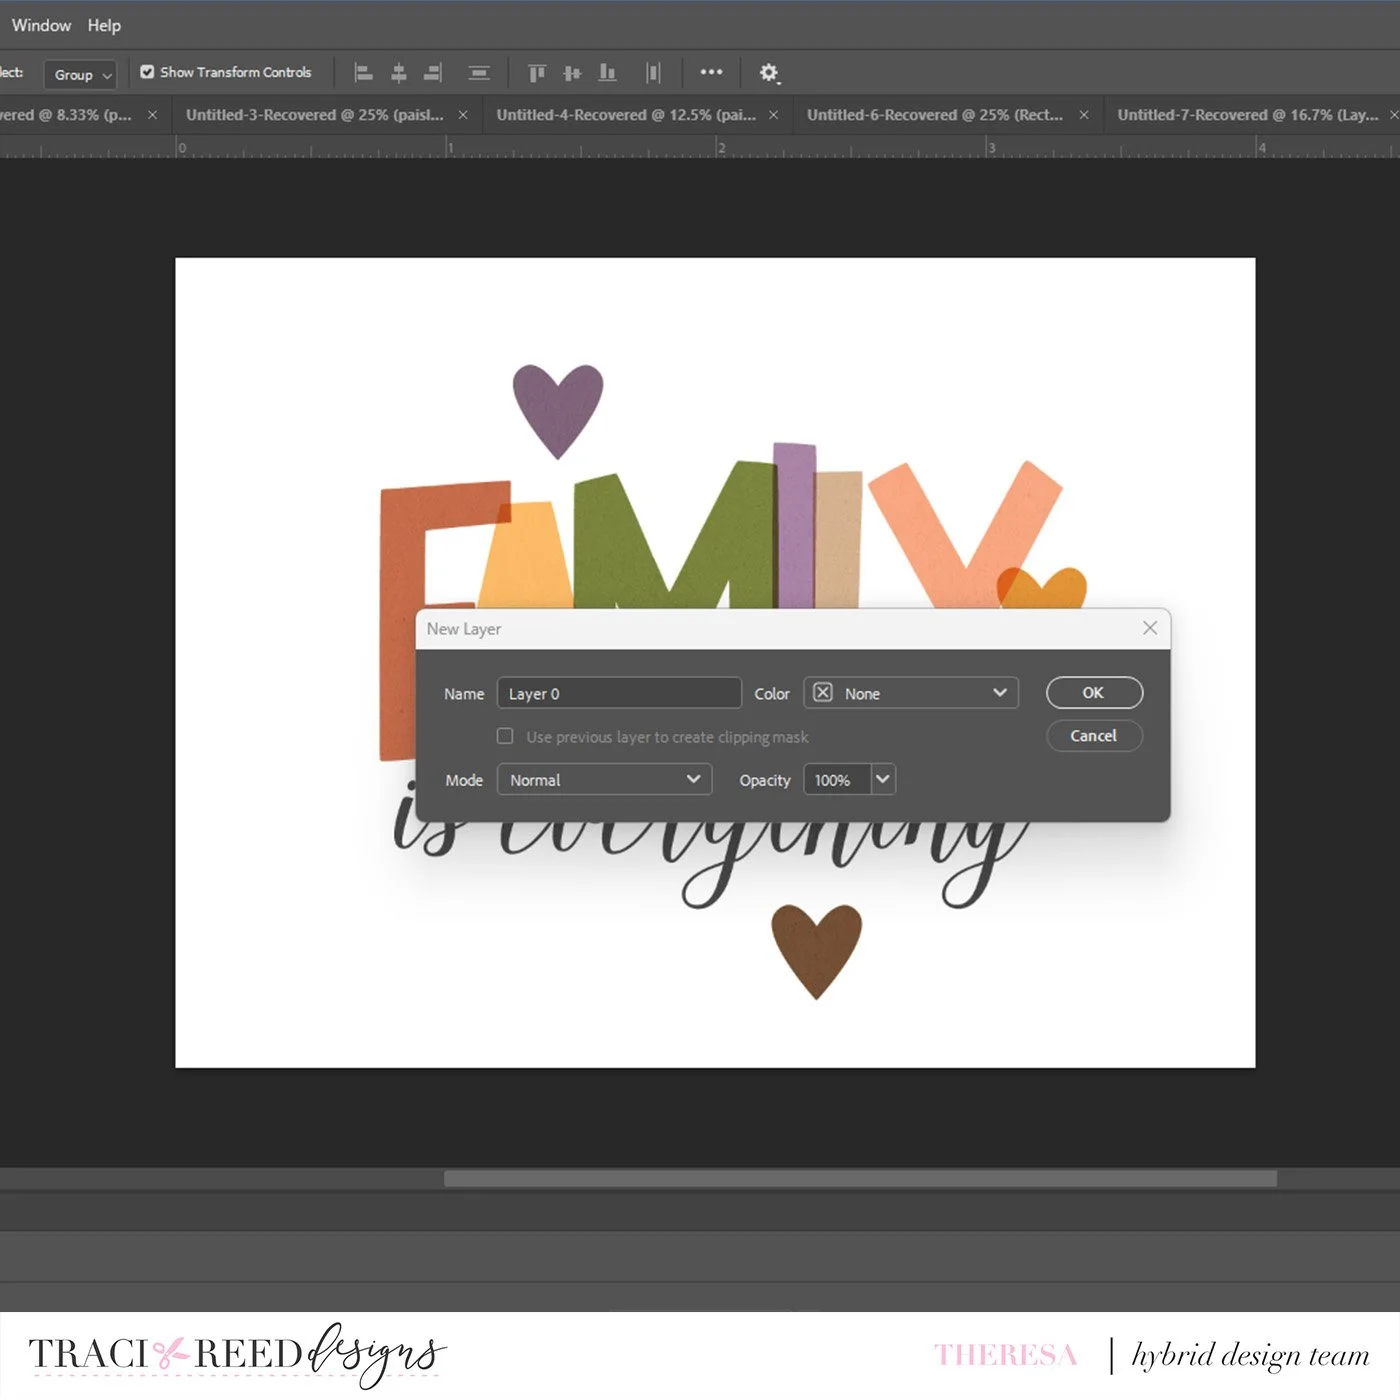
It brings up a box and you can simply click OK.
On the left side of your screen, hold down the Object Selection Tool and select the Magic Wand Tool. This will turn your cursor into a magic wand that you can use to select your elements. Hold down the Shift key to select multiple items. You should see marching ants around your selected items.
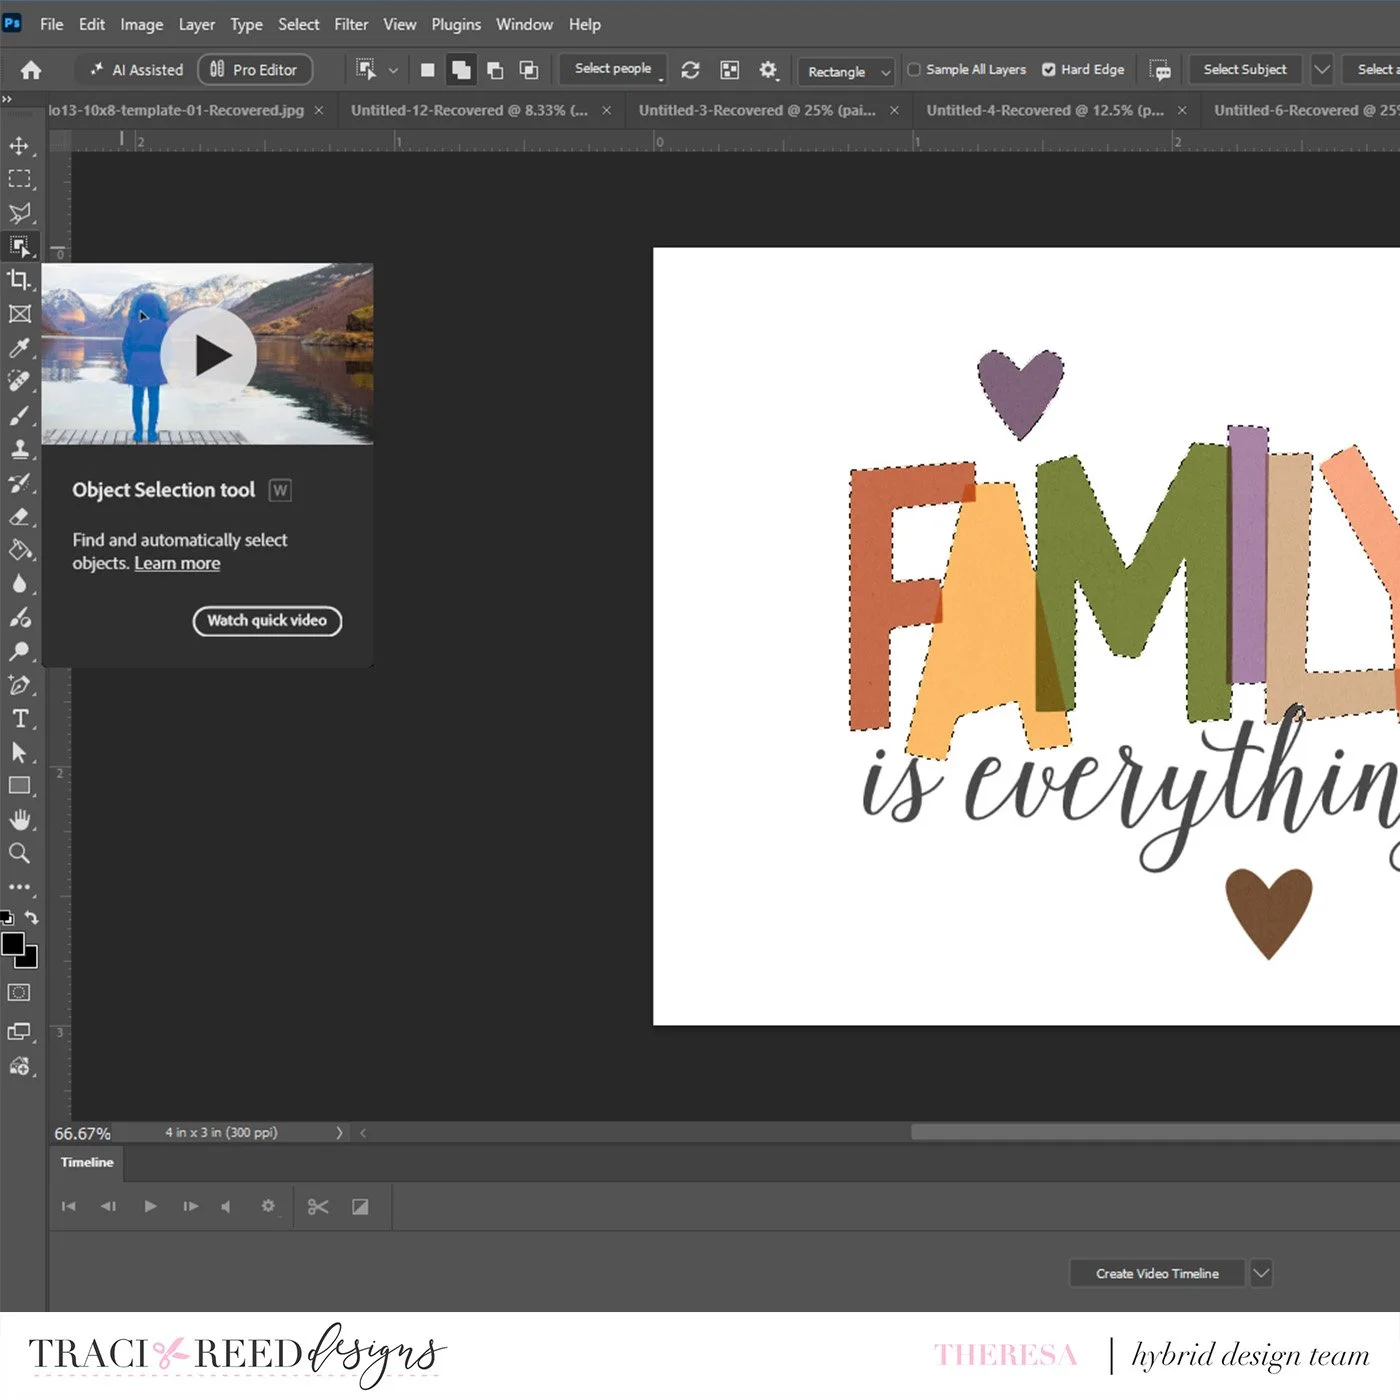
With all the ants marching, right click inside of your selections and select Layer Via Copy.
Now you will see your title lifted in the Layers menu. You can now add a Stroke to your title. At the bottom of the Layers menu, select the fX button. This is the window you will see come up.
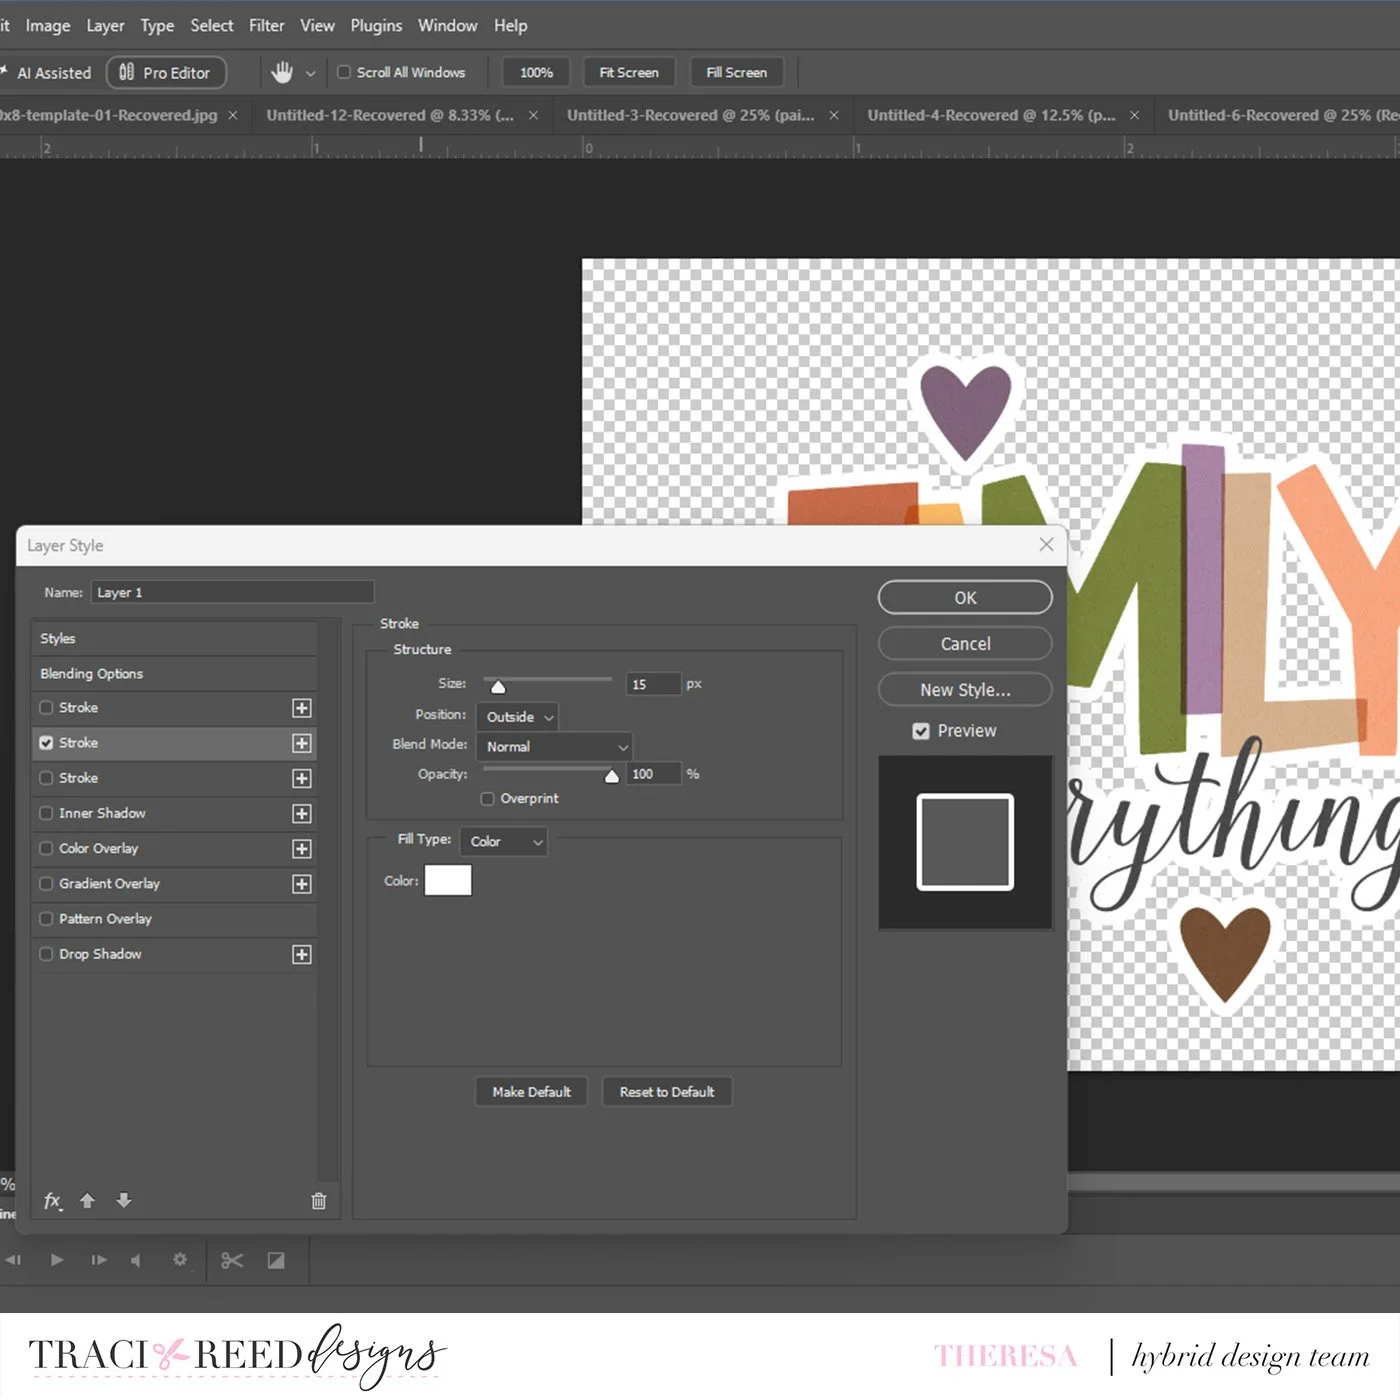
You will want to select Stroke and then set your Size for 15 or so. You can play around with it just make sure your letters are all joined to make a good cut file. Select Outside for the Position, 100% Opacity, and White for your color.
Click Ok and then Save as a PNG.
Would you like to see how to print and cut it in the Silhouette? Ok, let’s do that too!
Now you can bring your title PNG into the Silhouette for printing and cutting.
Open your title in the Silhouette. Select the page size you need and add Registration Marks.
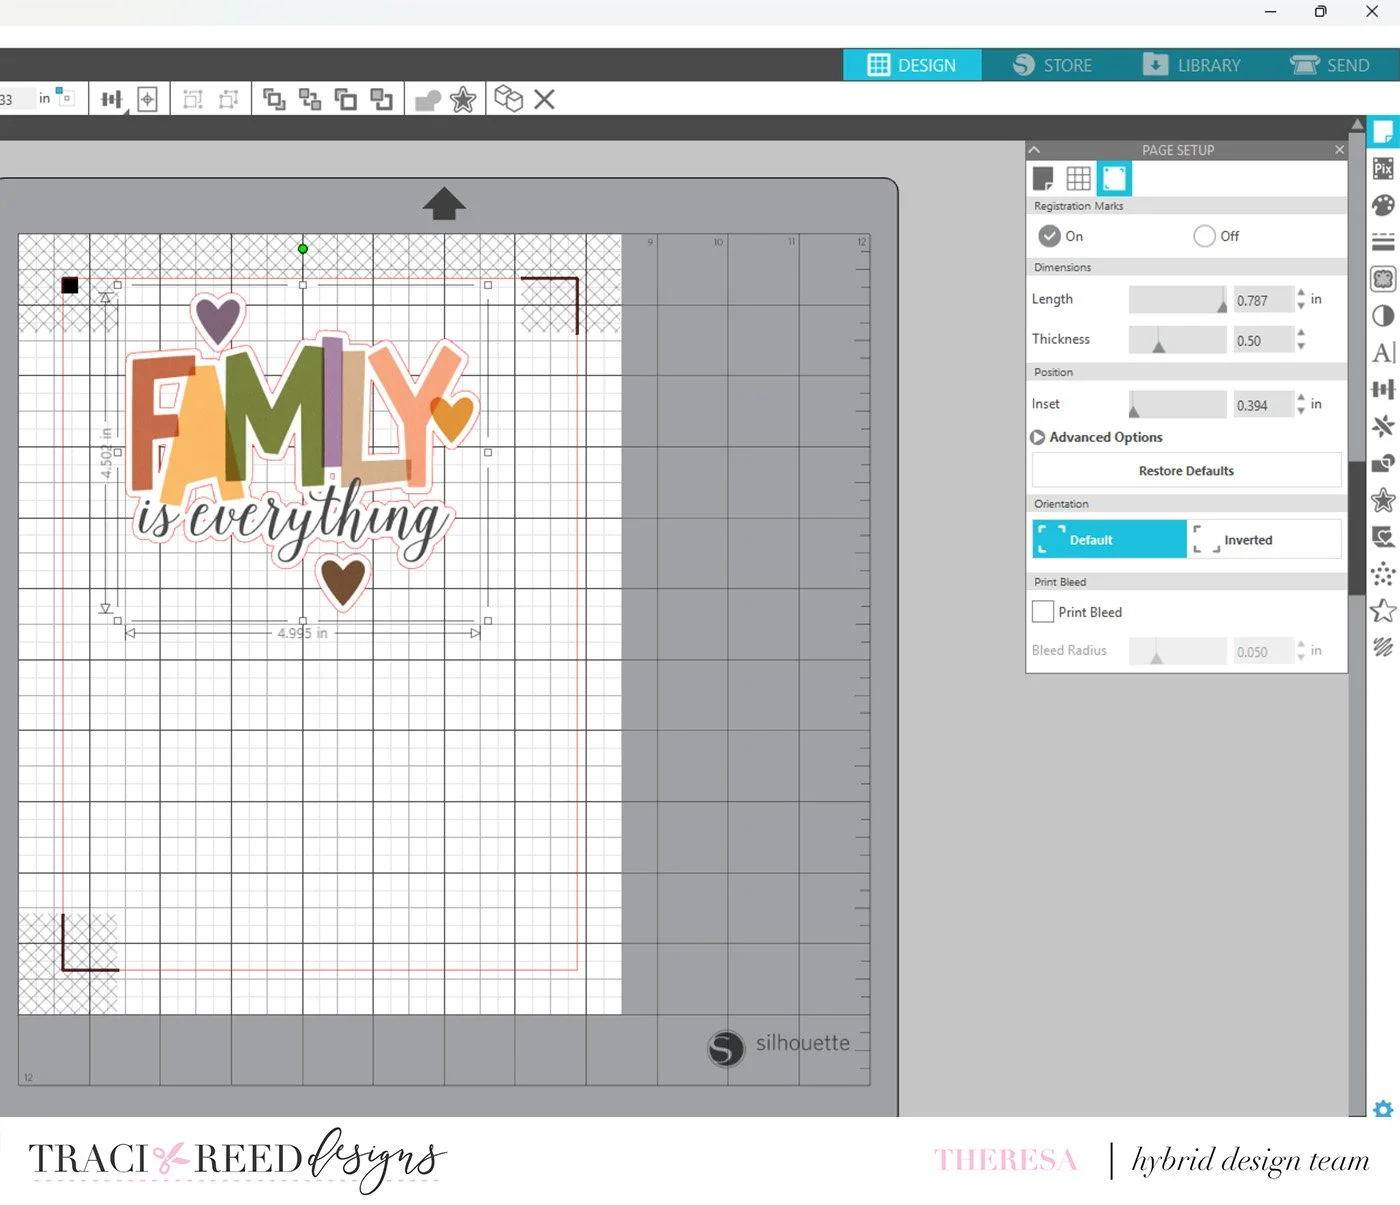
Be sure to lock your aspect ratio and then size your title the way you want it sized. I’ve set mine at 5” here.
Print this sheet on your printer onto 8 1/2x 11” paper. I like to use Photo Paper, either glossy or Matte, to give nice depth of color!
Then it is ready to run through the Silhouette to be cut. Make sure you leave the registration marks where they are, and don’t move your elements once you’ve printed them!
Thank you so much for joining me today! I hope this serves as a spring board for you to explore much more about Photoshop and Silhouette. I also have prepared a process video which you can see here:
See you again soon!
~Theresa
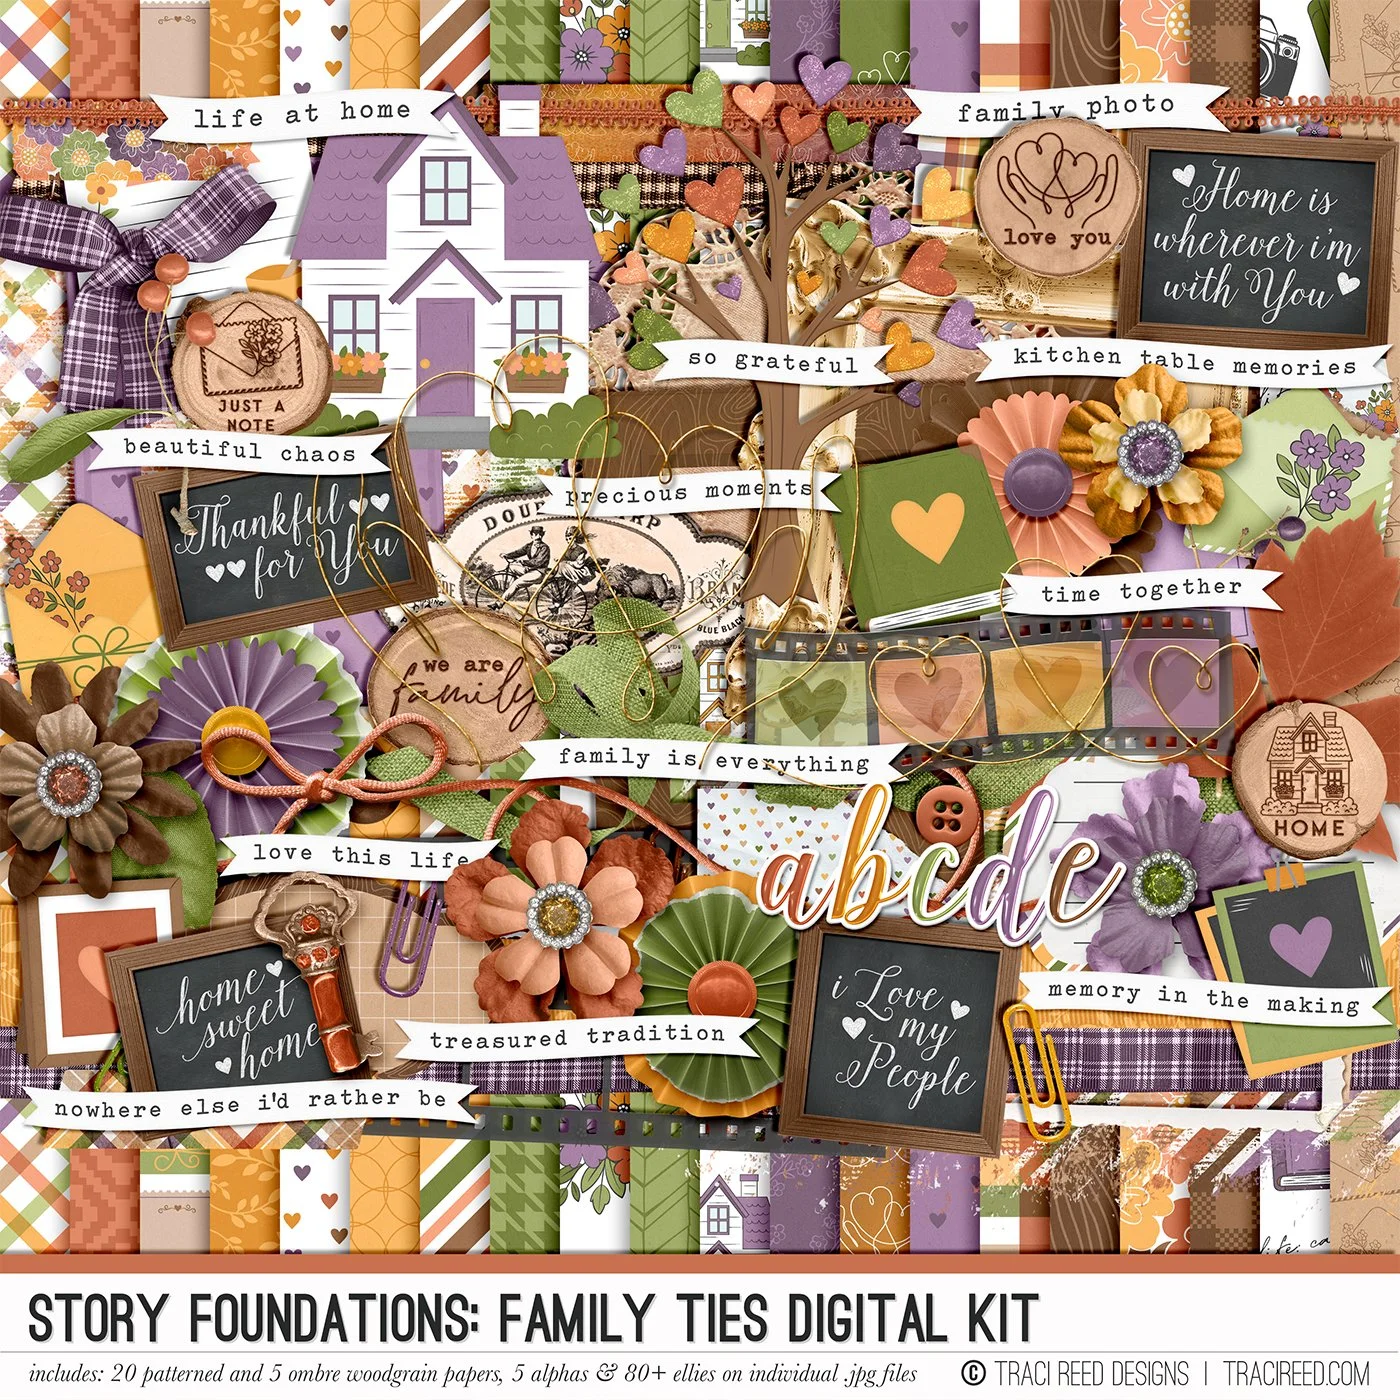
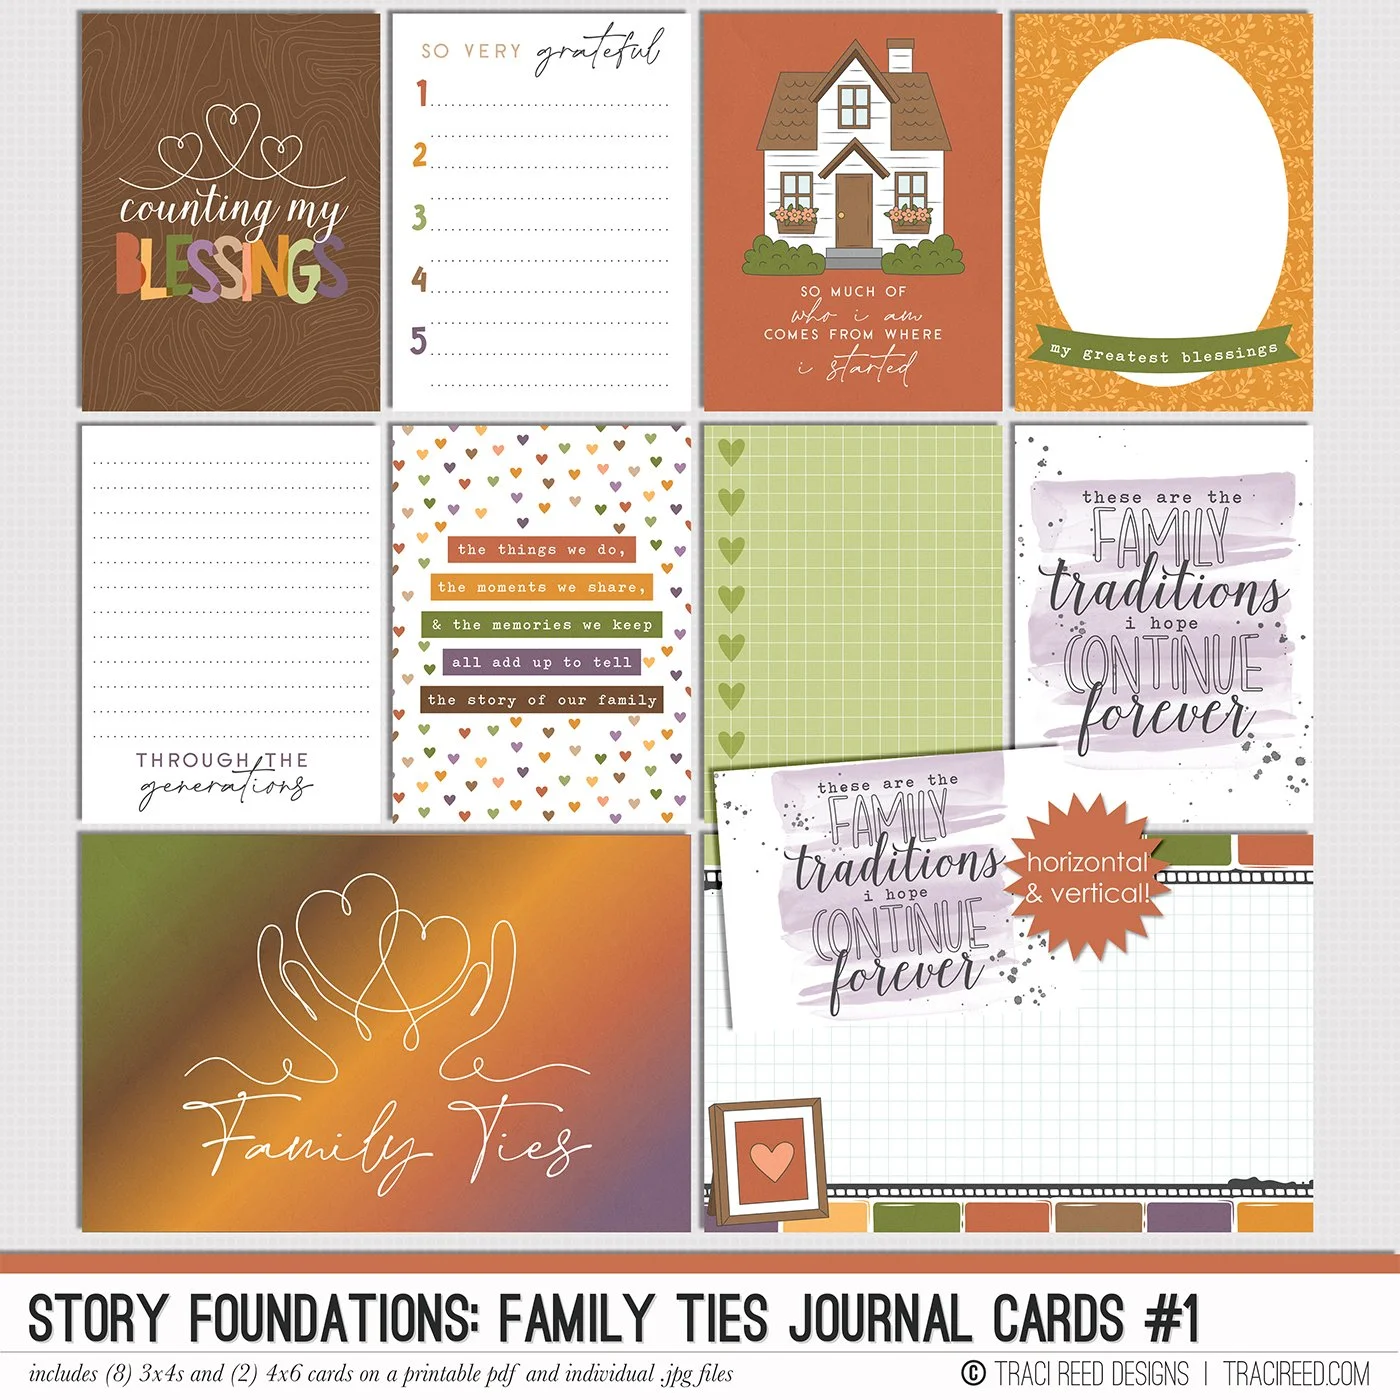
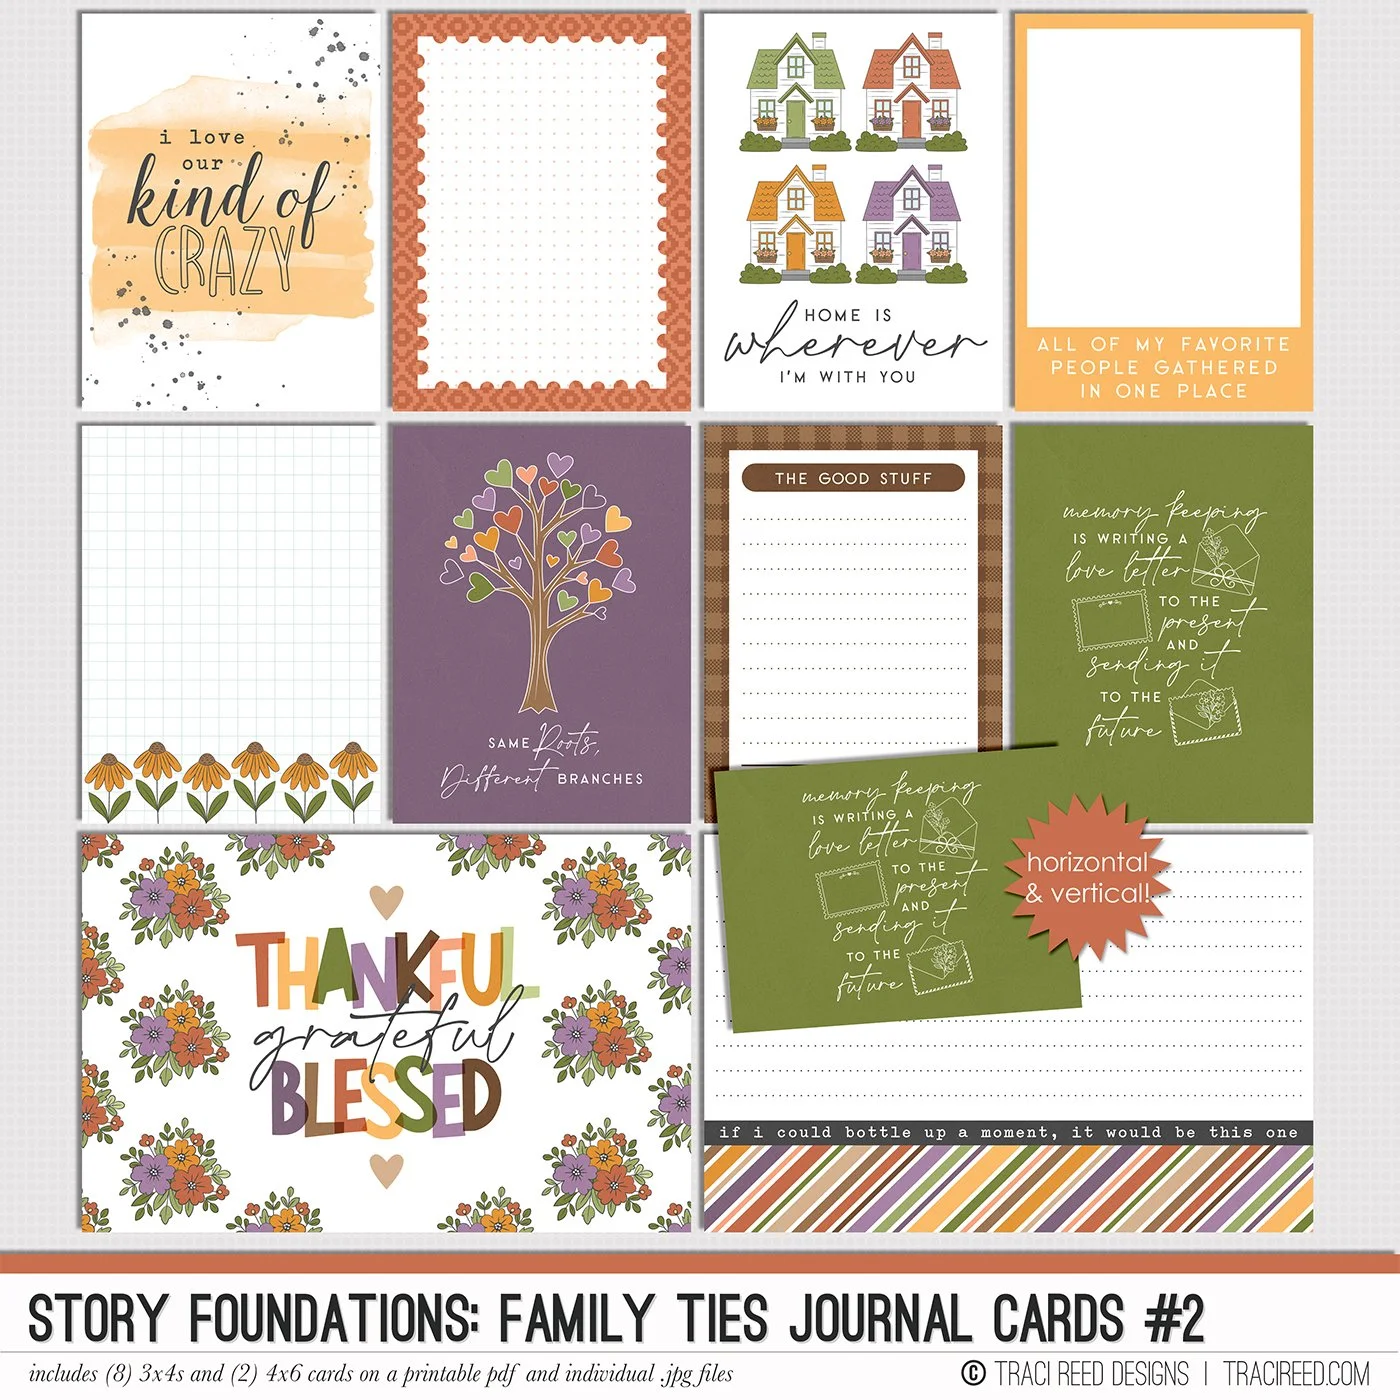
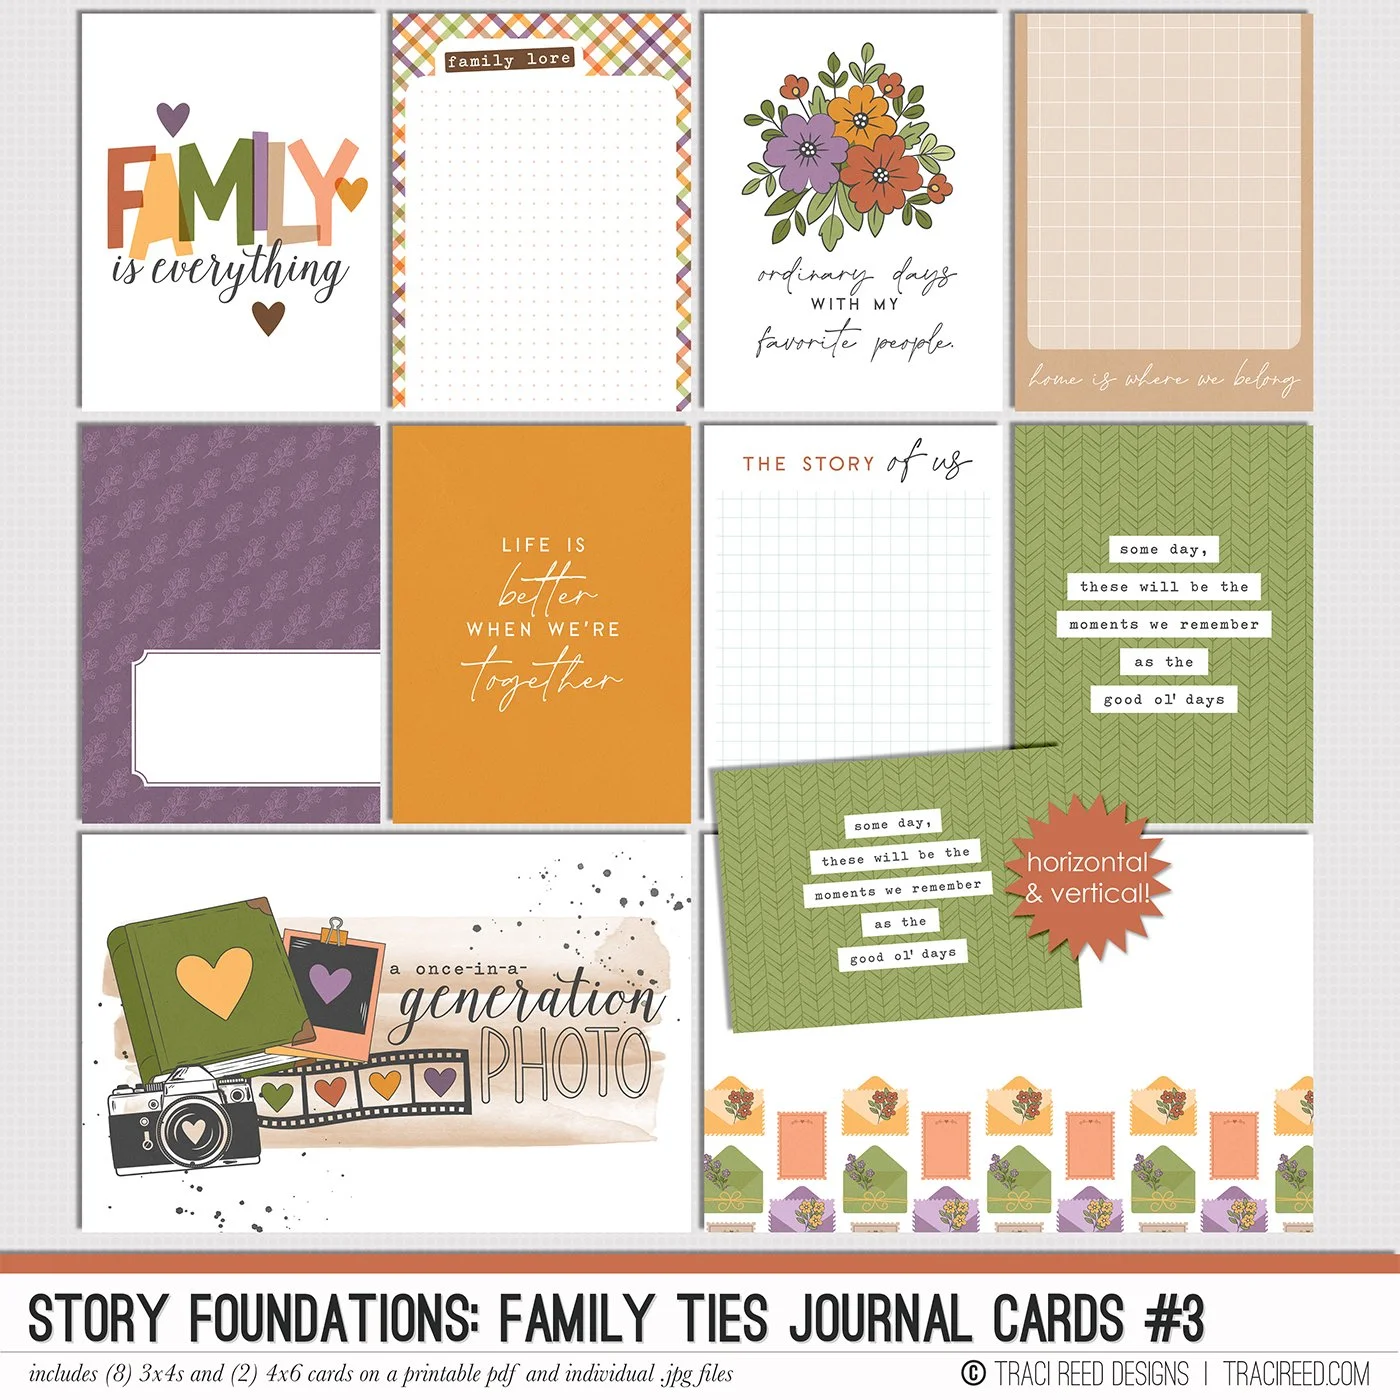
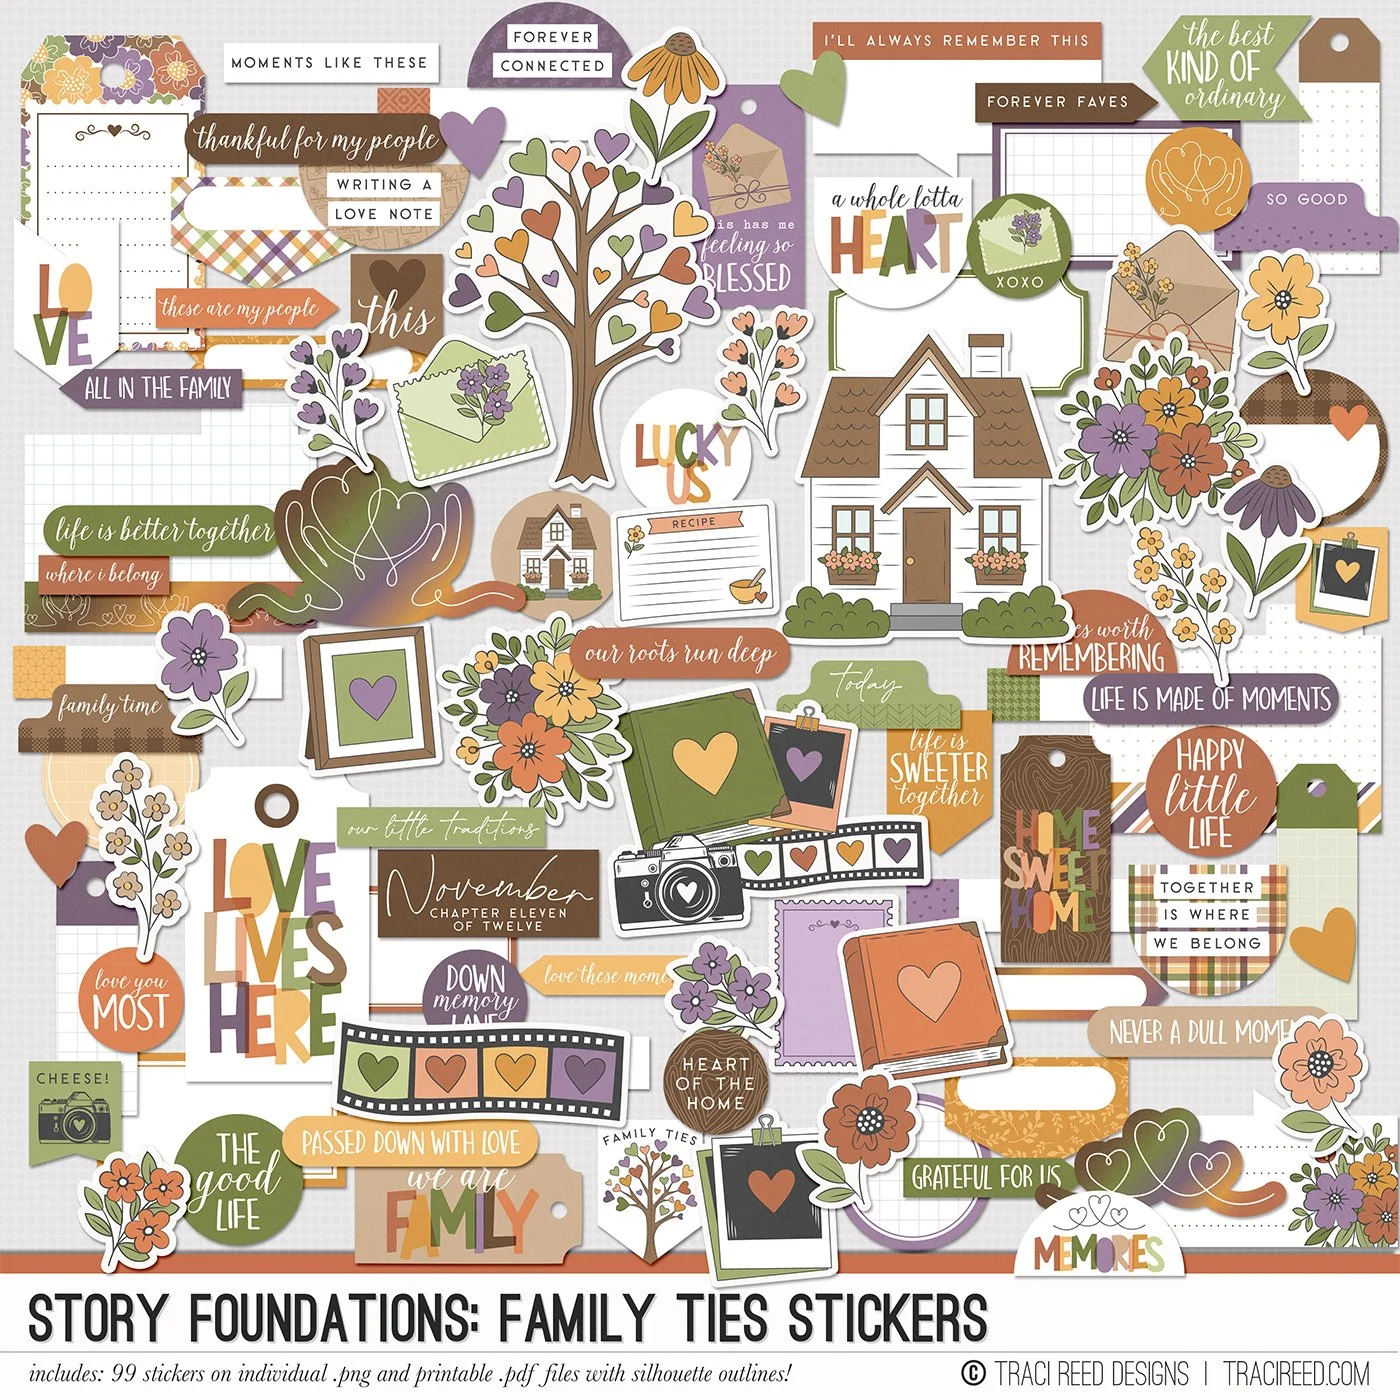
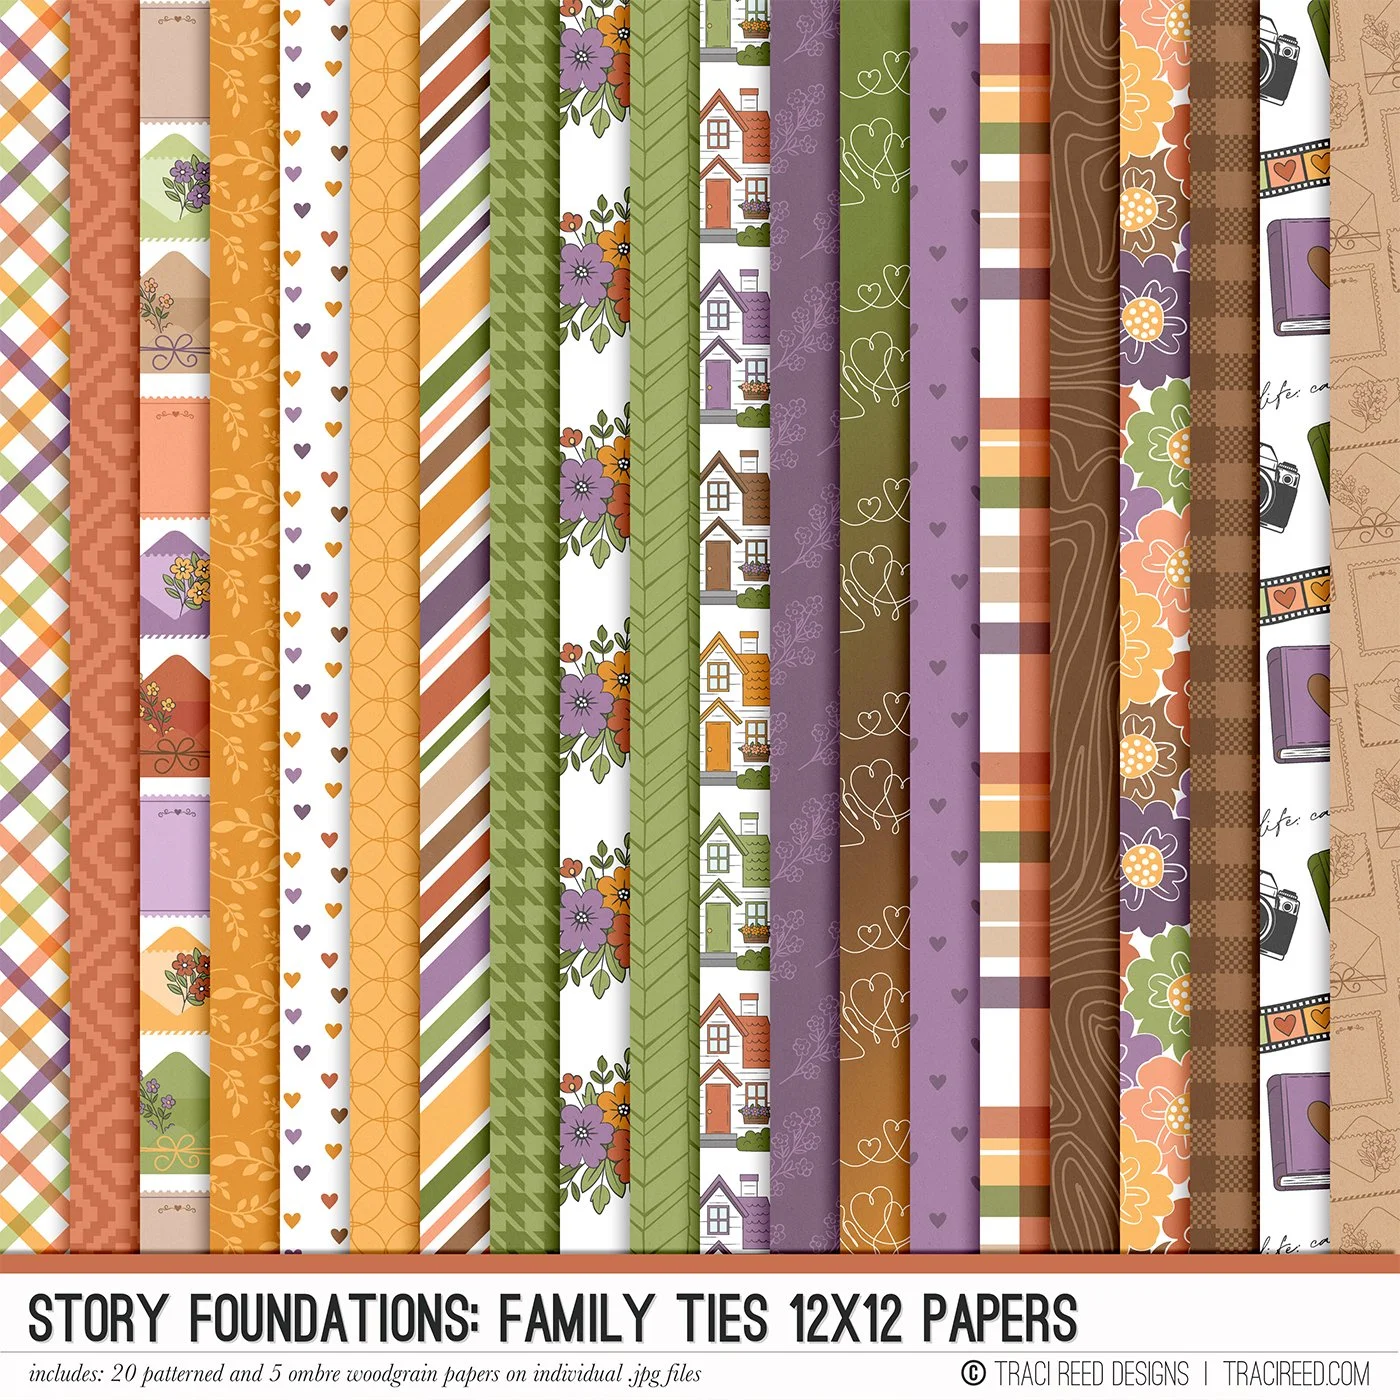
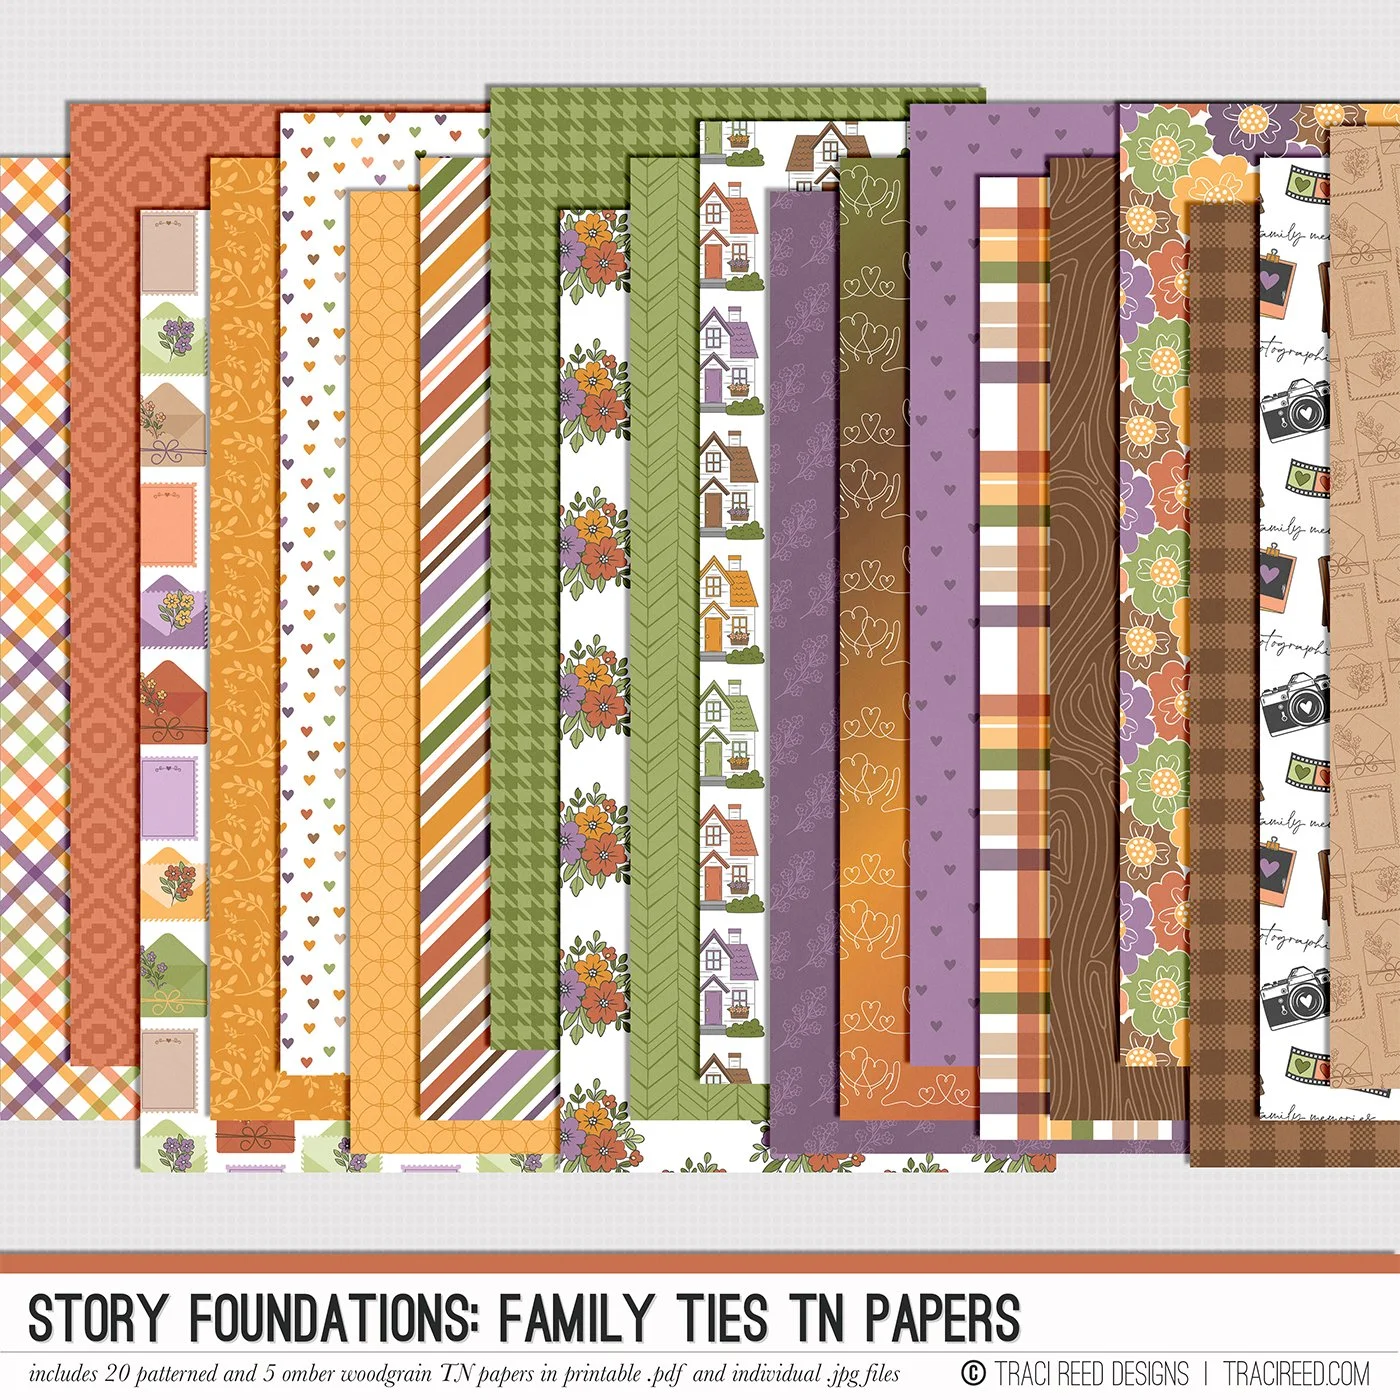
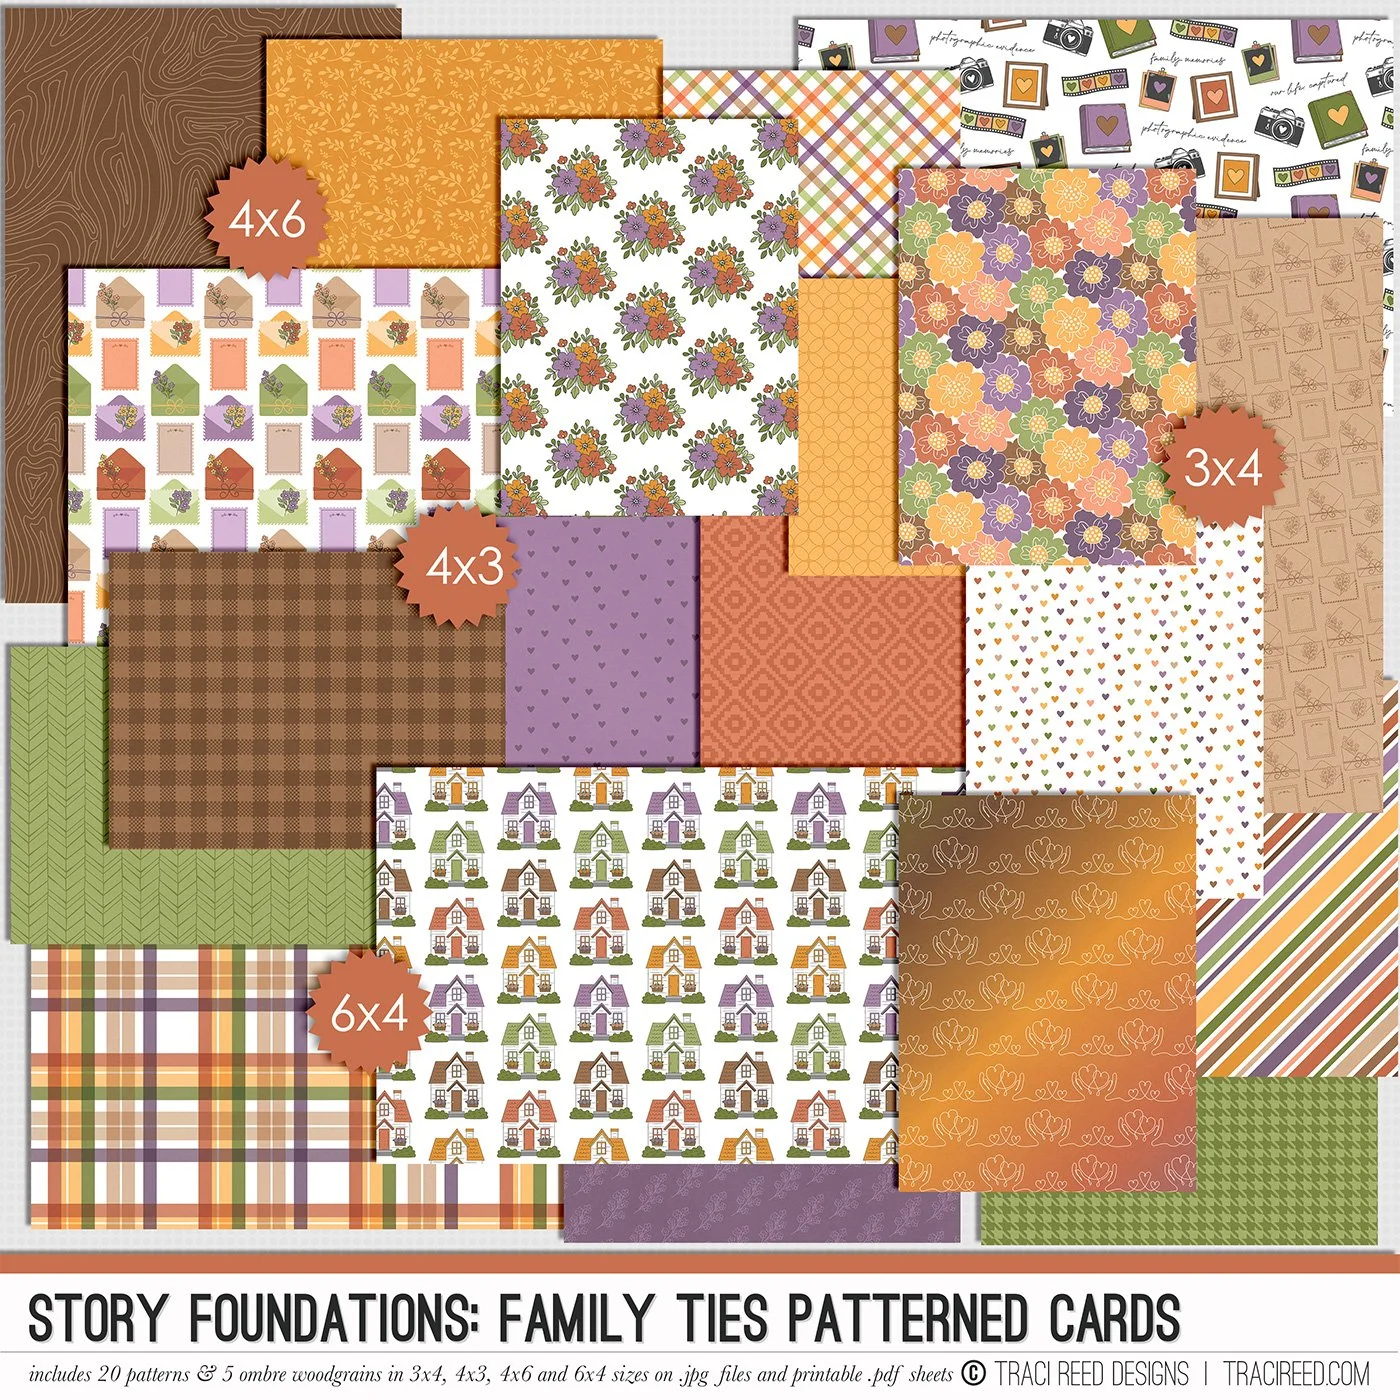
Family is made up of the people we love, the traditions we carry on, and the little moments that become the stories we tell for years to come. Family Ties, the newest chapter in the Story Foundations collection, celebrates all of those connections with a warm, nostalgic mix of colors and hand-drawn details. Whether you're documenting generations of family history, everyday moments with your favorite people, or the traditions that make your family unique, this collection is all about capturing the stories that bring us together.
Filled with charming hand-drawn embellishments, from family keepsakes and old photographs to cozy home details, florals, and symbols of connection, Family Ties offers plenty of ways to add personality to your pages. A coordinating mix of patterned papers, journal cards, word art, and stickers brings together sentiments of gratitude, togetherness, and nostalgia, with just the right touch of autumn warmth.
Like every Story Foundations collection, Family Ties is designed to mix and match with the other chapters, giving you endless possibilities for documenting the stories that matter most. Because no two families are alike, and every family has a story worth keeping.
See the unboxing and example images for the Story Foundations: Family Ties collection HERE.
Don’t forget, the entire 2026 Story Foundations Collections are meant to mix and match and pair with each other! You can see all the Story Foundations Chapters HERE.
BUNDLE INCLUDES:
Story Foundations: Family Ties Digital Kit, Cards 1, 2, &3 + Stickers!
BUNDLE DOES NOT INCLUDE:
Story Foundations: Family Ties TN Papers or Patterned Cards