Caroline's Top 10 Tips for Creating a 12x12 Scrapbook Page with TN-Sized Papers!
Hi All,
Today I am super excited to be here on Traci’s blog sharing my top tips for creating a 12x12 layout when you do not have a large format printer!
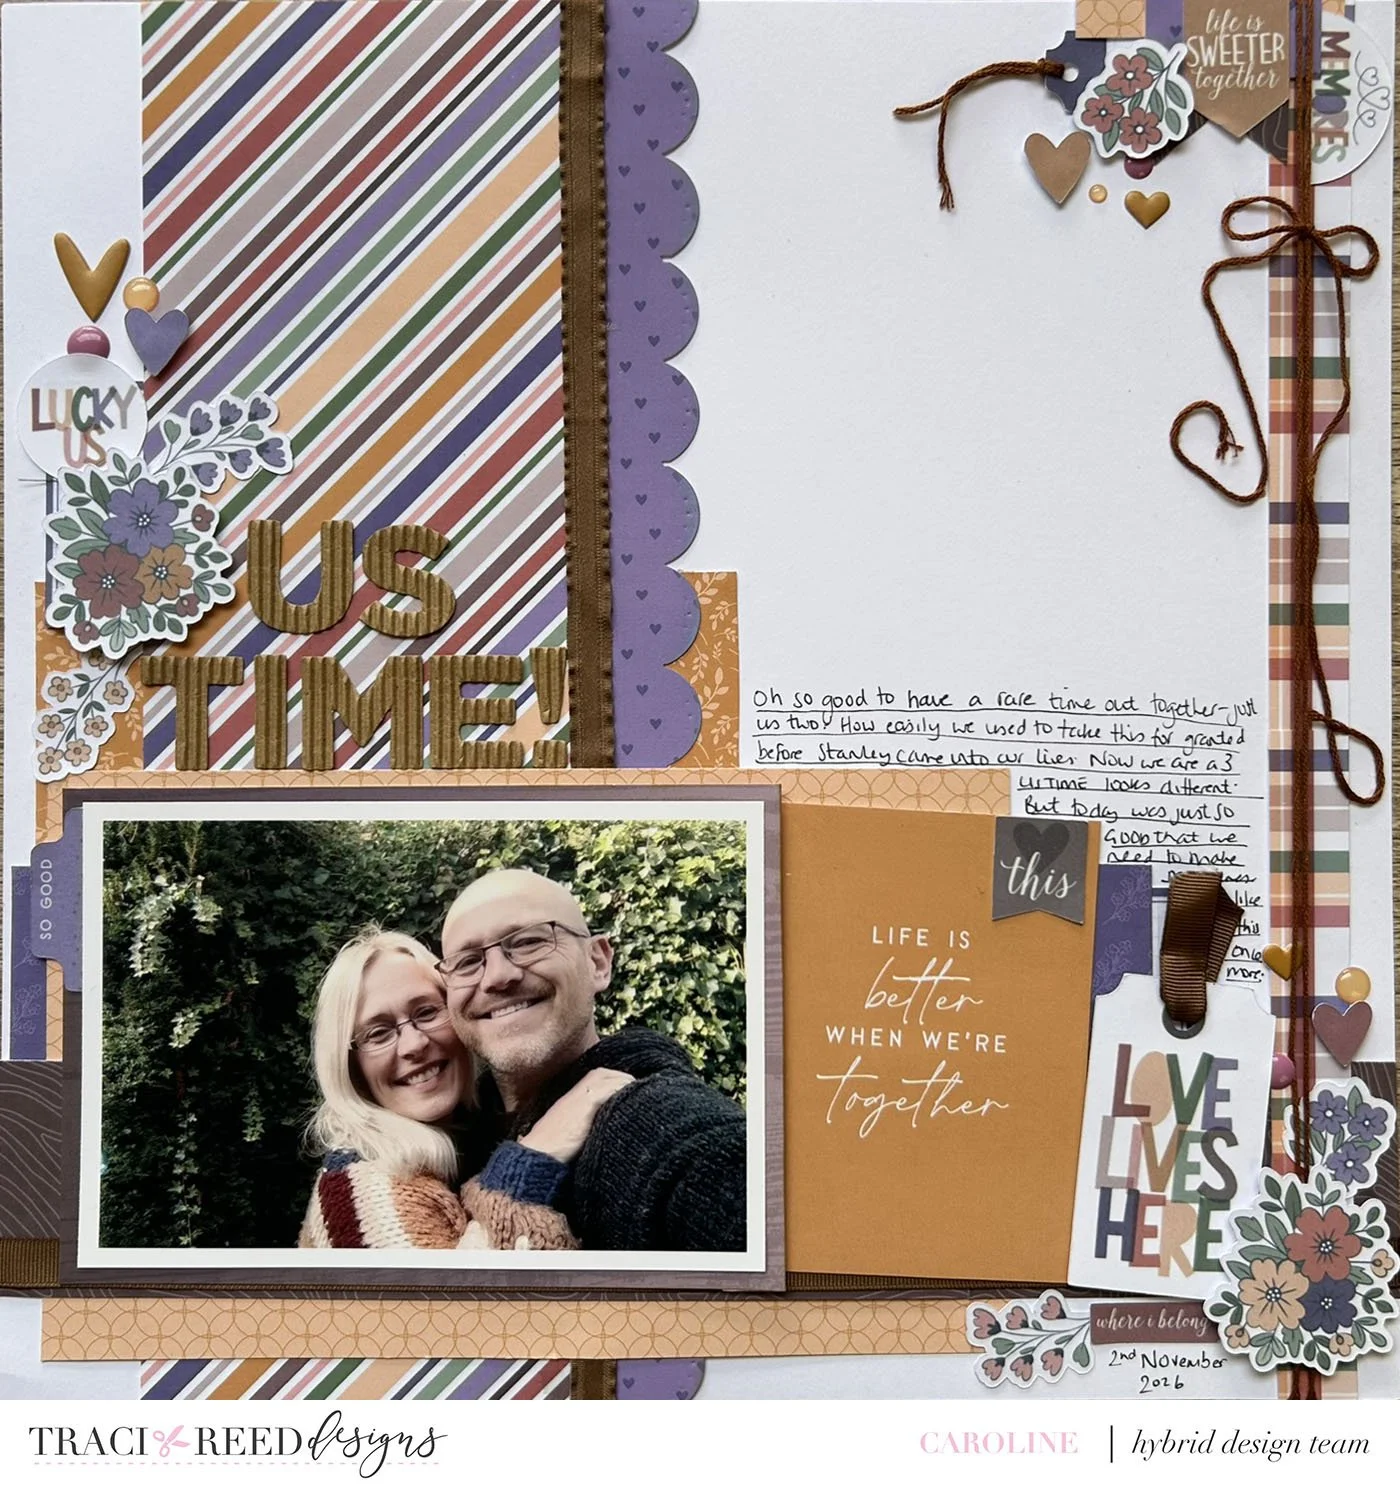
I have long had a large printer on my Christmas wishlist, but that doesn’t stop me creating at 12x12 format. In fact, each time I download and print one of Traci’s collections I first only print at Traveler’s Notebook size! And it is actually super easy to create a 12x12 layout with one sheet of cardstock, TN papers, journal cards and embellishments. So I am sharing my top tips below.
If you want a little challenge, why not see how many of the cheats you spot on the layout photo above before you read the blog post (reminder… there are 10)!!!
Tip #1 - Cut your papers to span the height with a cunning gap you will hide.
I always do this first so I have a foundation to build out from. This first tip works best when you combine it with yips #4 and #5 below!!
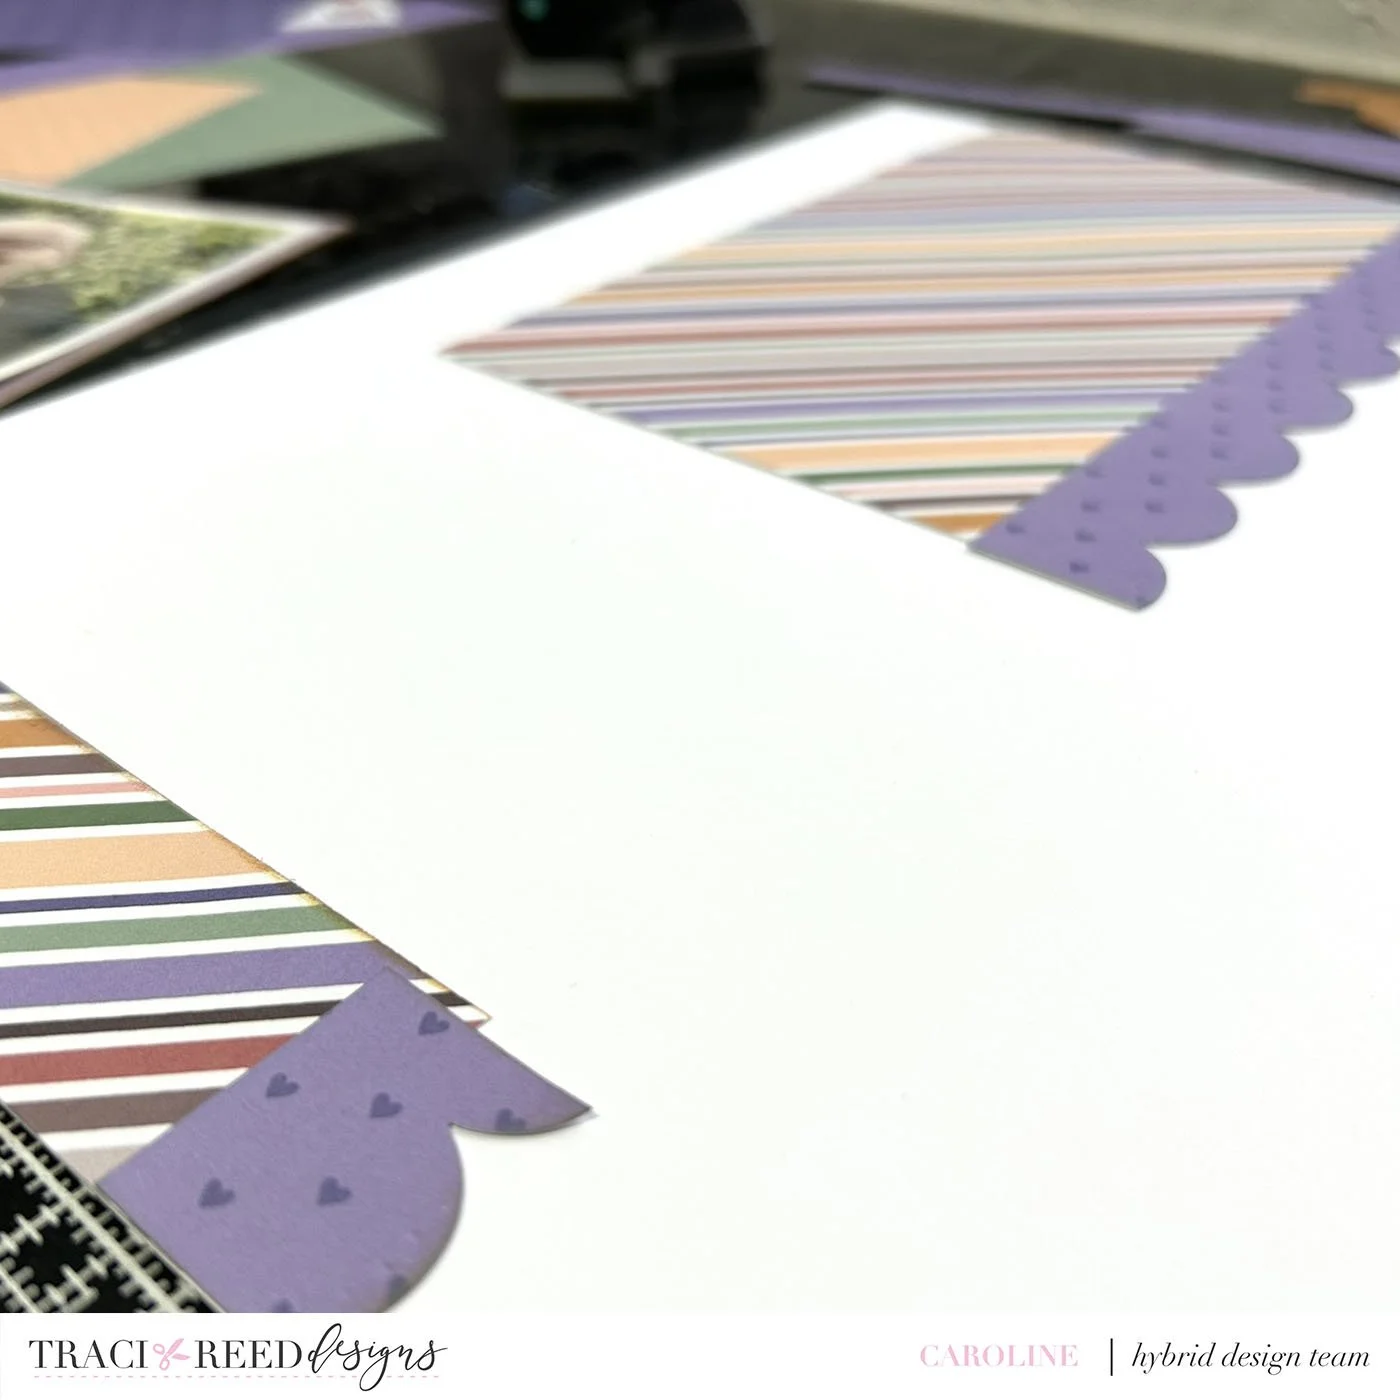
Tip #2 - Add layers to the column using the same technique.
I like to bring in border punches here for added interest and to really play on the illusion that the strip goes under my future layers.
Tip # 3 - Span the width with two pieces of a repetitive or random pattern that can work on the horizontal.
These pieces will it together with no gap but the join will be covered up
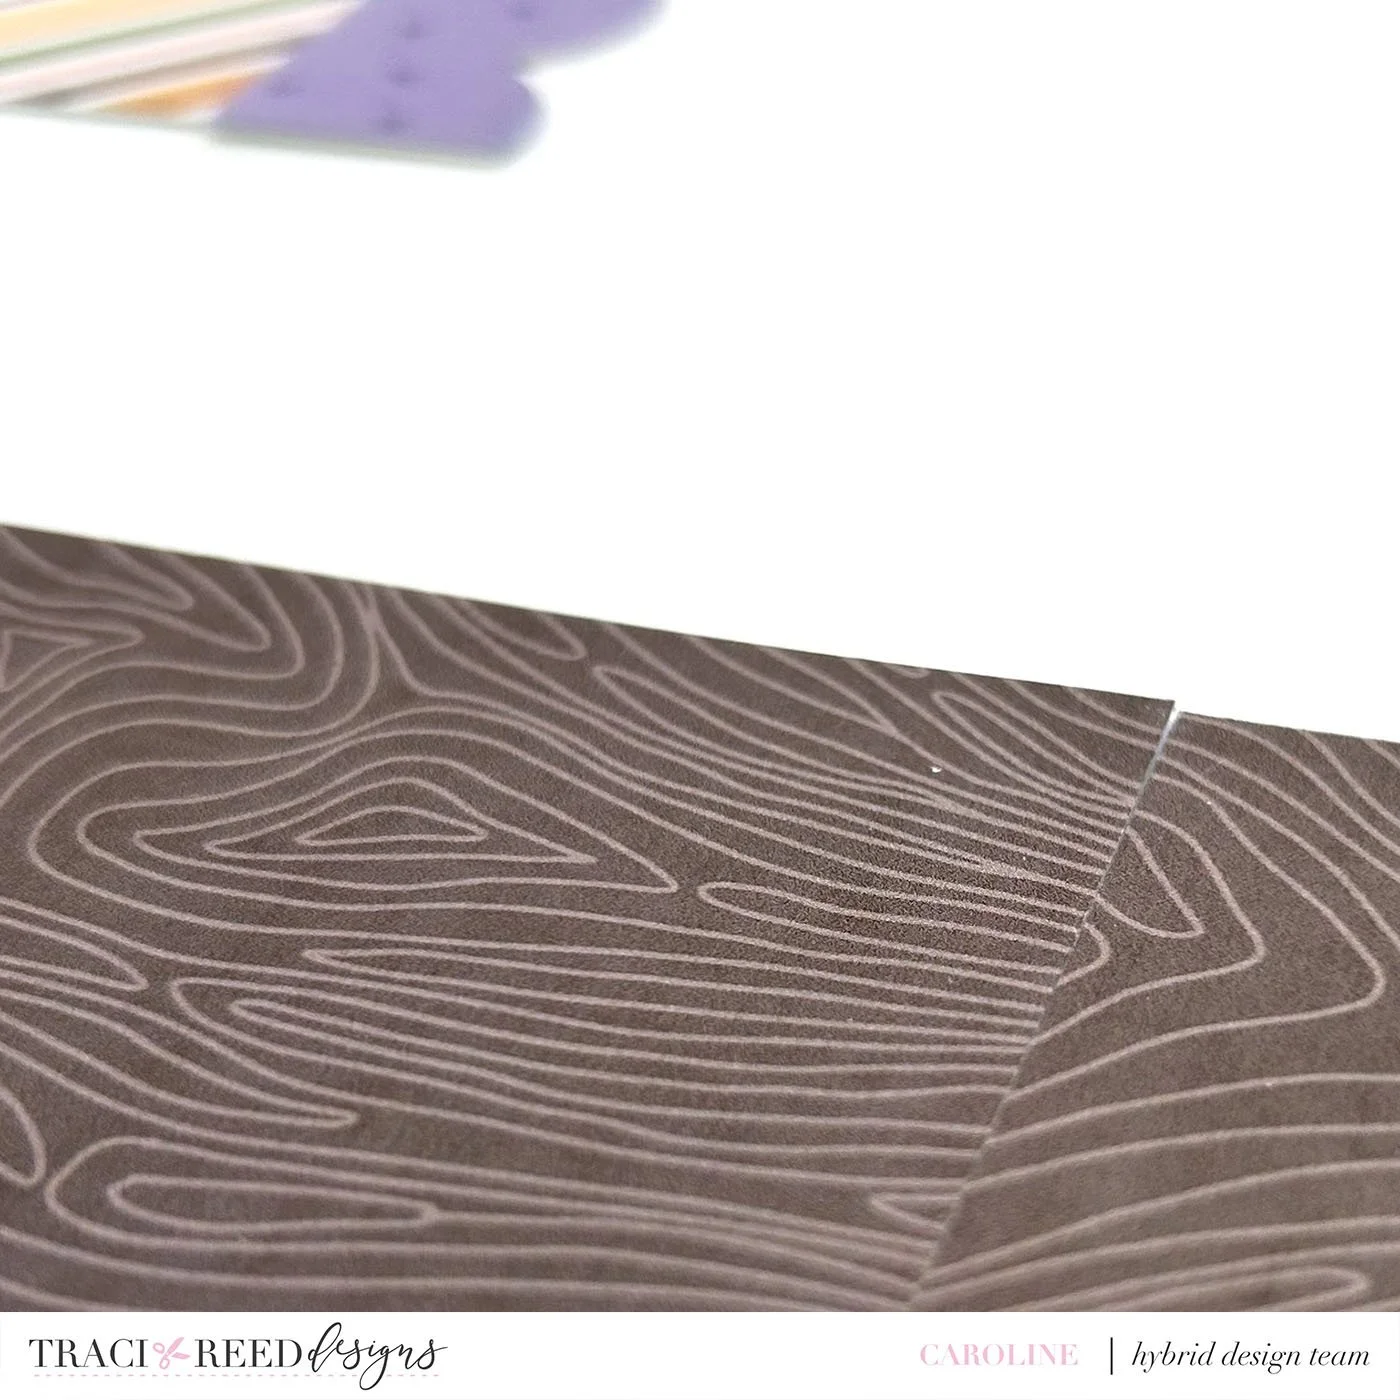
Tip #4 - Layer, layer, layer and repeat!
The more papers you can split and stretch the more you are repeating the illusion!! Stretching your paper to two sides of an element (or another layer) is such a simple way of tricking the eye into believing you have a larger piece of paper there.
Tip #5 - Use a ruler!
If in doubt, when you stretch your papers with a gap make sure you place a ruler so that the lines marry up perfectly. This helps to so
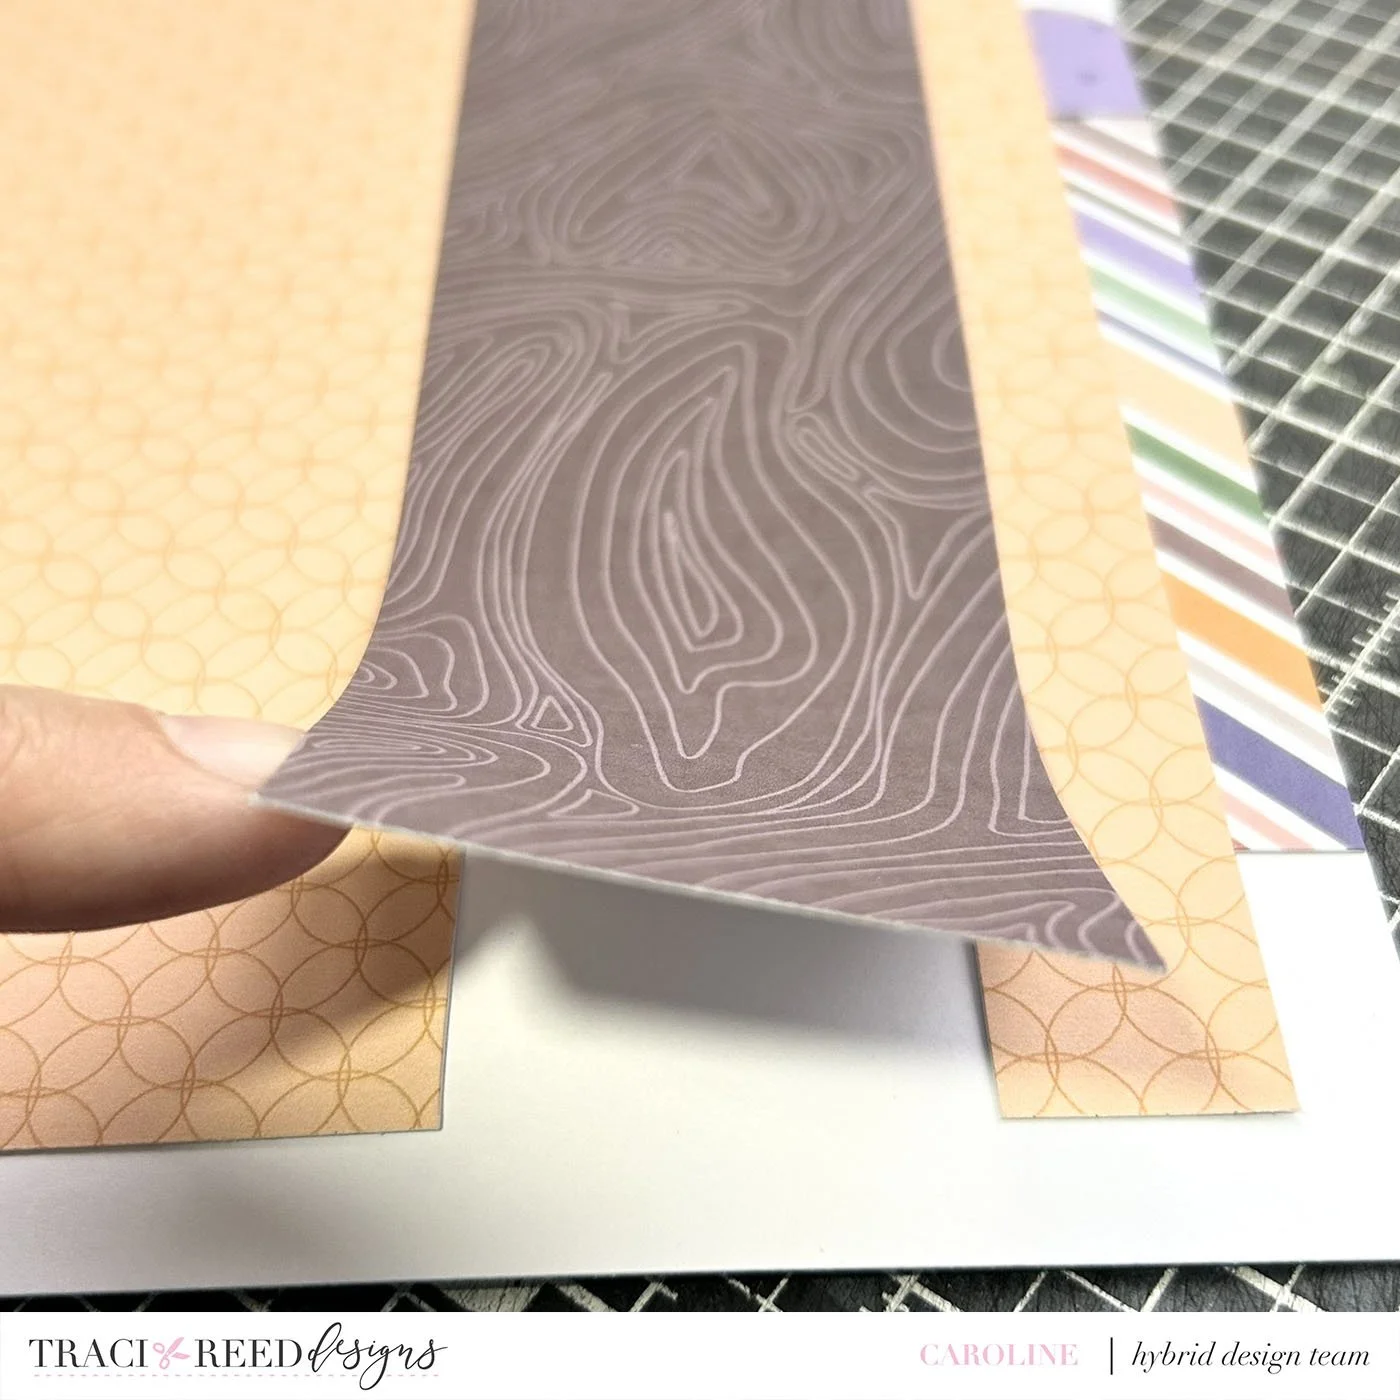
Tip # 6 - Place your adhesive in the centre of your papers only - not the edges yet!
This process needs a little planning ahead and also often requires a little lifting and resticking. So to save your papers tearing, if you add your adhesive into the centre only you can easily lift and tuck layers behind layers. When you are happy with your page later you can simply go back in, lift edges and secure with more adhesive.
Tip #7 - Hide gaps, joins and awkward areas with cards and elements
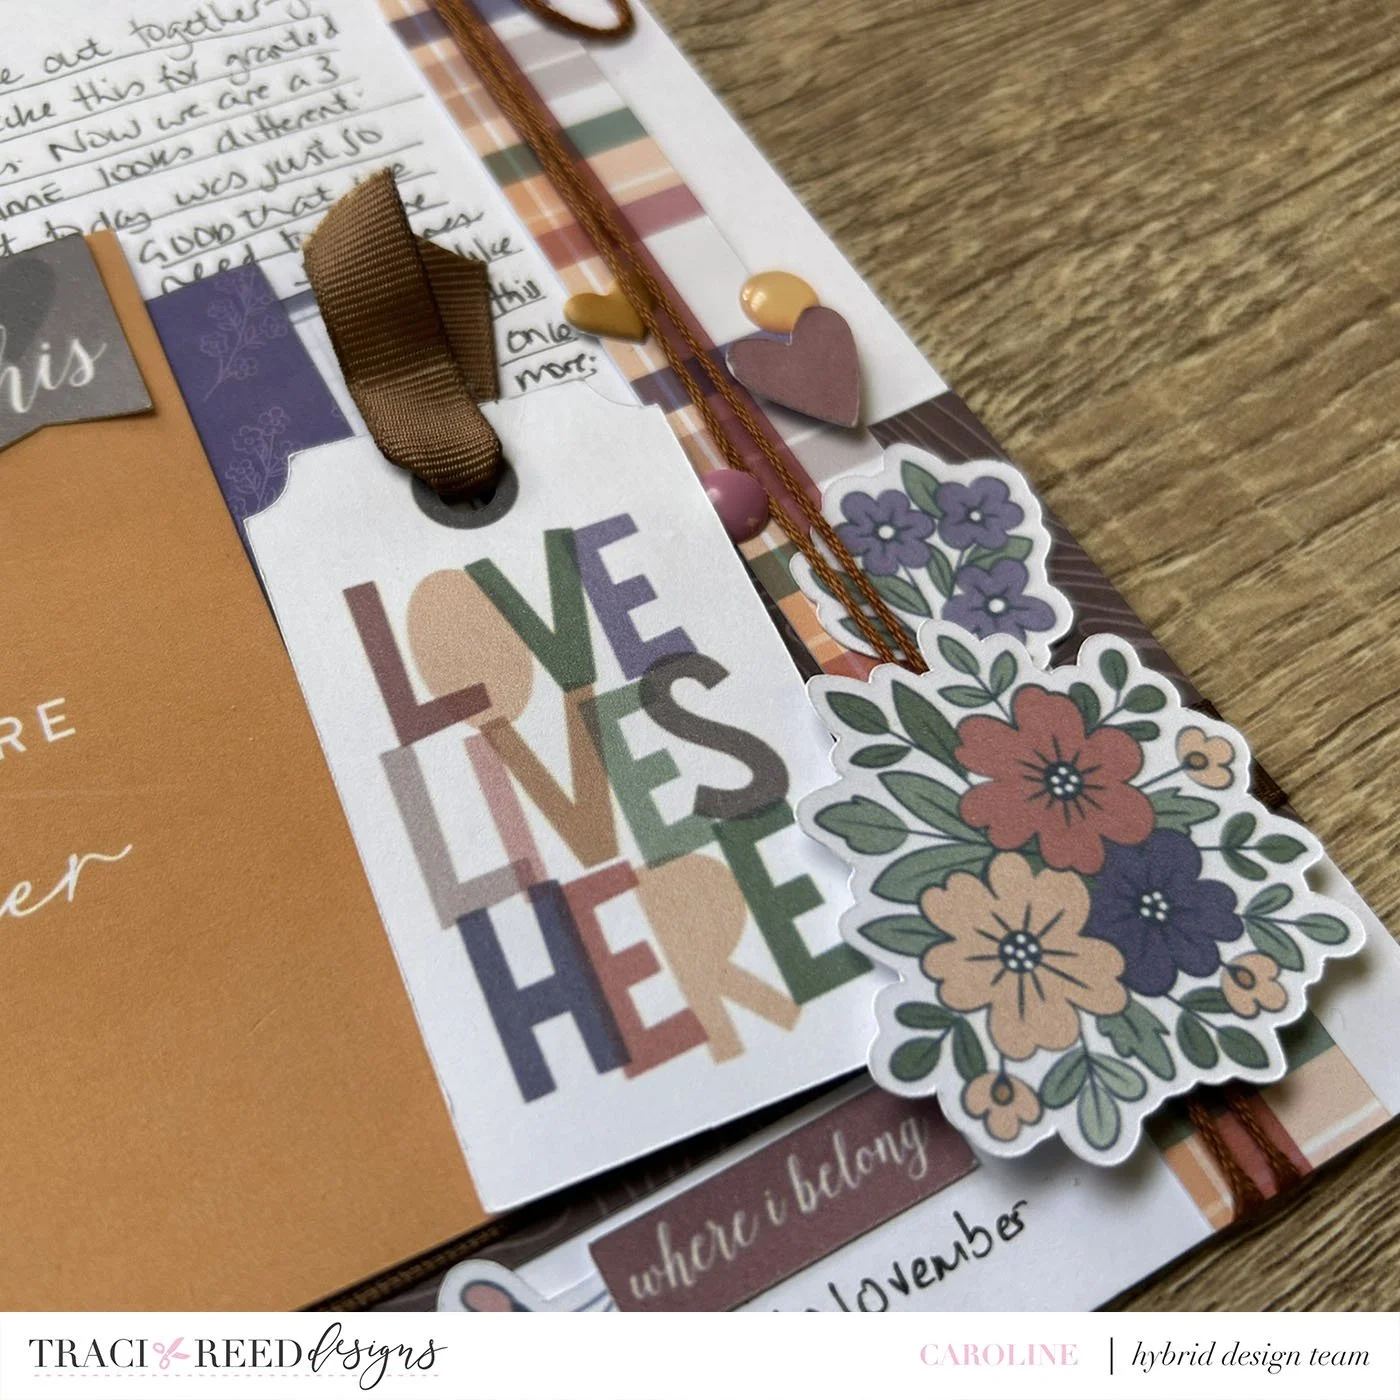
I like to do this in a couple of stages. I’ll use a journal card to hide a big join and then I tuck journal spots into a few areas to act as grounding locations for embellishment clusters to come. This helps hide joins, but gives me an area to organically flow from.
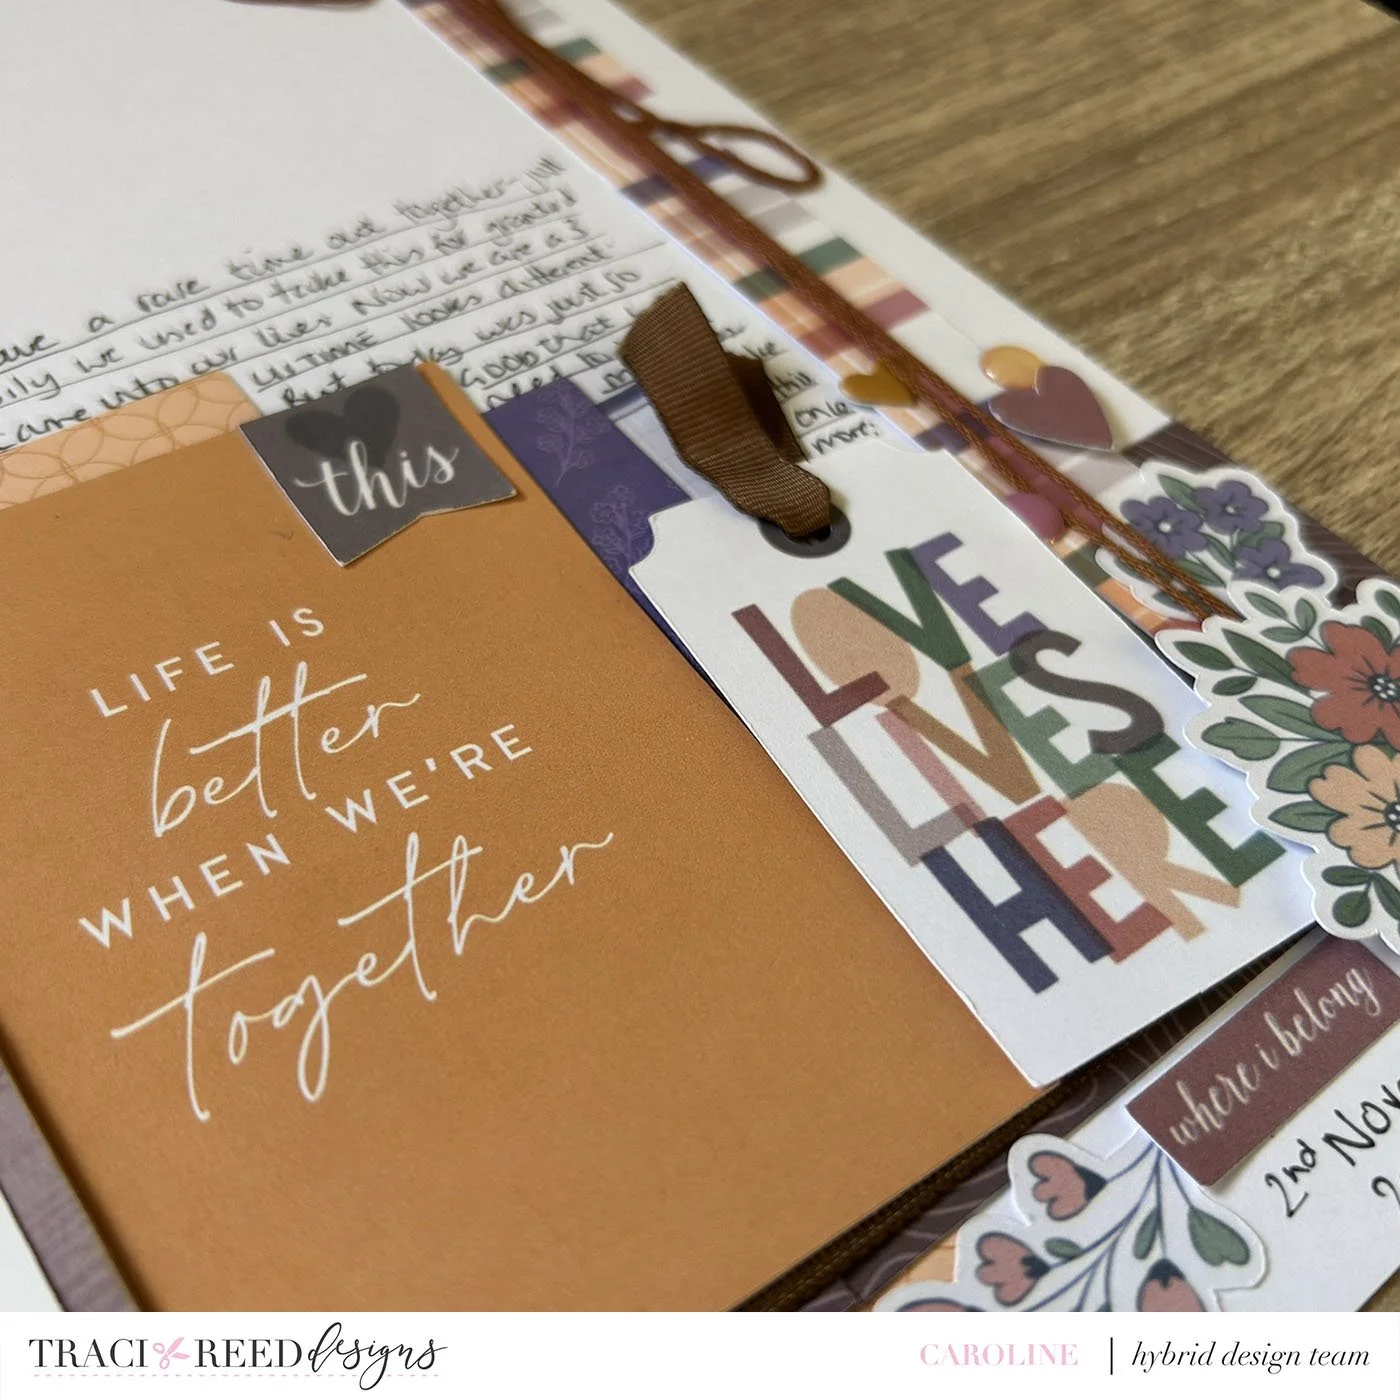
Tip #8 - Prioritise small repeating patterns
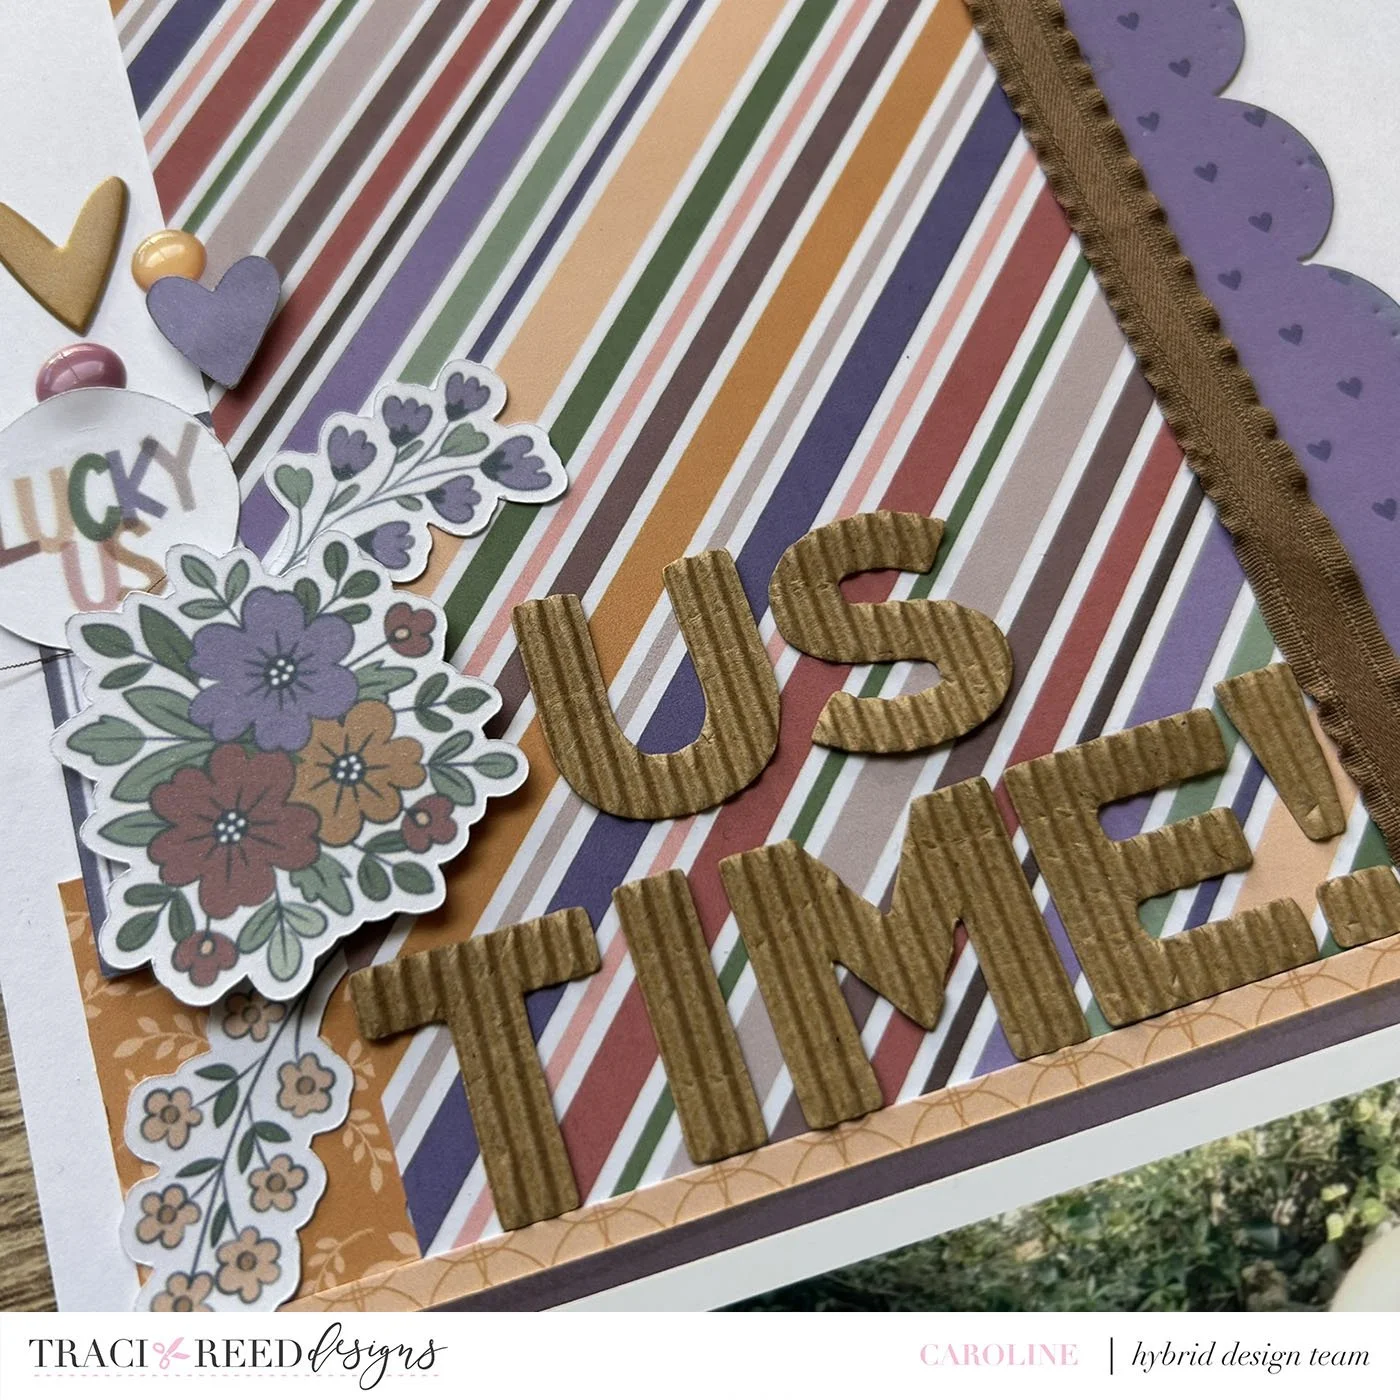
Traci always has a beautiful mix of small, repeating patterns (such as dots, grids, stripes) as well as the more organic and larger patterned papers. For the layer that you are ‘stretching’ you will have the best results with those small patterned papers. You can see this in the paper choices I have made here. With some I have hidden the join, but with that striped paper down the right hand side … I simply layered up the repeating pattern and you can’t even see the join!!
Tip #9 - Bring in co-ordinating ribbons and threads
I like to bring in a couple of different fibres or ribbons when I am working at 12x12 size for a few different reasons. First, I just like them! Second, I love the additional texture they bring in (any additional texture is a good thing in a hybrid layout!) and thirdly … I can cut these to the full 12x12 length (and width) which means I can show the entire length of this layer and it adds to the illusion that the layer beneath it is also full length (sneaky eh?!)
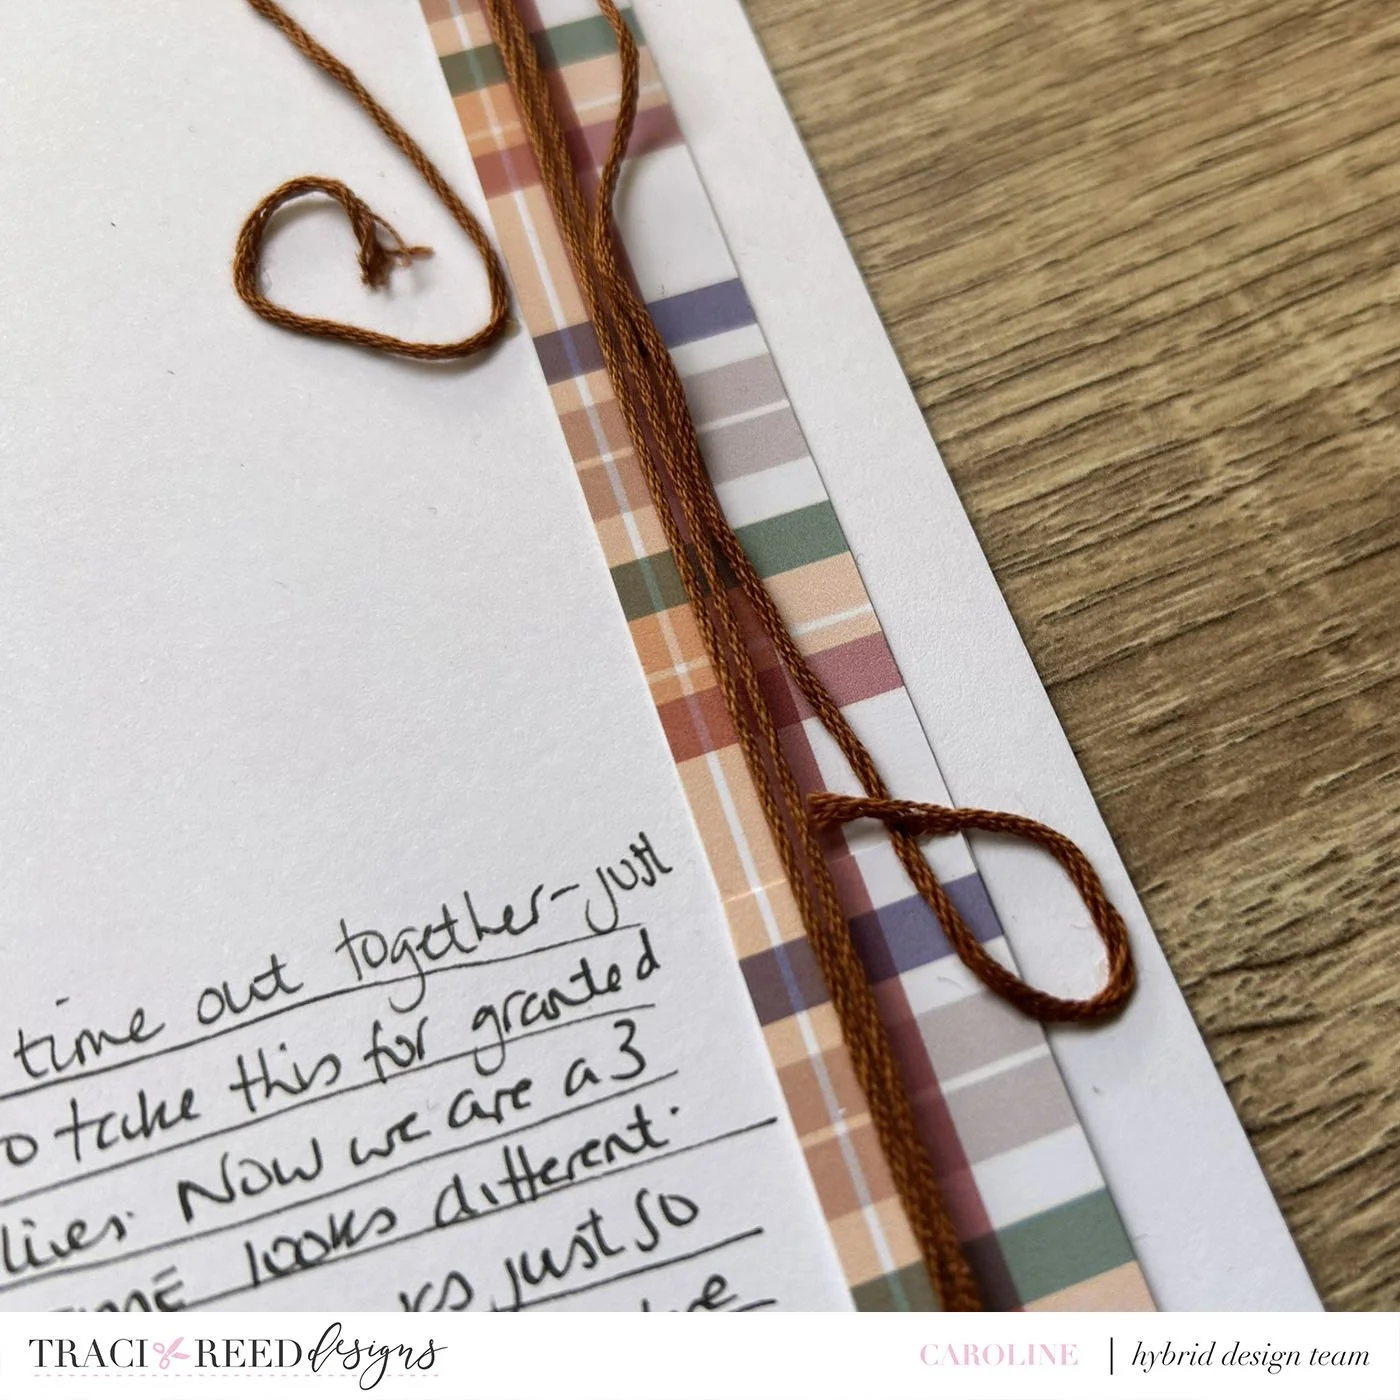
Tip #10 - Use your scraps in repeated embellishment clusters
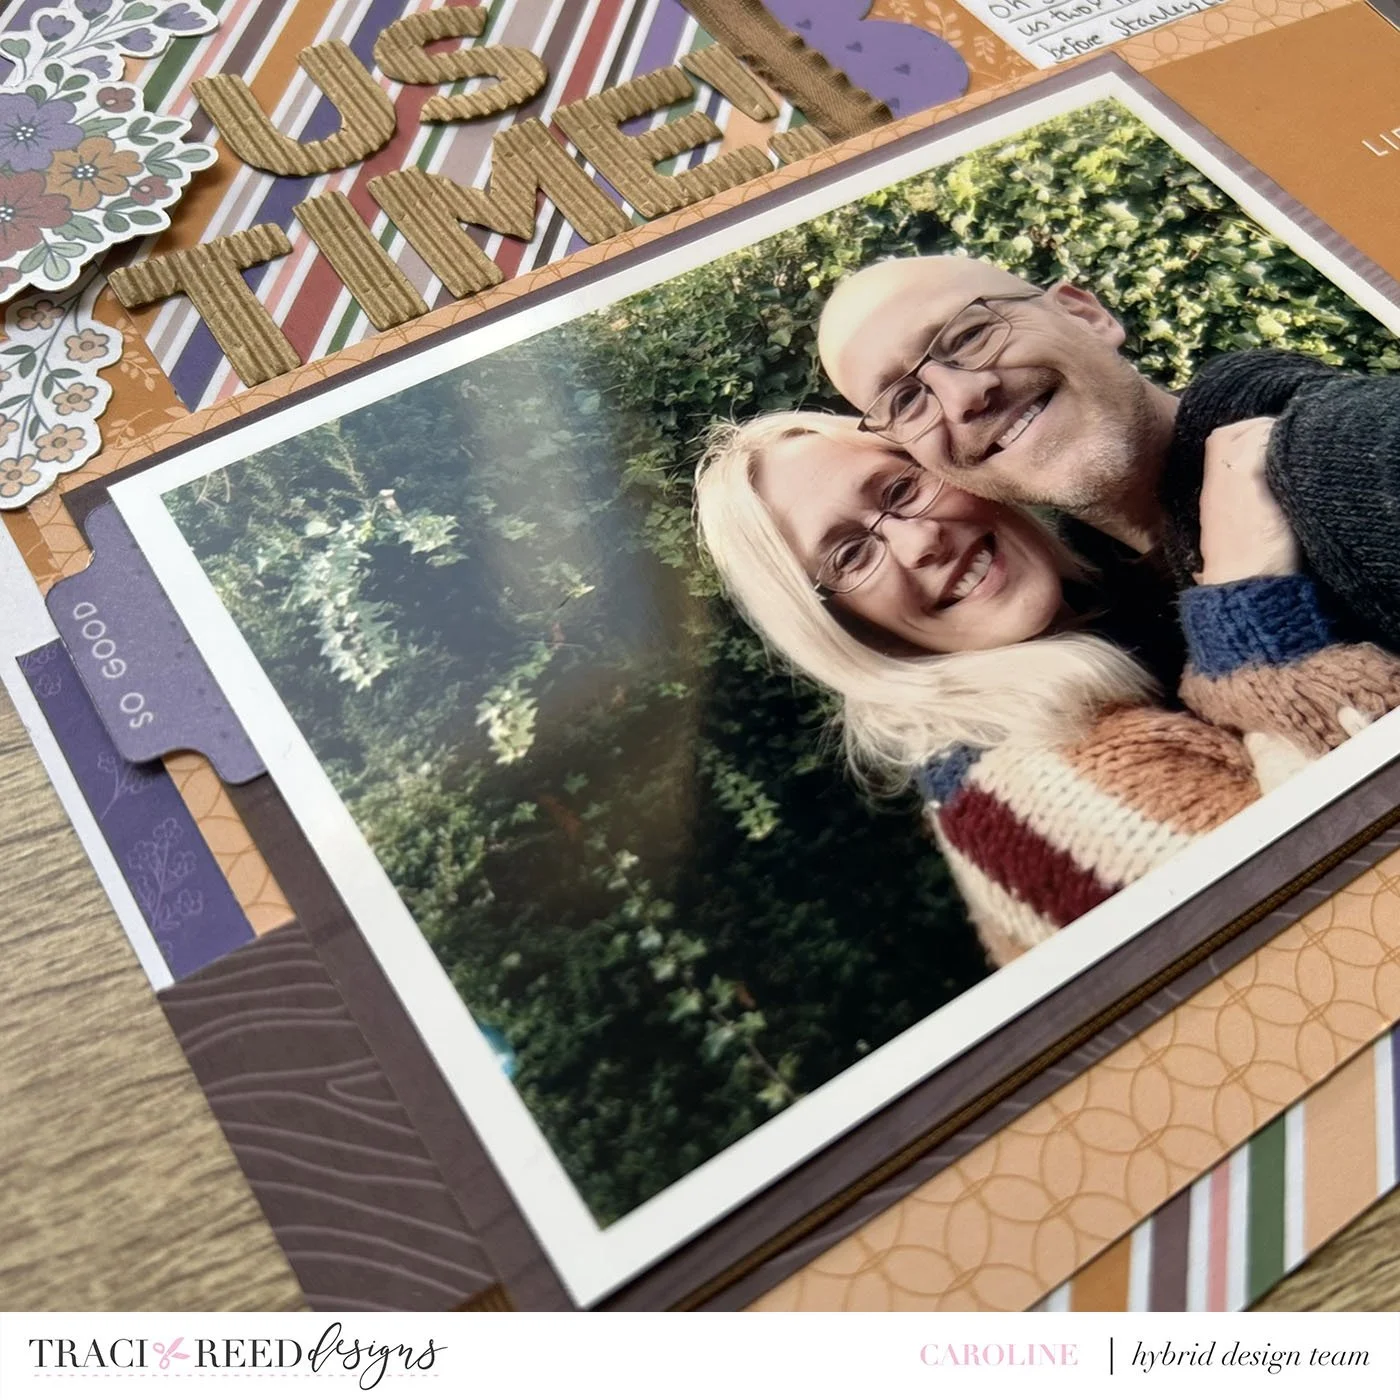
This one is less about stretching your paper or creating illusions and more about making sure the page feels cohesive. Because there is a cardstock background (rather than a patterned paper background) the design could feel lopsided. By repeating the design concepts on a much smaller scale up in the opposite corner to my photo… I immediately bring in a reality unified look to the page design and suddenly that cardstock background looks like a choice for breathing room (rather than a printer necessity!!!)
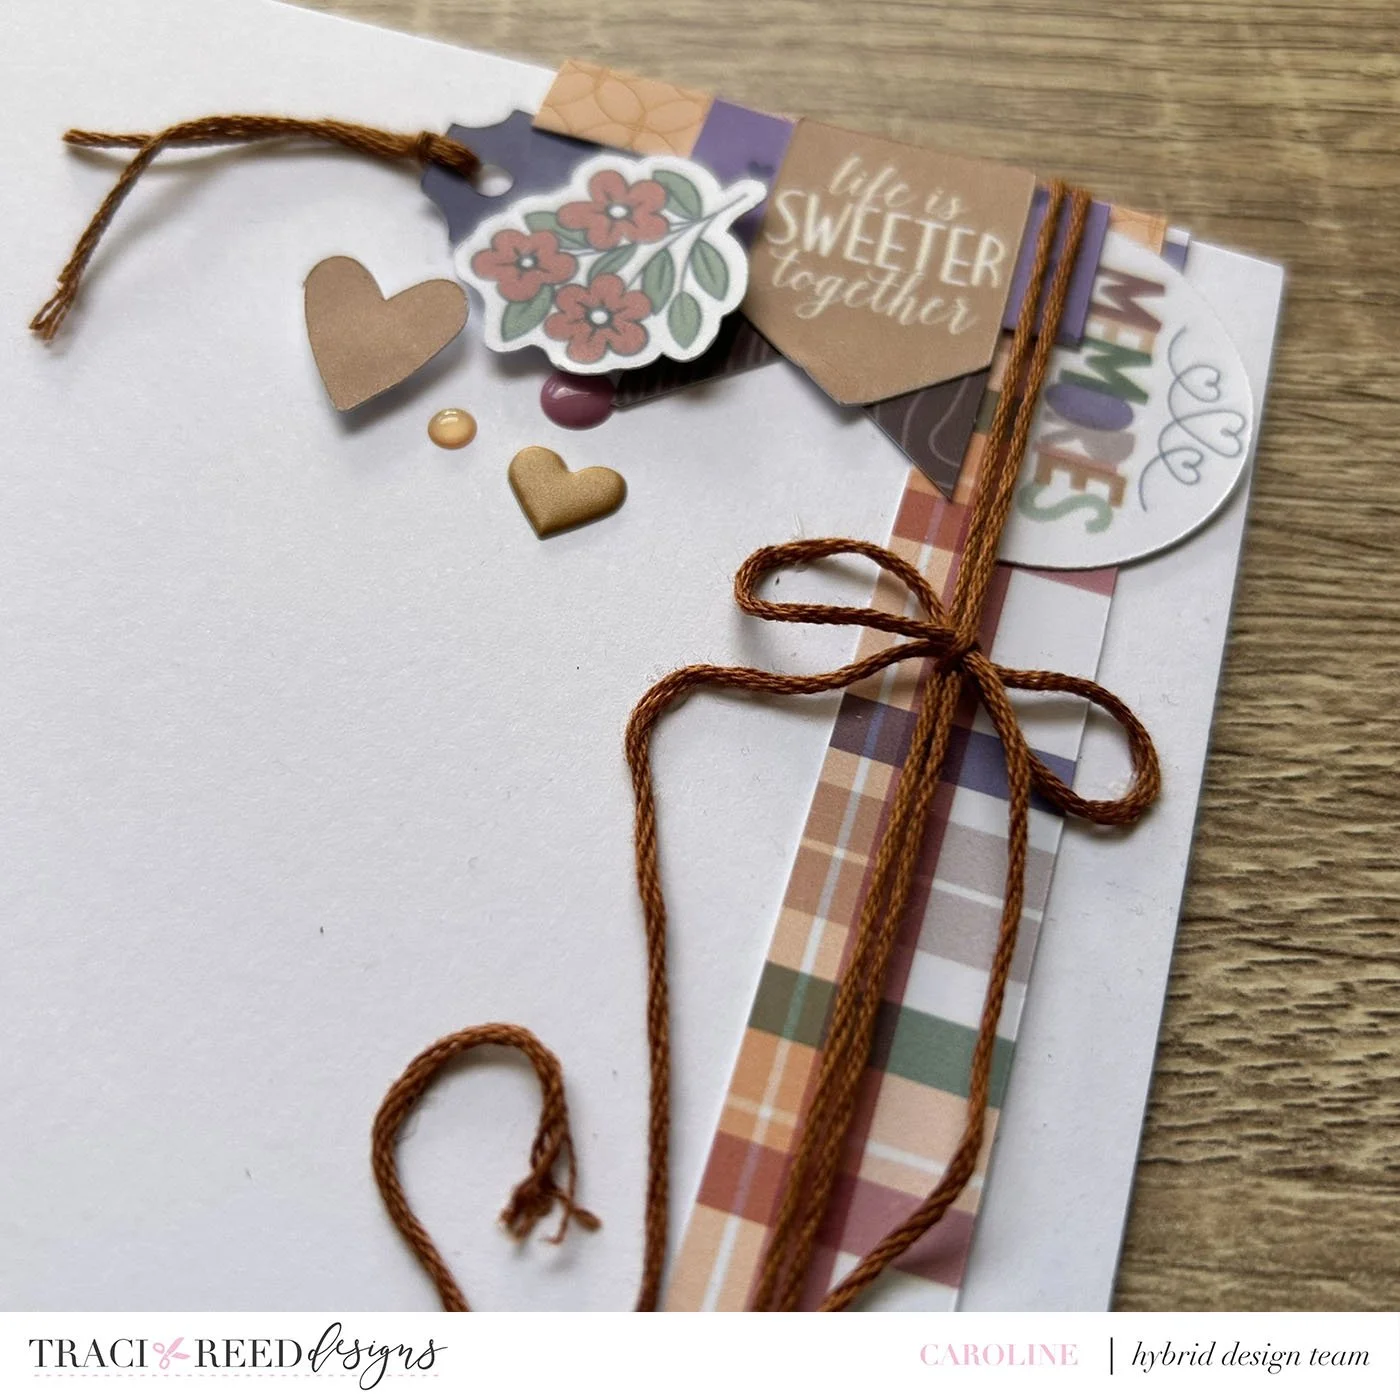
I really hope you have enjoyed these top 10 tips. Did you spot them all on the layout? I hope you will give them a go. They work perfectly with ANY of Traci’s collections!!!
Bye for now
Caroline x
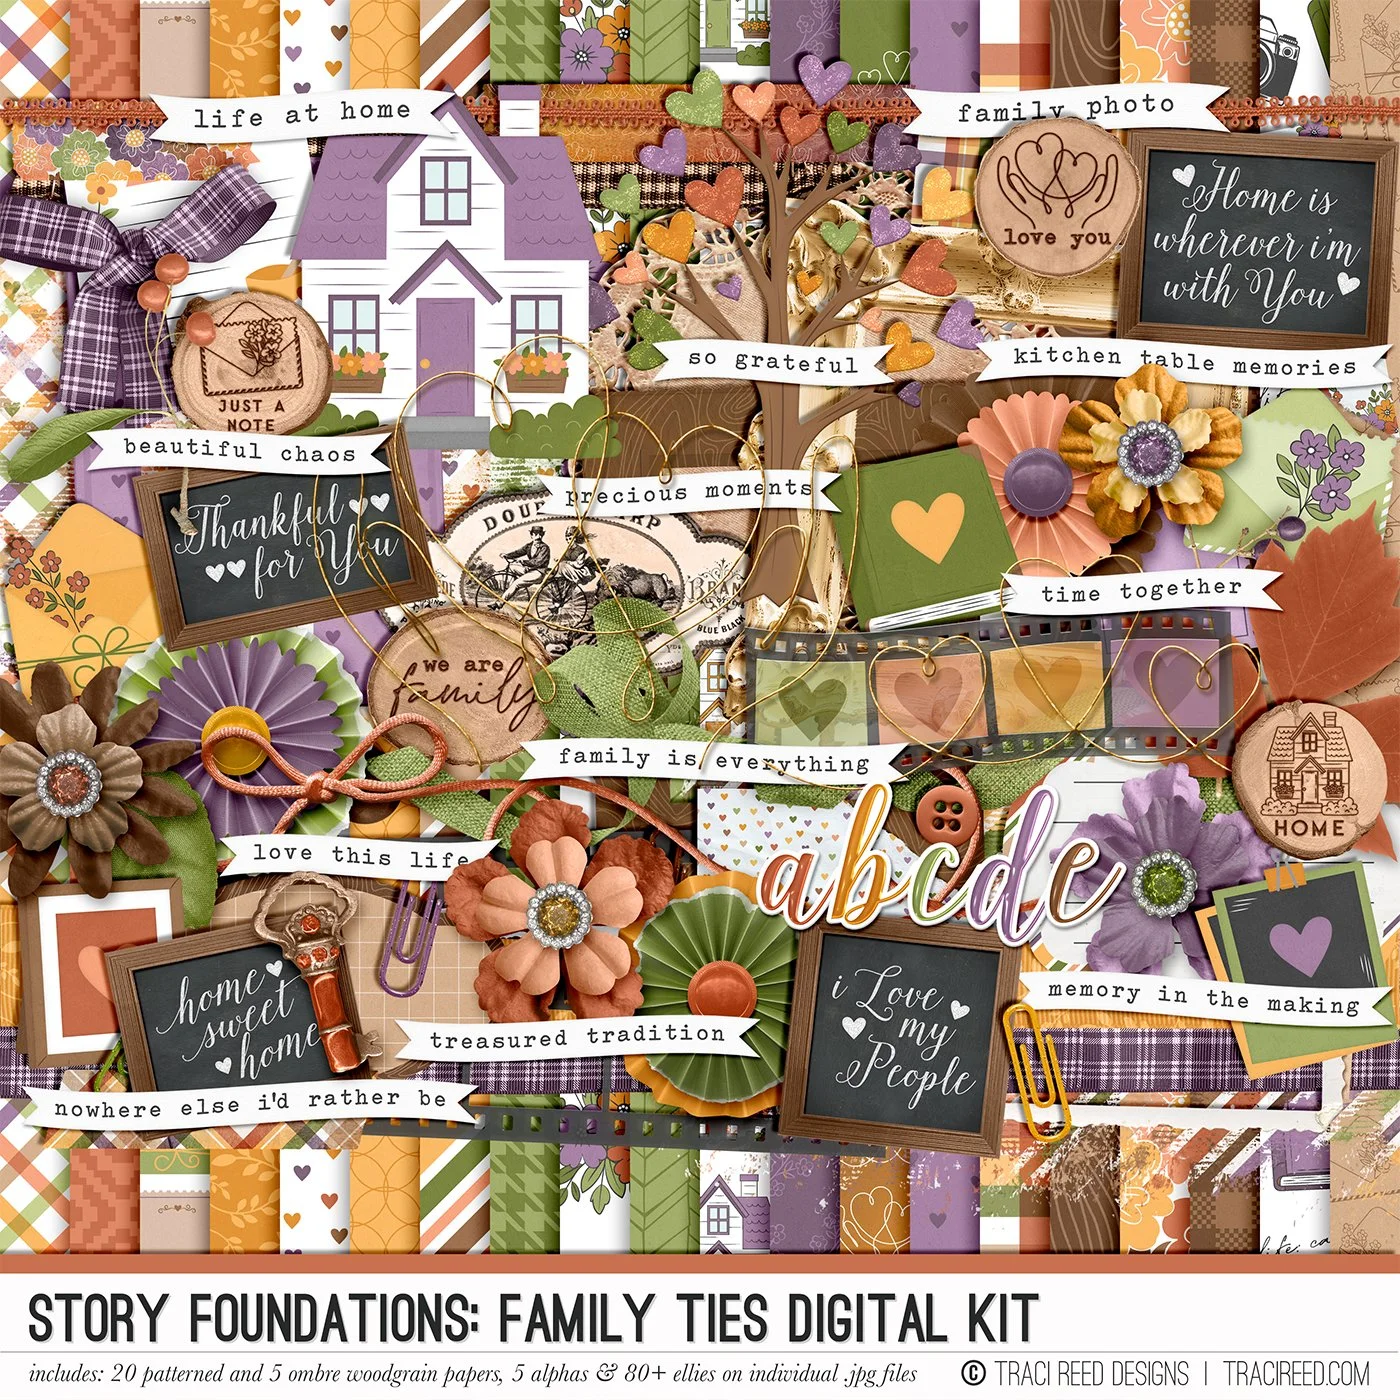
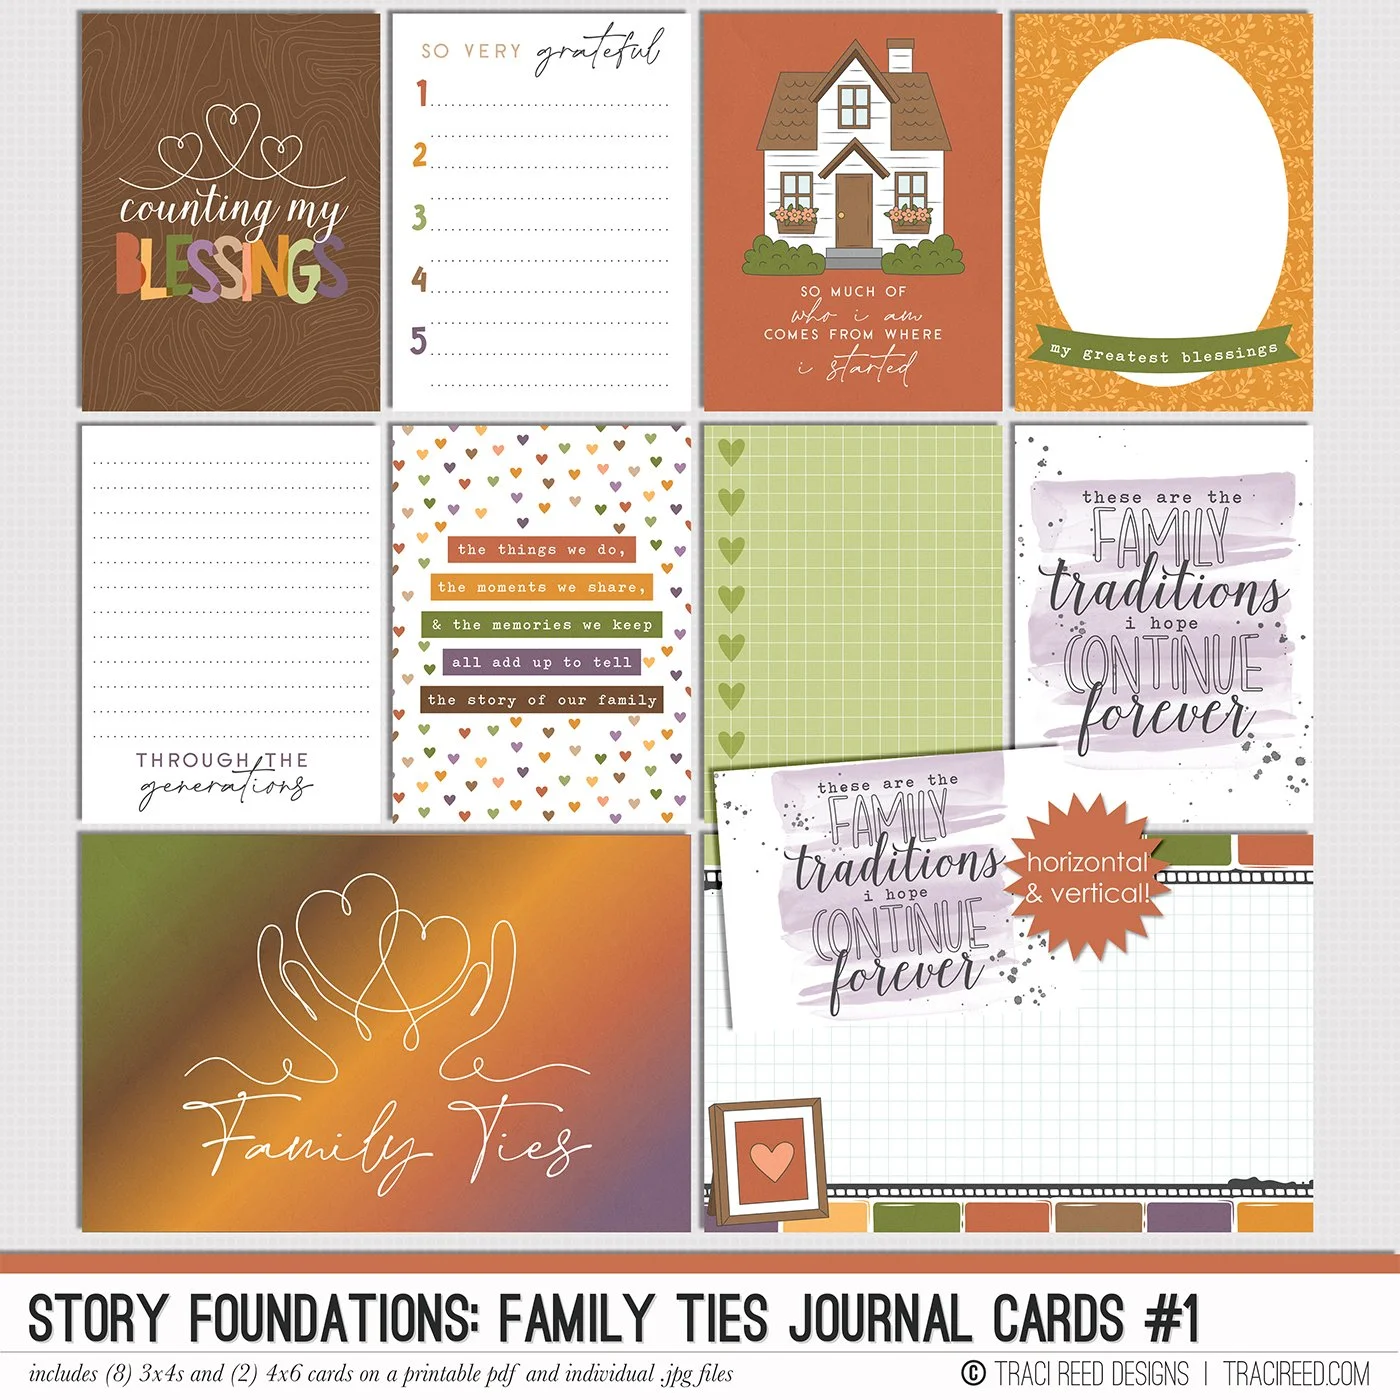
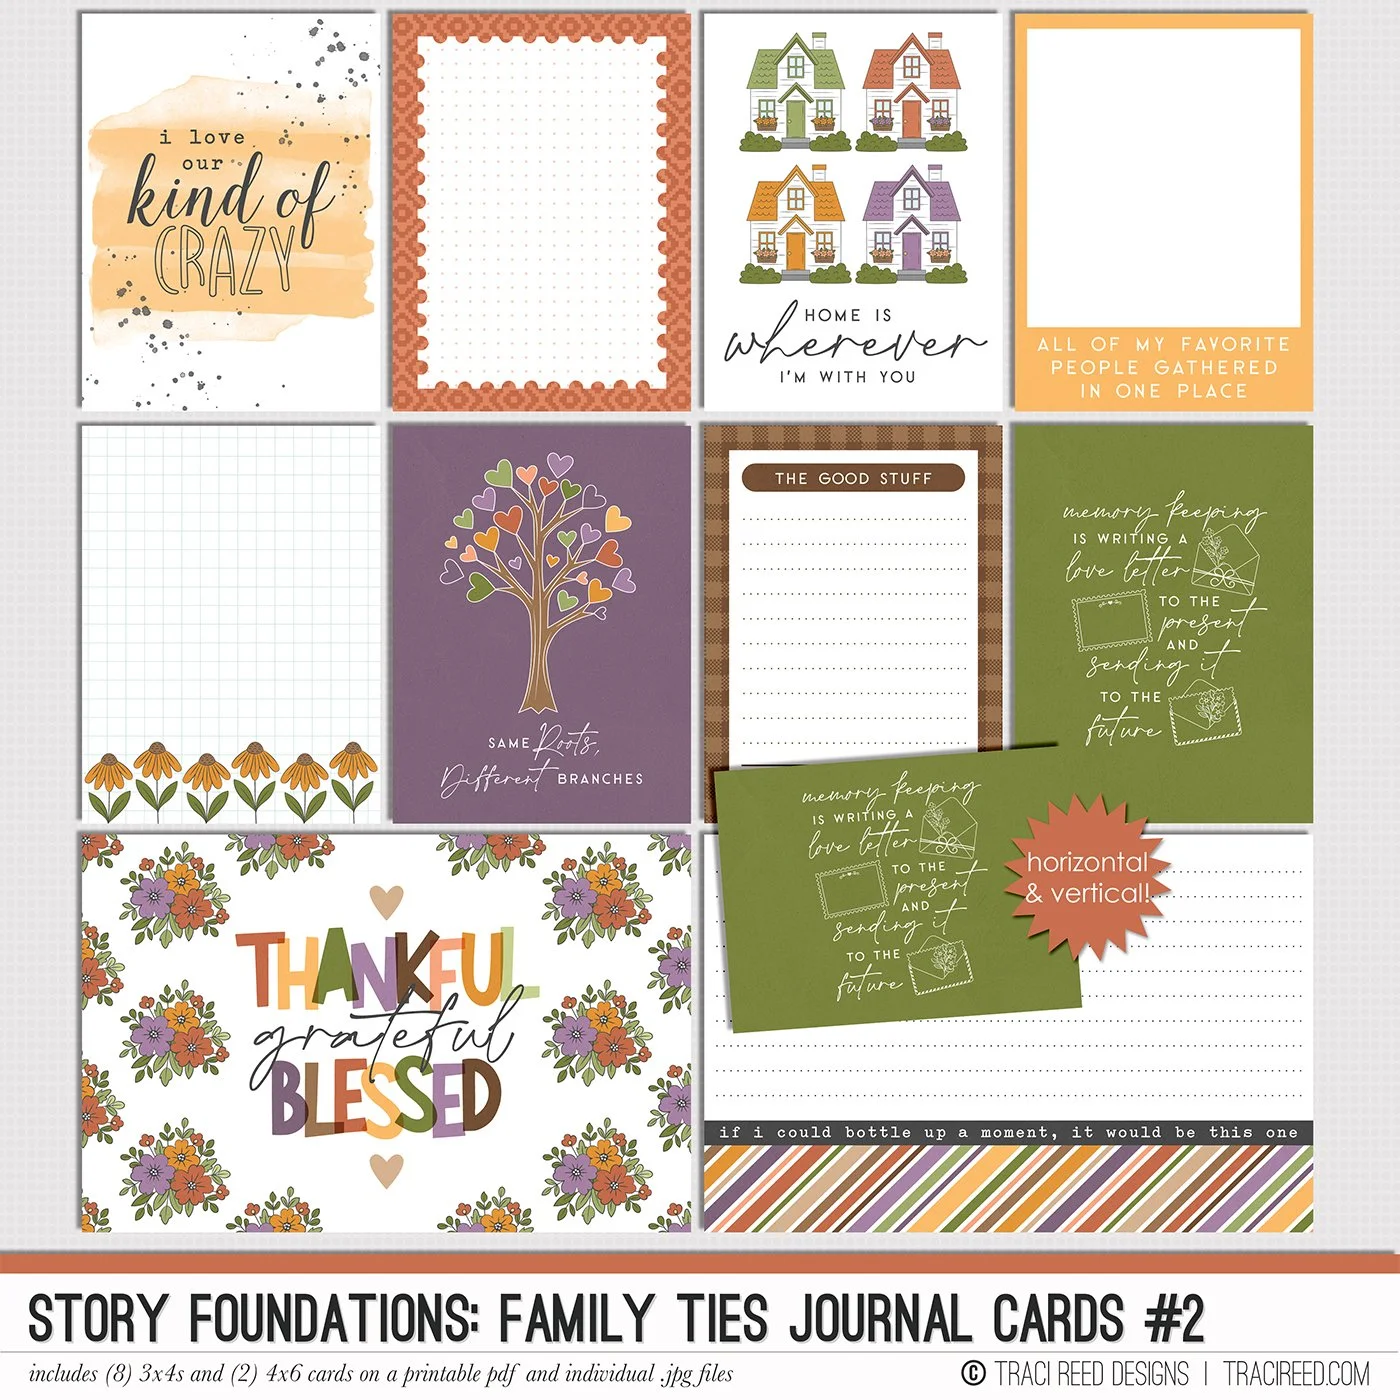
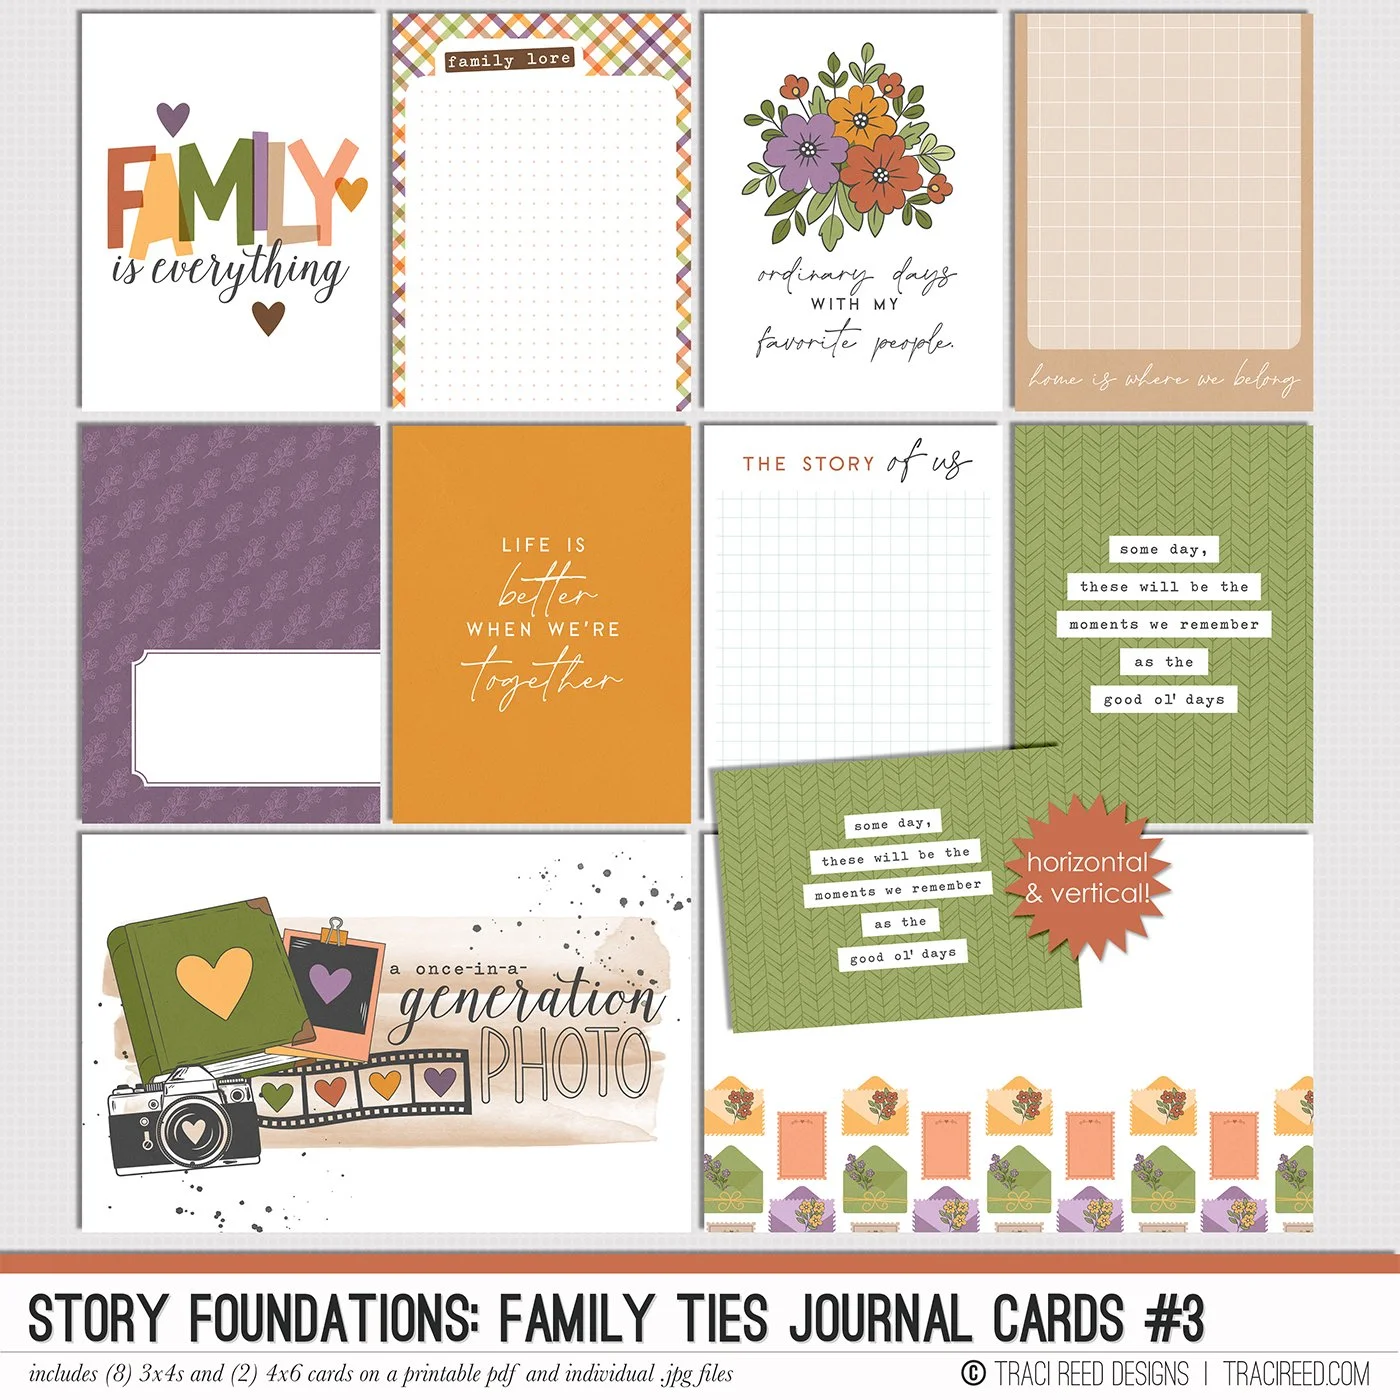
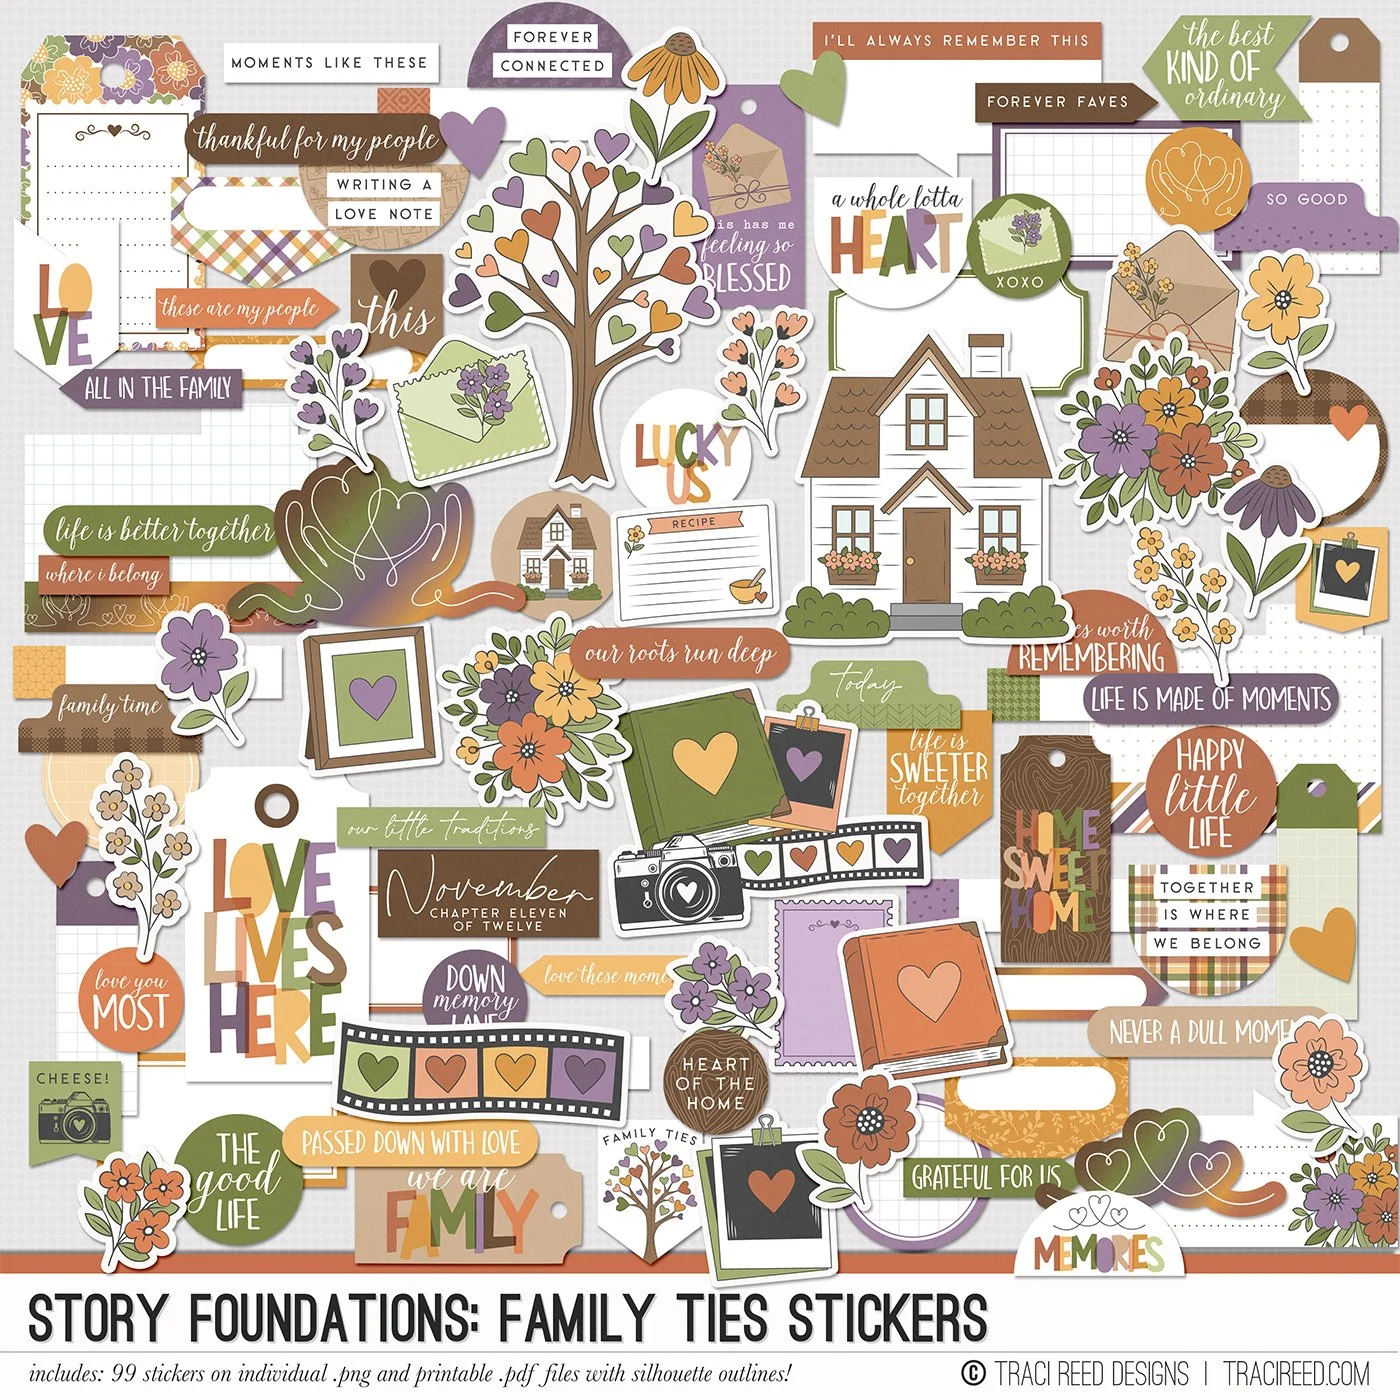
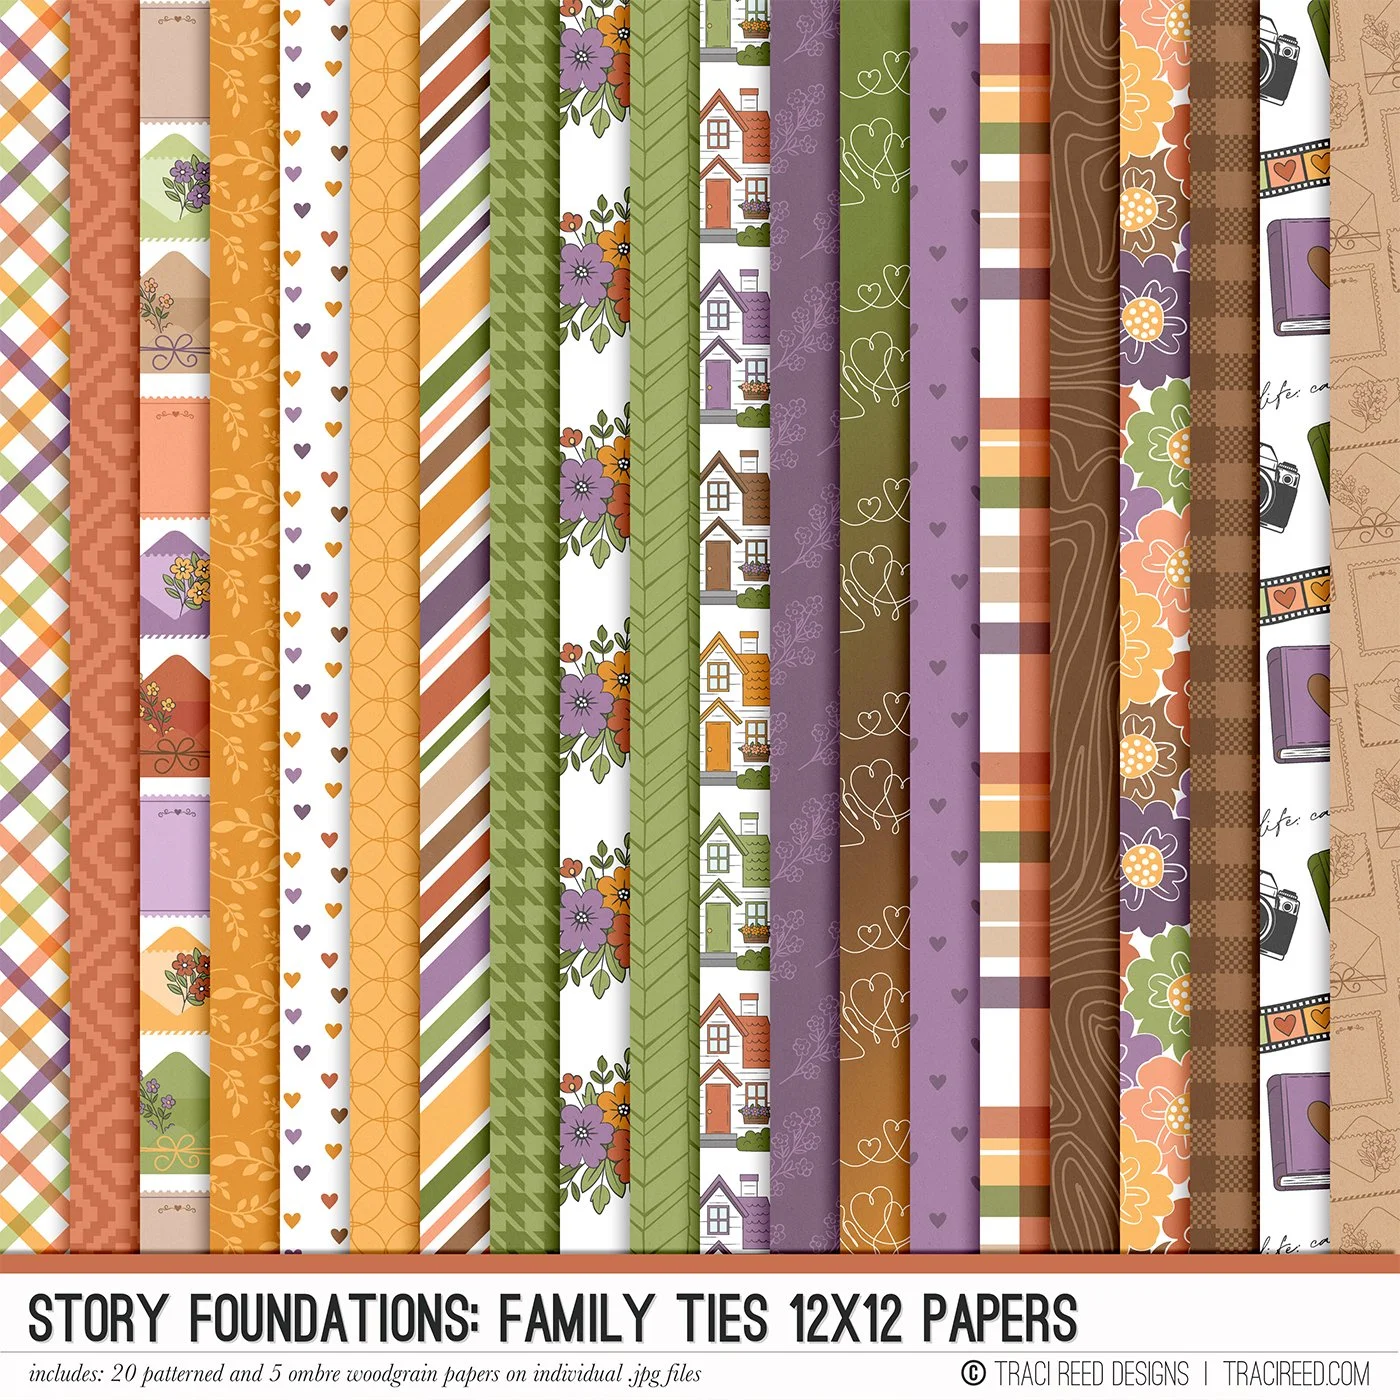
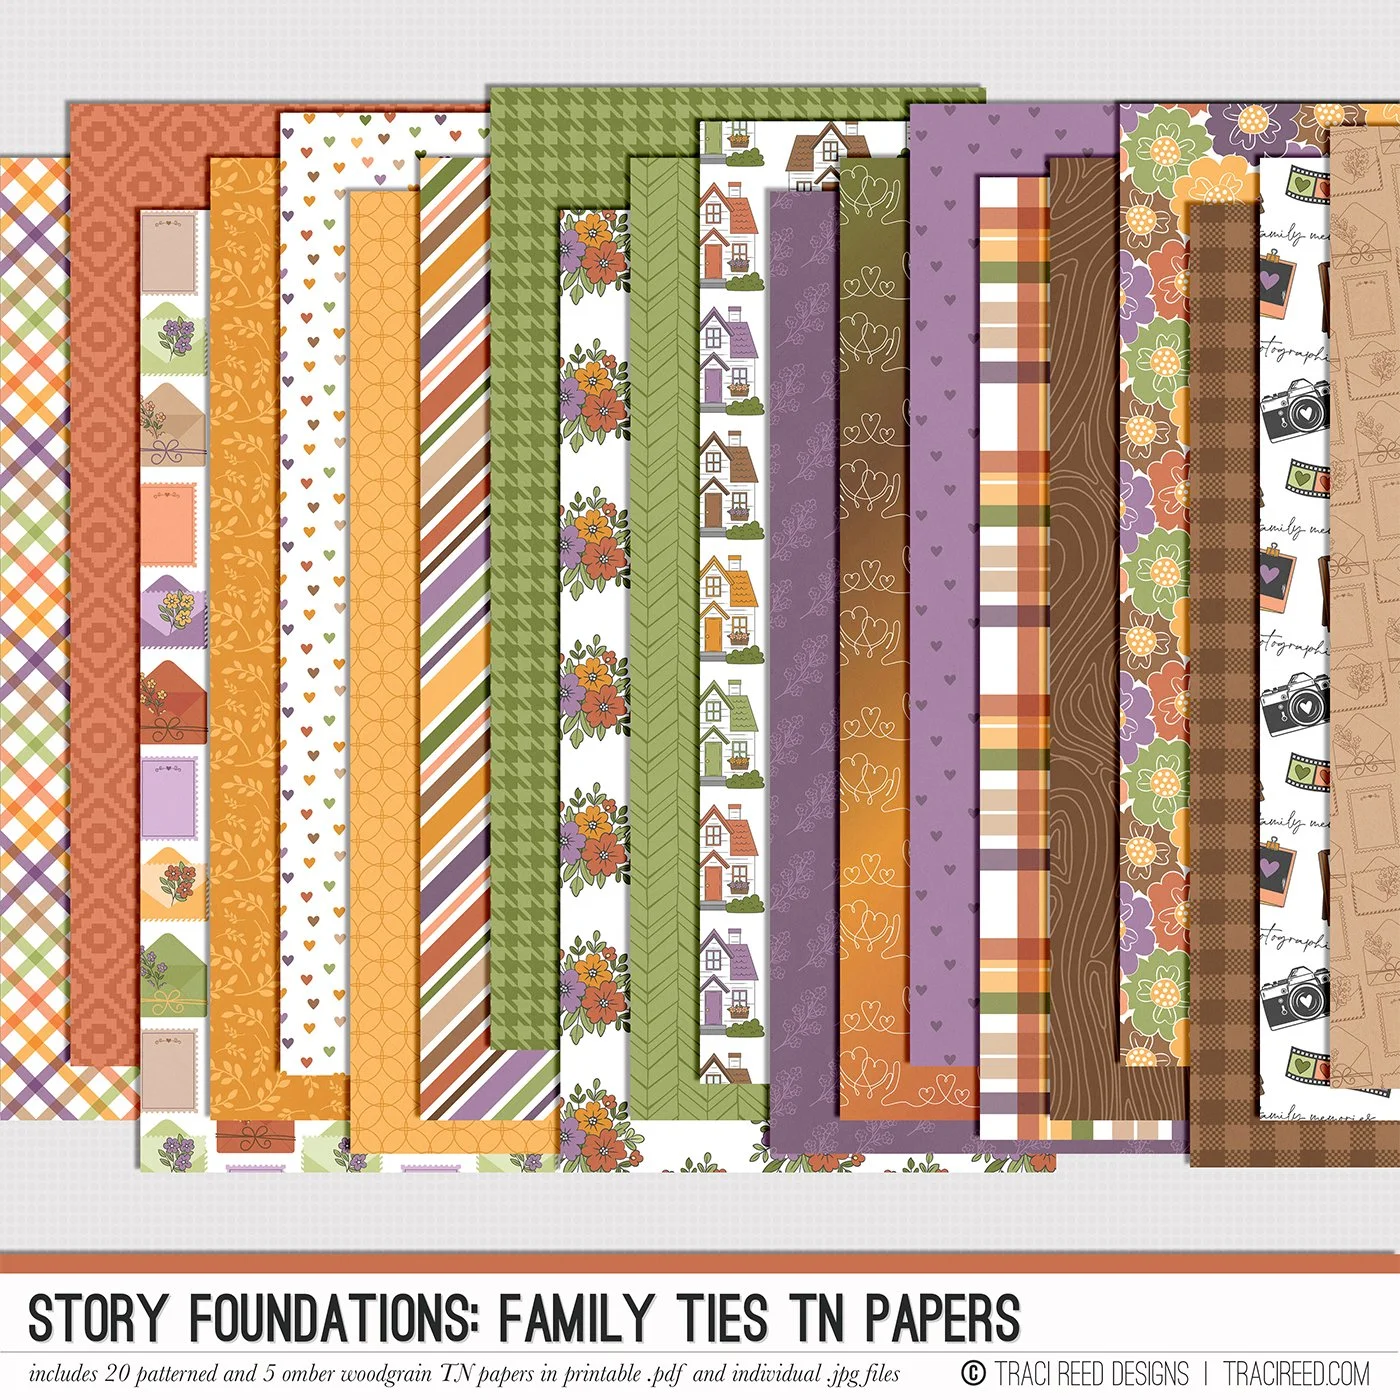
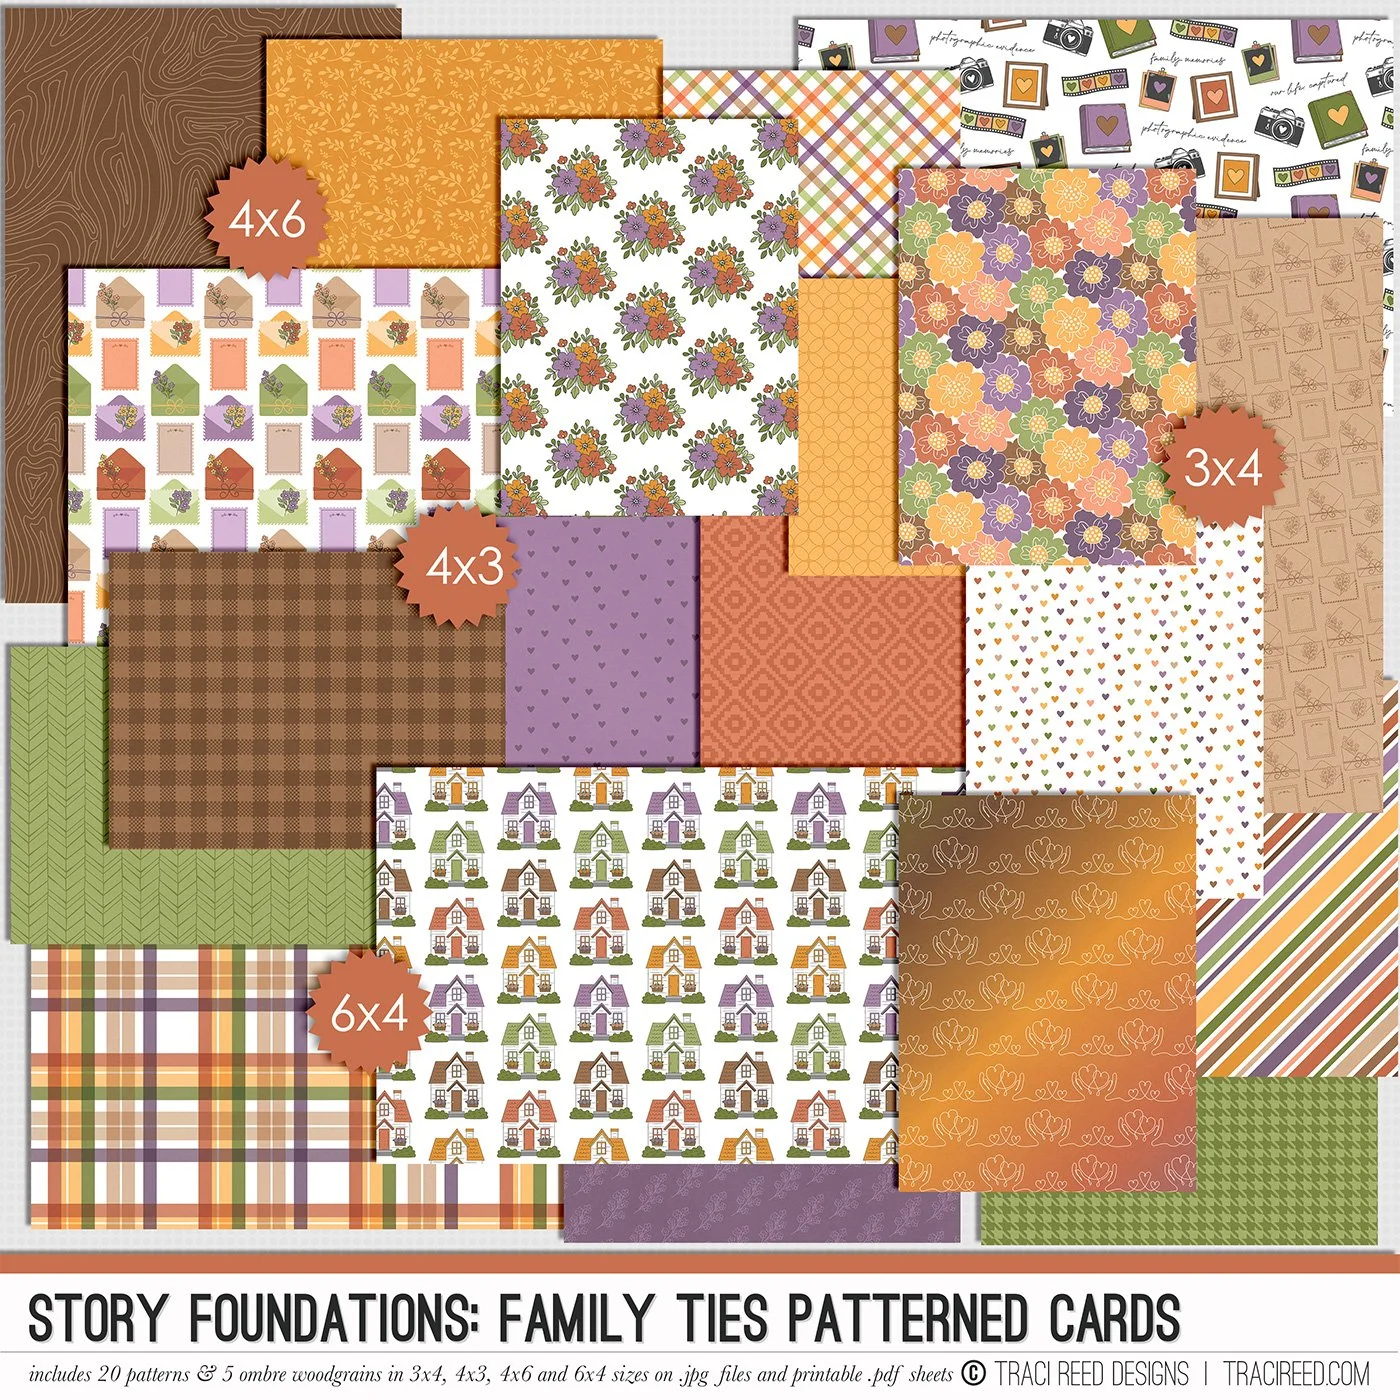
Family is made up of the people we love, the traditions we carry on, and the little moments that become the stories we tell for years to come. Family Ties, the newest chapter in the Story Foundations collection, celebrates all of those connections with a warm, nostalgic mix of colors and hand-drawn details. Whether you're documenting generations of family history, everyday moments with your favorite people, or the traditions that make your family unique, this collection is all about capturing the stories that bring us together.
Filled with charming hand-drawn embellishments, from family keepsakes and old photographs to cozy home details, florals, and symbols of connection, Family Ties offers plenty of ways to add personality to your pages. A coordinating mix of patterned papers, journal cards, word art, and stickers brings together sentiments of gratitude, togetherness, and nostalgia, with just the right touch of autumn warmth.
Like every Story Foundations collection, Family Ties is designed to mix and match with the other chapters, giving you endless possibilities for documenting the stories that matter most. Because no two families are alike, and every family has a story worth keeping.
See the unboxing and example images for the Story Foundations: Family Ties collection HERE.
Don’t forget, the entire 2026 Story Foundations Collections are meant to mix and match and pair with each other! You can see all the Story Foundations Chapters HERE.
BUNDLE INCLUDES:
Story Foundations: Family Ties Digital Kit, Cards 1, 2, &3 + Stickers!
BUNDLE DOES NOT INCLUDE:
Story Foundations: Family Ties TN Papers or Patterned Cards