
Dynamic Borders: Adding Borders to Your Layouts to Make your Pages POP!
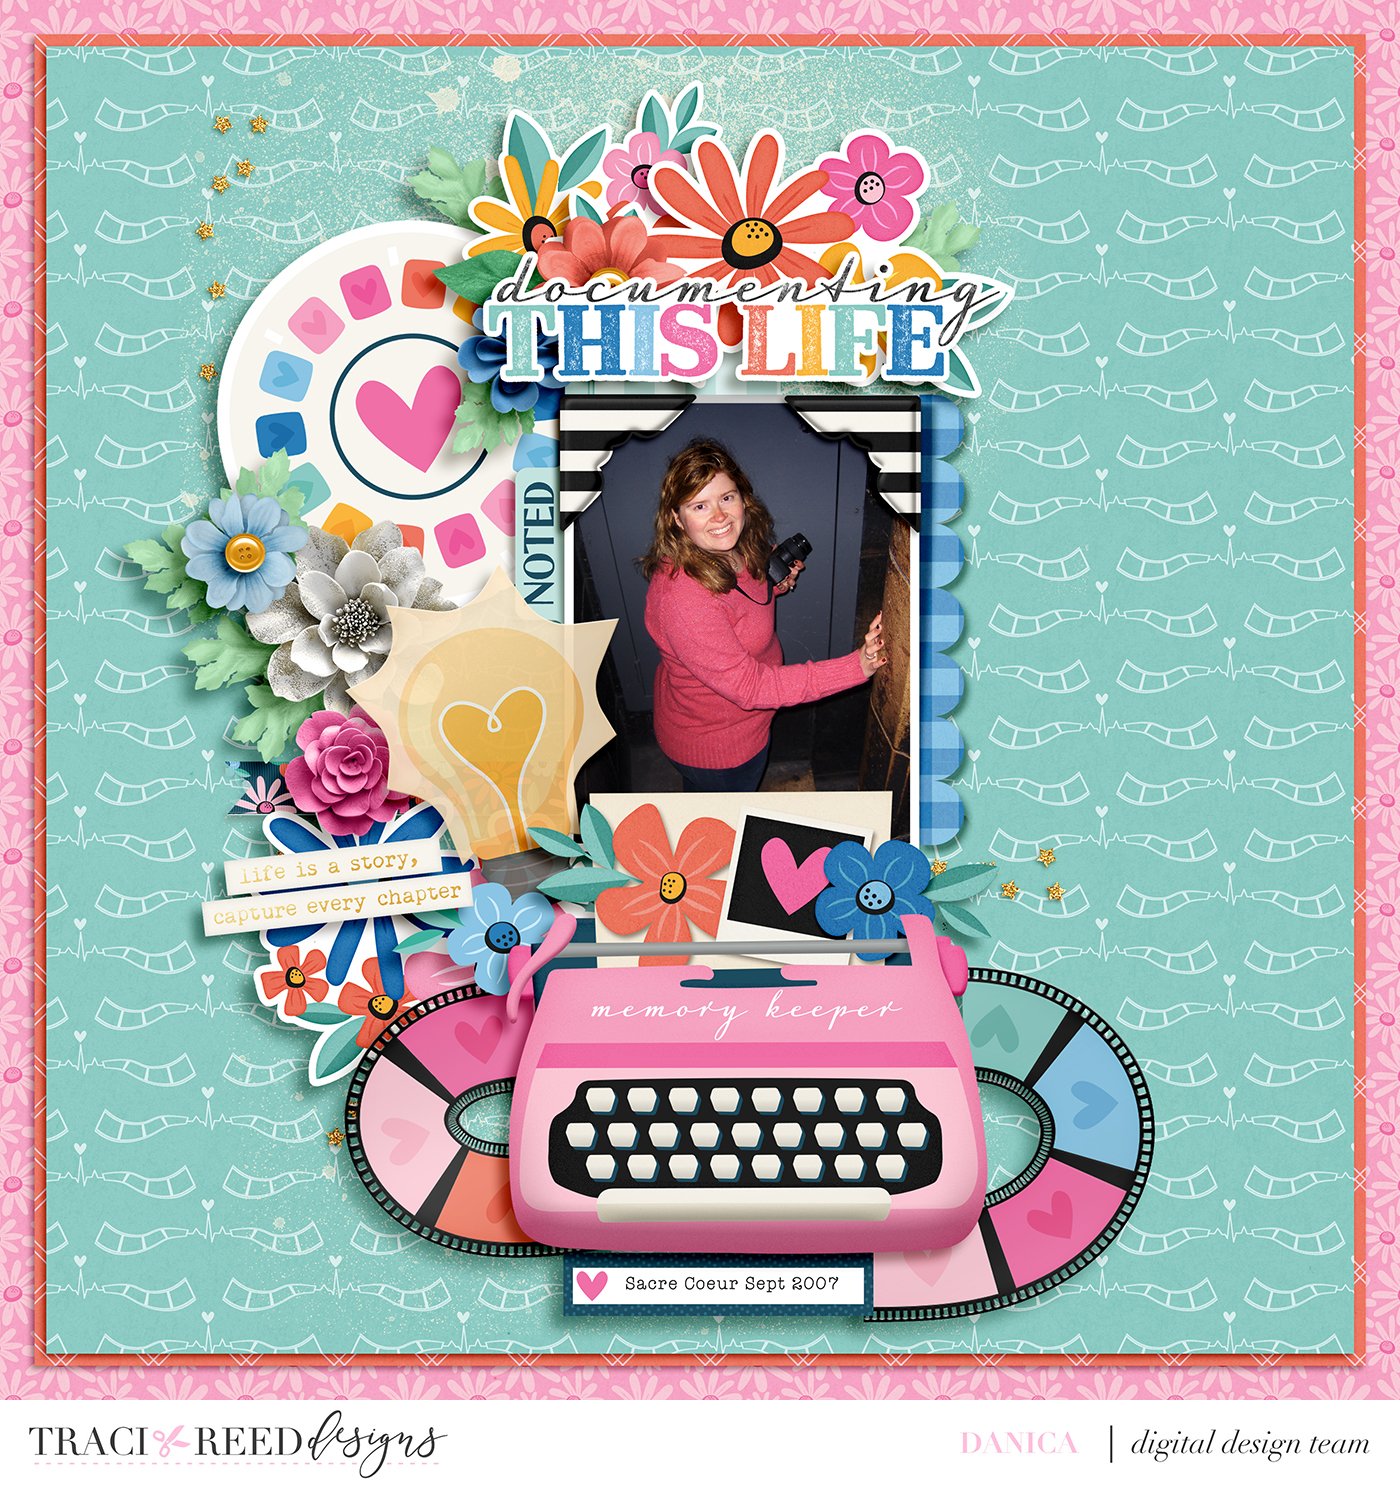
An easy thing to do to add a bit of interest or a pop of color to your layout is by adding a border to your page! I do this often with my layouts and I really like the look of it. For my layout here, I used Traci’s Our Story Matters and a template, Hold On To the Memories, from fellow creative team member Cheryl of Fiddle Dee Dee Designs.


The easiest way to add a border to your layout is to do so once your layout is finished. At this point you can decide which border style will look best with your layout design. First add a new layer behind your layout, and fill it with any color. If your background layer is locked, you will need to layer from background in order to create a layer behind it. Select all the layers of your layout including the original background layer. Resize the entire layout by dragging one of the corners of background layer while holding the shift key. Now you can drag this anywhere on your new background layer to create your border. To make additional borders, just add layers of different sizes in between your original layout background layer and your new back ground layer. Then just clip papers to these layers. The following samples have show variations of this technique.
There are typically three border styles that I add to my layouts. The first is a strip down the right side or the left side of the page. I think this looks best when most of the layout design is contained on one side of the page. I place the border on the side opposite the design.


The second border style that I use is a border around the entire layout similar to a mat around a photo. Sometimes I will do one to three layers bordering the page. I usually use two, one very thin layer directly around the layout and a second thicker border around it. A variation of this is is having a very thick outer border with a thin border next to the layout itself. It’s fun to show off bold patterned papers this way.


A fourth look that works well is one with gingham patterned papers. To achieve this look all you do is slide the layer bordering your layout down and to the left lining it up to the left bottom edge of the gingham background paper. Once you do this just extend this layer to line up with the top and right side of the main part of your layout.

I hope you enjoyed learning about all the different ways I use borders on my layouts. Is this something you might try? Did you have a favorite? Until next time, happy scrapping!
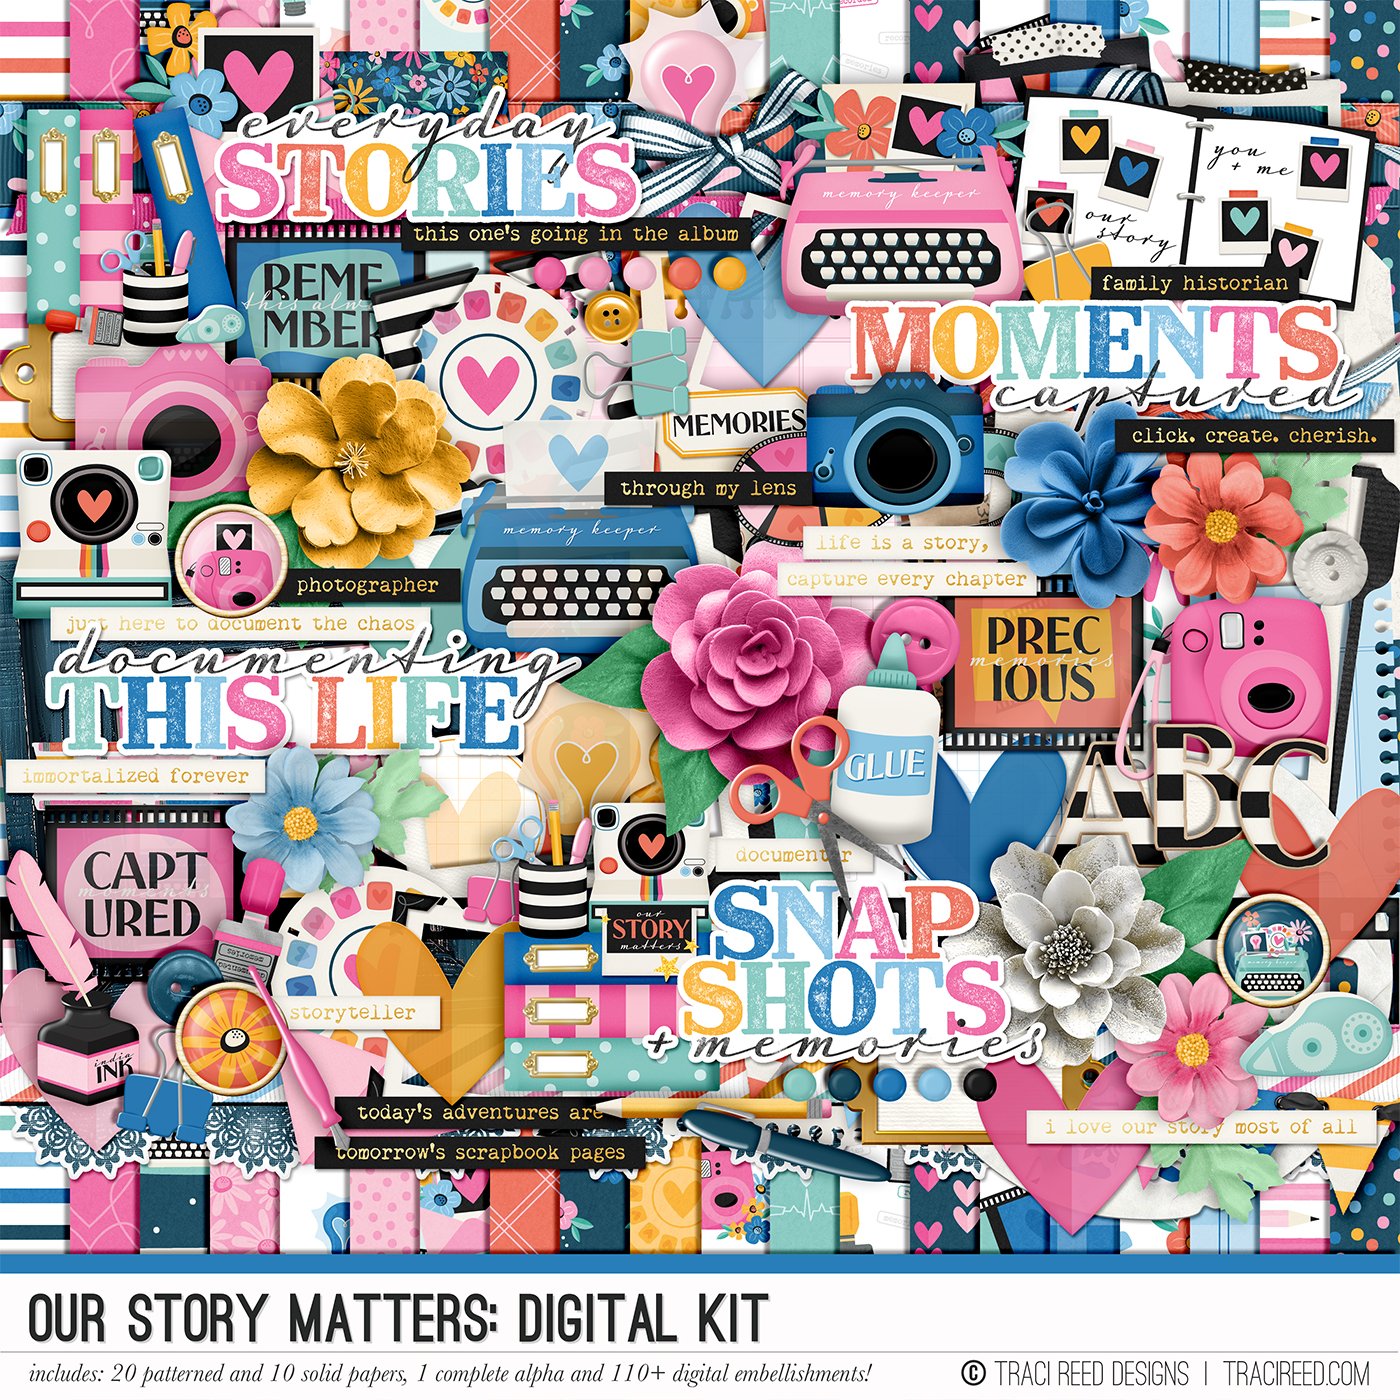
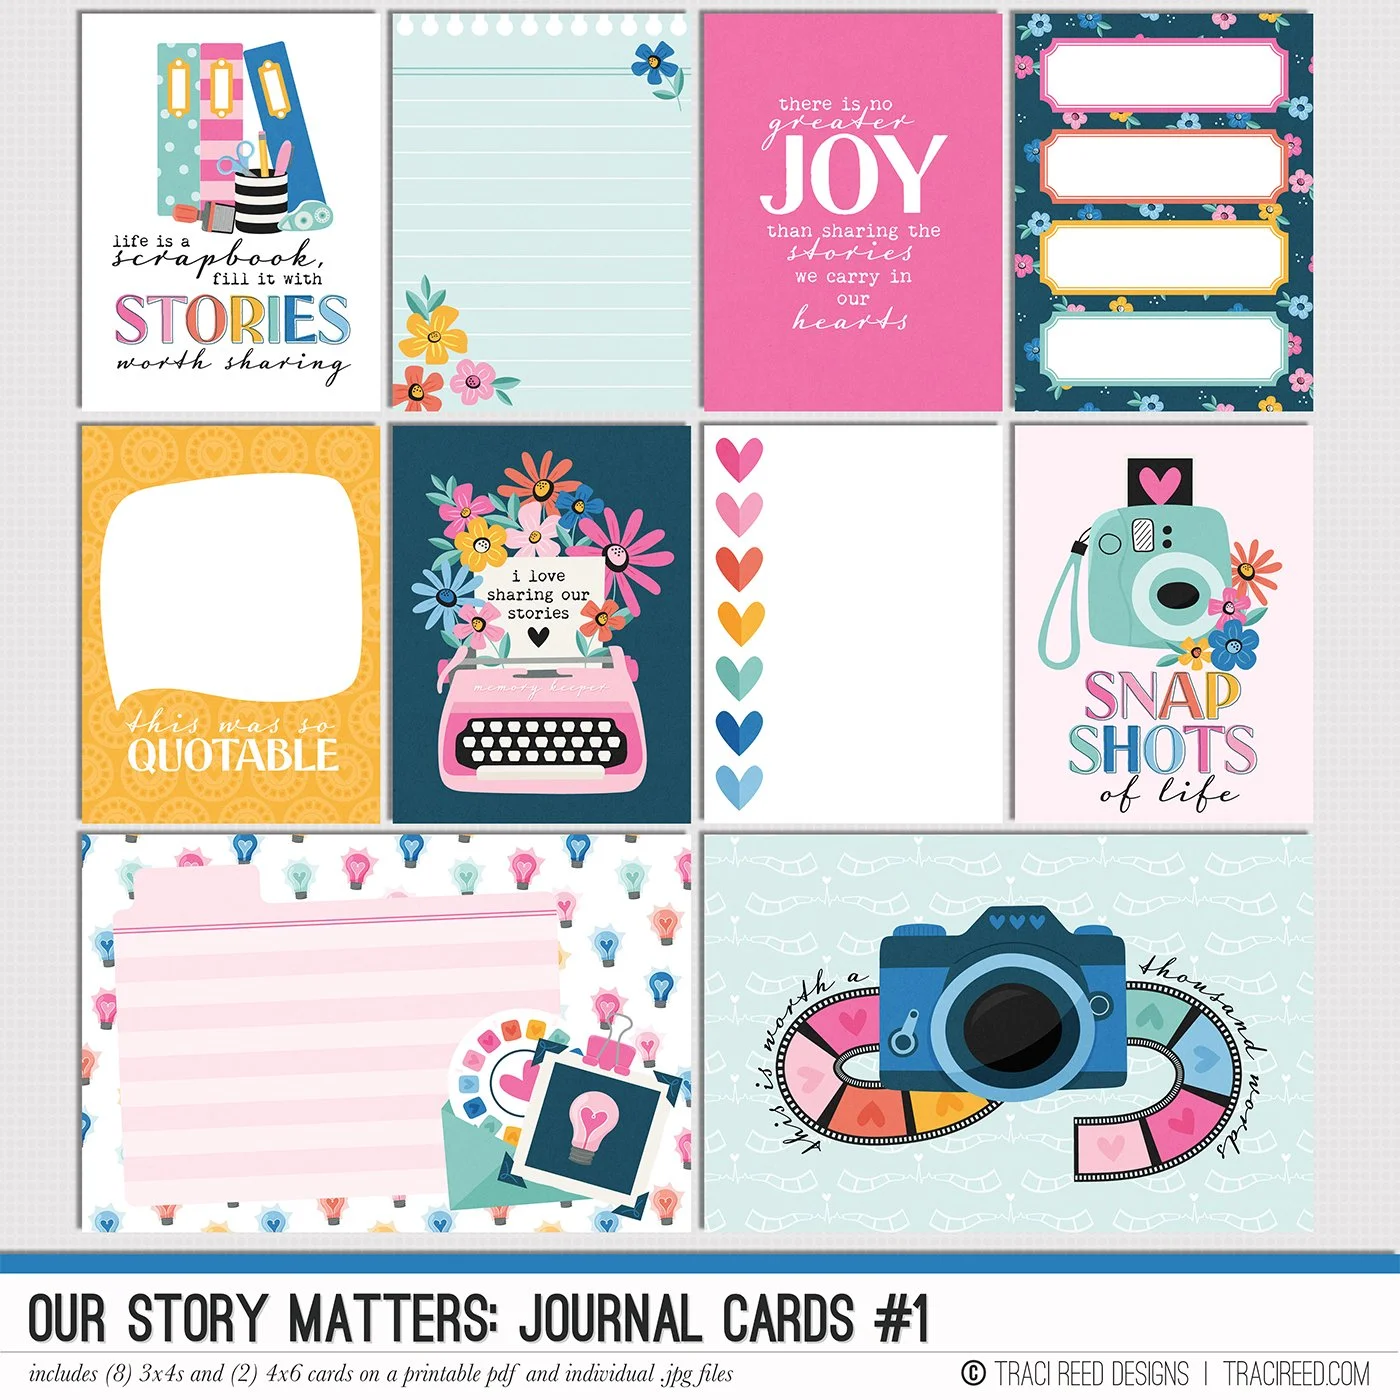


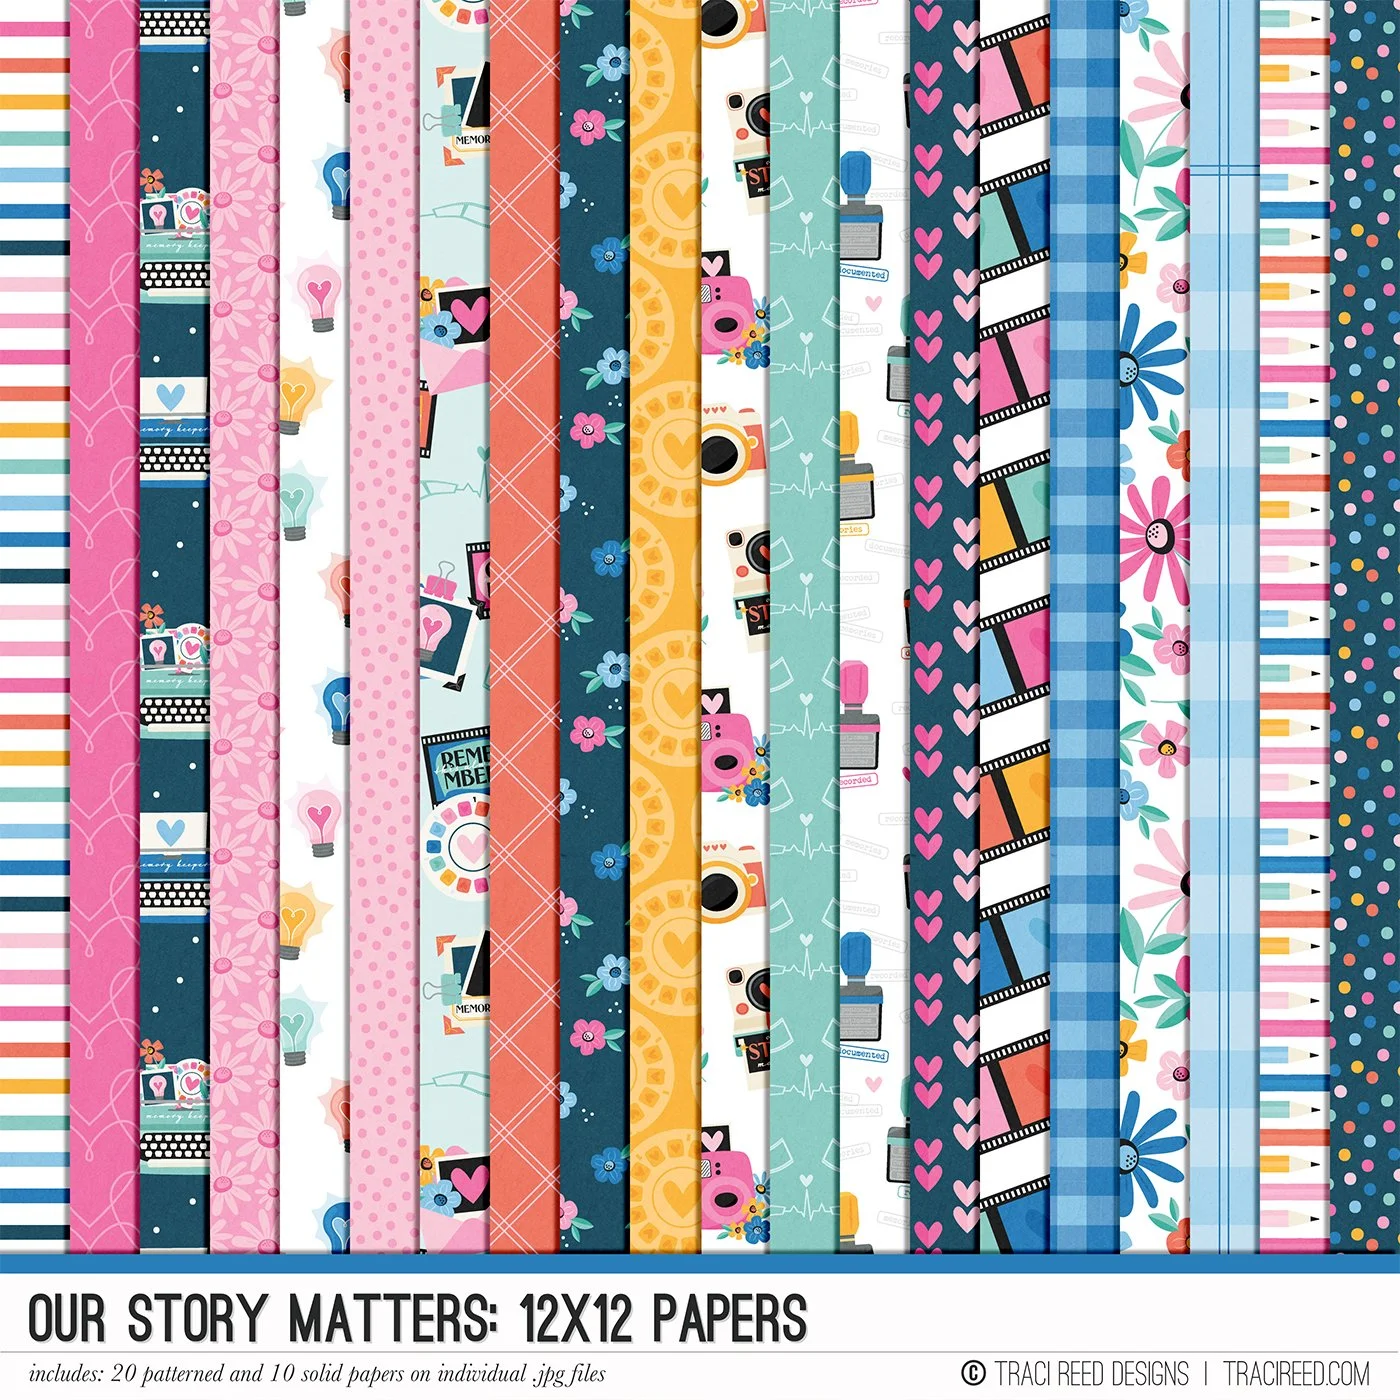
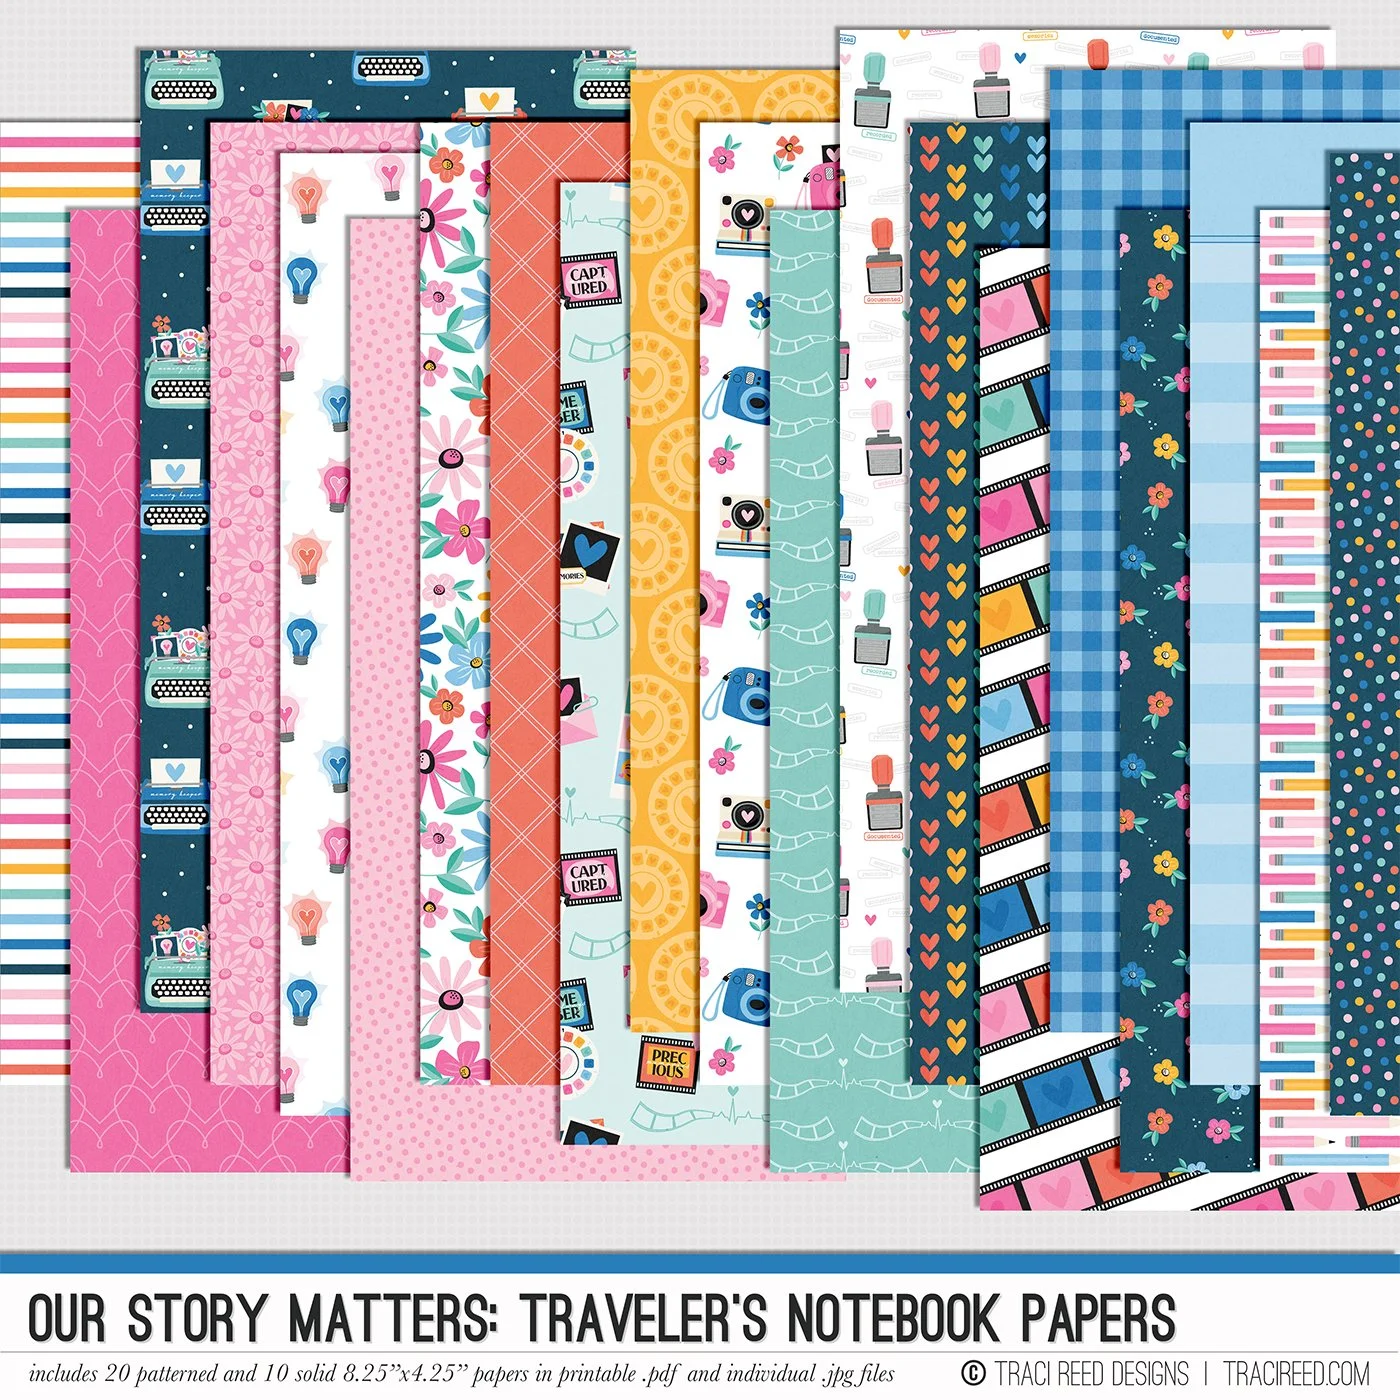
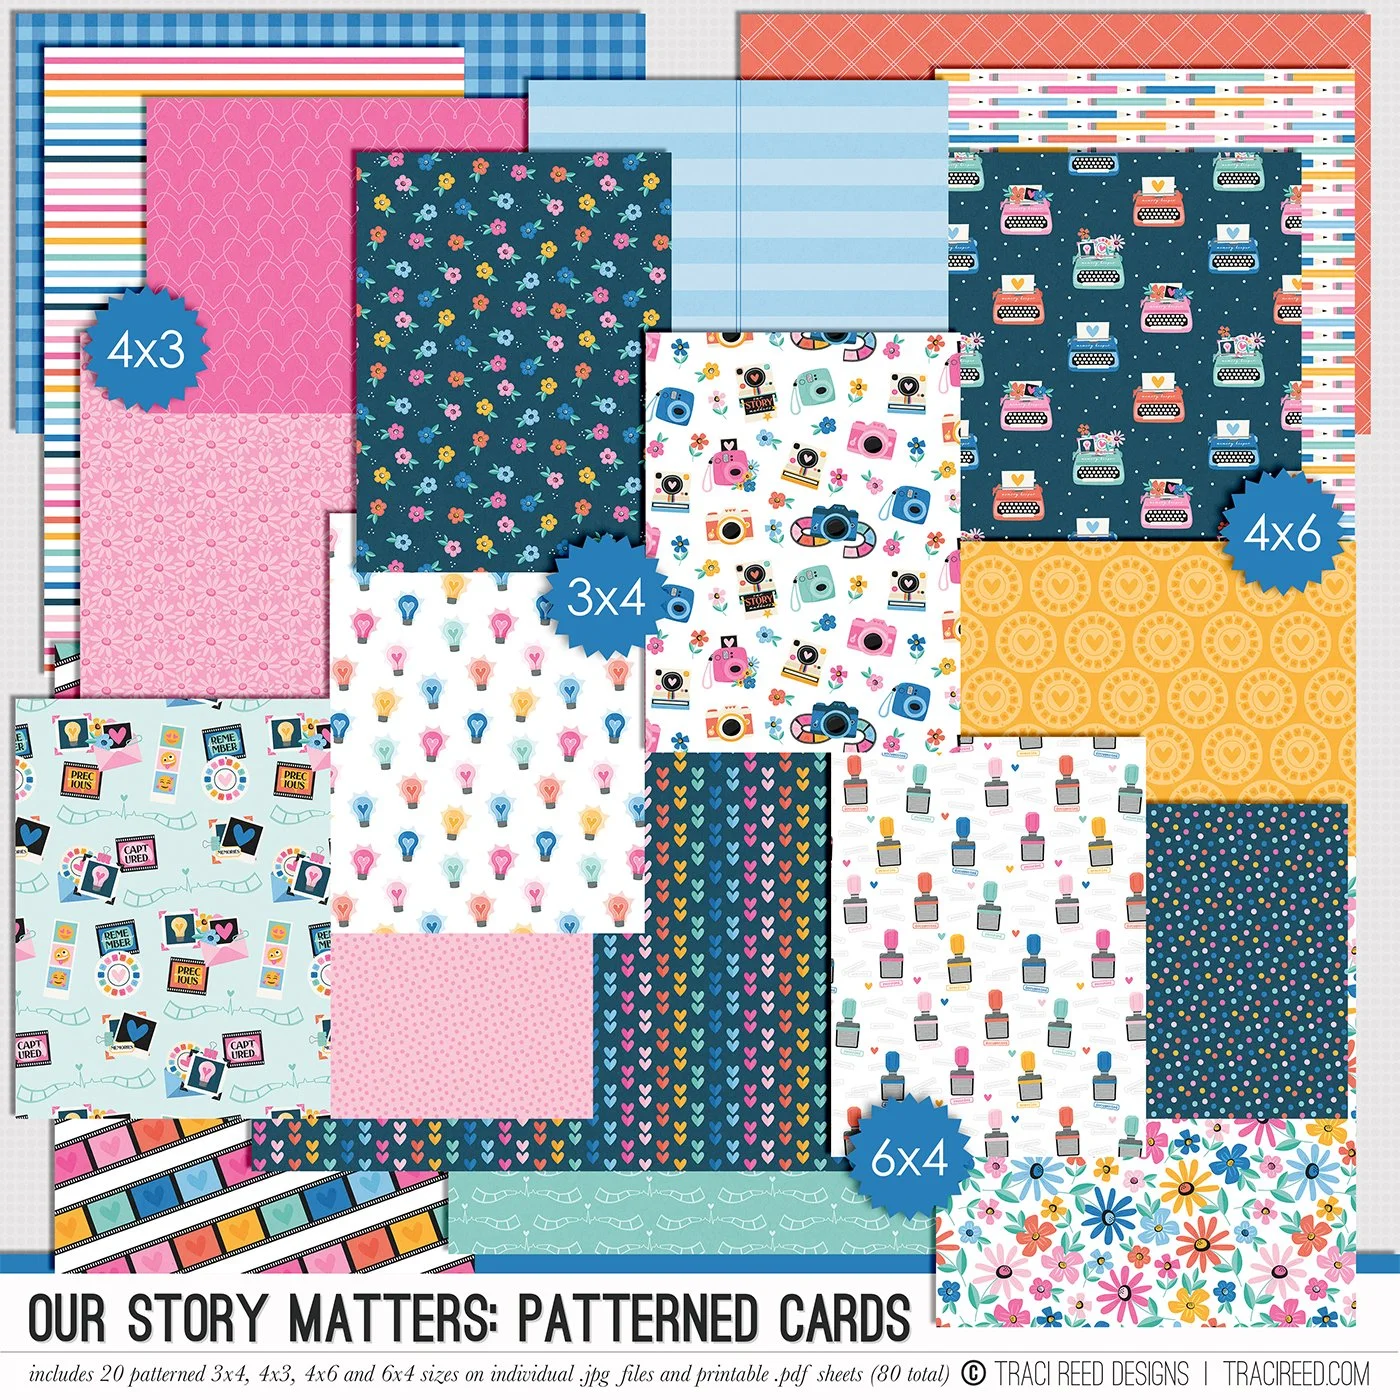
Your stories deserve to be told, and the Our Story Matters collection is here to help you do just that. A follow-up to the much-loved My Story Matters, this collection is all about celebrating the ways we document our lives—through words, photos, and creativity. With a mix of hand-drawn icons, meaningful phrases, and a warm, inviting color palette, this collection is perfect for capturing everything from everyday moments to the stories that shape who we are.
So grab your favorite supplies, get cozy, and start telling your story—because it matters more than you know.
Check out the Our Story Matters Blog Post to see example layouts and the unboxing!
BUNDLE INCLUDES:
Our Story Matters Digital Kit, Journal Cards #1 and #2, Stickers and Bonus Stickers
BUNDLE DOES NOT INCLUDE:
TN Papers or Patterned Cards